
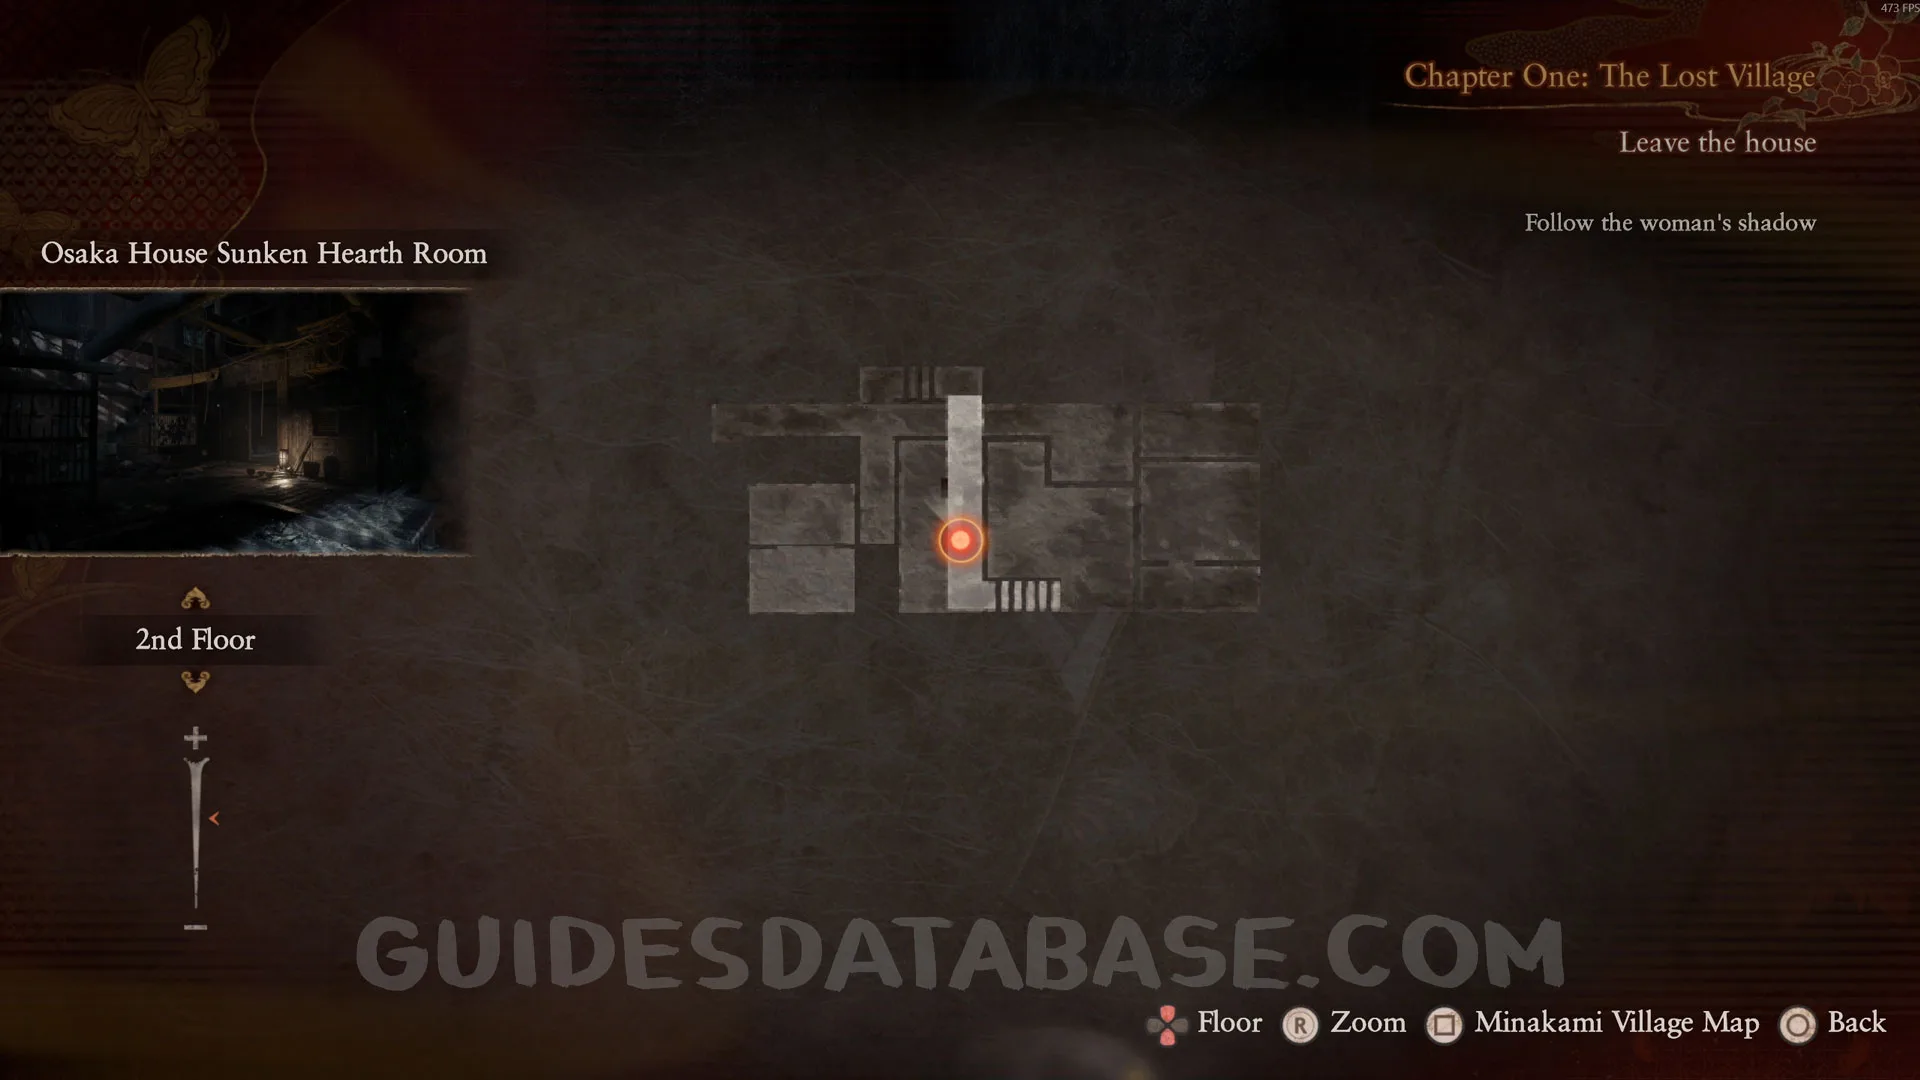
Fatal Frame 2: Crimson Butterfly Remake All Collectible Locations

Chapter 1: The Lost Village
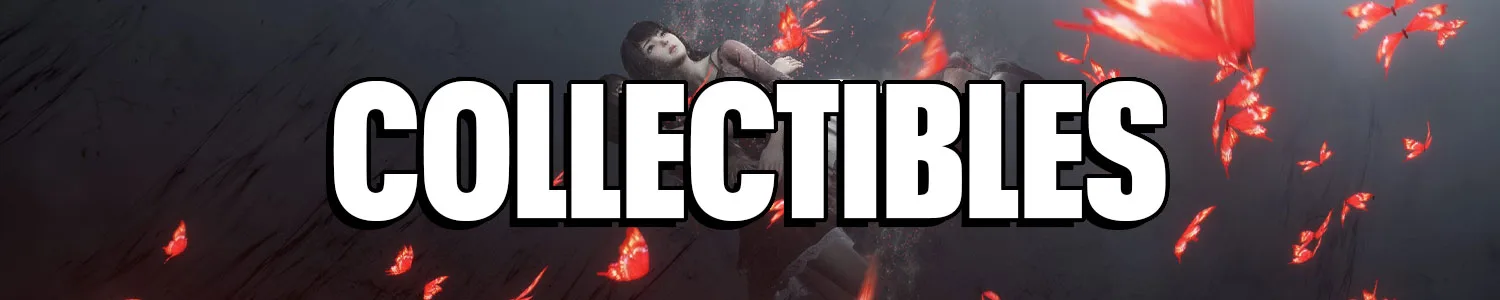
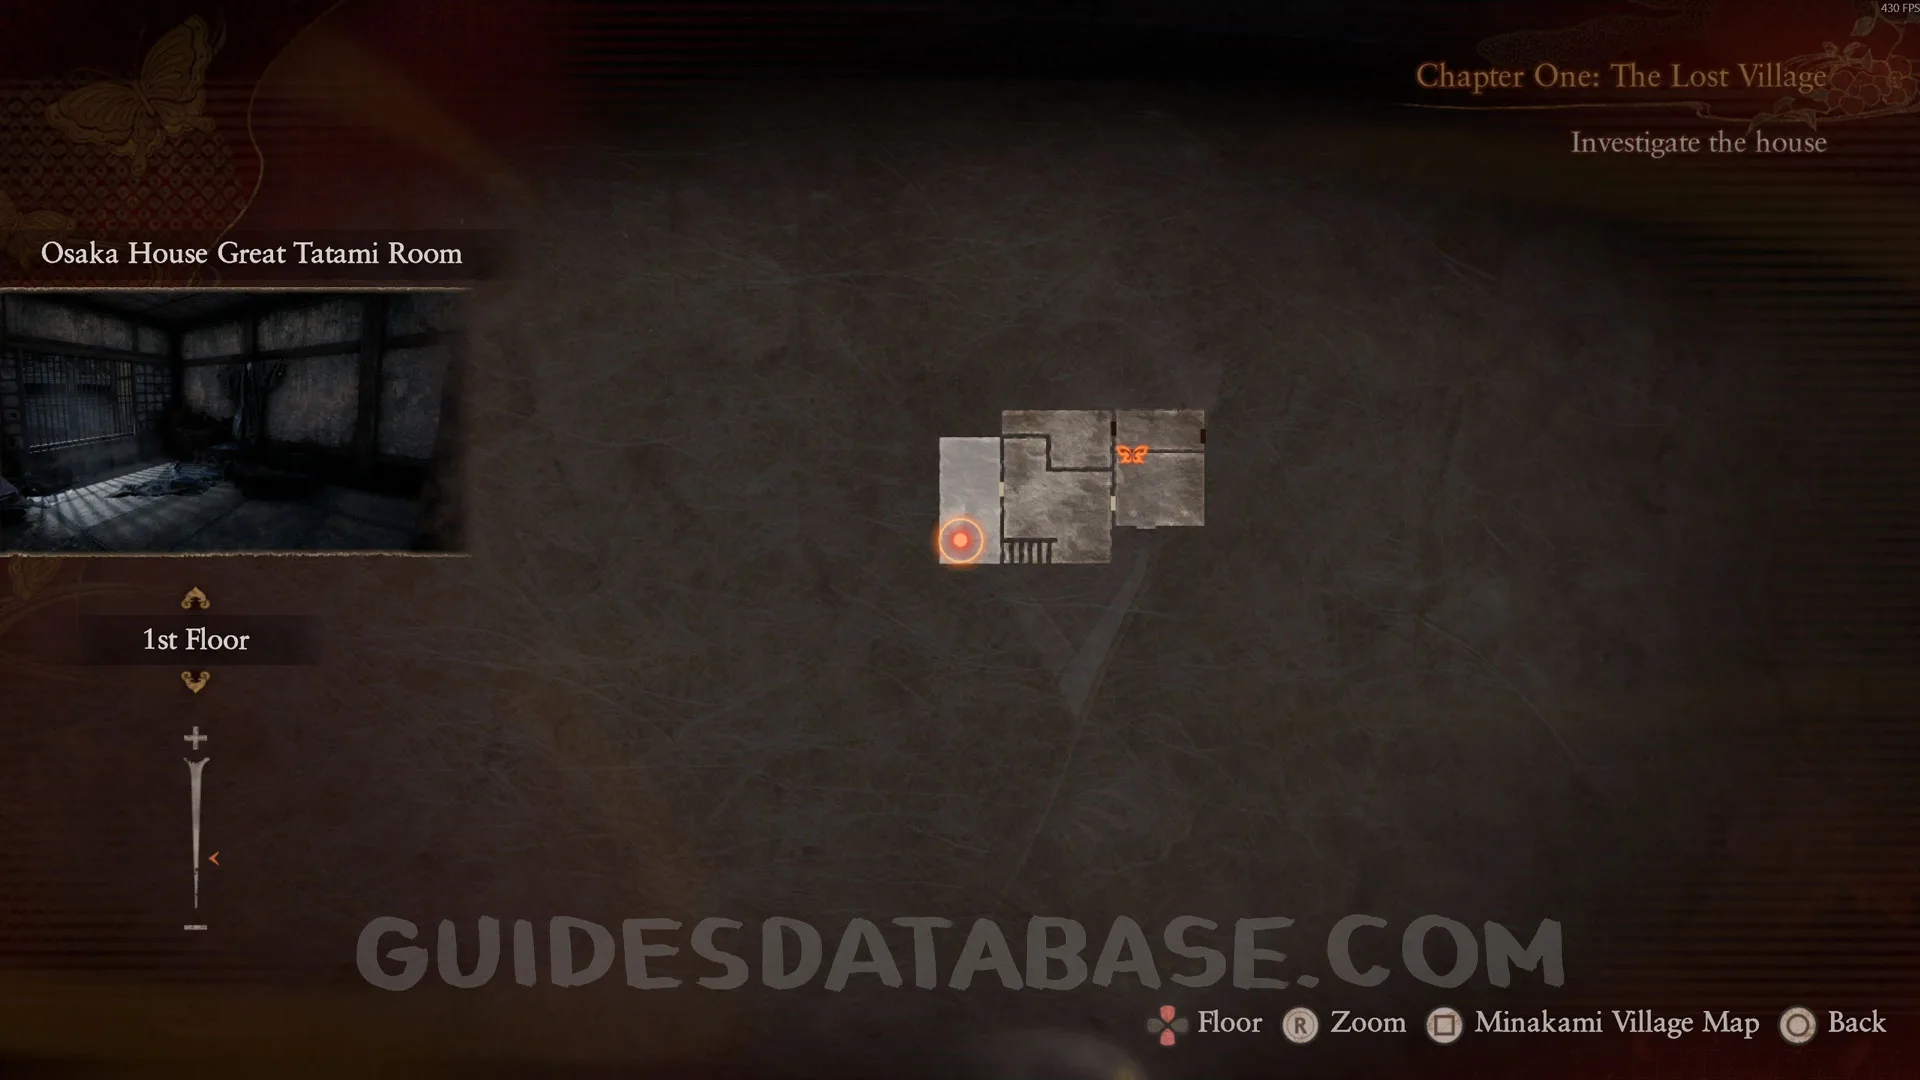
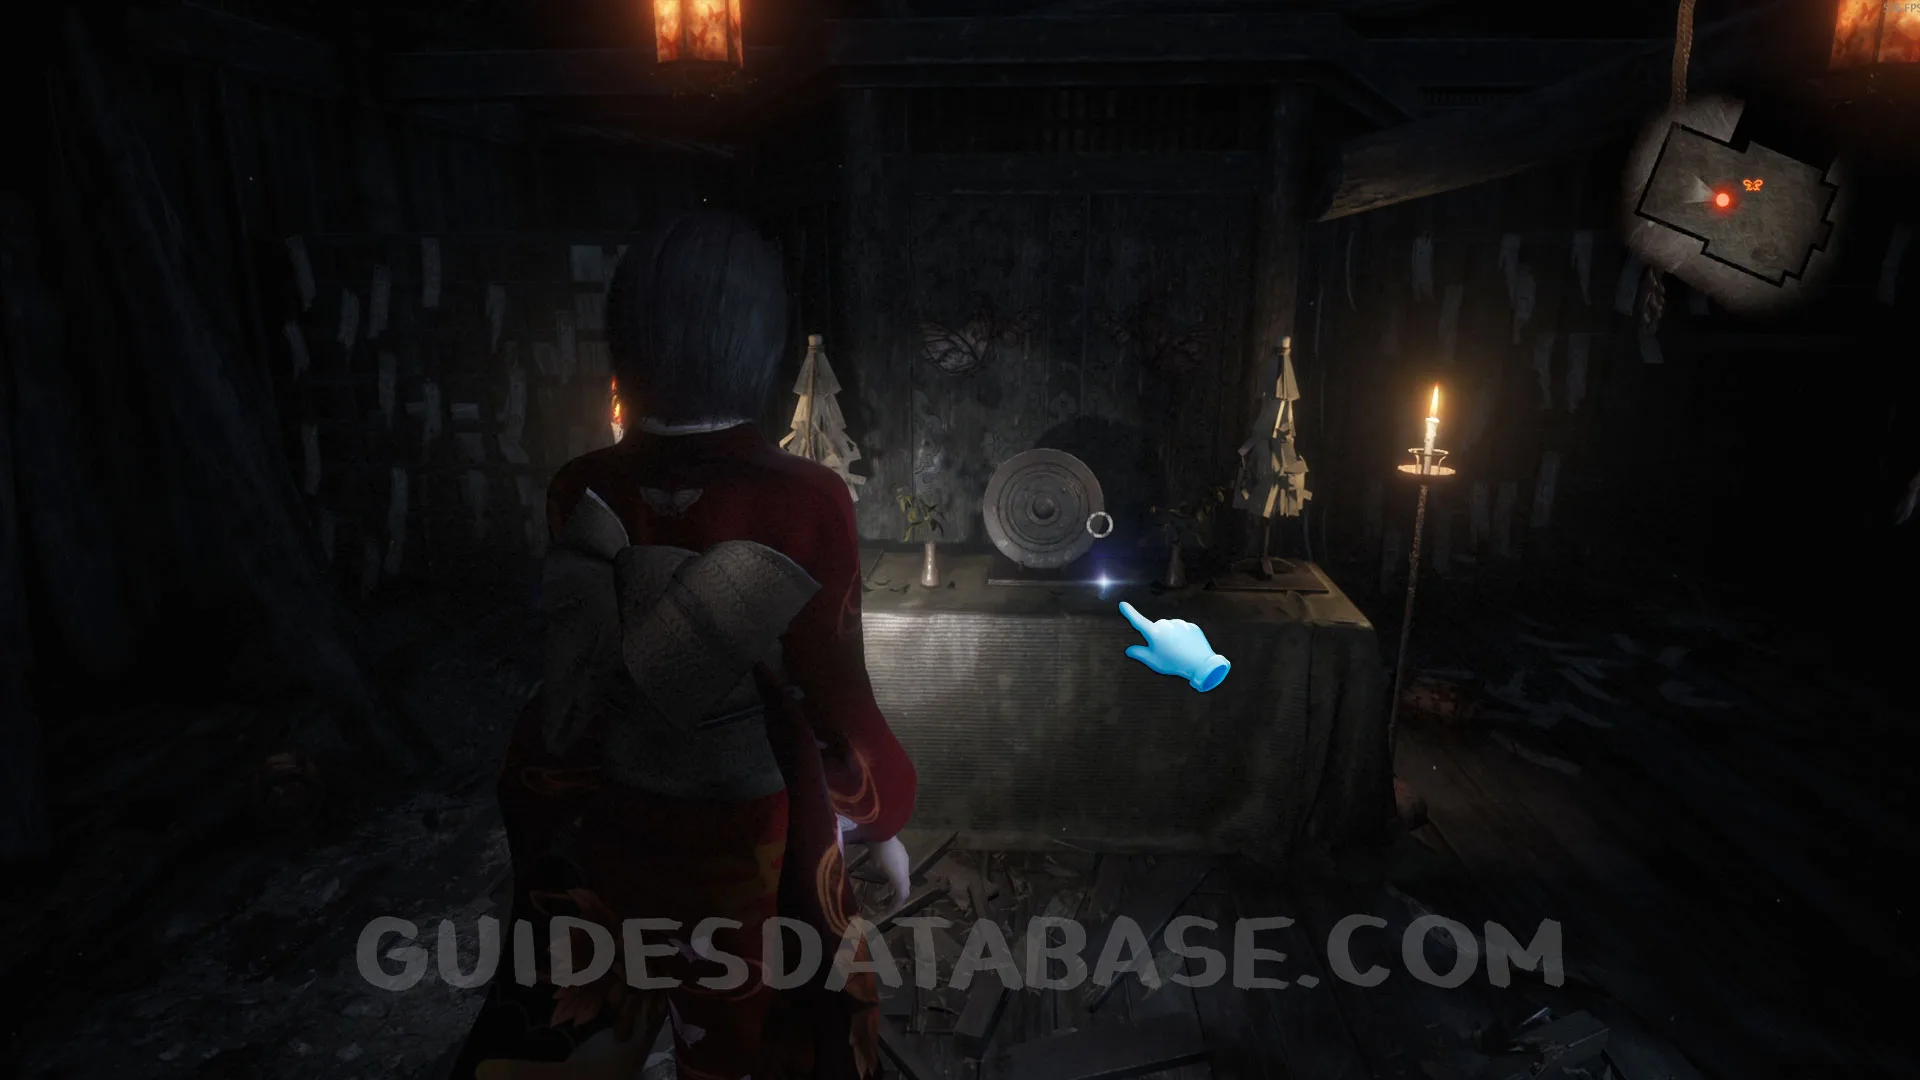
Document #1 - News Clippings.
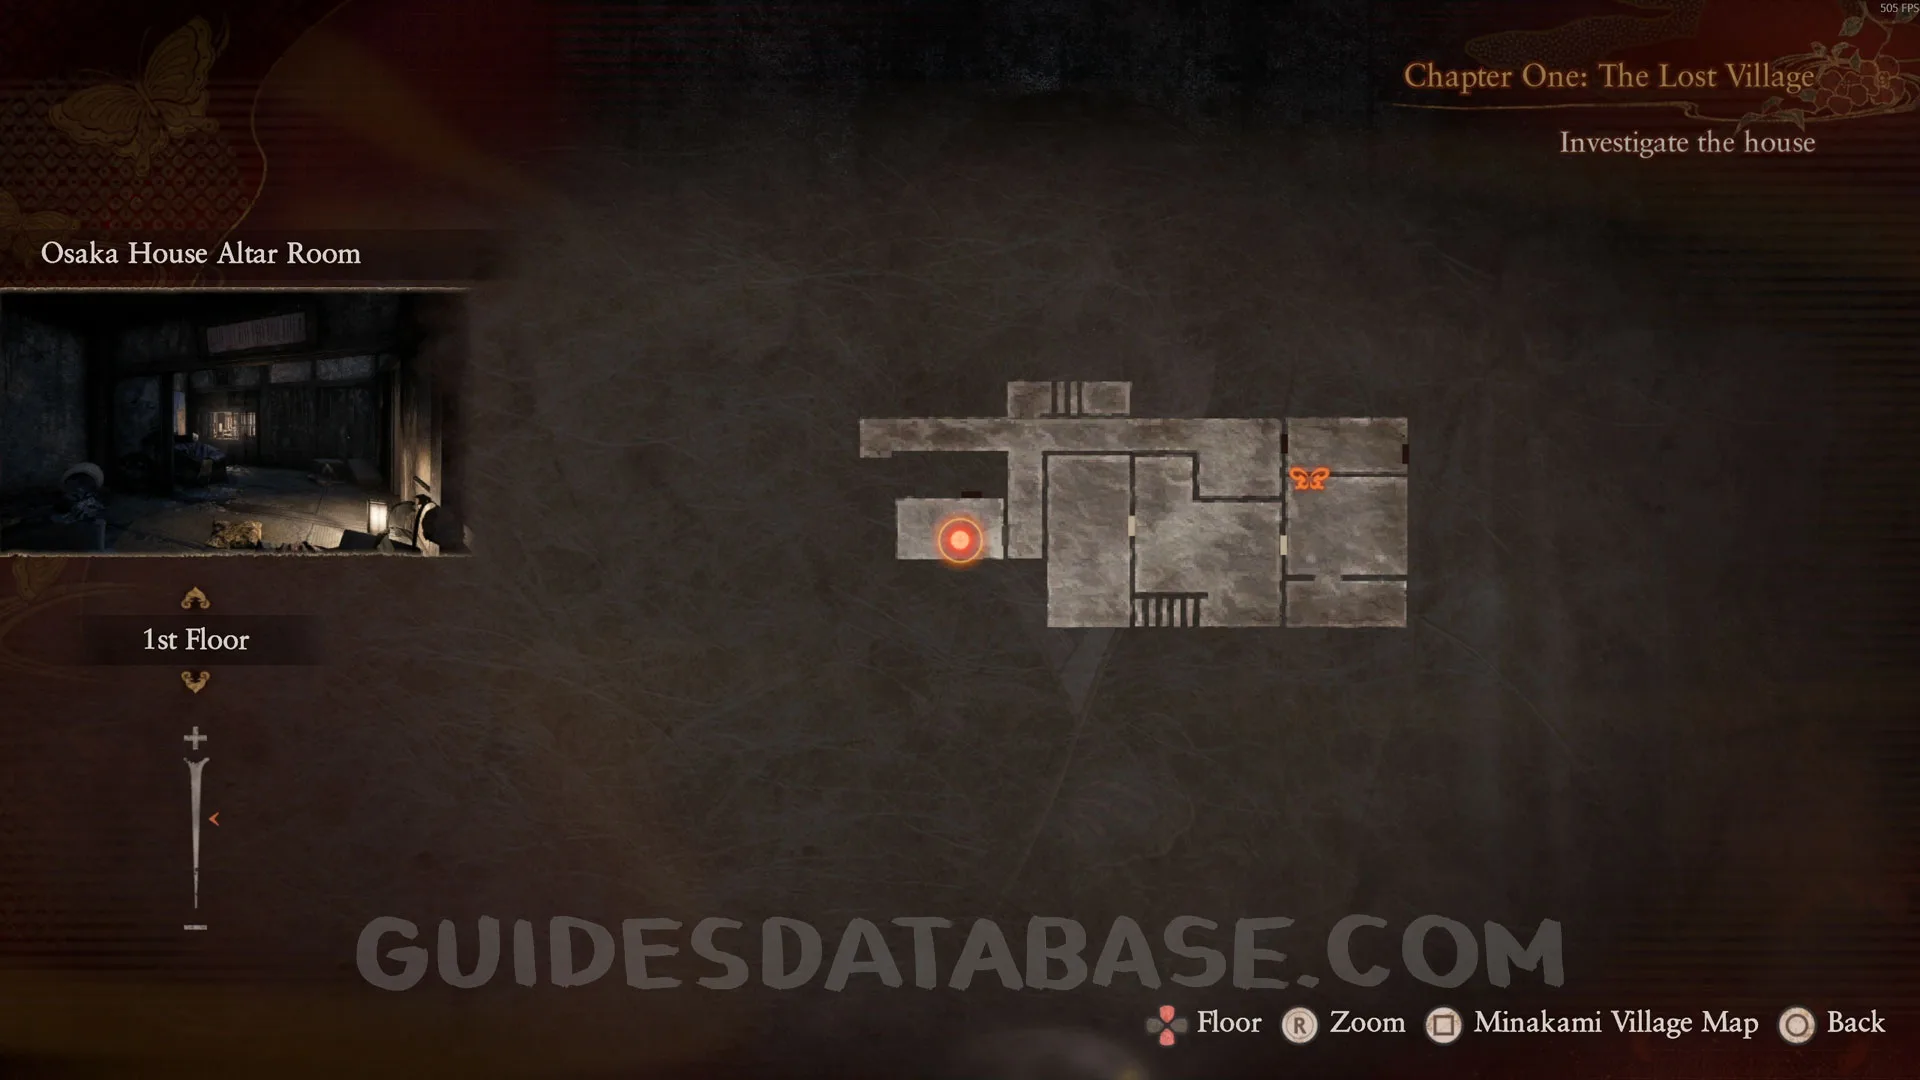
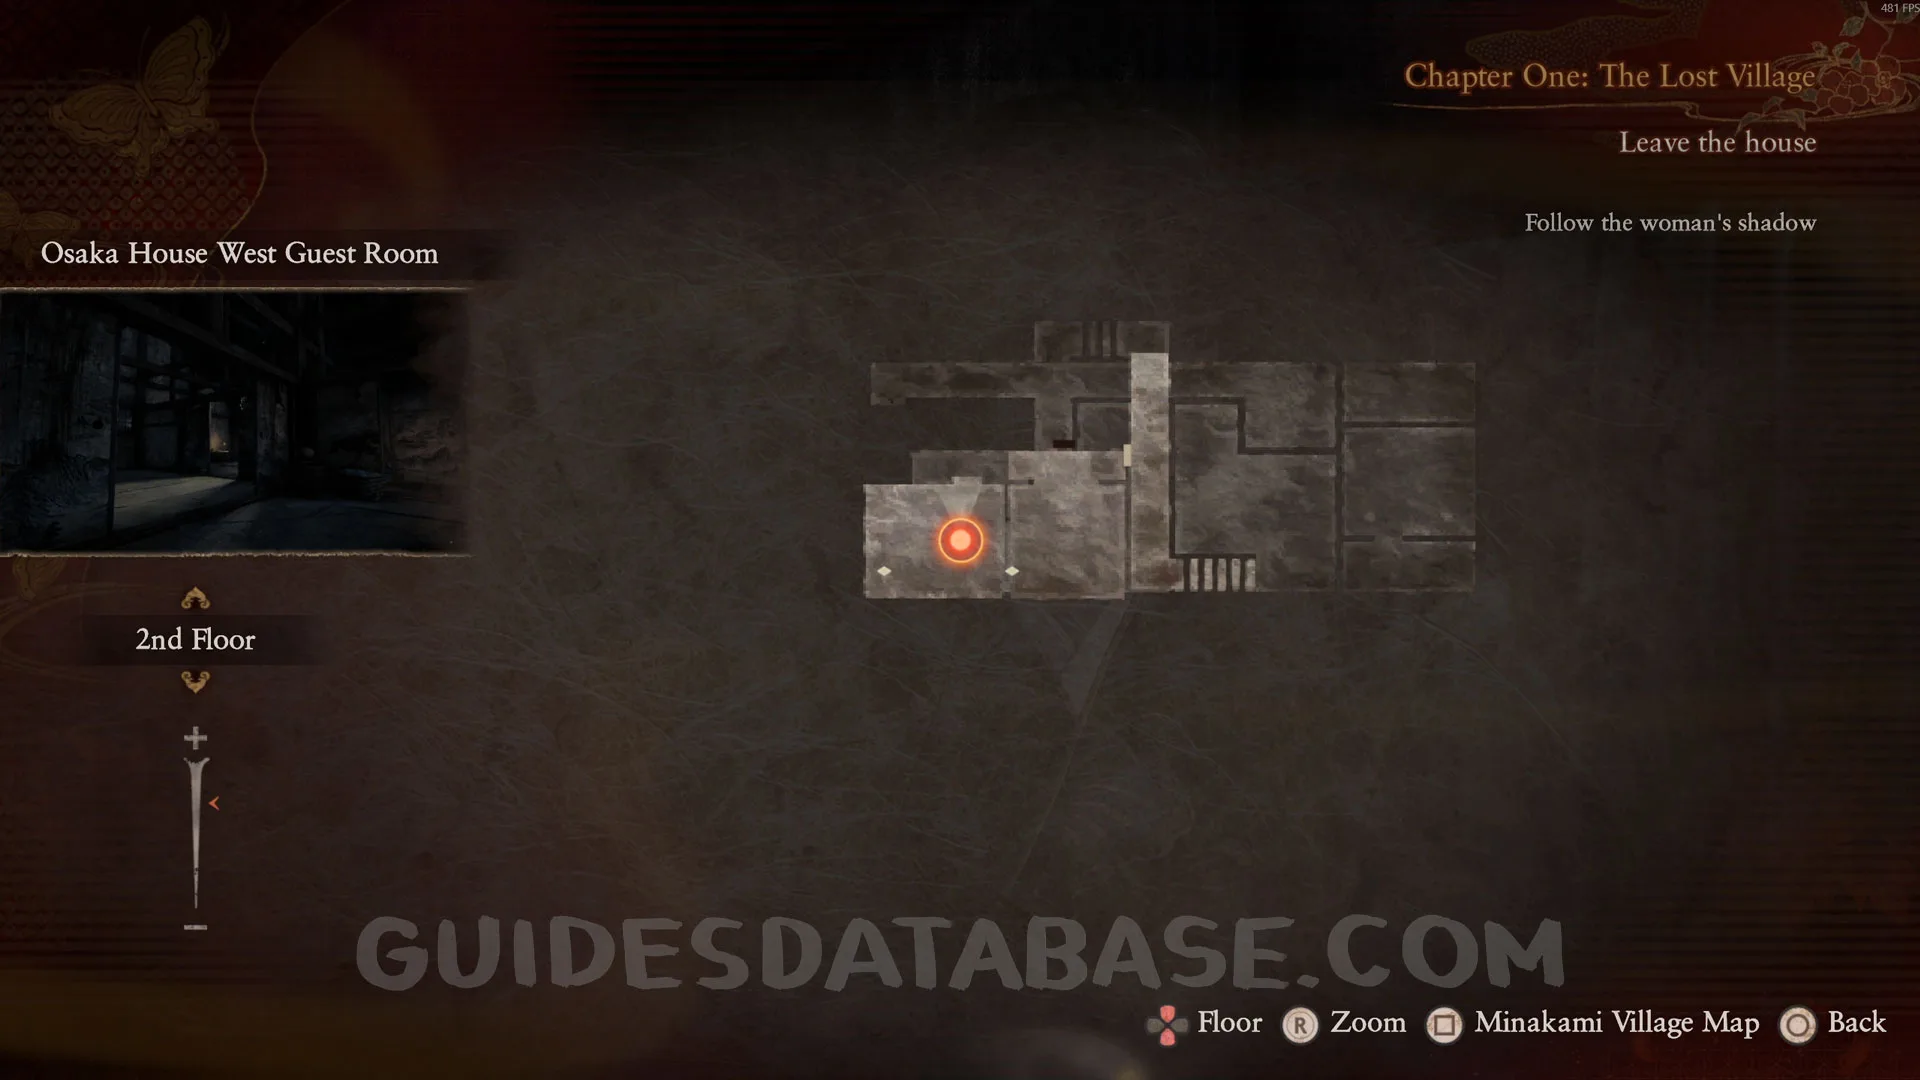
It can be found on the floor at the entrance of the Osaka house.
 GUIDESDATABASE.COM
 GUIDESDATABASE.COM
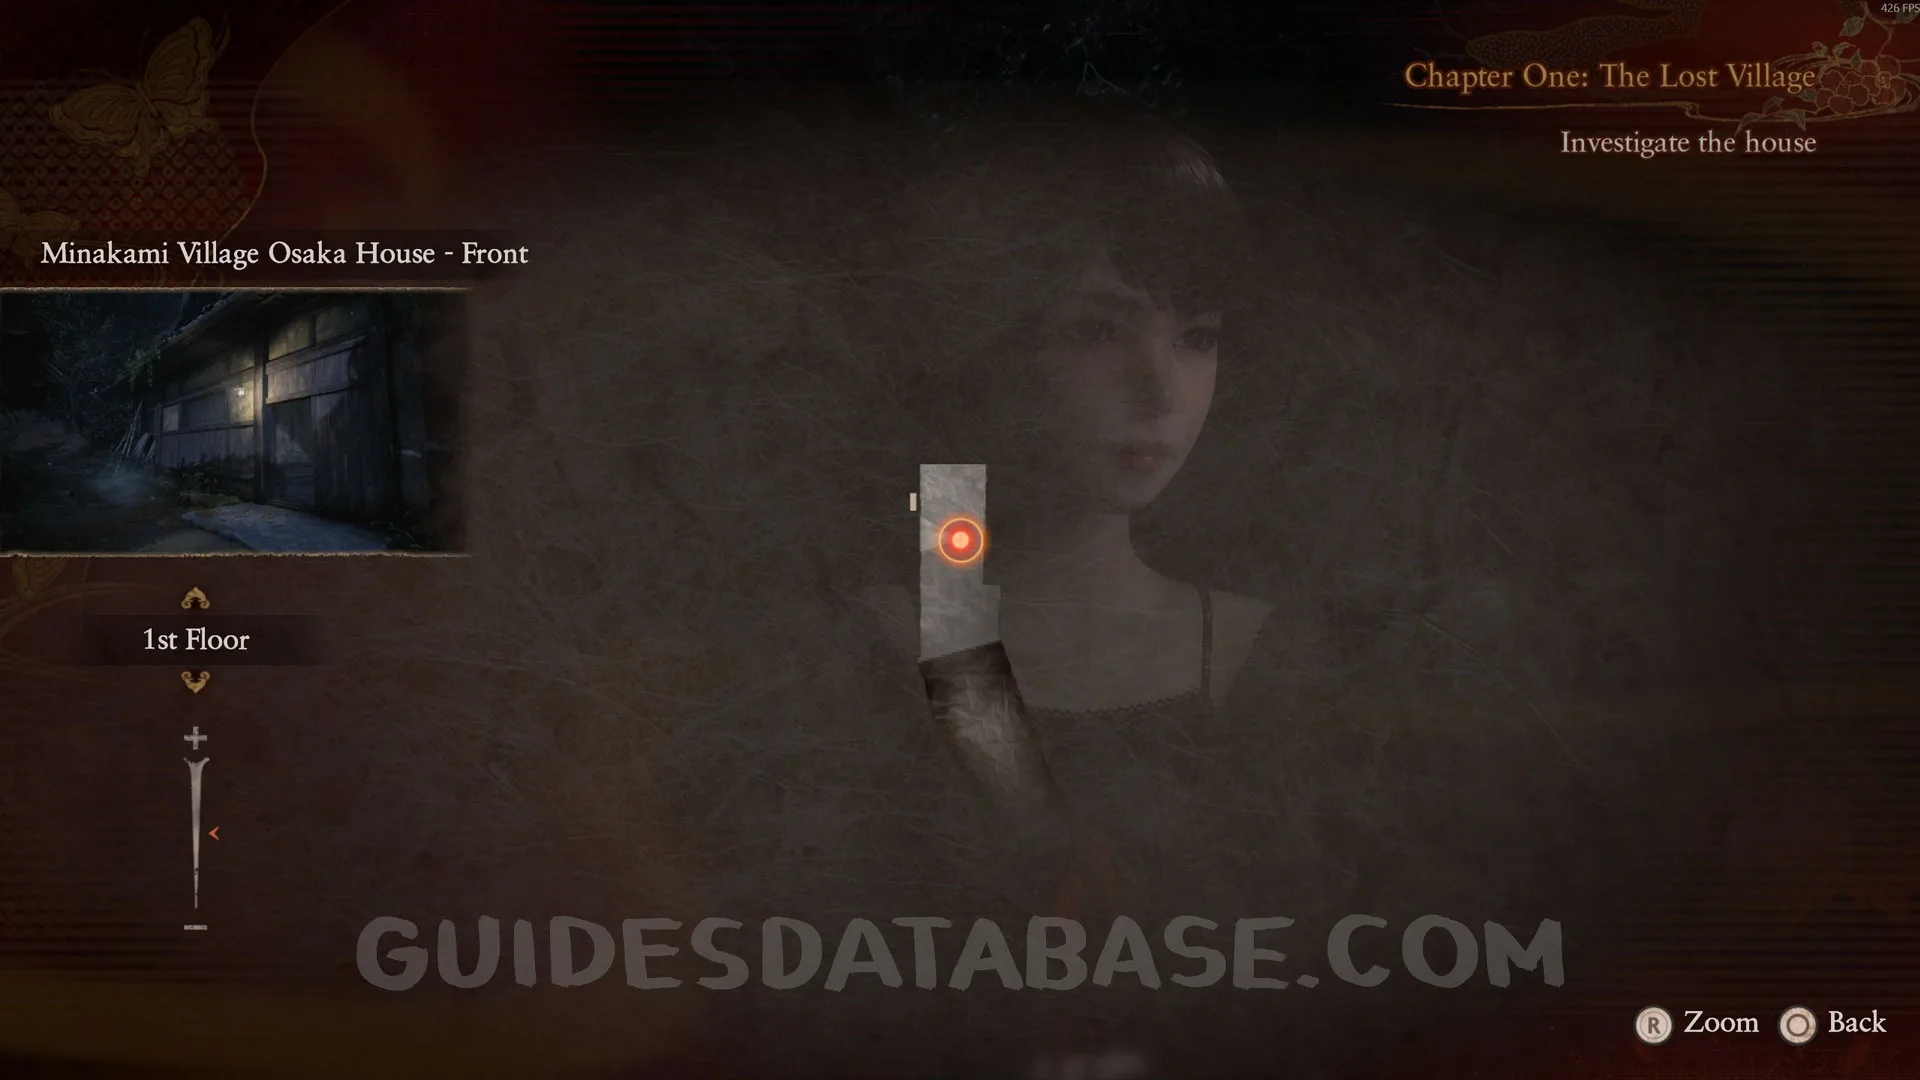
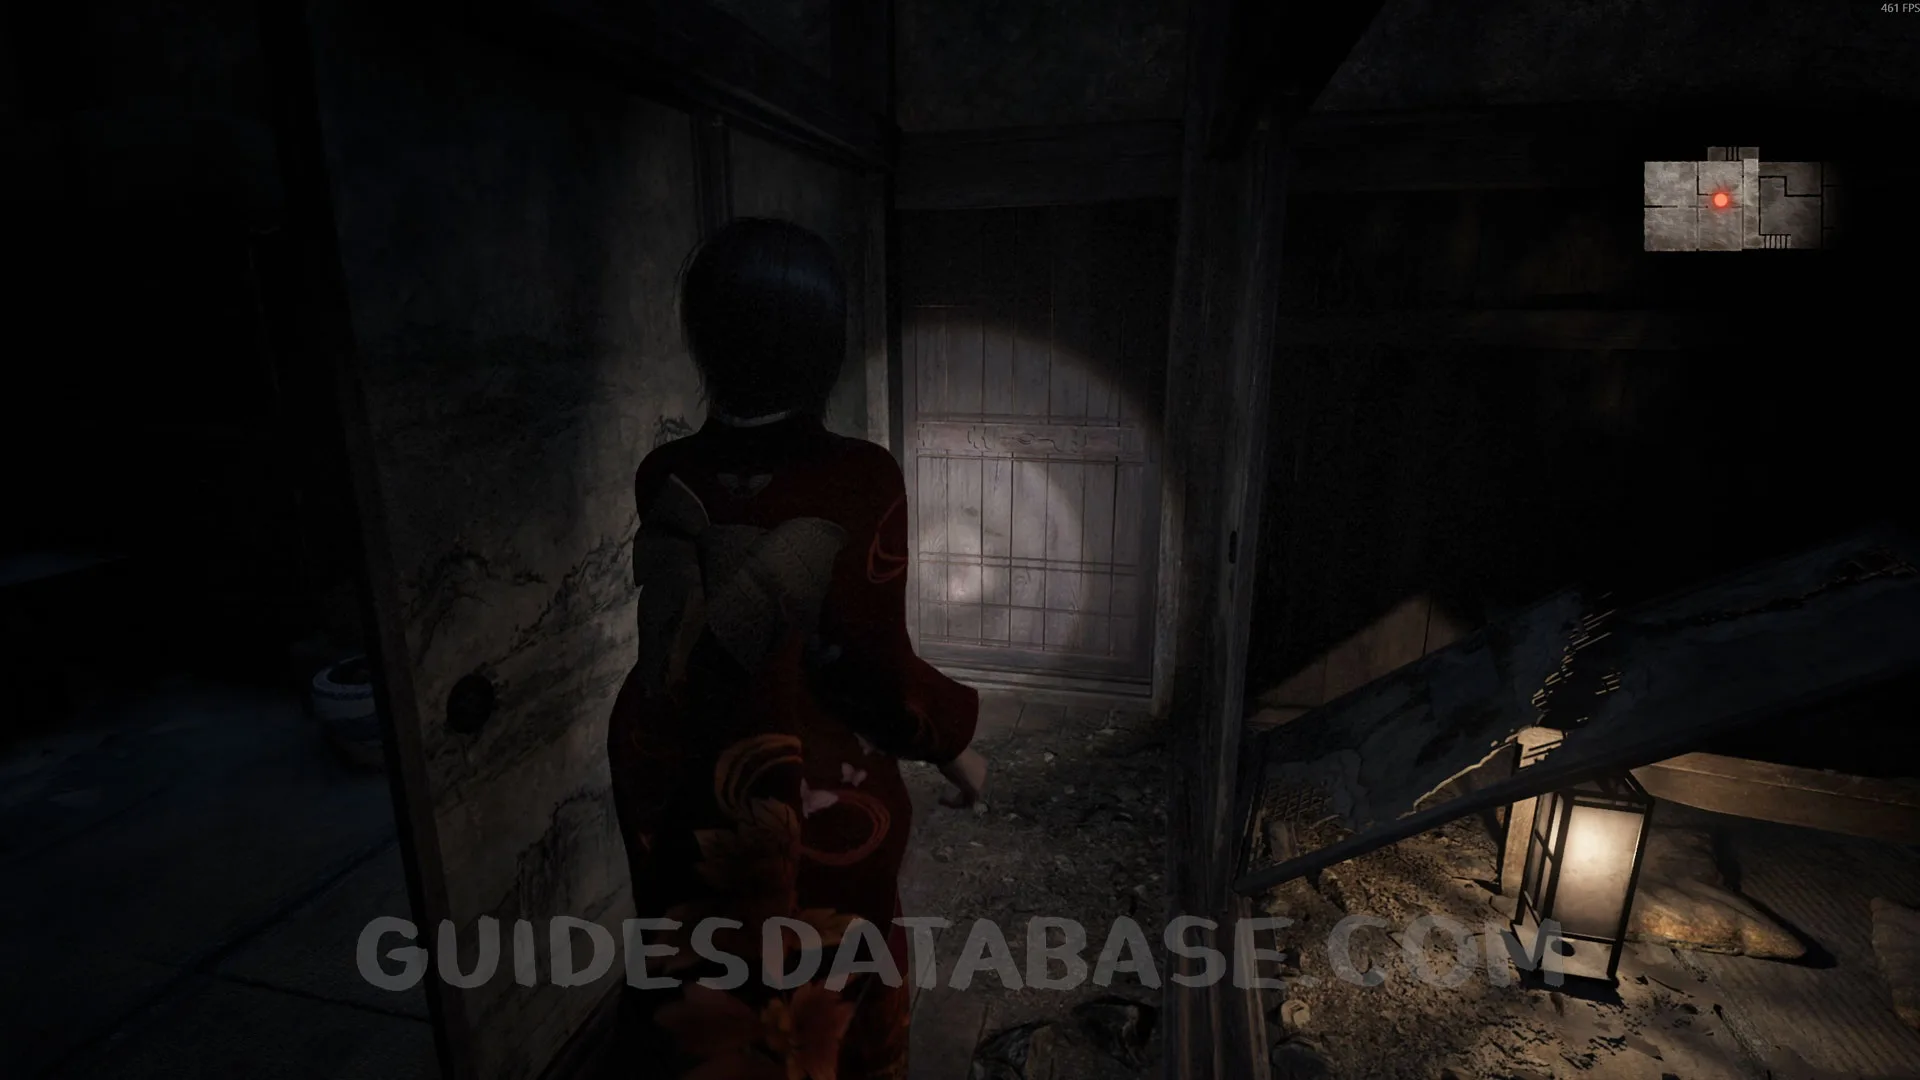
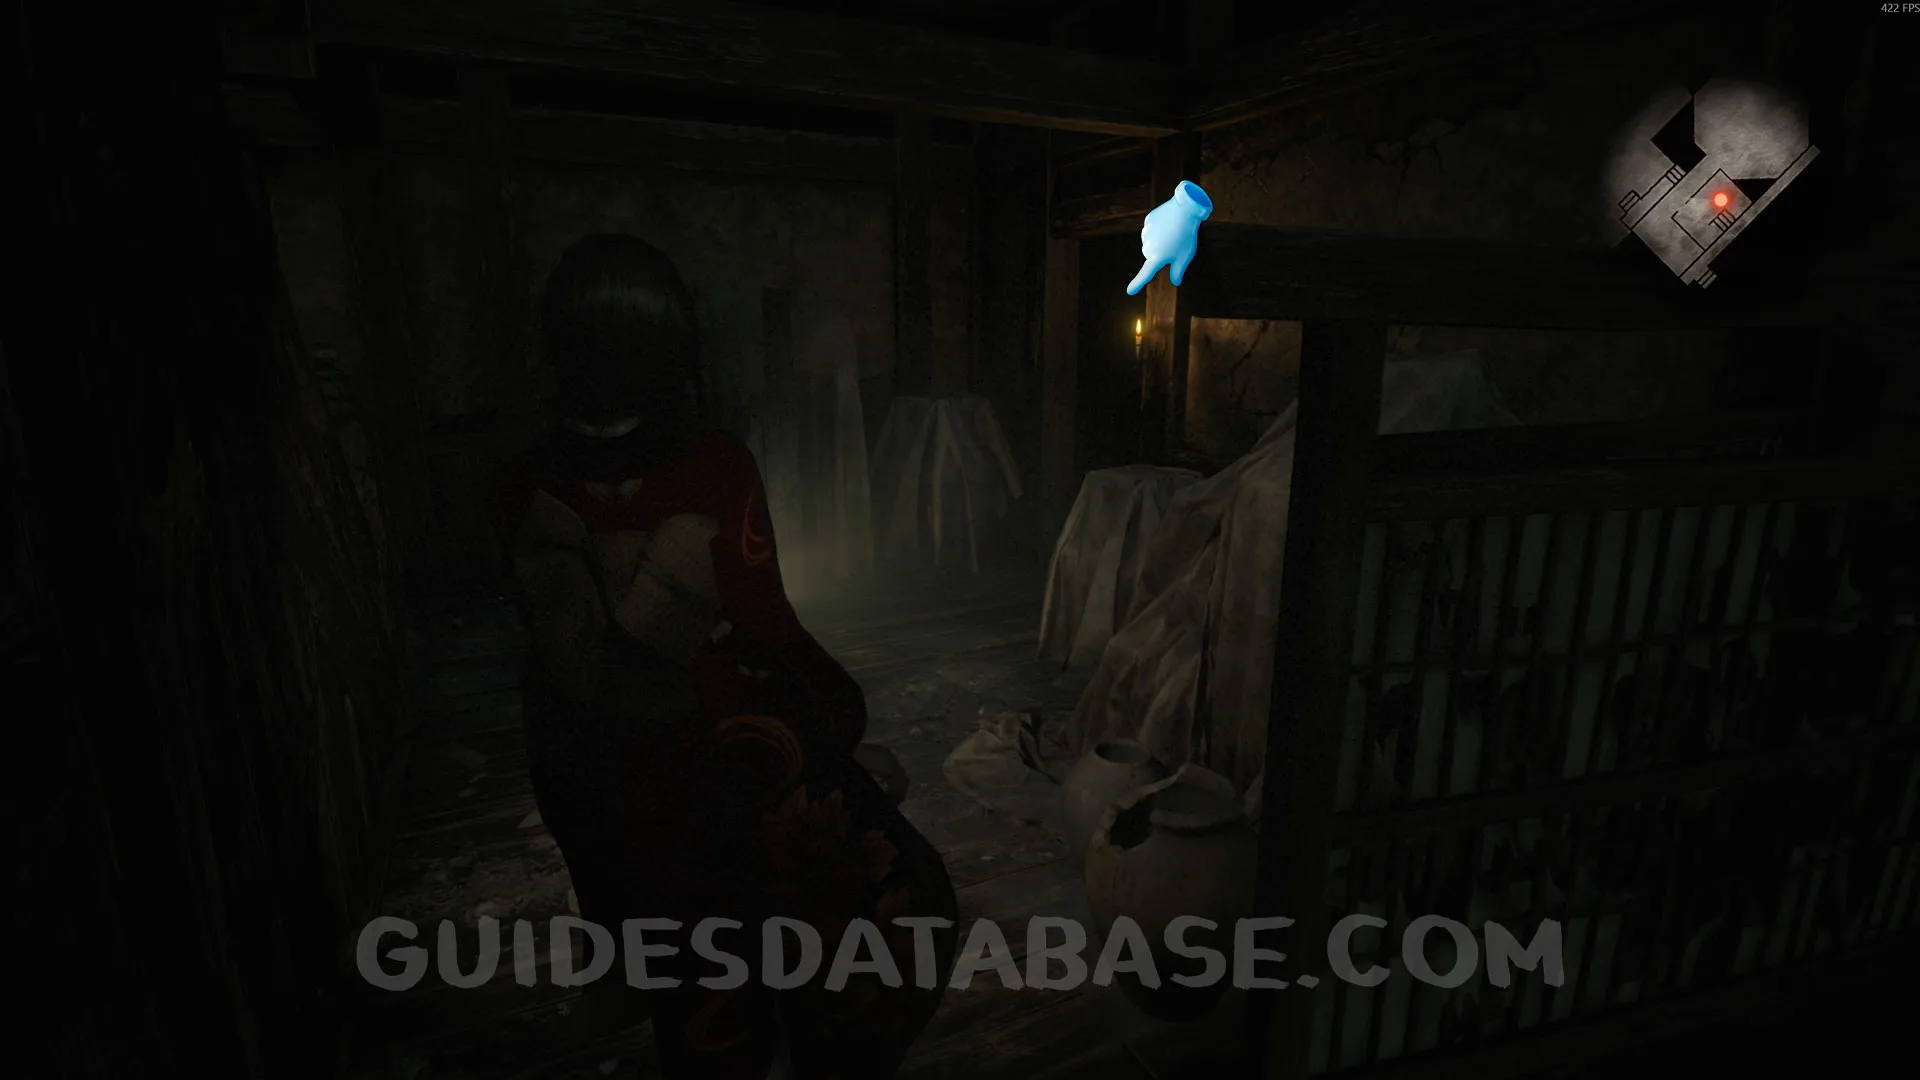
Document #2 - Woman's Notebook 1.
From the previous collectible, you'll go through the door and a cutscene will start. After the cutscene, enter the room below the stairs to get the Lantern, and this Document will be right in front of you.
 GUIDESDATABASE.COM
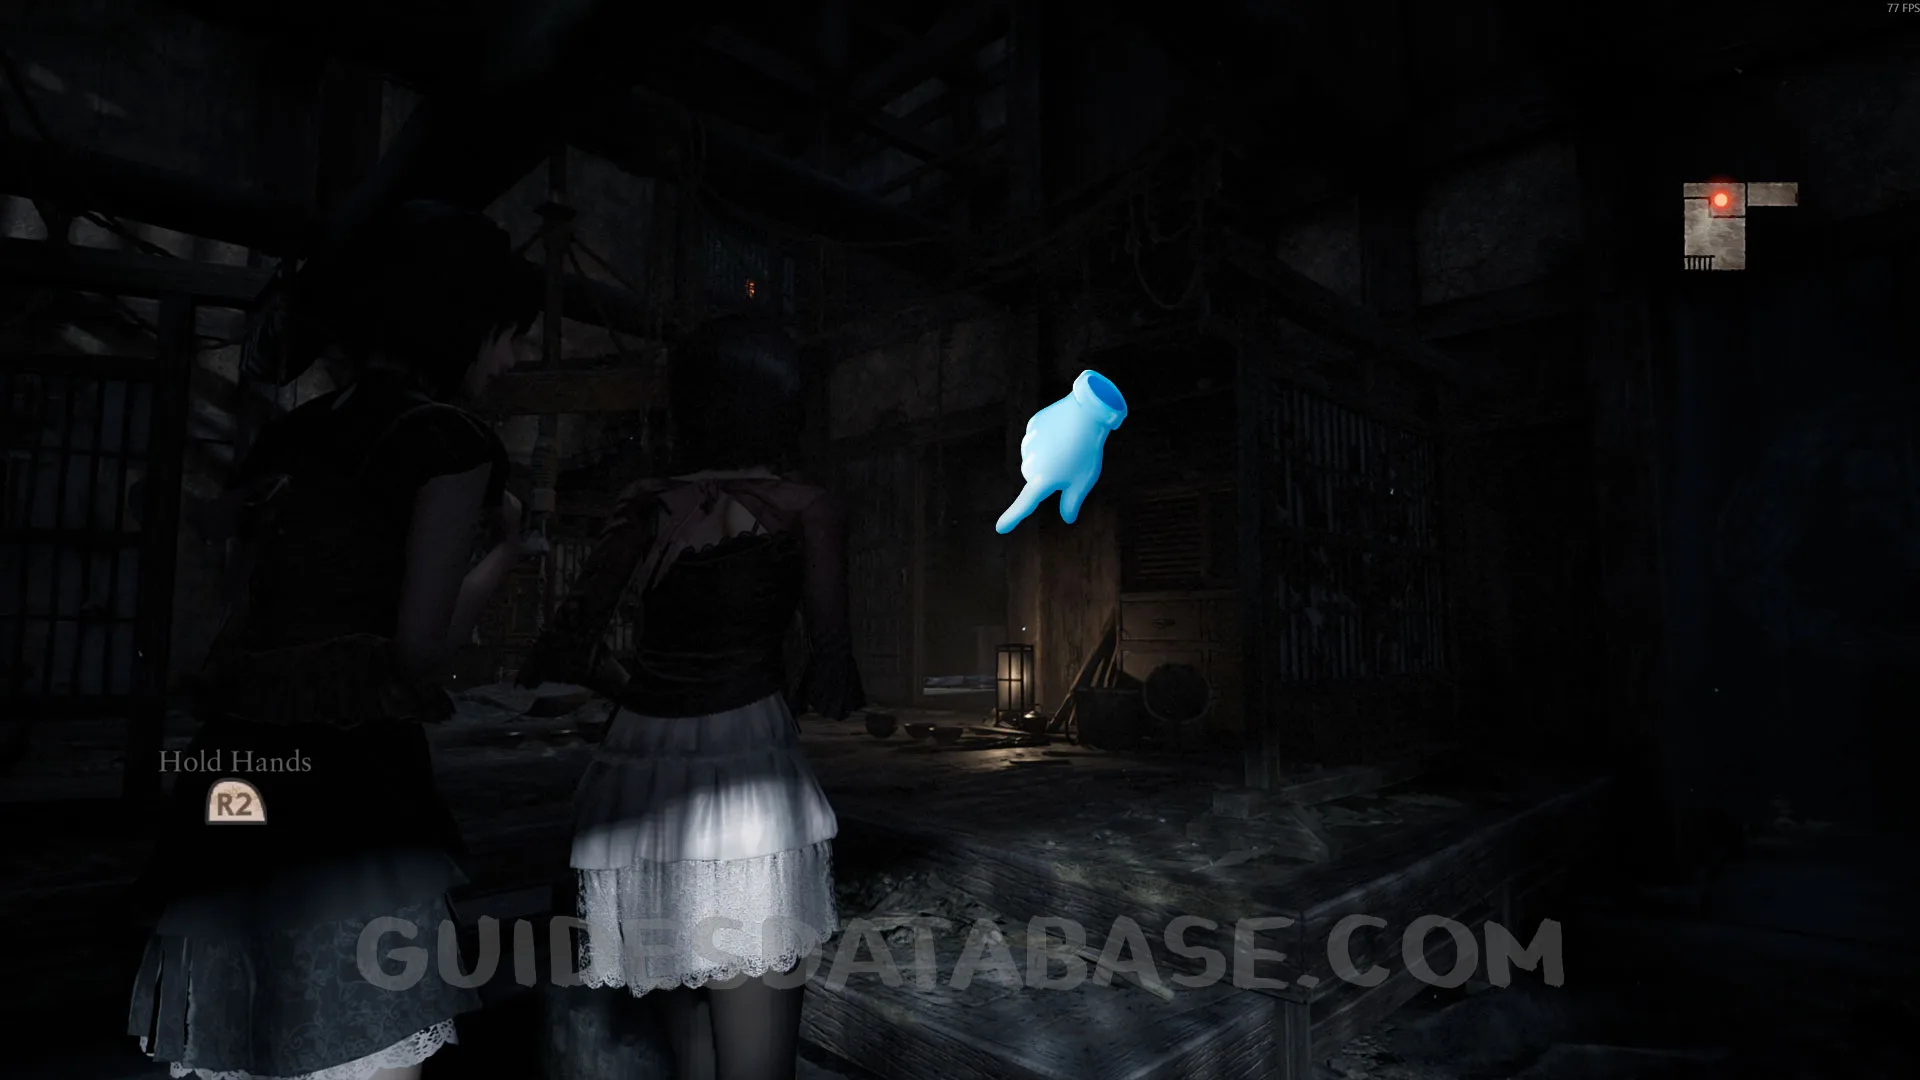 GUIDESDATABASE.COM
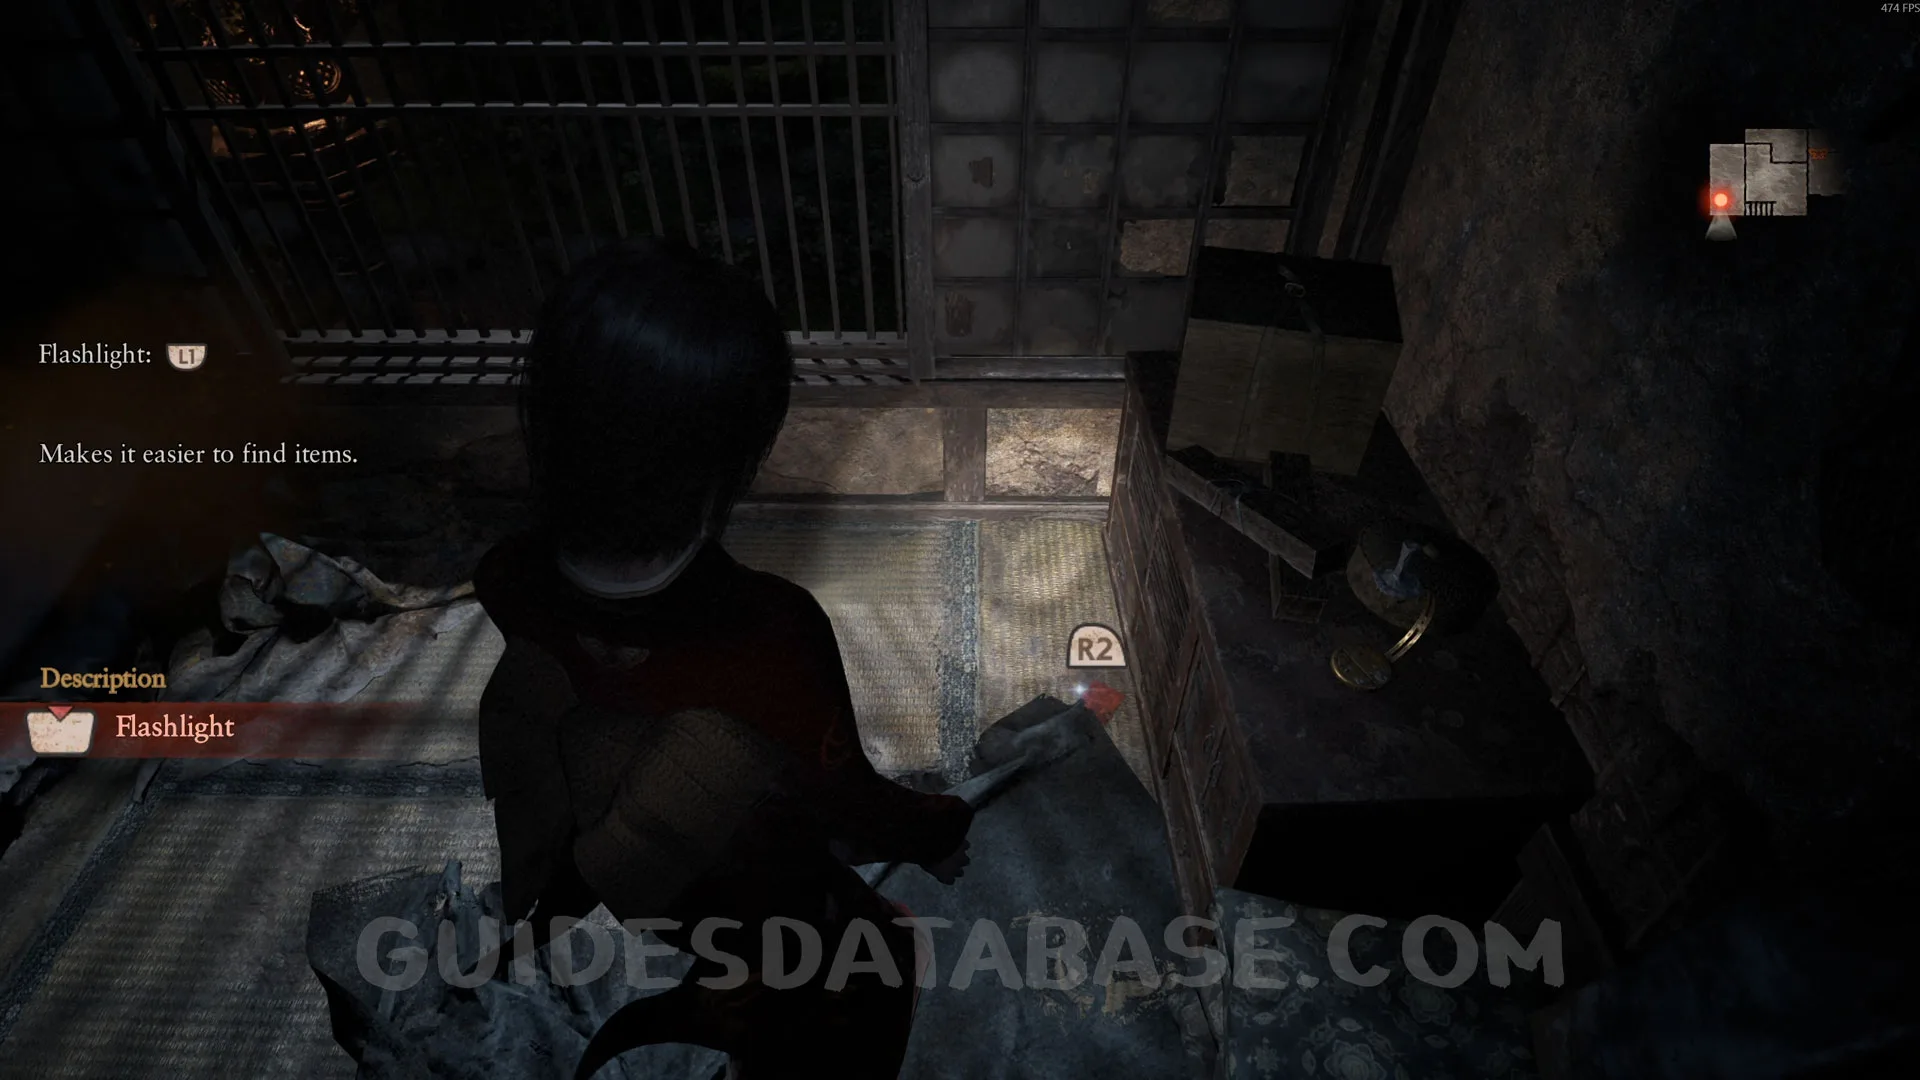 GUIDESDATABASE.COM
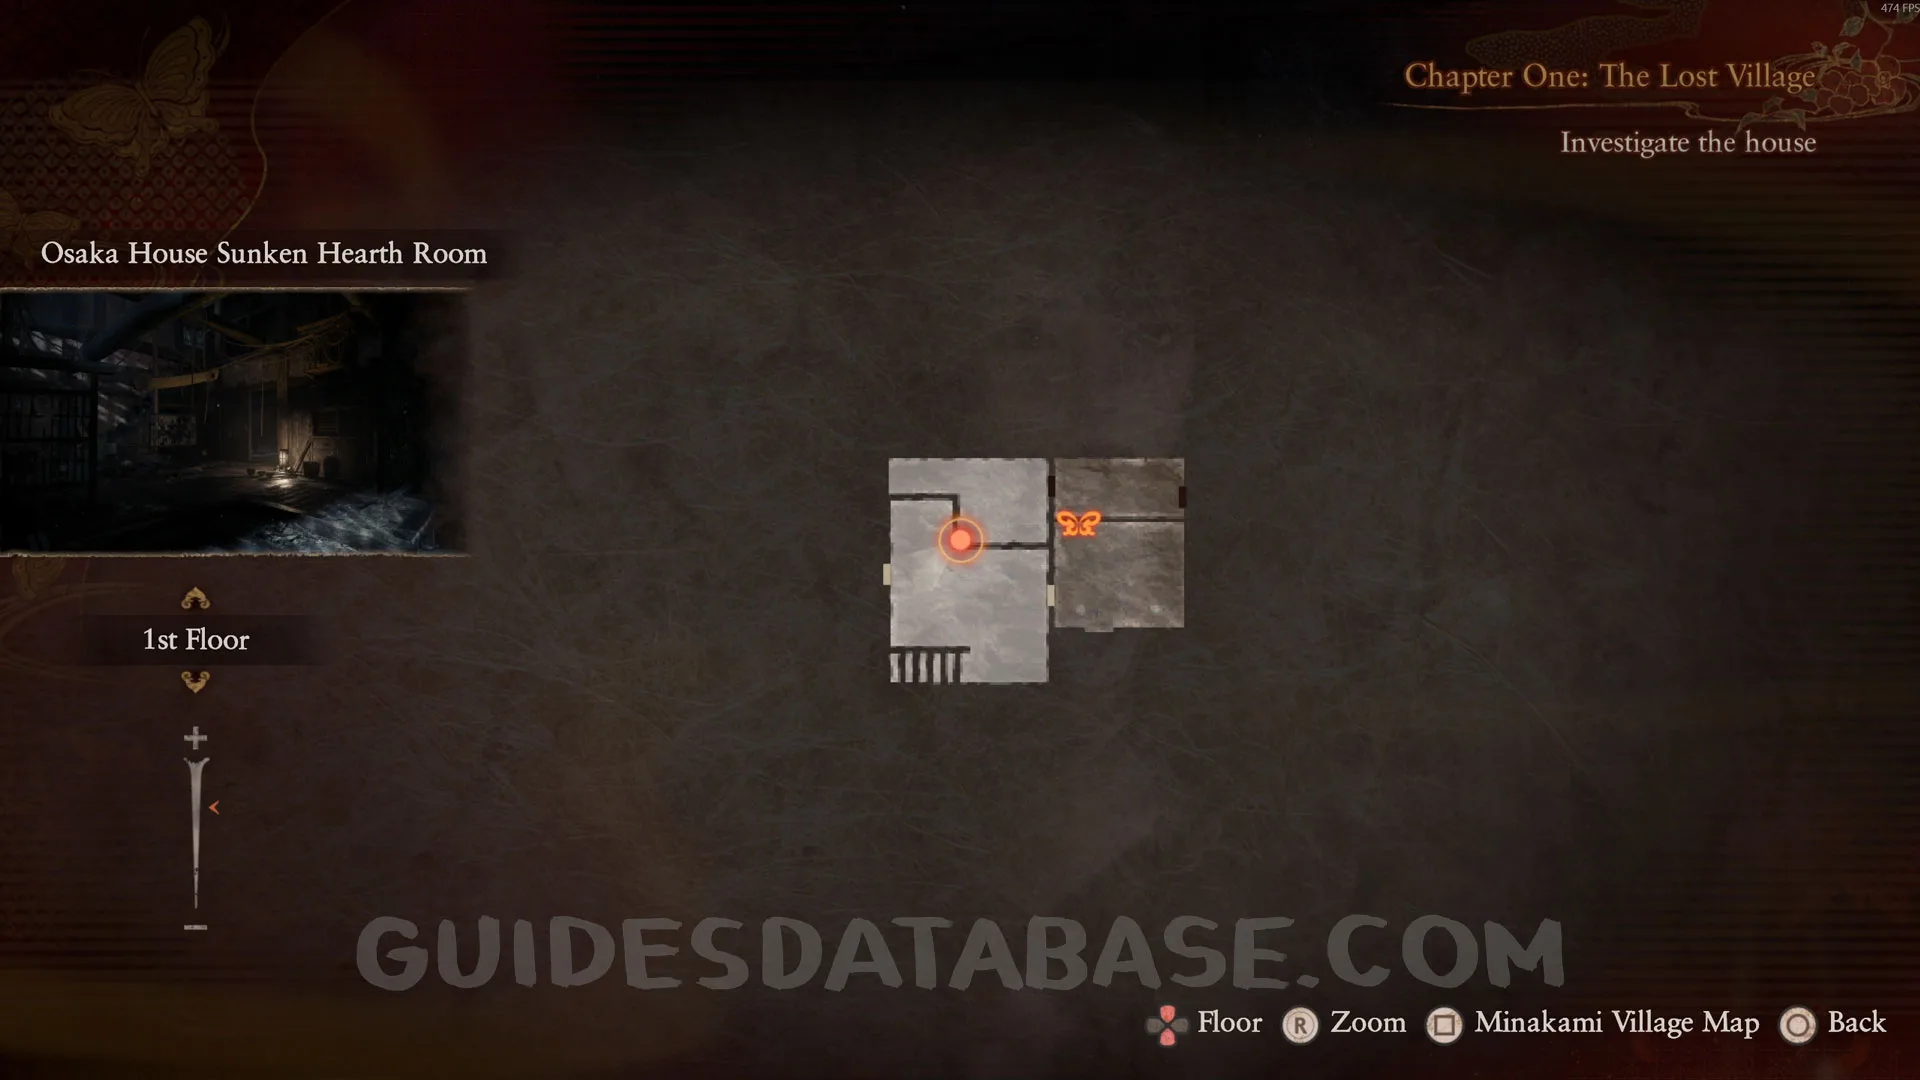
Document #3 - Woman's Notebook 2.
Same room as the previous collectible, on the left side of the door you came in through.
 GUIDESDATABASE.COM
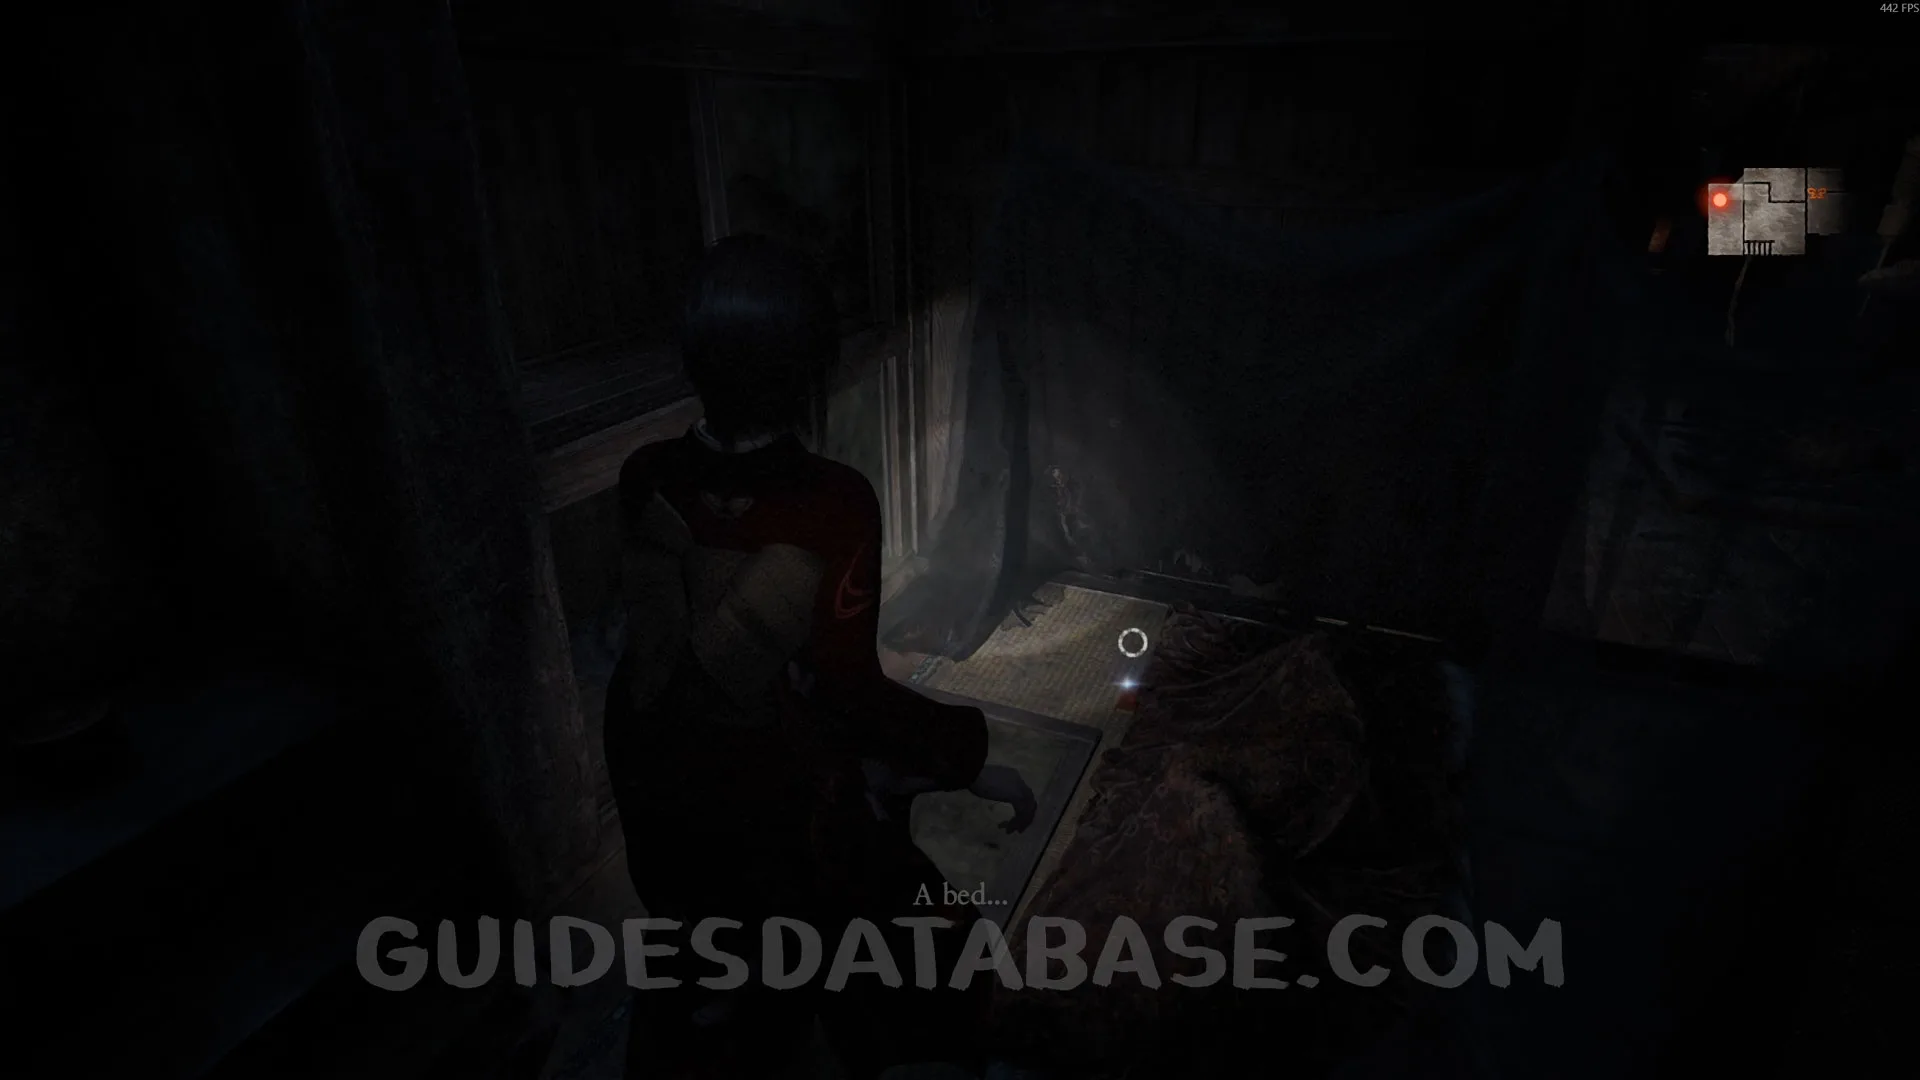 GUIDESDATABASE.COM
Document #4 - Woman's Notebook 3.
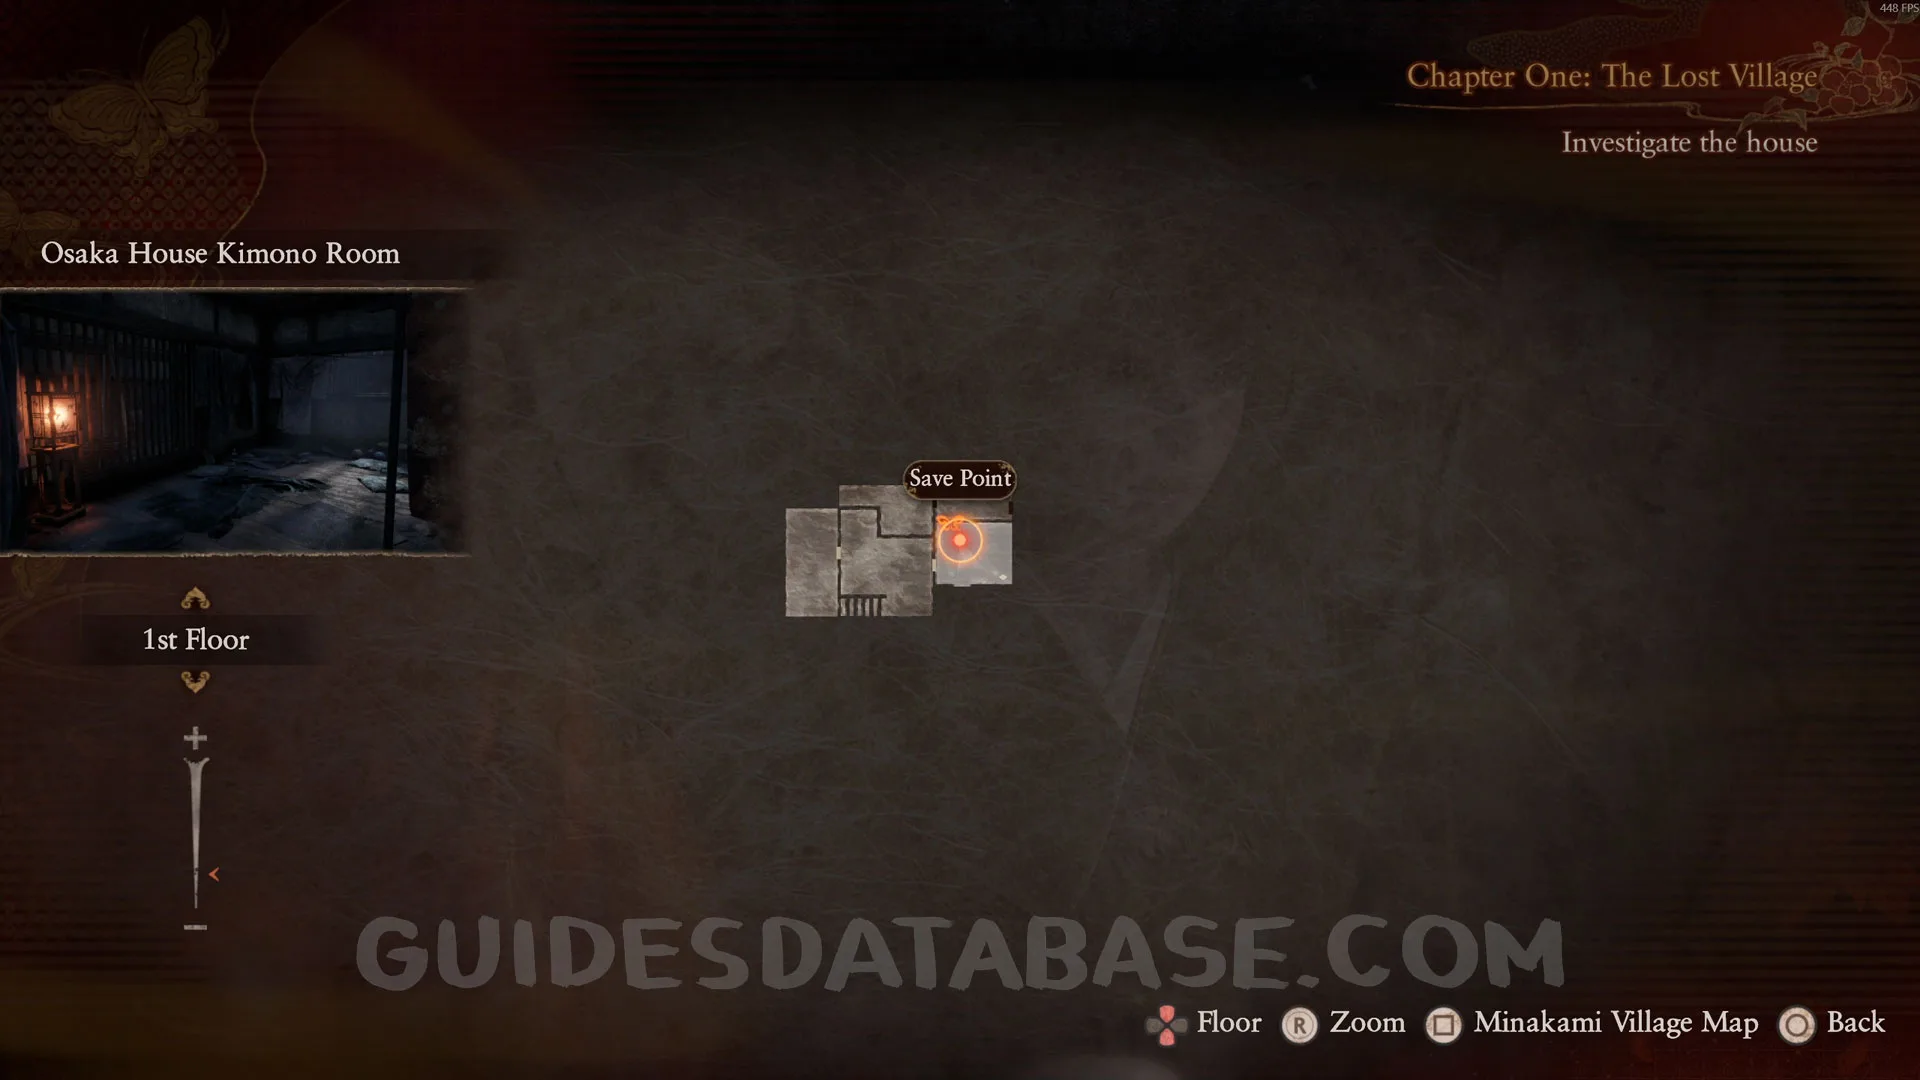
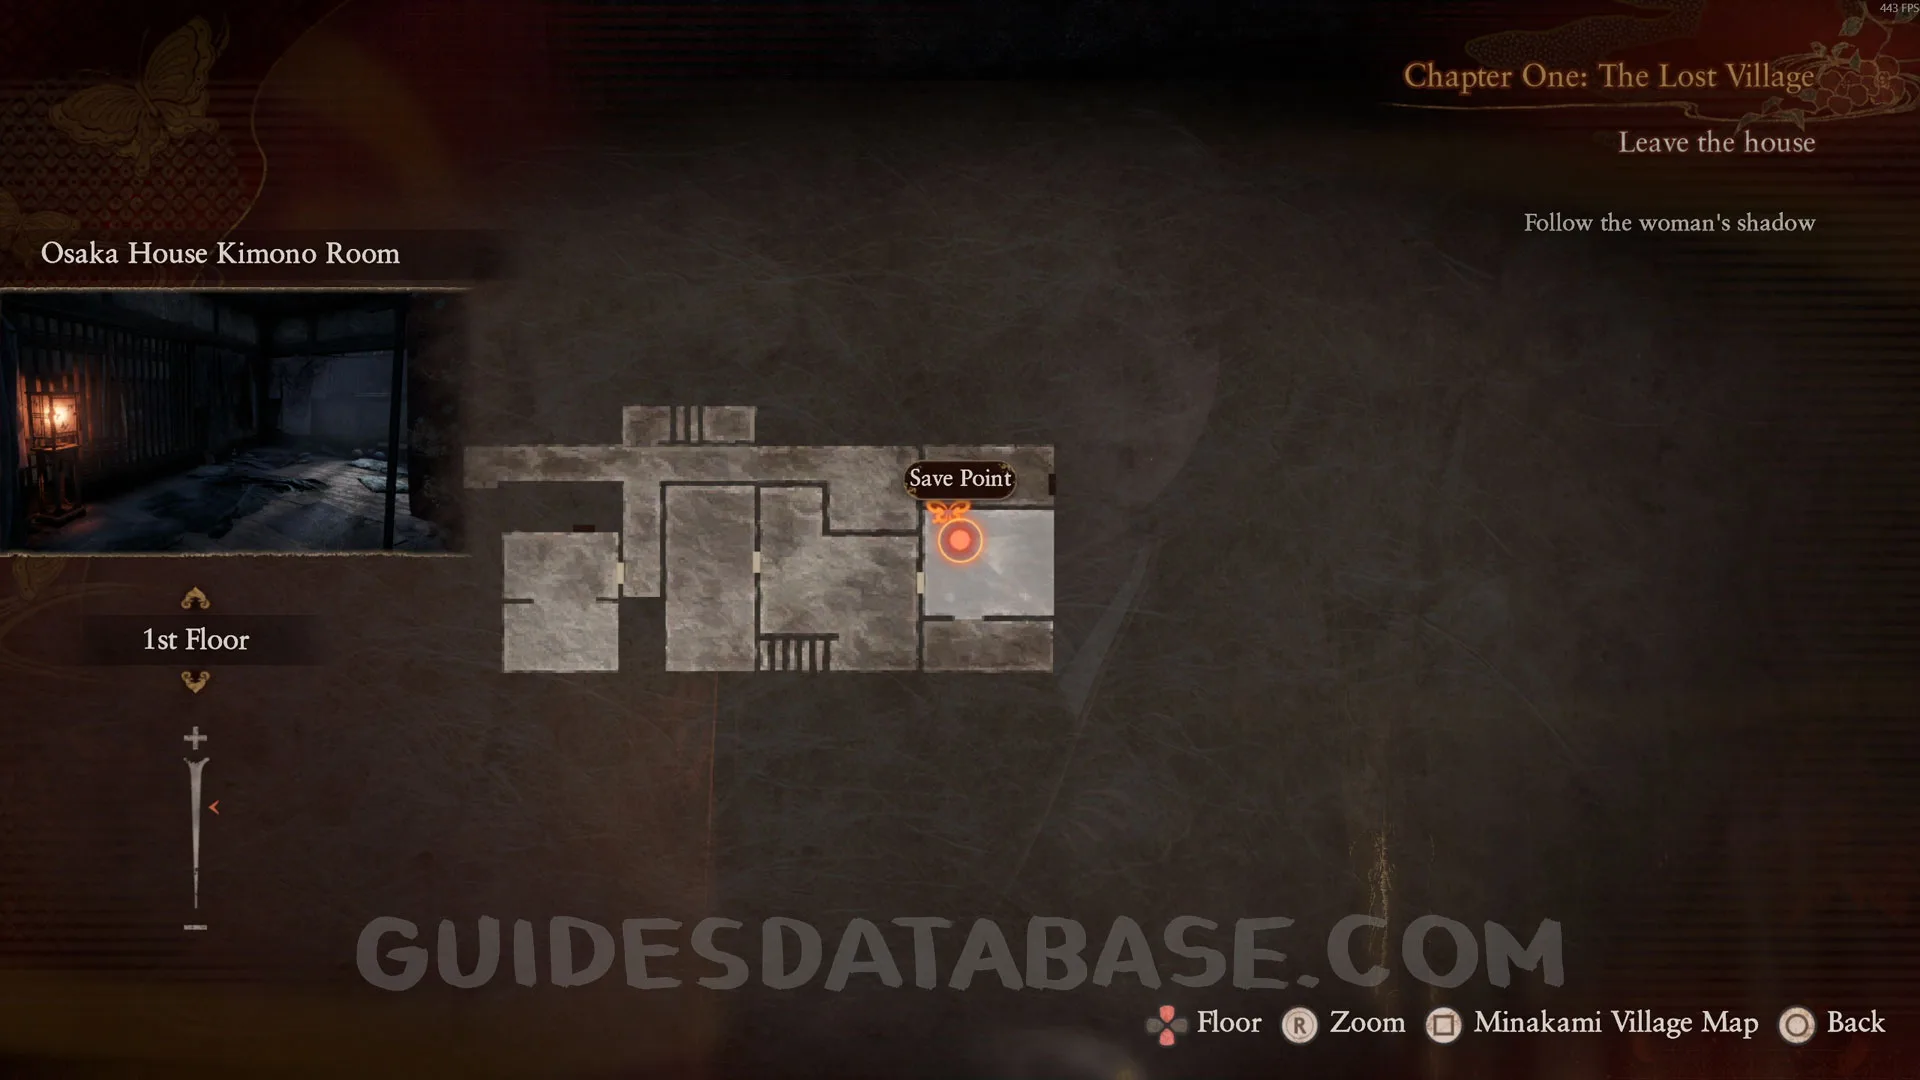
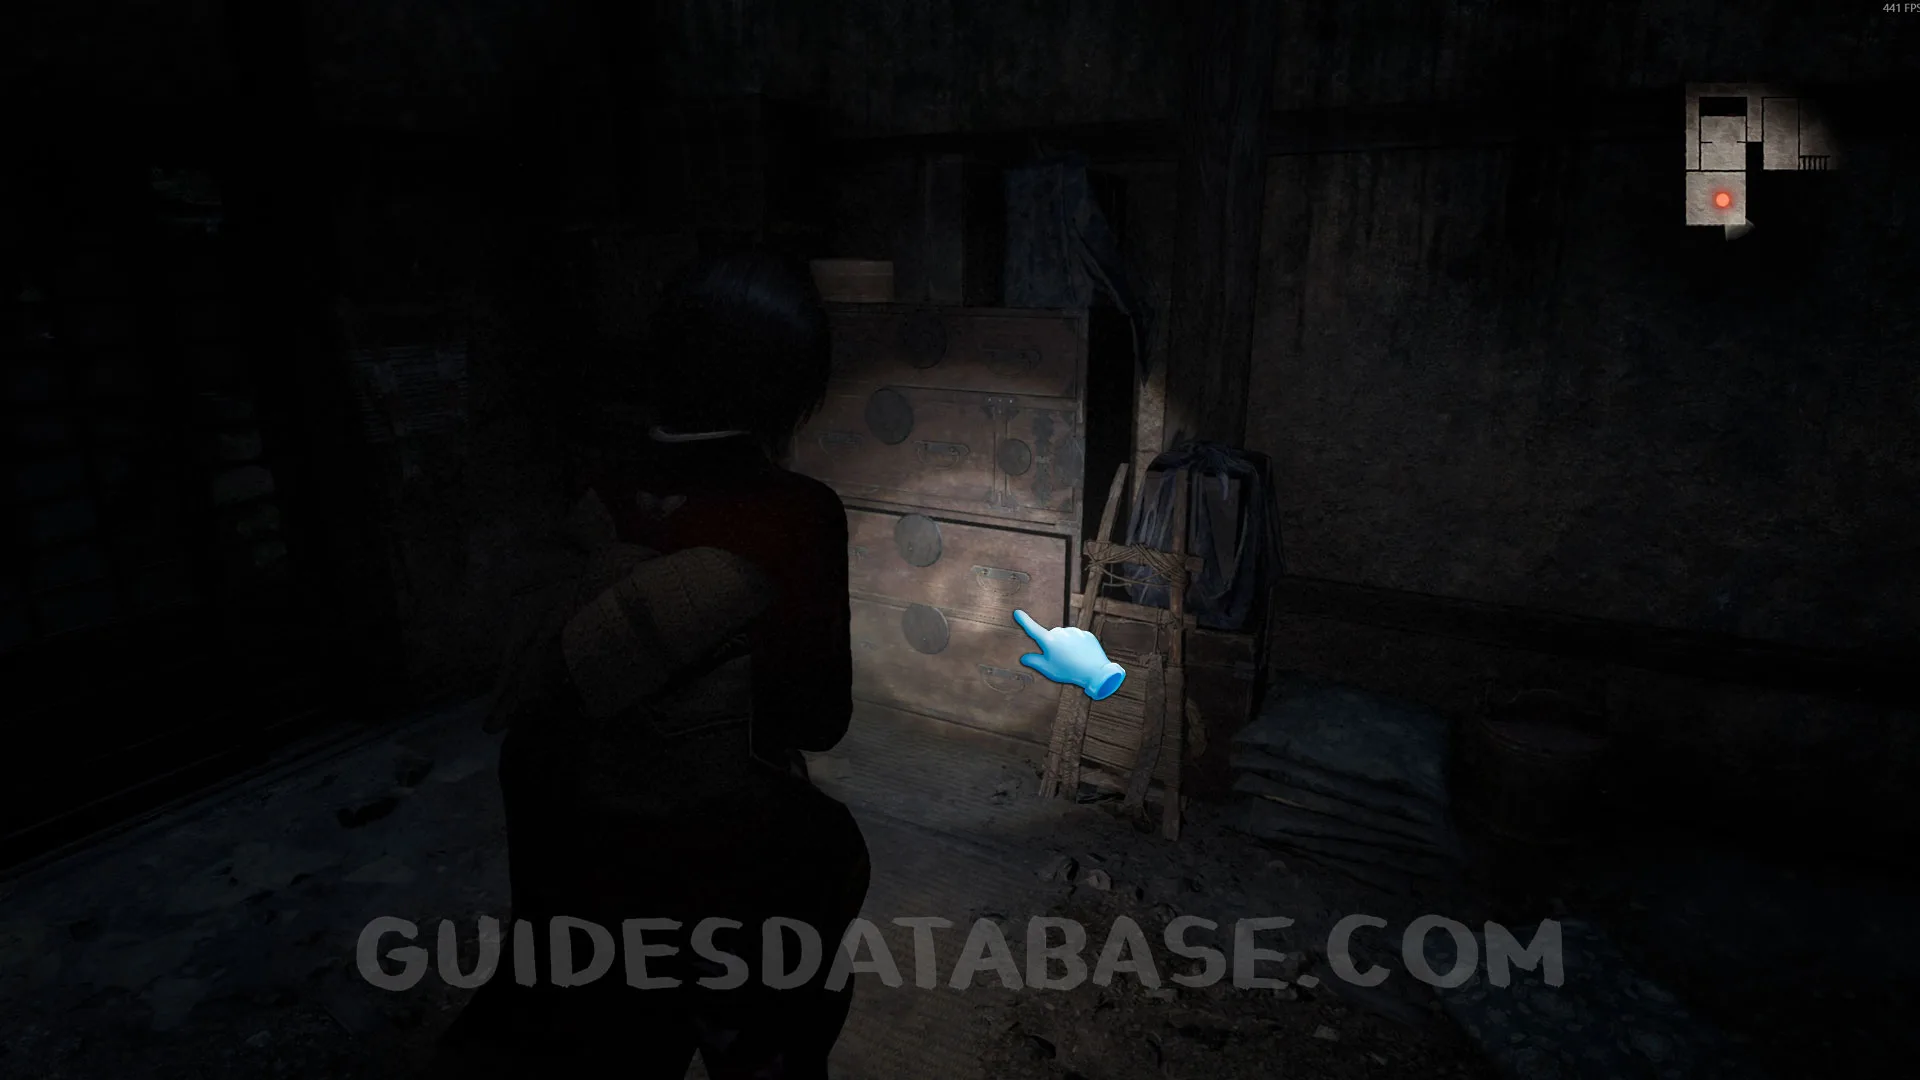
In the save point room, go into the room ahead to find this document on the floor next to a cabinet.
 GUIDESDATABASE.COM
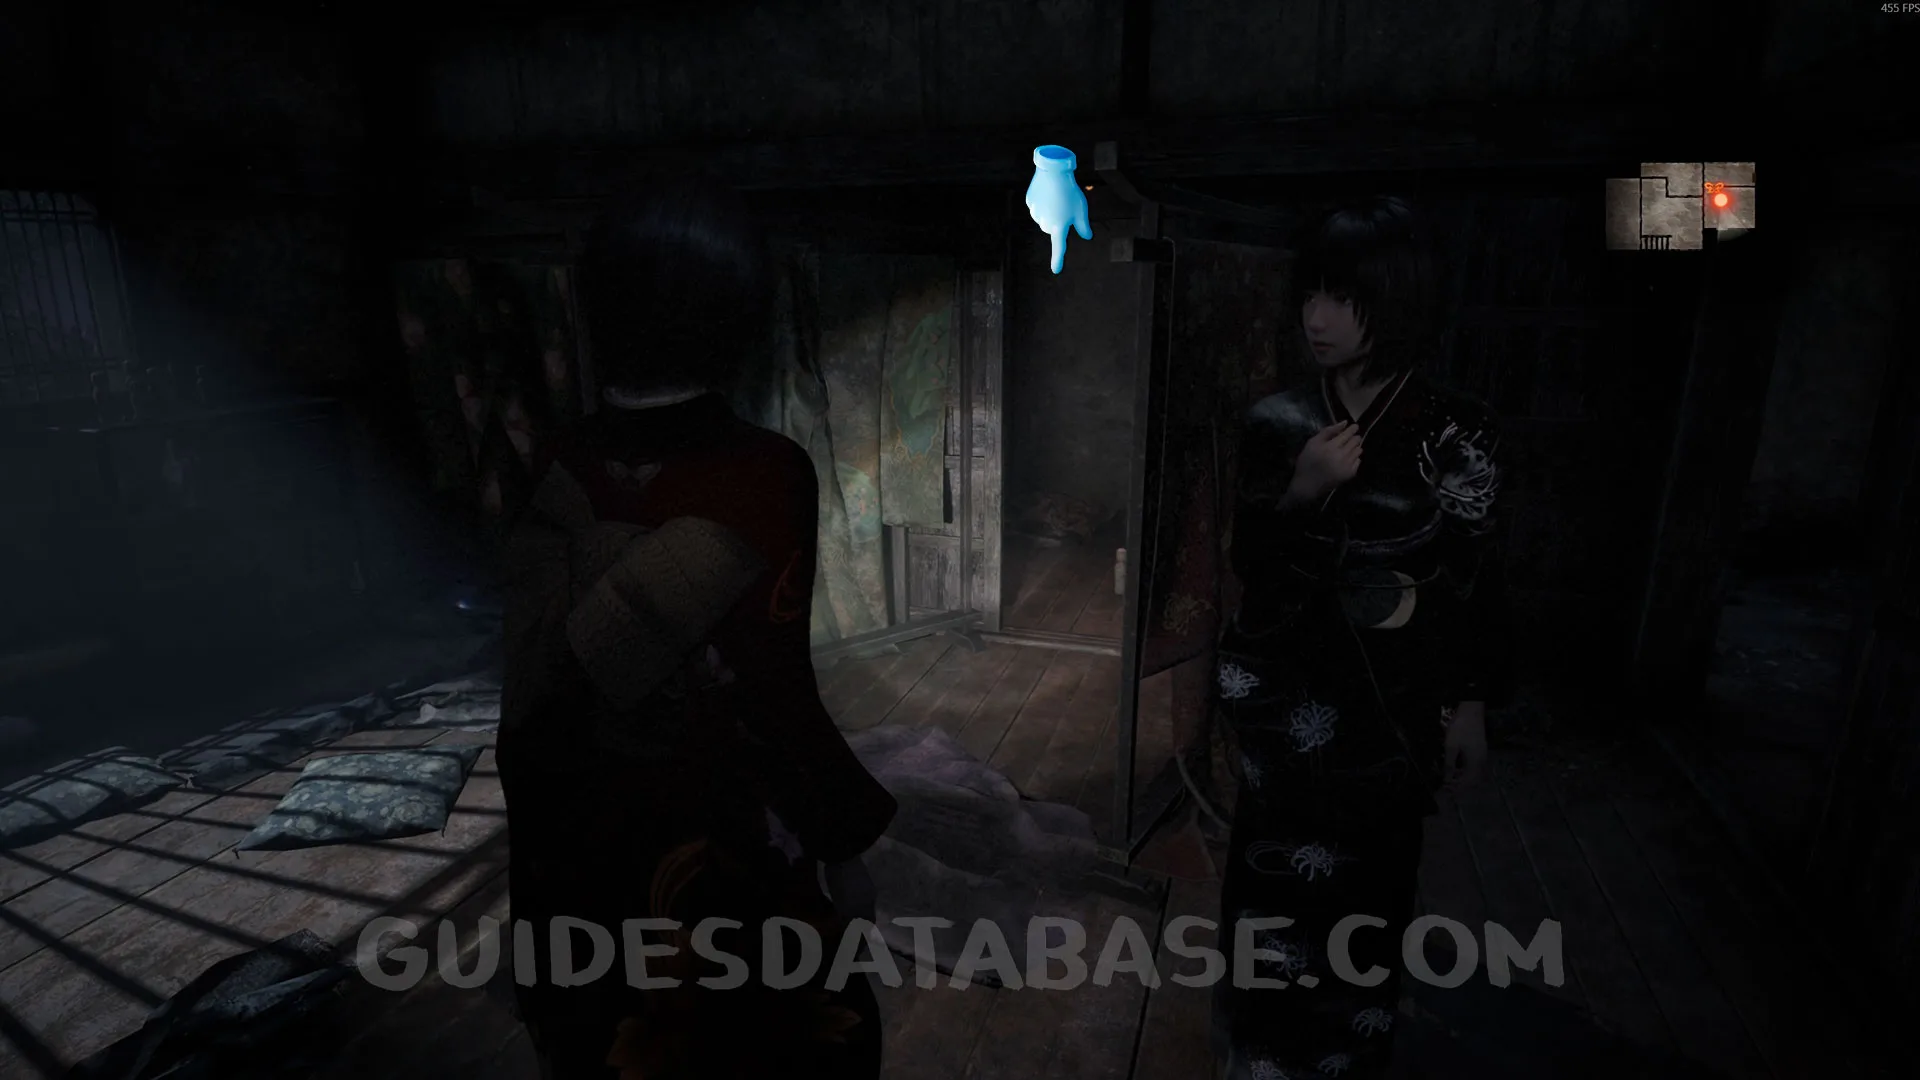 GUIDESDATABASE.COM
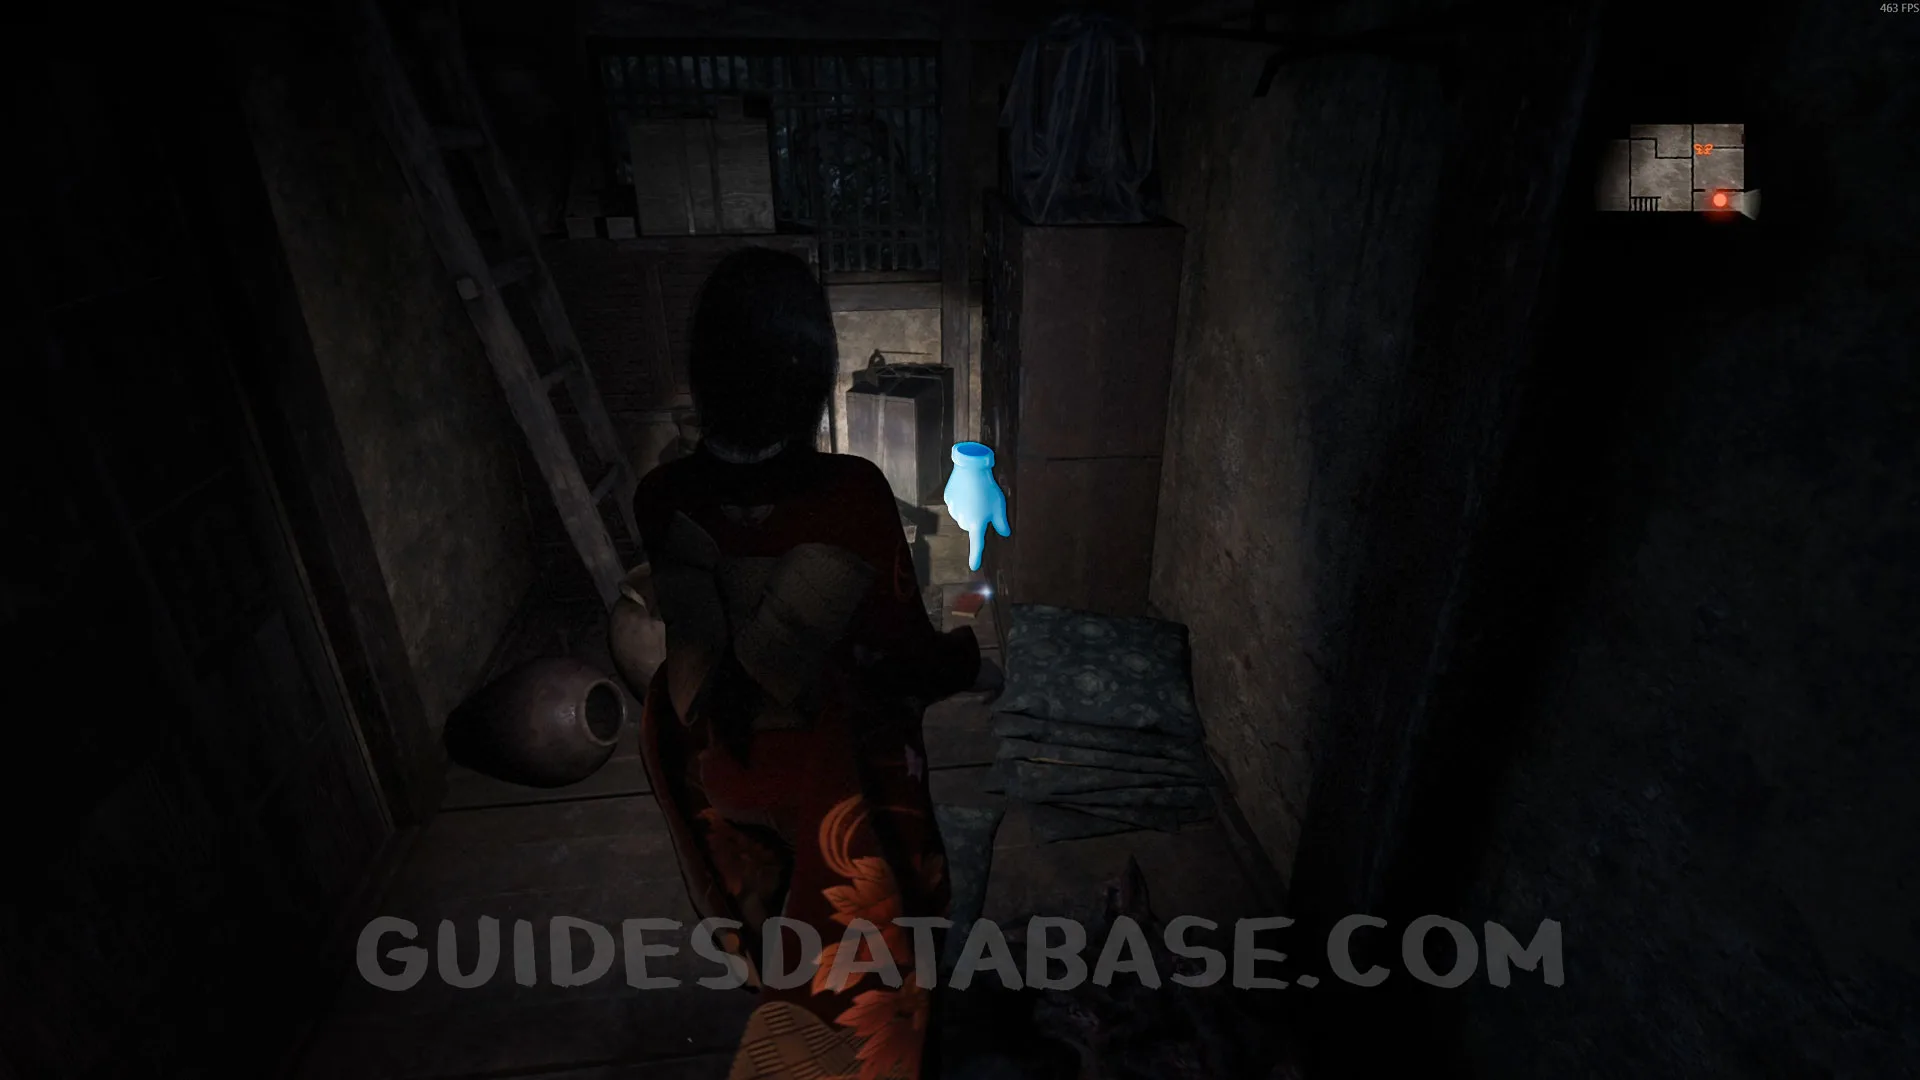 GUIDESDATABASE.COM
Document #5 - Woman's Notebook 4.
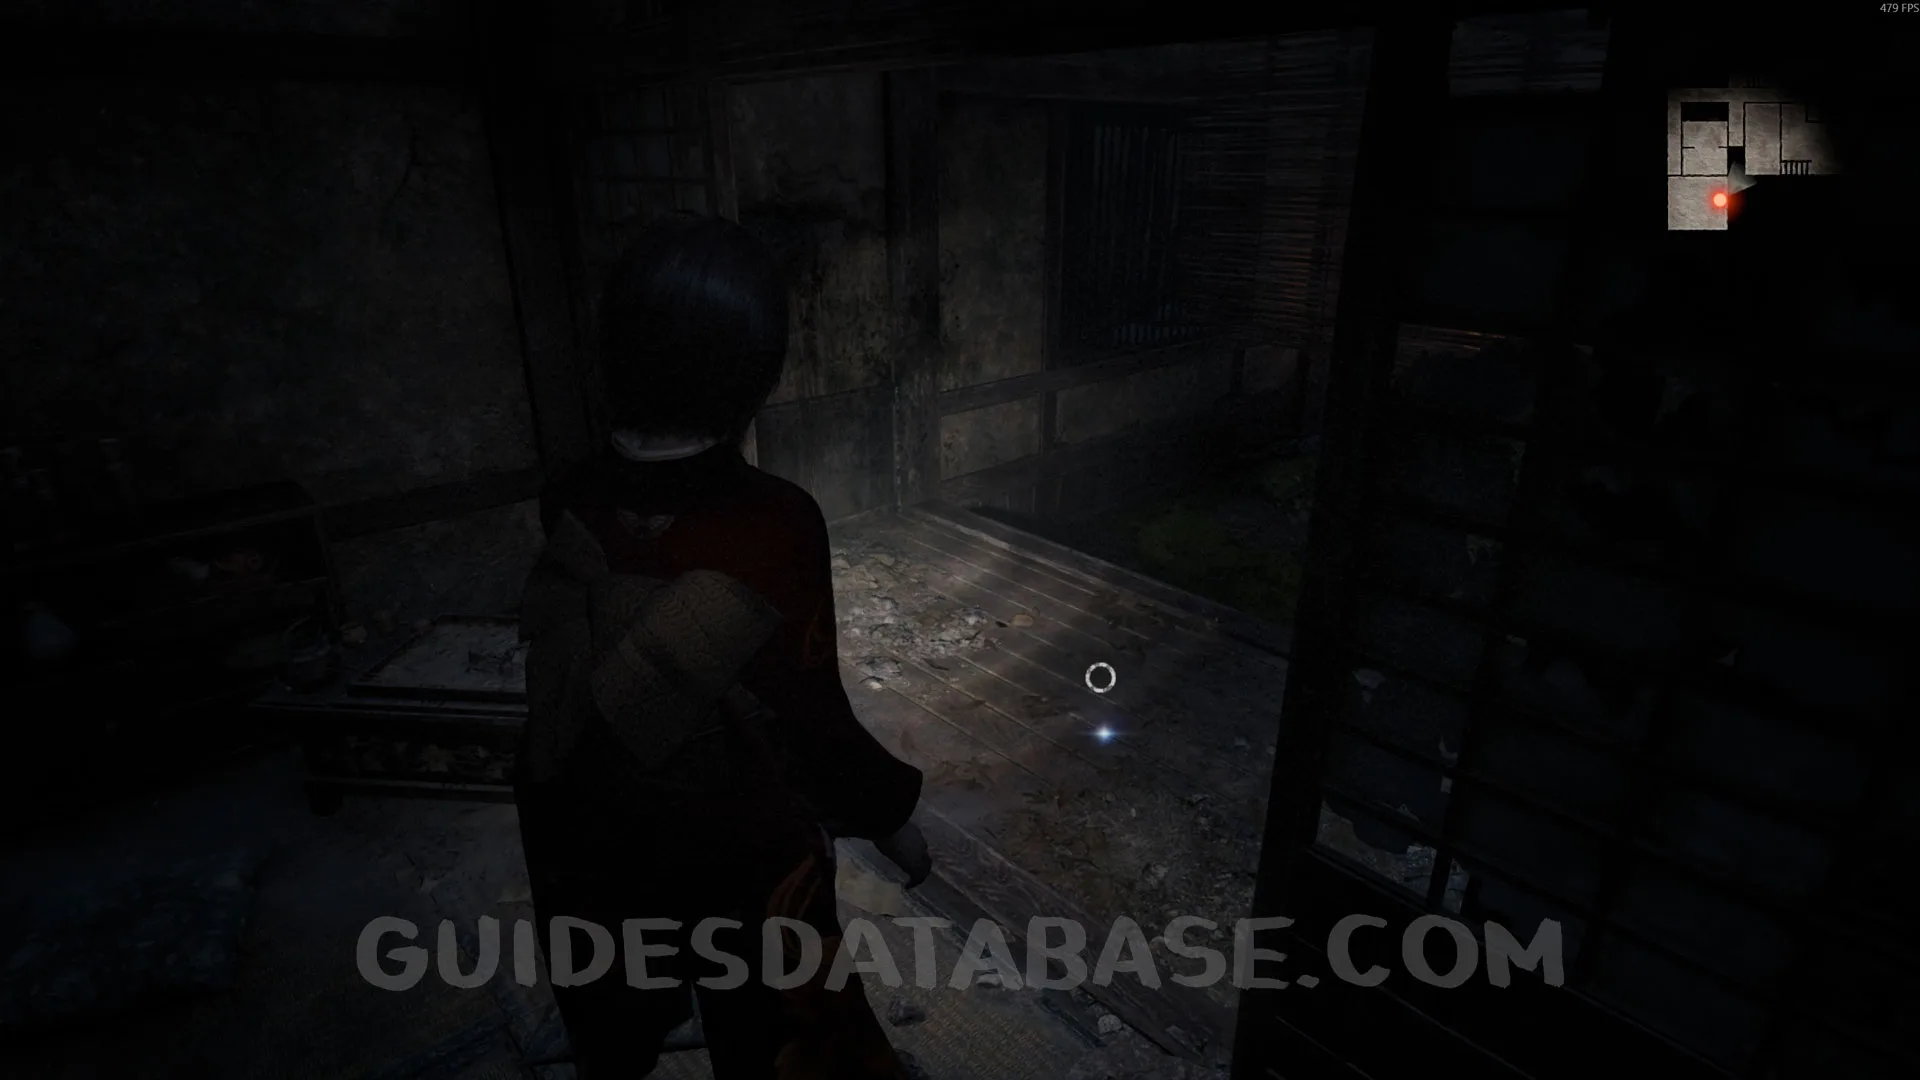
Go to the hallway and head forward. You will see a hole on the right side. Crouch down and grab this document.
 GUIDESDATABASE.COM
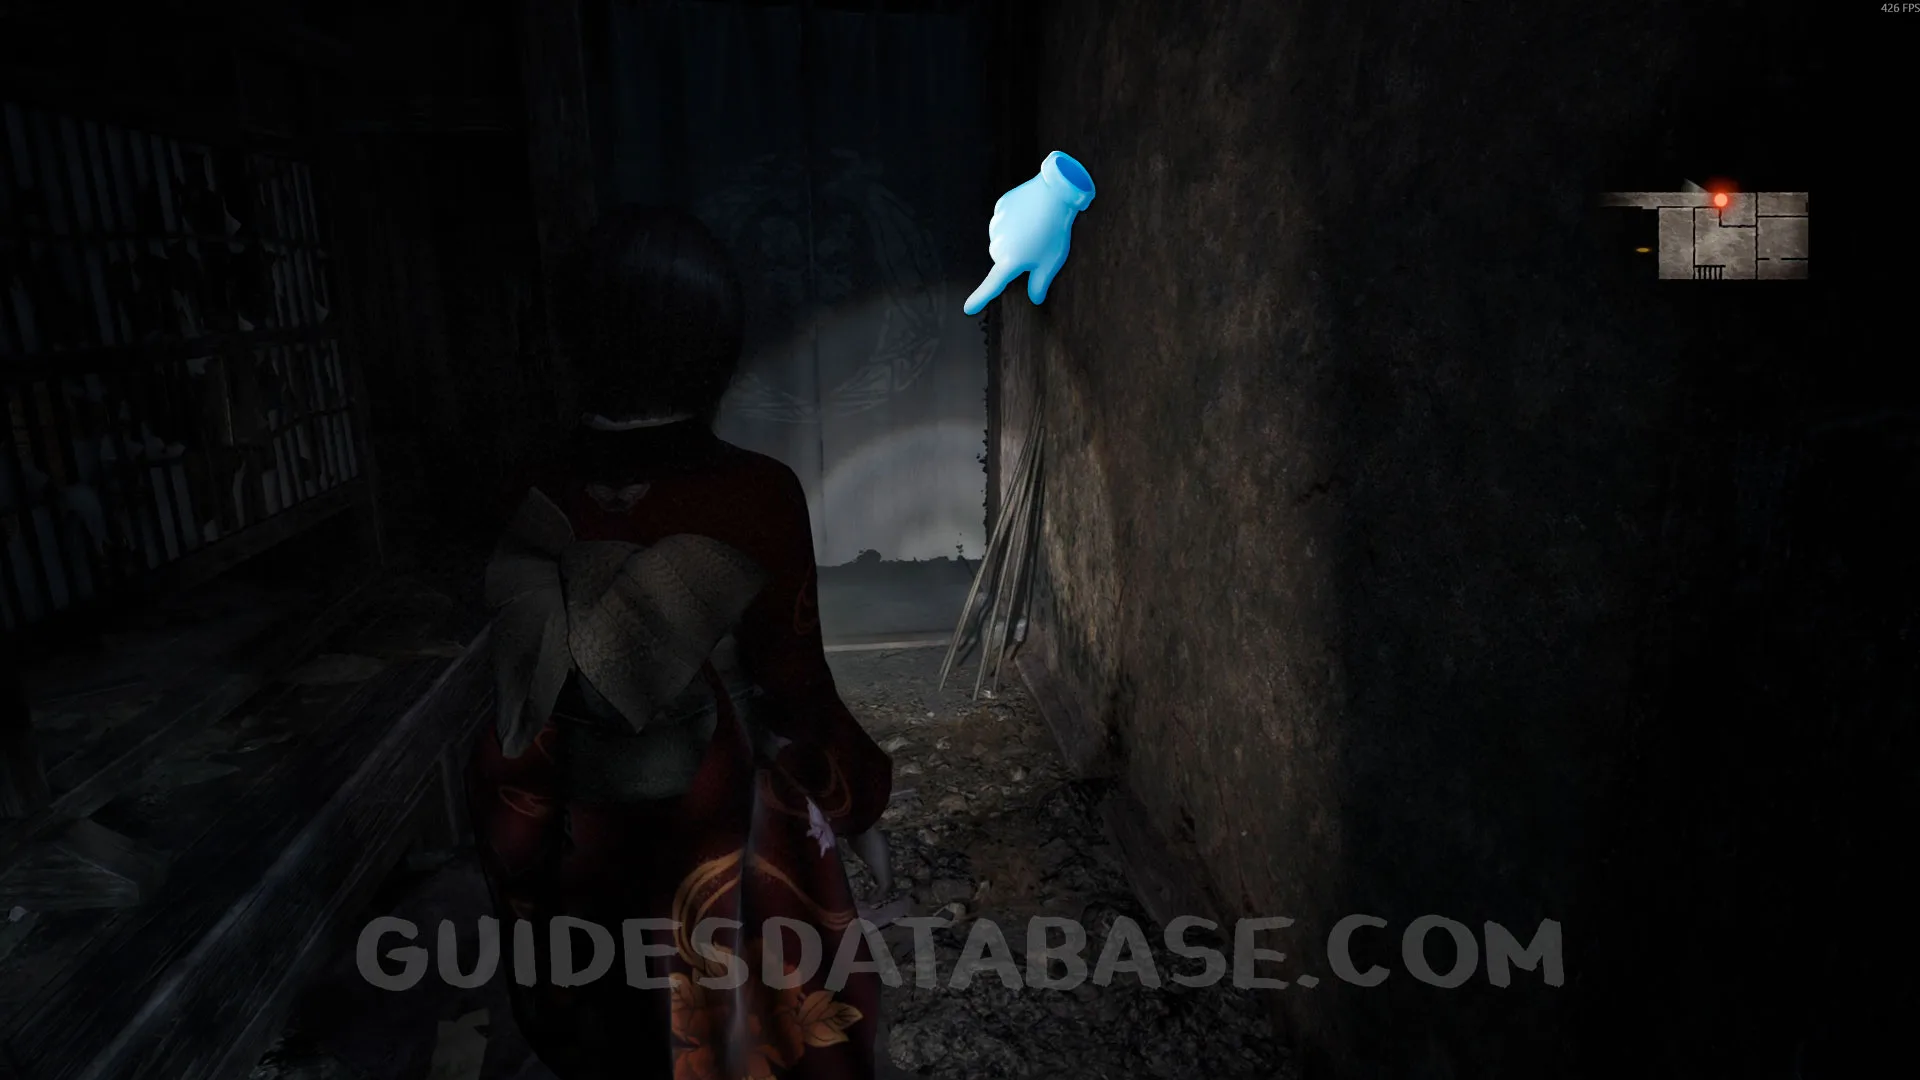 GUIDESDATABASE.COM
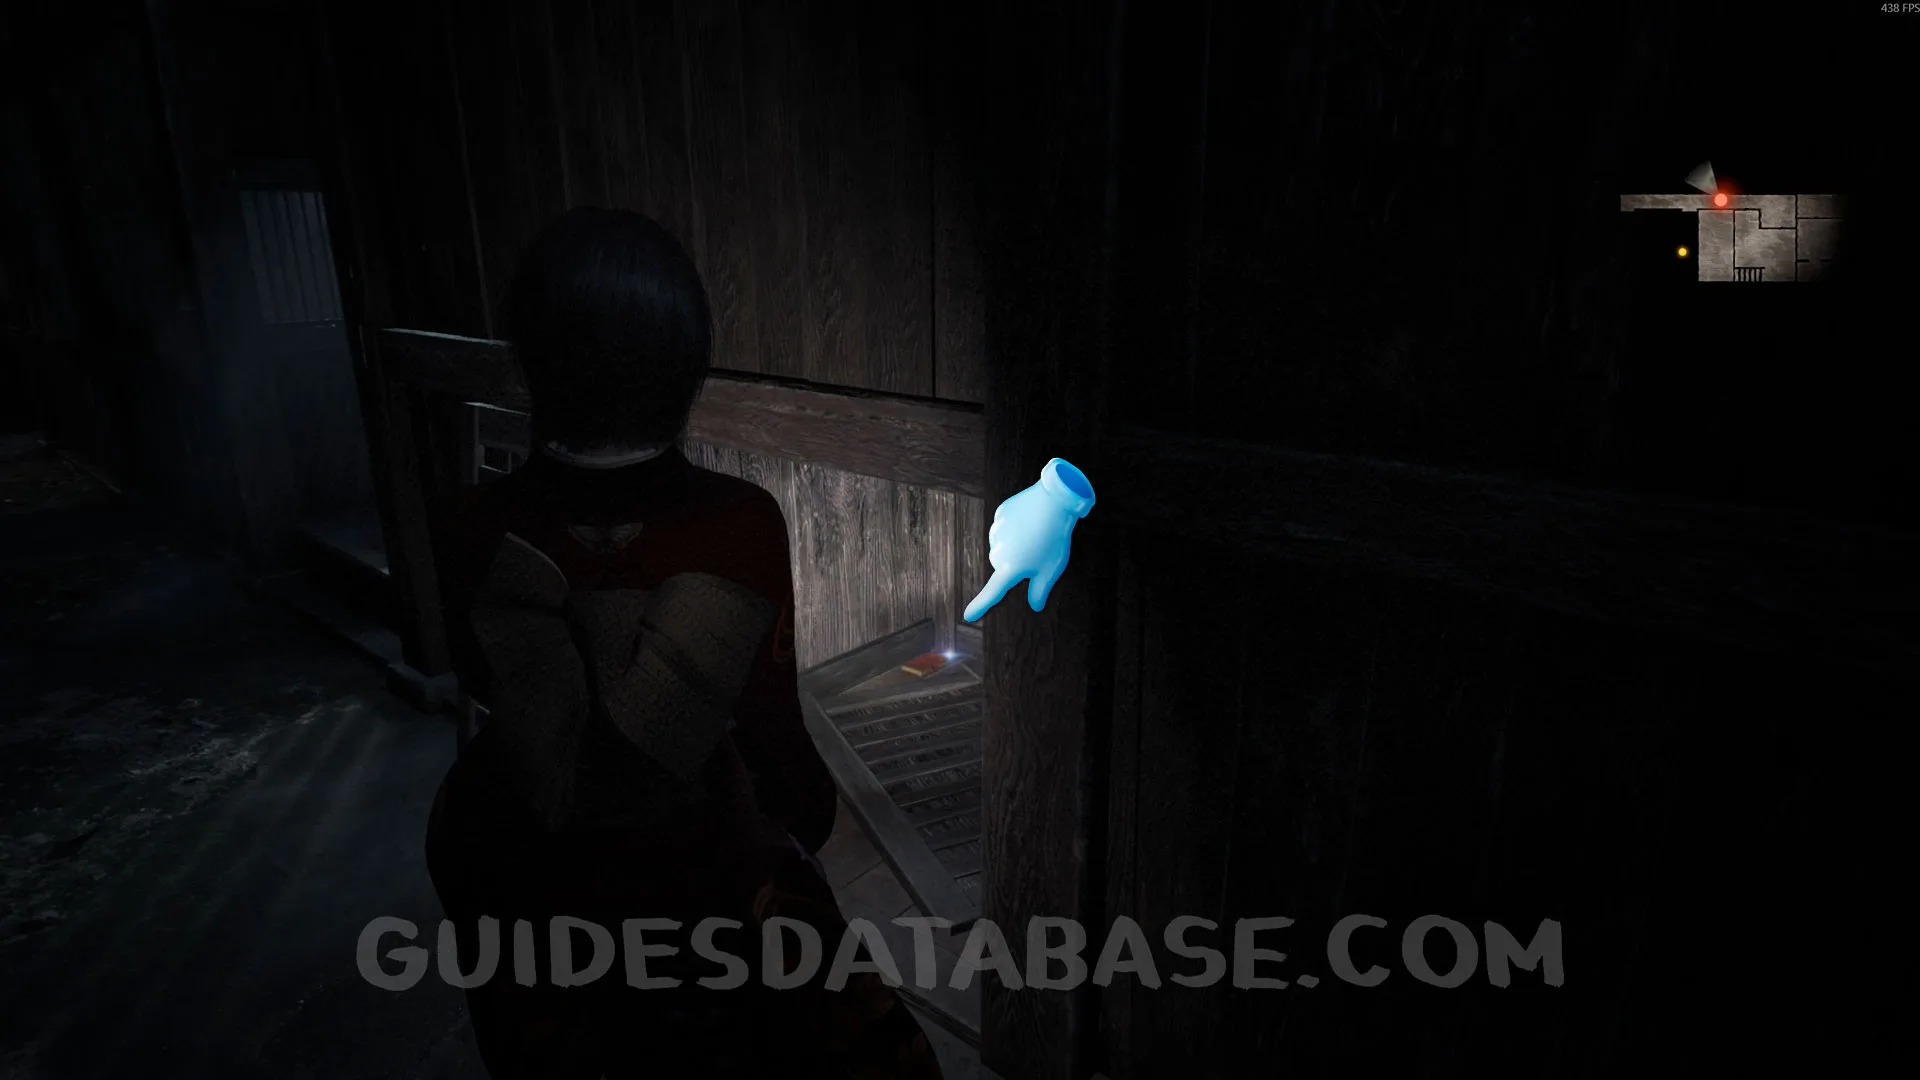 GUIDESDATABASE.COM
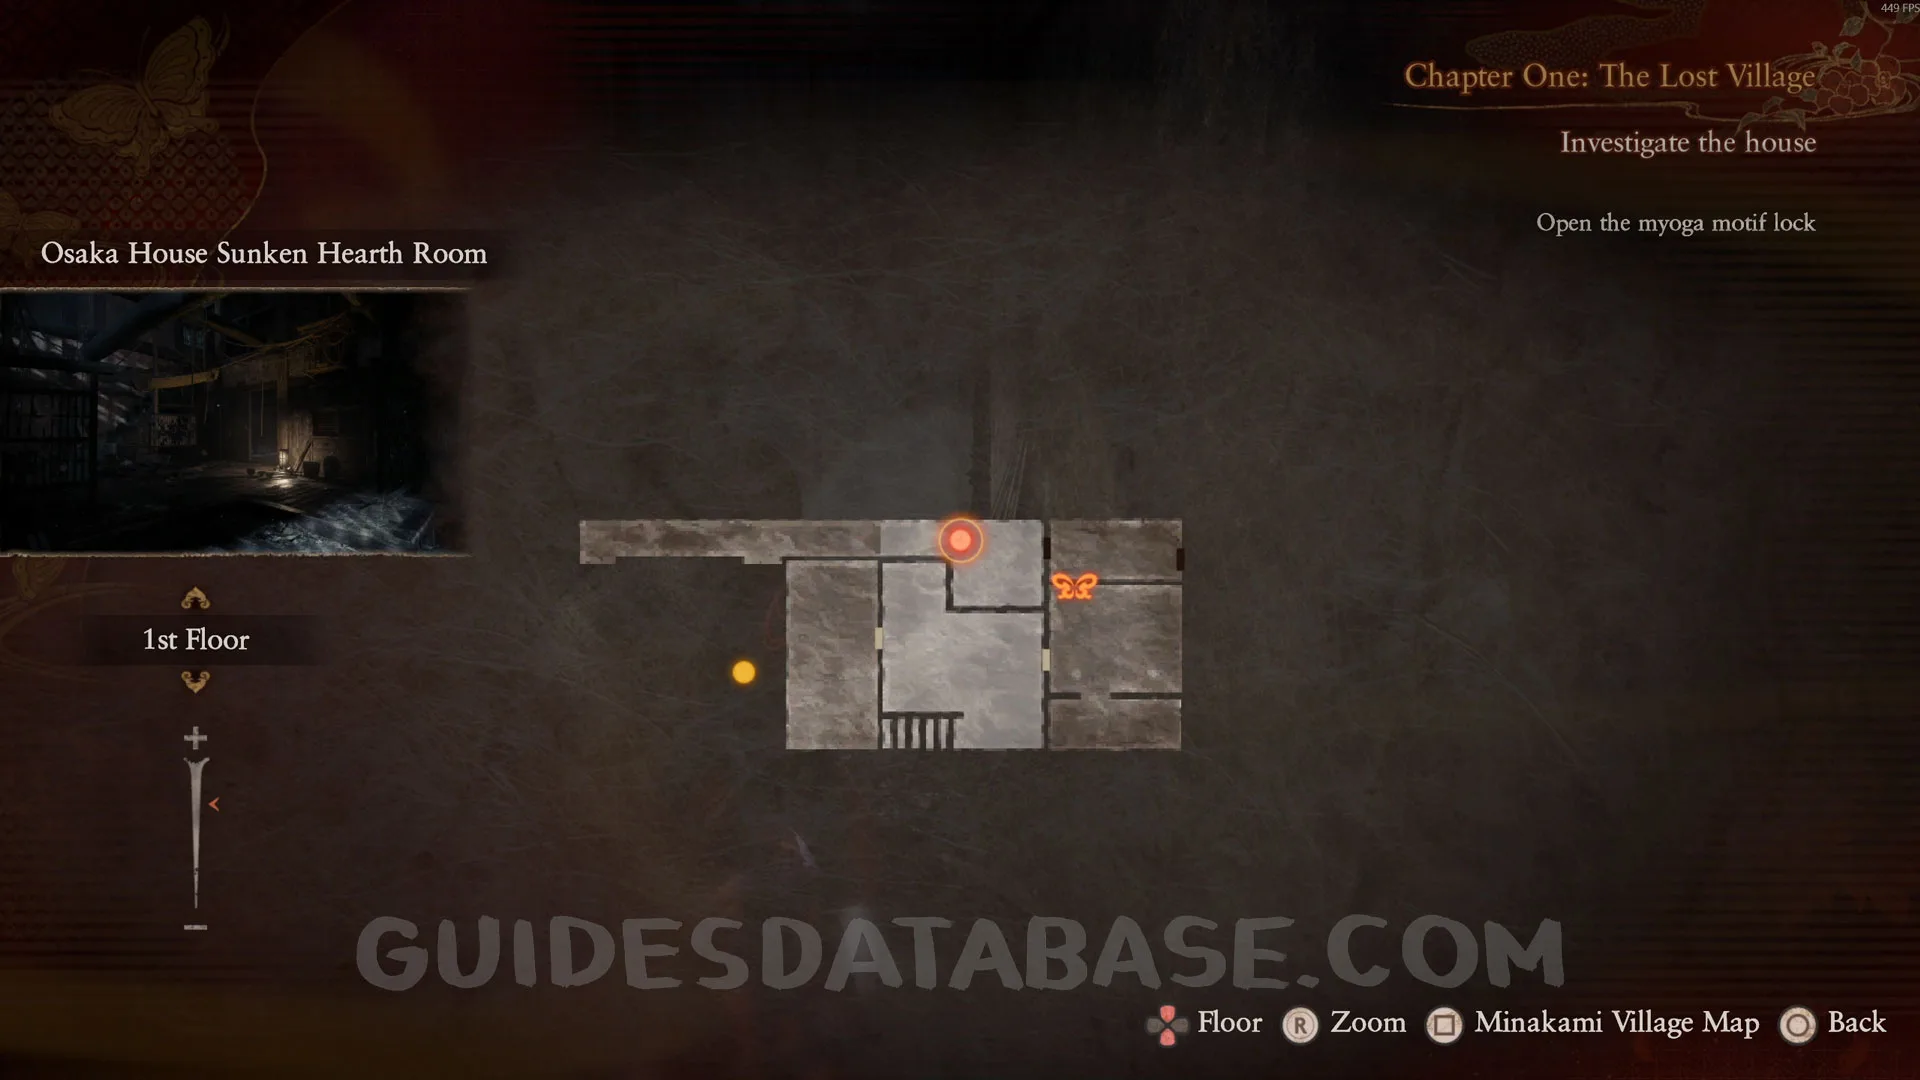
Document #6 - Camera Obscura Memo.
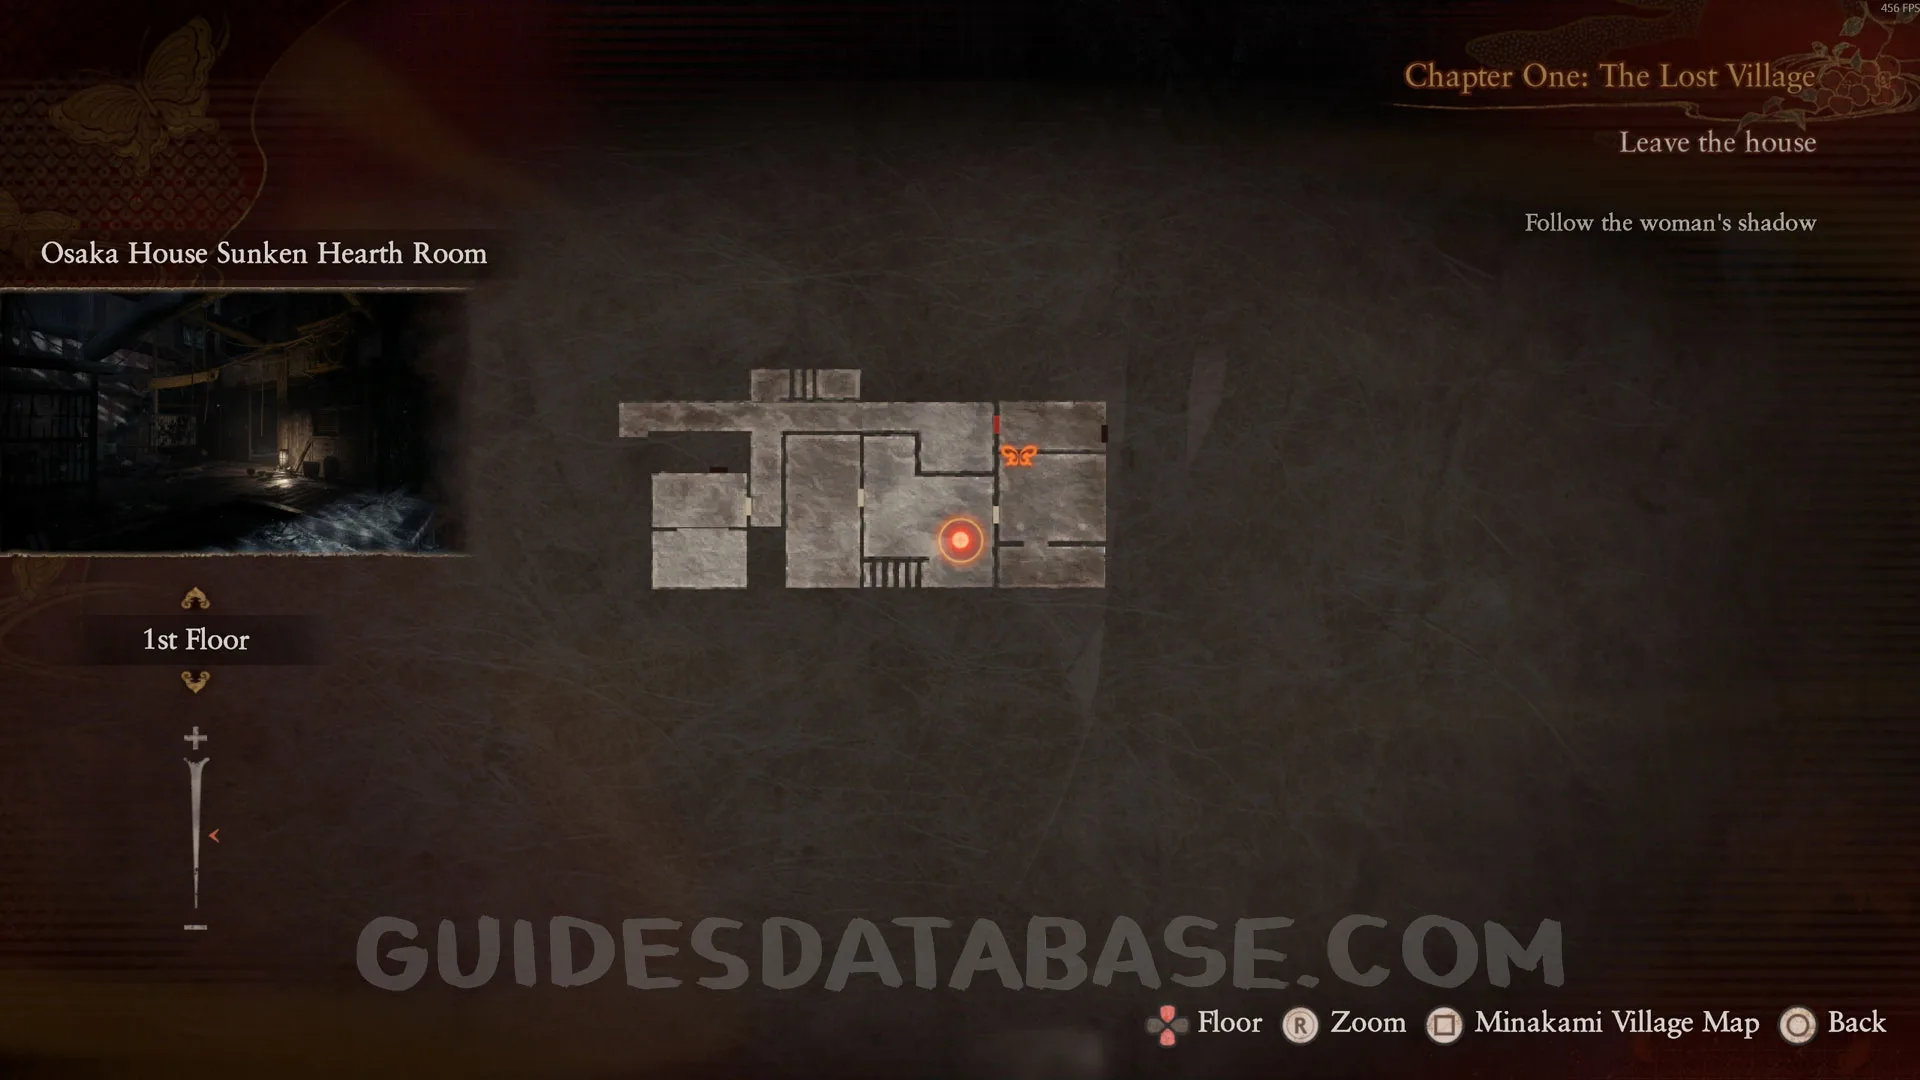
After going through the Myoga Motif Door, it will be right in front of you.
 GUIDESDATABASE.COM
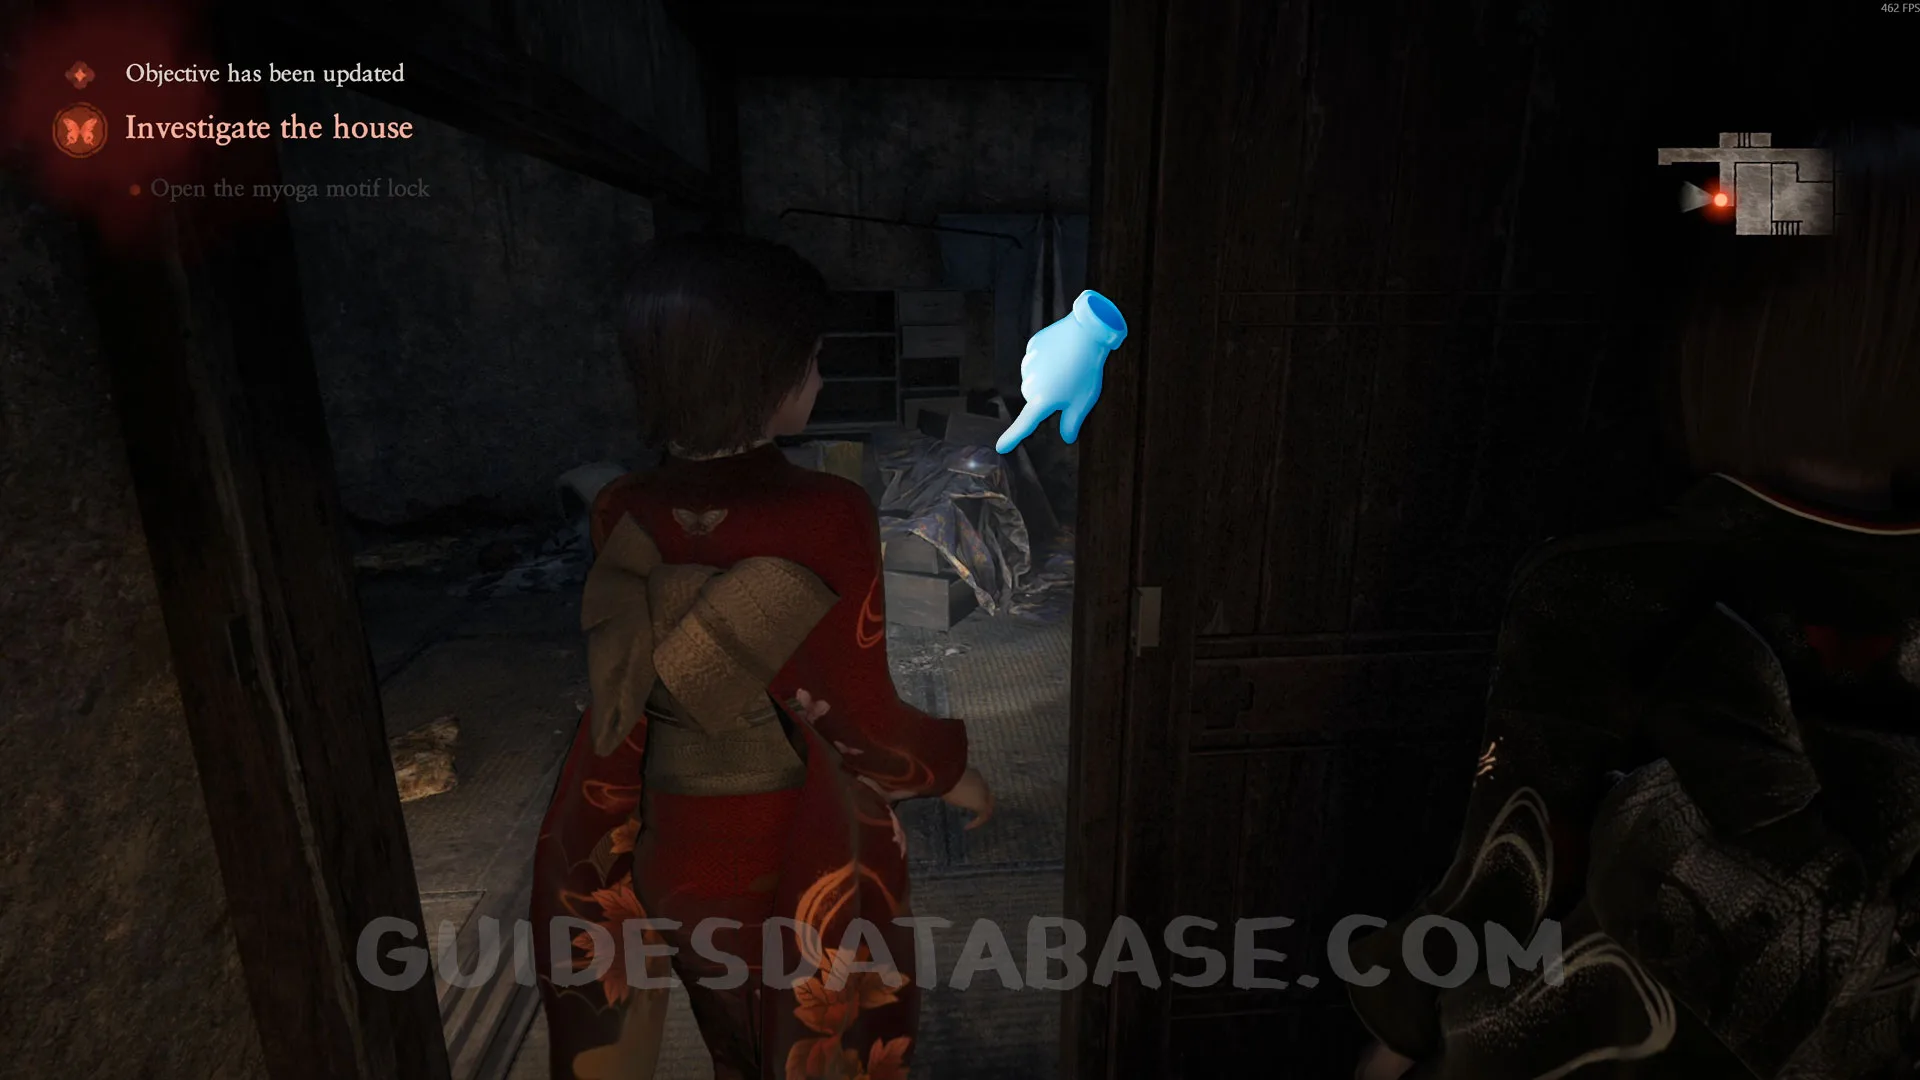 GUIDESDATABASE.COM
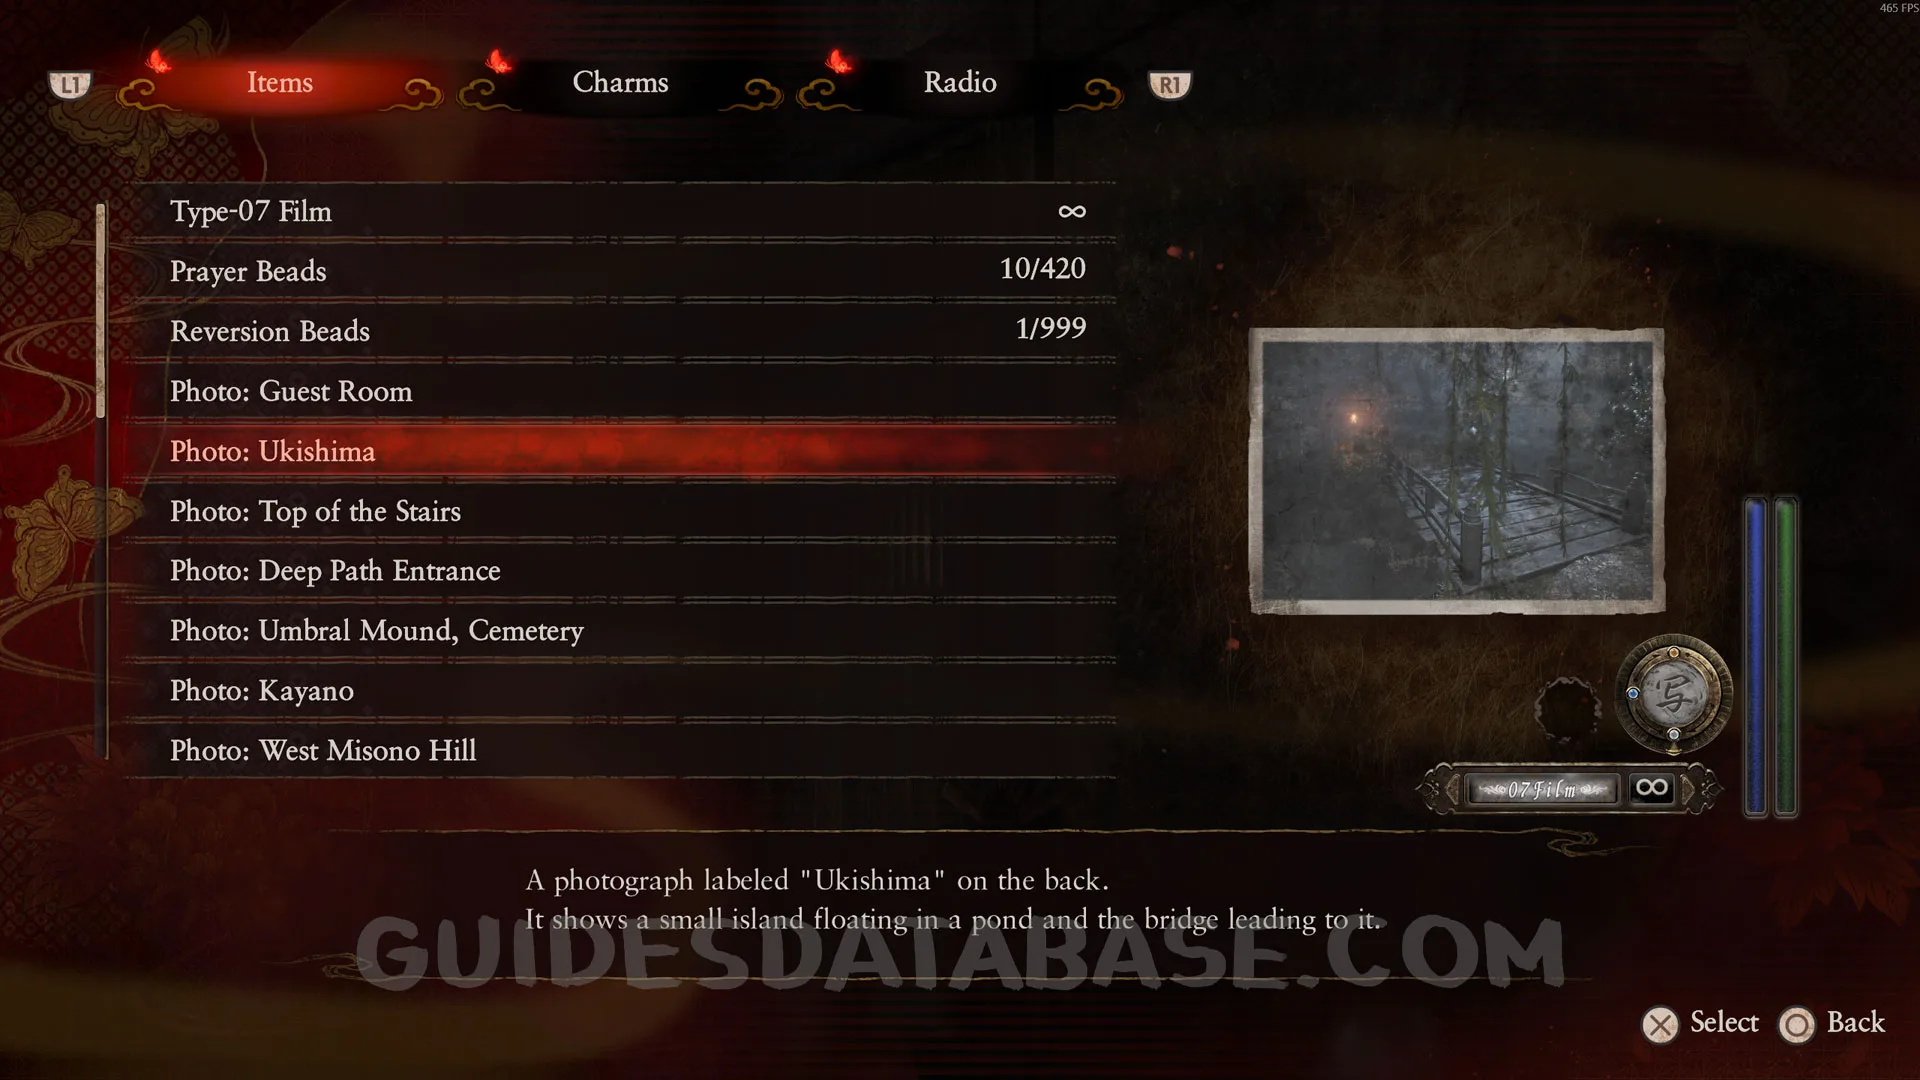
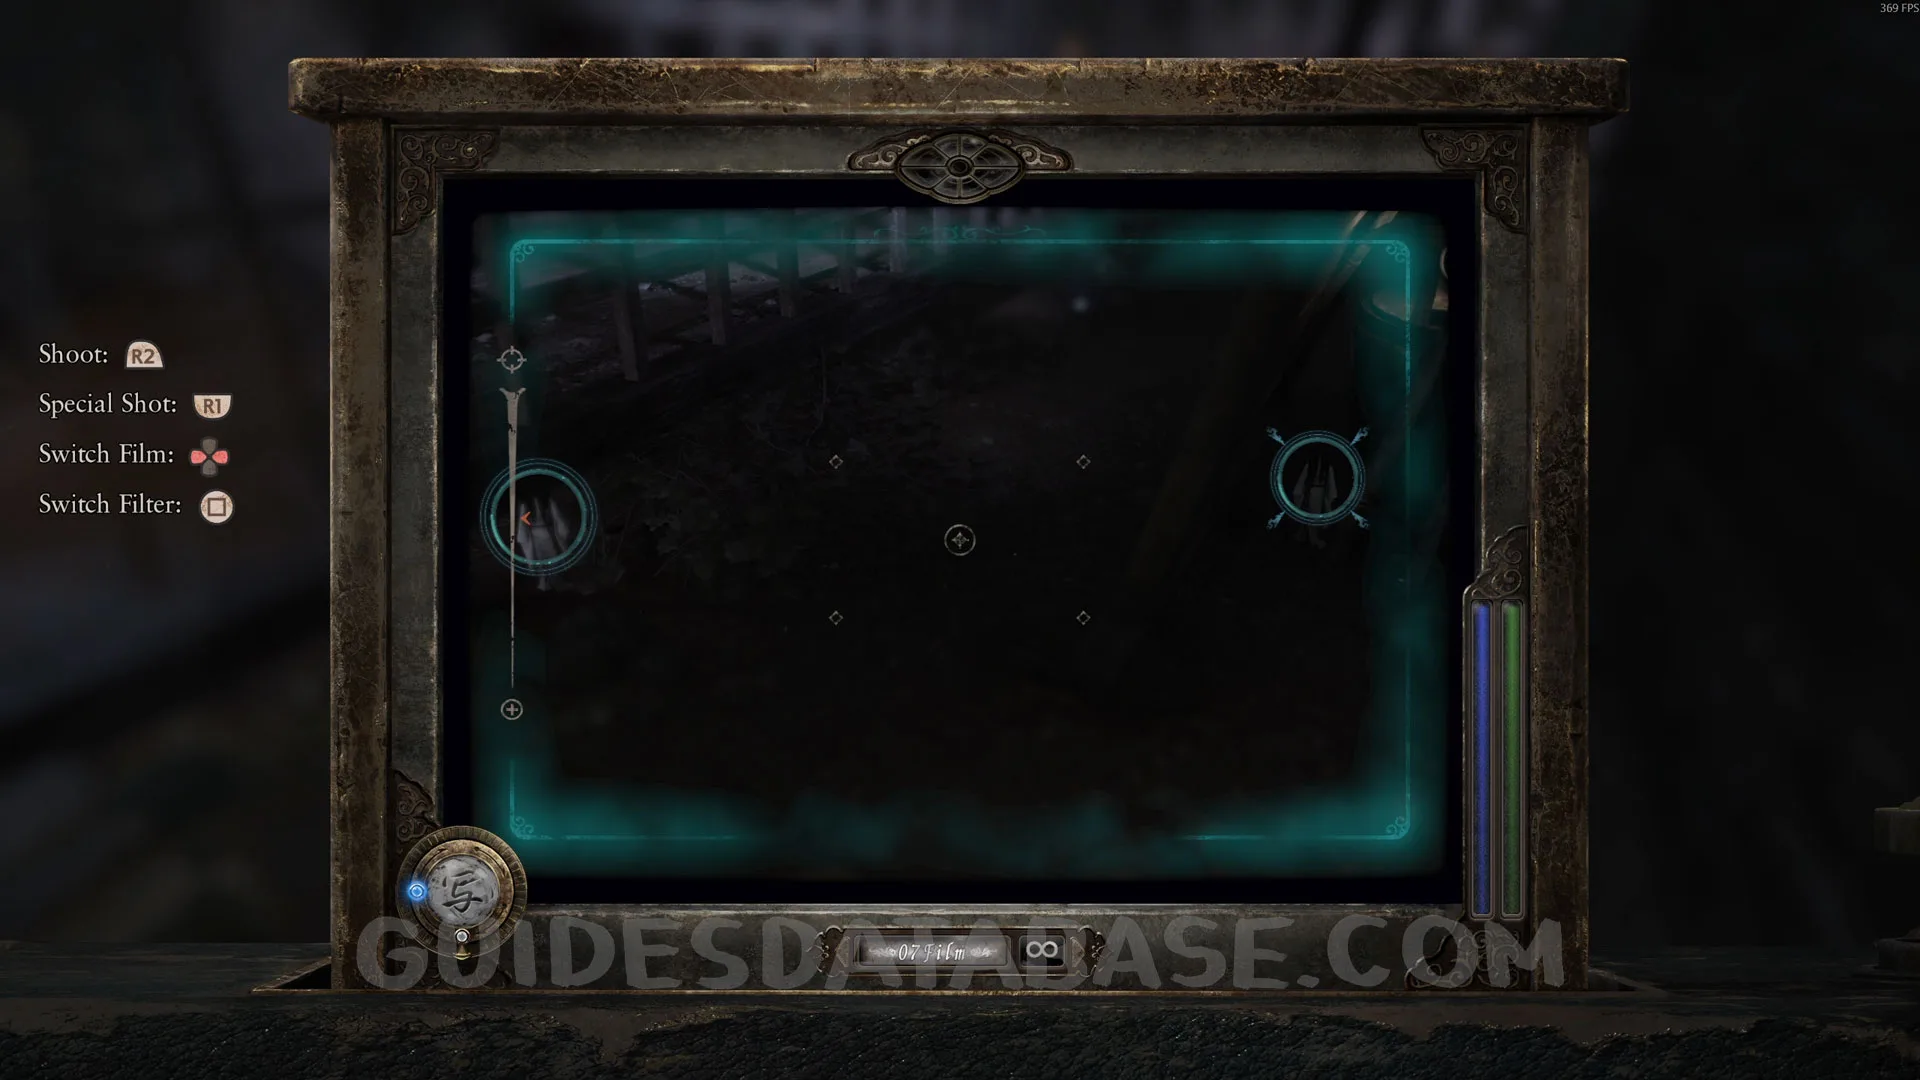
Photo #1-8: Ukishima / Deep Path Entrance / Umbral Mound / Kayano / West Misono Hill / Garden Veranda / Deep Path / Storeroom.
Obtained by picking up the Camera Obscura.
 GUIDESDATABASE.COM
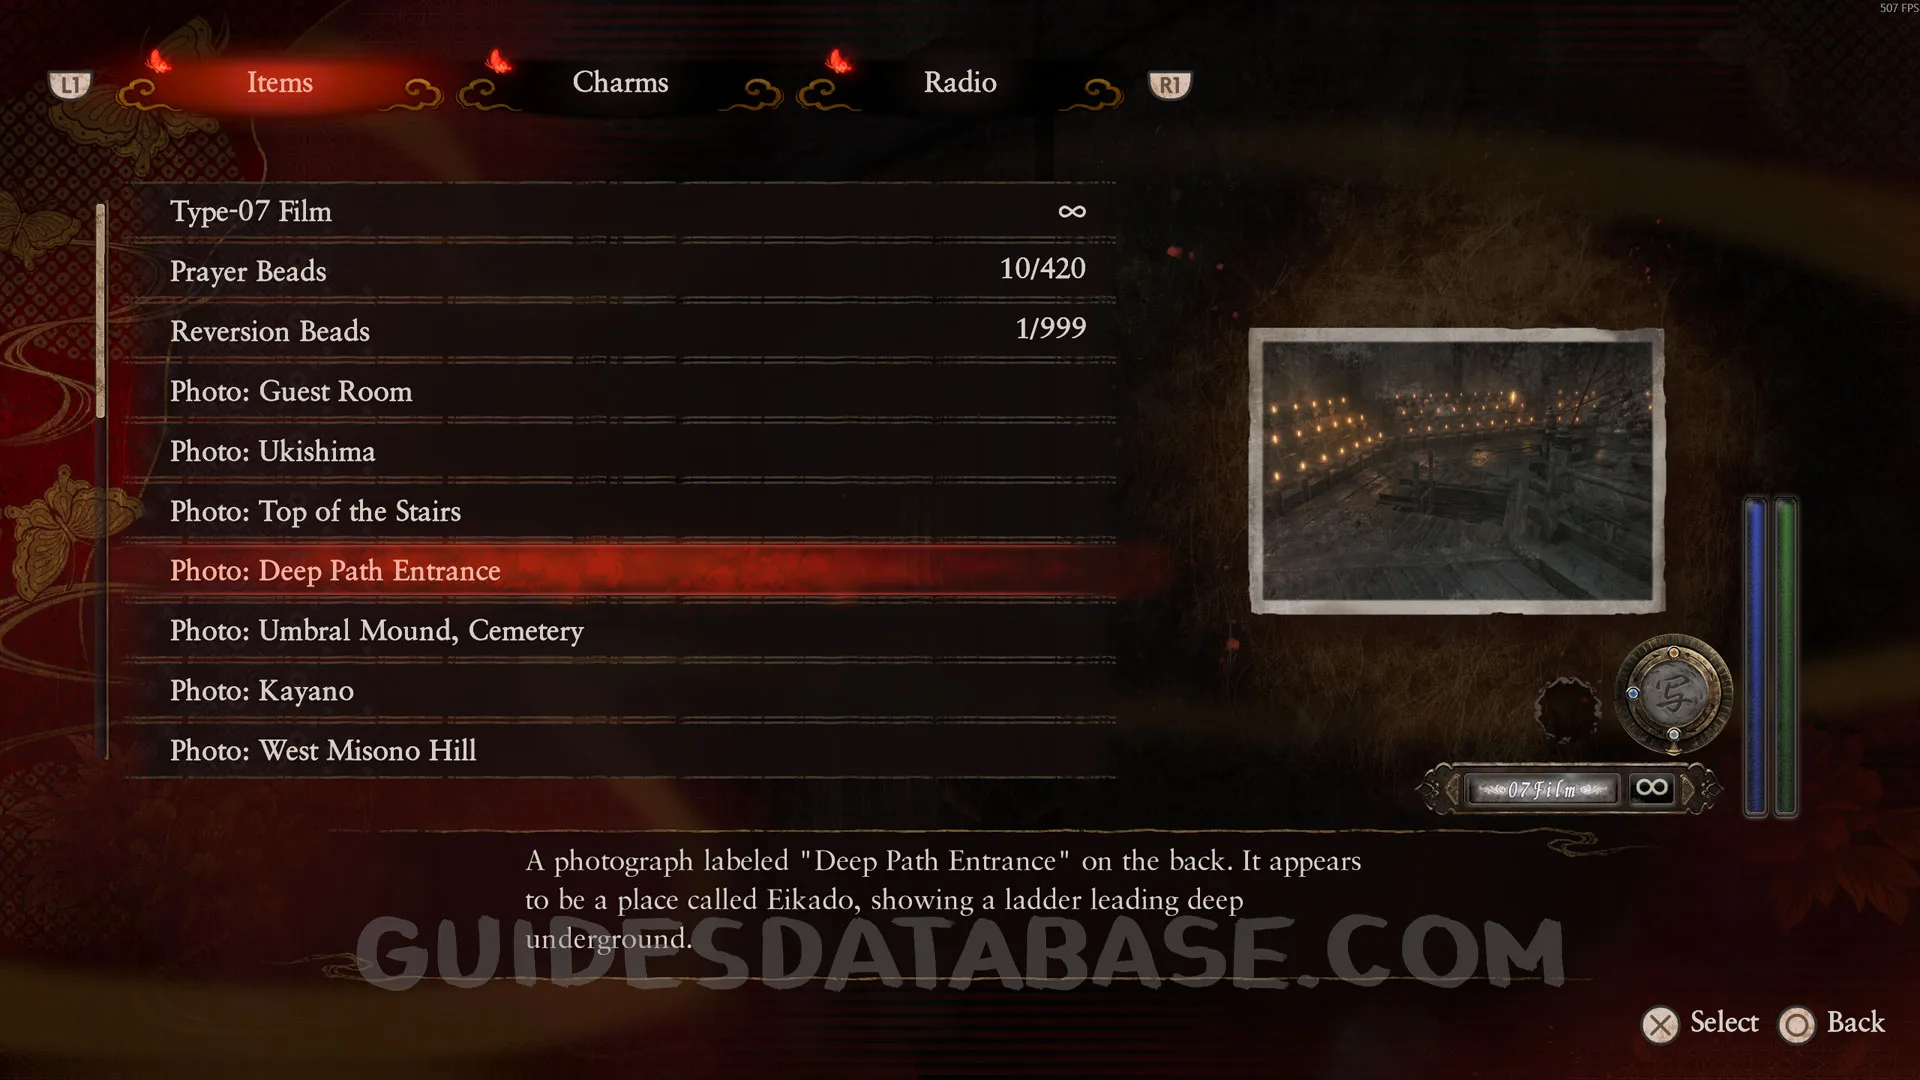 GUIDESDATABASE.COM
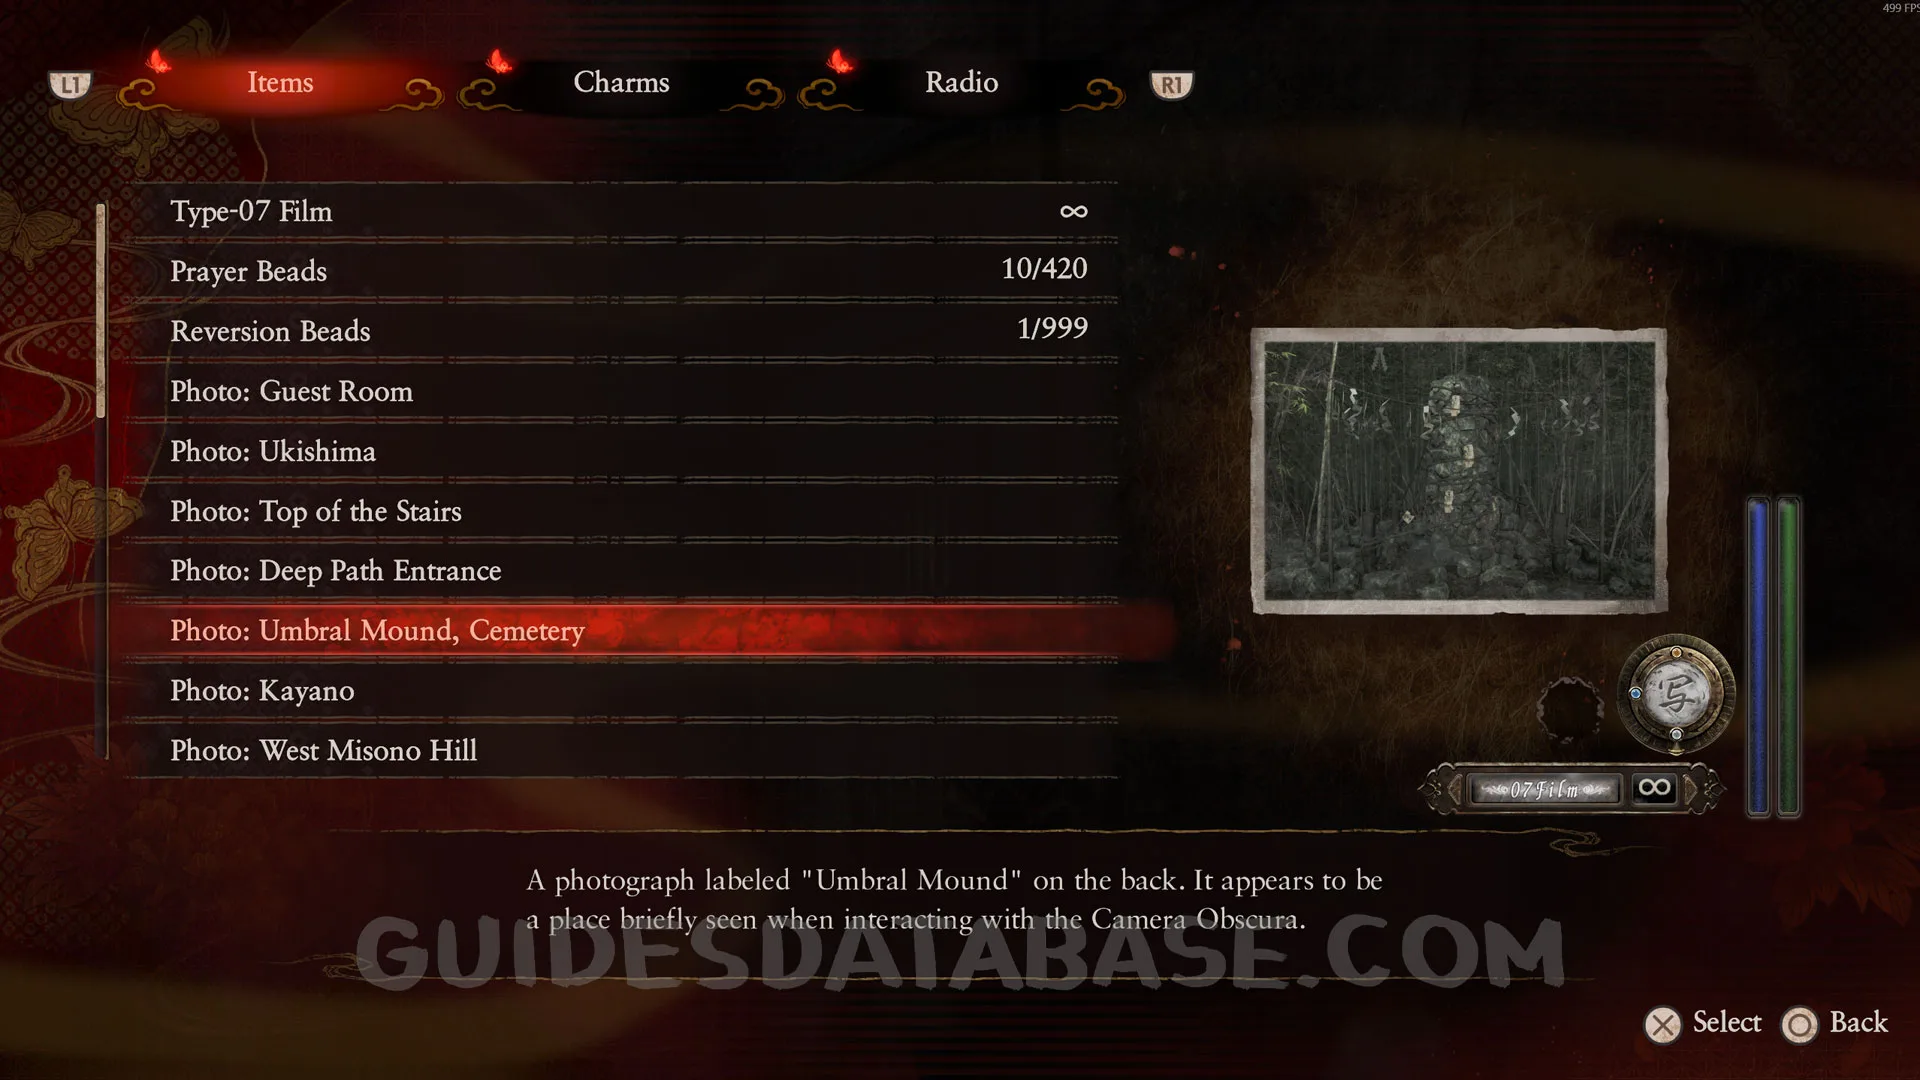 GUIDESDATABASE.COM
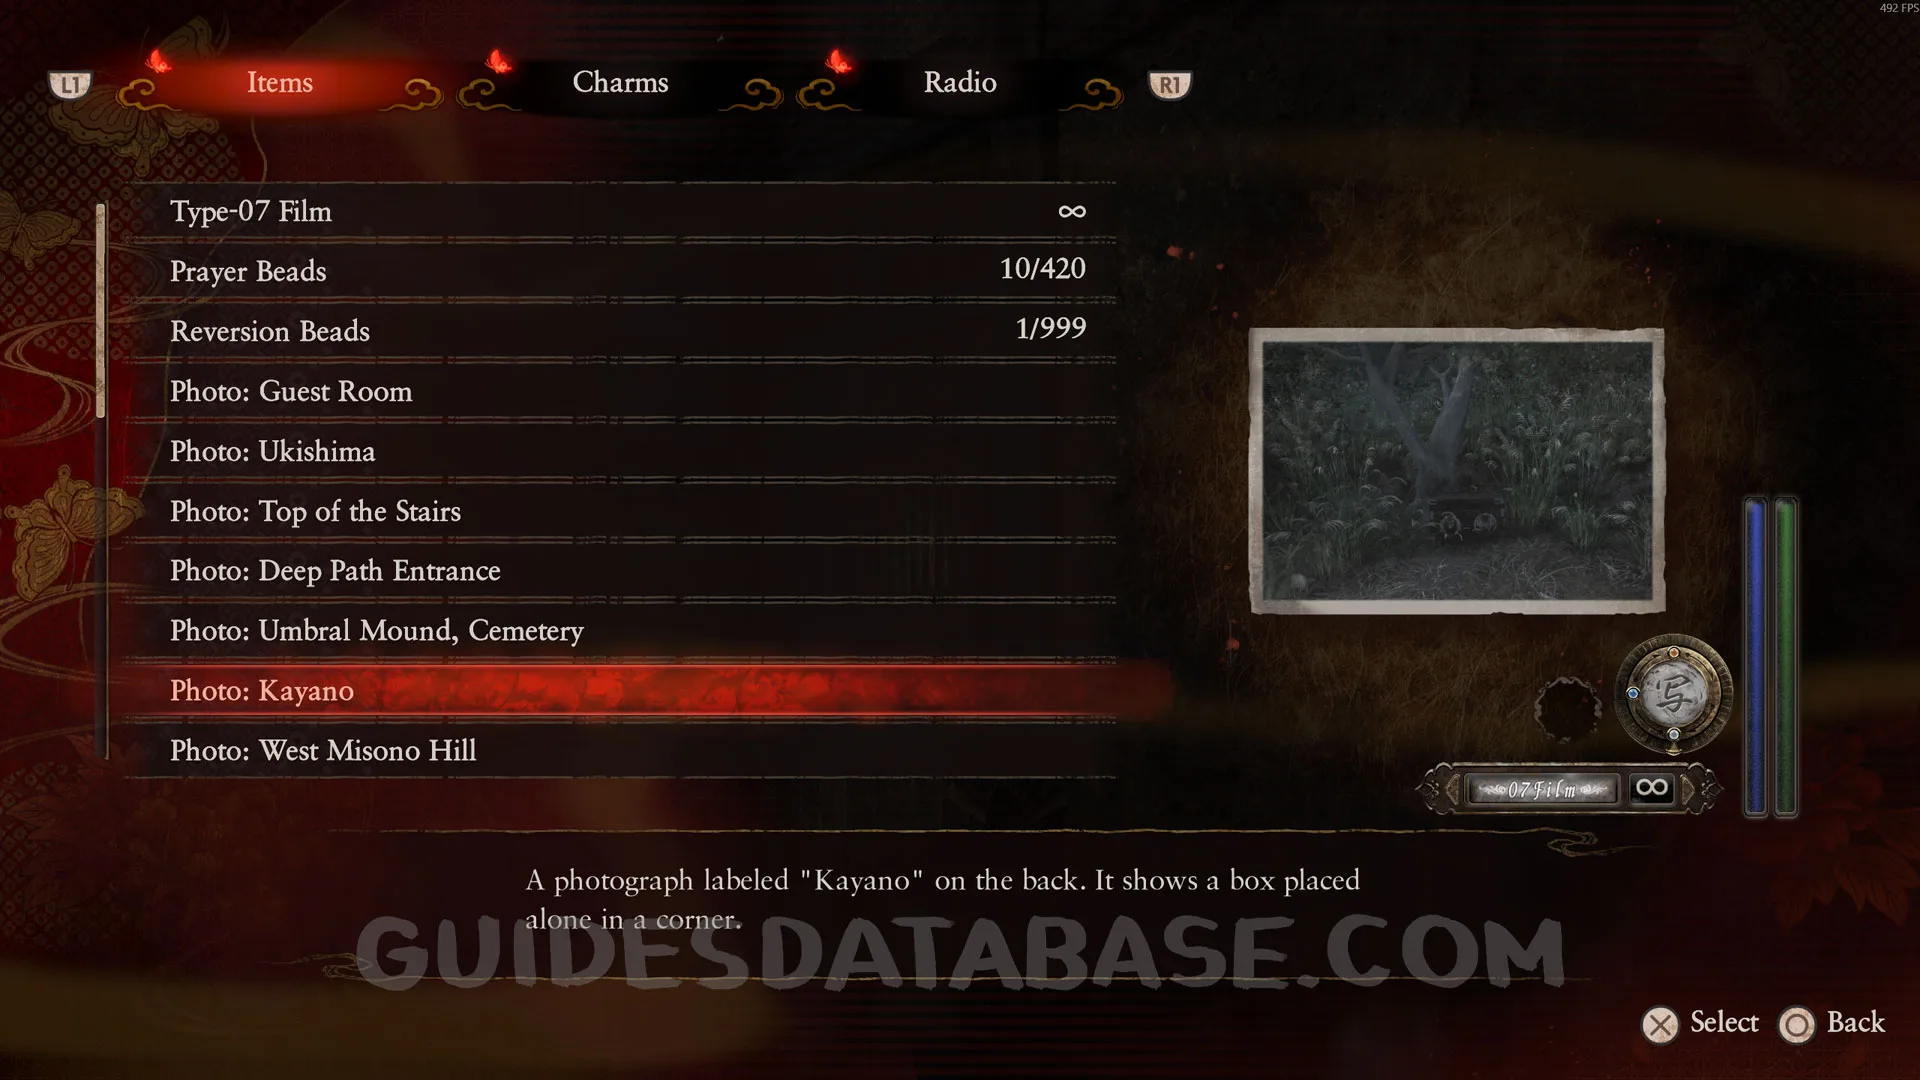 GUIDESDATABASE.COM
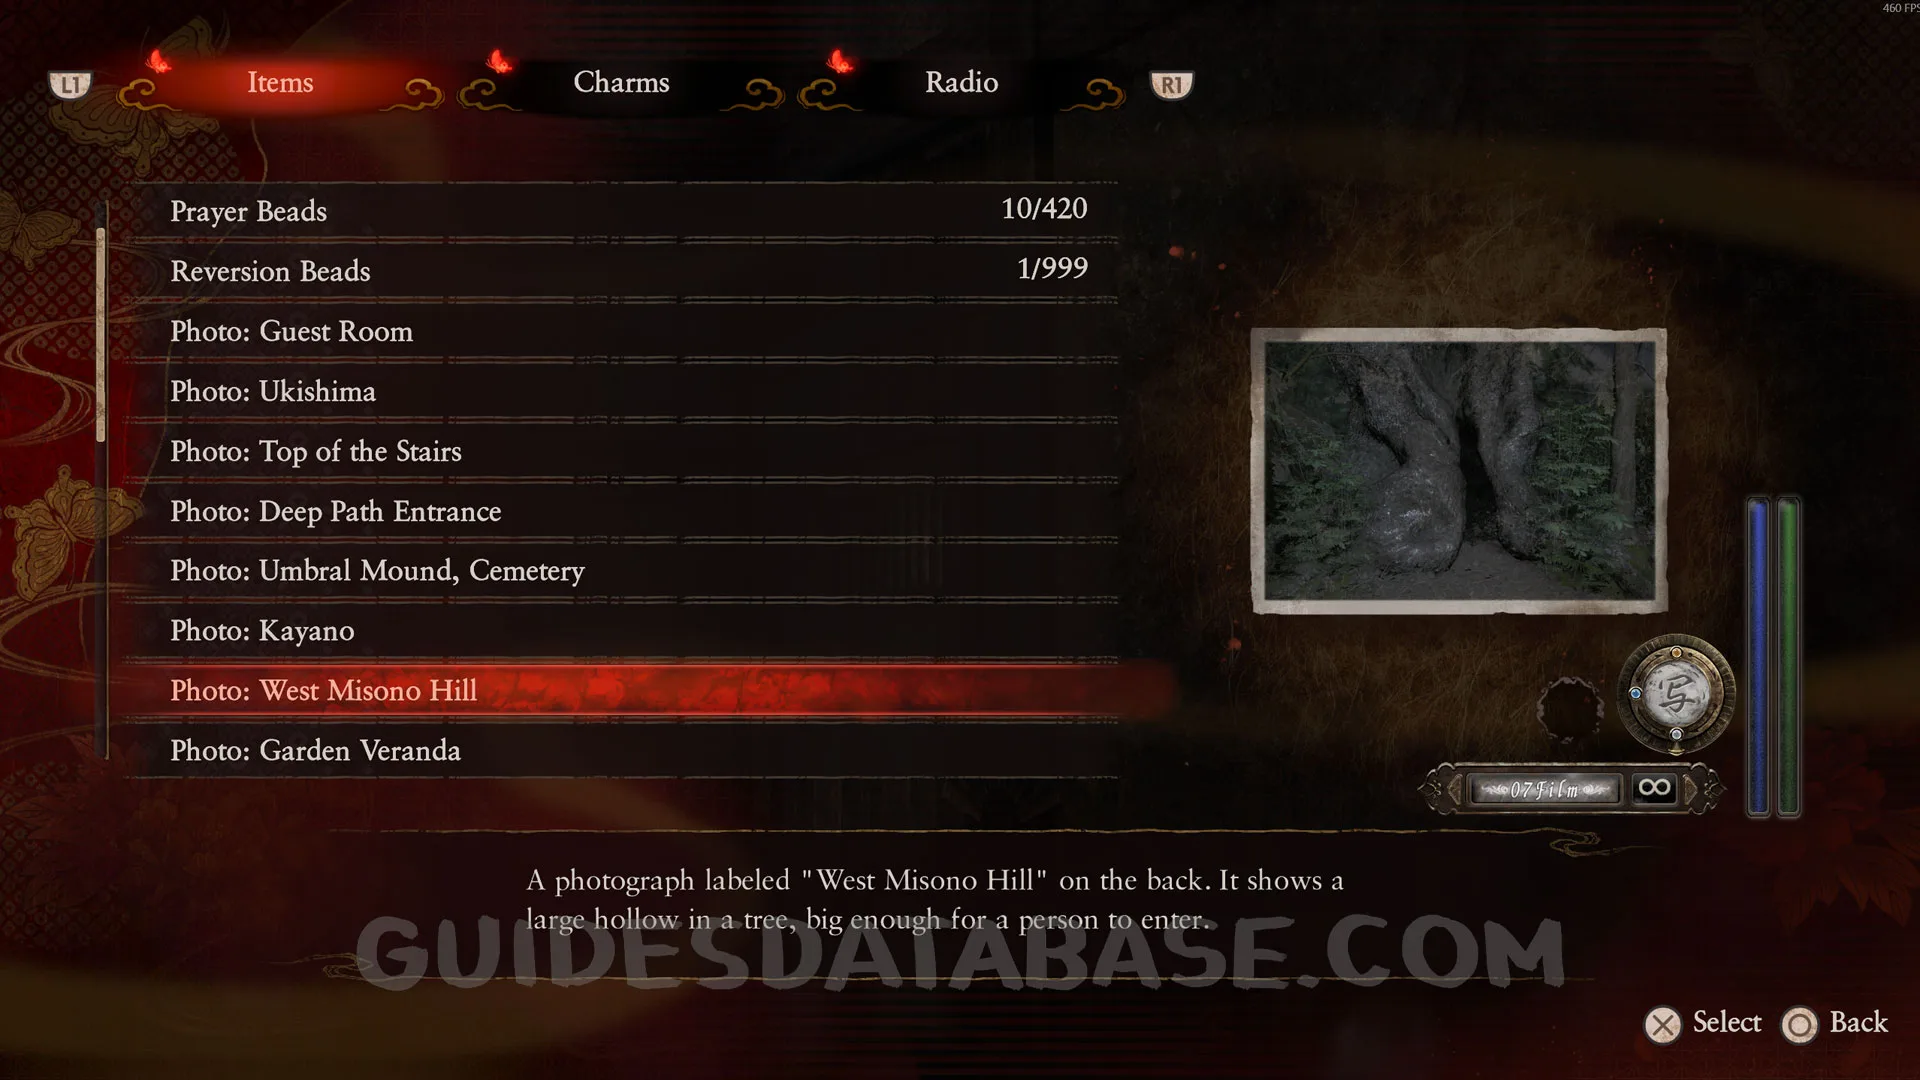 GUIDESDATABASE.COM
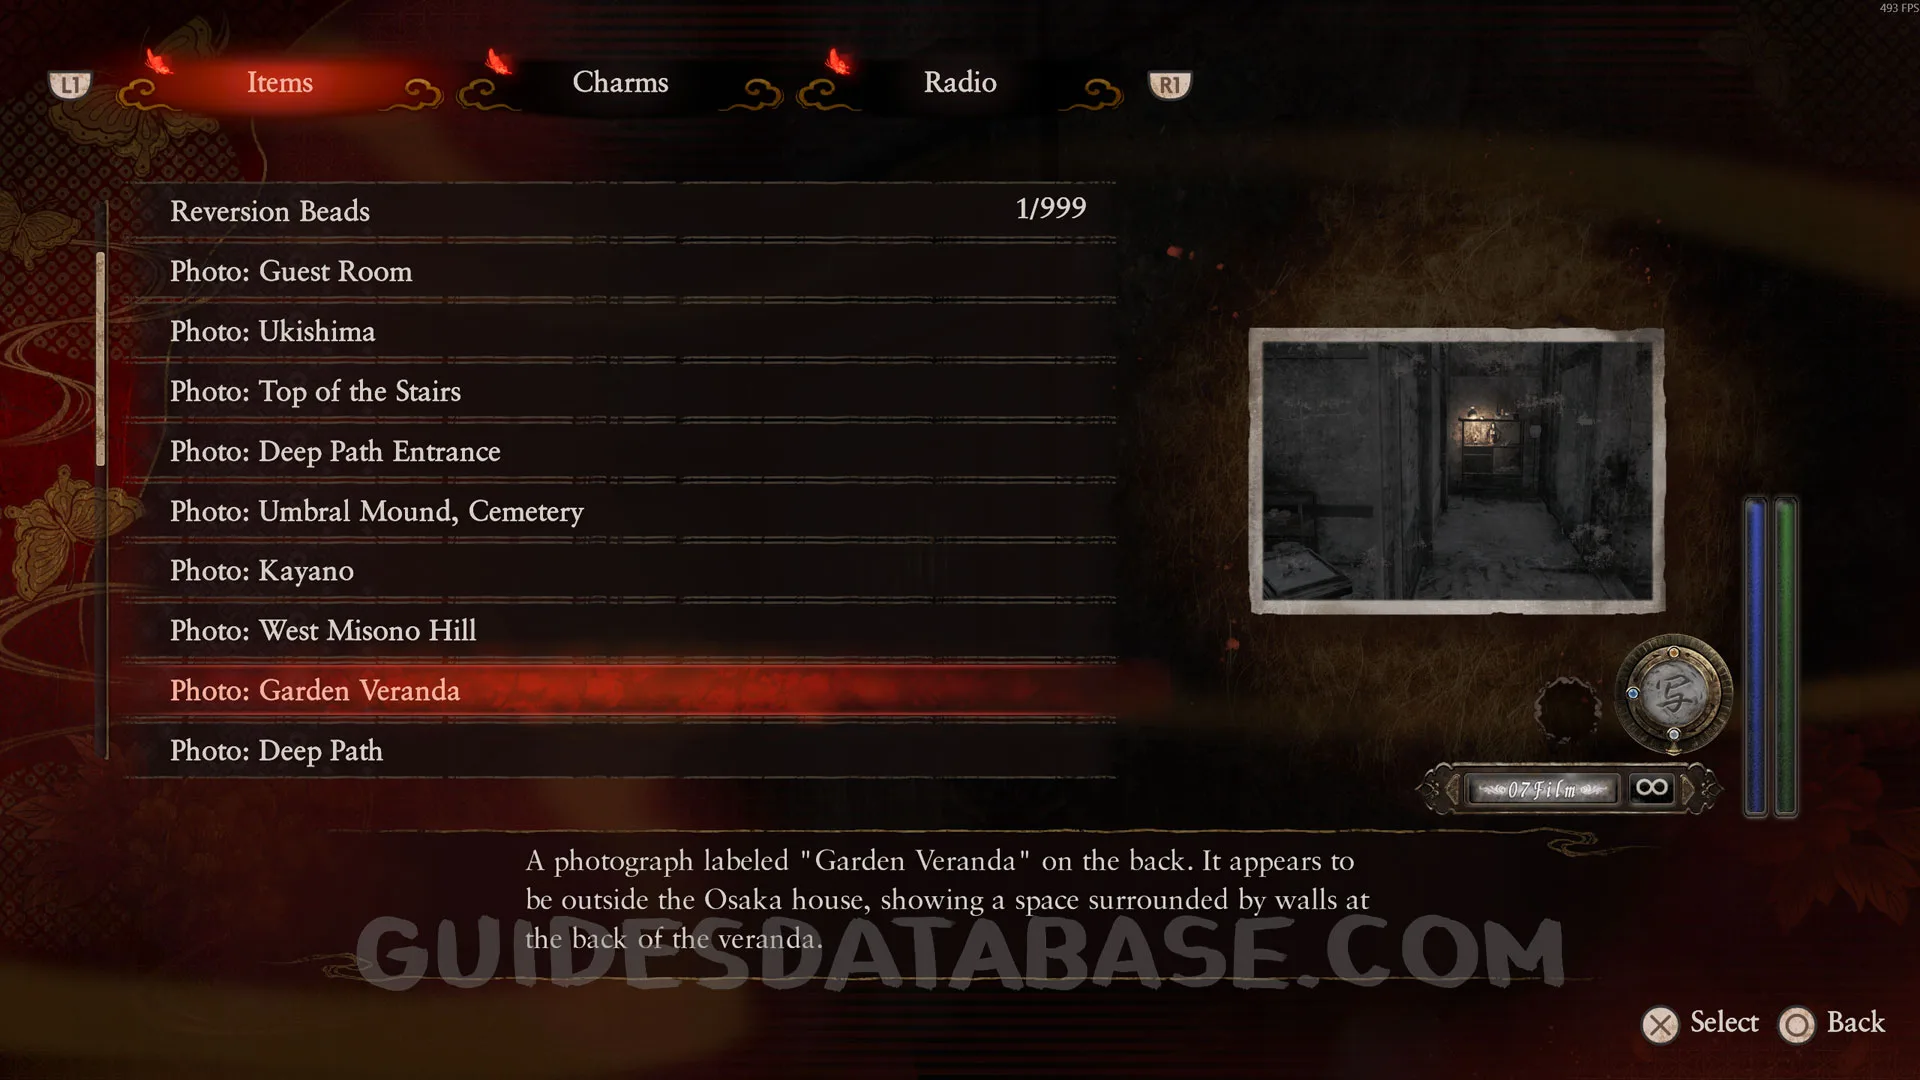 GUIDESDATABASE.COM
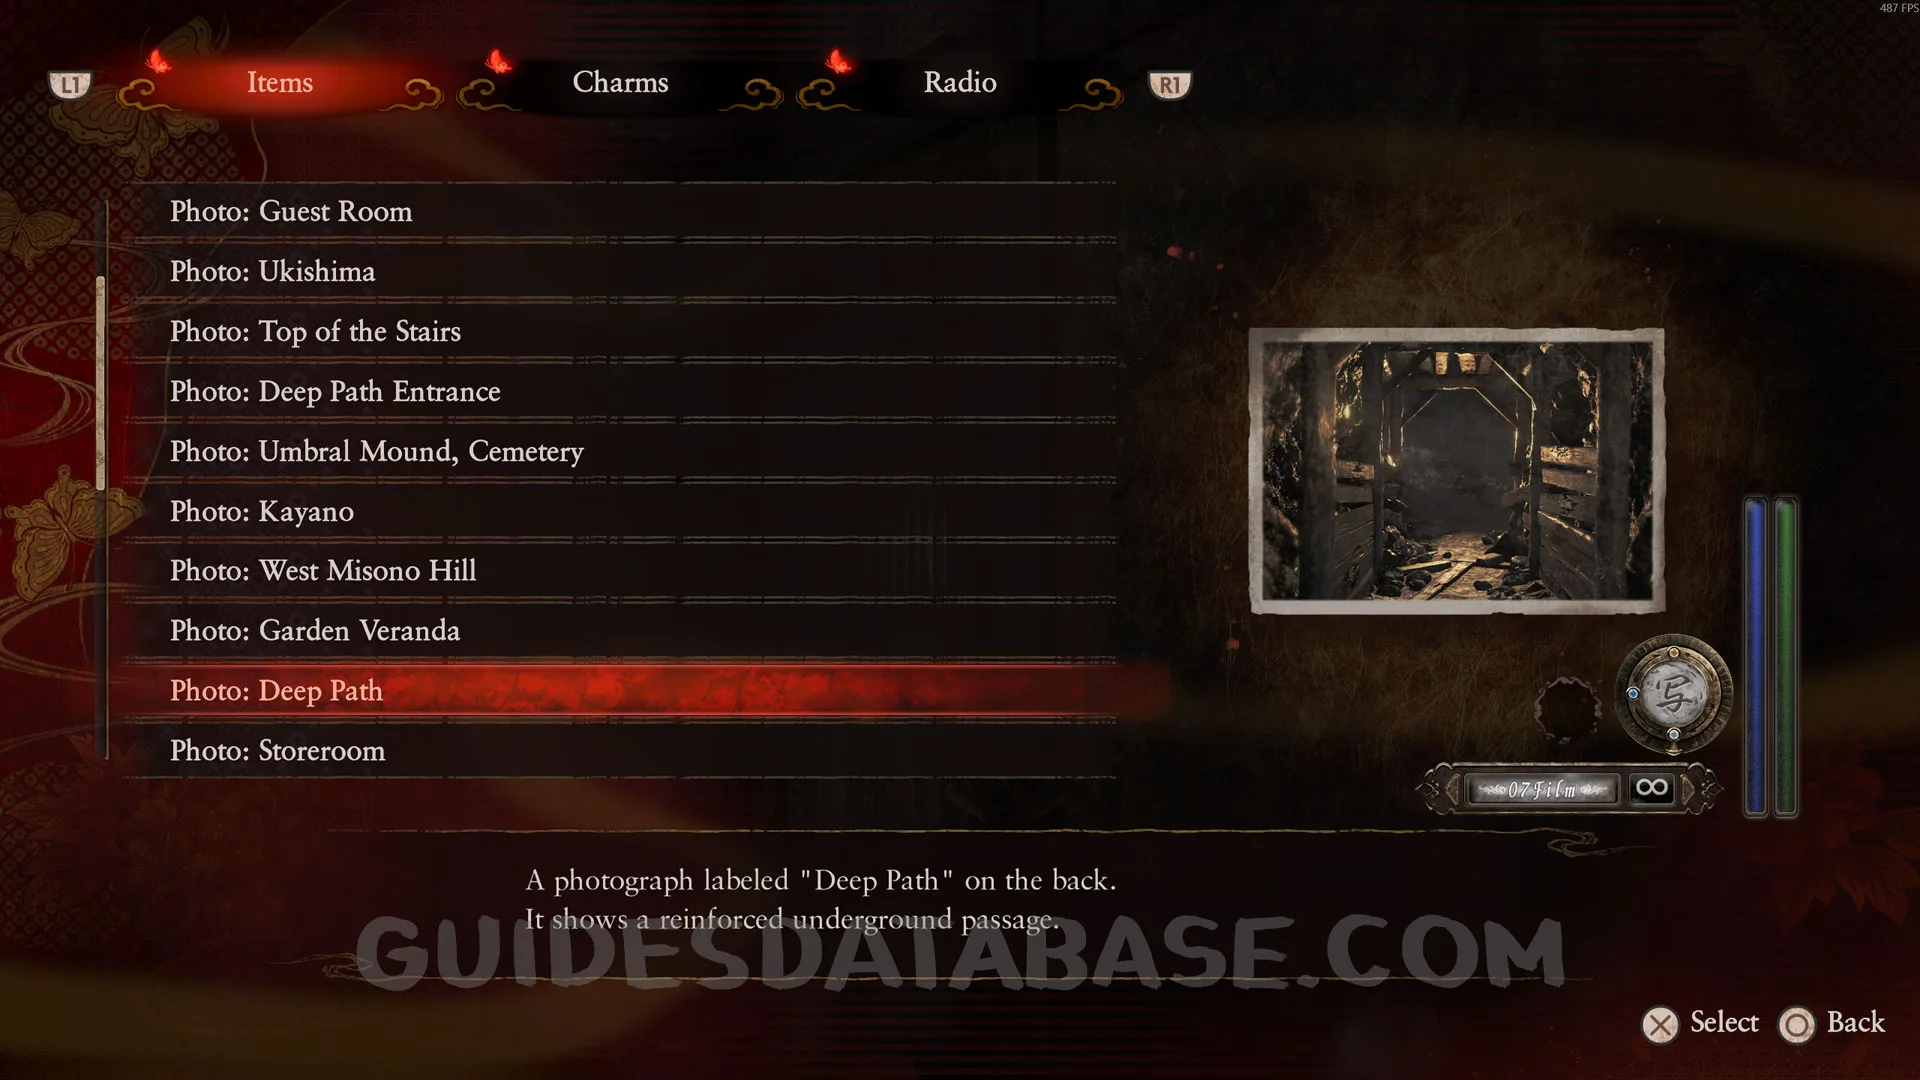 GUIDESDATABASE.COM
 GUIDESDATABASE.COM
Wraith #1: 001 - The Wanderer.
Right after picking up the Camera Obscura, you will have to open the door in front of you to proceed, and Mayu will be attacked by this Wraith. Take a picture of it.
 GUIDESDATABASE.COM
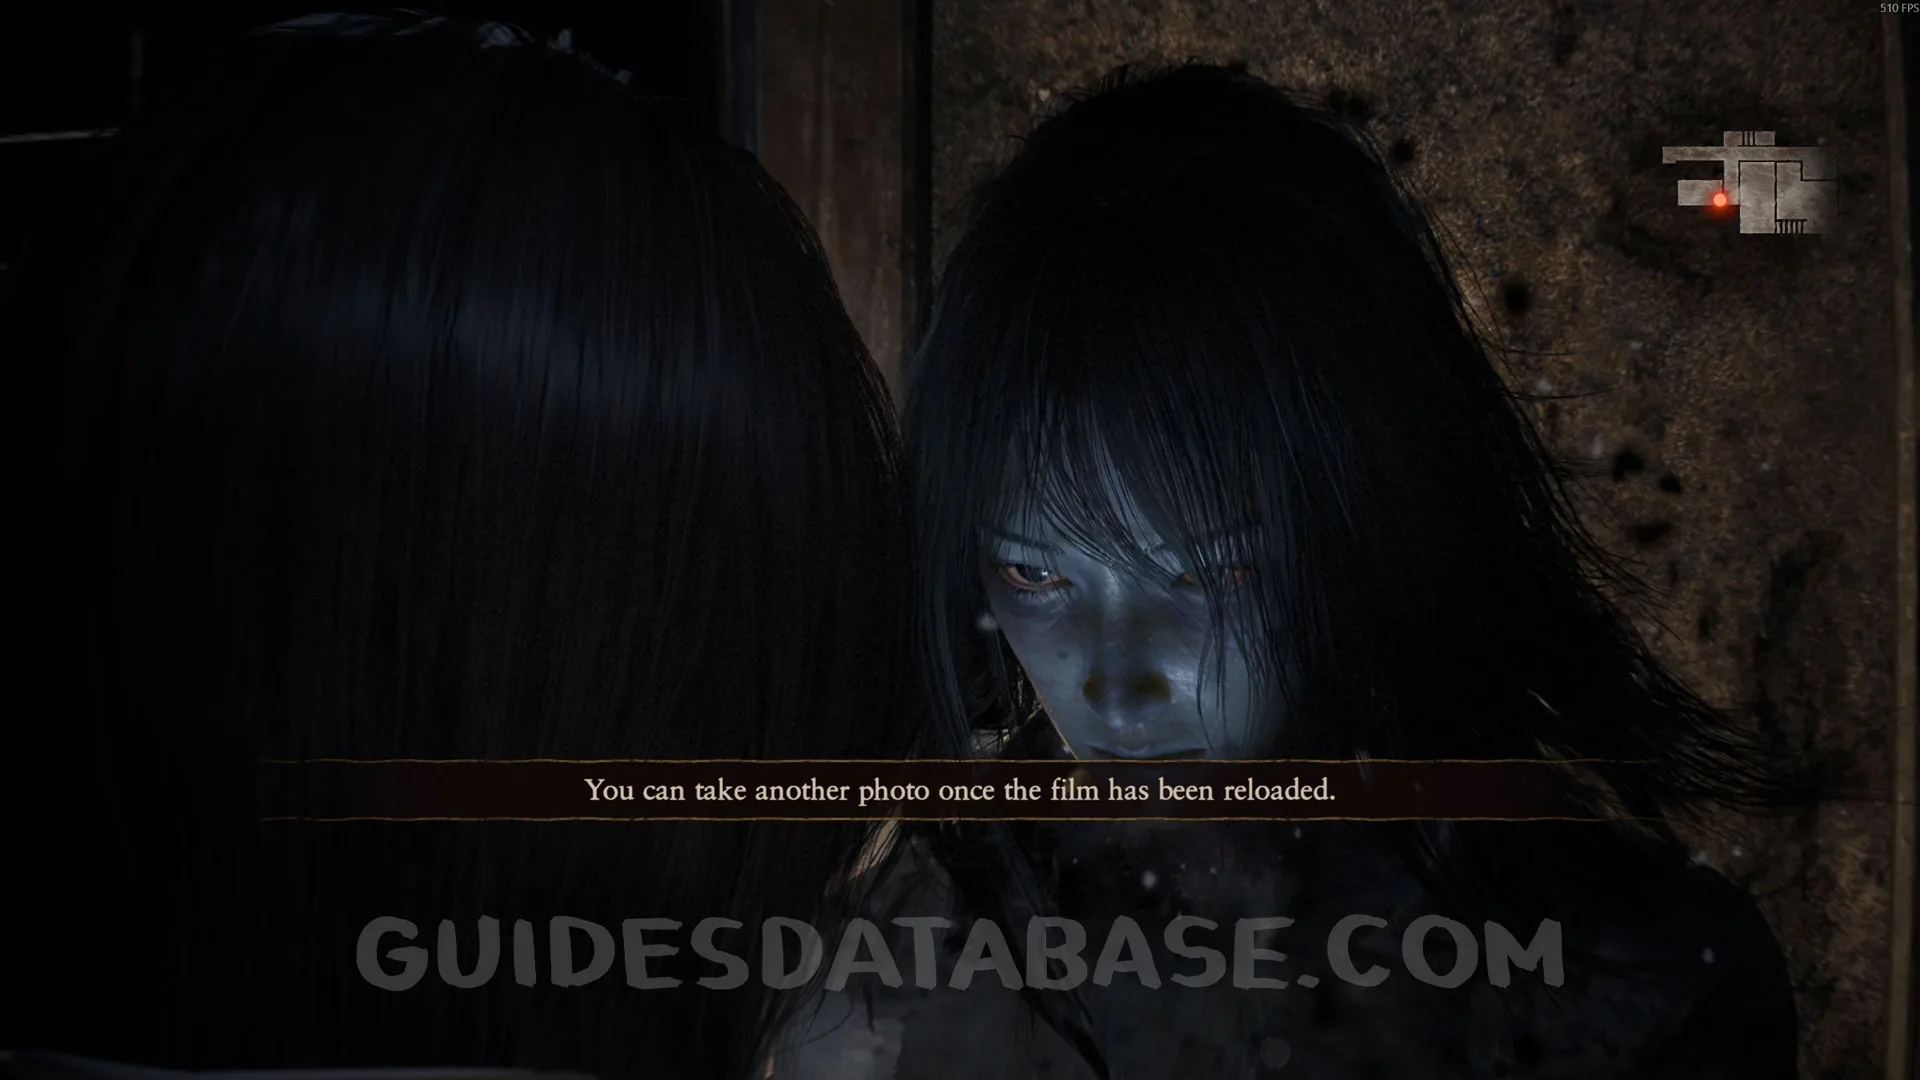 GUIDESDATABASE.COM
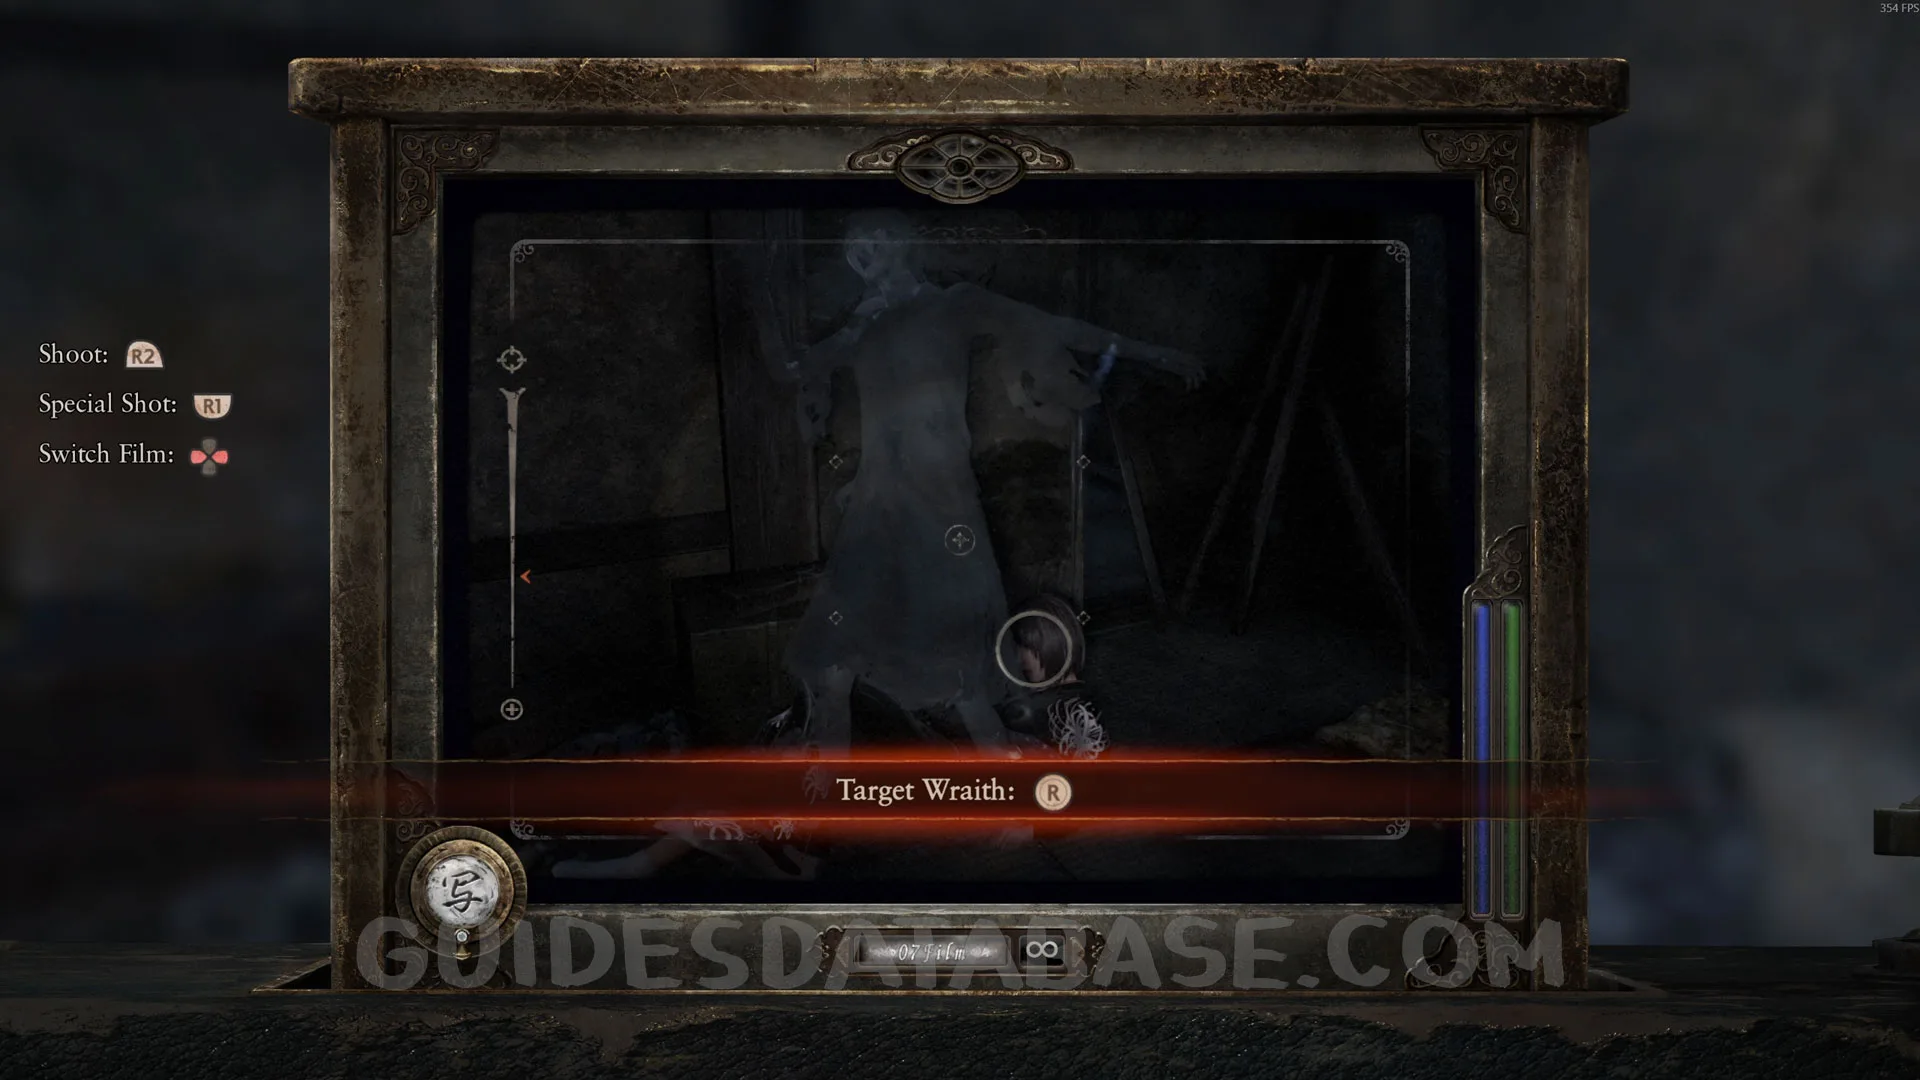 GUIDESDATABASE.COM
Specter #1: 004 - Woman Roaming Second Floor.
After picking up the Camera Obscura and interacting with the exit door to progress, Mayu will point her finger upward showing this specter on the second floor. Take a picture.
 GUIDESDATABASE.COM
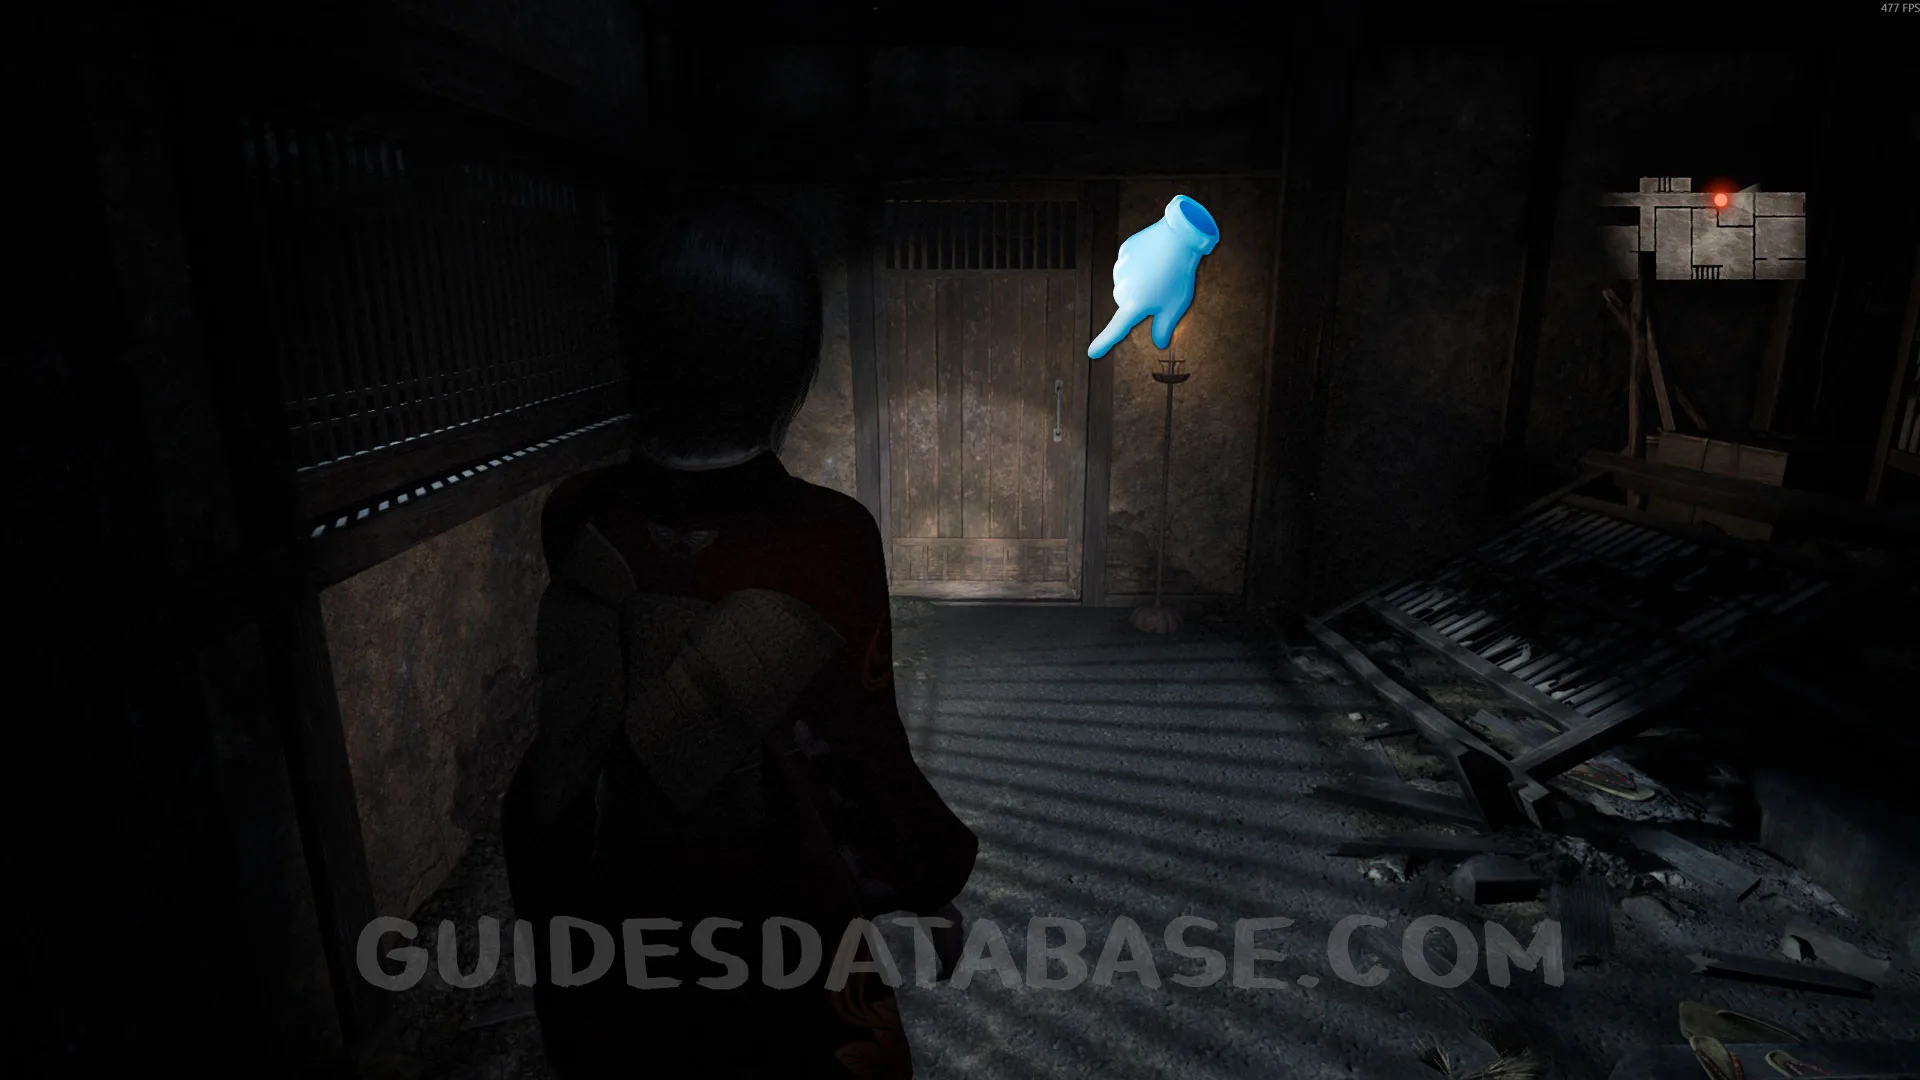 GUIDESDATABASE.COM
 GUIDESDATABASE.COM
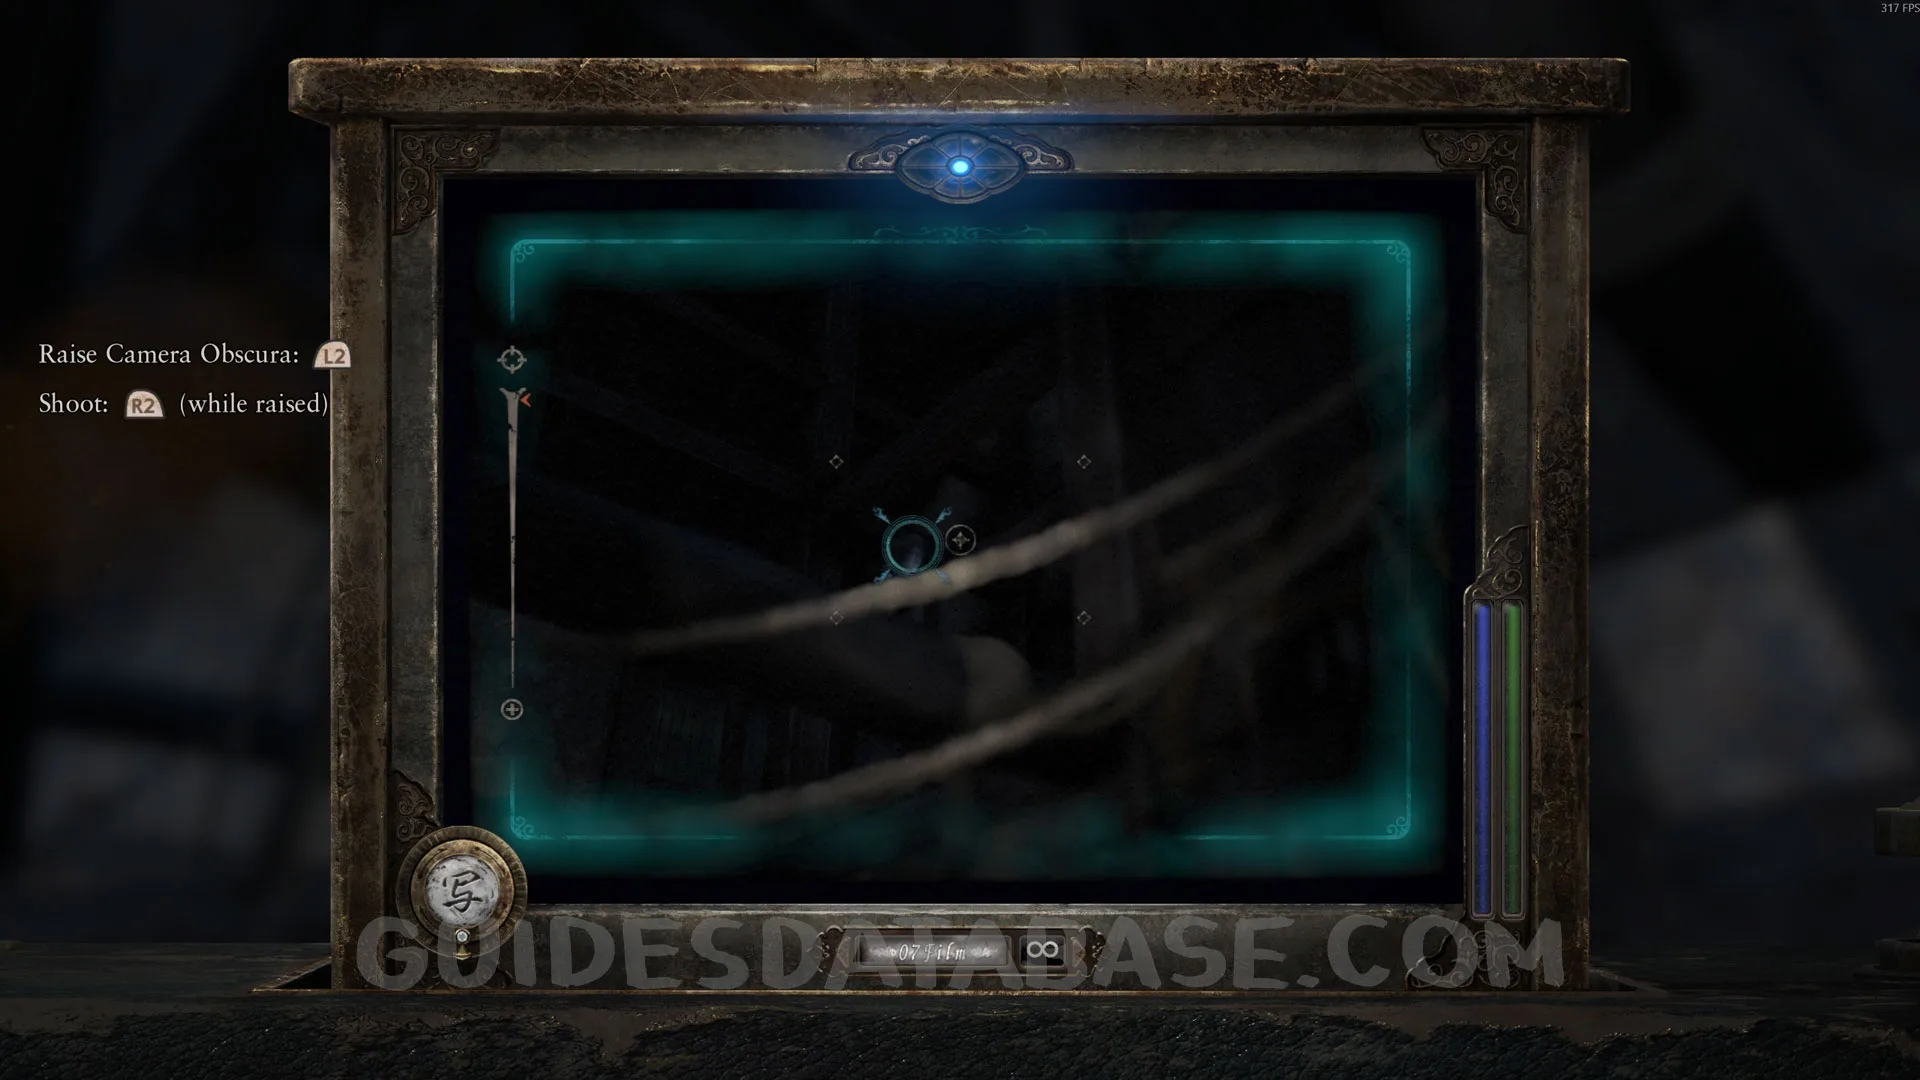 GUIDESDATABASE.COM
Twin Dolls #1 - 001.
From the previous collectible, enter the save point room and take a picture of the twin doll.
 GUIDESDATABASE.COM
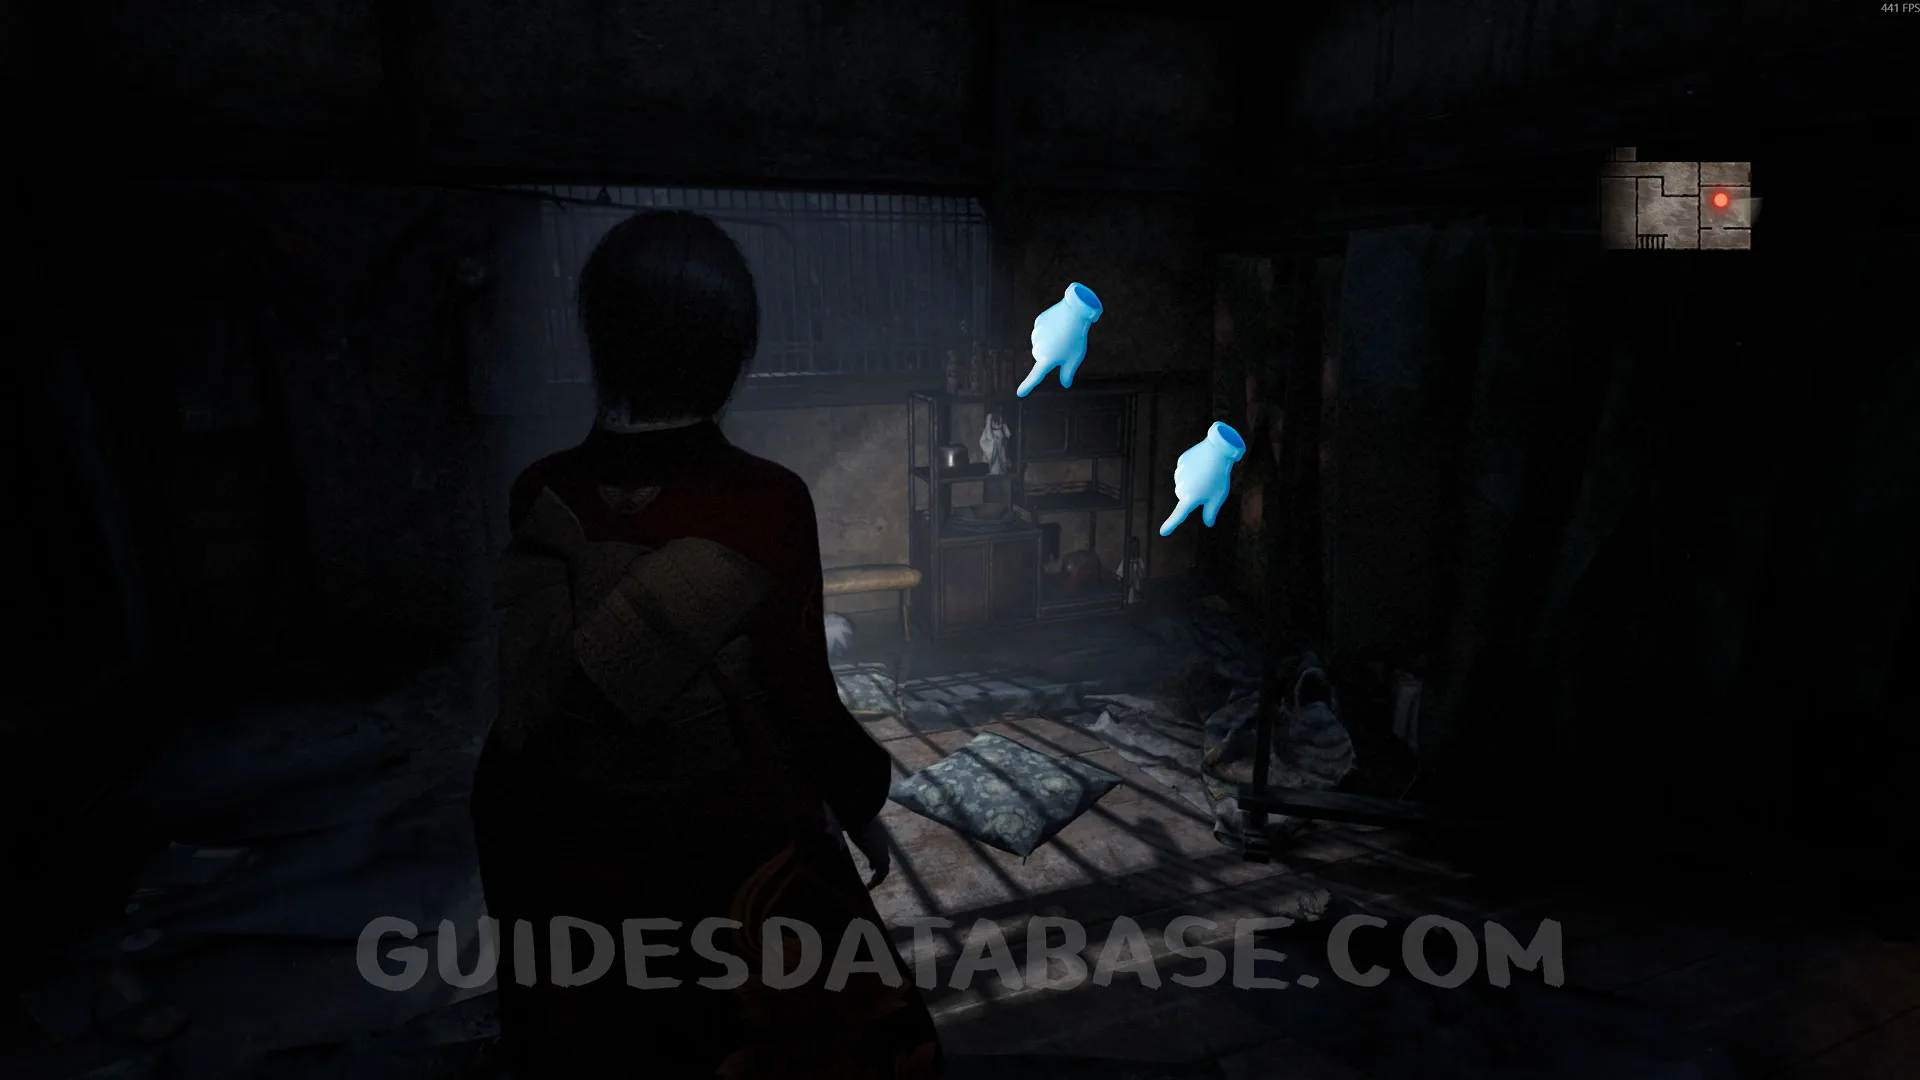 GUIDESDATABASE.COM
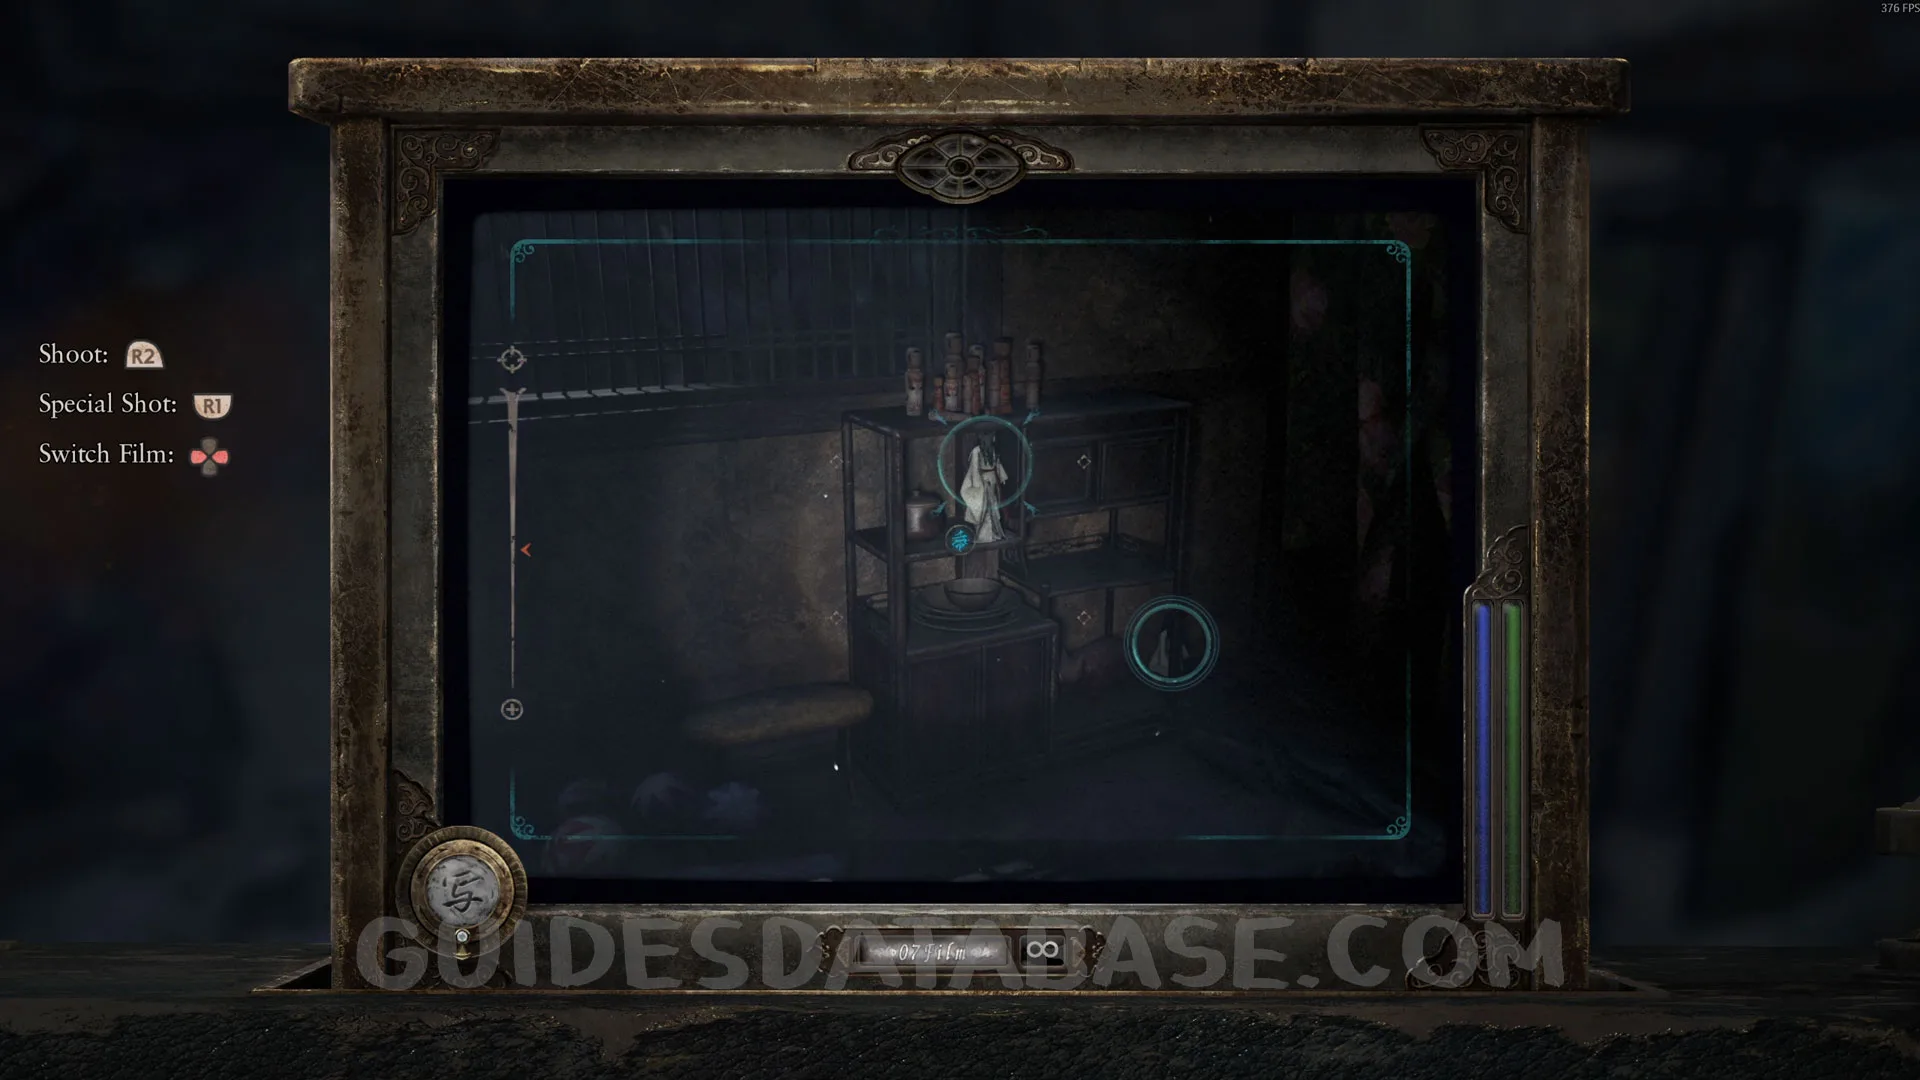 GUIDESDATABASE.COM
Document #7 - Woman's Notebook 5.
From the previous collectible, go up the stairs and pick up this document on the floor.
 GUIDESDATABASE.COM
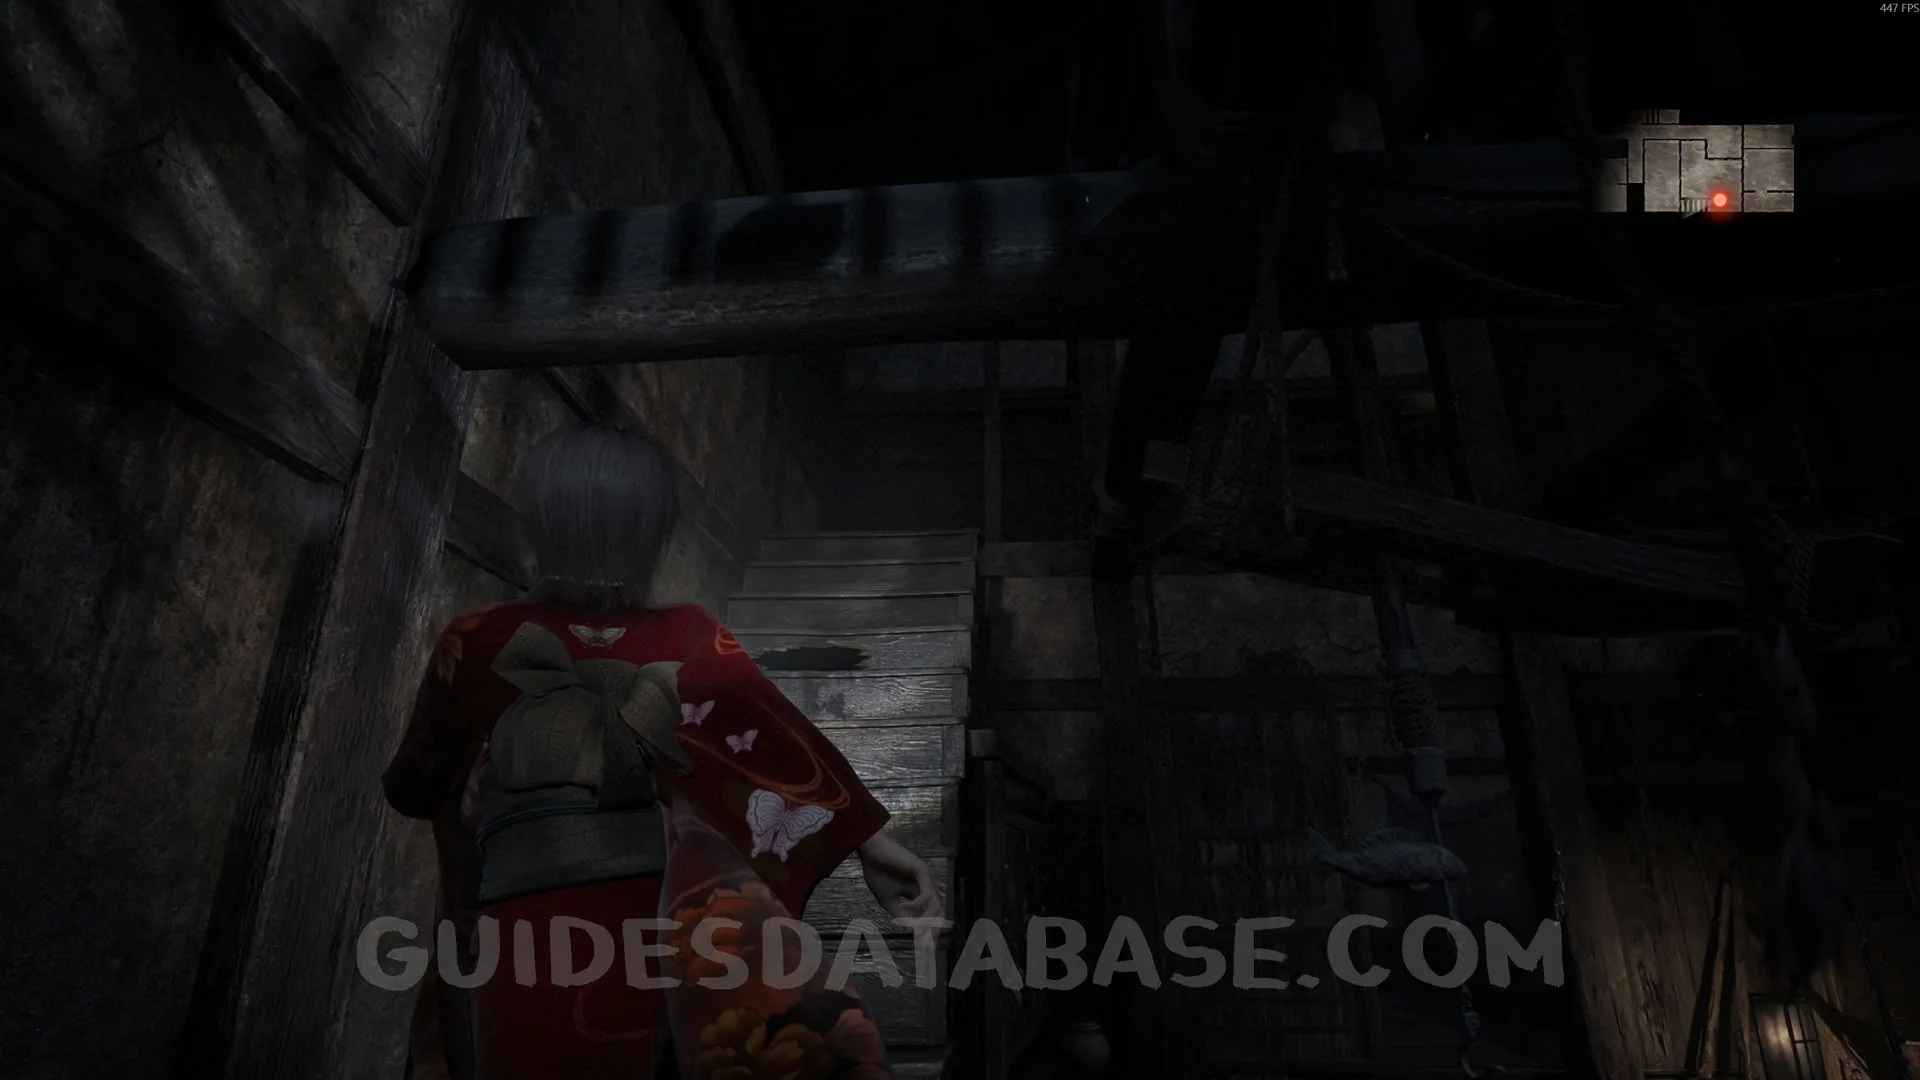 GUIDESDATABASE.COM
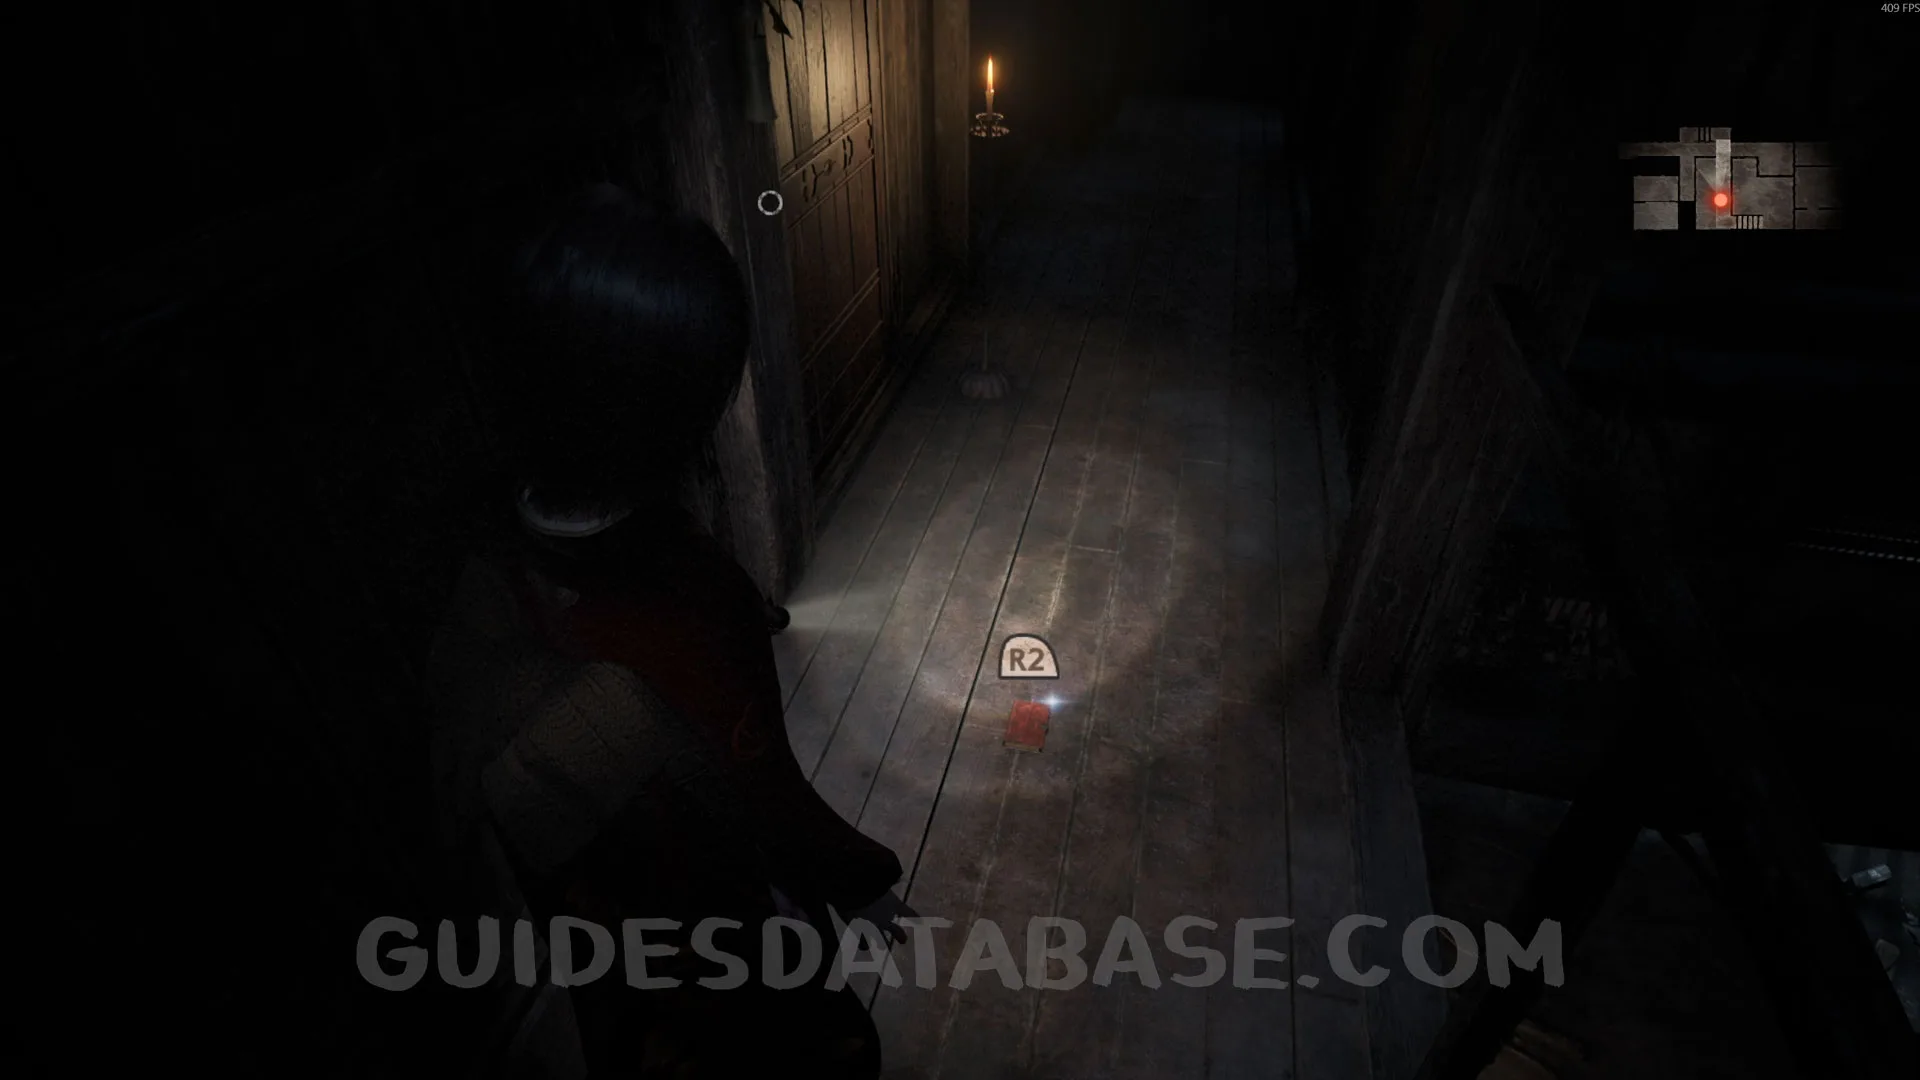 GUIDESDATABASE.COM
Specter #2: 005 - Beckoning Woman.
From the previous collectible, open the door on your left and take a picture of this specter.
 GUIDESDATABASE.COM
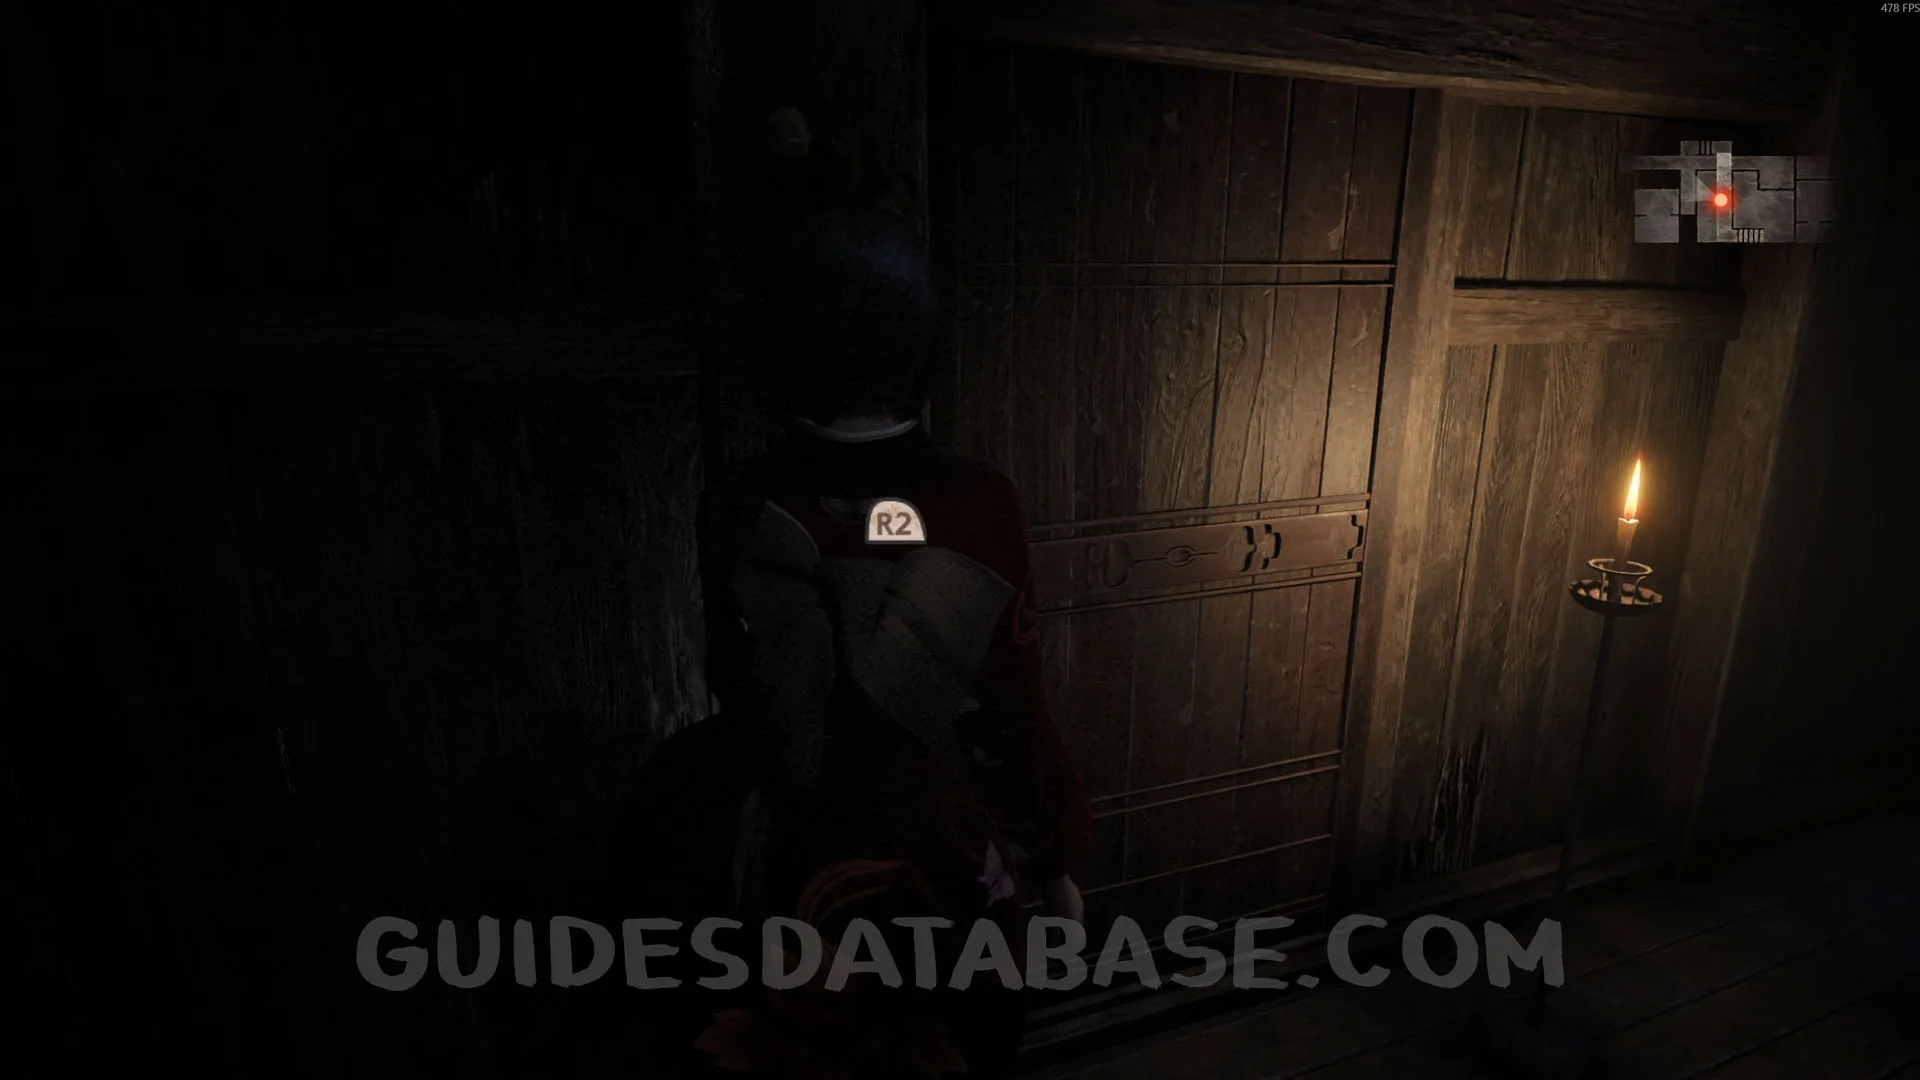 GUIDESDATABASE.COM
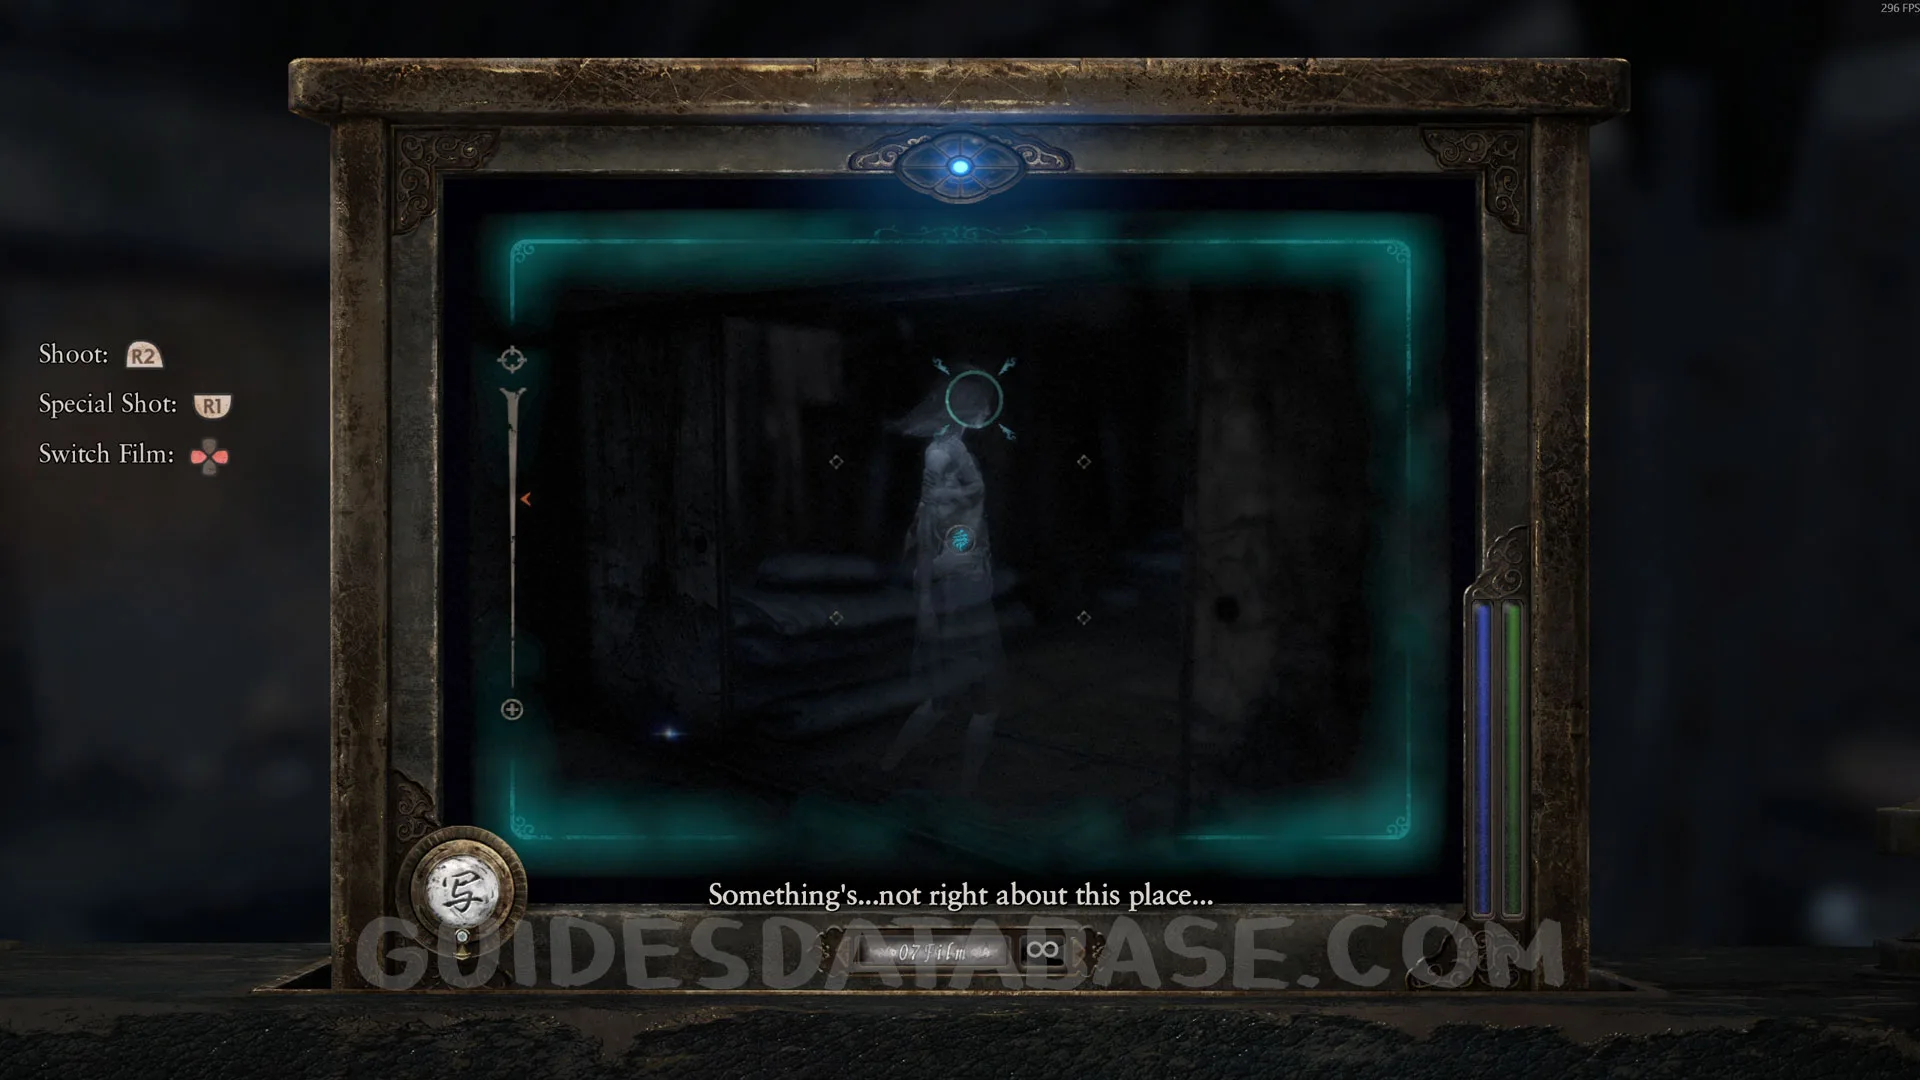 GUIDESDATABASE.COM
Document #8 - Woman's Notebook 9.
From the previous collectible, right in front of you. This document is related to the story and cannot be missed. Picking it up also ends Chapter 1.
 GUIDESDATABASE.COM
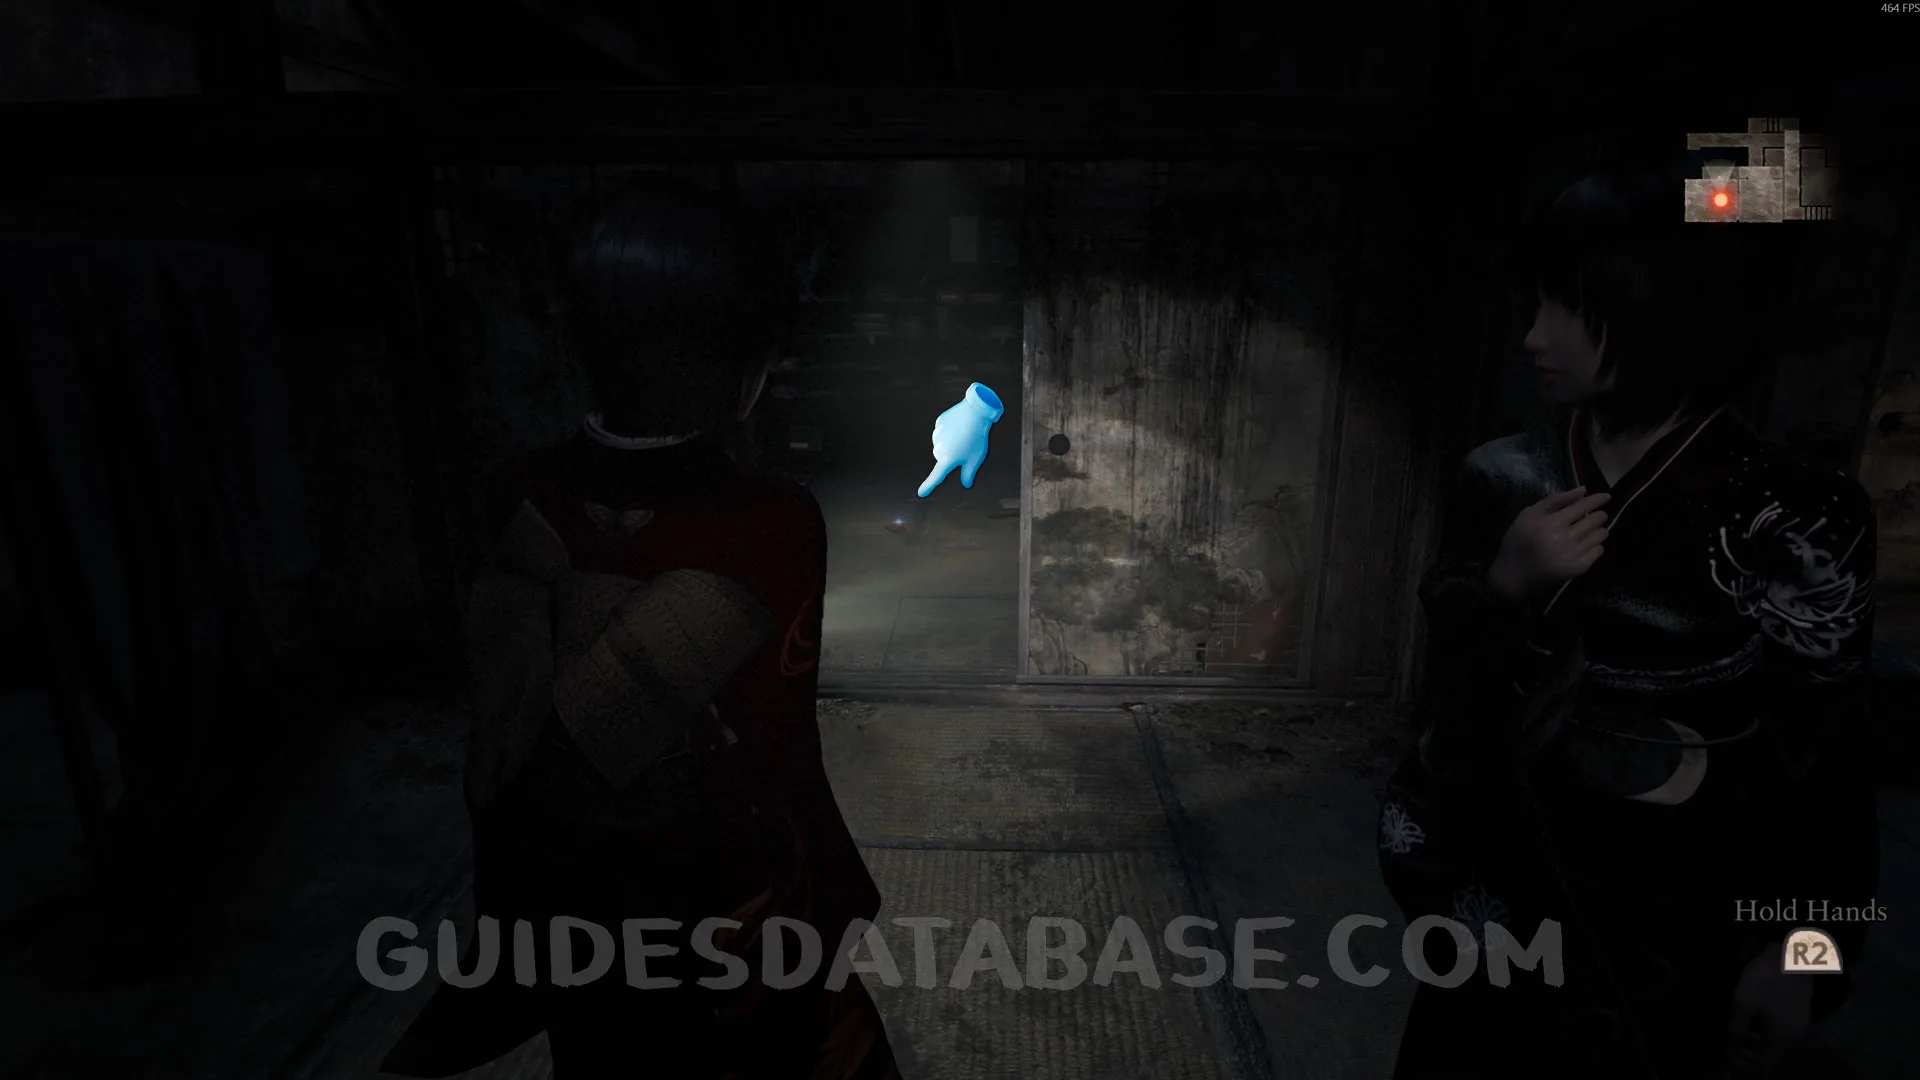 GUIDESDATABASE.COM
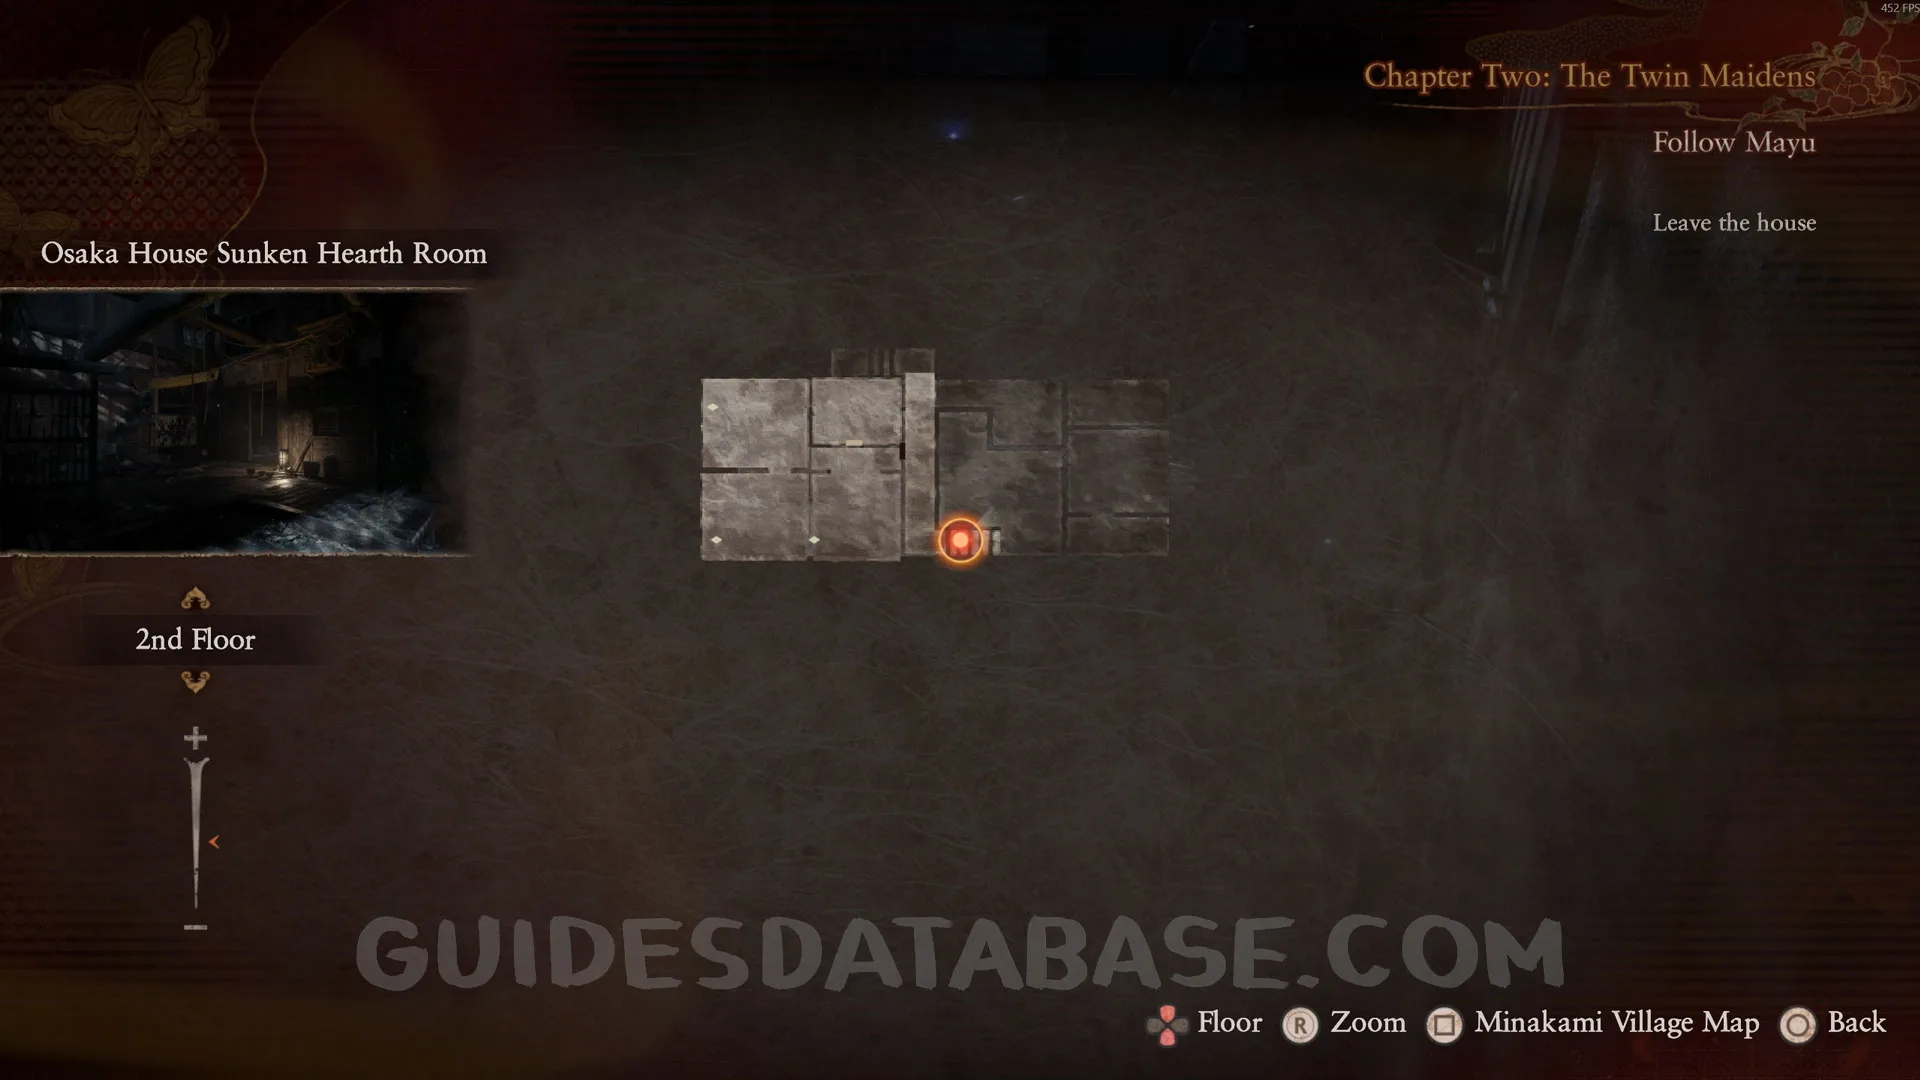
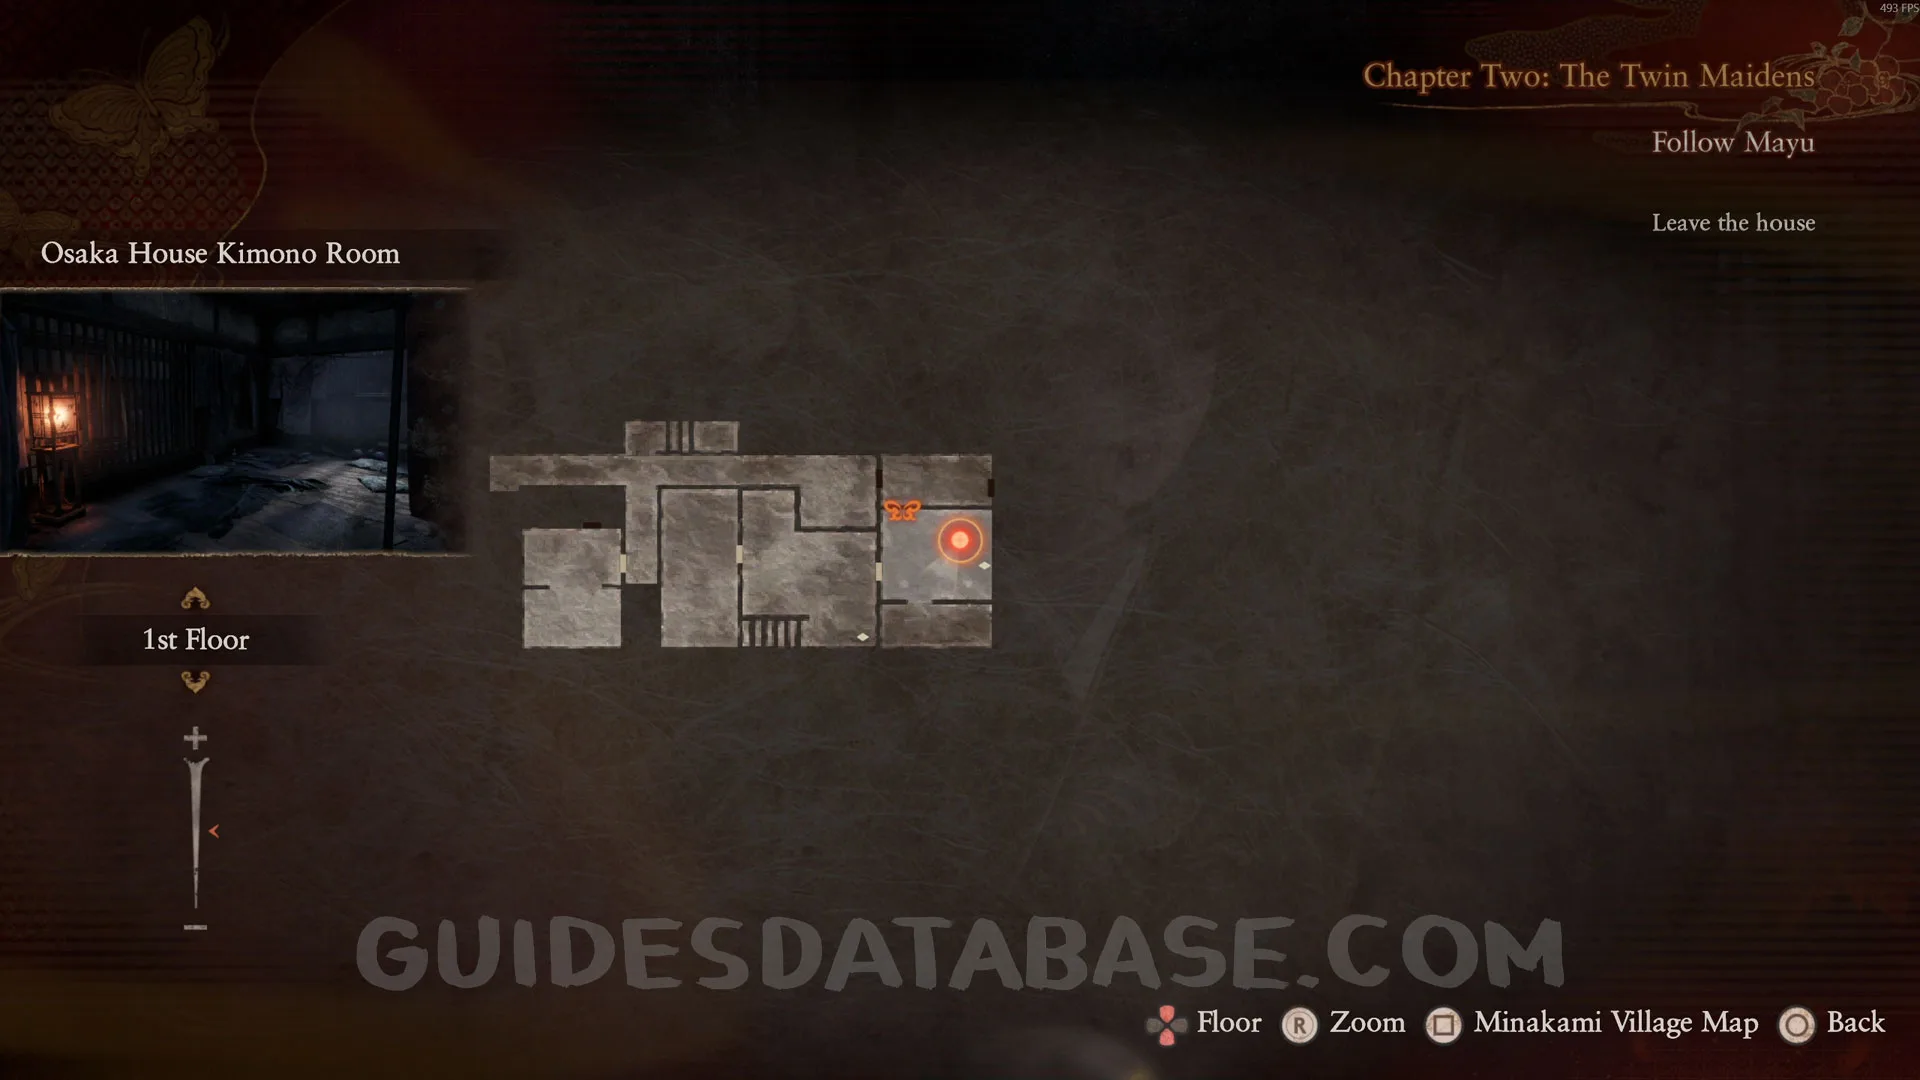
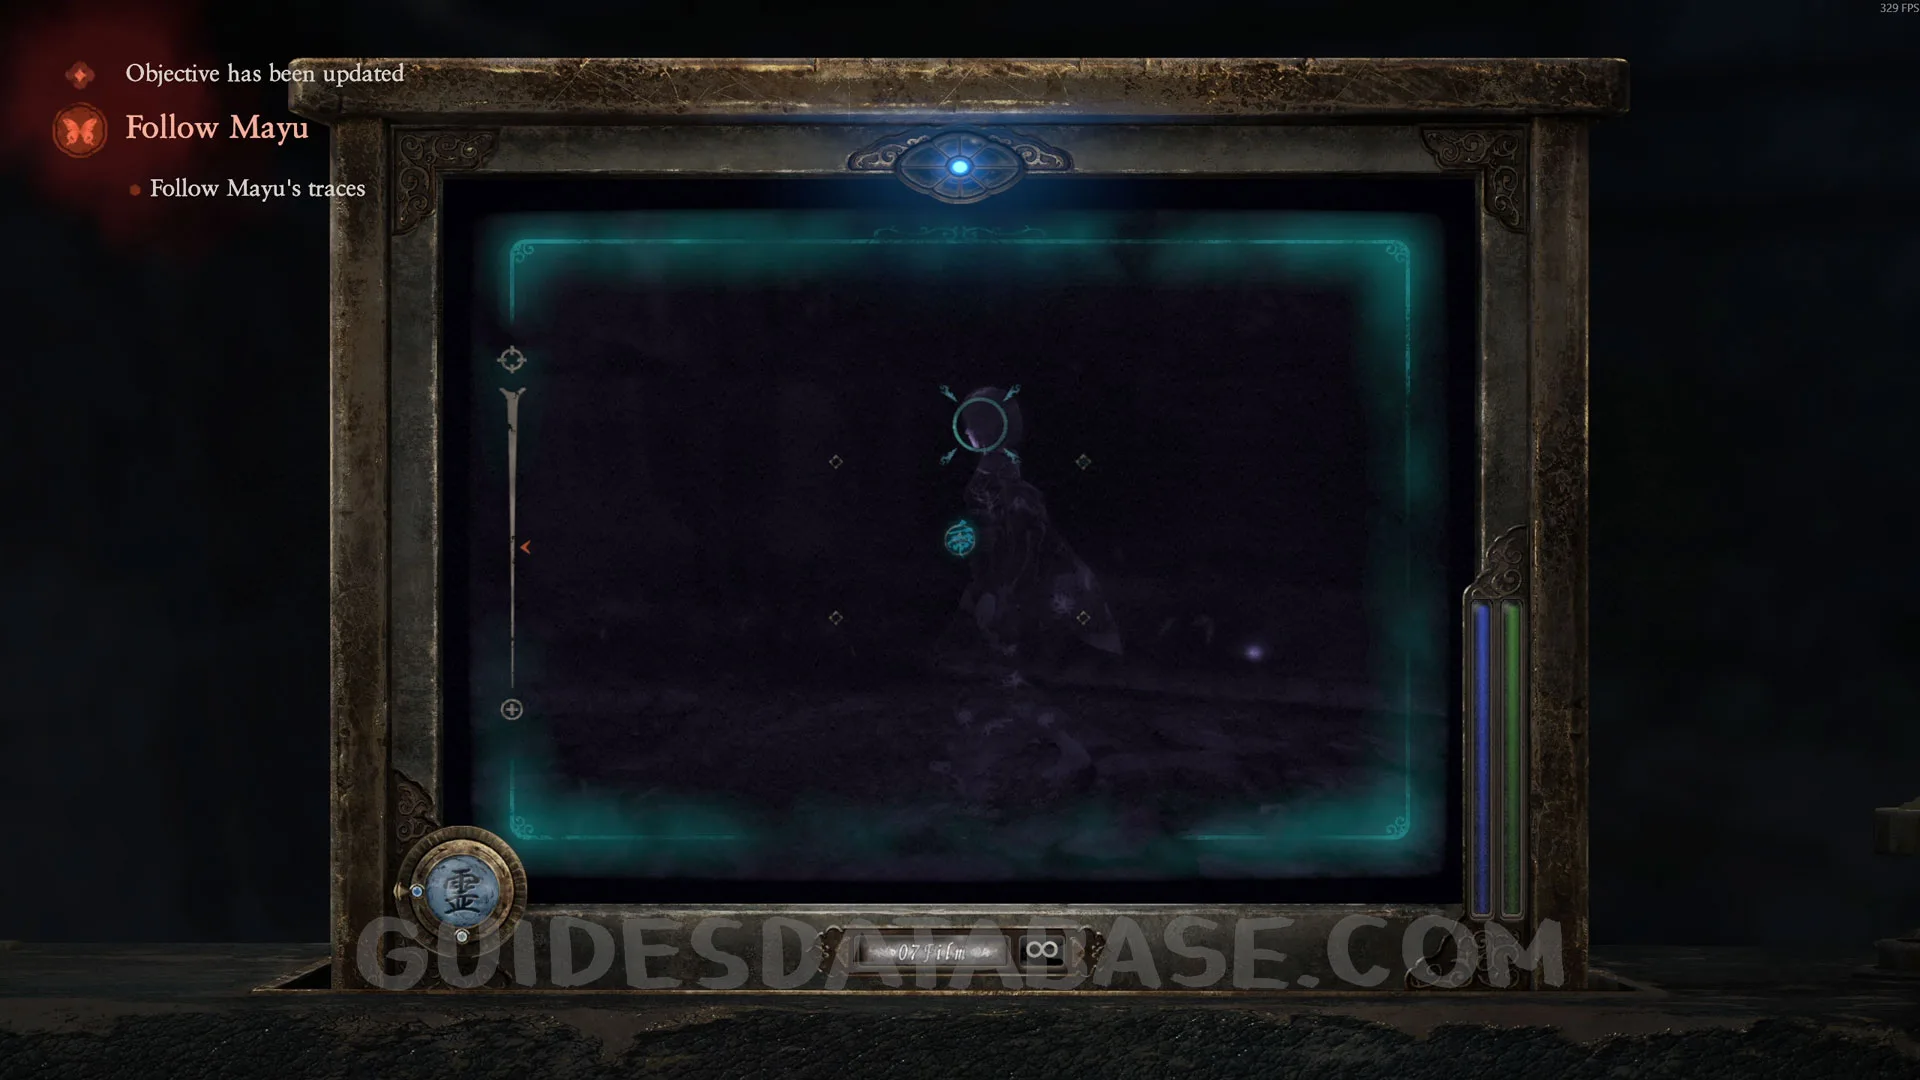
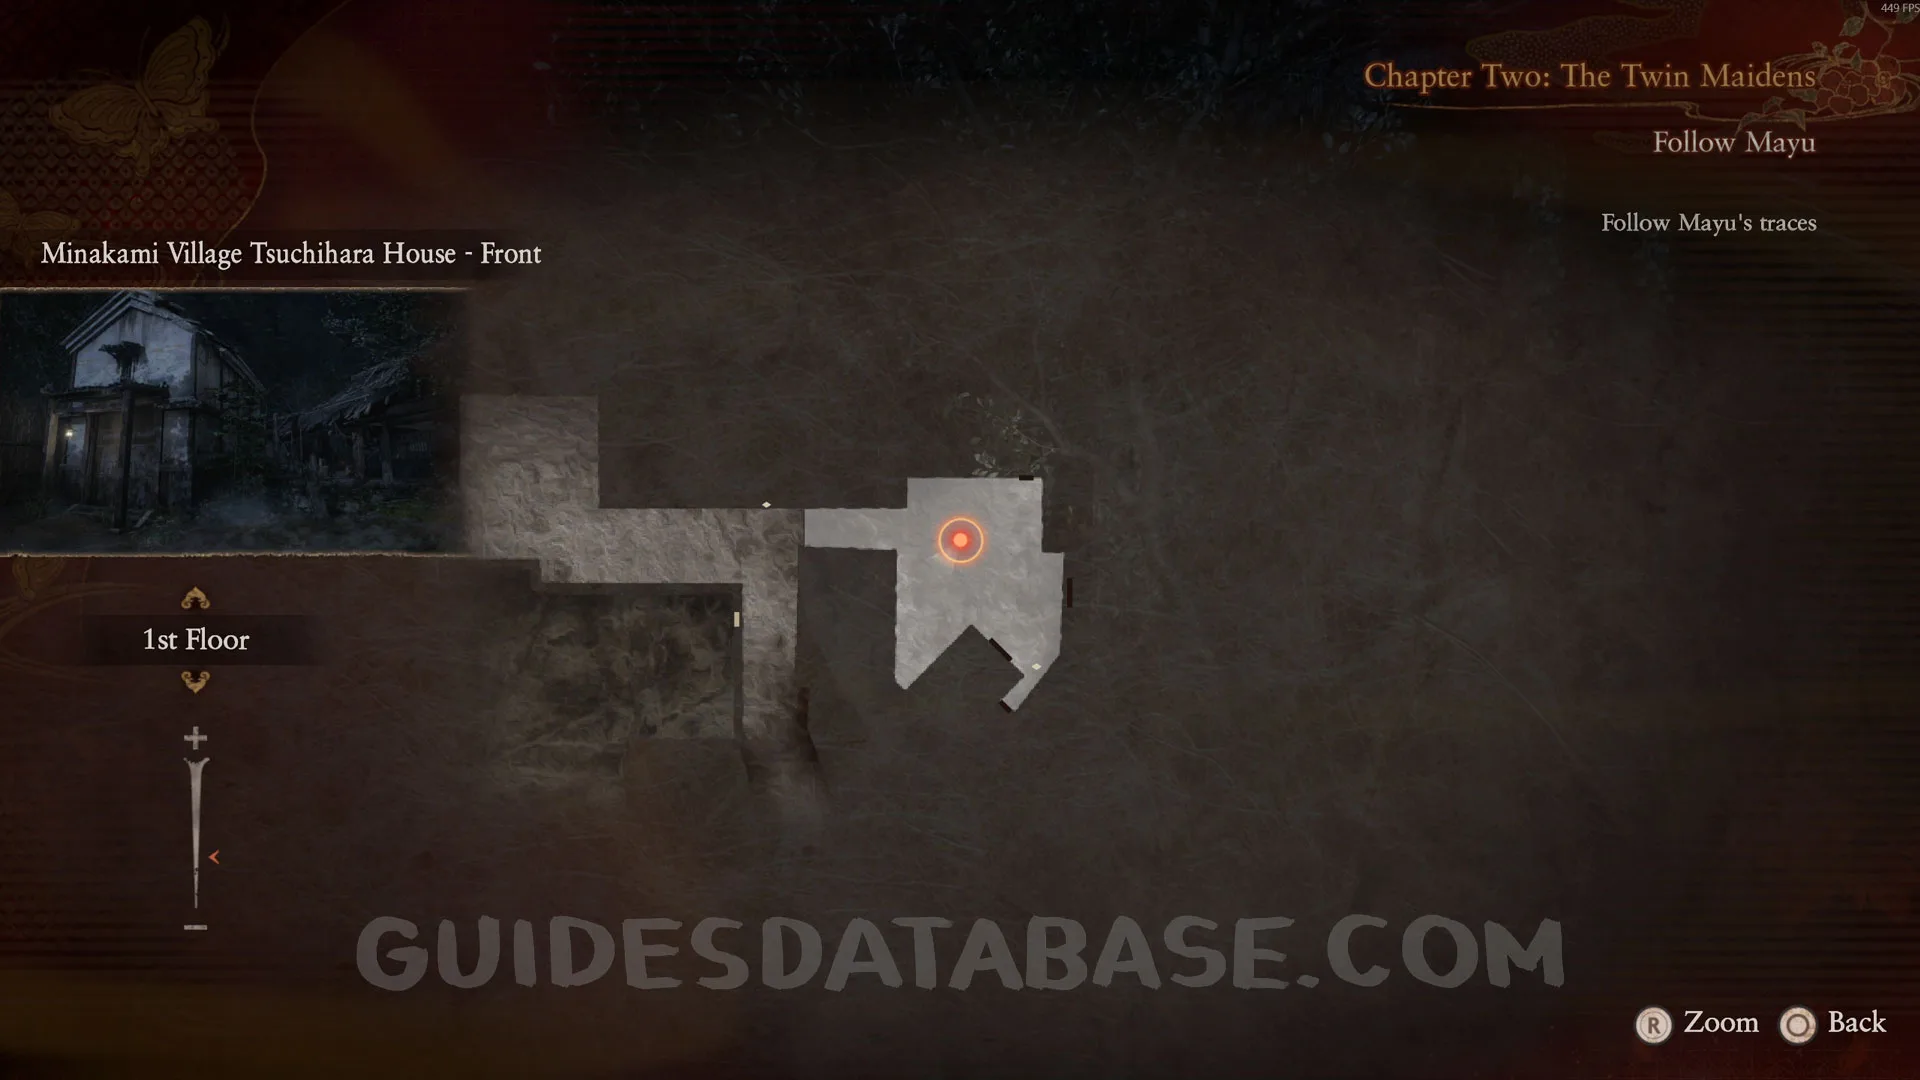
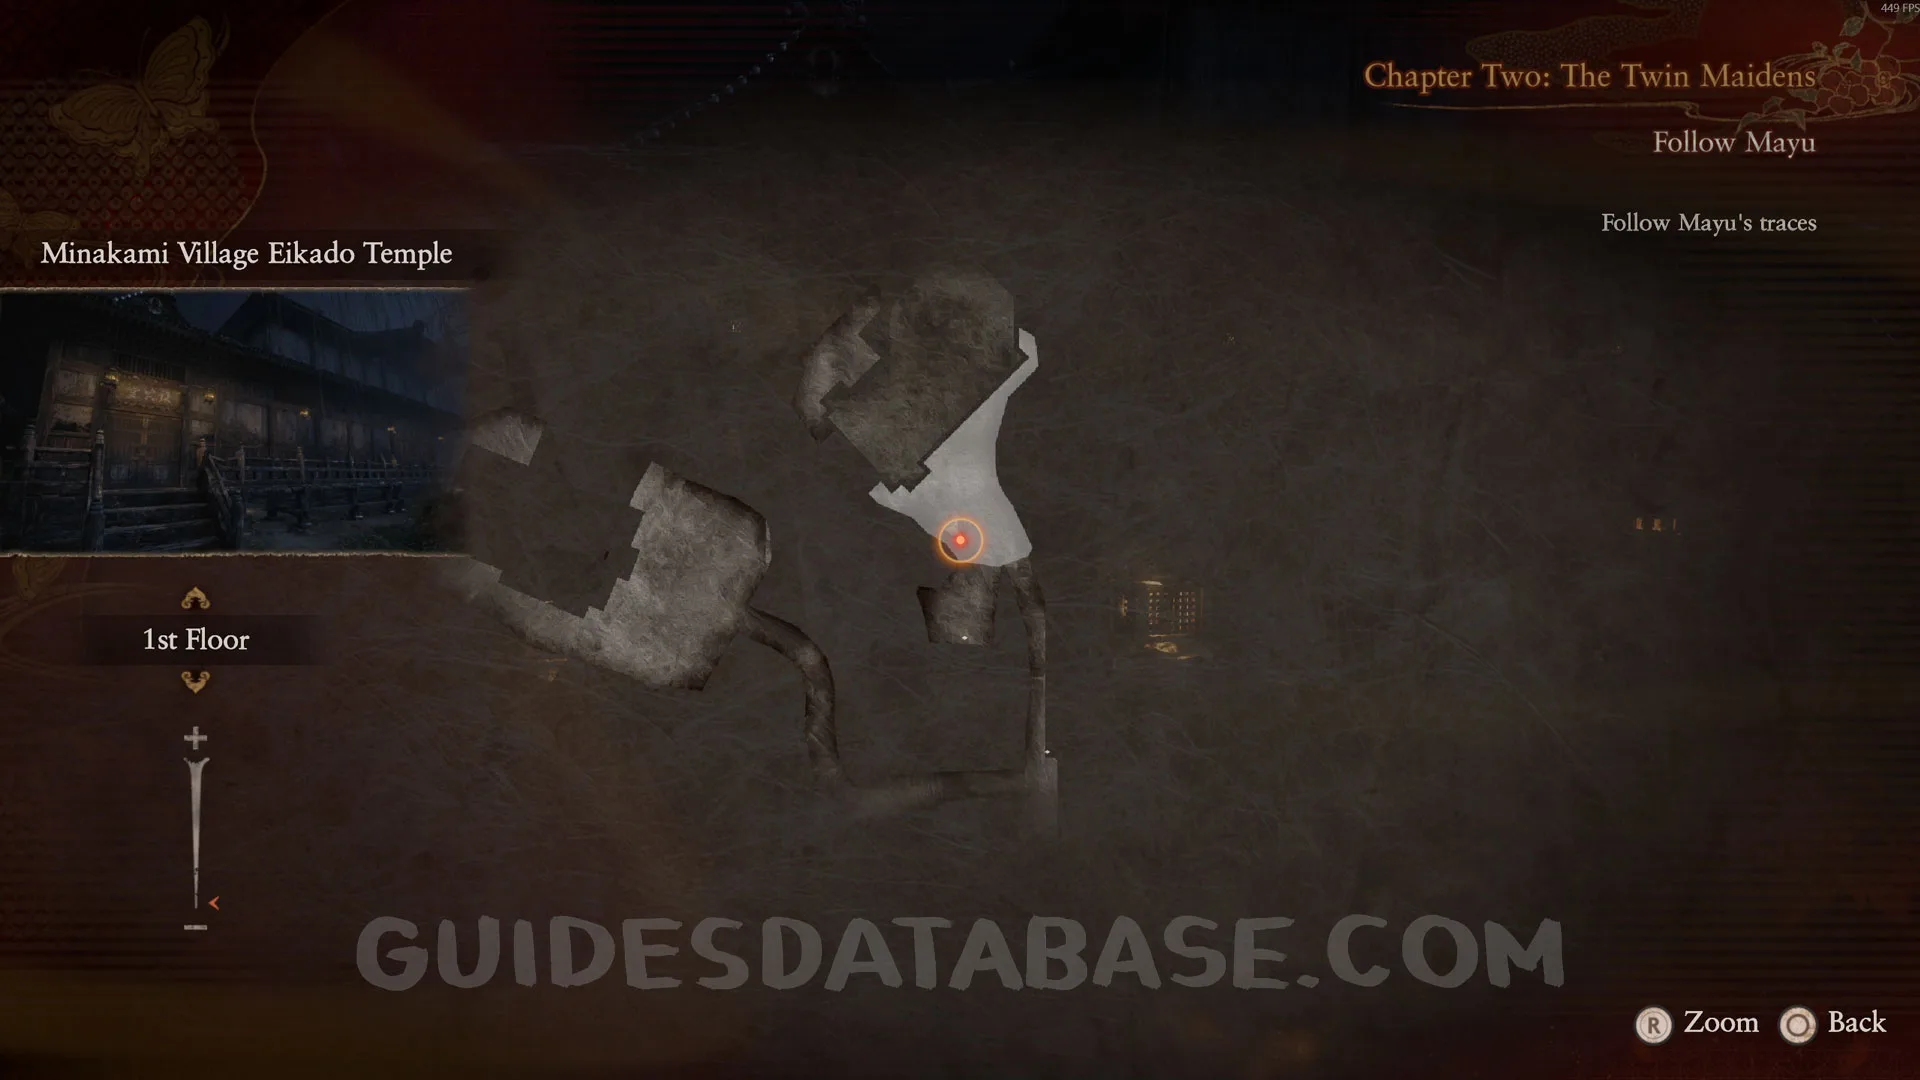
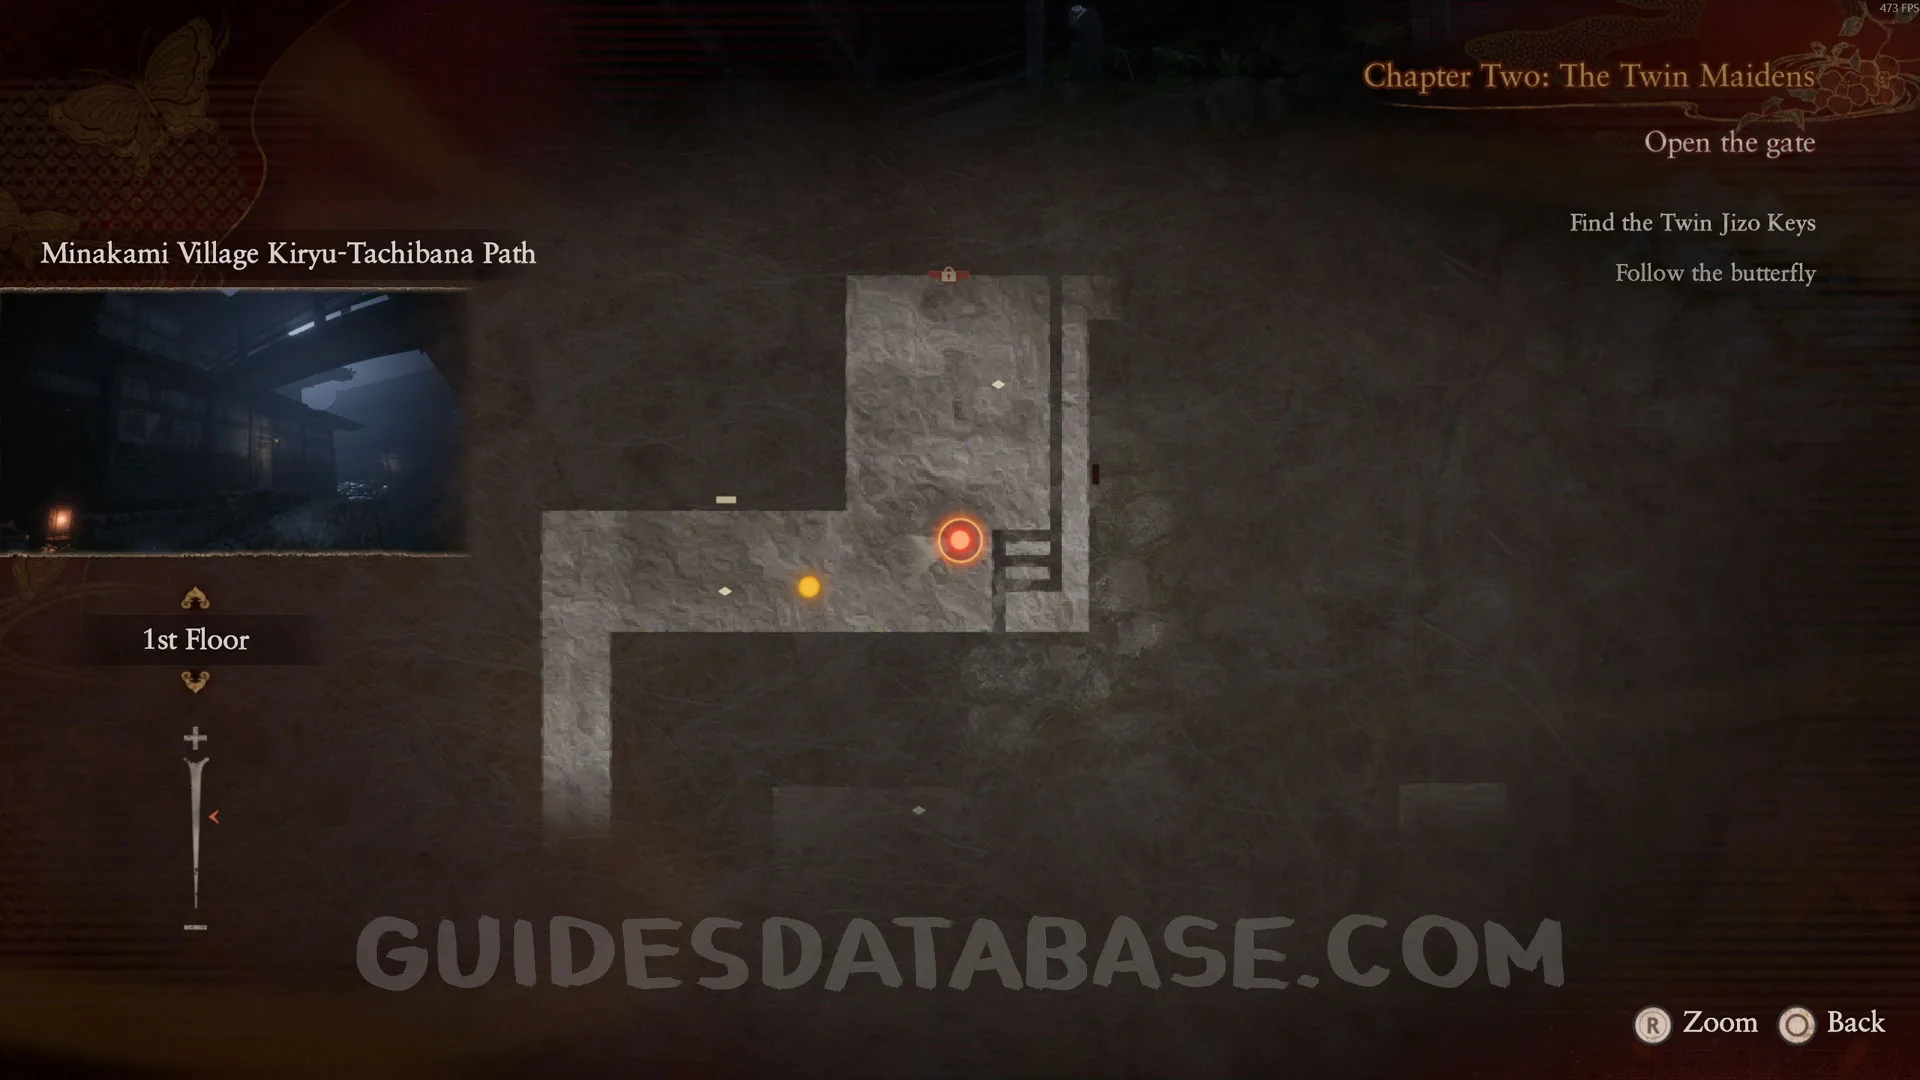
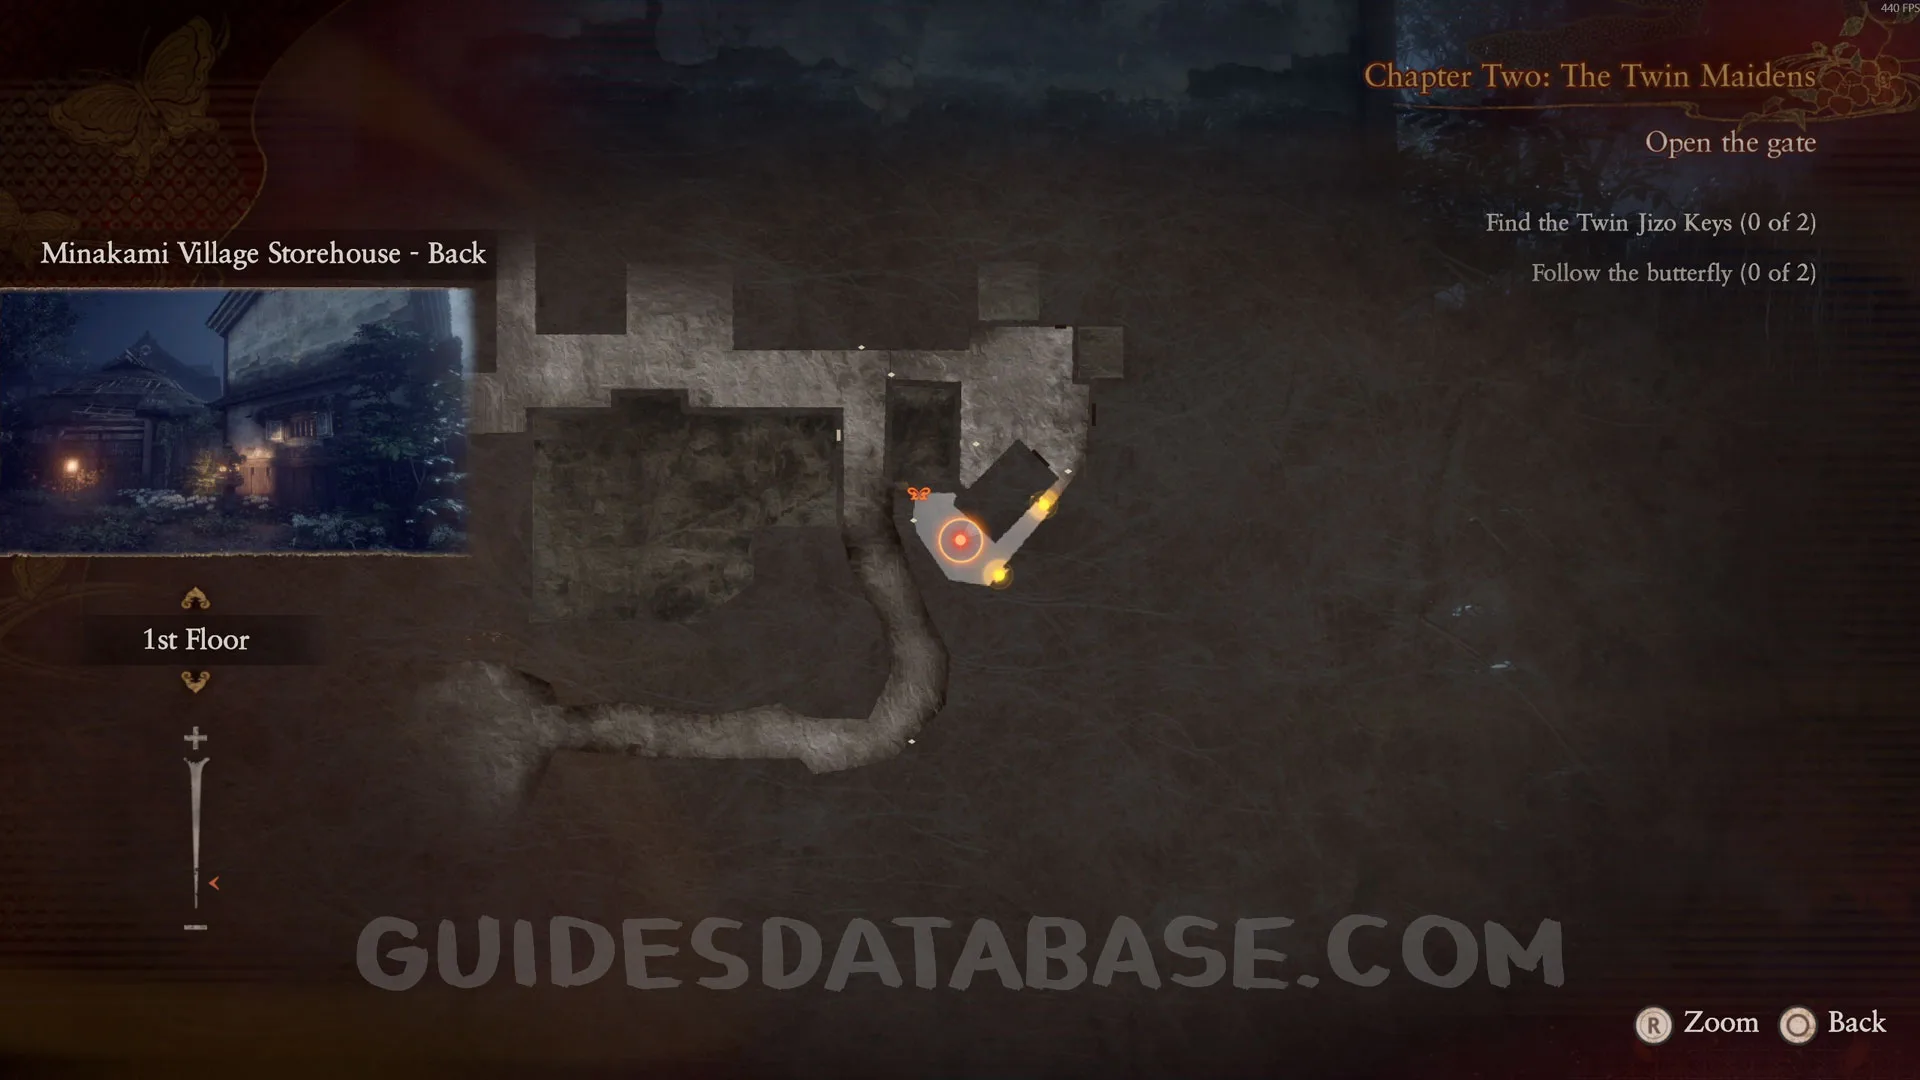
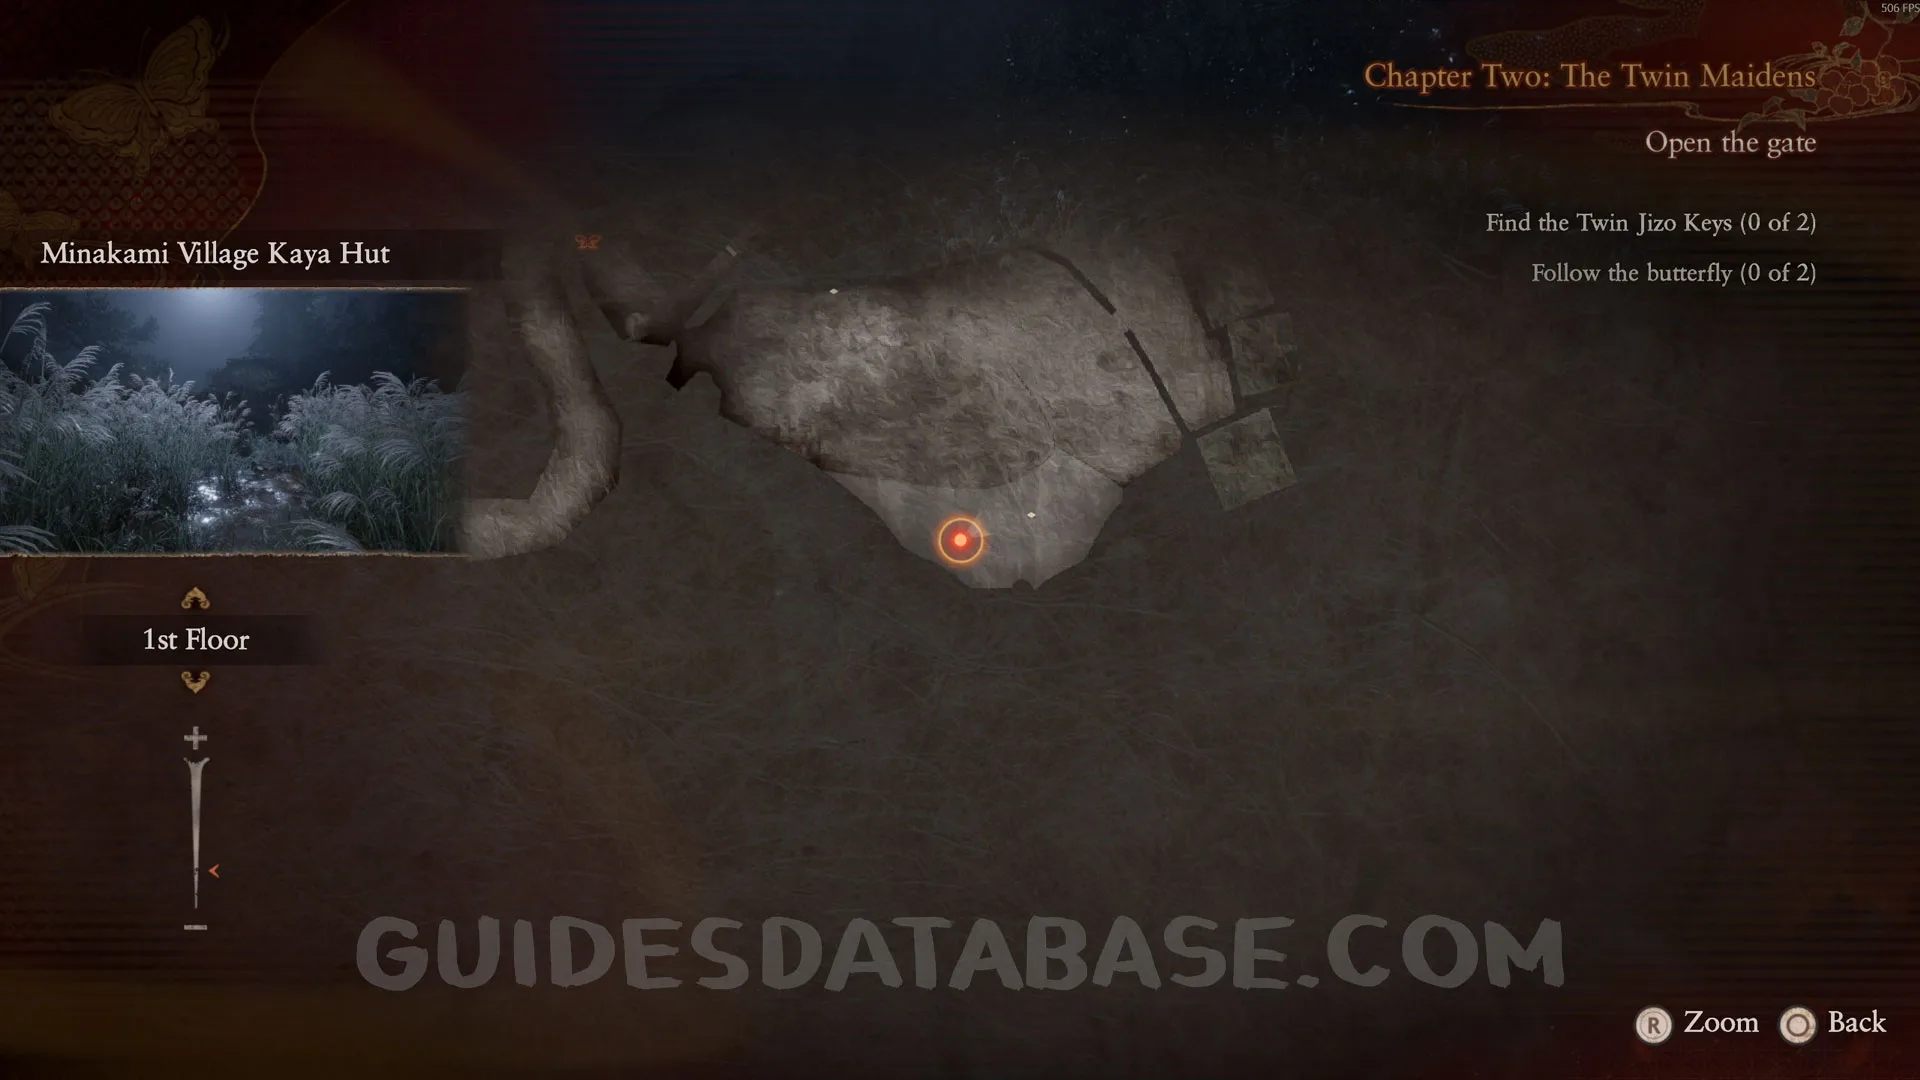
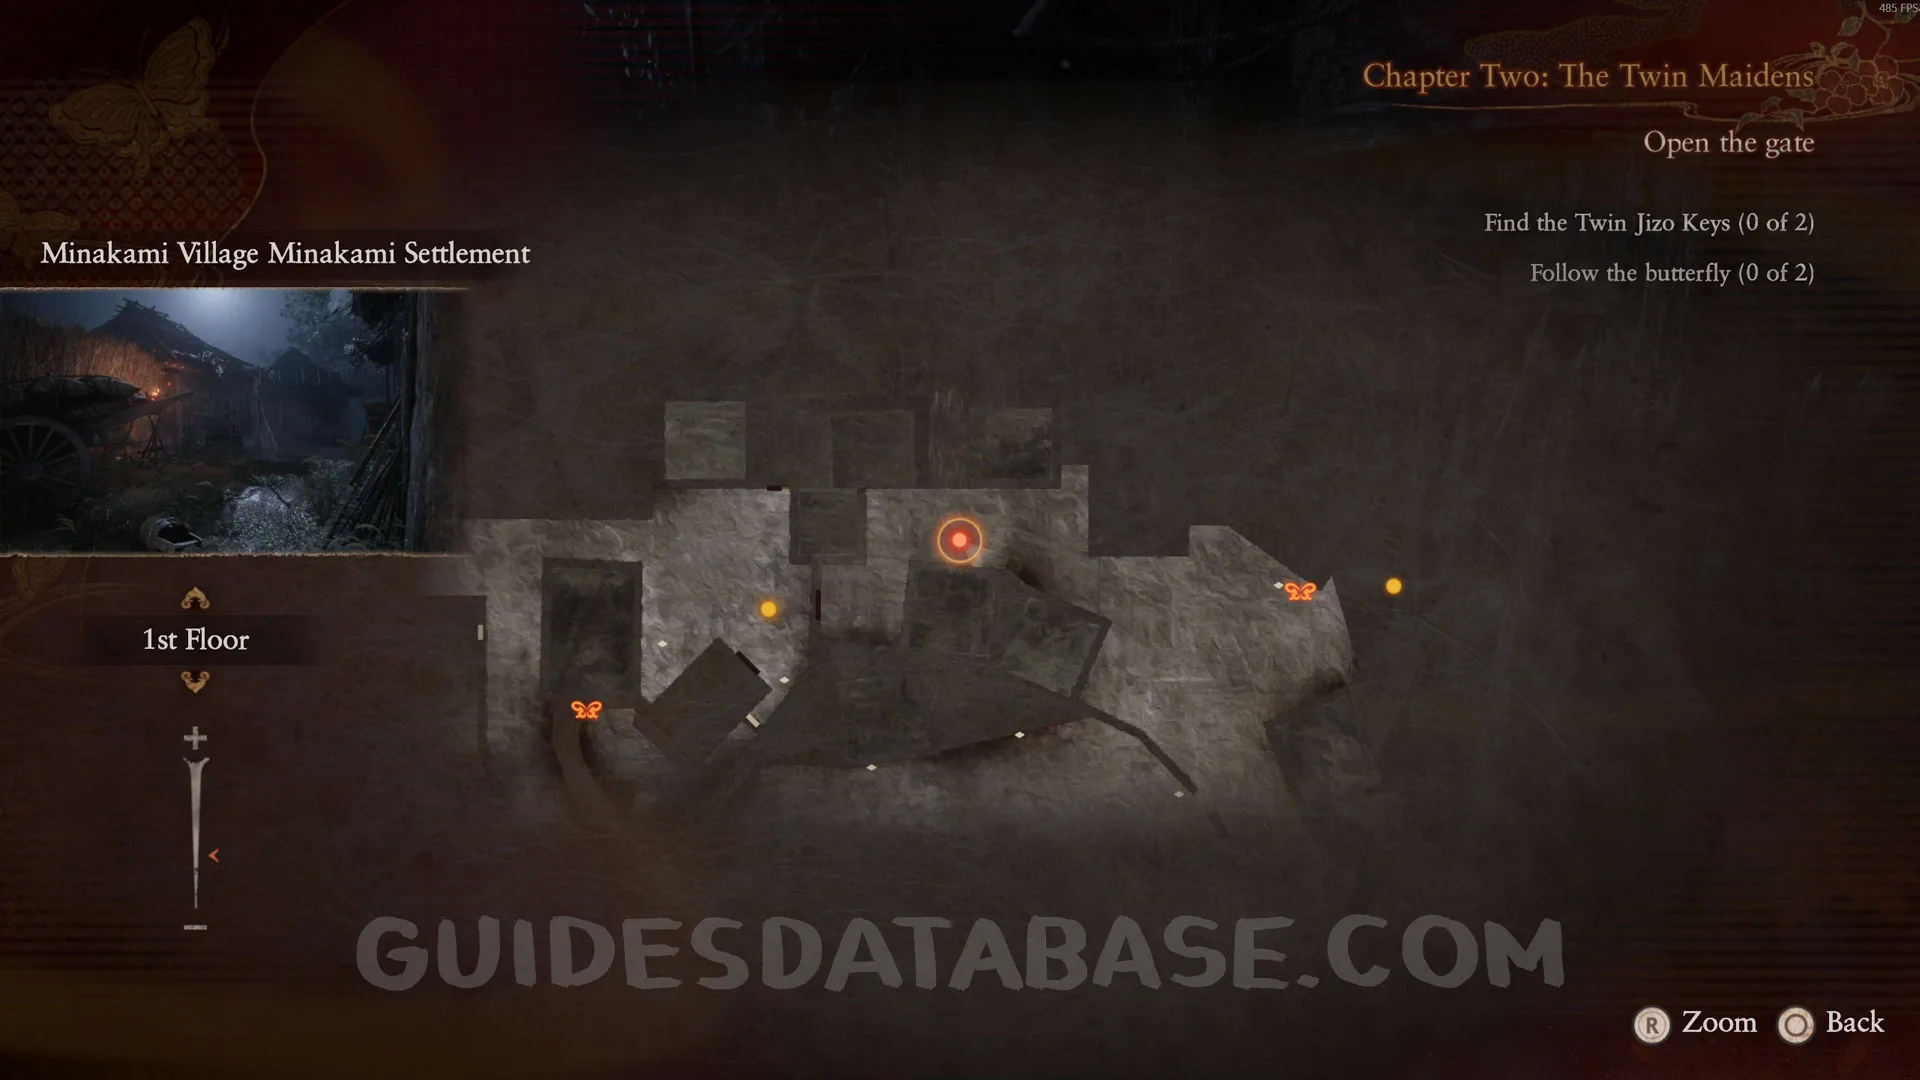
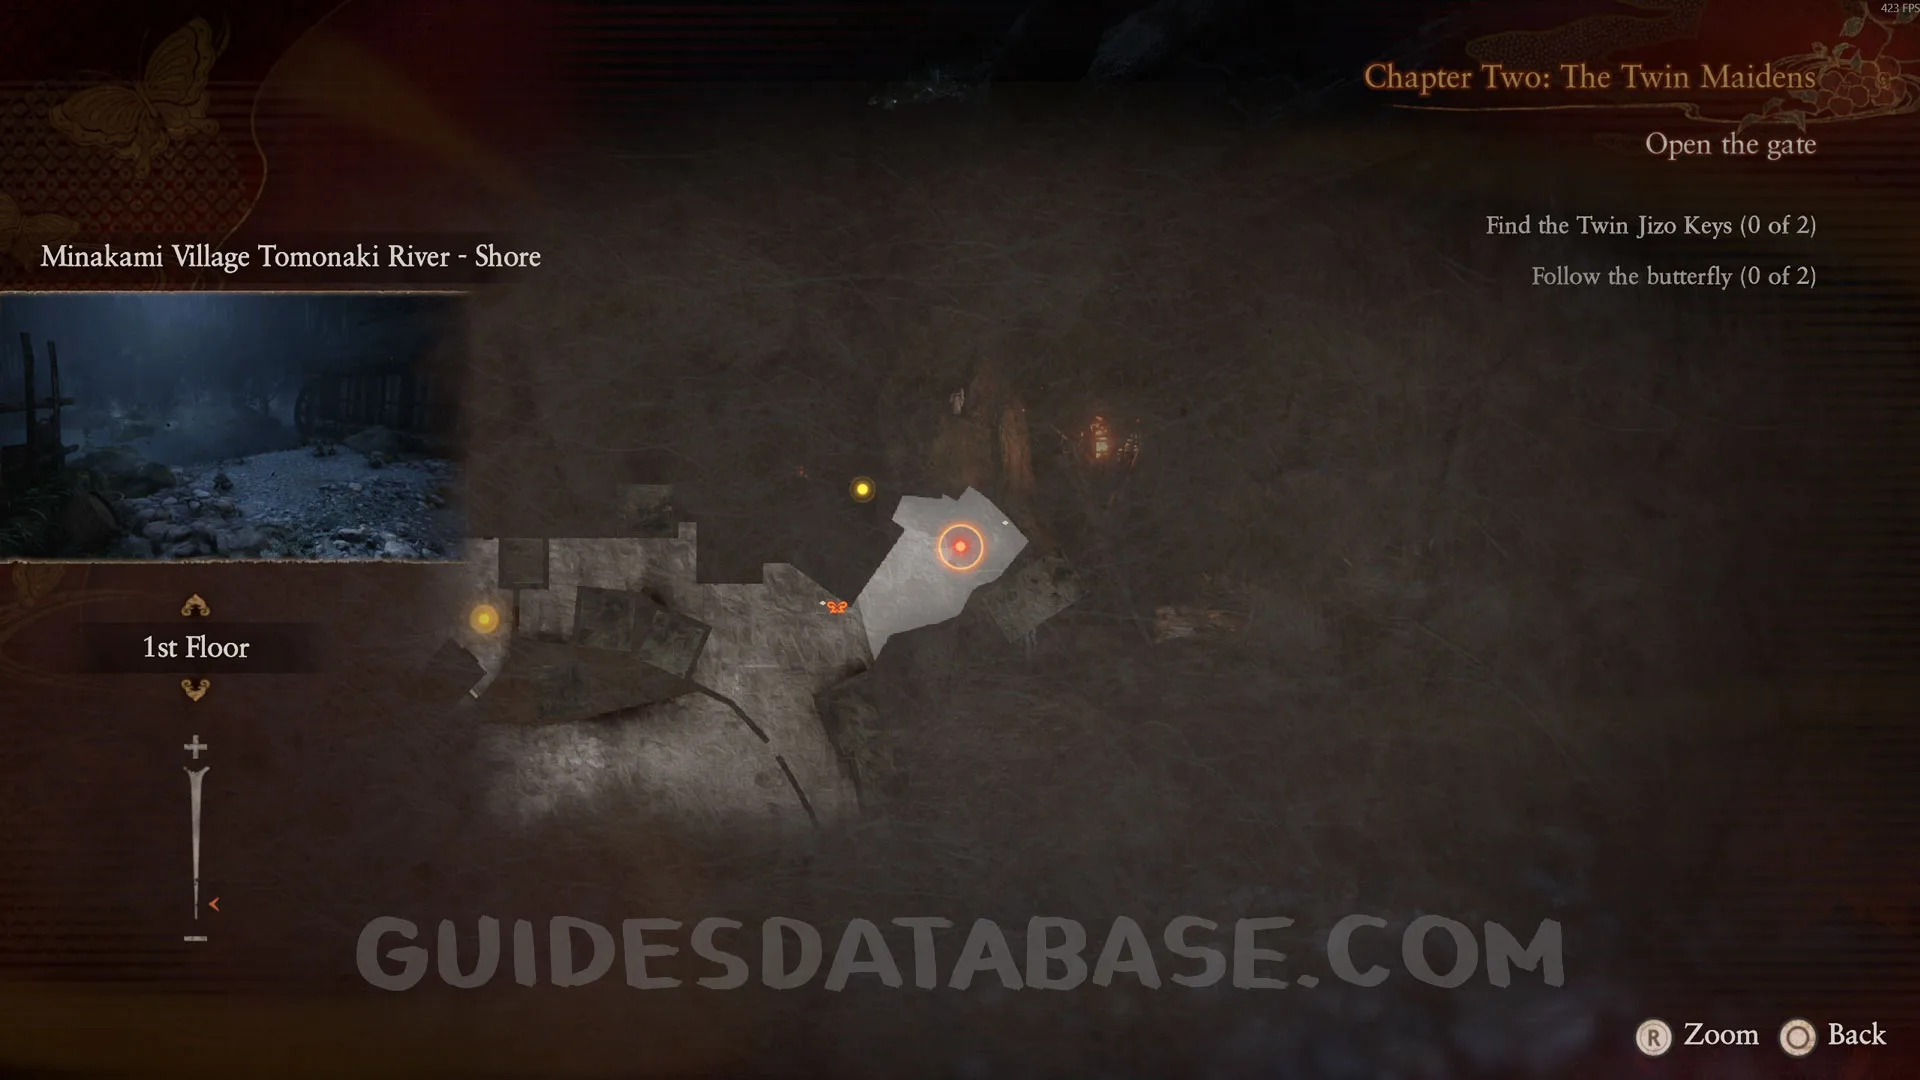
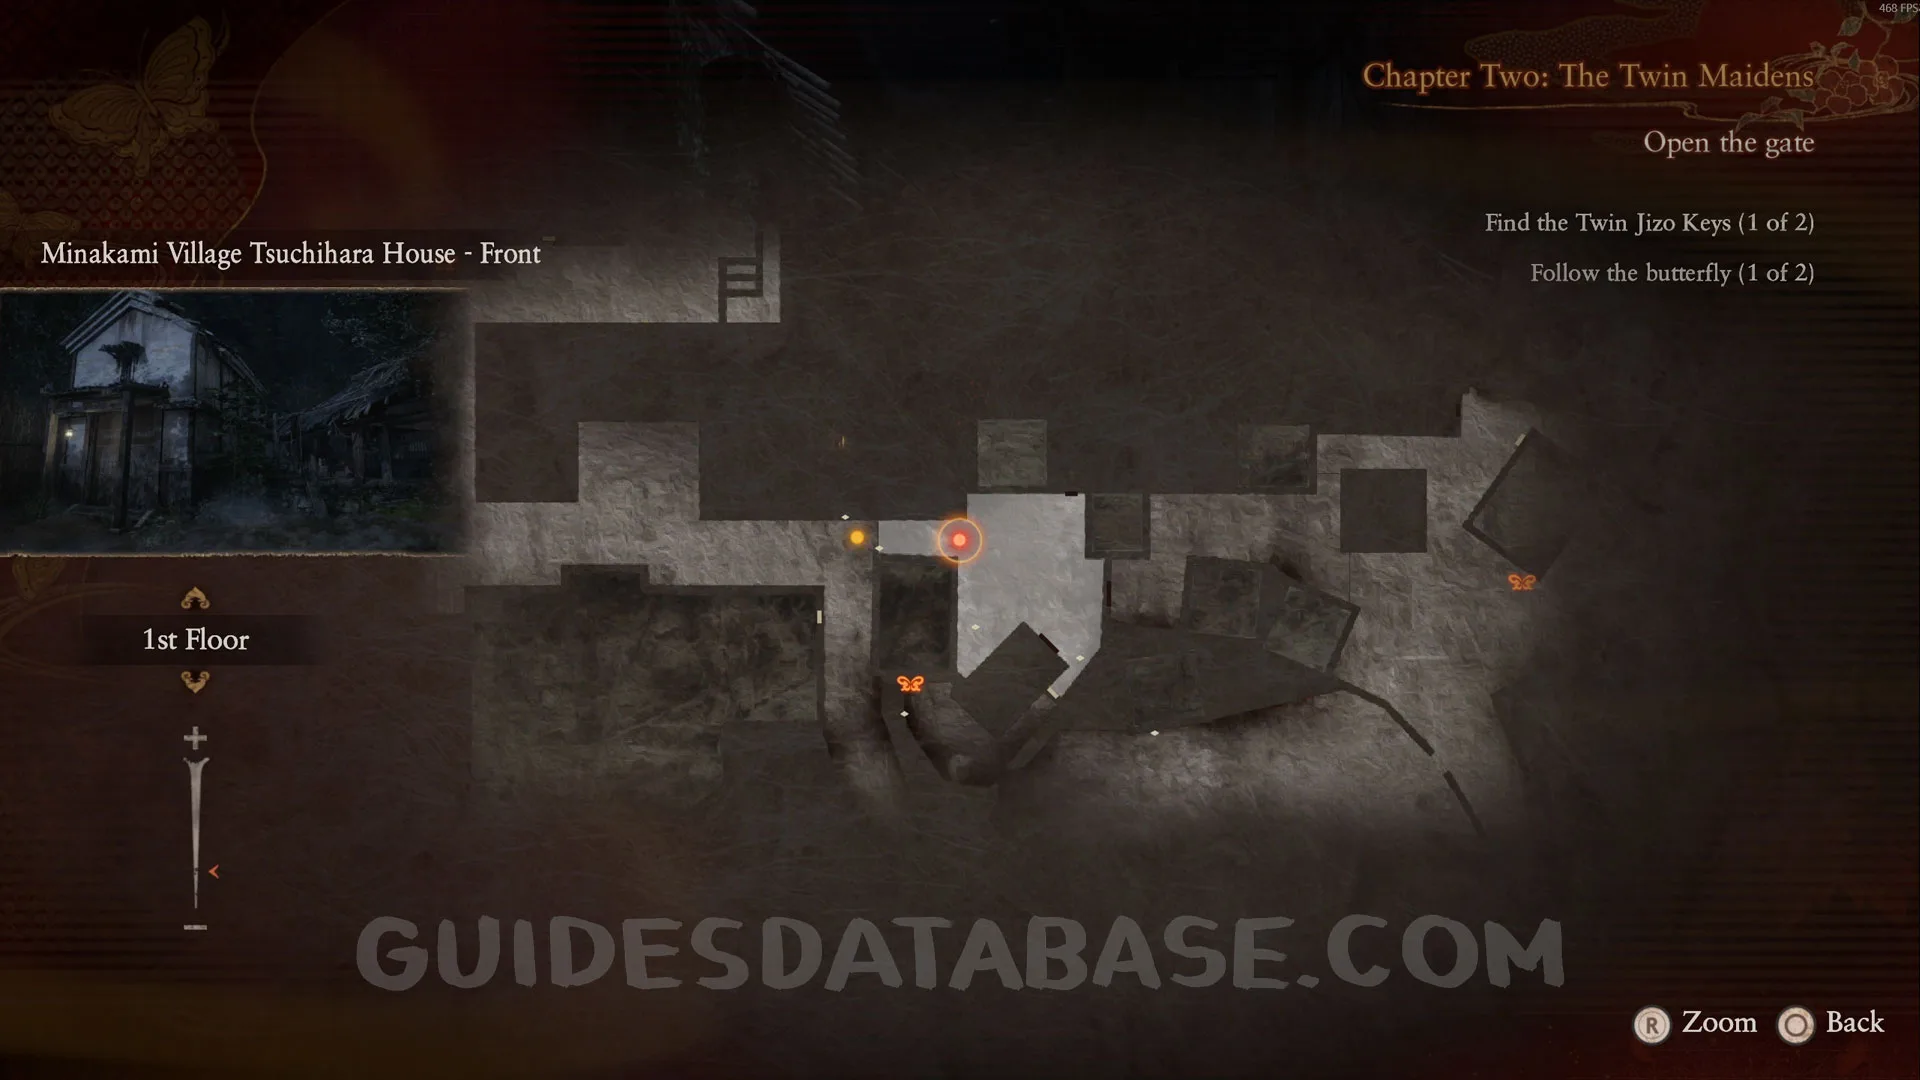
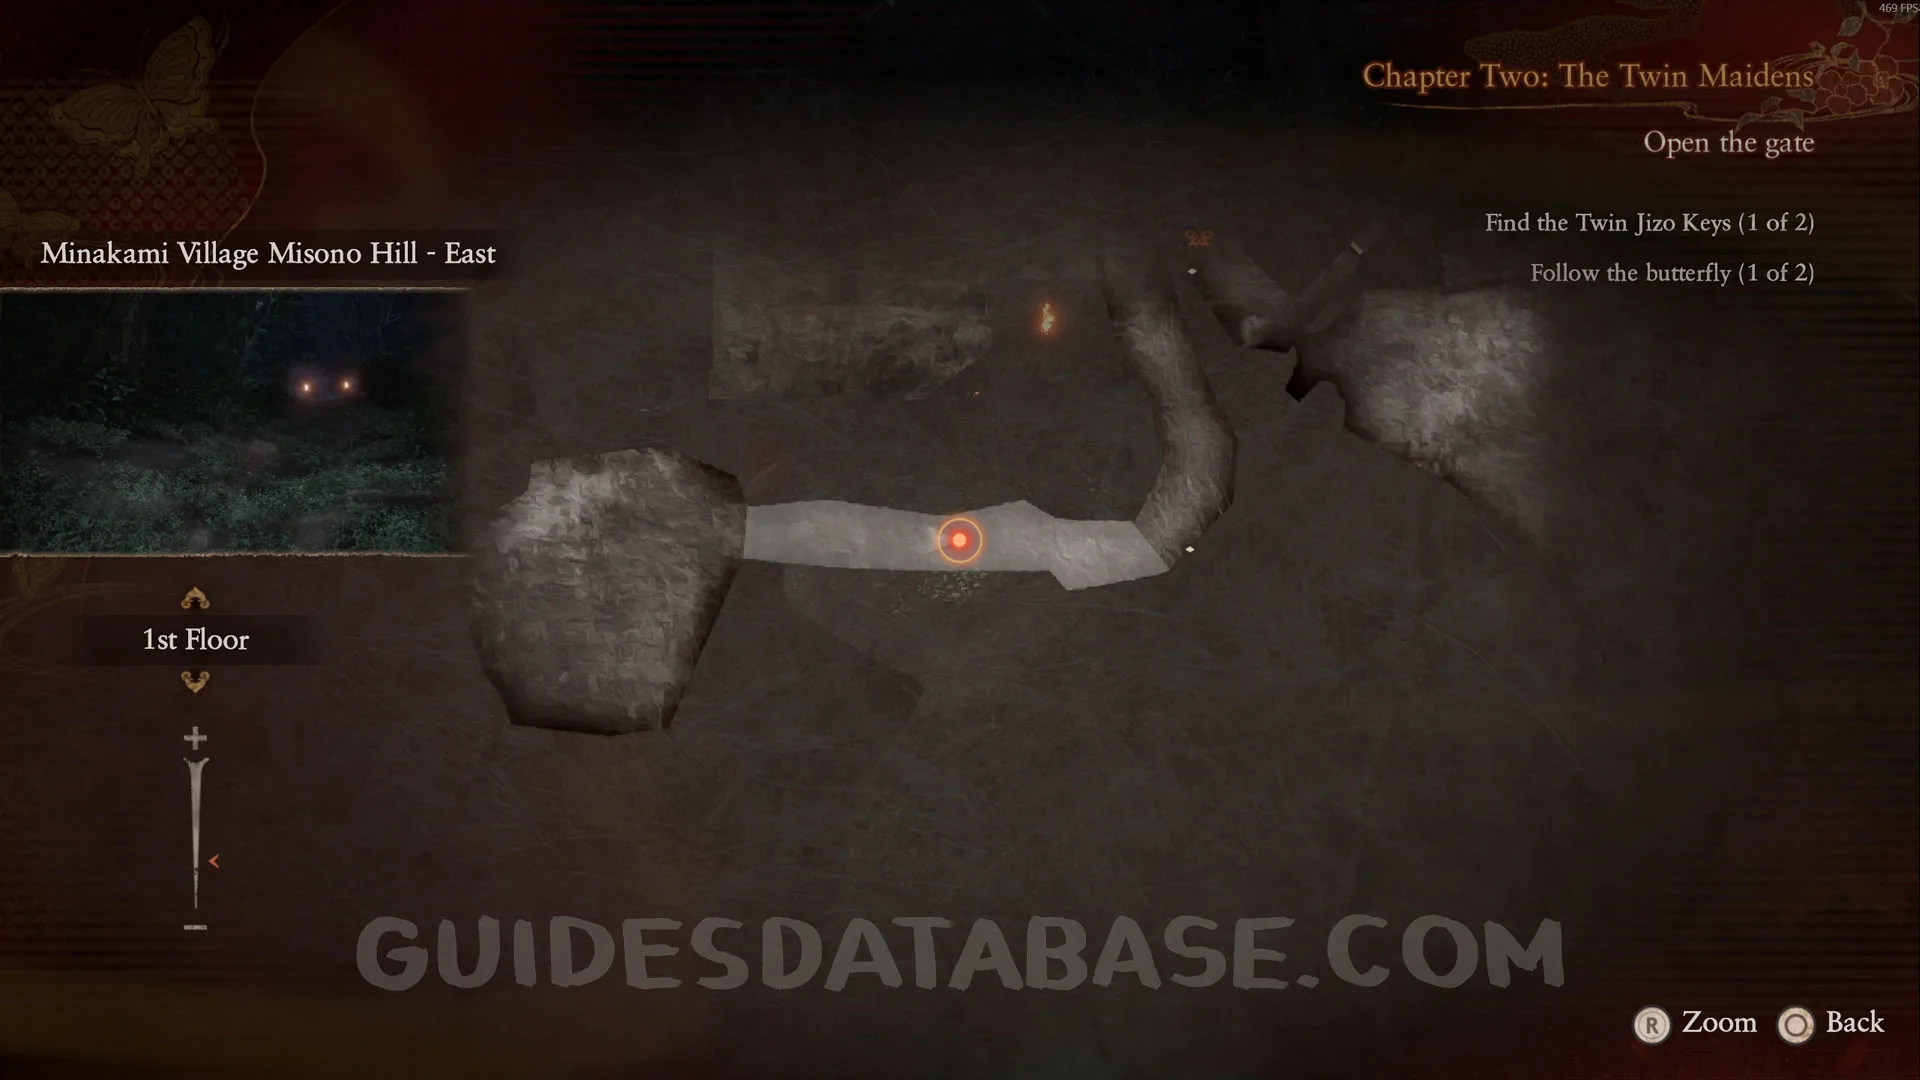
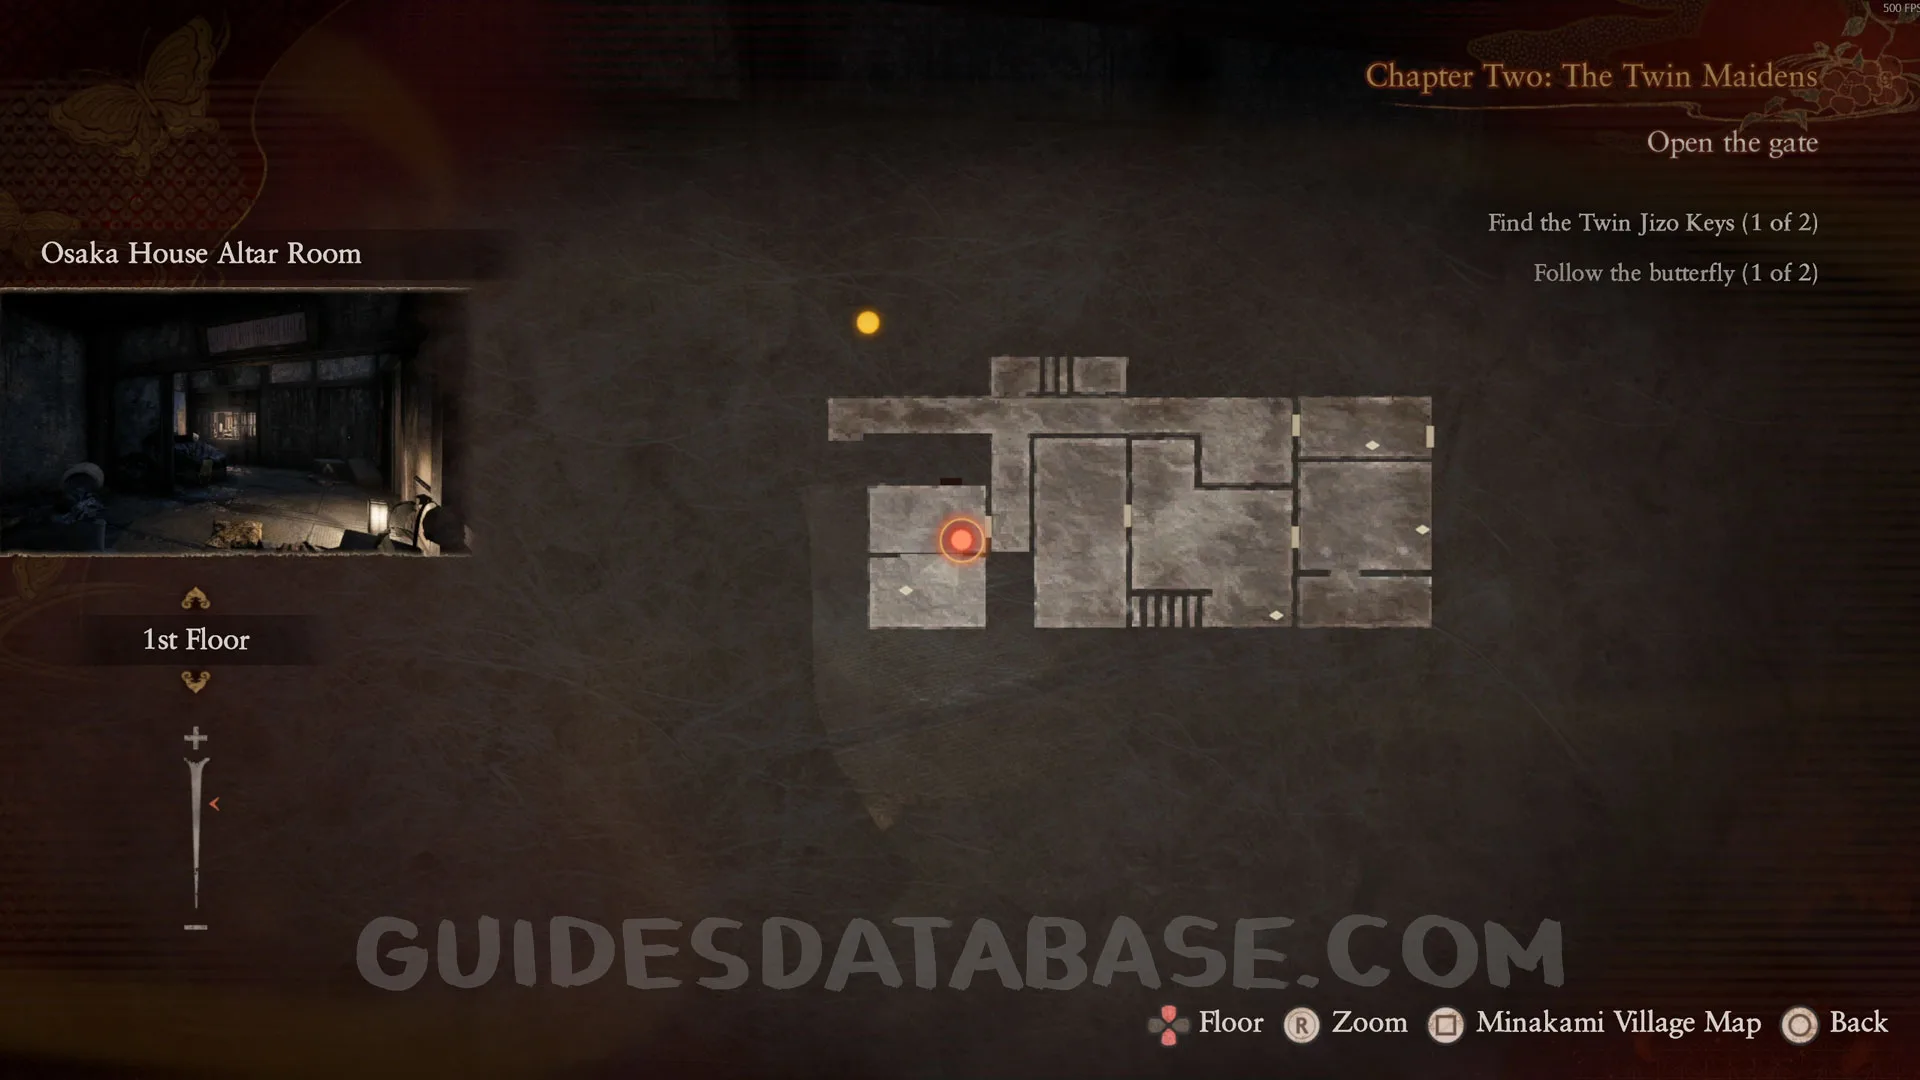
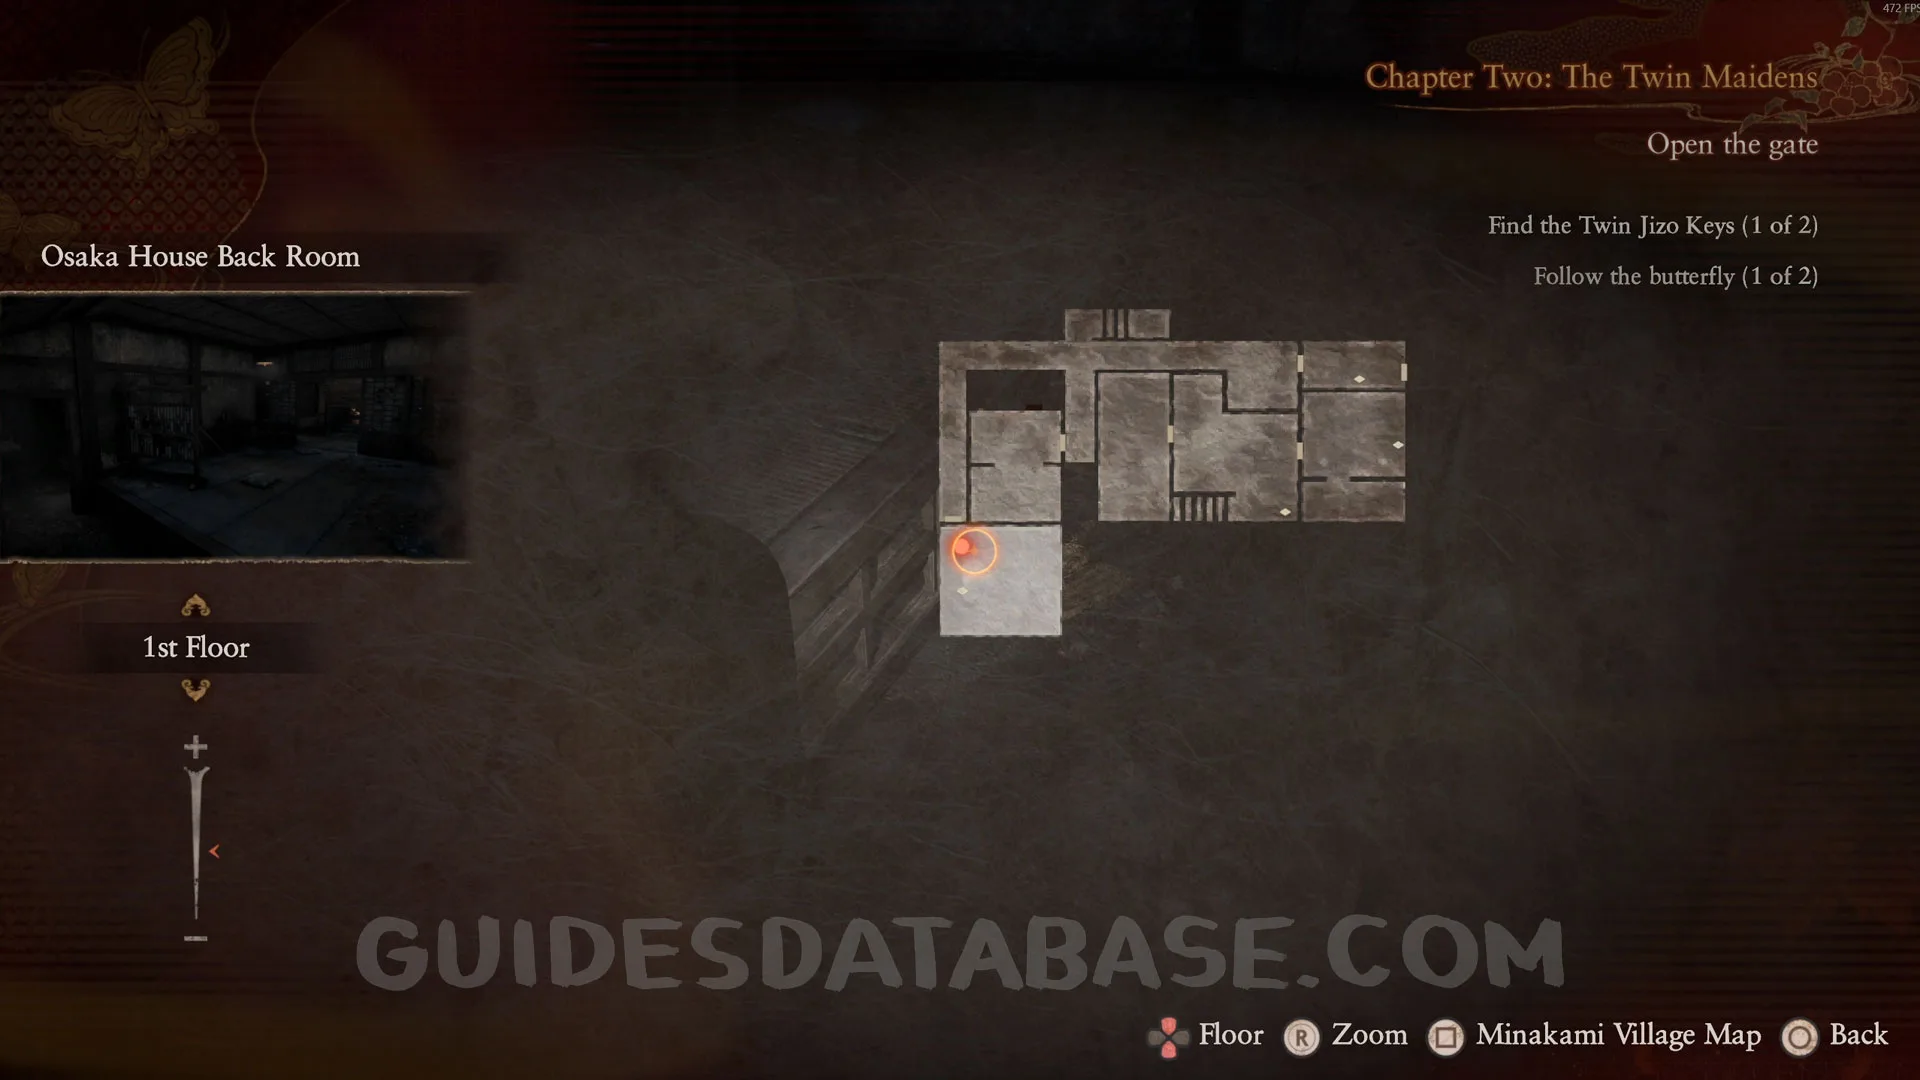
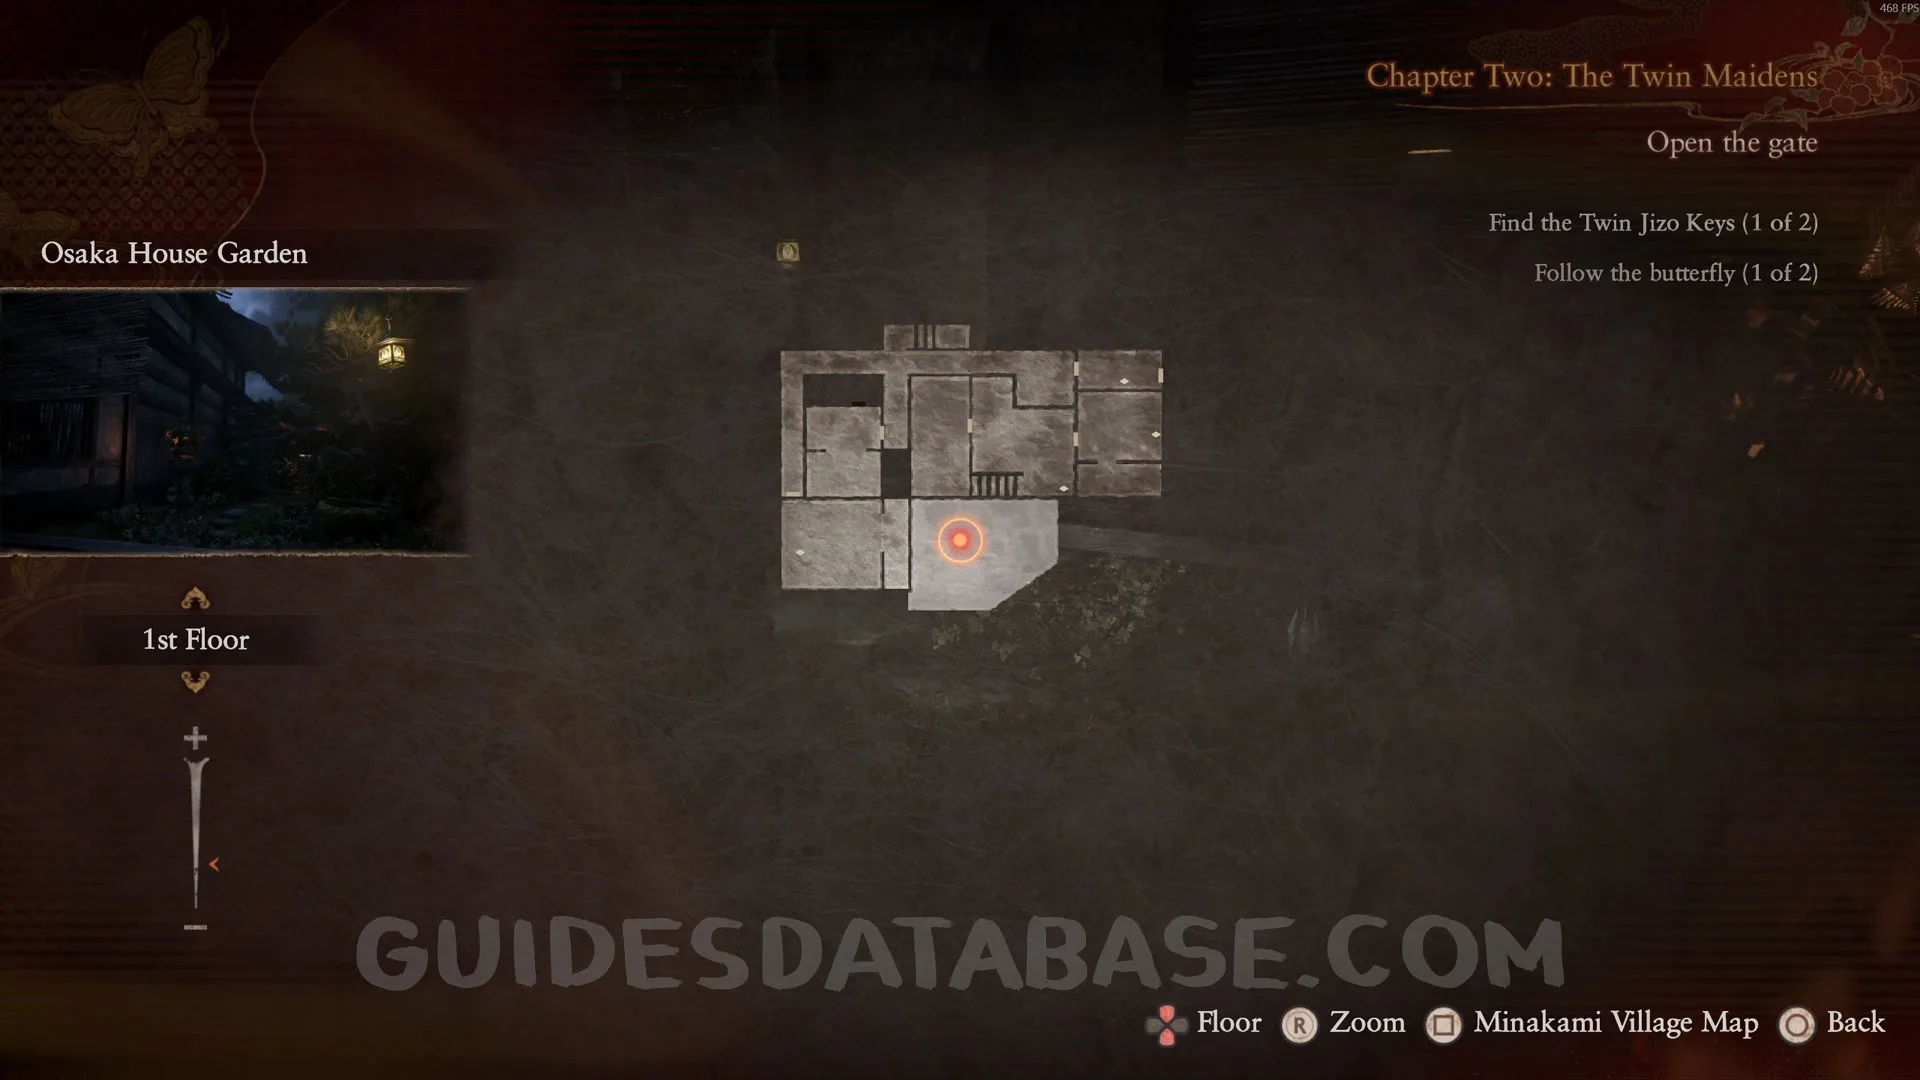
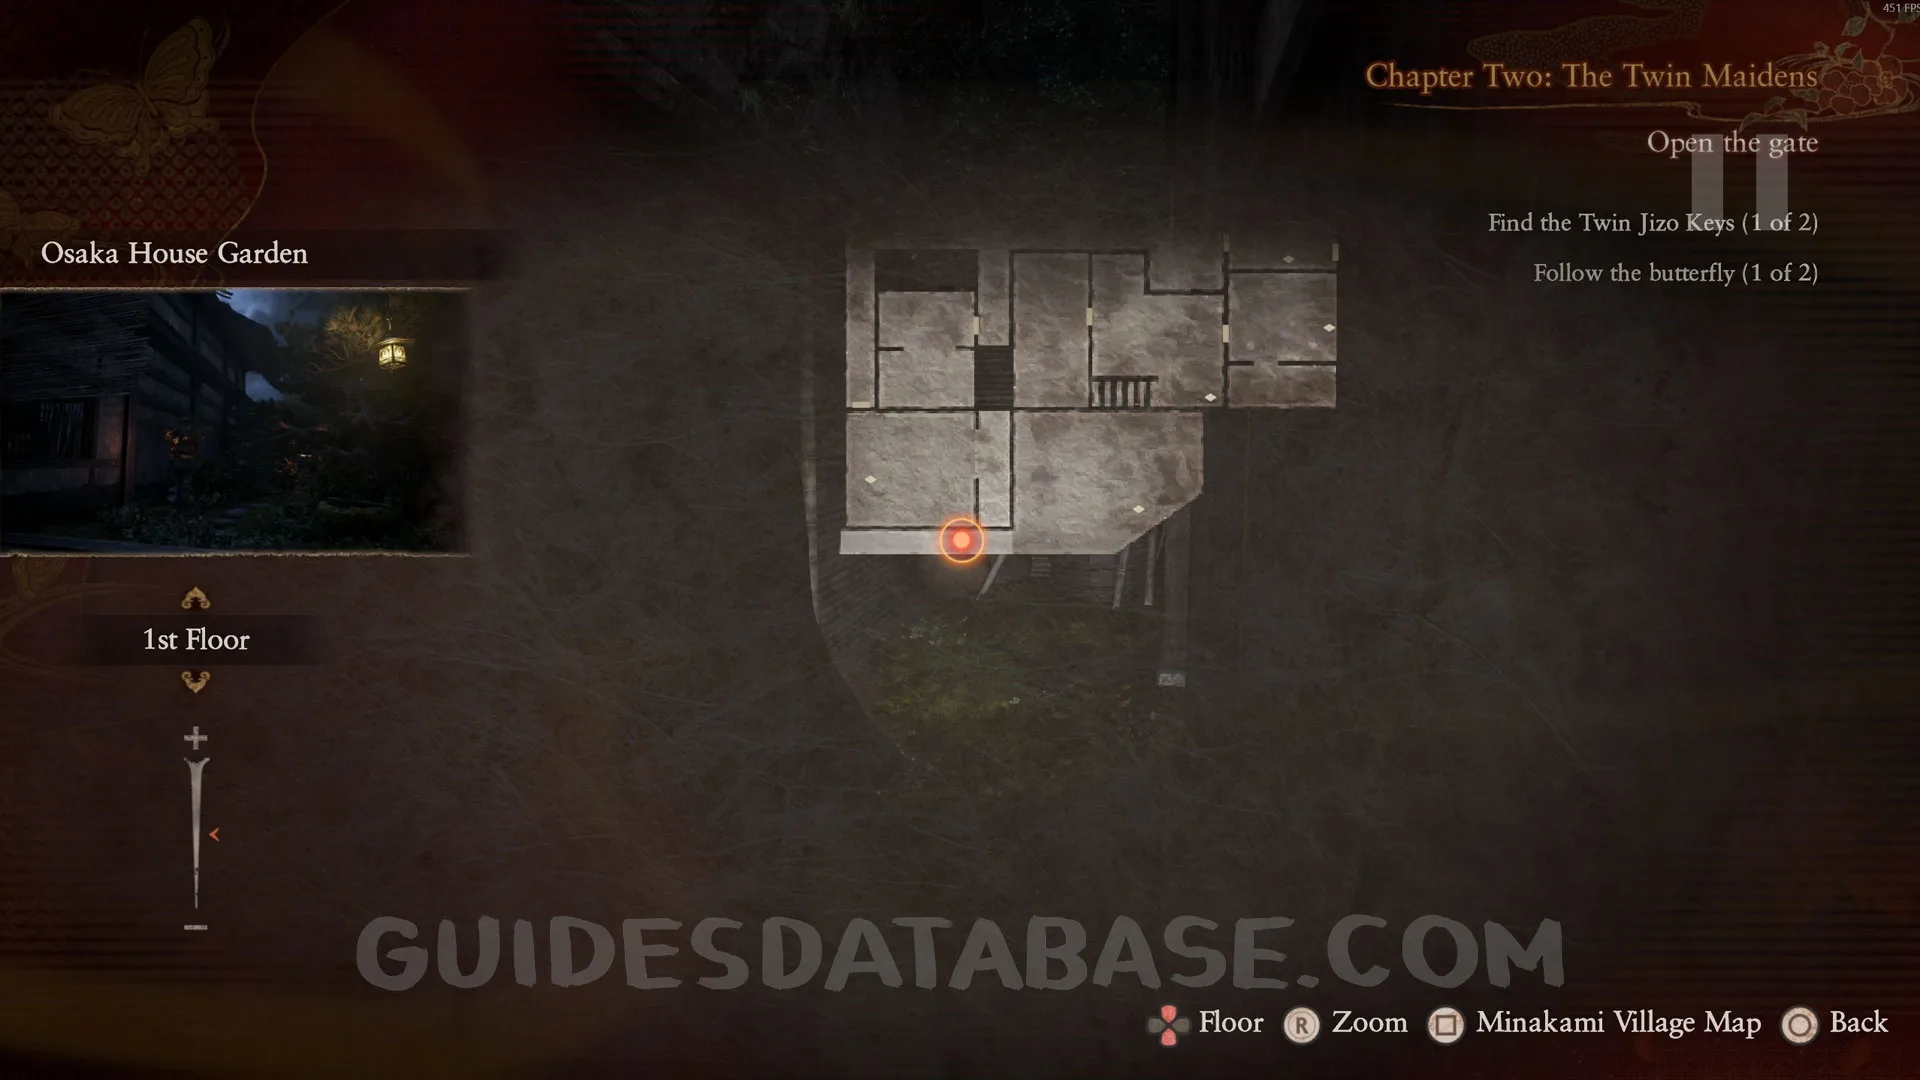
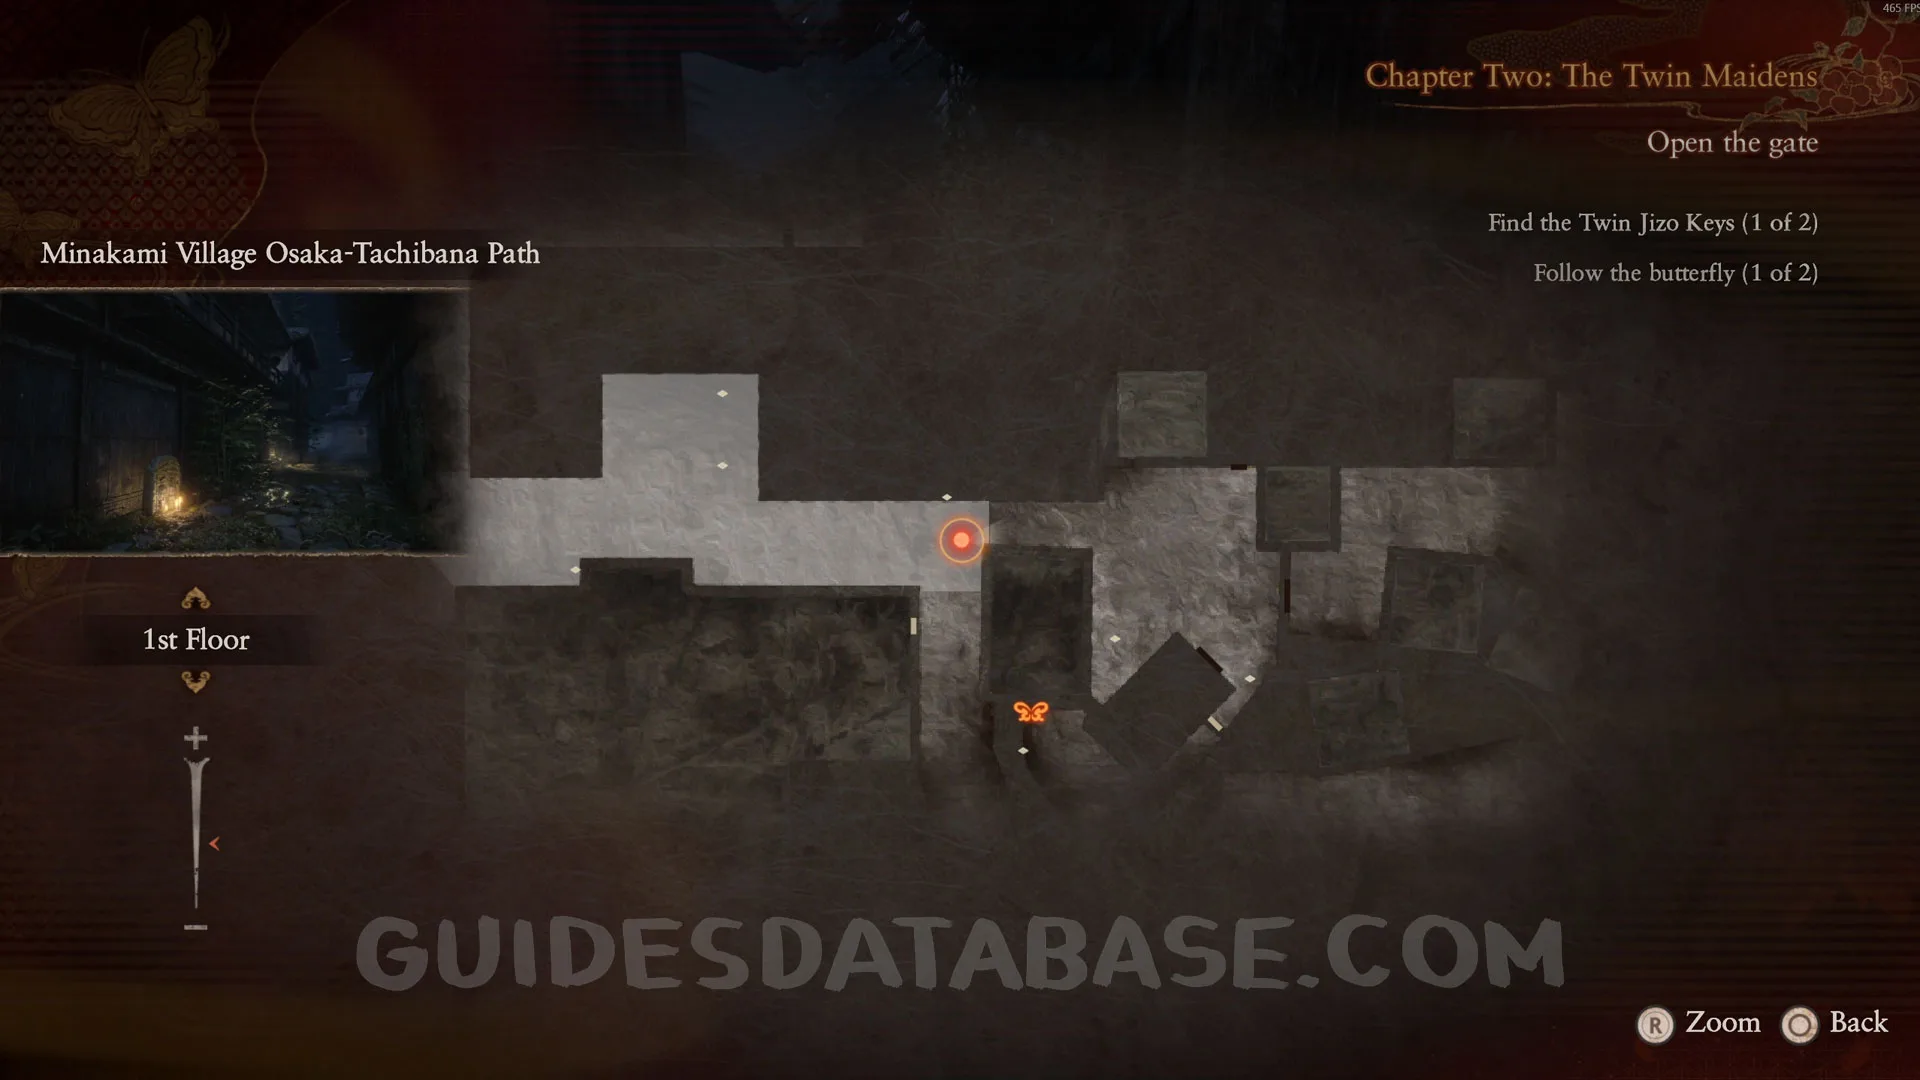
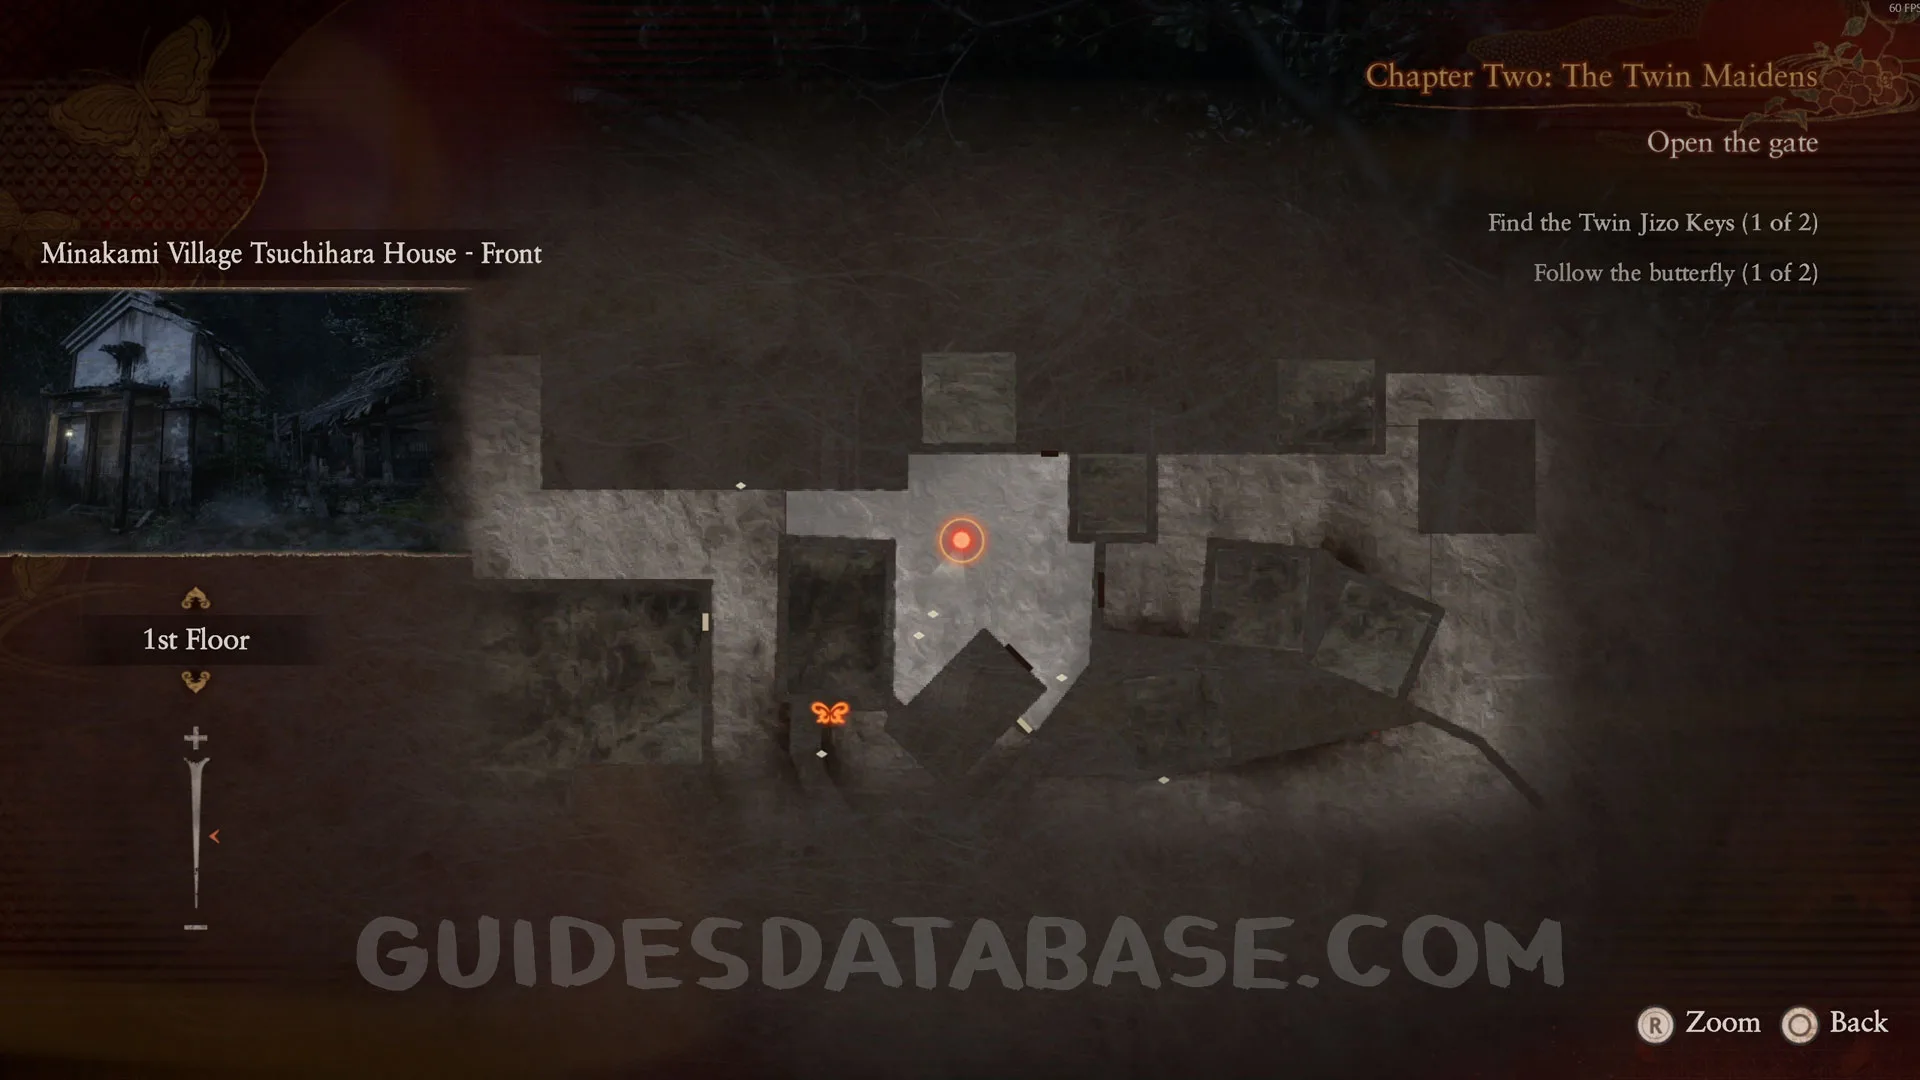
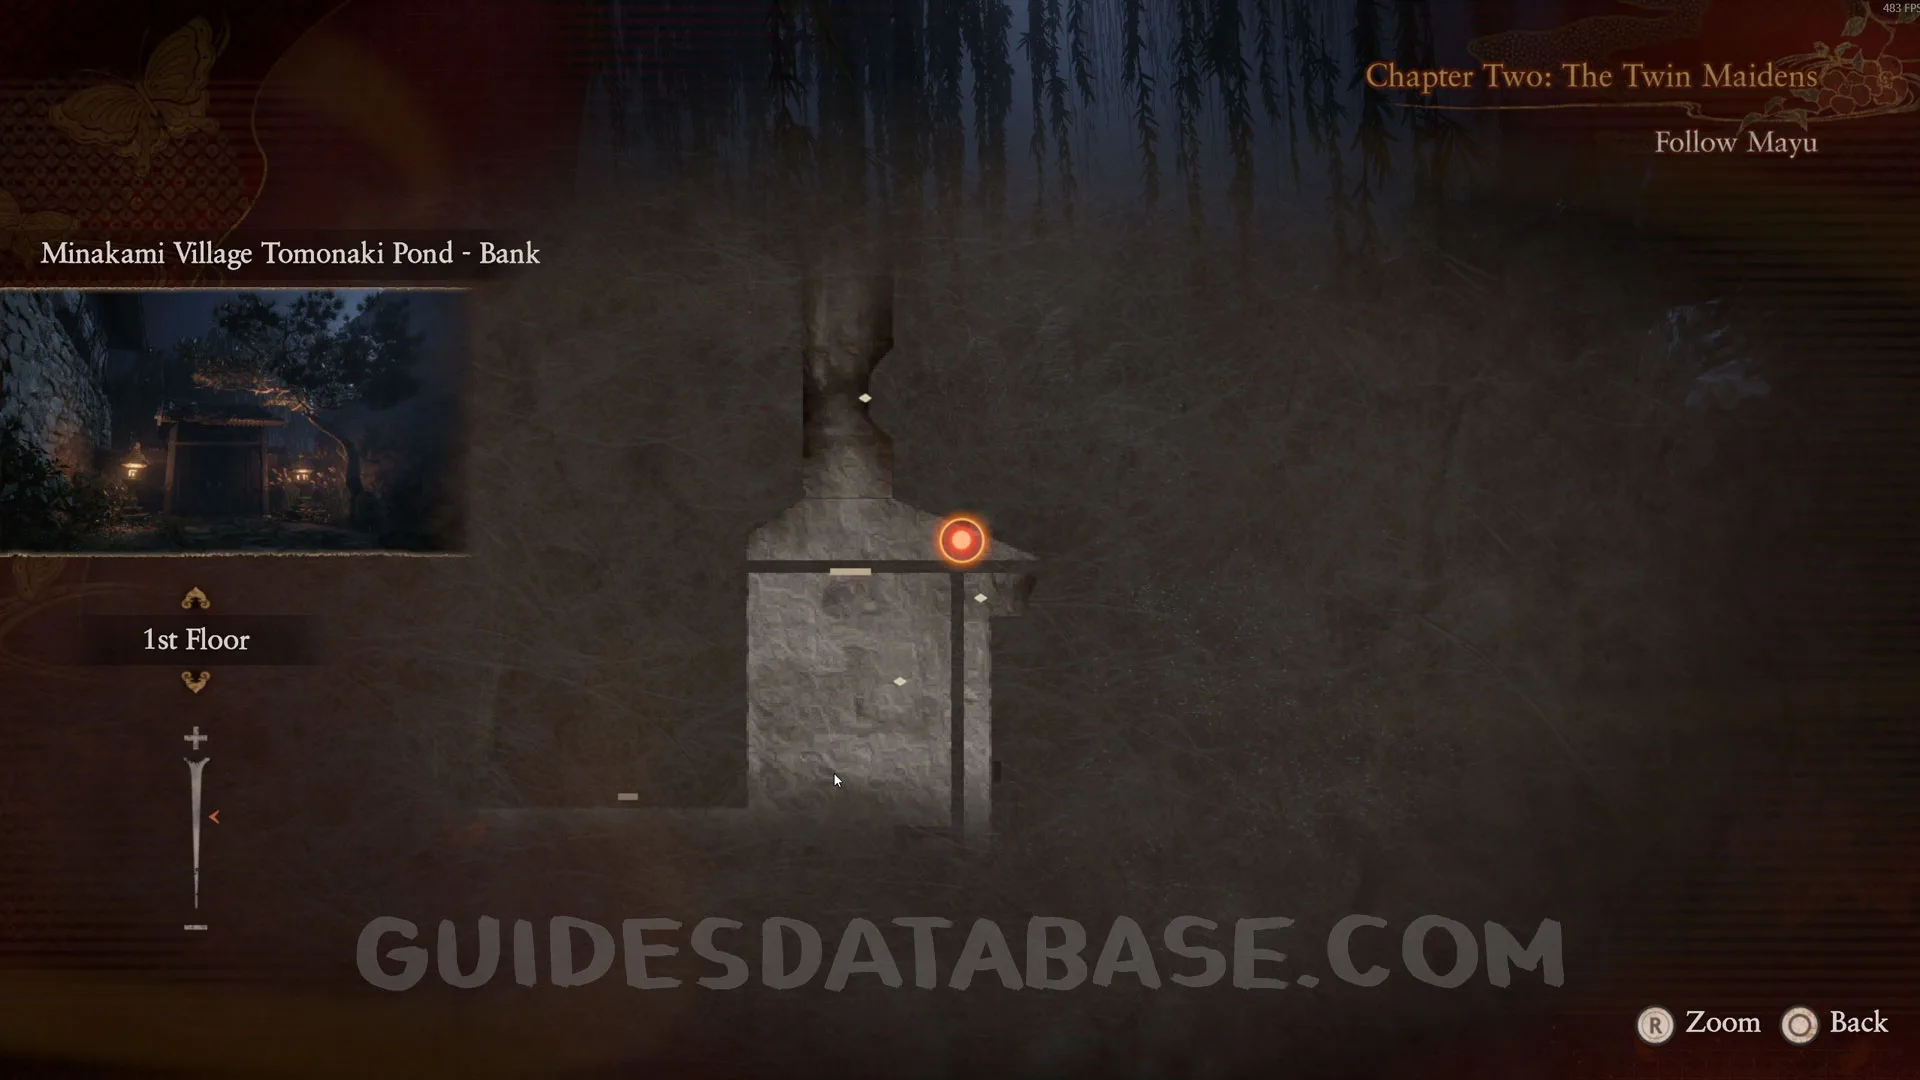
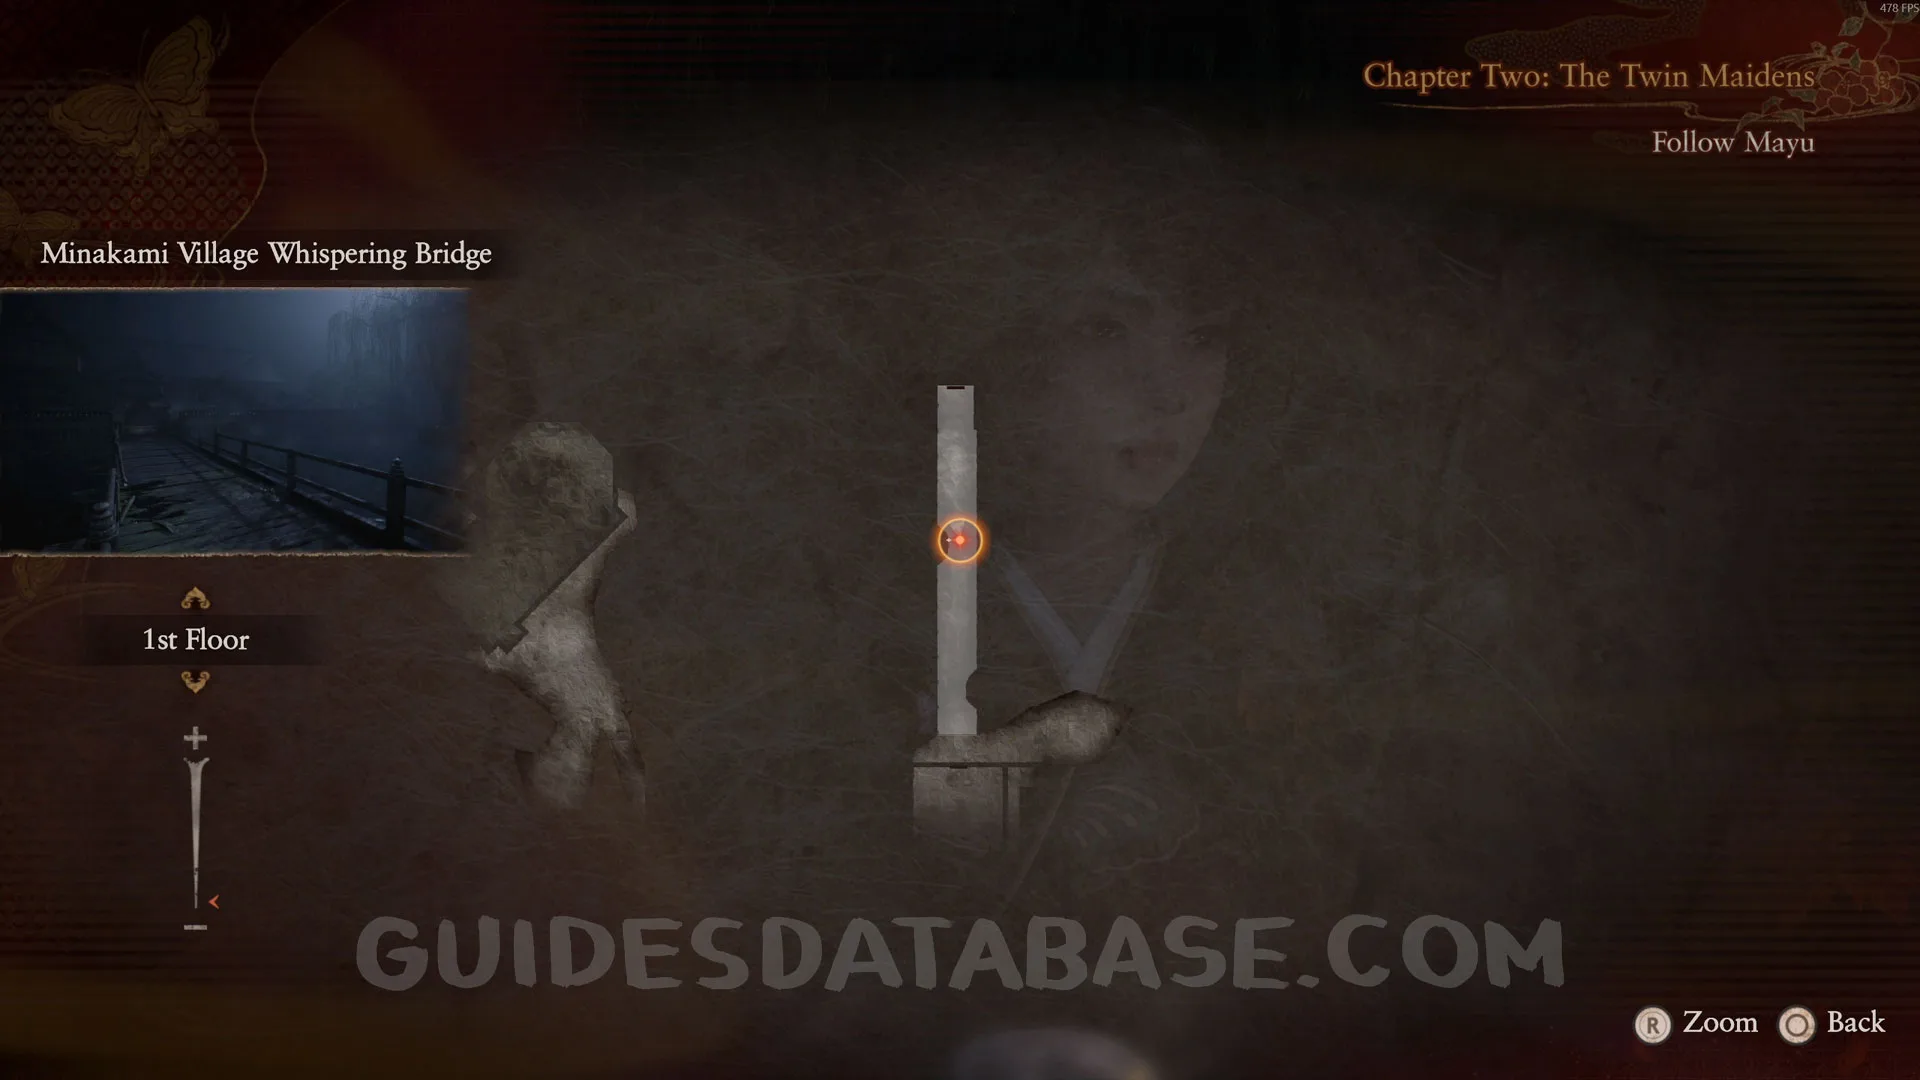
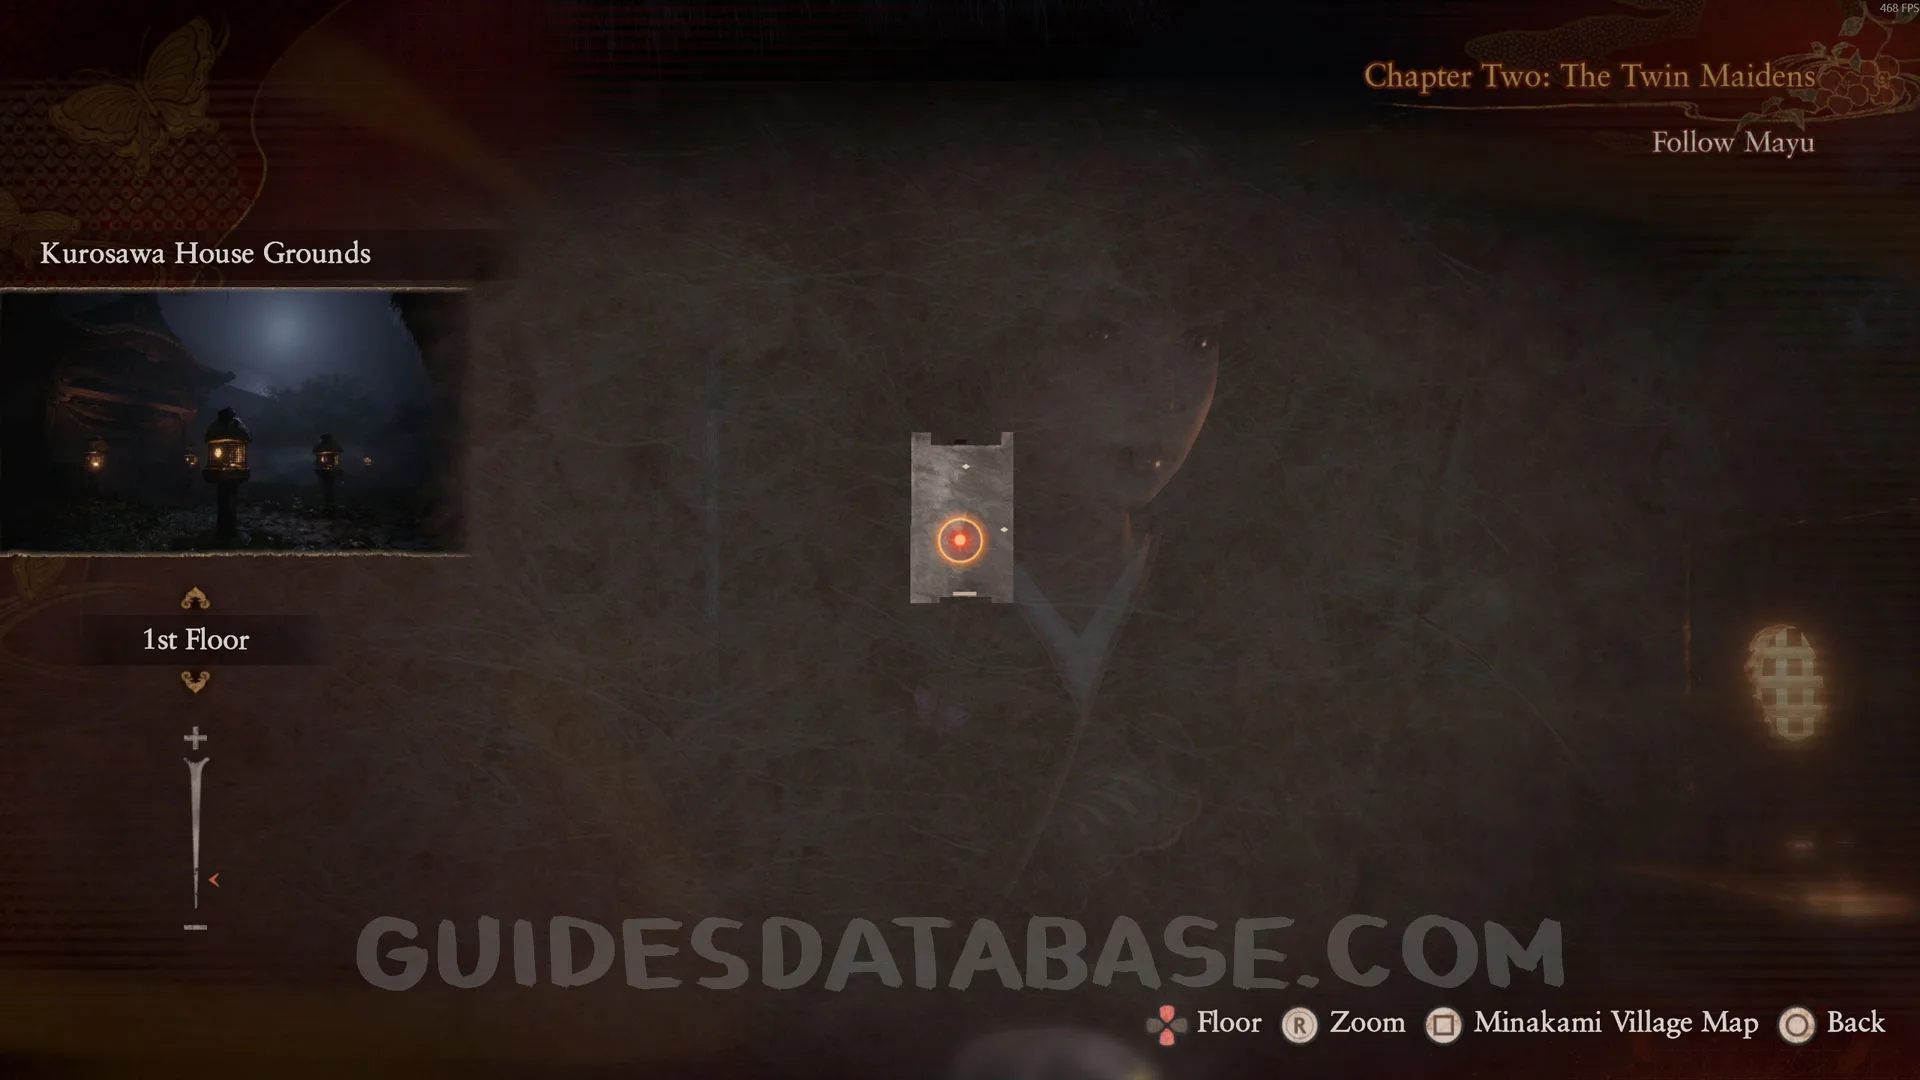
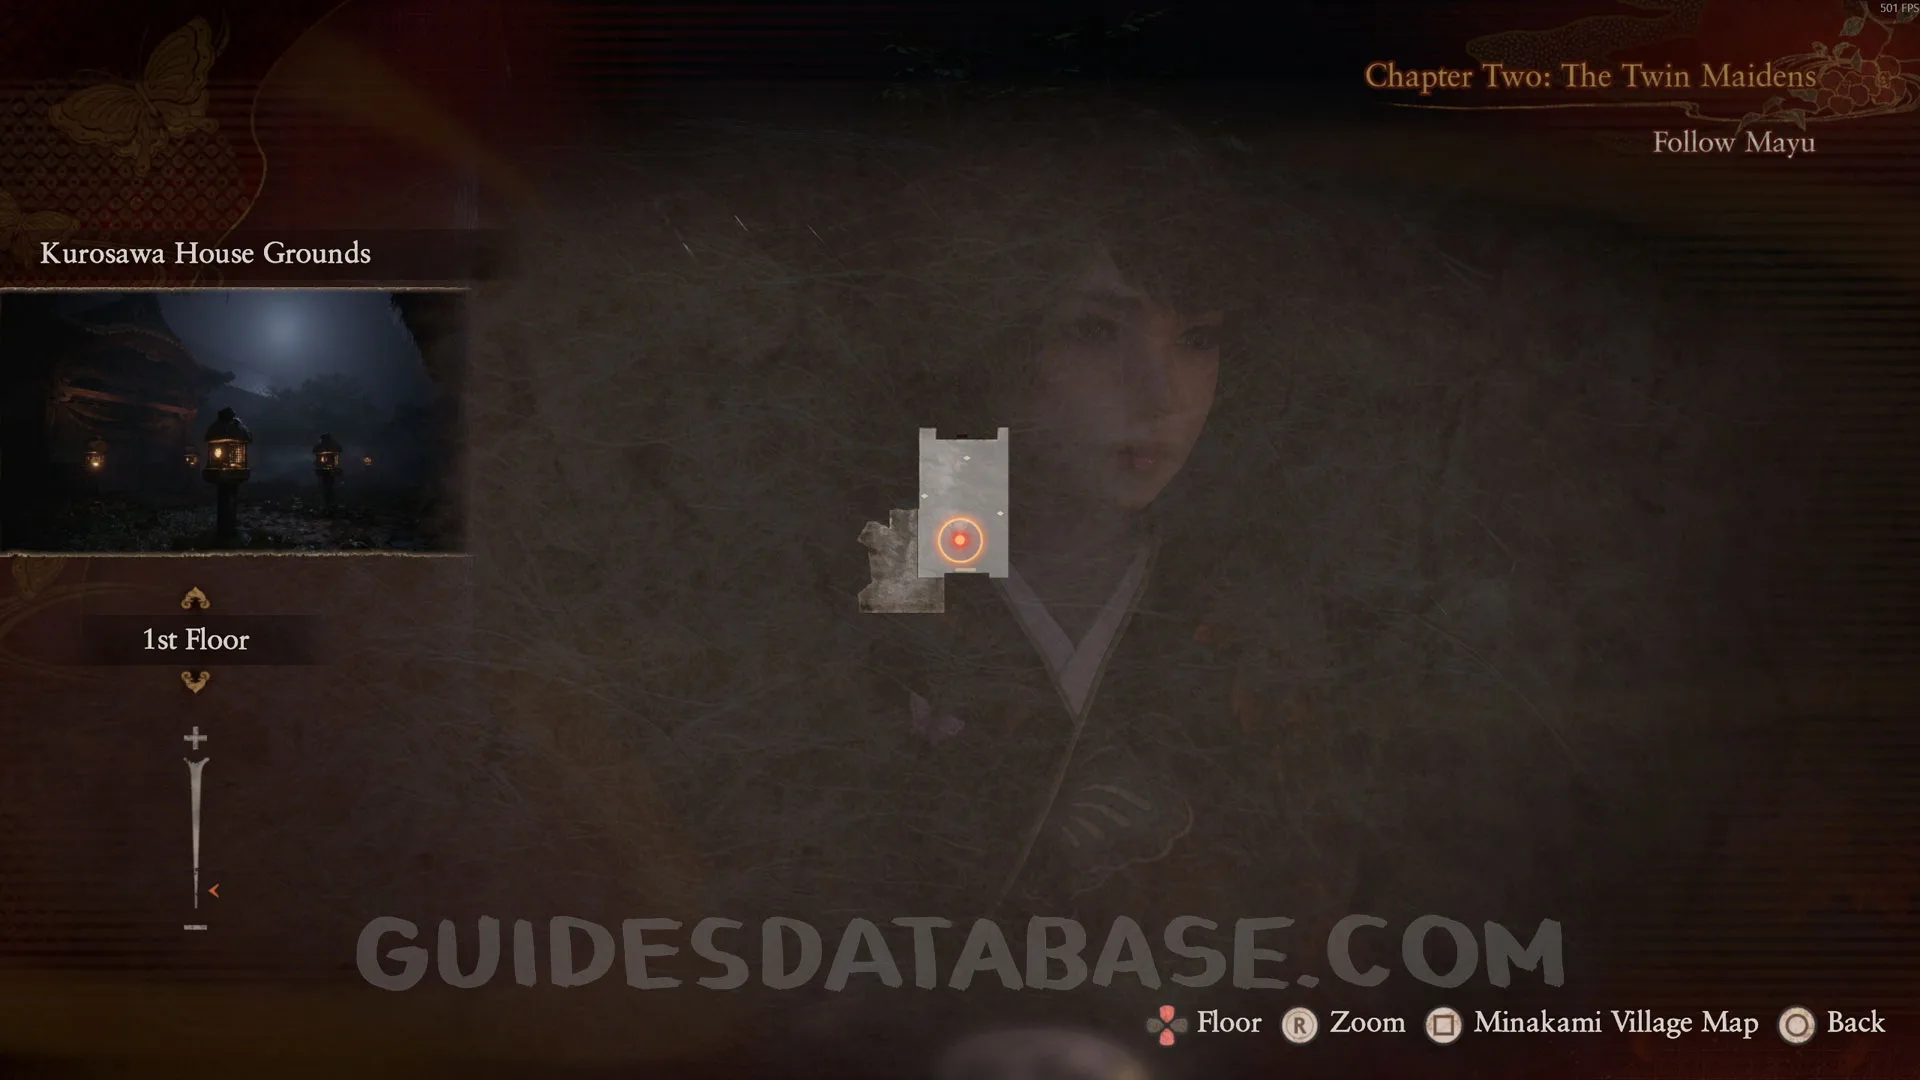
Chapter 2: The Twin Maidens
Document #9 - Spirit Stone Radio Memo + Spirit Stone #1 - Mayu's Charm.
You get these collectibles as part of the story at the beginning of Chapter 2.
 GUIDESDATABASE.COM
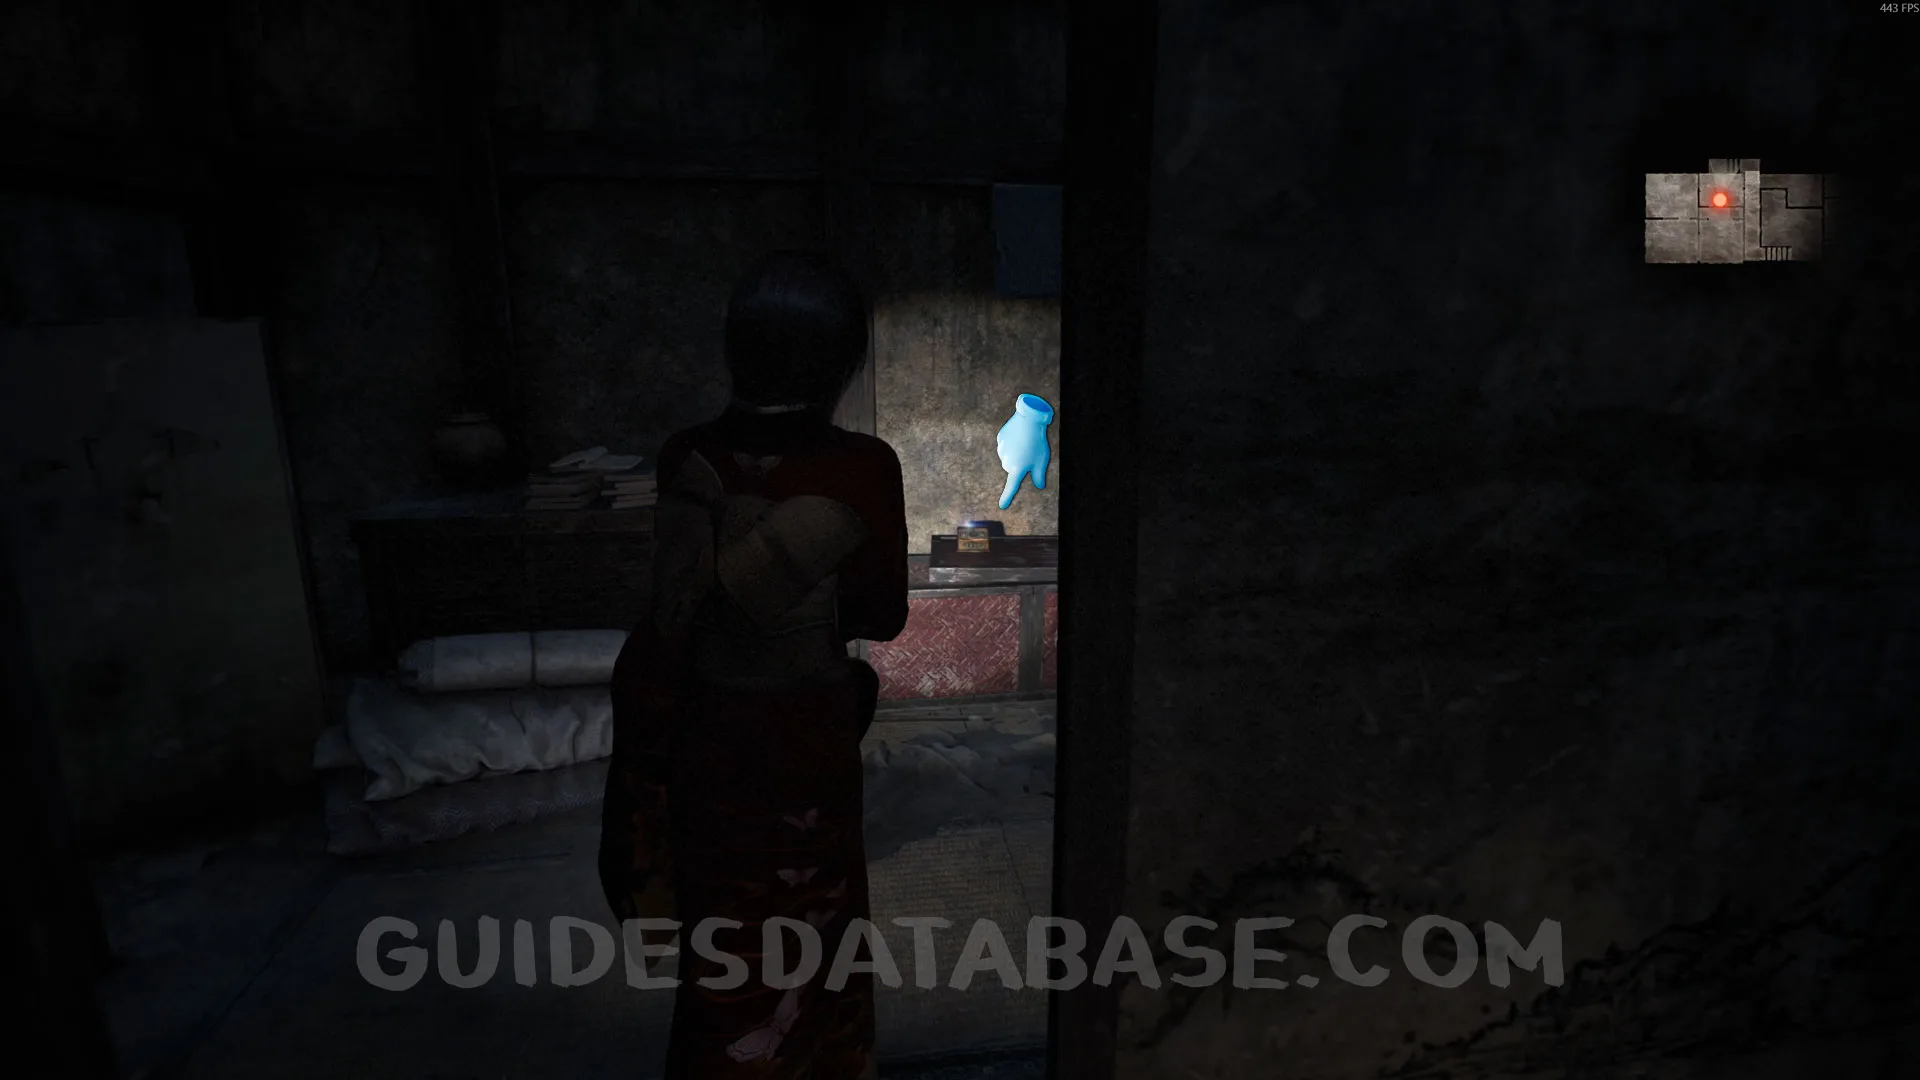 GUIDESDATABASE.COM
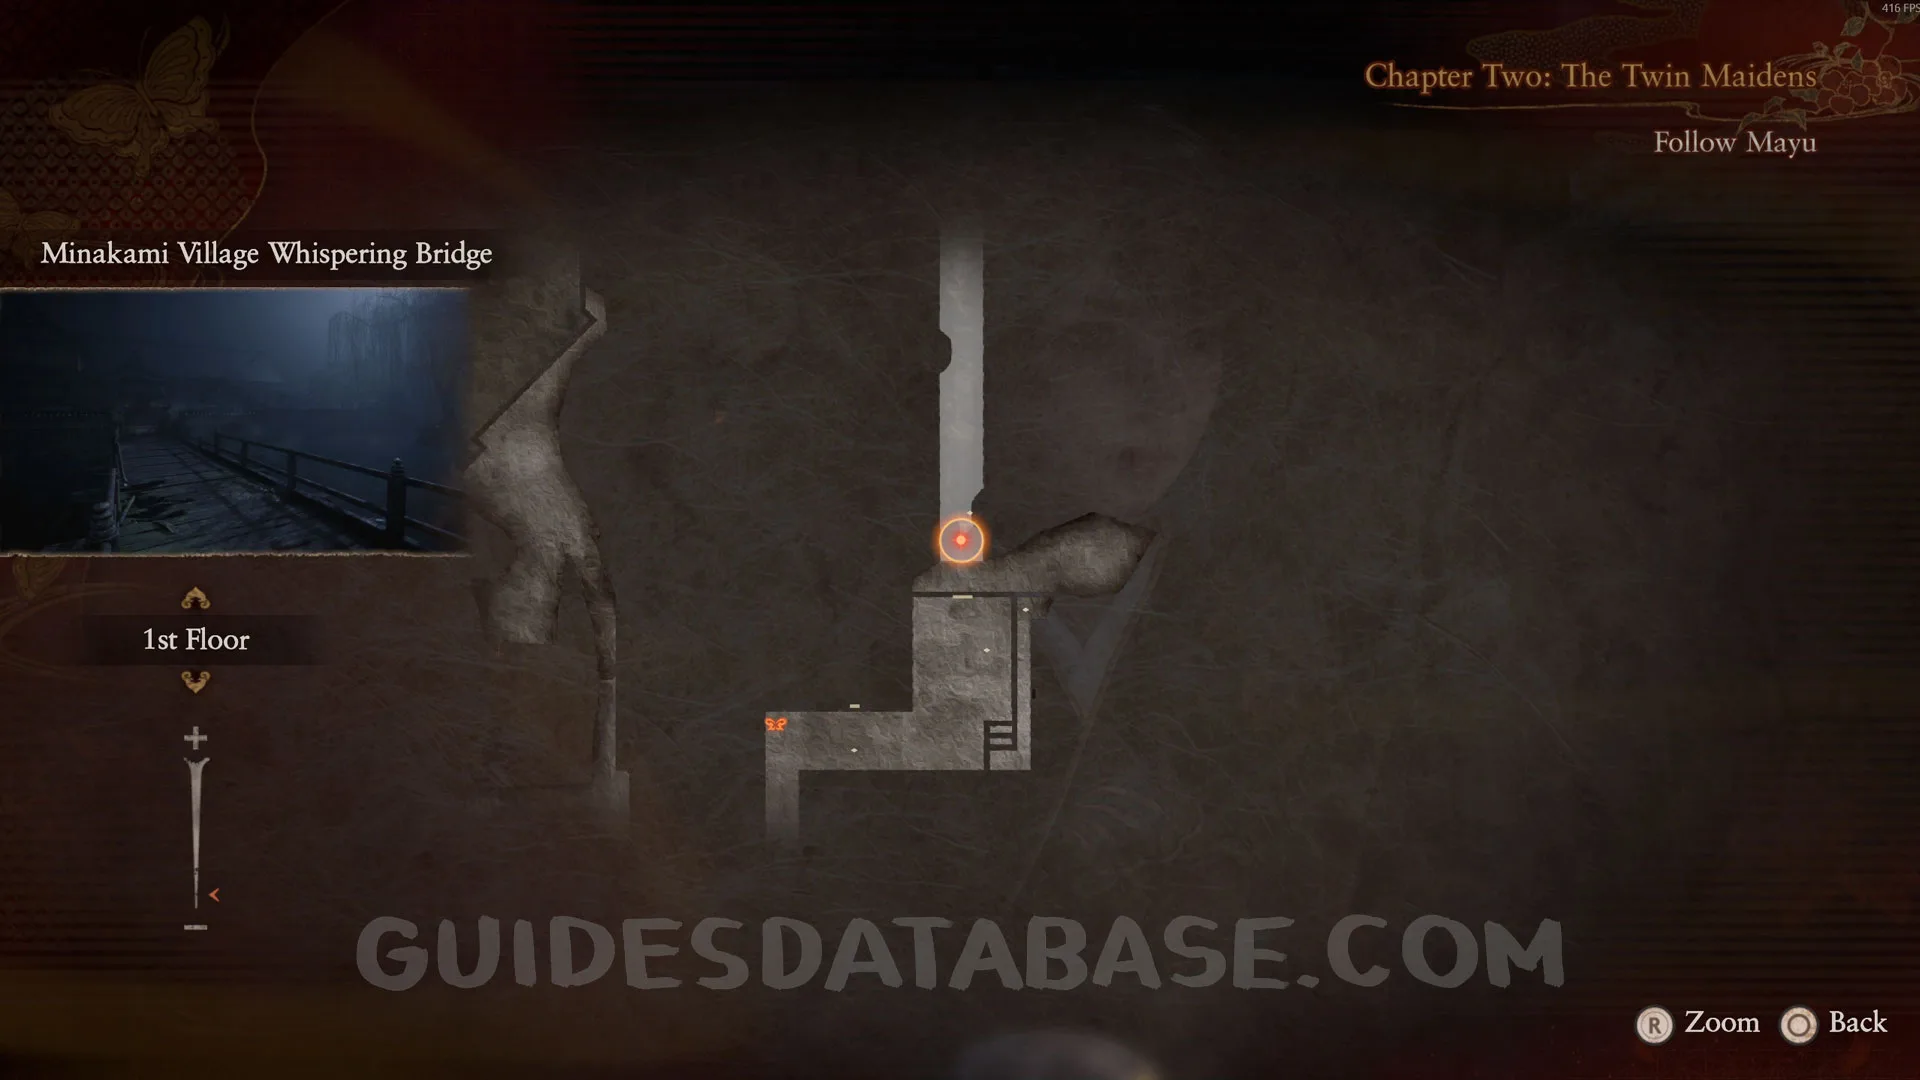
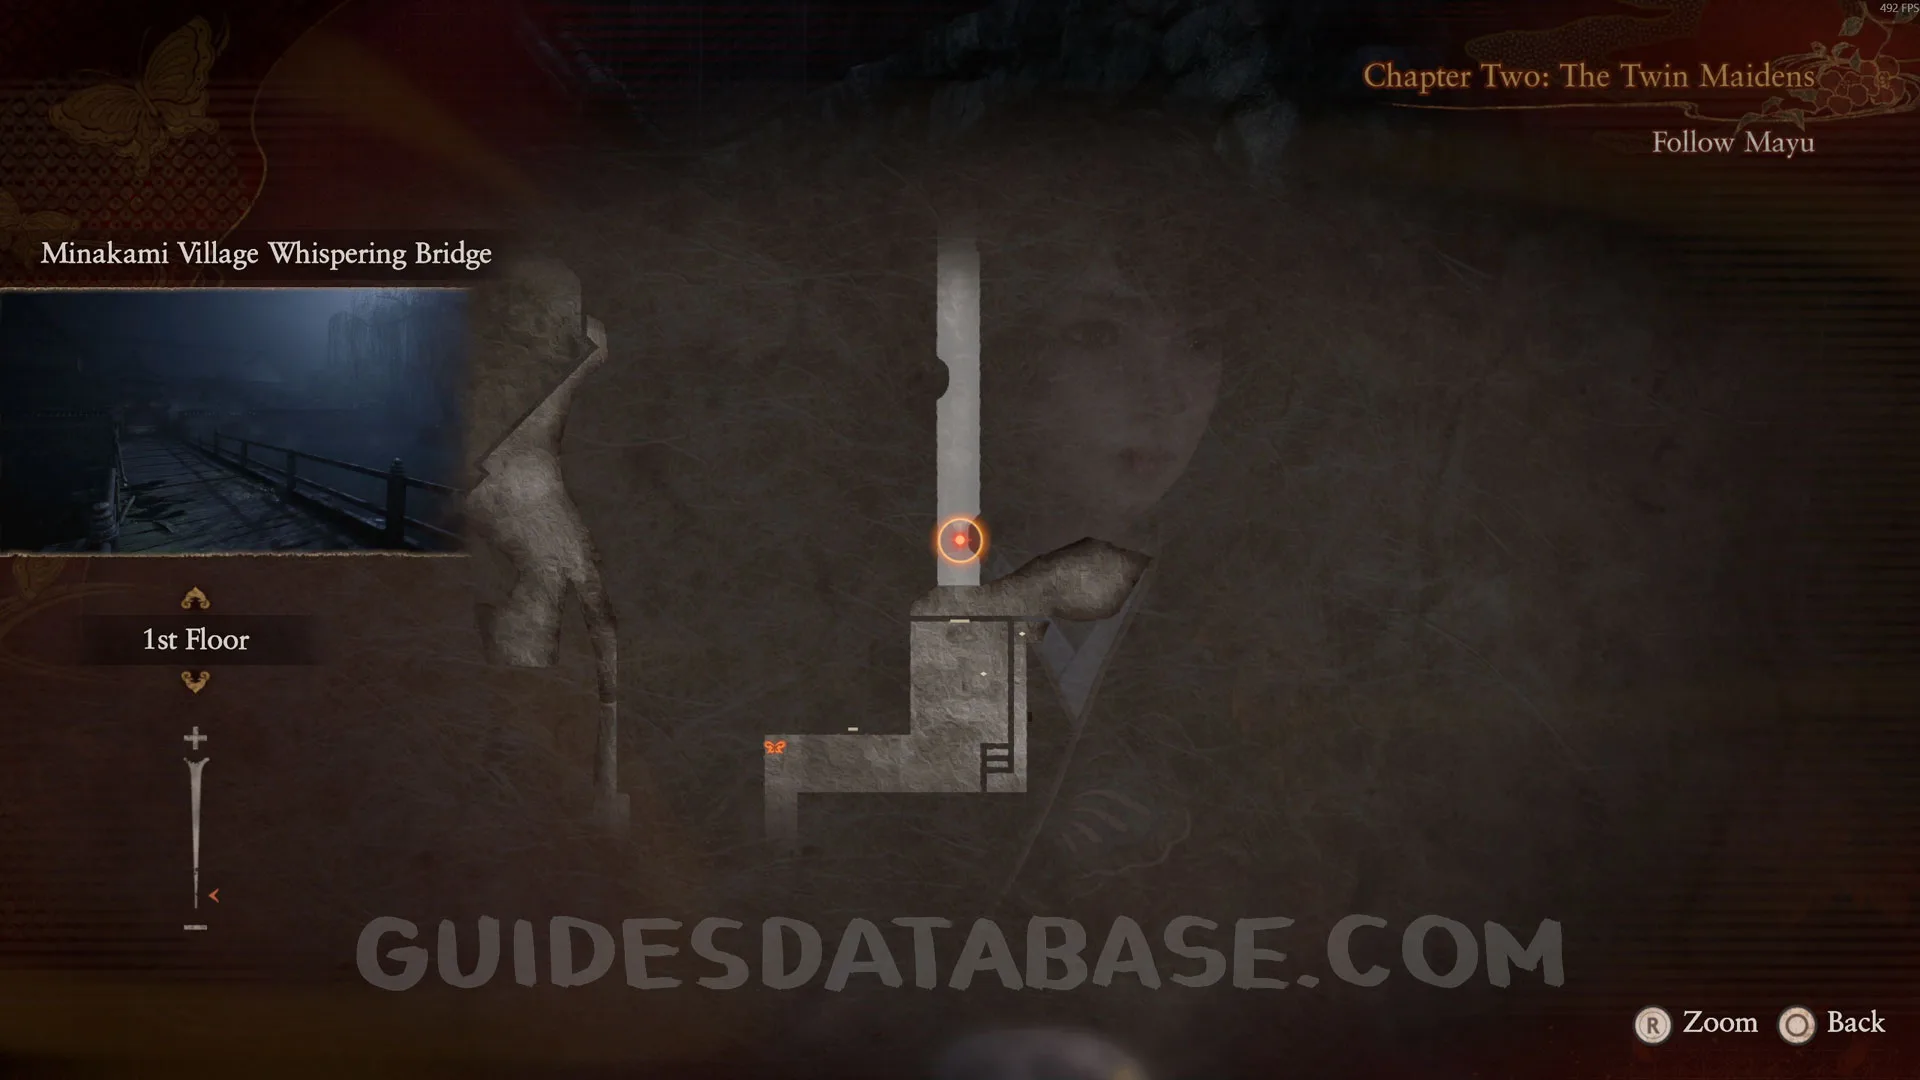
Specter #3 - Woman Watching From Window.
From the previous collectible, you will go out the door and a cutscene will start. Immediately turn around and go near the window to see this specter.
 GUIDESDATABASE.COM
 GUIDESDATABASE.COM
 GUIDESDATABASE.COM
Specter #4-7 - 007 Seeker / 008 Man Chasing Fleeting Twins / 009 Man Fearing Calamity / 010 Villagers.
From the previous collectible, go down the stairs and enter the room in front of you. Go to the window and you will see 3 specters. Take a picture of all 3.
 GUIDESDATABASE.COM
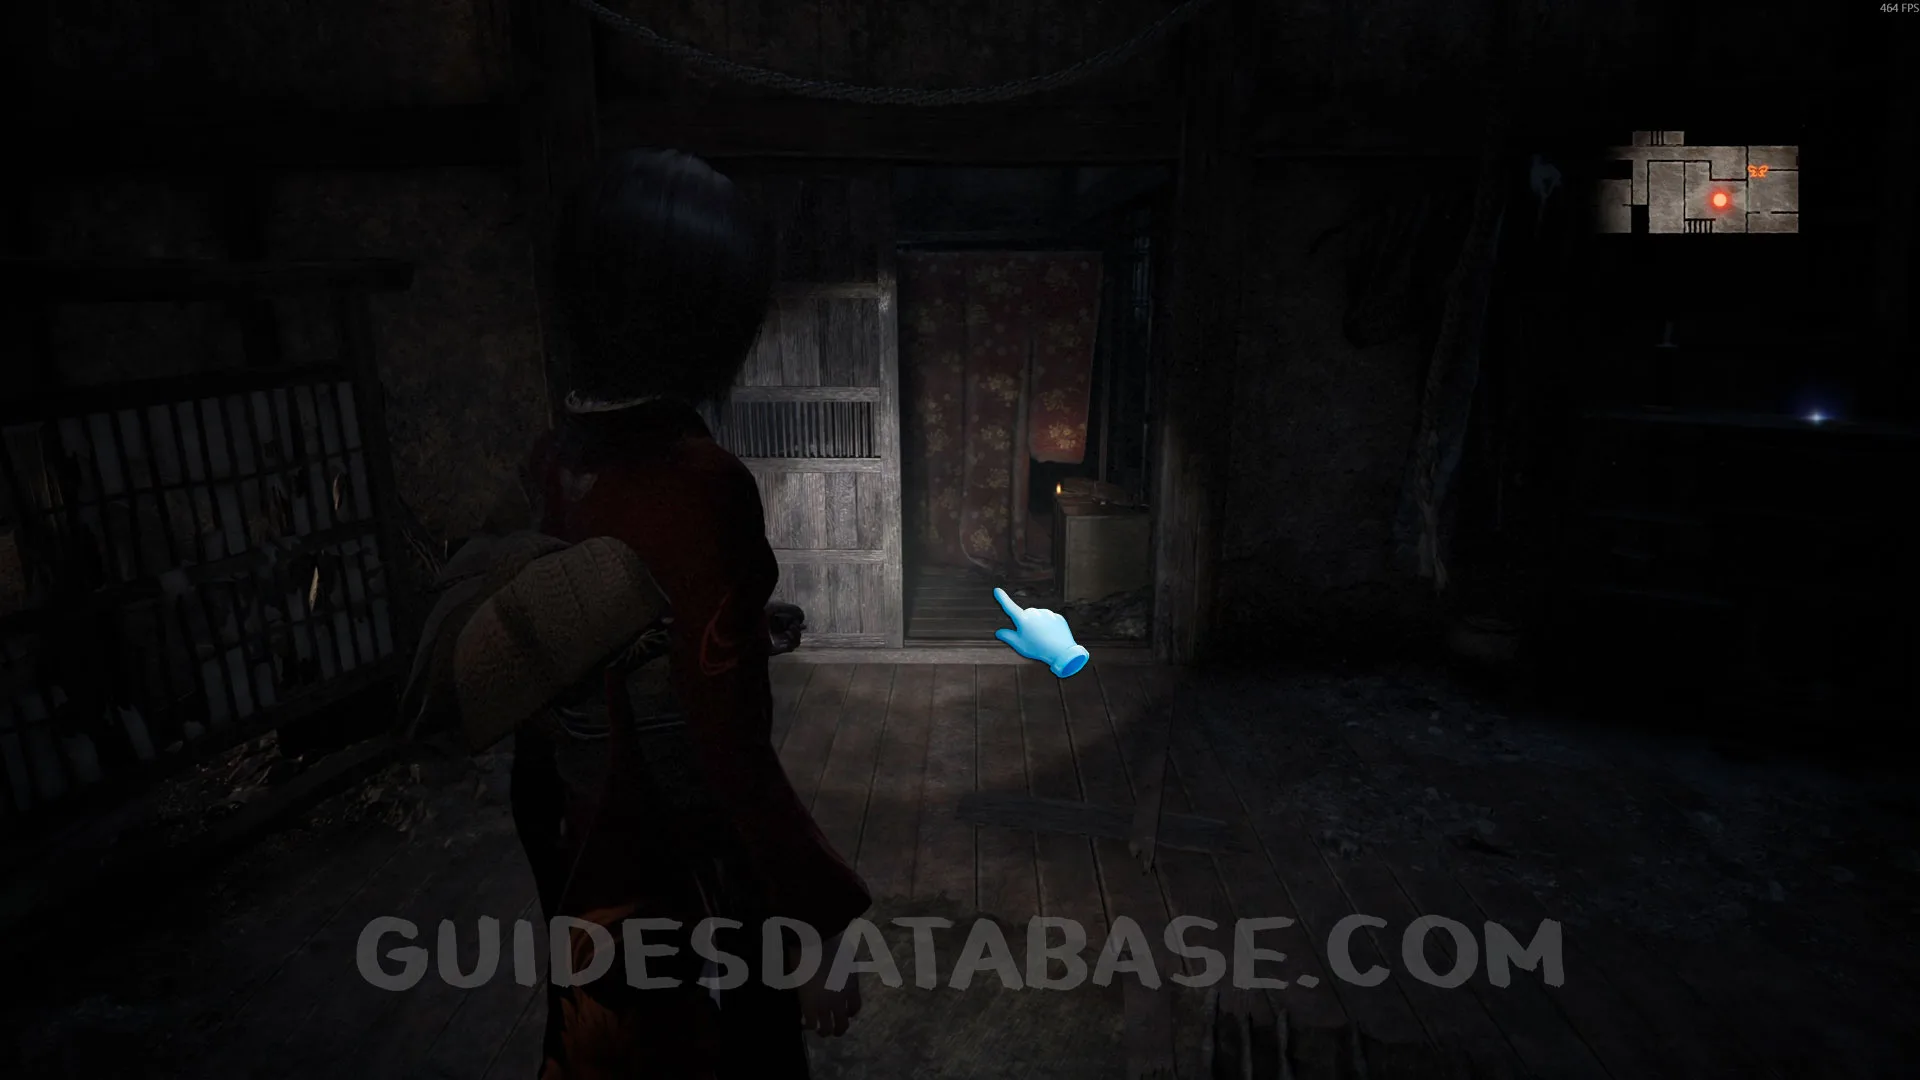 GUIDESDATABASE.COM
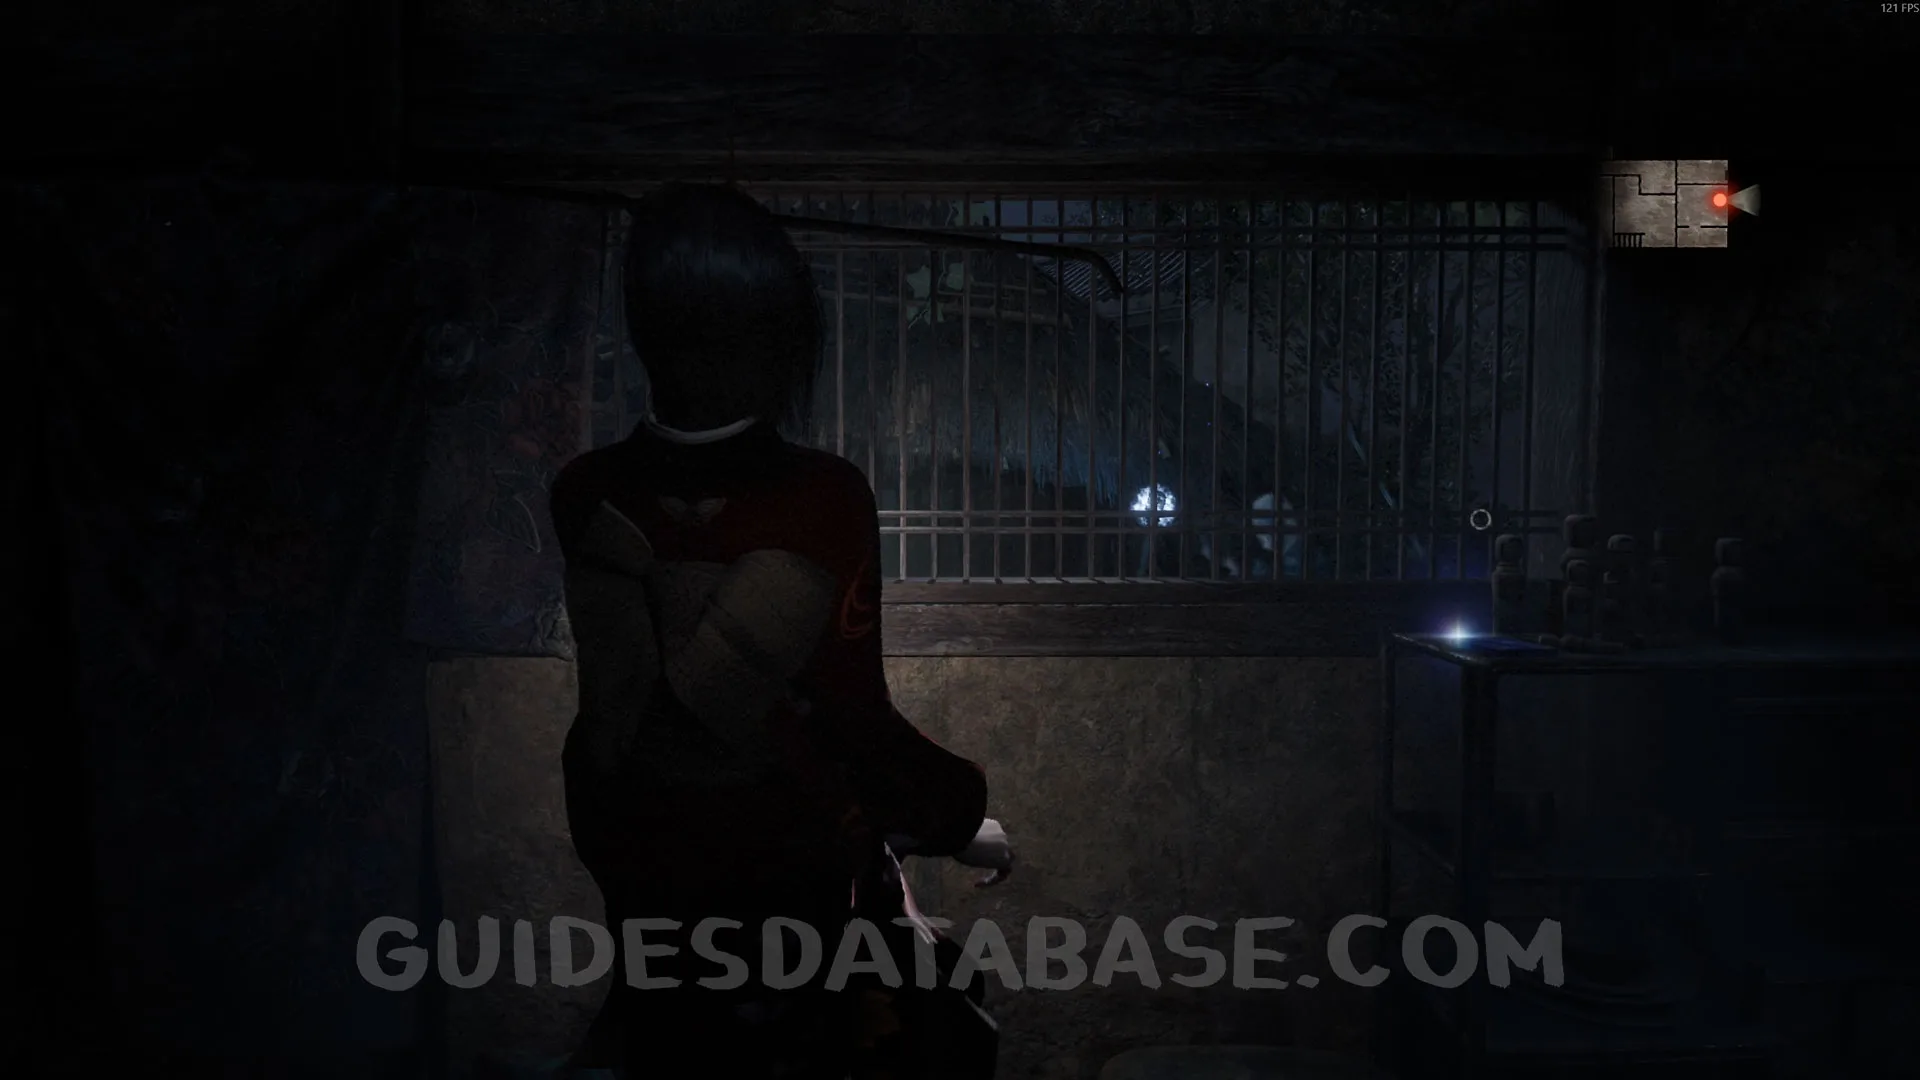 GUIDESDATABASE.COM
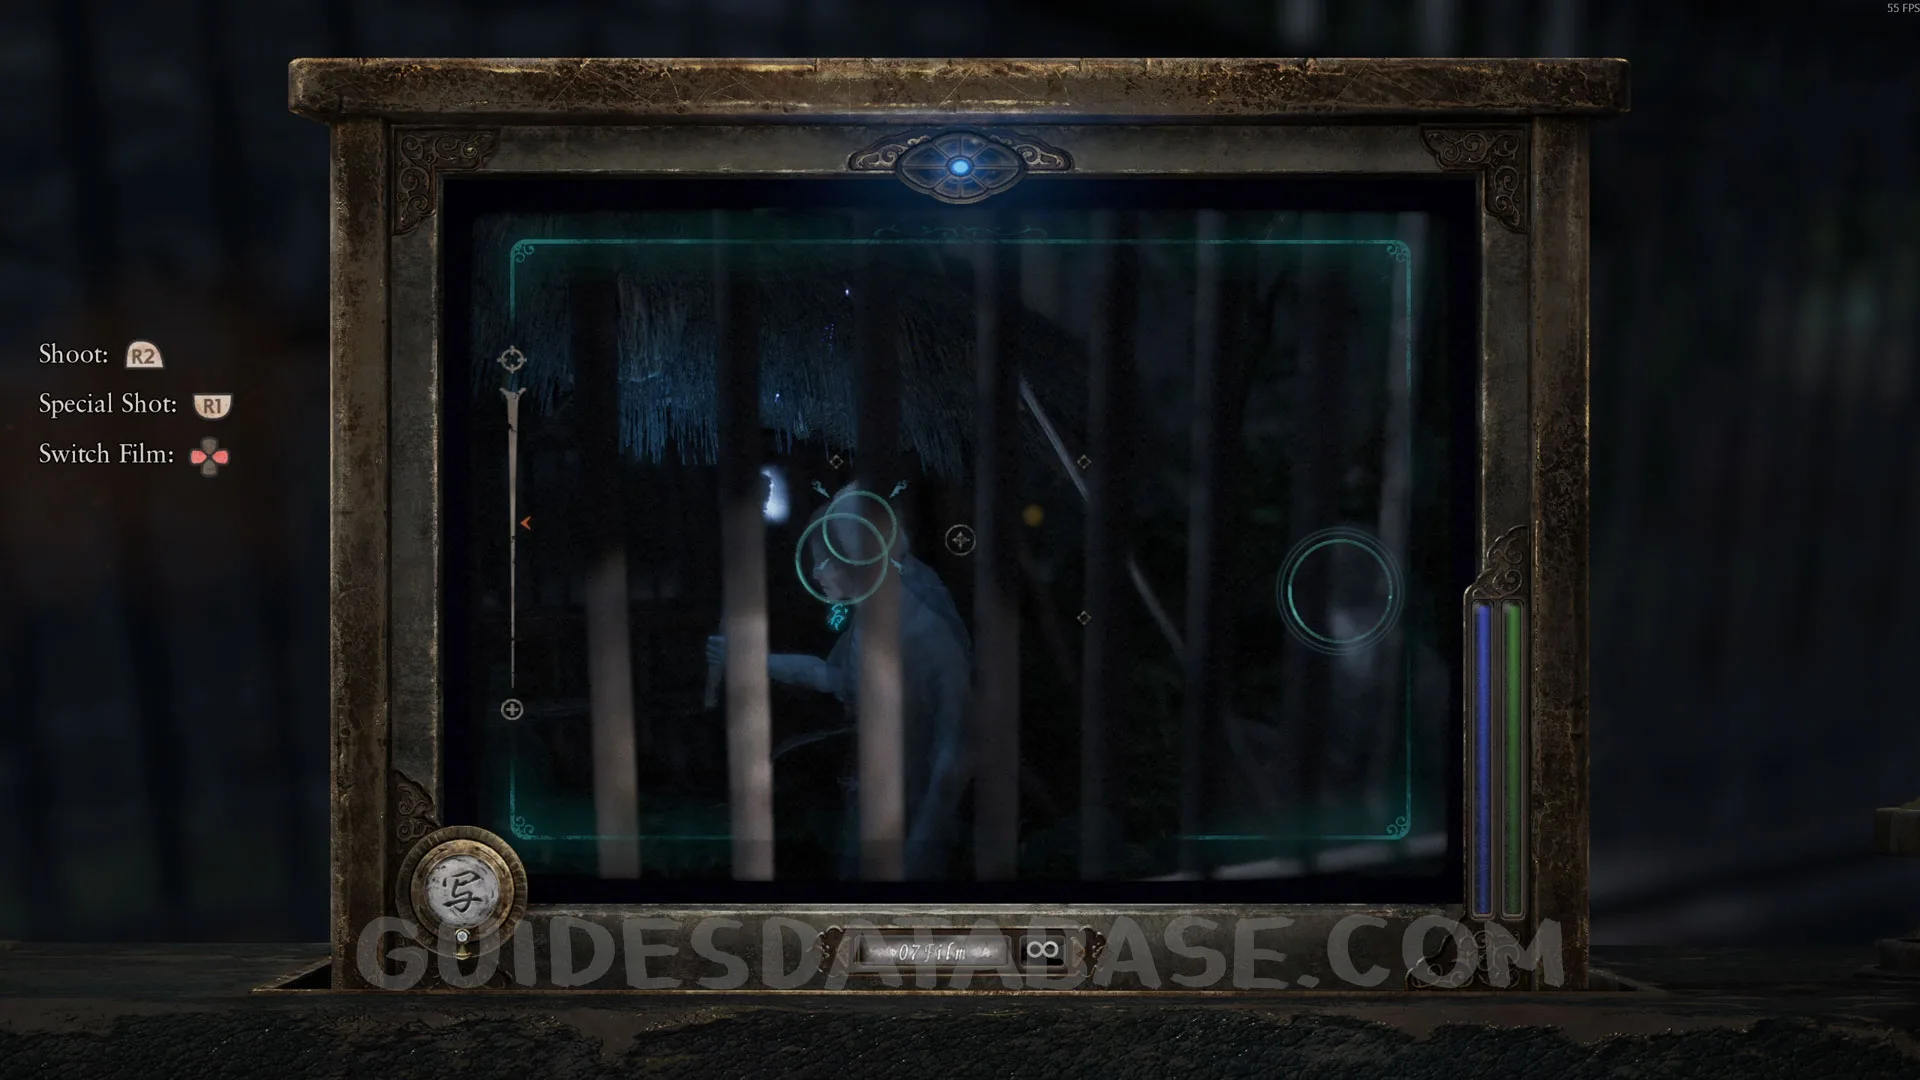 GUIDESDATABASE.COM
Wraith #2 - 002 Succumbed Man.
From the previous collectible, leave the save point room and this Wraith will appear in front of you. Take a picture of it.
 GUIDESDATABASE.COM
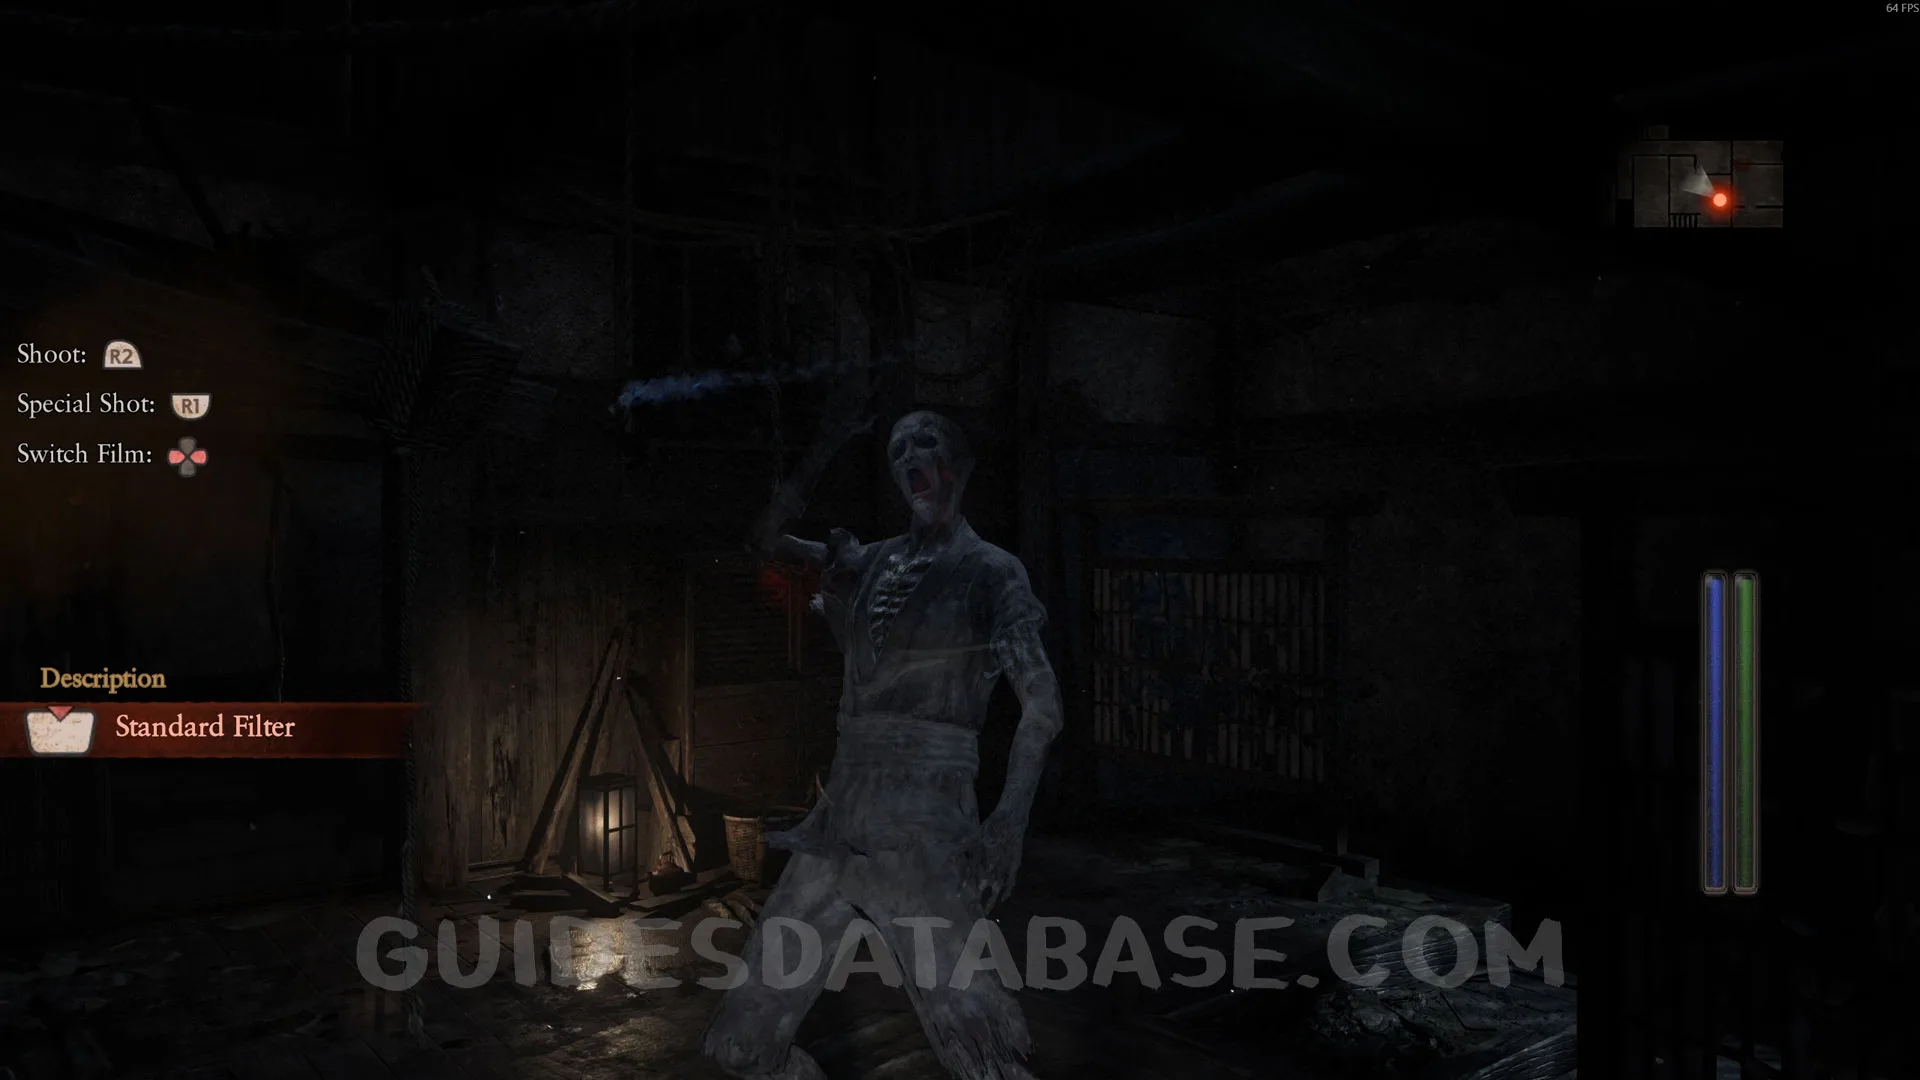 GUIDESDATABASE.COM
Specter #8 - 011 Man Peering Into Camera Obscura.
From the previous collectible, go outside the Osaka House and you will see this Specter in front of you. Take a picture of it.
 GUIDESDATABASE.COM
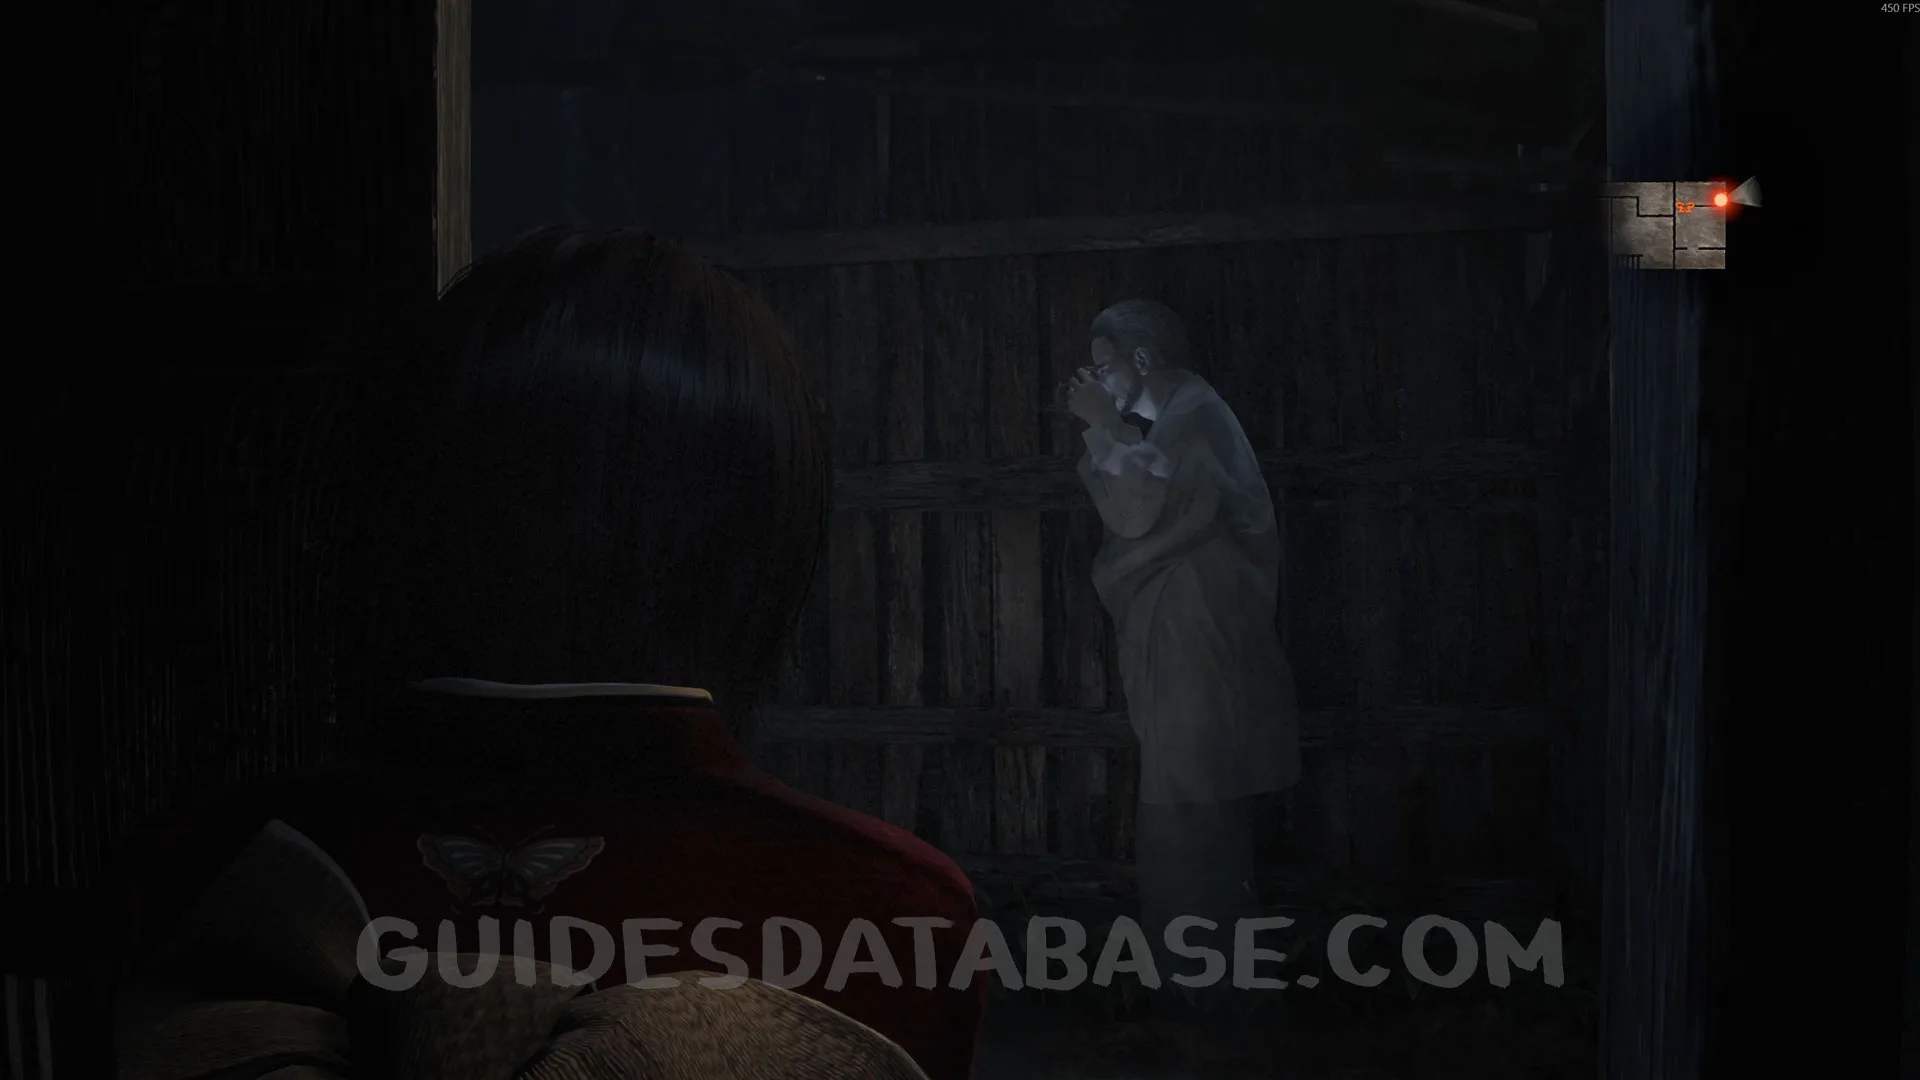 GUIDESDATABASE.COM
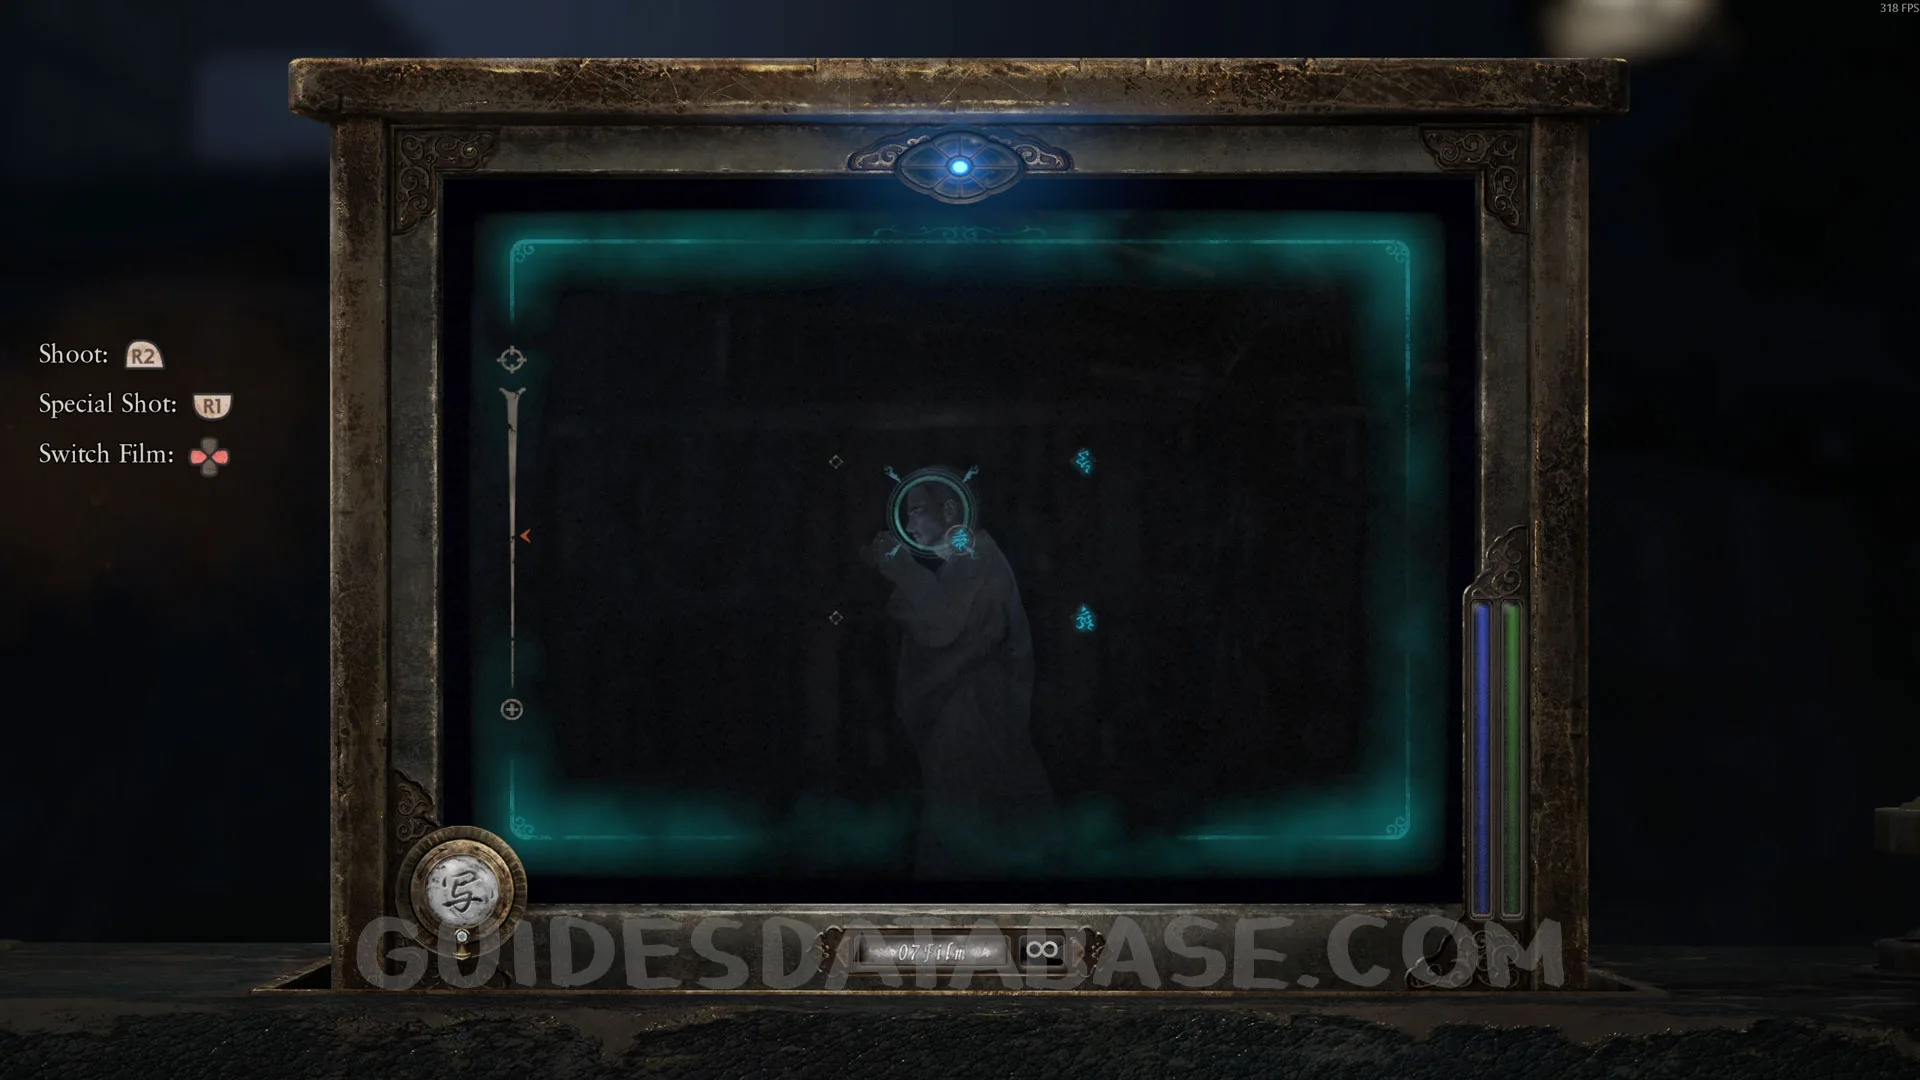 GUIDESDATABASE.COM
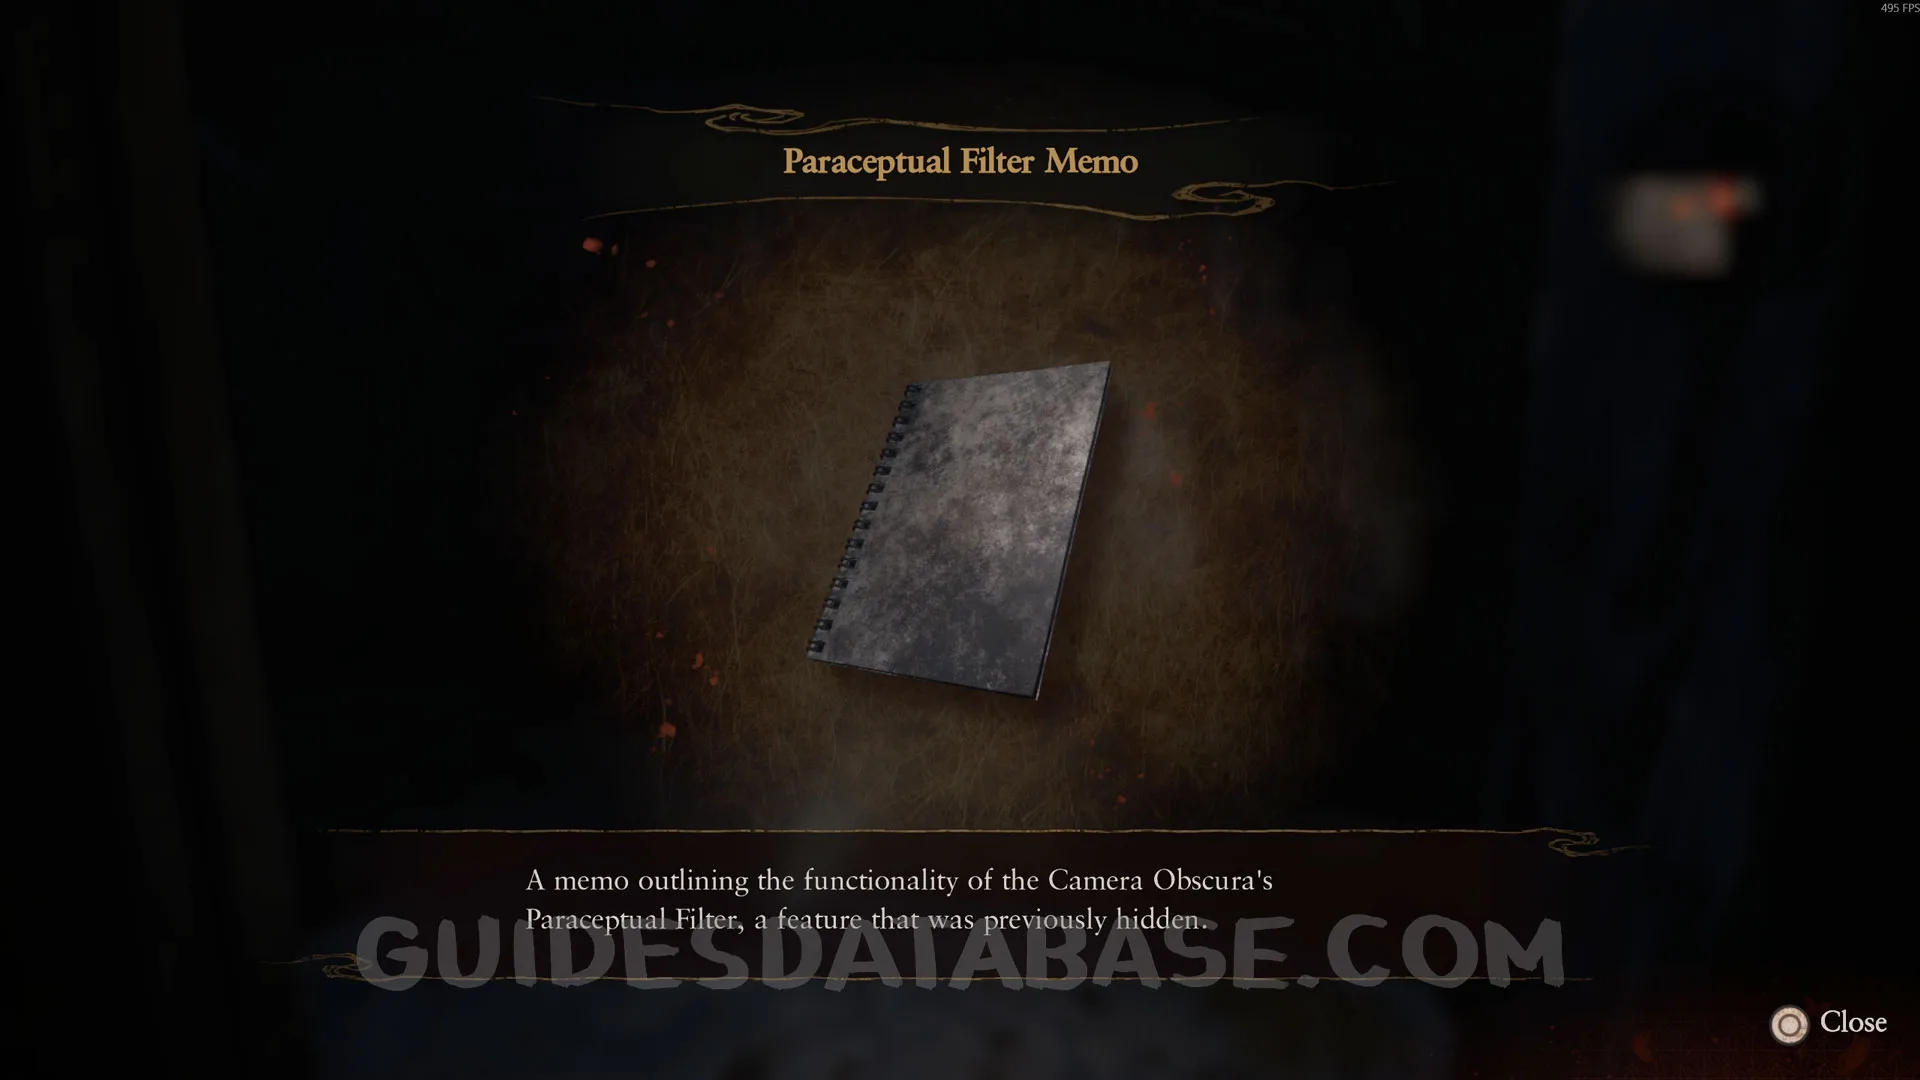
Document #10 - Paraceptual Filter Memo.
Obtained Automatically after leaving the Osaka House.
 GUIDESDATABASE.COM
Specter #9 - 012 Mayu Being Called.
After the previous collectible, right after getting the Perceptual Filter, equip it on your camera and turn left to find this specter.
 GUIDESDATABASE.COM
Wraith #3 - 003 The Seeker / Wraith #4 - 004 The Sickle Bearer / Wraith #5 - 005 The Pole Bearer.
Right after the previous collectible, backtrack to the area where you started the game. Here, you will need to keep going back and forth along the road until the Wraiths appear. They show up randomly.
 GUIDESDATABASE.COM
 GUIDESDATABASE.COM
 GUIDESDATABASE.COM
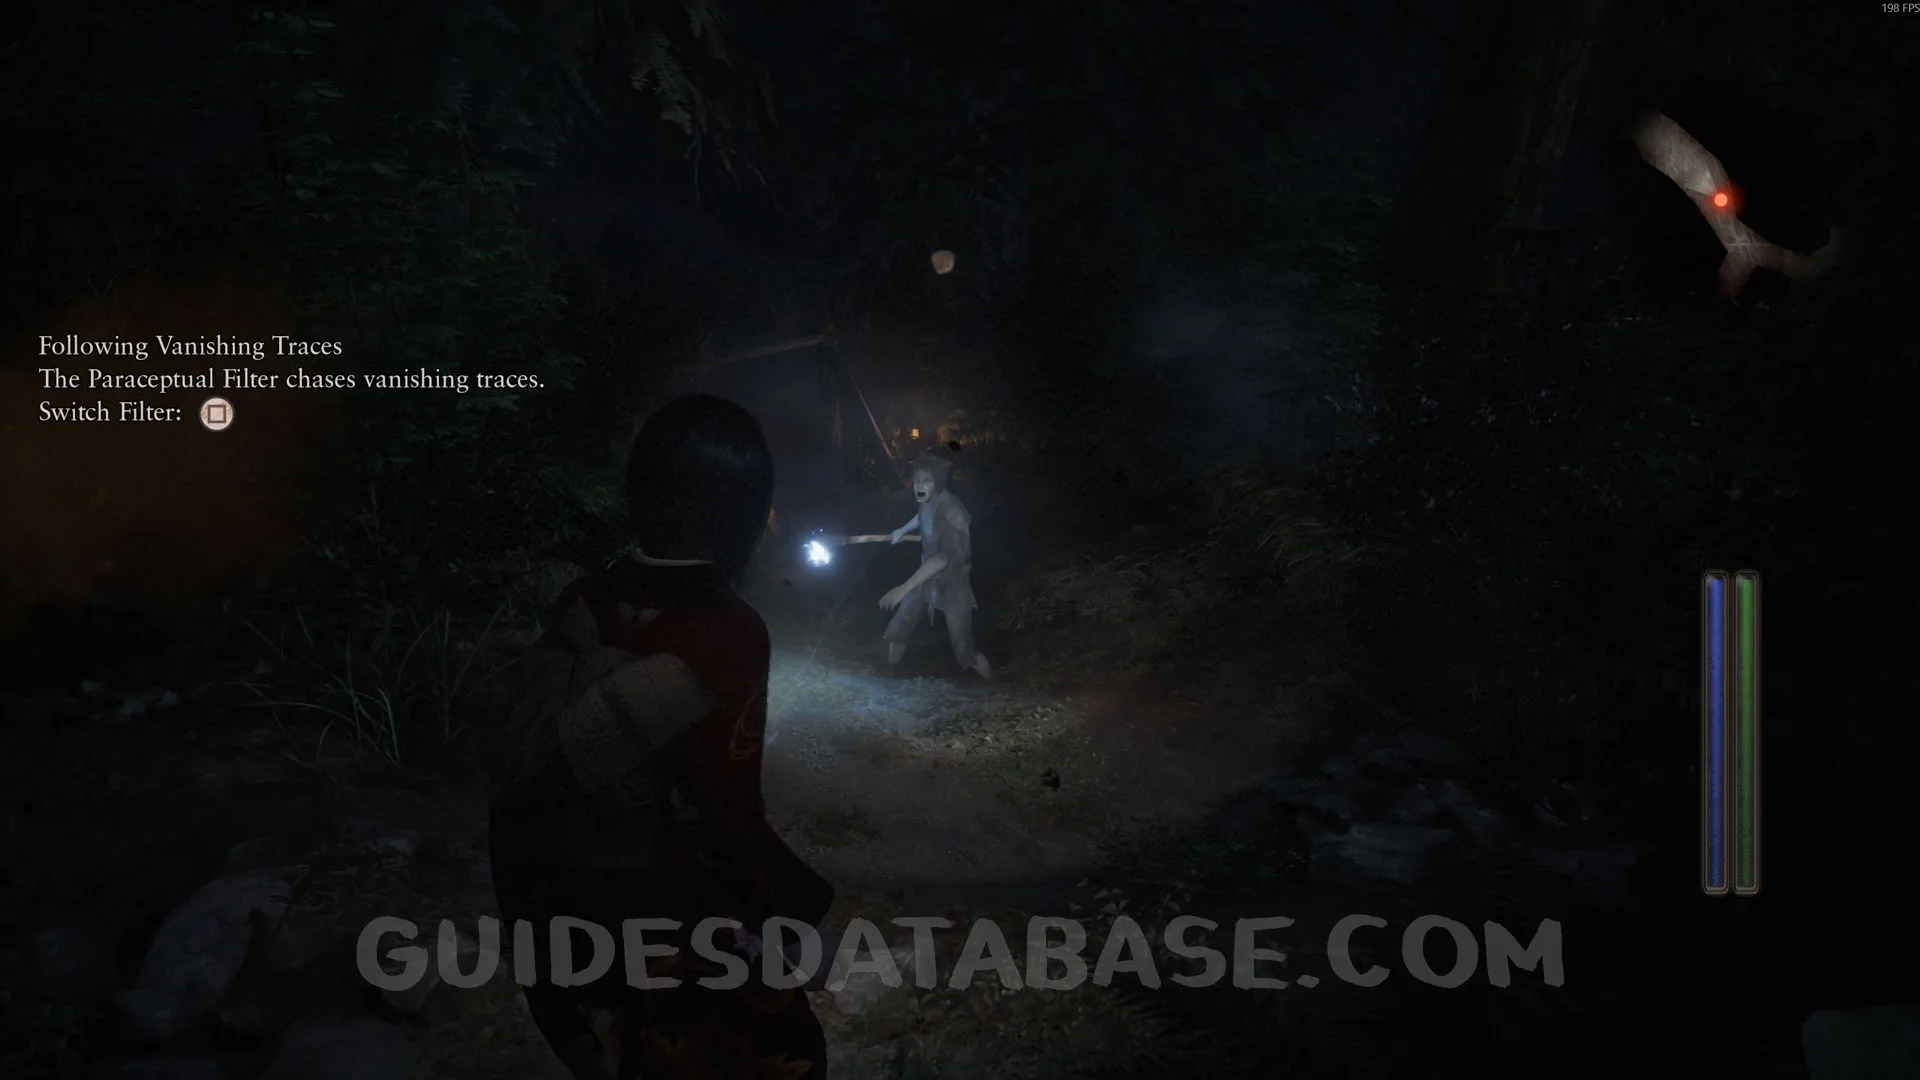 GUIDESDATABASE.COM
Twin Dolls #2 - 004.
Go to Tsuchihara House - Front. At the construction site next to the well, you will find these Twin Dolls.
 GUIDESDATABASE.COM
 GUIDESDATABASE.COM
 GUIDESDATABASE.COM
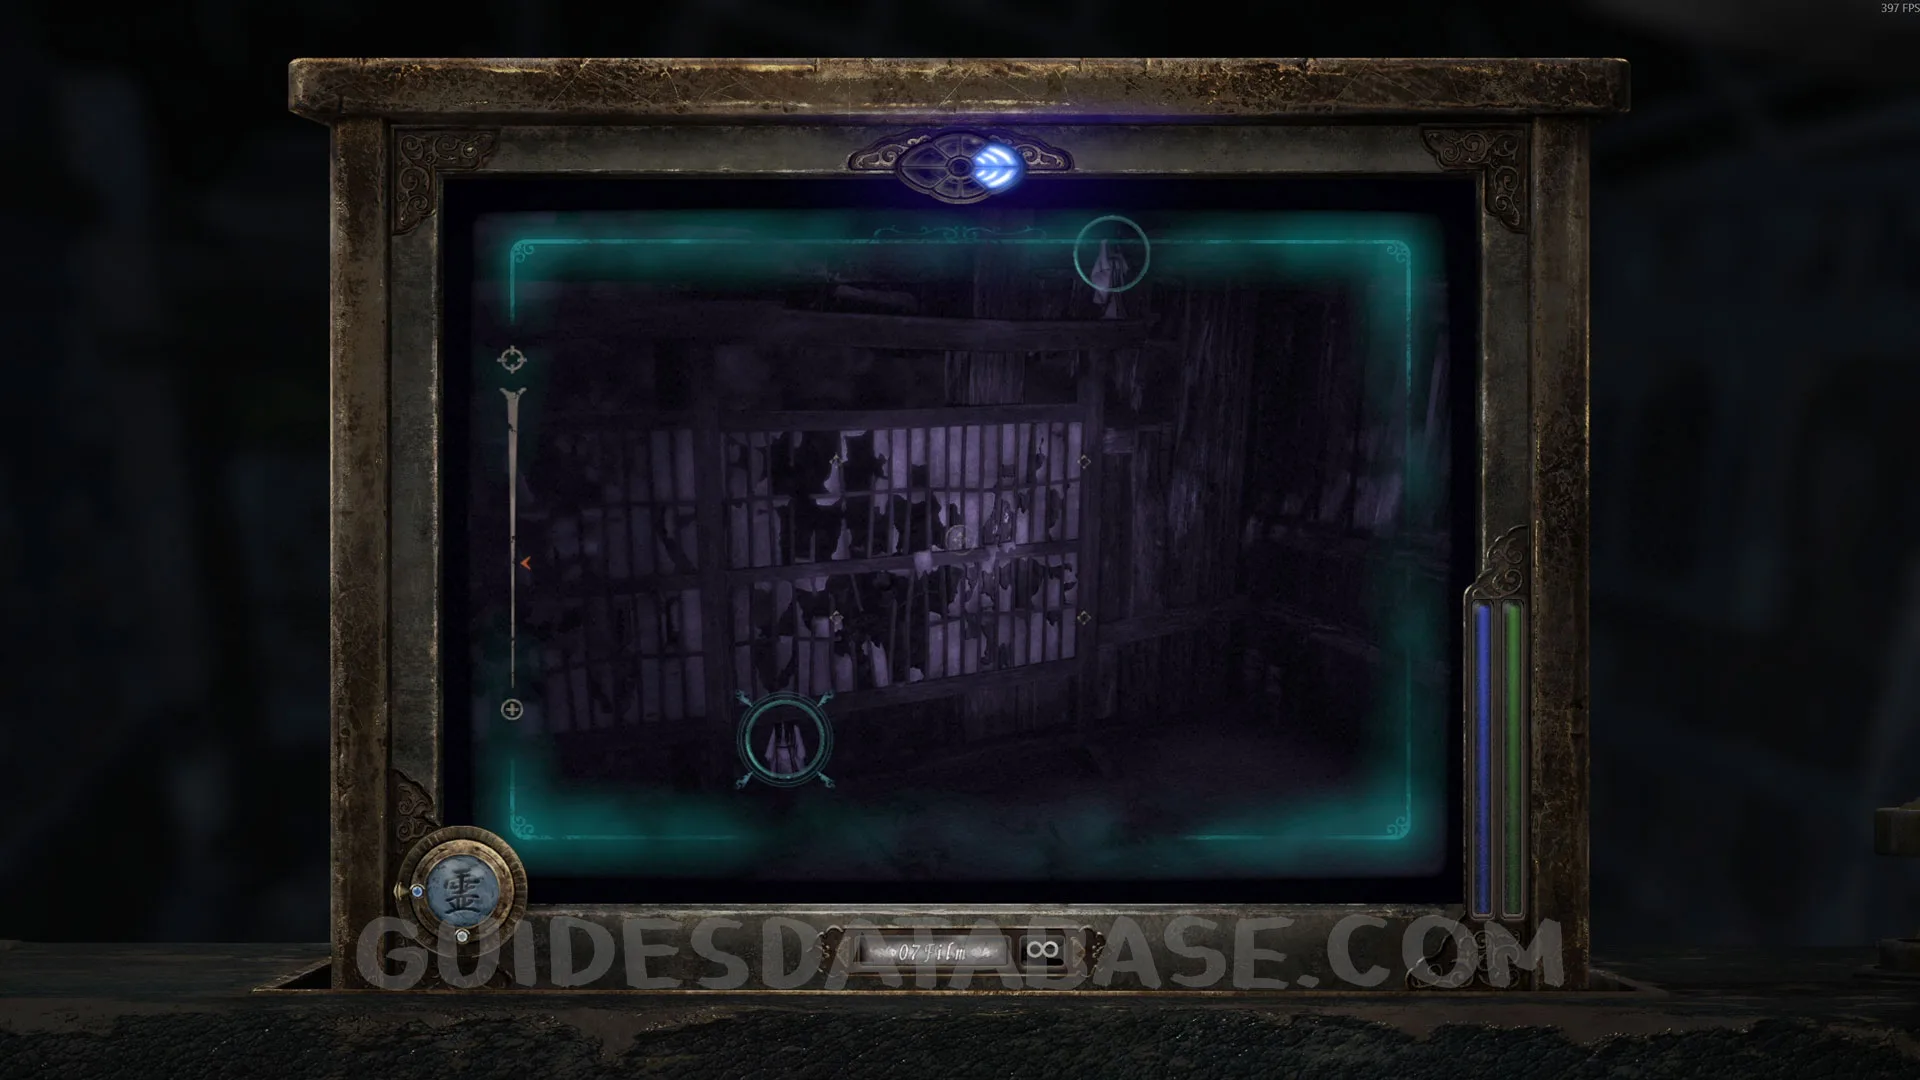 GUIDESDATABASE.COM
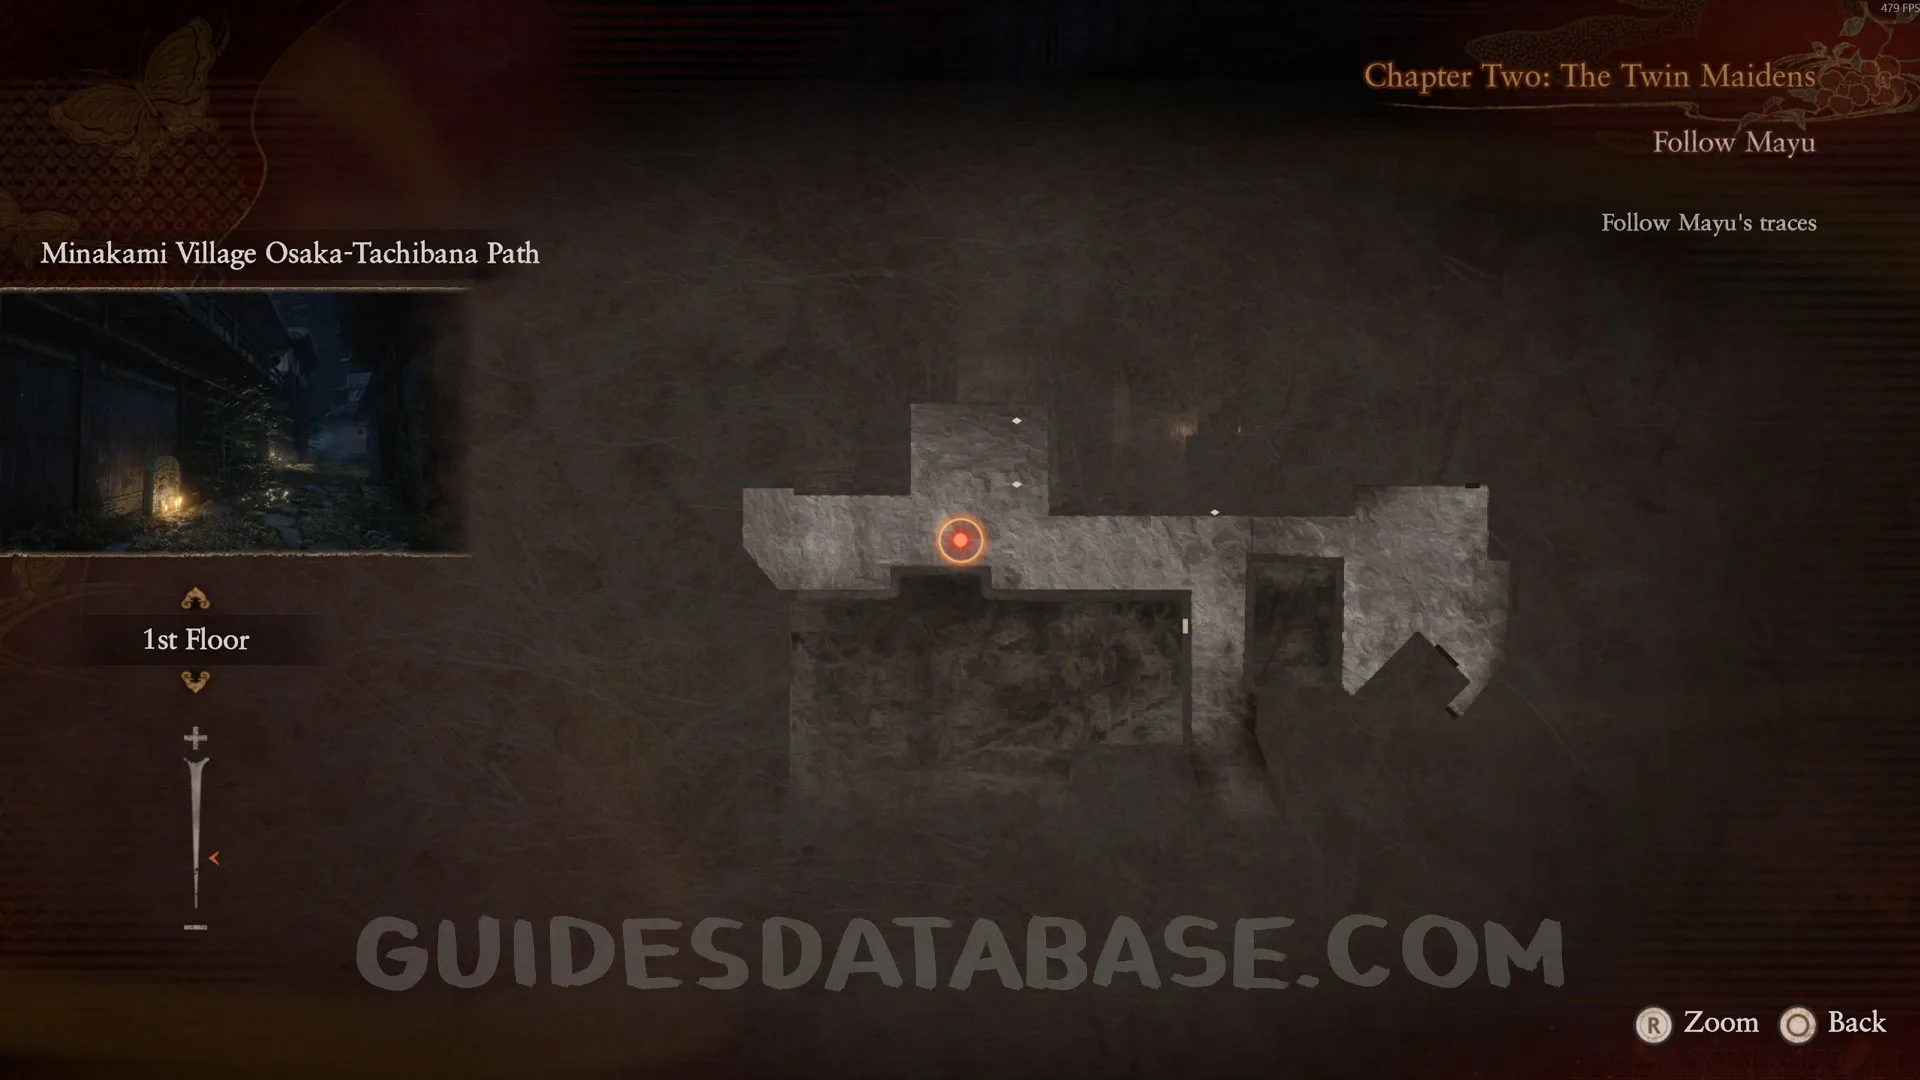
Twin Dolls #3 - 042.
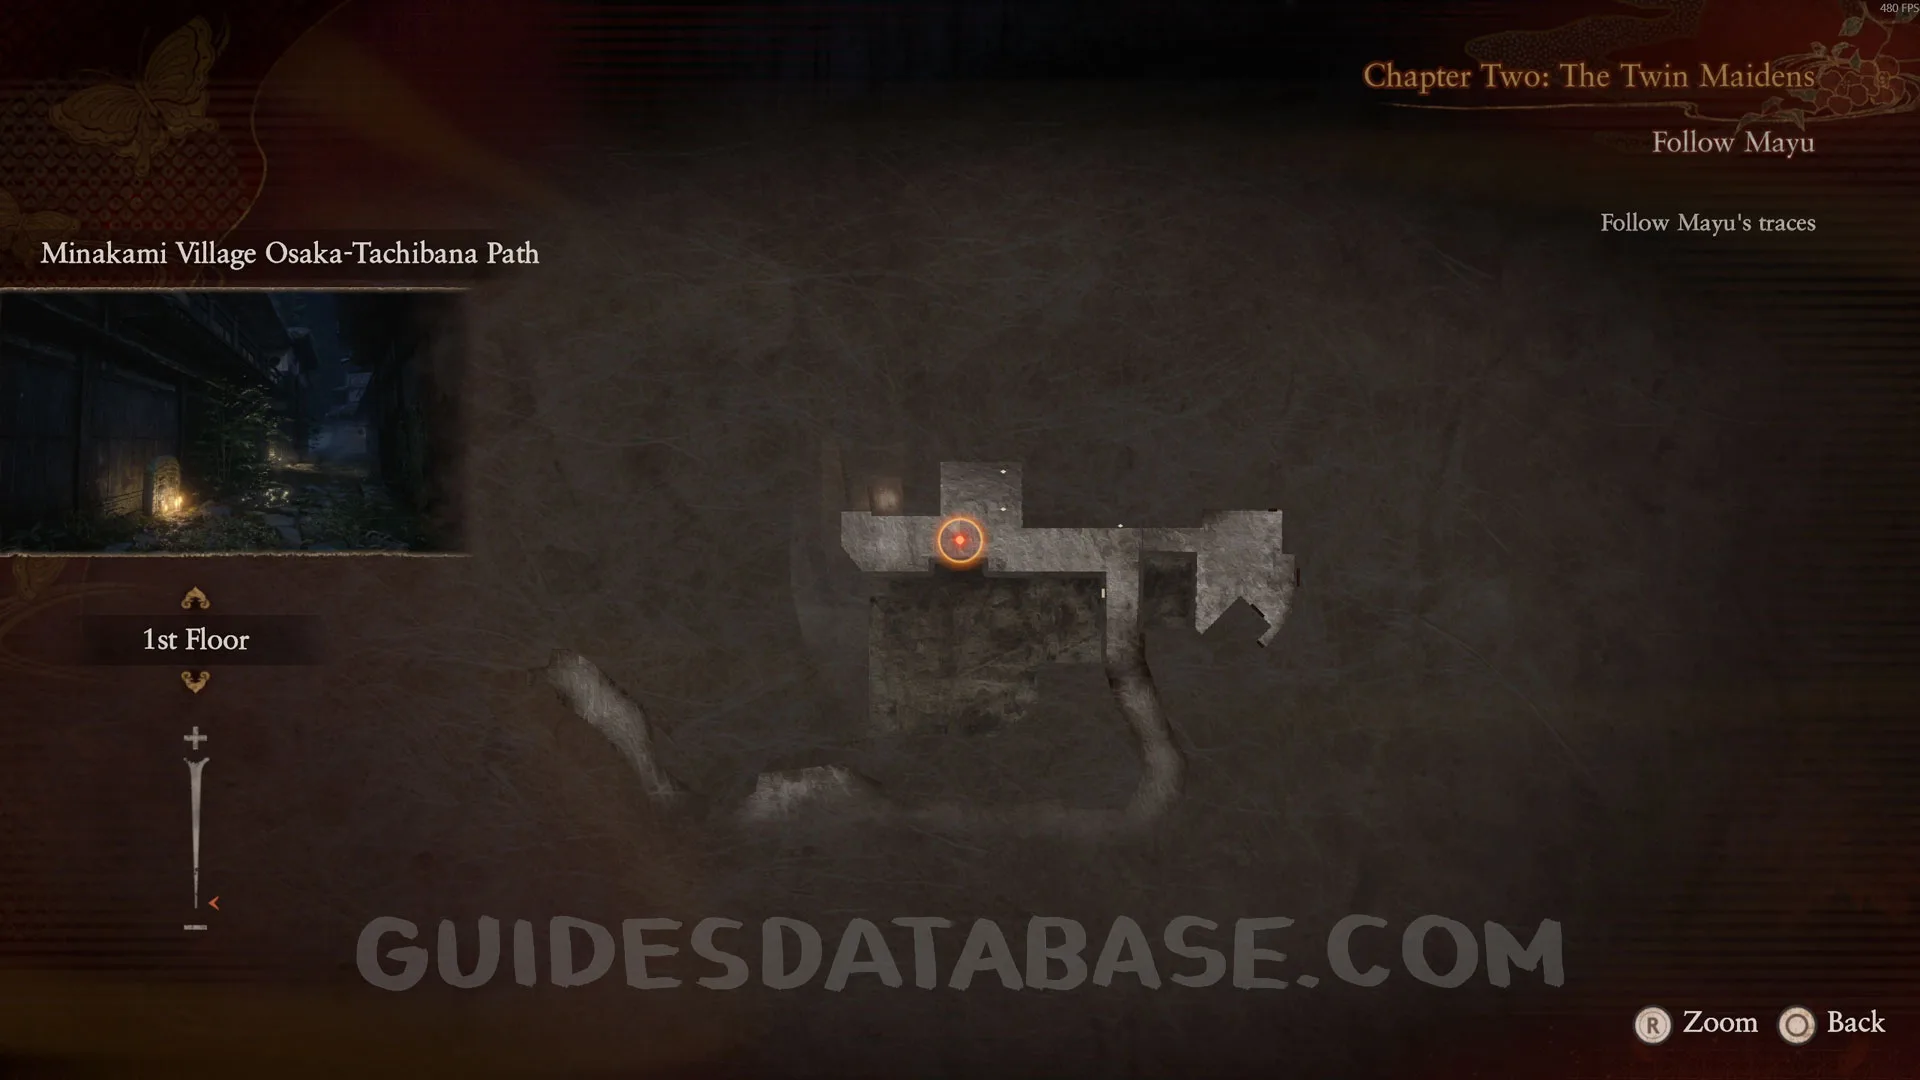
On the Osaka-Tachibana Path, you will find these Twin Dolls on the right side. One is beneath the wooden floor, and the other is next to a box.
 GUIDESDATABASE.COM
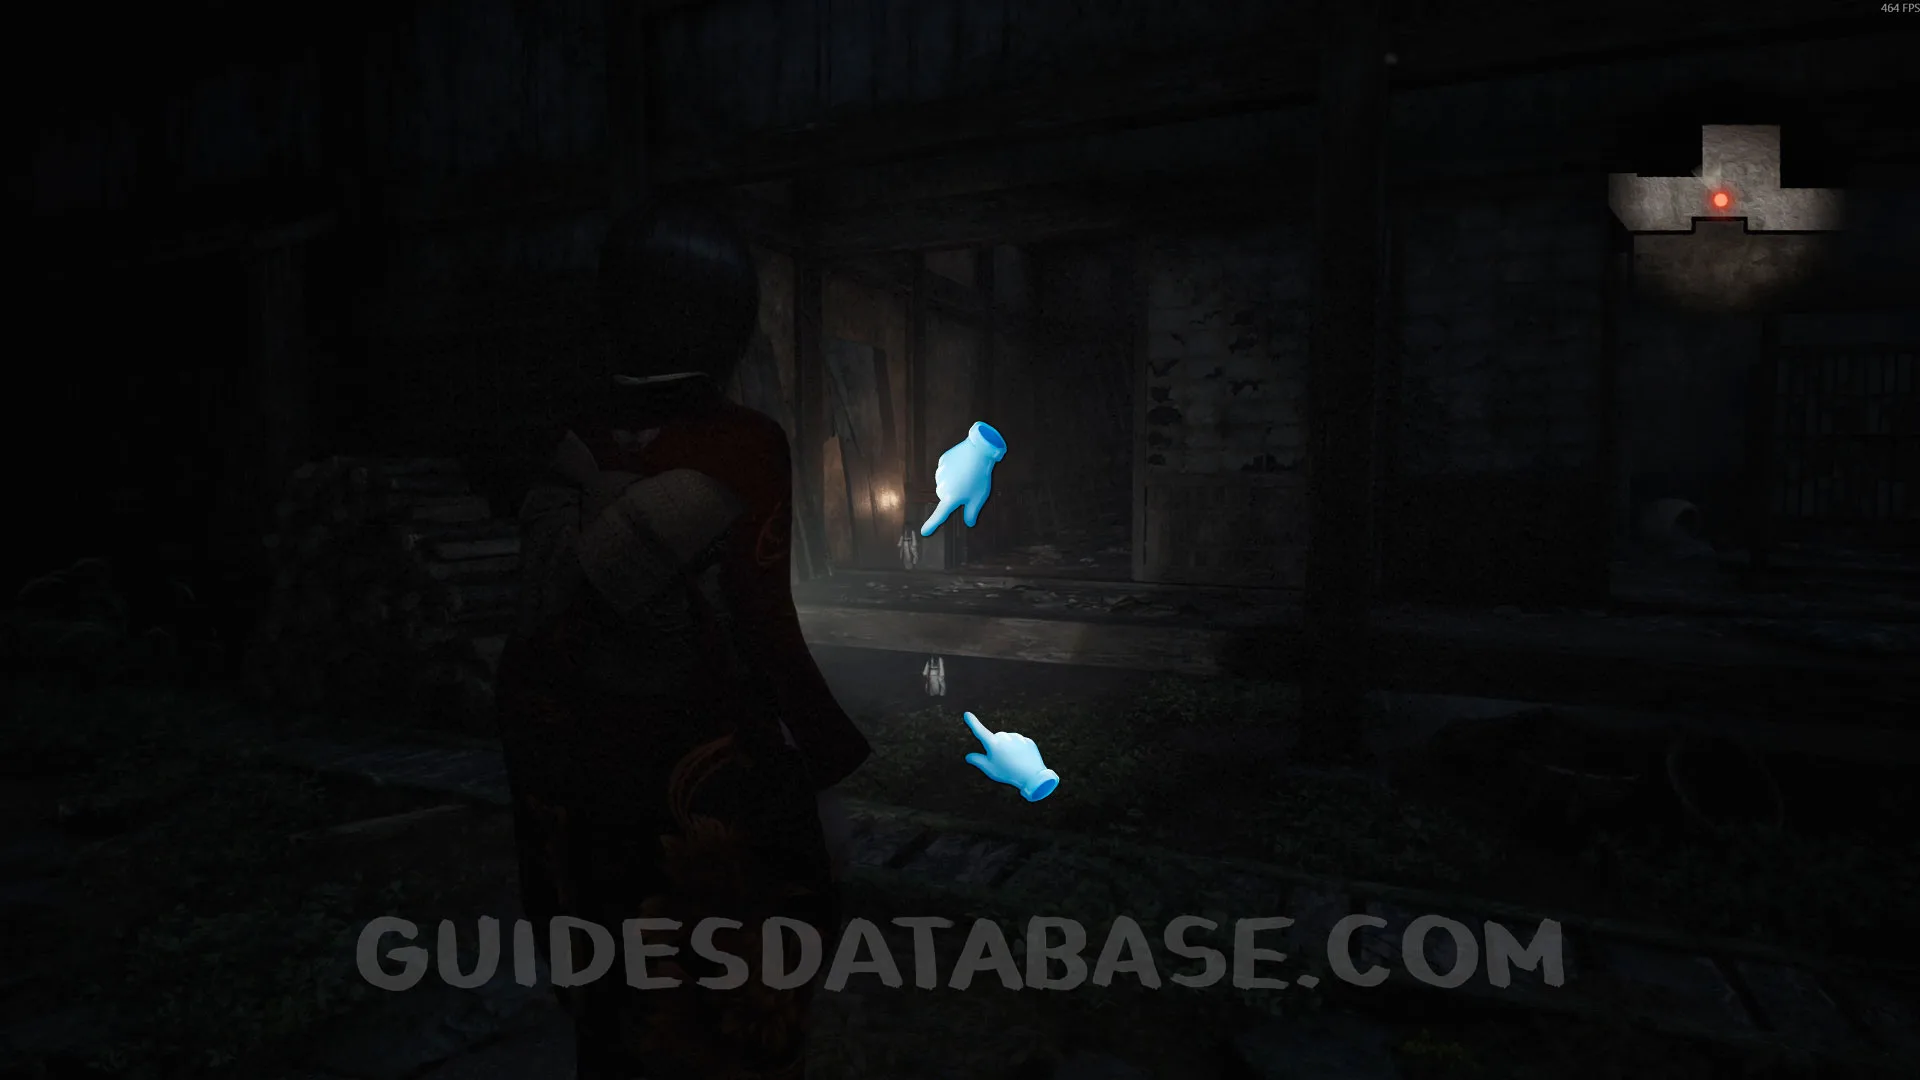 GUIDESDATABASE.COM
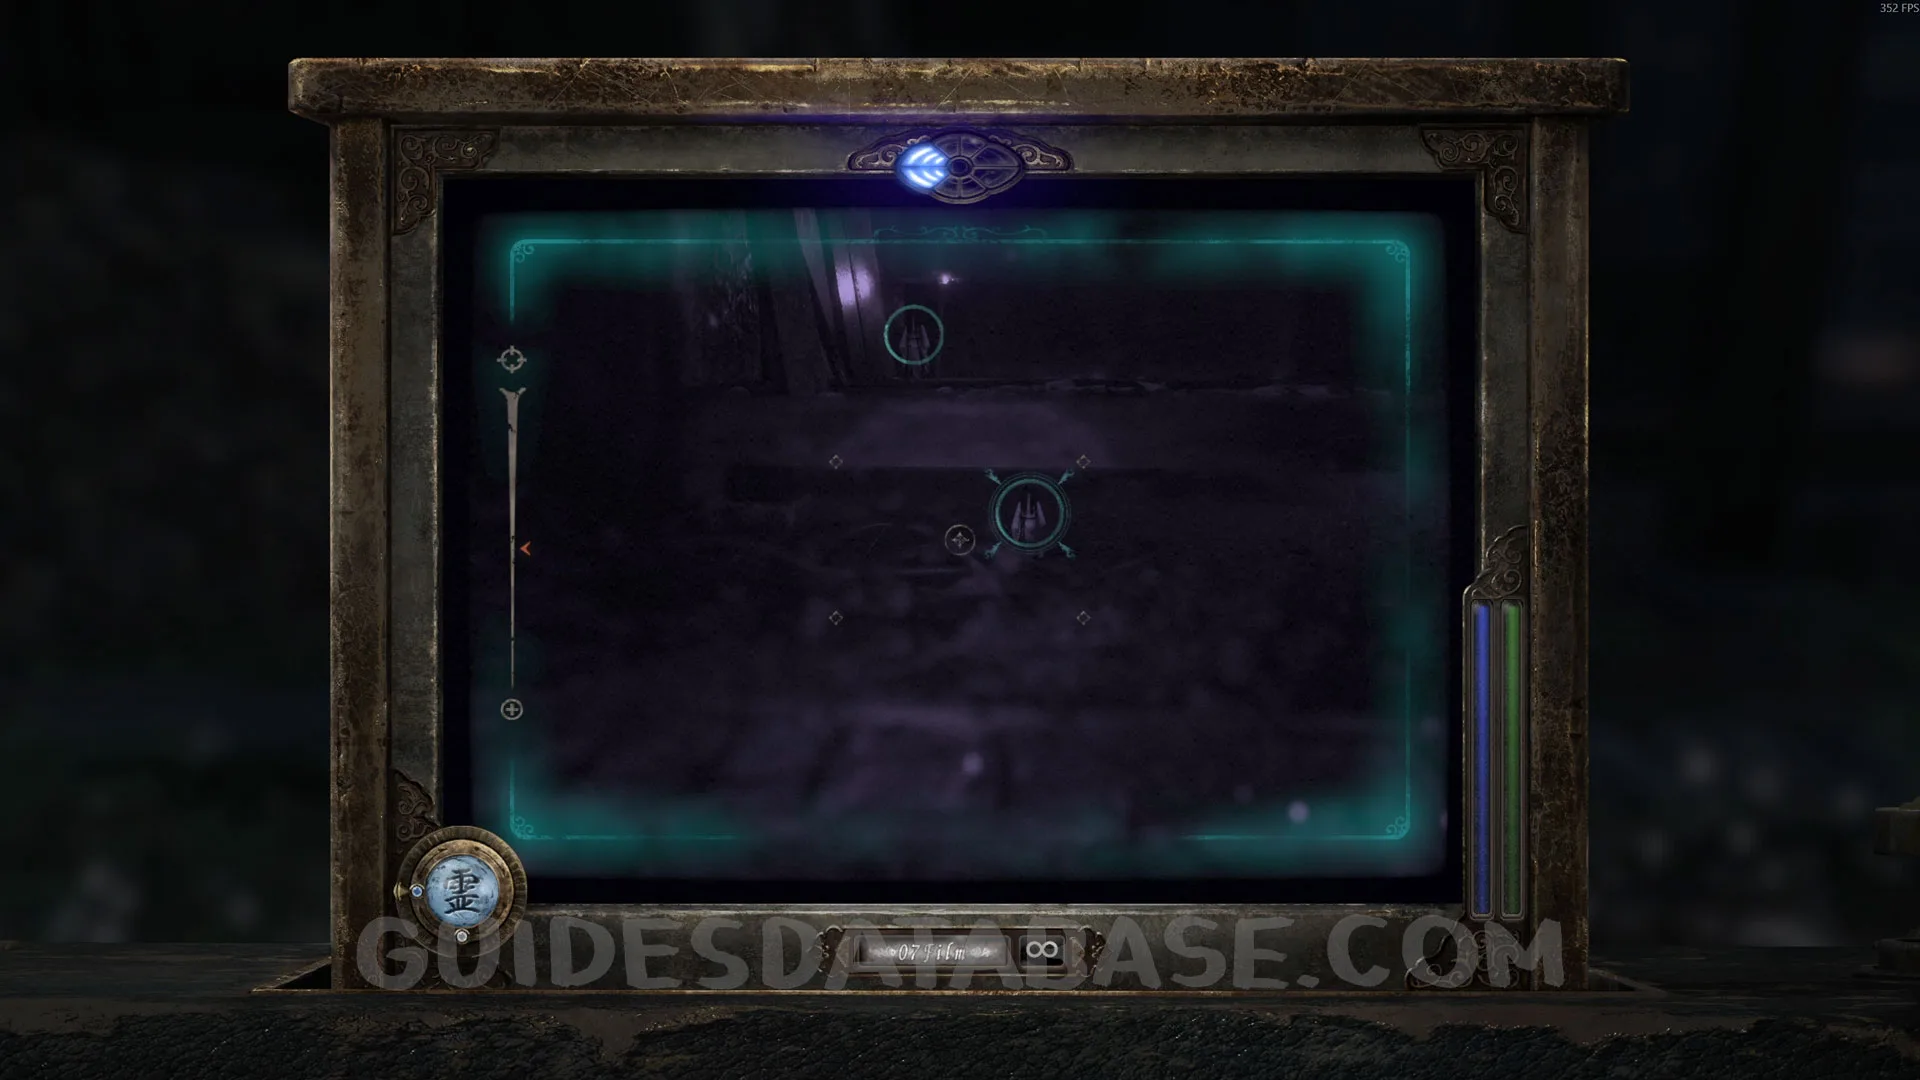 GUIDESDATABASE.COM
Spirit Stone #2 - Glowing Purple Crystal.
In the same area as the previous collectible, inside a box.
 GUIDESDATABASE.COM
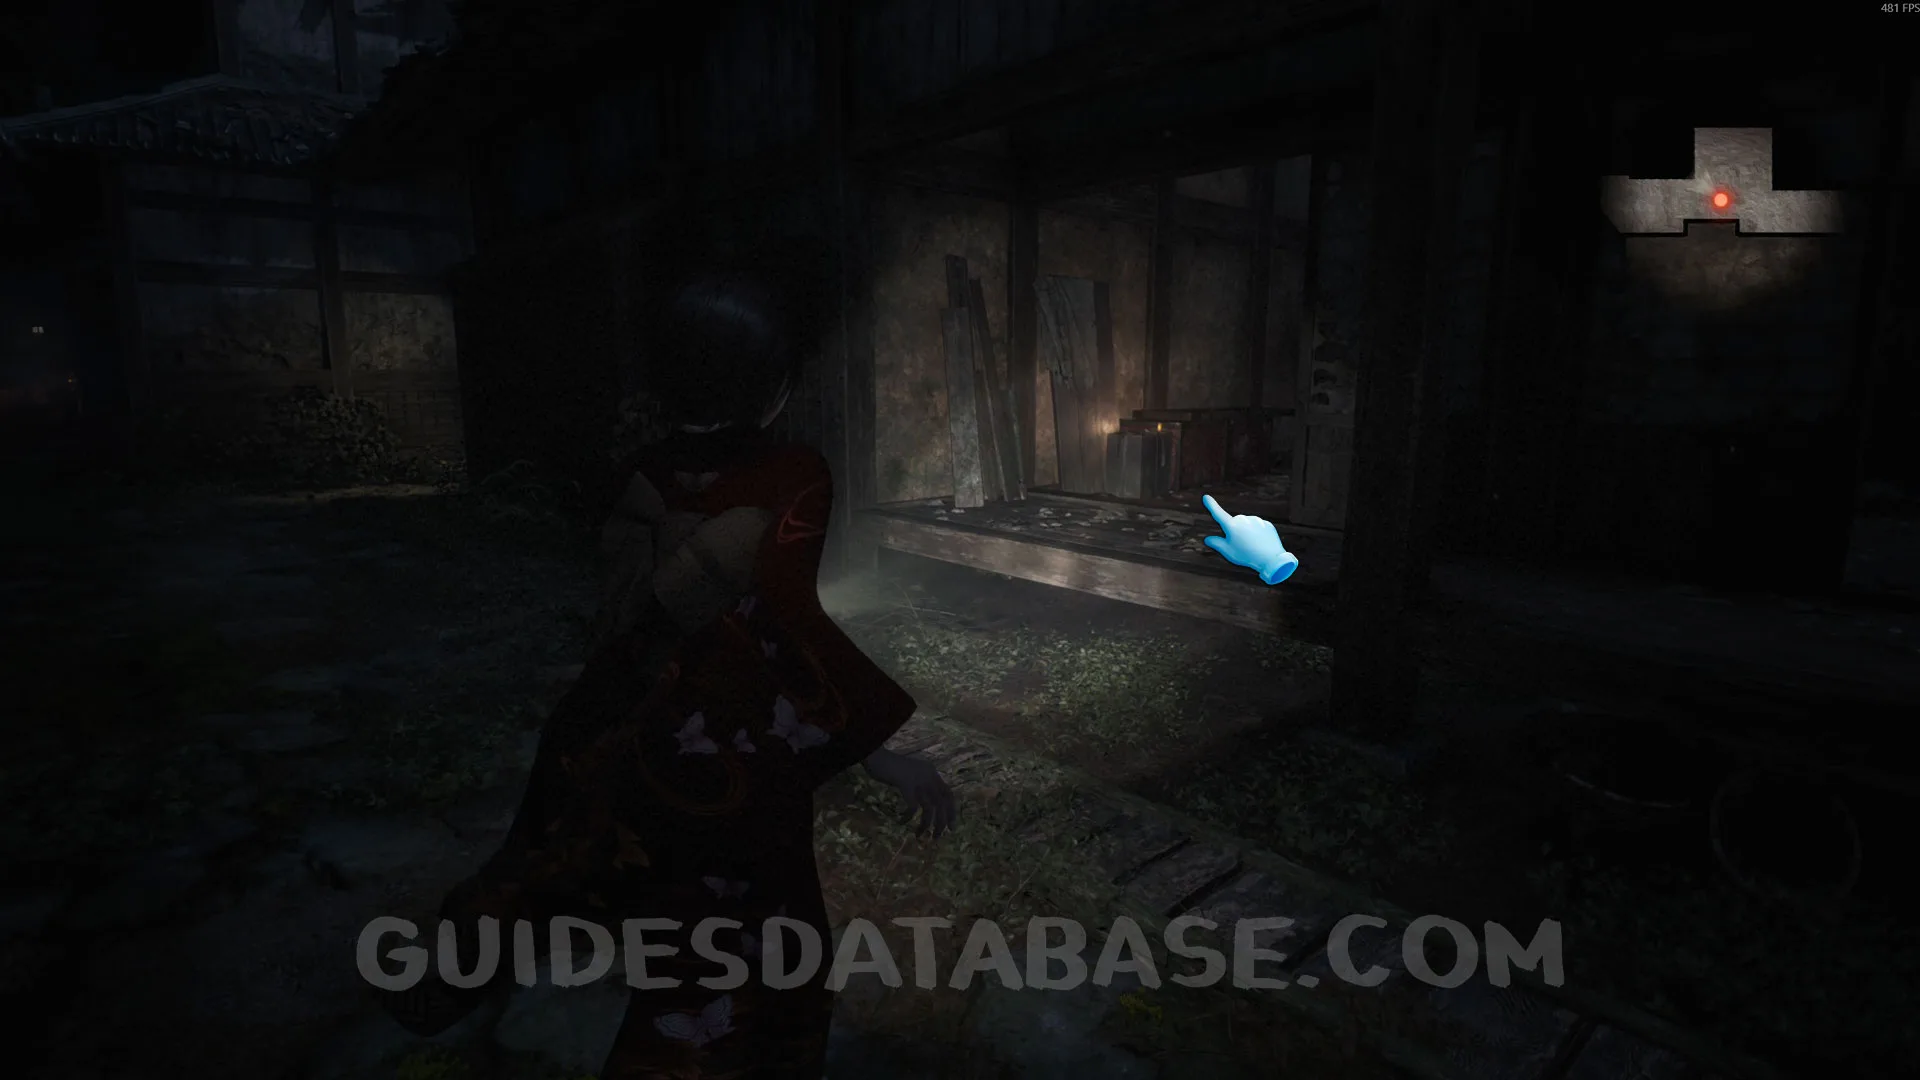 GUIDESDATABASE.COM
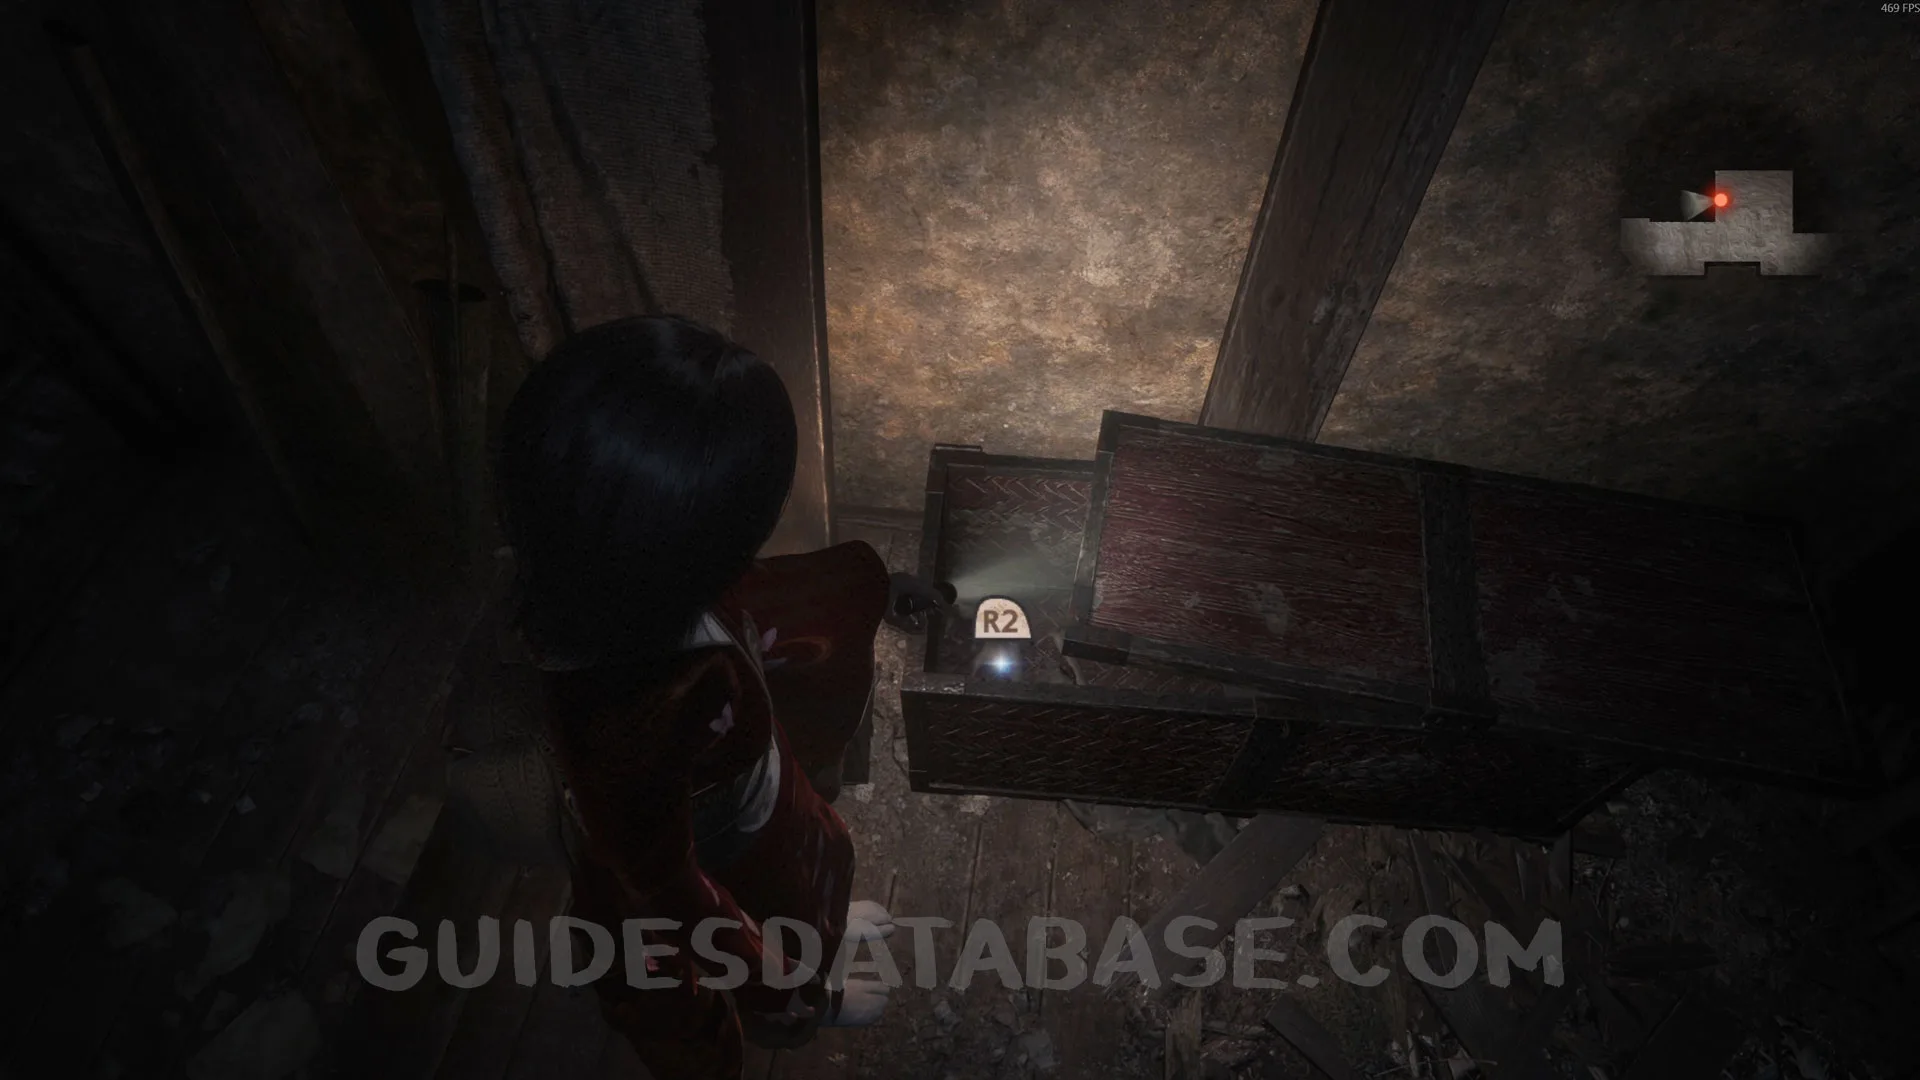 GUIDESDATABASE.COM
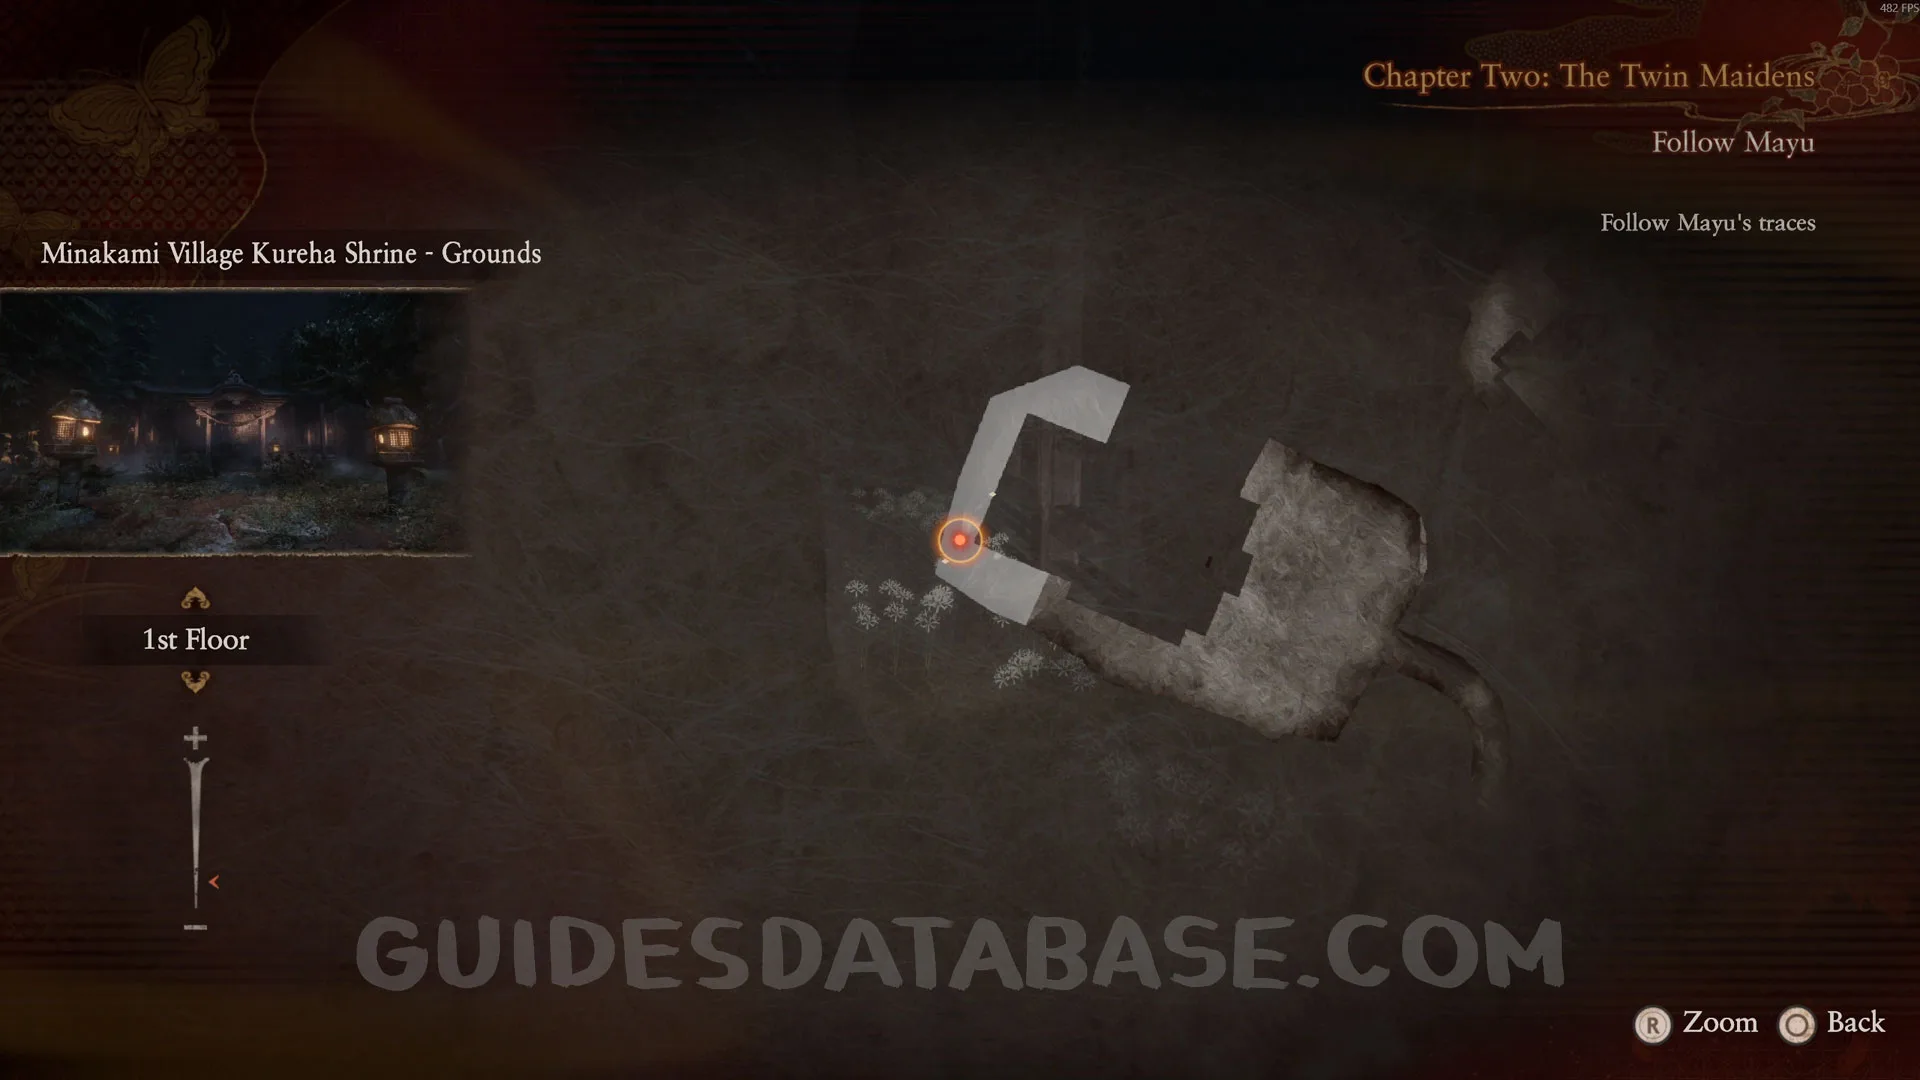
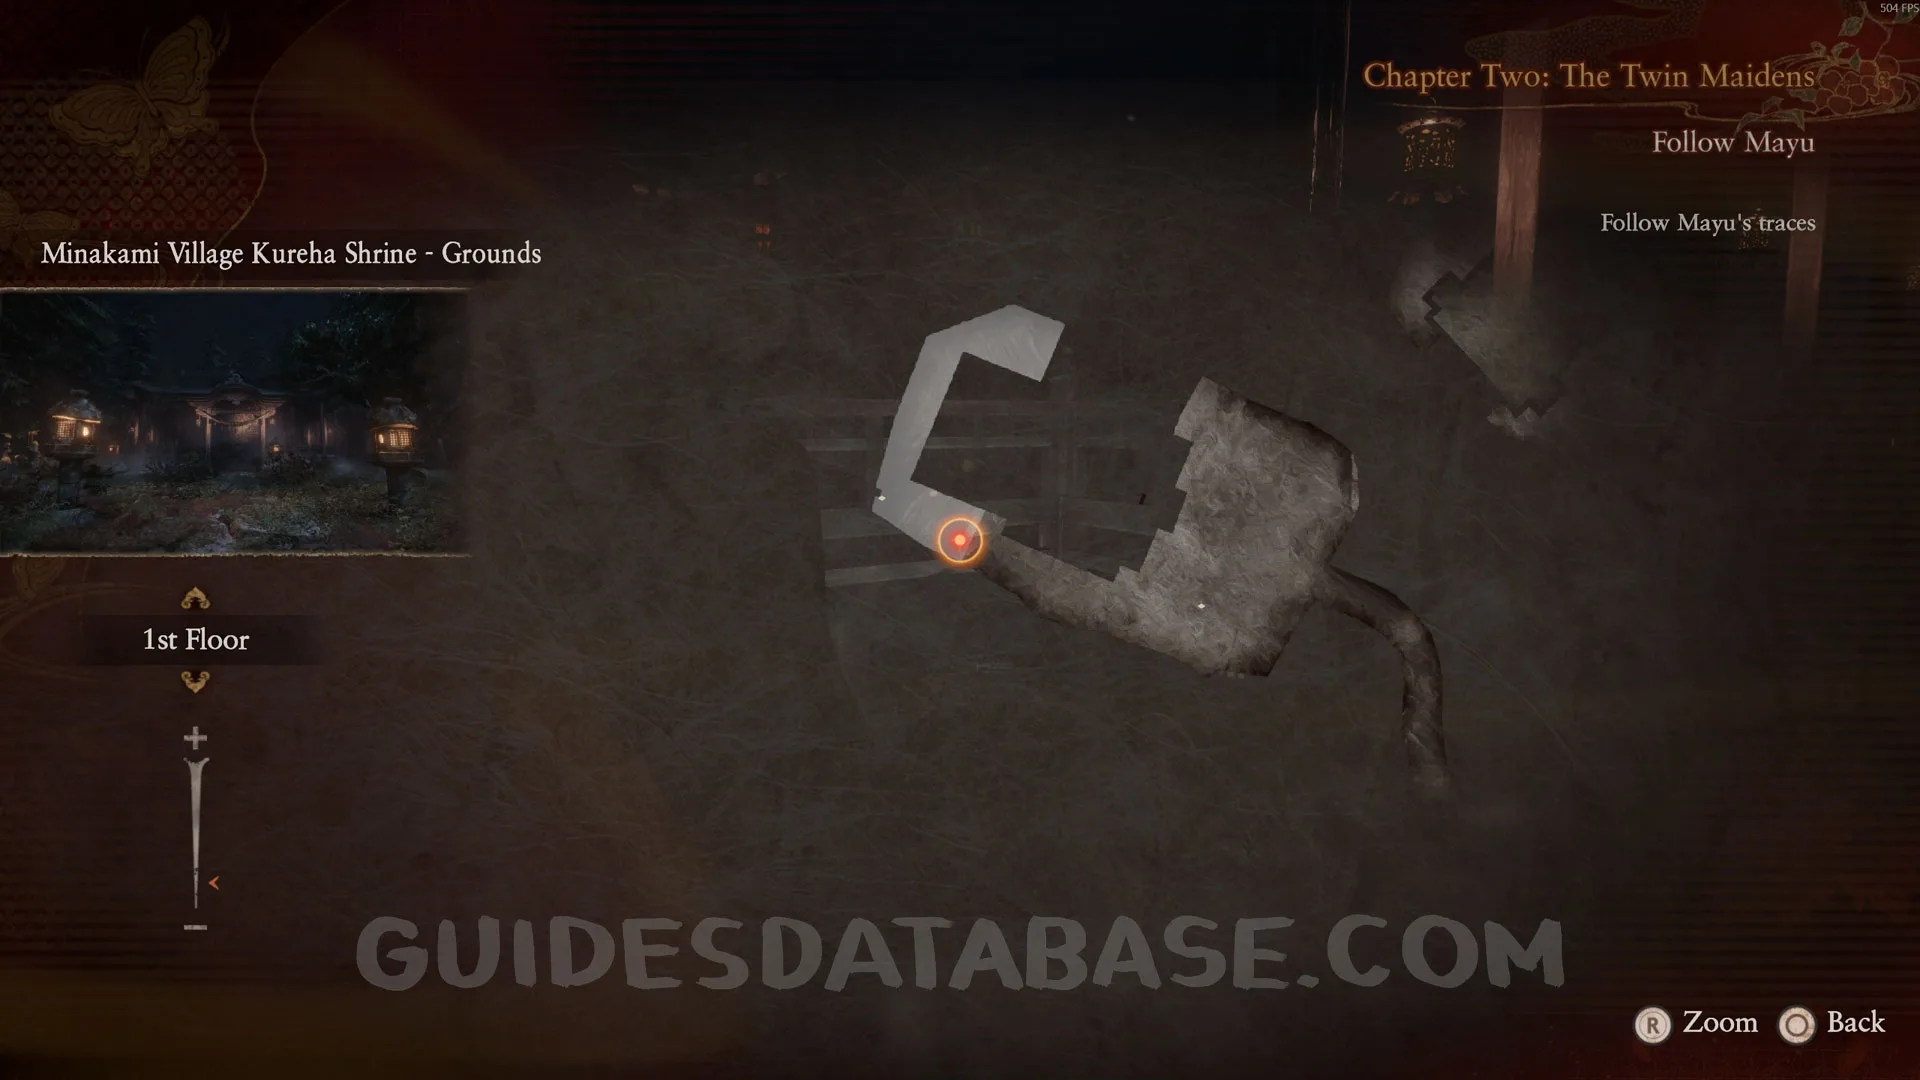
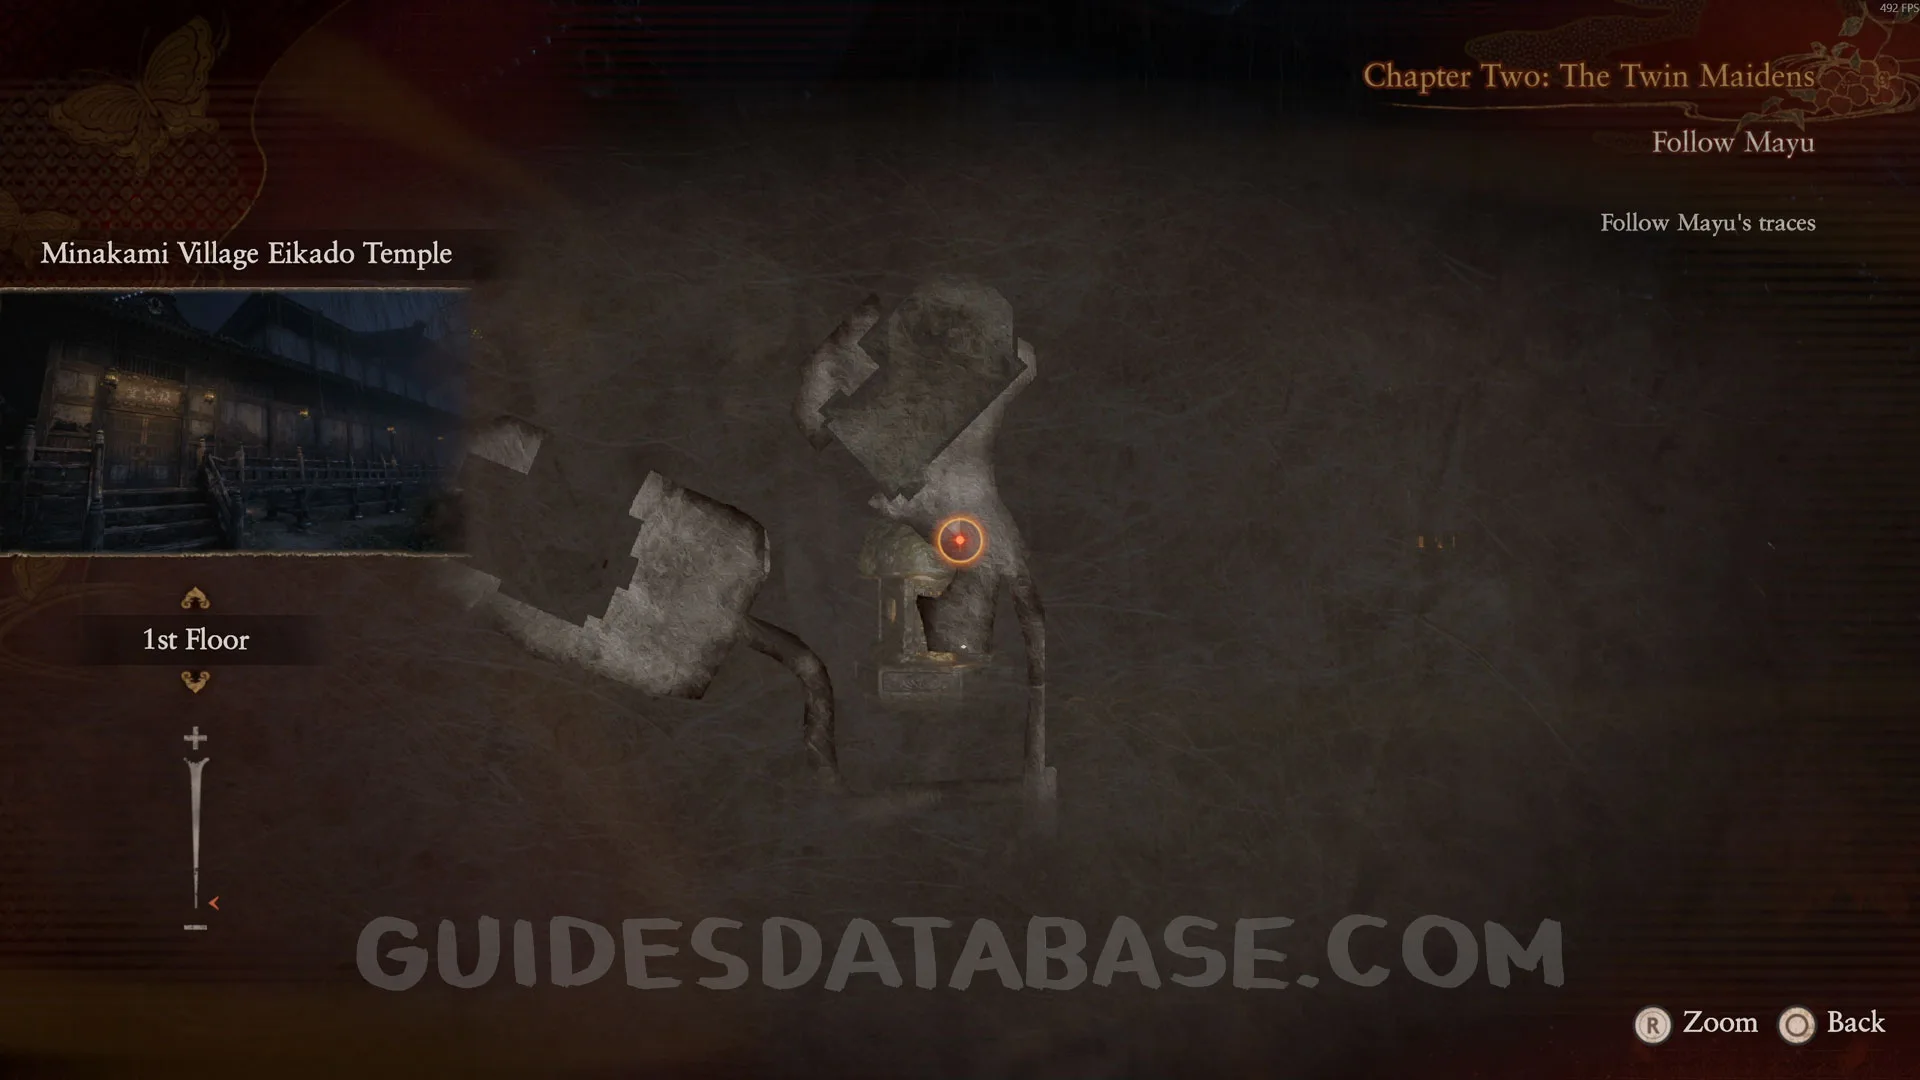
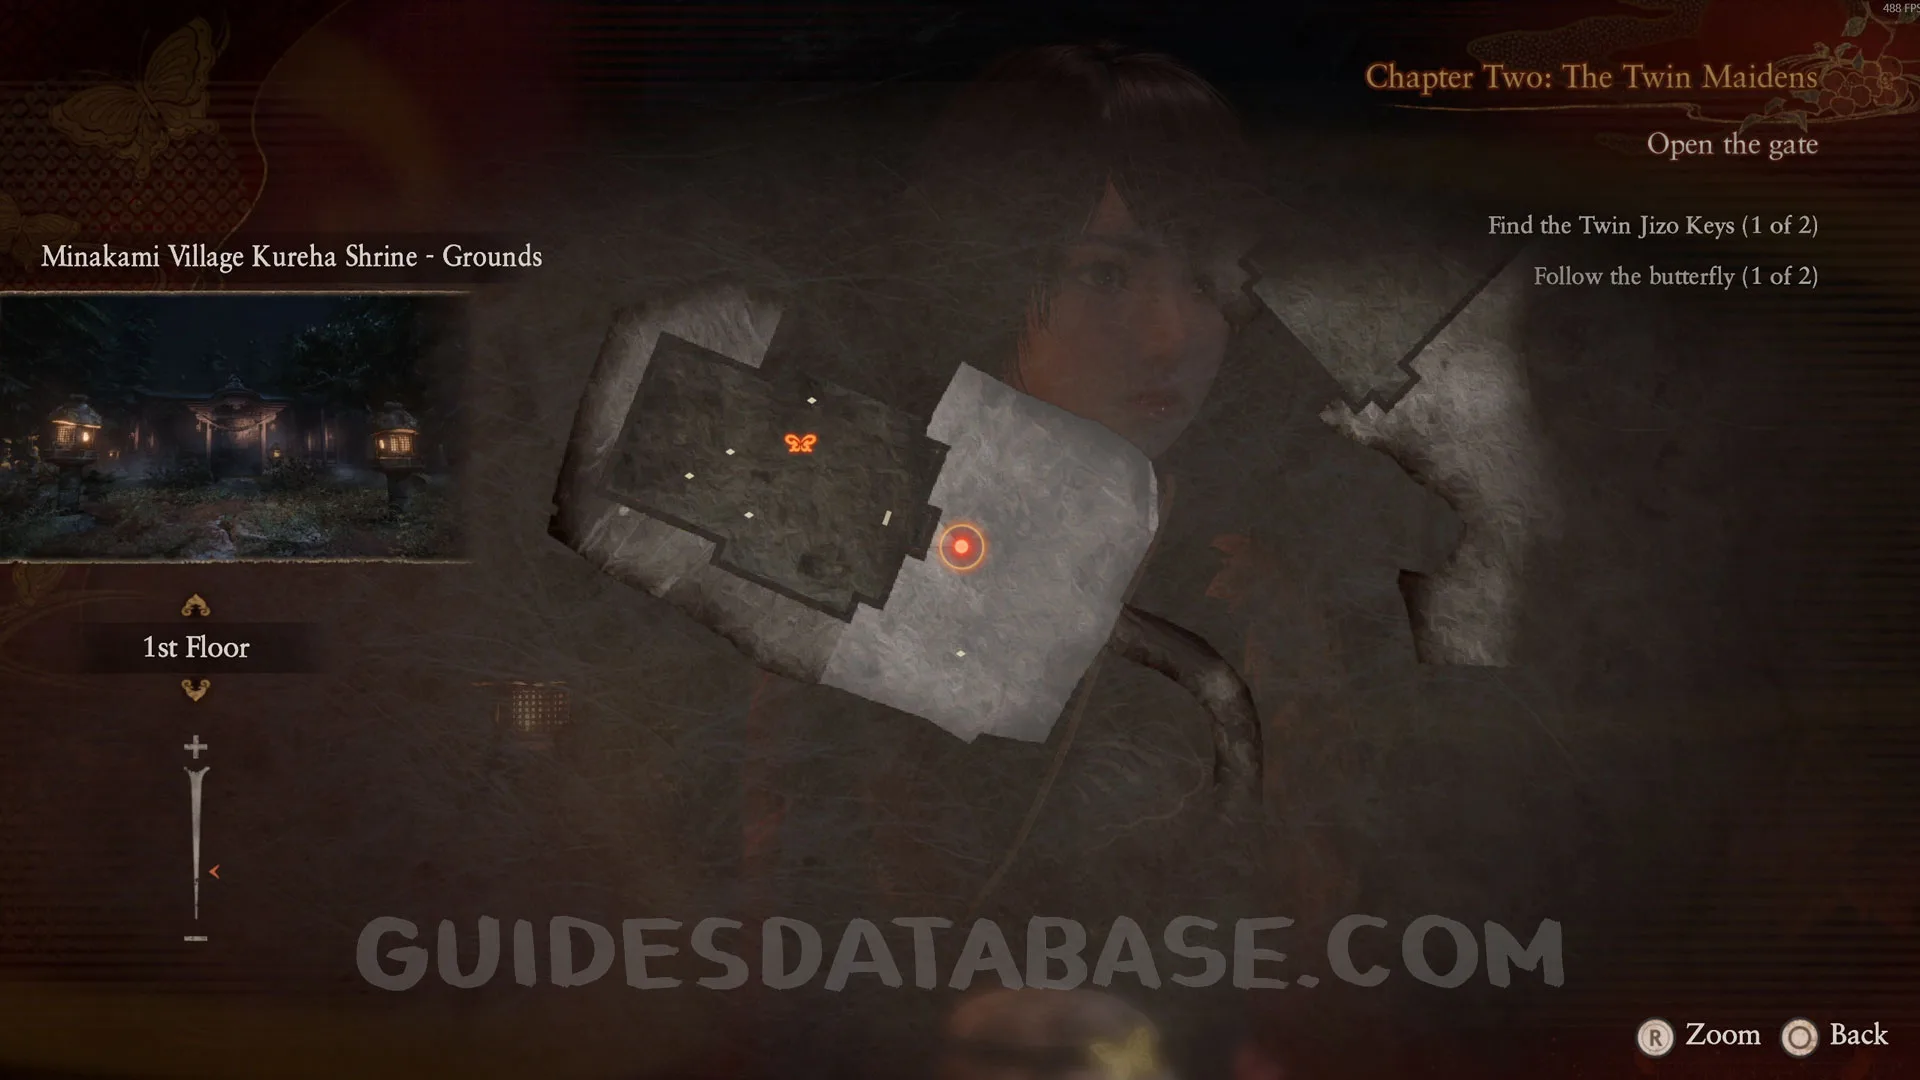
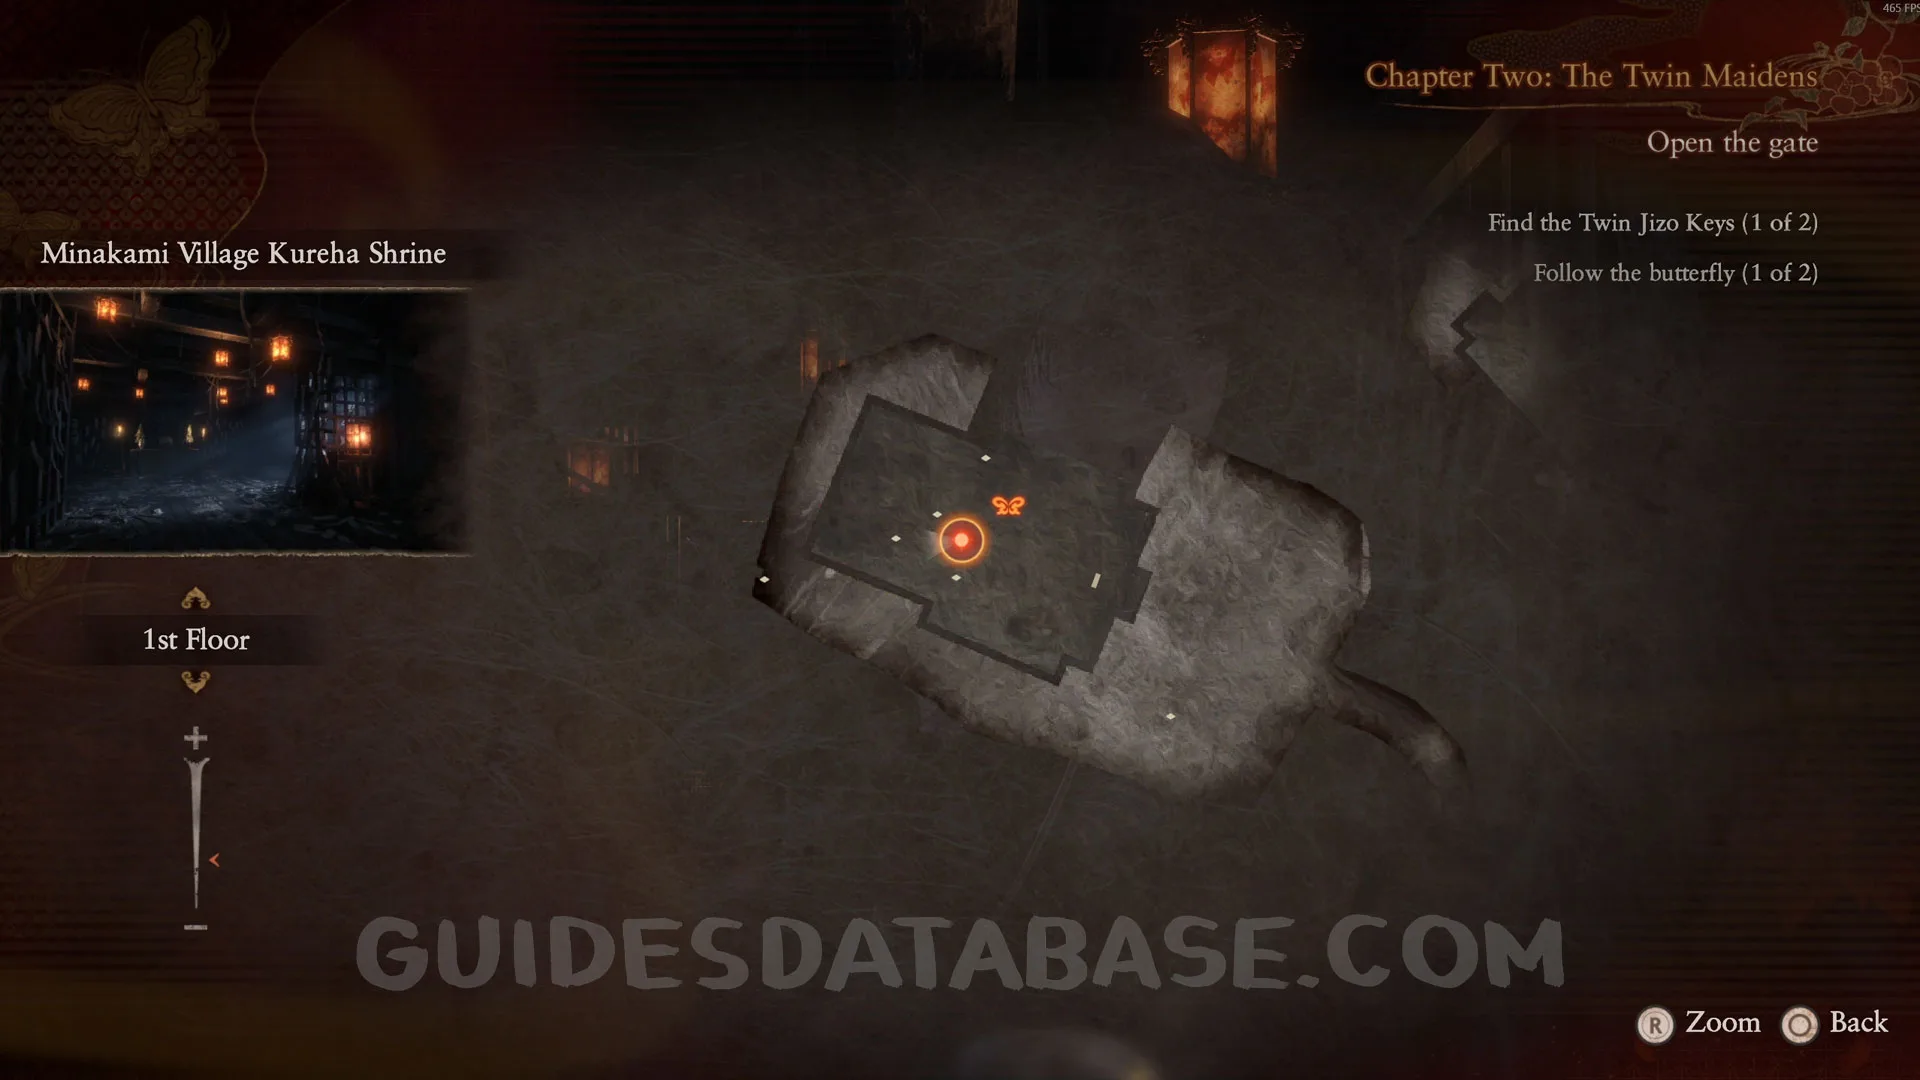
Prayer Bead #1.
Go to Kureha Shrine - Grounds. At the back of this area, you will find this Prayer Bead.
 GUIDESDATABASE.COM
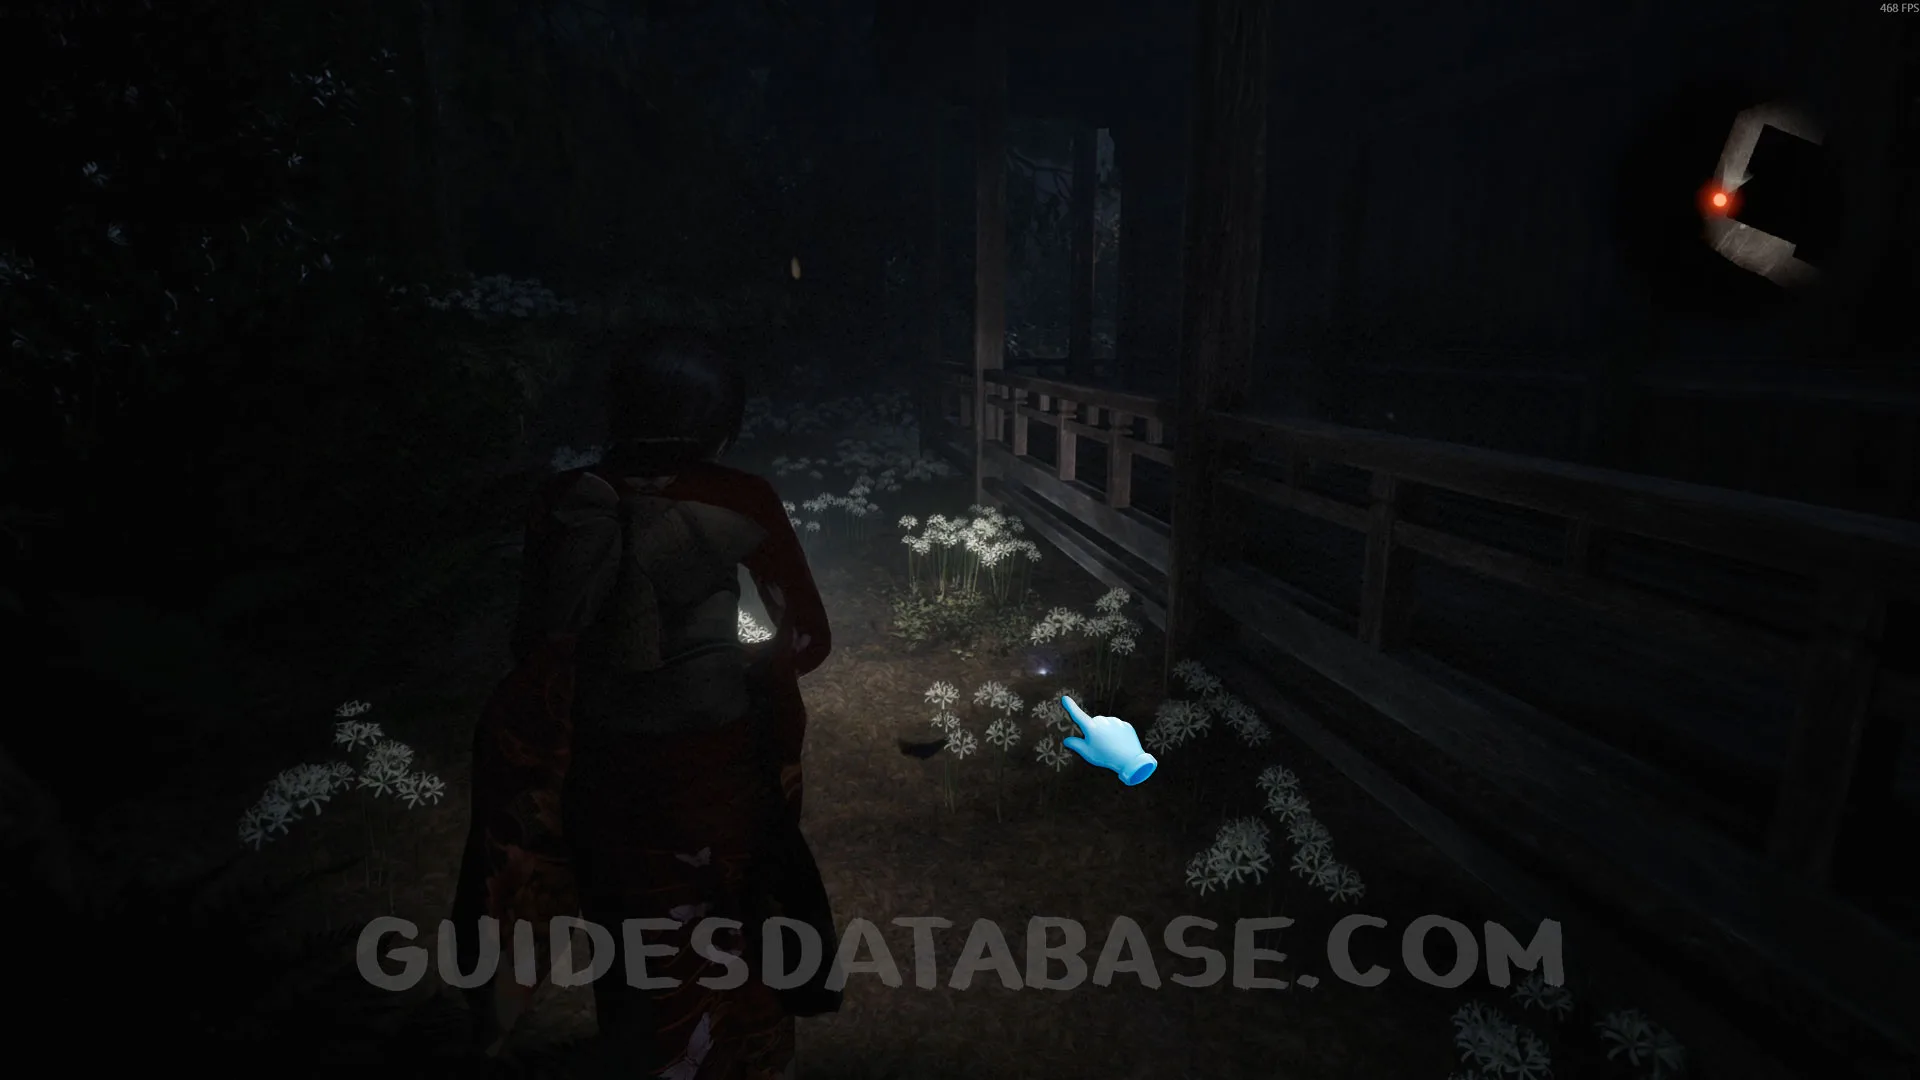 GUIDESDATABASE.COM
Twin Dolls #4 - 015.
In the same area as the previous collectible.
 GUIDESDATABASE.COM
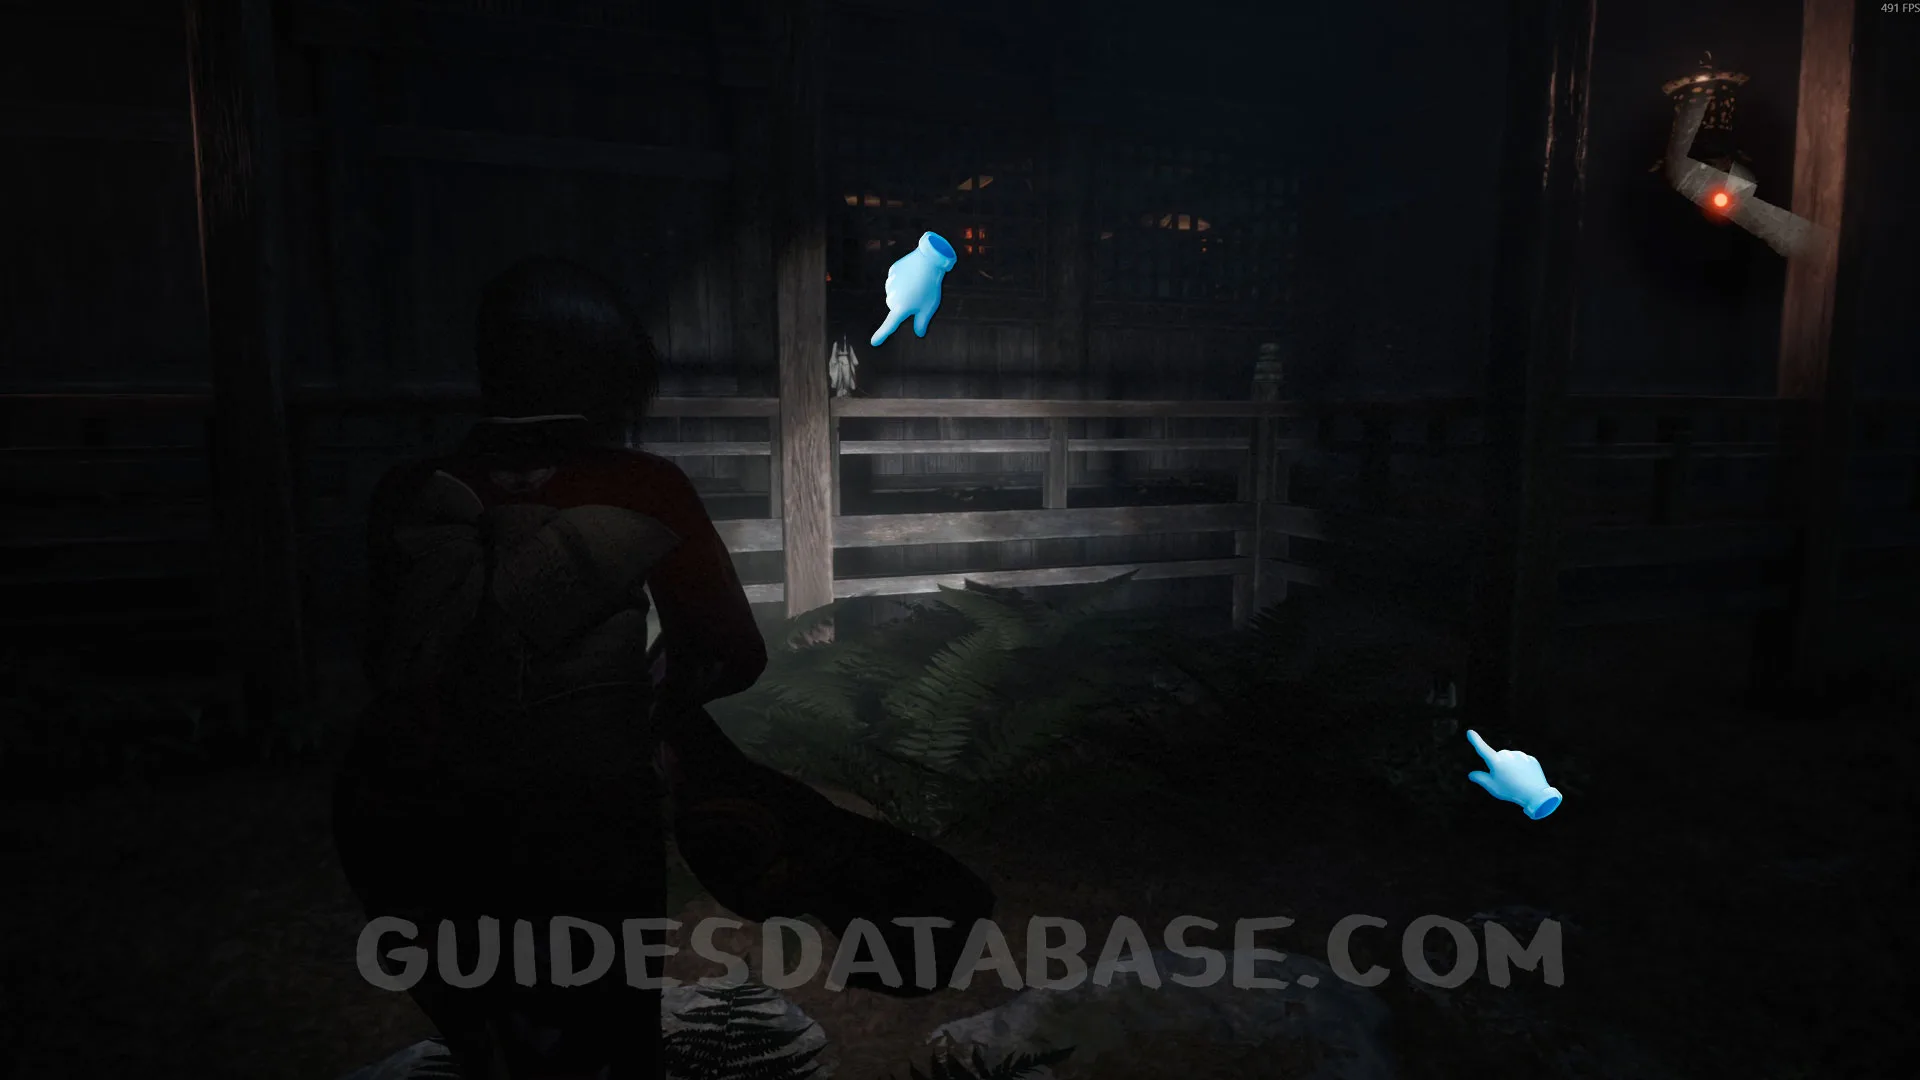 GUIDESDATABASE.COM
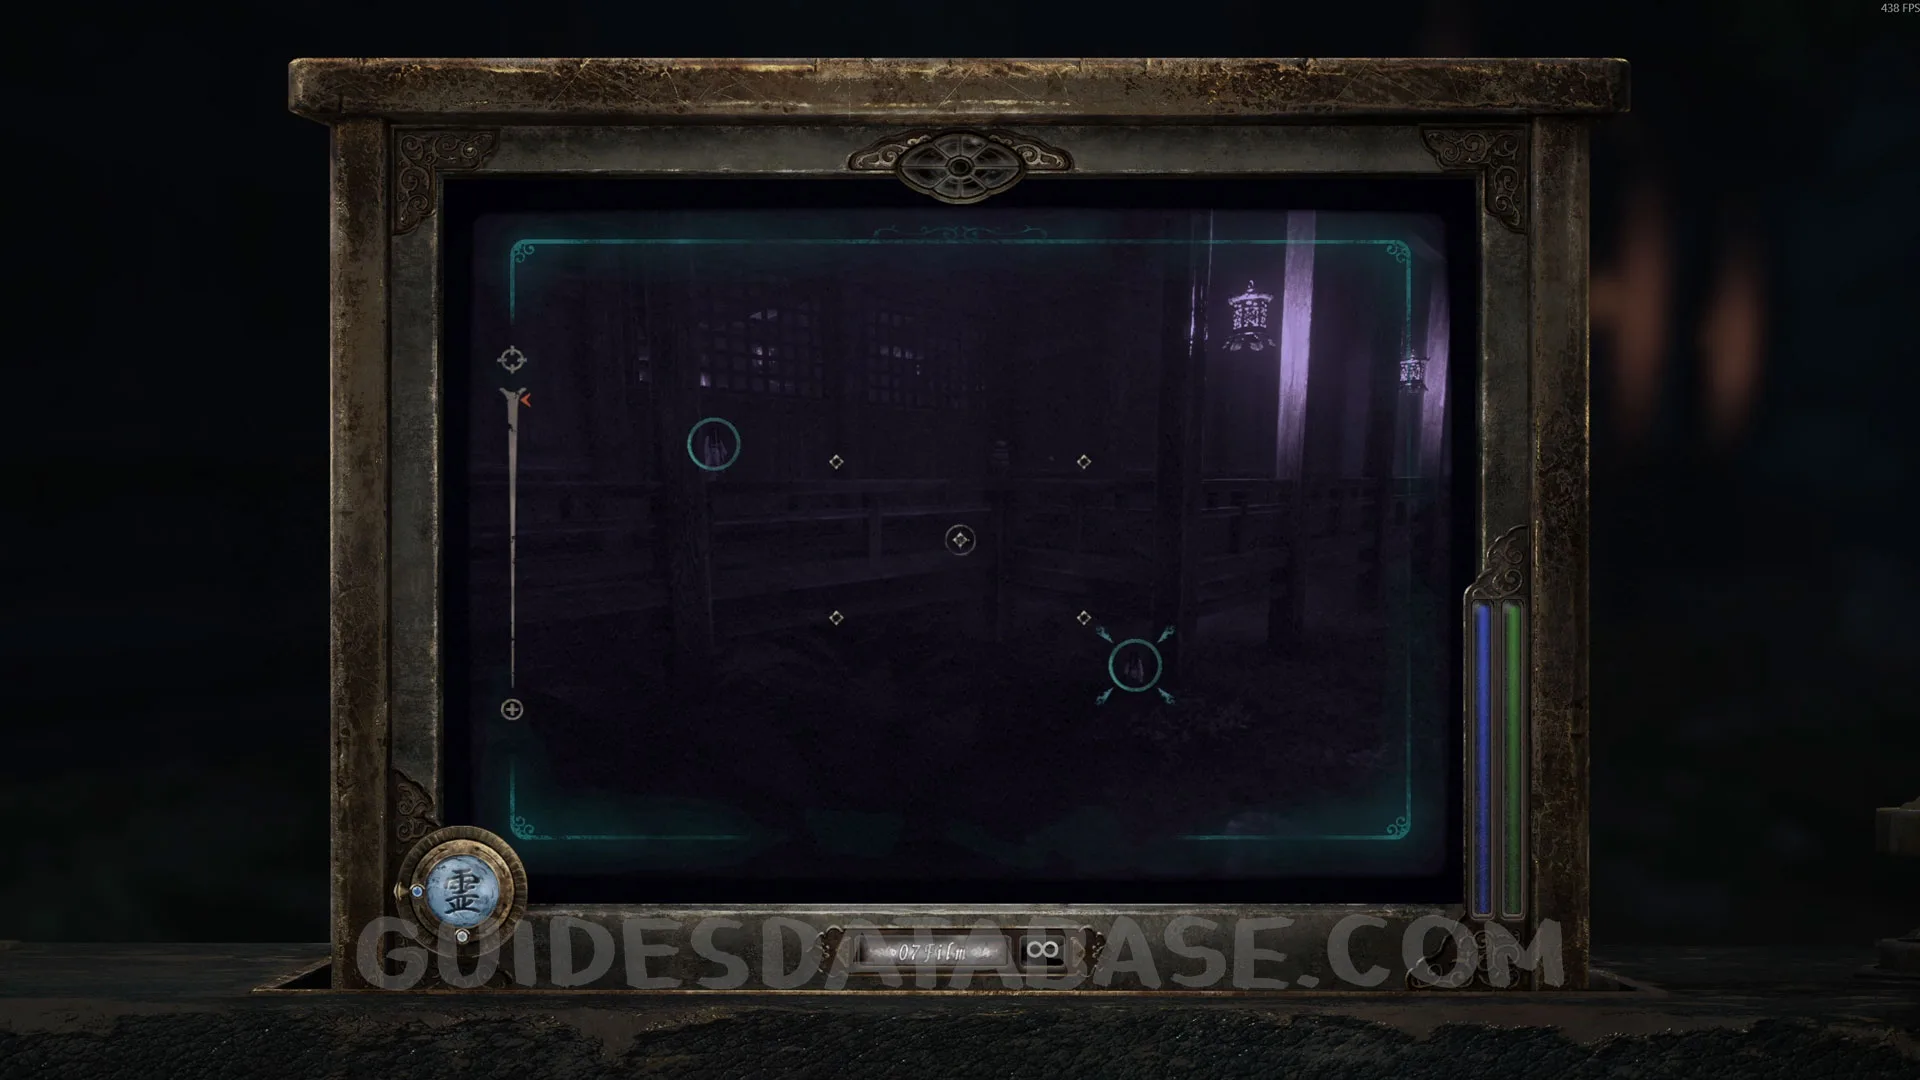 GUIDESDATABASE.COM
Twin Dolls #5 - 003.
In the same area as the previous collectibles, go to the front section. On the right side, you will find these Twin Dolls.
 GUIDESDATABASE.COM
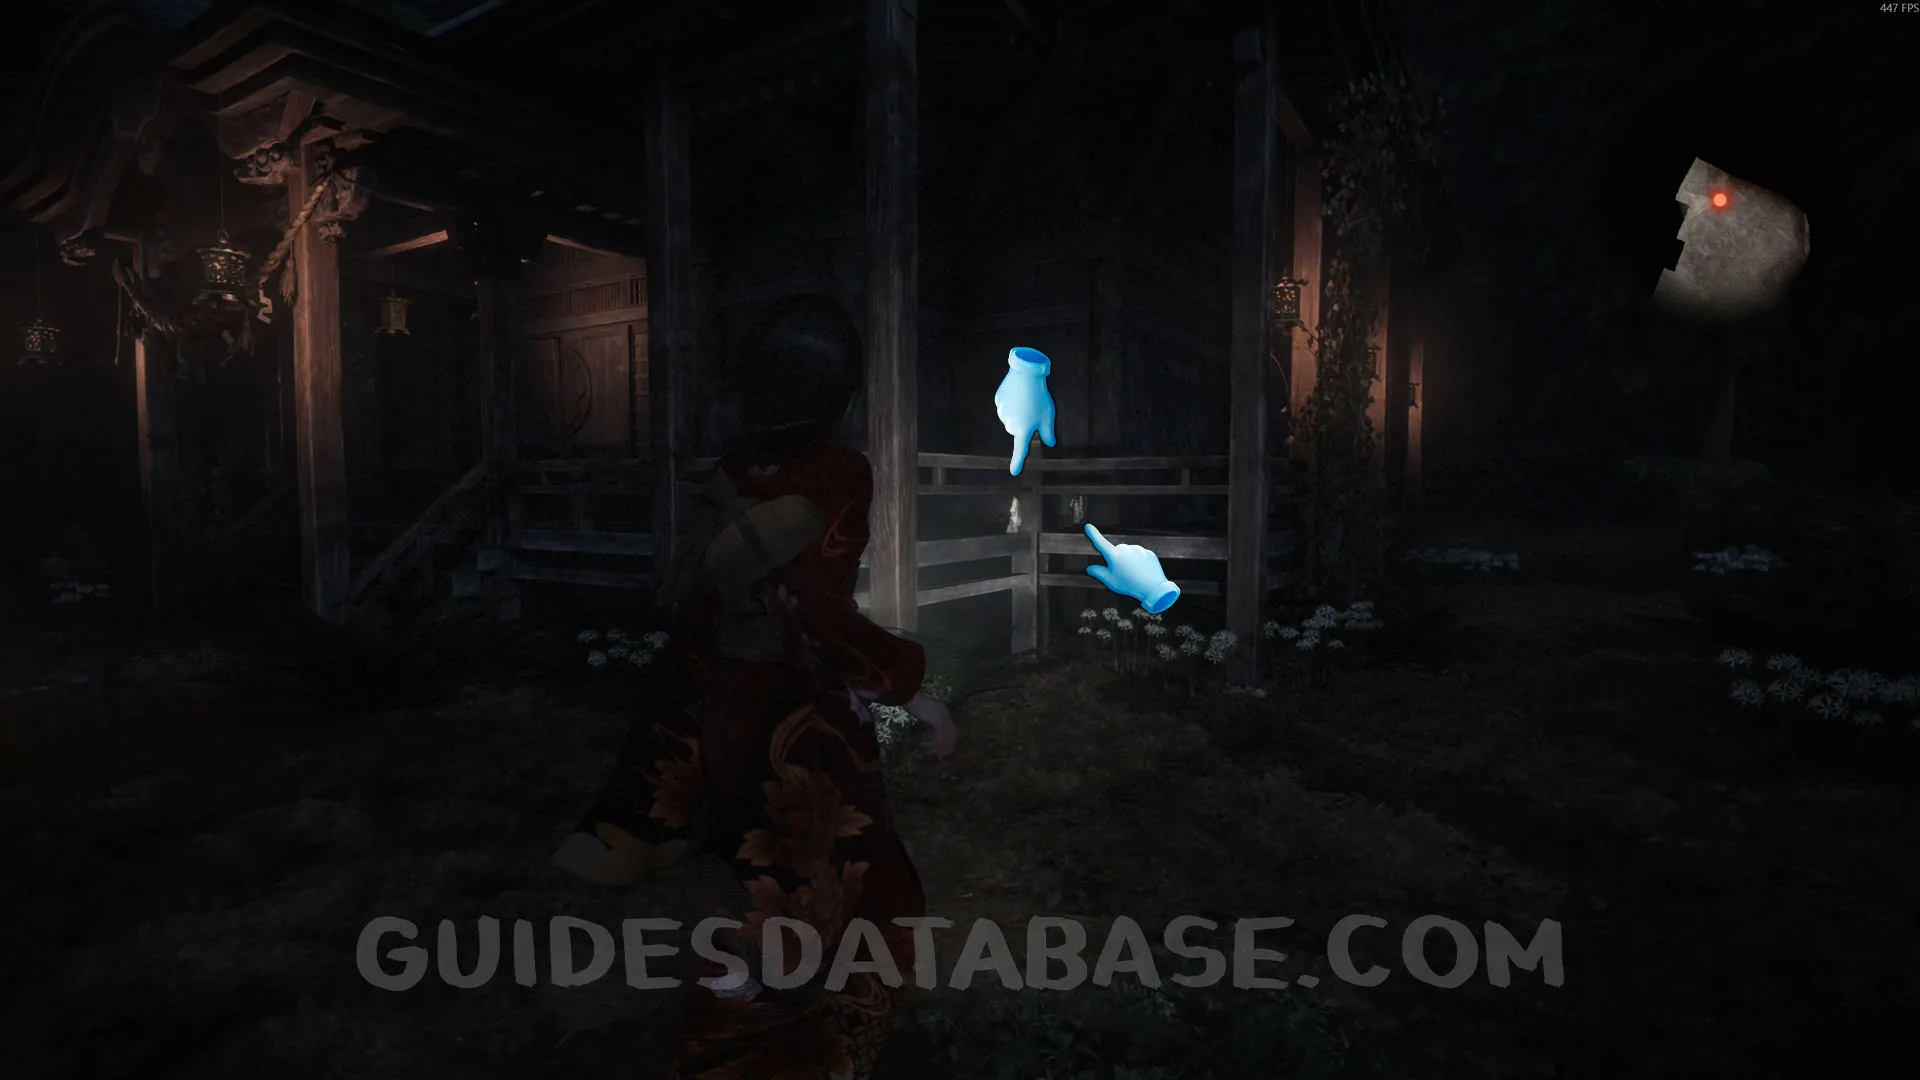 GUIDESDATABASE.COM
 GUIDESDATABASE.COM
Twin Dolls #6 - 023.
Now that you have a Prayer Bead, open the menu and buy the Zoom upgrade for the Camera Obscura. Go to Eikado Temple, head to the right, and crouch down to look underneath the temple. You will see two Twin Dolls there. Use the zoom to line them up in the camera and take the photo.
 GUIDESDATABASE.COM
 GUIDESDATABASE.COM
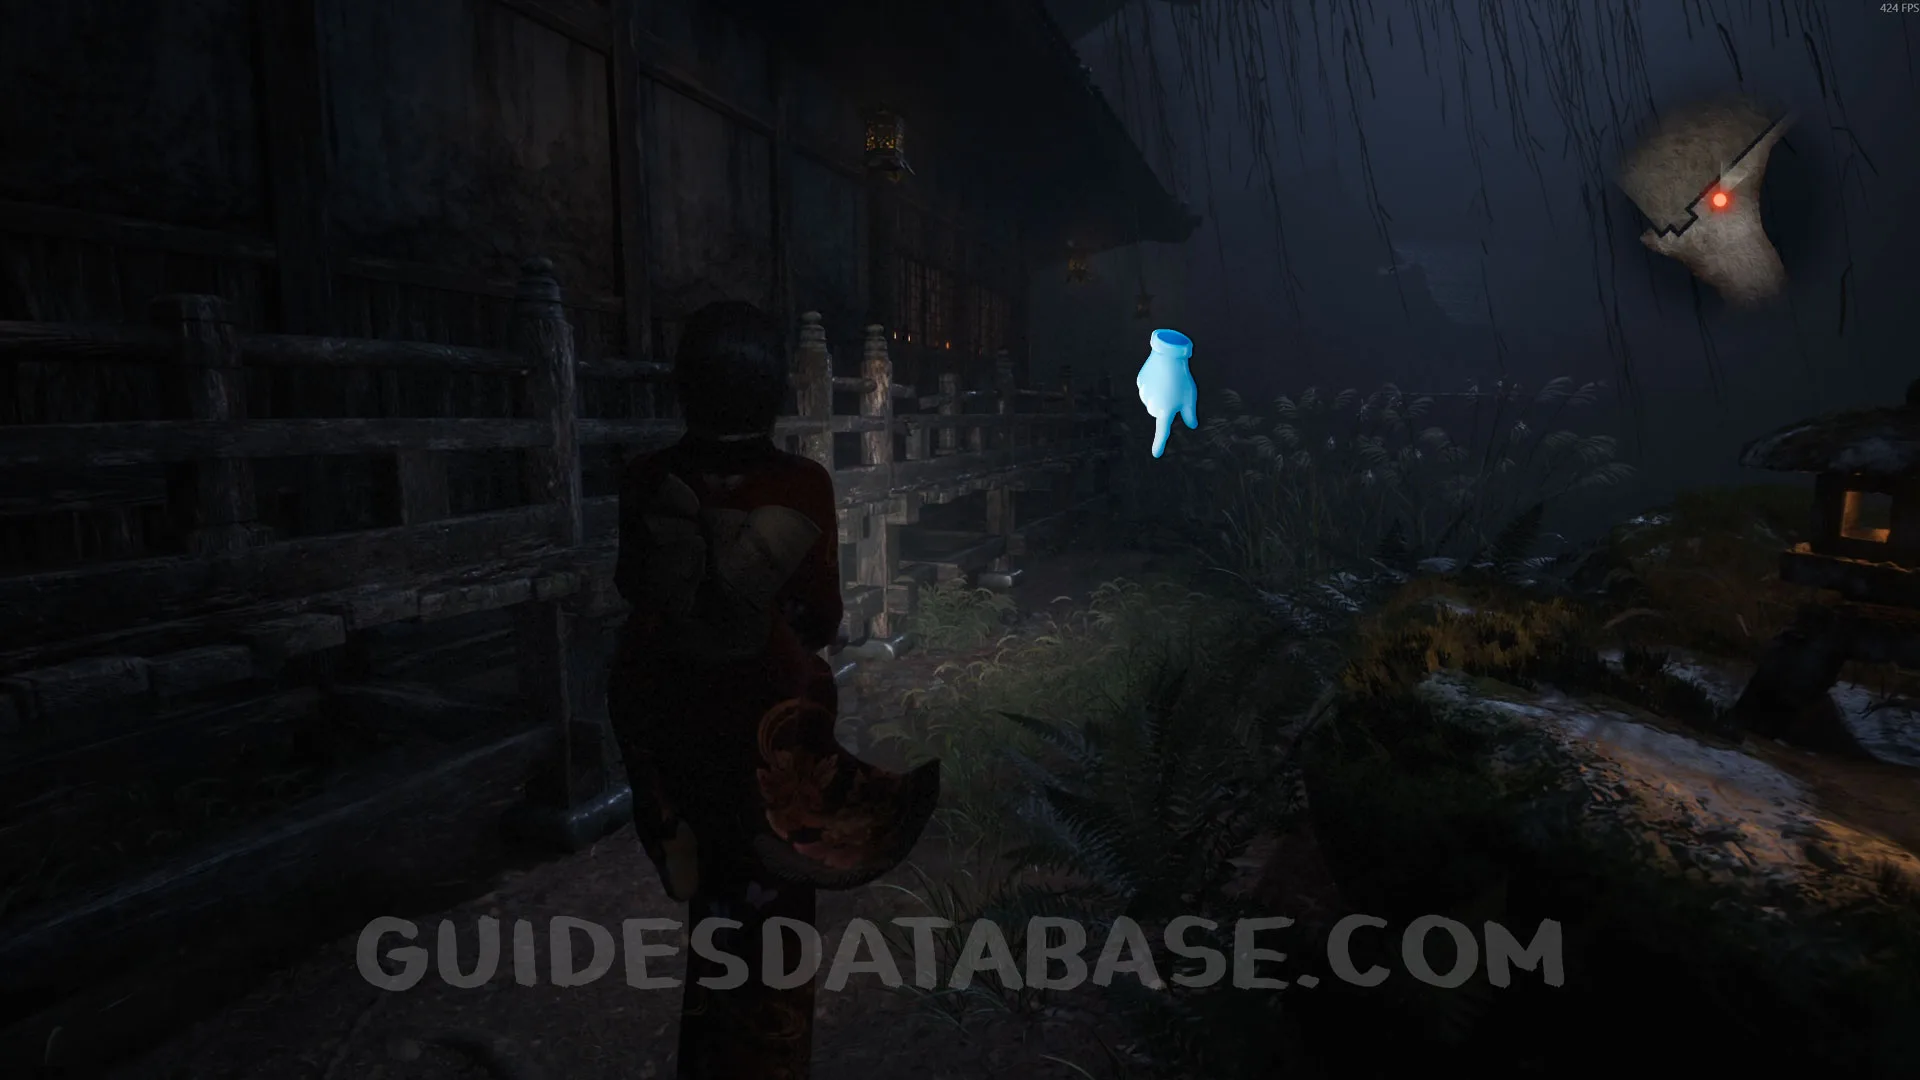 GUIDESDATABASE.COM
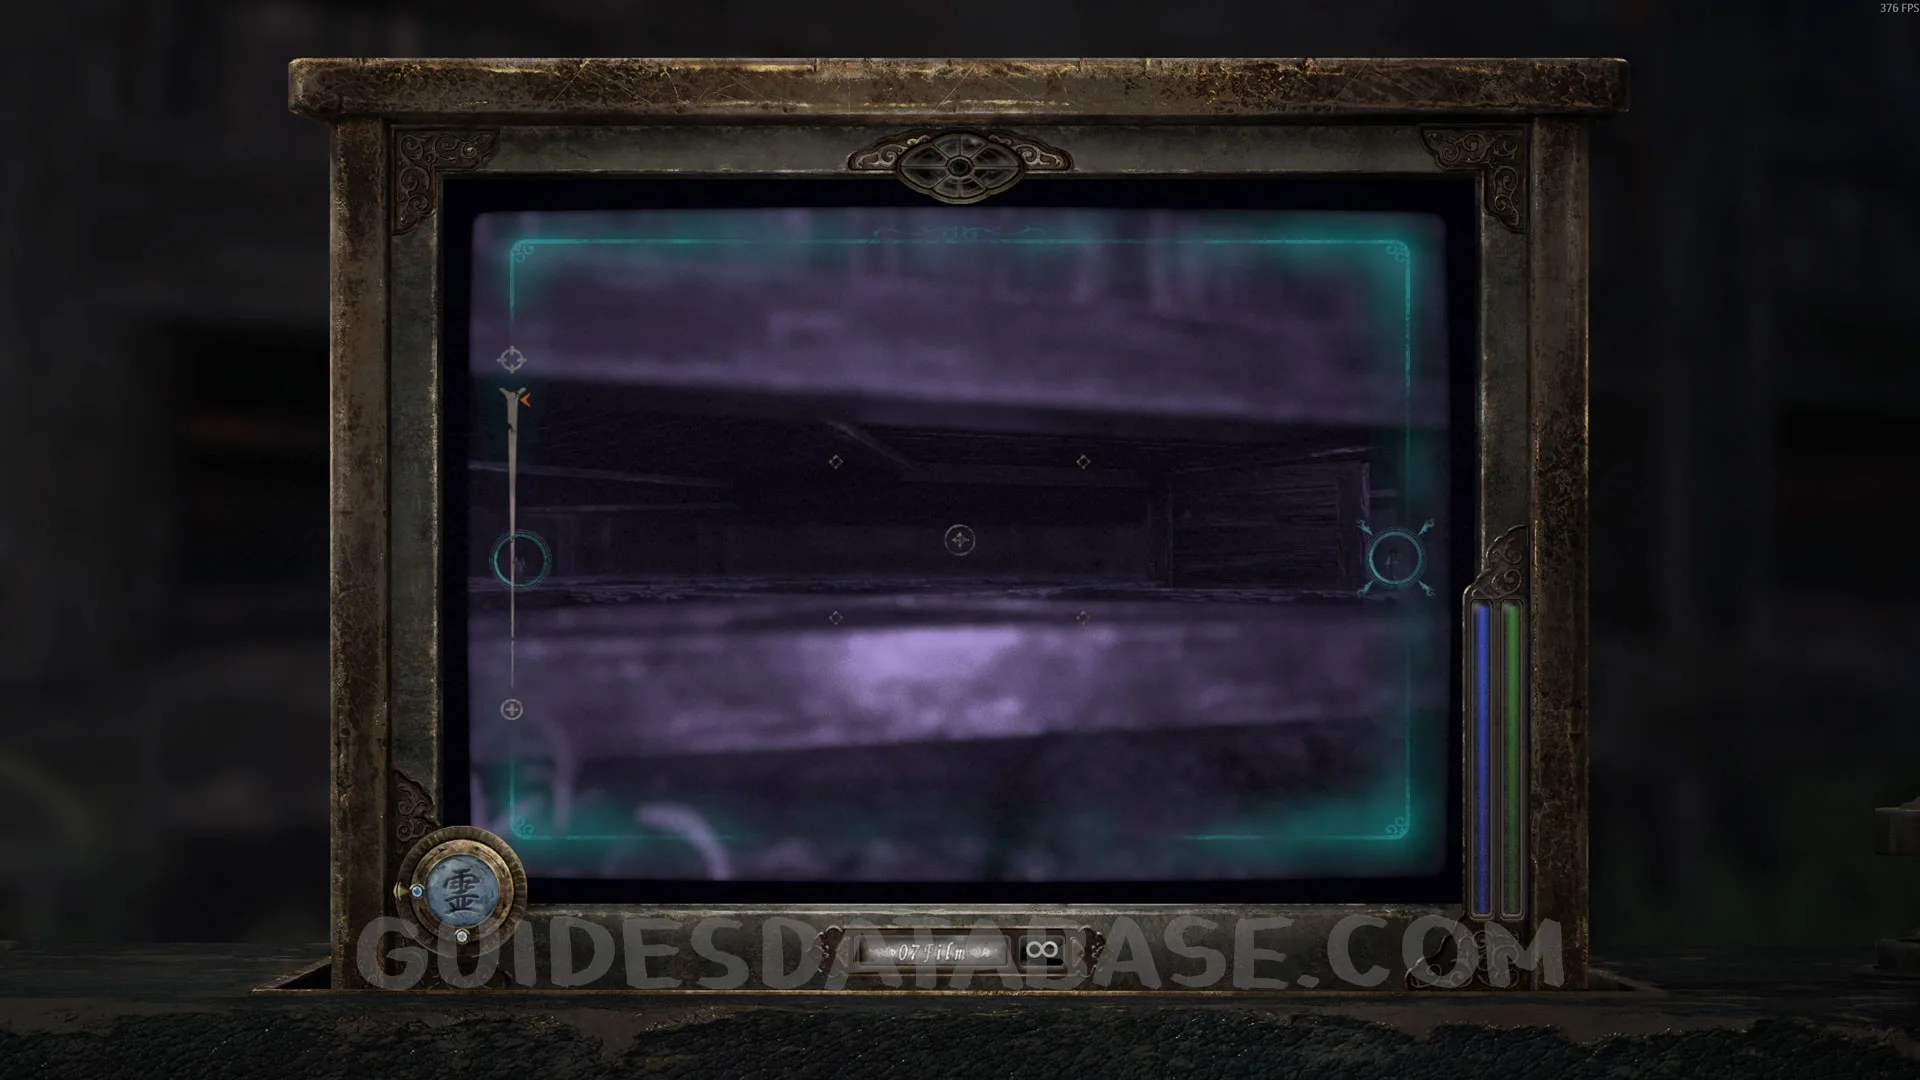 GUIDESDATABASE.COM
Twin Dolls #7 - 024.
In the same area as the previous collectible, now go underneath the temple to come out on the other side. Go up the stairs, pass through the door, and follow the only path until you go down another set of stairs. Once you are down there, instead of going through the door in front of you, turn right before the door and go all the way to the end to find these Twin Dolls.
 GUIDESDATABASE.COM
 GUIDESDATABASE.COM
 GUIDESDATABASE.COM
 GUIDESDATABASE.COM
Twin Dolls #8 - 025.
Right after the previous collectible, go out through the door and turn left to find this Twin Doll on top of a cabinet.
 GUIDESDATABASE.COM
 GUIDESDATABASE.COM
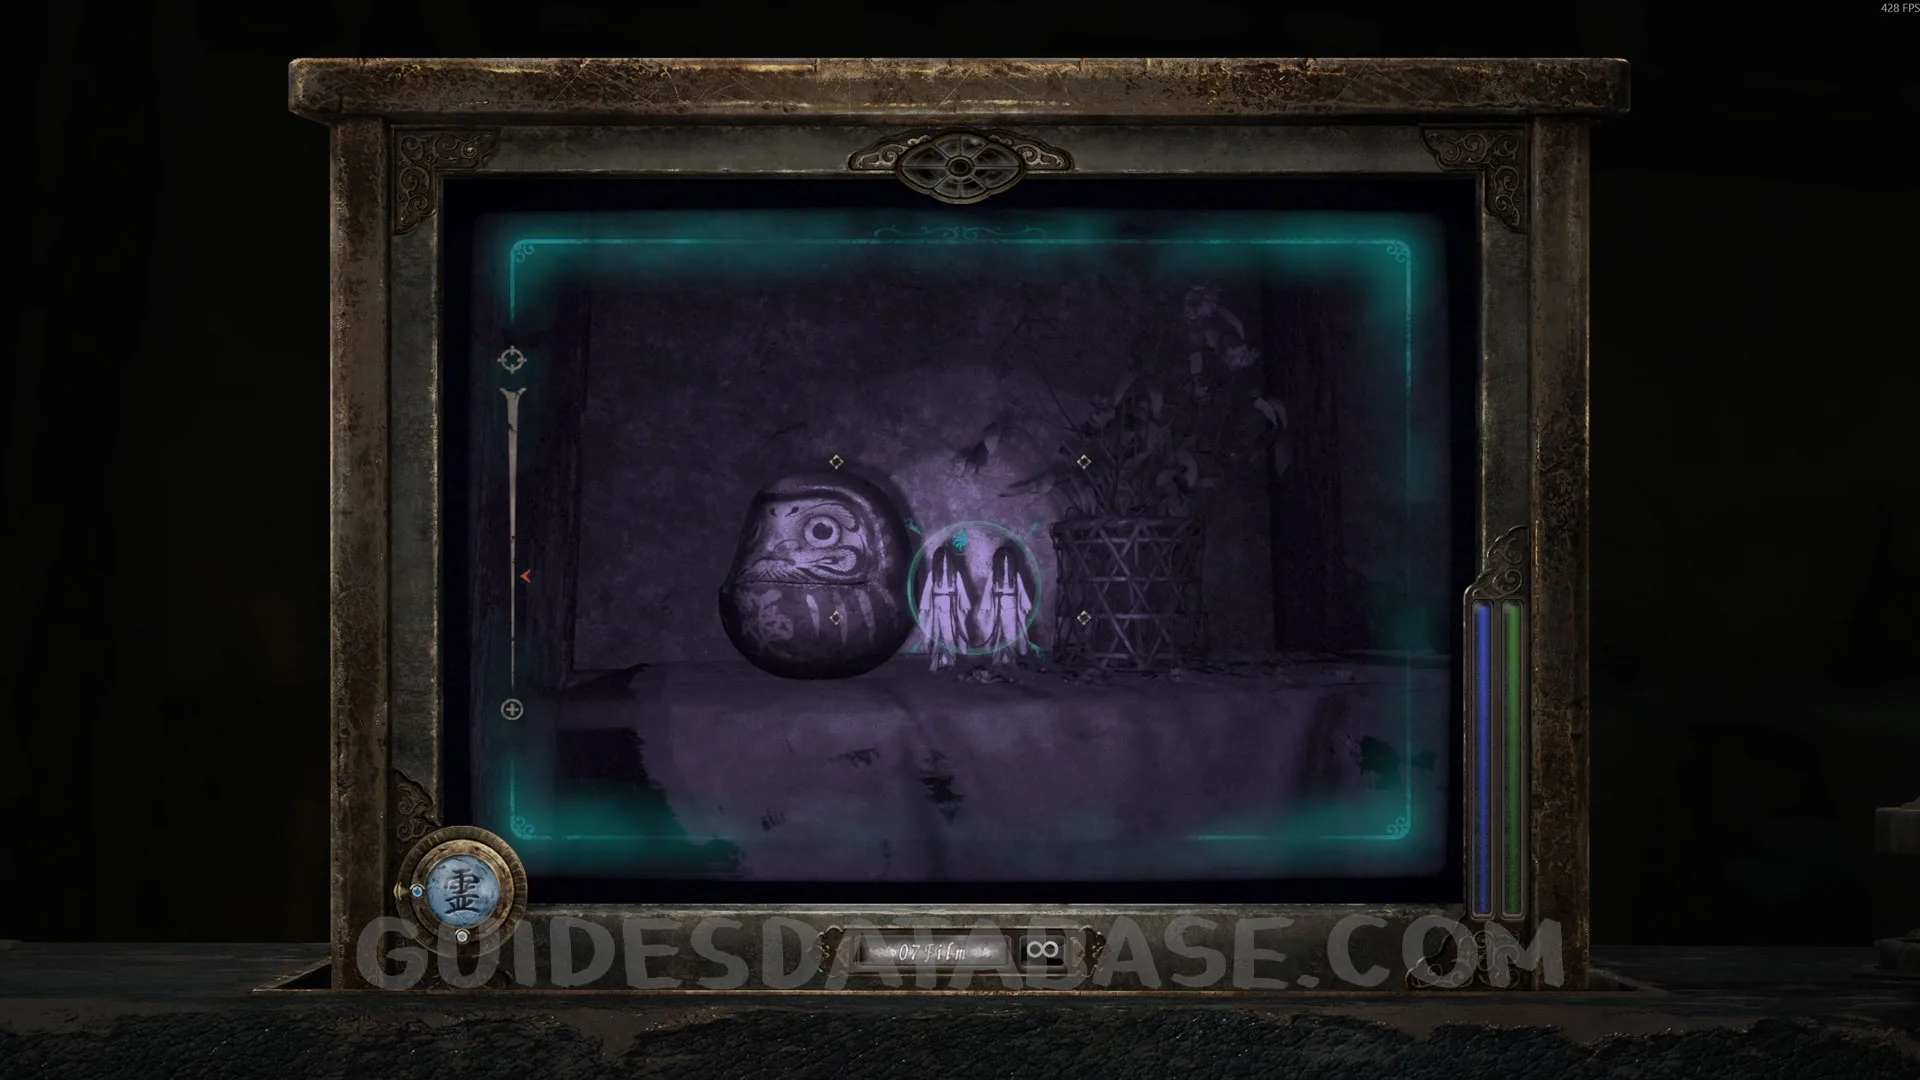 GUIDESDATABASE.COM
Twin Dolls #9 - 002.
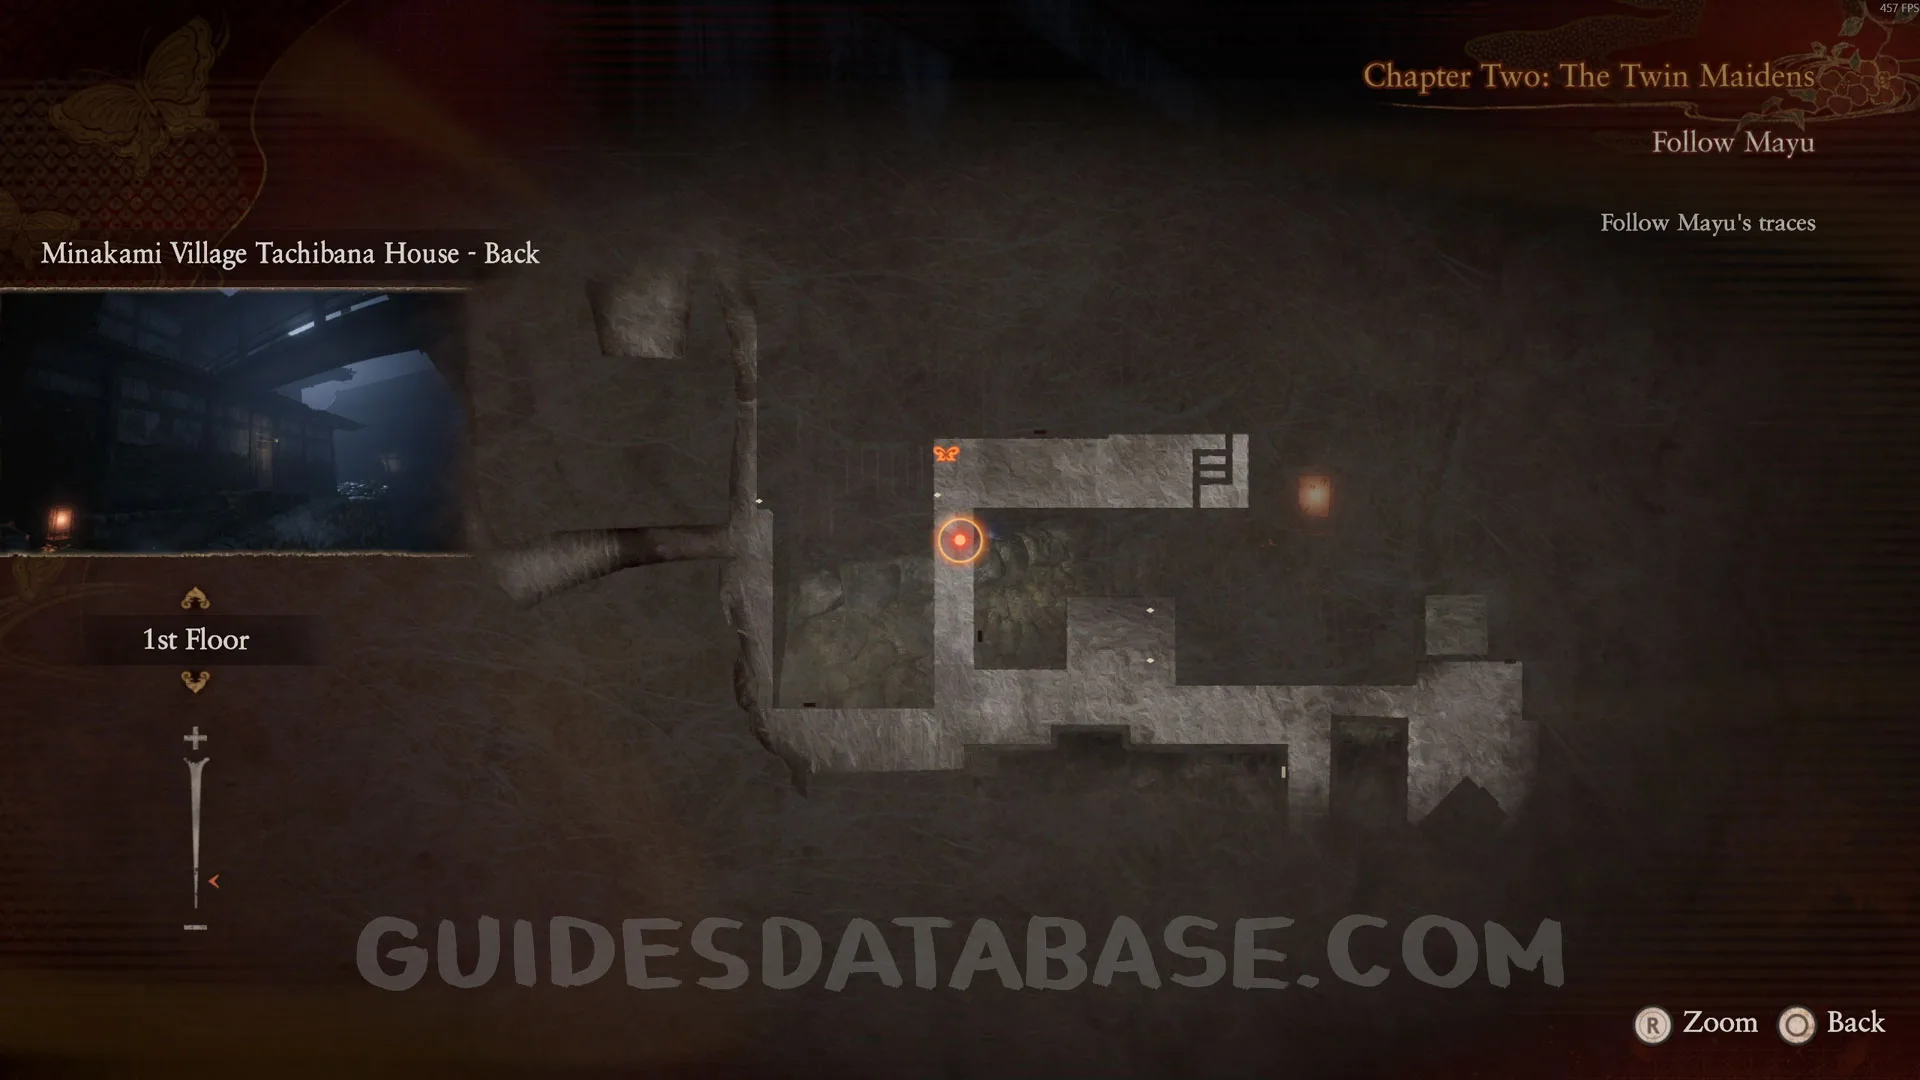
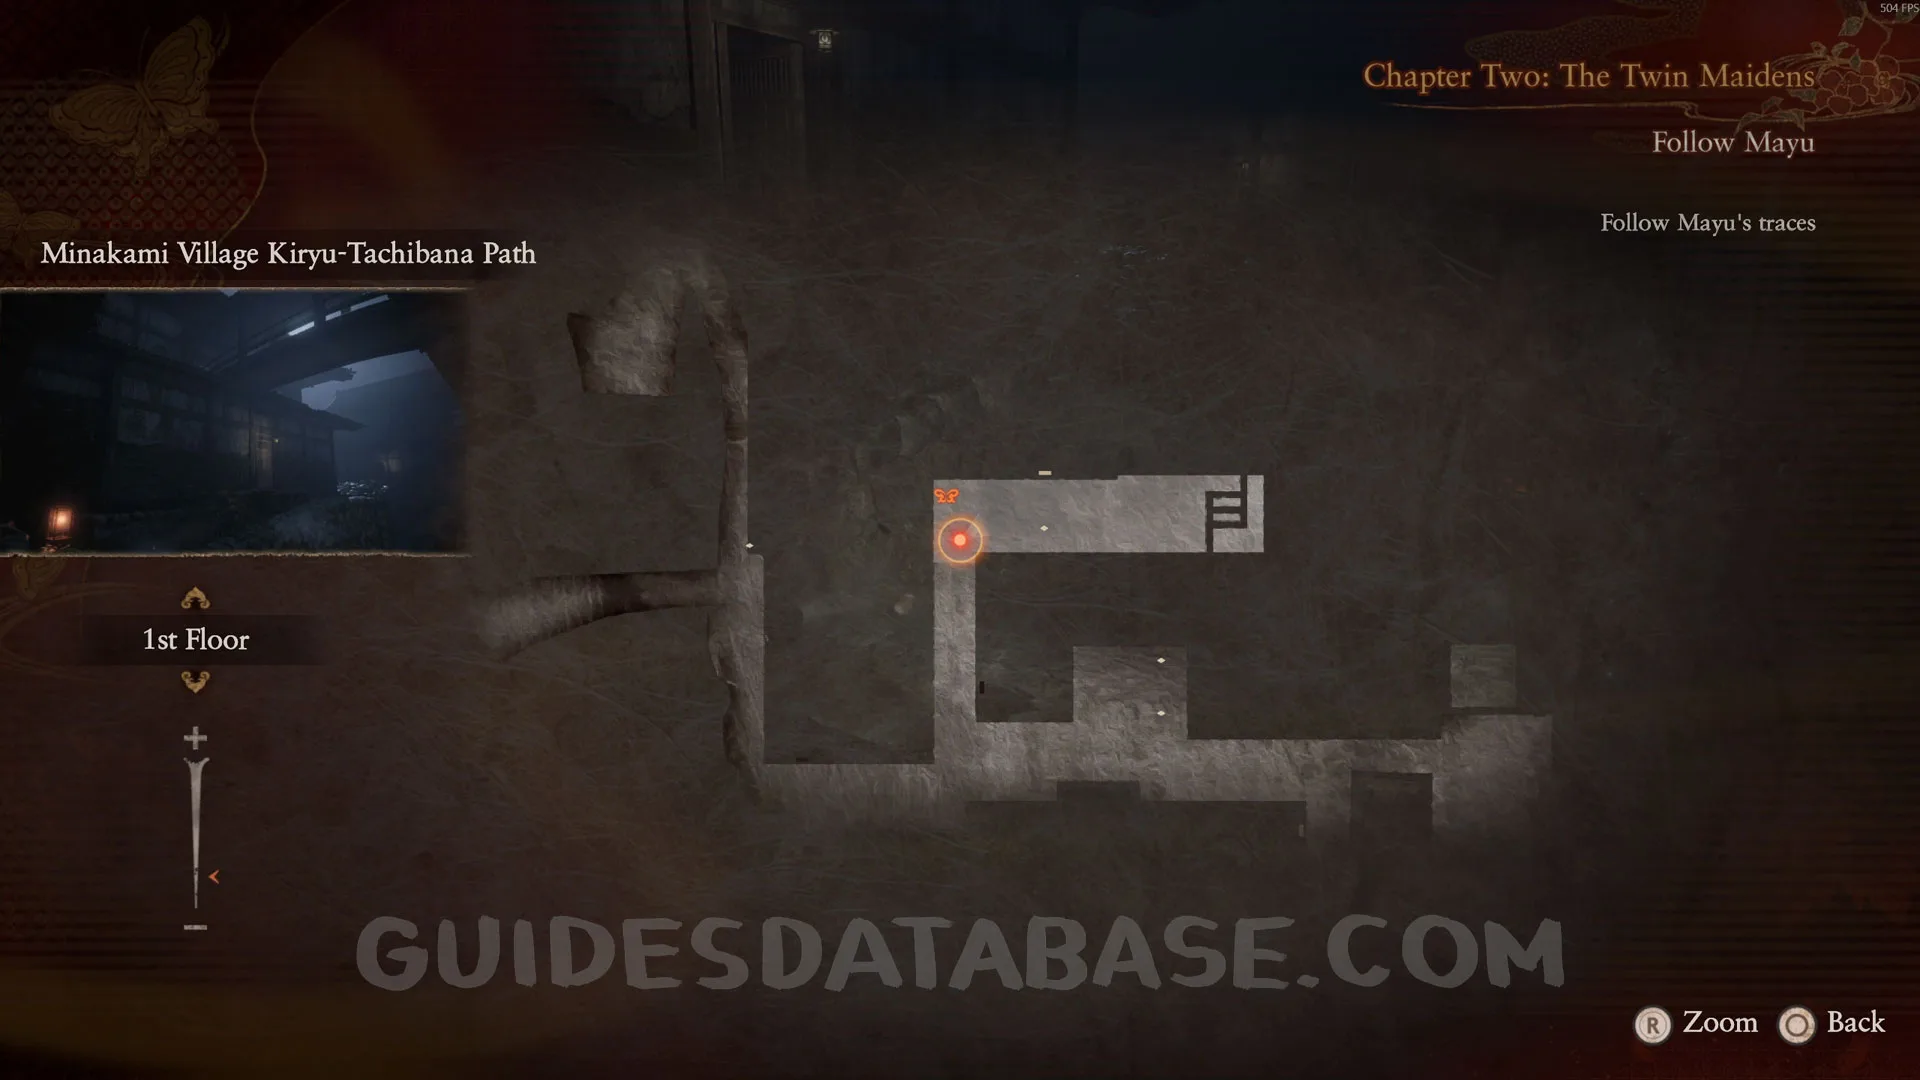
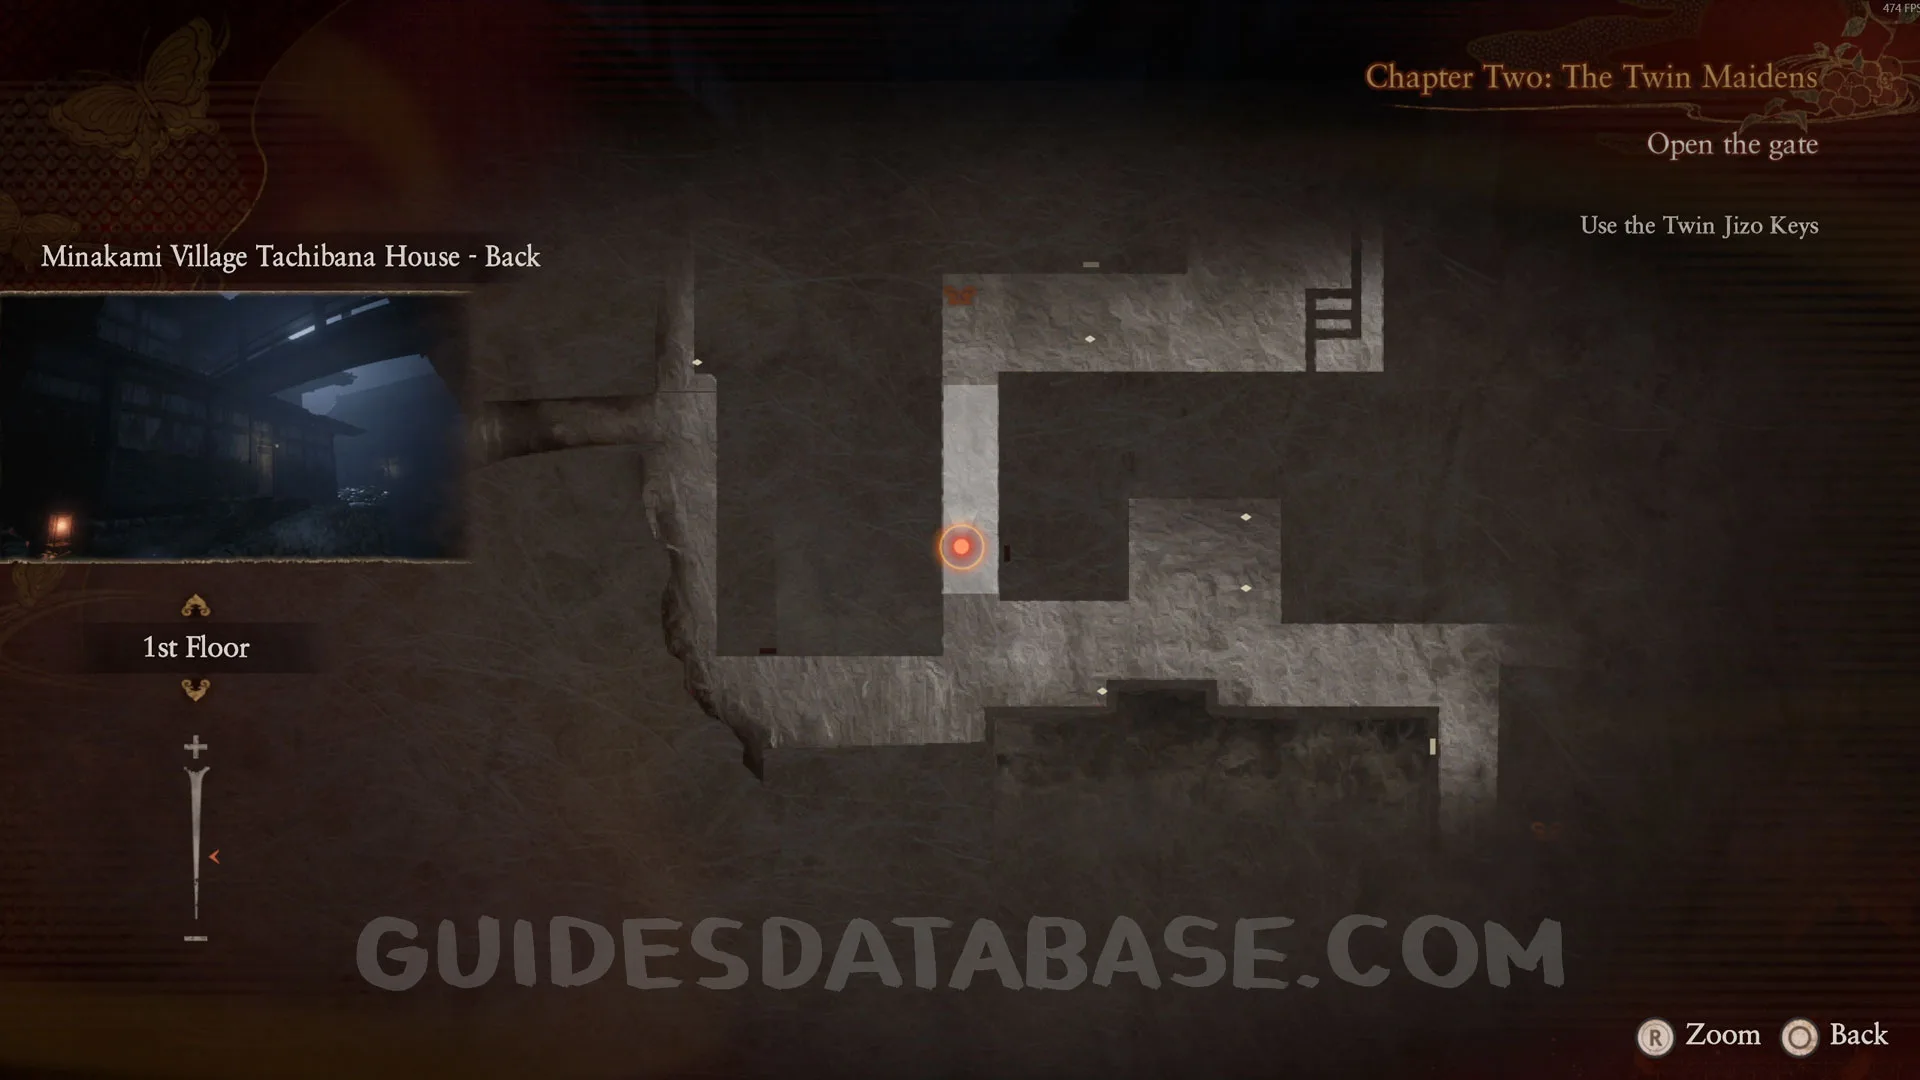
Now go back to Tachibana House - Back, and you will see this Twin Doll next to the Save Point.
 GUIDESDATABASE.COM
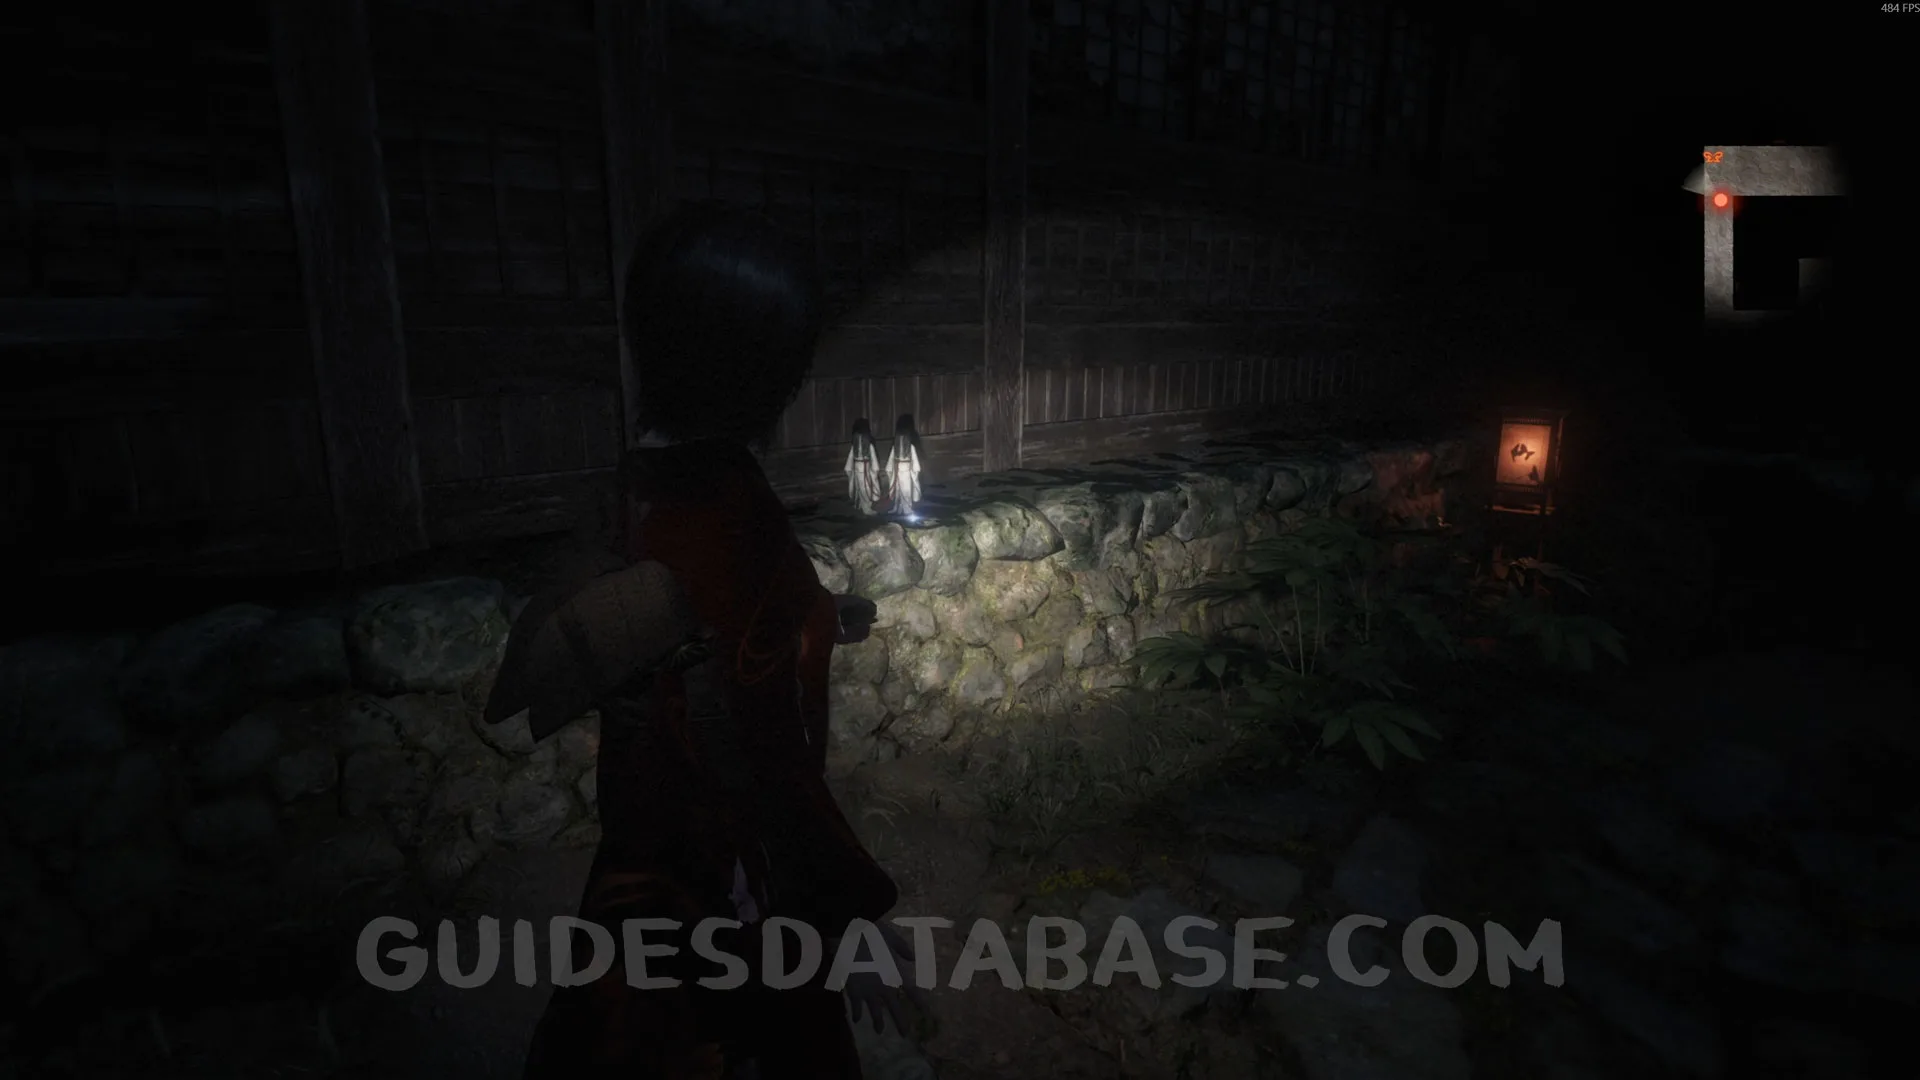 GUIDESDATABASE.COM
 GUIDESDATABASE.COM
Document #11 - Twin Doll Findings.
In the same area as the previous collectible.
 GUIDESDATABASE.COM
 GUIDESDATABASE.COM
Document #12 - Folklorist's Note 1.
In the same area as the previous collectible, now go into Kiryu House on the left. Go upstairs, turn right, then left, and you will see a frame with this document.
 GUIDESDATABASE.COM
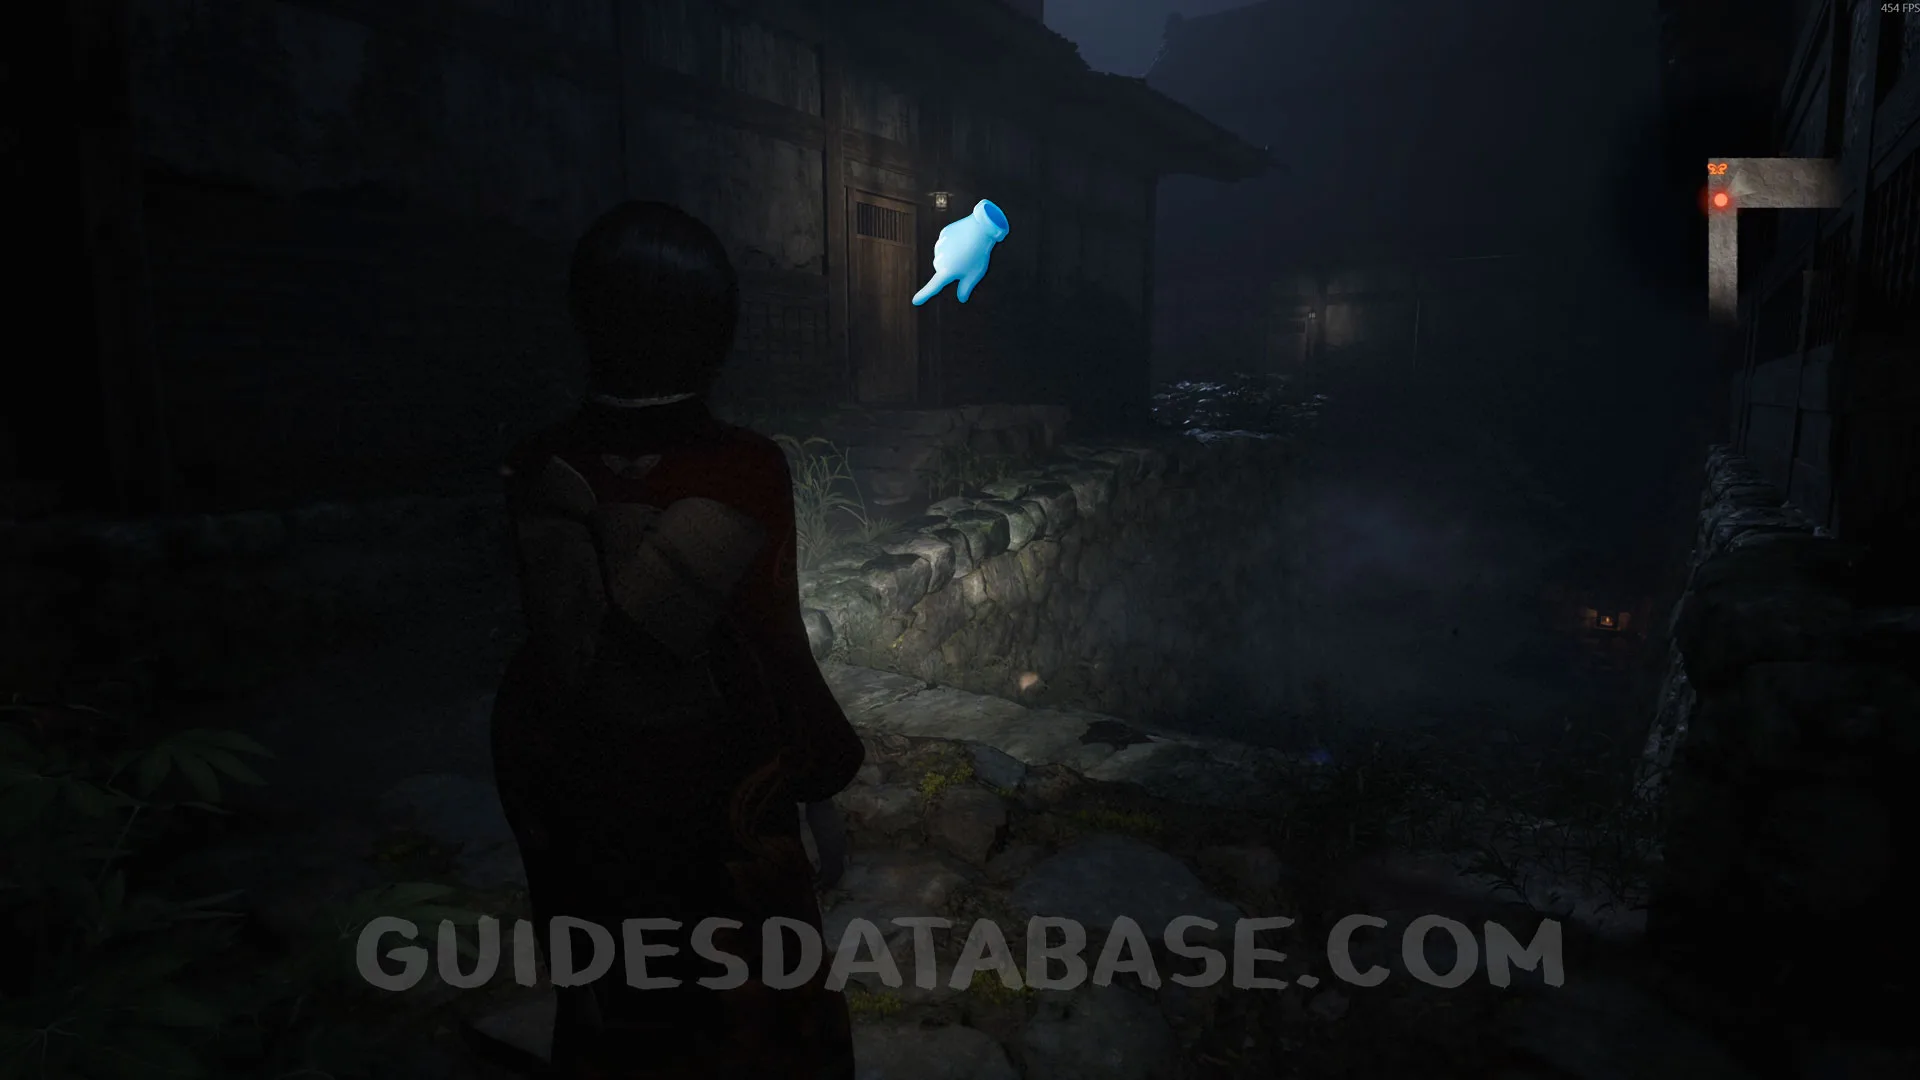 GUIDESDATABASE.COM
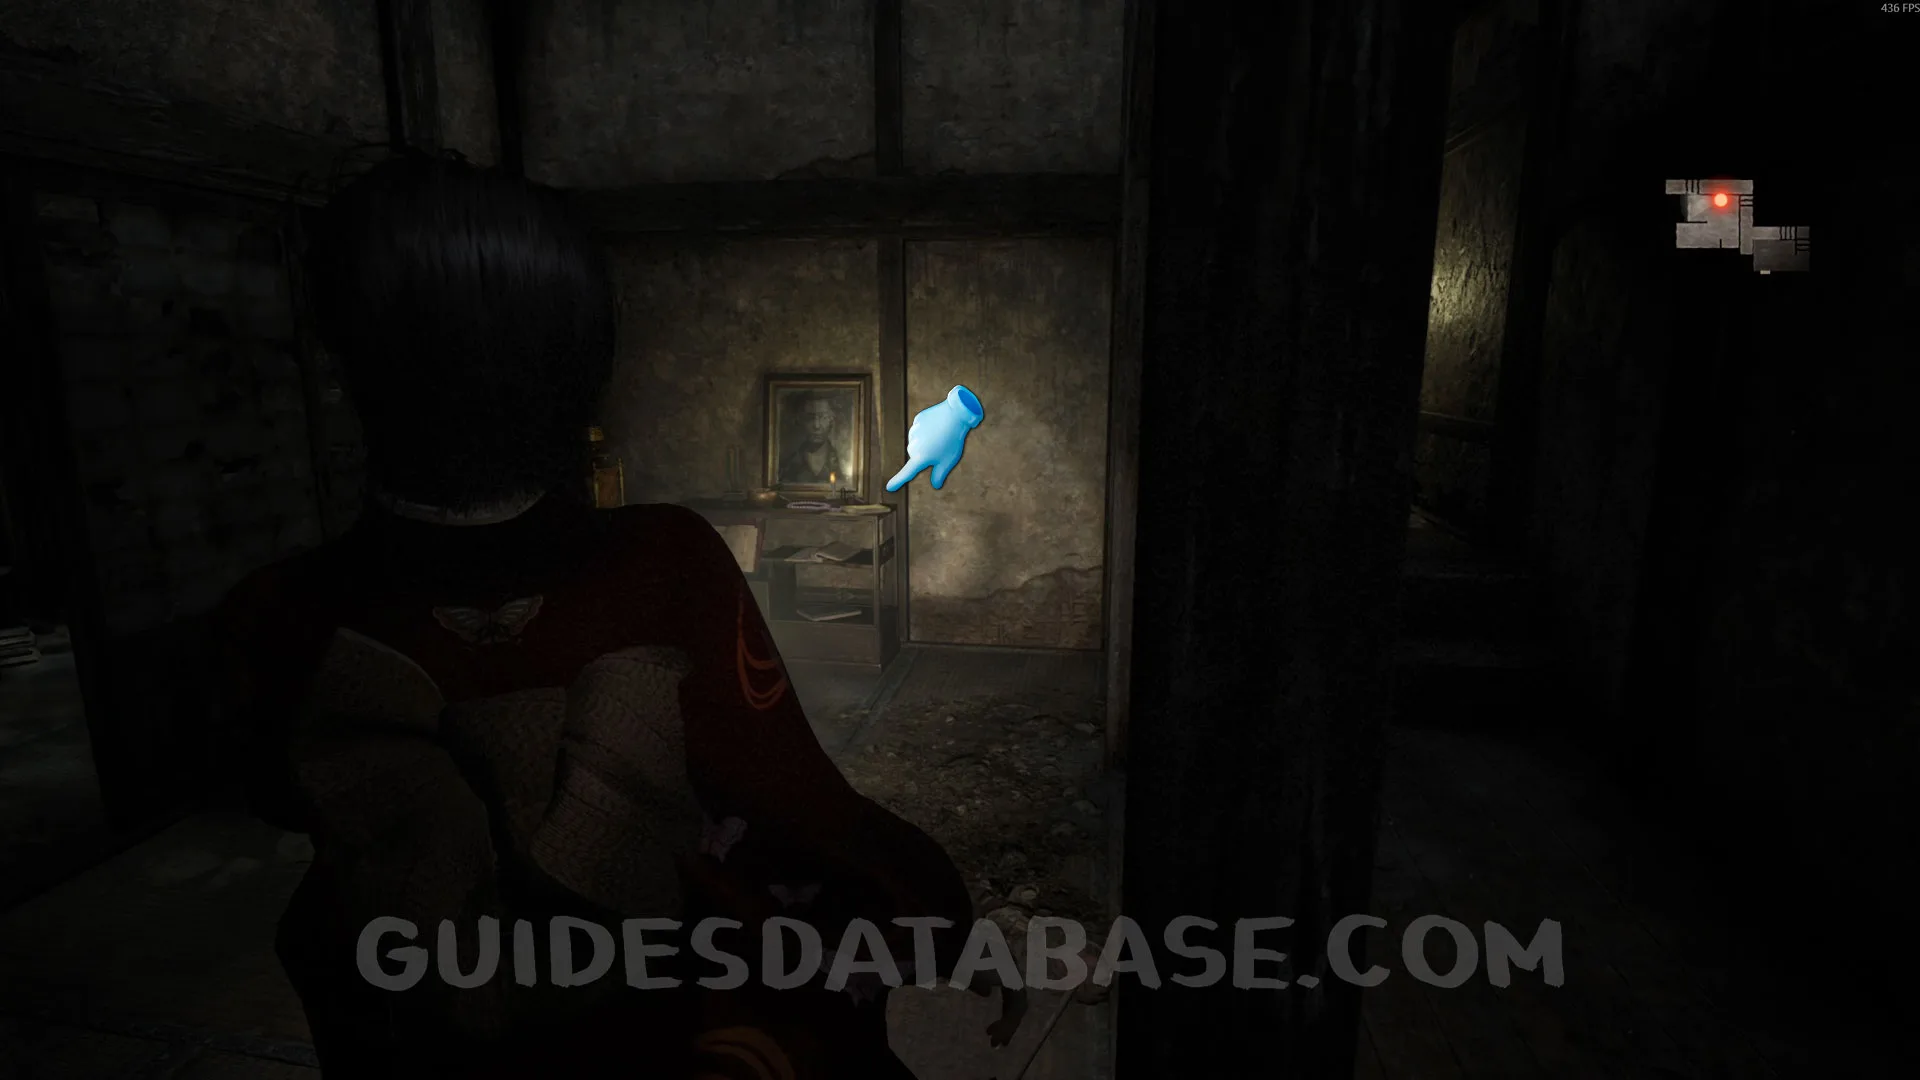 GUIDESDATABASE.COM
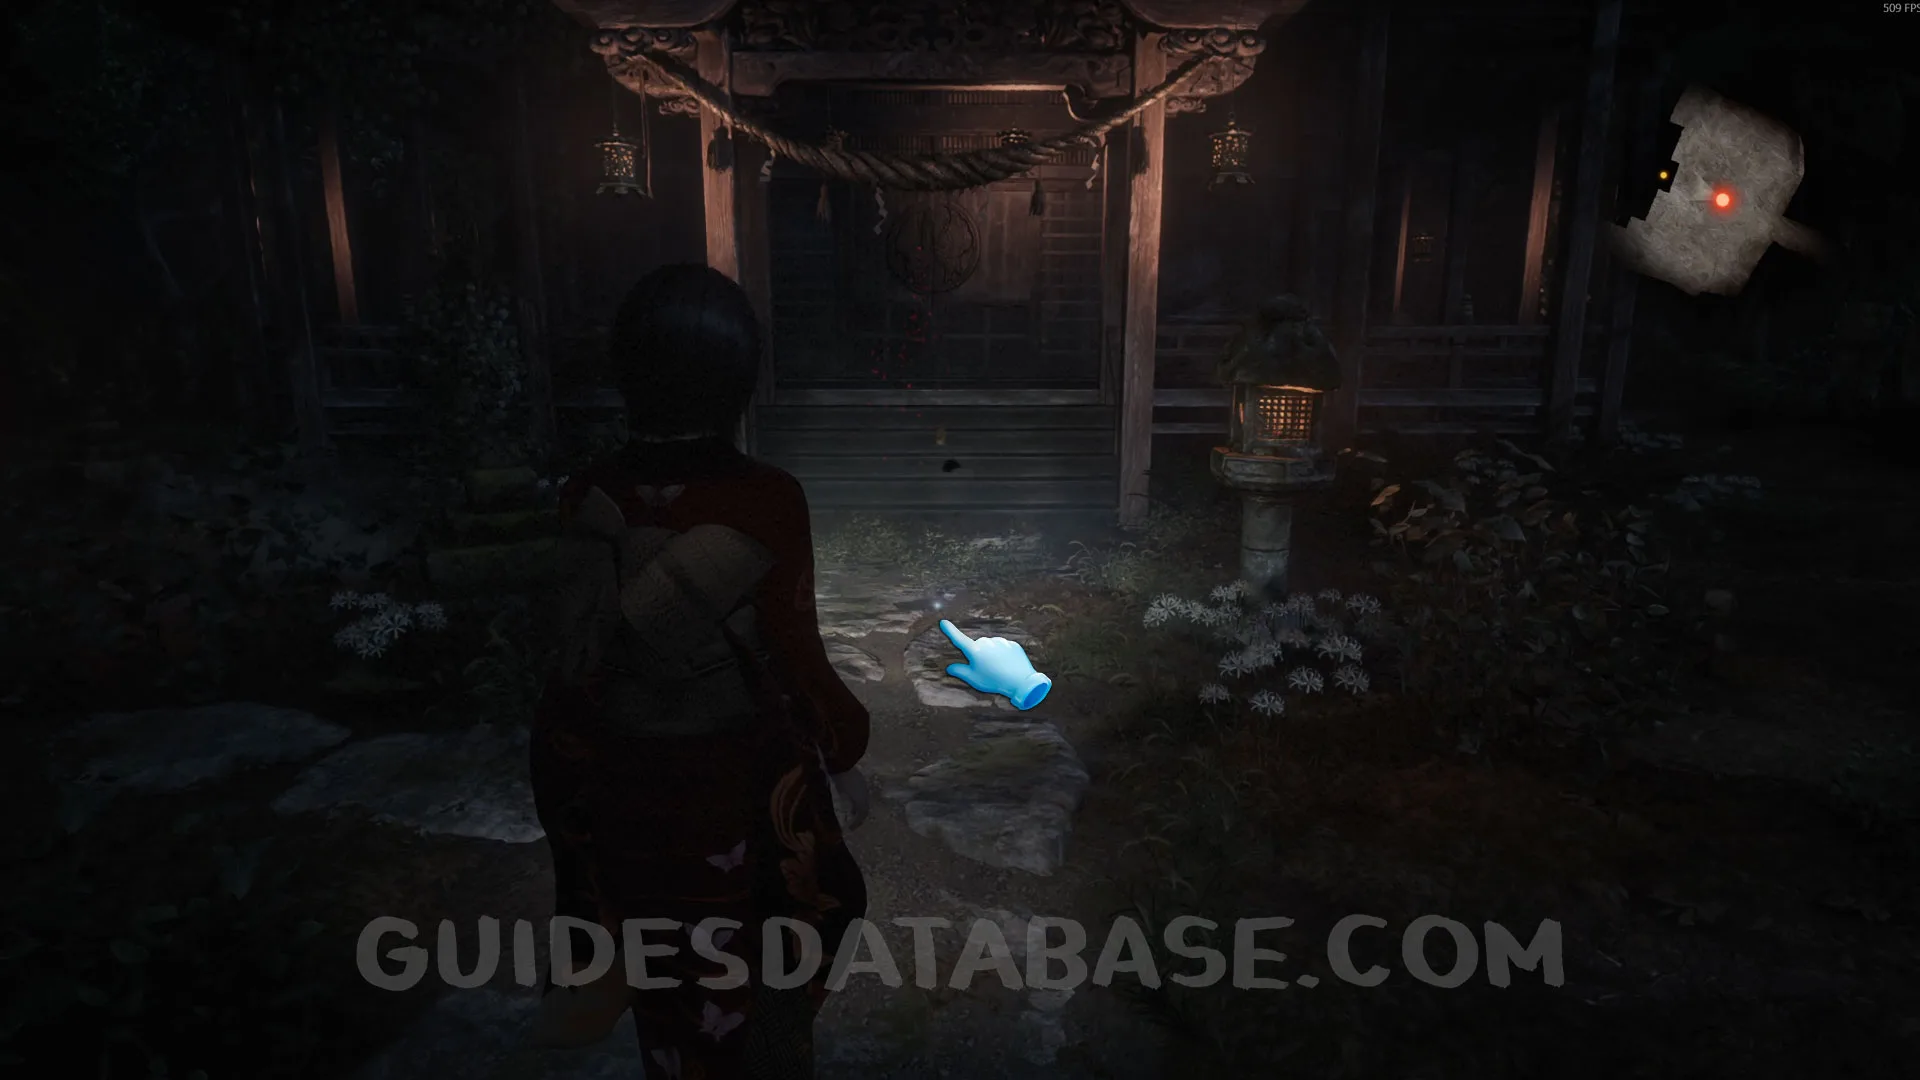
Specter #10-12 - 013 Butterfly Chaser / 014 Woman in Bloody Kimono / 015 Mayu and Inviting Woman.
Now leave Kiryu House and go down the stairs. You will see Mayu heading toward the gate, so be quick and take a photo of her and the specter. This will count as 3 Specters.
 GUIDESDATABASE.COM
 GUIDESDATABASE.COM
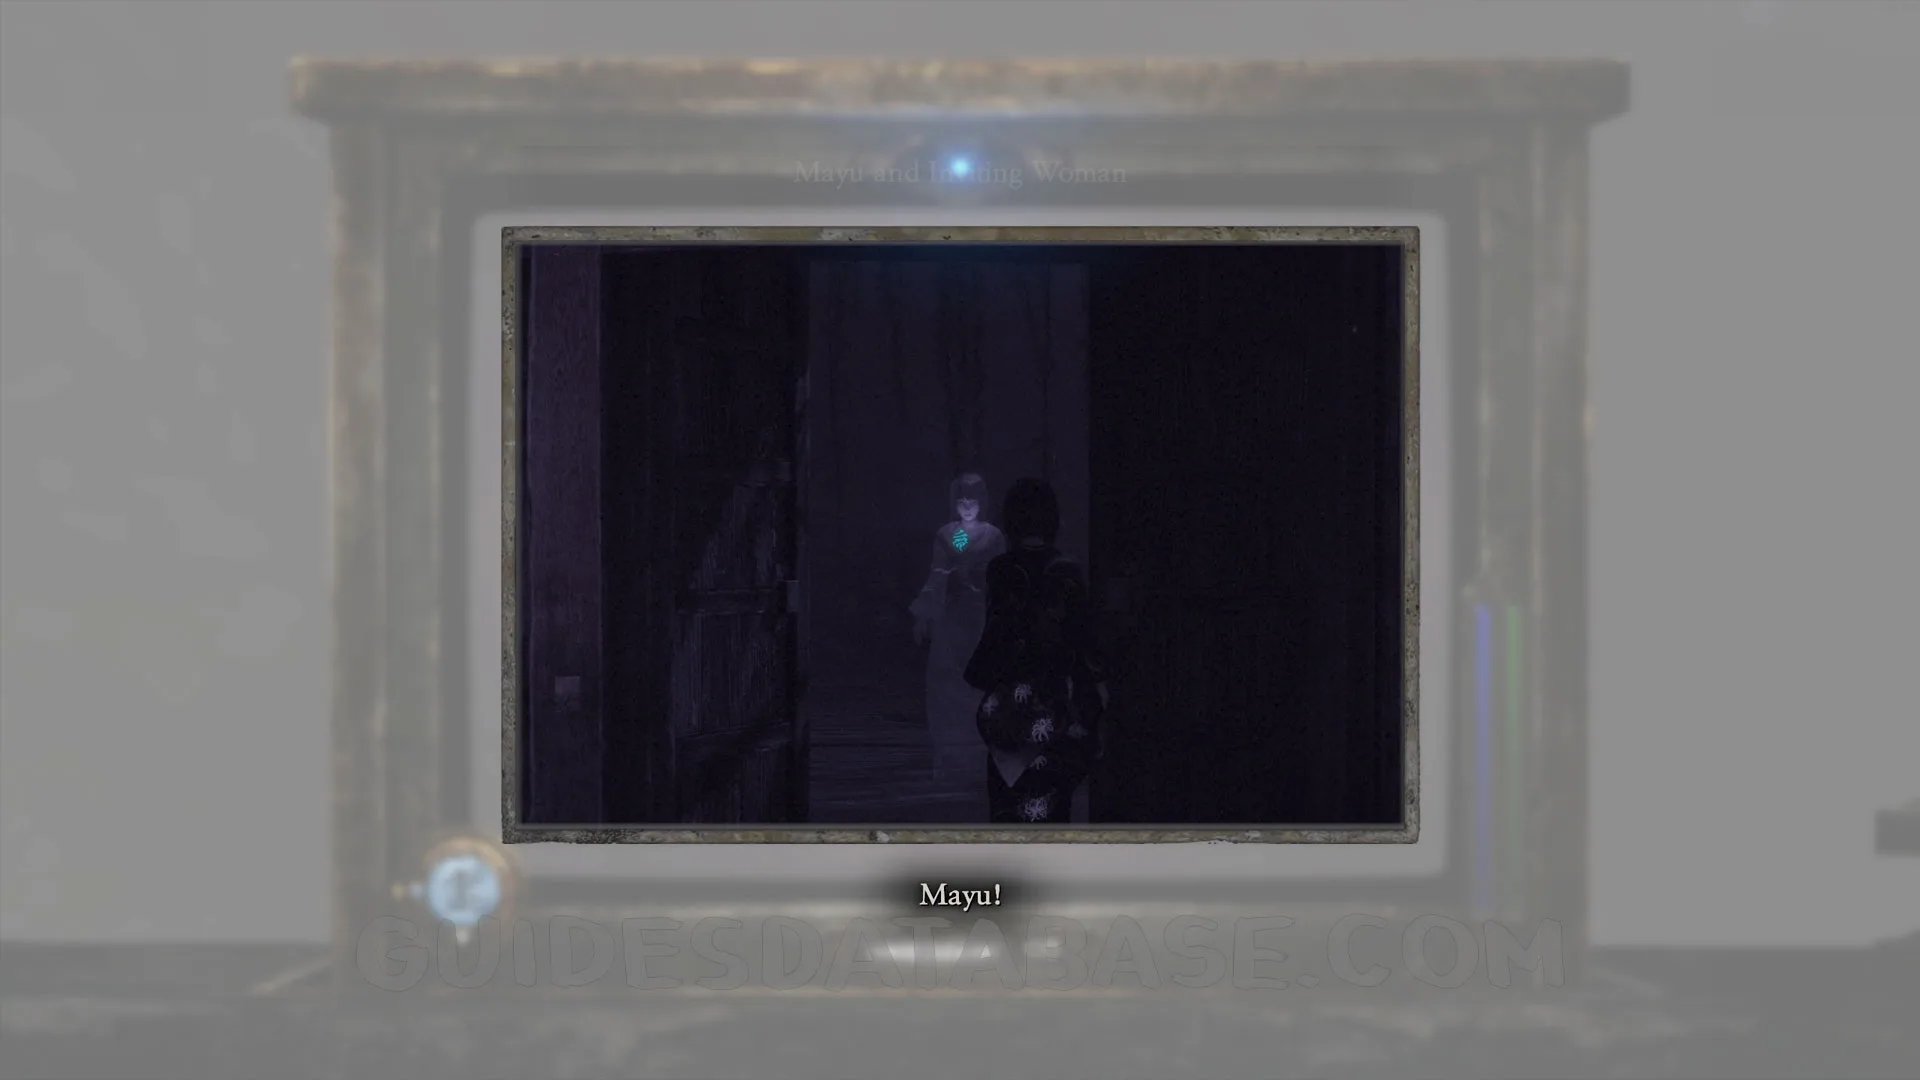 GUIDESDATABASE.COM
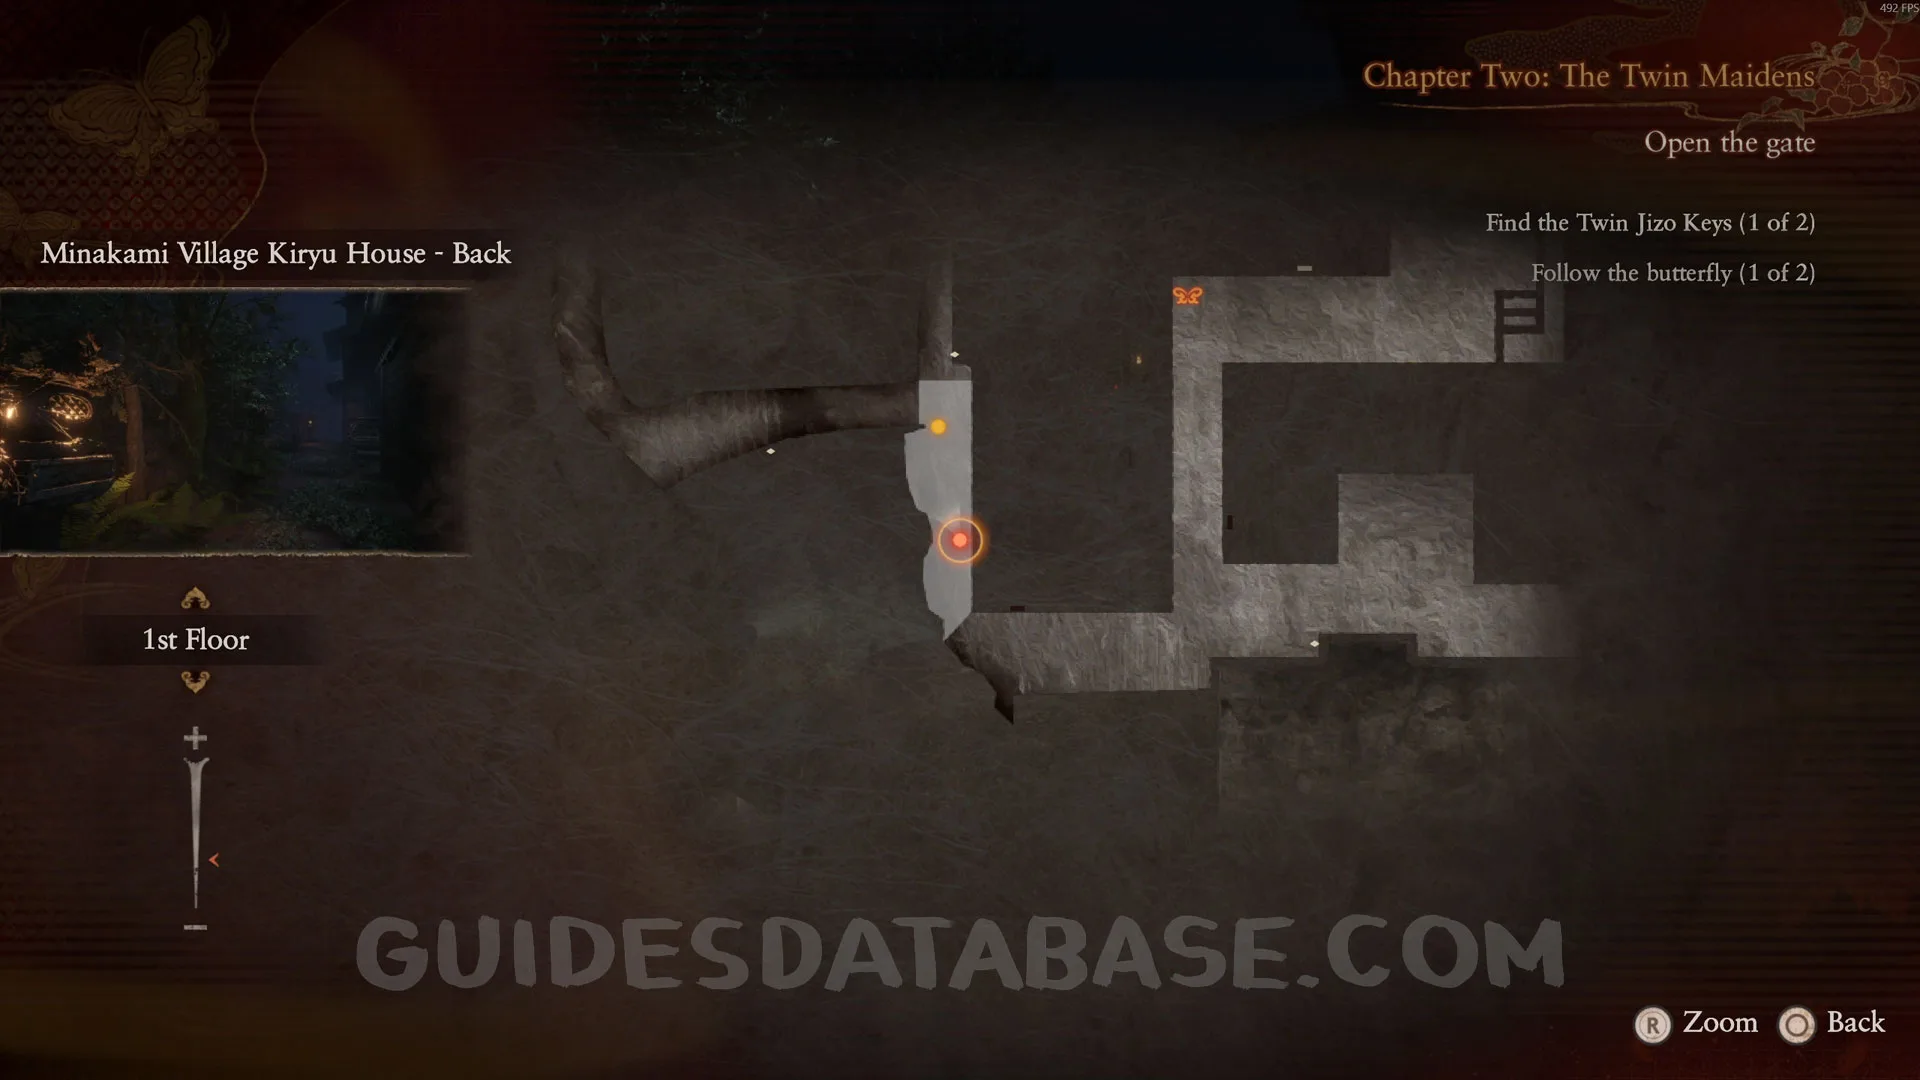
Specter #13 - 016 Beckoning Crimson Butterfly.
In the same area as the previous collectible, now interact with the gate and a butterfly will appear. Take a photo of the butterfly.
 GUIDESDATABASE.COM
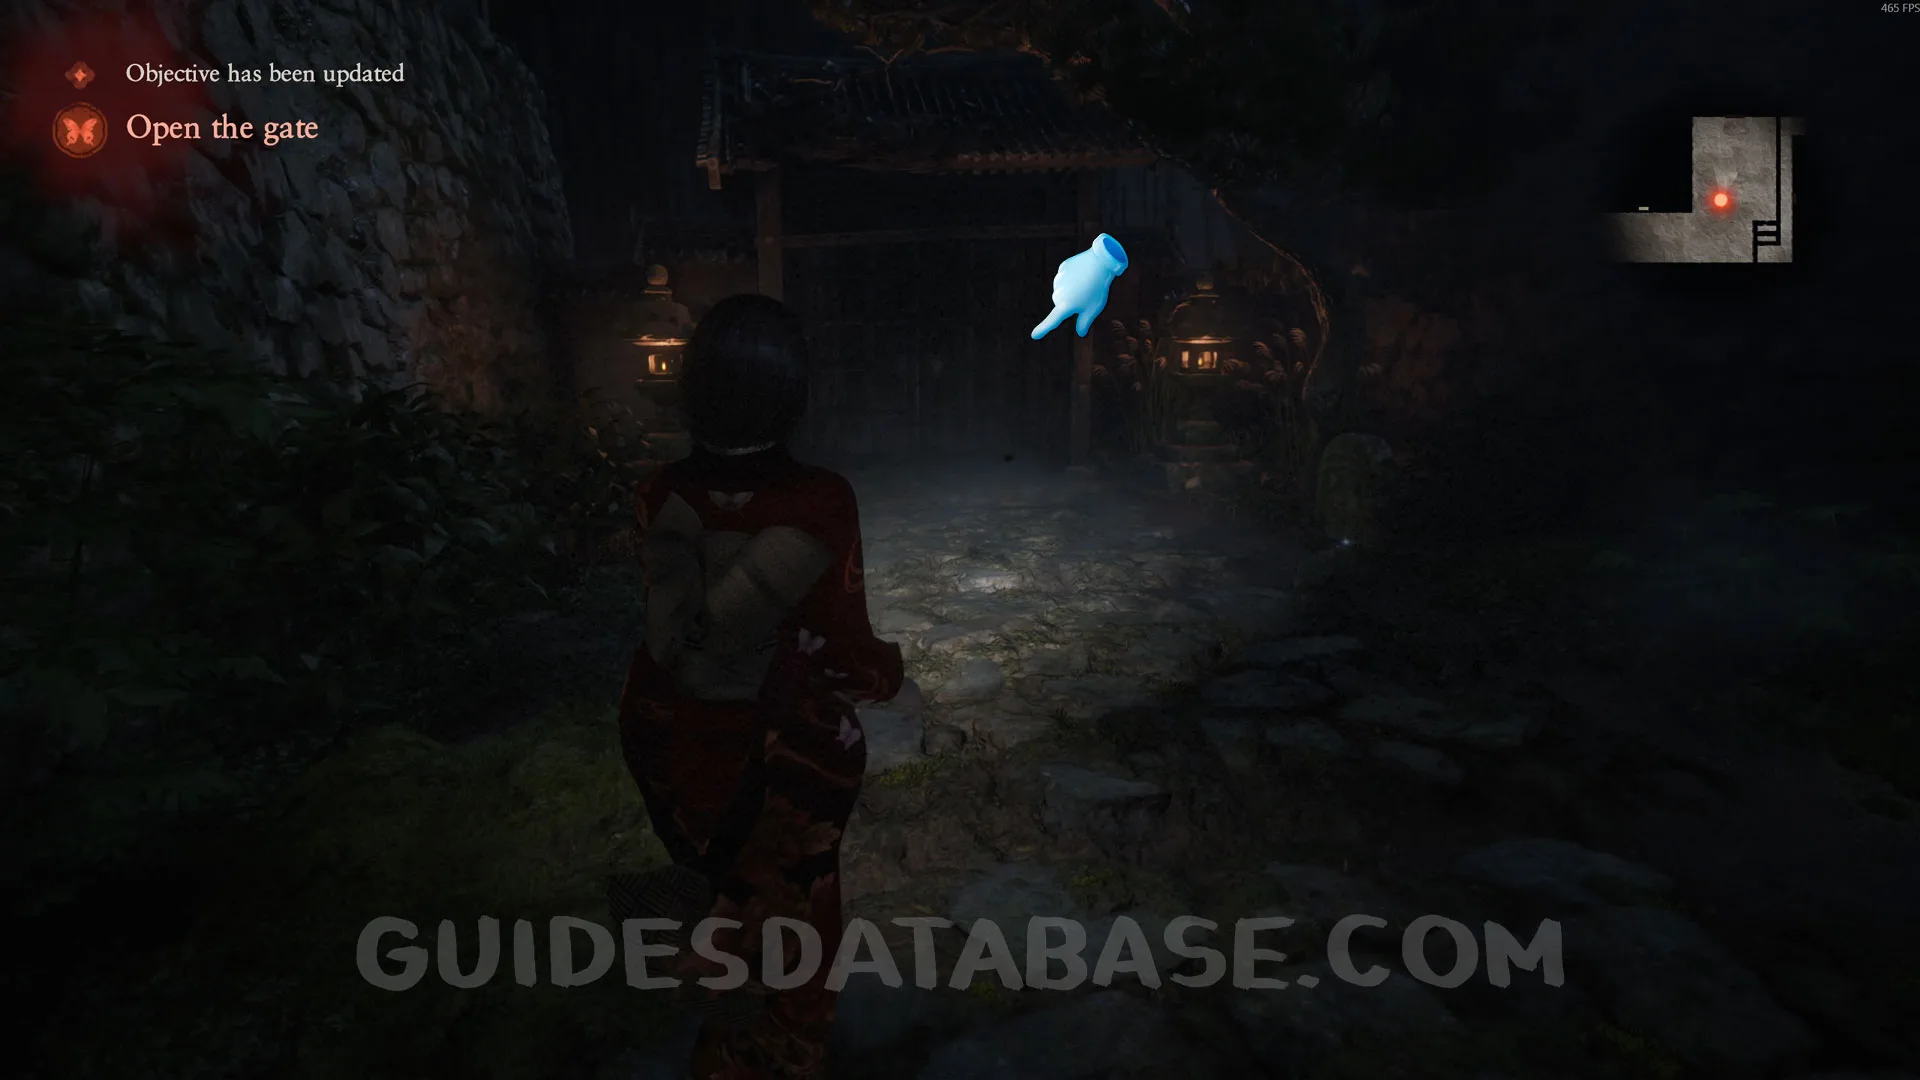 GUIDESDATABASE.COM
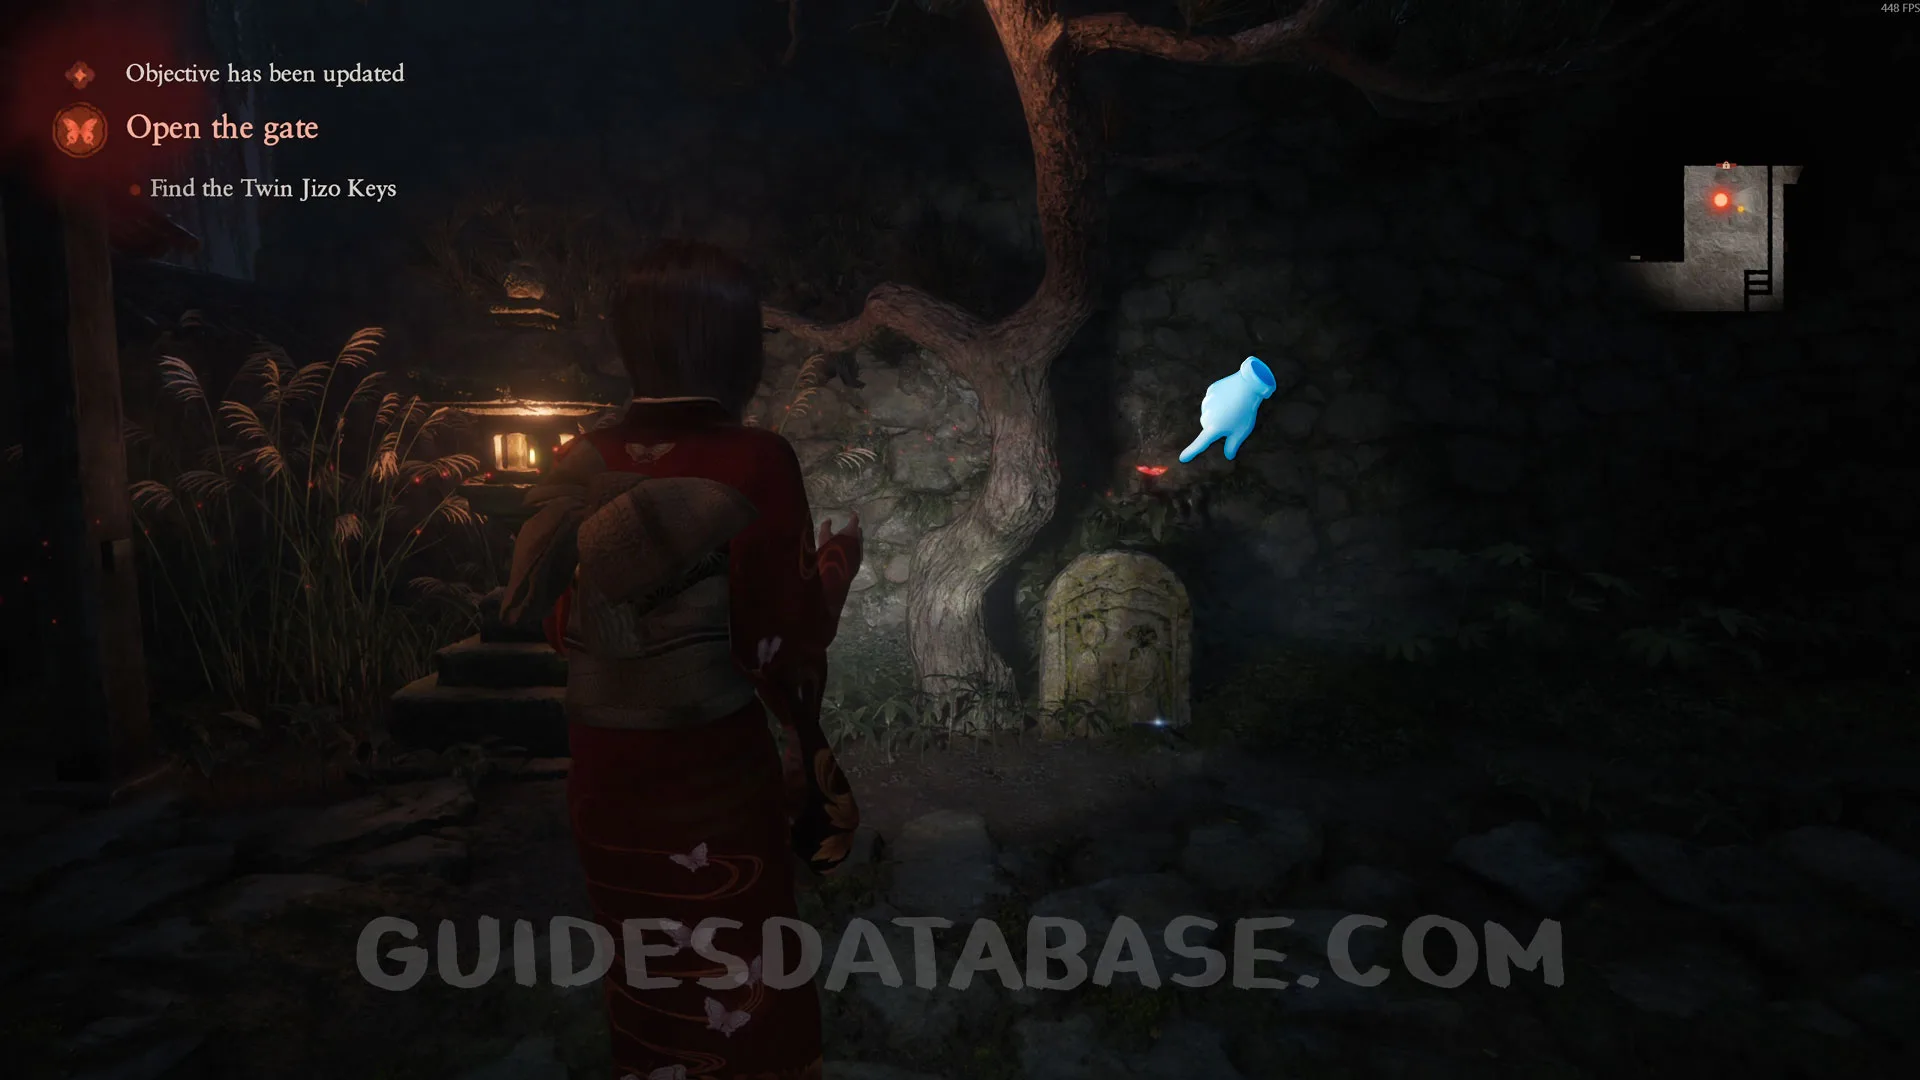 GUIDESDATABASE.COM
 GUIDESDATABASE.COM
Specter #14 - 017 Woman Looking Down.
After the previous collectible, look up and you will see a specter on the bridge. Take a photo of it.
 GUIDESDATABASE.COM
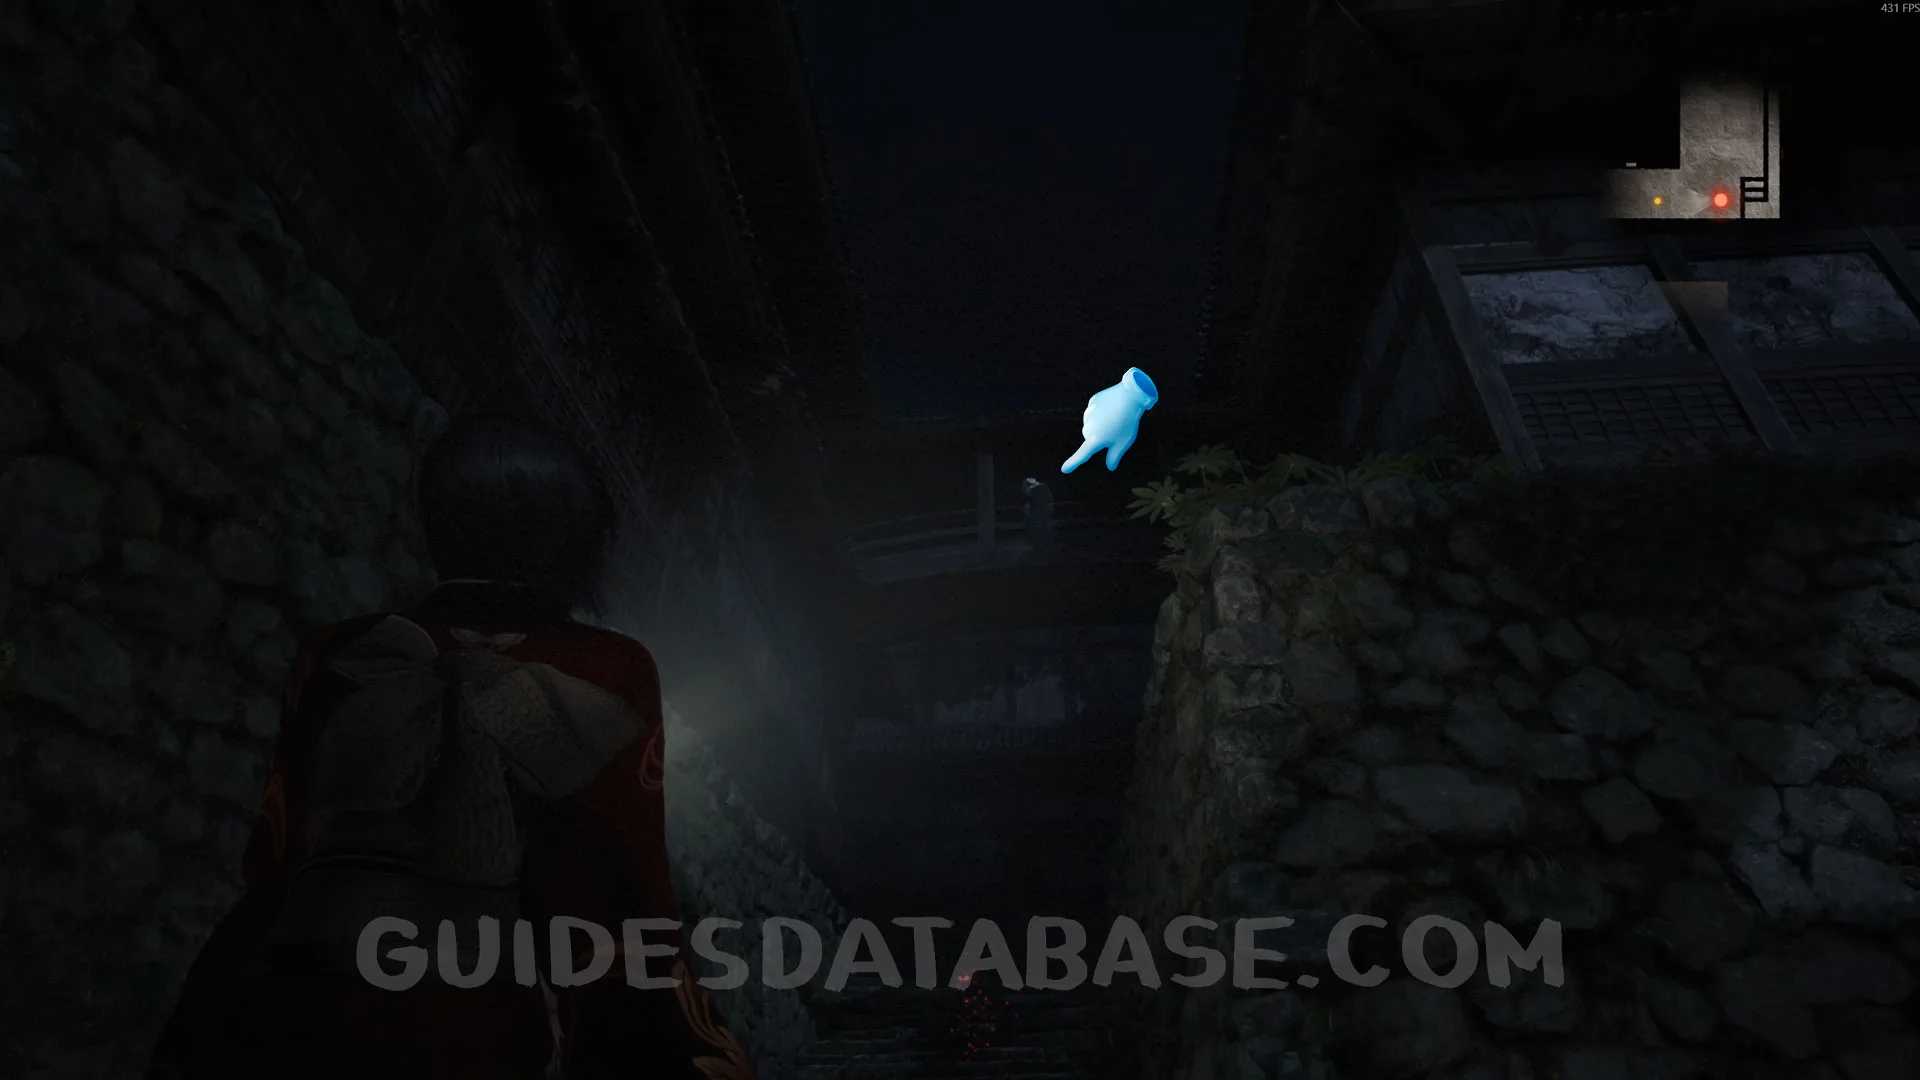 GUIDESDATABASE.COM
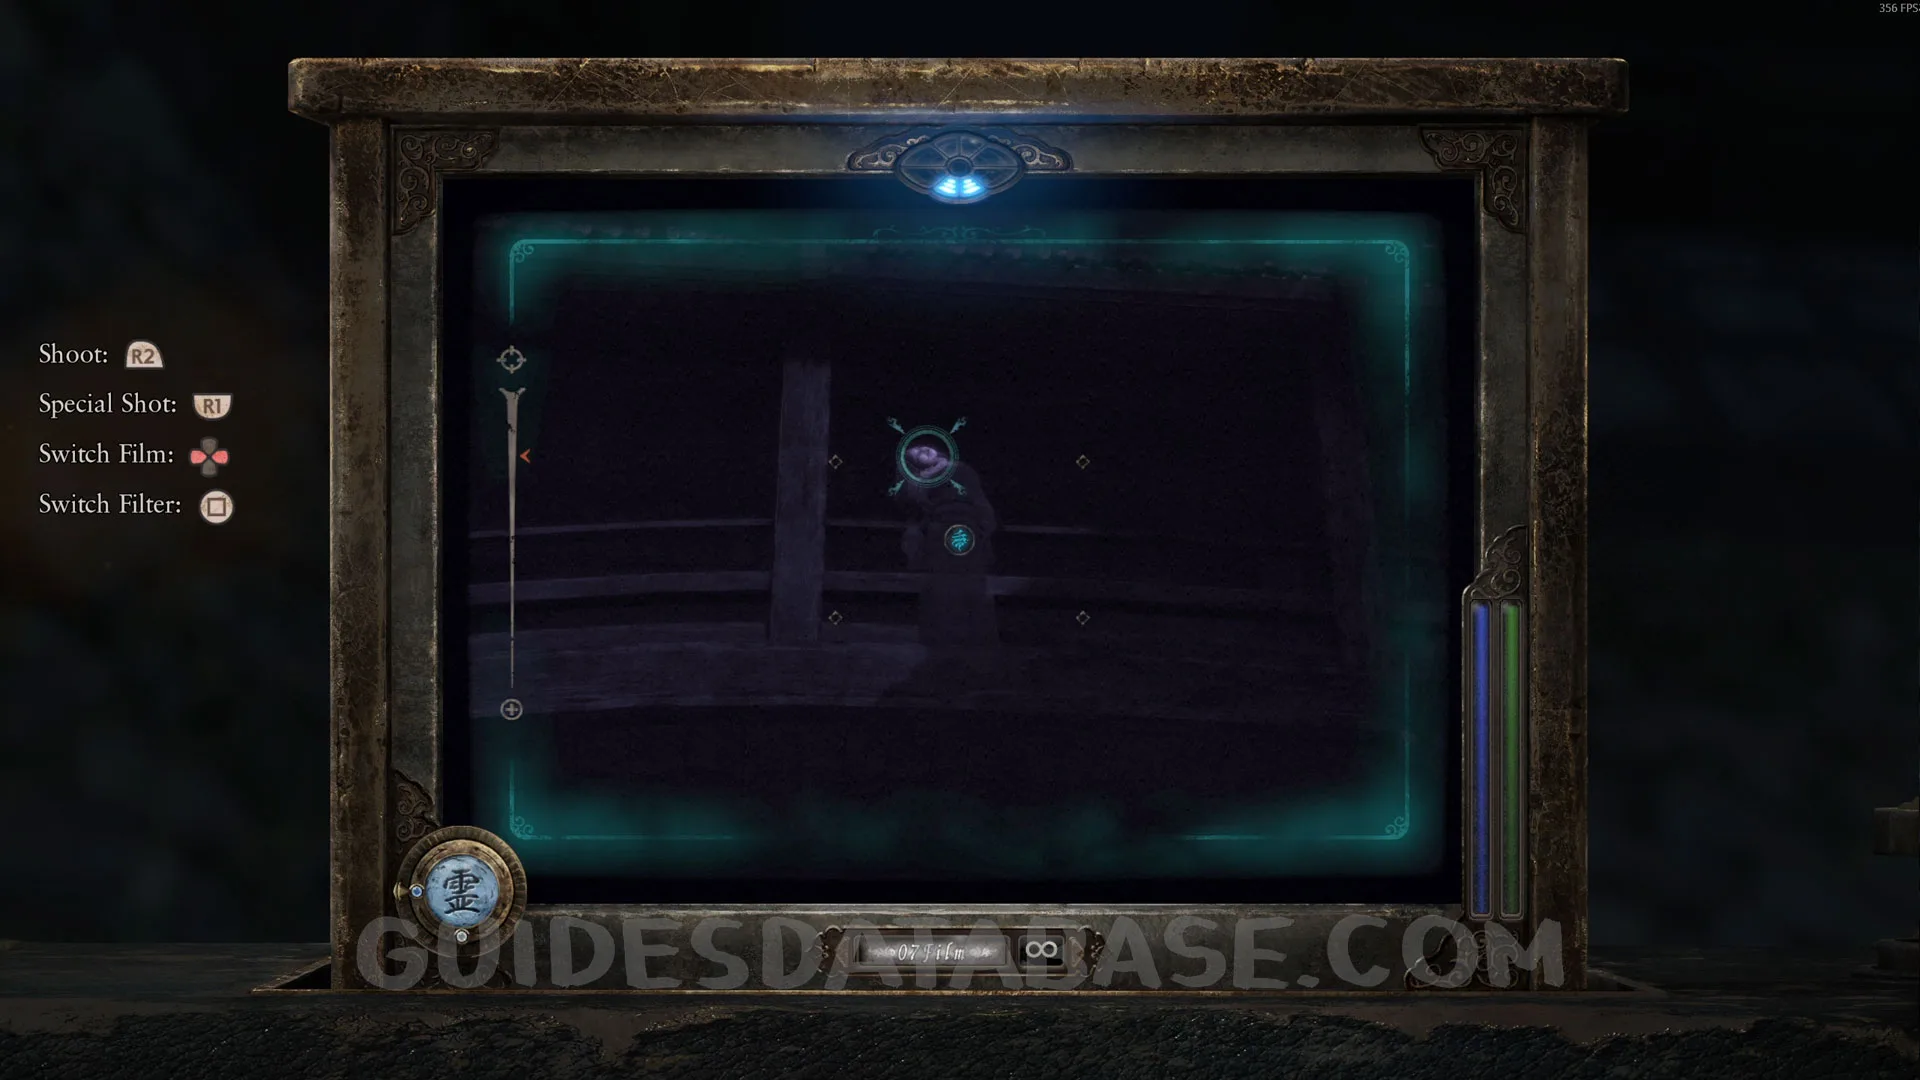 GUIDESDATABASE.COM
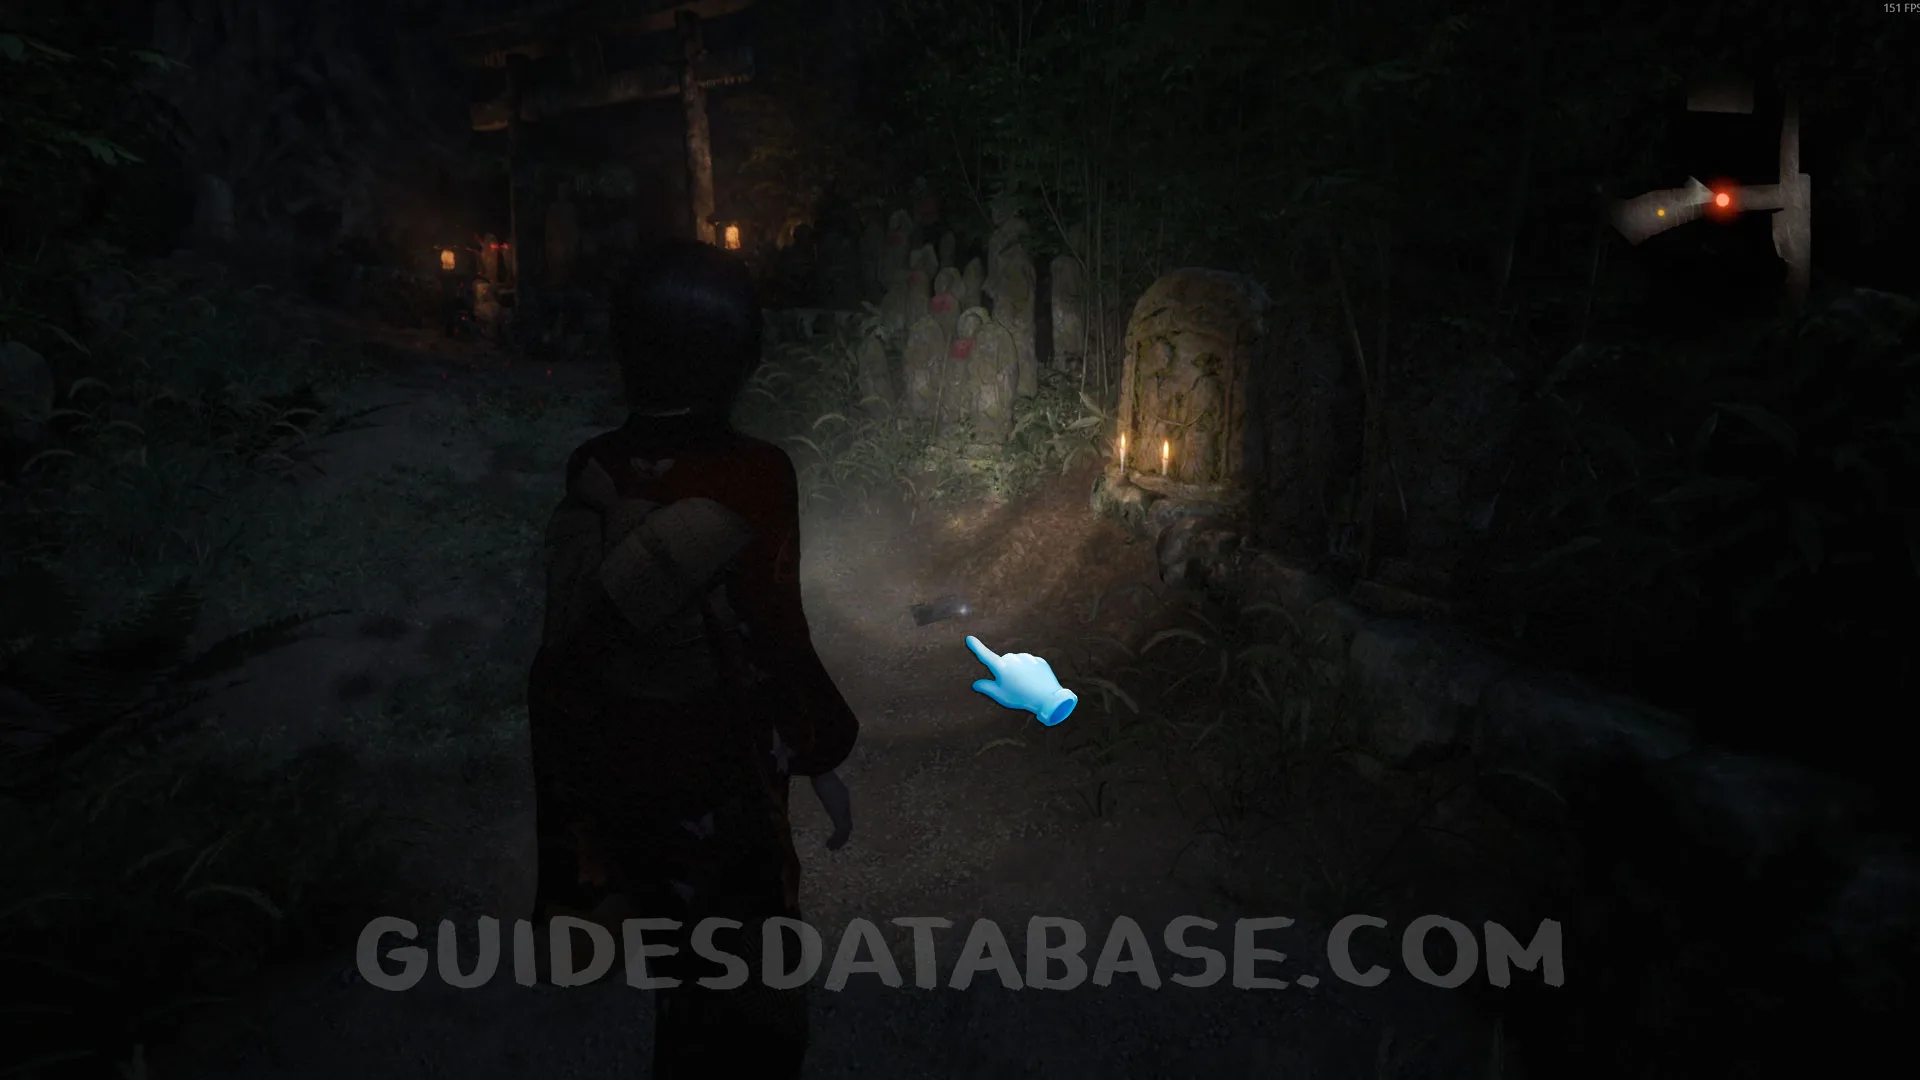
Specter #15 - 018 Trapped Boy.
Follow the butterfly guiding you, and you will eventually reach the Trapped Boy. Take a photo of him.
 GUIDESDATABASE.COM
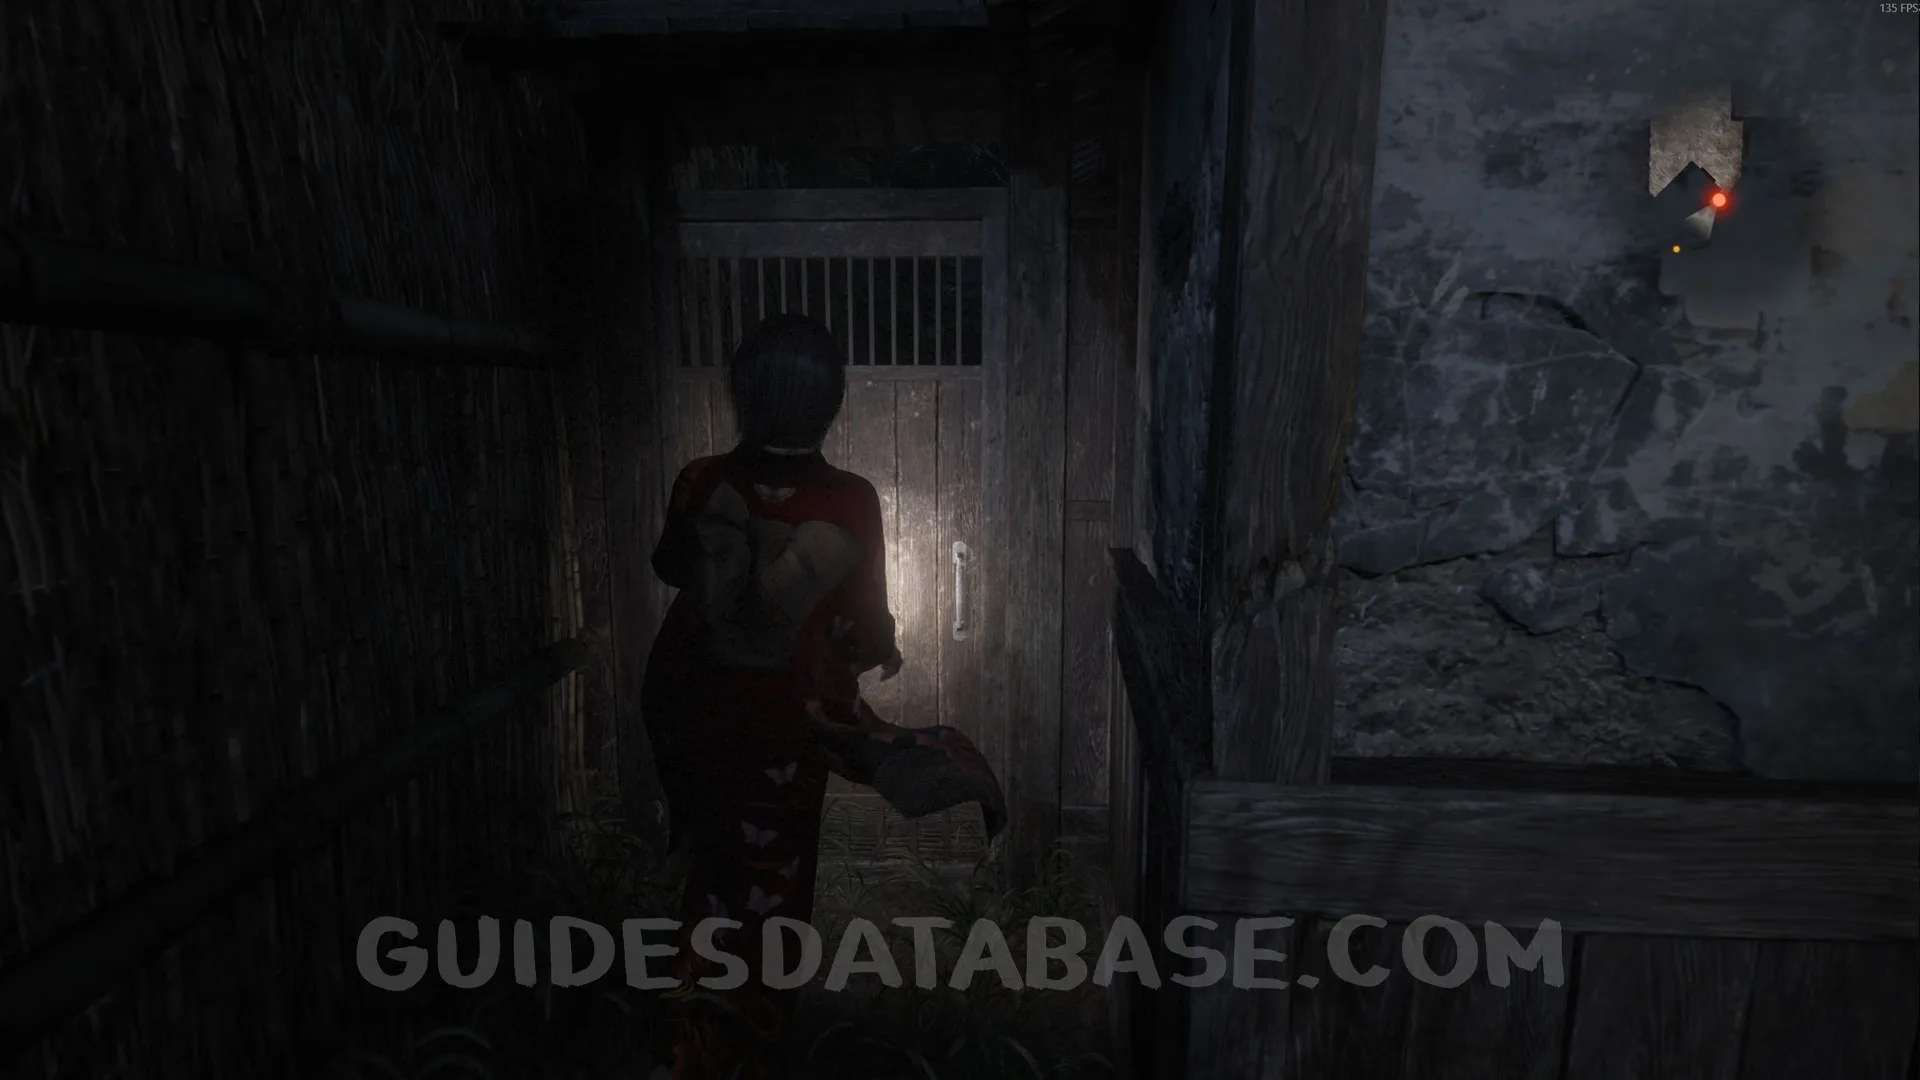 GUIDESDATABASE.COM
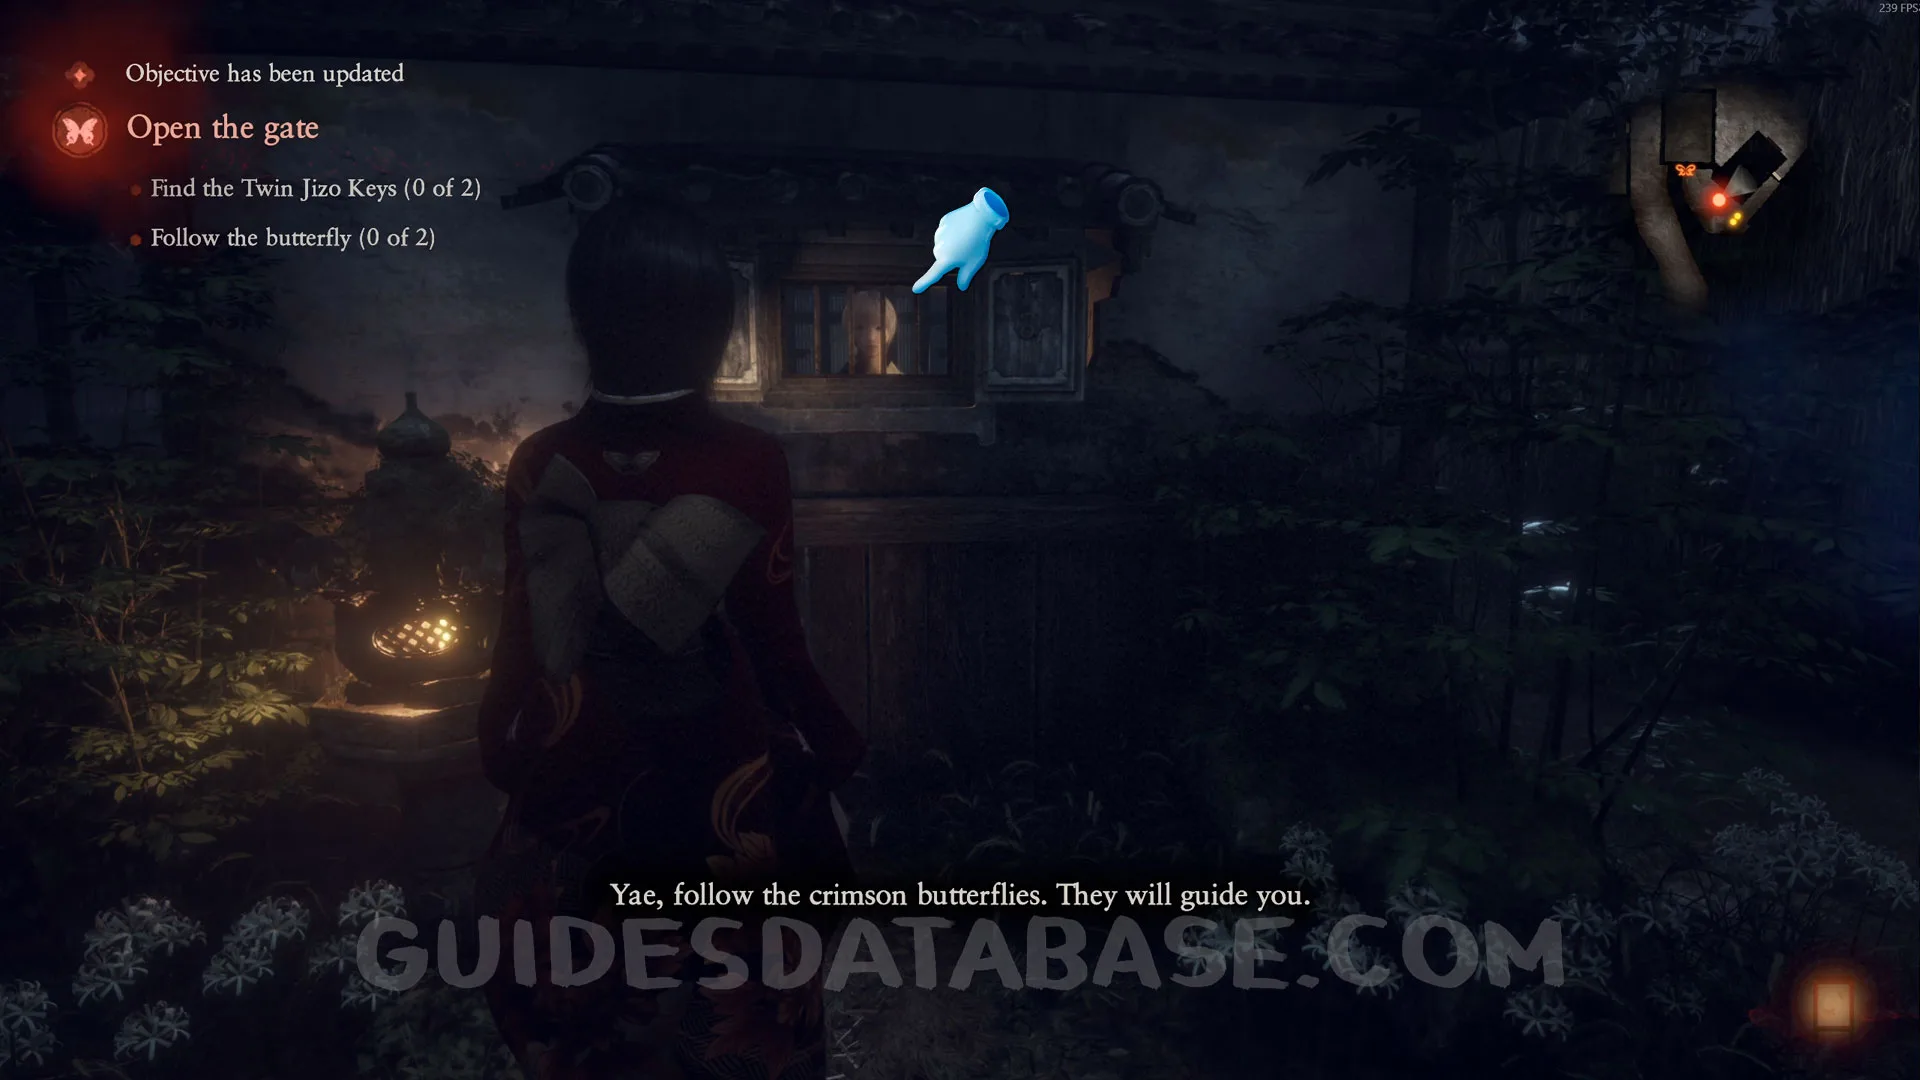 GUIDESDATABASE.COM
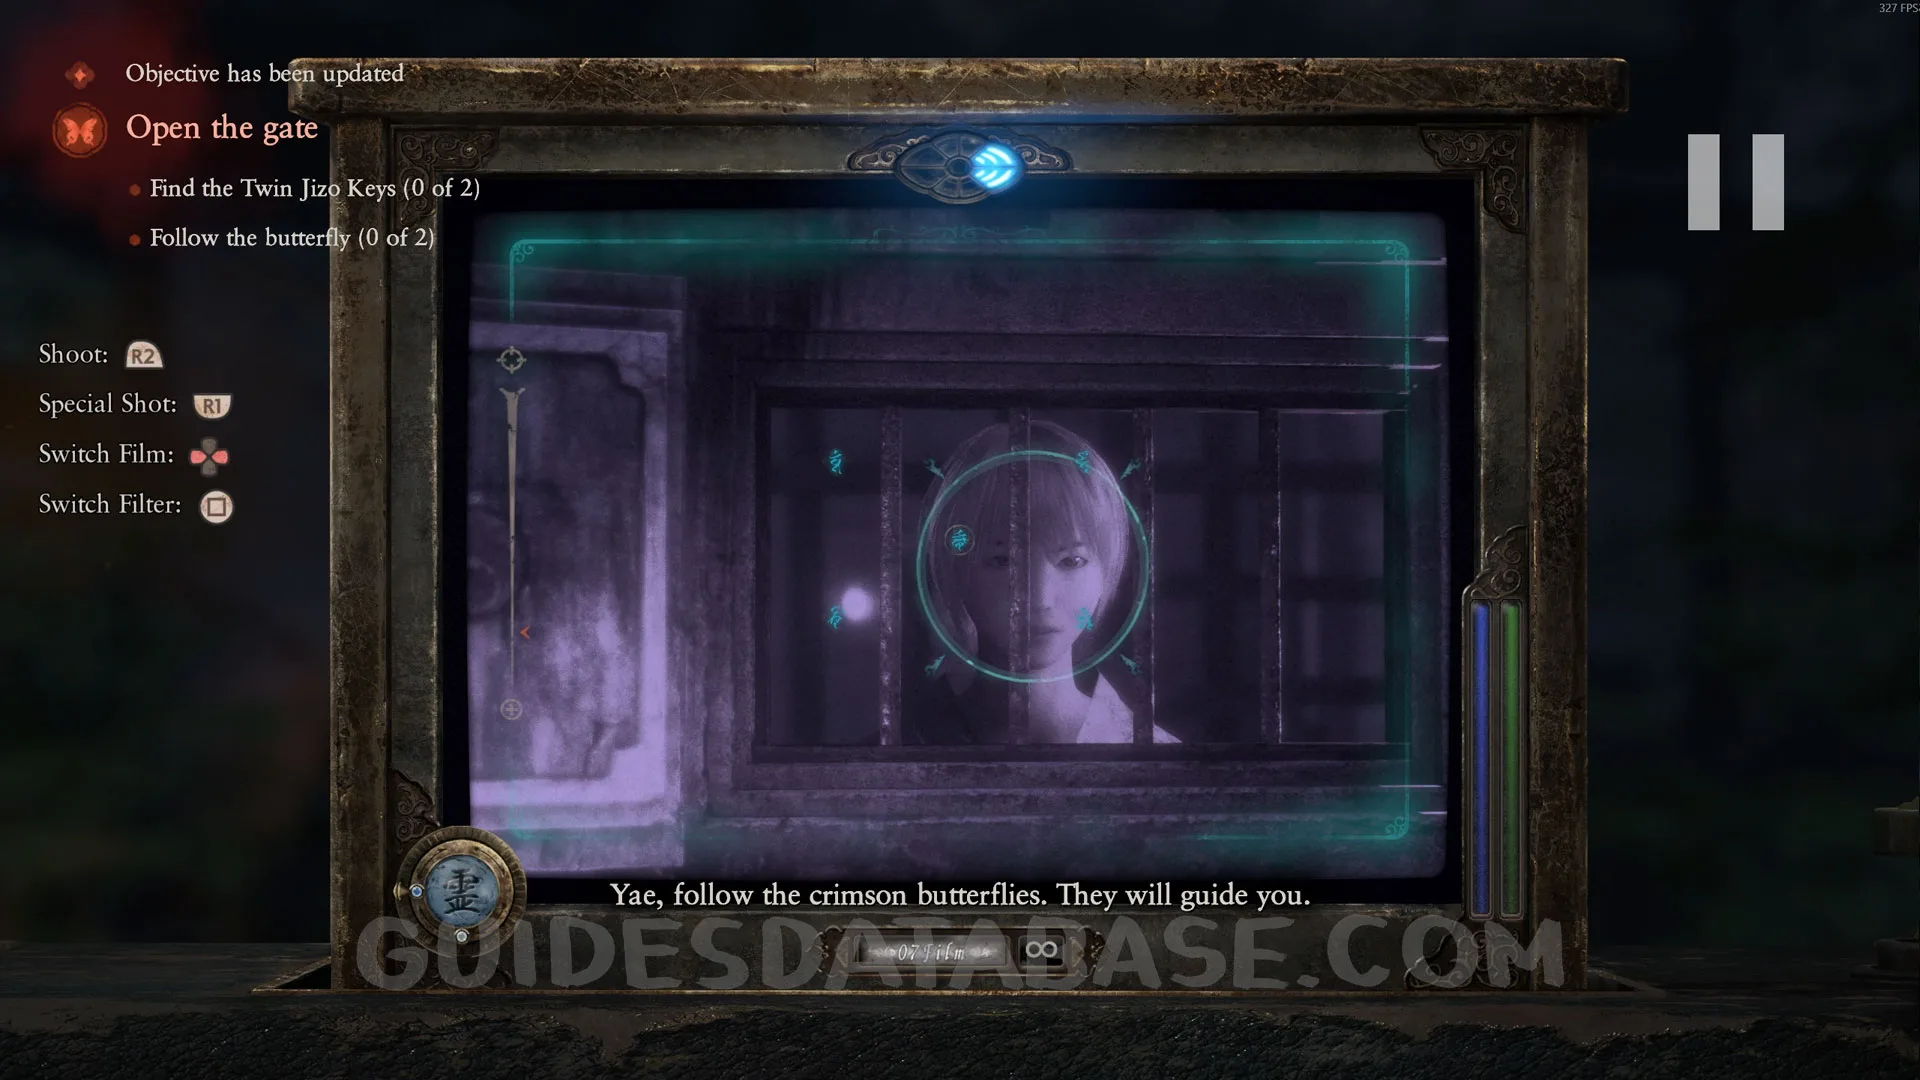 GUIDESDATABASE.COM
Specter #16 - 019 Guiding Crimson Butterfly.
In the same area as the previous collectible, after talking to the Trapped Boy and taking a photo of him, turn around and you will see another butterfly. Take a photo of it.
 GUIDESDATABASE.COM
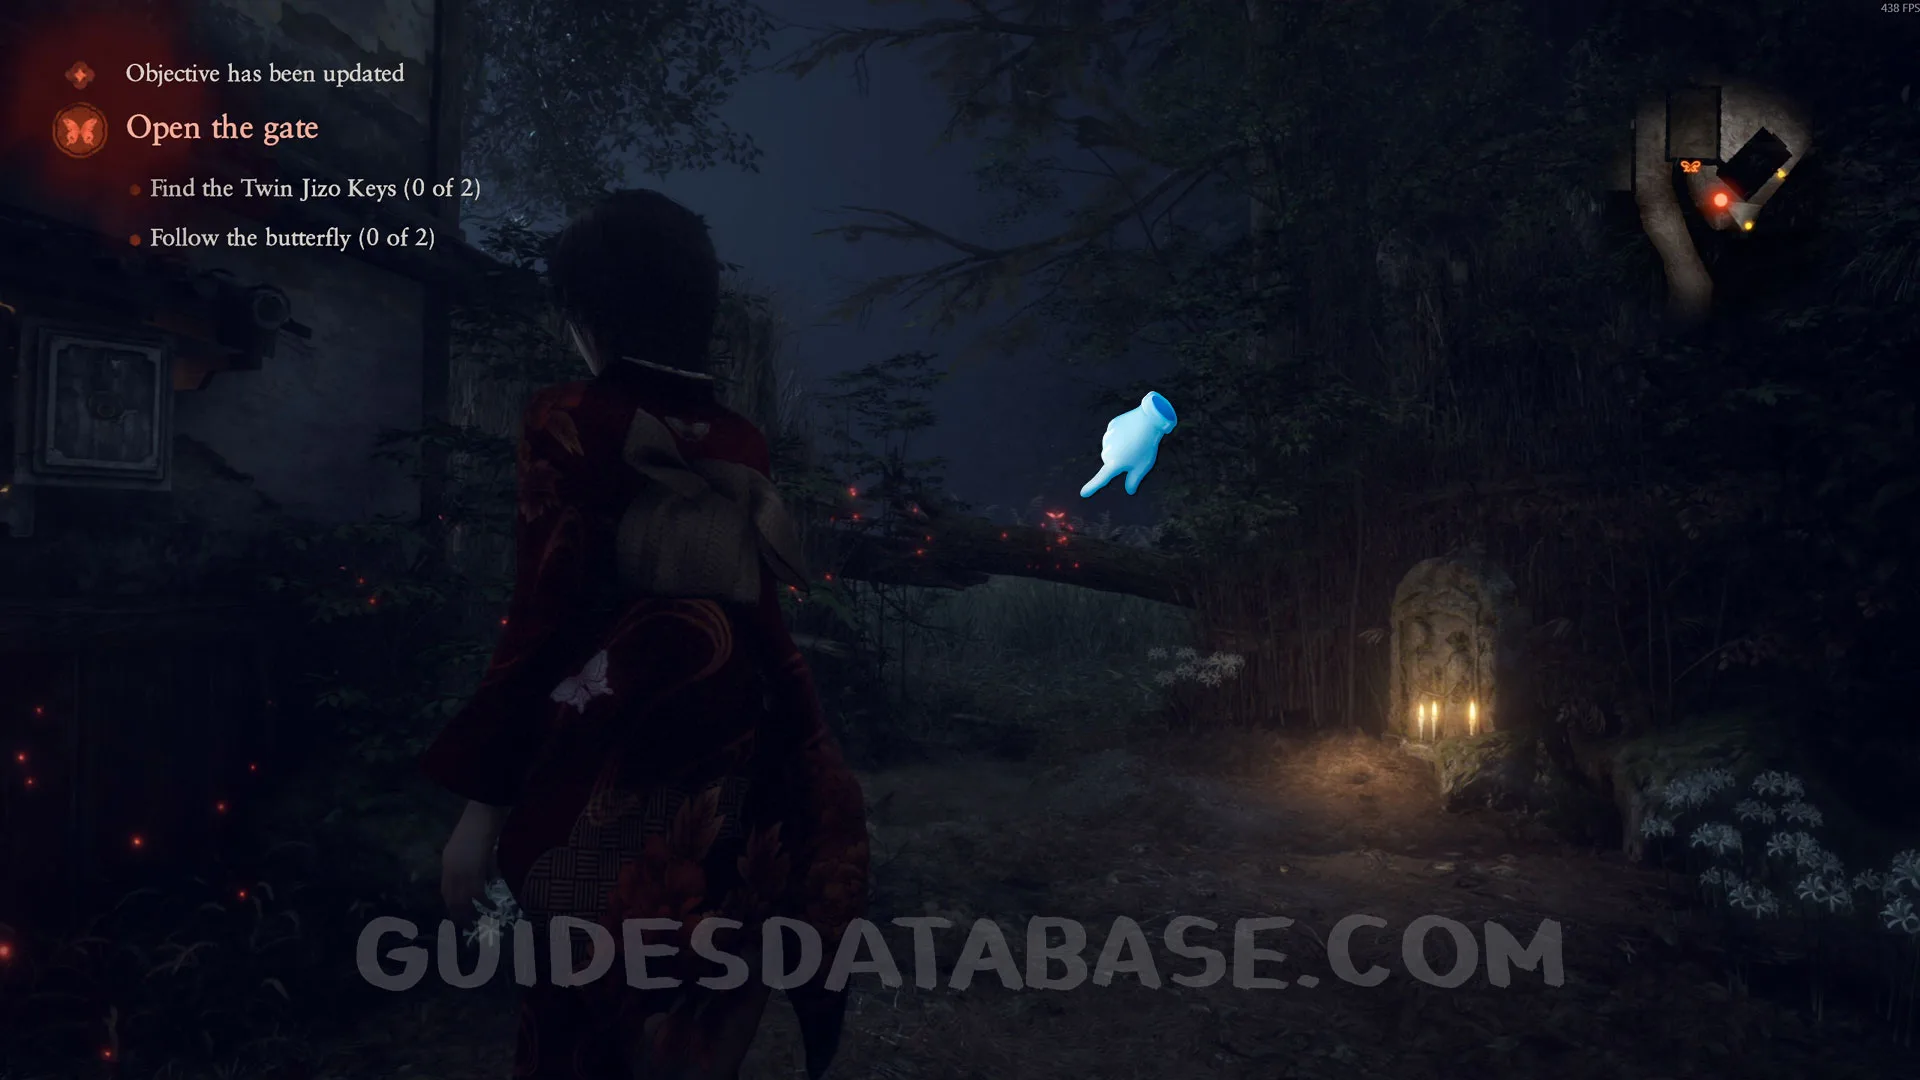 GUIDESDATABASE.COM
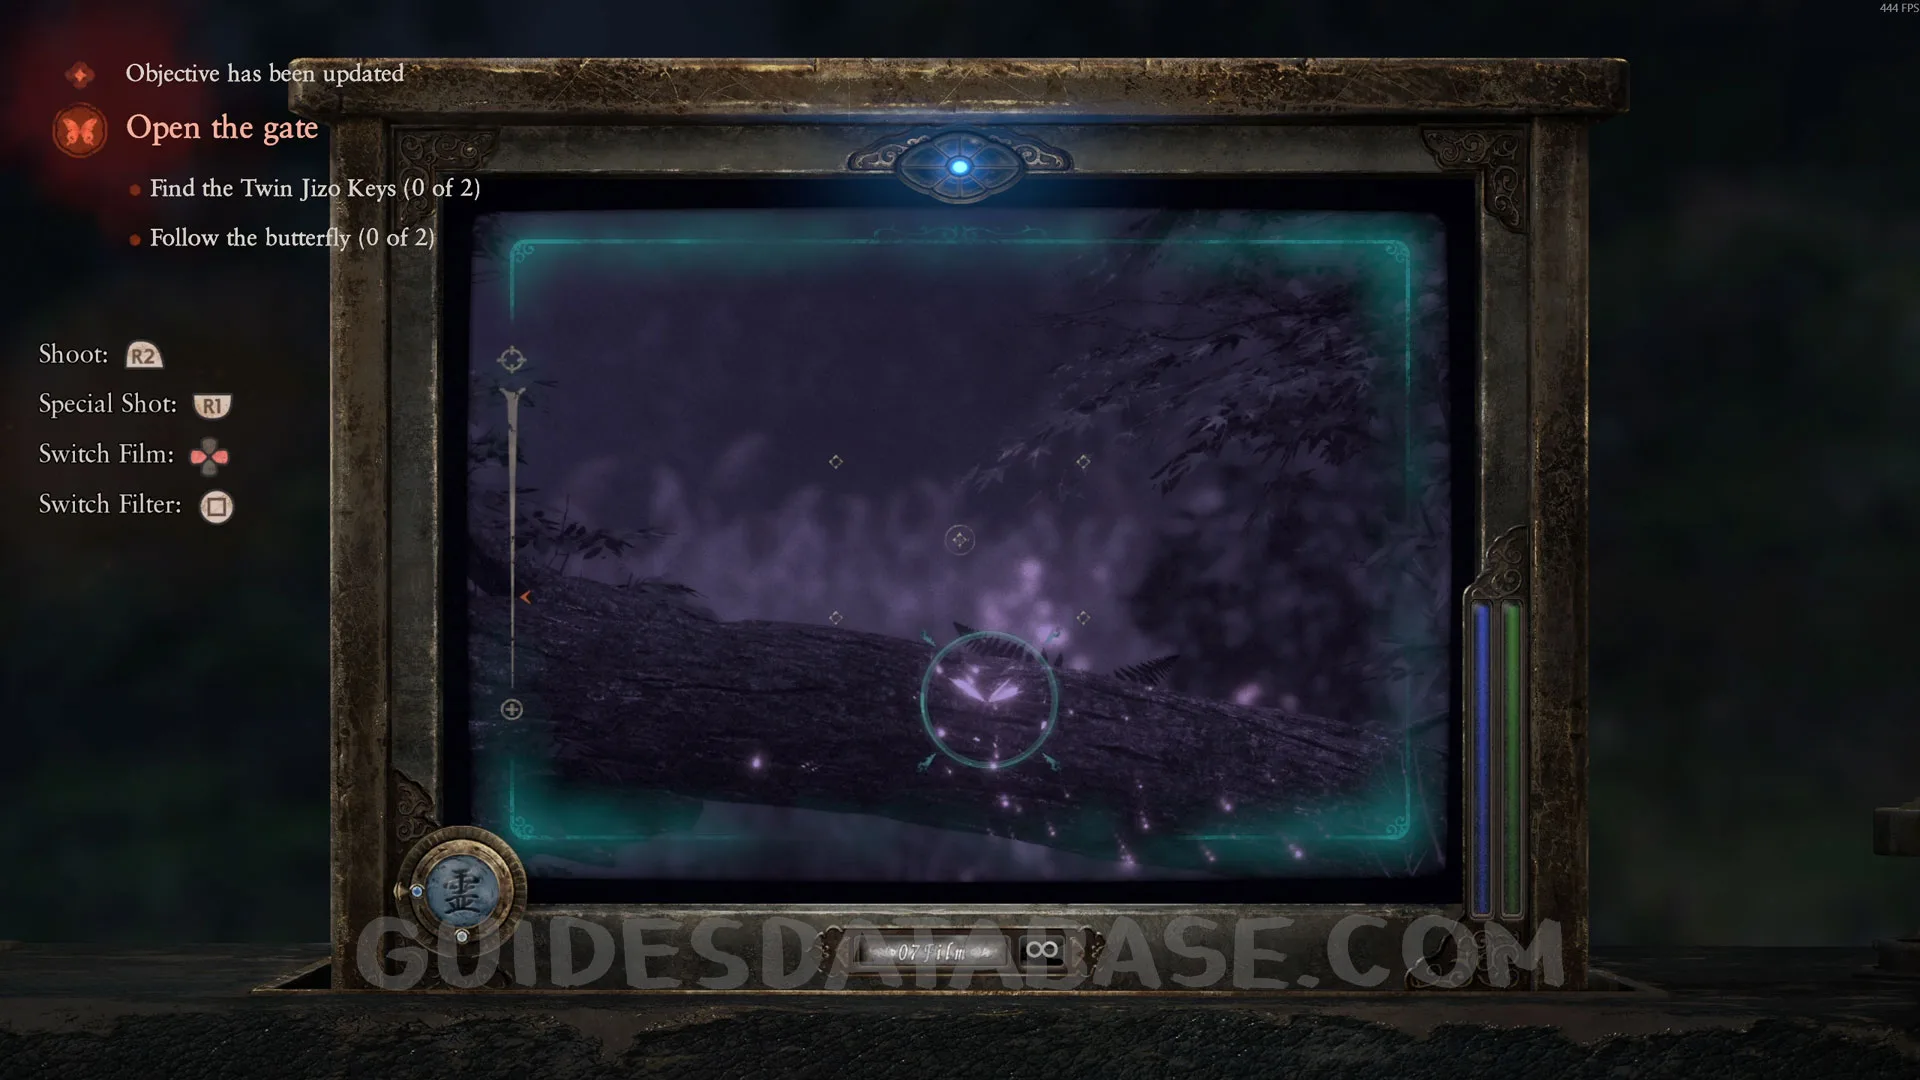 GUIDESDATABASE.COM
Specter #17 - 020 Inviting Crimson Butterfly.
In the same area as the previous collectible, now look to the left and you will see another butterfly. Take a photo of it.
 GUIDESDATABASE.COM
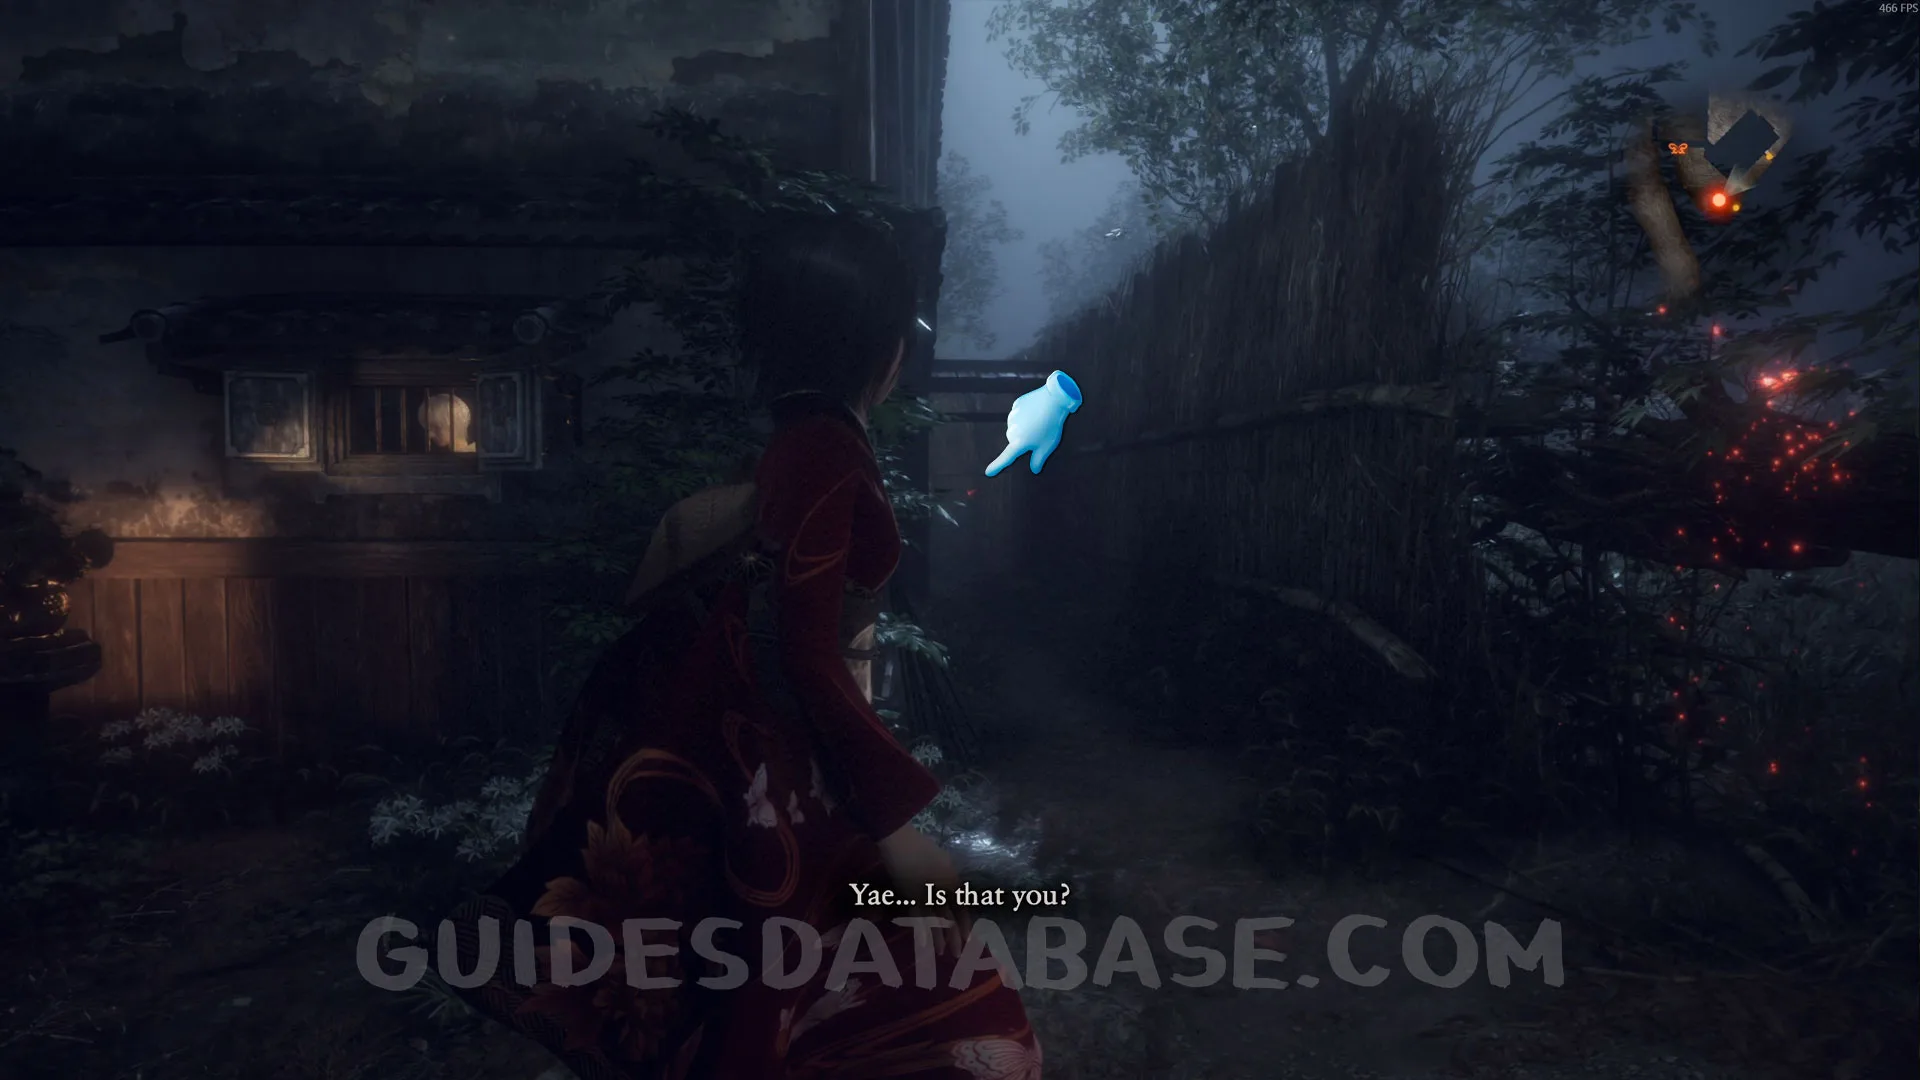 GUIDESDATABASE.COM
 GUIDESDATABASE.COM
Prayer Bead #2.
After the previous collectible, go under the fallen tree trunk and this Prayer Bead will be right in front of you.
 GUIDESDATABASE.COM
 GUIDESDATABASE.COM
 GUIDESDATABASE.COM
Specter #18 - 158 Playing Girl.
After the previous collectible, walk forward a little and a specter will pass right in front of you. Take a photo of it.
 GUIDESDATABASE.COM
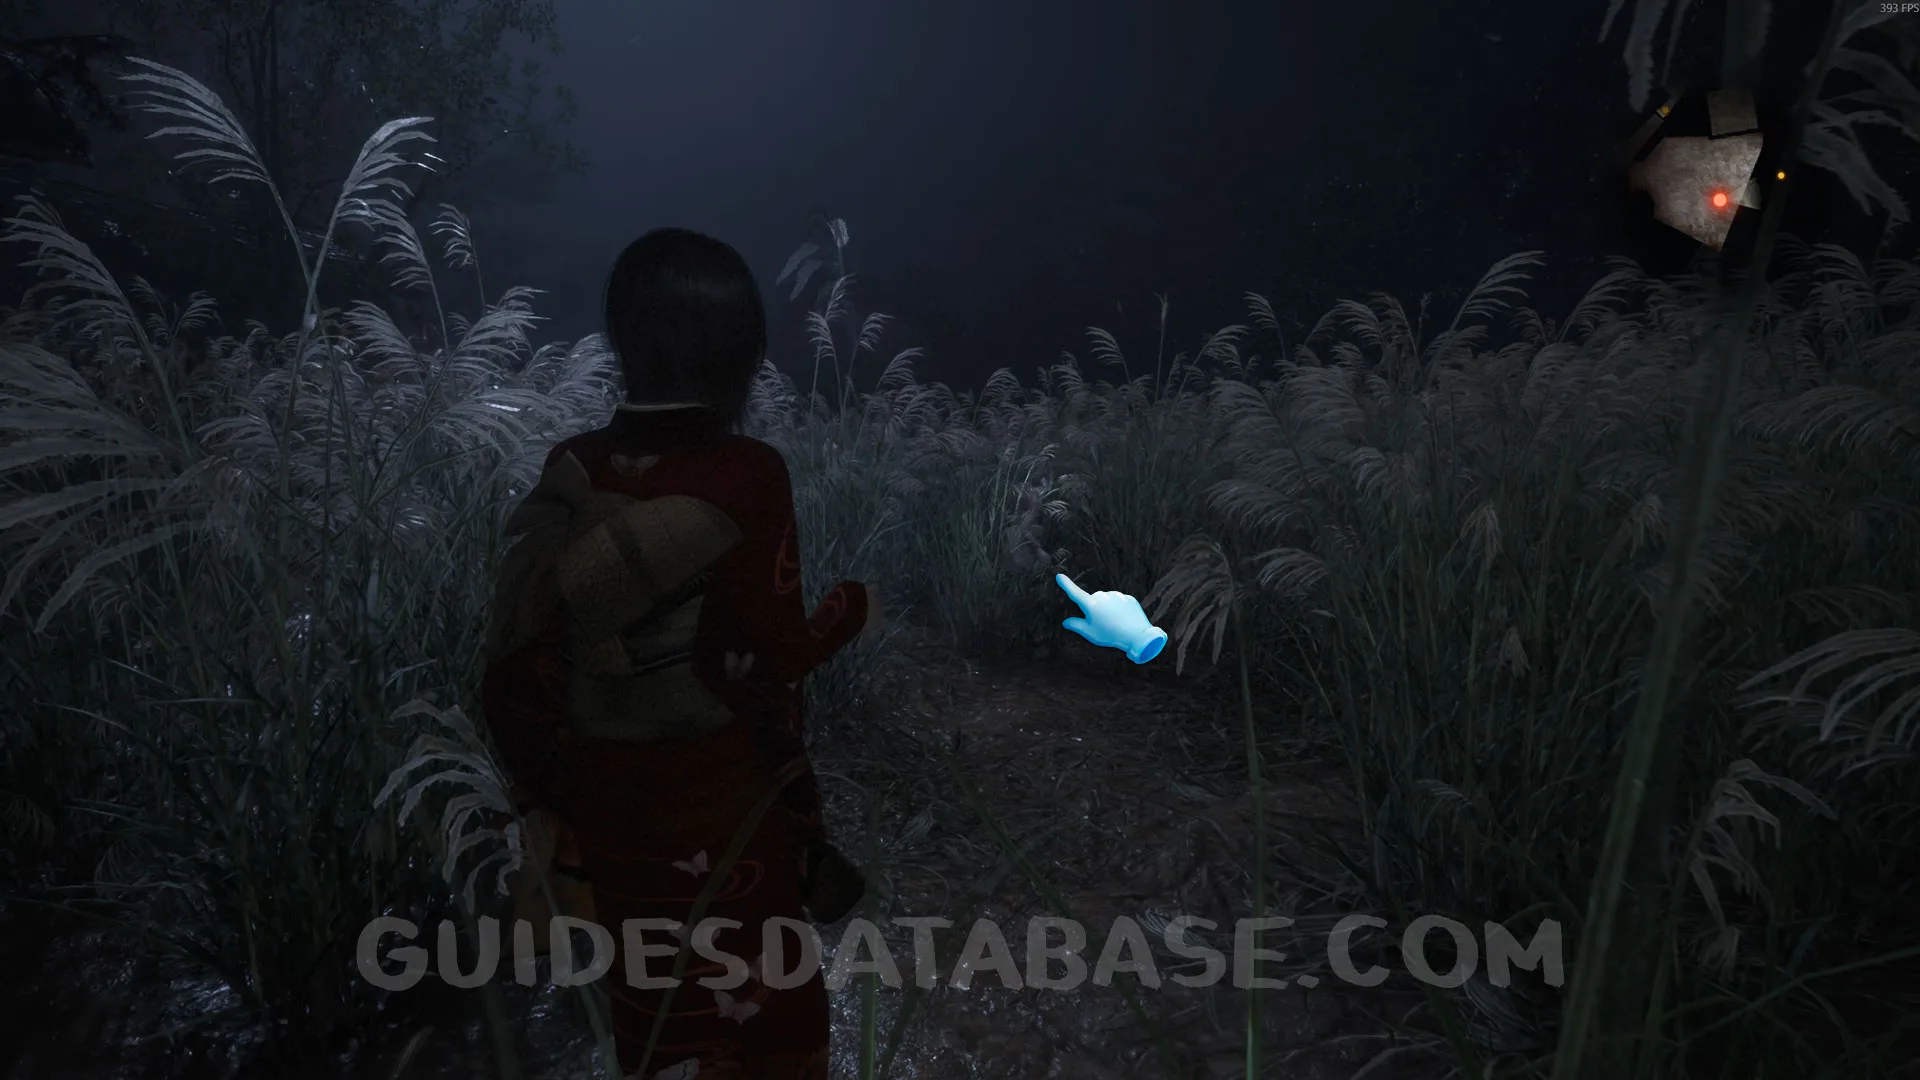 GUIDESDATABASE.COM
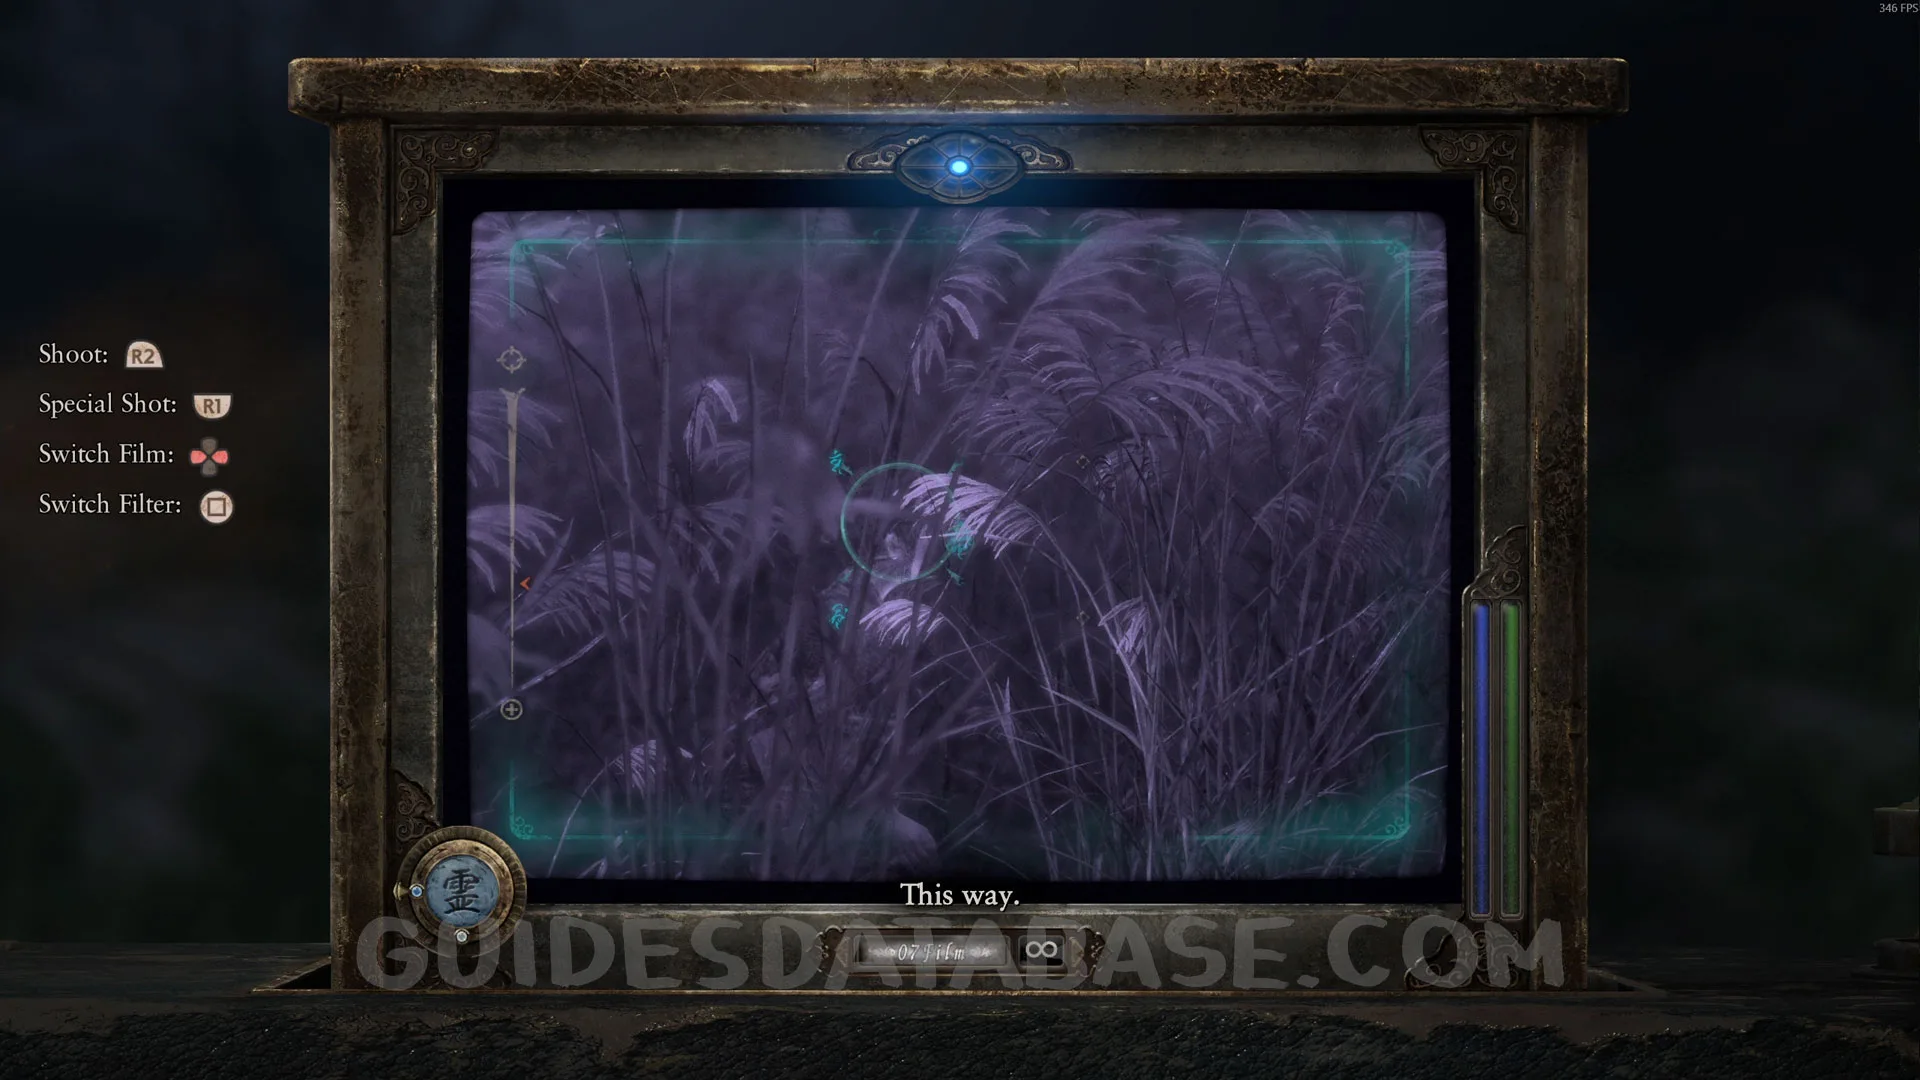 GUIDESDATABASE.COM
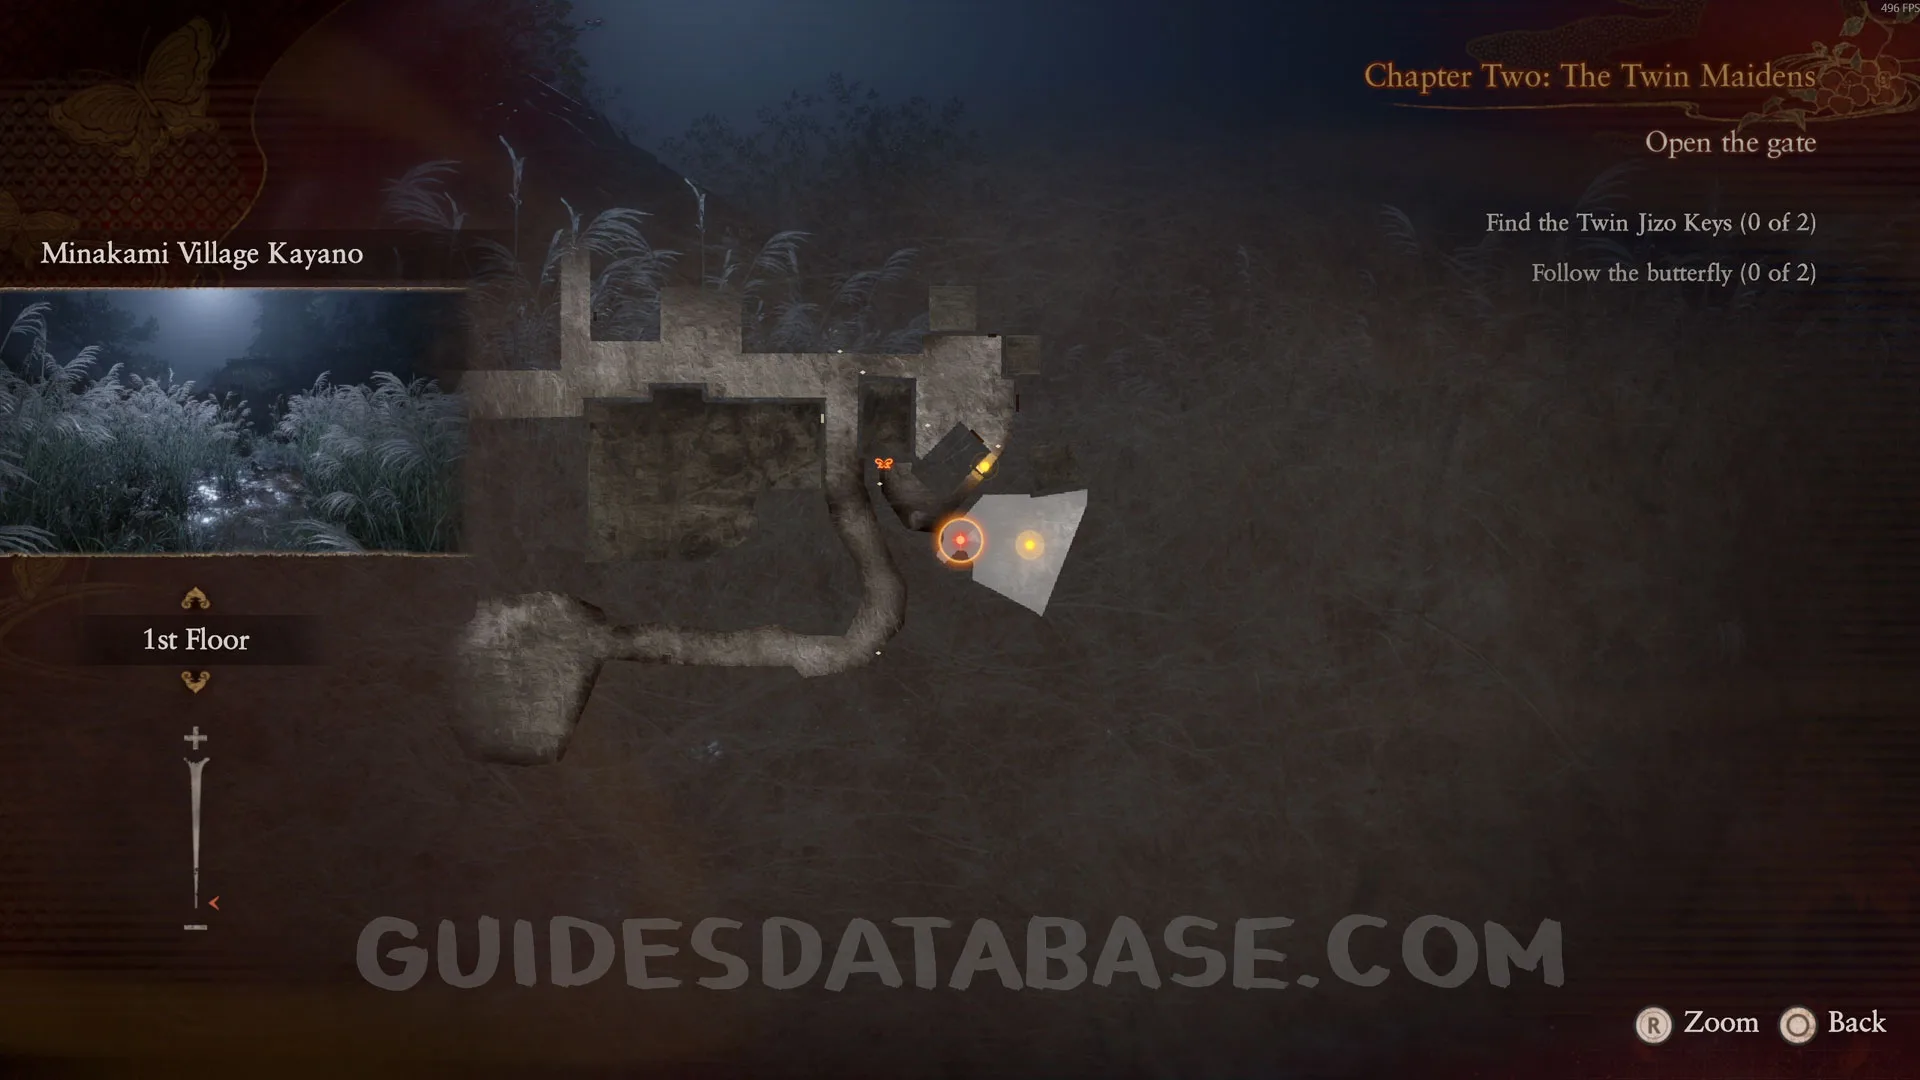
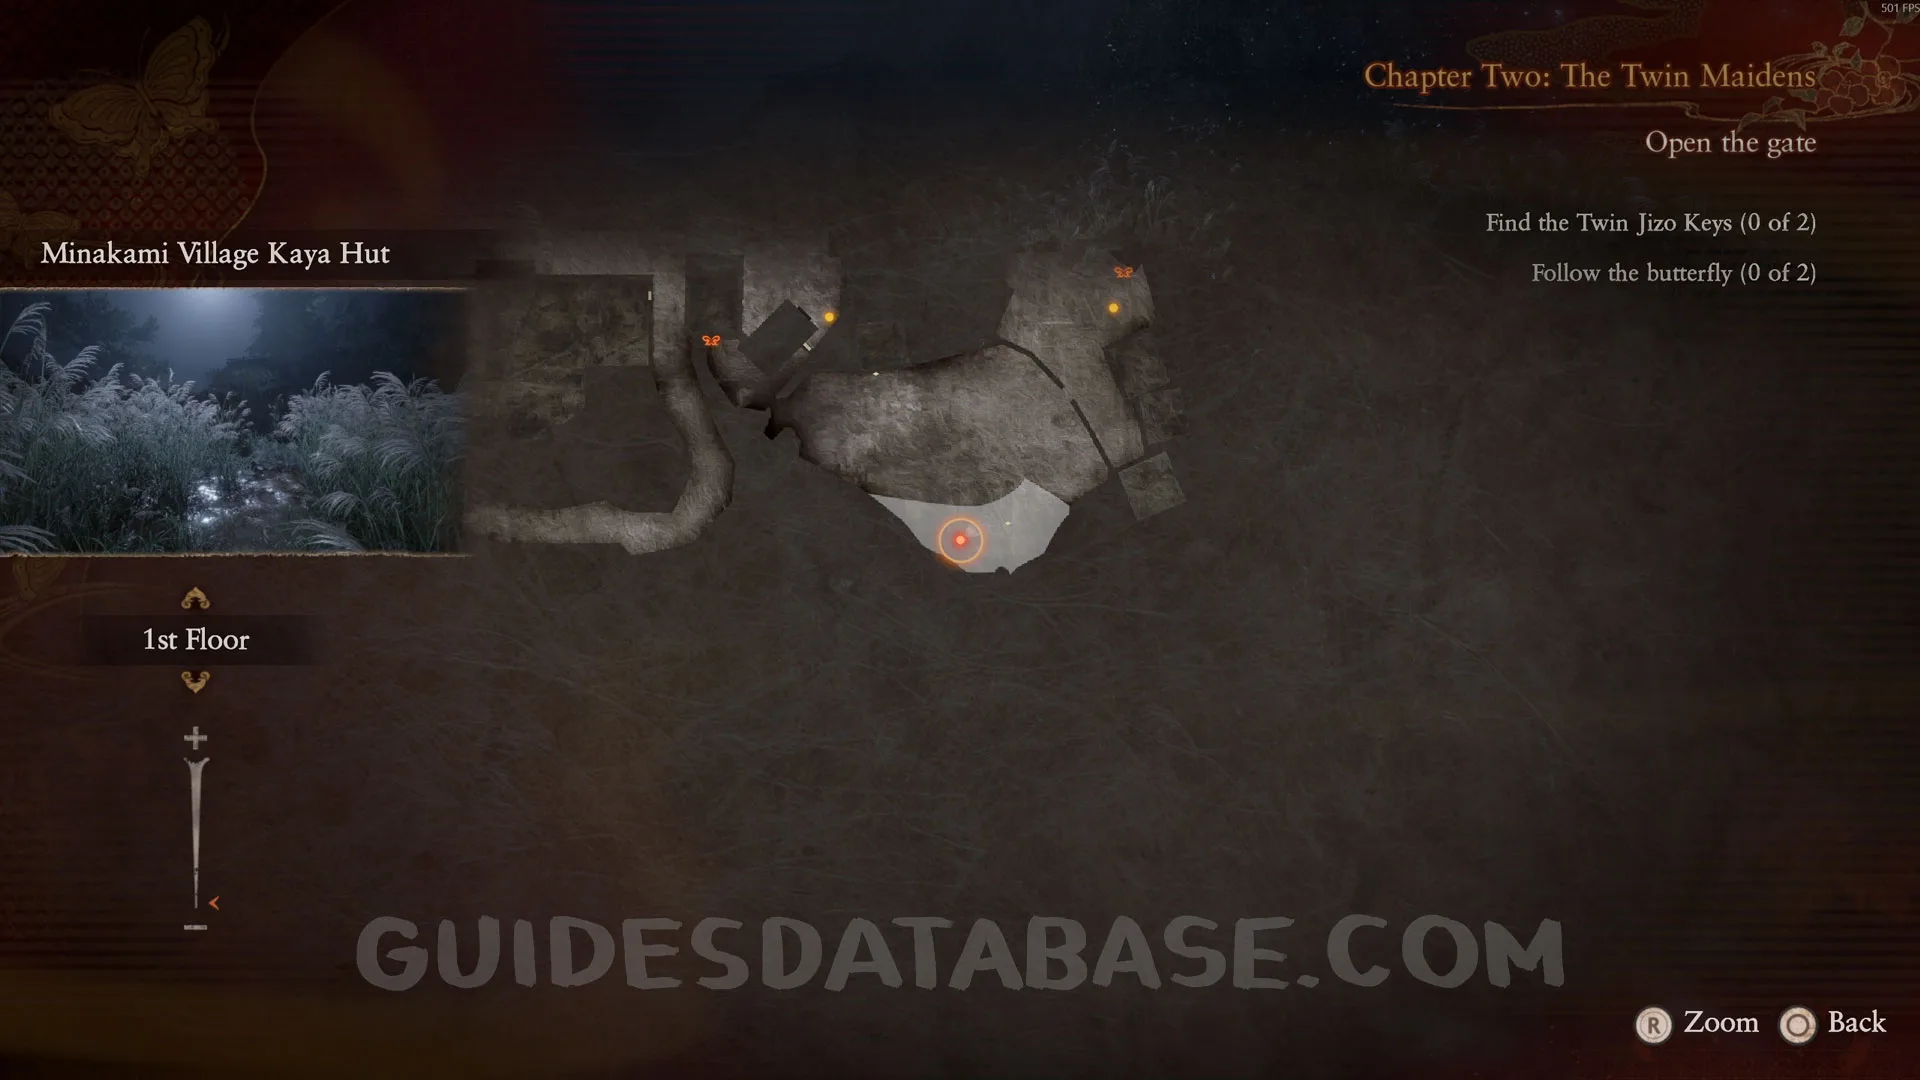
Twin Dolls #10 - 006.
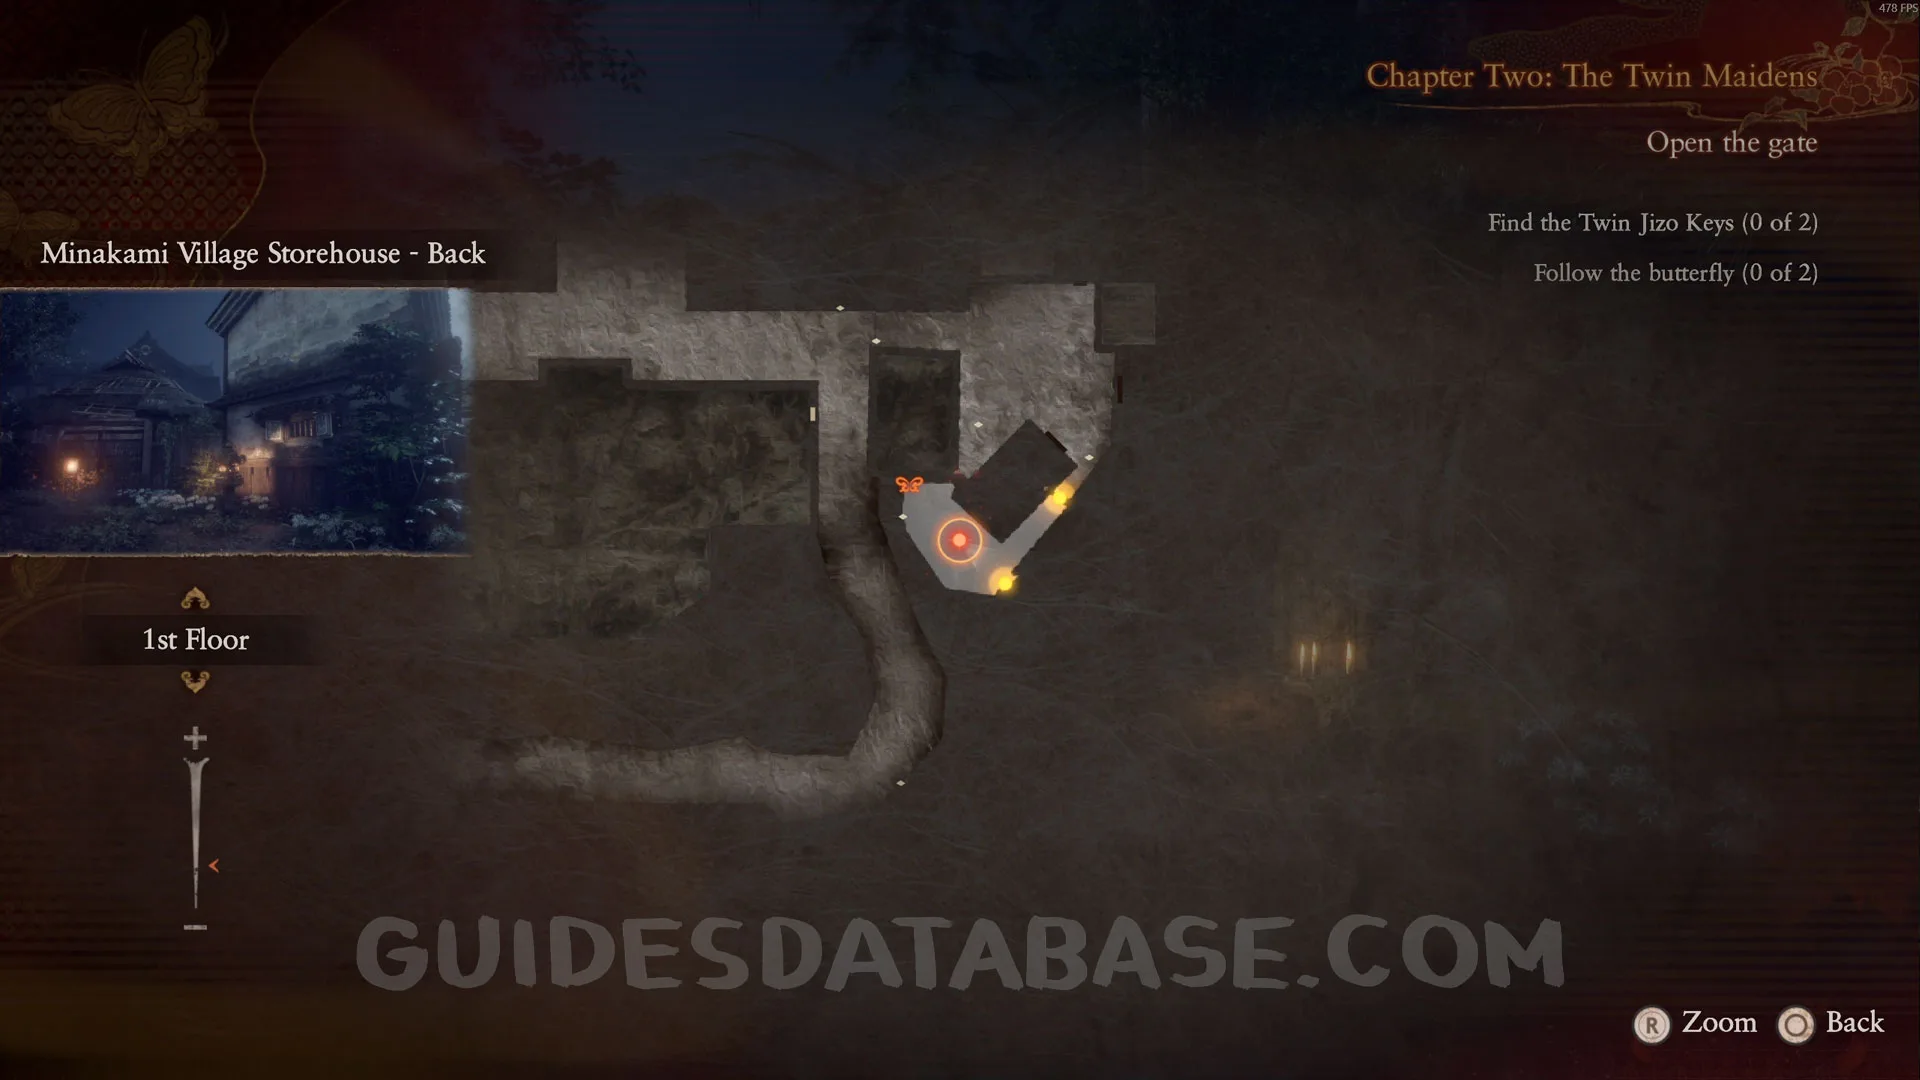
After the previous collectible, go to the Kaya Hut and you will find these Twin Dolls. One is inside the hut, and the other is outside.
 GUIDESDATABASE.COM
 GUIDESDATABASE.COM
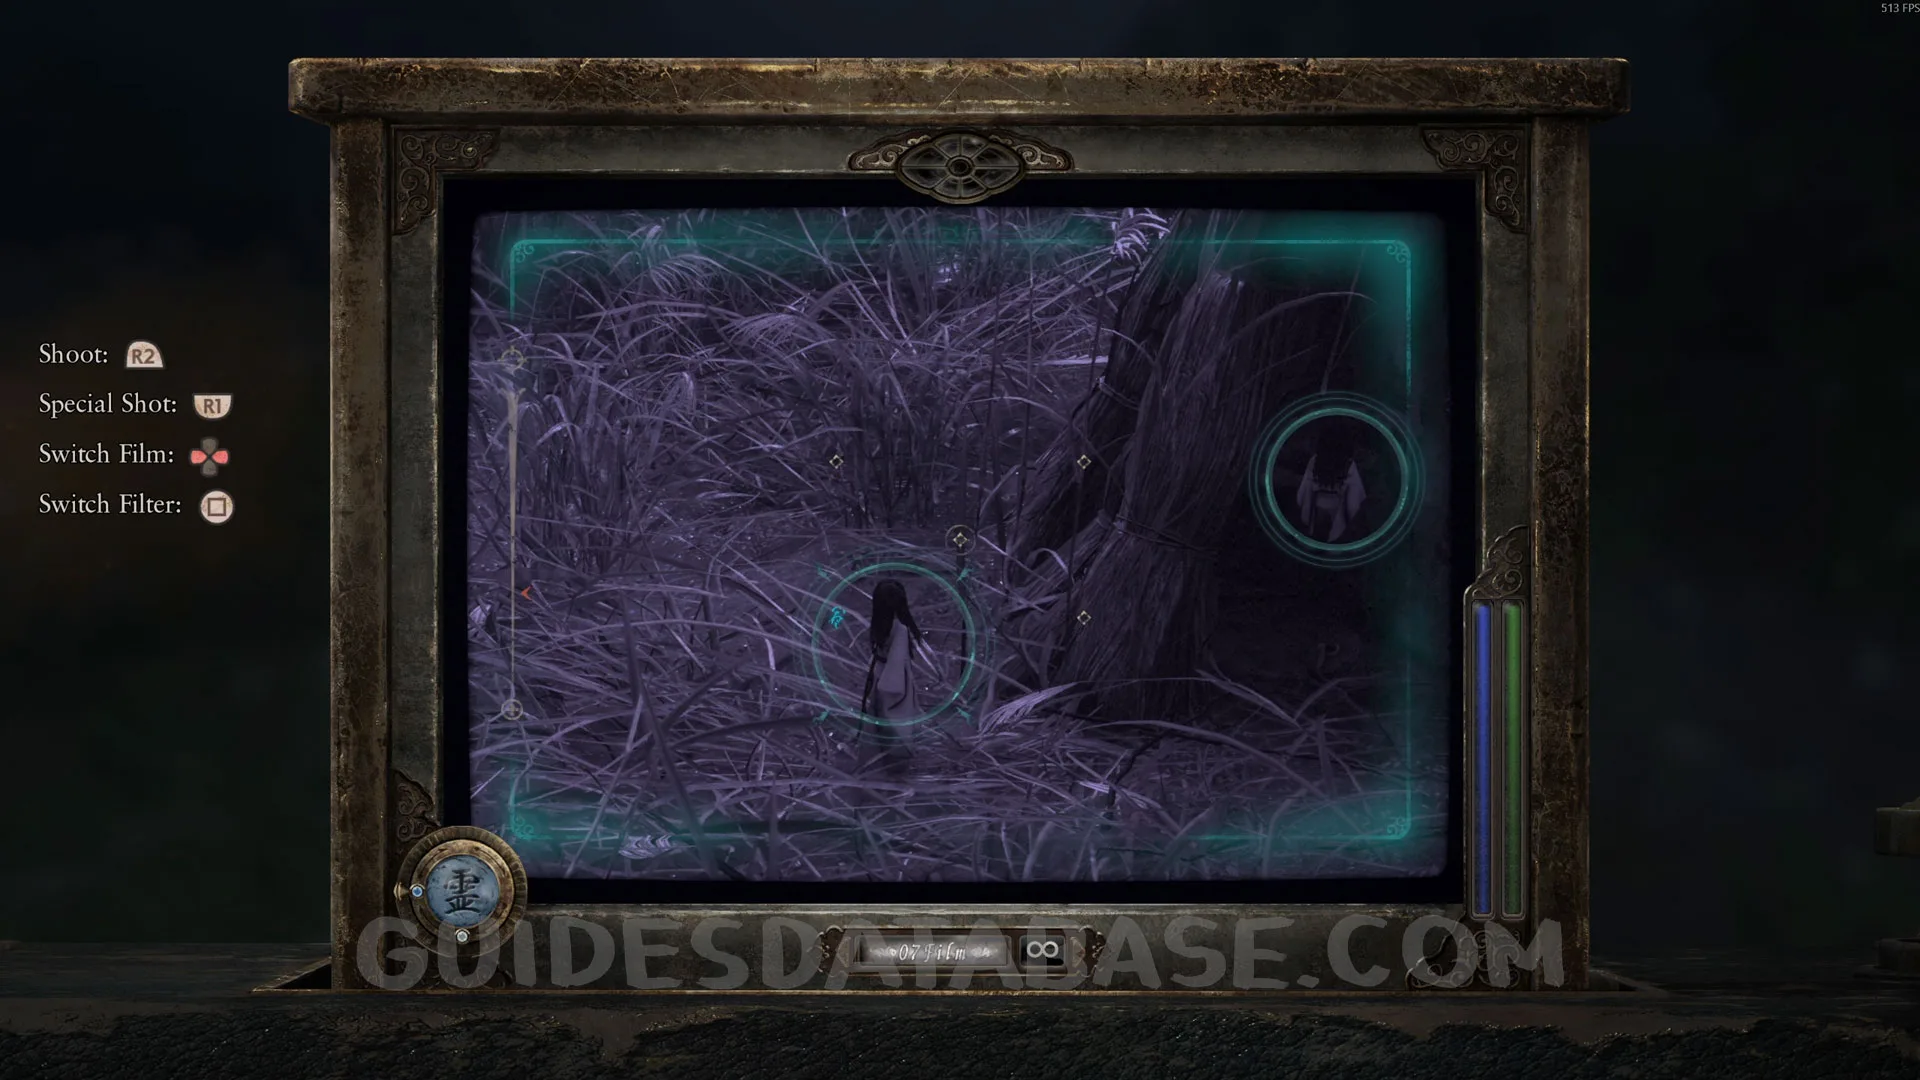 GUIDESDATABASE.COM
Specter #19 - 159 Girl Peeking into Thatched Hut / Document #13 / Spirit Stone #3 / Side Story #1 - Children at Play / Photo #9.
In the same area as the previous collectible, go into the hut and pick up the document. When you leave, a specter will appear beside you. Take a photo of it, and this will start Side Story #1.
 GUIDESDATABASE.COM
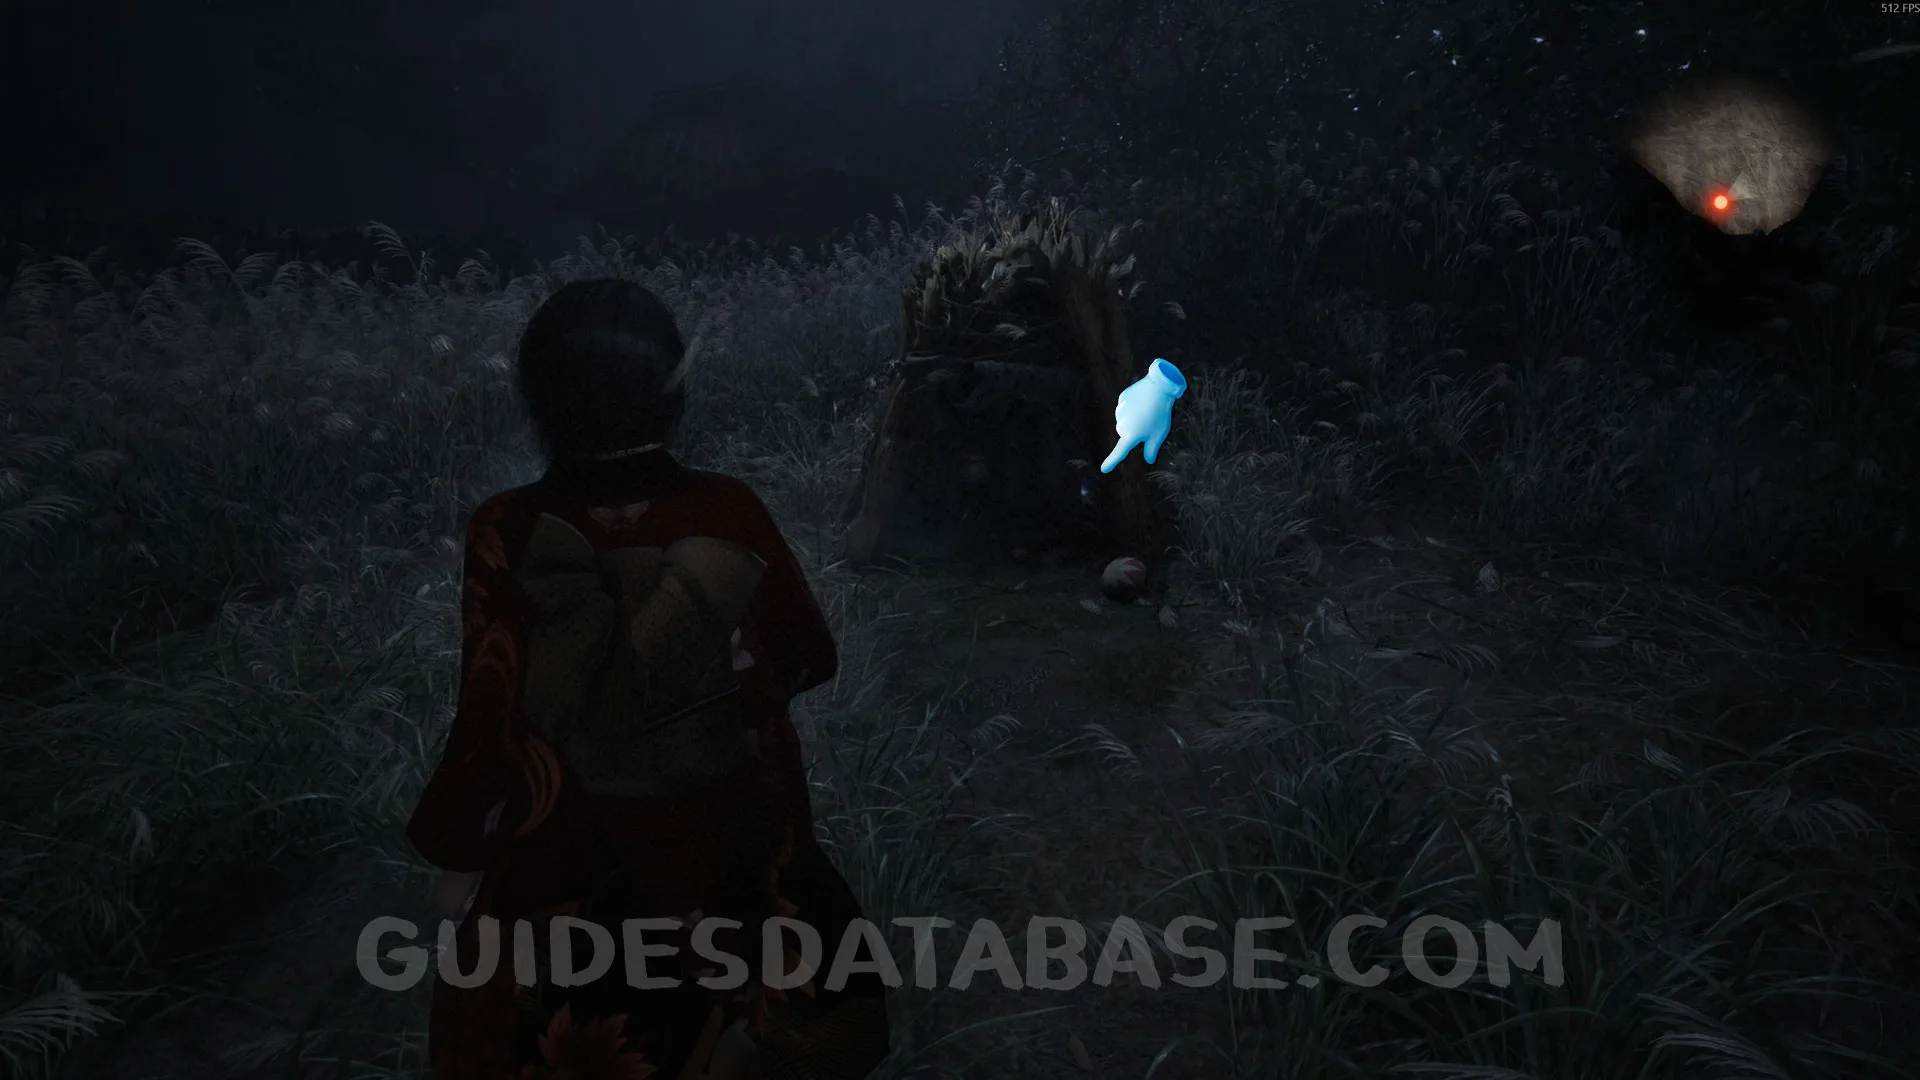 GUIDESDATABASE.COM
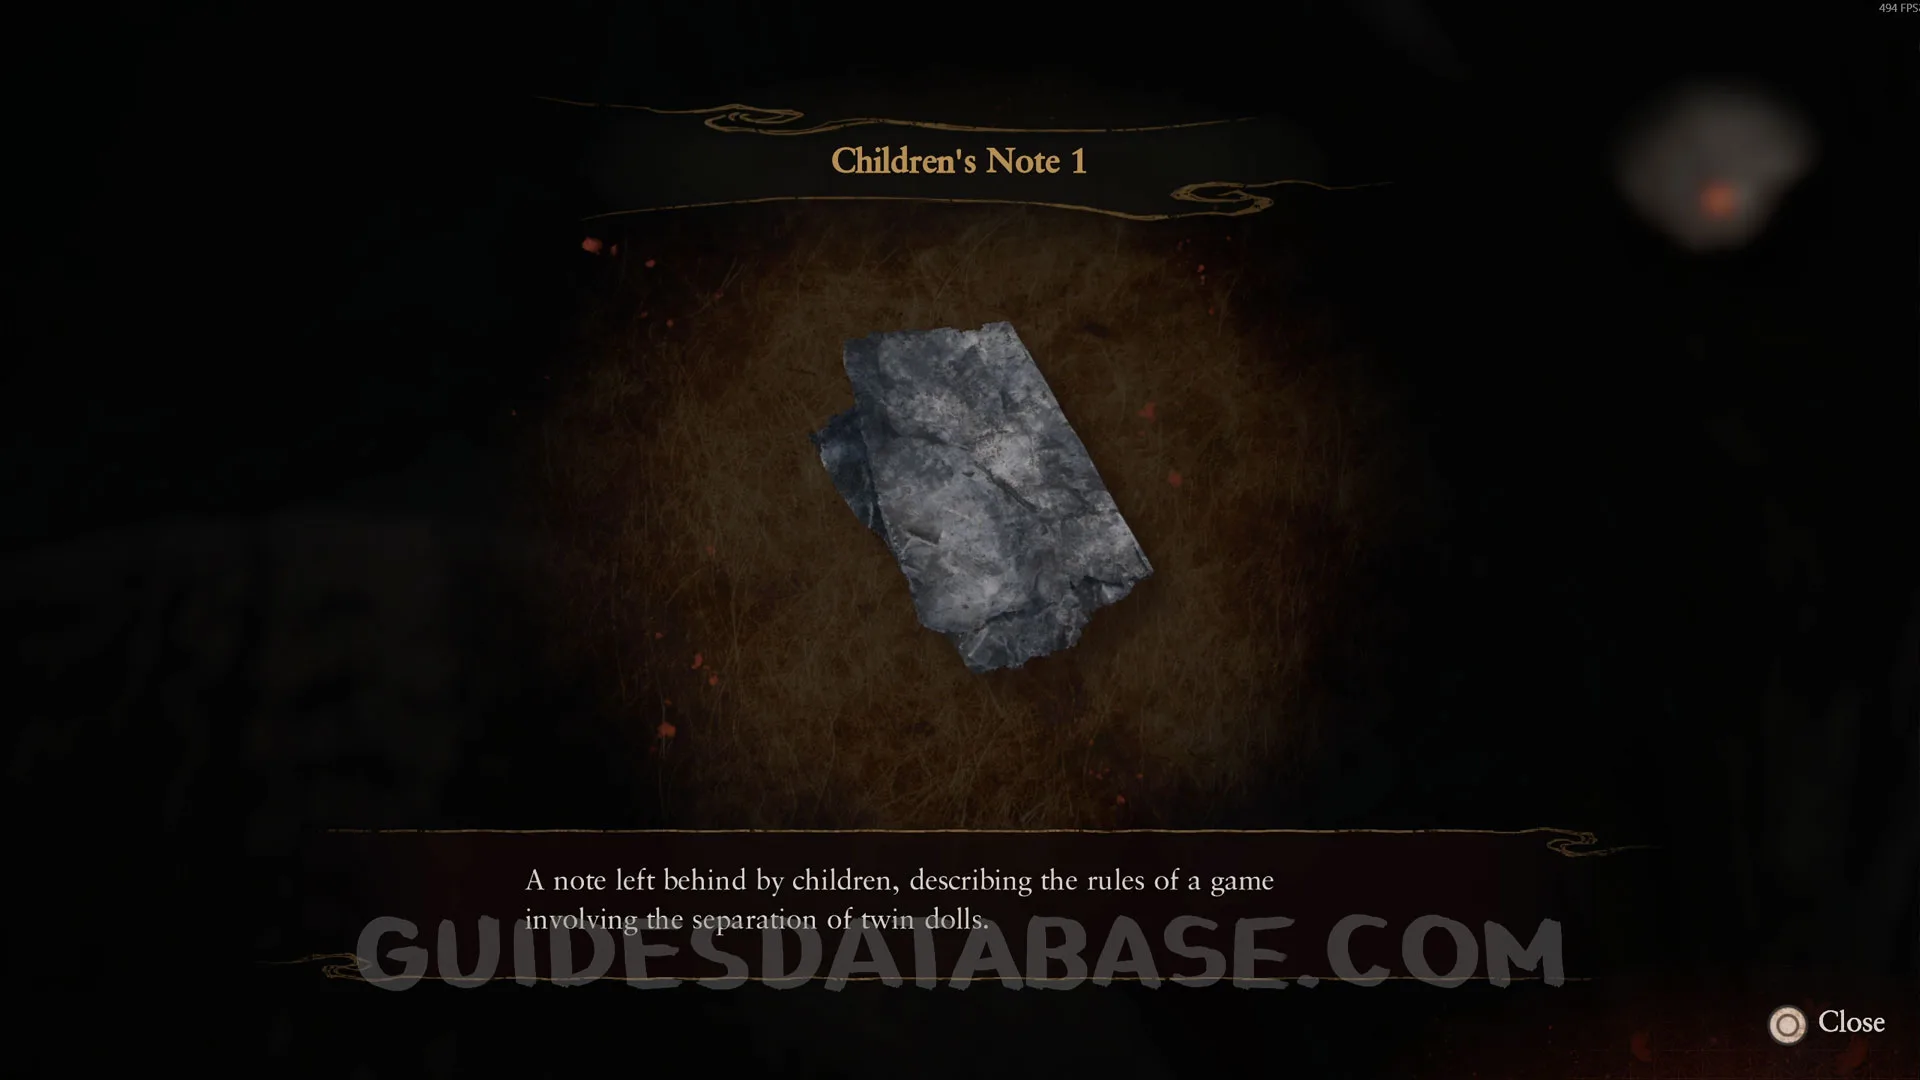 GUIDESDATABASE.COM
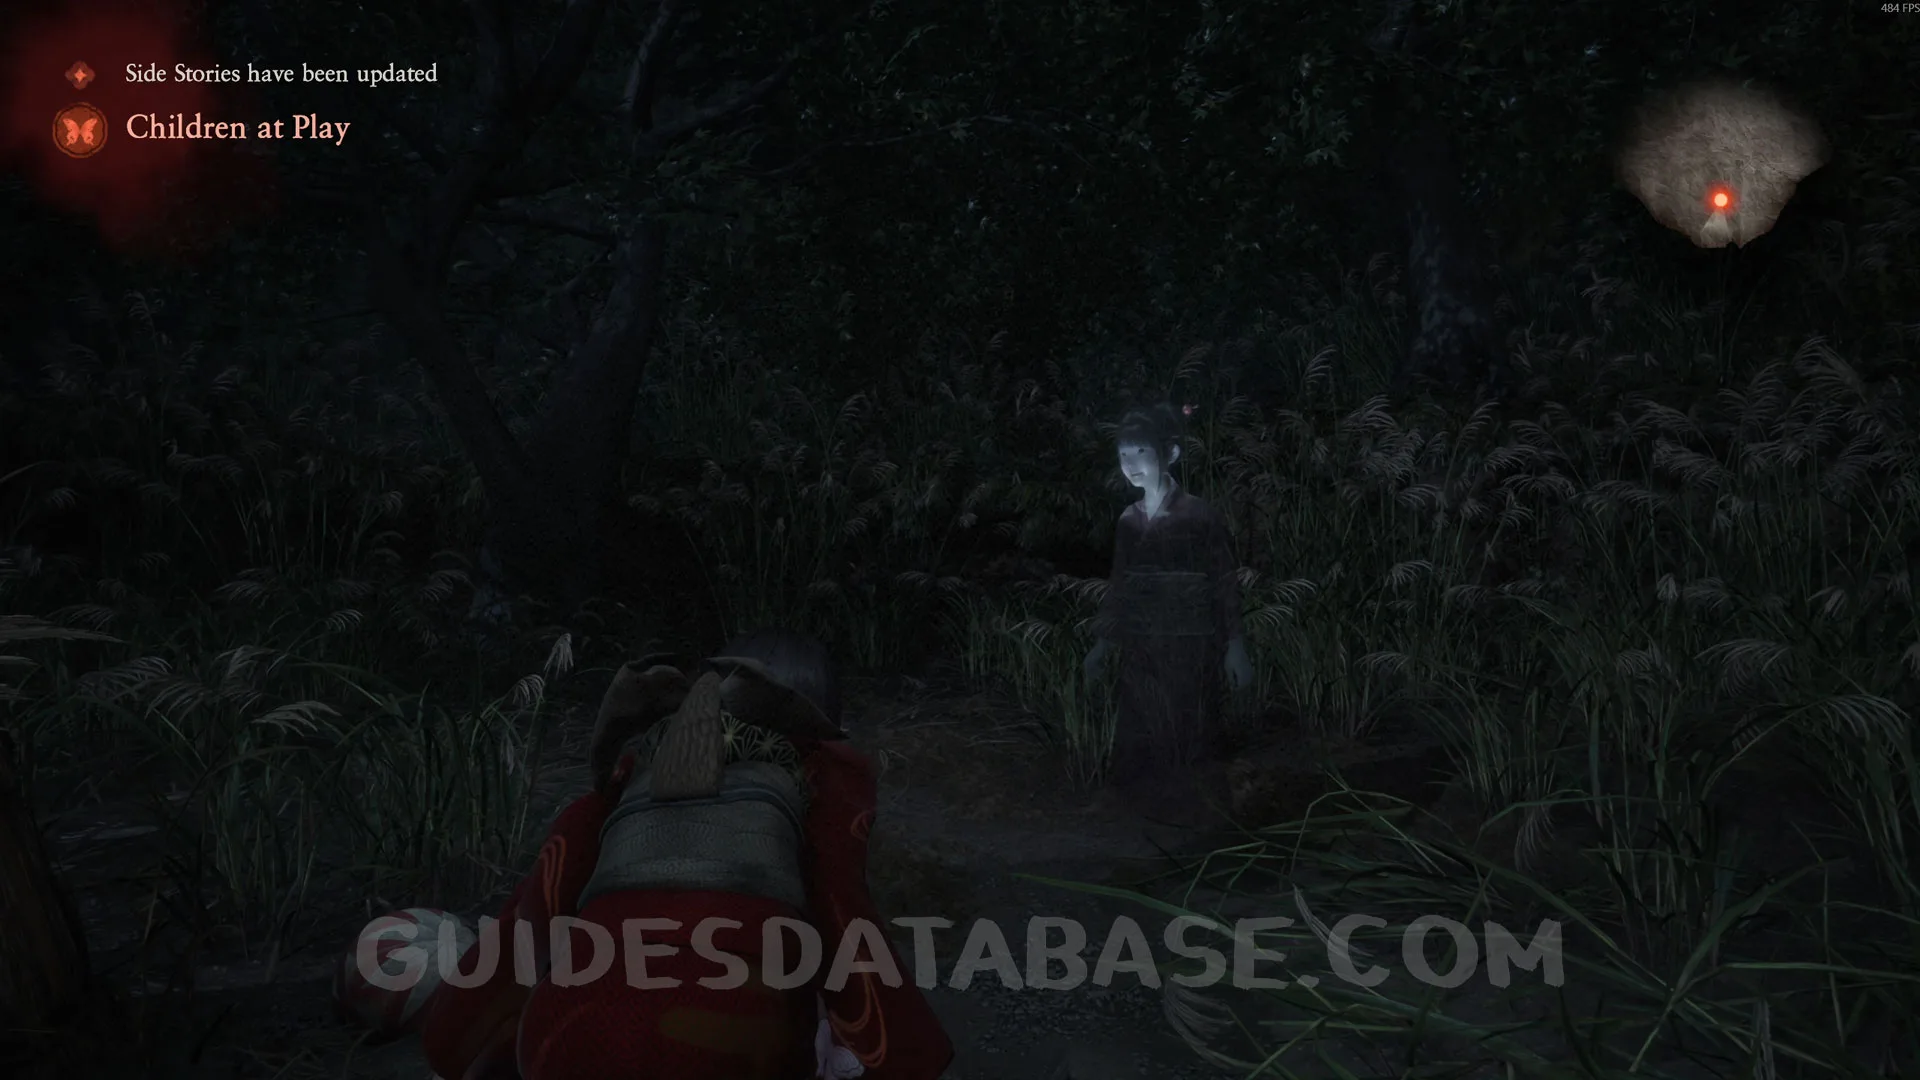 GUIDESDATABASE.COM
Twin Dolls #11 - 046.
On the right side of the hut.
 GUIDESDATABASE.COM
 GUIDESDATABASE.COM
 GUIDESDATABASE.COM
Twin Dolls #12 - 044.
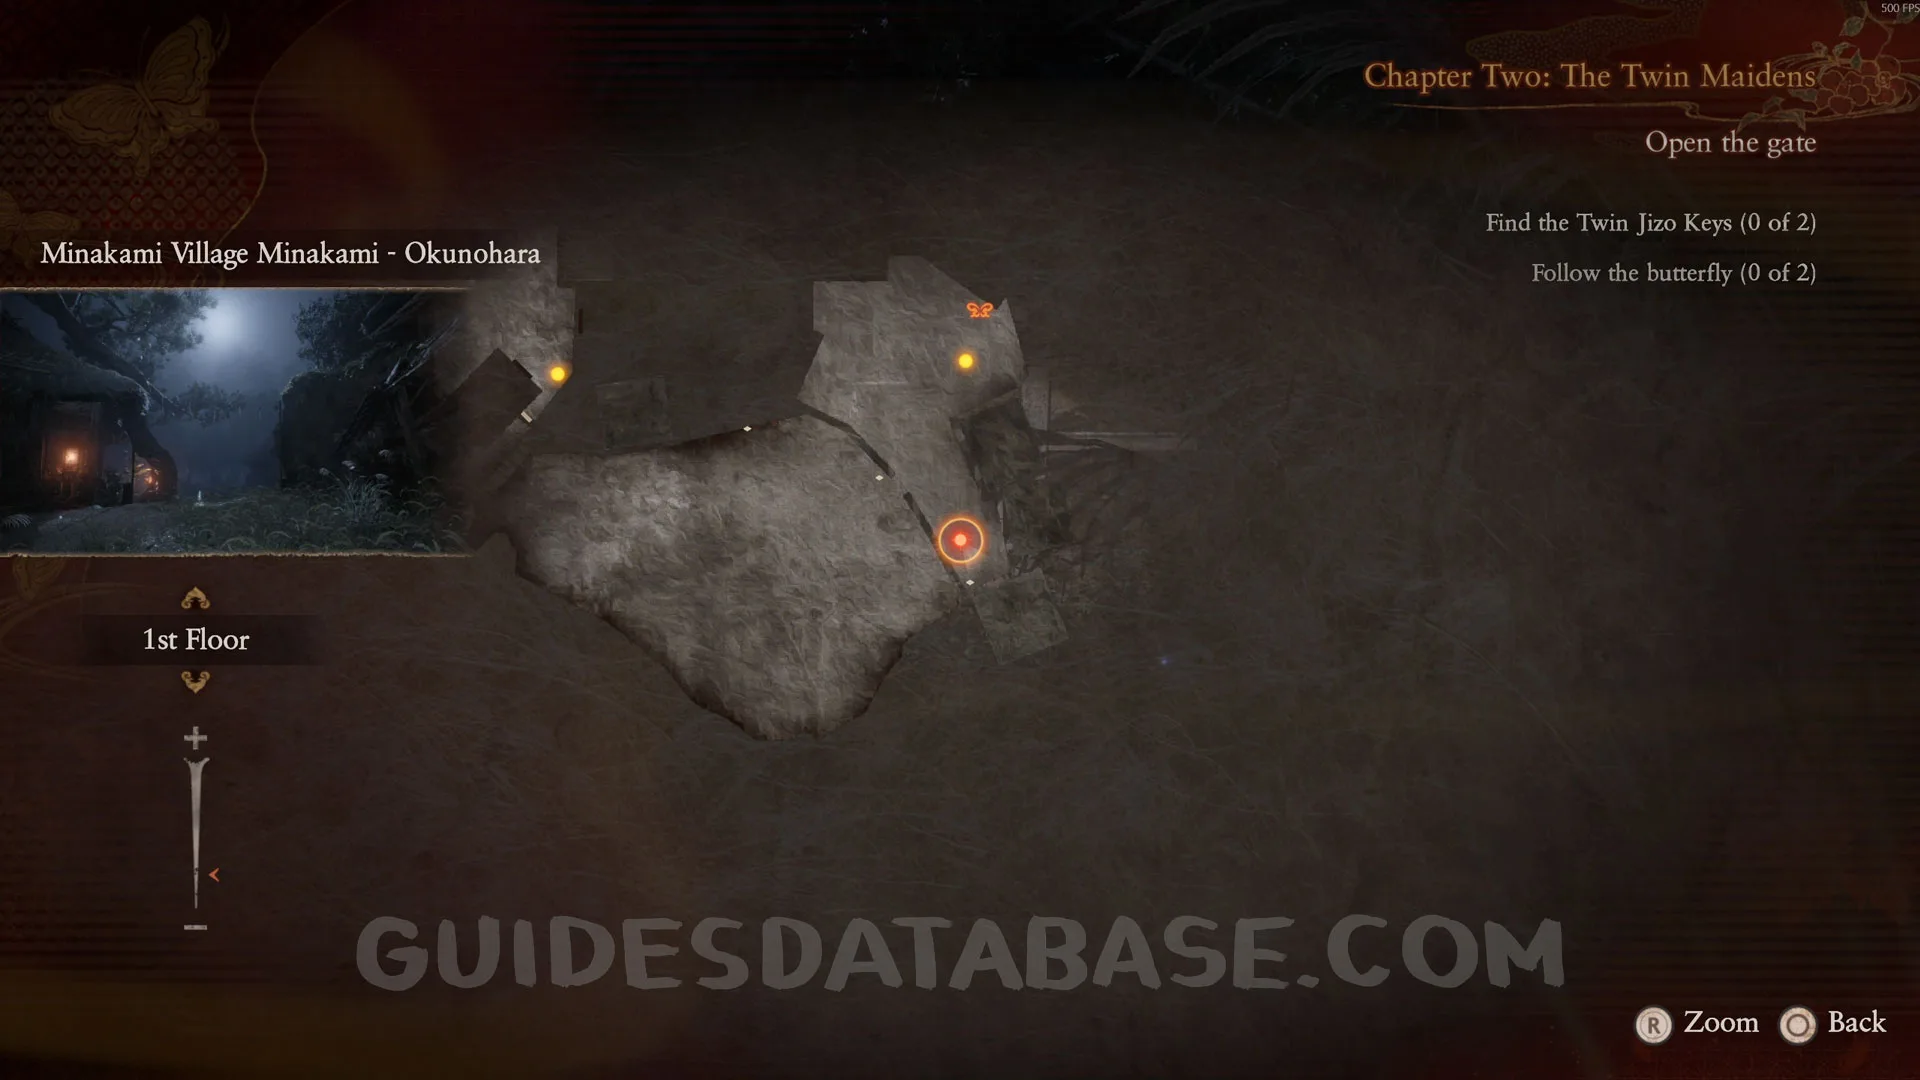
Look through the wooden fence at Minakami - Okunohara to see these Twin Dolls.
 GUIDESDATABASE.COM
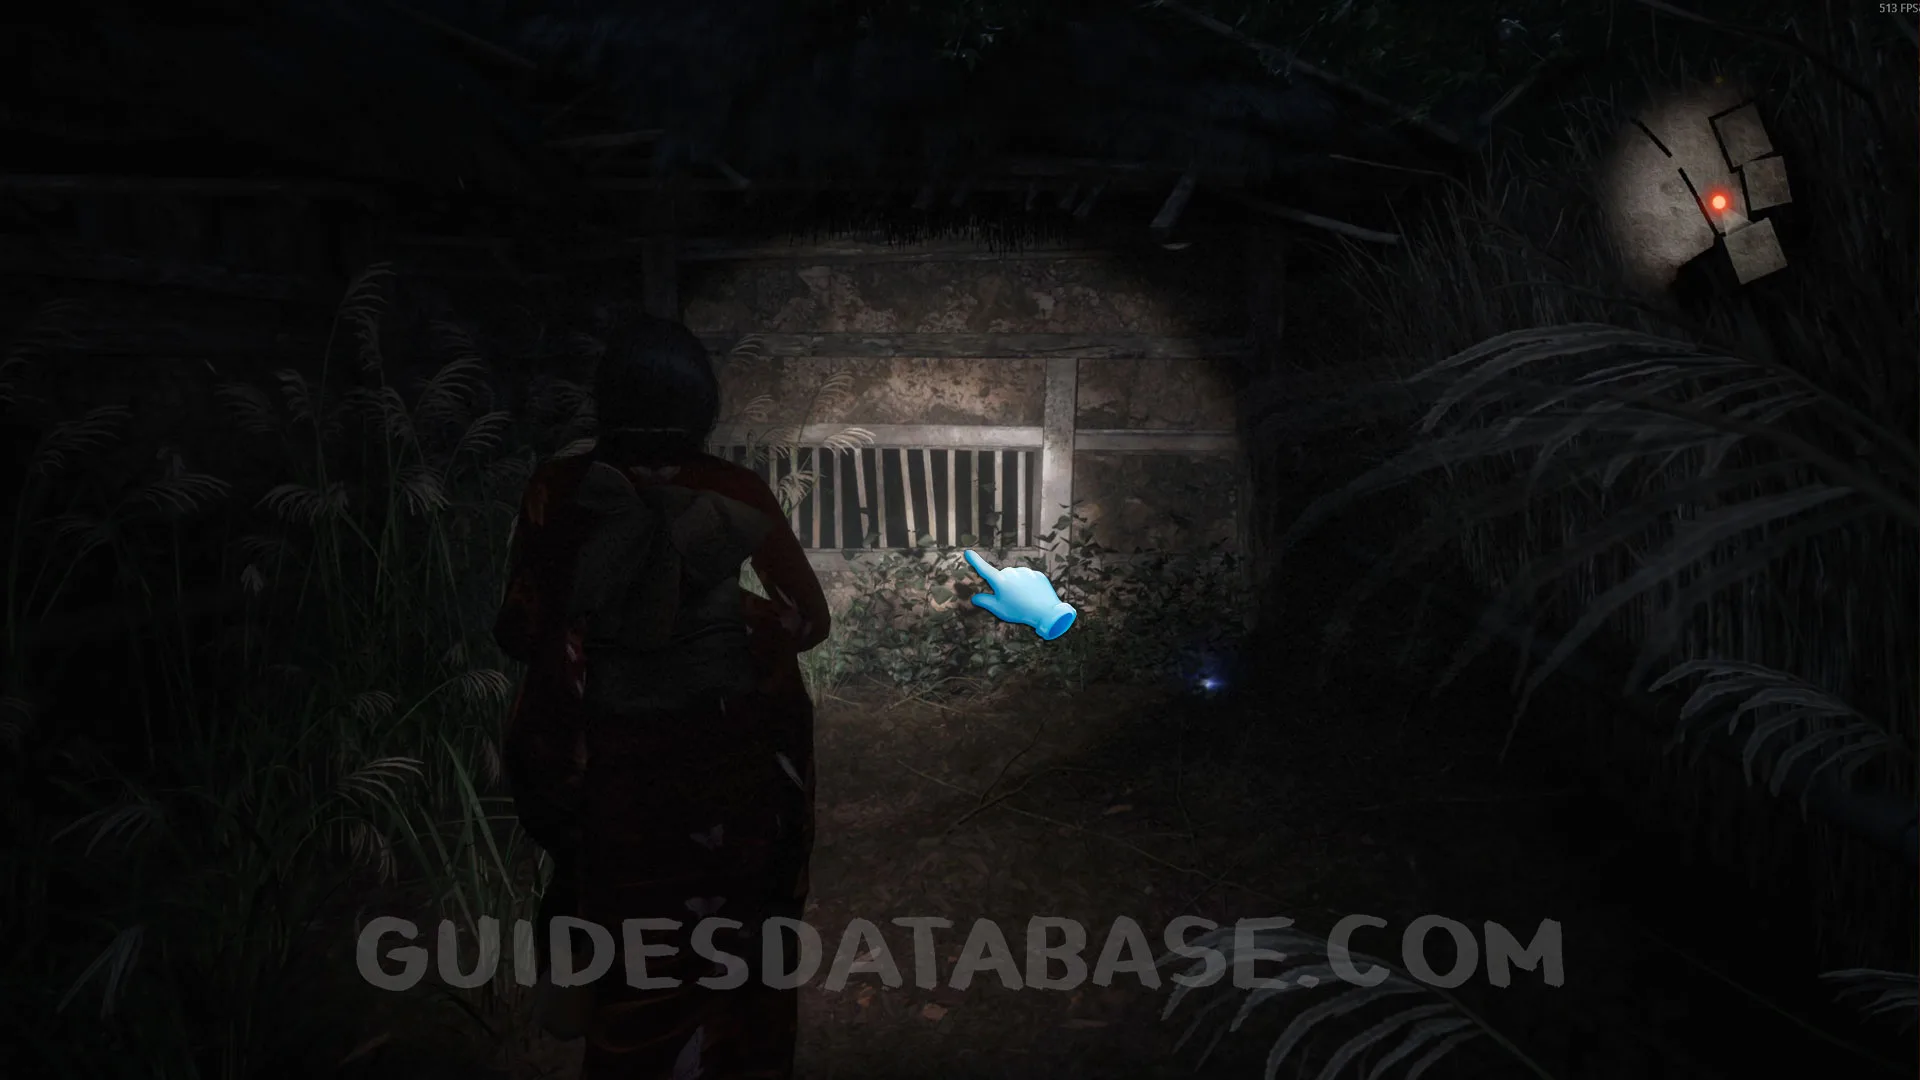 GUIDESDATABASE.COM
 GUIDESDATABASE.COM
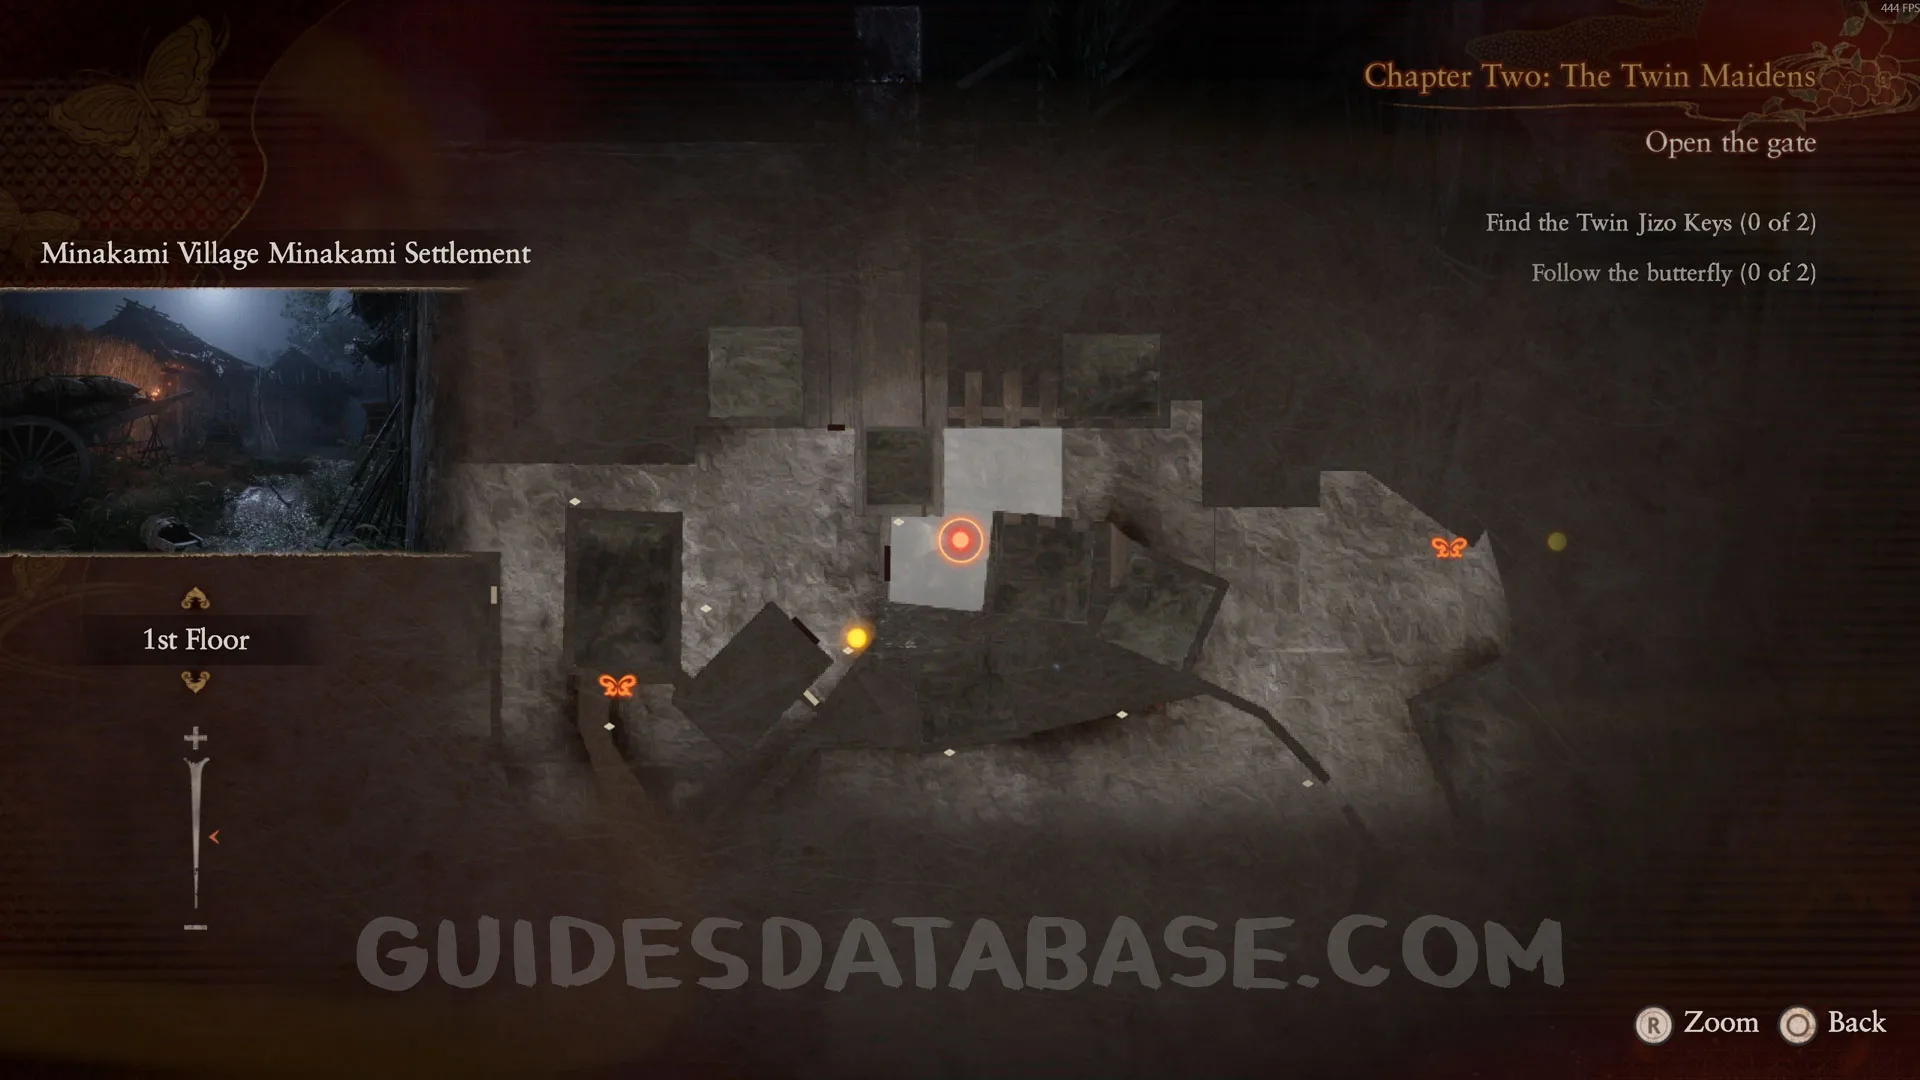
Prayer Bead #3.
At Minakami - Settlement, hidden in the grass.
 GUIDESDATABASE.COM
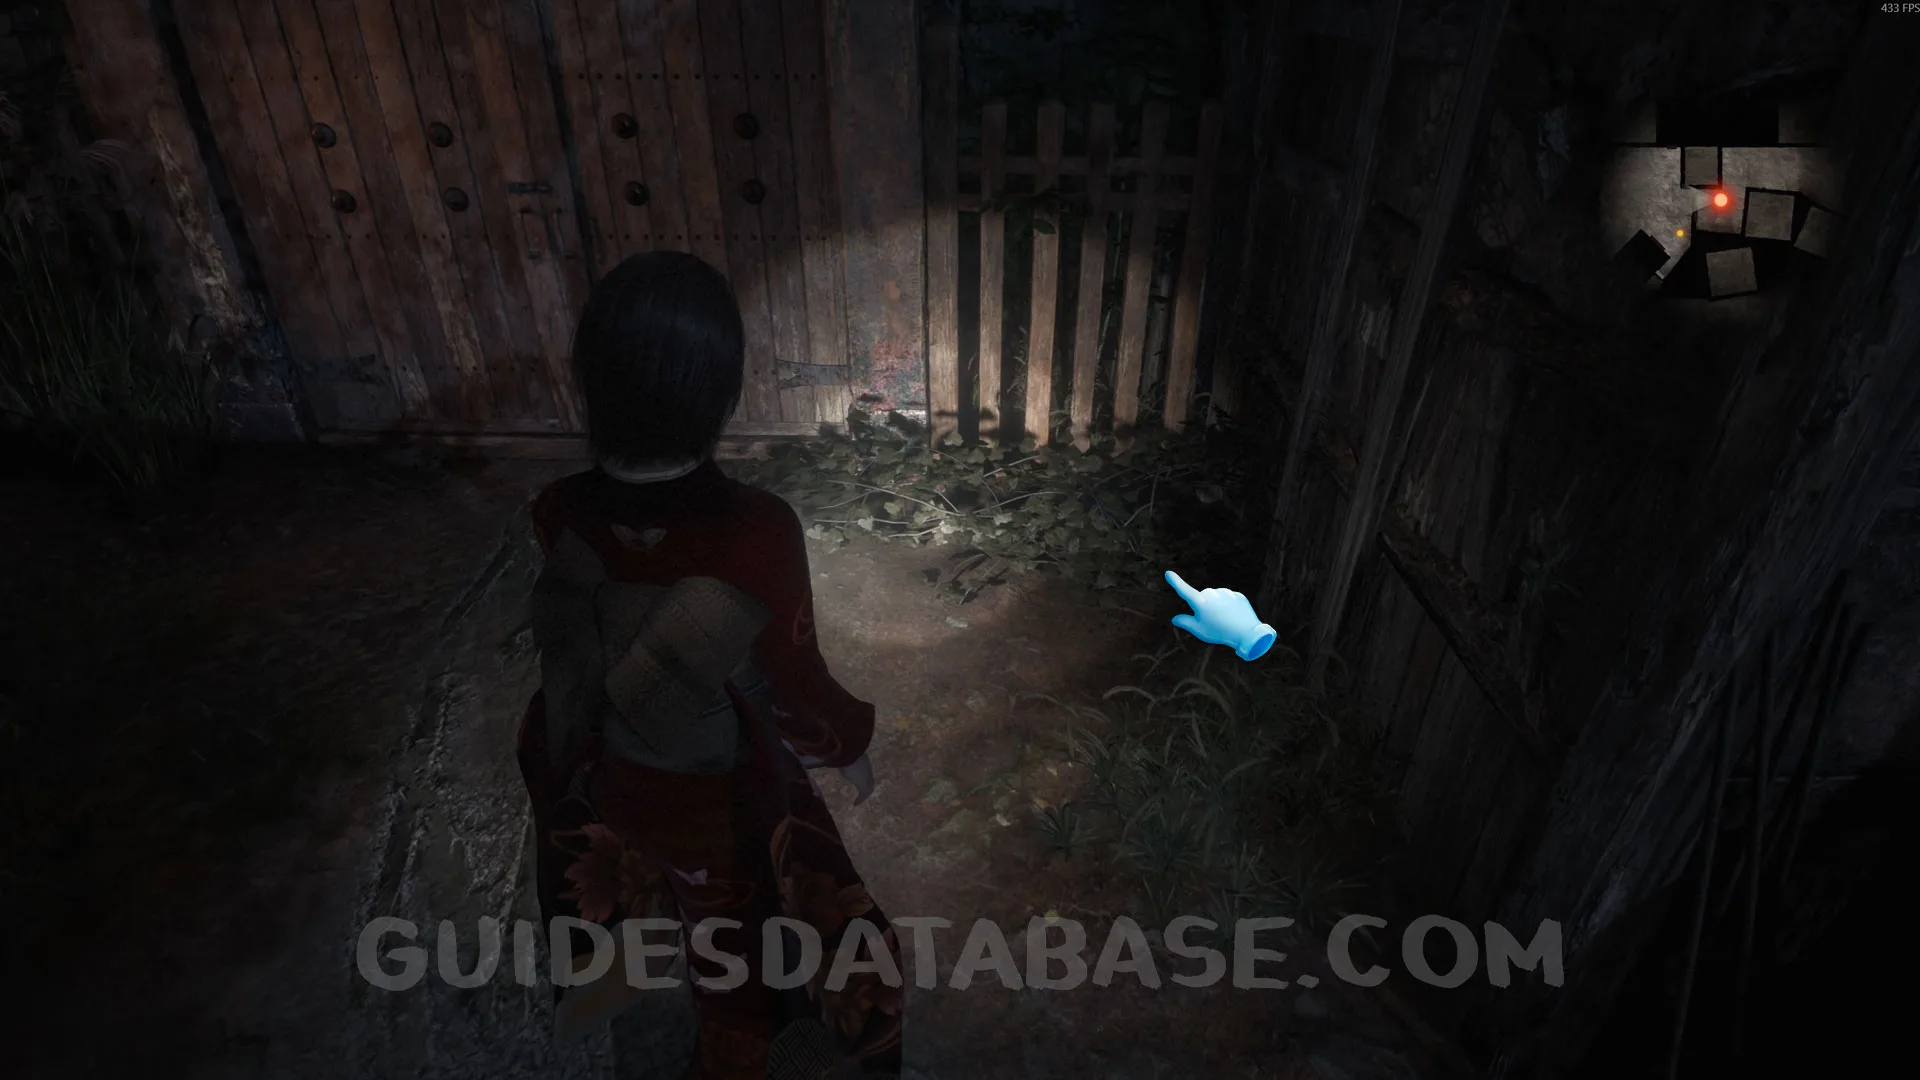 GUIDESDATABASE.COM
Twin Dolls #13 - 043.
At Minakami - Settlement, next to some boxes.
 GUIDESDATABASE.COM
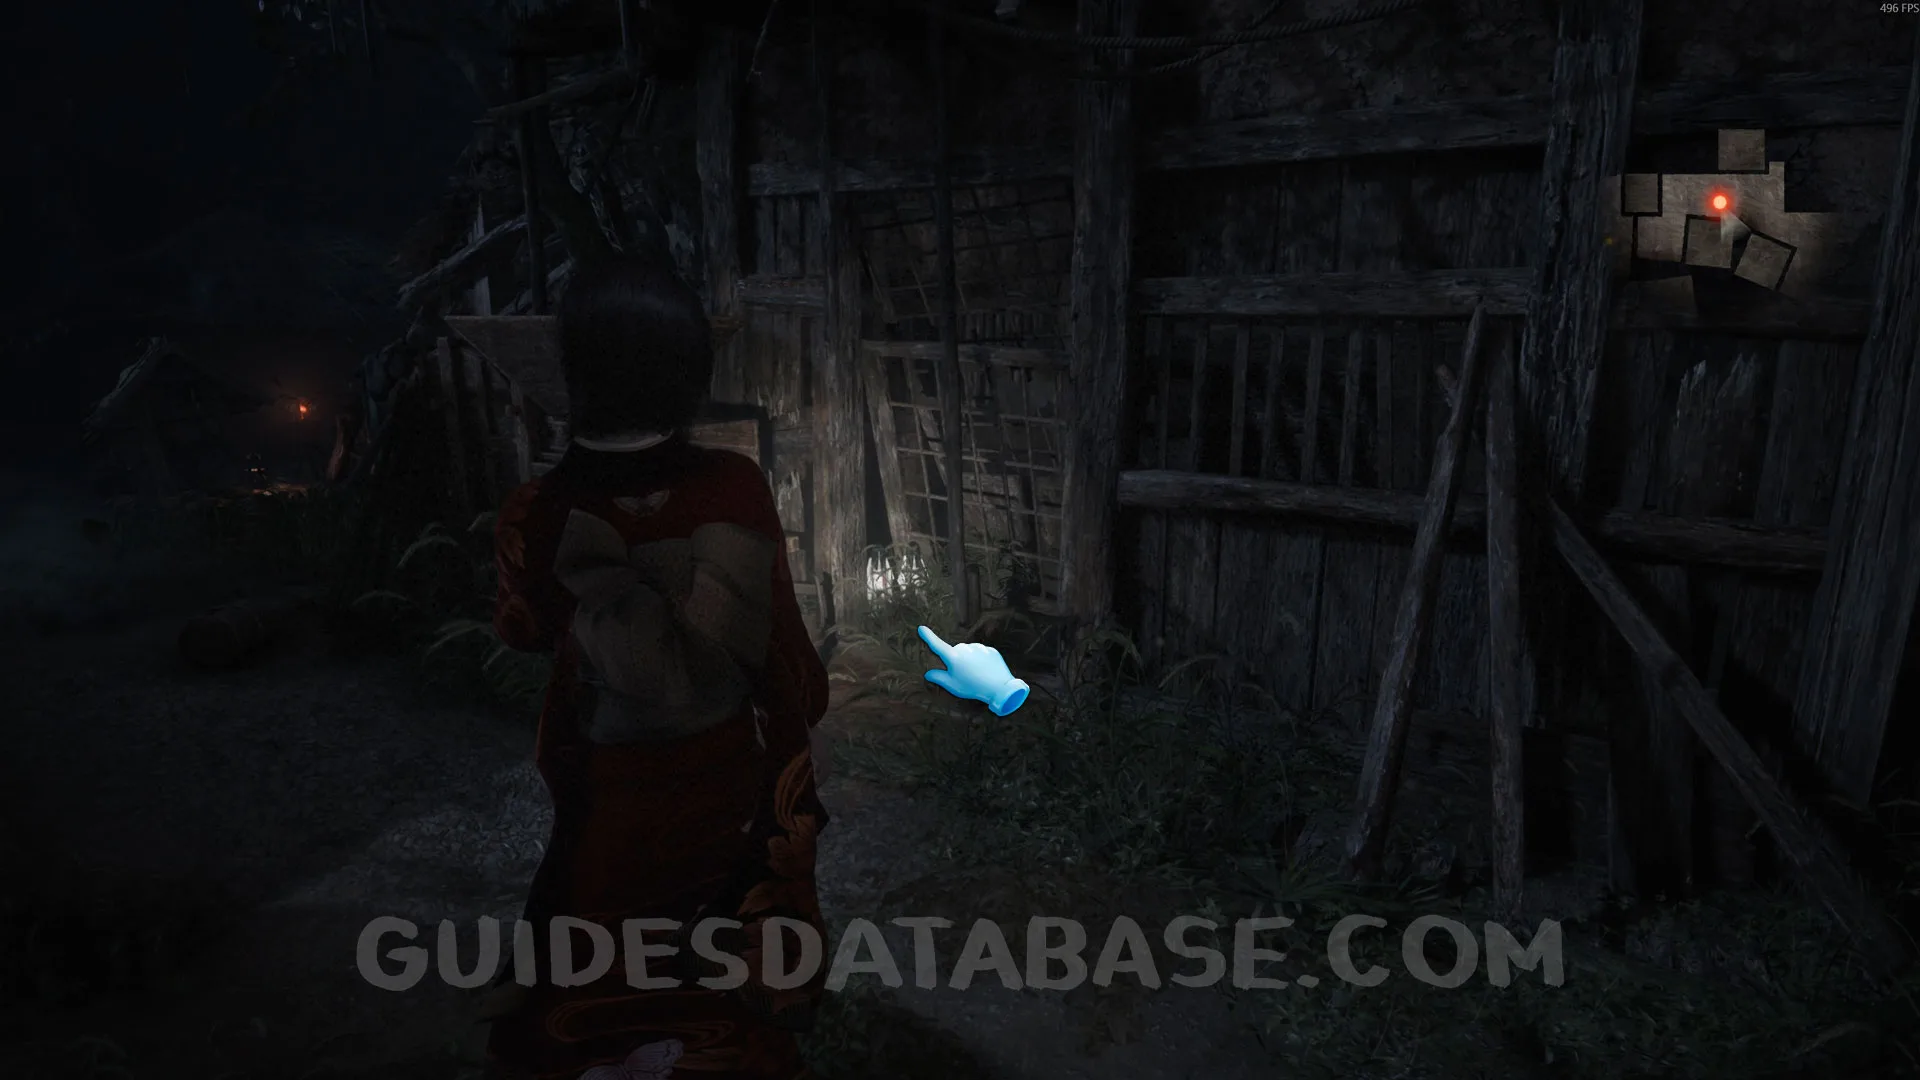 GUIDESDATABASE.COM
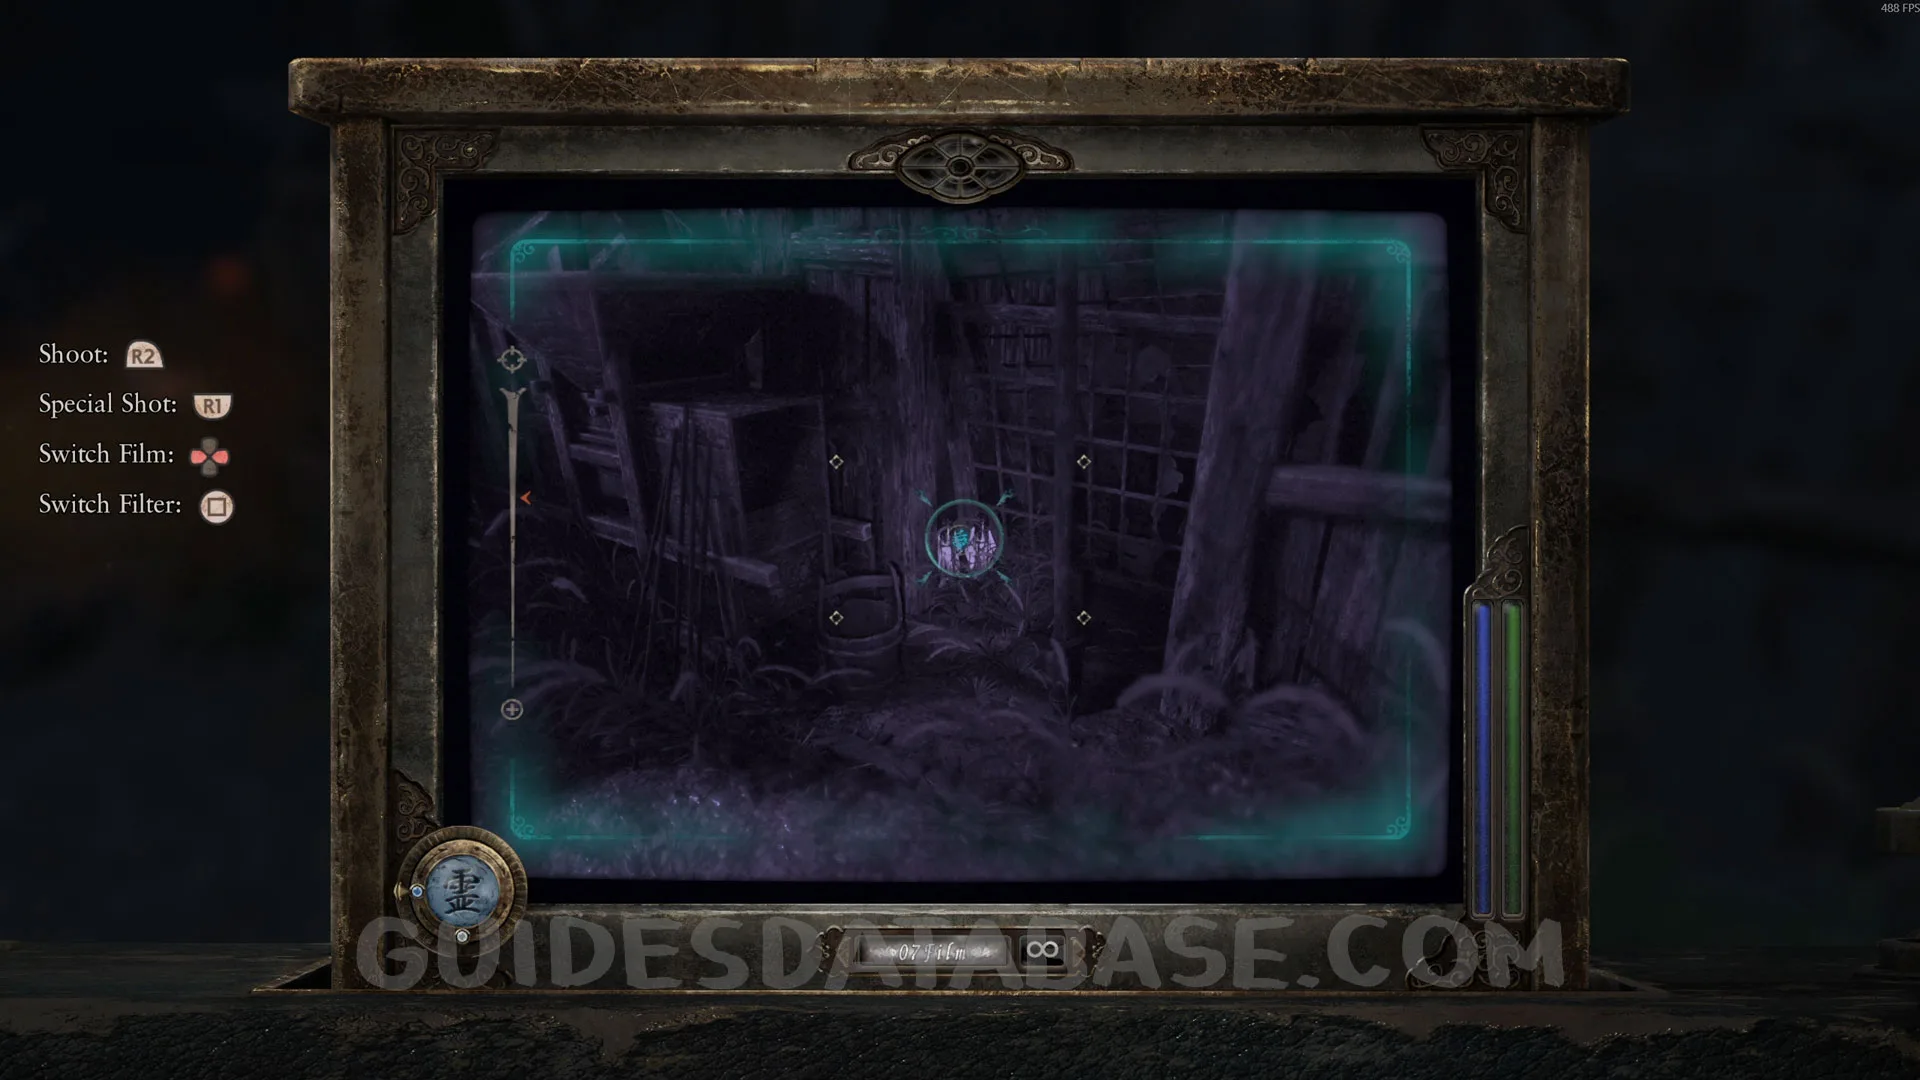 GUIDESDATABASE.COM
Twin Dolls #14 - 039.
On the Tomonaki River - Shore, sitting on a tree trunk.
 GUIDESDATABASE.COM
 GUIDESDATABASE.COM
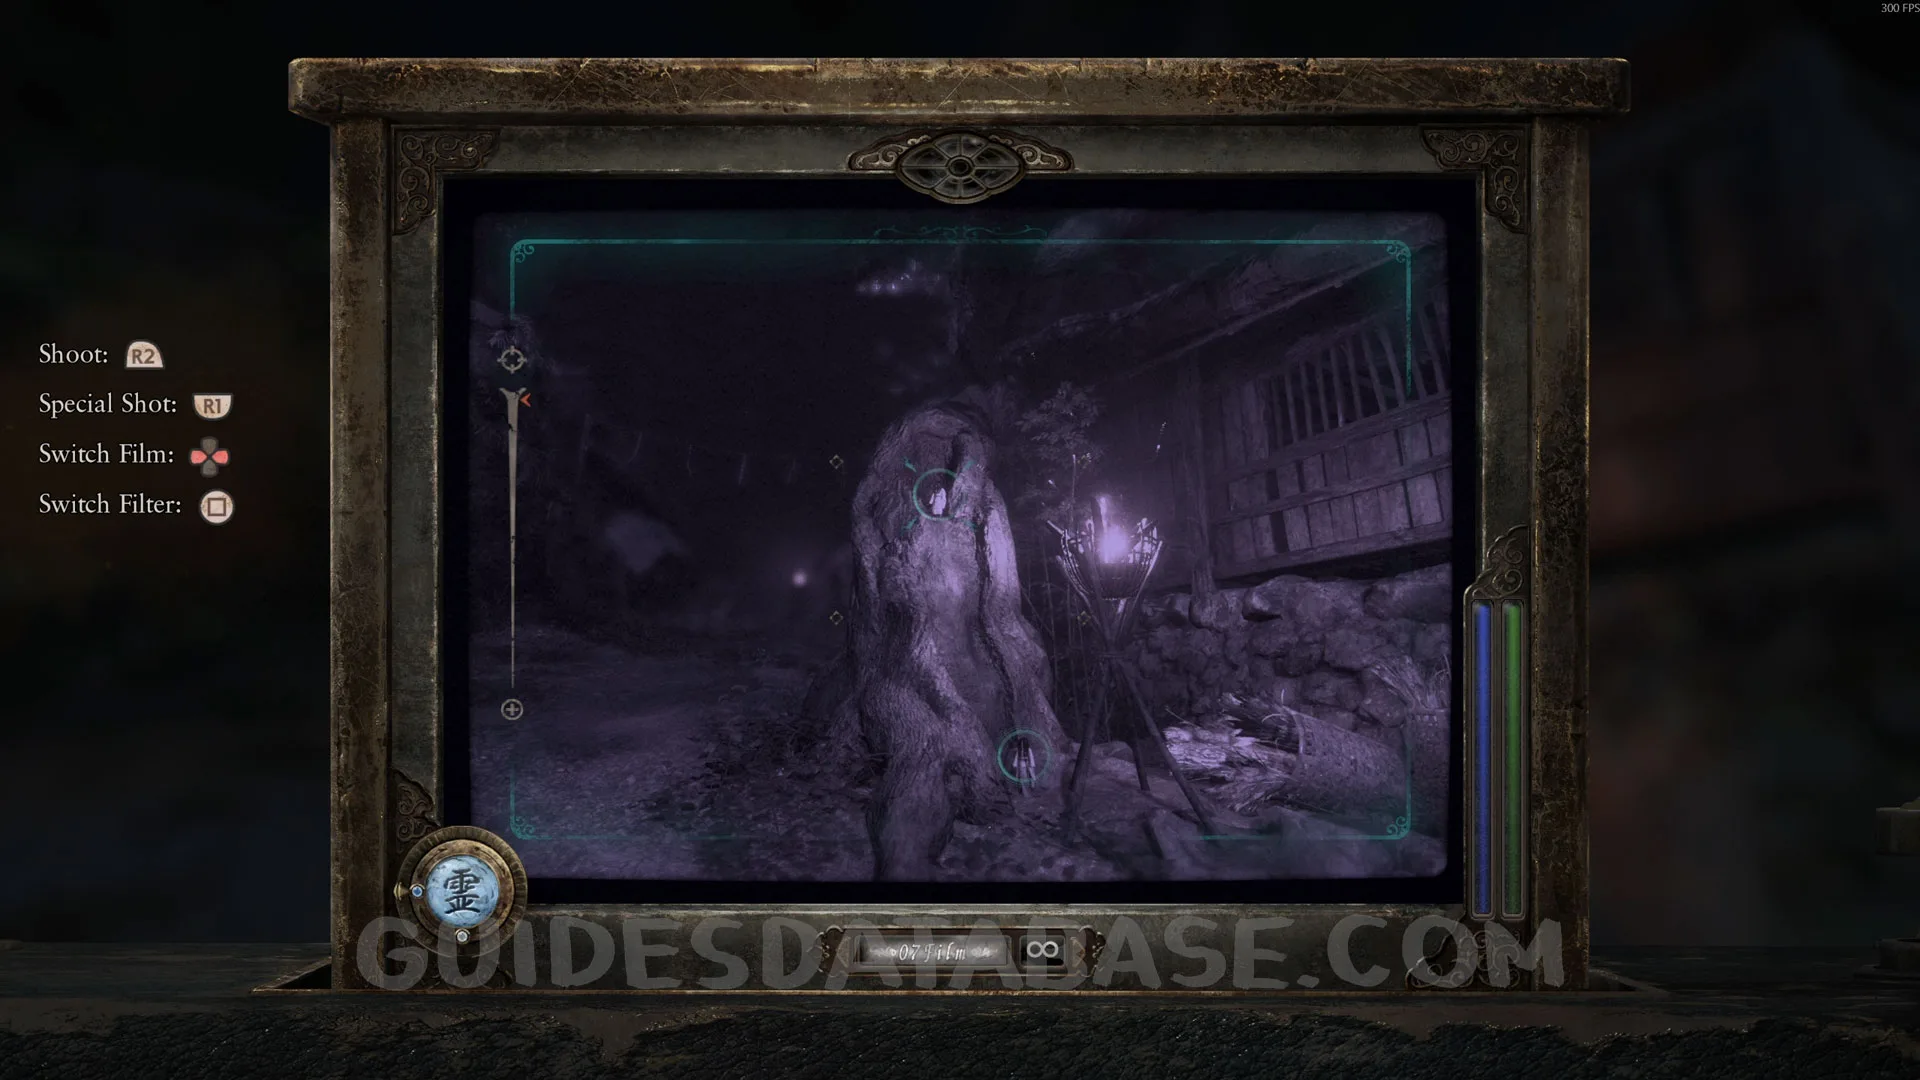 GUIDESDATABASE.COM
Wraith #6 - 006 The Entrapped.
Story-related in the house after following the butterfly.
 GUIDESDATABASE.COM
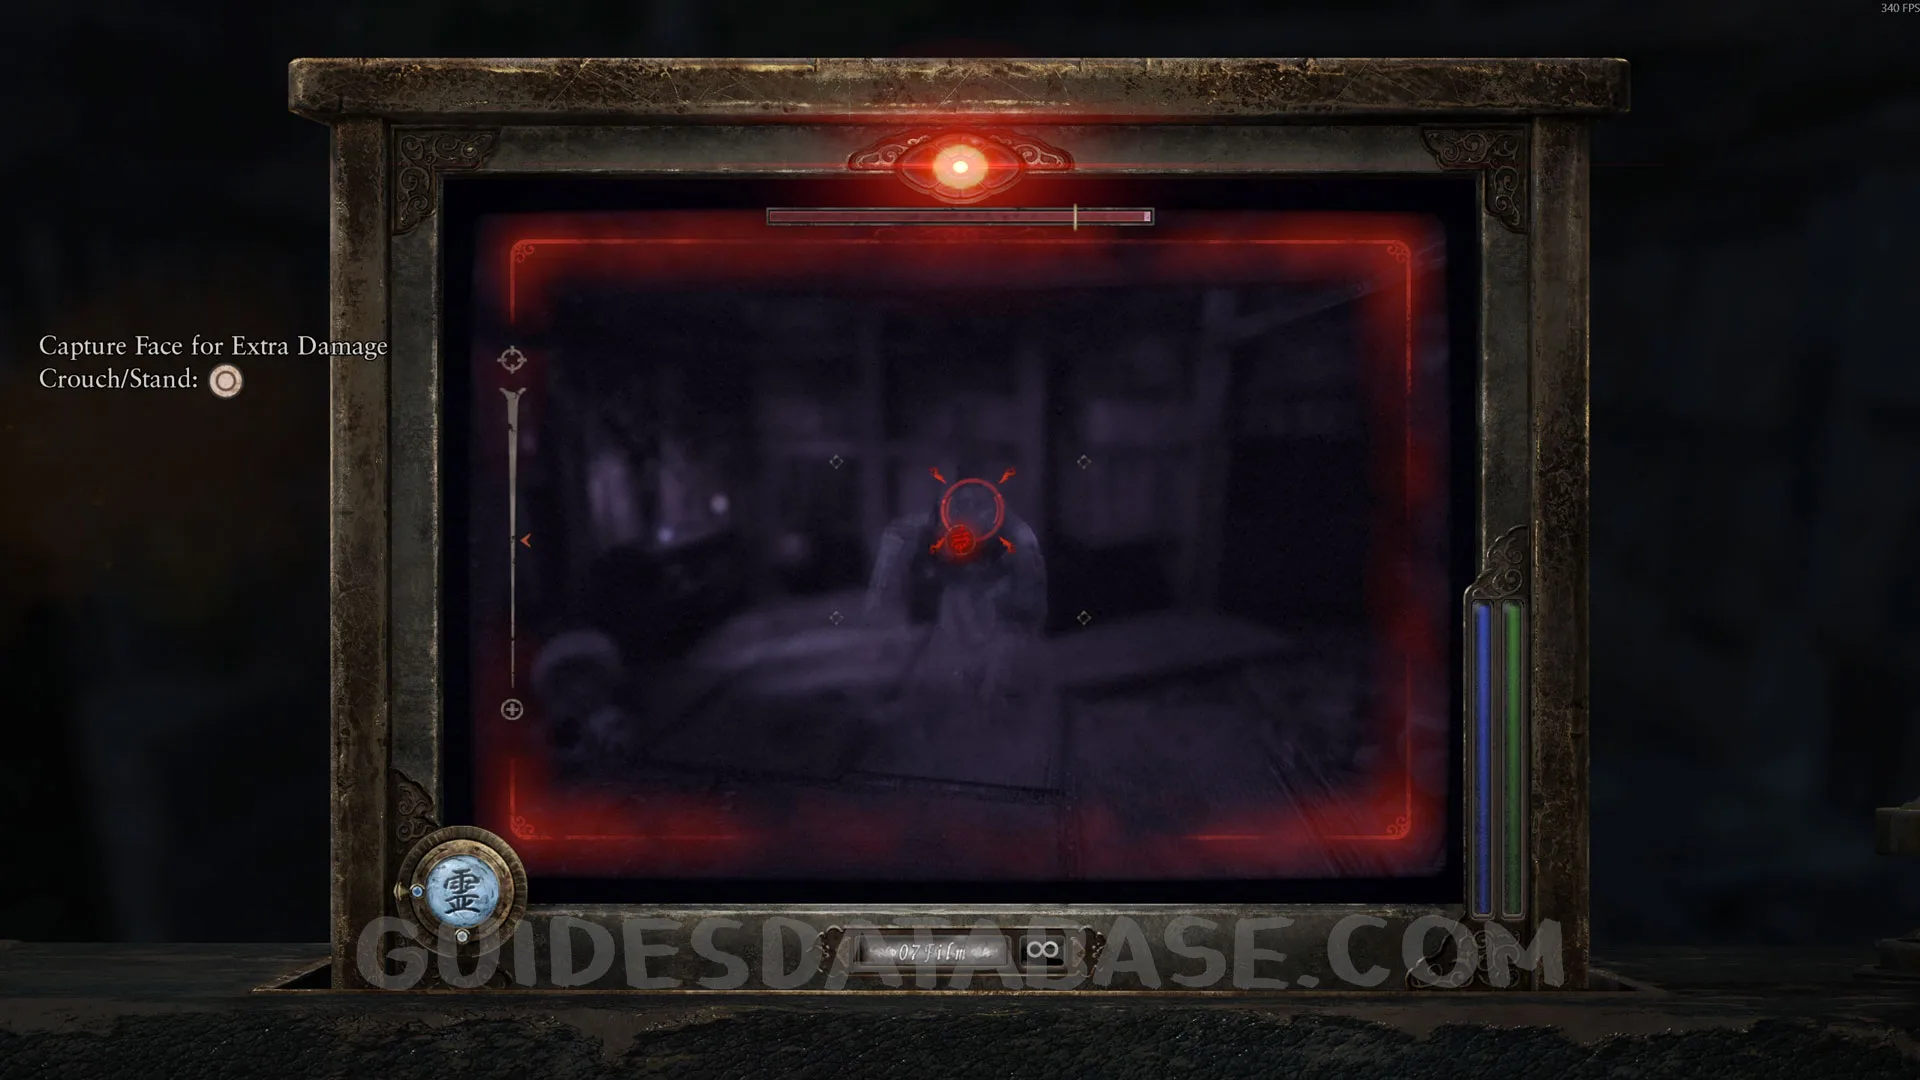 GUIDESDATABASE.COM
Prayer Bead #4.
Same area as the previous collectible, on top of the table.
 GUIDESDATABASE.COM
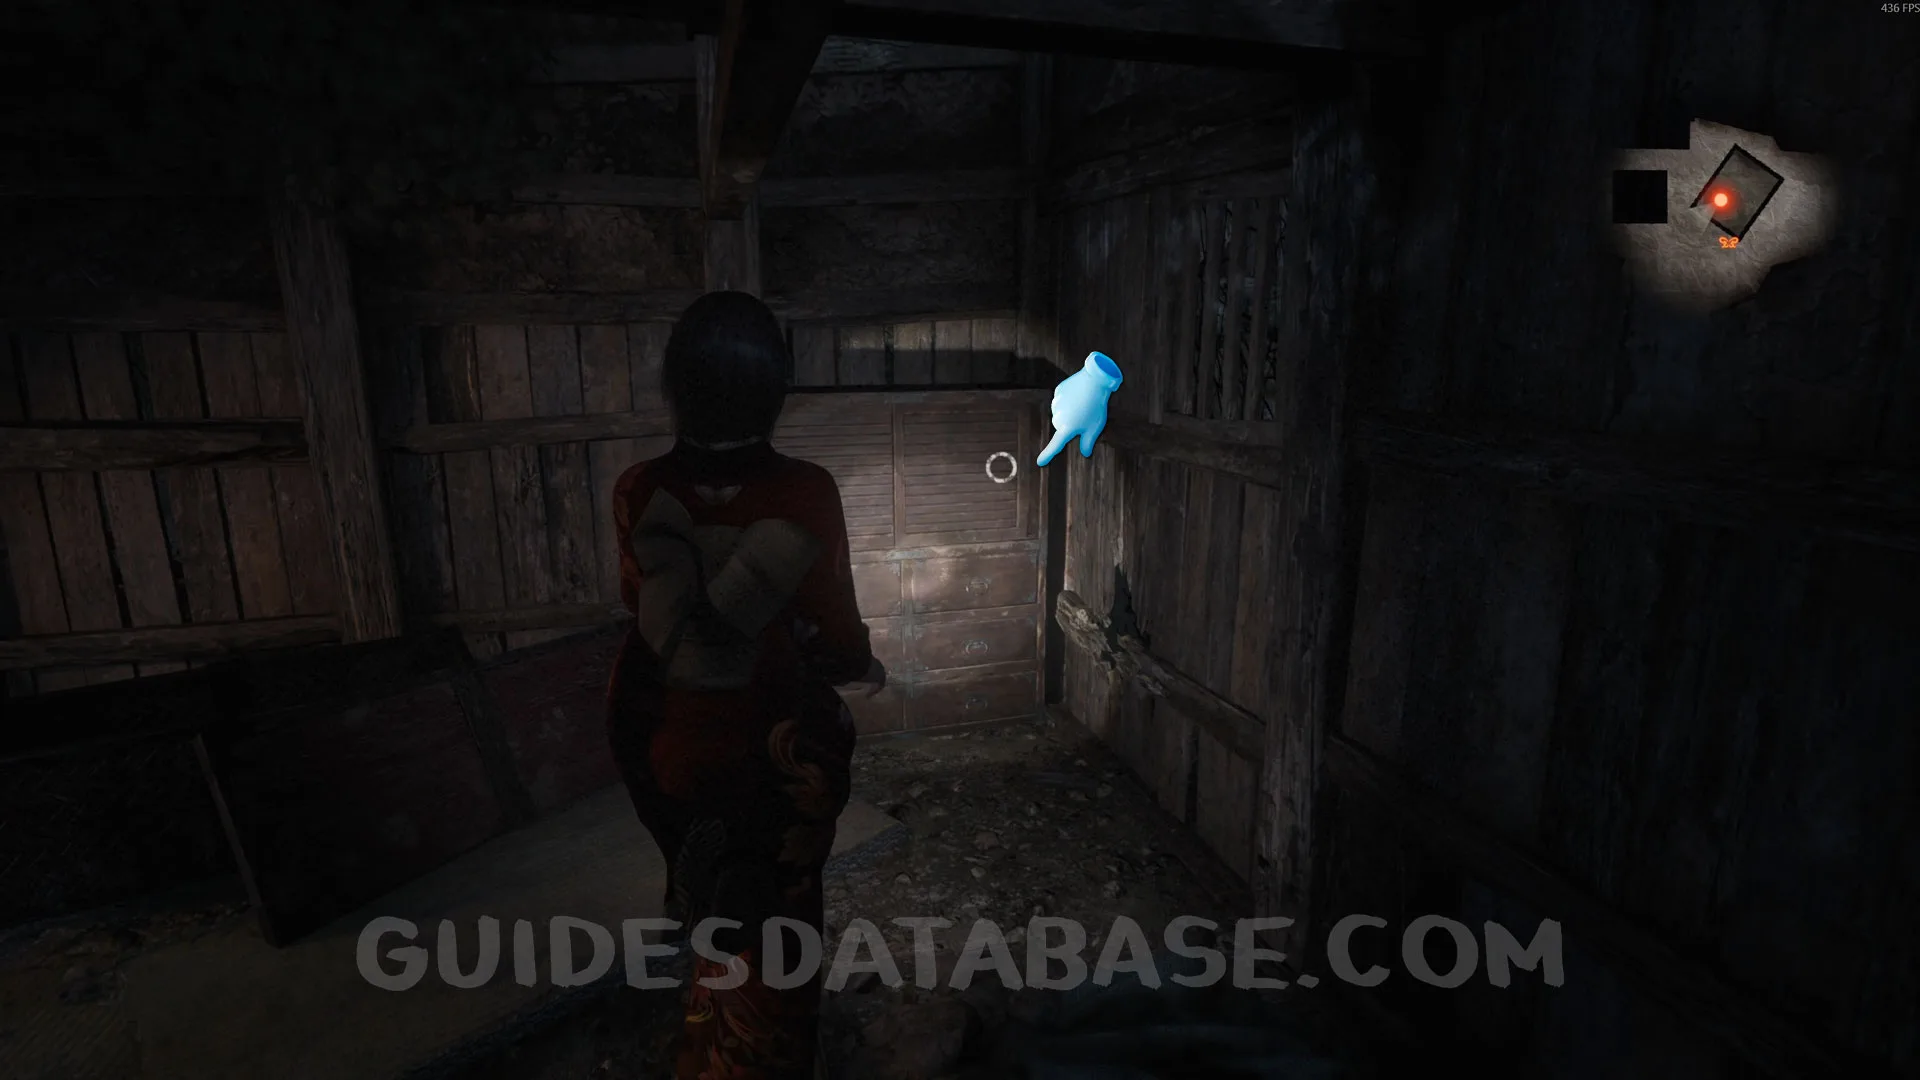
Spirit Stone #4 - Moonstone.
Same area as the previous collectible, inside a cabinet on the right side.
 GUIDESDATABASE.COM
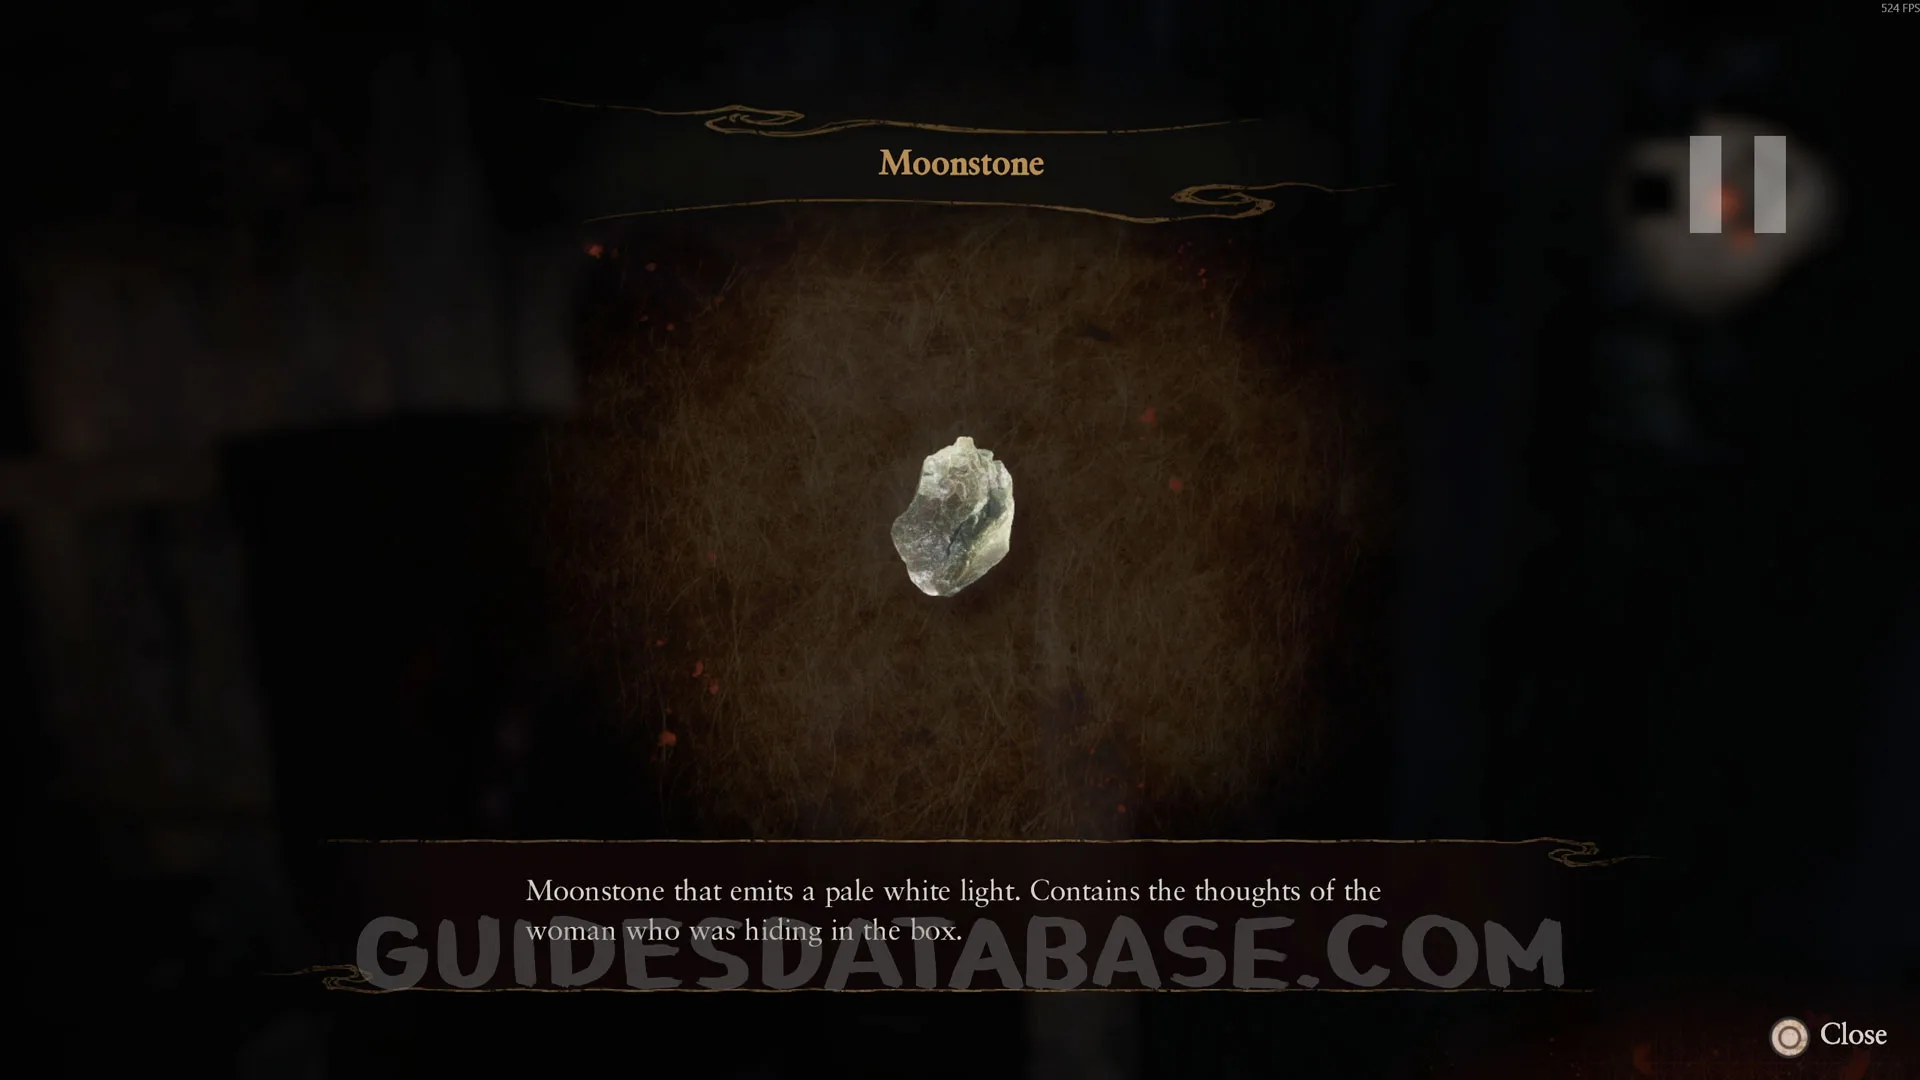 GUIDESDATABASE.COM
Document #14 / Spirit Stone #5 / Specter #20 - 165 Woman Adrift / Side Story #2 - Miyako Sudo.
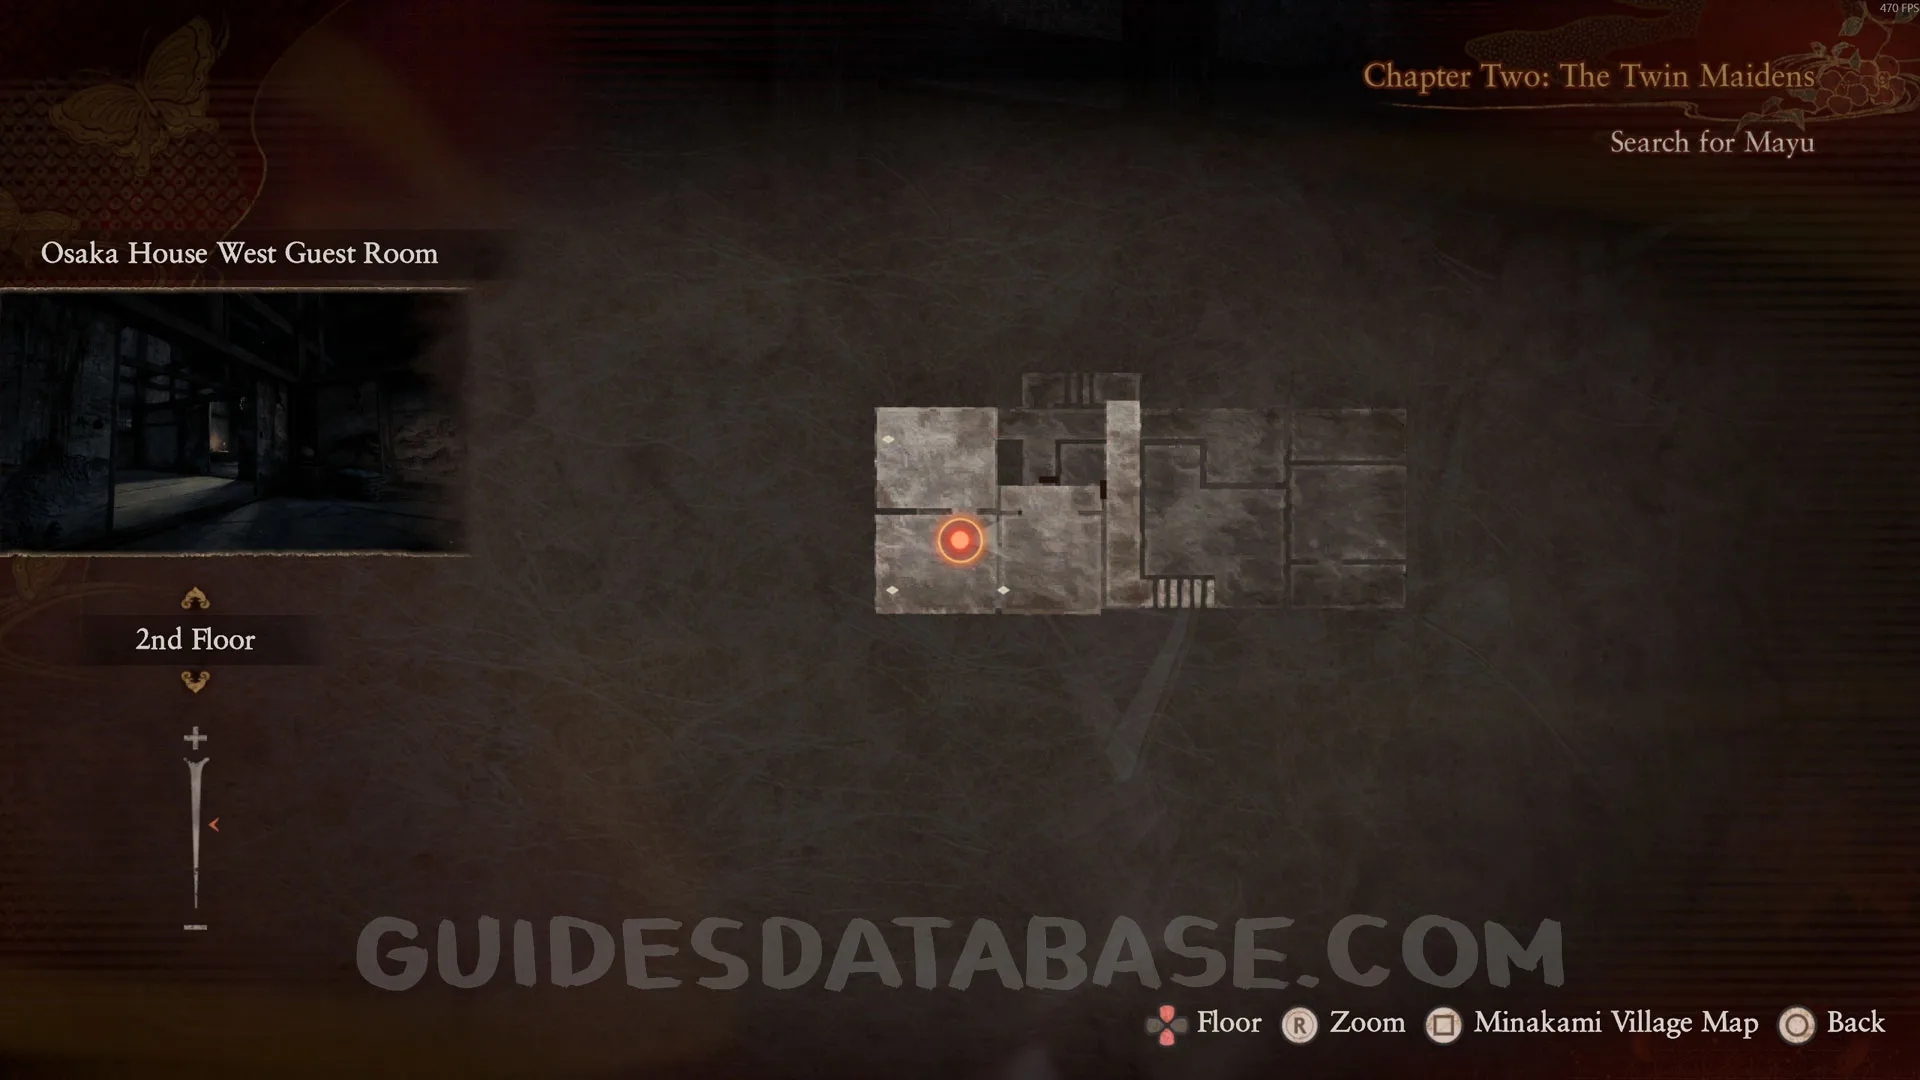
From the previous collectible, head back to Tsuchihara House - Front and pick up the Woman's Notebook 6 on the ground, which will also grant you a Spirit Stone. After picking it up, a specter will appear in front of you. Take a photo of it to trigger Side Story #2.
 GUIDESDATABASE.COM
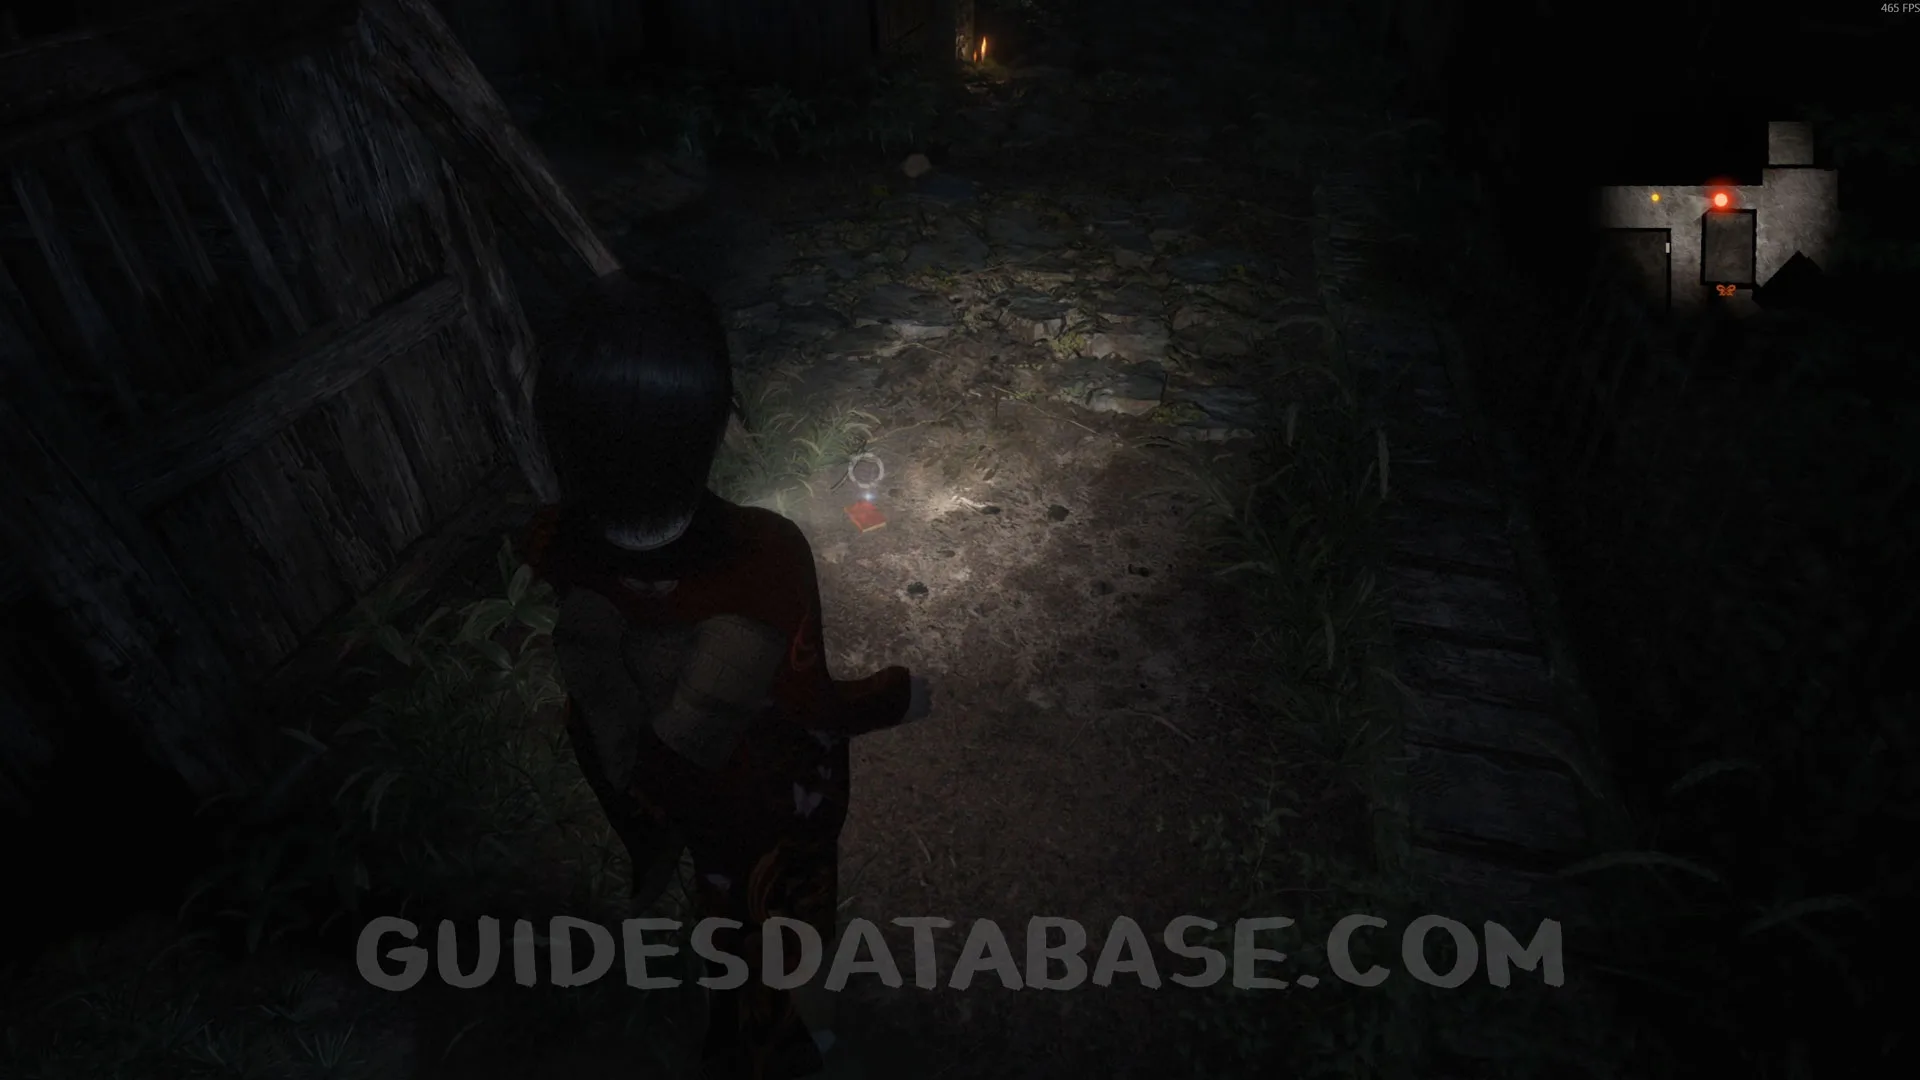 GUIDESDATABASE.COM
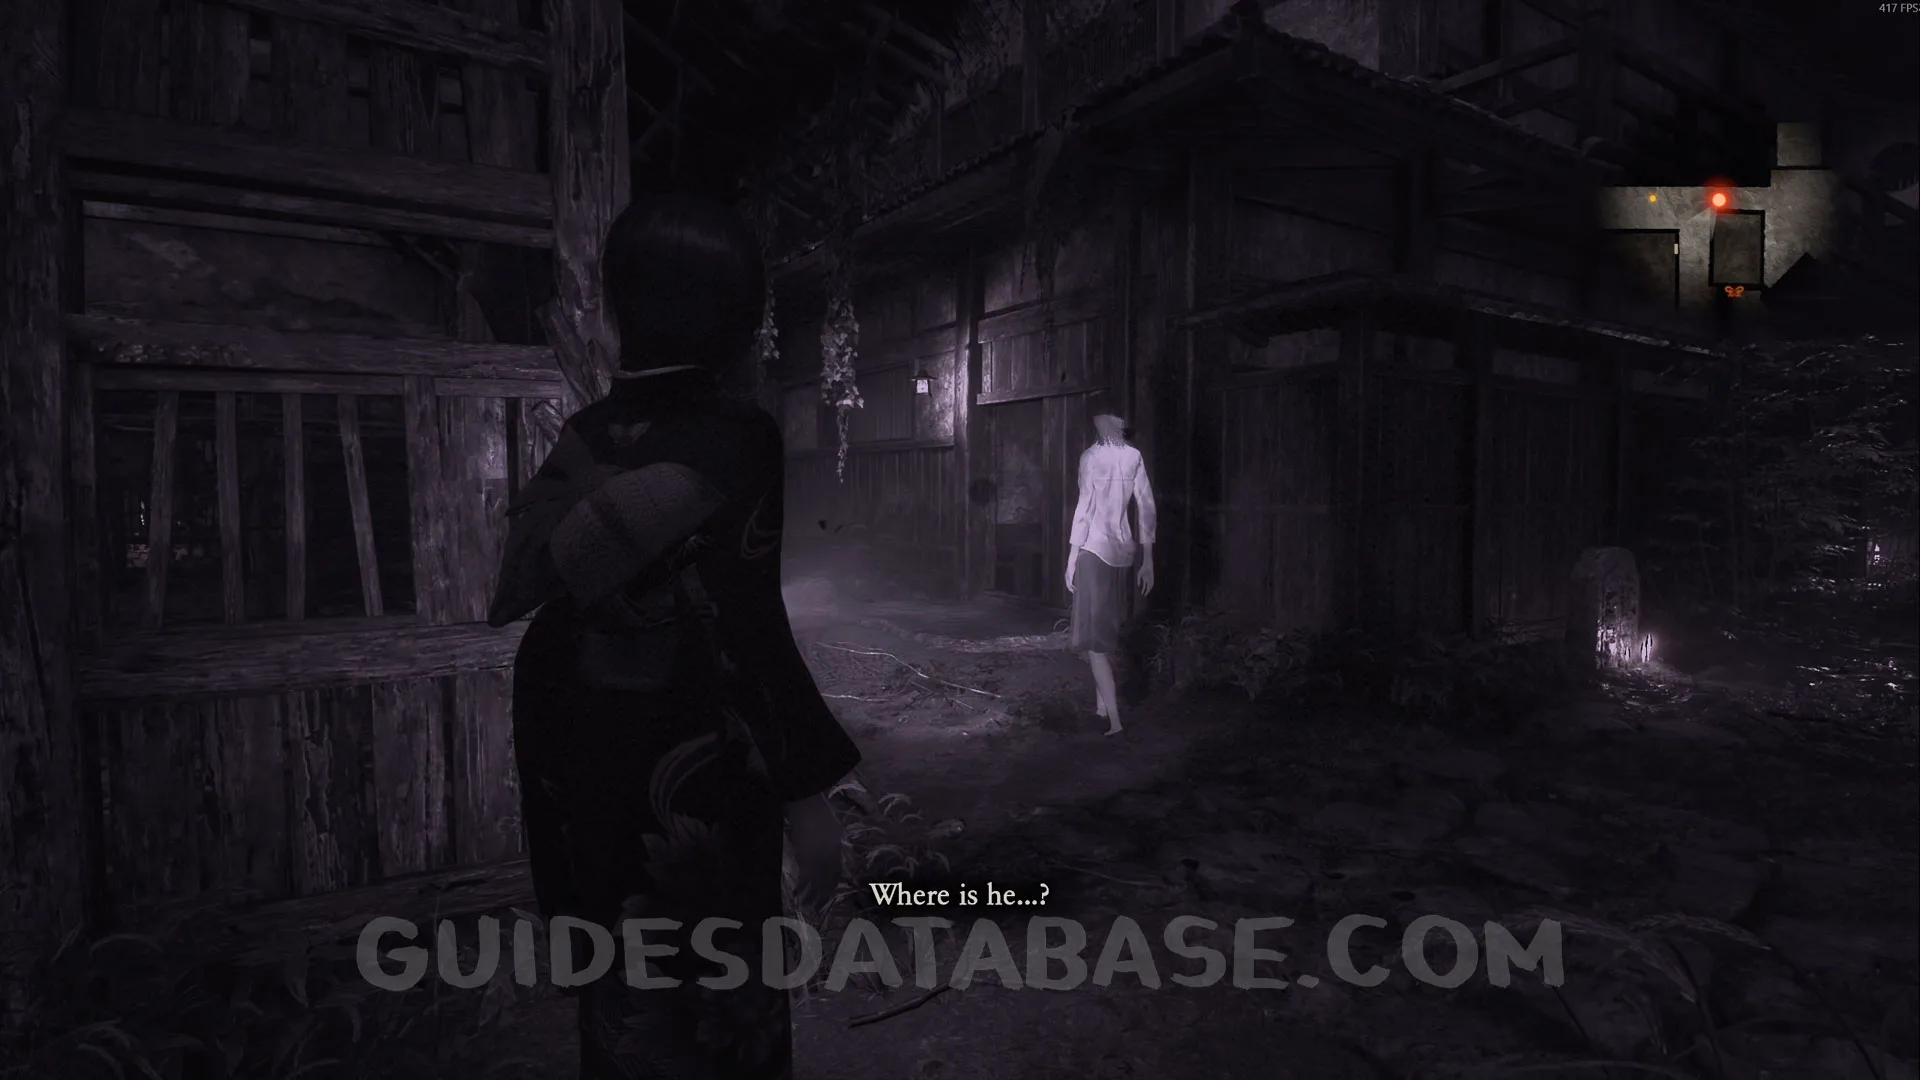 GUIDESDATABASE.COM
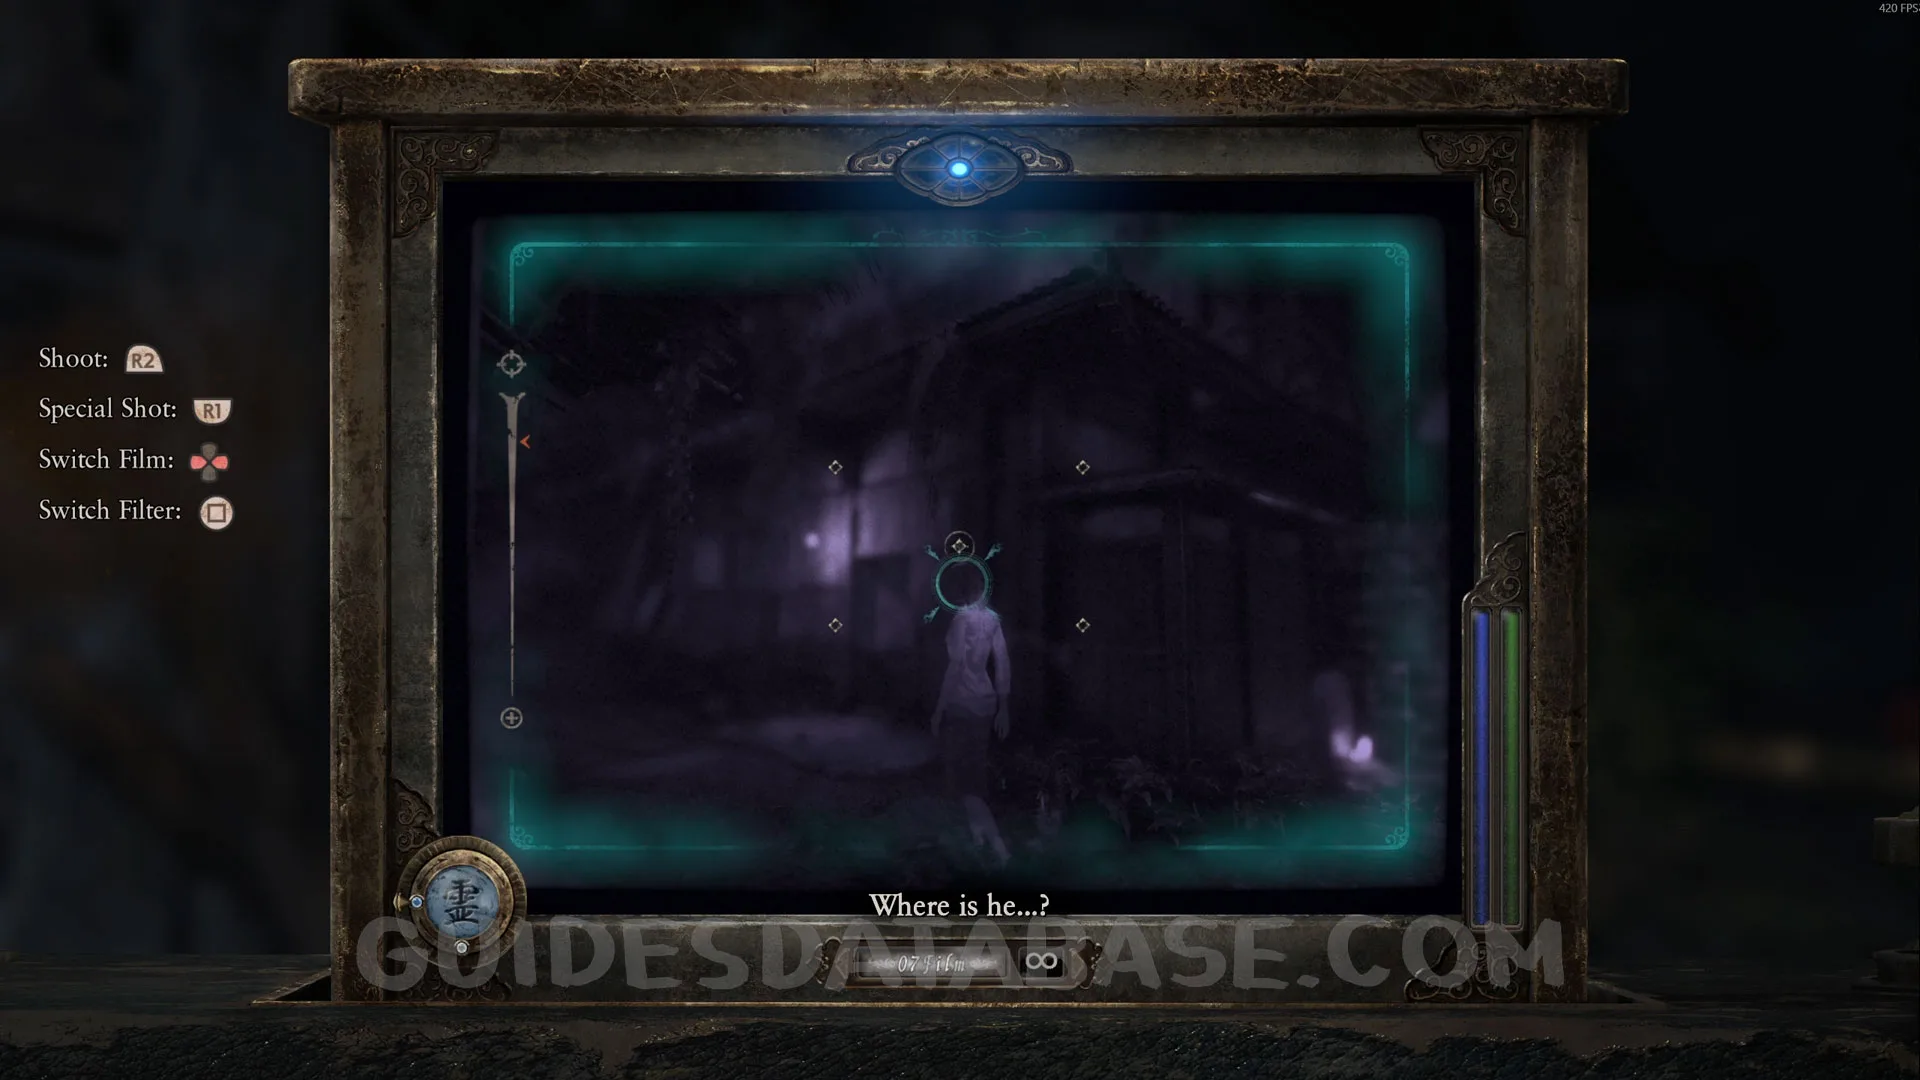 GUIDESDATABASE.COM
Specter #21 - 166 Woman Overlooking Village.
Head back to the area where you started the game and you will find this specter there. Take a photo of it.
 GUIDESDATABASE.COM
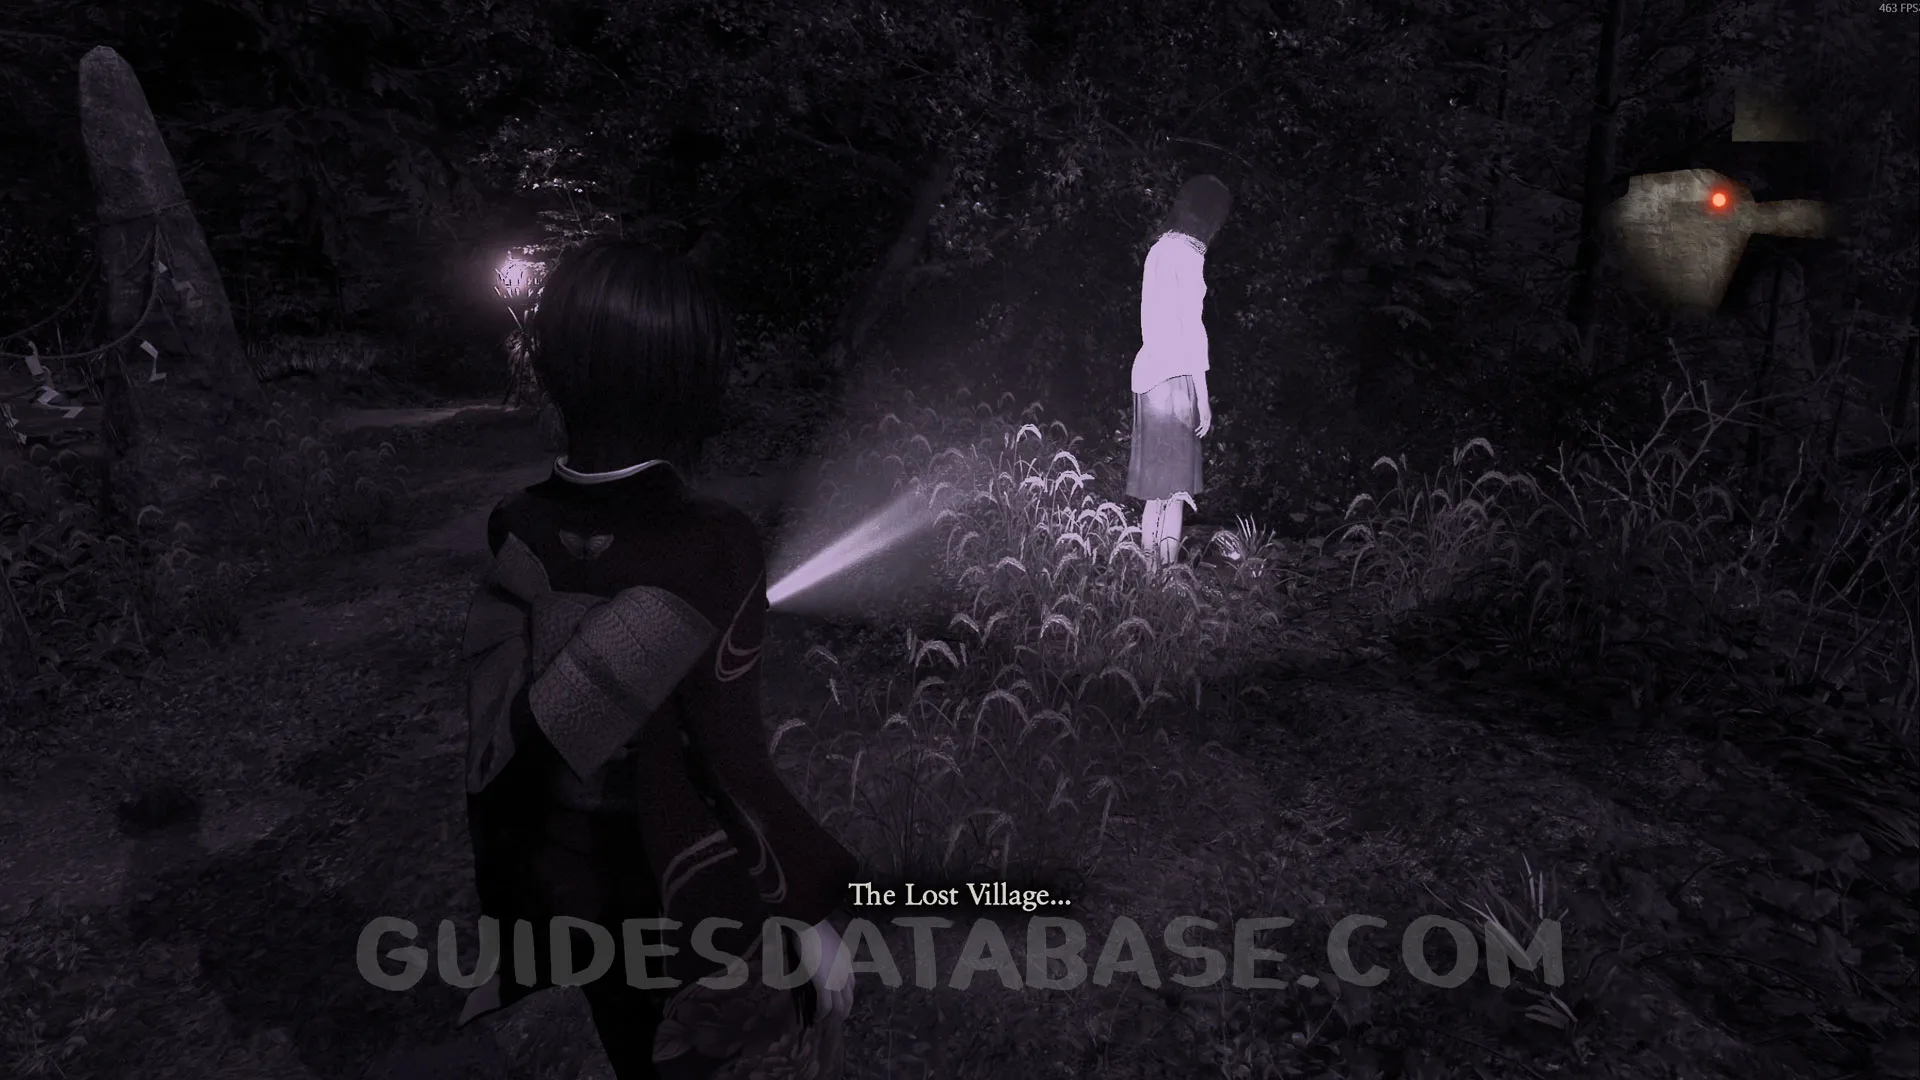 GUIDESDATABASE.COM
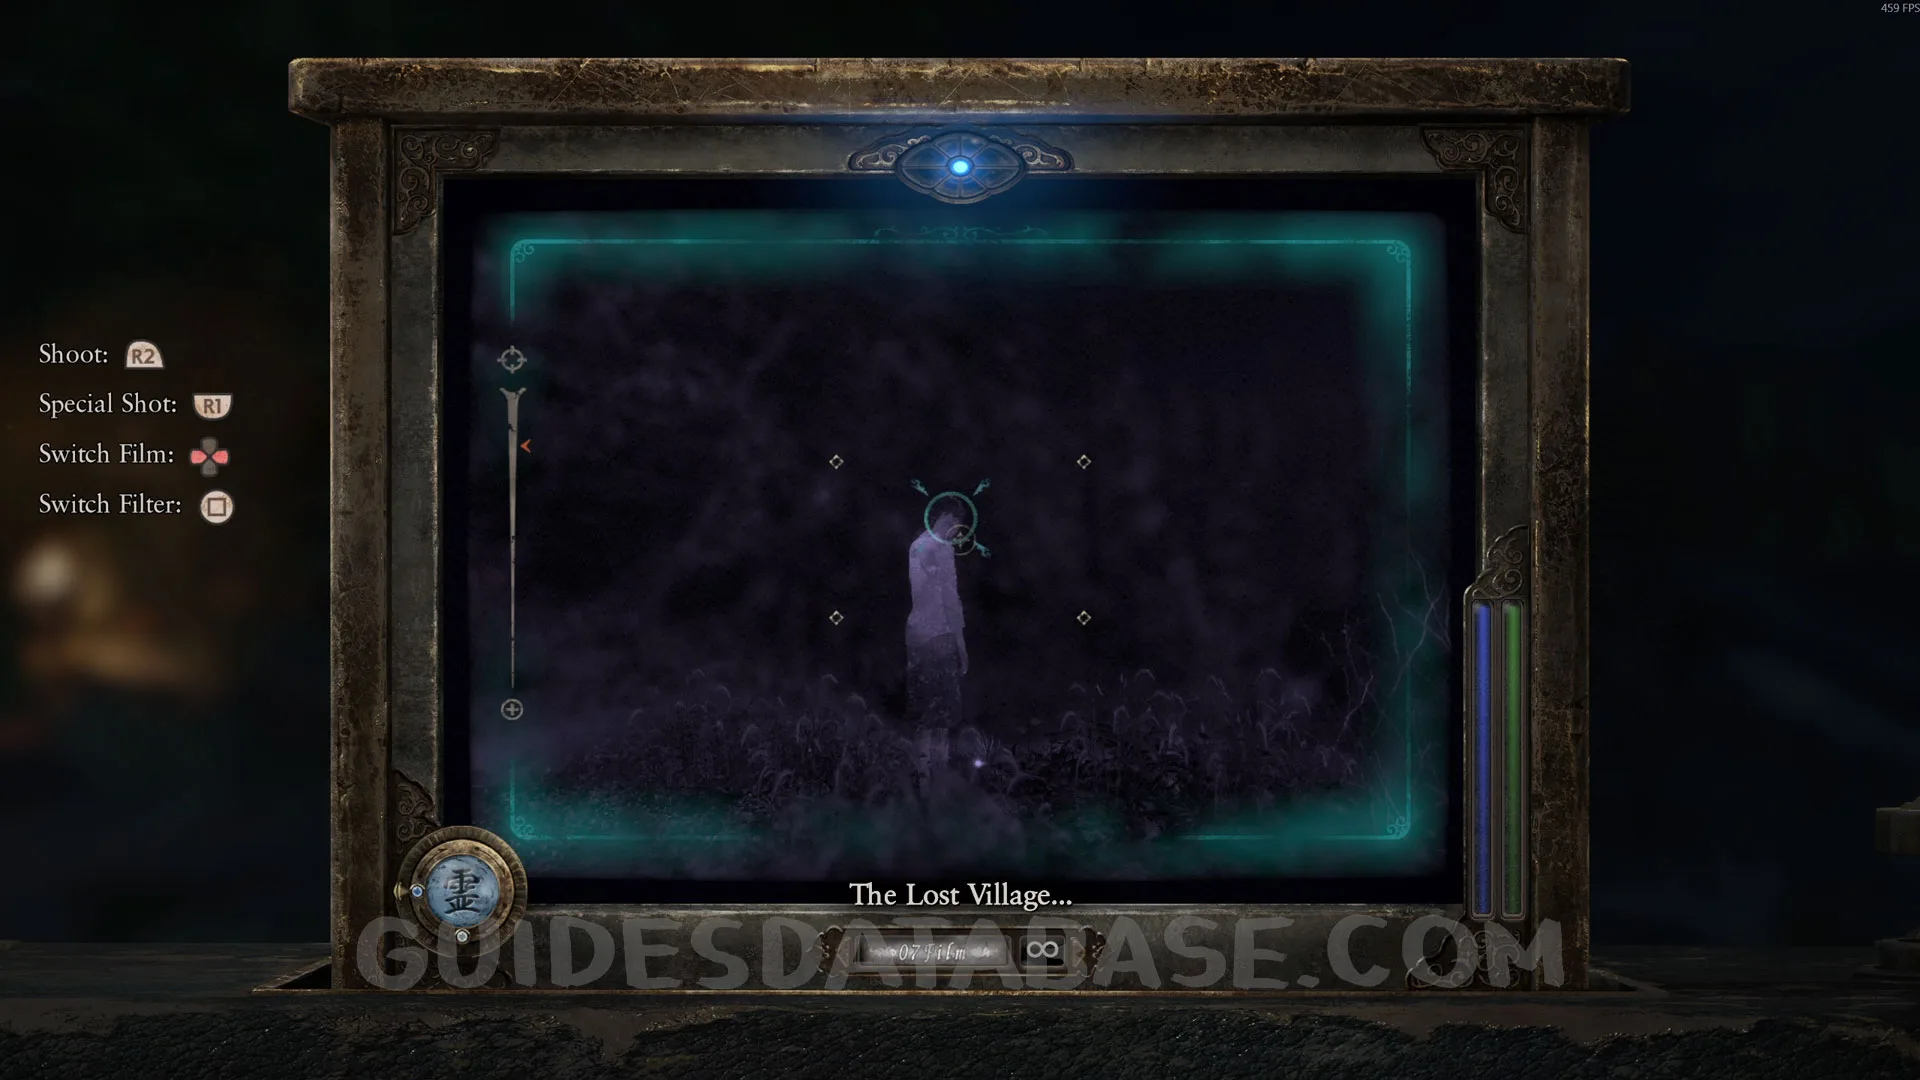 GUIDESDATABASE.COM
Document #15 - Woman's Notebook 7.
Same area as the previous collectible, where the specter was, there will be a document.
 GUIDESDATABASE.COM
 GUIDESDATABASE.COM
Specter #22 - 167 Woman at the Windowsill.
Head back to the entrance of Osaka House and you will see a specter in the window. Take a photo of it.
 GUIDESDATABASE.COM
 GUIDESDATABASE.COM
 GUIDESDATABASE.COM
Specter #23 - 168 Woman Heading for Altar.
Enter Osaka House and go straight to the hallway that leads to the room where you obtained the Camera Obscura. In front of the door you will find this specter. Take a photo of it.
 GUIDESDATABASE.COM
 GUIDESDATABASE.COM
Specter #24-26 - 169 Slumbering Woman / 170 Watchful Man / 171 Longing Couple.
From the previous collectible, enter the room where you picked up the Camera Obscura and you will see two specters. Take a photo of them and it will count as 3 specters.
 GUIDESDATABASE.COM
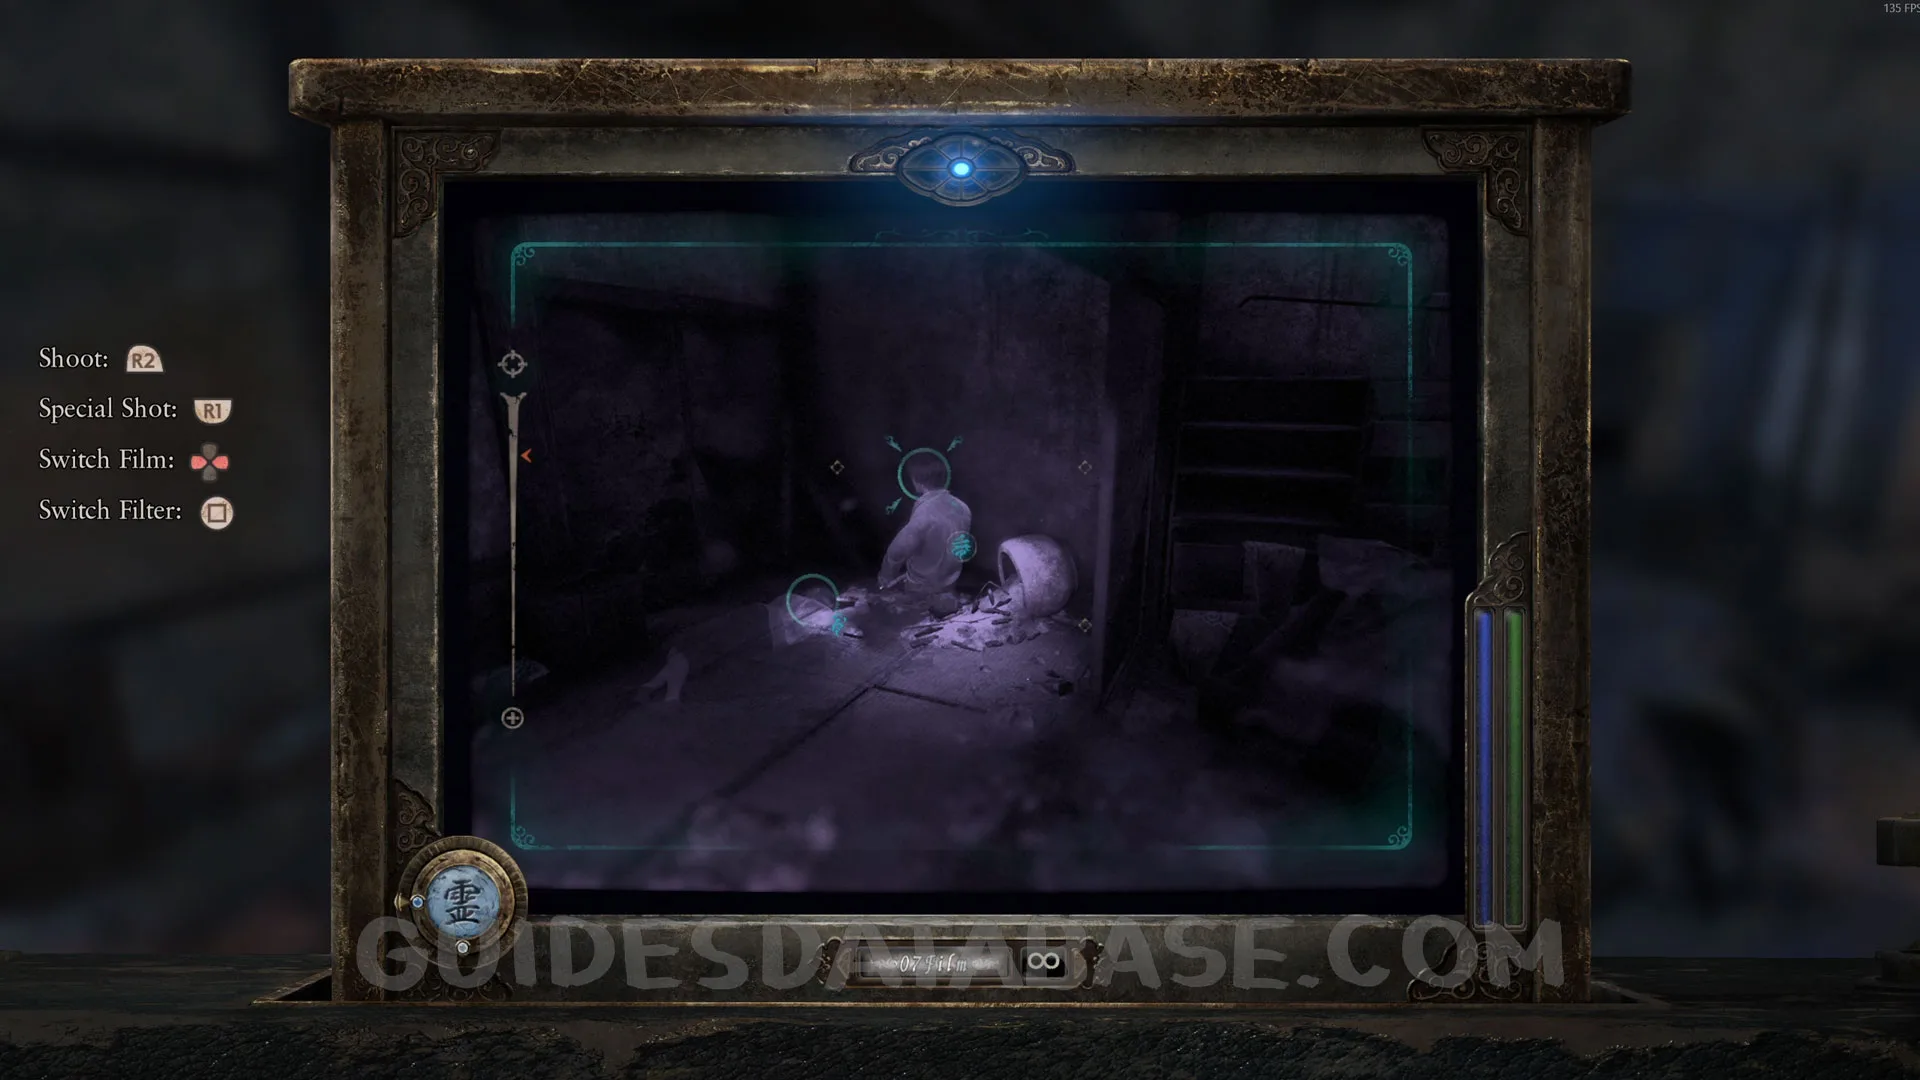 GUIDESDATABASE.COM
Document #16 - Woman's Notebook 8.
Same location as the previous specters. After photographing them, there will be a document where they were standing.
 GUIDESDATABASE.COM
 GUIDESDATABASE.COM
Specter #27 - 172 Woman Walking Into the Depths.
Head to the Dirt Hallway and you will see a specter. Take a photo of it.
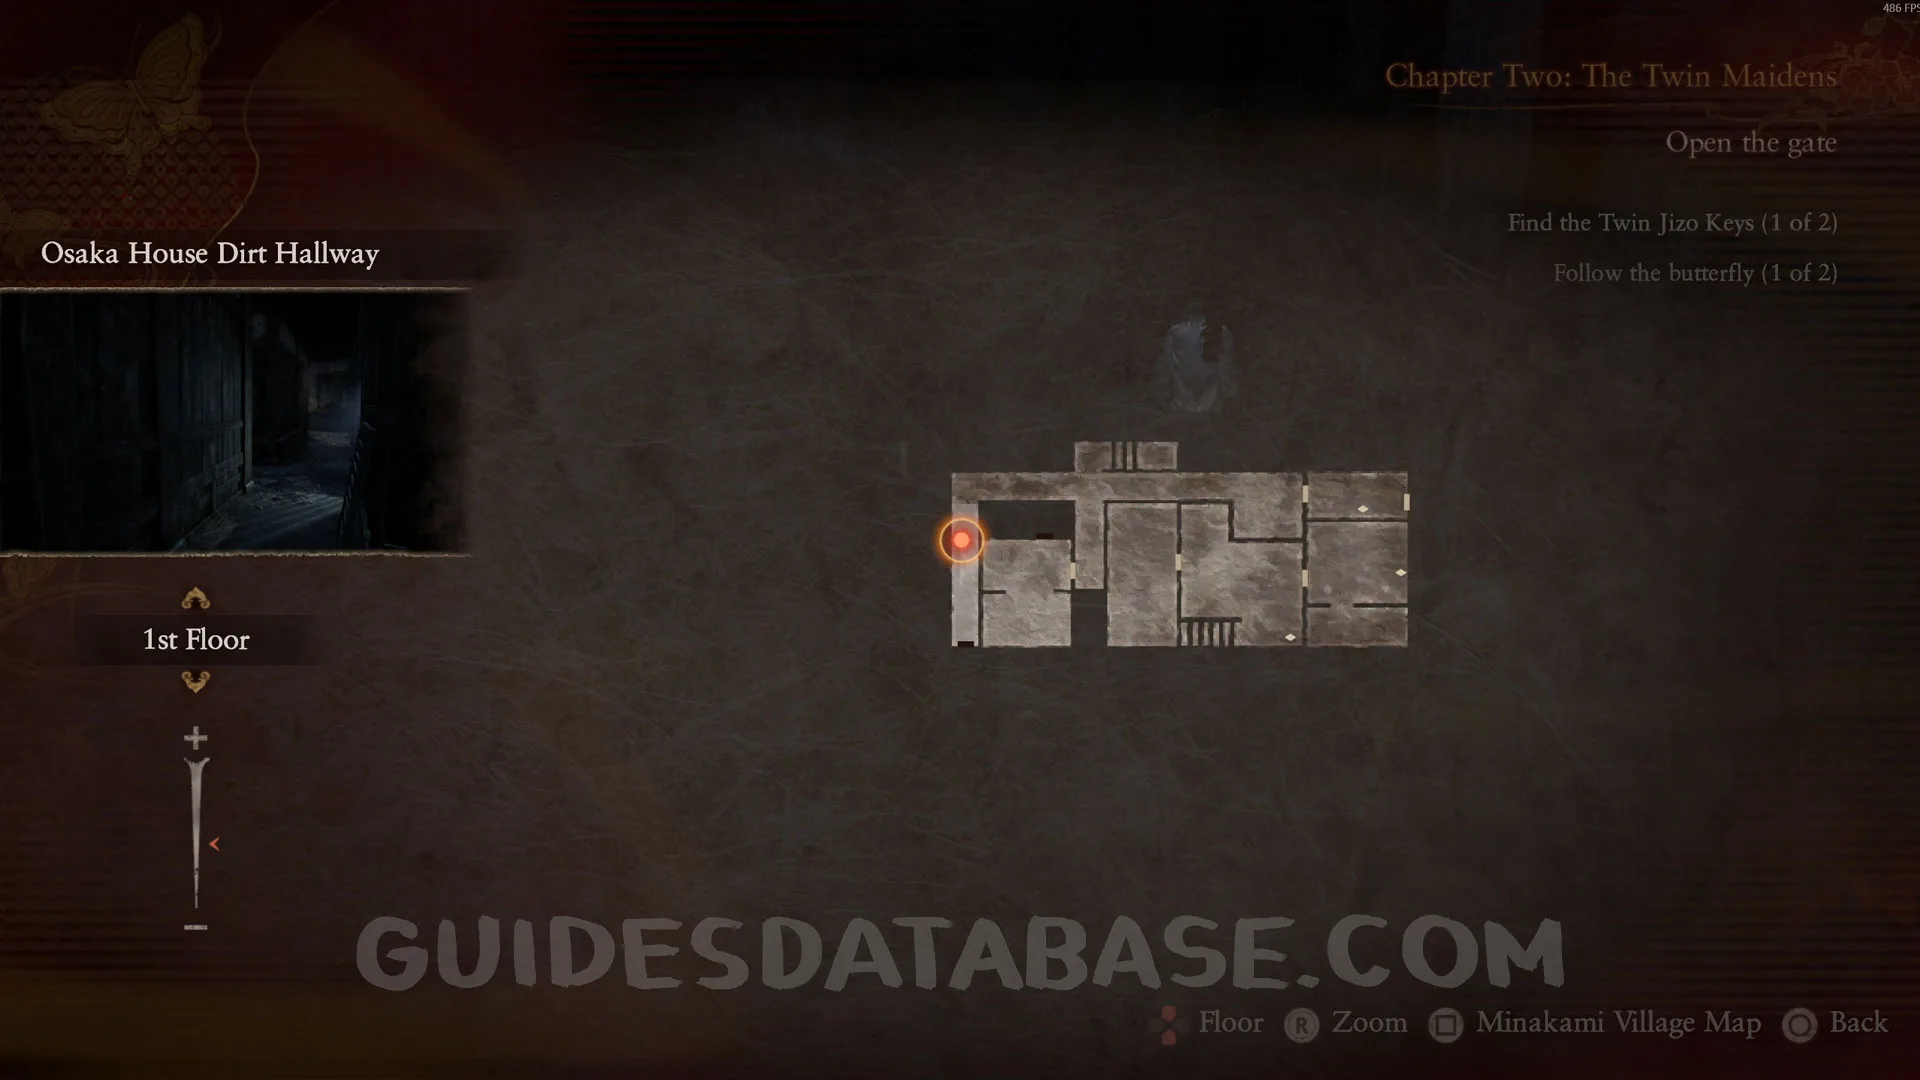 GUIDESDATABASE.COM
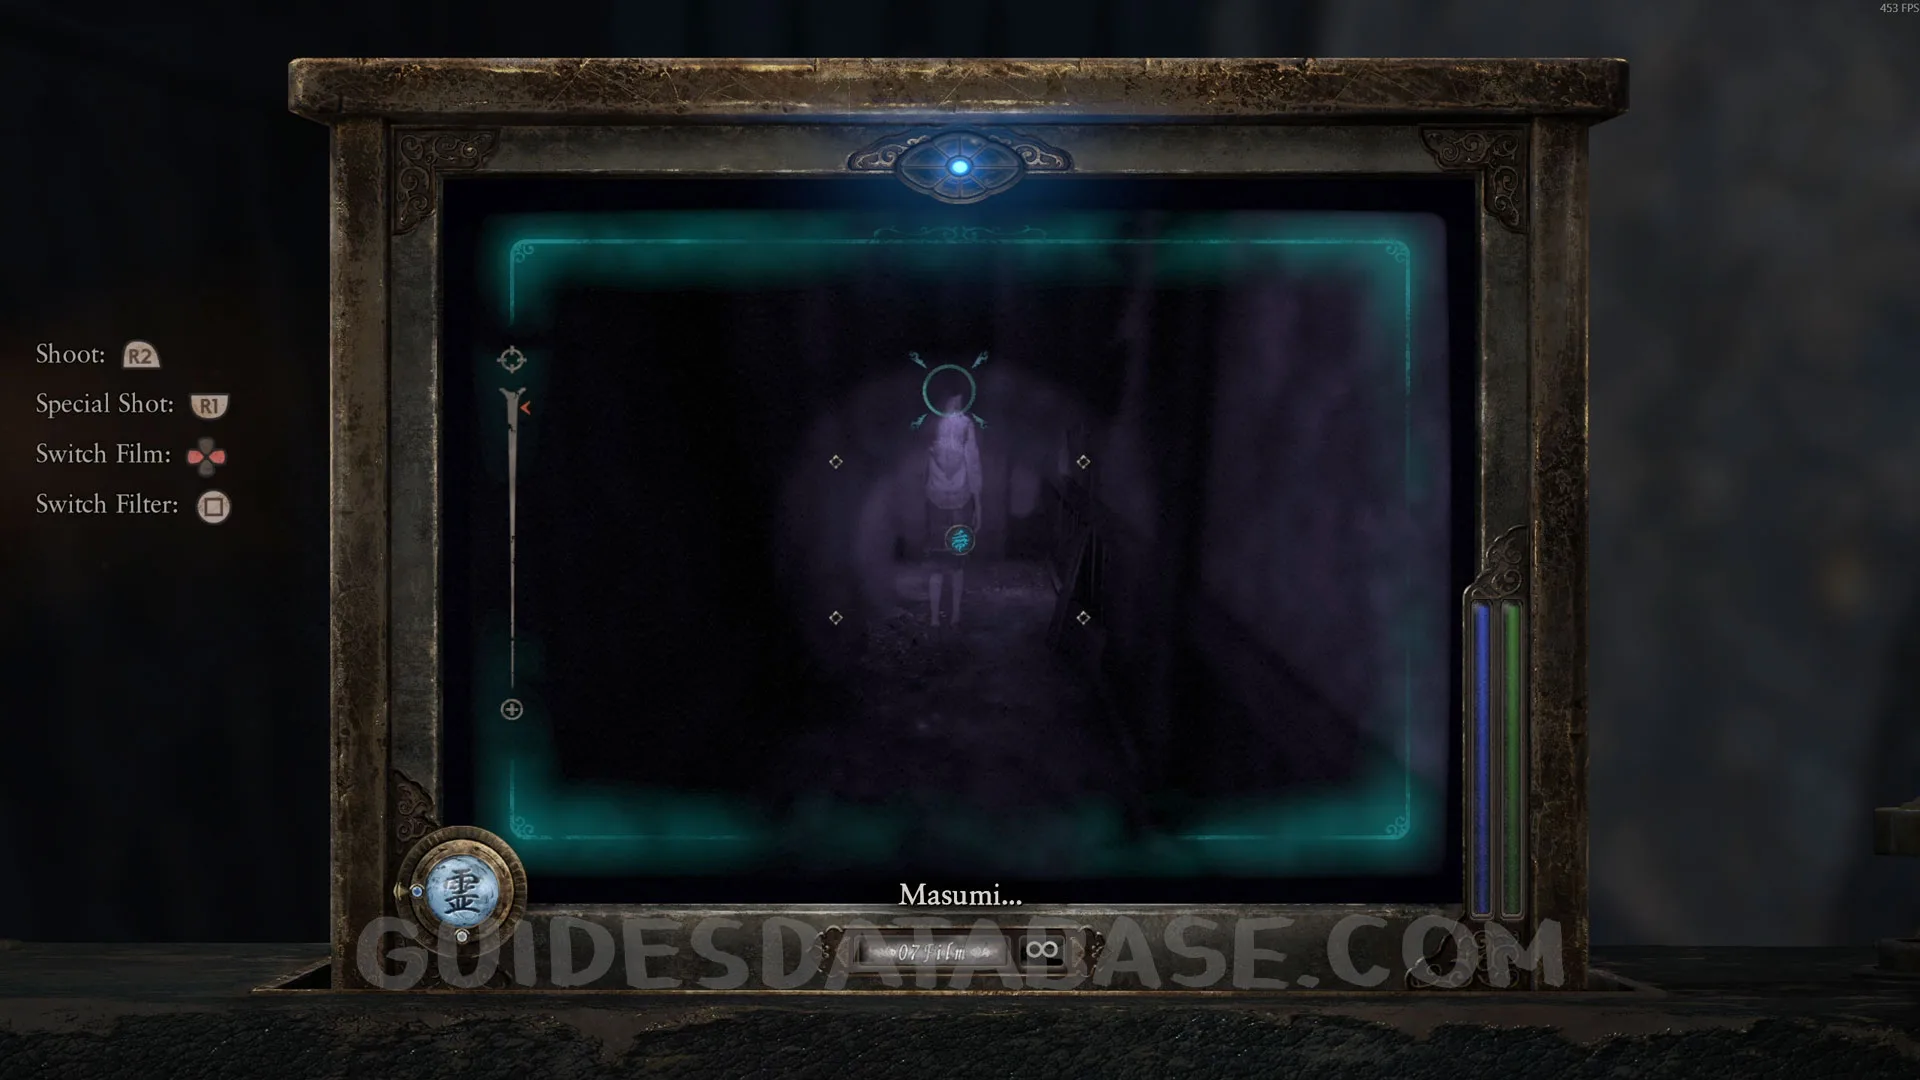 GUIDESDATABASE.COM
Document #17 - Woman's Notebook 10.
From the previous collectible, the specter will open the door that was previously locked. Go through the door and this document will be on the left.
 GUIDESDATABASE.COM
 GUIDESDATABASE.COM
Specter #28 - 173 Lady on the Veranda.
Same area as the previous collectible. Take a photo of the specter.
 GUIDESDATABASE.COM
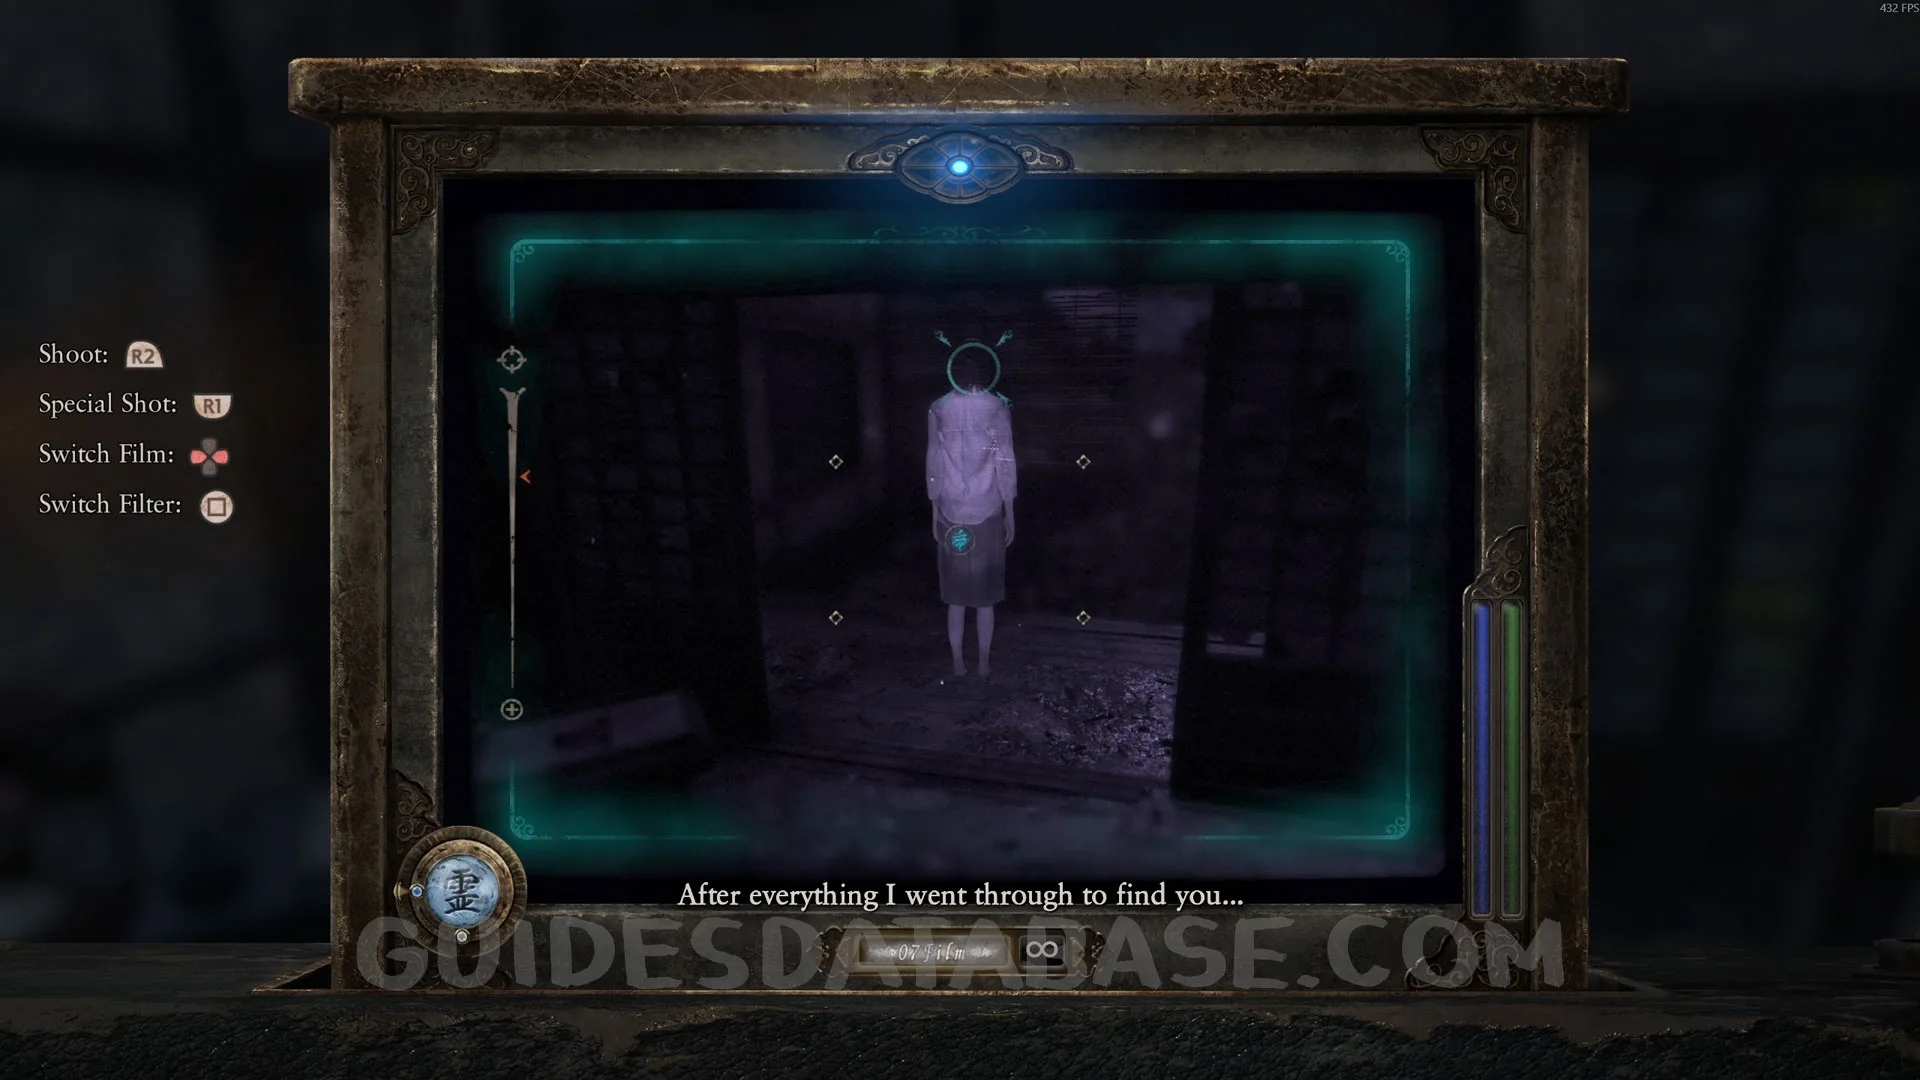 GUIDESDATABASE.COM
Prayer Bead #5.
Same area as the previous collectible. Open the drawer after defeating the specter.
 GUIDESDATABASE.COM
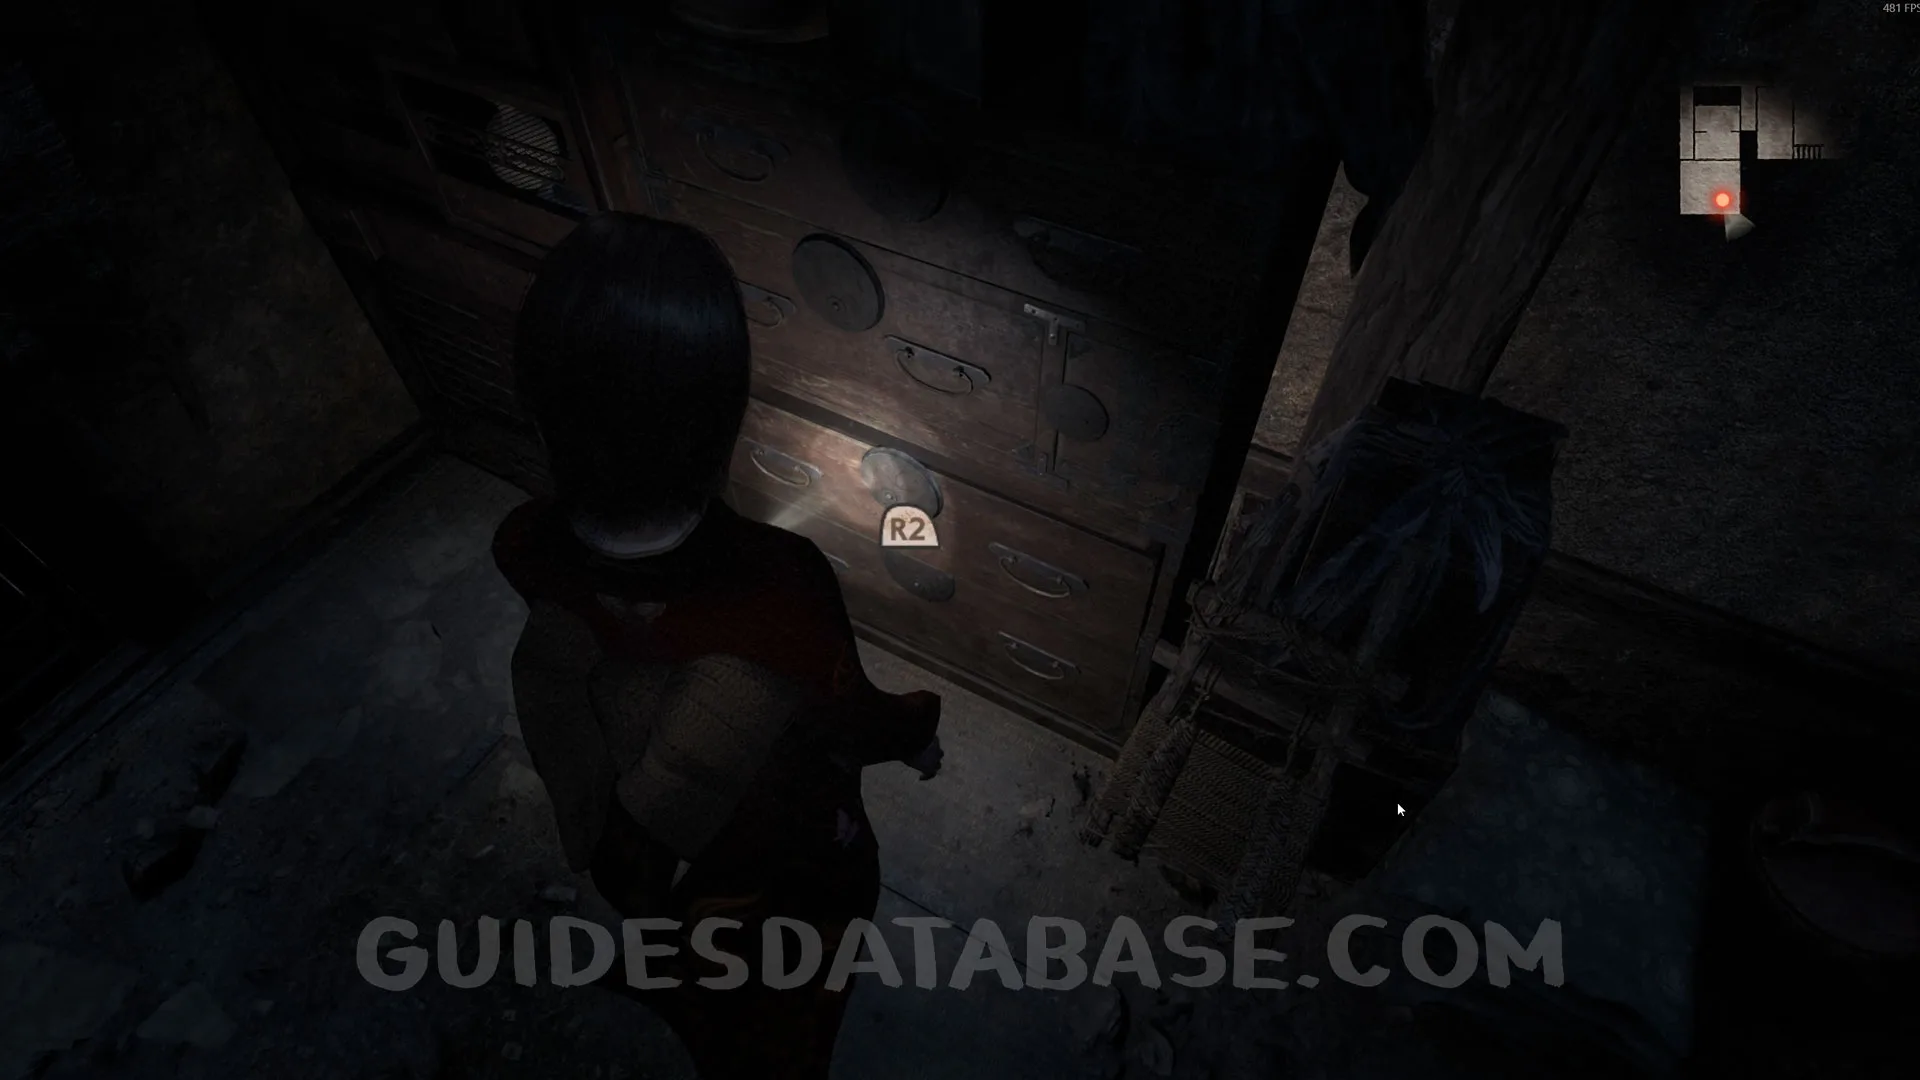 GUIDESDATABASE.COM
Spirit Stone #5 - Zoisite (2/2).
Same area as the previous collectible, where the specter was.
 GUIDESDATABASE.COM
Twin Dolls #15 - 012.
From the previous collectible, head straight to the garden to find these two twin dolls.
 GUIDESDATABASE.COM
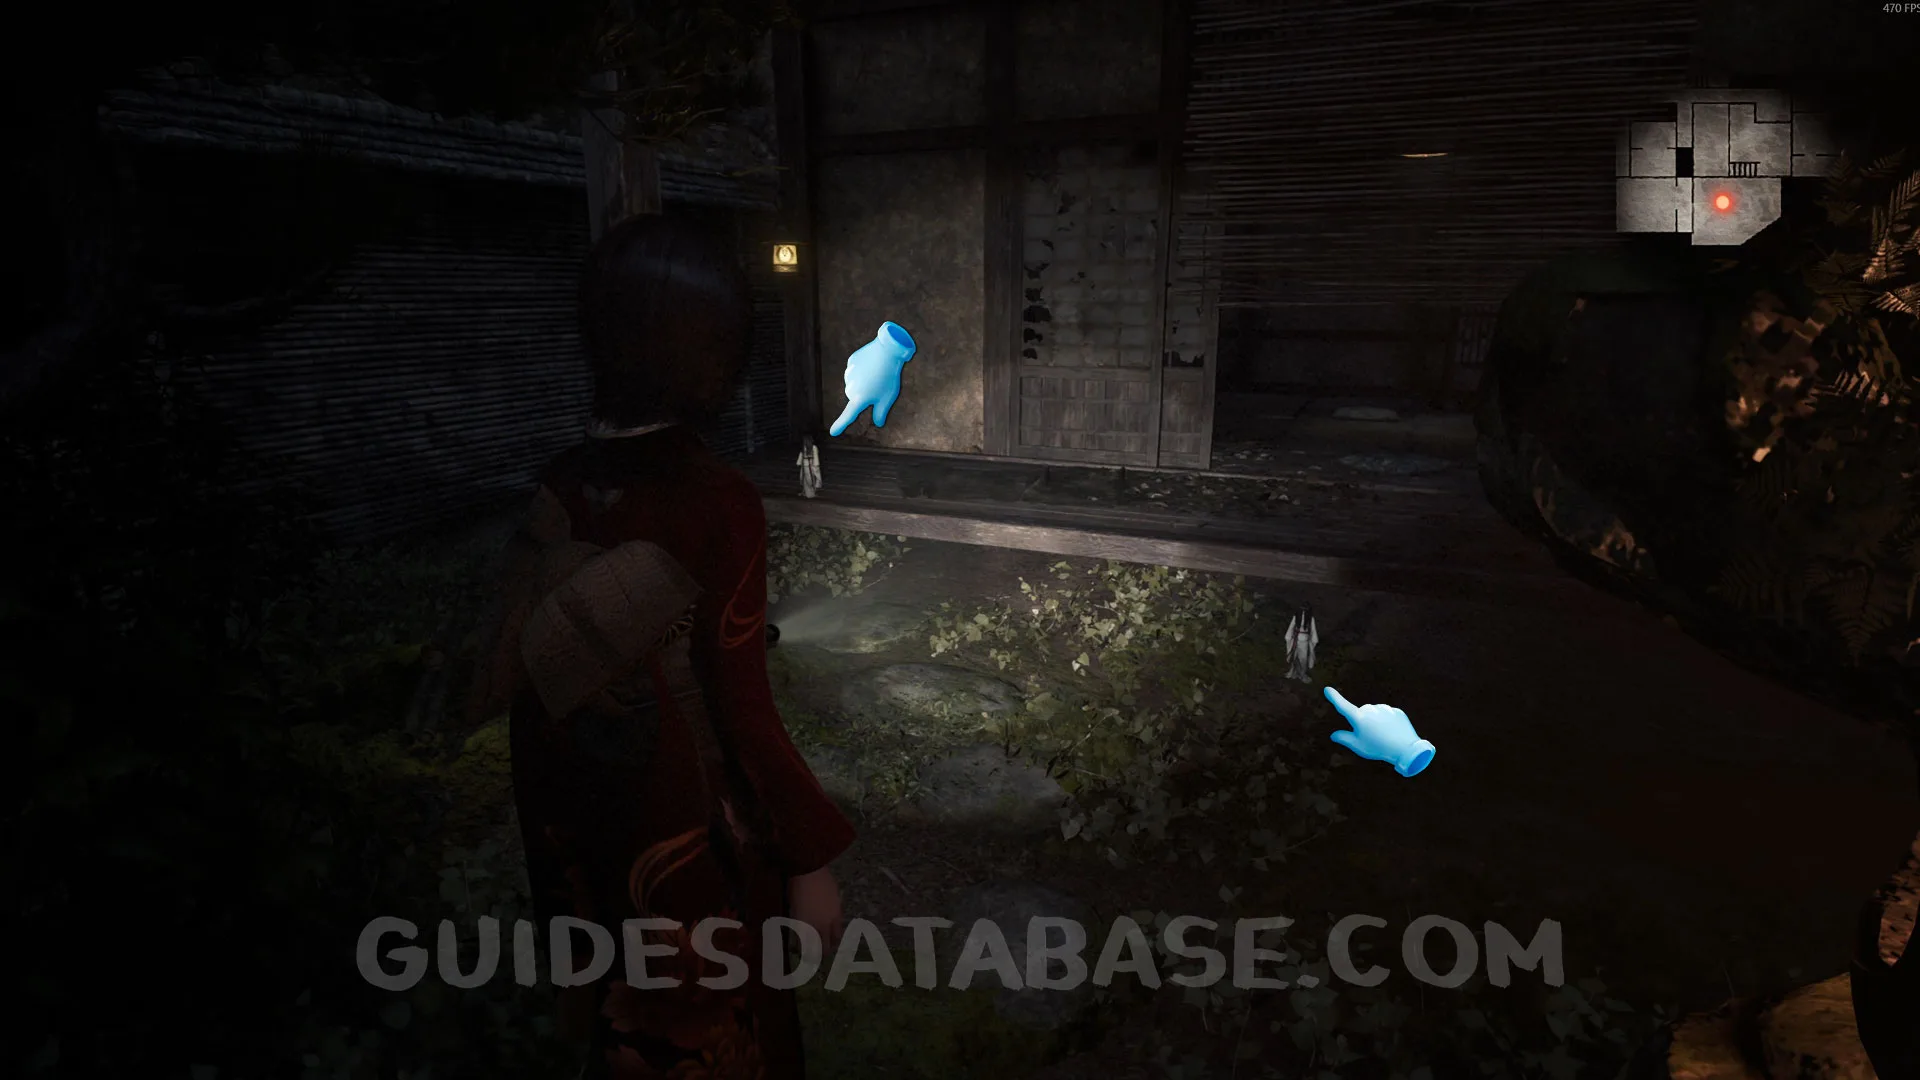 GUIDESDATABASE.COM
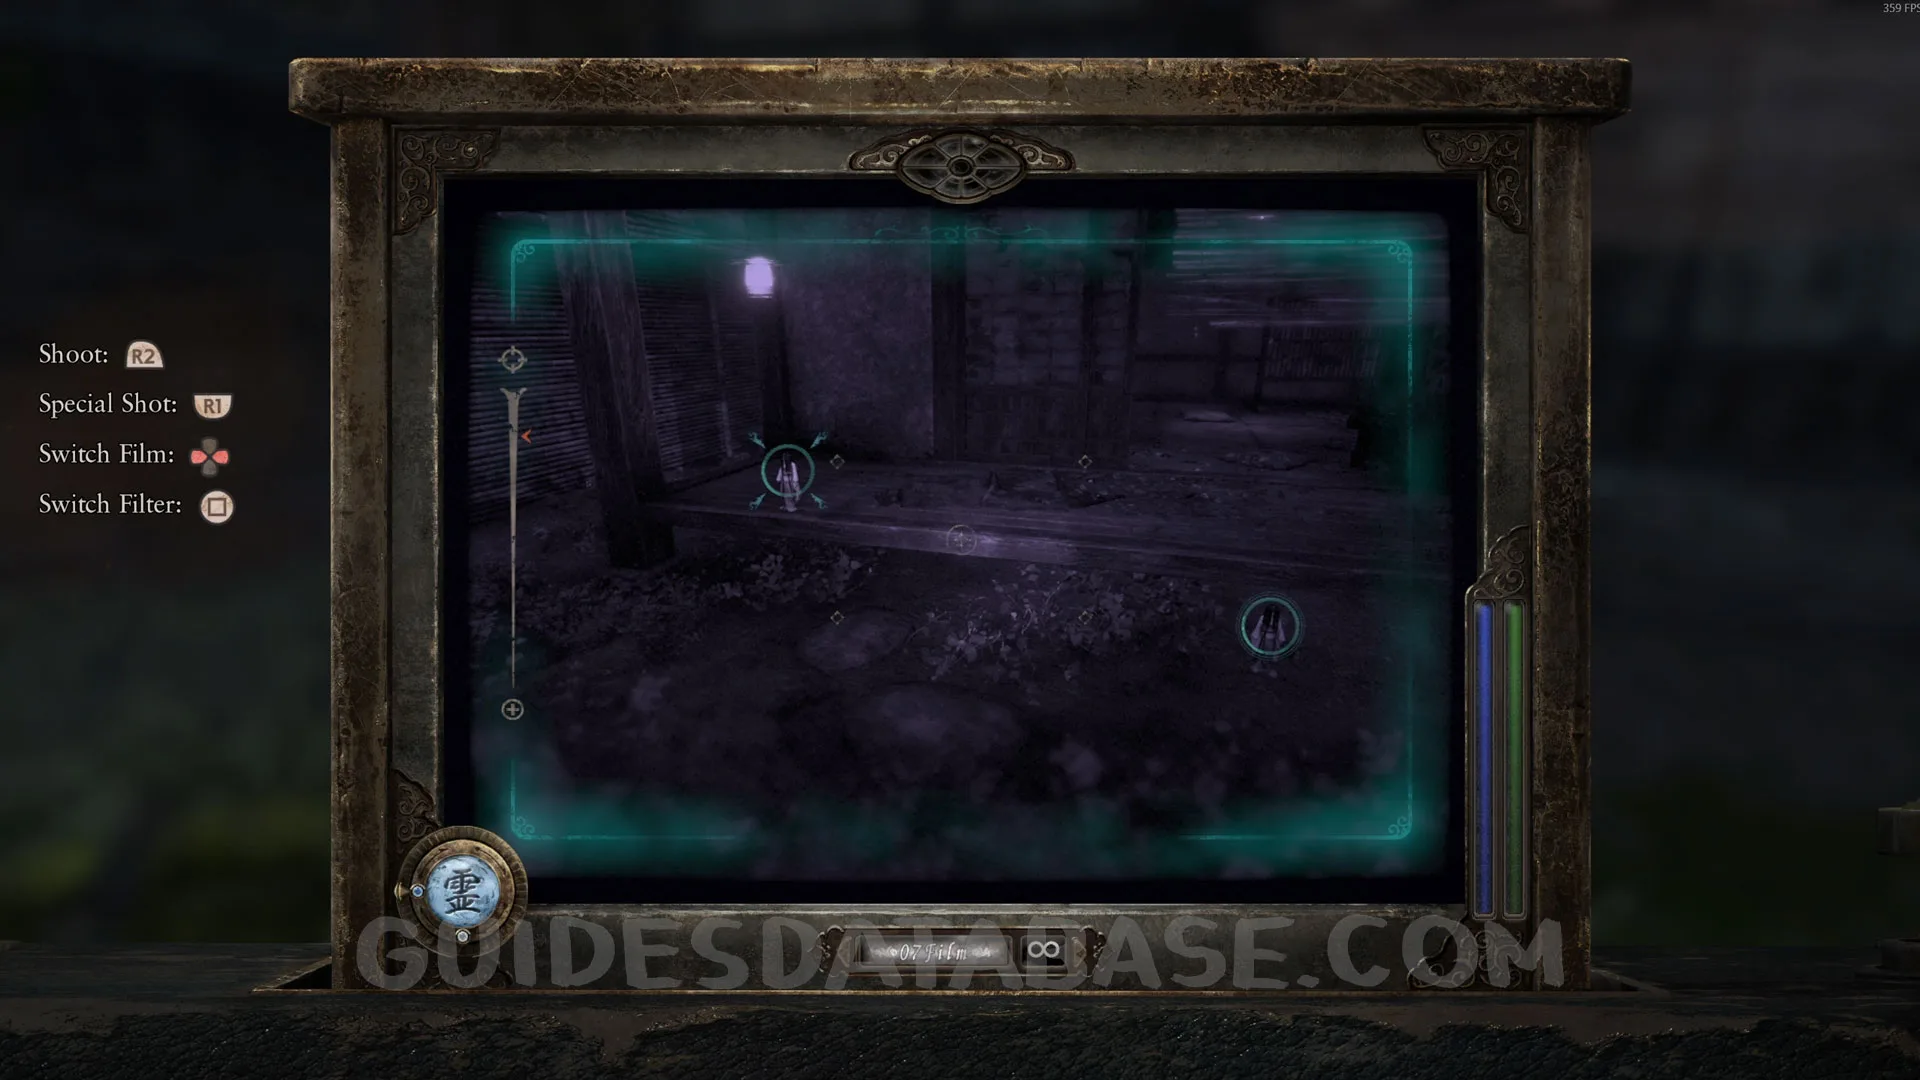 GUIDESDATABASE.COM
Prayer Bead #6.
Left side of the garden, on top of a barrel.
 GUIDESDATABASE.COM
 GUIDESDATABASE.COM
 GUIDESDATABASE.COM
Specter #29 - 174 Man Investigating.
As you exit Osaka House, it will appear right in front of you. Take a photo of it.
 GUIDESDATABASE.COM
 GUIDESDATABASE.COM
Document #18 / Spirit Stone #6 / Side Story #3 - Masumi Makimura.
Directly from the previous collectible, pick up the document on the ground at the entrance of Osaka House. In addition to the document, it will also grant you a Spirit Stone piece and start the Side Story: Masumi Makimura.
 GUIDESDATABASE.COM
Specter #30 - 175 Man Investigating the Hilltop.
After leaving Osaka House, head back to where you started the game and you will see this specter. Take a photo of it.
 GUIDESDATABASE.COM
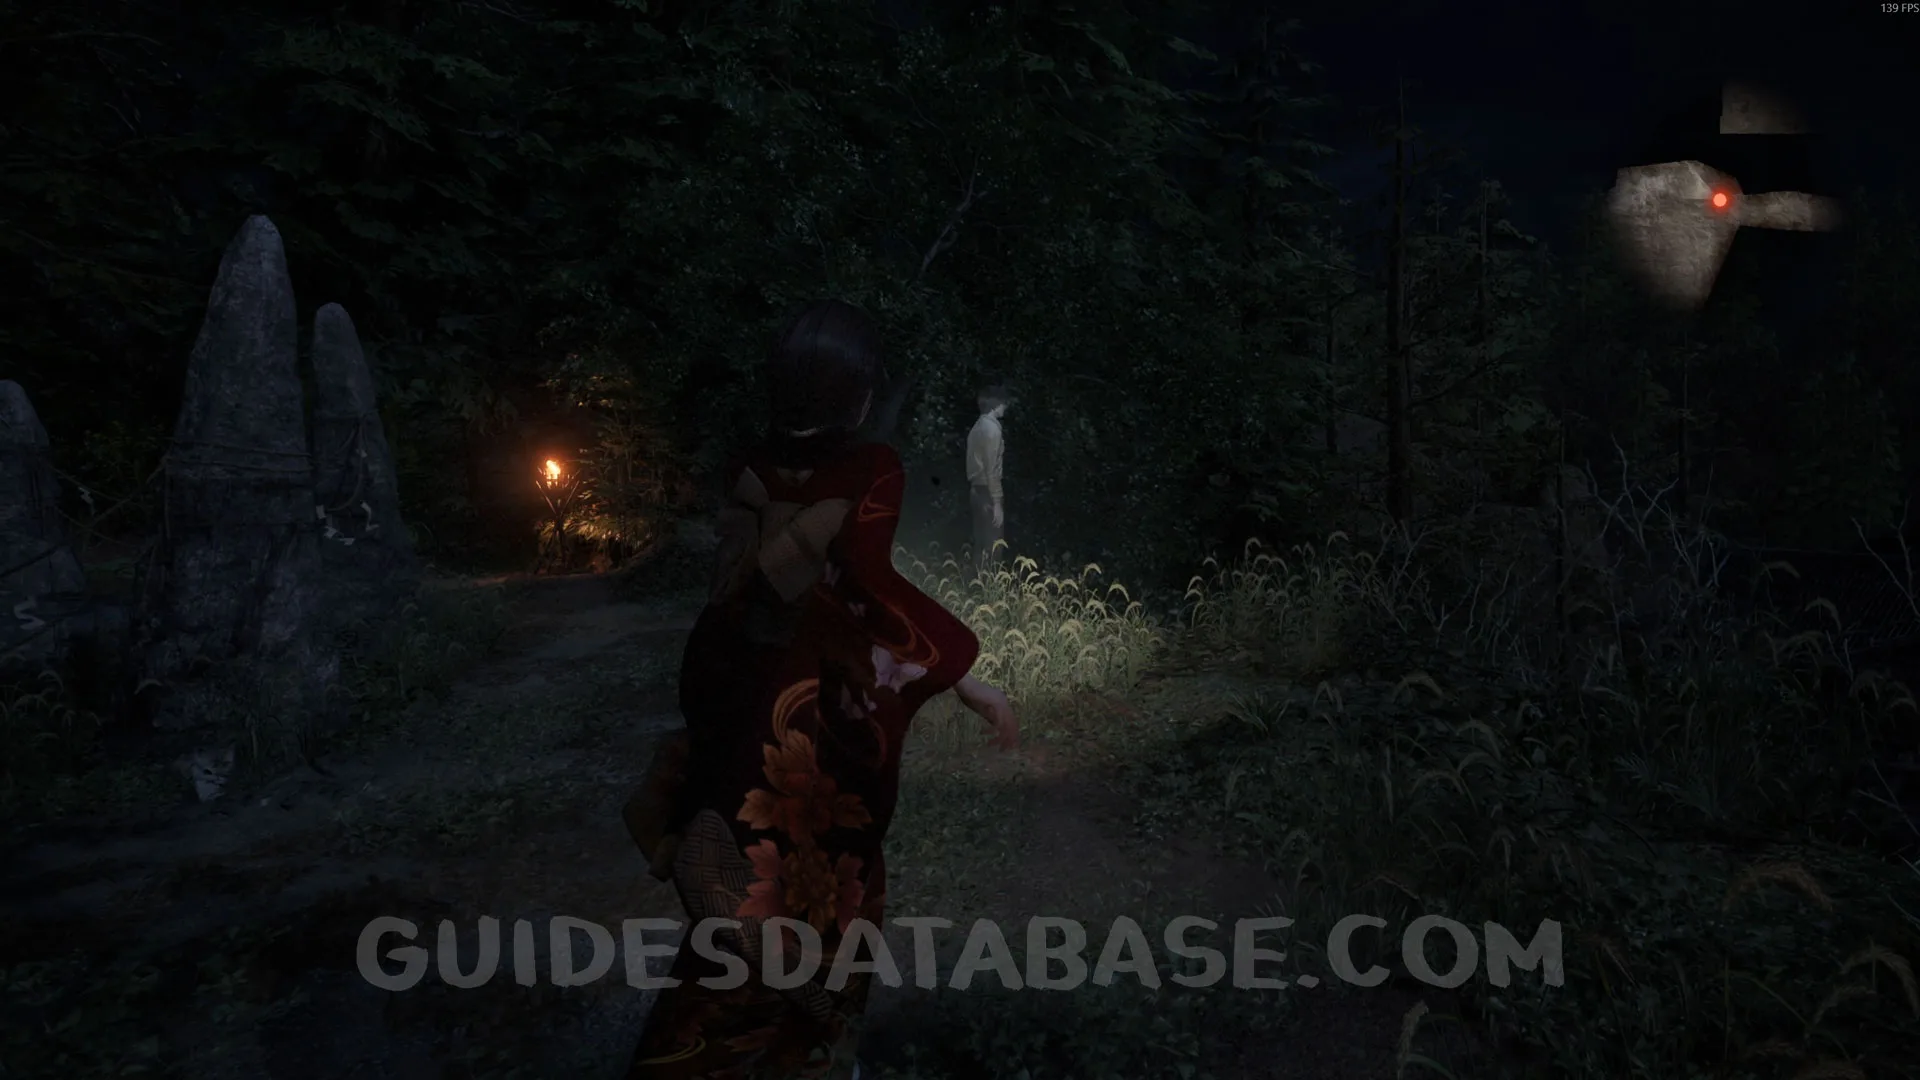 GUIDESDATABASE.COM
 GUIDESDATABASE.COM
Document #19 - Village Report 4.
Same location where the previous specter was, you will find this document.
 GUIDESDATABASE.COM
 GUIDESDATABASE.COM
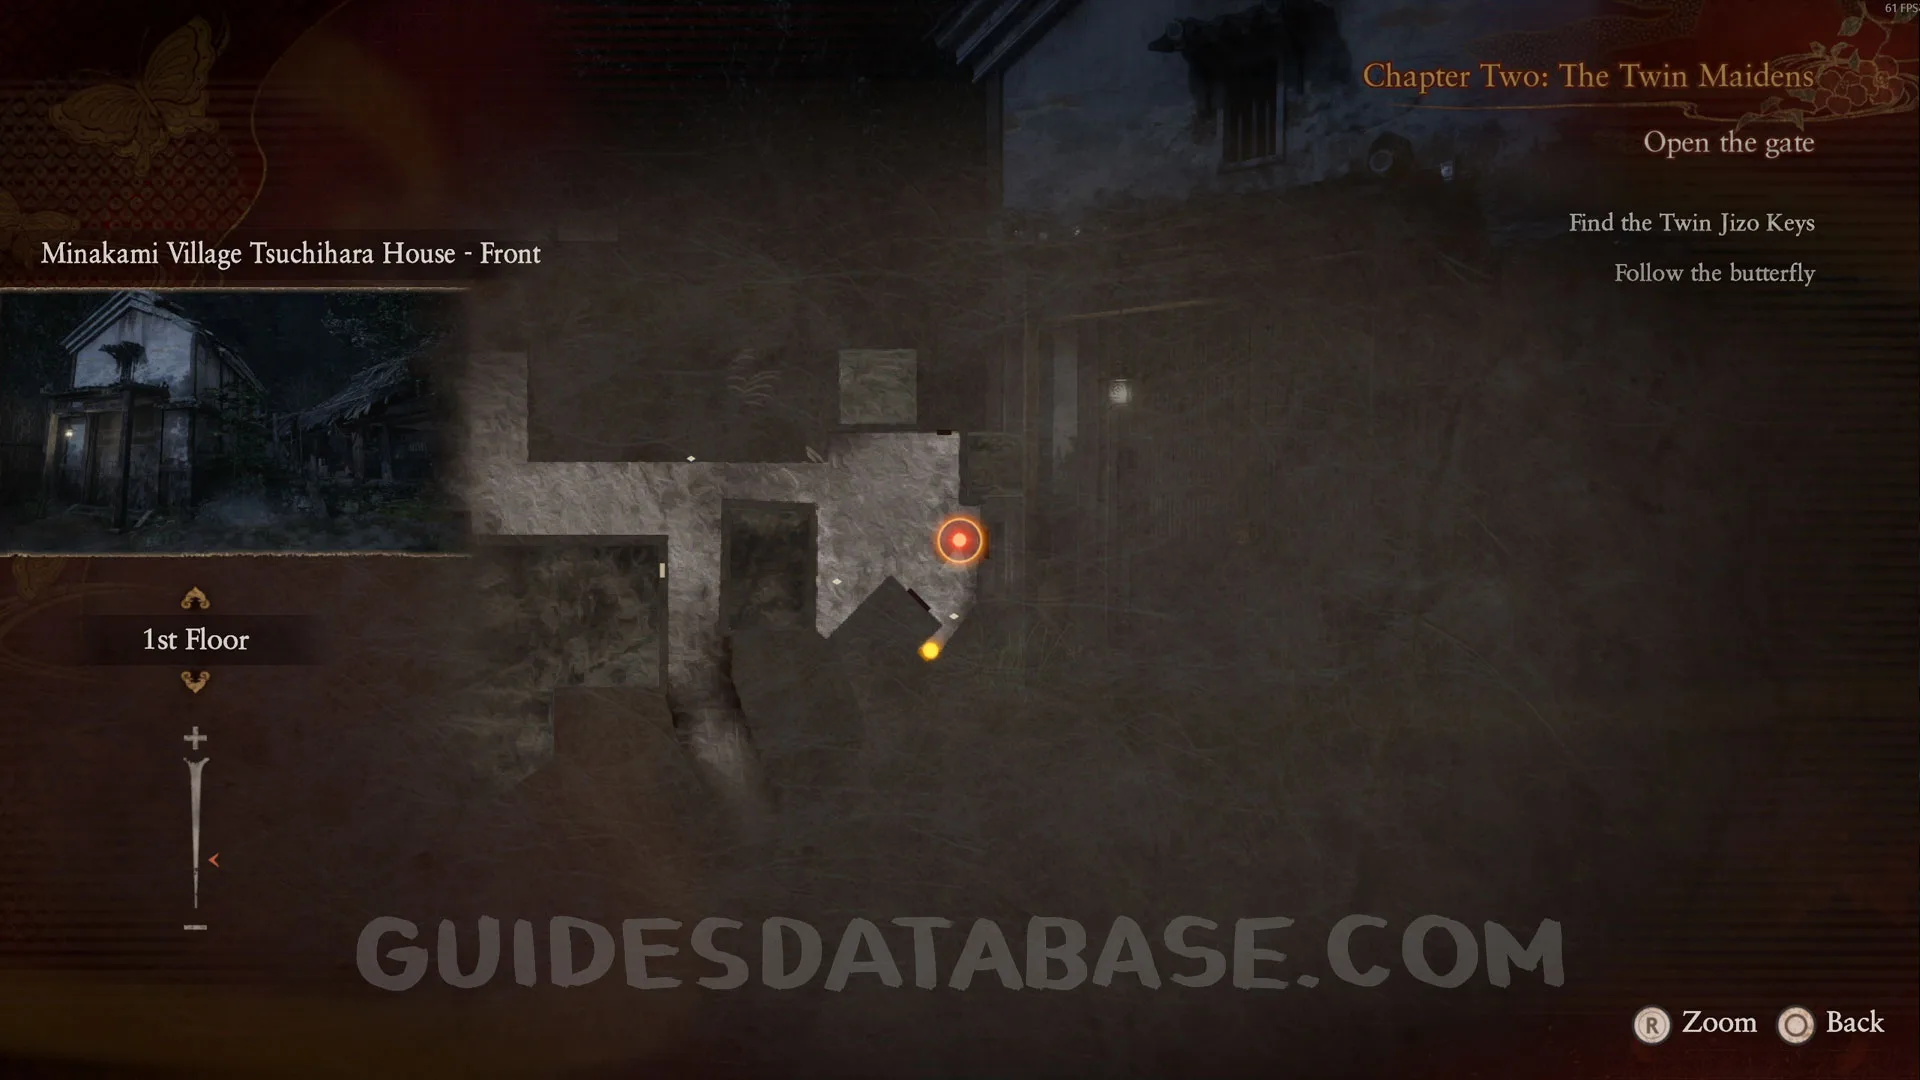
Specter #31 - 177 Well Investigator.
Head back to Tsuchihara House - Front and you will see the specter in front of the well. Take a photo of it.
 GUIDESDATABASE.COM
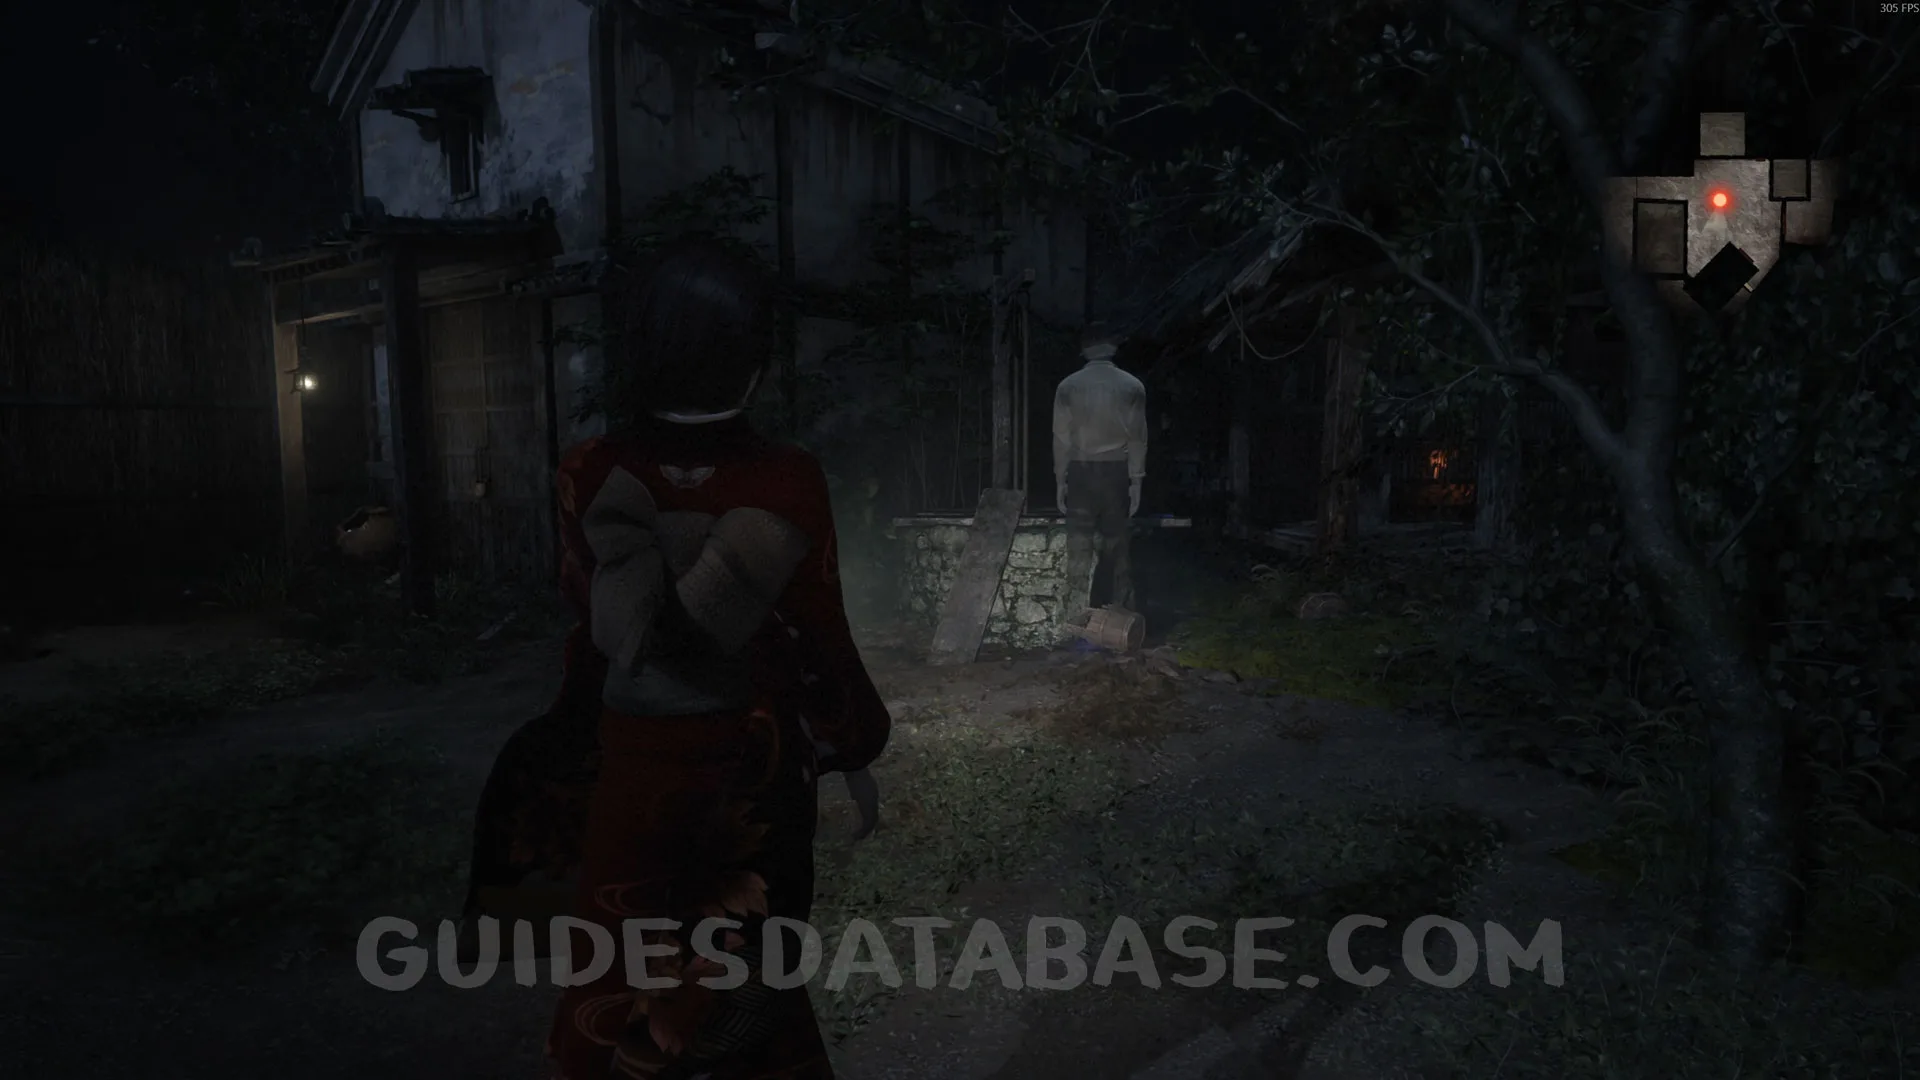 GUIDESDATABASE.COM
 GUIDESDATABASE.COM
Document #20 - Village Report 2.
Same area as the previous collectible, in front of the well you will find this document.
 GUIDESDATABASE.COM
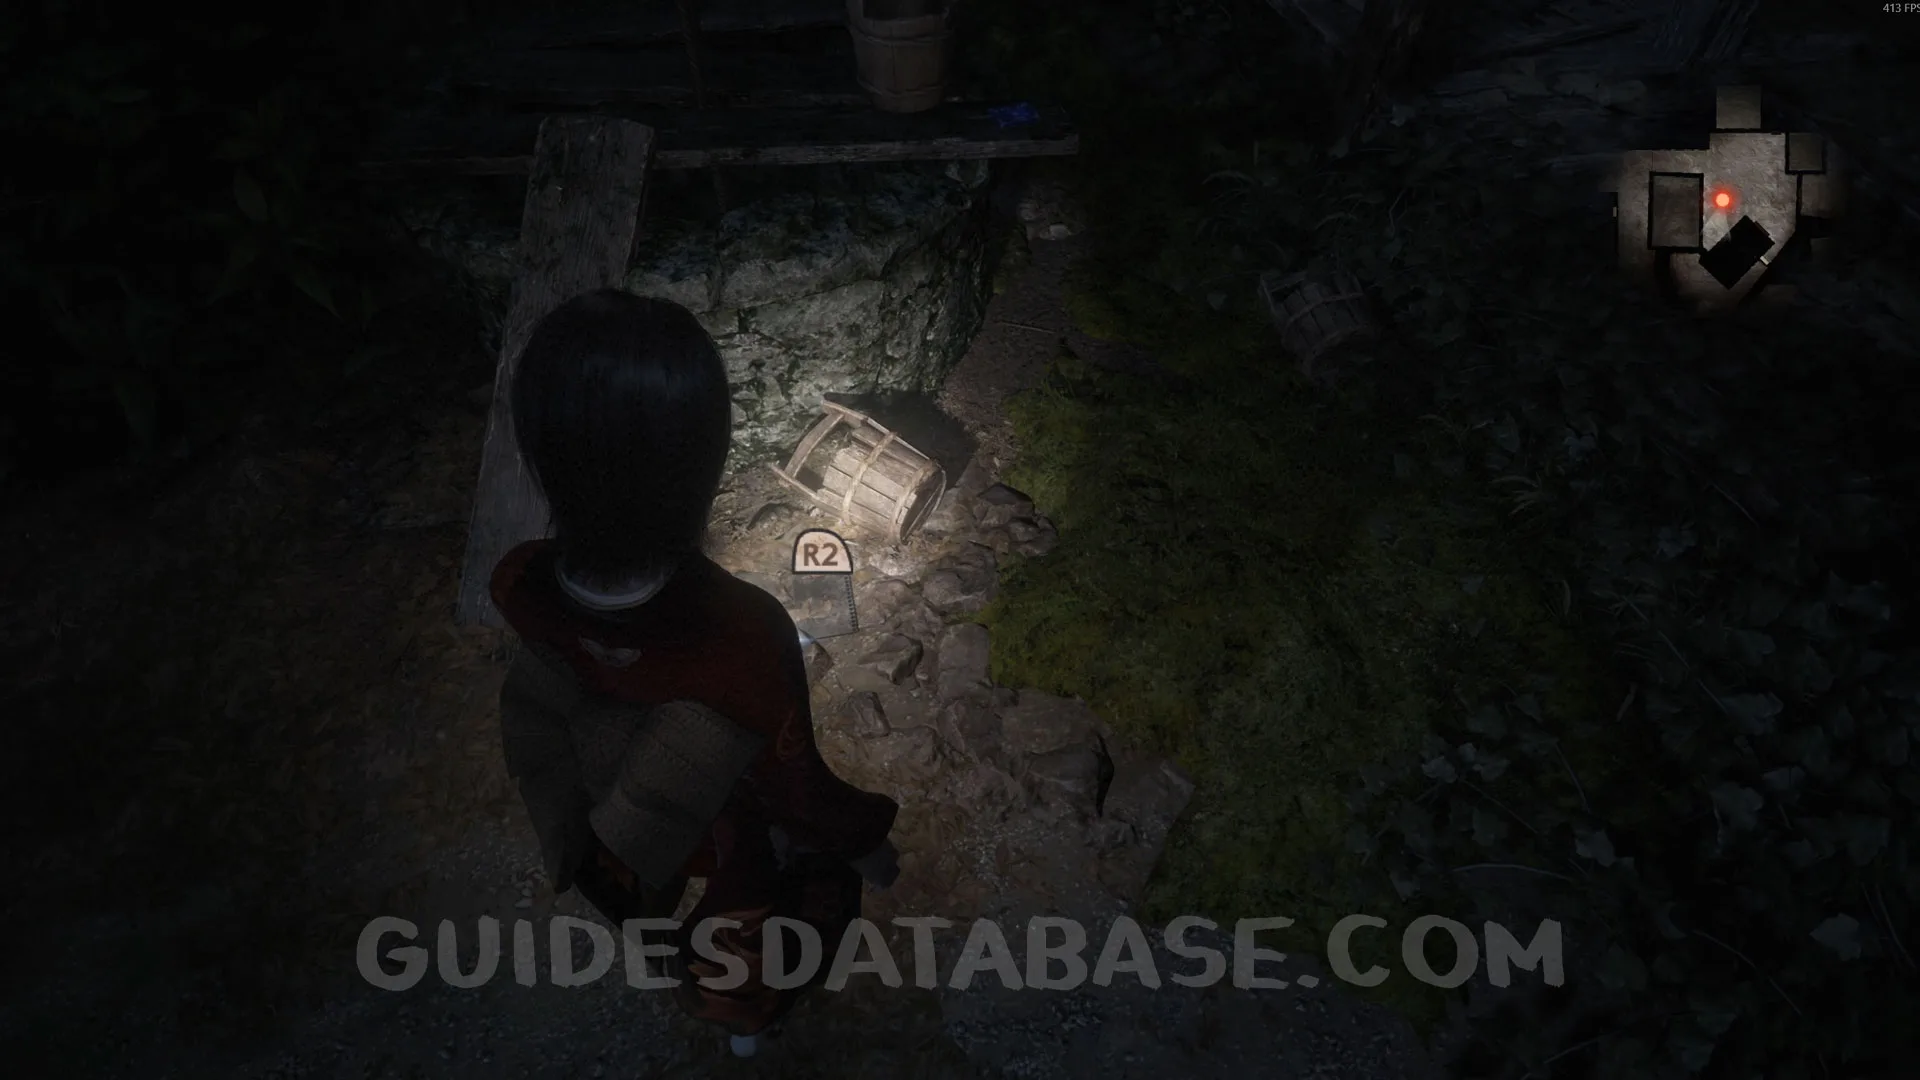 GUIDESDATABASE.COM
Specter #32 - 176 Statue Investigator.
Head to Kiryu House - Back by following the butterfly and as you cross the wooden bridge you will see this specter in front of you.
 GUIDESDATABASE.COM
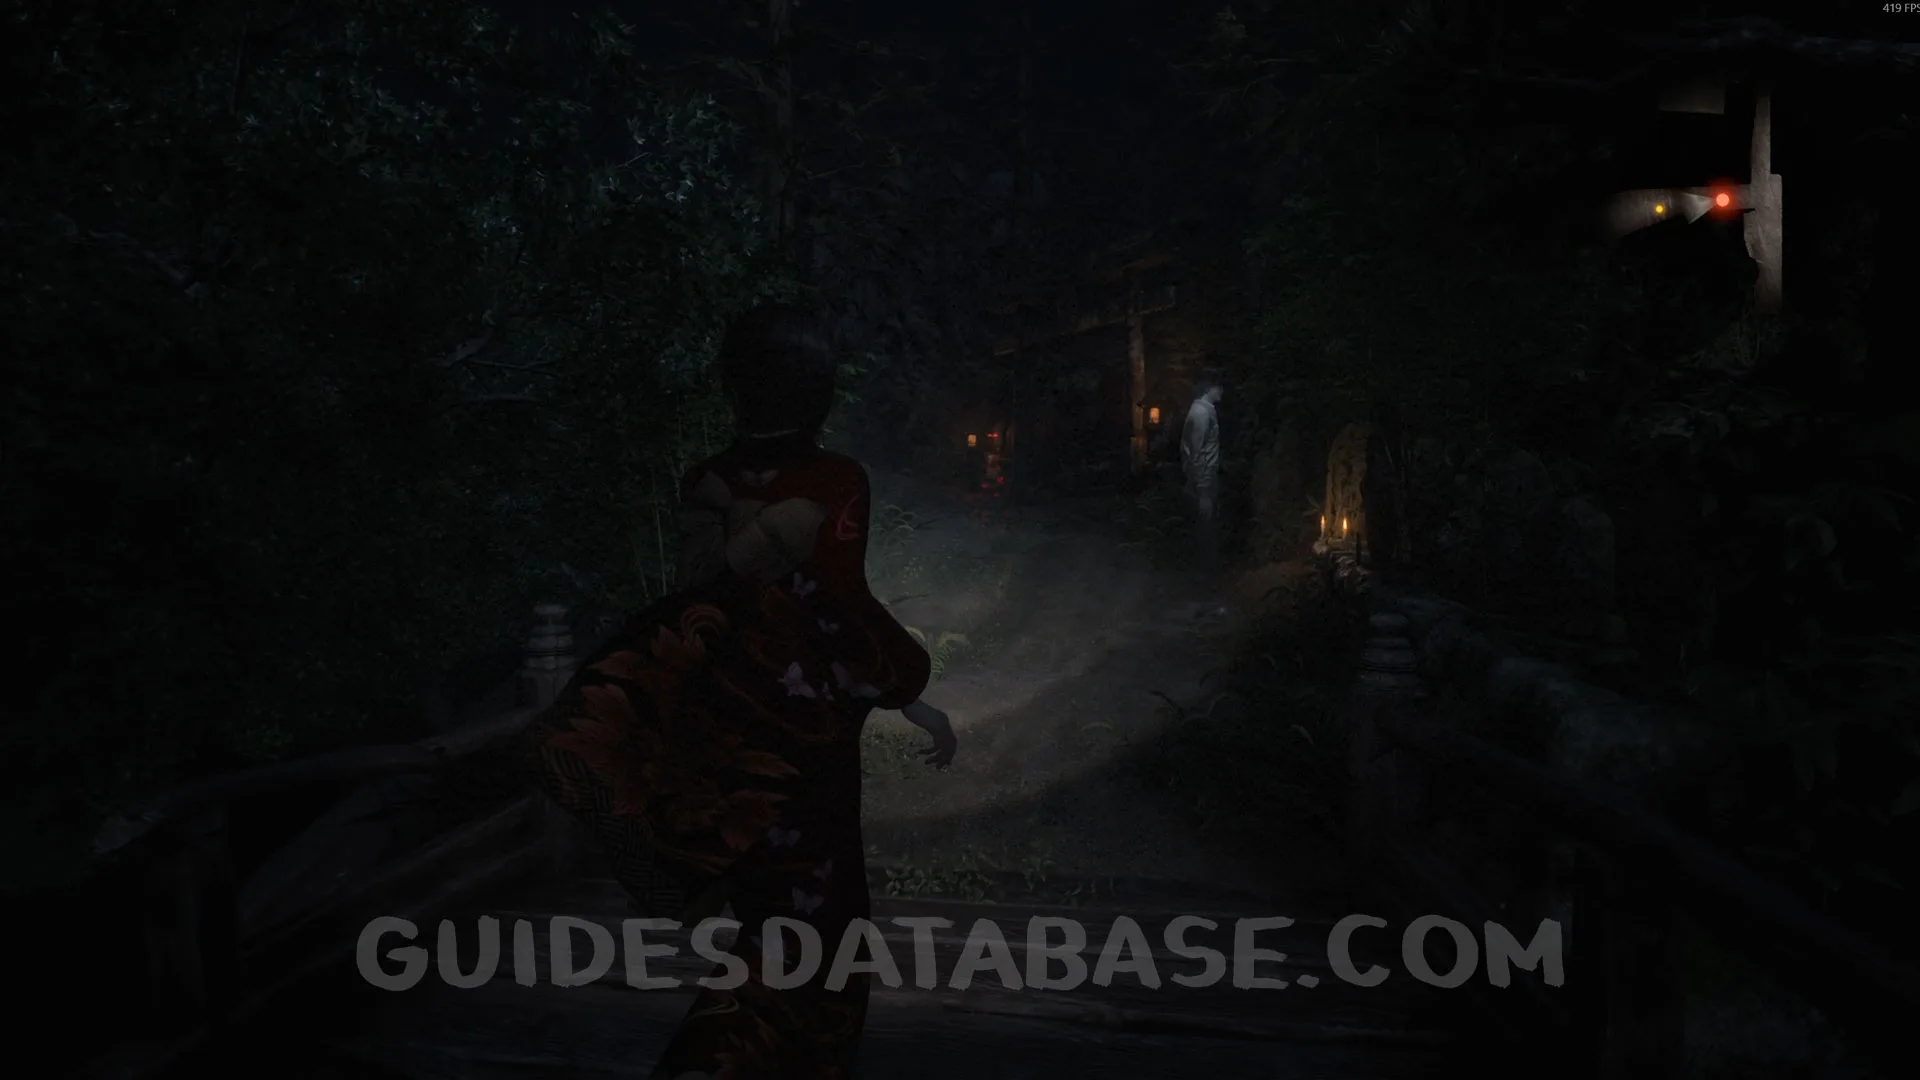 GUIDESDATABASE.COM
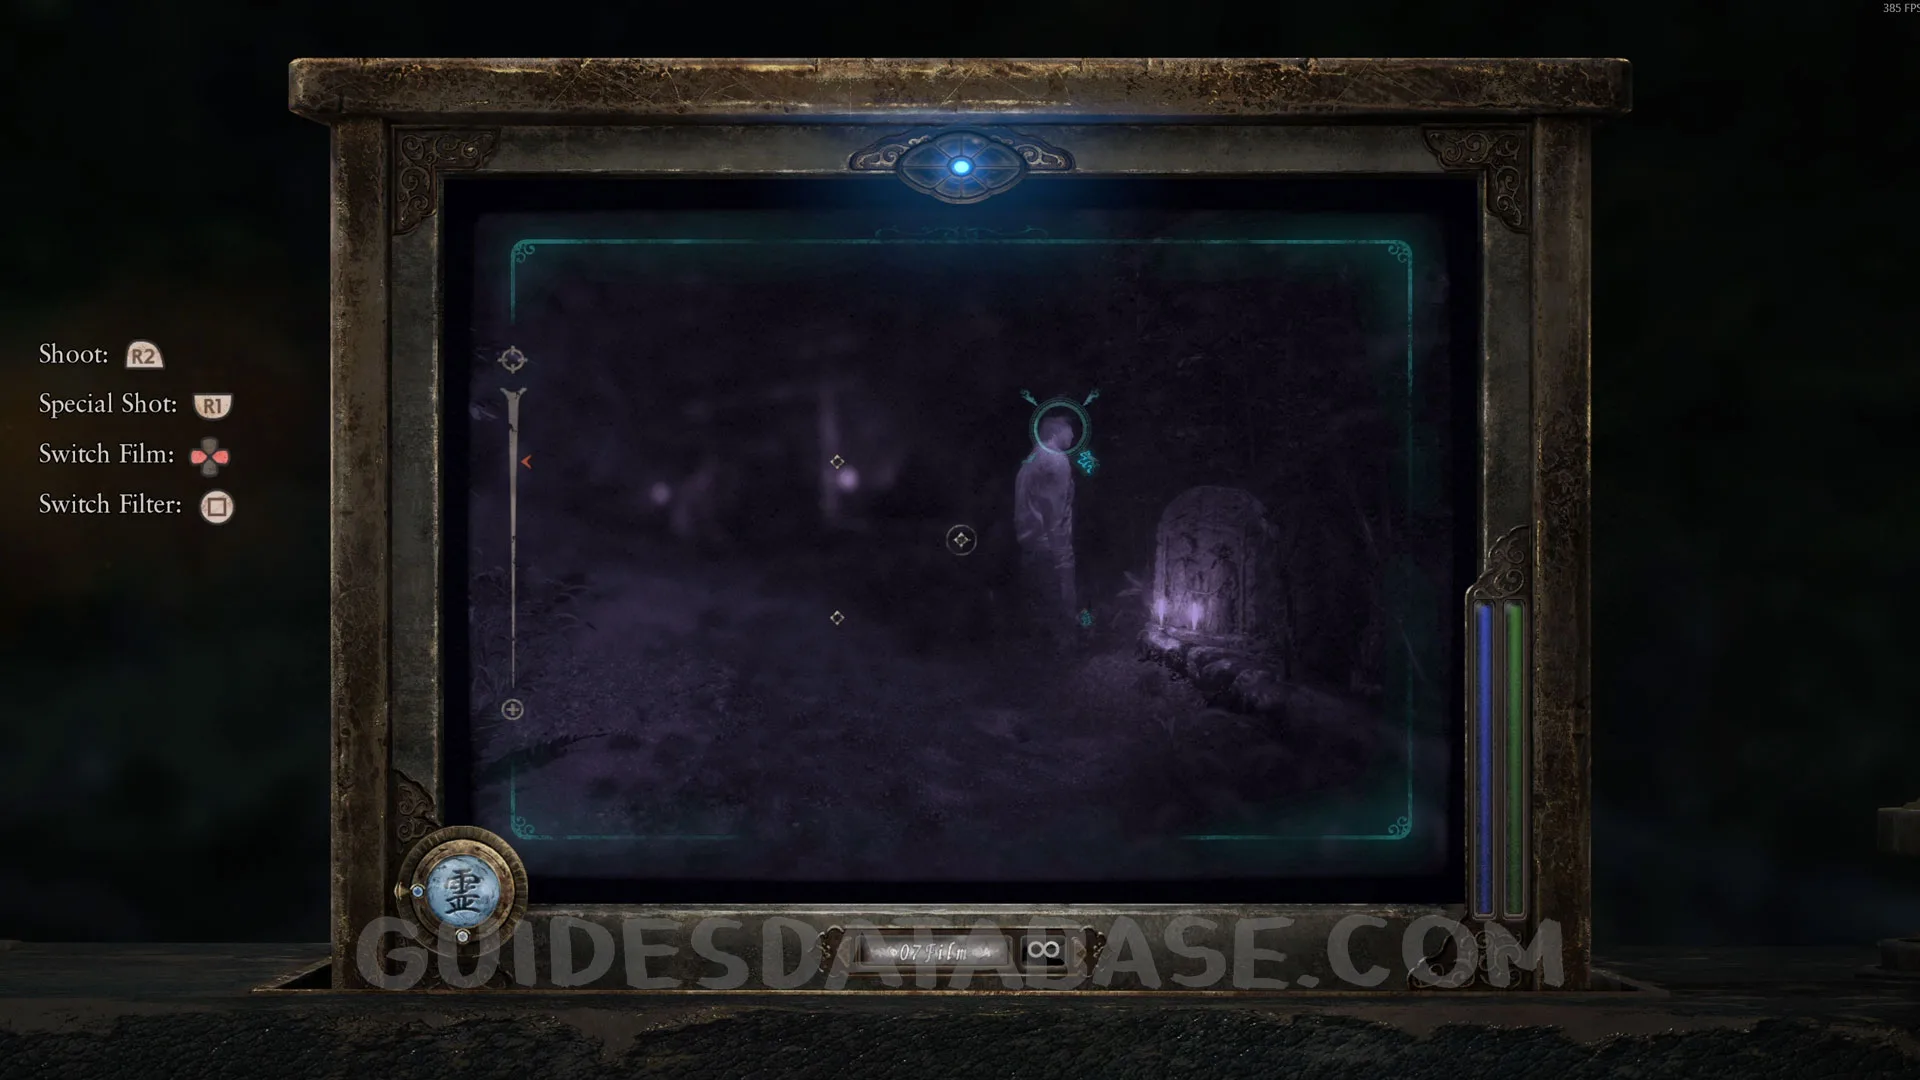 GUIDESDATABASE.COM
Document #21 - Village Report 1.
Same location as the previous specter, on the ground.
 GUIDESDATABASE.COM
Specter #33 - 178 Man Searching Grounds.
From the previous collectible, keep going up the stairs and you will see another specter in front of you. Take a photo of it.
 GUIDESDATABASE.COM
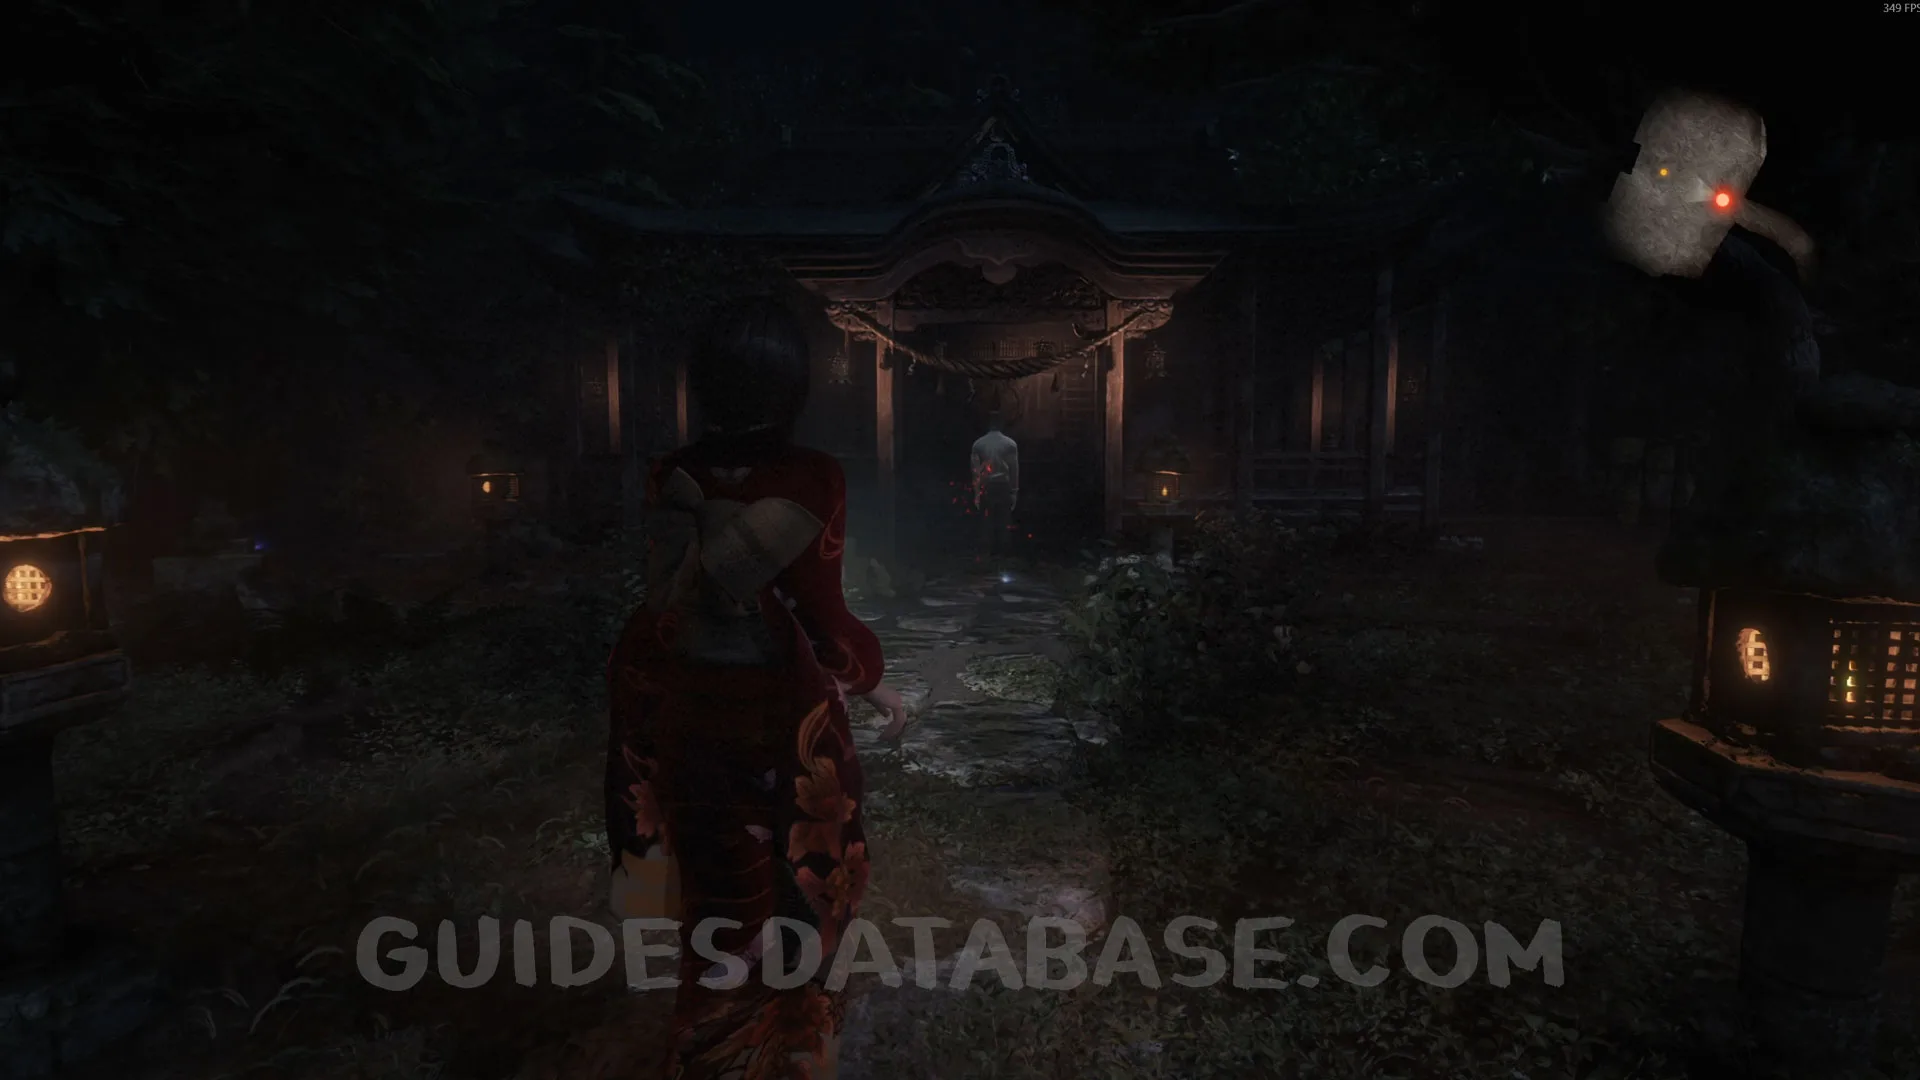 GUIDESDATABASE.COM
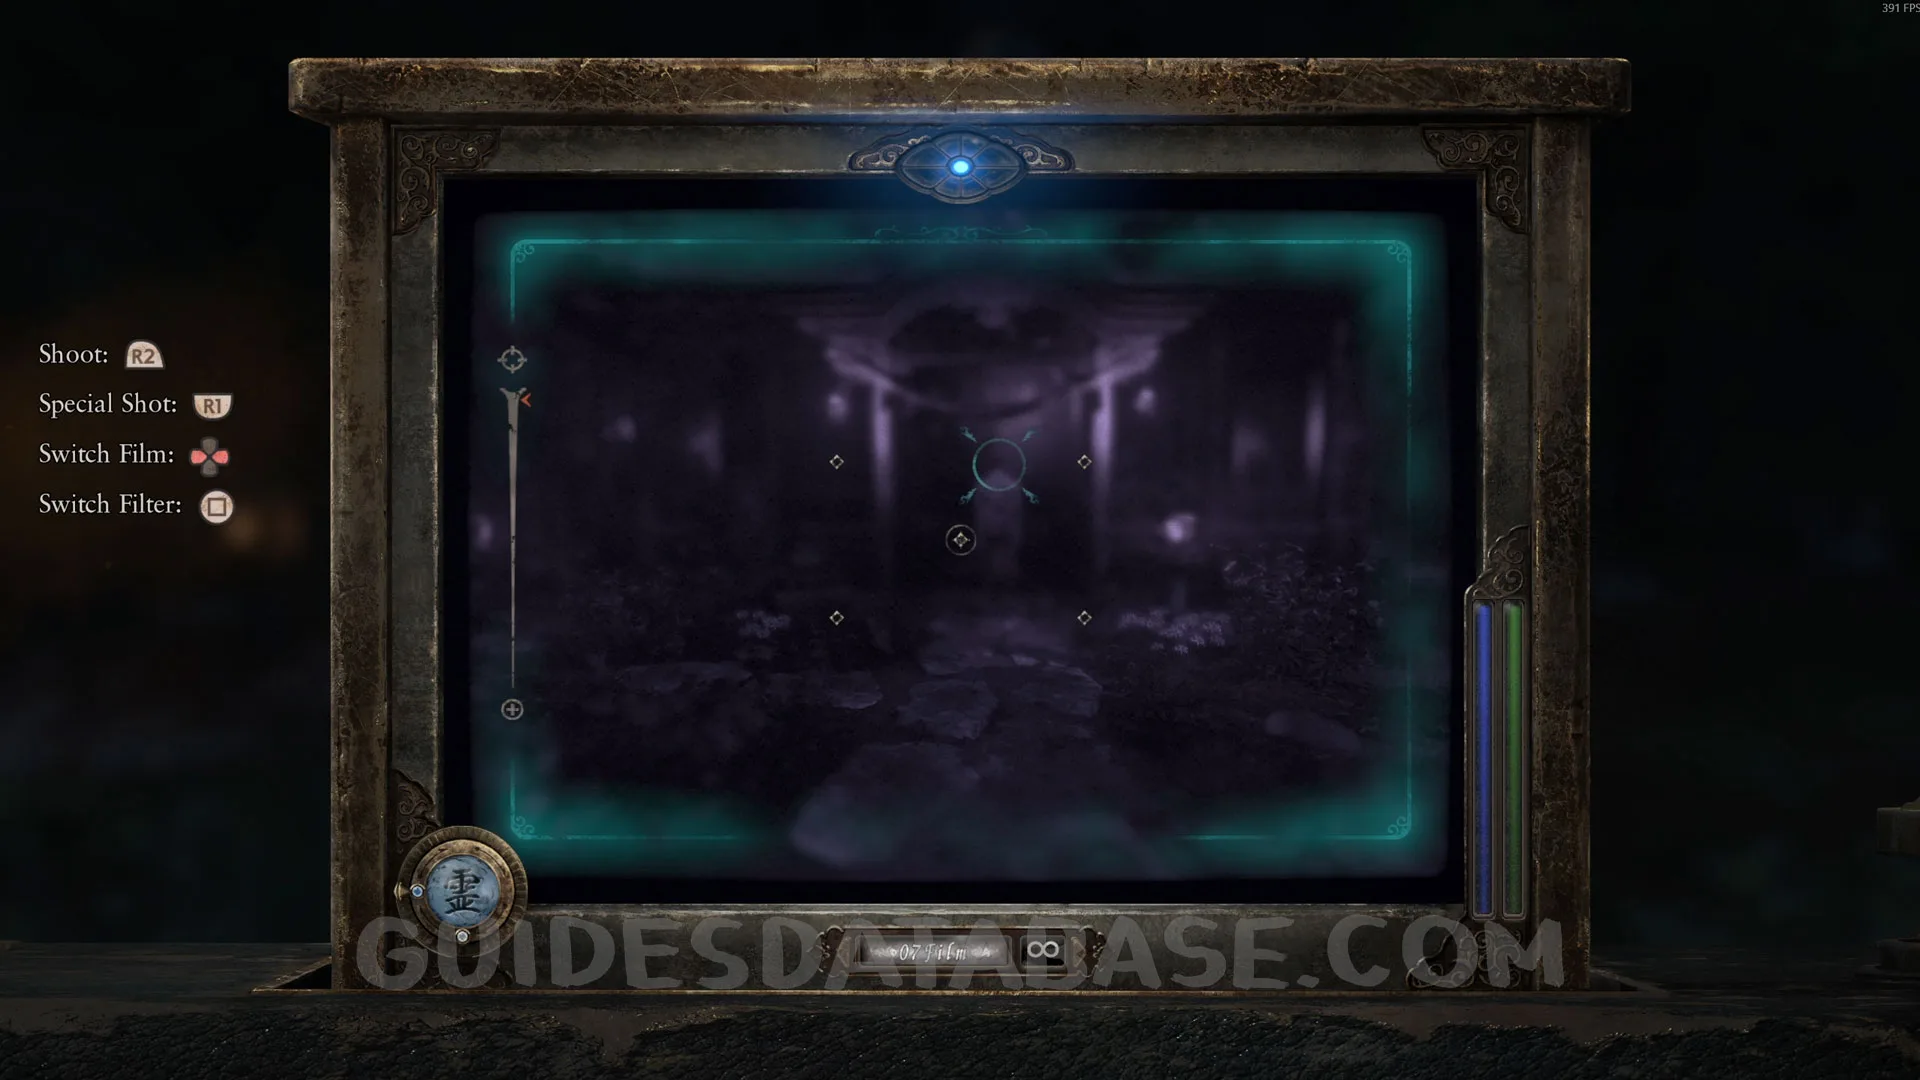 GUIDESDATABASE.COM
Document #22 + Document #23 - Village Report 3 + Village Report 5.
Same area where the previous specter was. If you collected all the Village Reports you will receive Village Report 5.
 GUIDESDATABASE.COM
Prayer Bead #7.
Inside the temple, next to the save point.
 GUIDESDATABASE.COM
 GUIDESDATABASE.COM
Twin Dolls #16 - 014.
From the previous collectible, go to the left of the table in the center and you will be able to see these twin dolls.
 GUIDESDATABASE.COM
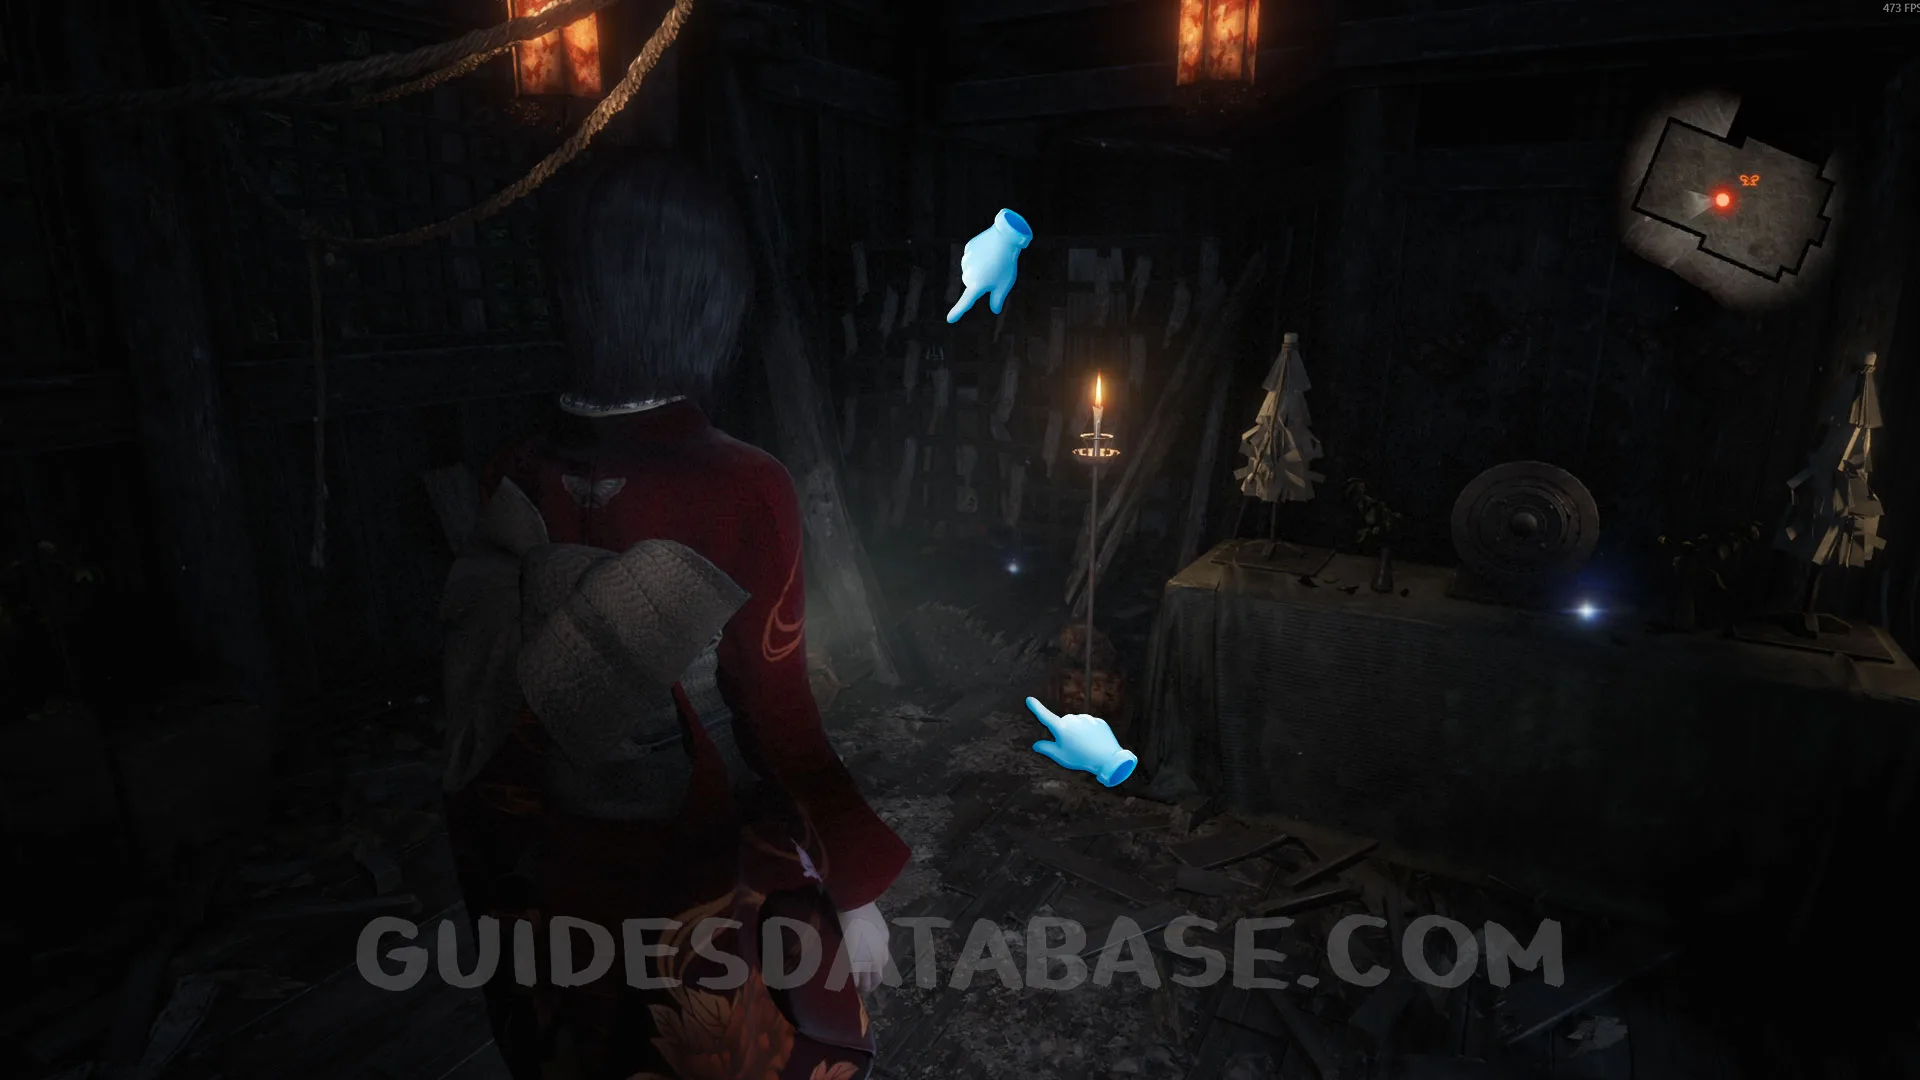 GUIDESDATABASE.COM
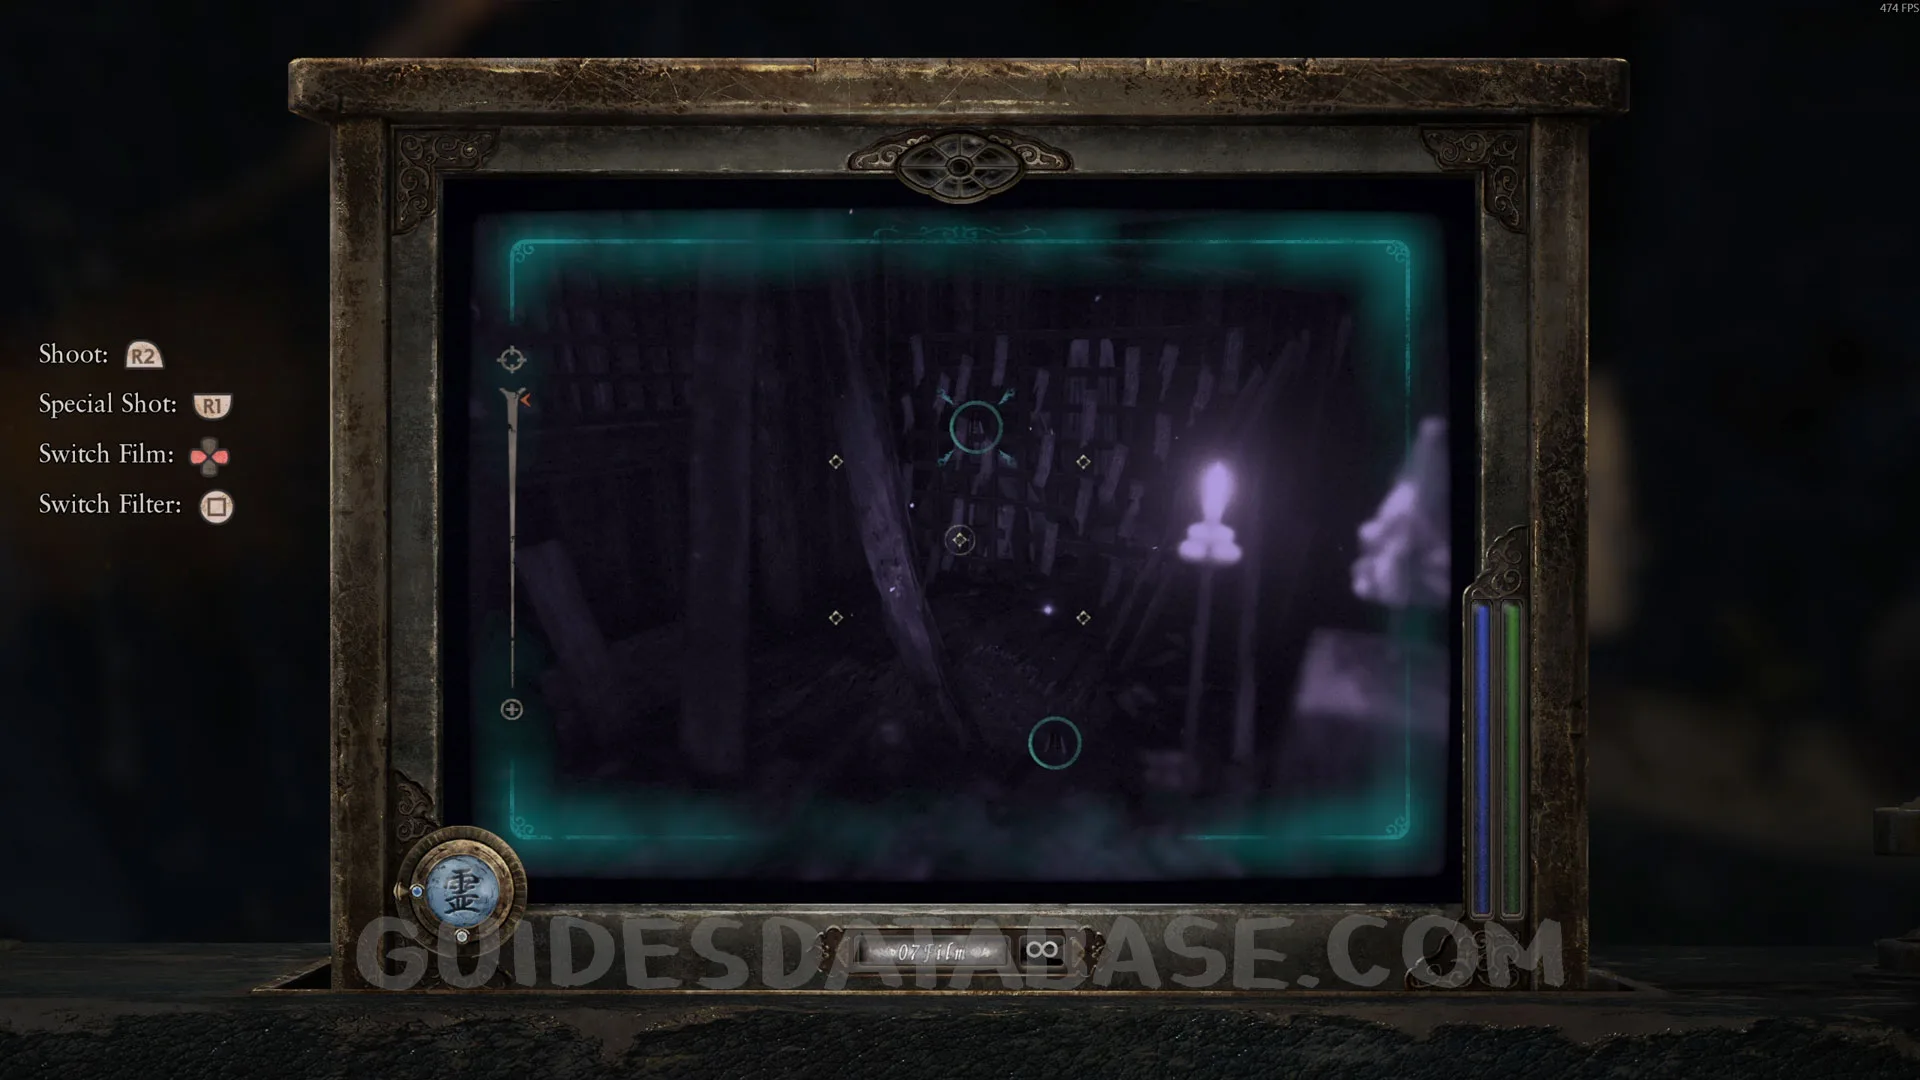 GUIDESDATABASE.COM
Spirit Stone #7 - Glowing Blue Crystal.
Same area as the previous collectible, on top of the table.
 GUIDESDATABASE.COM
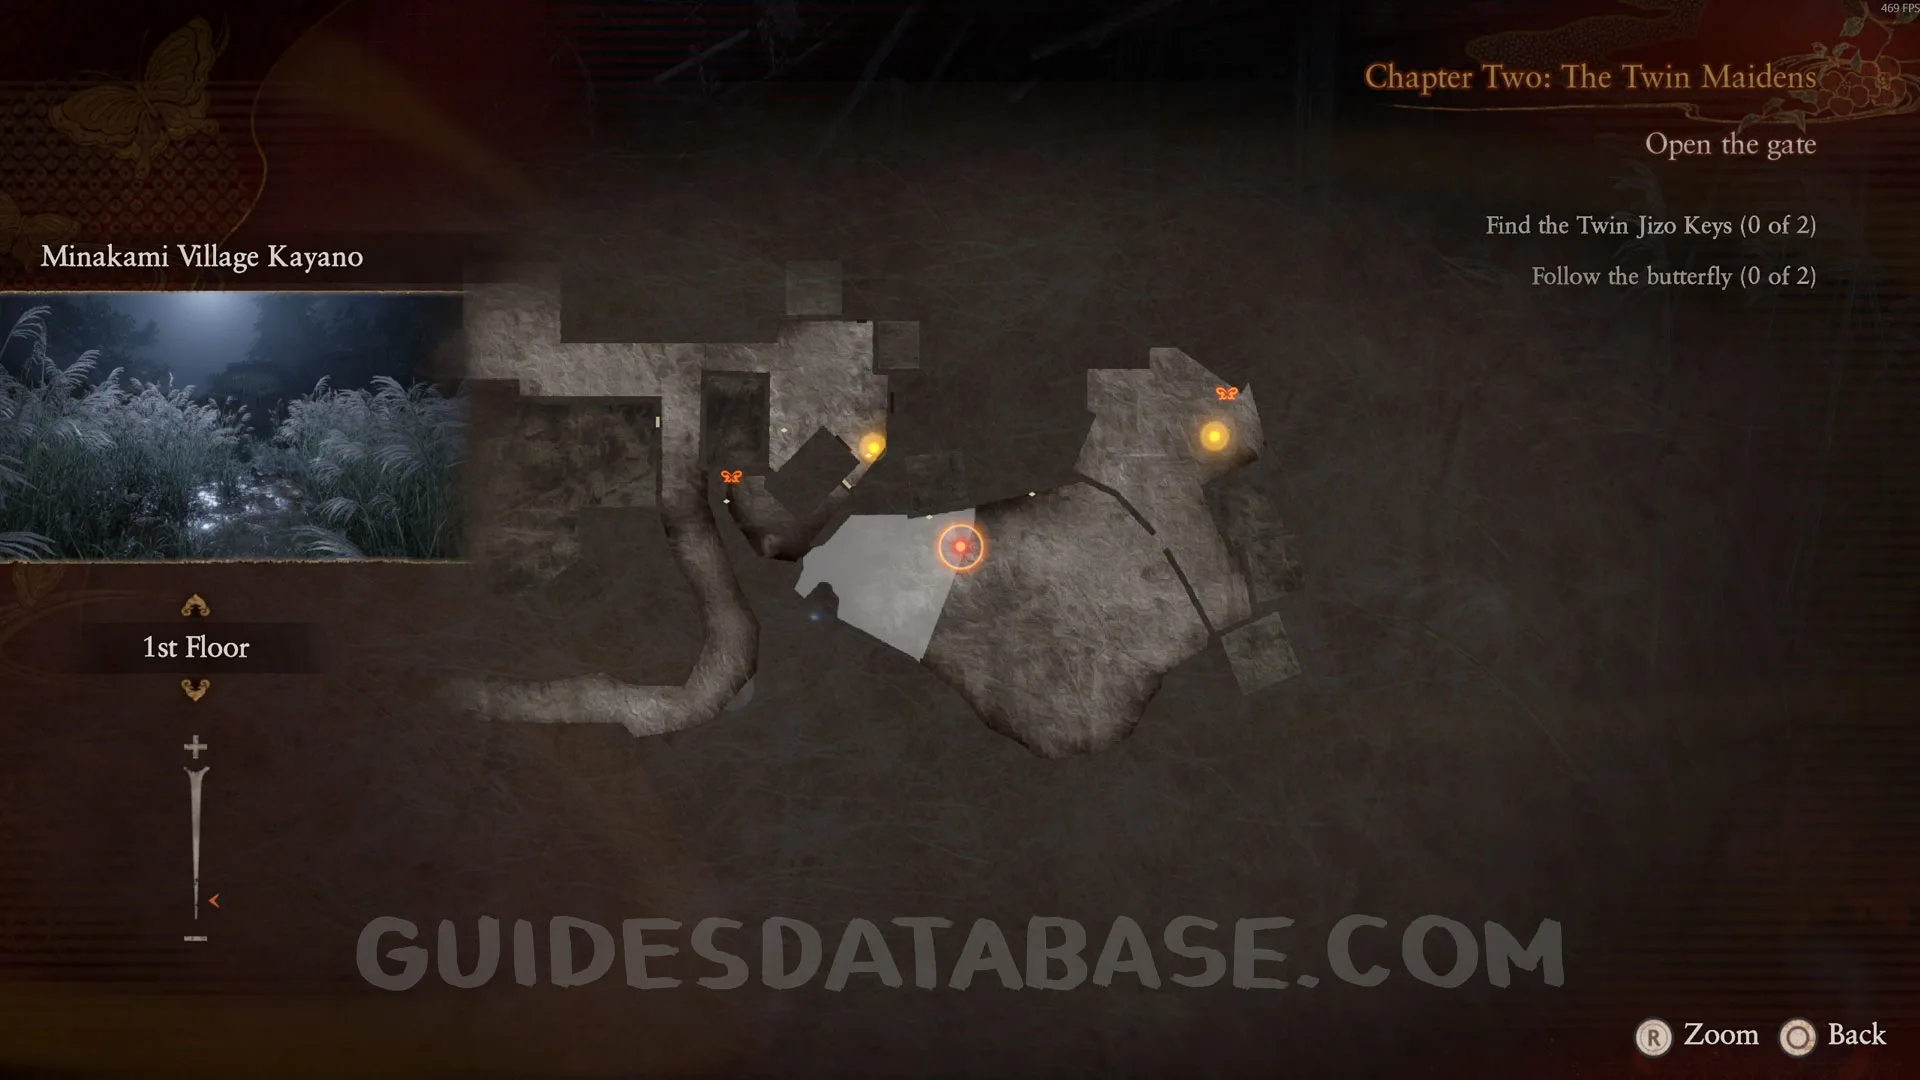
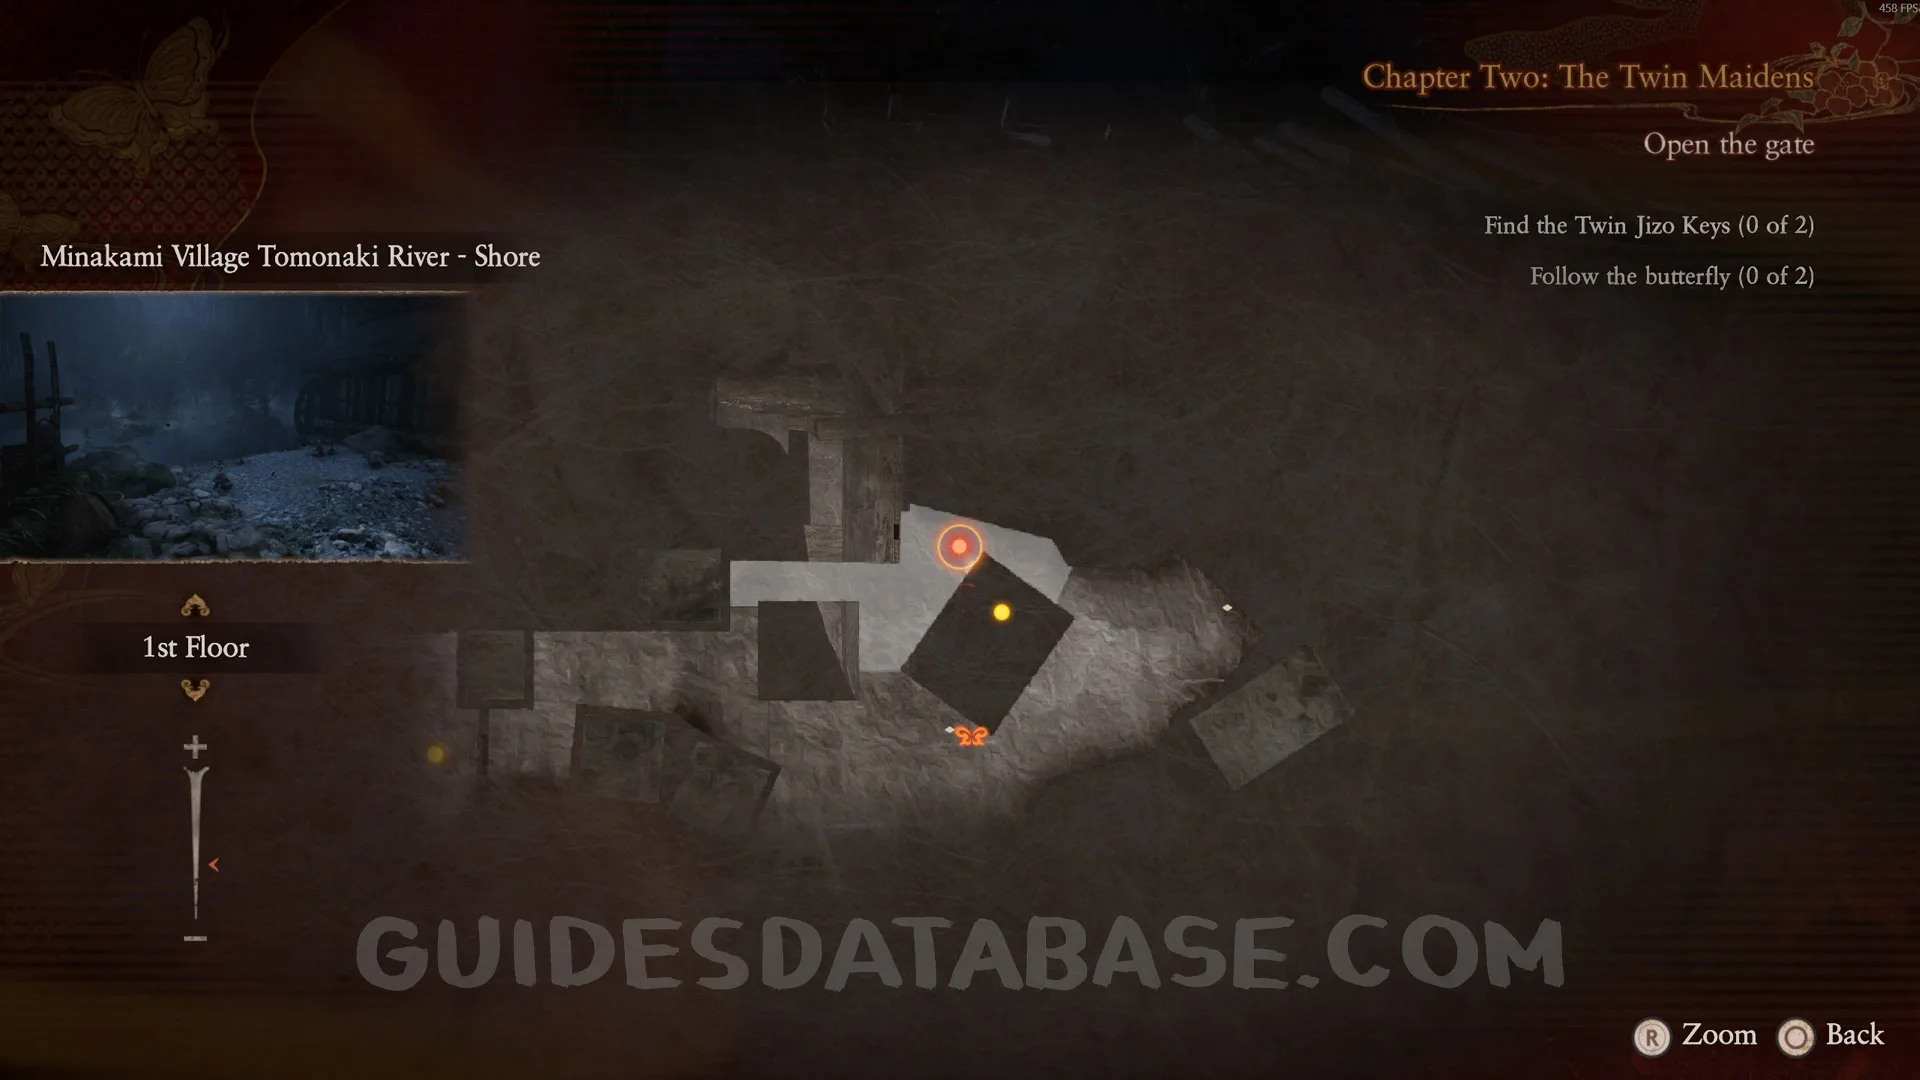
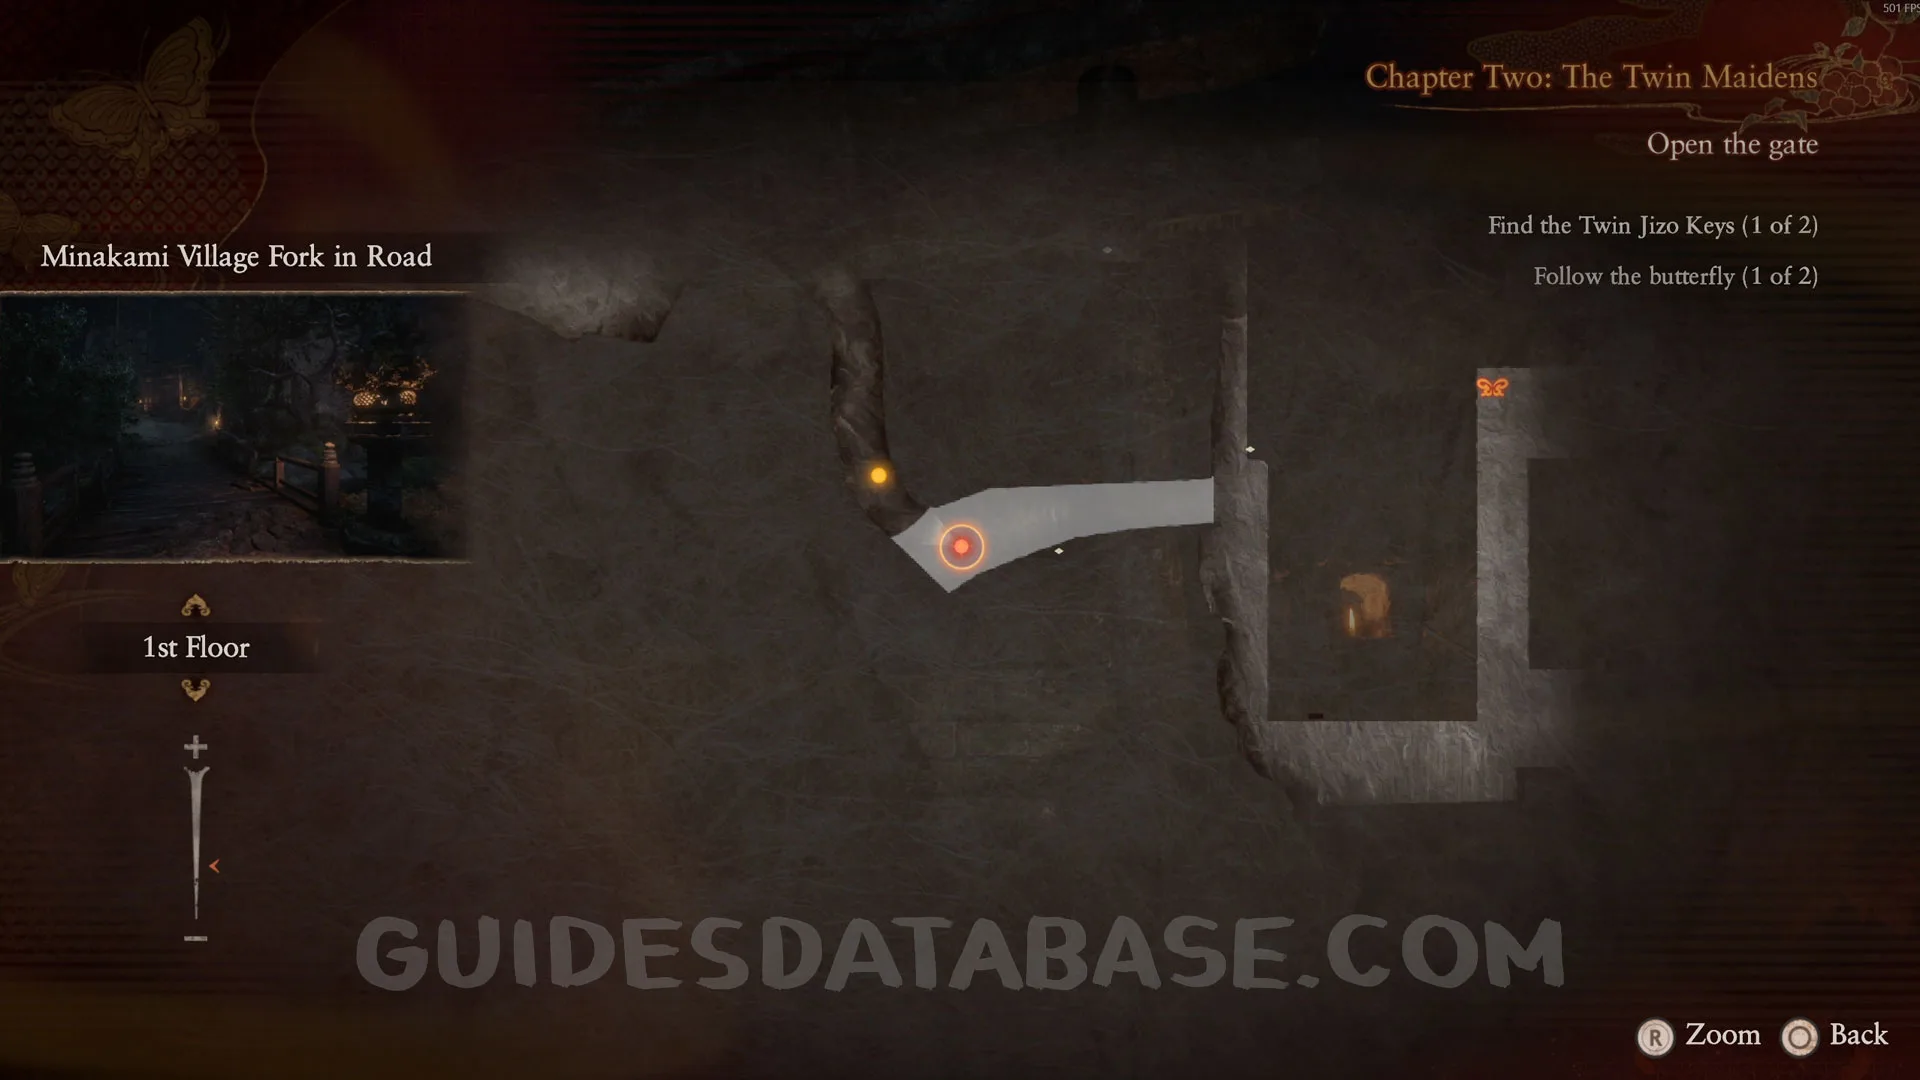
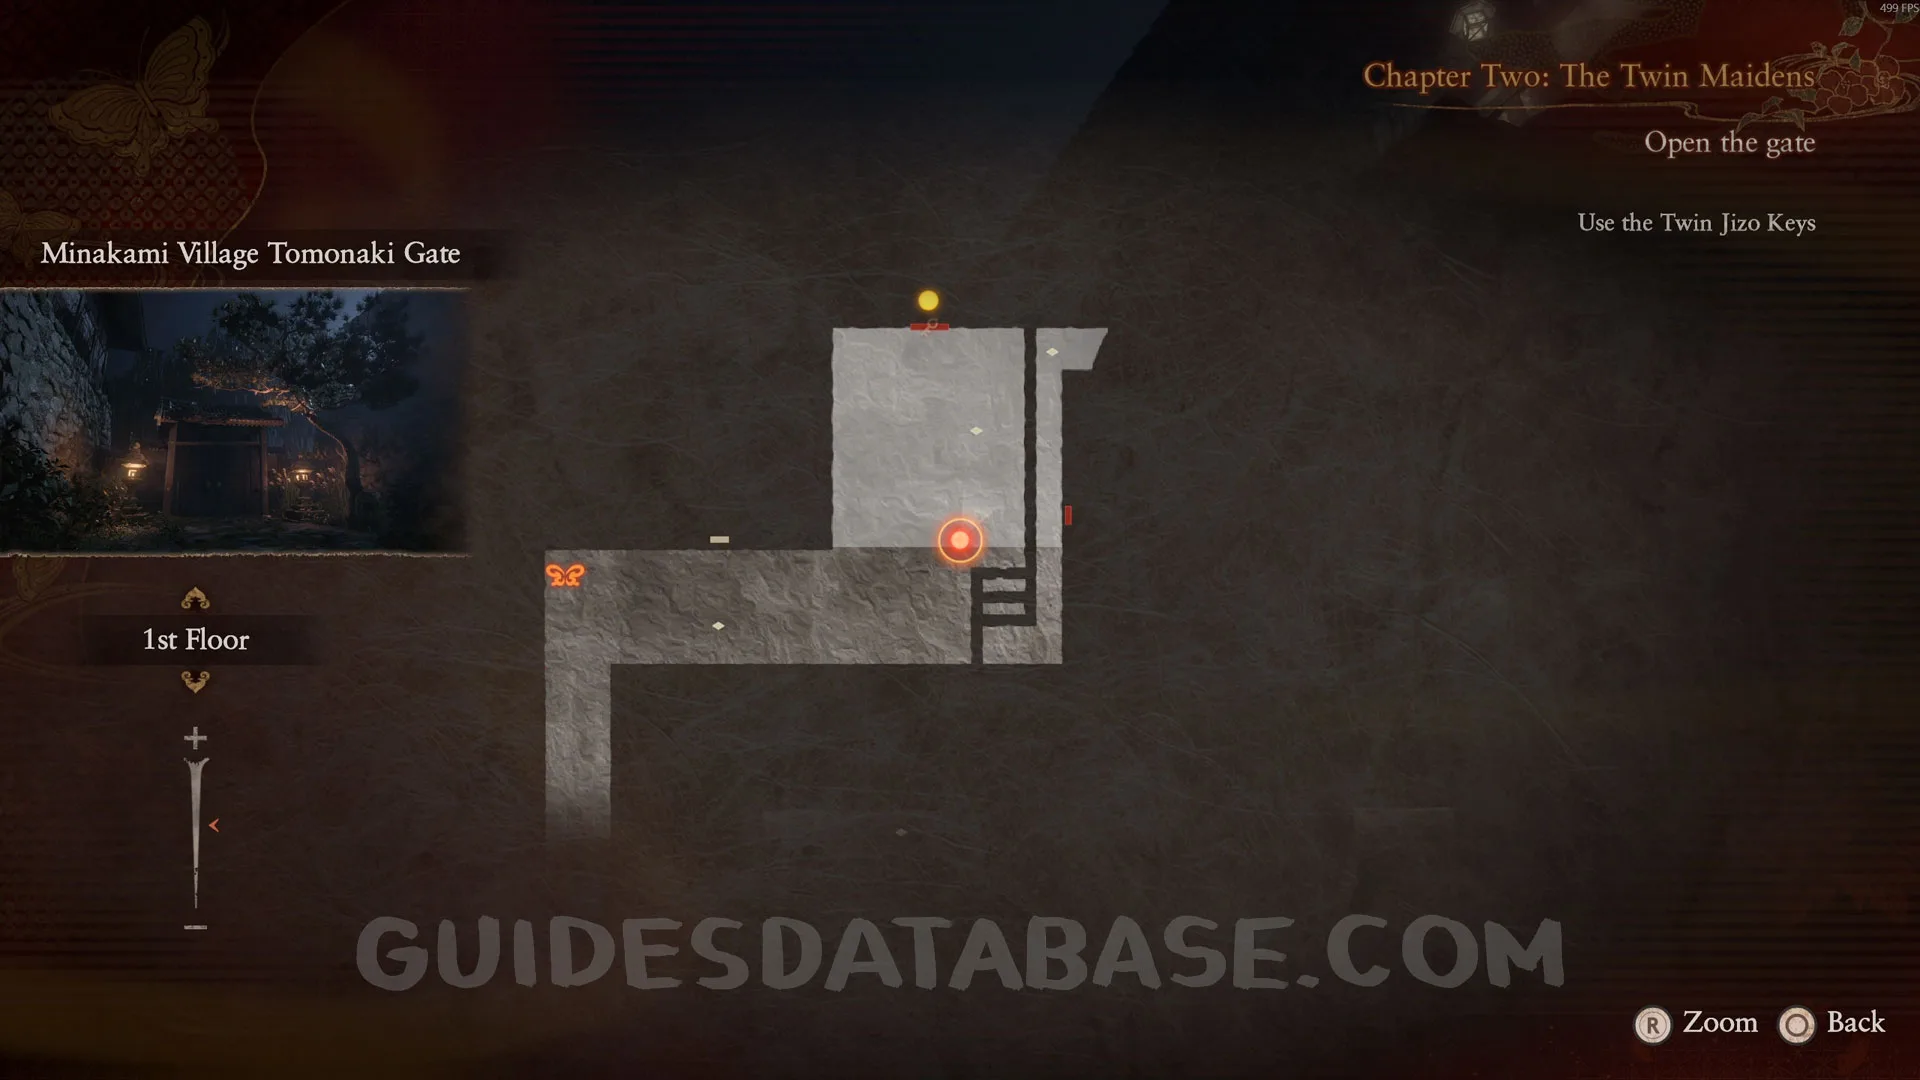
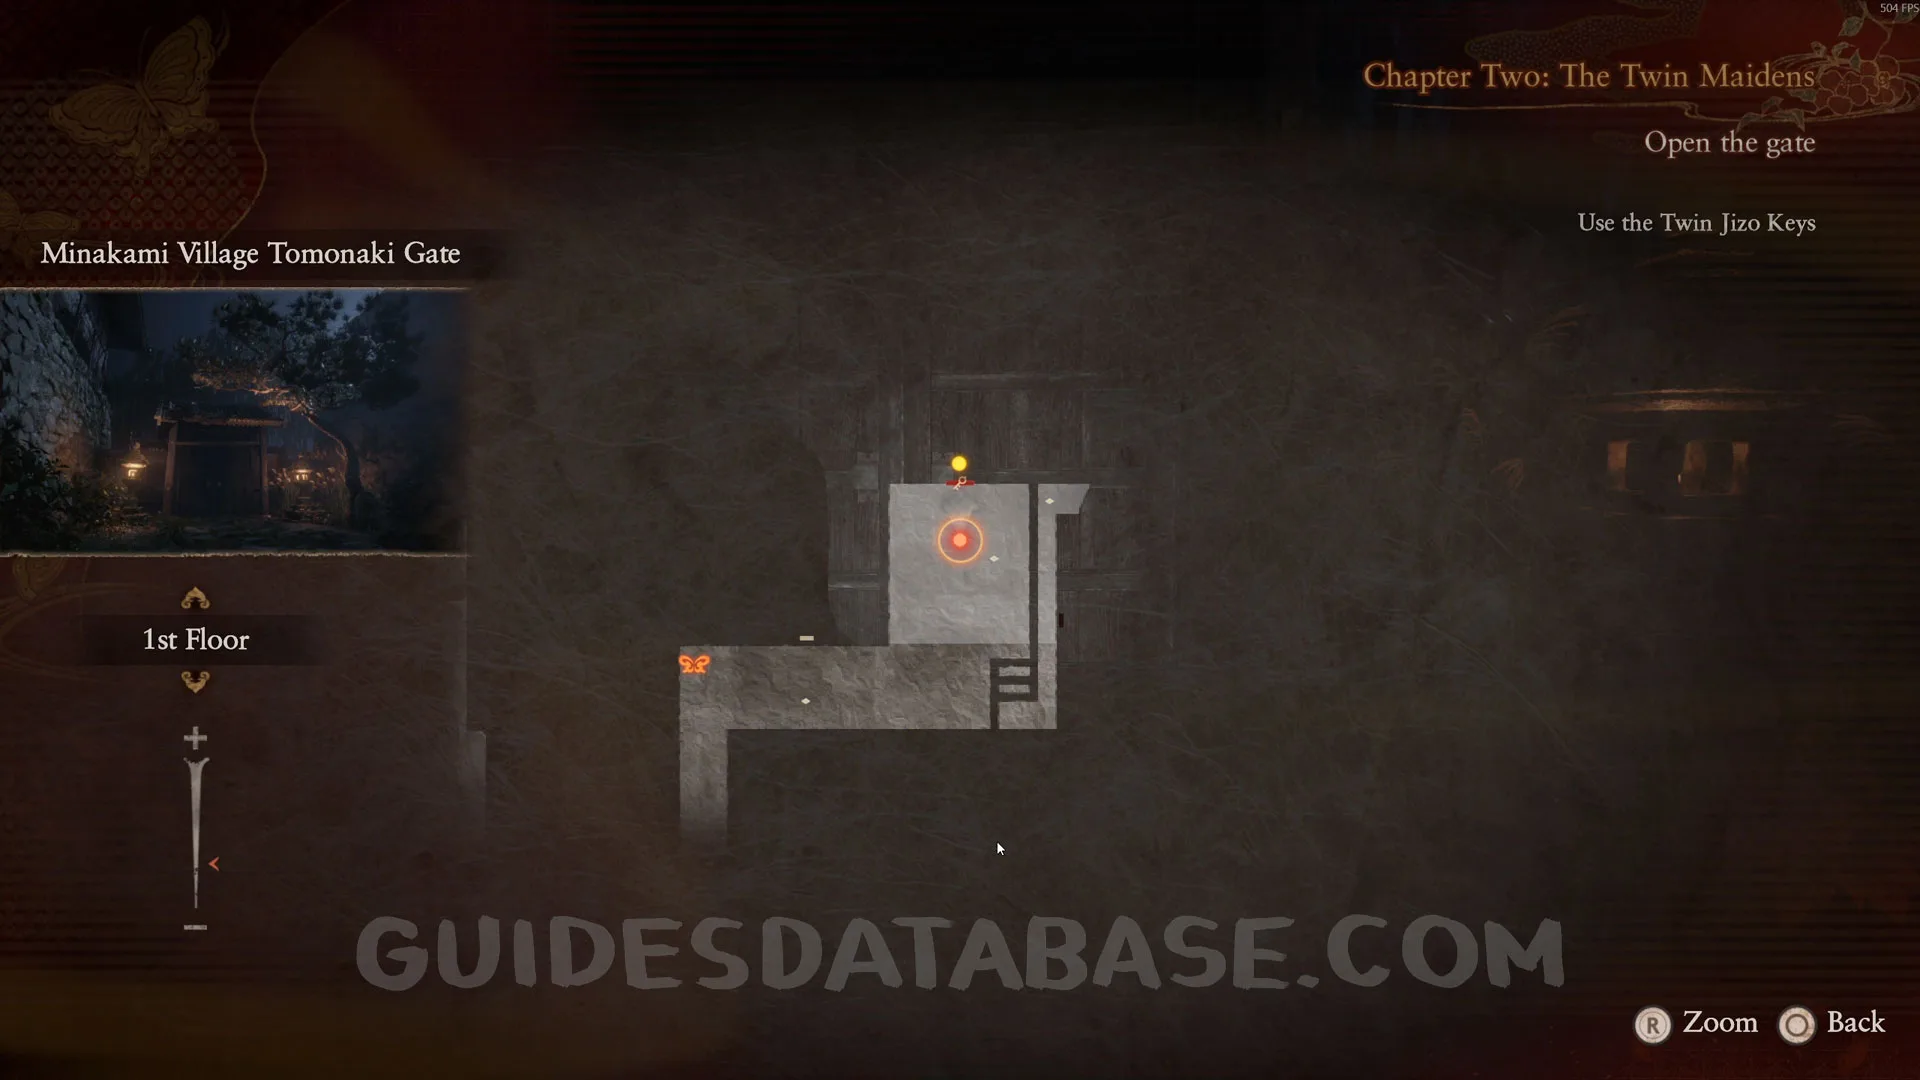
Specter #34 - 021 Man Searching for Twins at Shrine.
After going to the right of the previous table and picking up the Twin Jizo Key (Right), head back and look through the window. You will see a specter passing by outside. Take a photo of it.
 GUIDESDATABASE.COM
 GUIDESDATABASE.COM
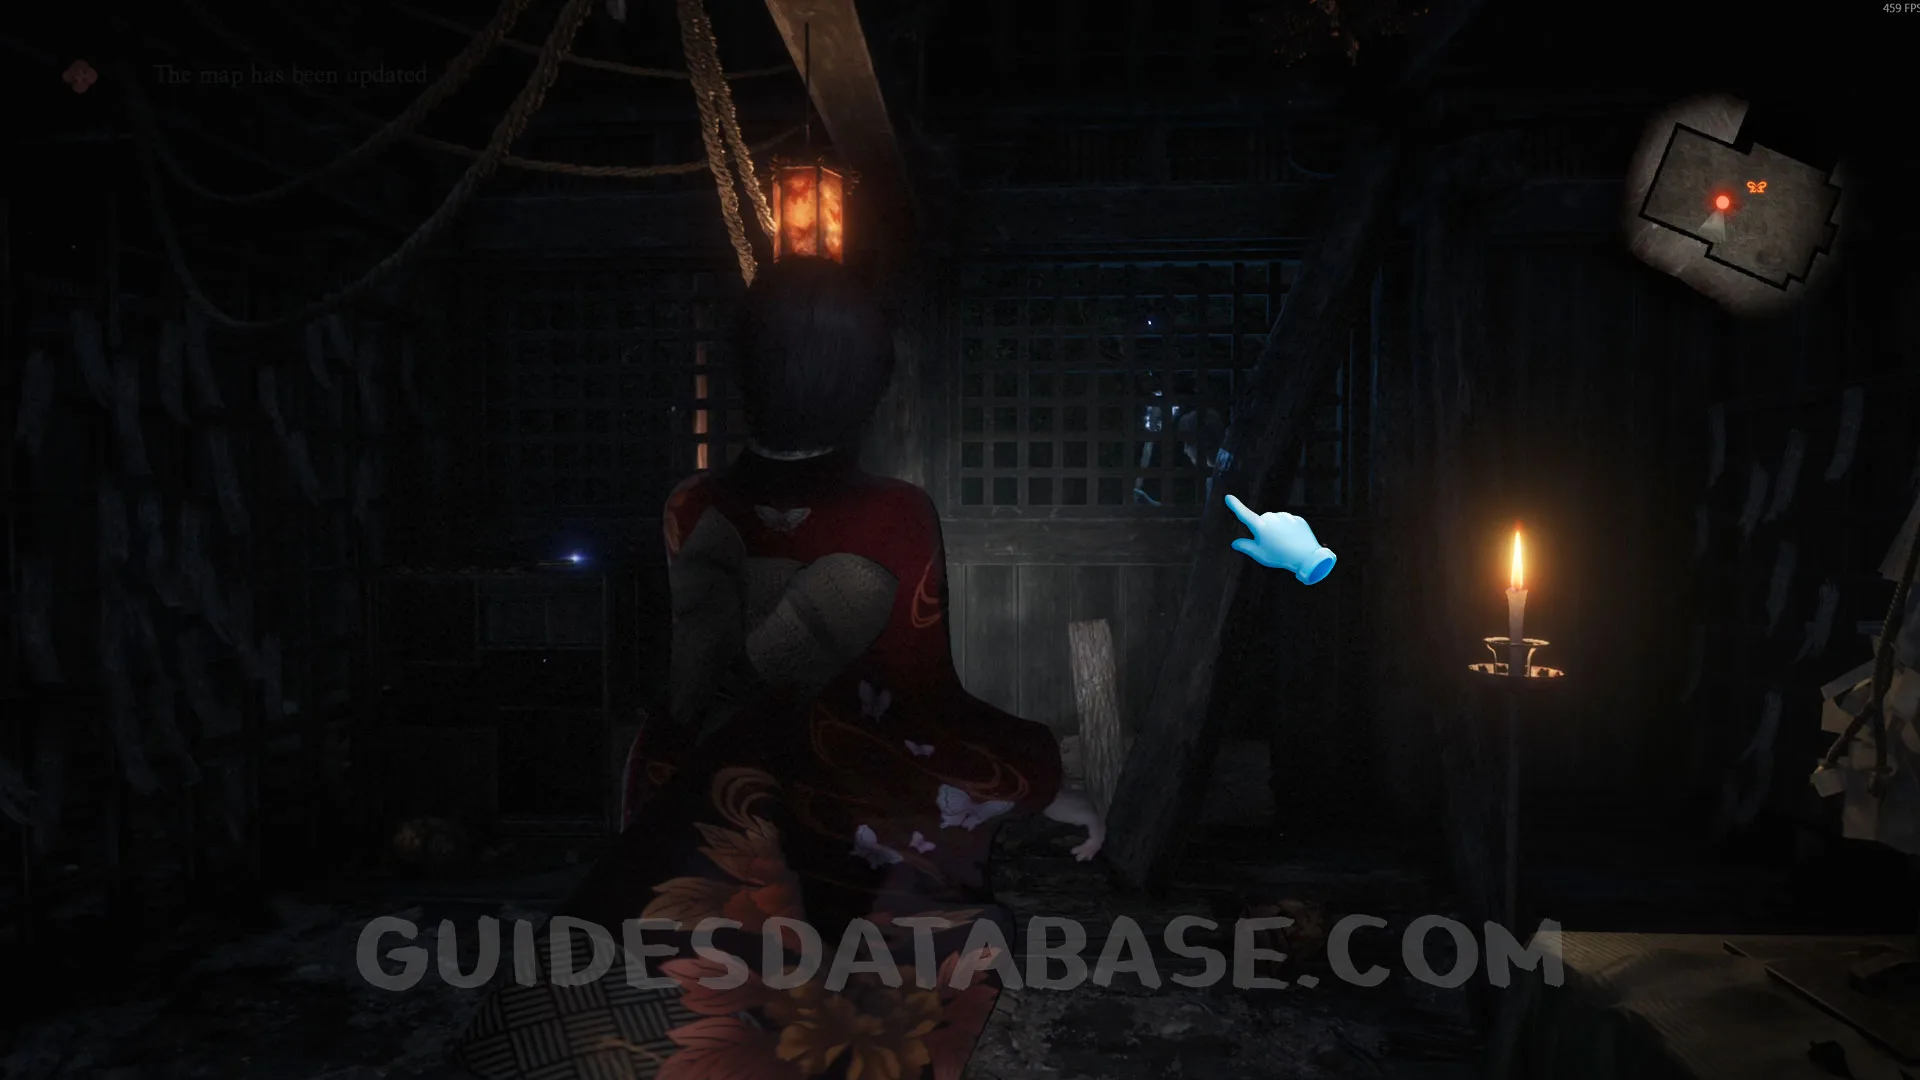 GUIDESDATABASE.COM
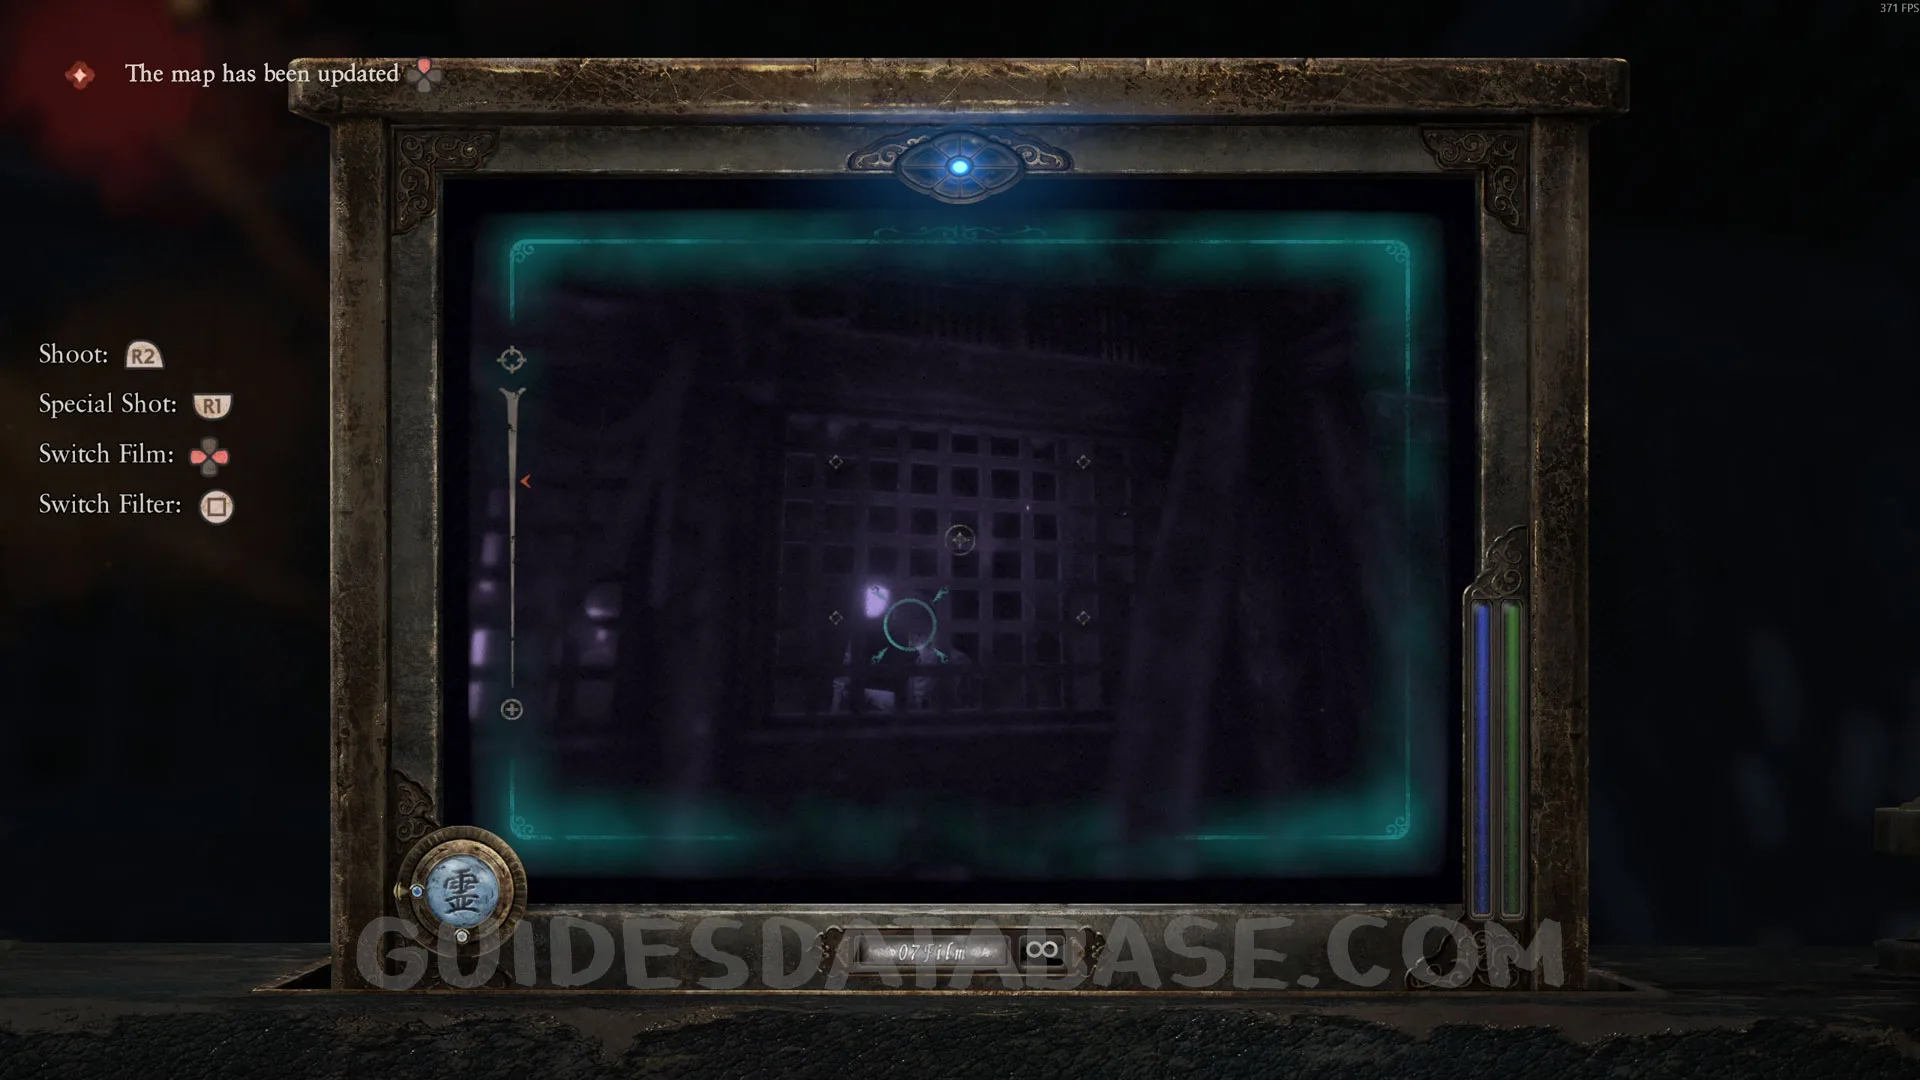 GUIDESDATABASE.COM
Wraith #7 - 022 Succumbed Woman.
Head back to Tachibana House - Back and you will see this Wraith. Take a photo of it.
 GUIDESDATABASE.COM
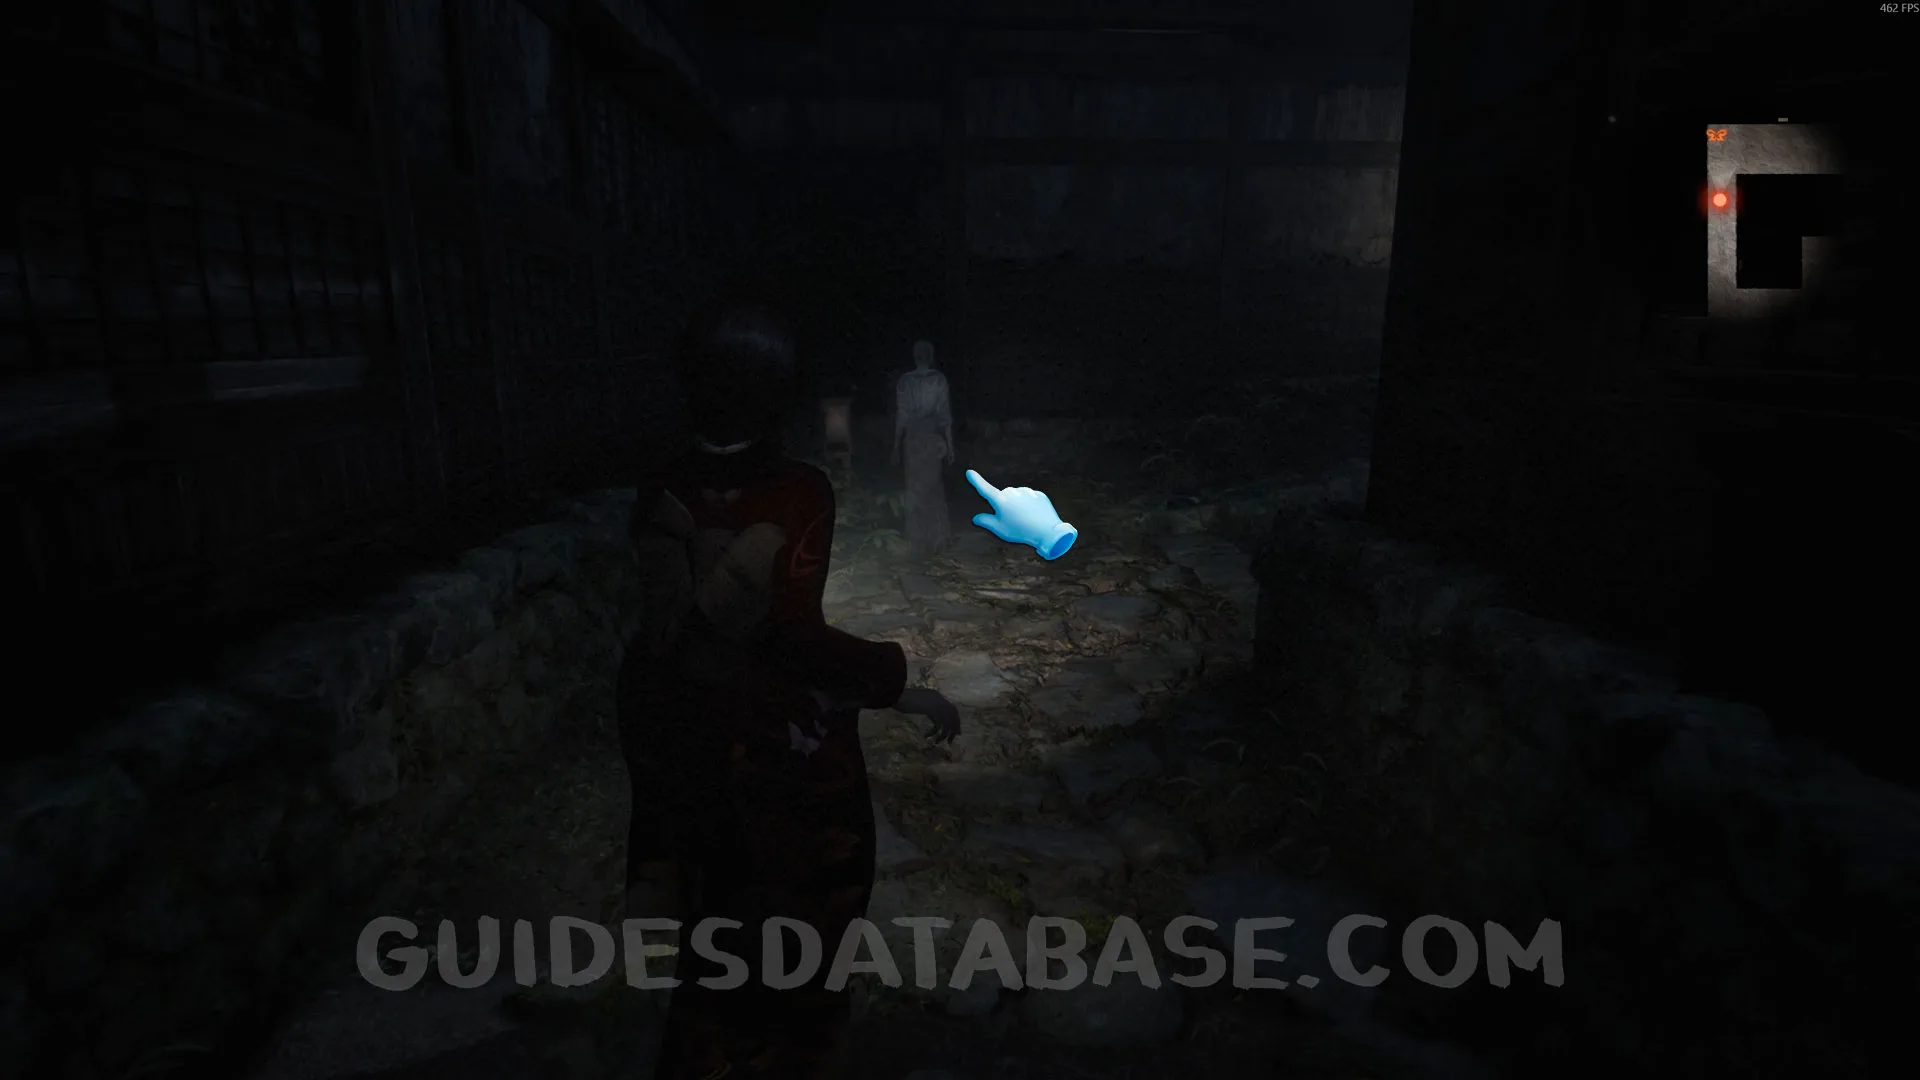 GUIDESDATABASE.COM
Specter #35 - 022 Moonlit Man.
This specter will only appear after picking up both gate keys. Take a photo of it.
 GUIDESDATABASE.COM
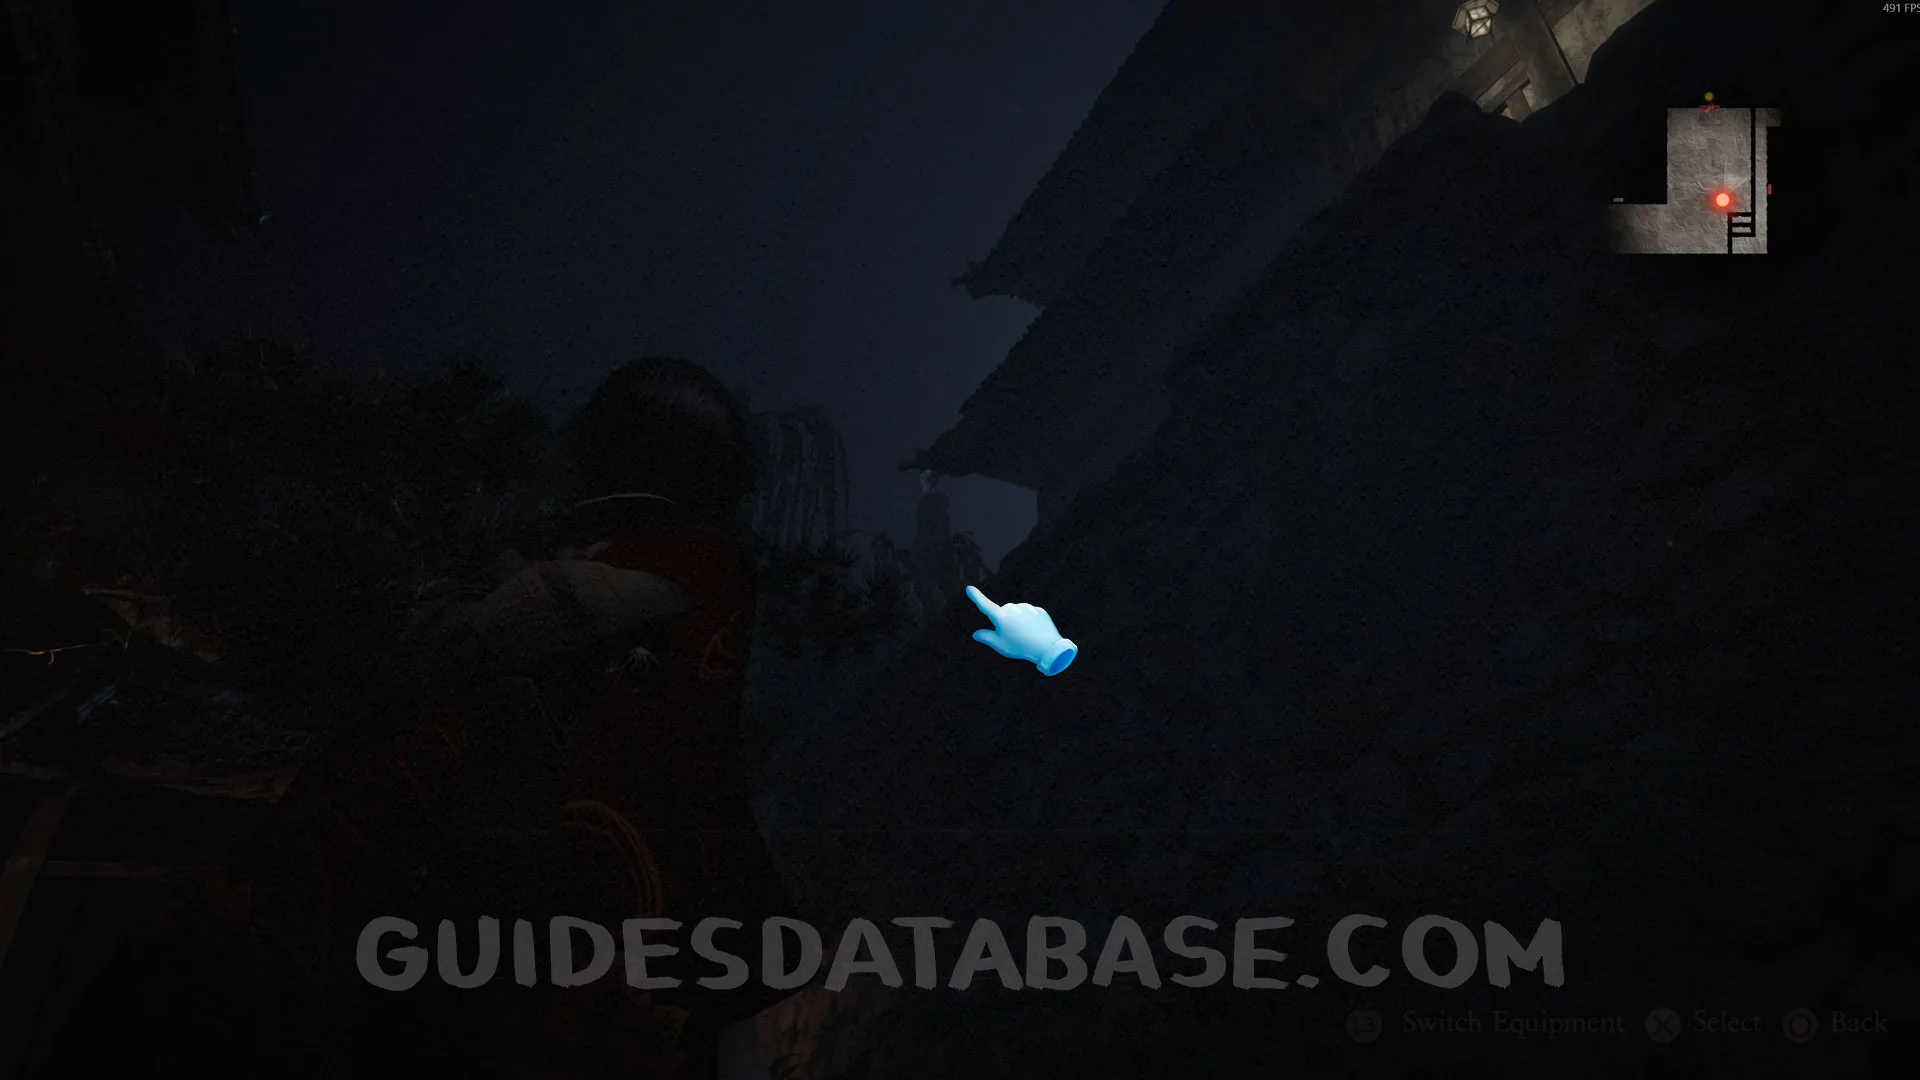 GUIDESDATABASE.COM
 GUIDESDATABASE.COM
Prayer Bead #8.
From the previous collectible, go up the stairs on the right side and head to the end to find this prayer bead. It will only appear after the previous specter disappears.
 GUIDESDATABASE.COM
 GUIDESDATABASE.COM
Specter #36 - 179 Man Approaching Kurosawa House.
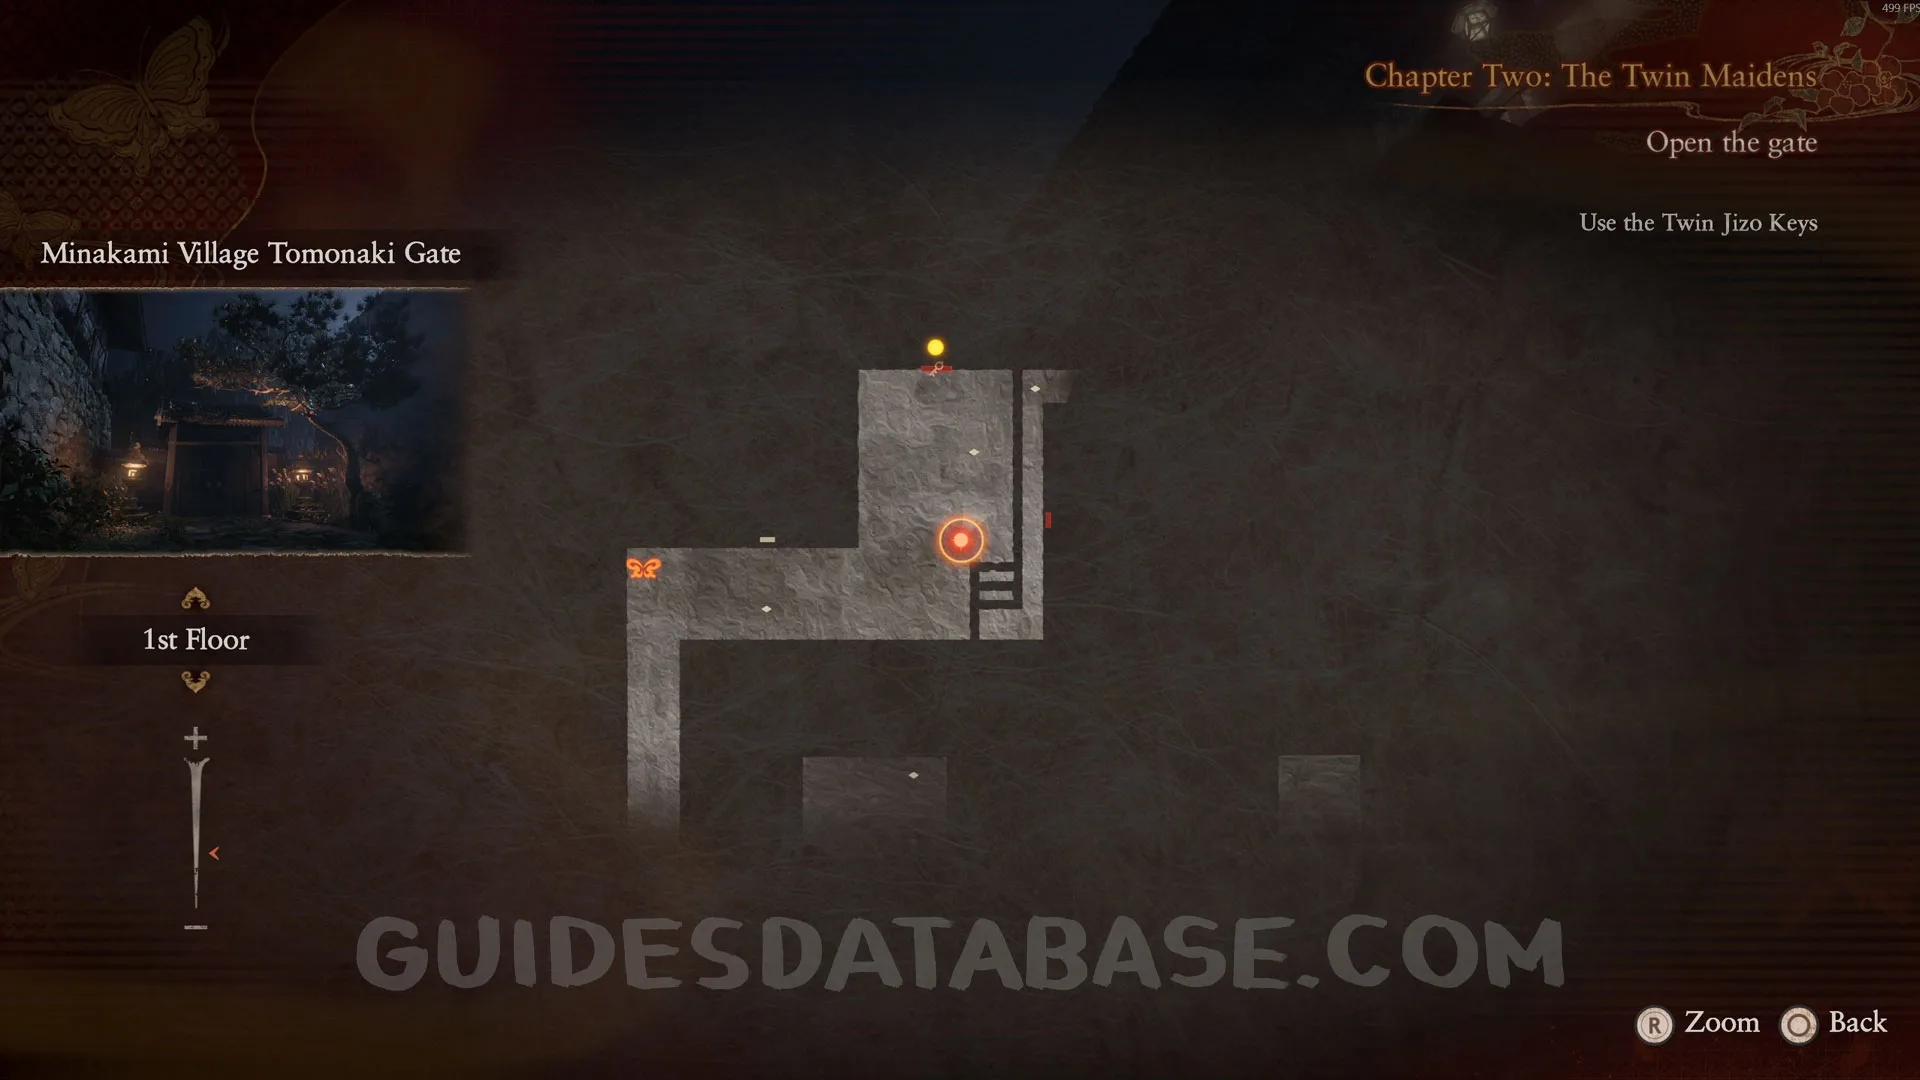
Now that you have both keys, go through the gate and you will see a specter crossing the bridge. Take a photo of it.
 GUIDESDATABASE.COM
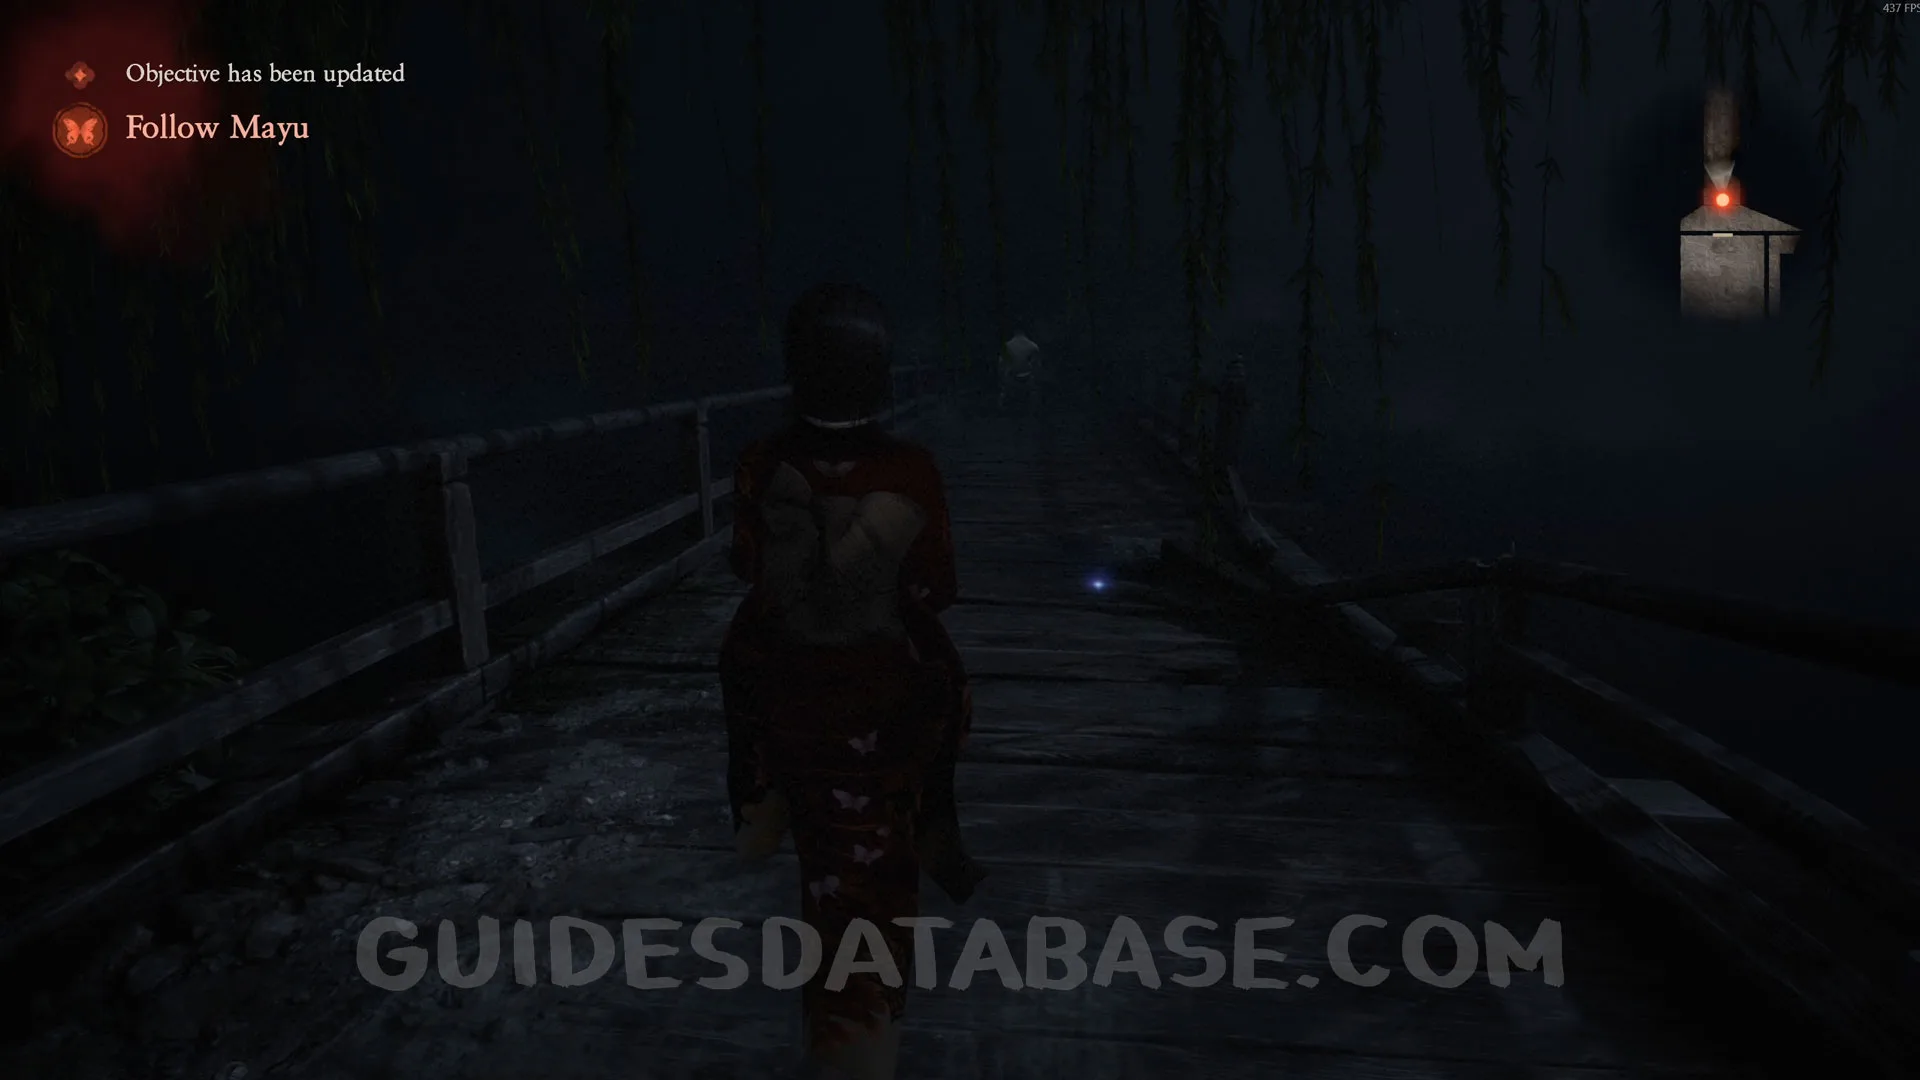 GUIDESDATABASE.COM
 GUIDESDATABASE.COM
Specter #37 - 023 Man Hiding in Grass.
From the previous collectible, turn around and go to the left of the gate you just passed through. You will see a specter hiding. Take a photo of it.
 GUIDESDATABASE.COM
 GUIDESDATABASE.COM
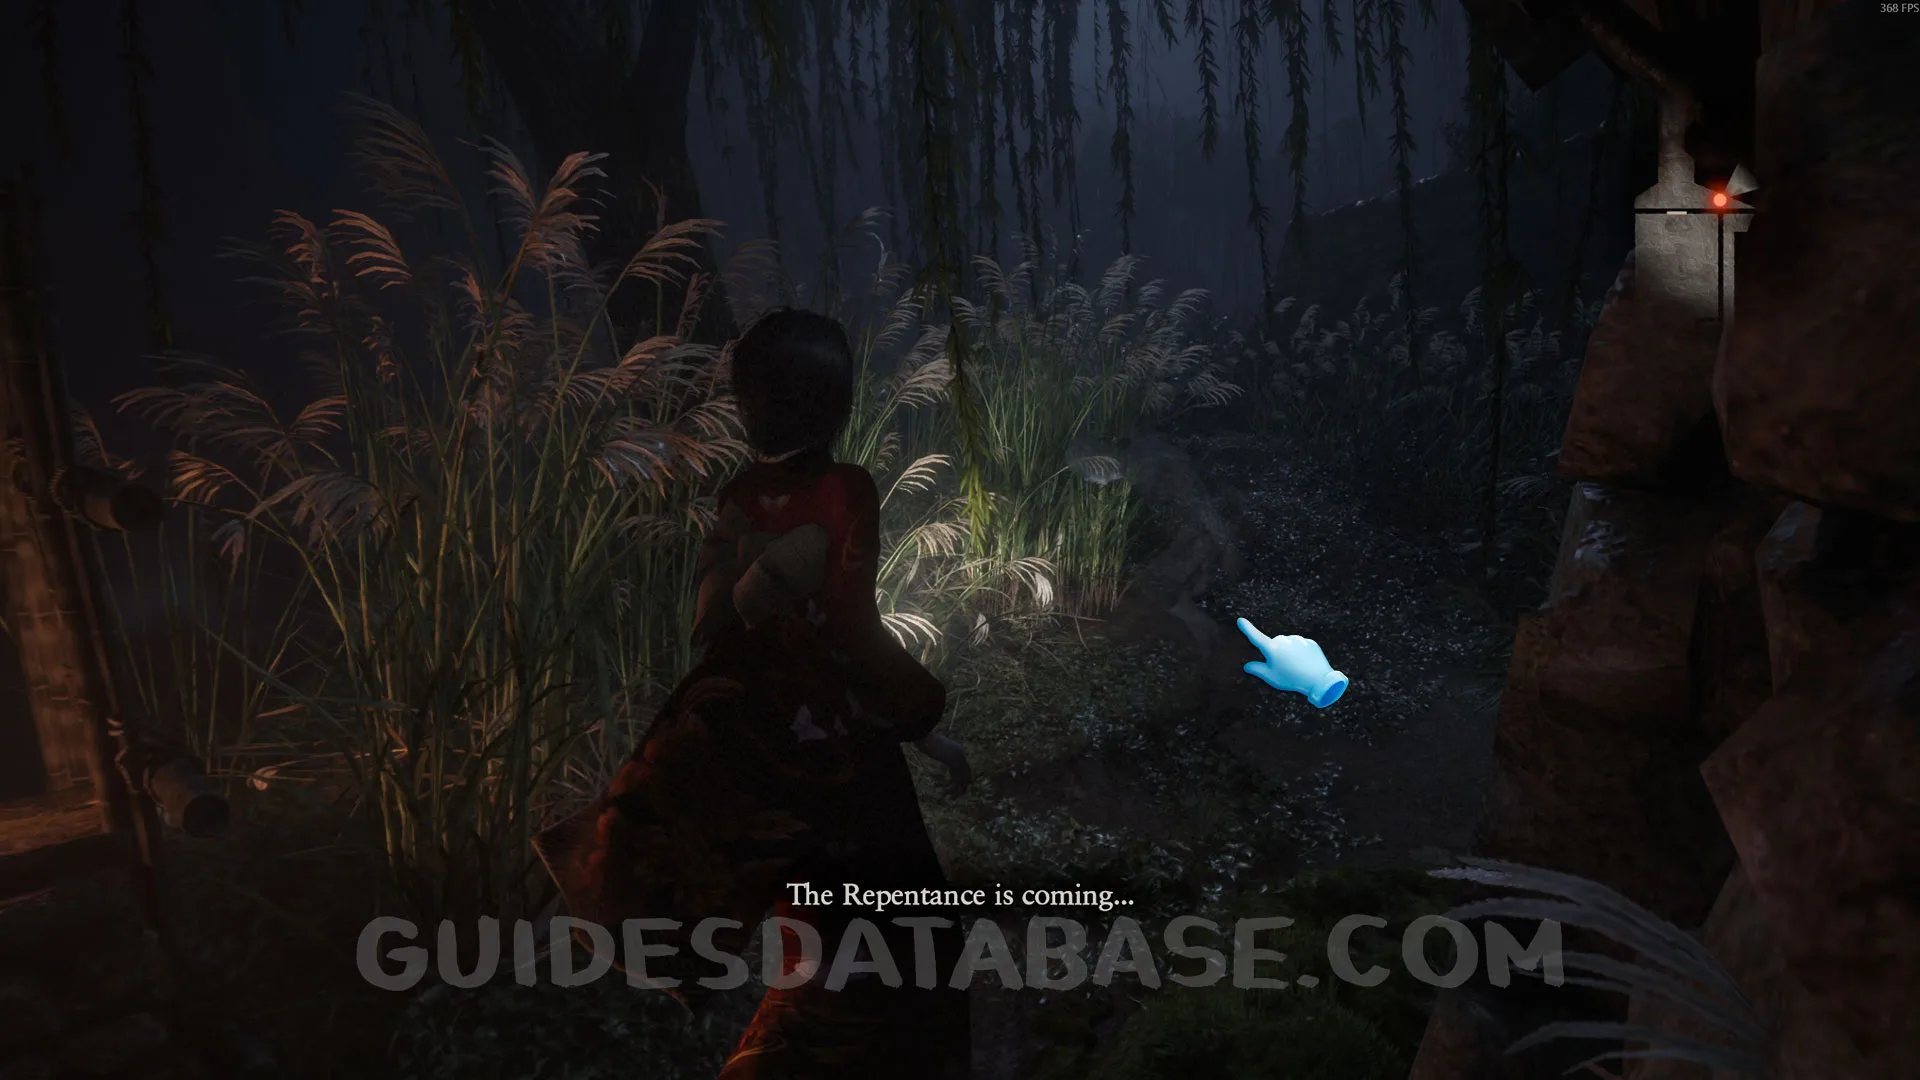 GUIDESDATABASE.COM
 GUIDESDATABASE.COM
Document #24 - Wet Memo.
From the previous collectible, keep going straight and you will find this document on the ground.
 GUIDESDATABASE.COM
 GUIDESDATABASE.COM
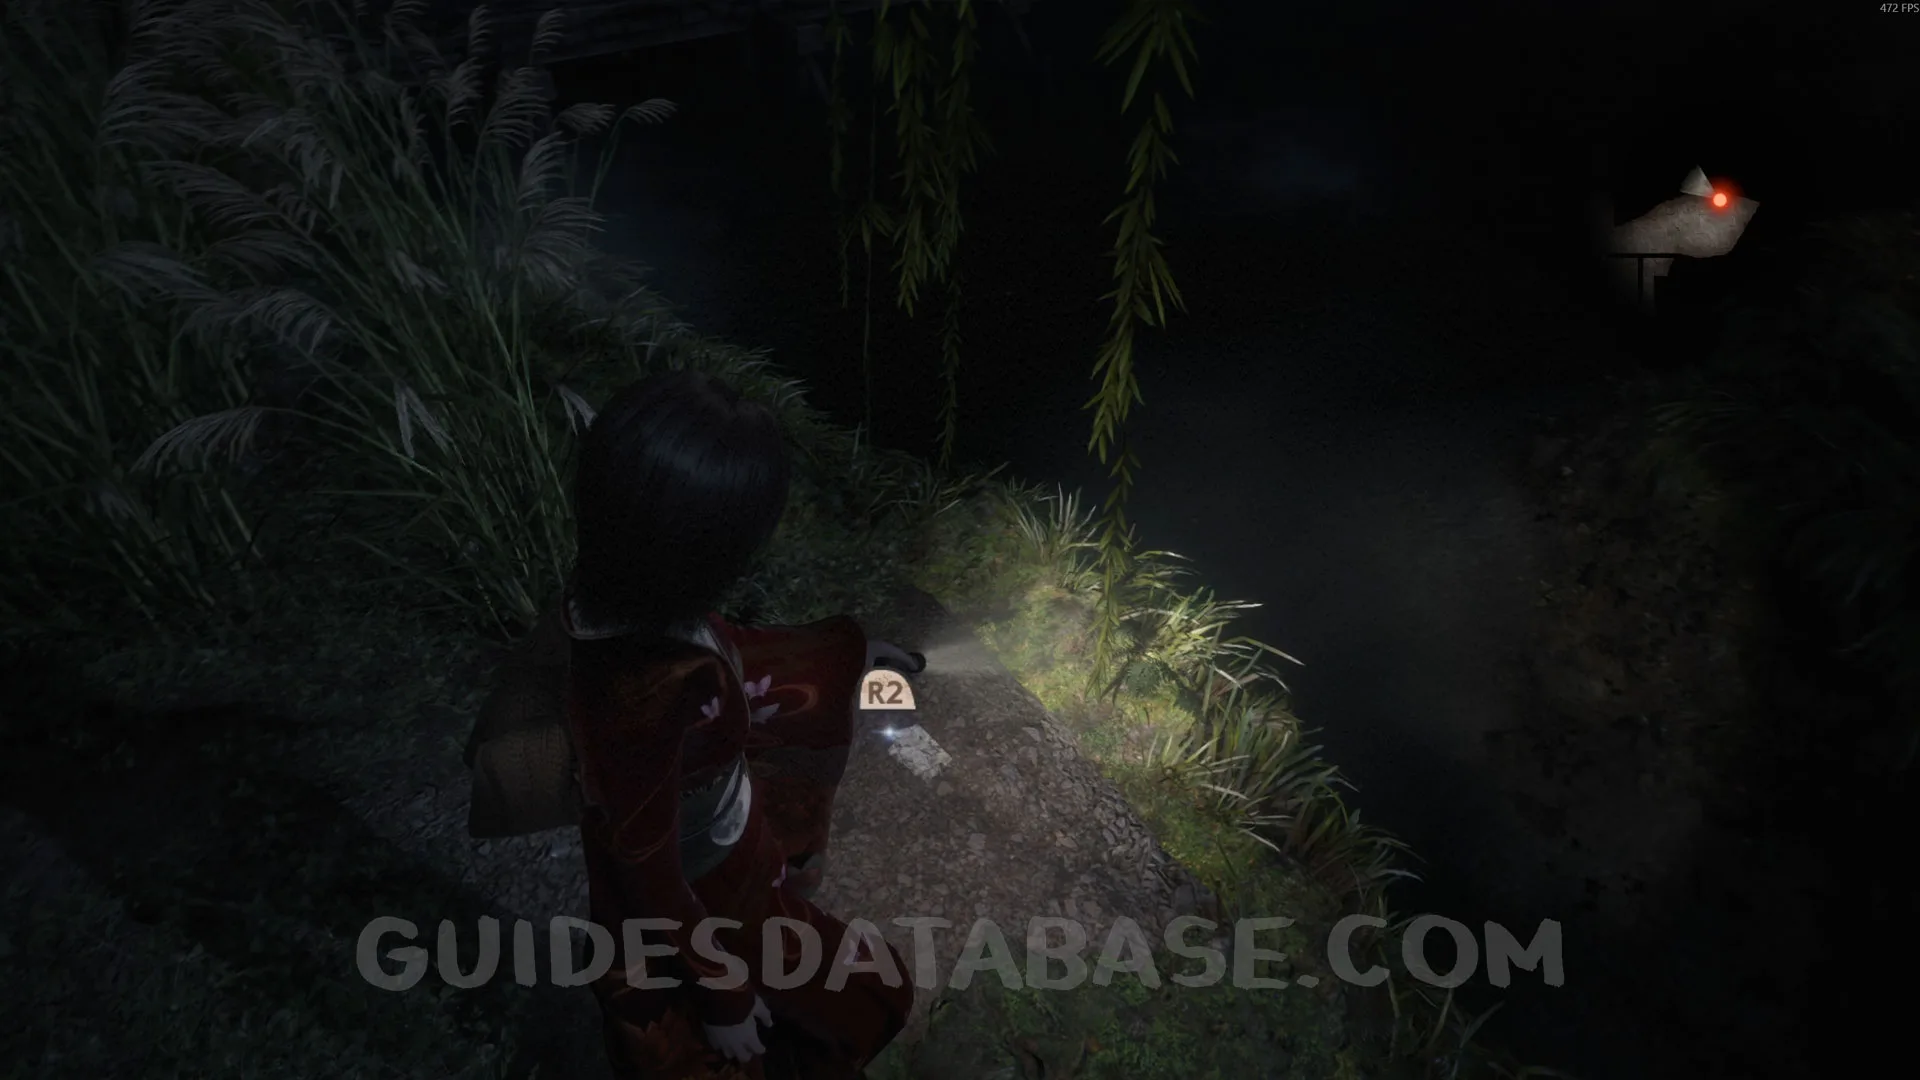 GUIDESDATABASE.COM
Spirit Stone #8 - Green Crystal.
From the previous collectible, head back to the bridge and pick up this Spirit Stone.
 GUIDESDATABASE.COM
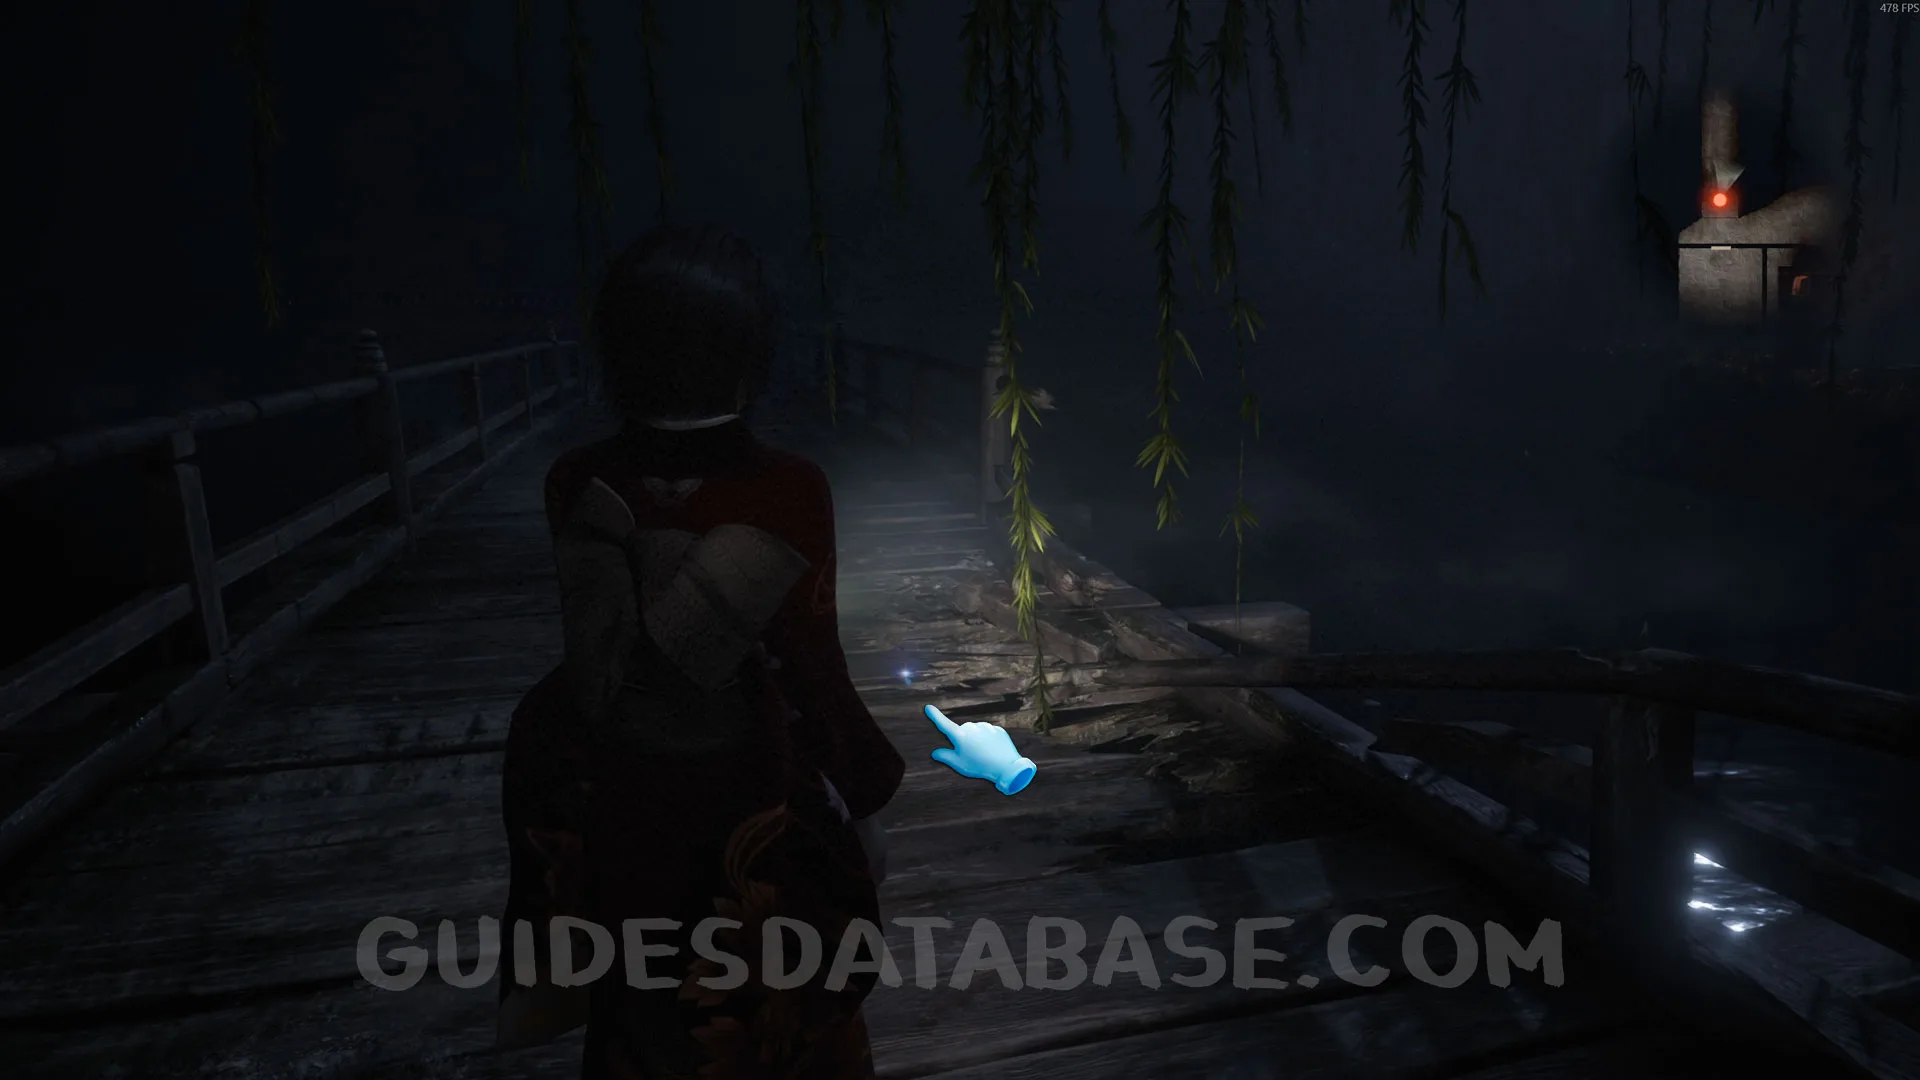 GUIDESDATABASE.COM
Specter #38 - 024 Floating Woman + Wraith #8 - 007 Sunken Woman.
From the previous collectible, head to the hole in the bridge on the left side and aim your camera at the water. You will be able to take a photo of a specter here. After taking the photo, a Wraith will appear in front of you. Take a photo of it as well.
 GUIDESDATABASE.COM
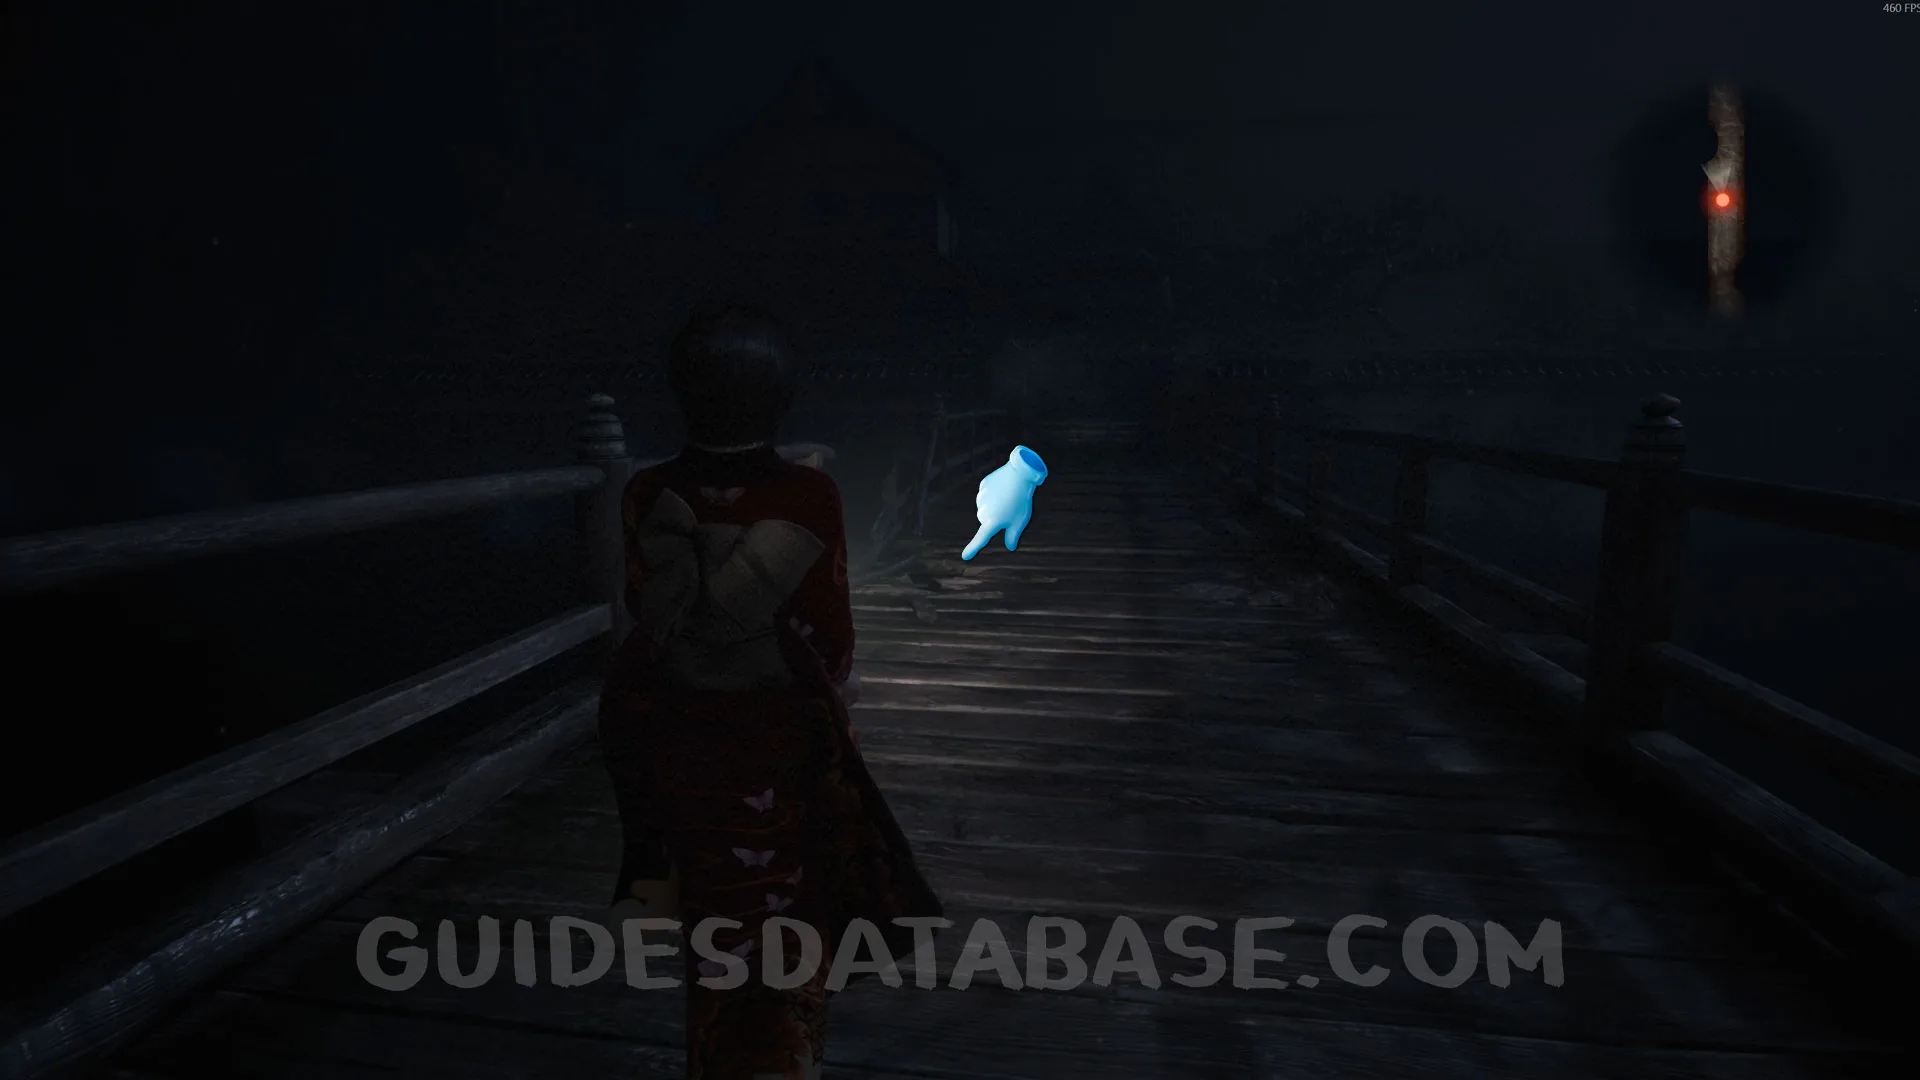 GUIDESDATABASE.COM
 GUIDESDATABASE.COM
 GUIDESDATABASE.COM
Specter #39 - 025 Woman in the White Kimono.
From the previous collectible, go through the gate and you will see a specter in front of you. Take a photo of it.
 GUIDESDATABASE.COM
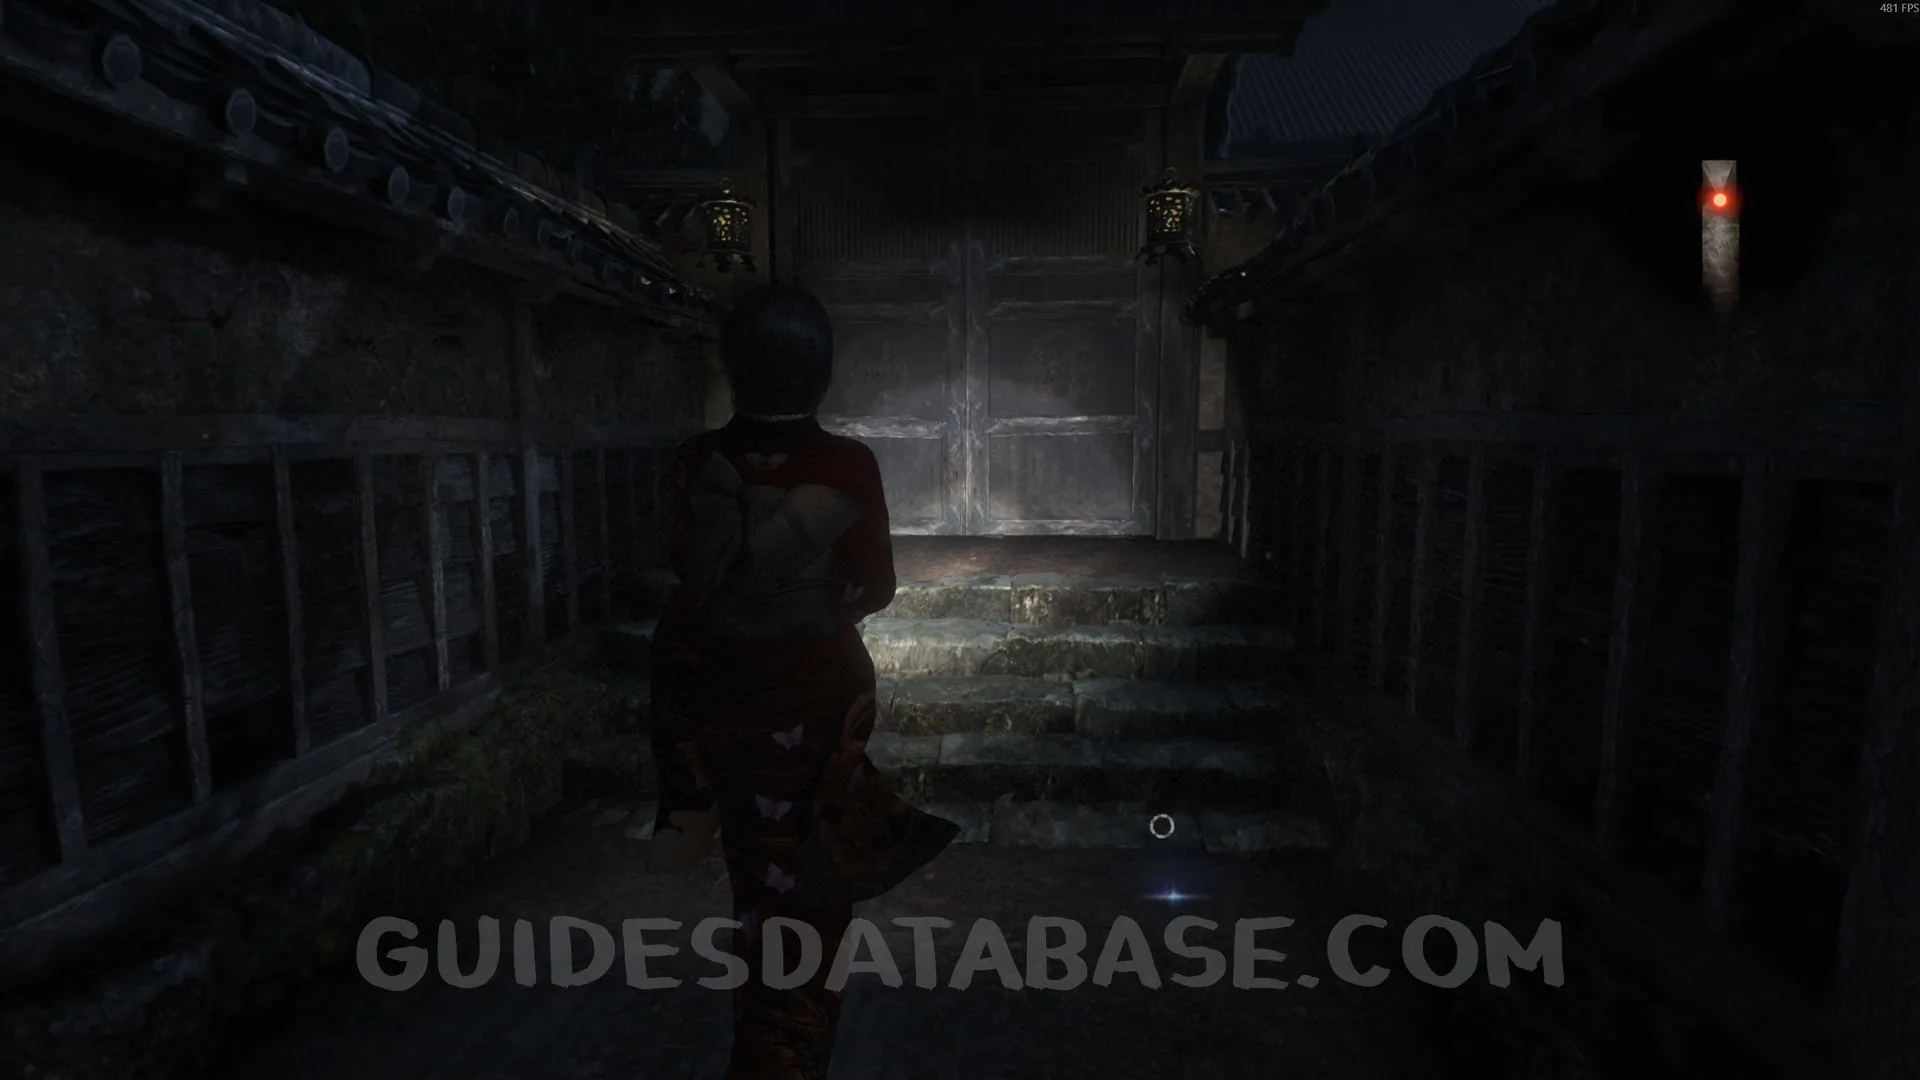 GUIDESDATABASE.COM
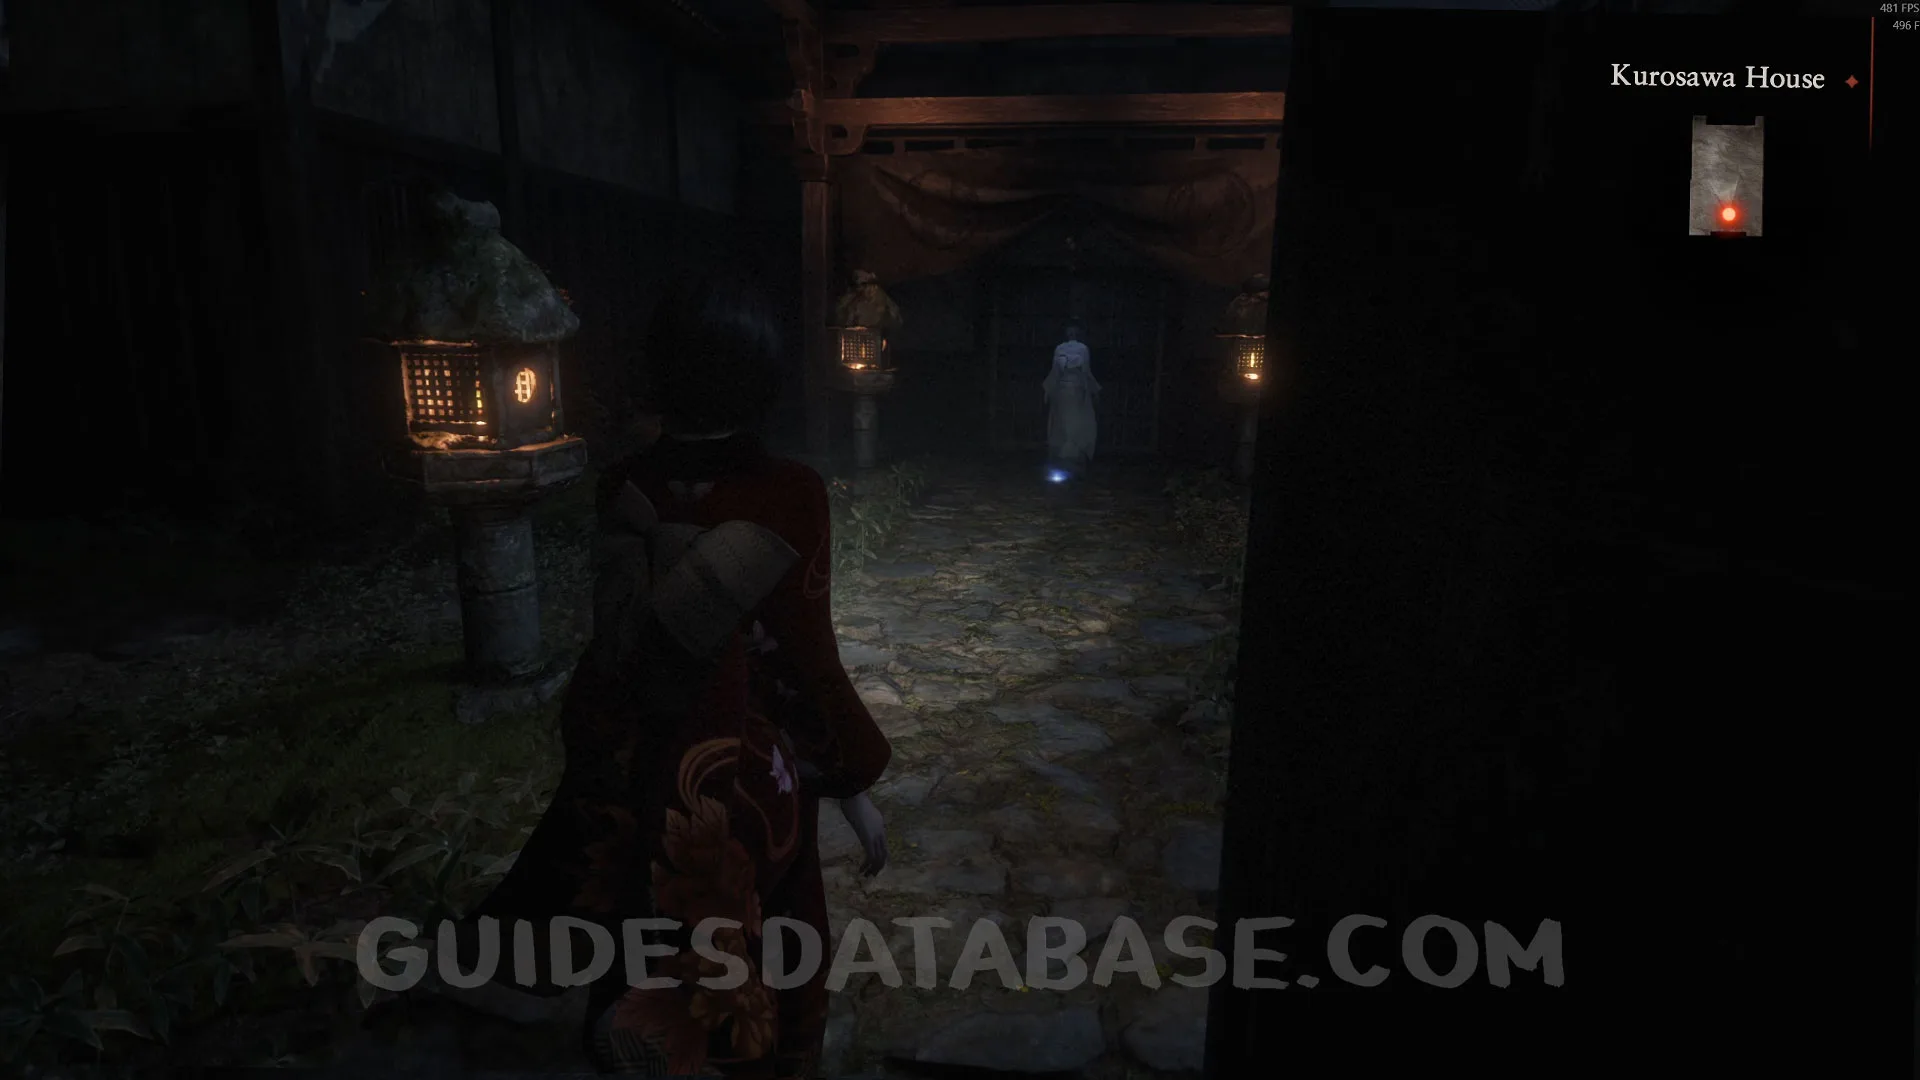 GUIDESDATABASE.COM
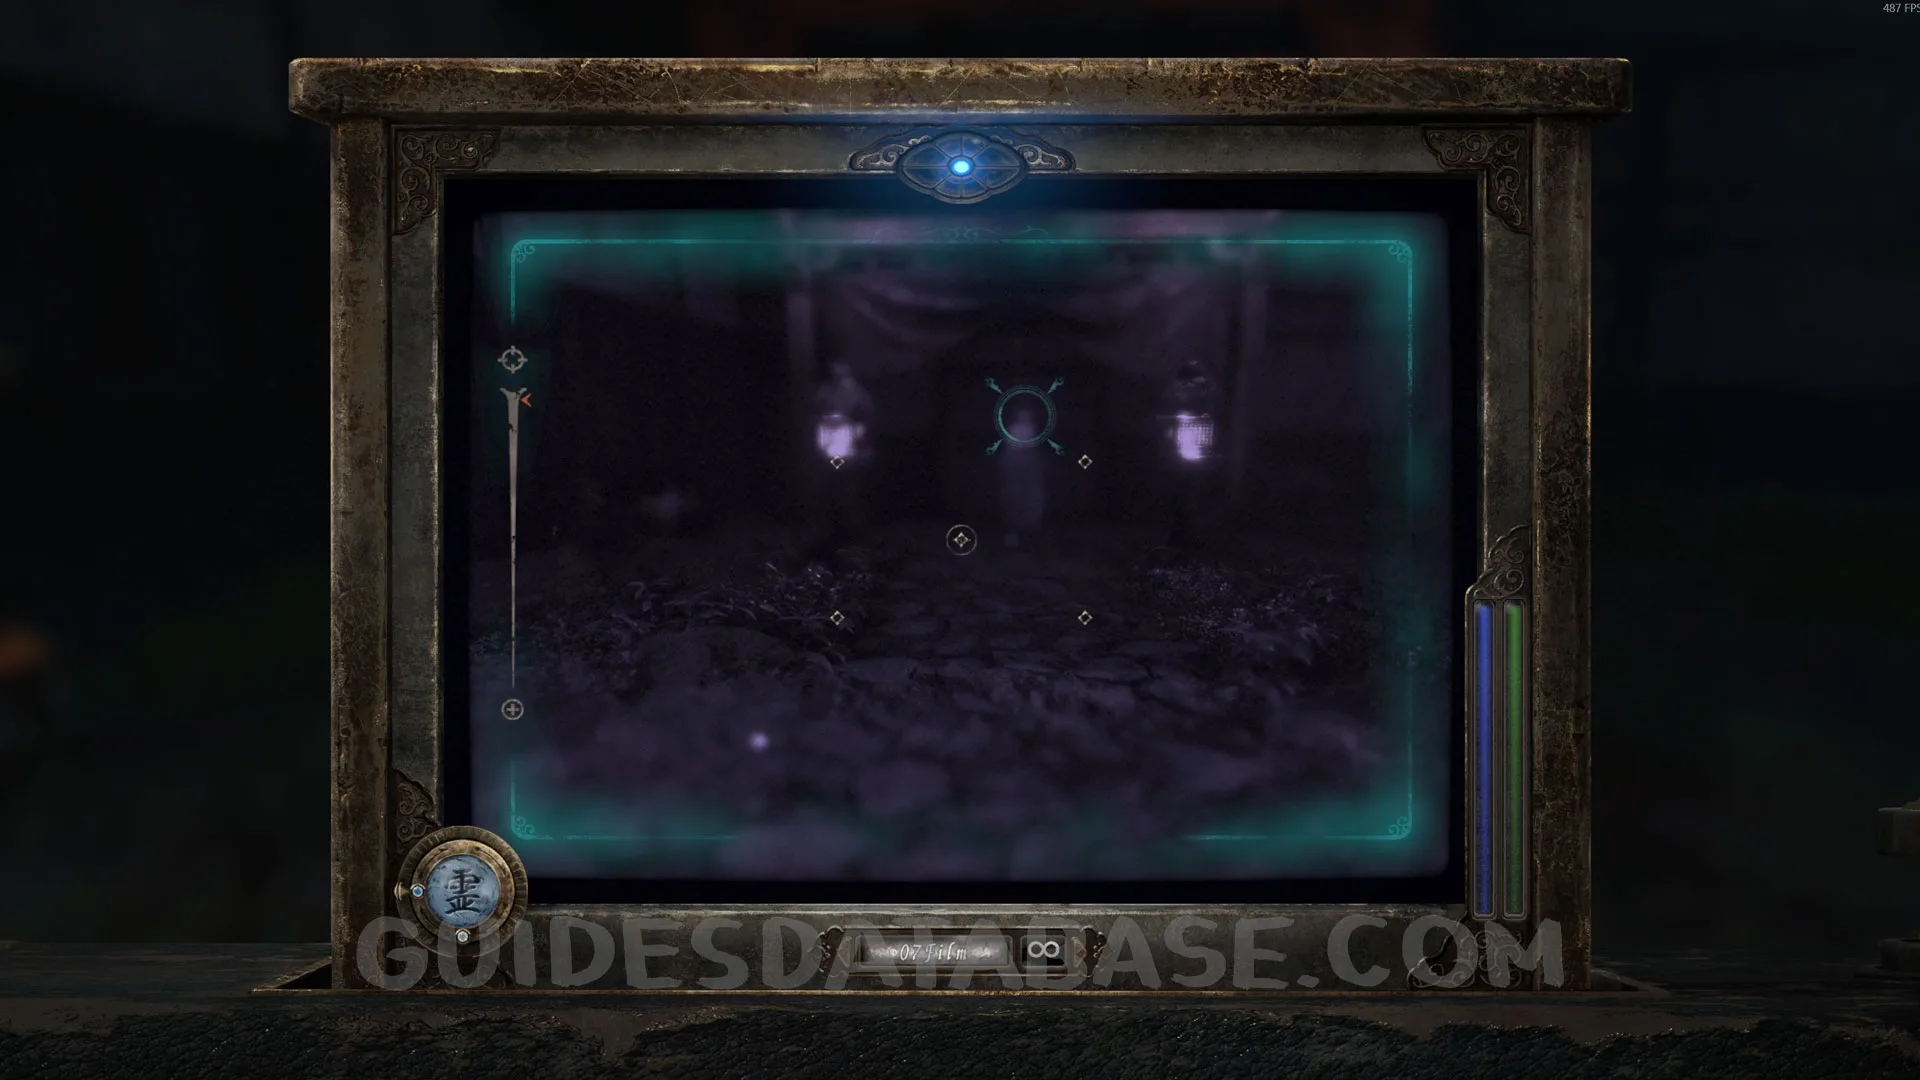 GUIDESDATABASE.COM
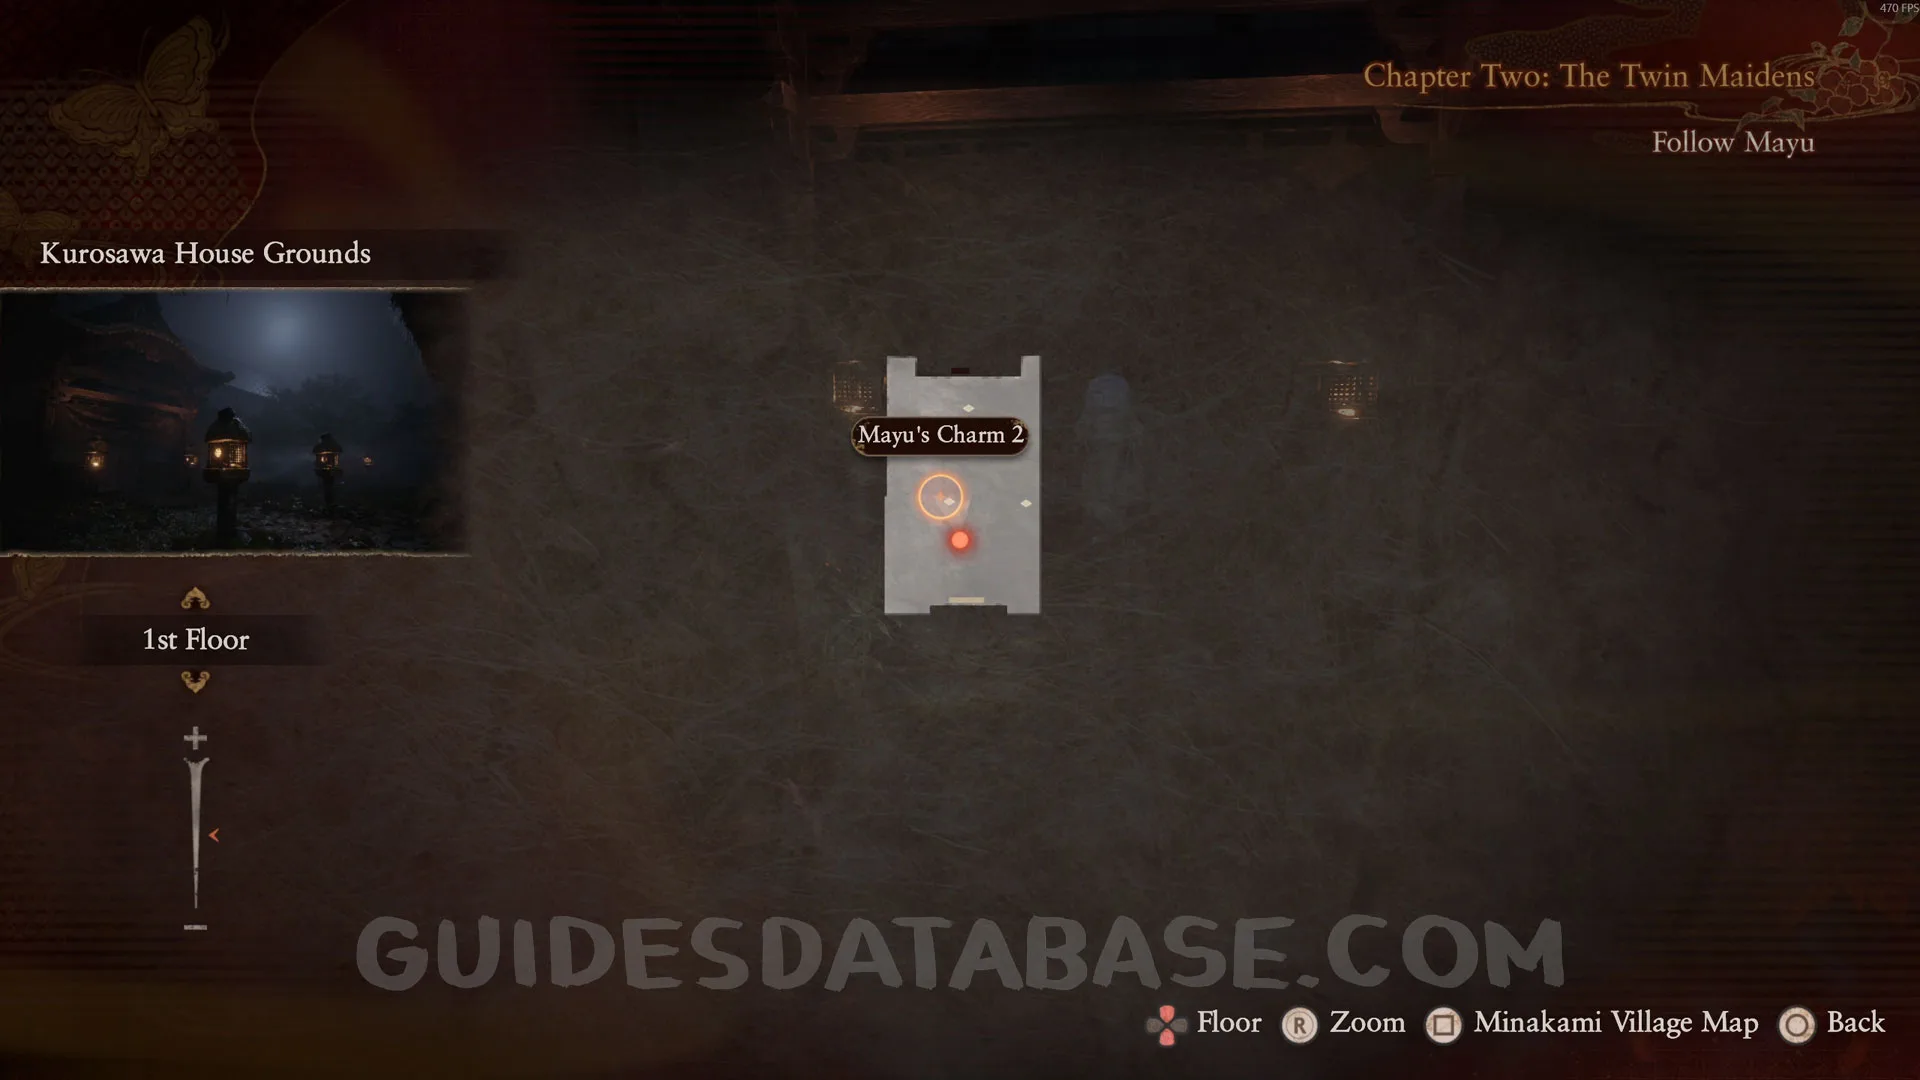
Spirit Stone #9 - Mayu's Charm 2.
Same area as the previous collectible, on the ground in front of you.
 GUIDESDATABASE.COM
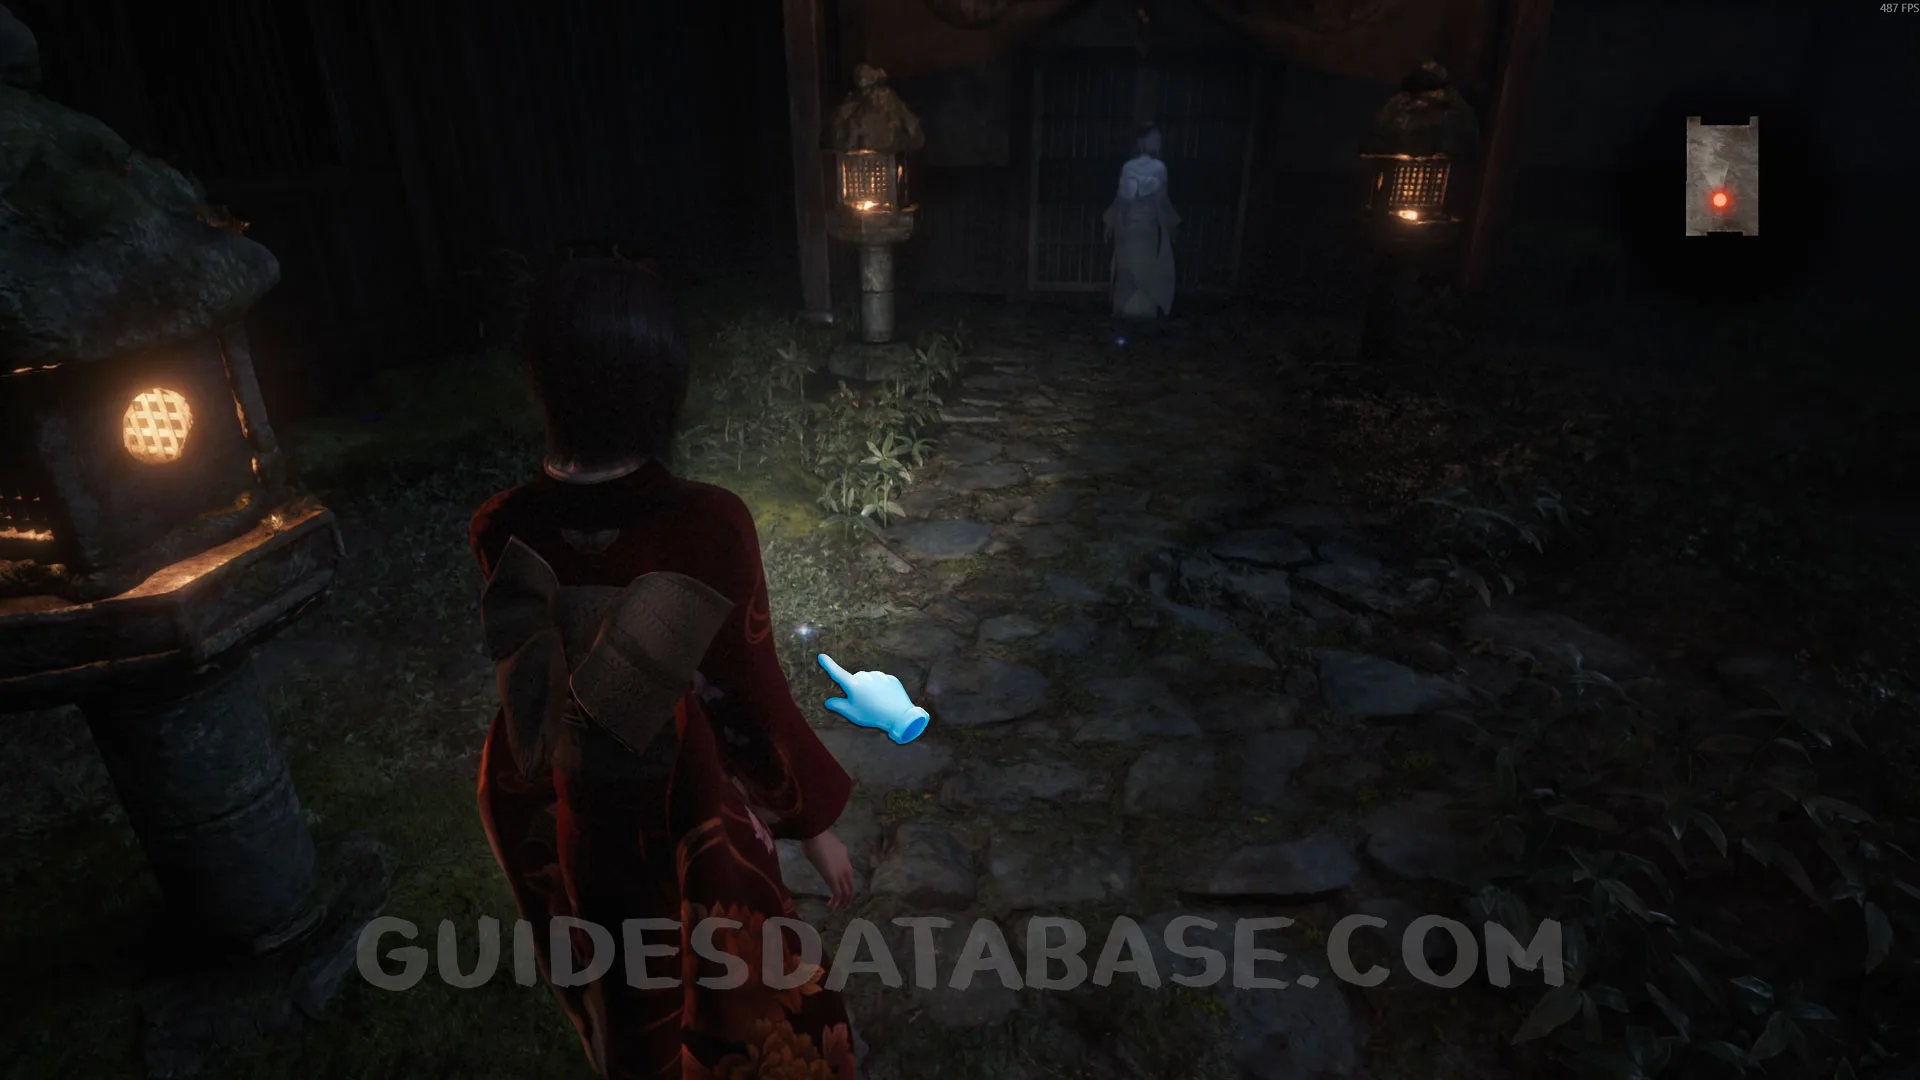 GUIDESDATABASE.COM
Specter #40 - 026 Man in Hallway.
Look through the window on your left and you will see this specter.
 GUIDESDATABASE.COM
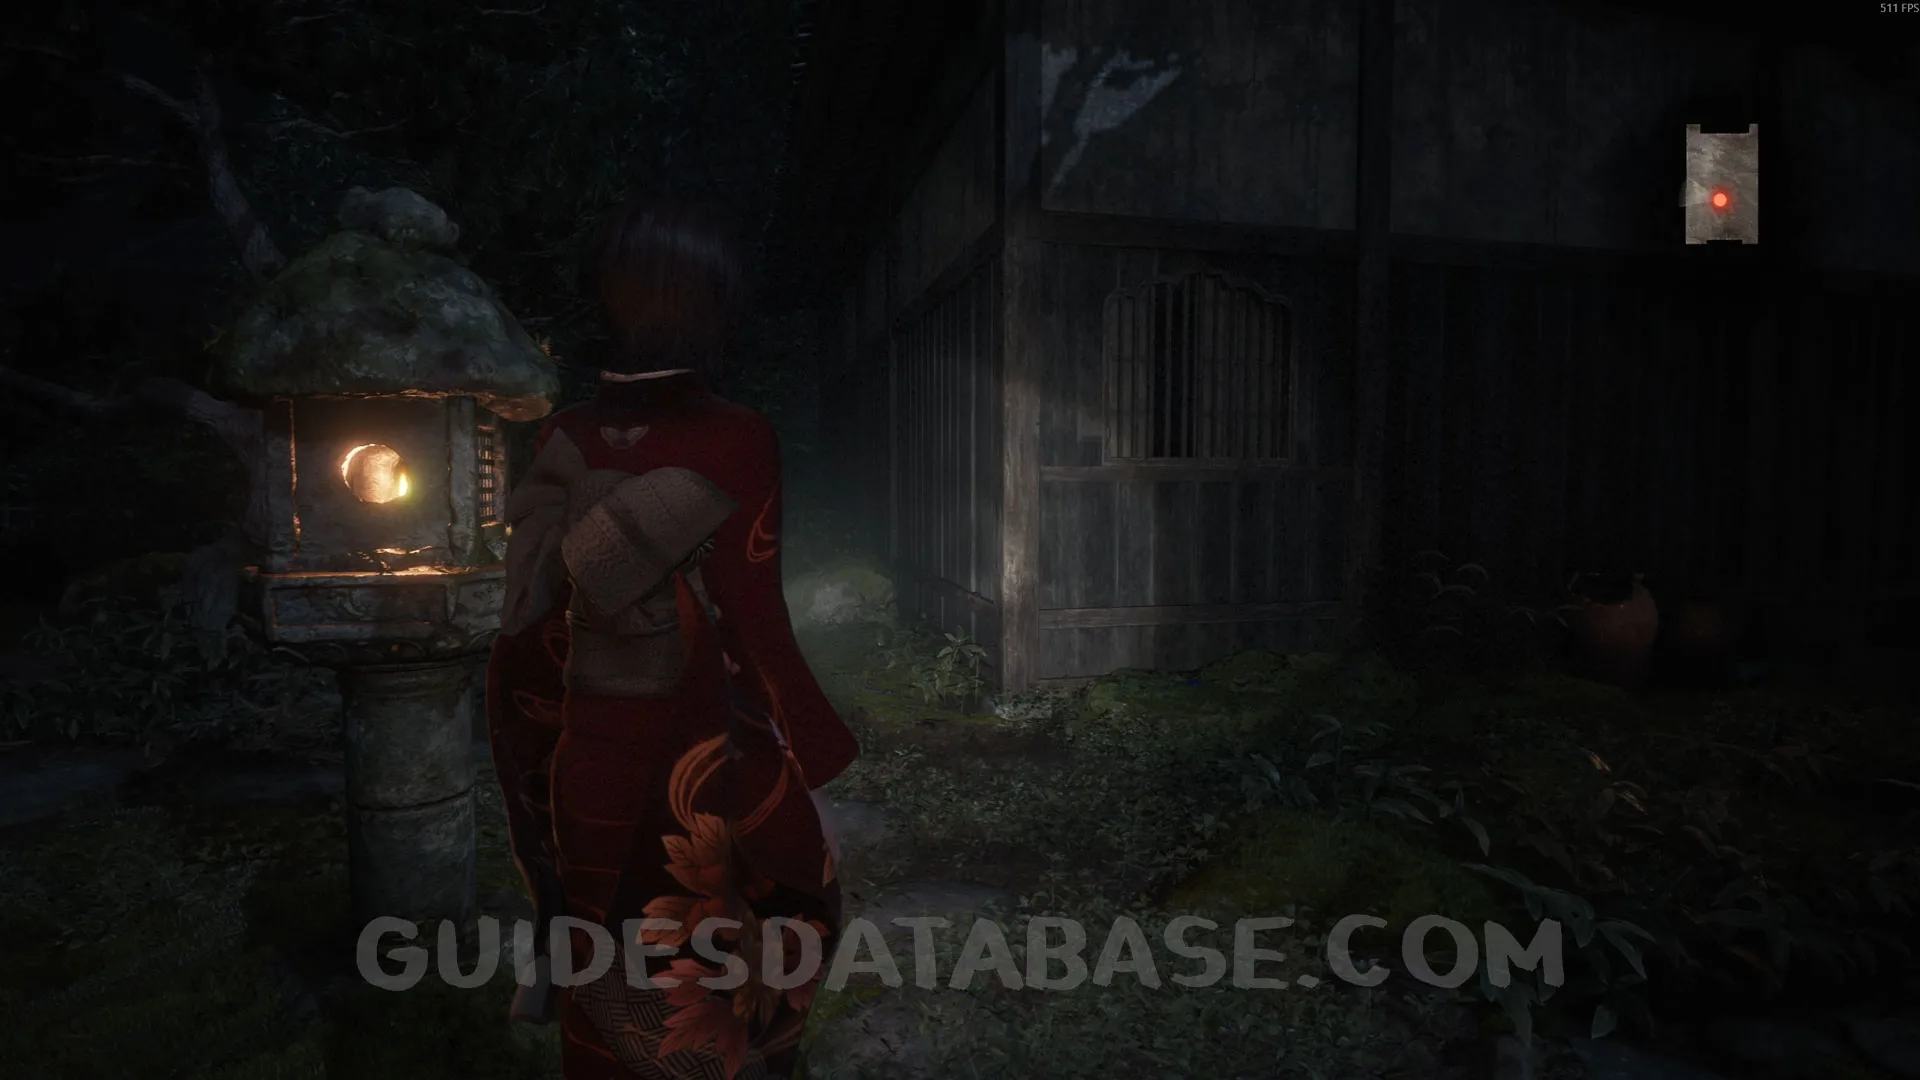 GUIDESDATABASE.COM
 GUIDESDATABASE.COM
Twin Dolls #17 - 005.
Same area as the previous collectible, go to the left and you will see these twin dolls.
 GUIDESDATABASE.COM
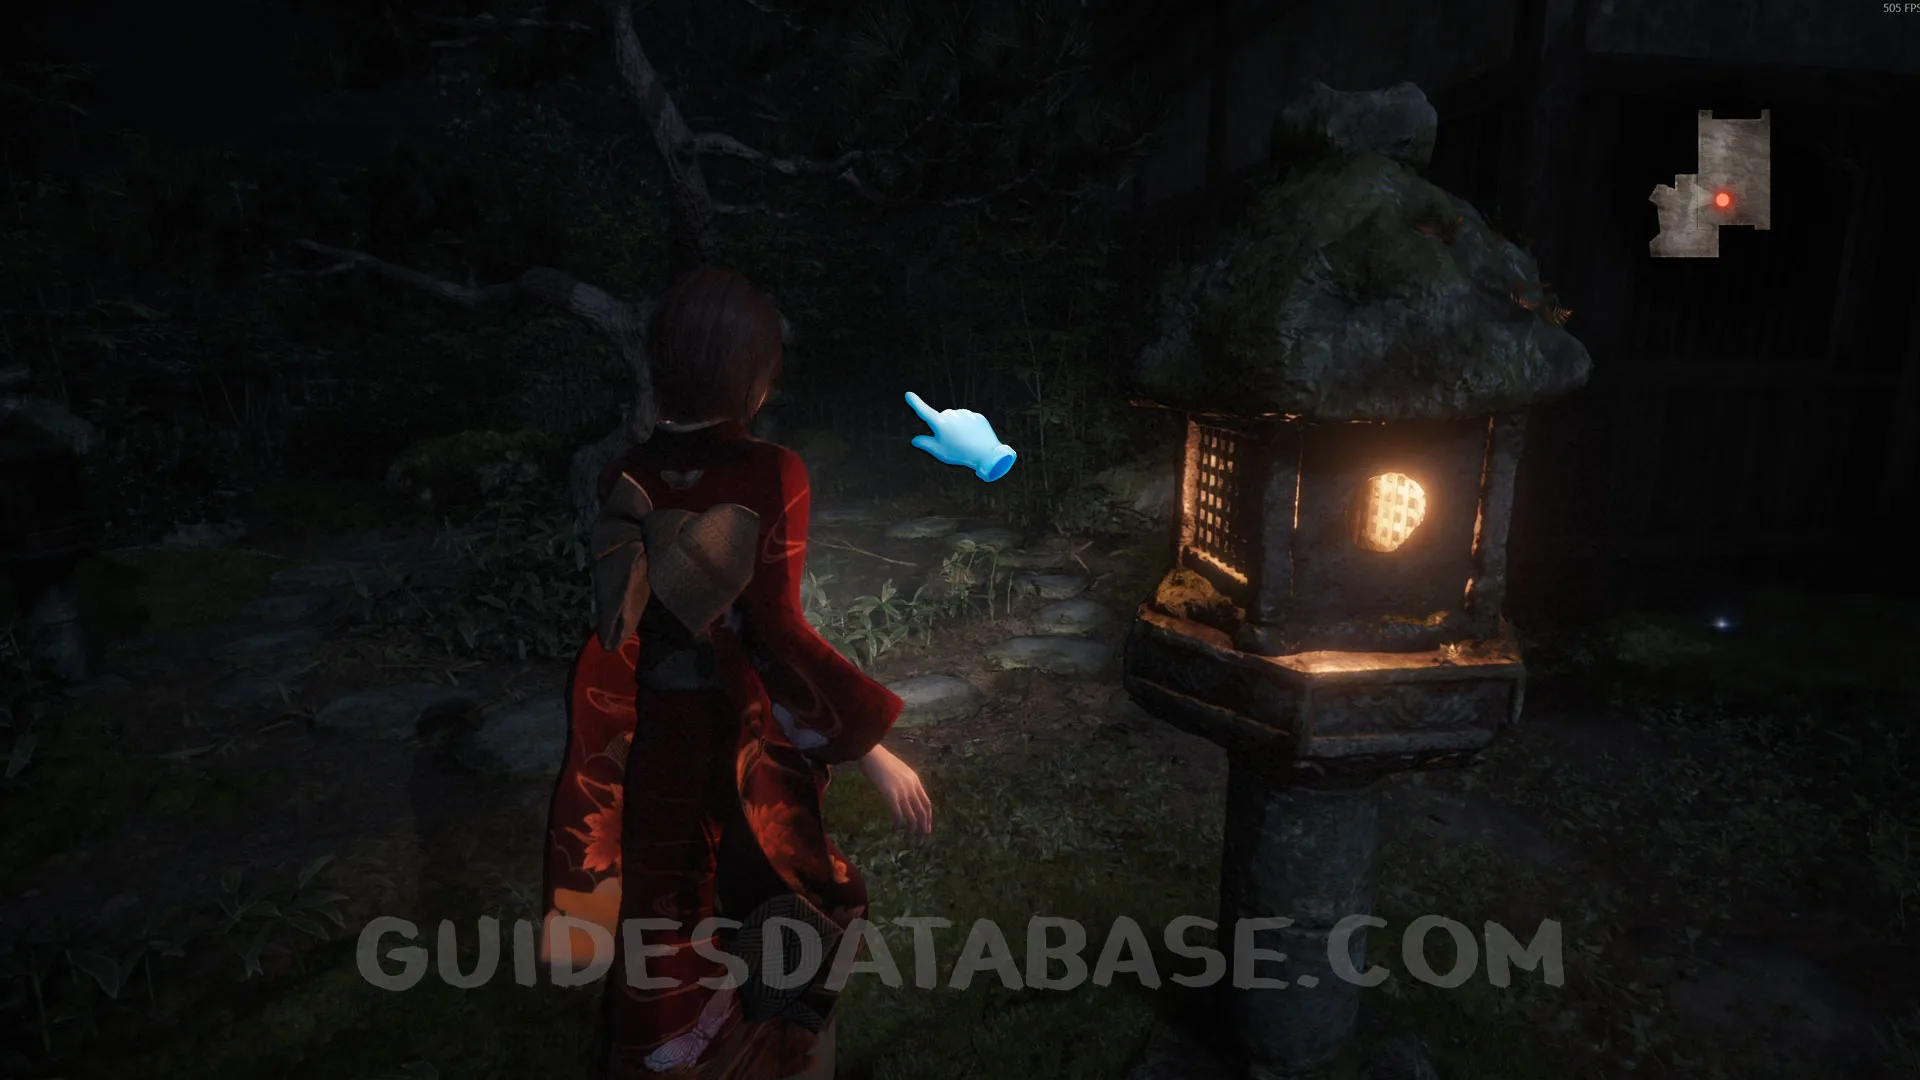 GUIDESDATABASE.COM
 GUIDESDATABASE.COM
 GUIDESDATABASE.COM
Prayer Bead #9.
In front of the gate that leads to Chapter 3.
 GUIDESDATABASE.COM
 GUIDESDATABASE.COM
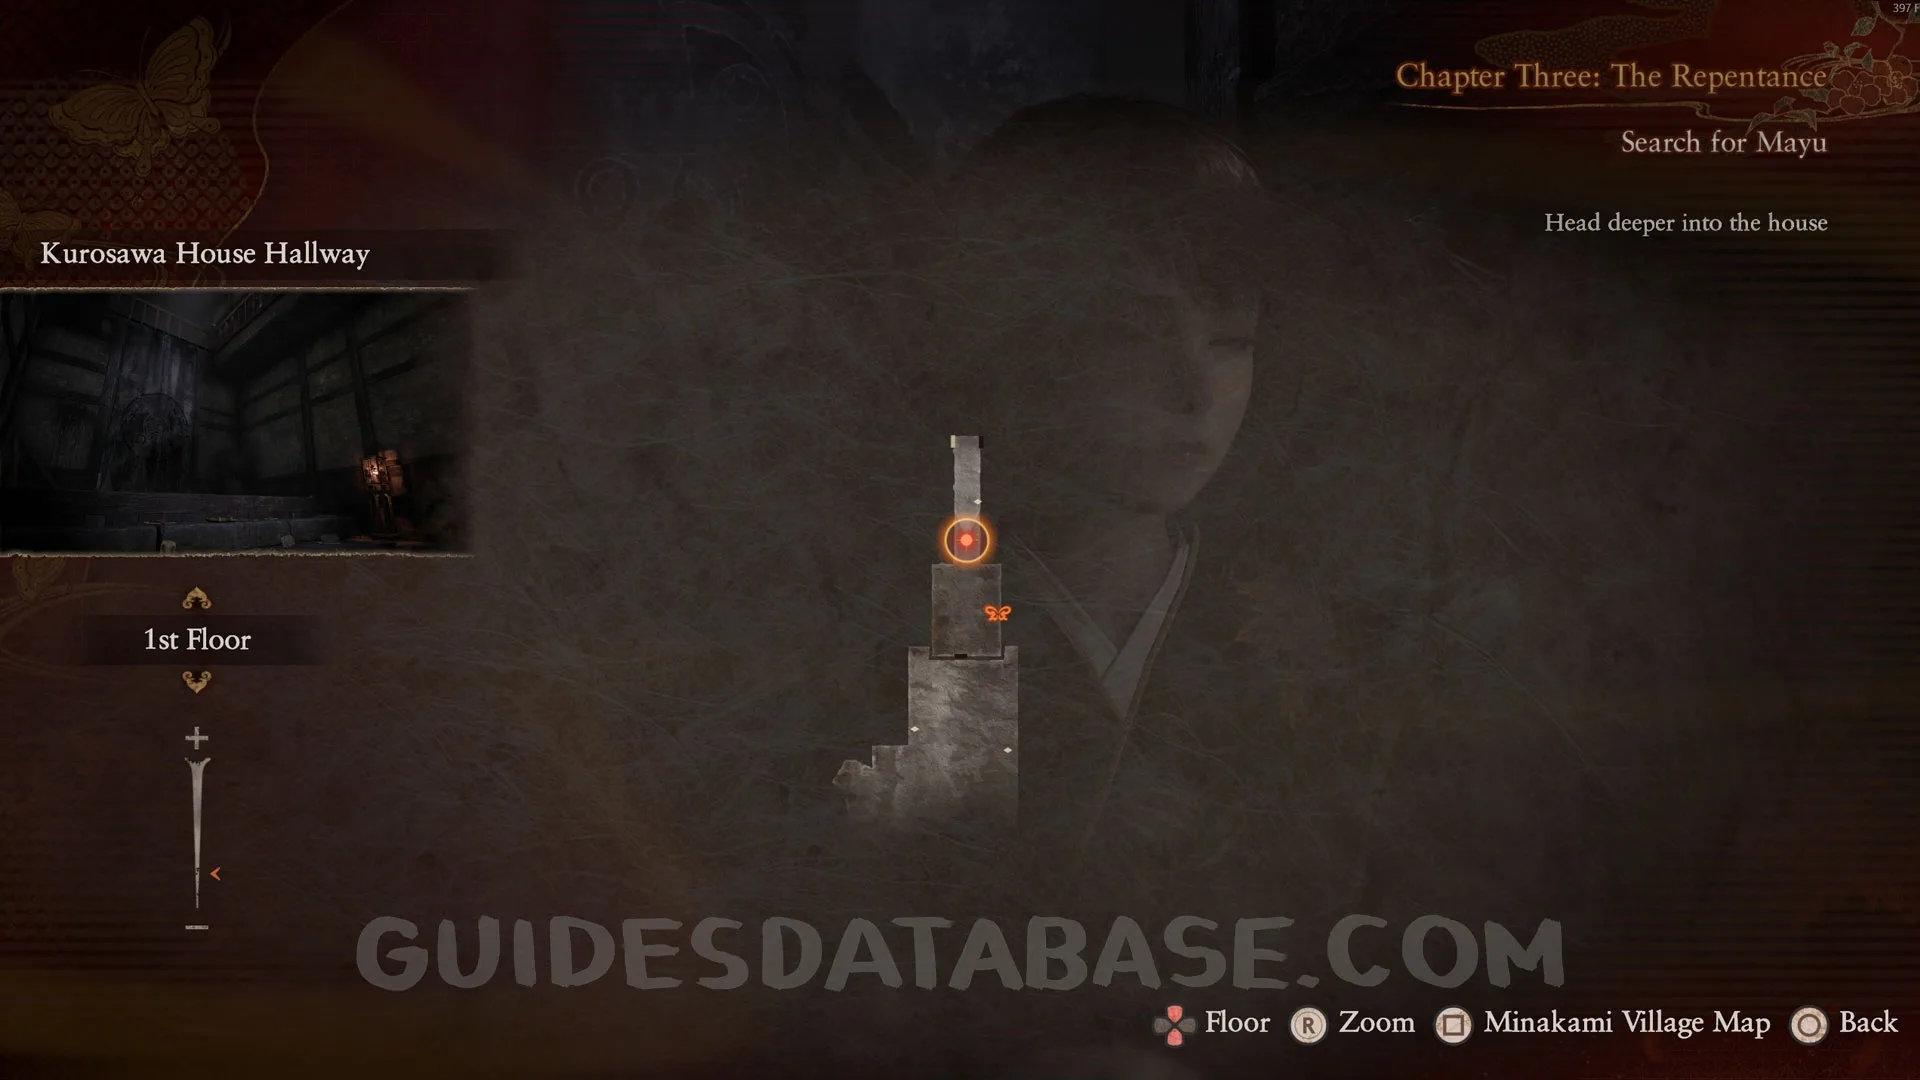
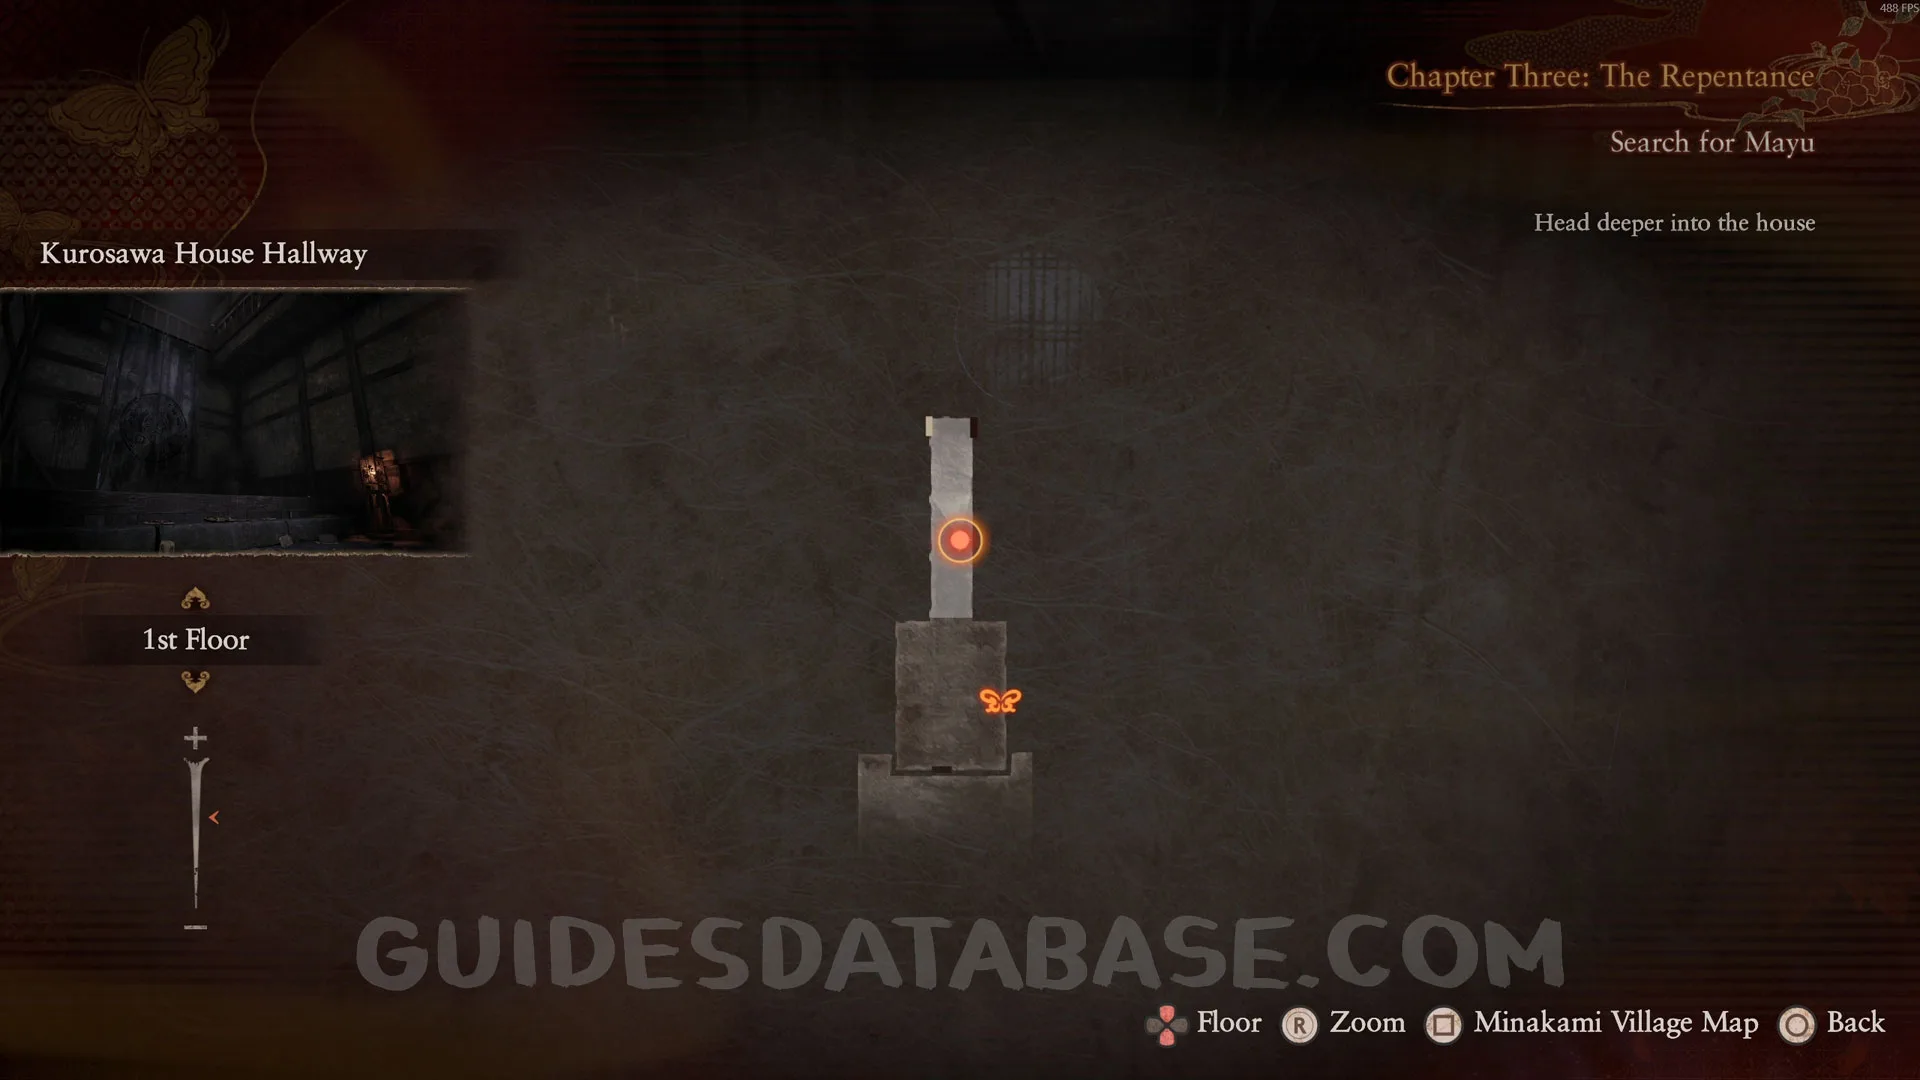
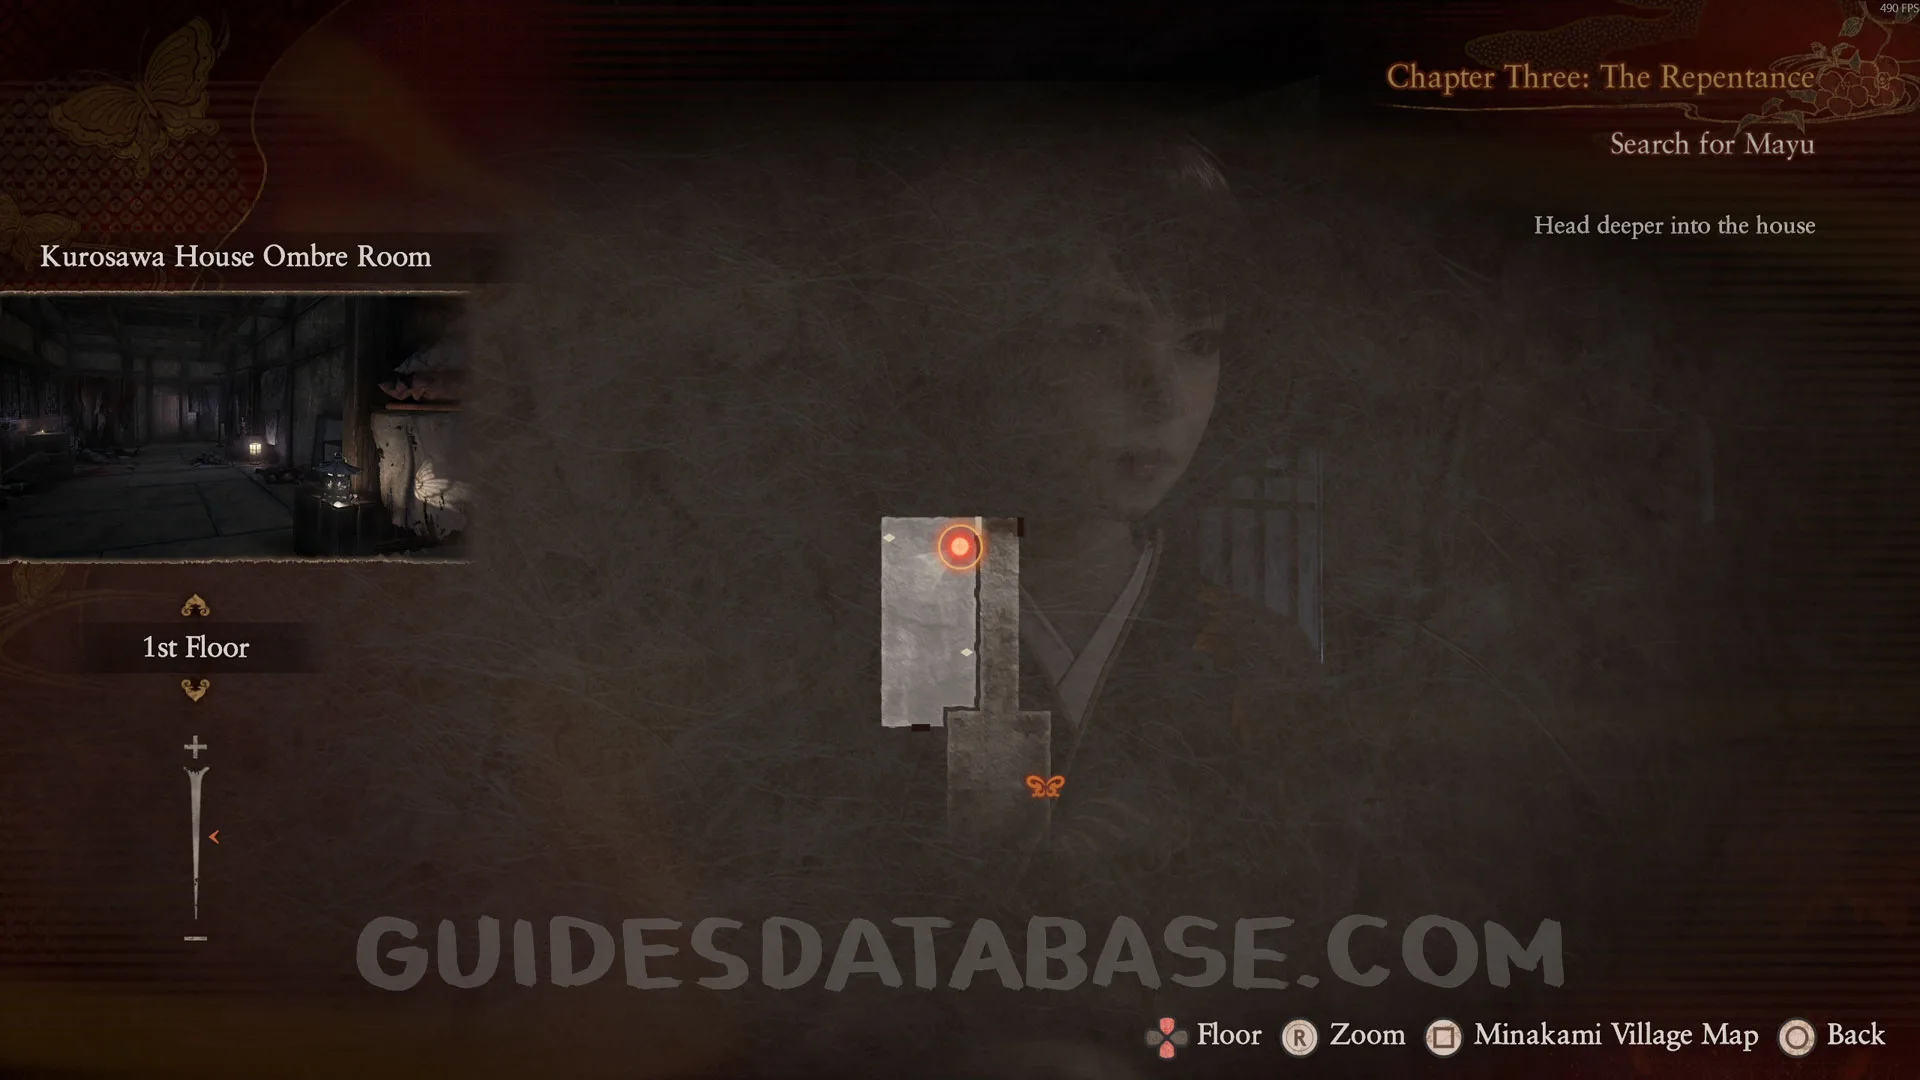
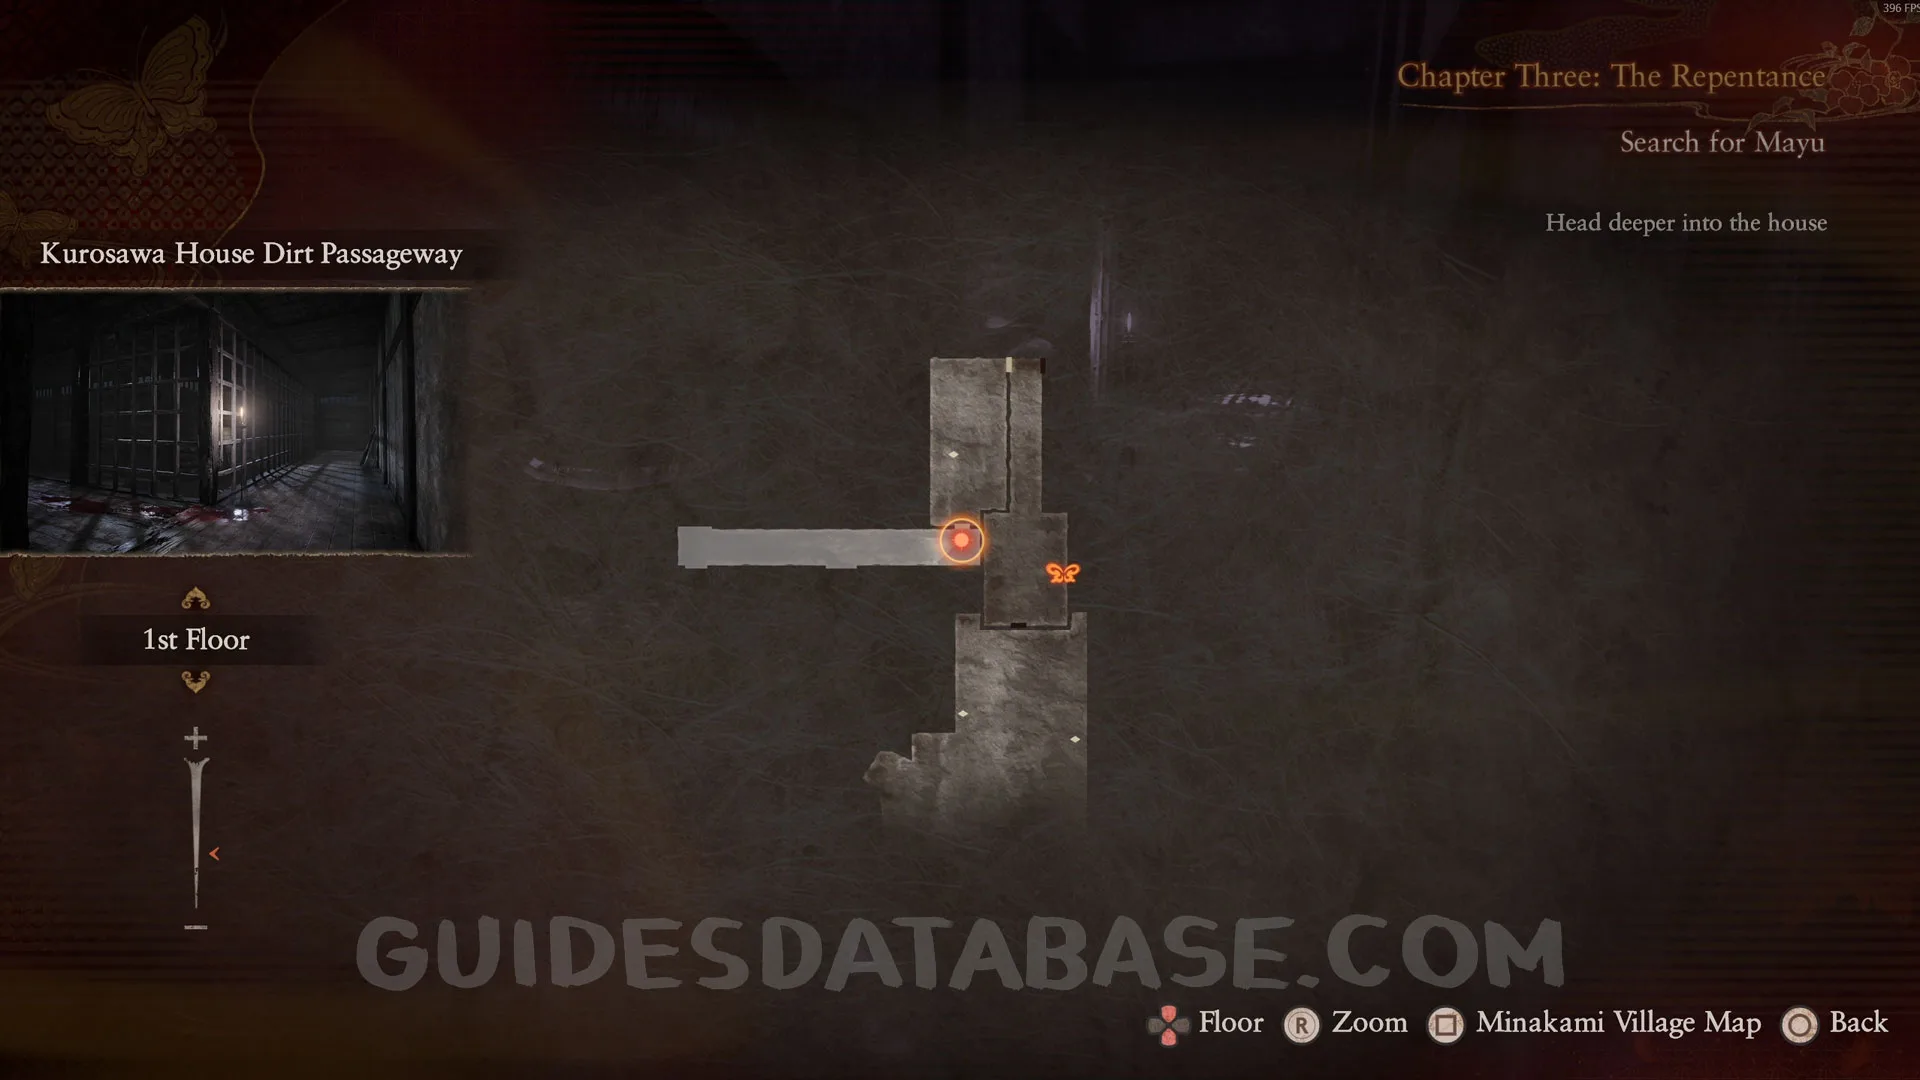
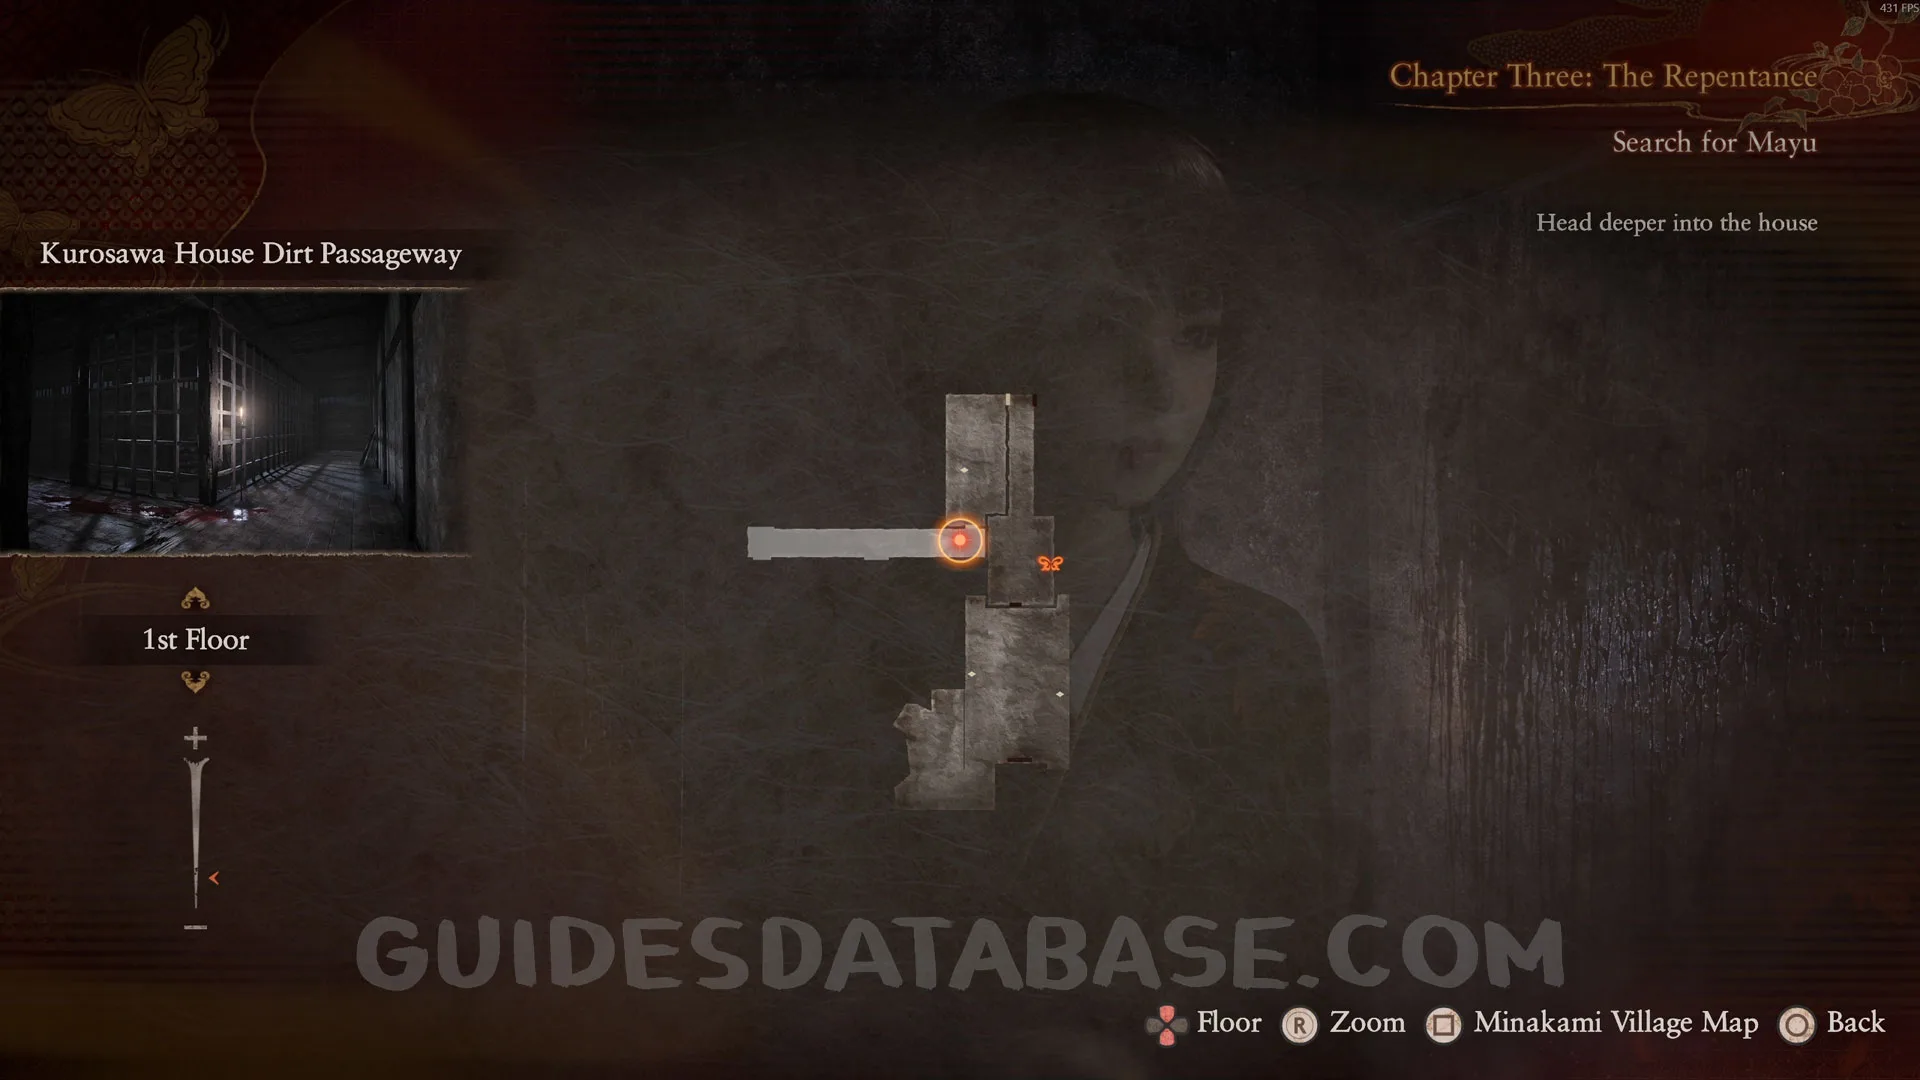
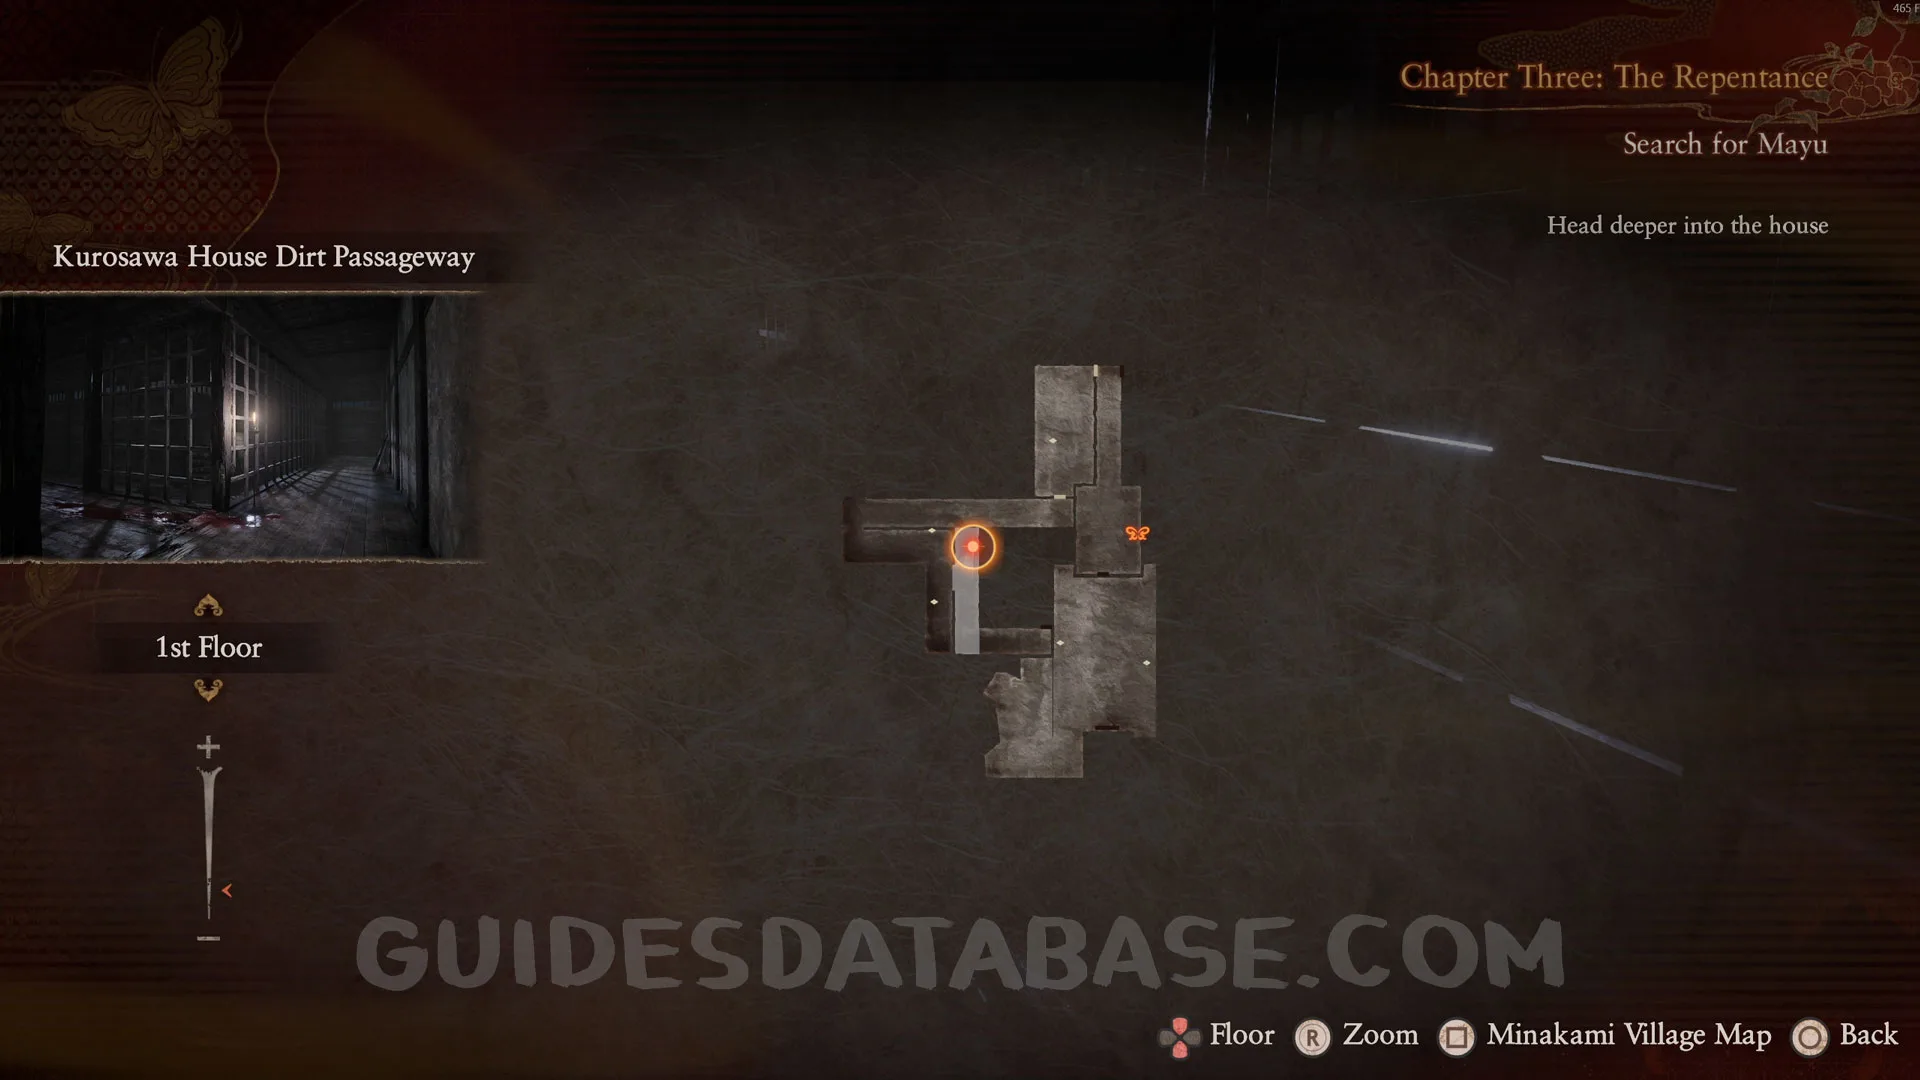
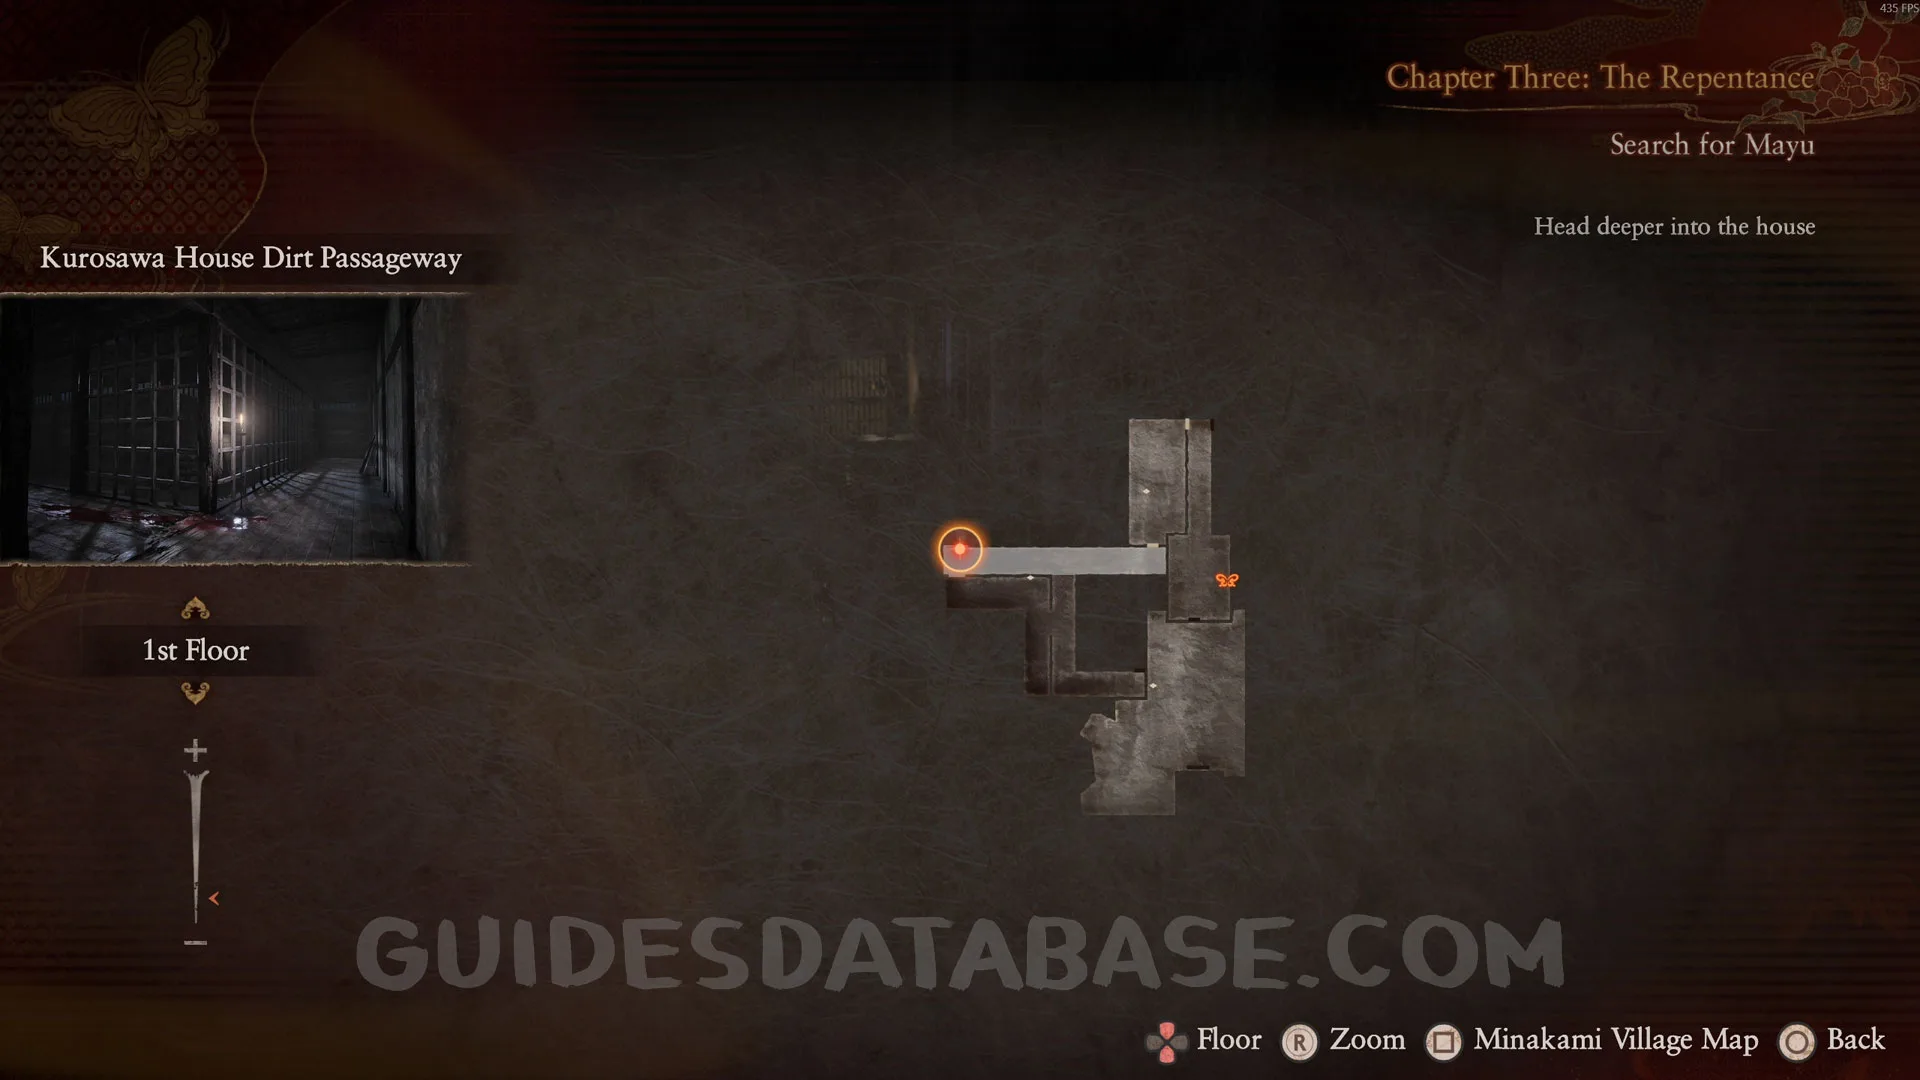
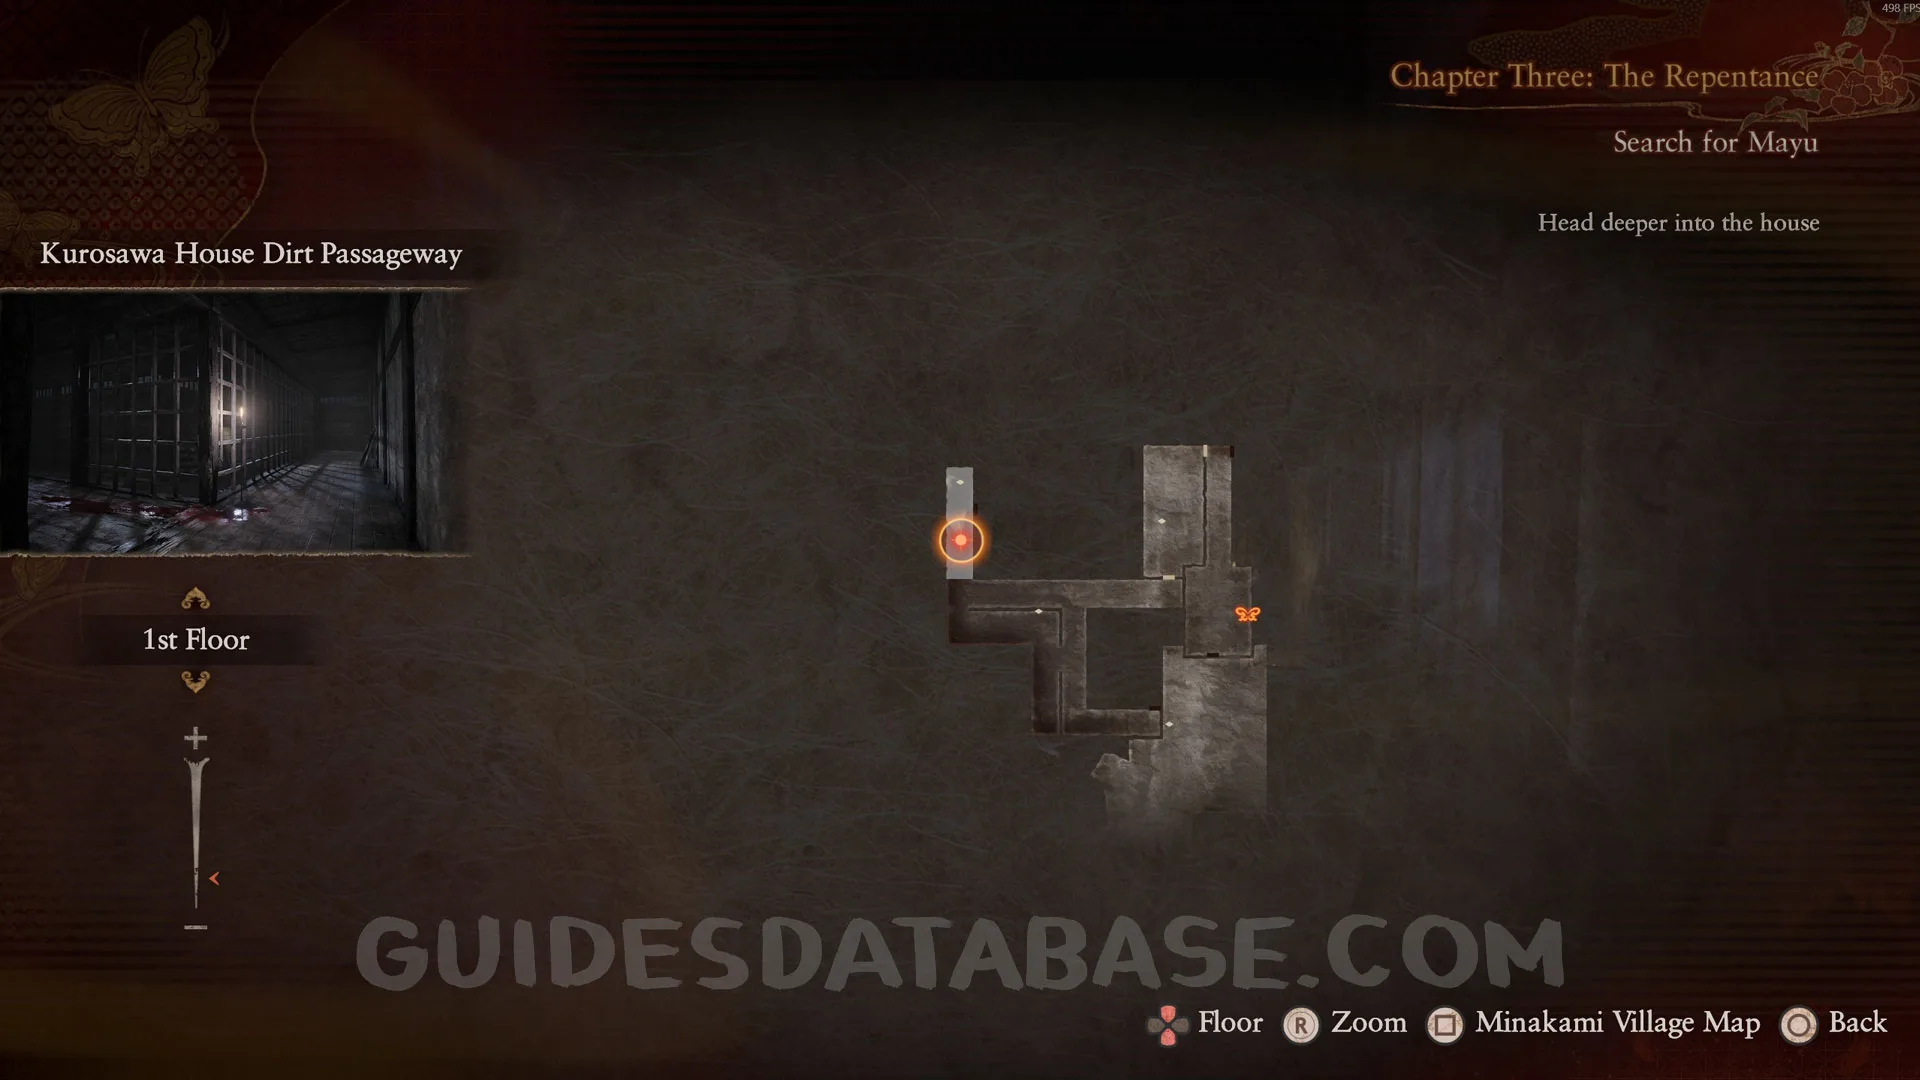
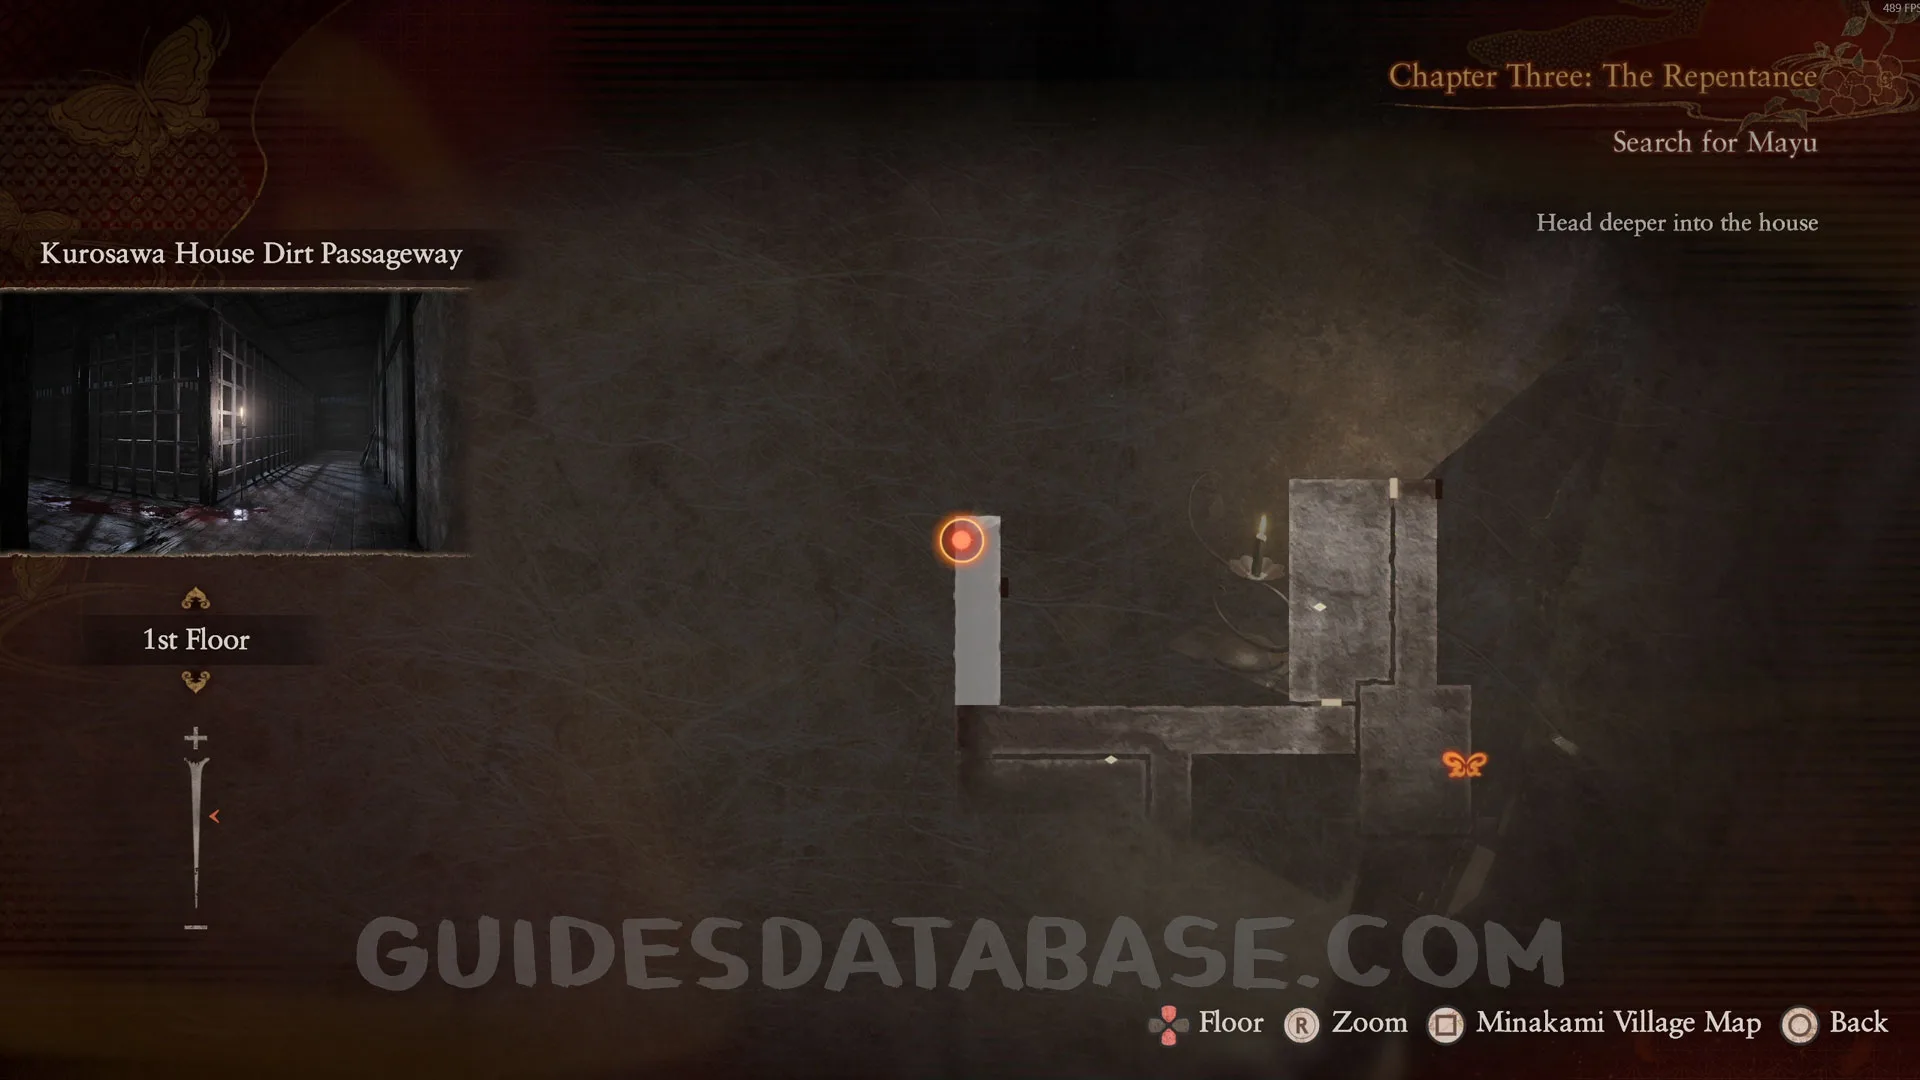
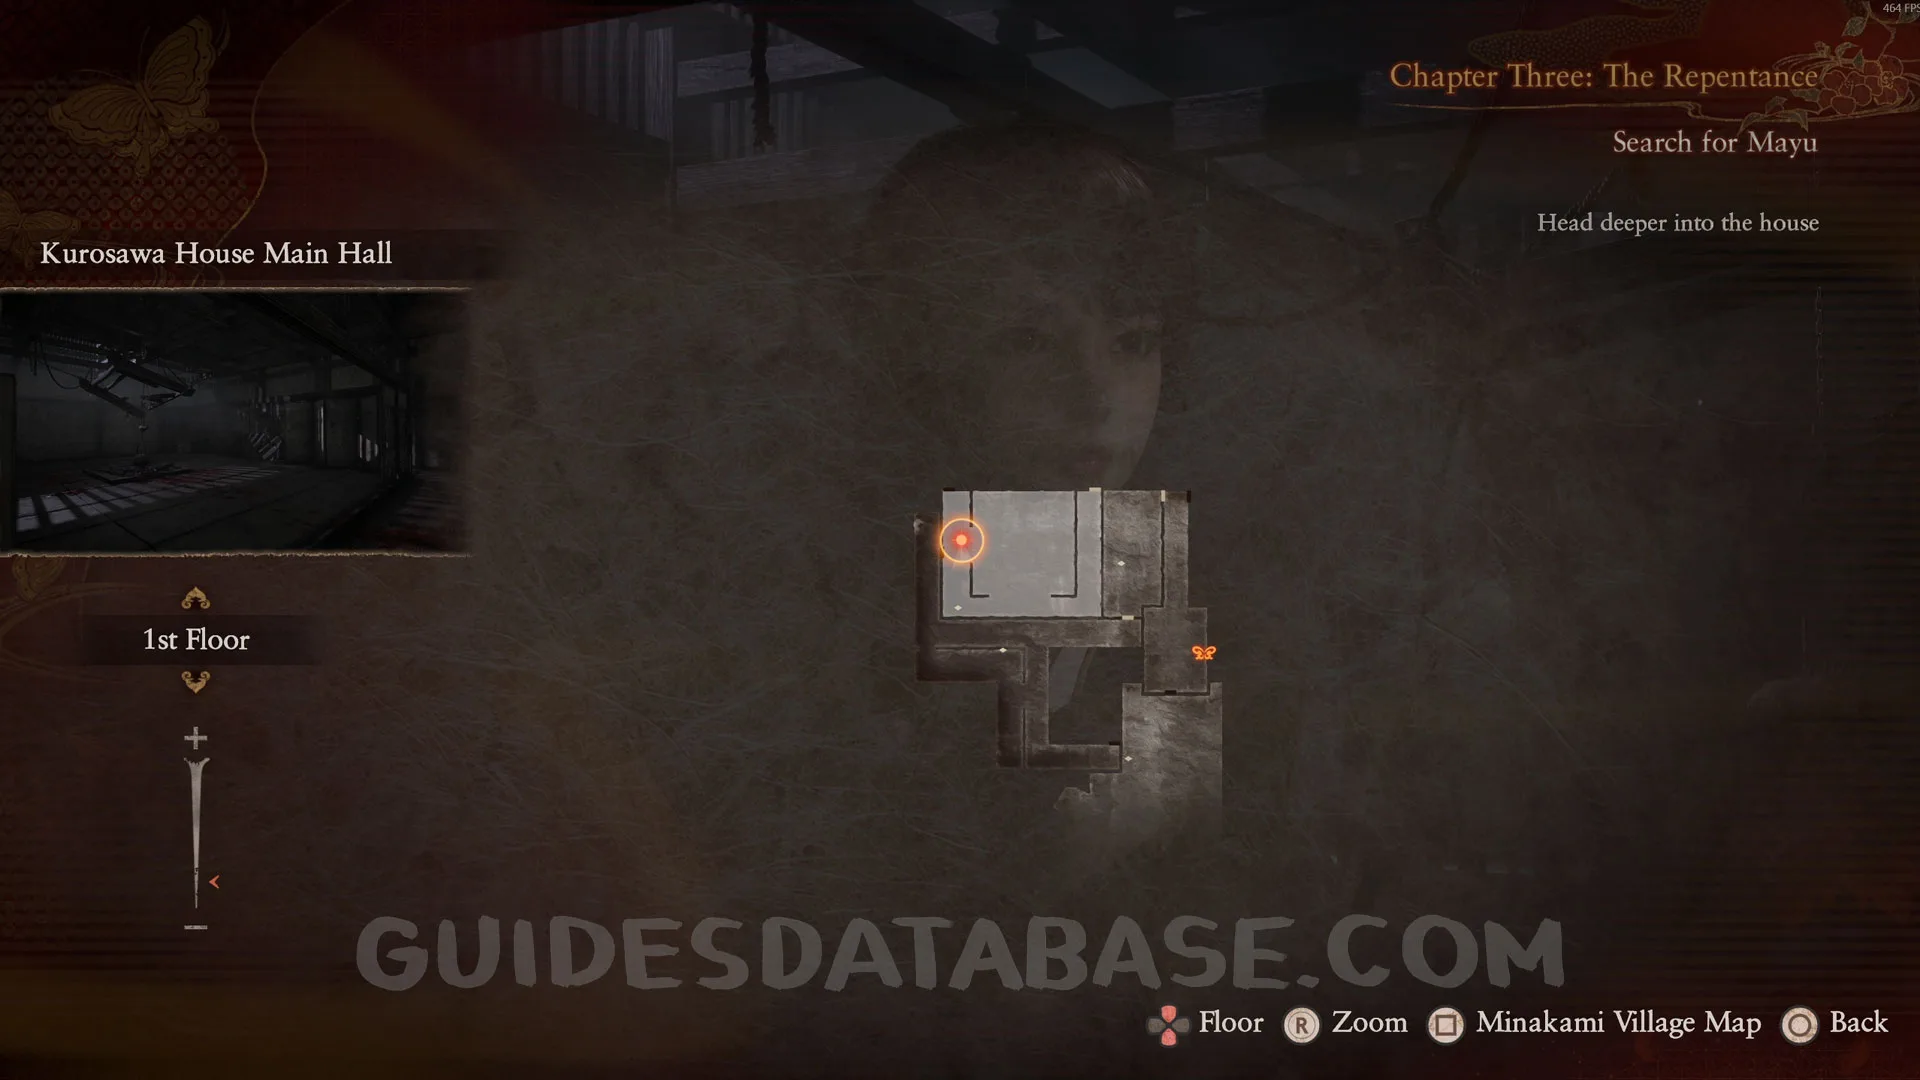
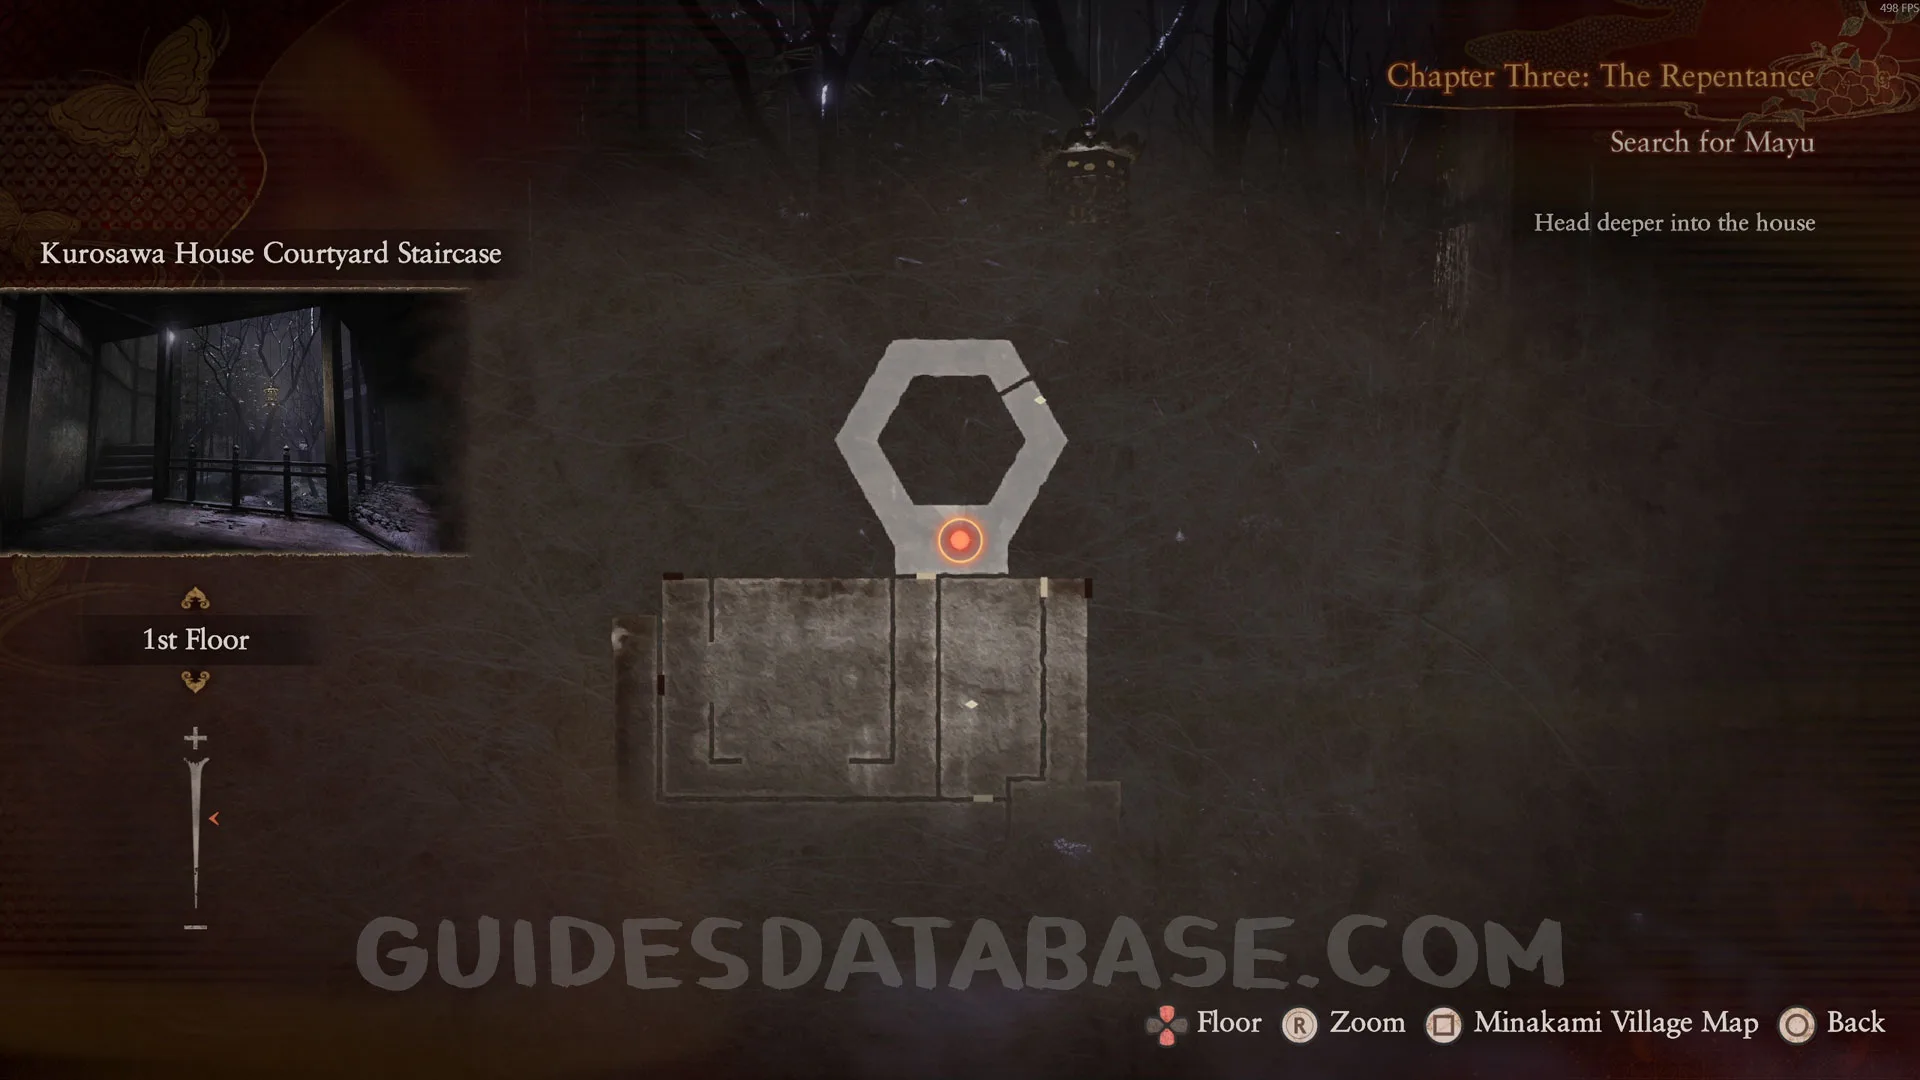
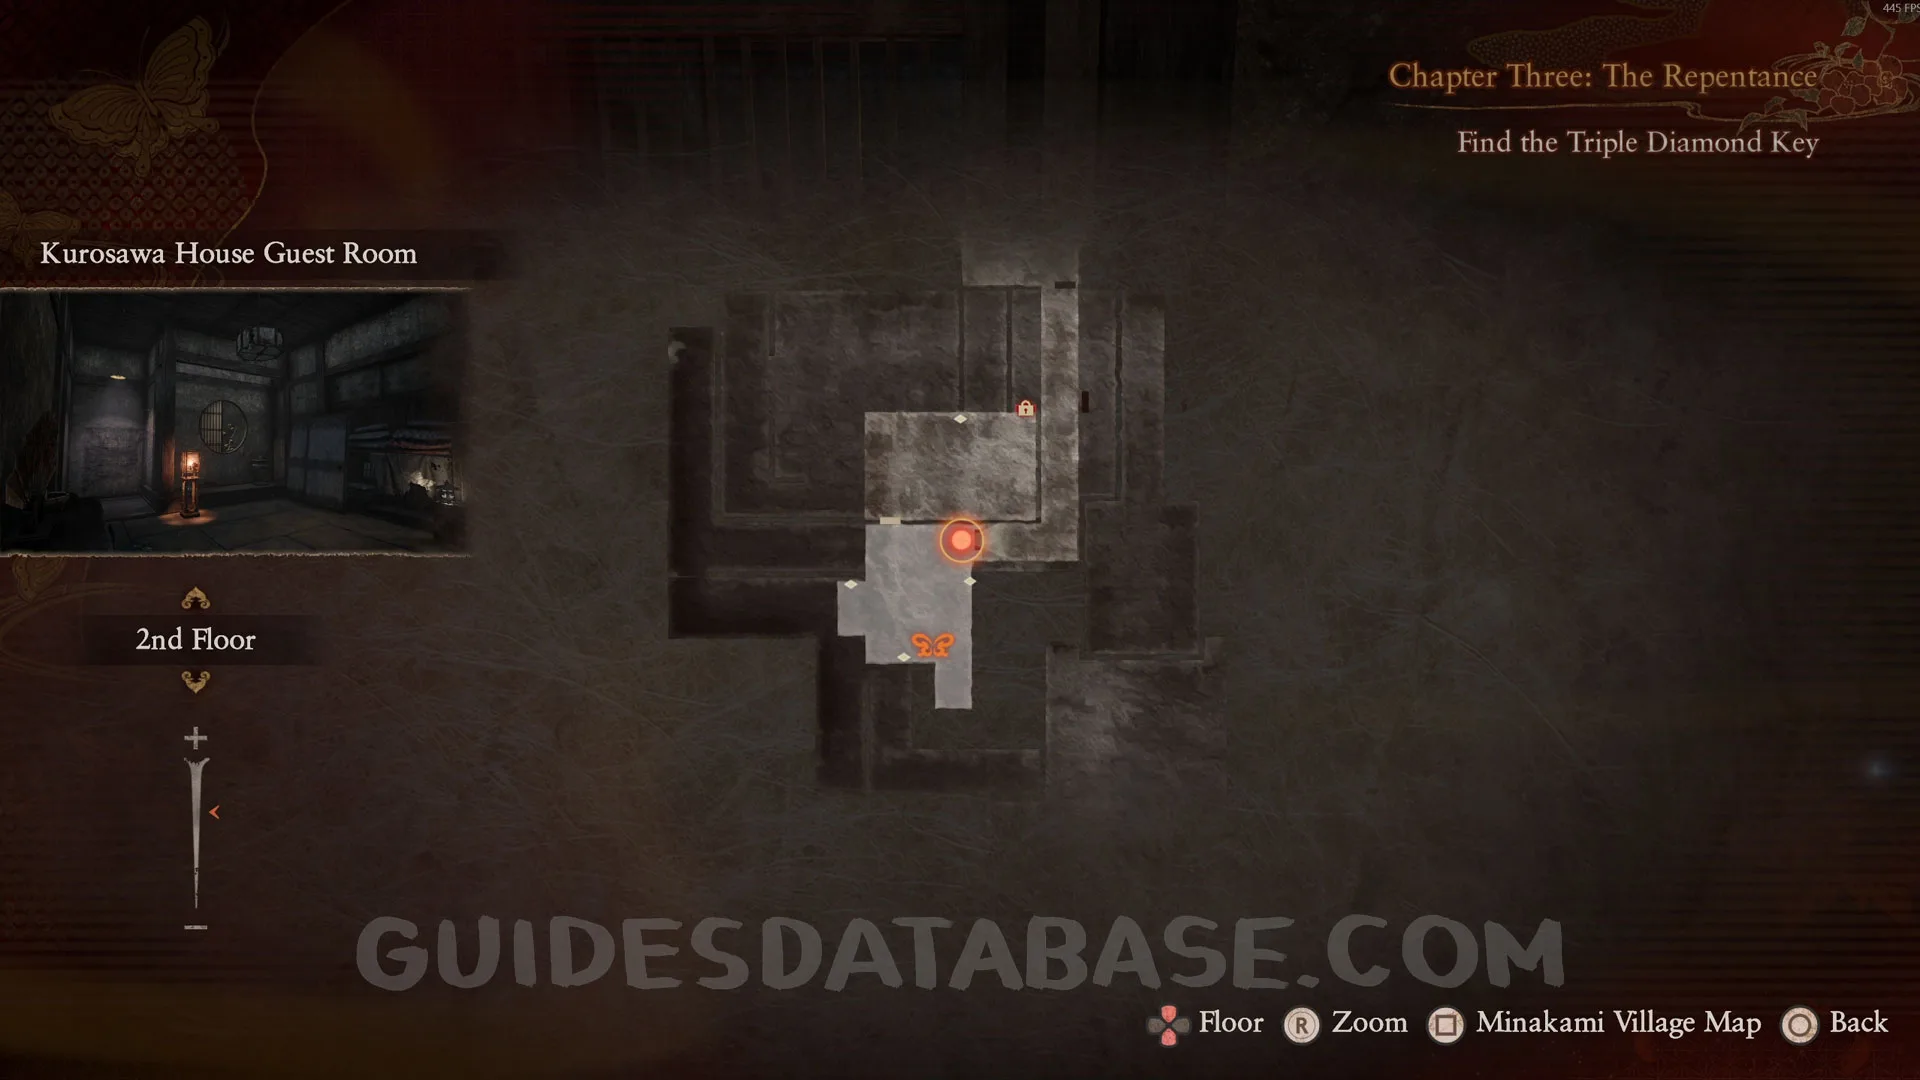
Chapter 3: The Repentance
Specter #41 - 027 The Man Above.
Look up as soon as the chapter starts and take a photo of it.
 GUIDESDATABASE.COM
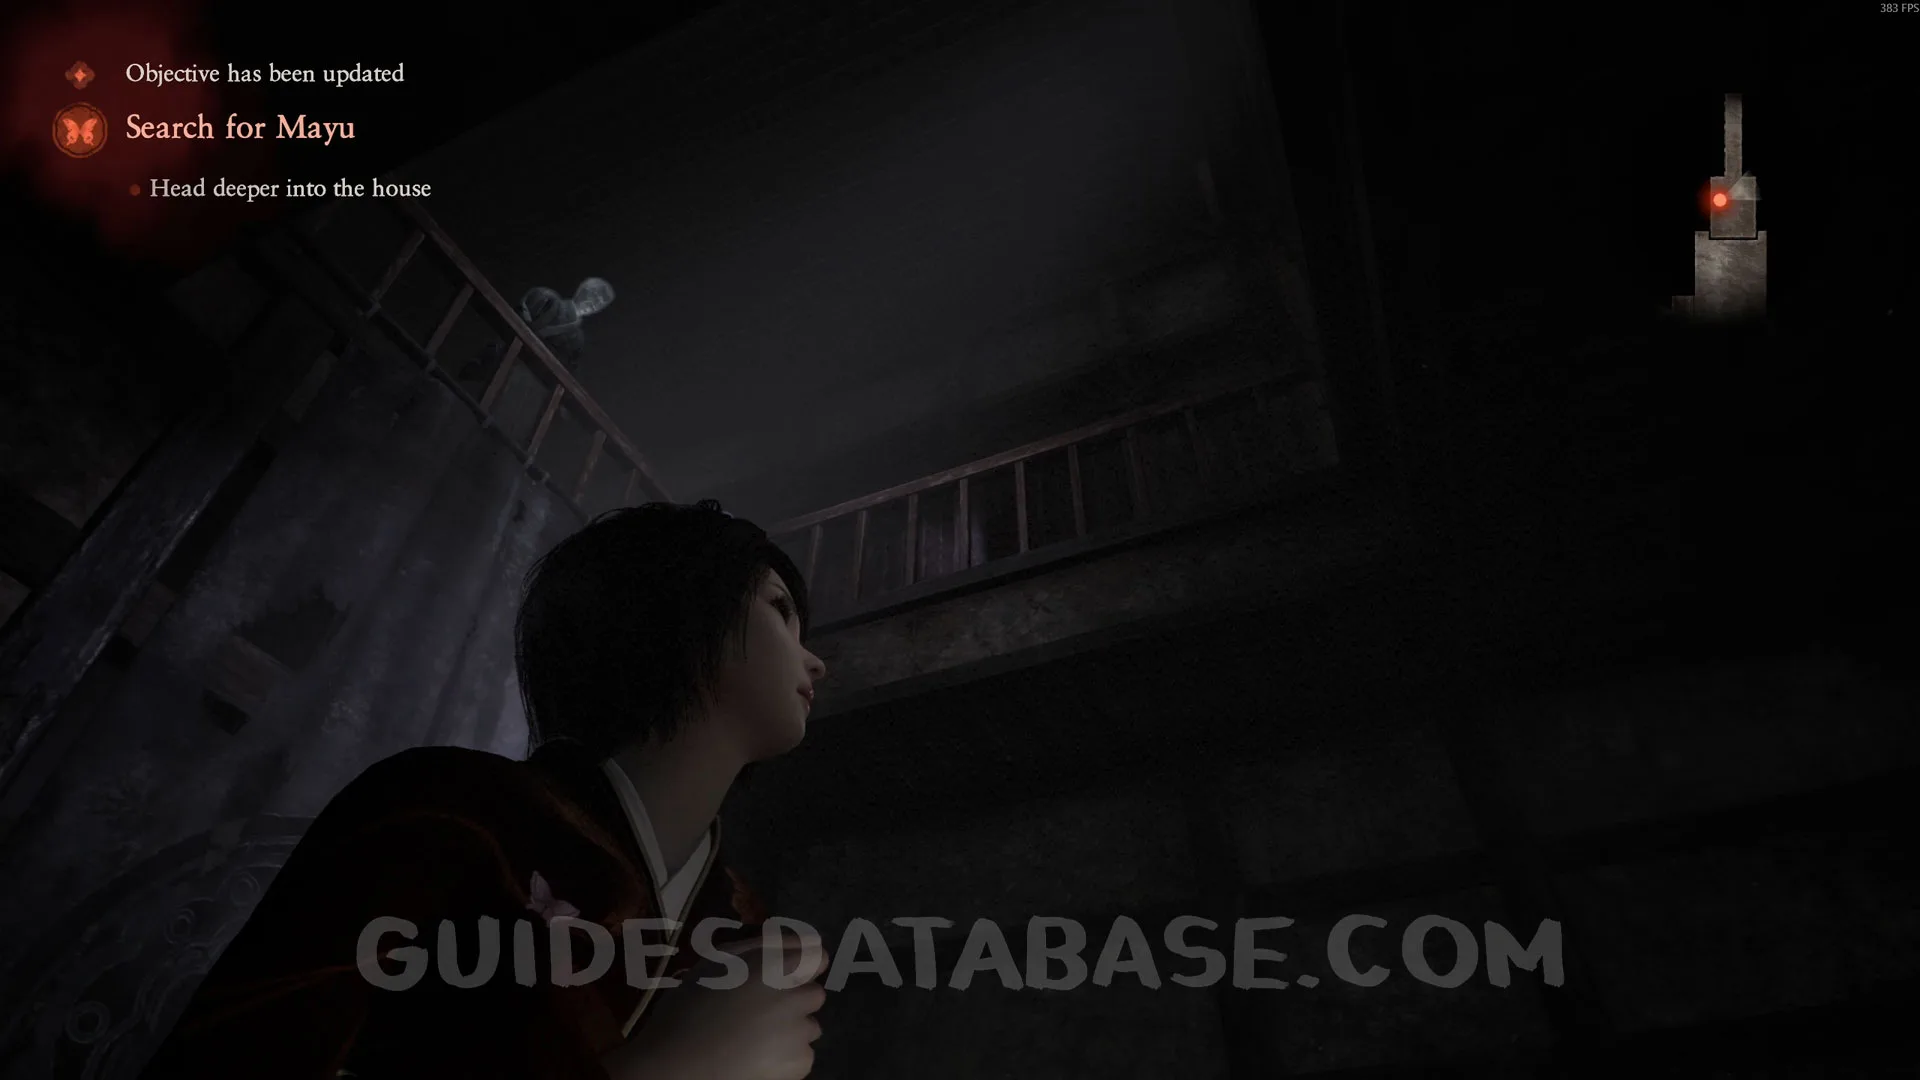 GUIDESDATABASE.COM
Reversion Beads #1.
It’ll be on the ground on the right after the previous collectible.
 GUIDESDATABASE.COM
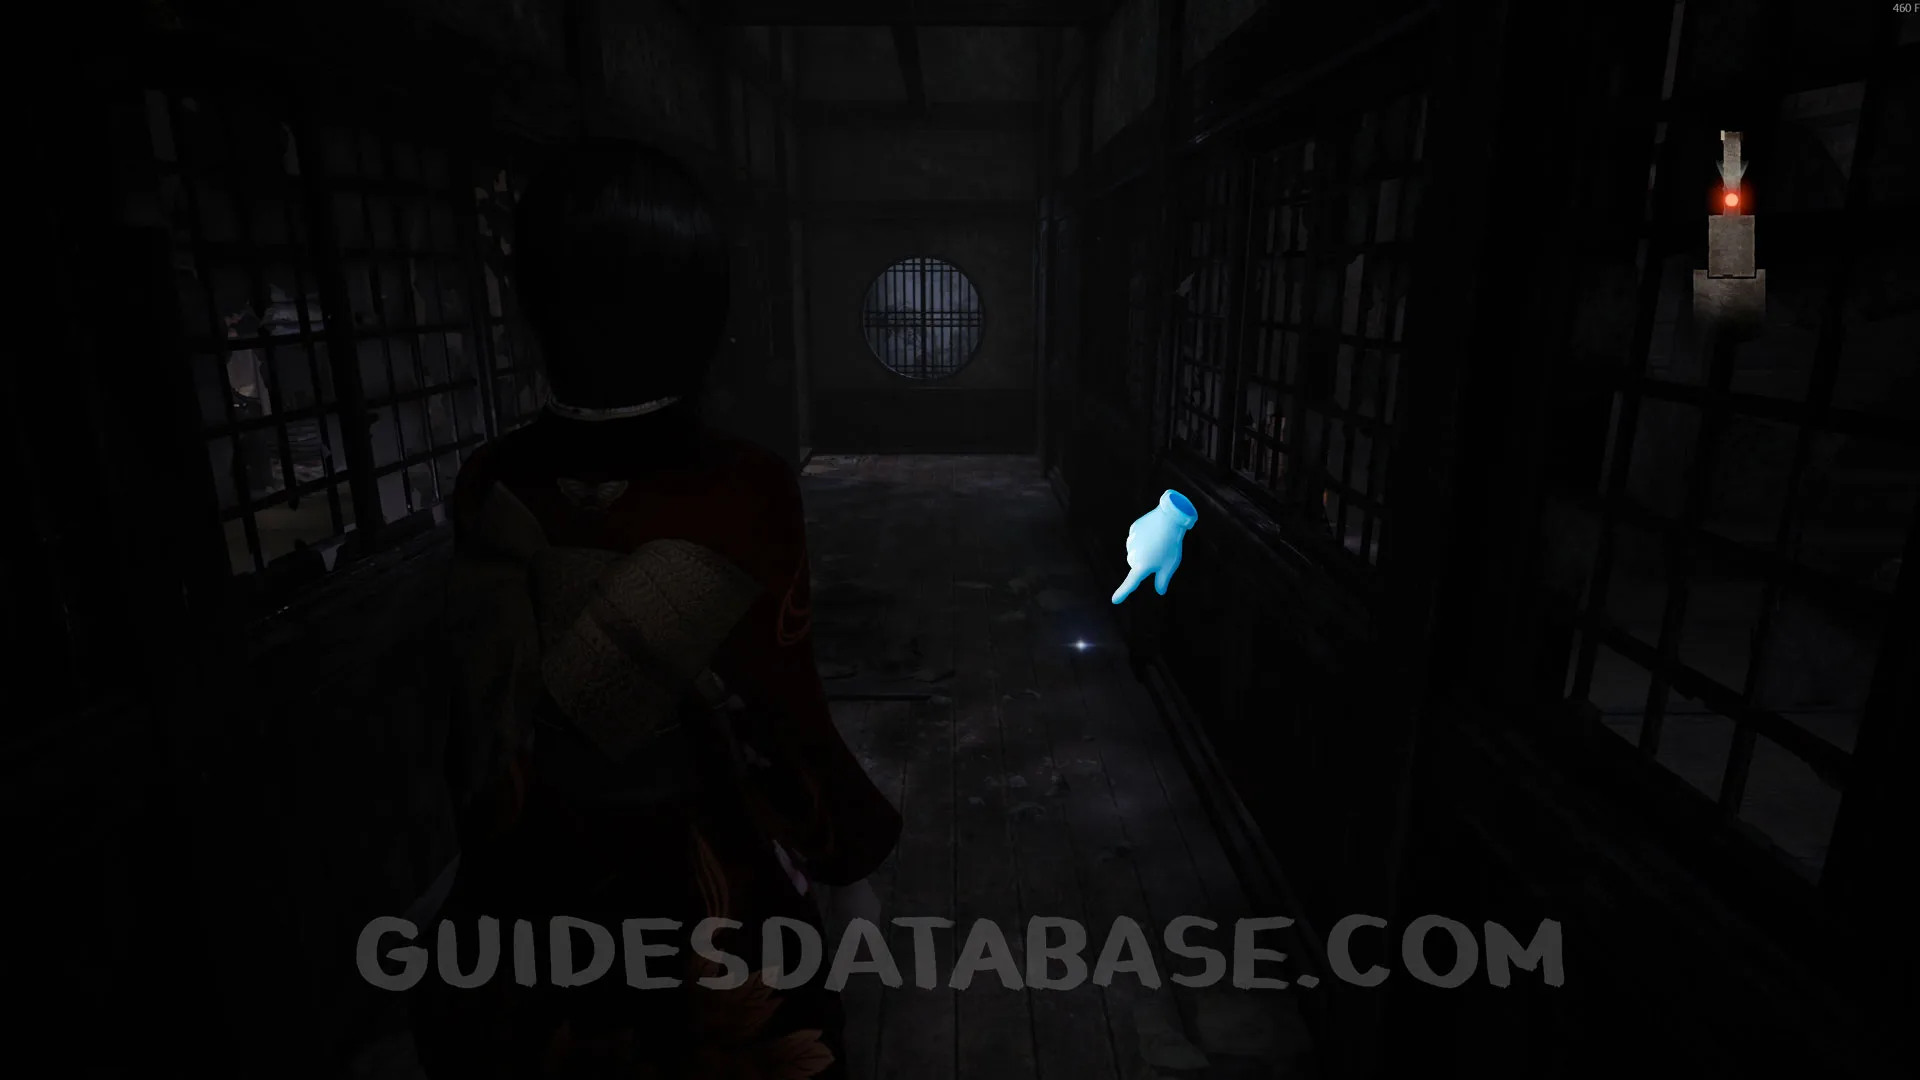 GUIDESDATABASE.COM
Specter #42 - 028 Hiding Man.
From the previous collectible, enter the room on the left and you’ll see this specter hiding. Take a photo of it.
 GUIDESDATABASE.COM
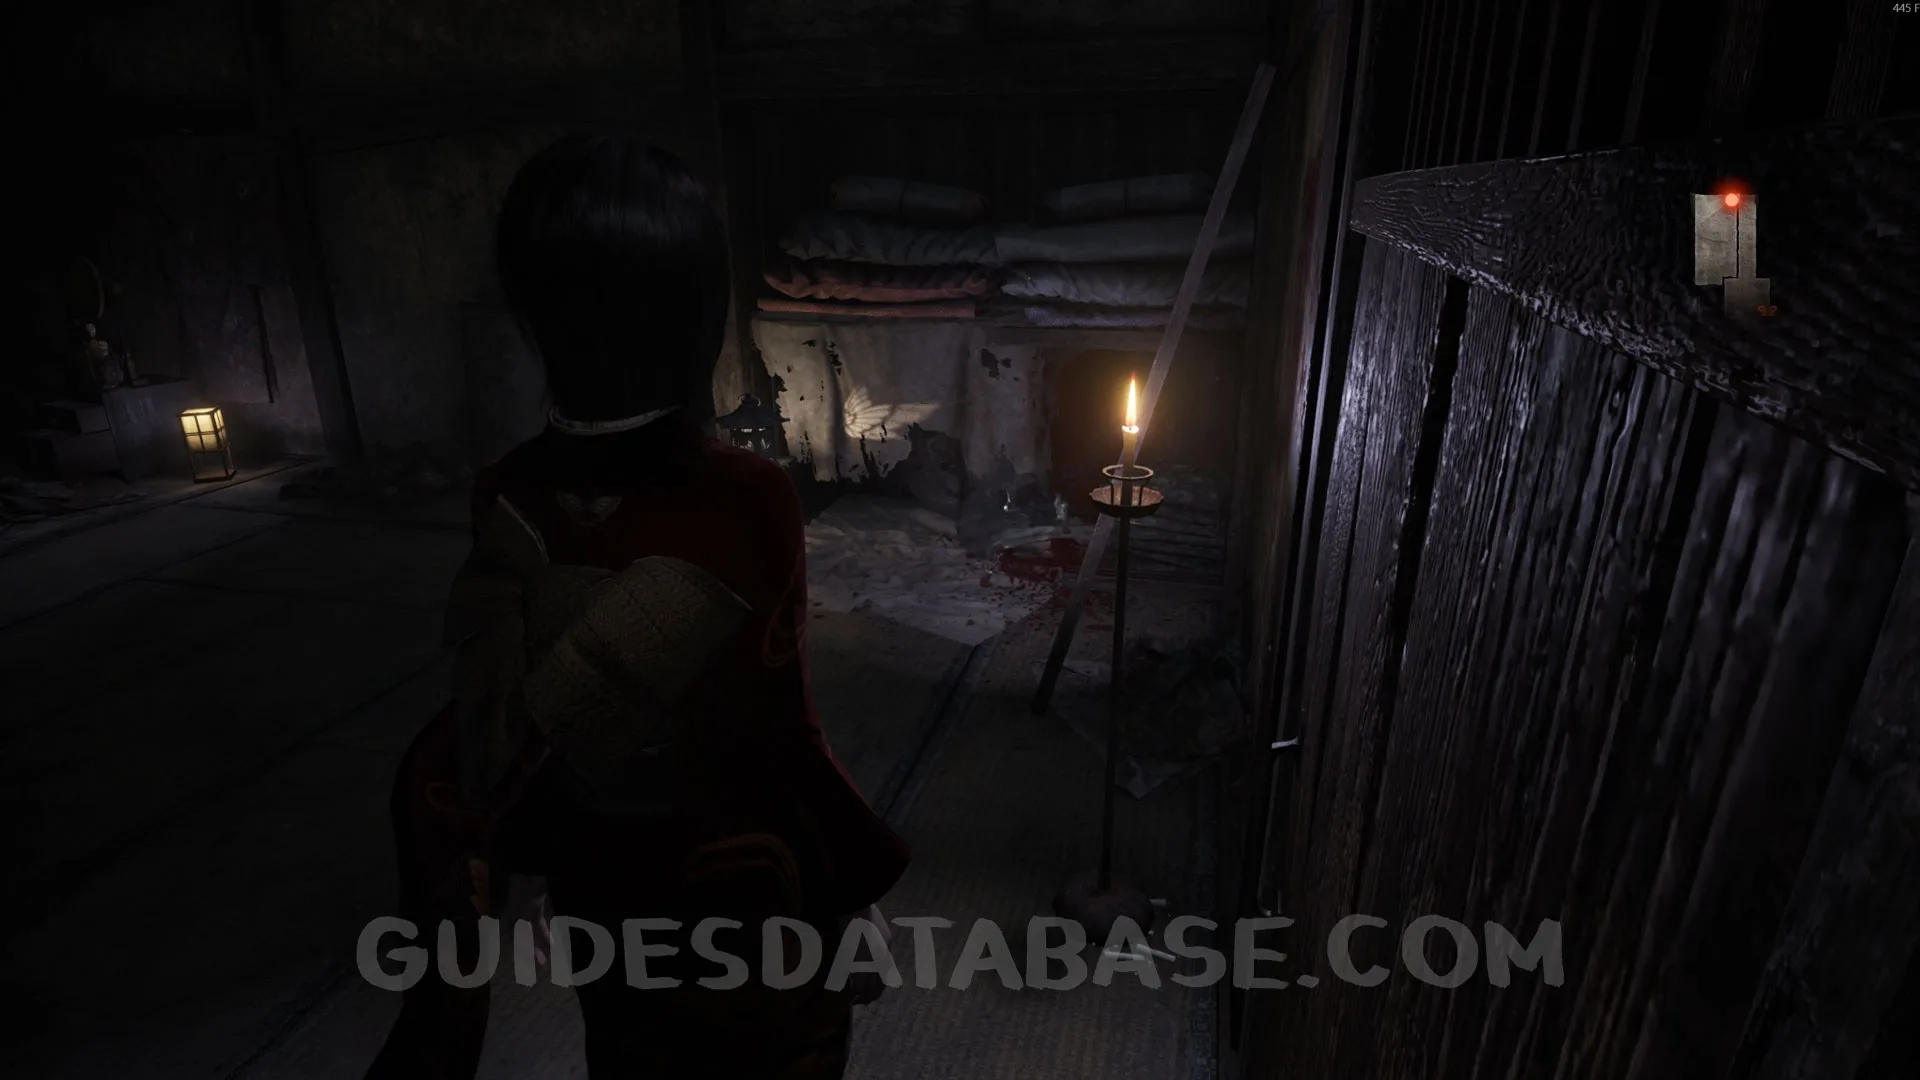 GUIDESDATABASE.COM
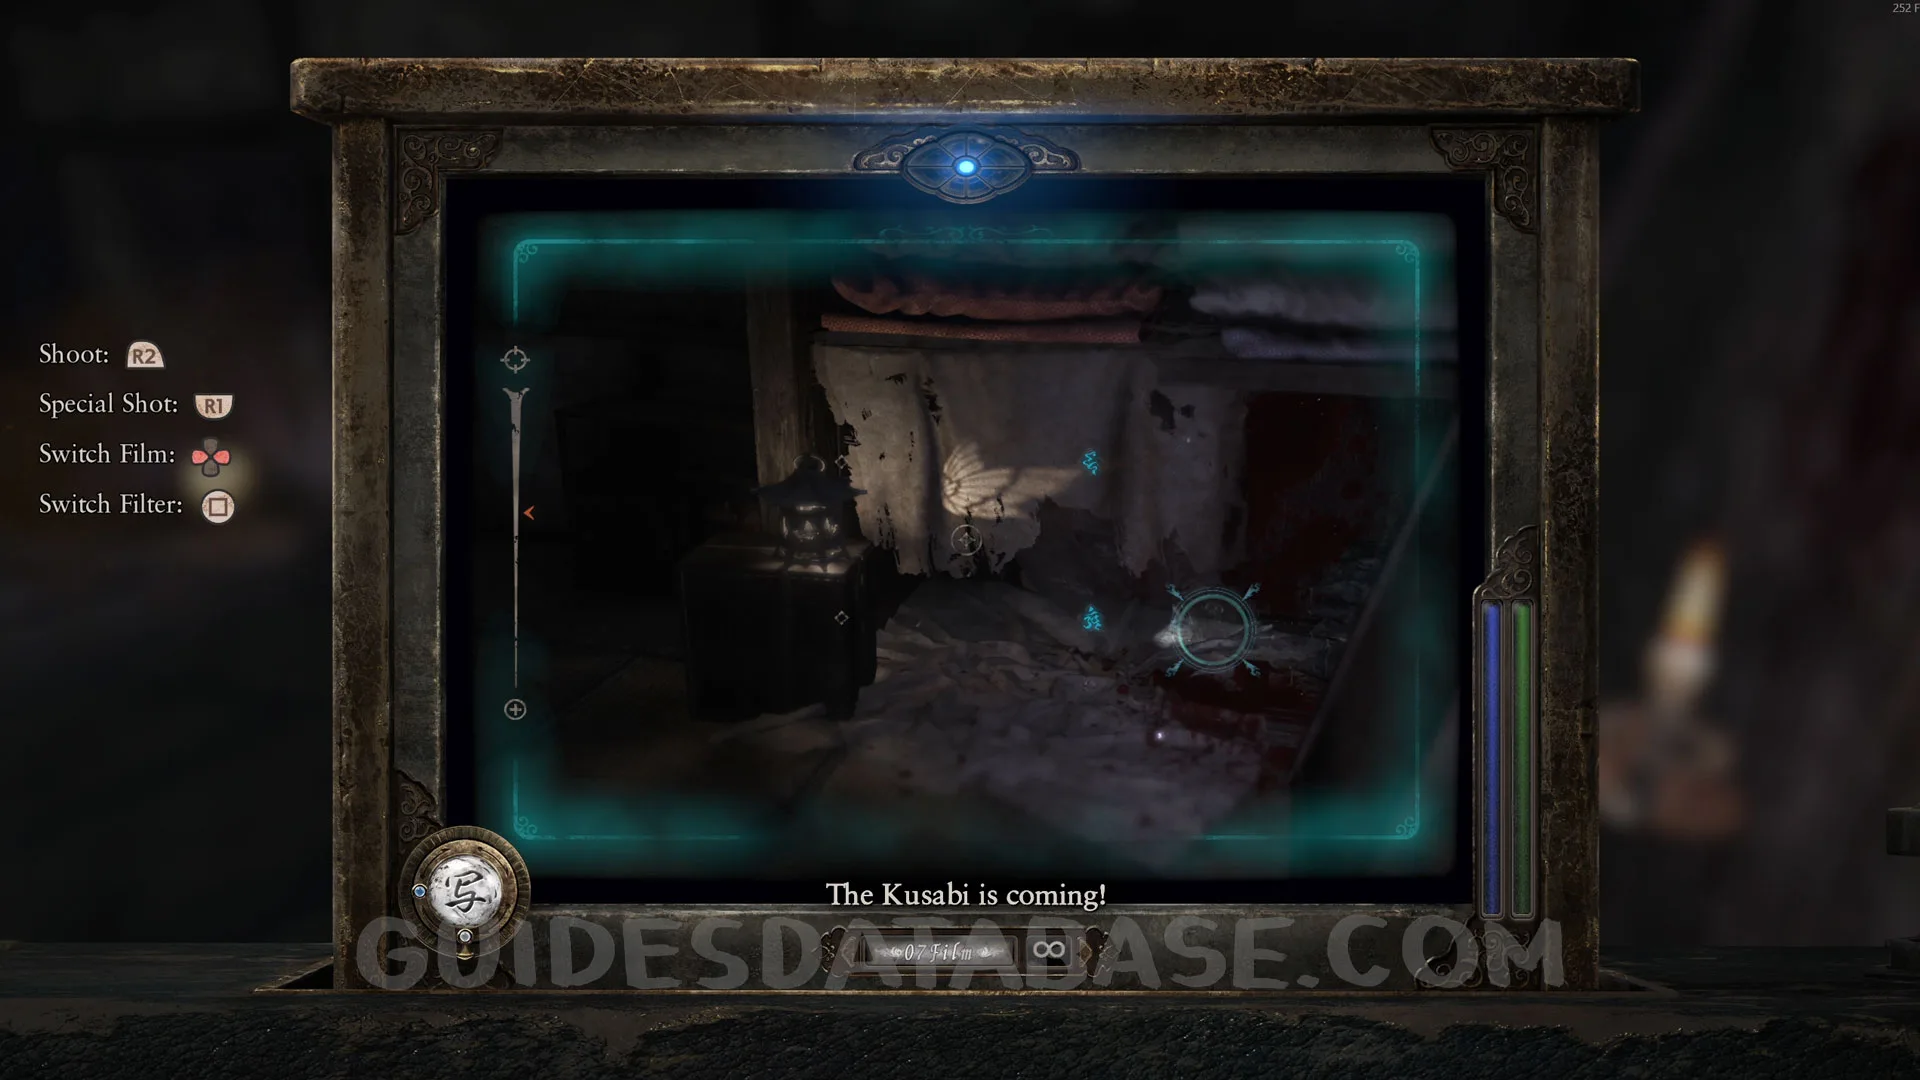 GUIDESDATABASE.COM
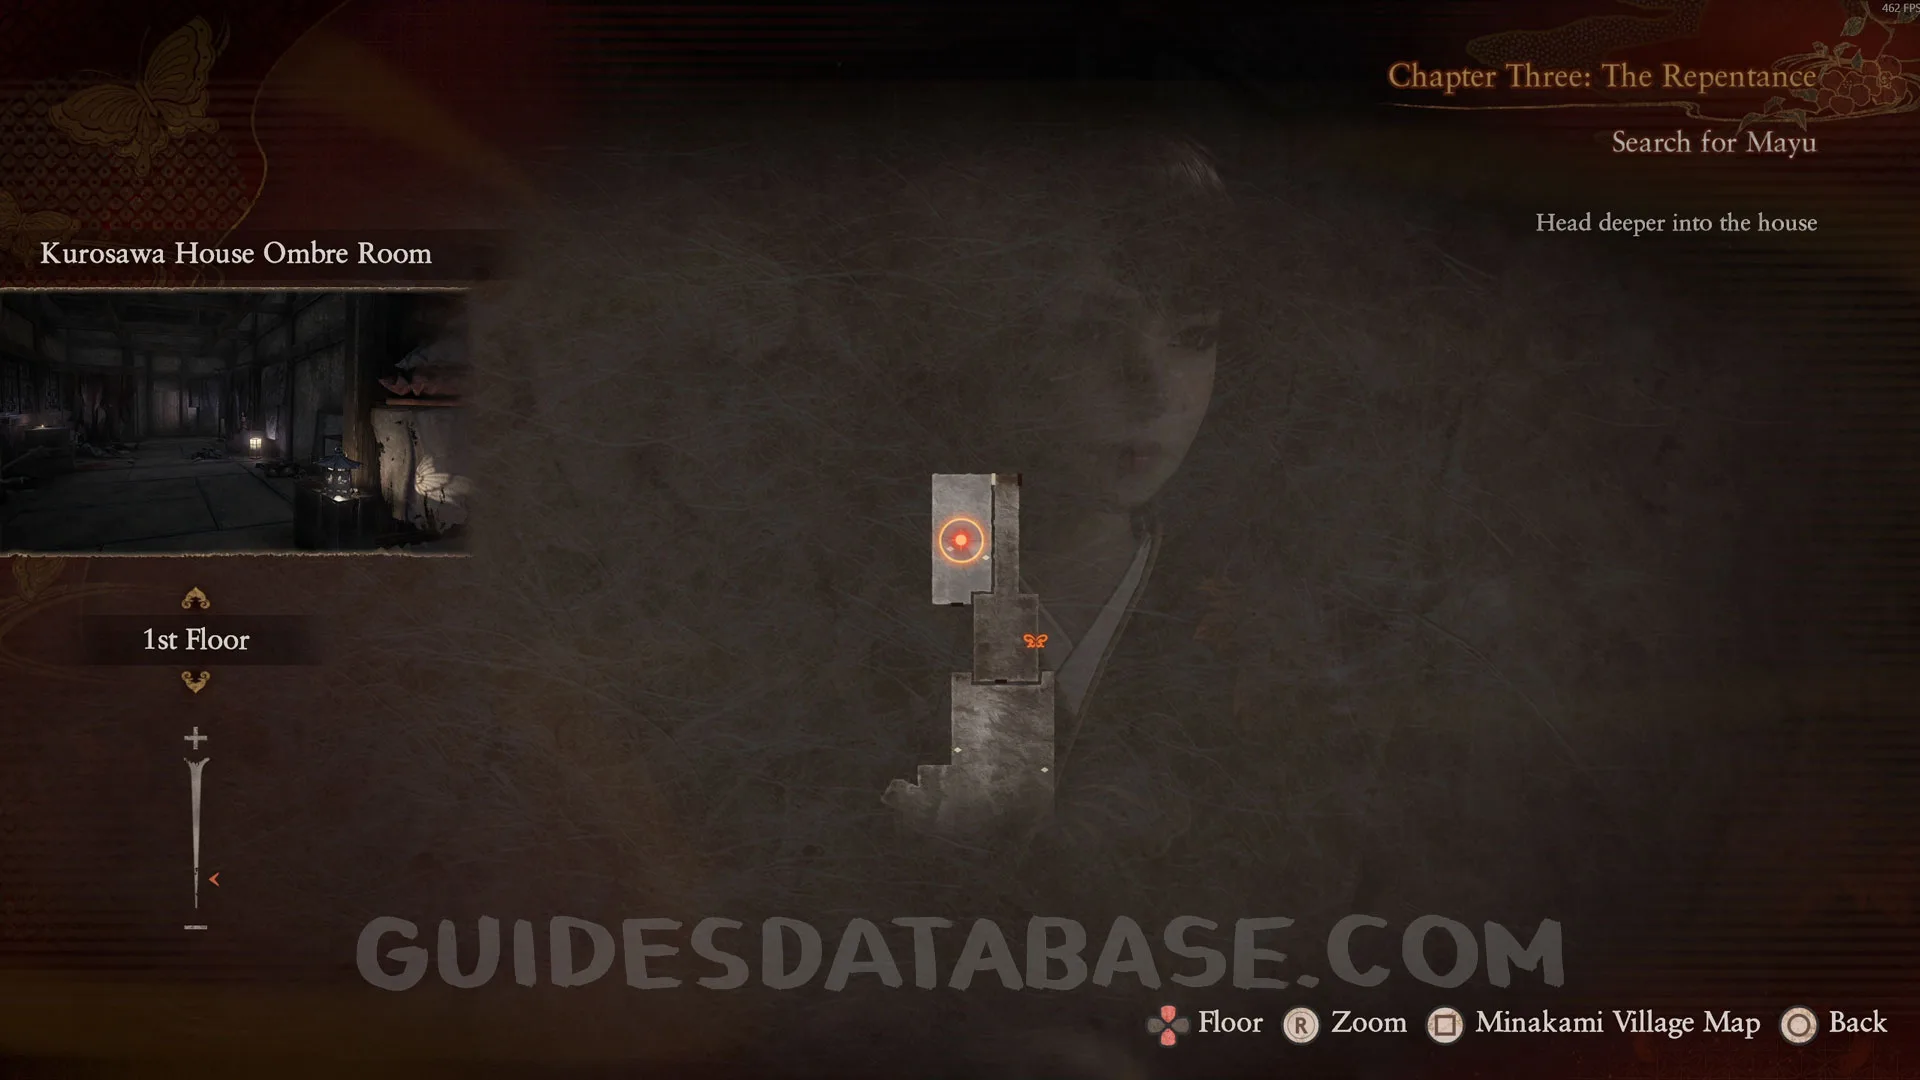
Document #25 - Fearful Man's Note.
In the same place where the man hid earlier.
 GUIDESDATABASE.COM
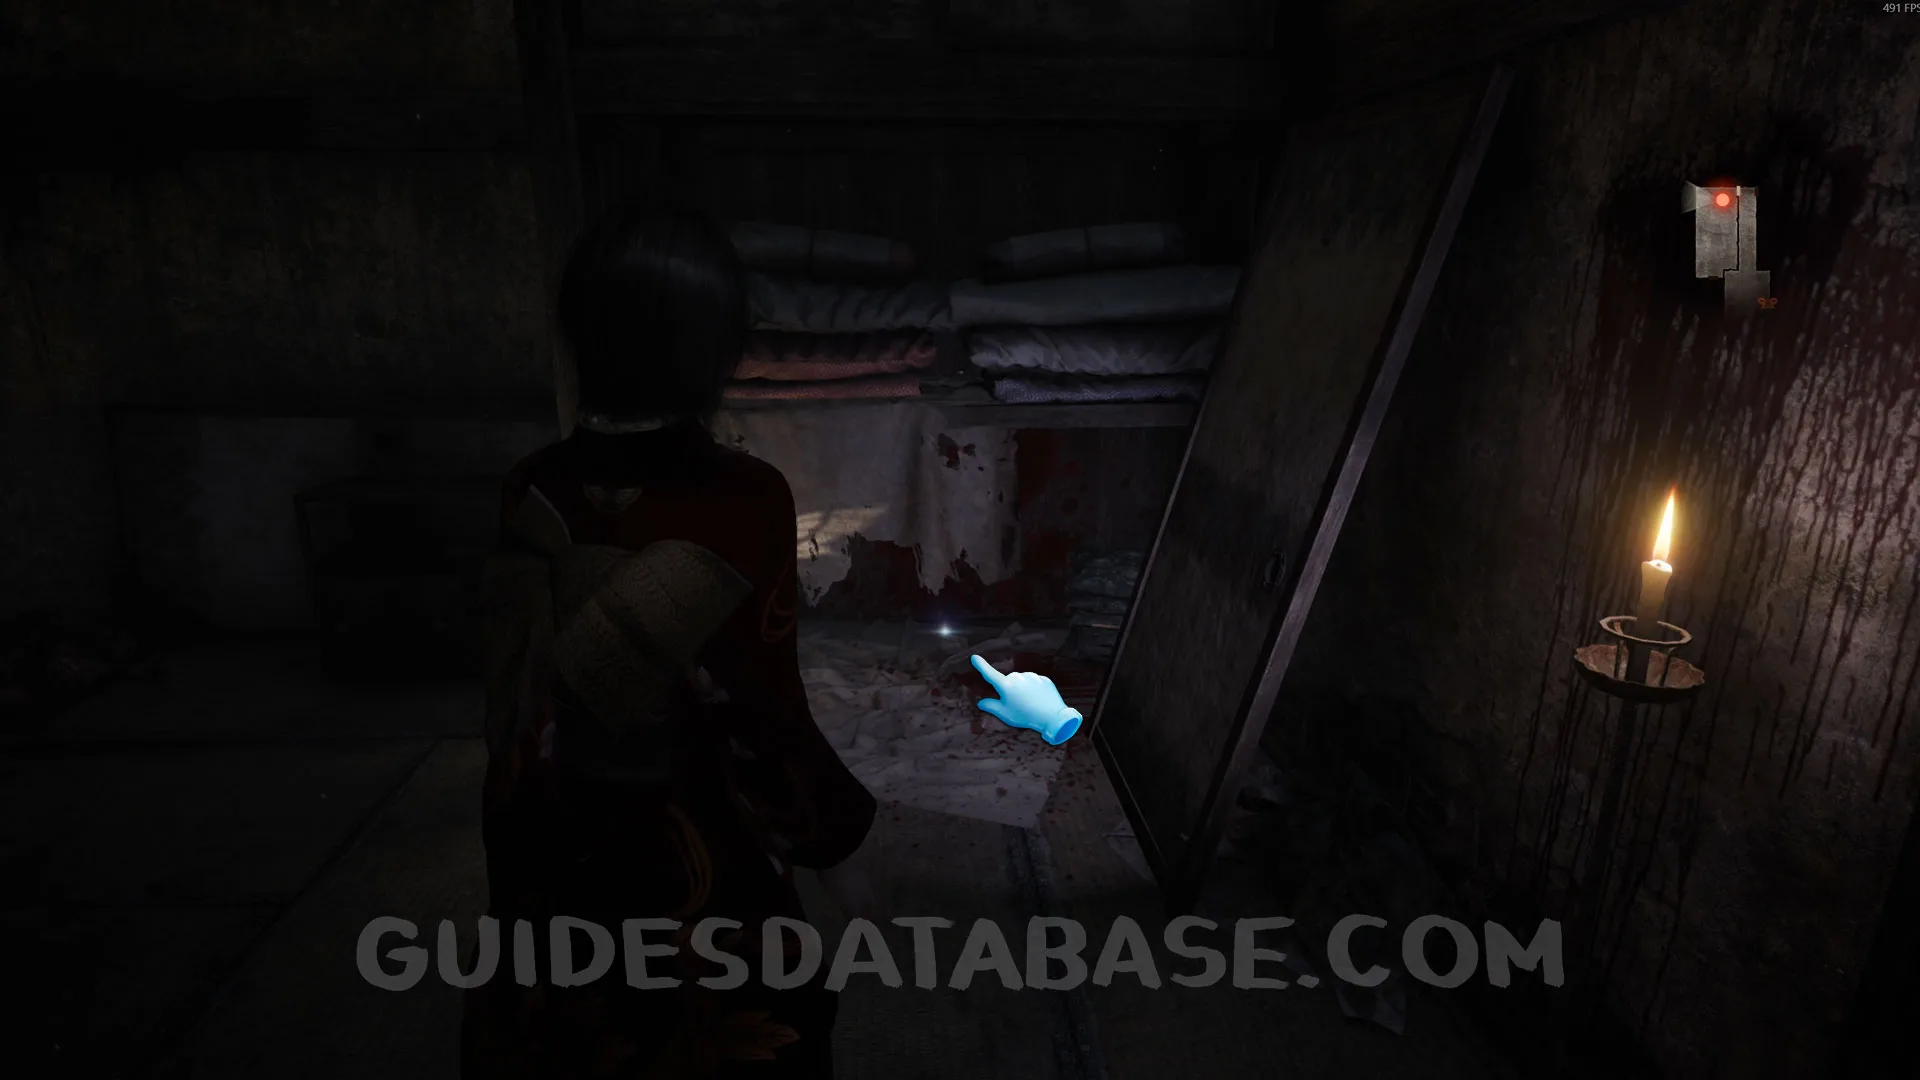 GUIDESDATABASE.COM
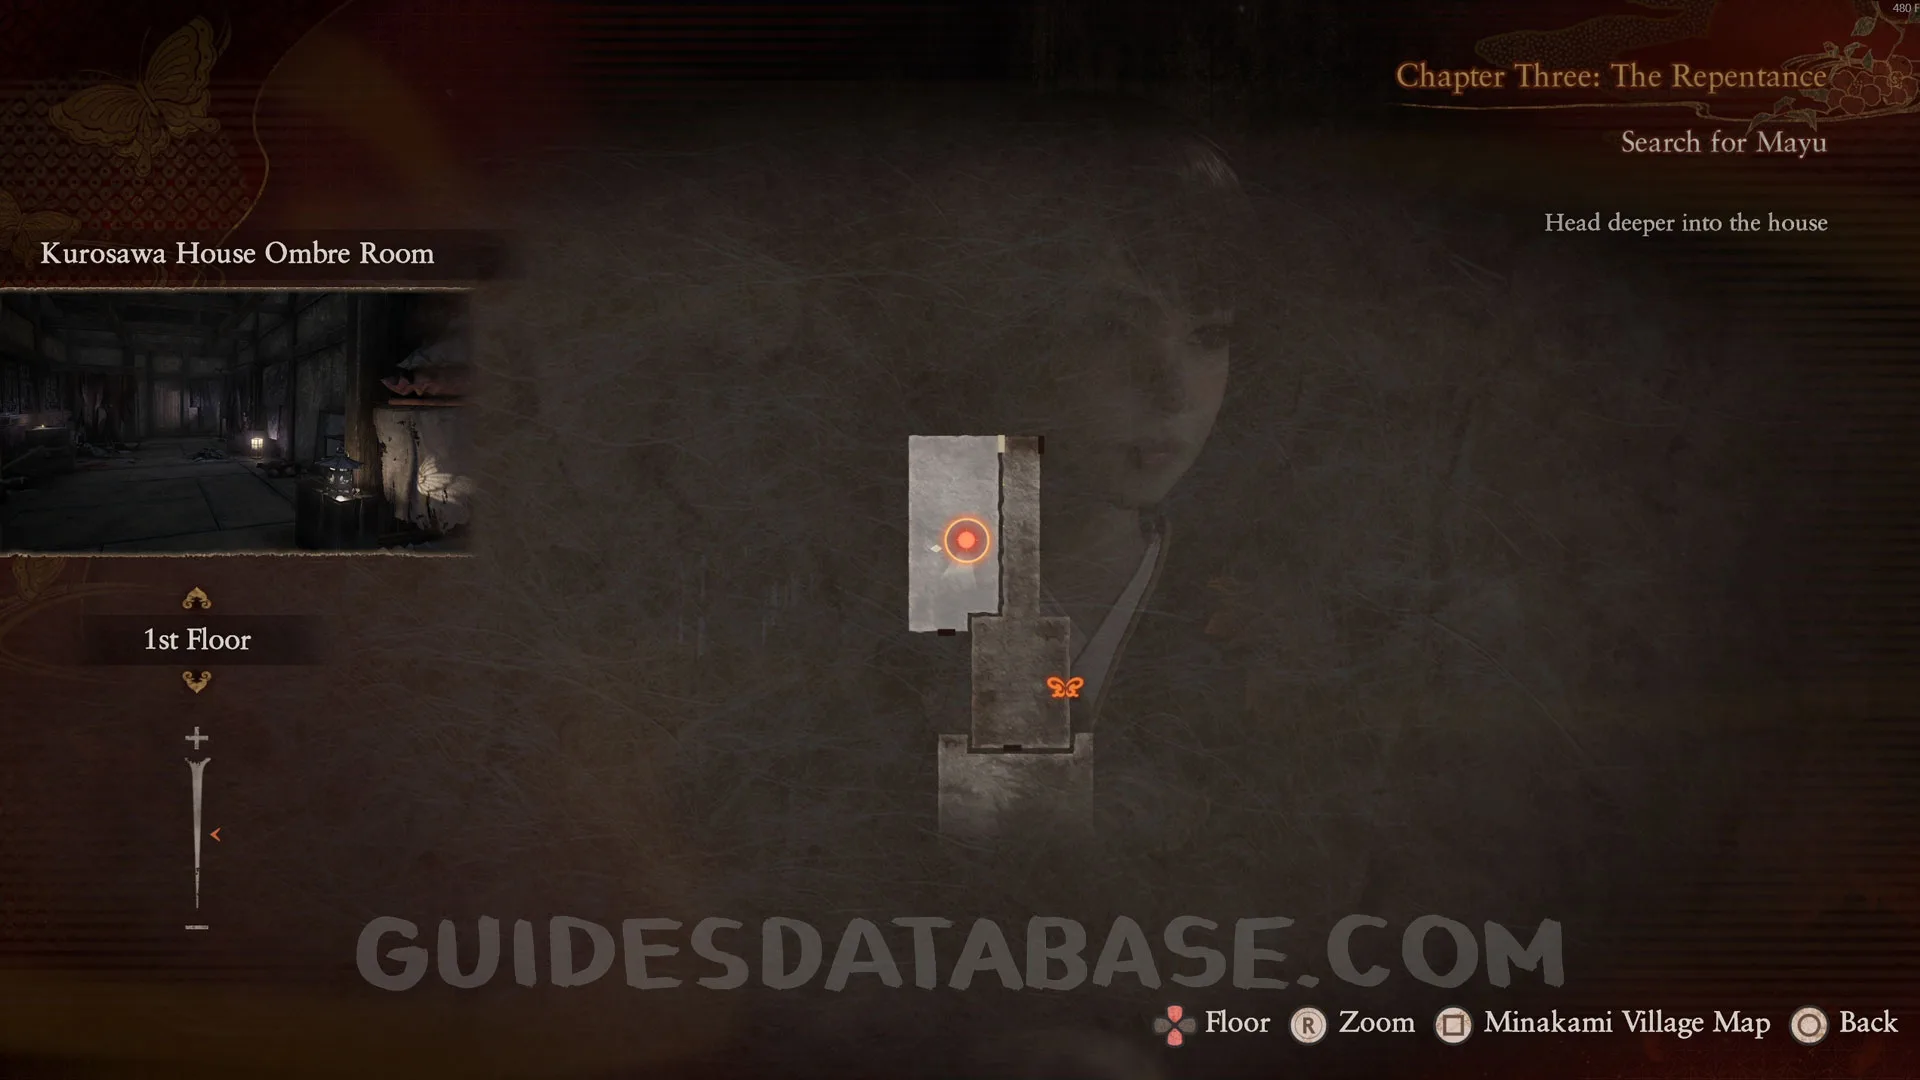
Document #26 - Folklorist's Note 3.
In the same room as the previous collectible, on top of a box.
 GUIDESDATABASE.COM
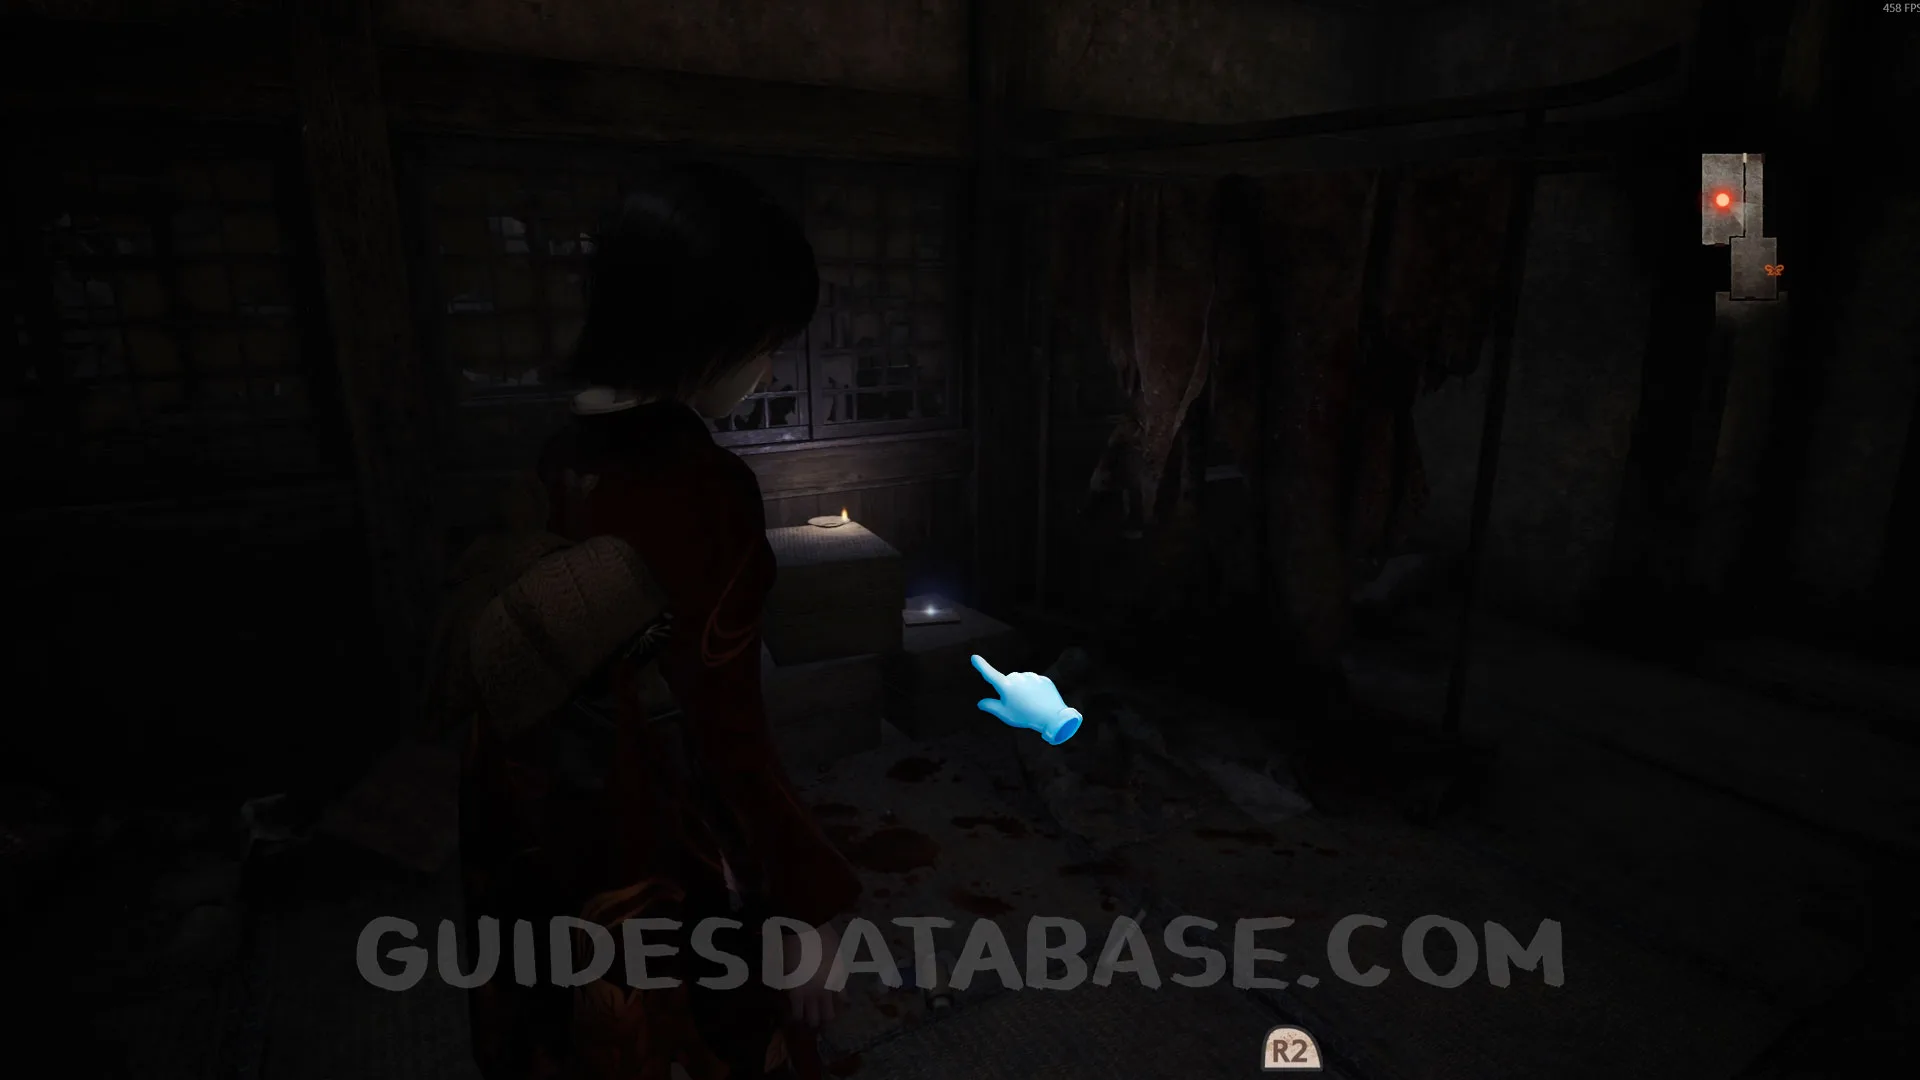 GUIDESDATABASE.COM
Wraith #9 - 008 Man Killed By Kusabi.
In the same room as the previous collectible, after interacting with the door, this Wraith will appear behind you. Take a photo of it to continue.
 GUIDESDATABASE.COM
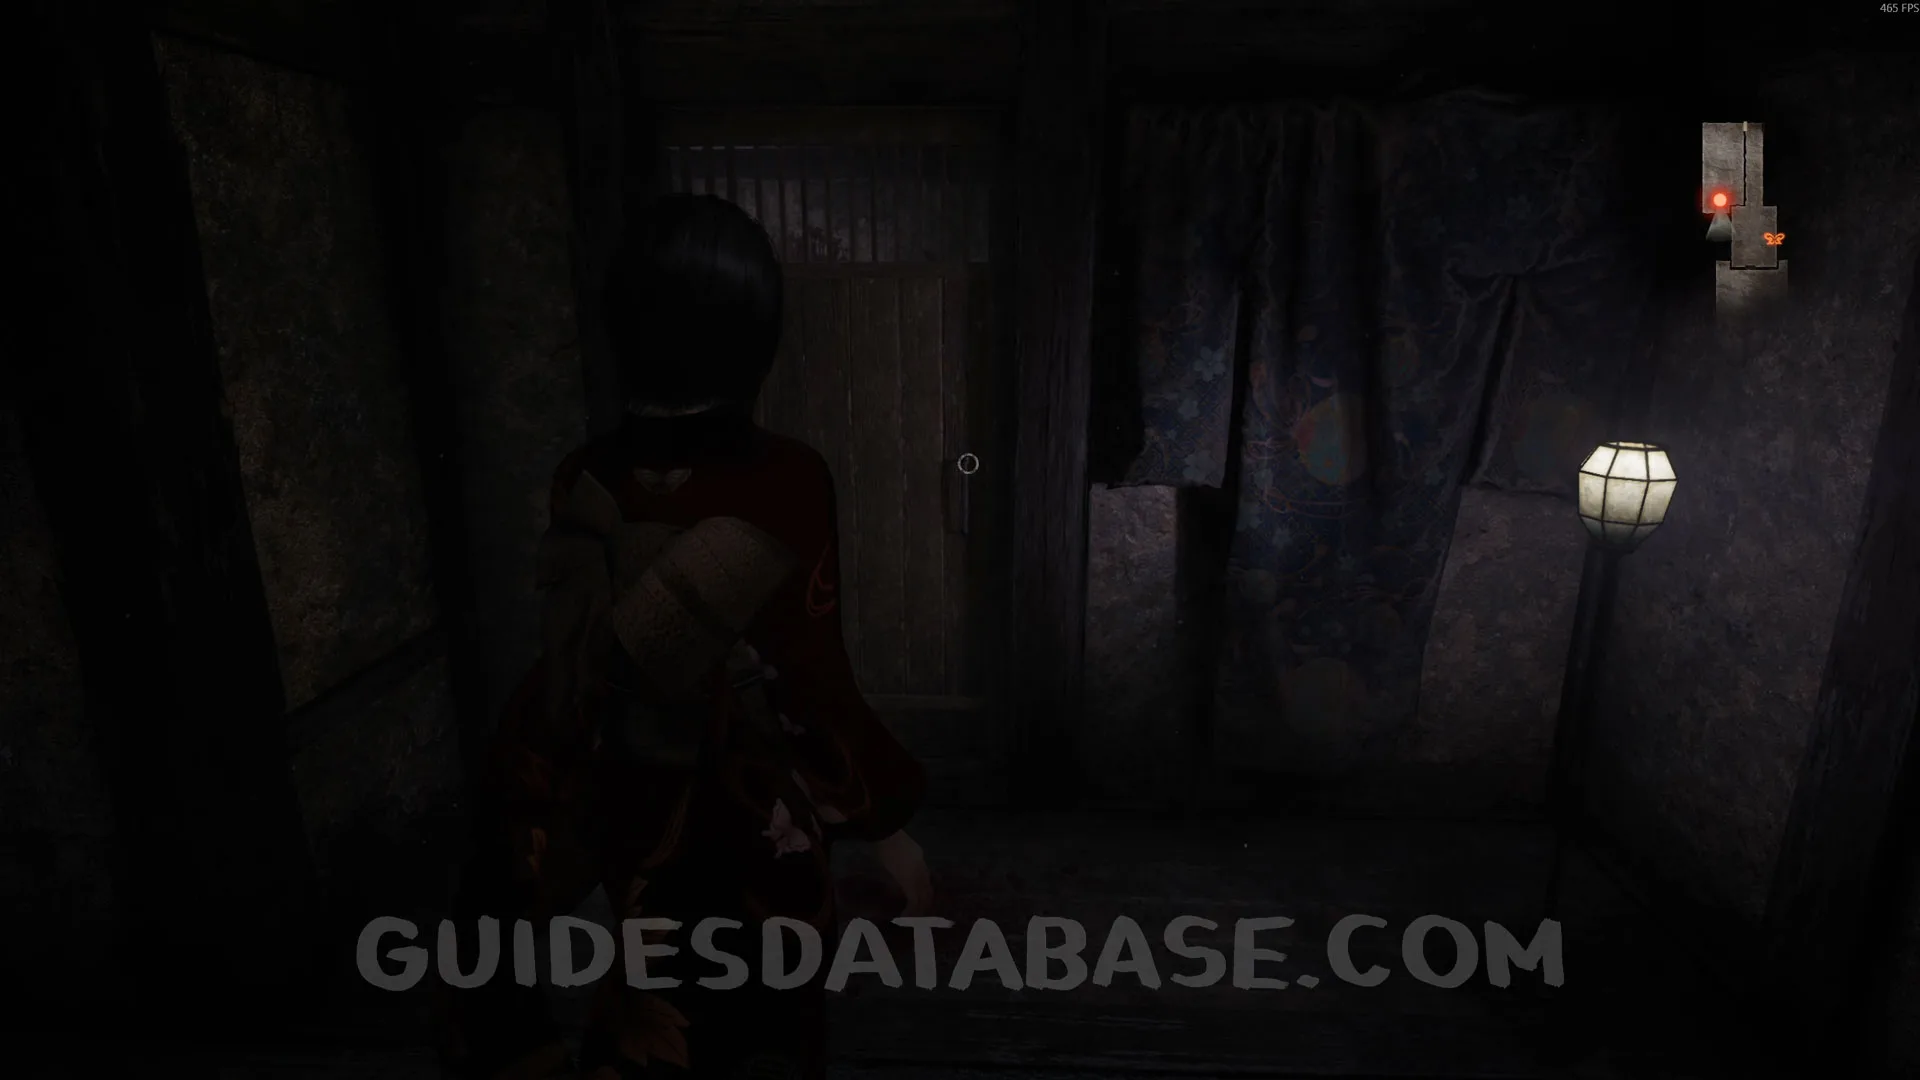 GUIDESDATABASE.COM
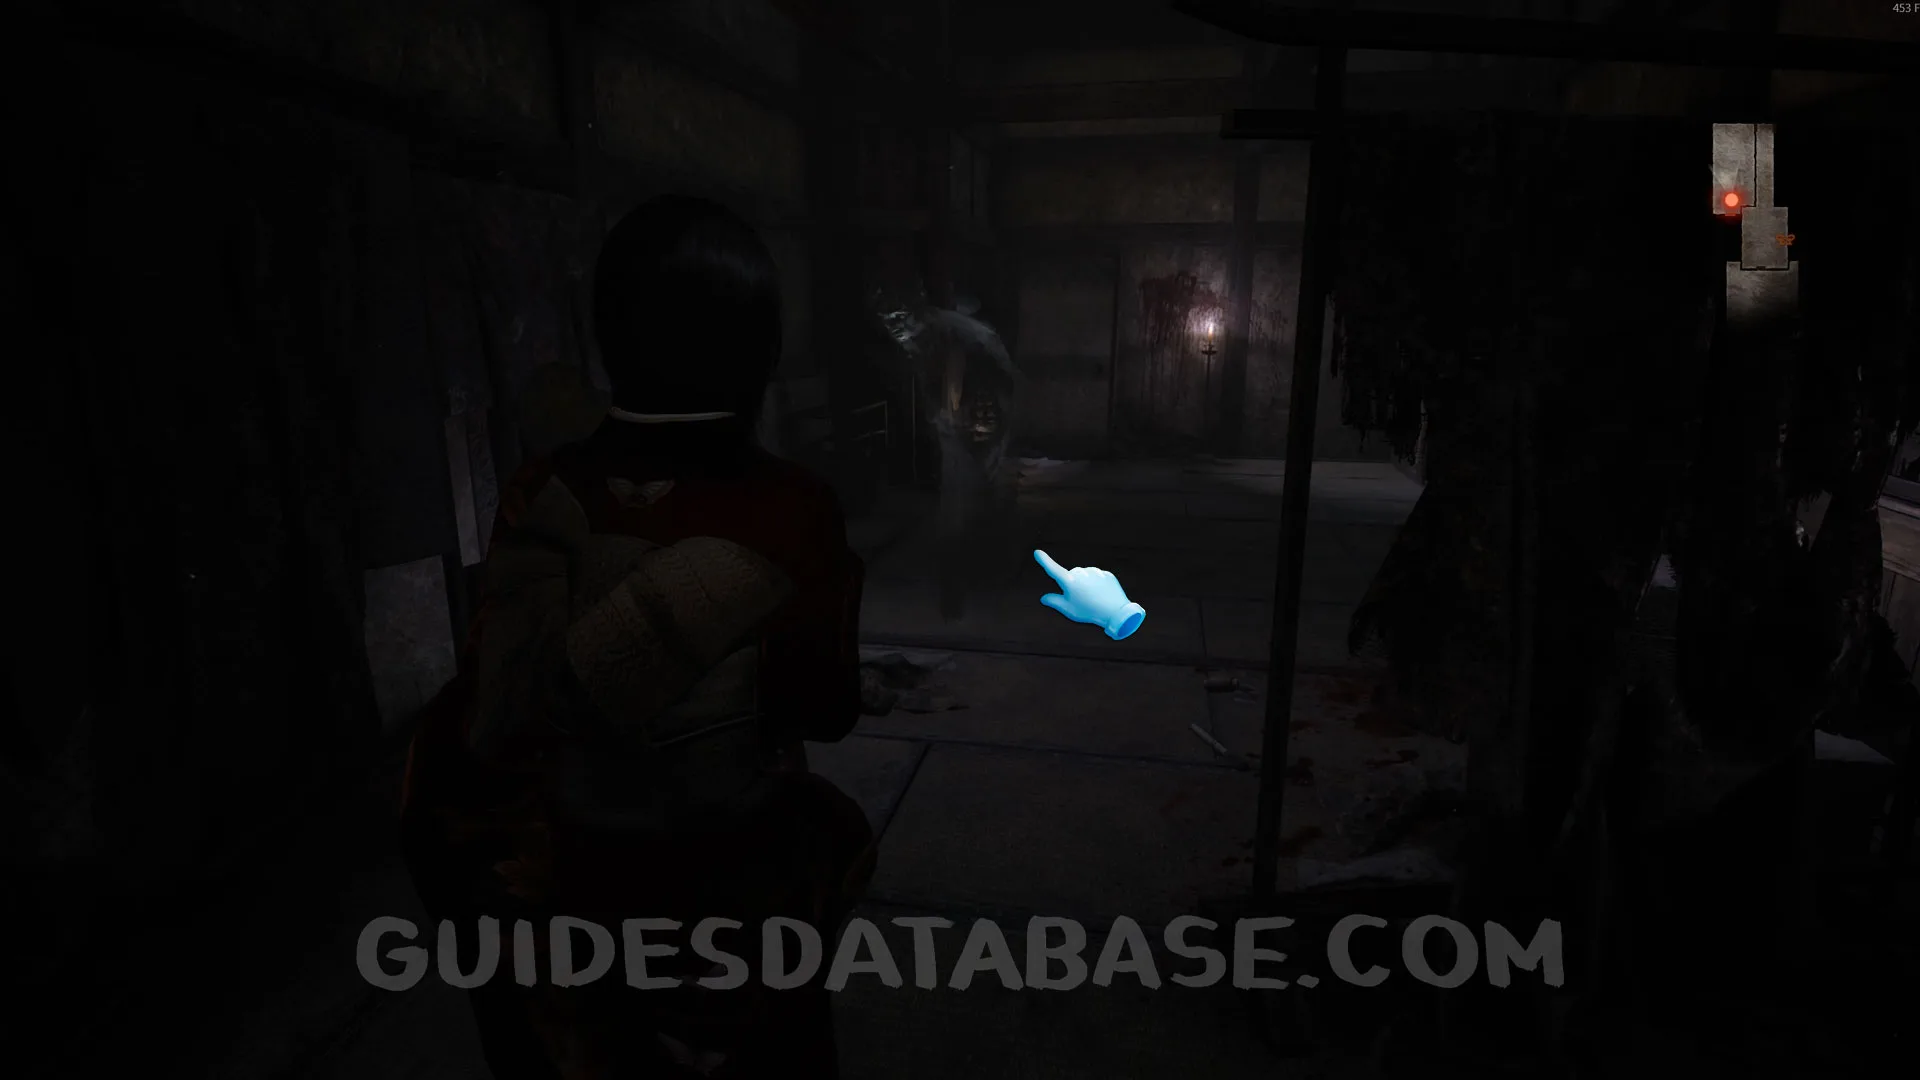 GUIDESDATABASE.COM
Specter #43 - 029 Mayu Advancing Ahed.
From the previous collectible, go through the door and you’ll be in a hallway. You’ll see Mayu walking in front of you. Take a photo of her.
 GUIDESDATABASE.COM
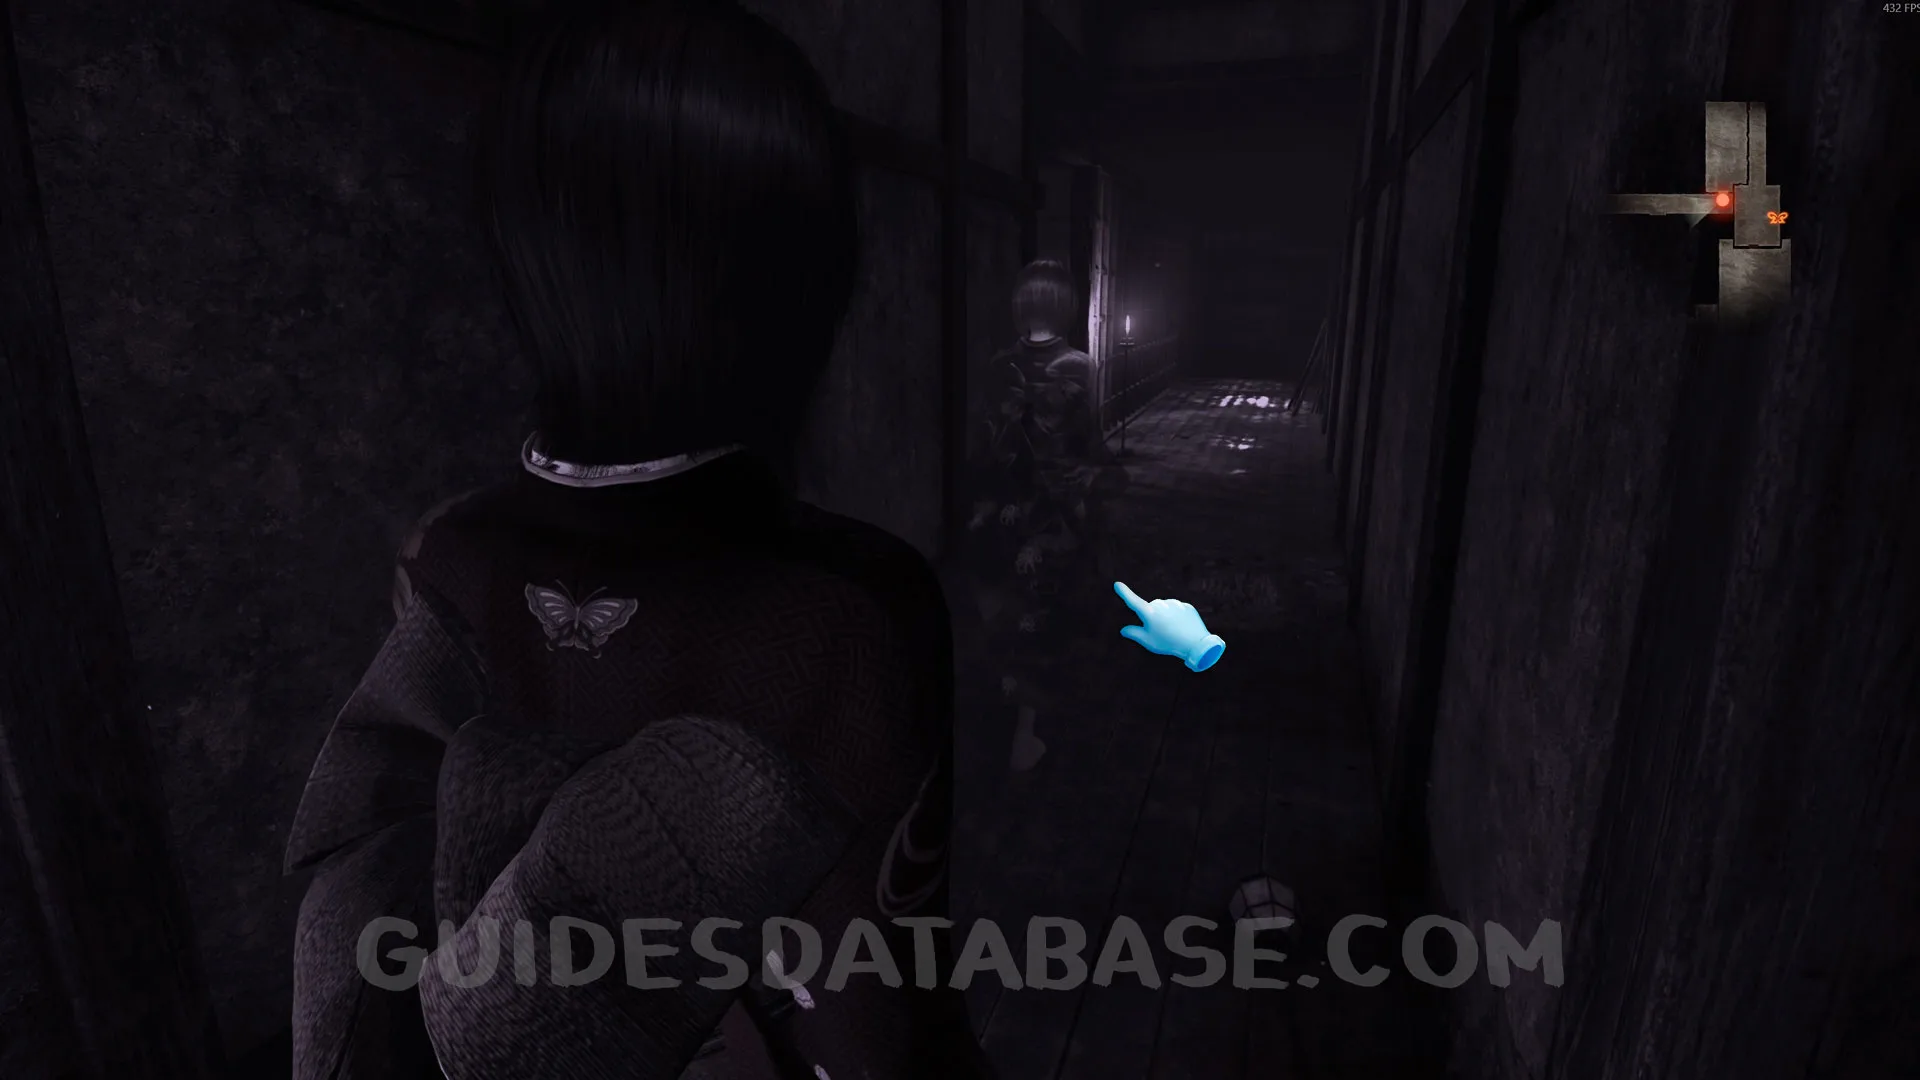 GUIDESDATABASE.COM
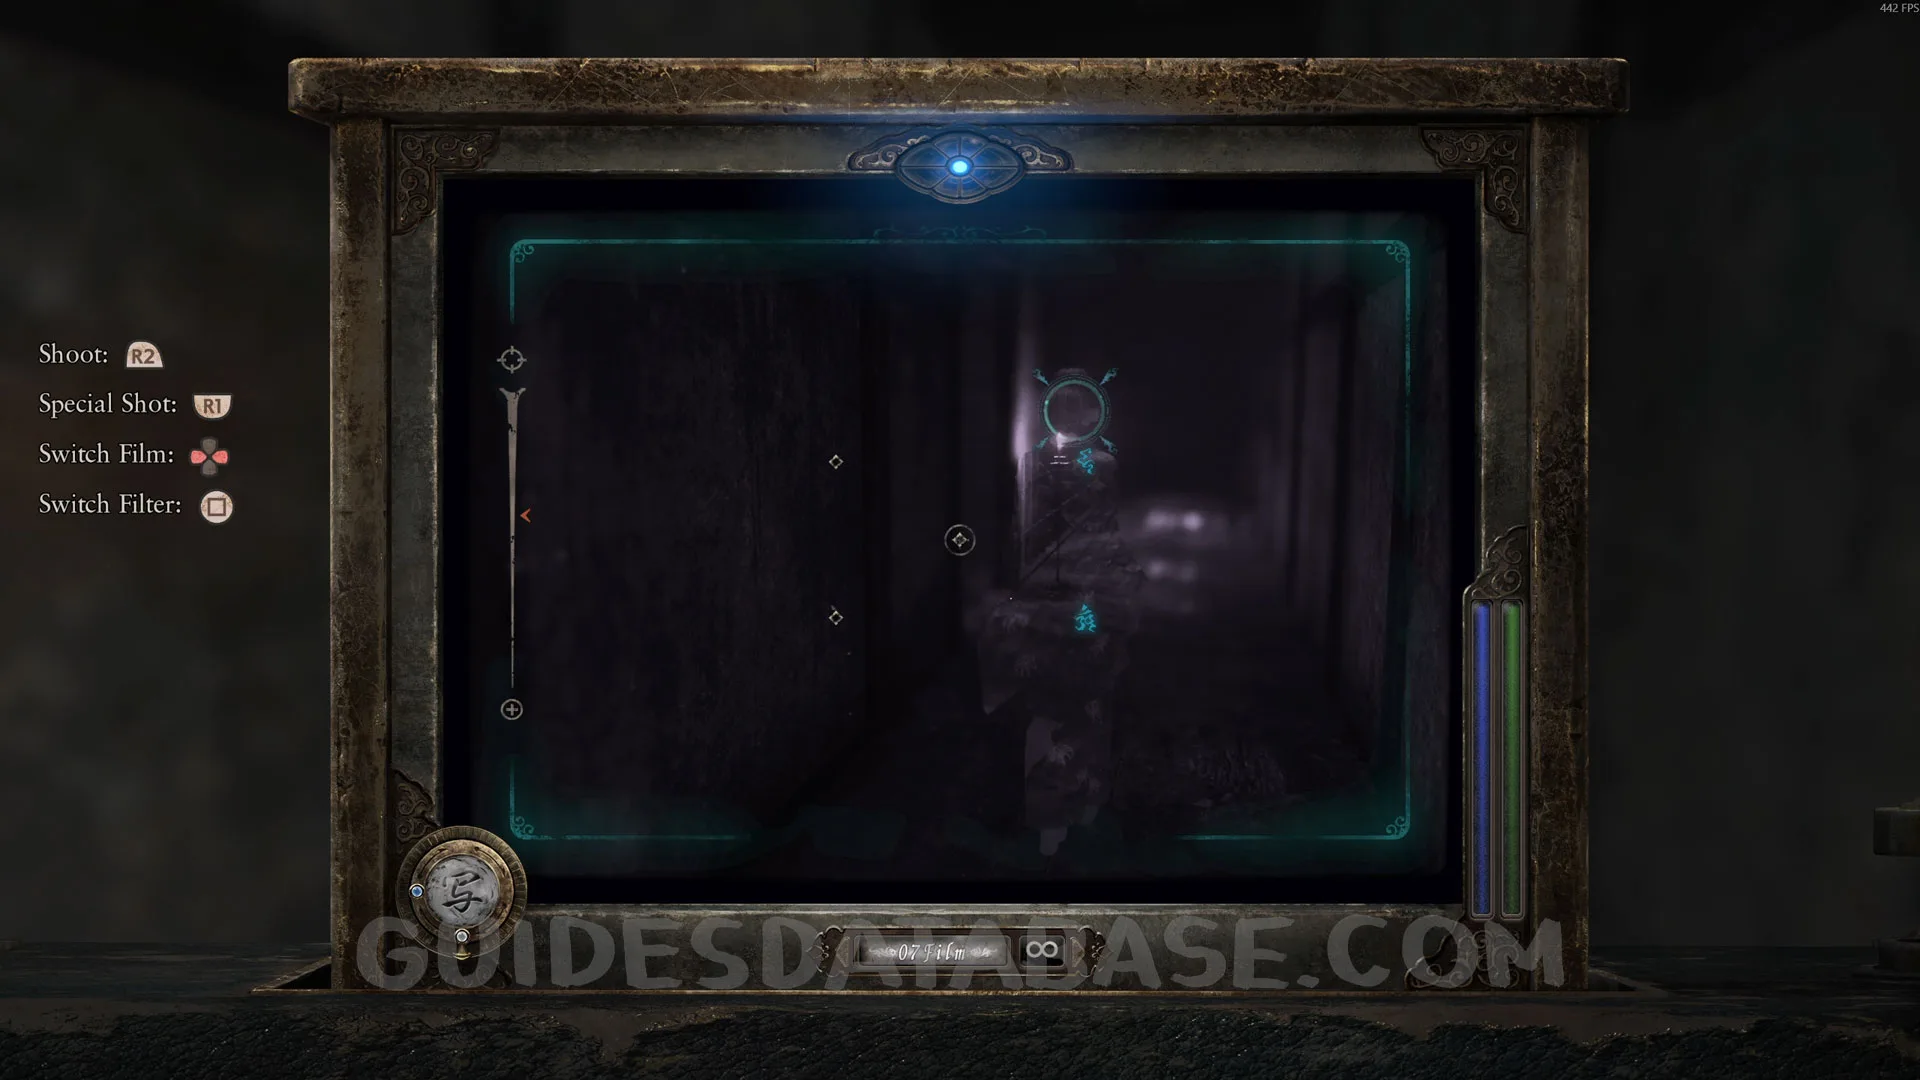 GUIDESDATABASE.COM
Specter #44 - 030 Man Running Aimlessly.
Take a few more steps forward and you’ll see another specter. Take a photo of it.
 GUIDESDATABASE.COM
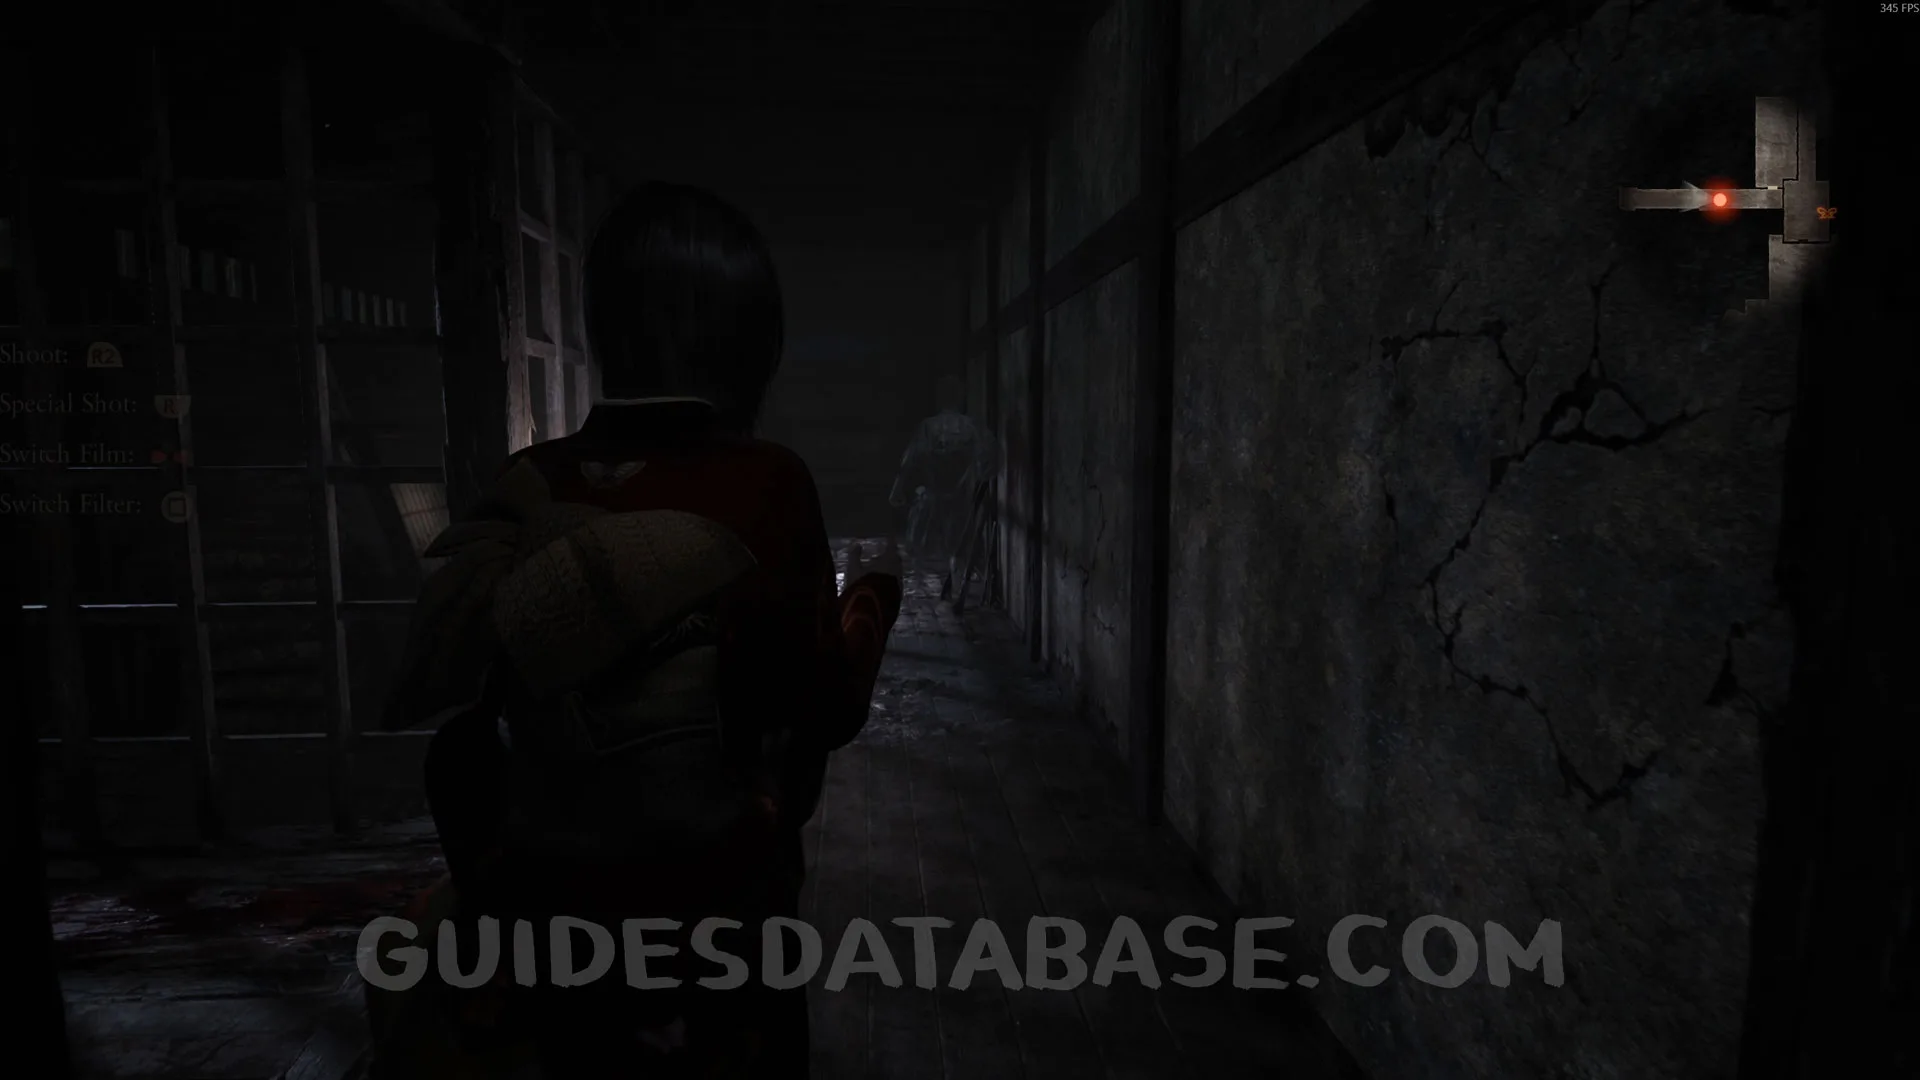 GUIDESDATABASE.COM
 GUIDESDATABASE.COM
Spirit Stone #10 - Glowing Green Crystal 2.
Turn left in the hallway to find this on the floor.
 GUIDESDATABASE.COM
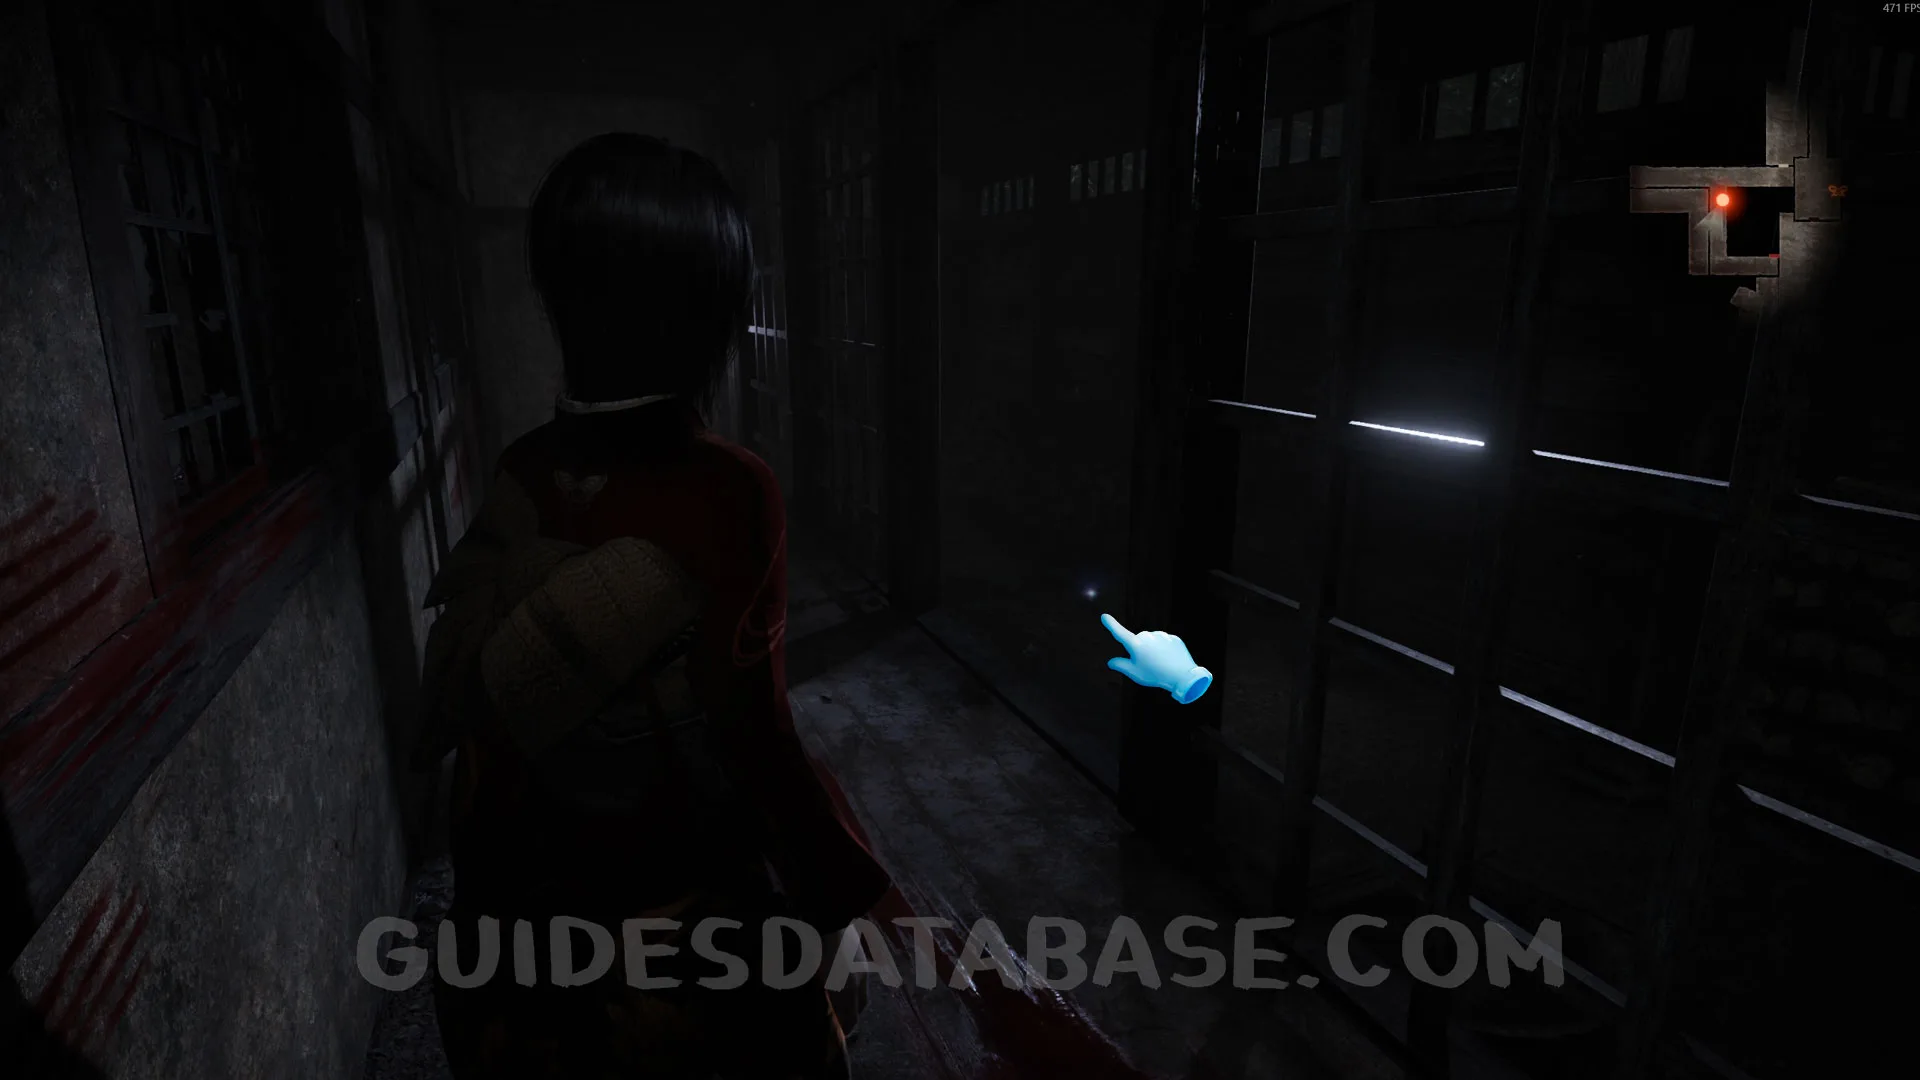 GUIDESDATABASE.COM
Prayer Bead #10.
Go back to the previous hallway and head to the end, then go through the hole in the fence on the left. This prayer bead will be right in front of you on the floor.
 GUIDESDATABASE.COM
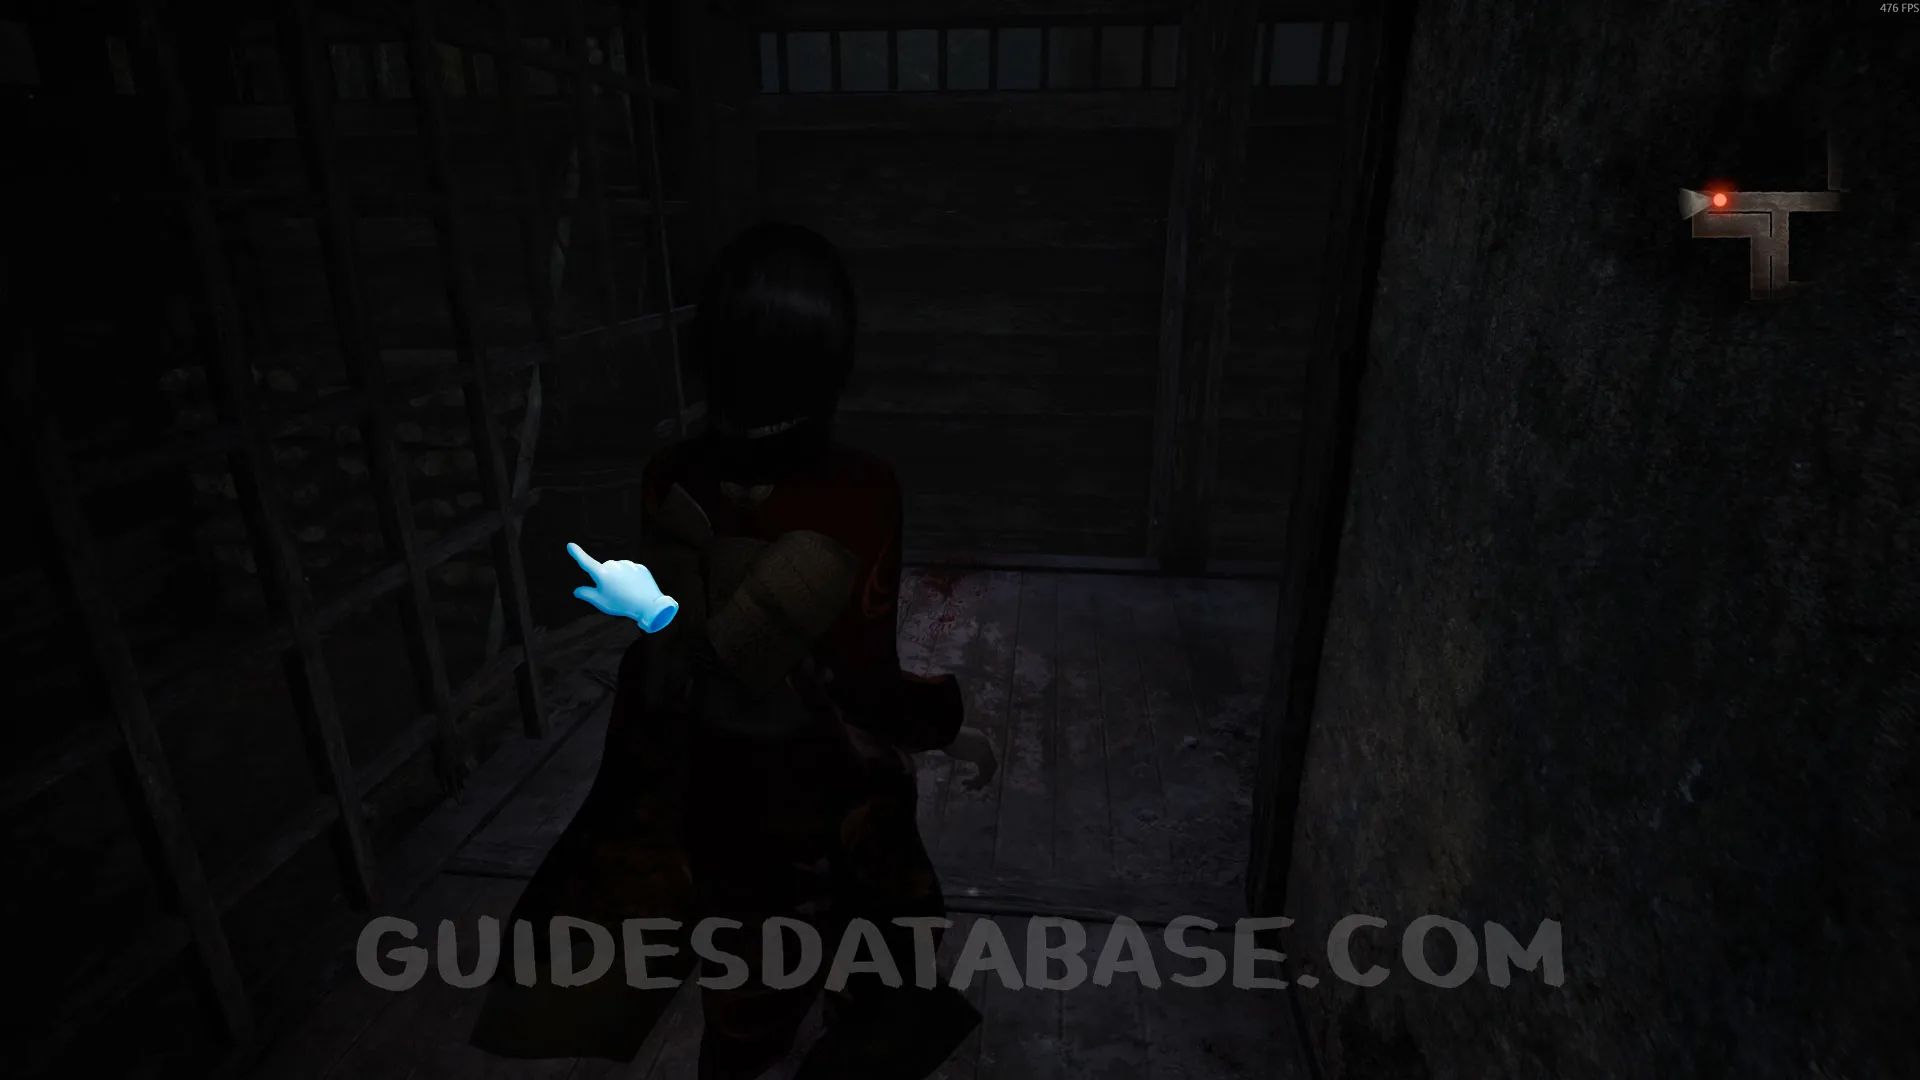 GUIDESDATABASE.COM
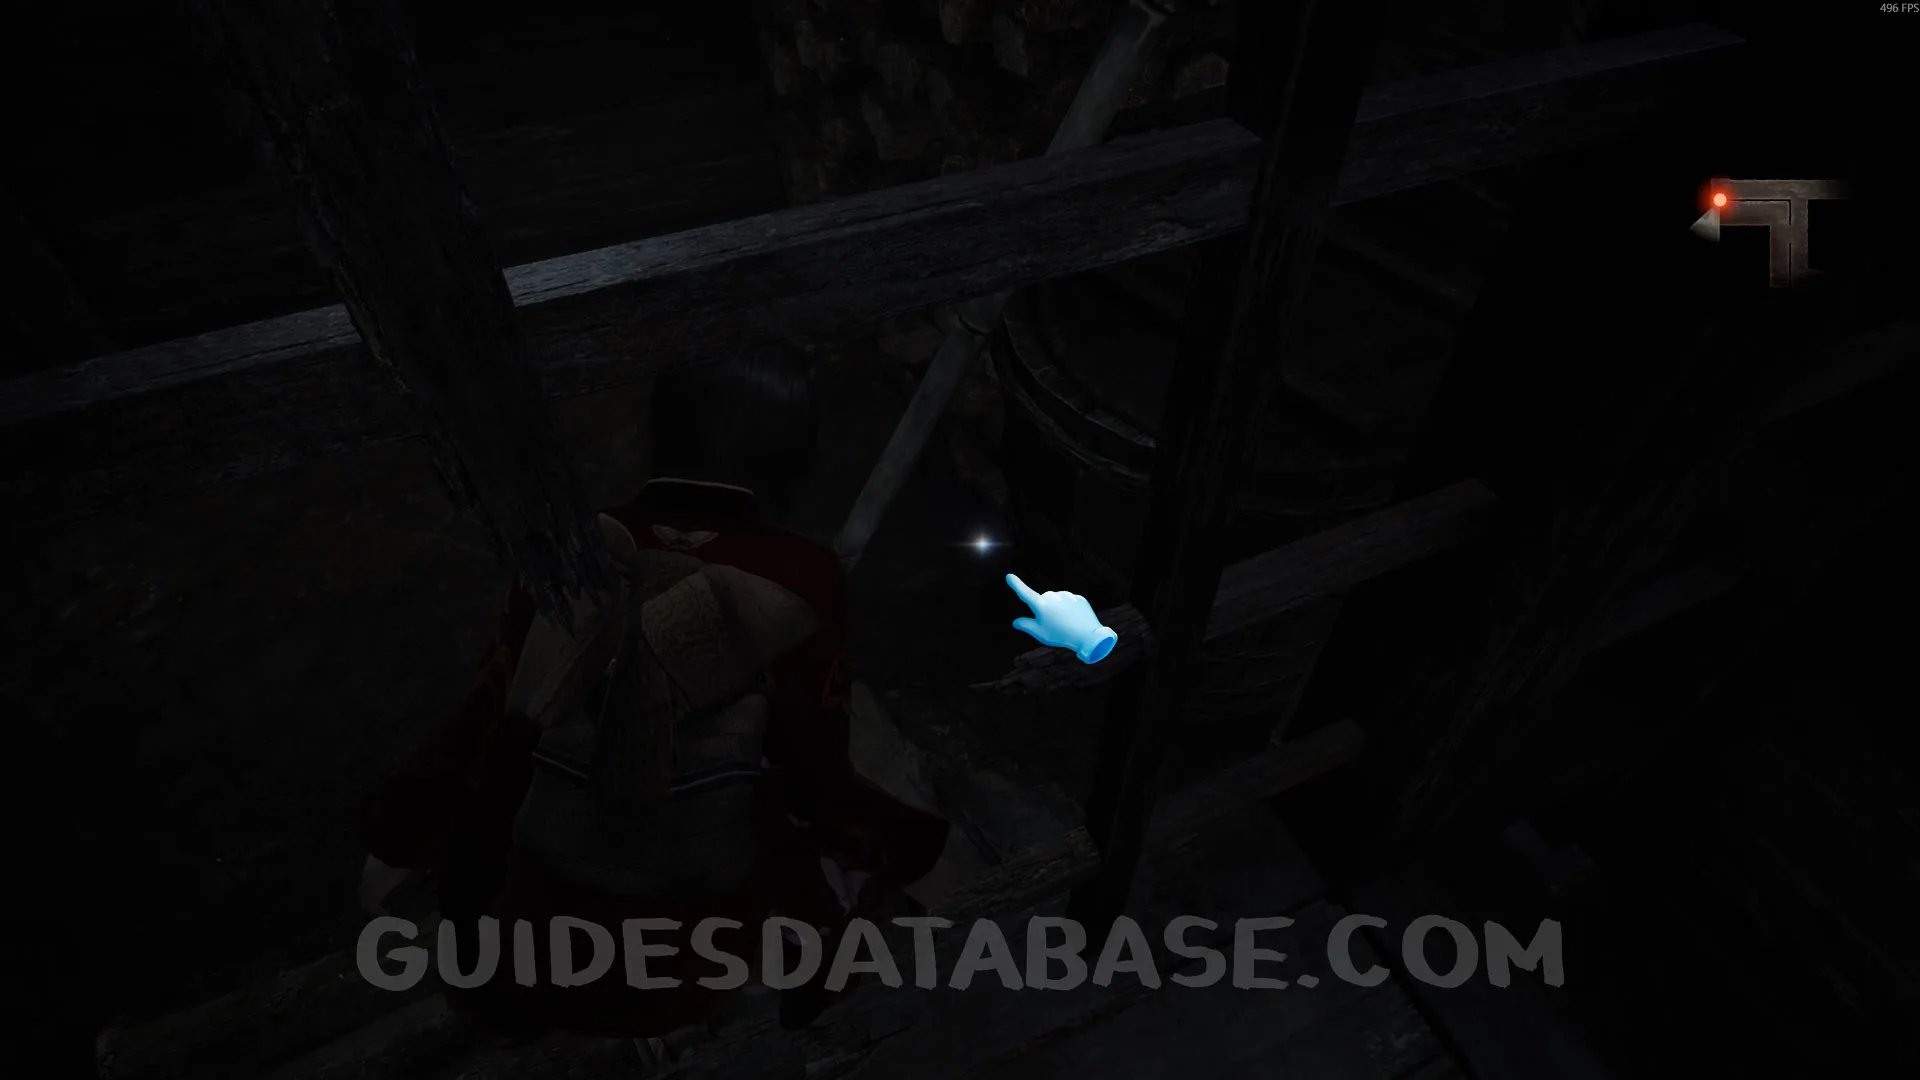 GUIDESDATABASE.COM
Twin Dolls #19 - 007.
In the same spot as the previous collectible, turn around and you’ll see the twin dolls.
 GUIDESDATABASE.COM
Wraith #10 - 009 Woman Killed By Kusabi.
Go back through the hole in the fence you came through earlier and keep going straight. You’ll see this Wraith at the end of the hallway.
 GUIDESDATABASE.COM
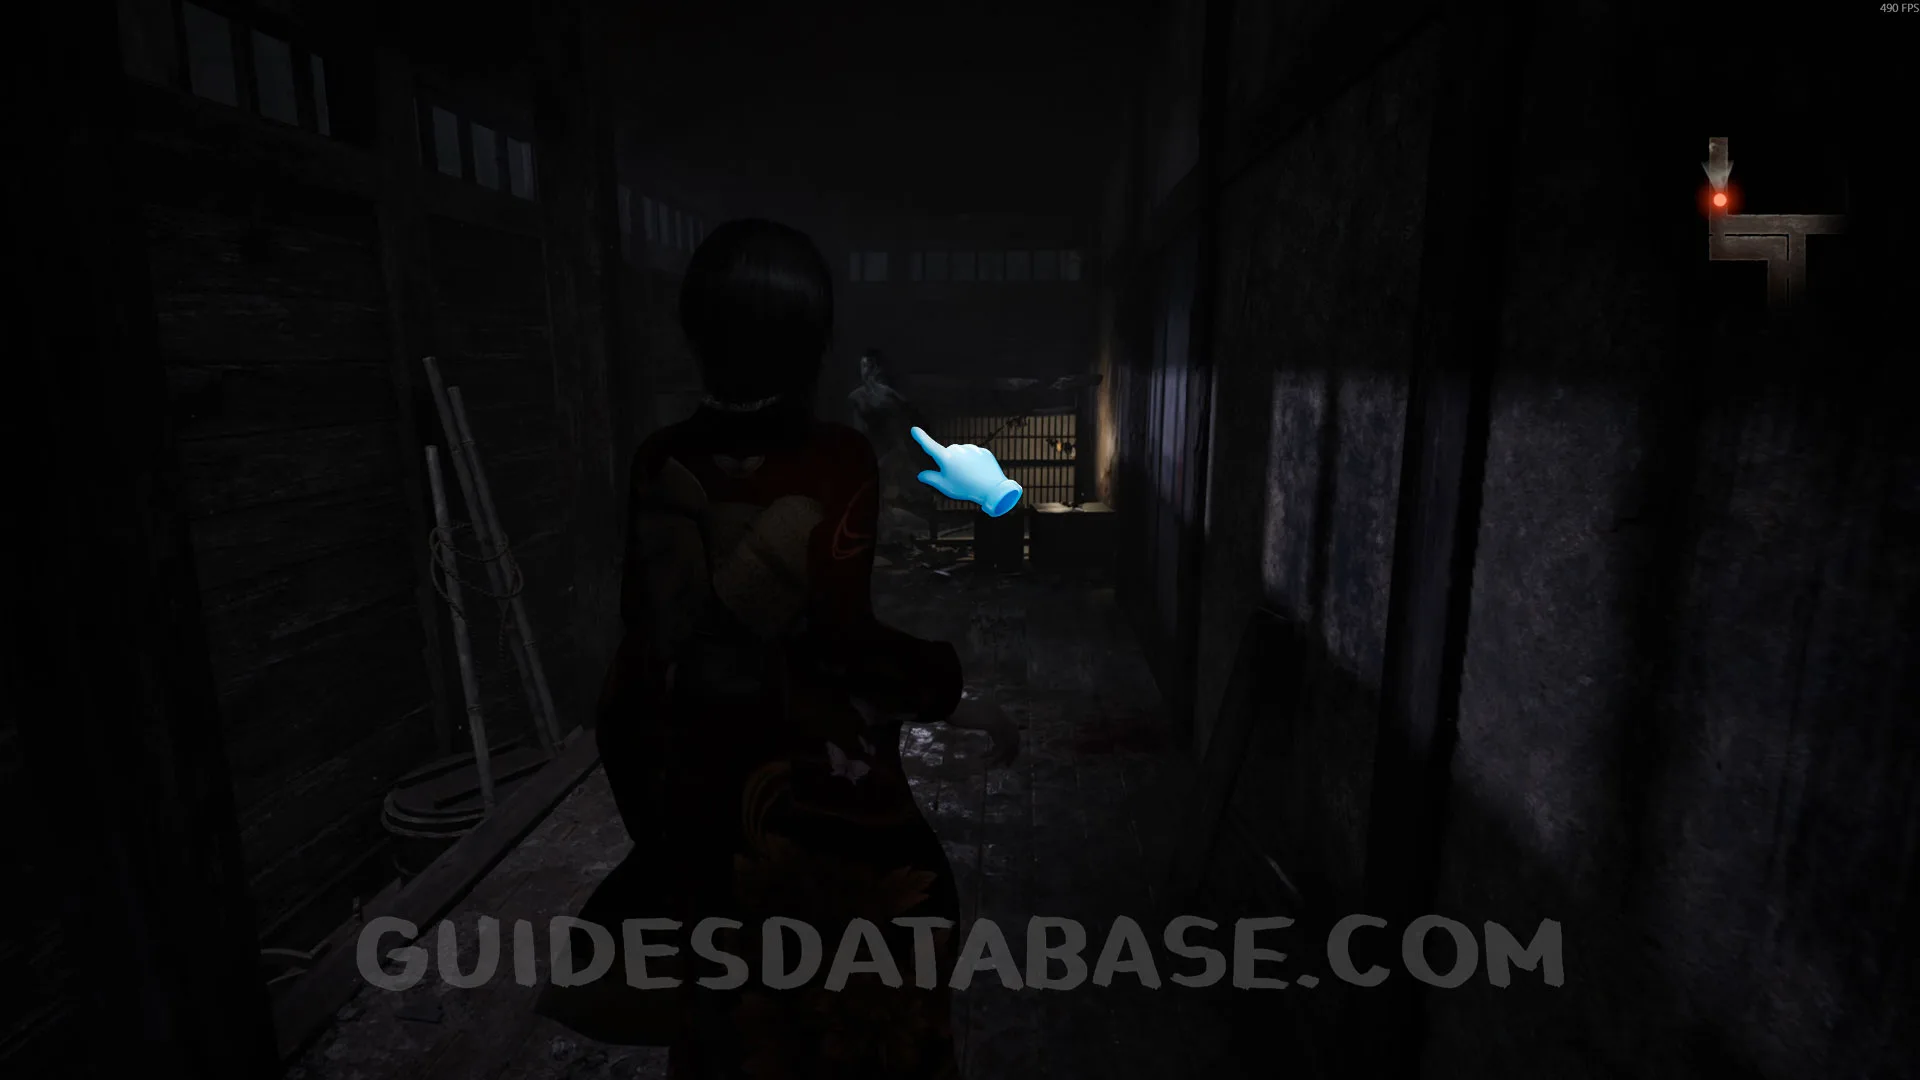 GUIDESDATABASE.COM
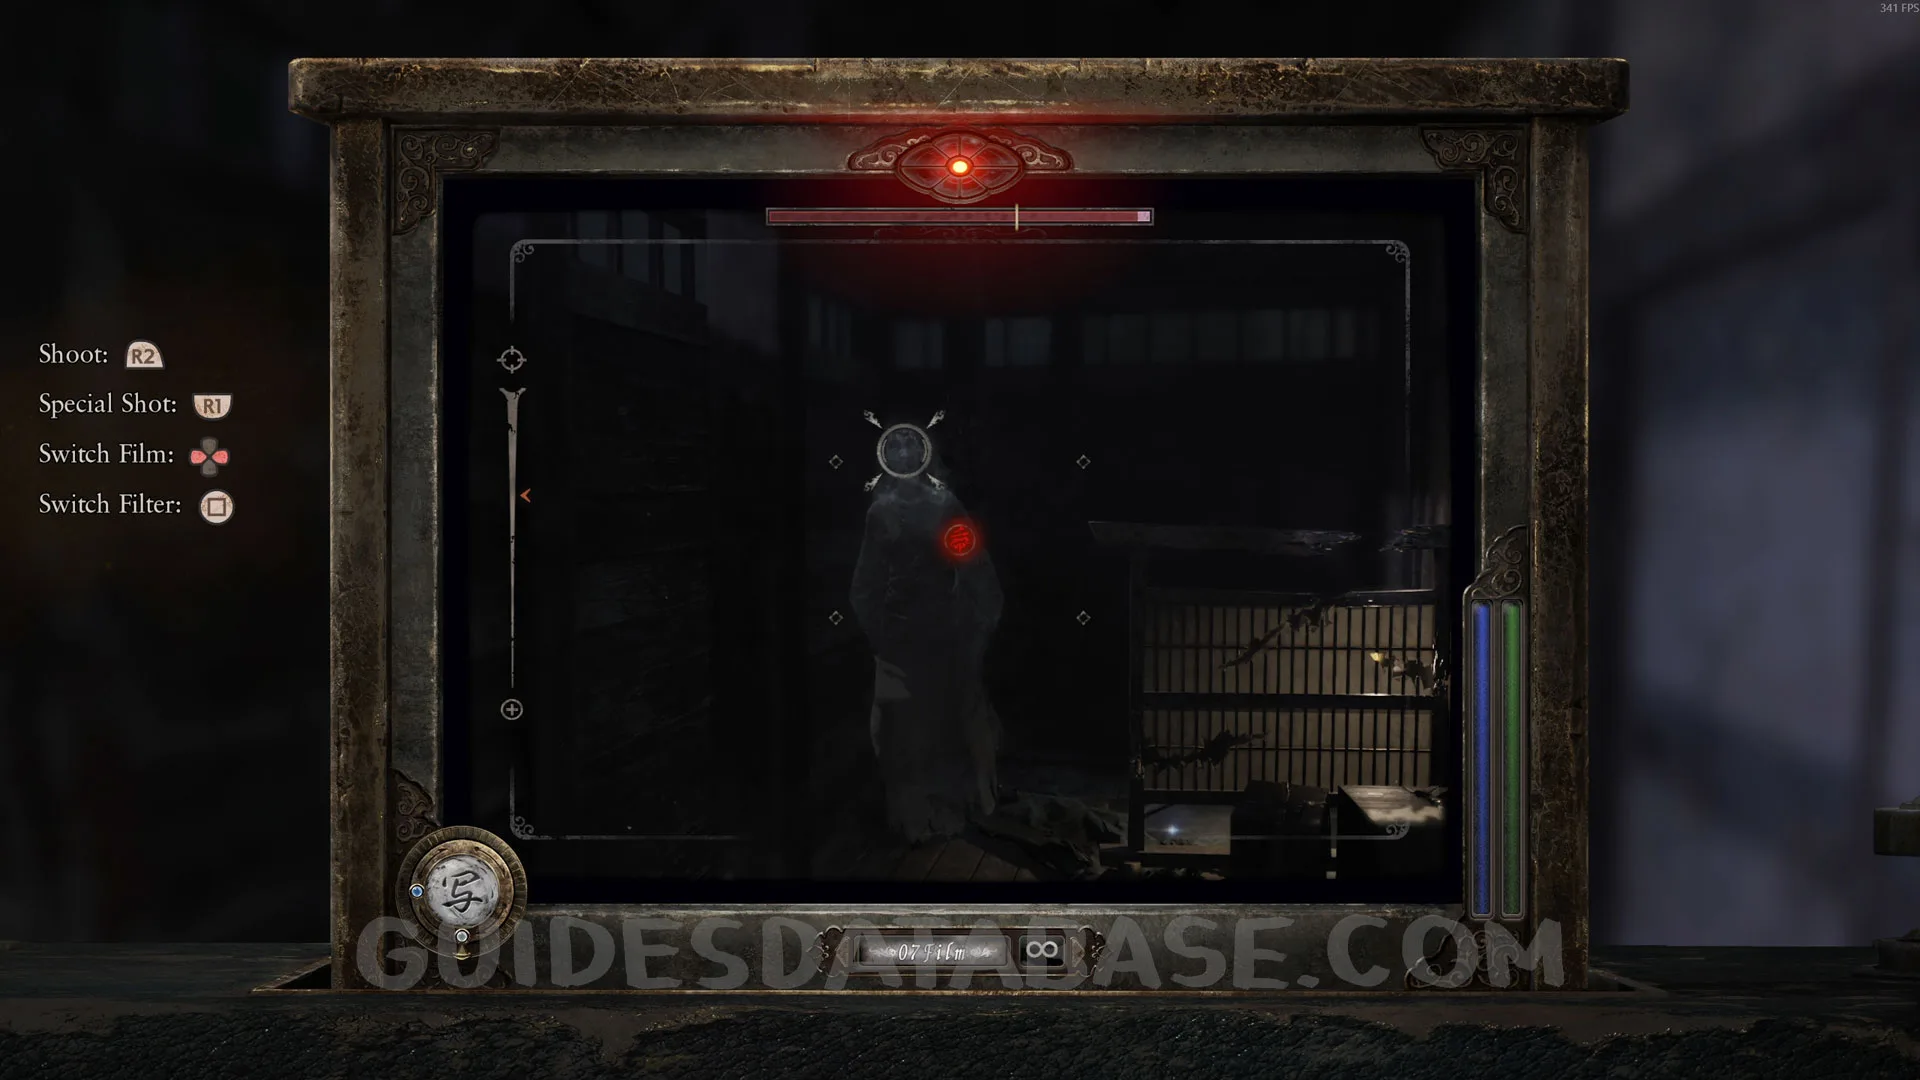 GUIDESDATABASE.COM
Spirit Stone #11 - Faintly Glowing Crystal.
From the previous collectible, go to the end of the hallway where the Wraith came out, and you’ll see this Spirit Stone on the floor.
 GUIDESDATABASE.COM
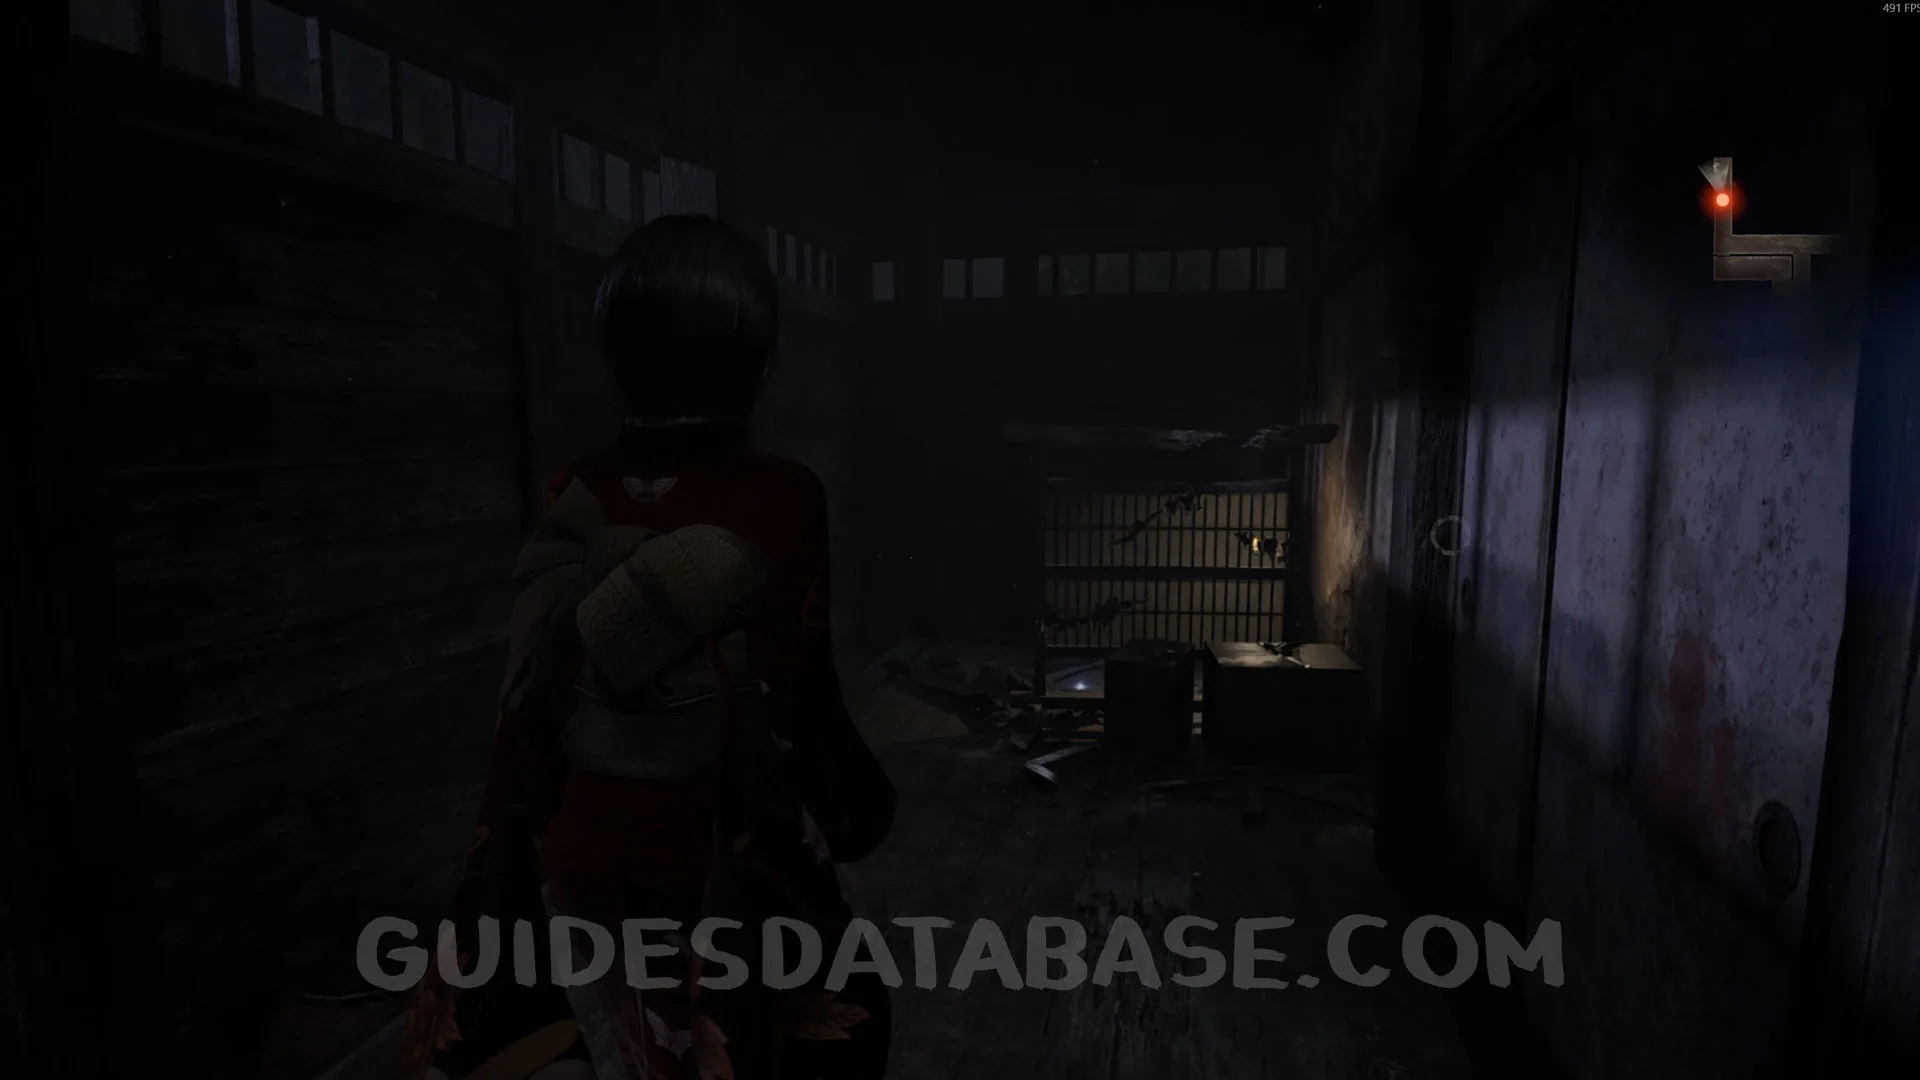 GUIDESDATABASE.COM
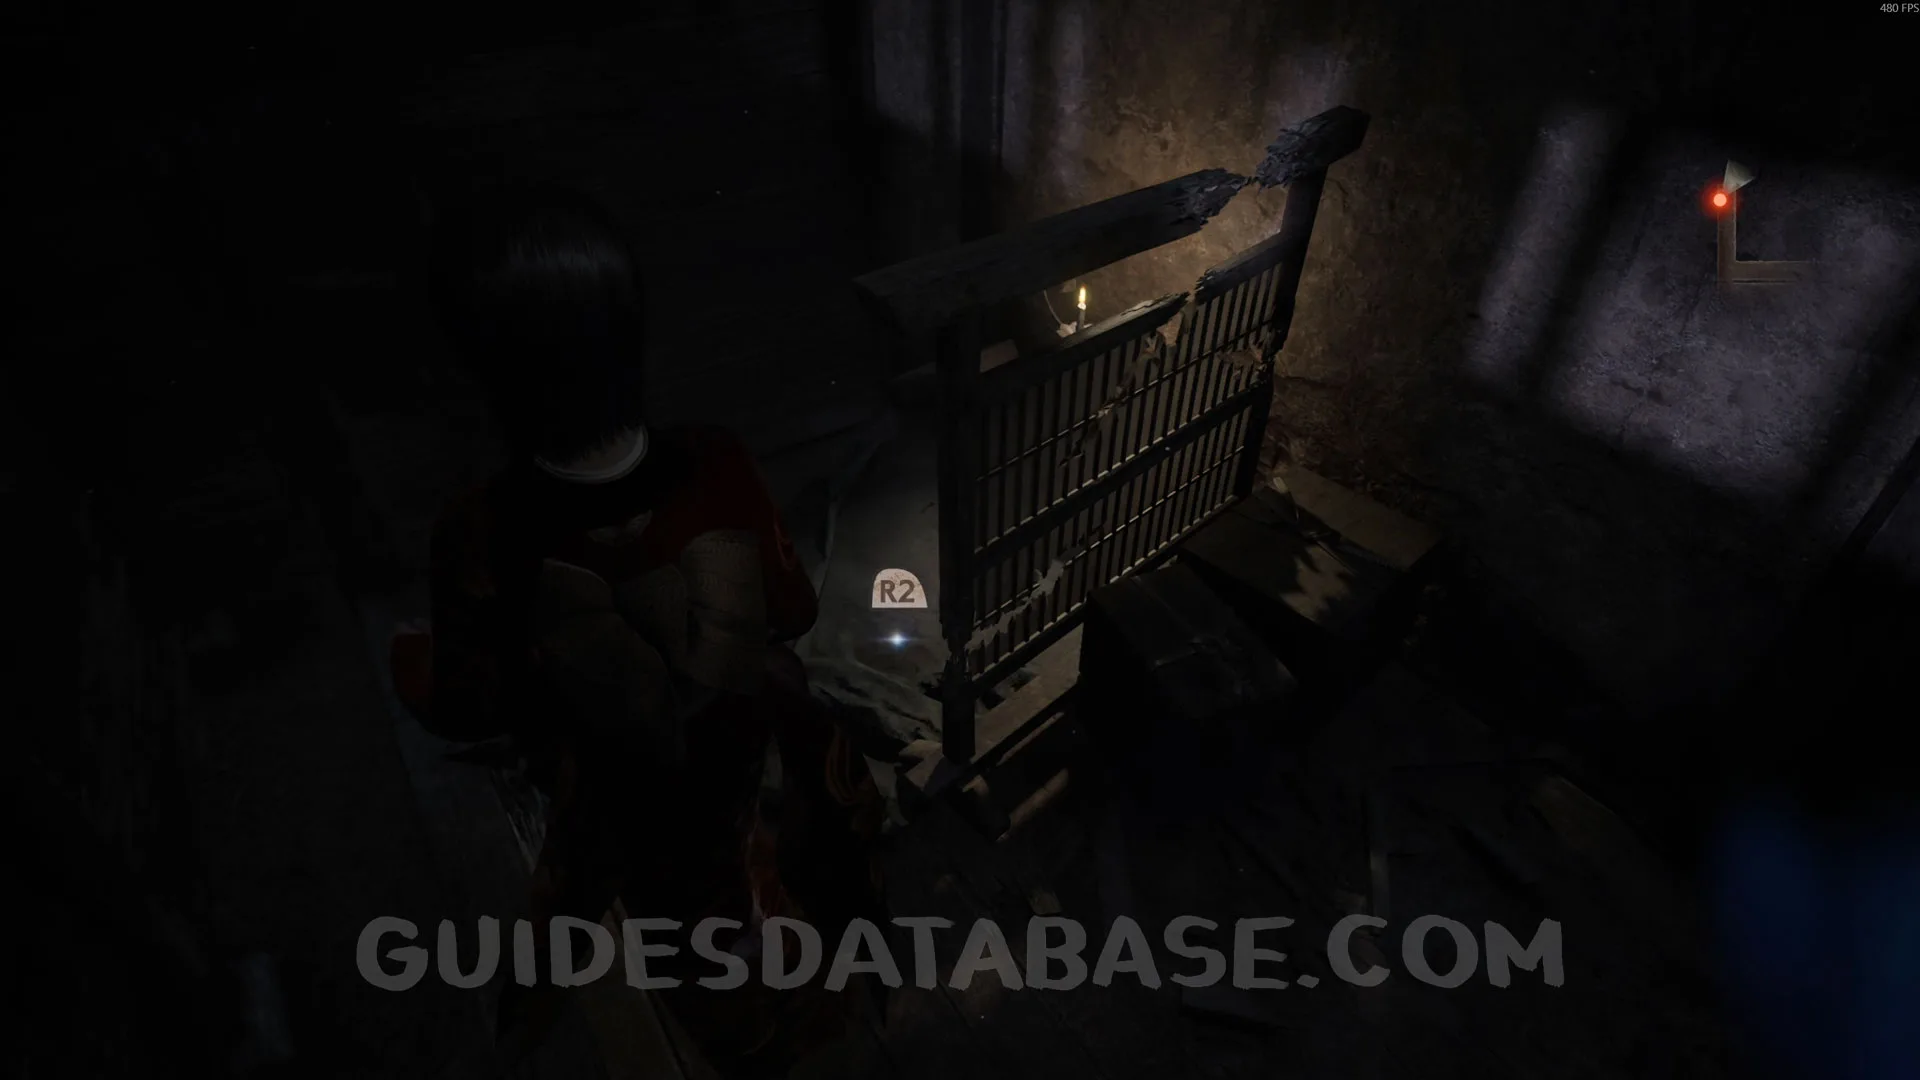 GUIDESDATABASE.COM
Specter #45 - 031 Mayu Advancing Ahed.
From the previous collectible, go through the door and you’ll see Mayu walking at the back of the room. Be quick and take a photo of her before this specter disappears.
 GUIDESDATABASE.COM
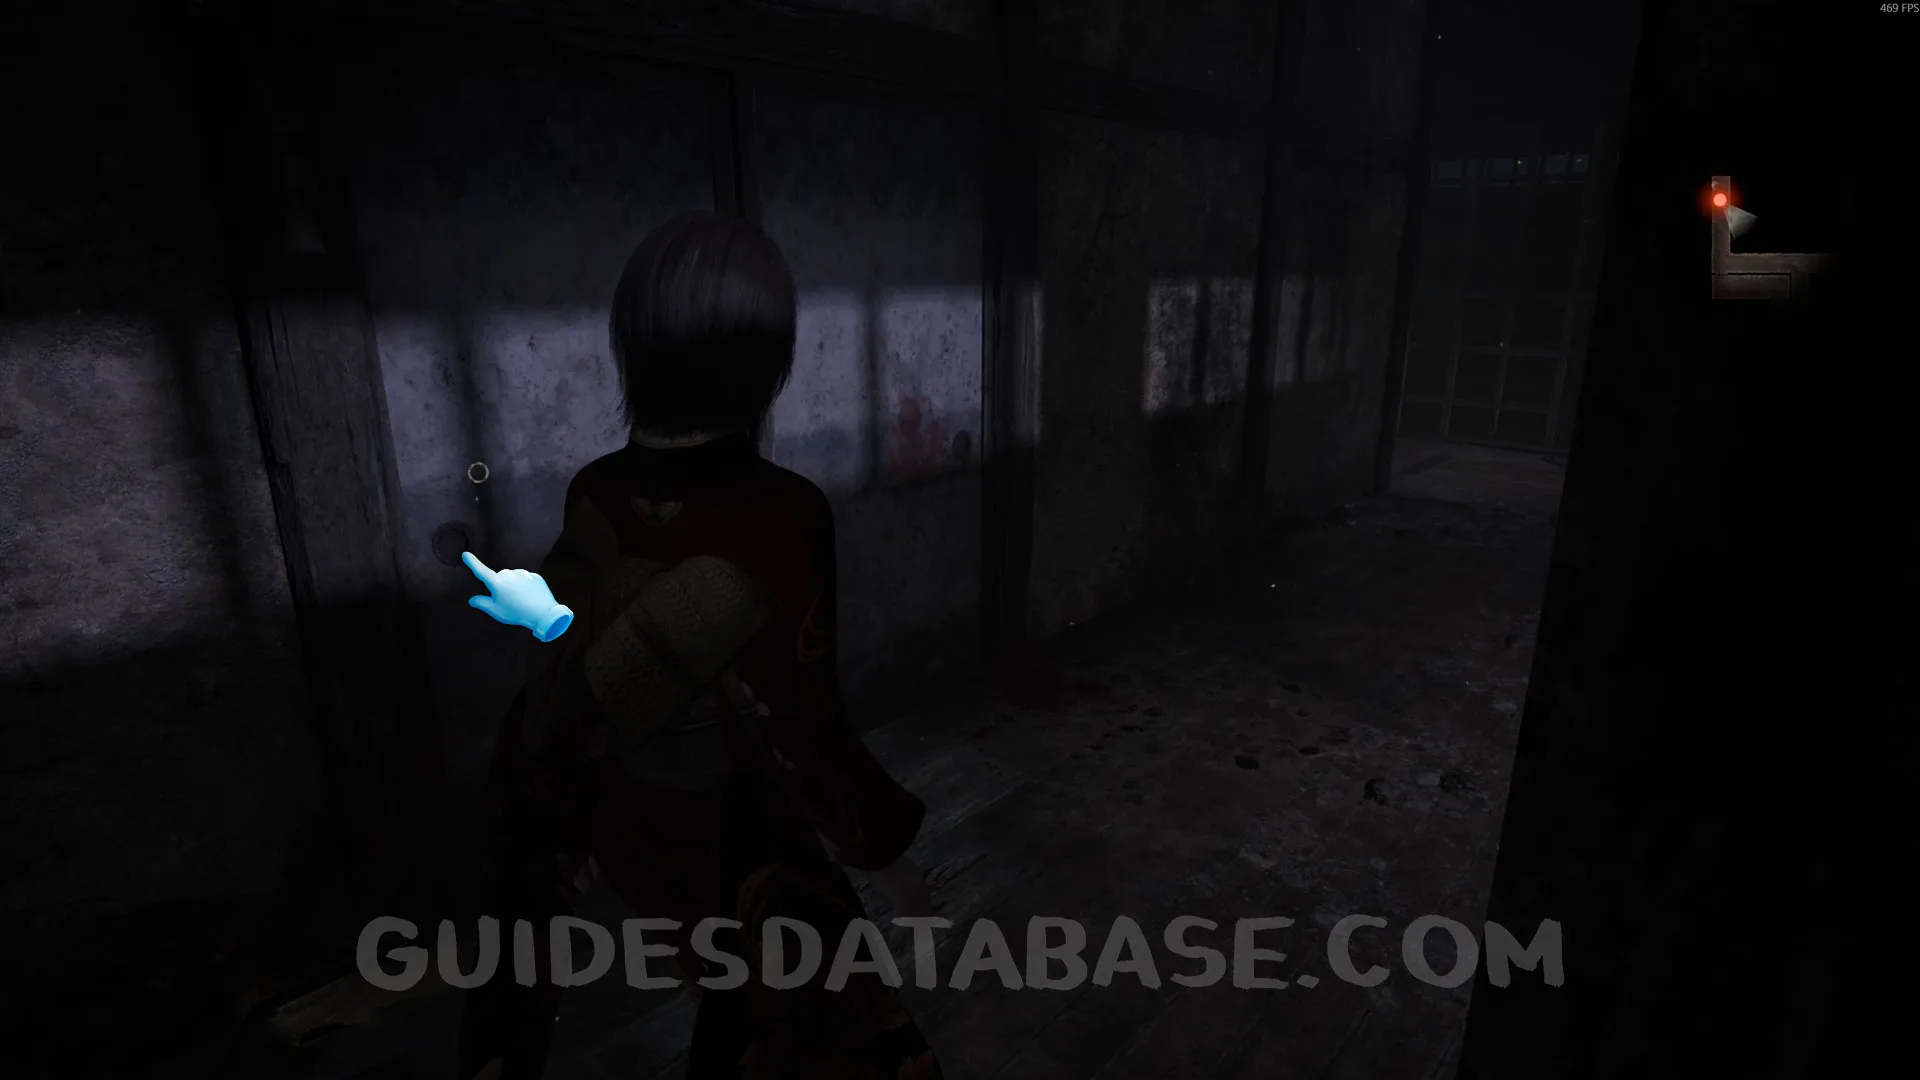 GUIDESDATABASE.COM
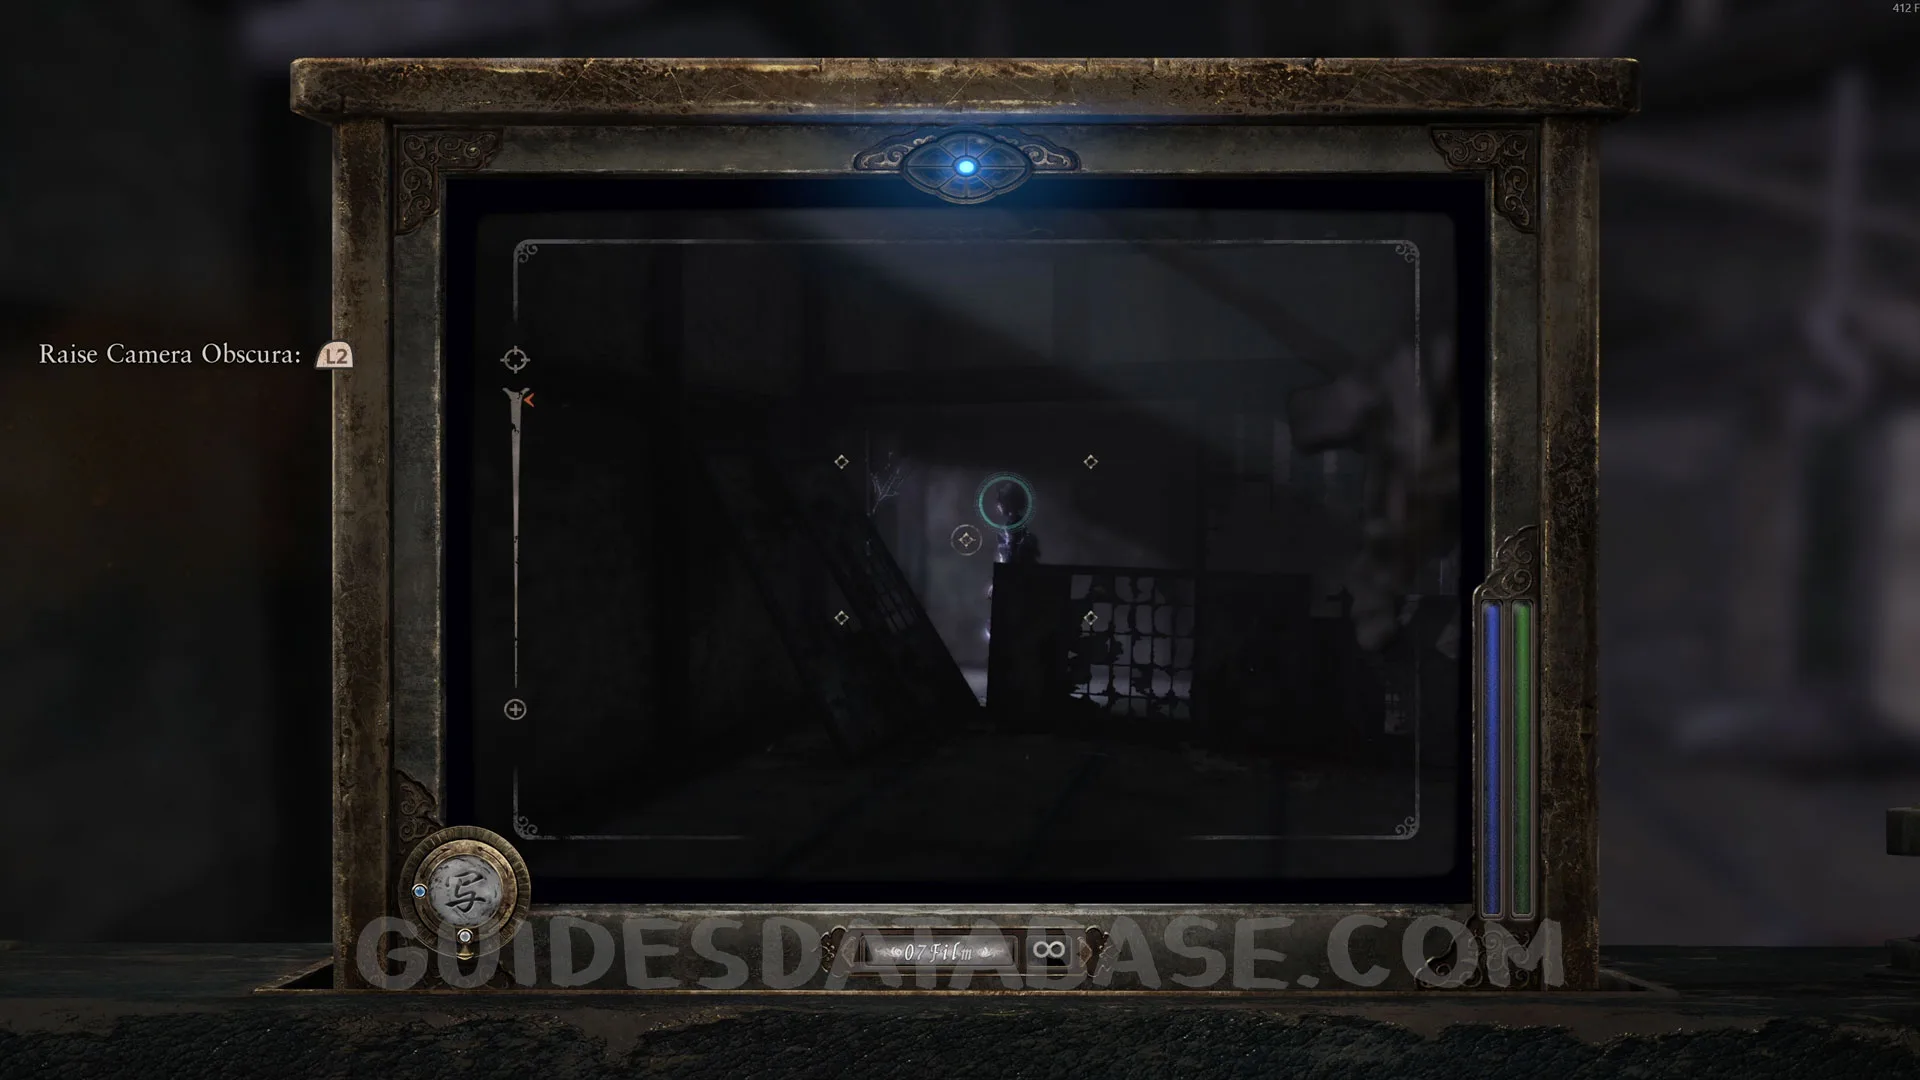 GUIDESDATABASE.COM
Spirit Stone #12 - Mayu's Charm 3.
In the same spot as the previous collectible, you’ll find this Spirit Stone on the floor.
 GUIDESDATABASE.COM
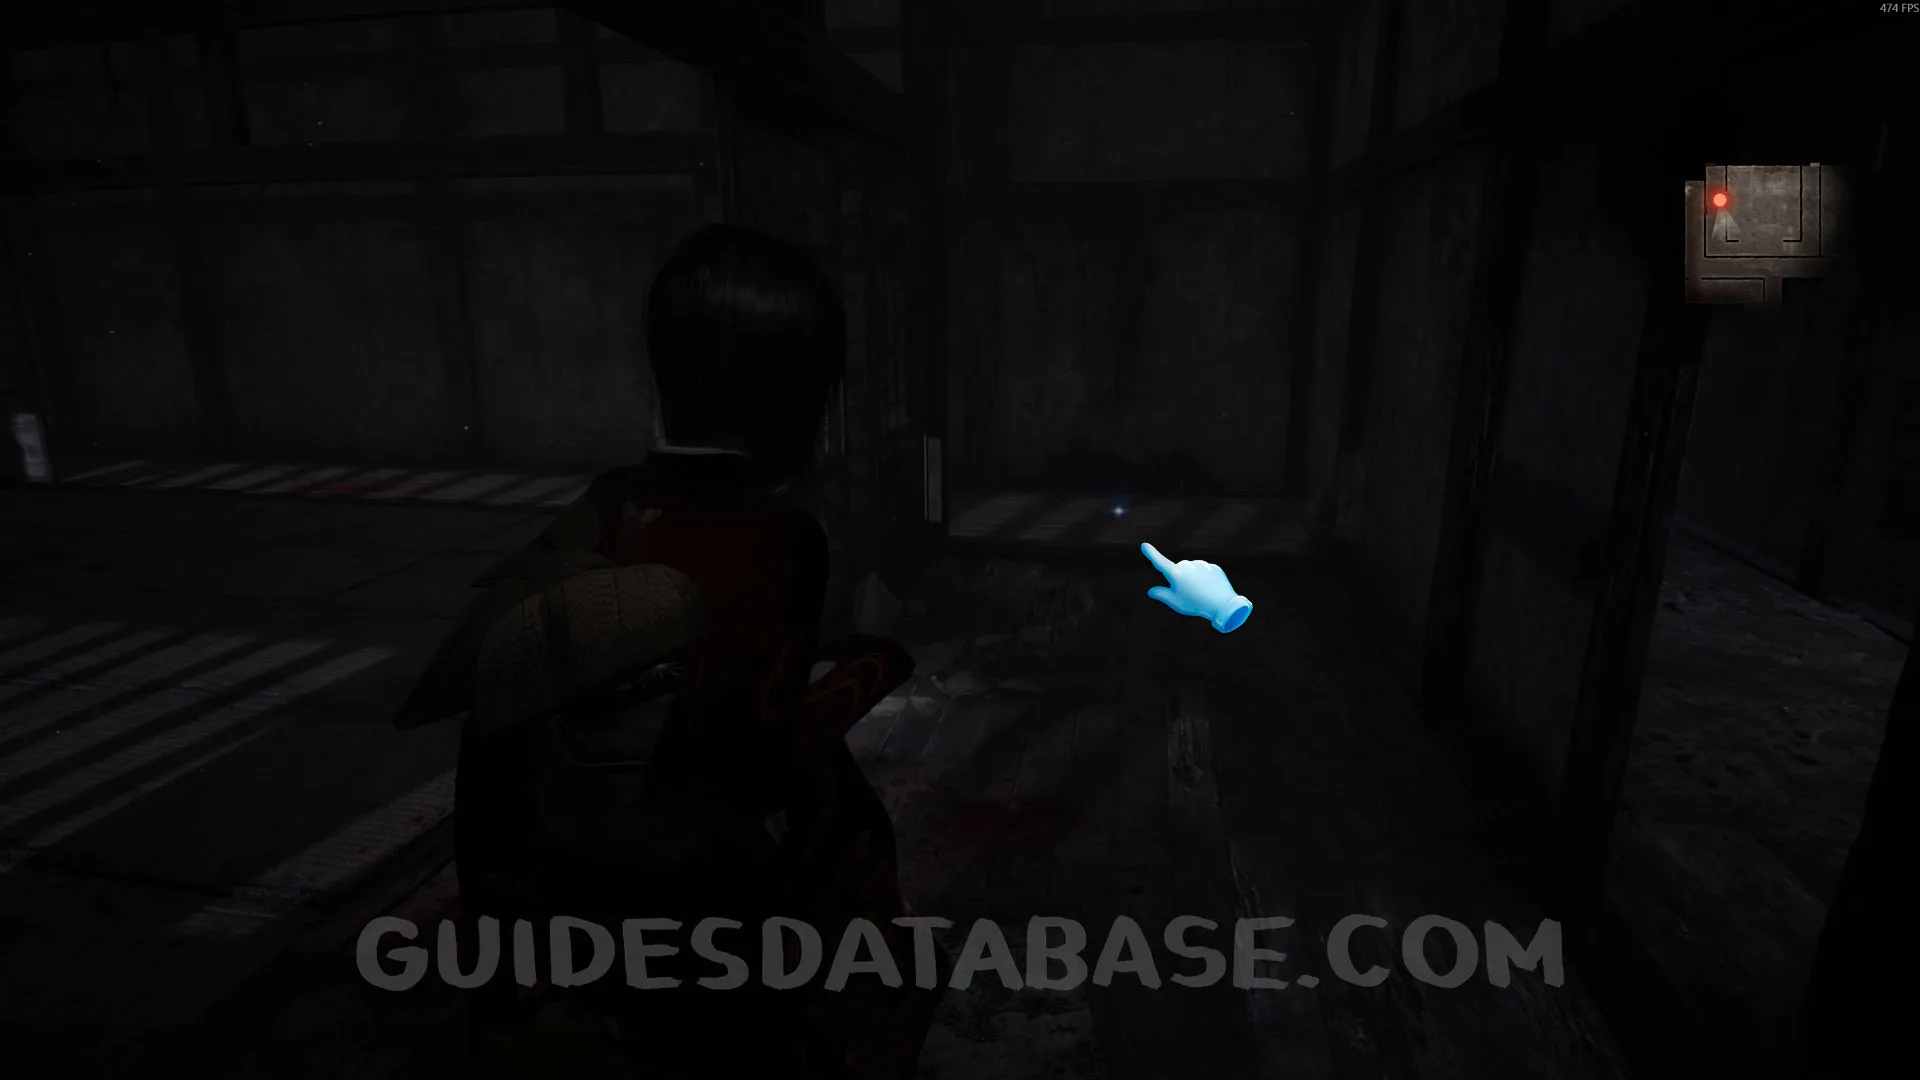 GUIDESDATABASE.COM
Twin Dolls #19 - 008.
From the previous collectible, you’ll need to run from Kusabi by going up a spiral staircase and hiding. After Kusabi disappears through the door, go back down the stairs you came up earlier and you’ll find this Twin Doll underneath the staircase.
 GUIDESDATABASE.COM
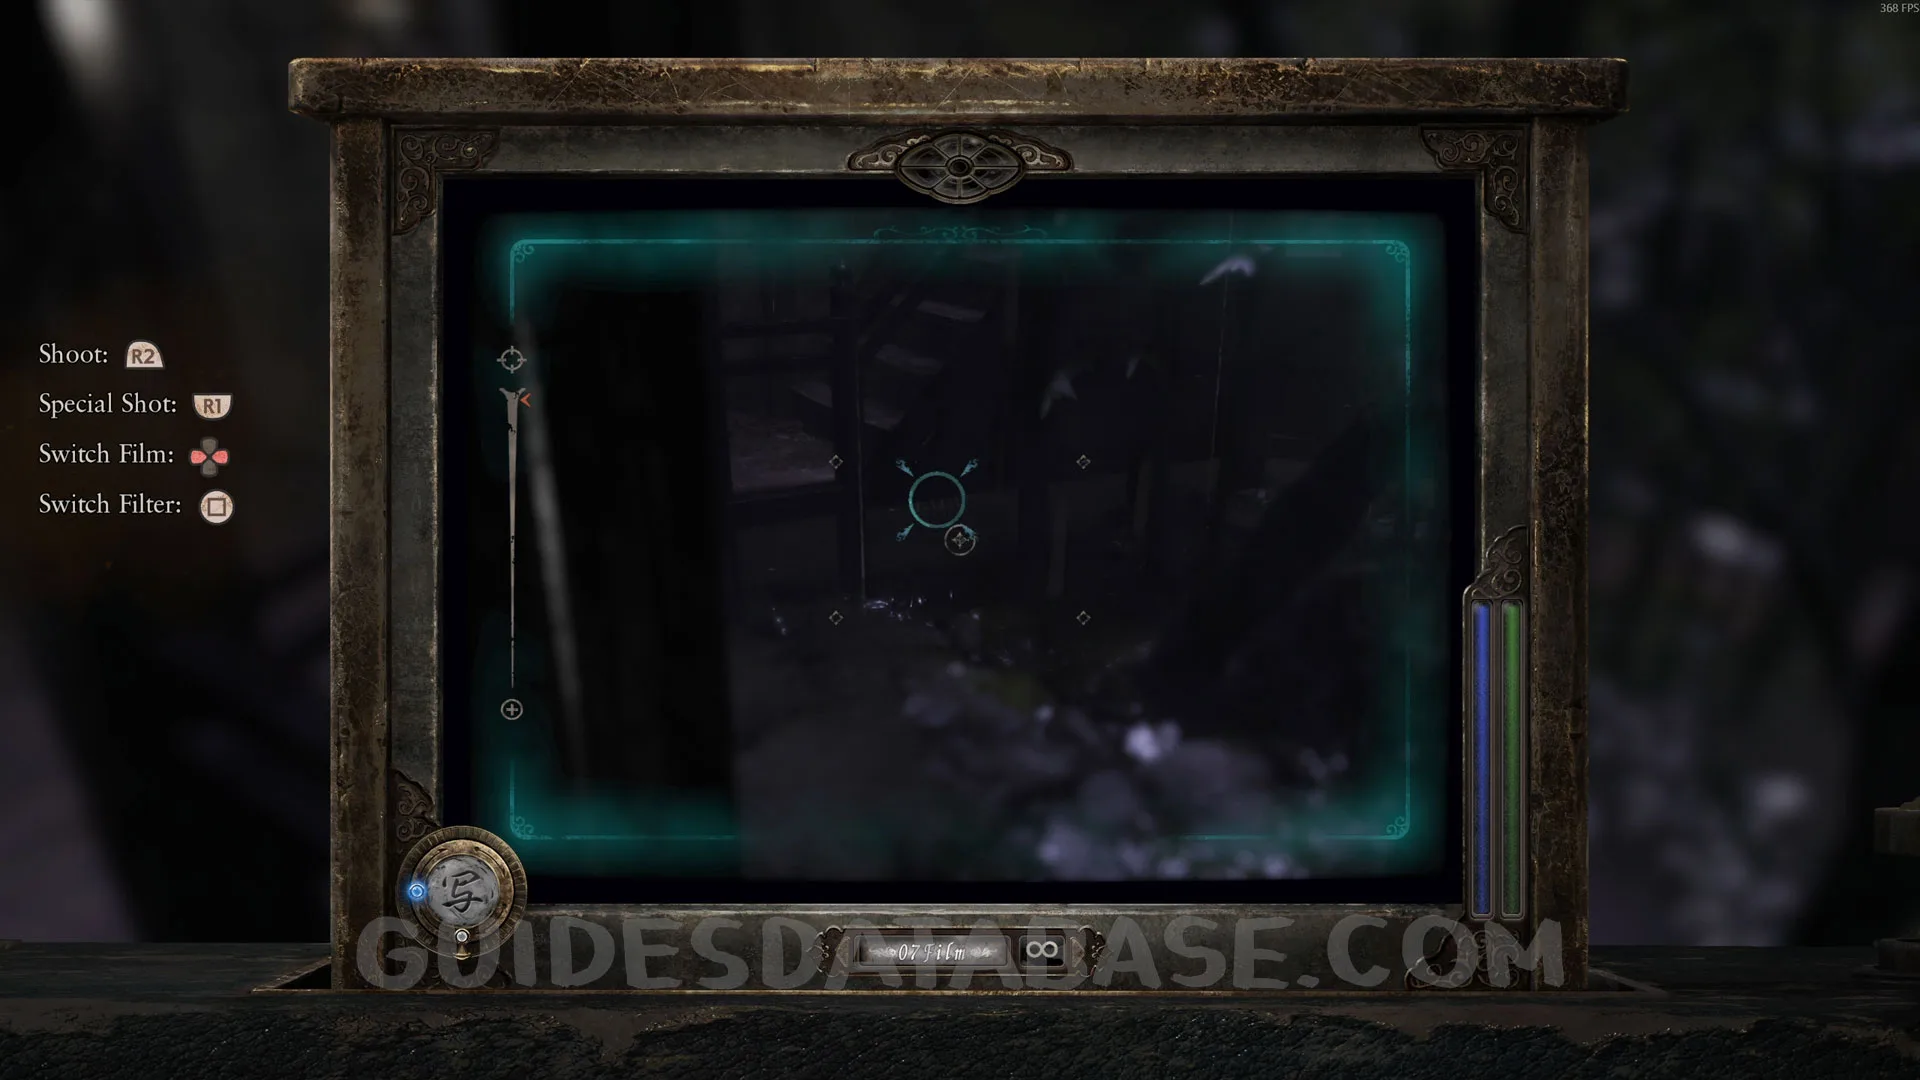 GUIDESDATABASE.COM
Specter #46 - 032 Mayu Being Guided.
When you reach the Save Point room, go into the room next to it and you’ll see Mayu heading toward a door. Be quick and take a photo of her.
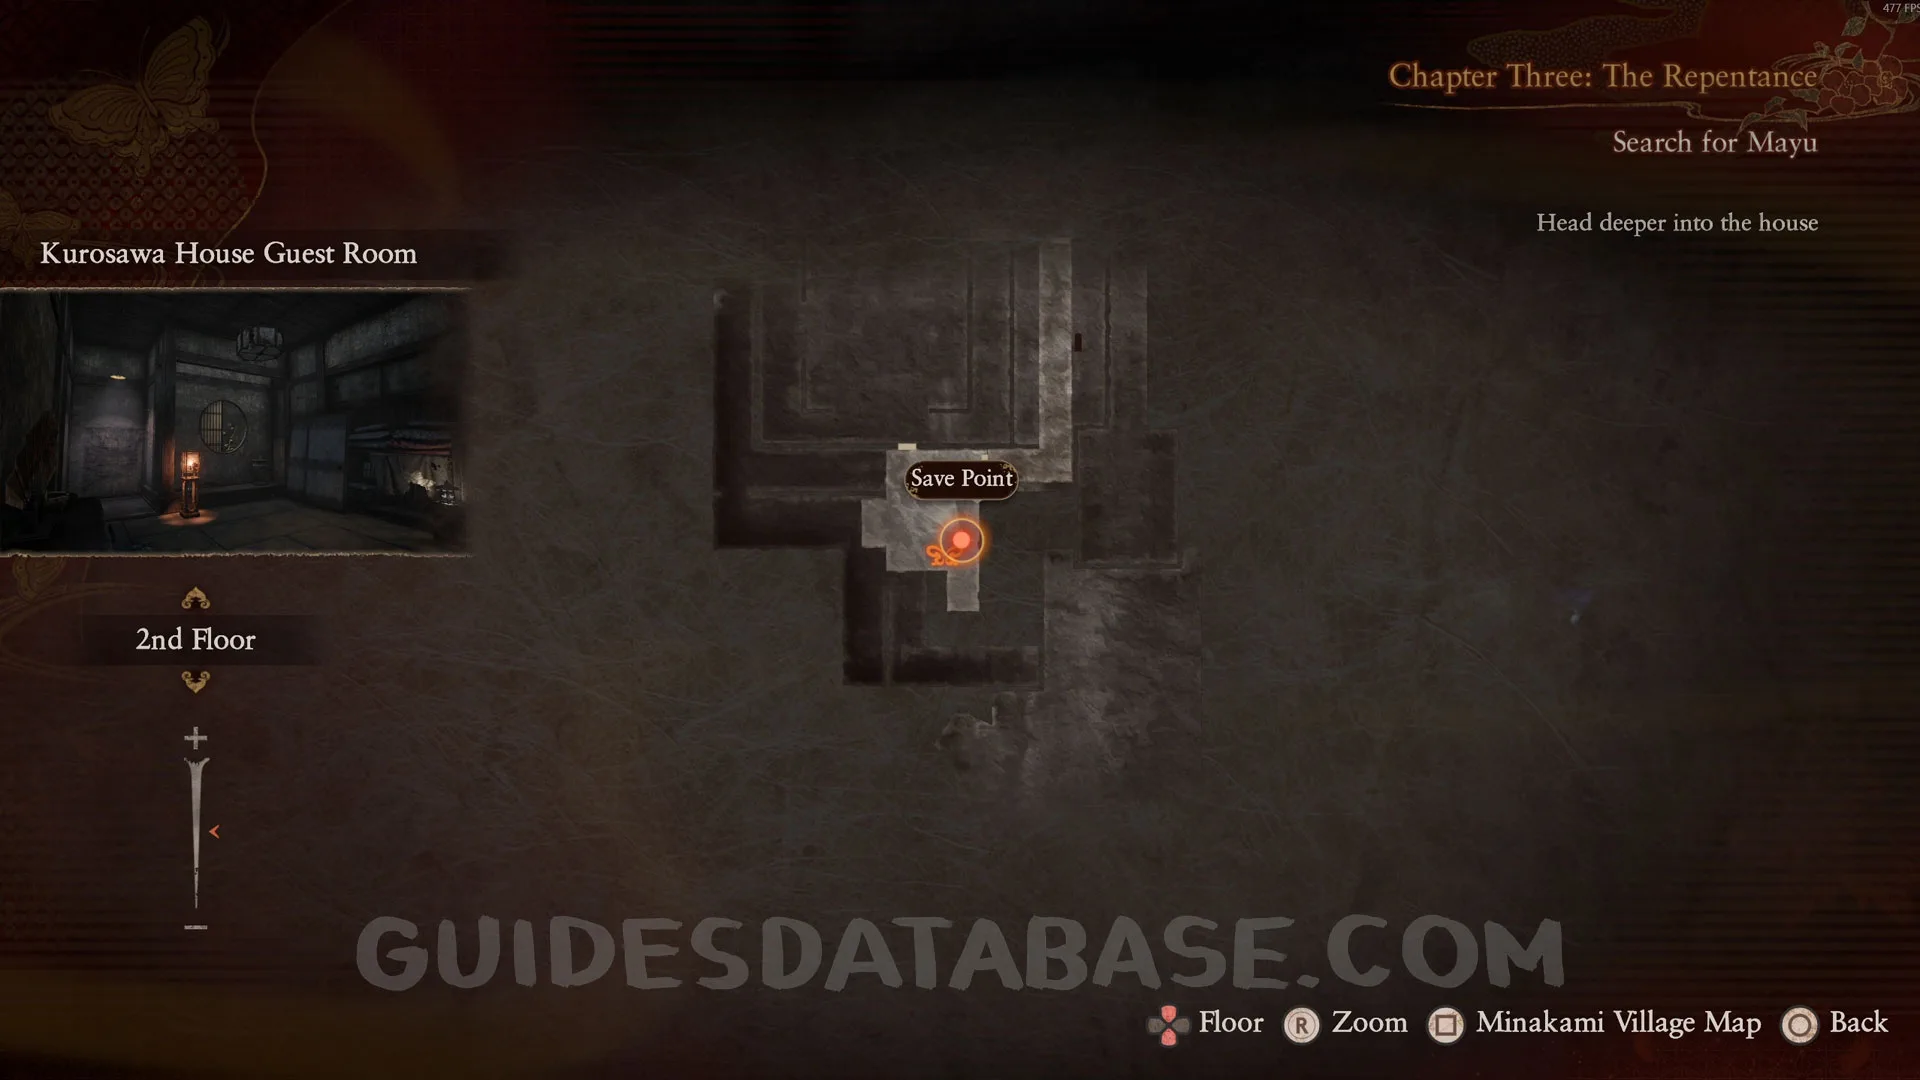 GUIDESDATABASE.COM
 GUIDESDATABASE.COM
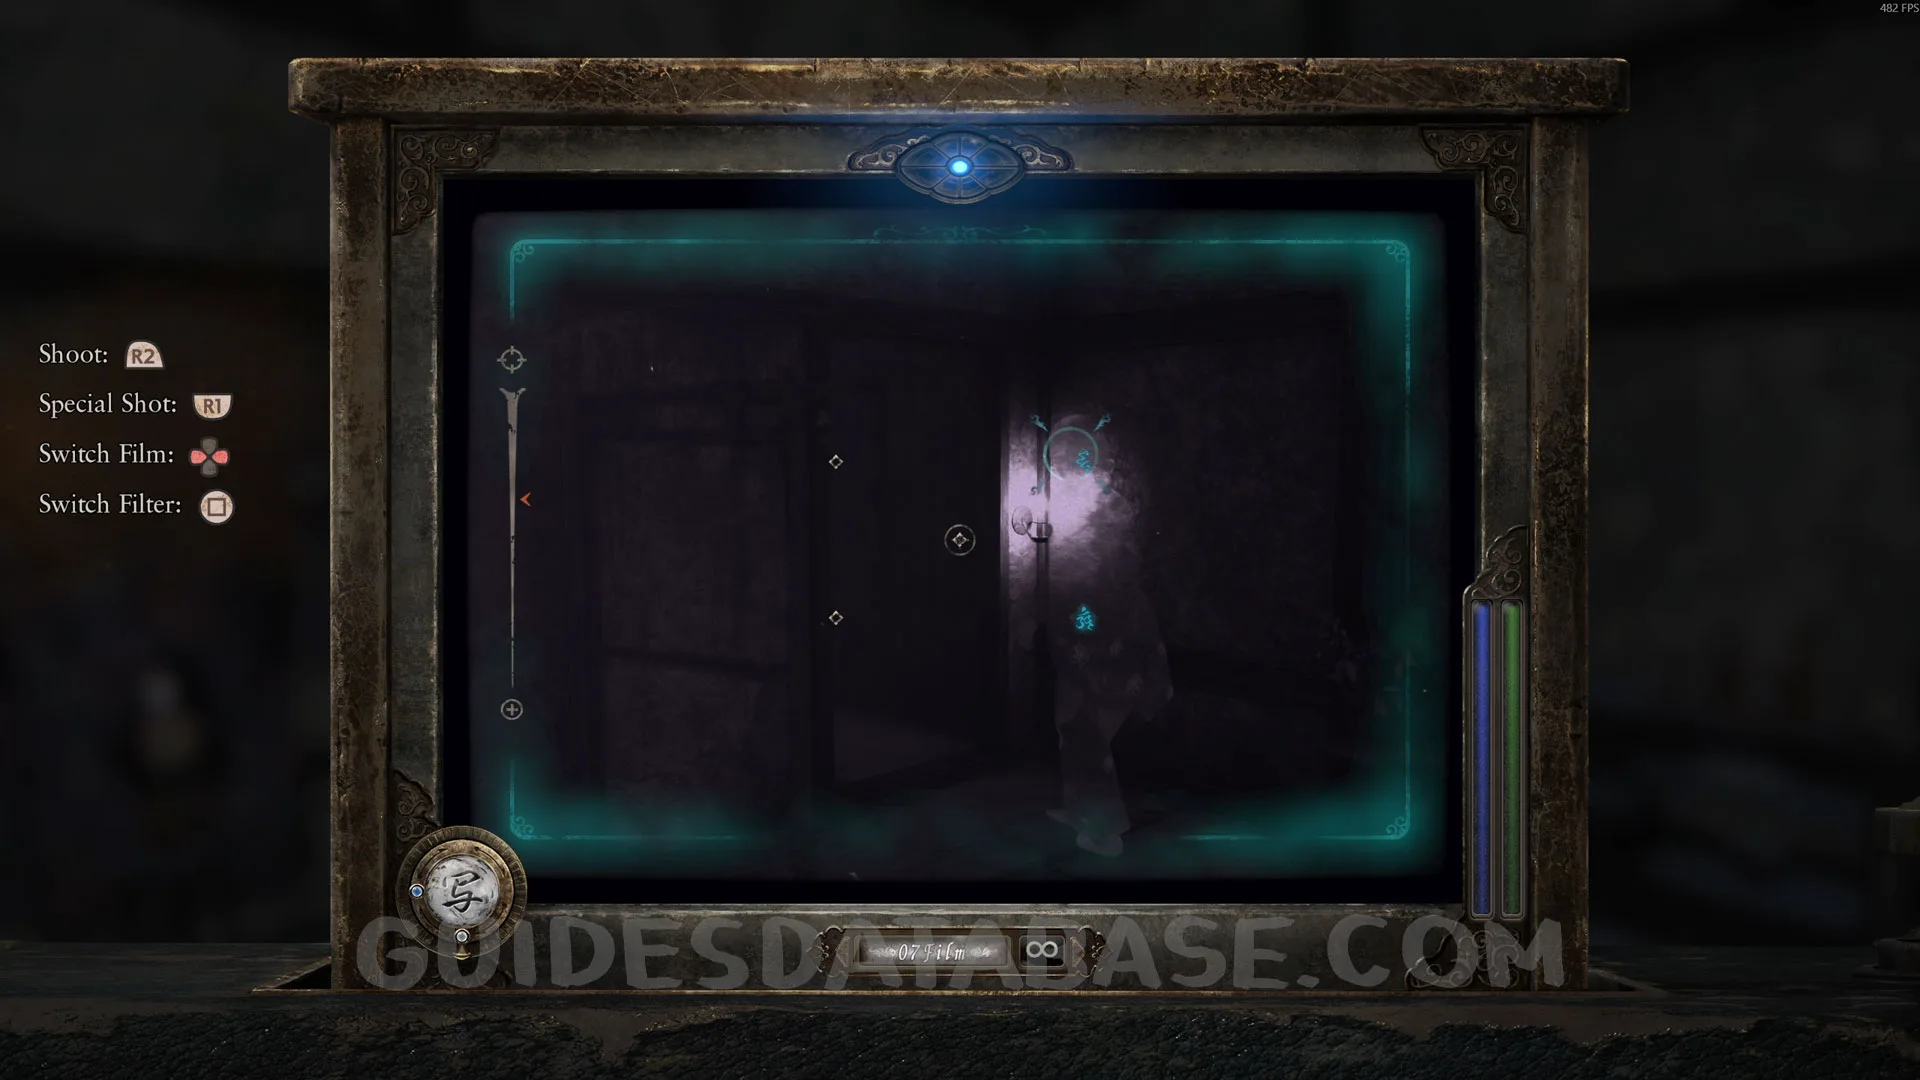 GUIDESDATABASE.COM
Prayer Bead #11.
In the same room as the previous collectible, on top of the table.
 GUIDESDATABASE.COM
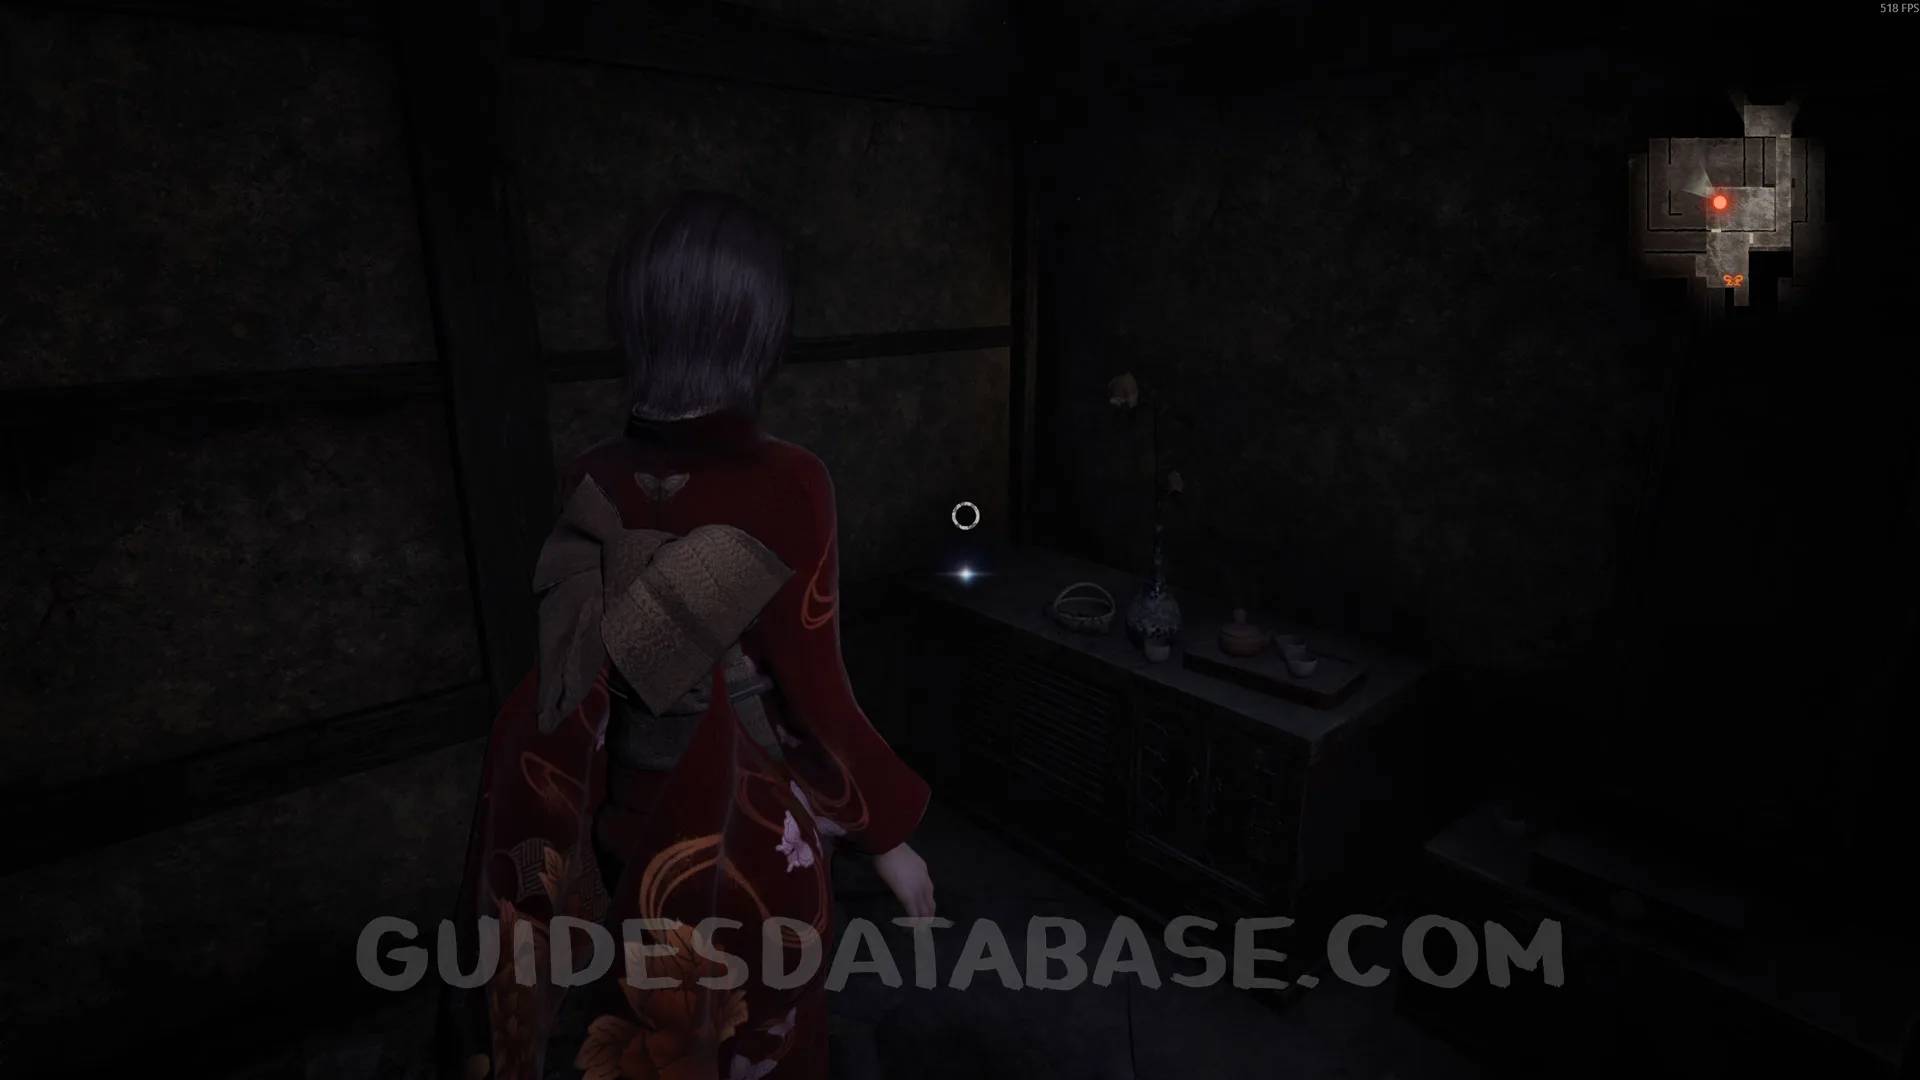 GUIDESDATABASE.COM
Specter #47 - 033 Man Using Camera Obscura.
 GUIDESDATABASE.COM
 GUIDESDATABASE.COM
 GUIDESDATABASE.COM
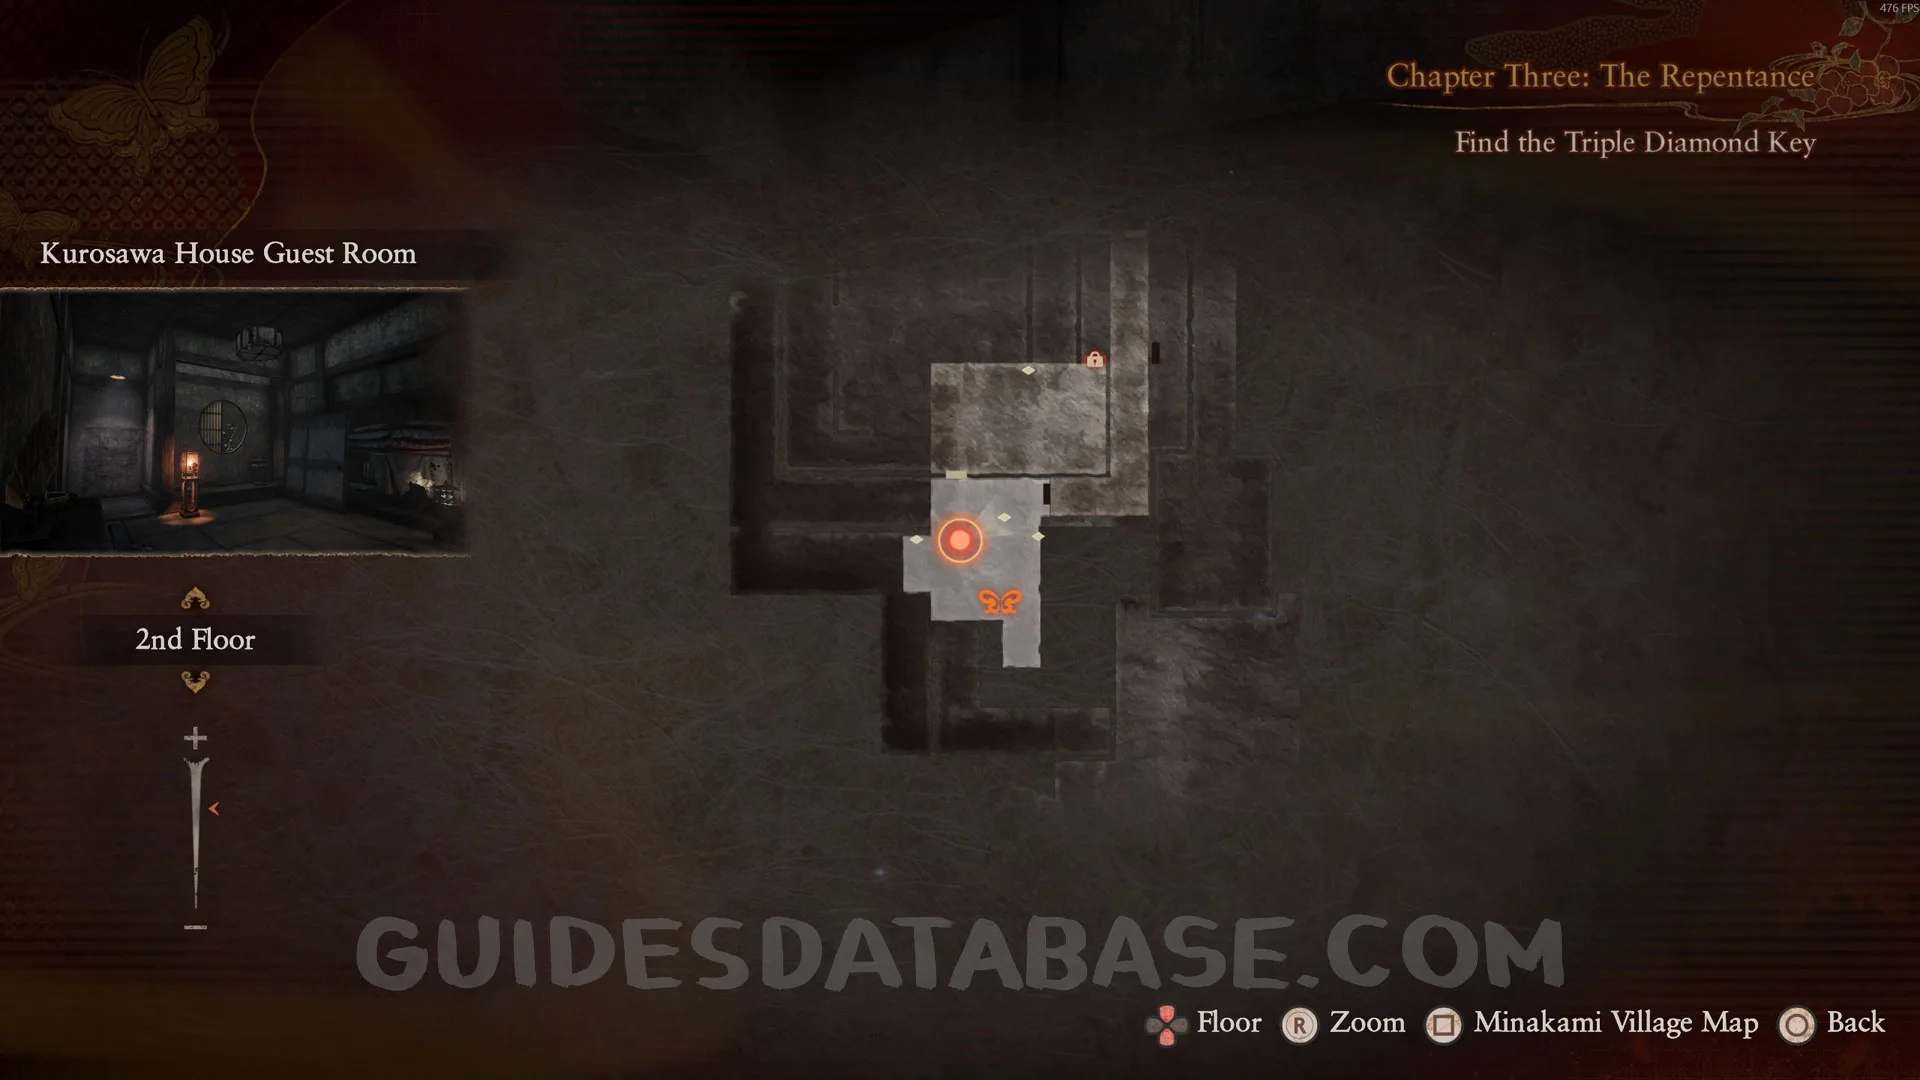
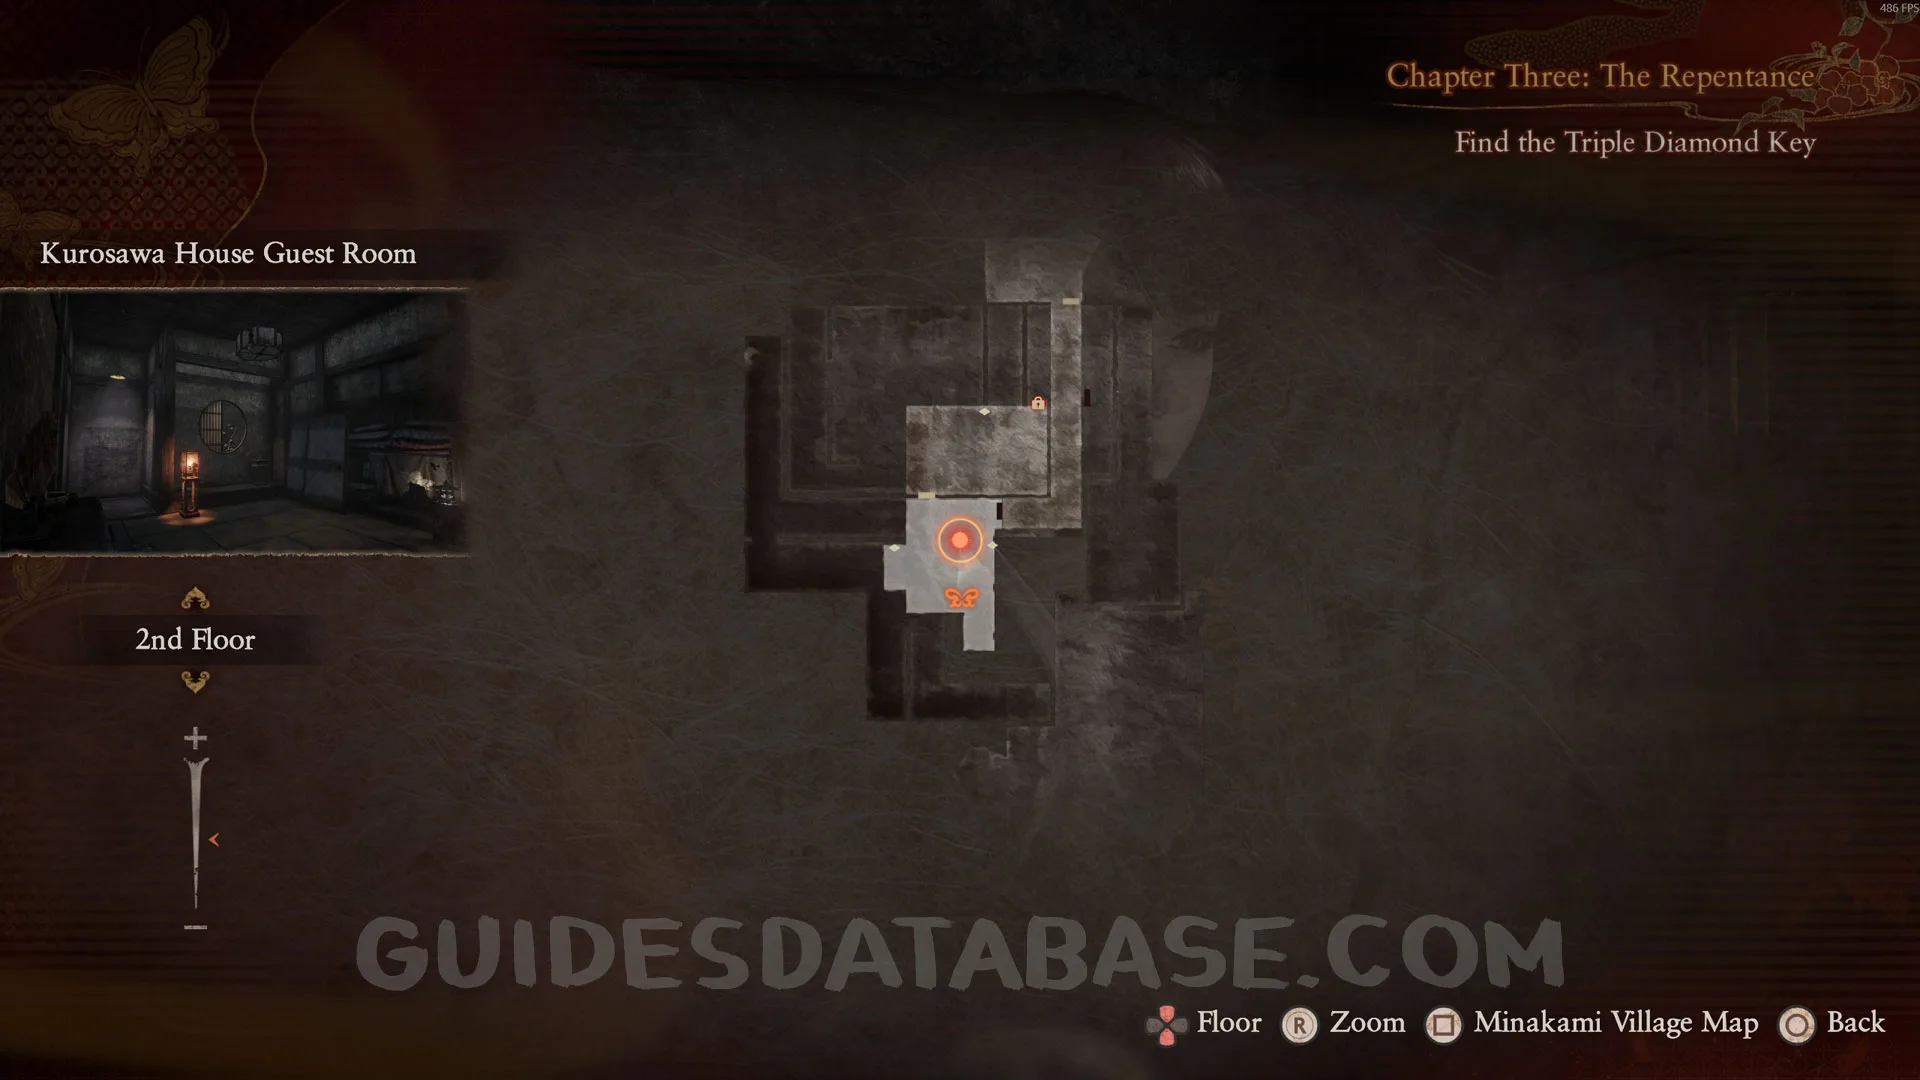
Document #27 - Exposure Filter Memo + Photo #10: Guest Room.
In the same spot as the previous collectible, on the floor where the specter was.
 GUIDESDATABASE.COM
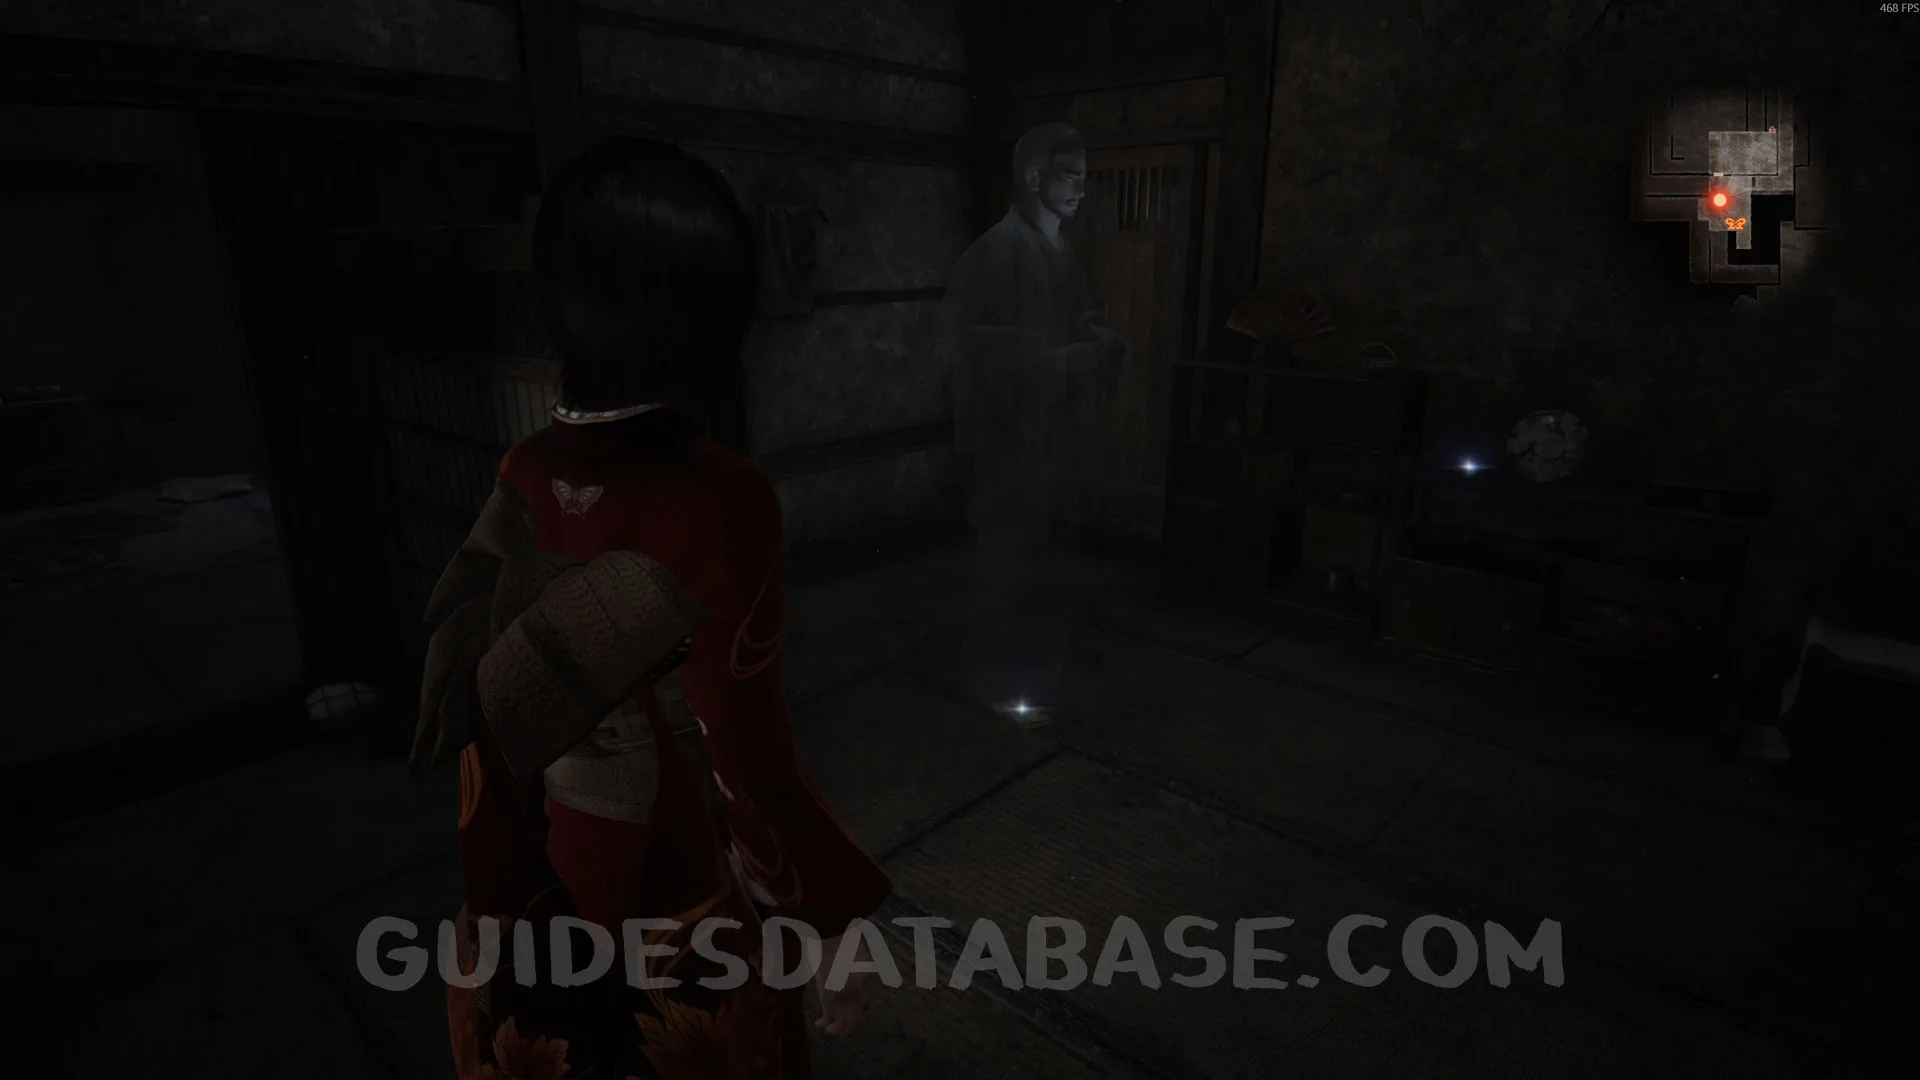 GUIDESDATABASE.COM
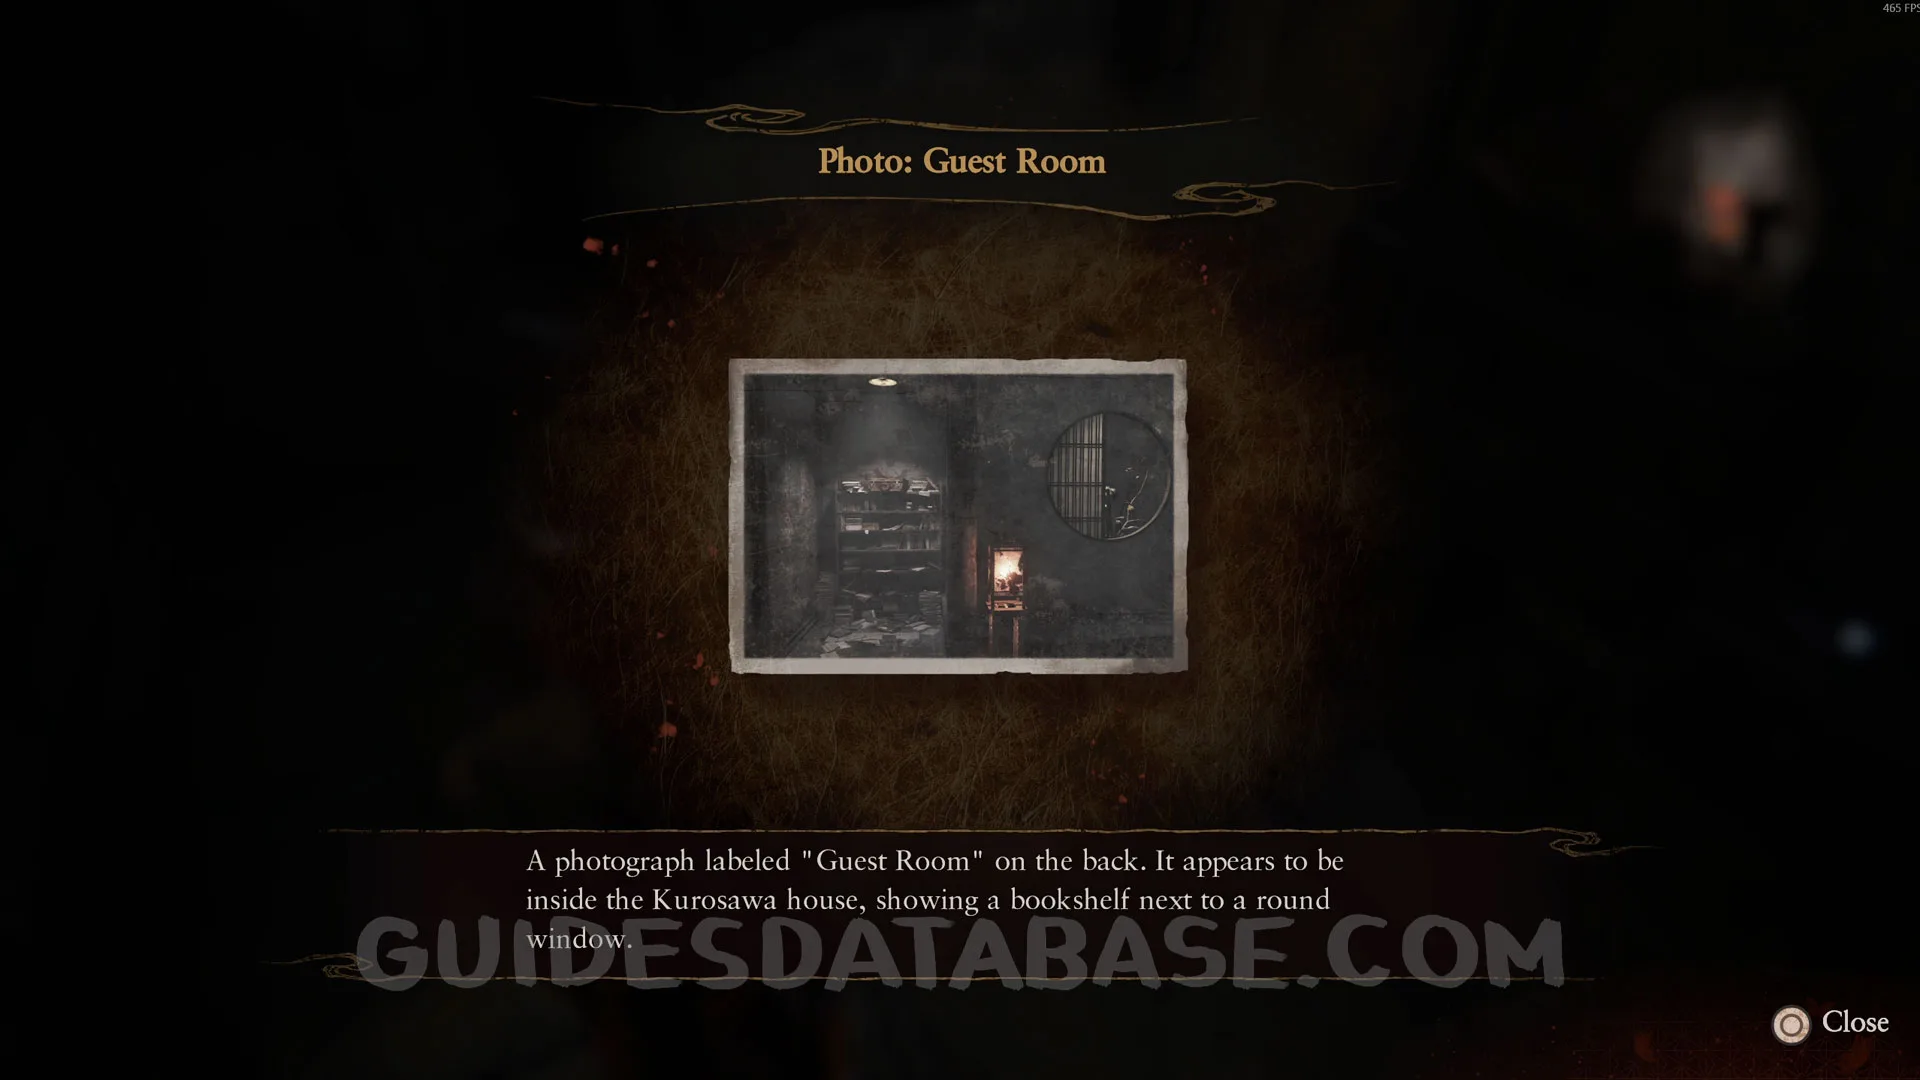 GUIDESDATABASE.COM
Phantom Expose #1 - Guest Room / Document #28 - Folklorist's Note 2 / Spirit Stone #12 - Lazilite (1/2) / Side Quest #4 - Seijiro Makabe.
In the same spot as before, now that you have the Exposure Filter, look at the Guest Room photo you got earlier and line up the camera with the Exposure Filter at the correct spot on the wall, just like shown in the photo. Once it’s lined up properly, take a picture to reveal the secret area and pick up the document.
 GUIDESDATABASE.COM
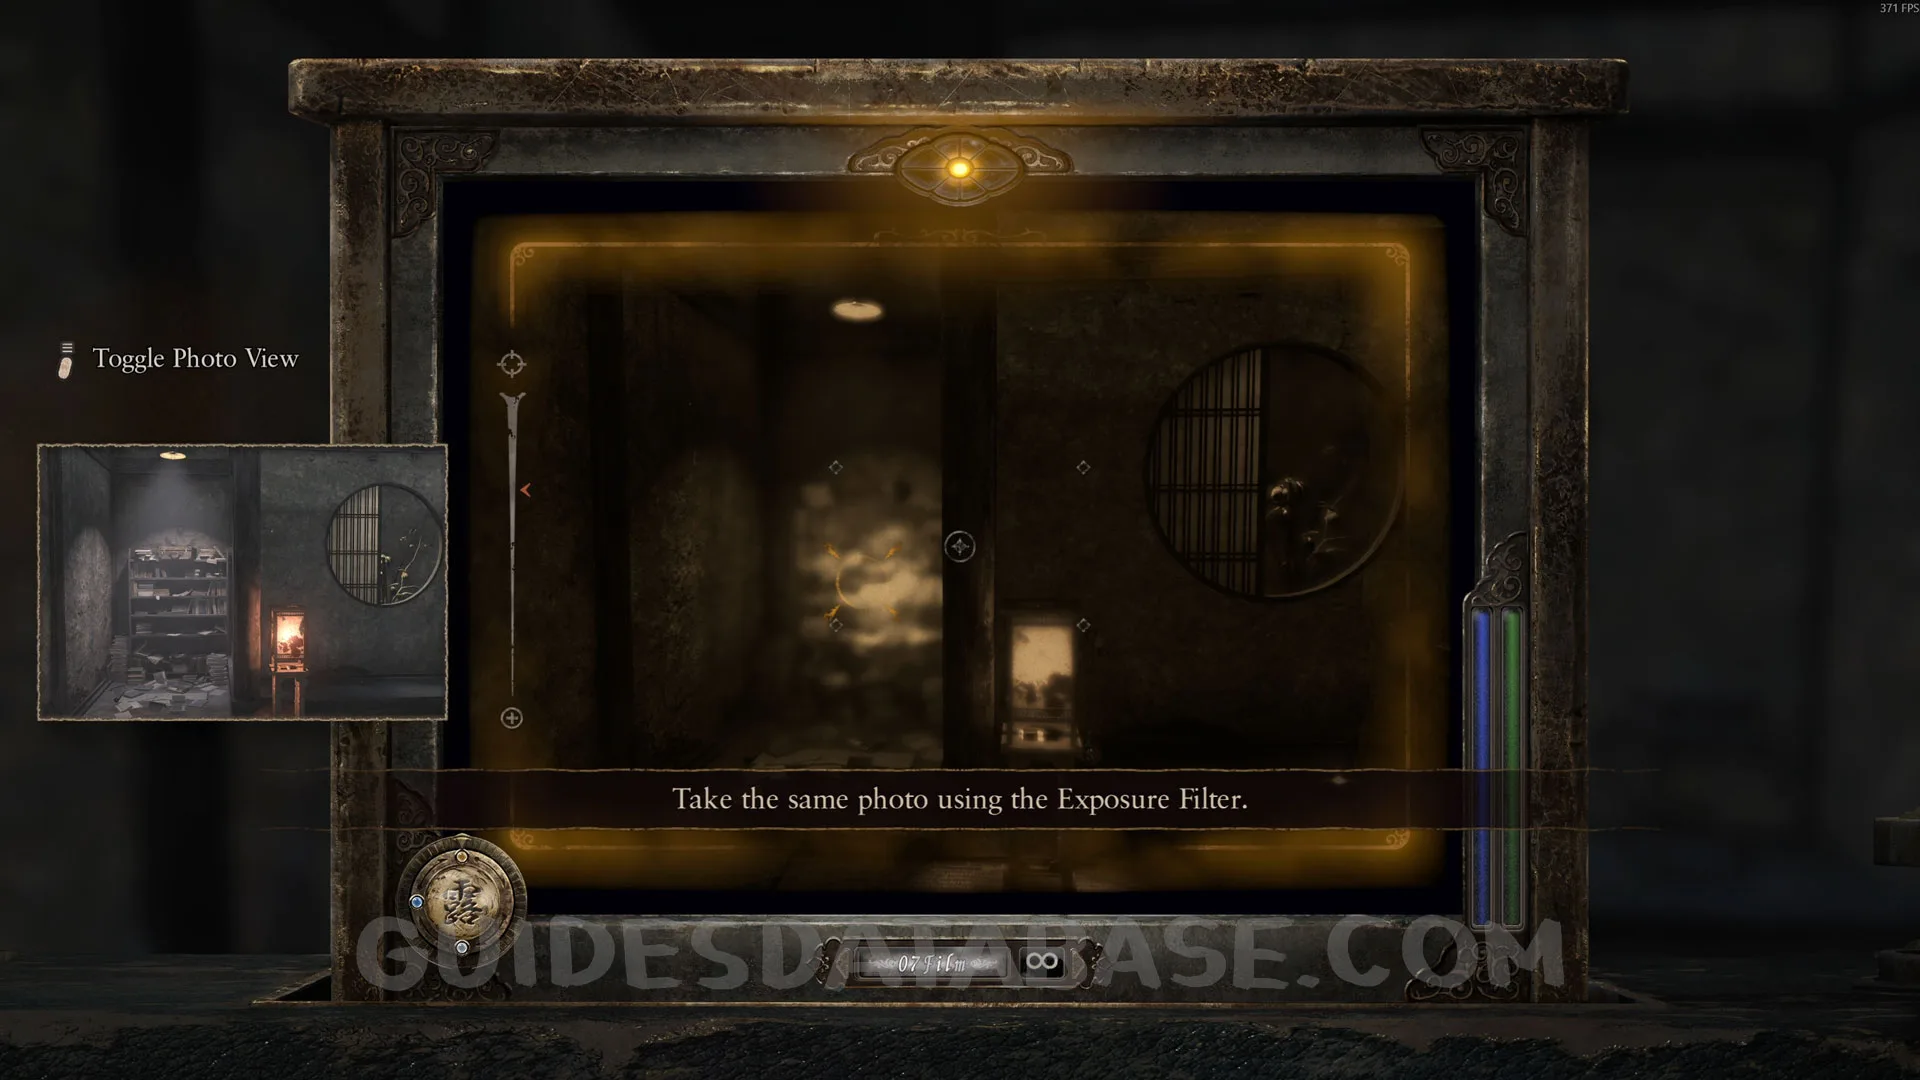 GUIDESDATABASE.COM
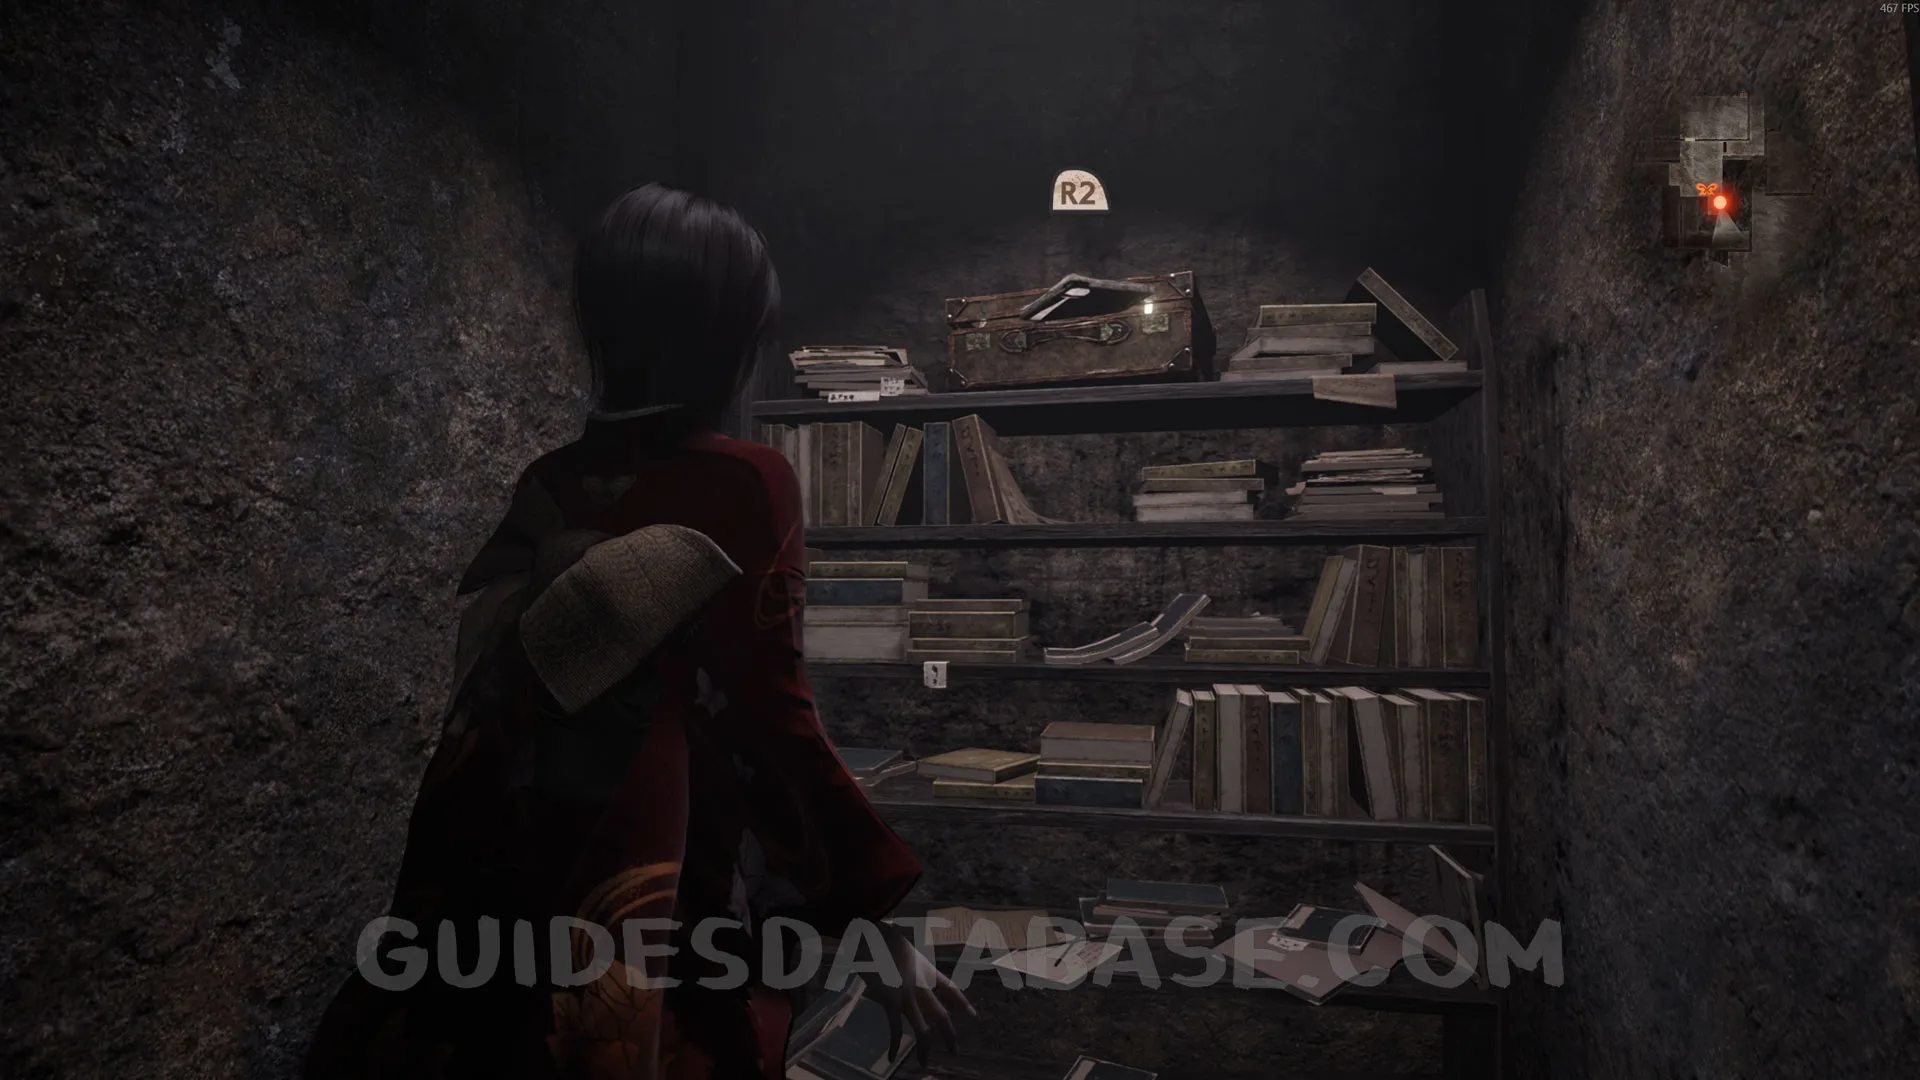 GUIDESDATABASE.COM
Specter #48 - 034 Man Entering Room.
Now leave through the Save Point door and head down the hallway. A specter will appear in front of you in the hallway and walk into the room. Take a photo of it before it goes inside.
 GUIDESDATABASE.COM
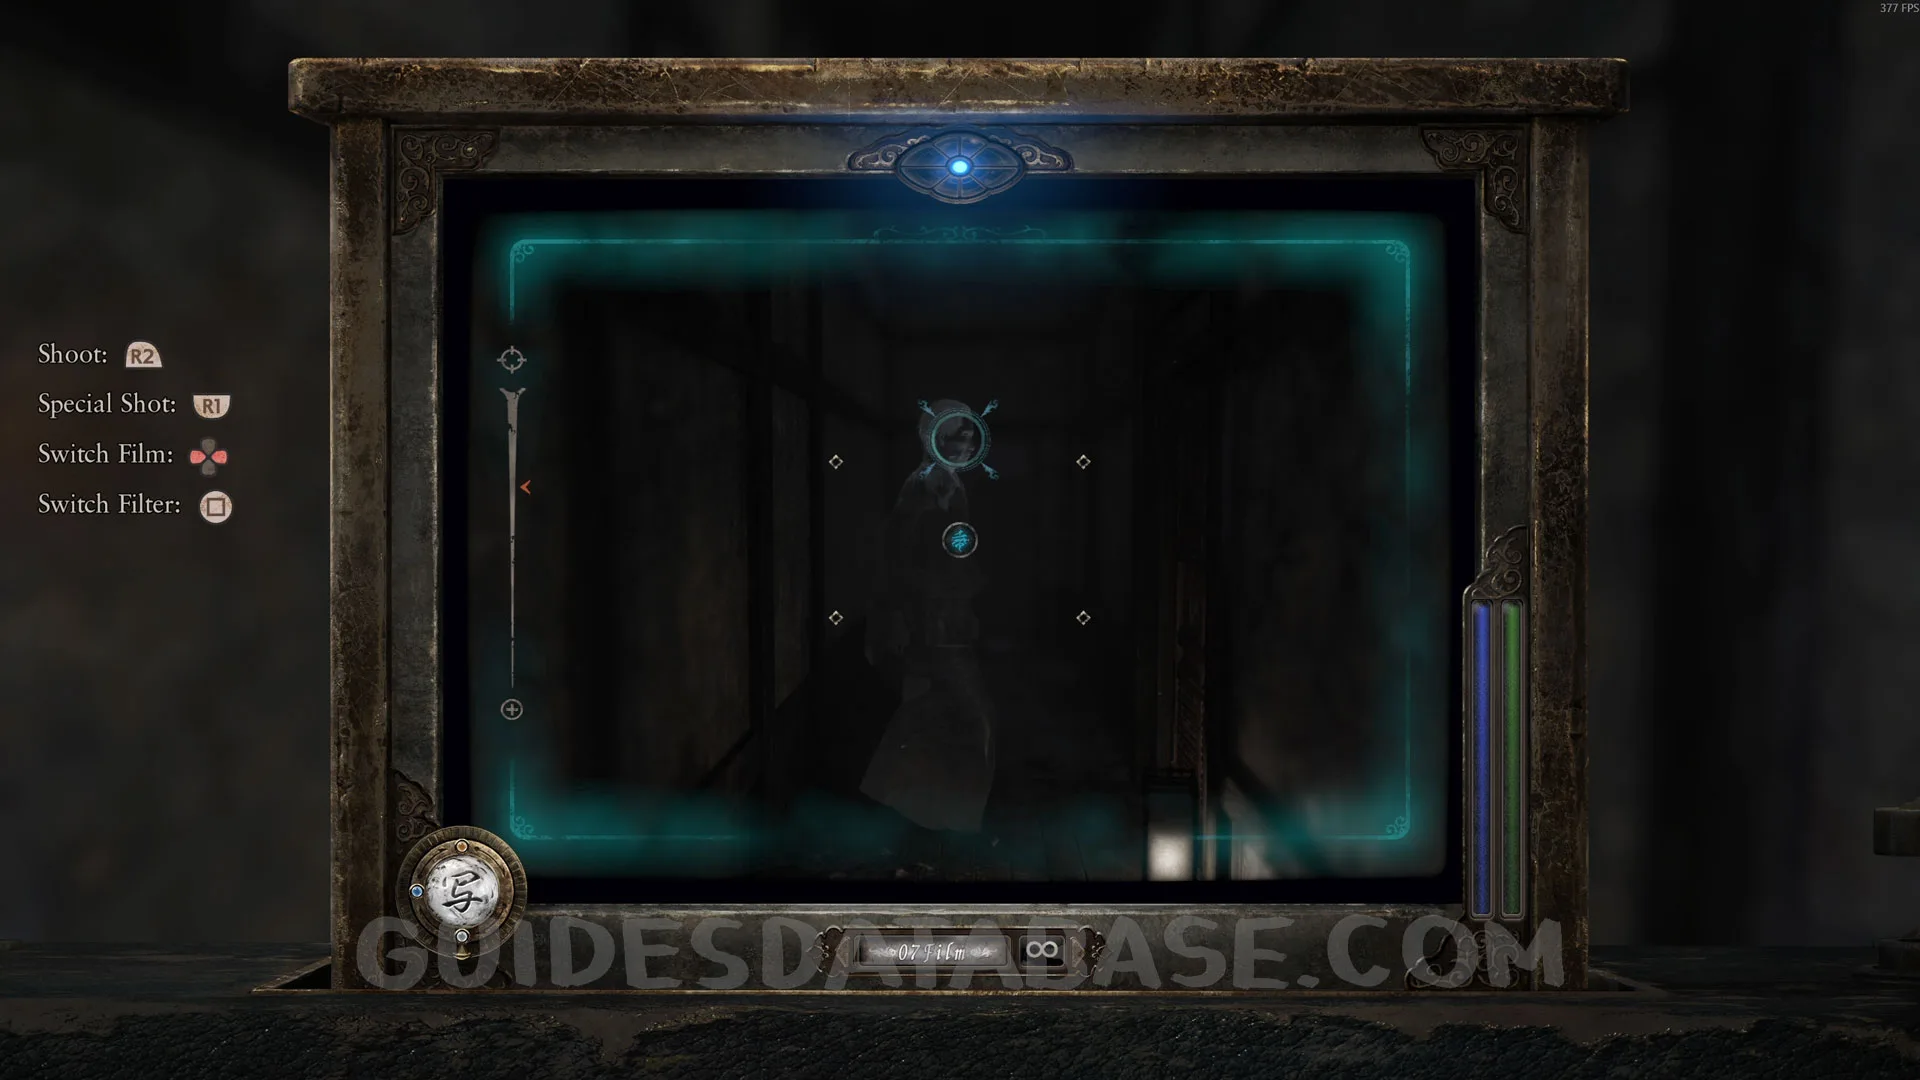 GUIDESDATABASE.COM
Specter #49 - 035 Whispering Man.
Go into the room the specter entered and take another photo of it.
 GUIDESDATABASE.COM
 GUIDESDATABASE.COM
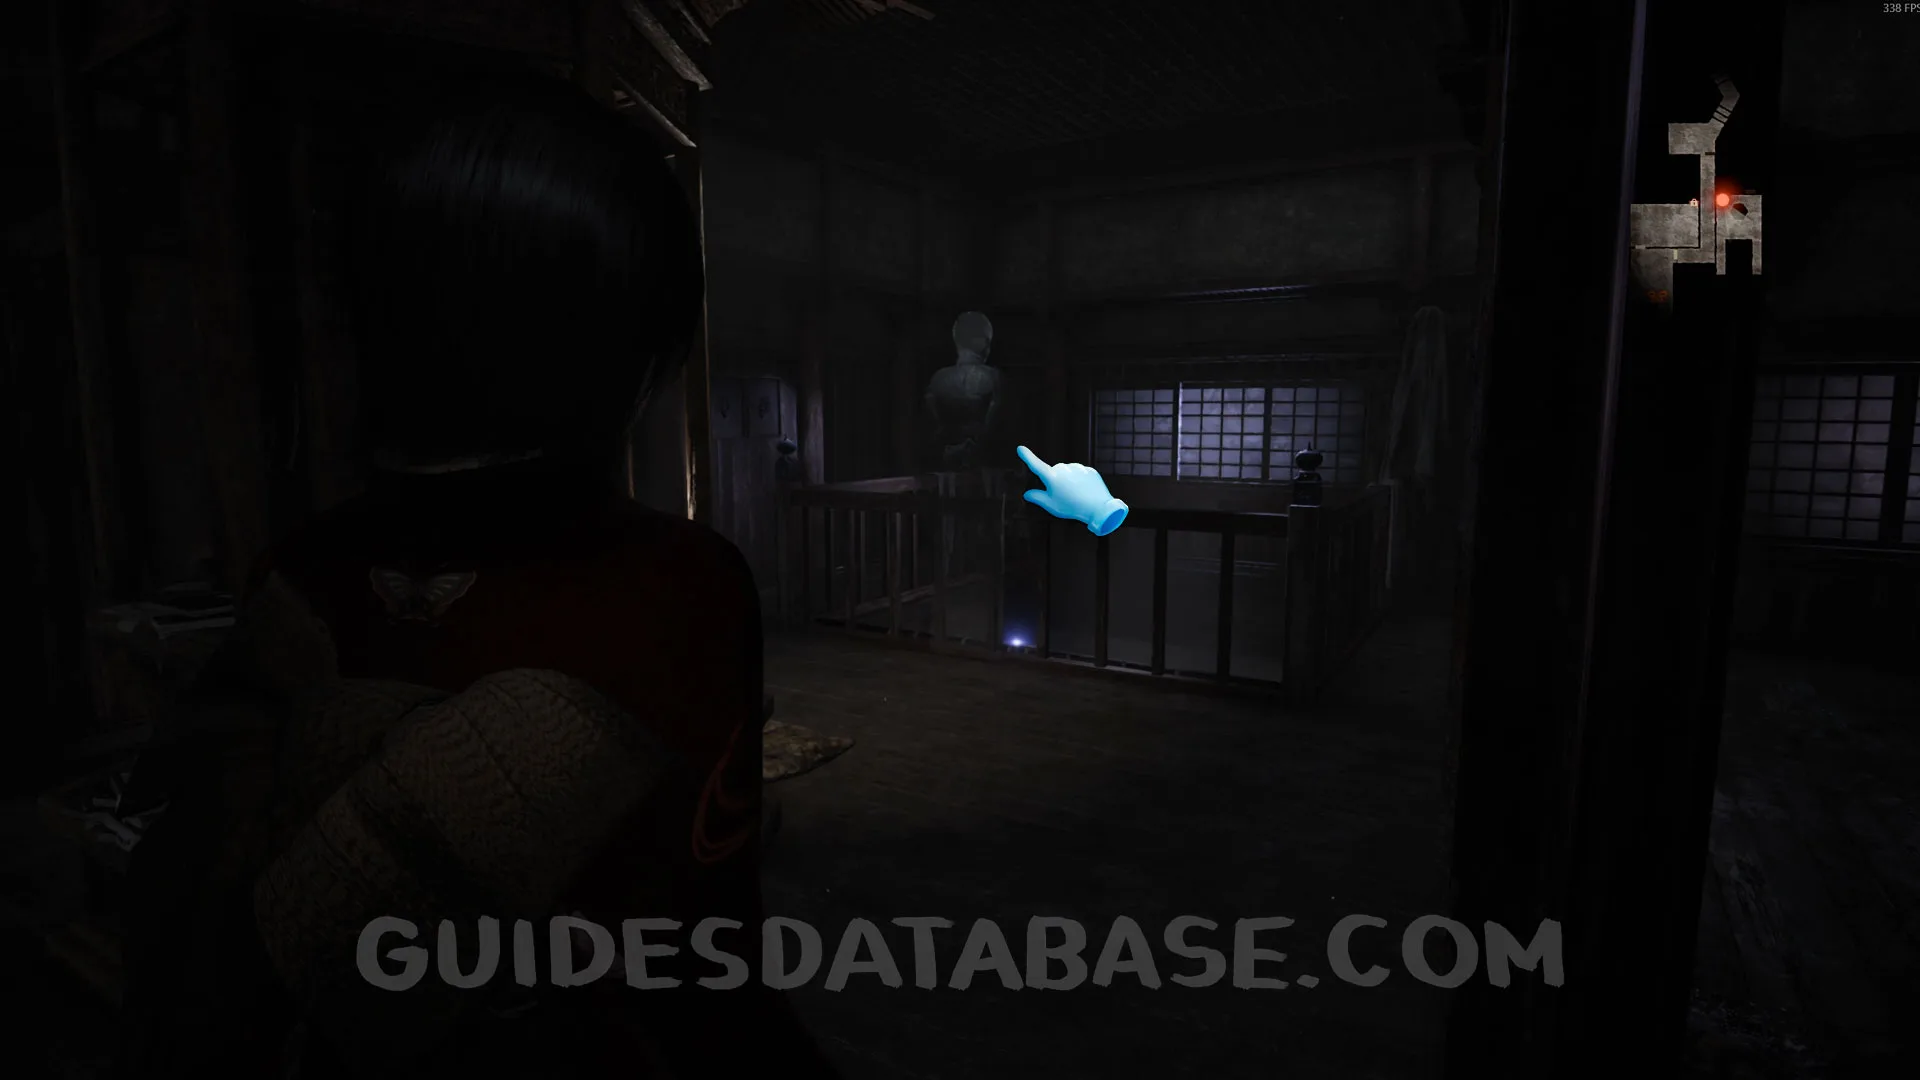
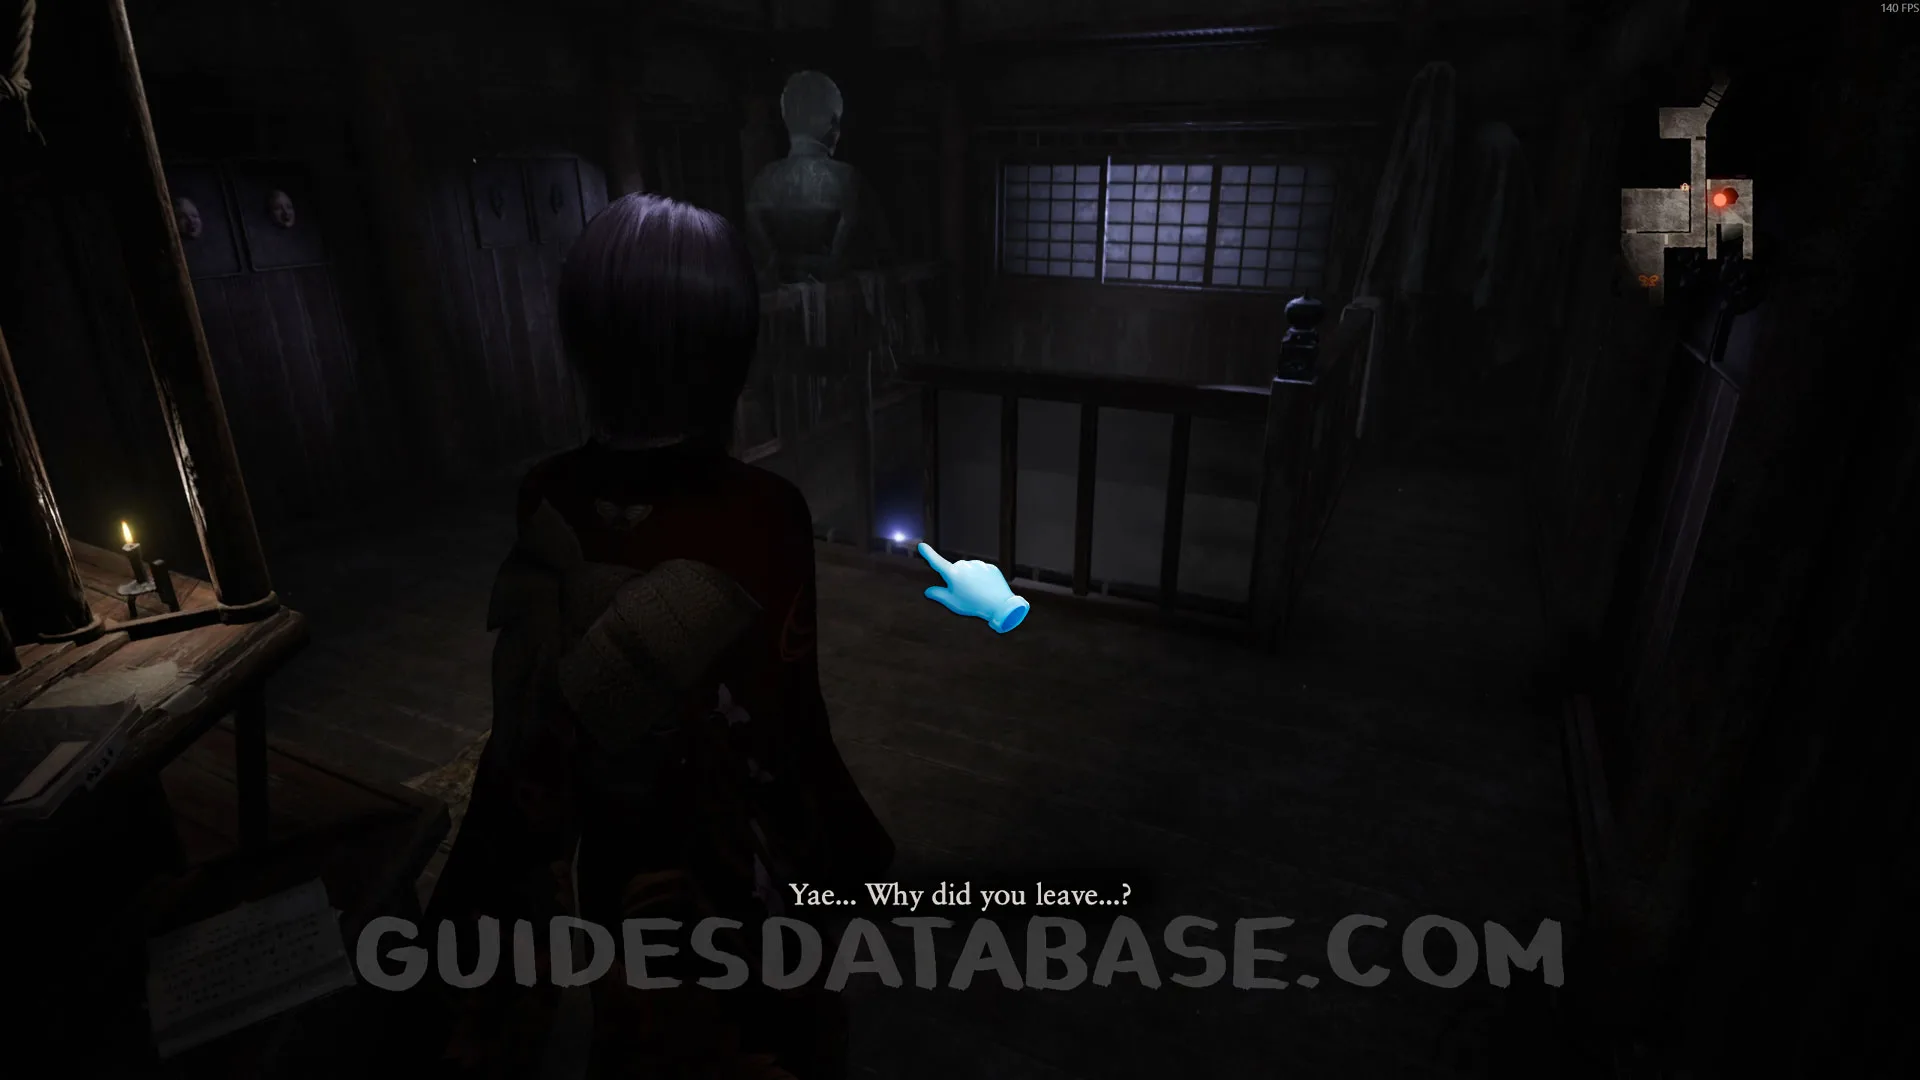
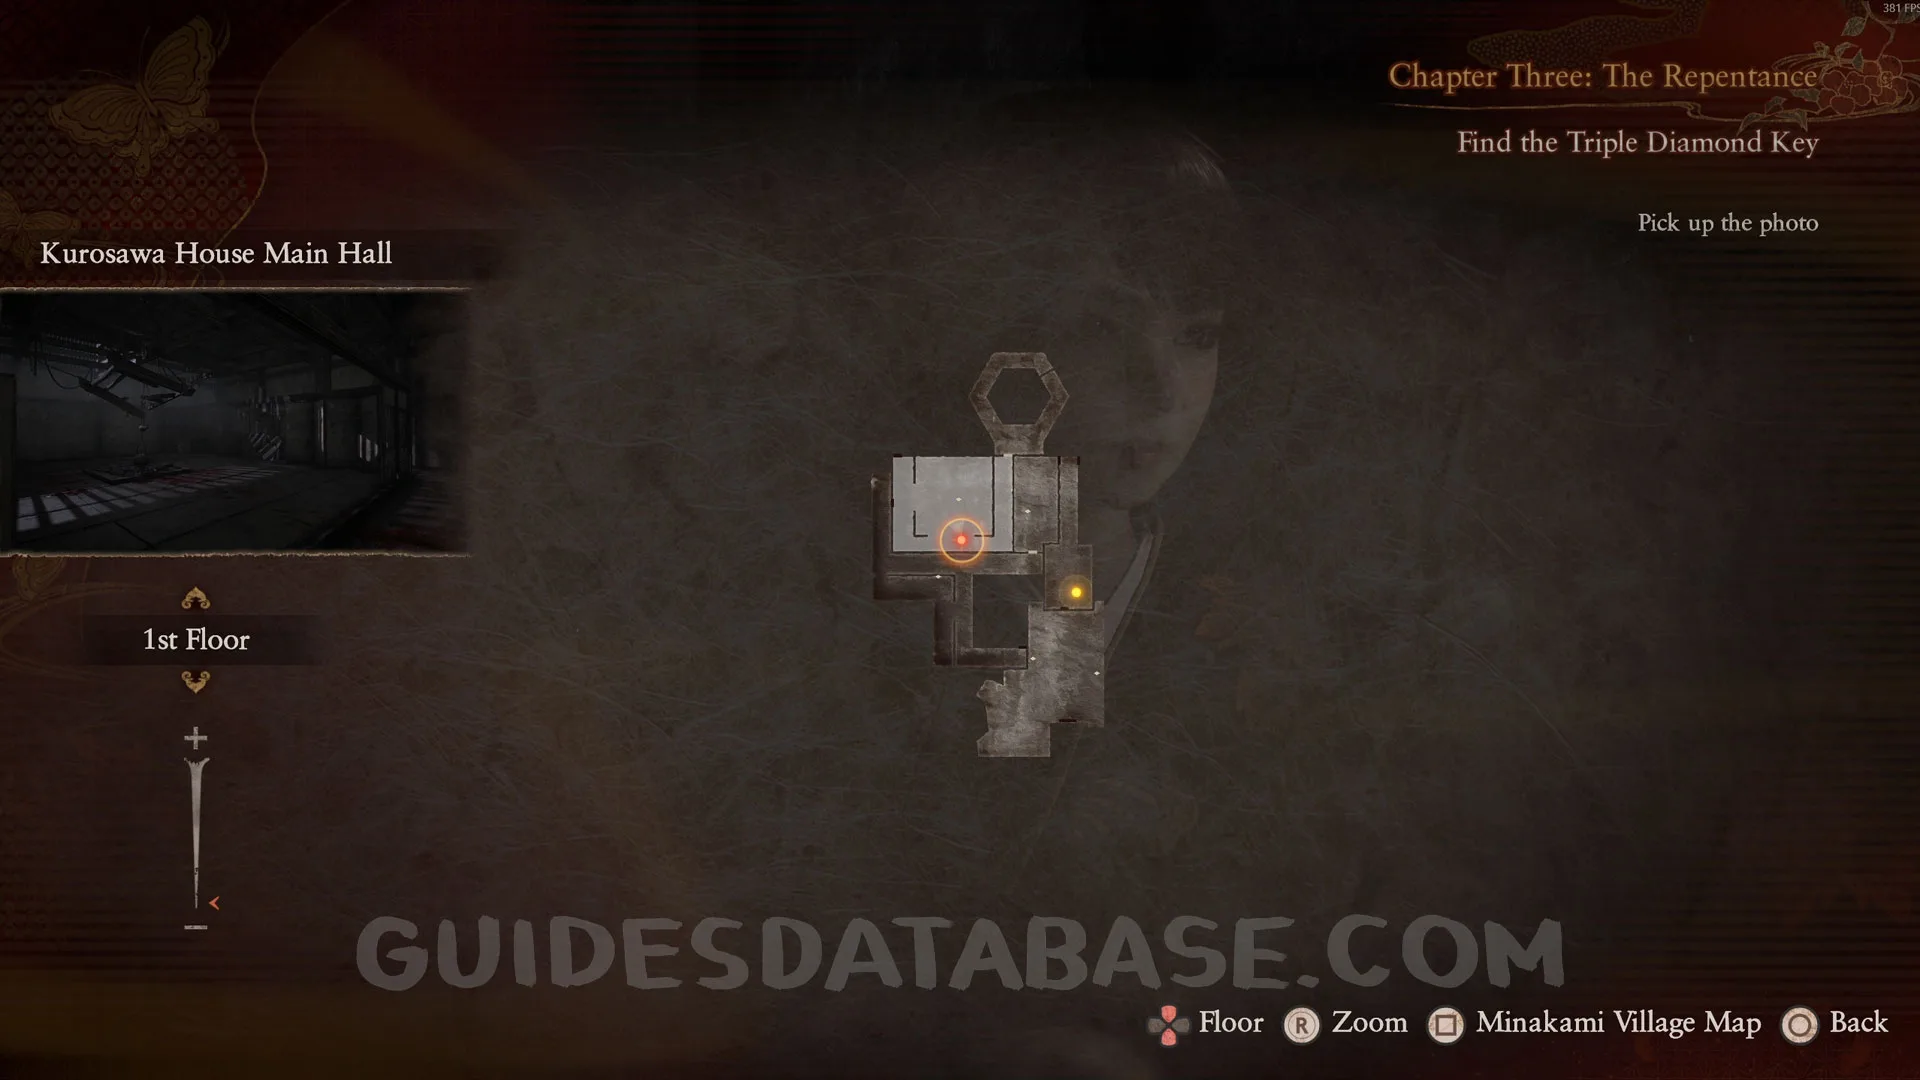
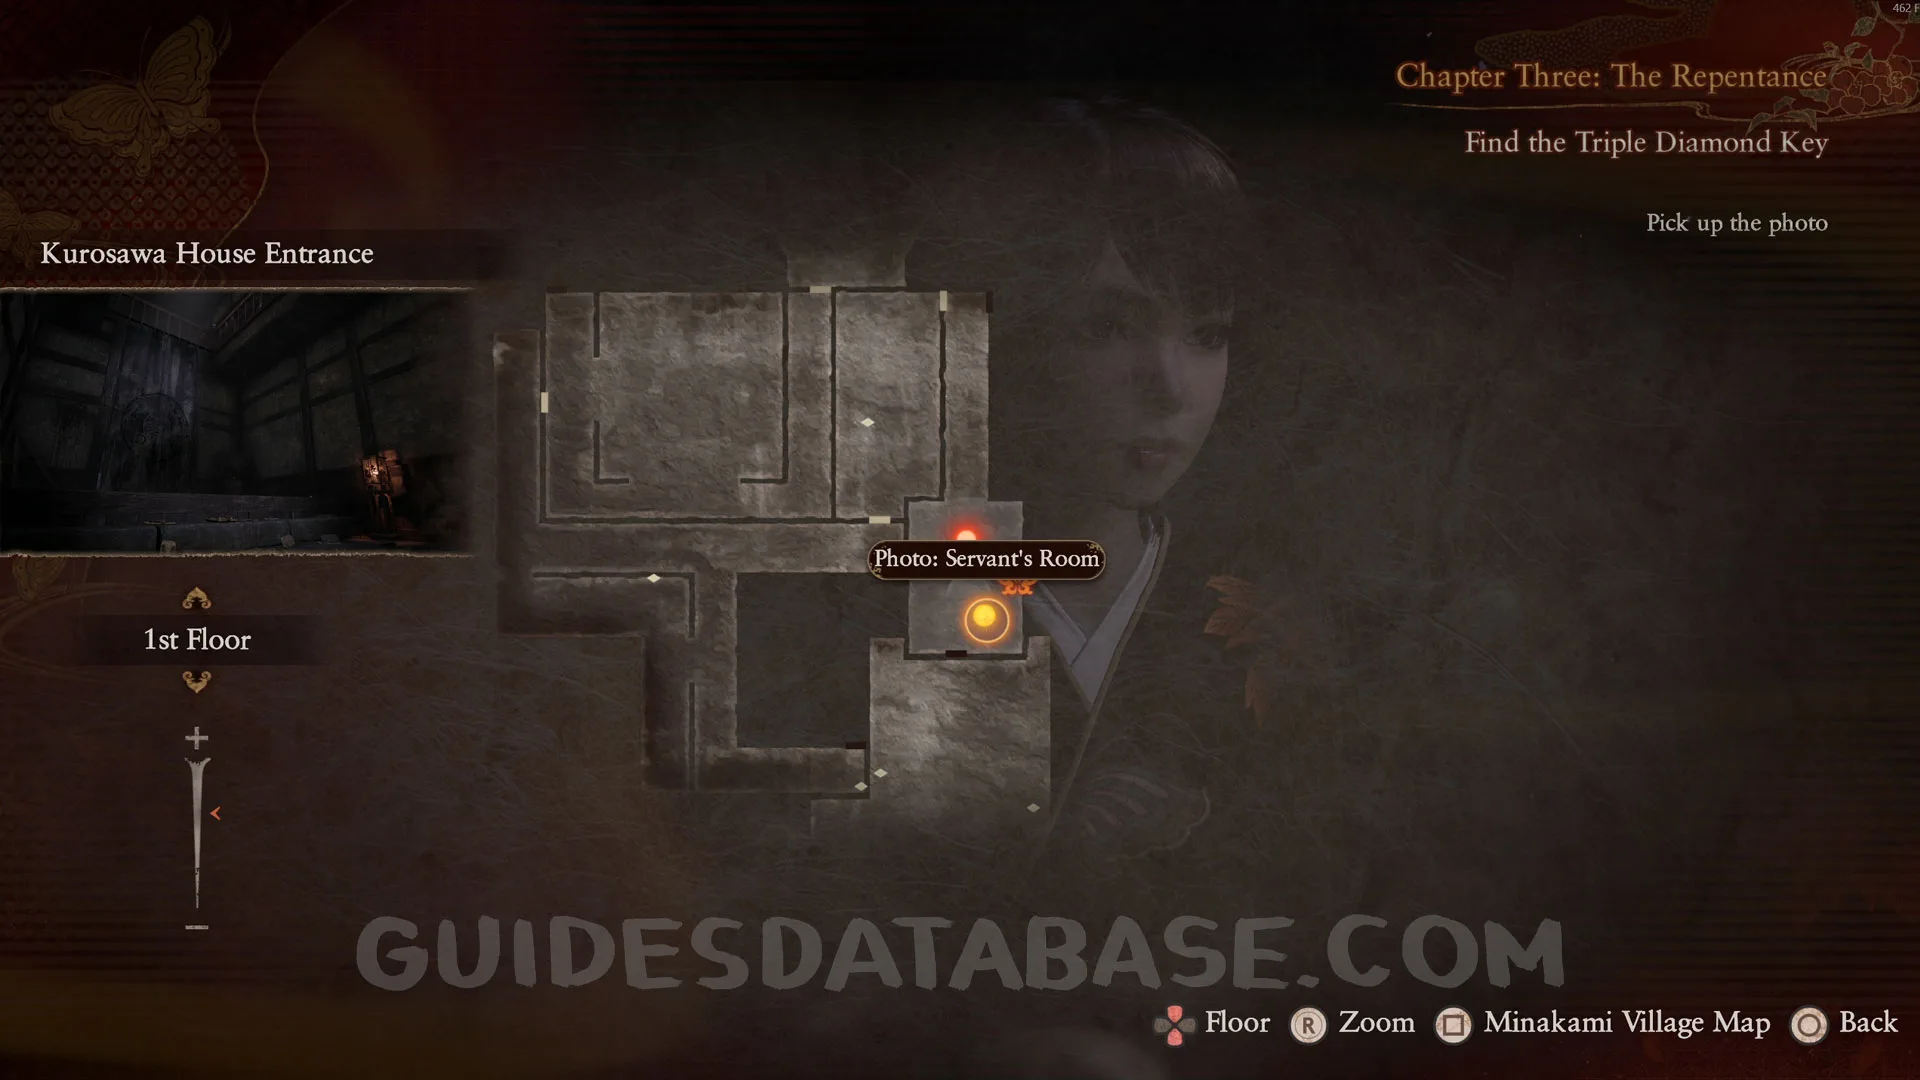
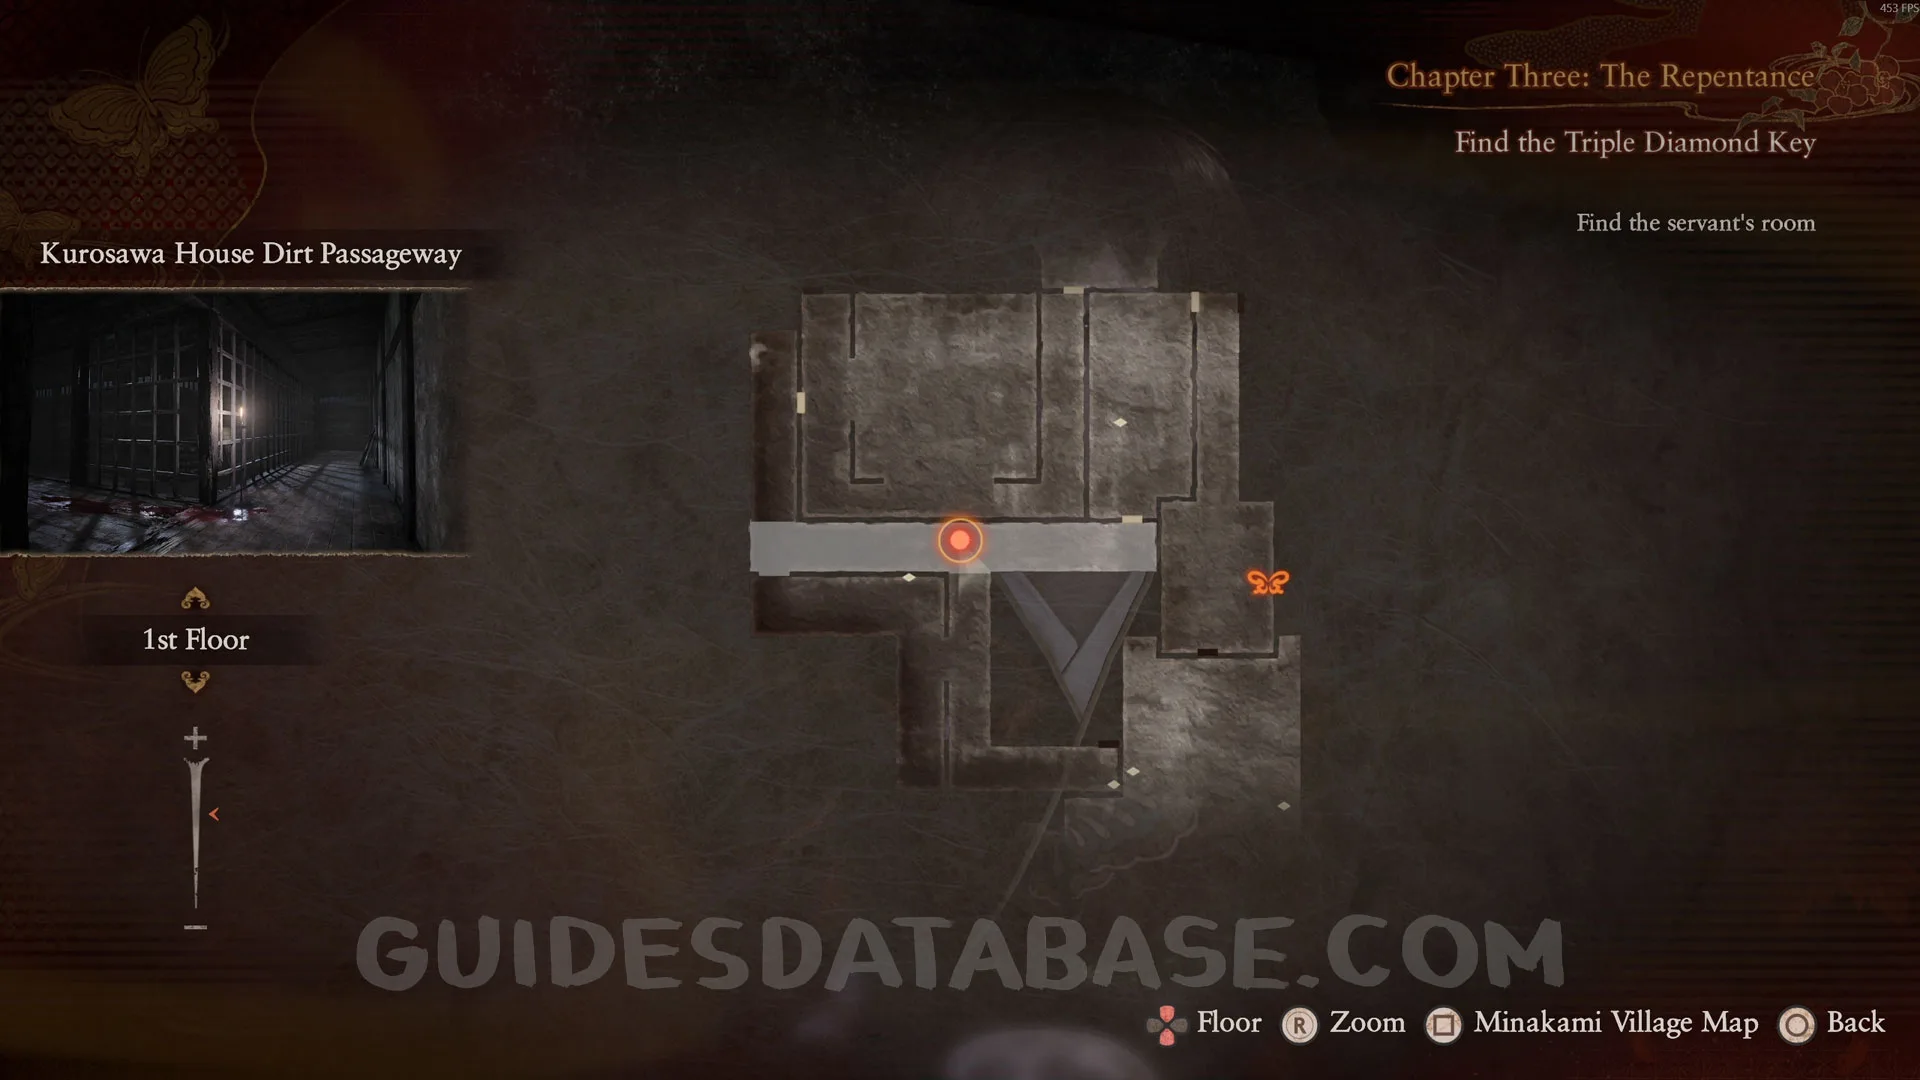
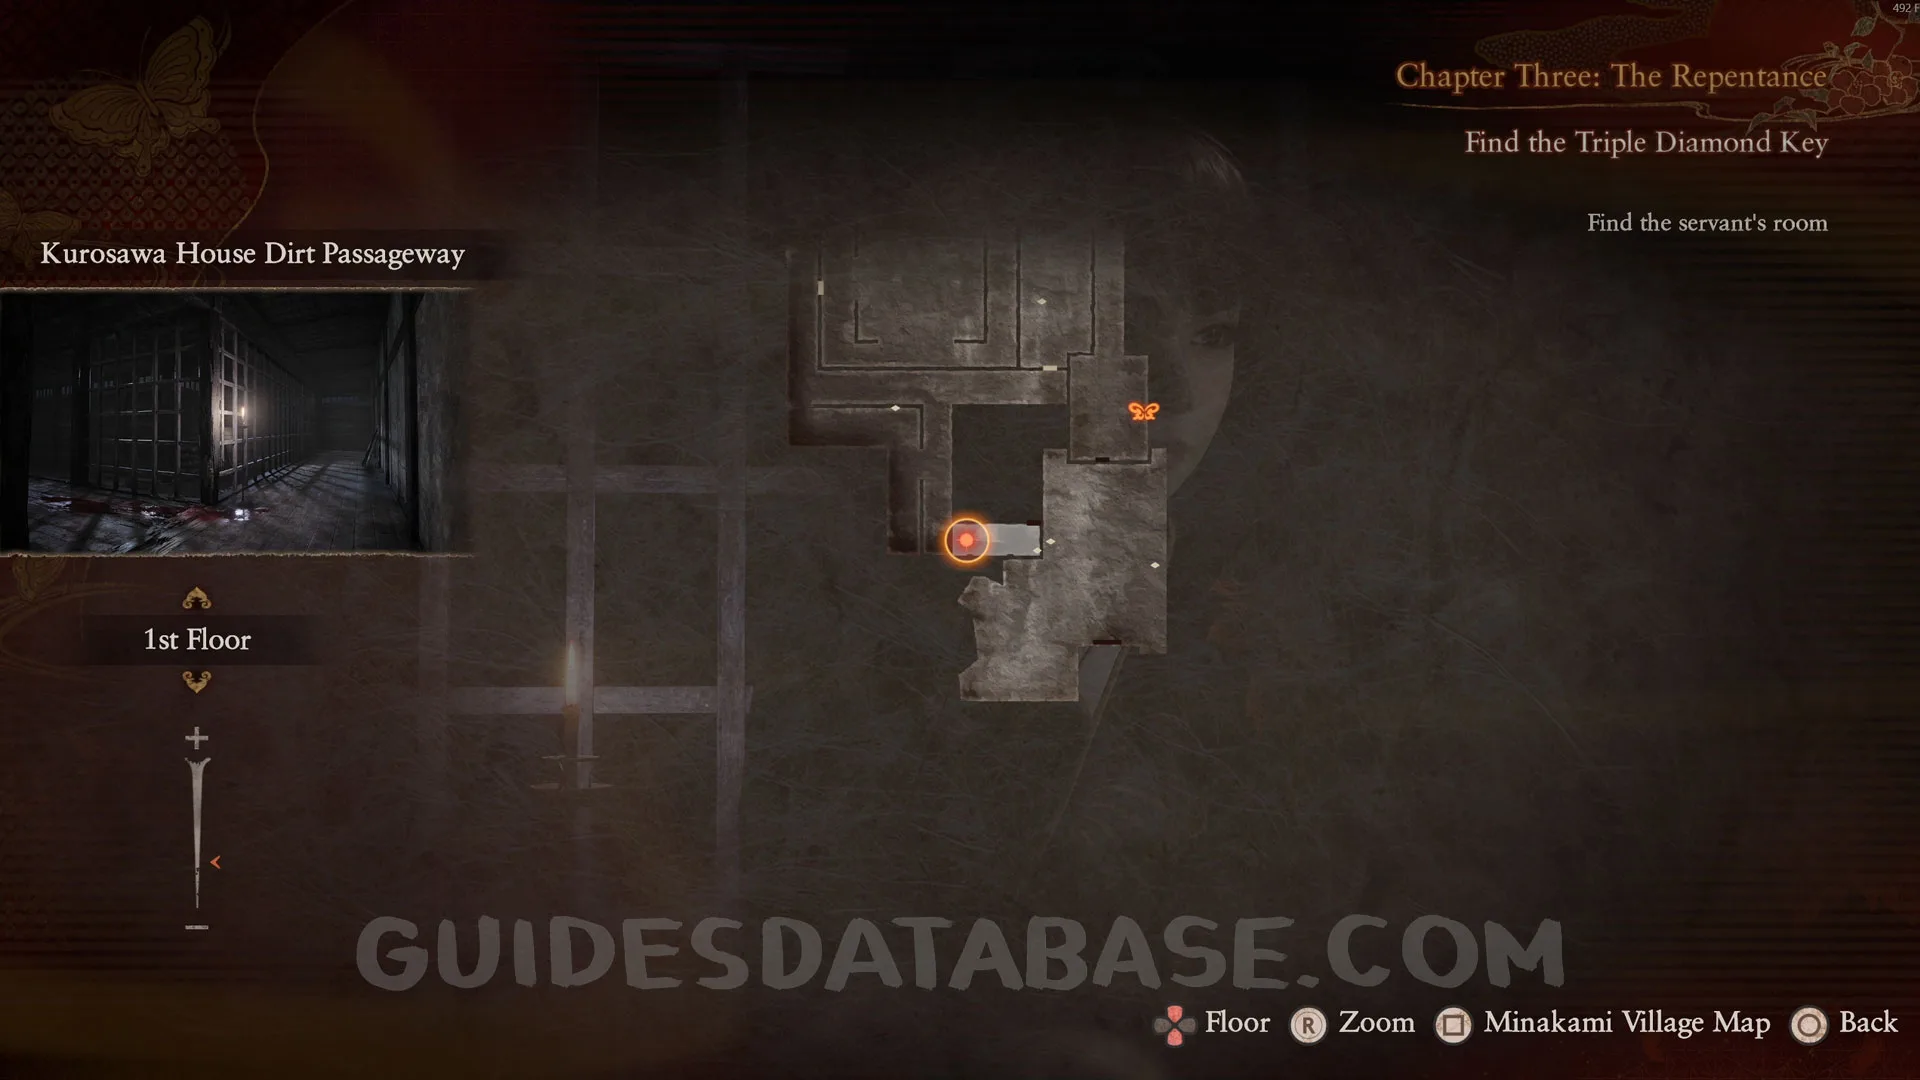
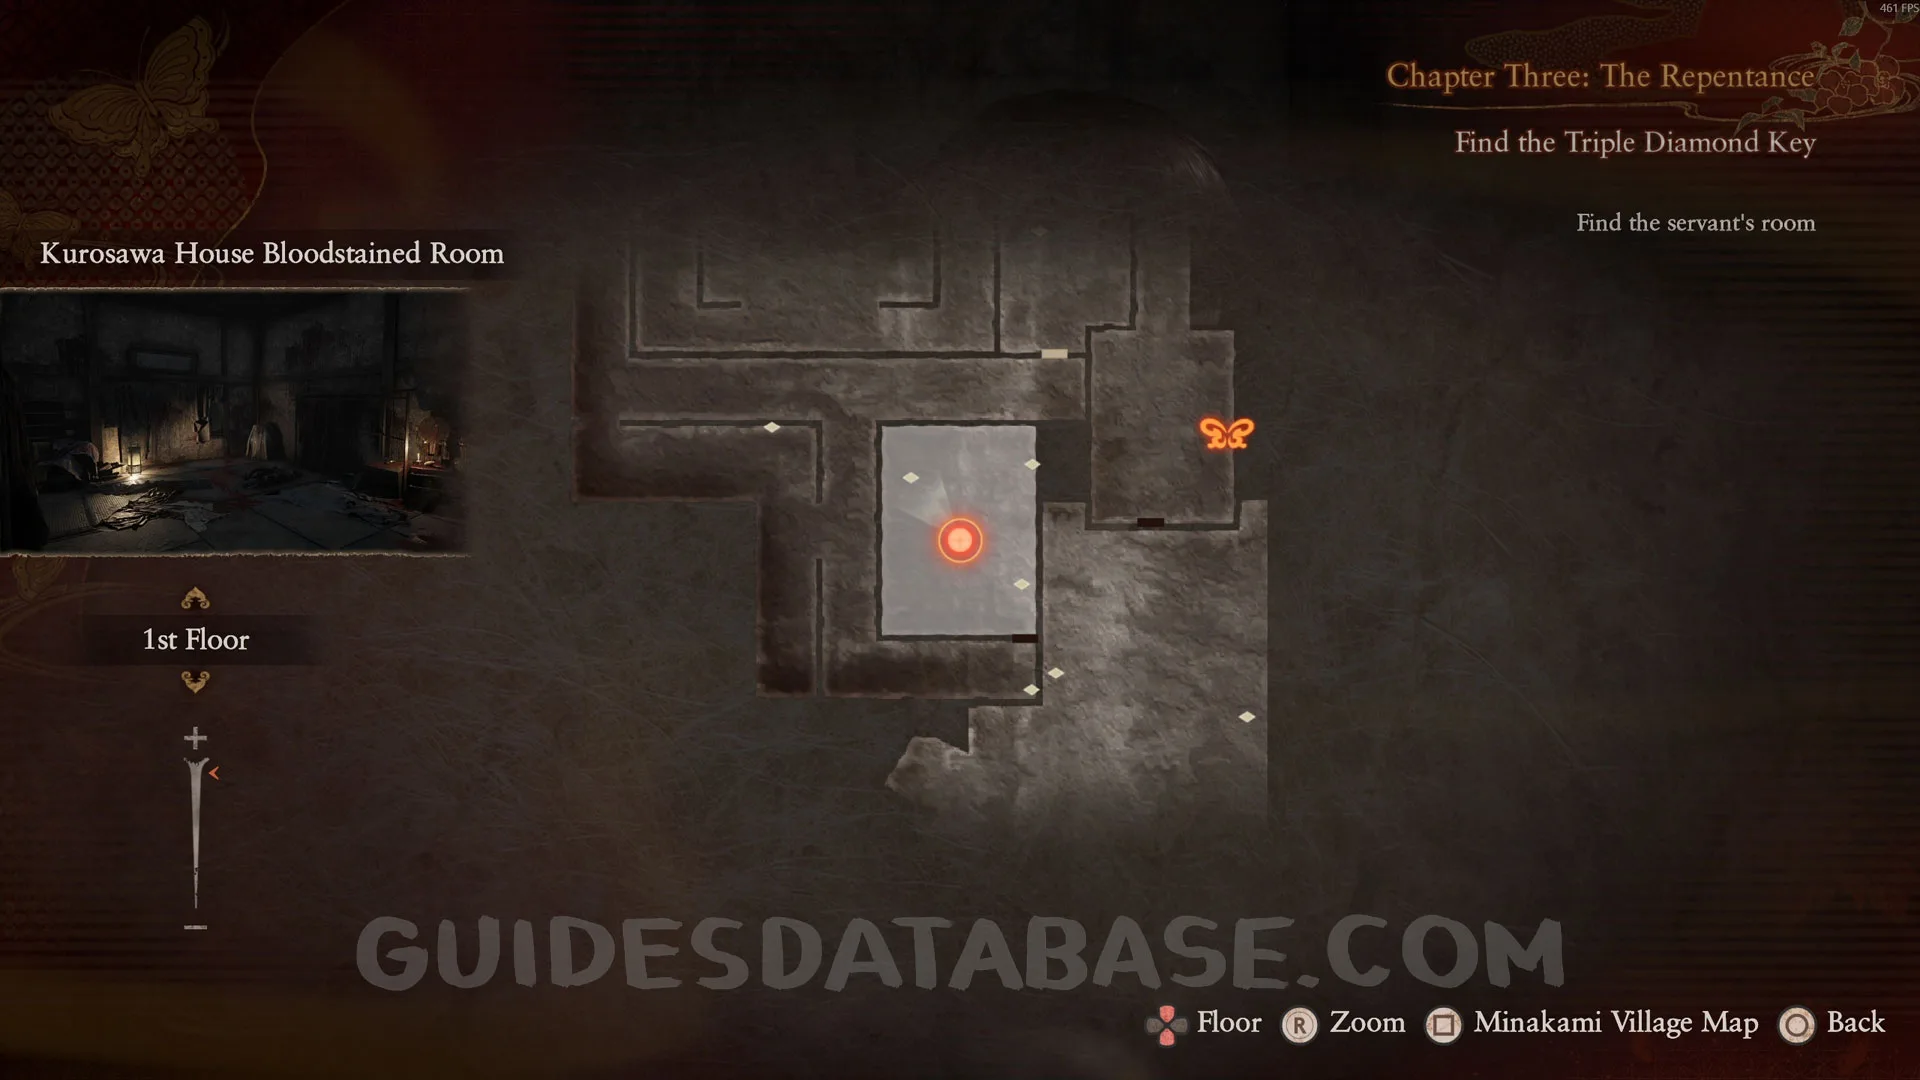
Document #29 - Triple Diamond Key Record.
In the same spot as before, on the floor in front of the specter.
 GUIDESDATABASE.COM
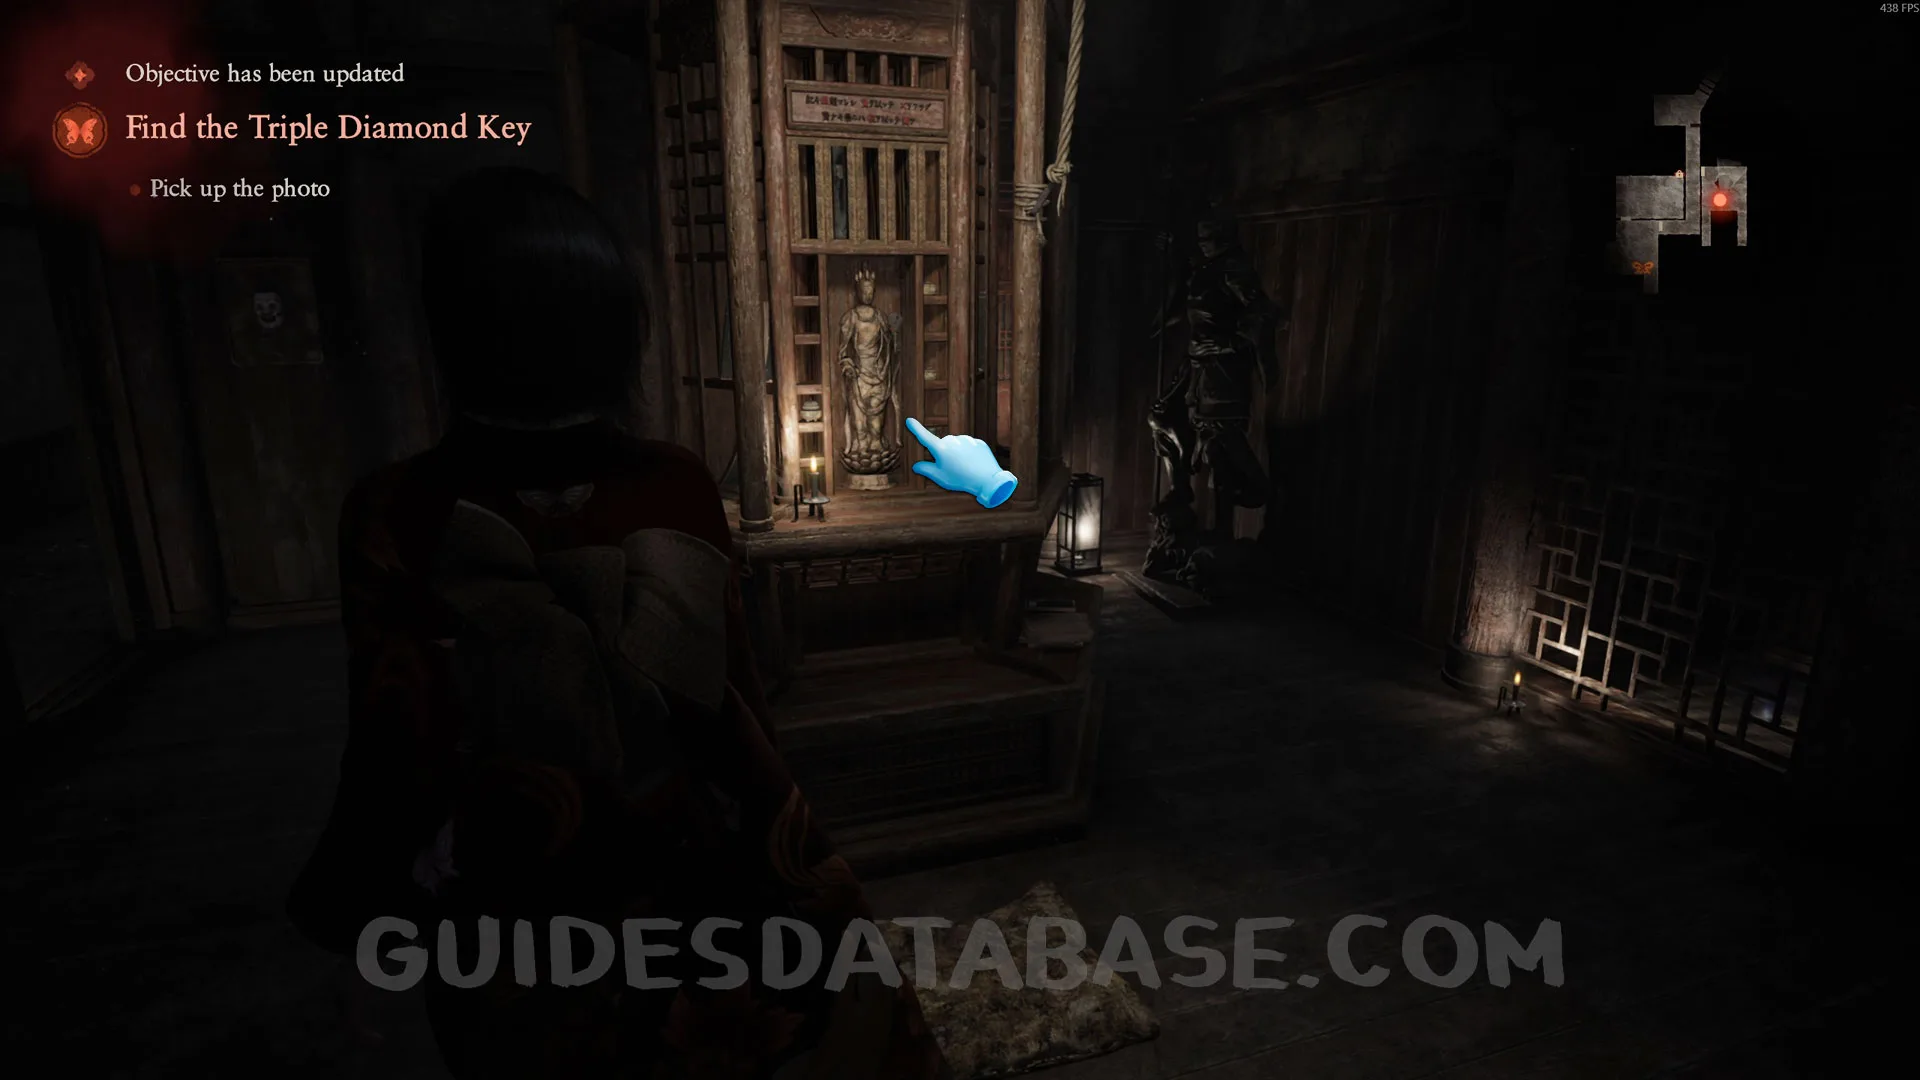
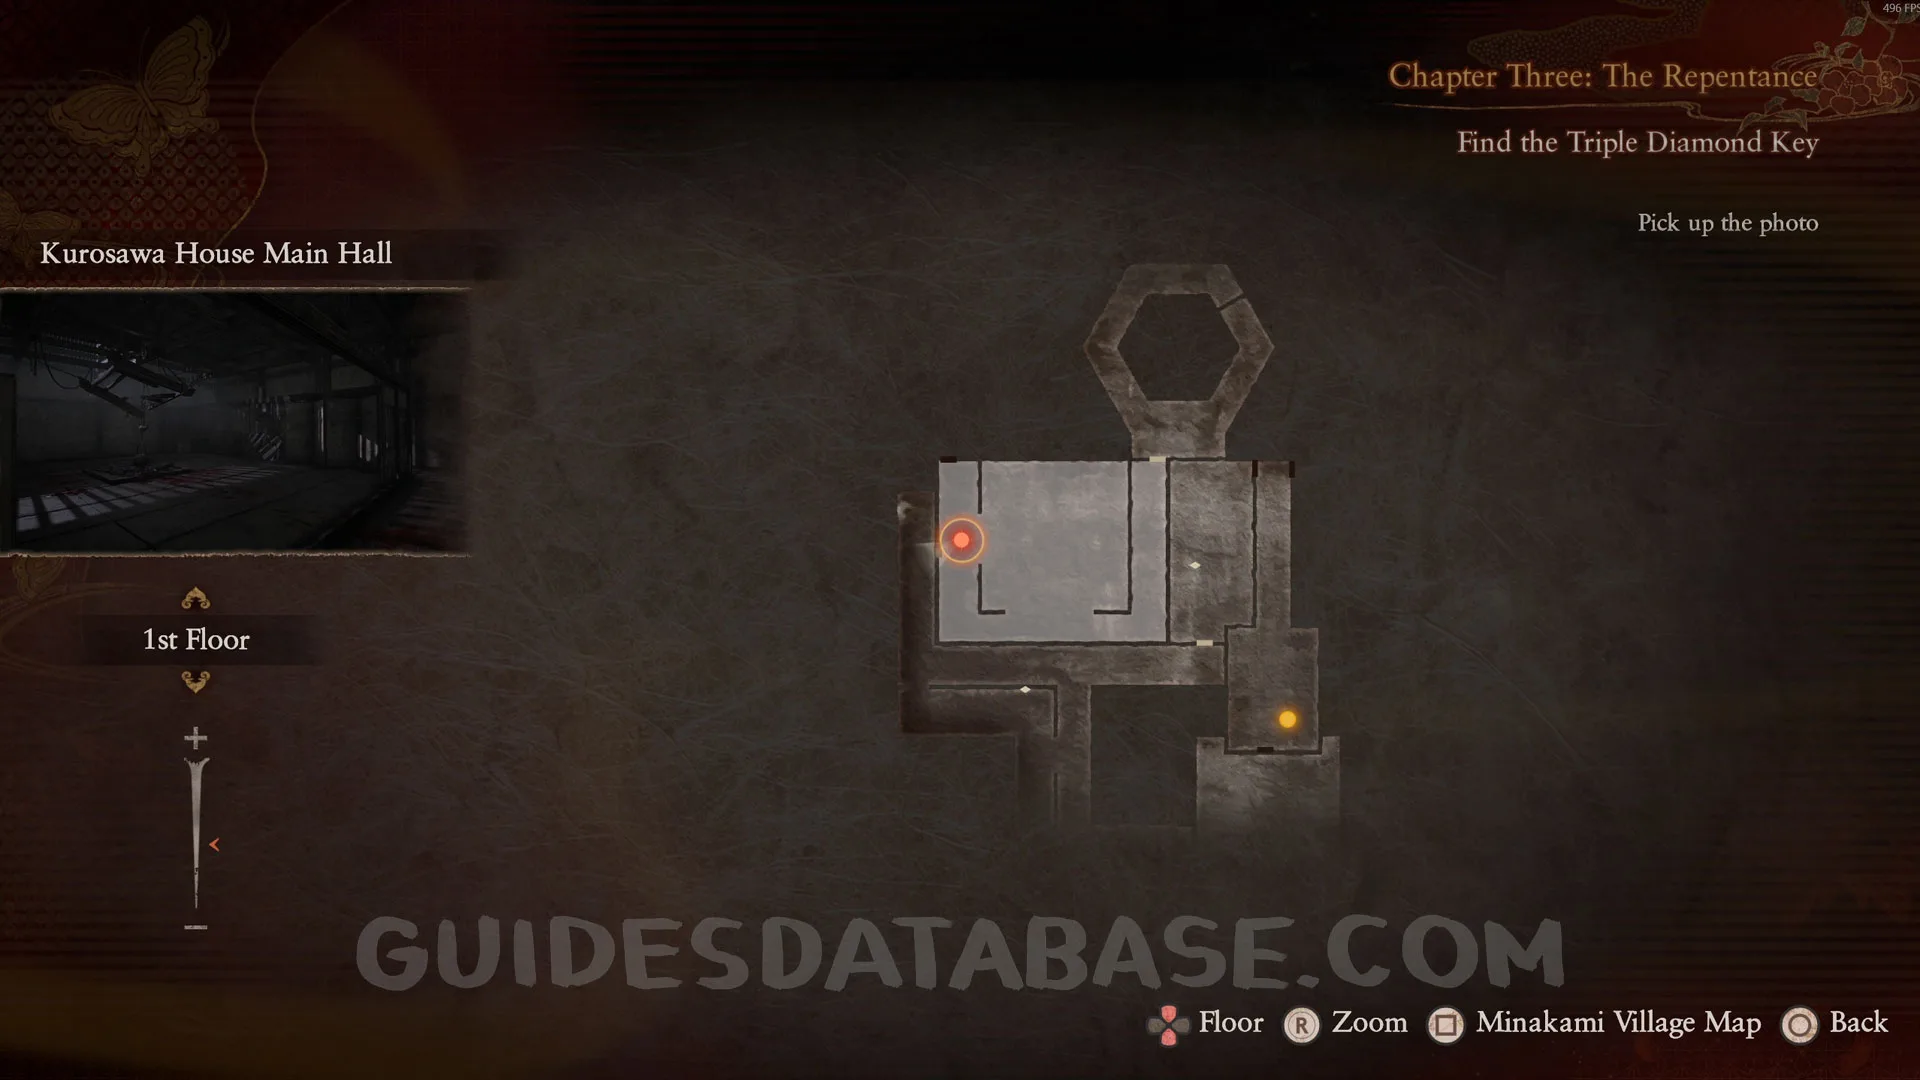
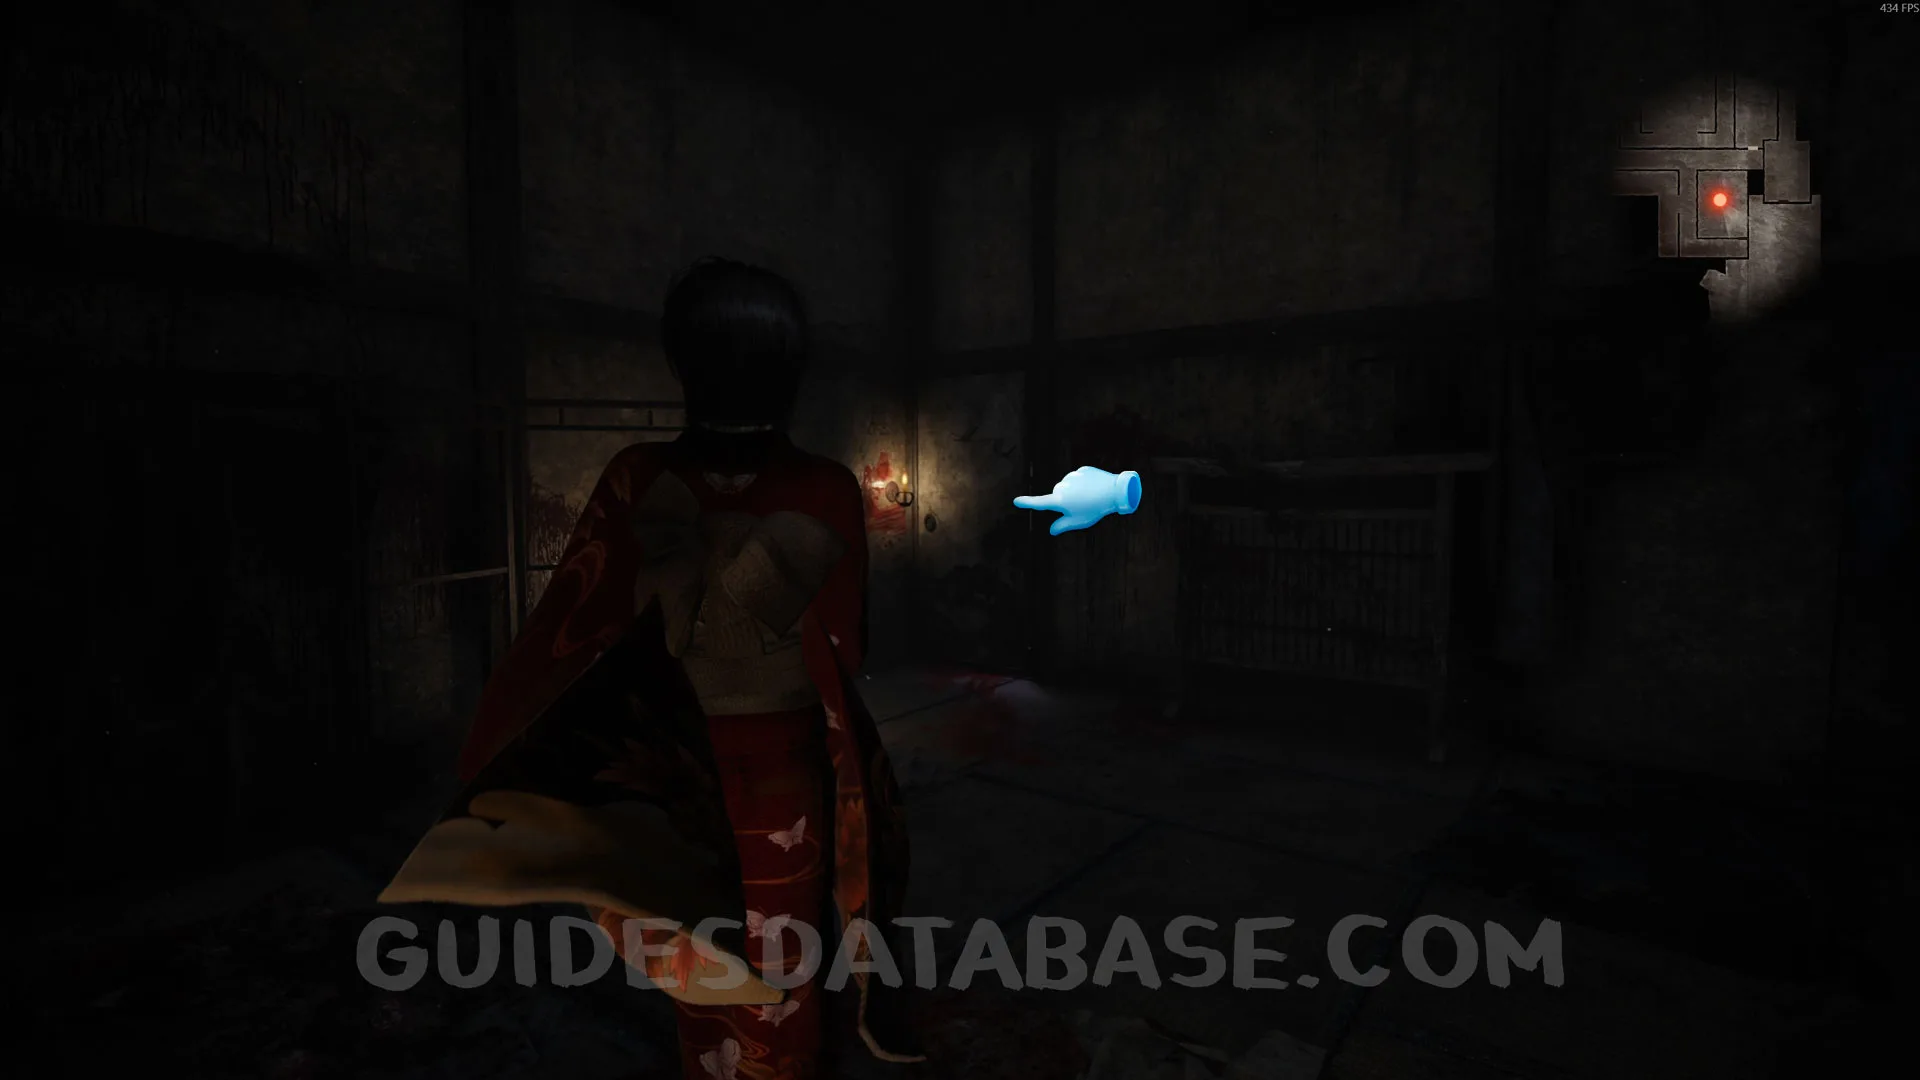
Document #30 - Taboo Tome.
In the same spot as the previous collectible, turn around and examine the shrine in the center to get this document.
 GUIDESDATABASE.COM
Document #31 - Folklorist's Note 4.
Go down to the Main Hall, the area where Kusabi first appeared, and there will be a document there.
 GUIDESDATABASE.COM
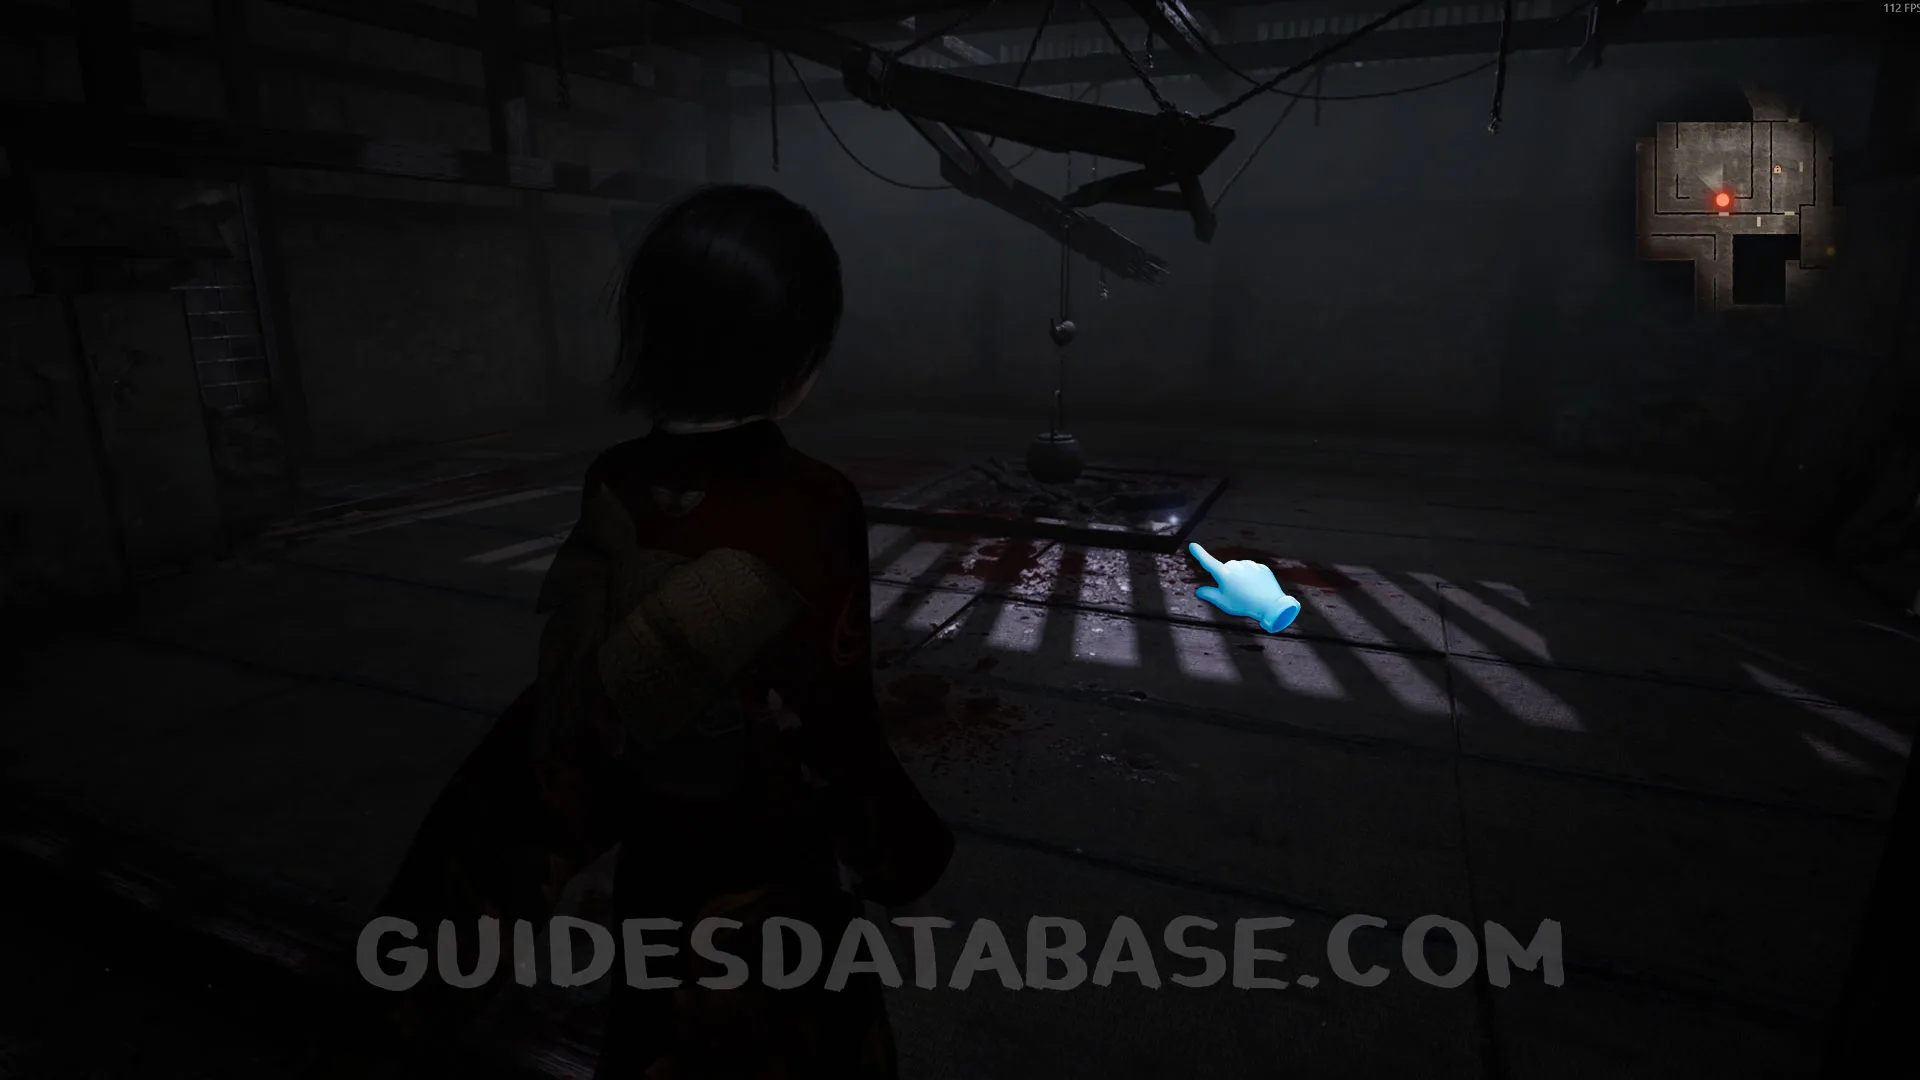 GUIDESDATABASE.COM
Specter #50 - 036 Feeling Villager.
From the previous collectible, go through the door into the next hallway. As soon as you walk through the door, a specter will appear right in front of you. Take a photo of it.
 GUIDESDATABASE.COM
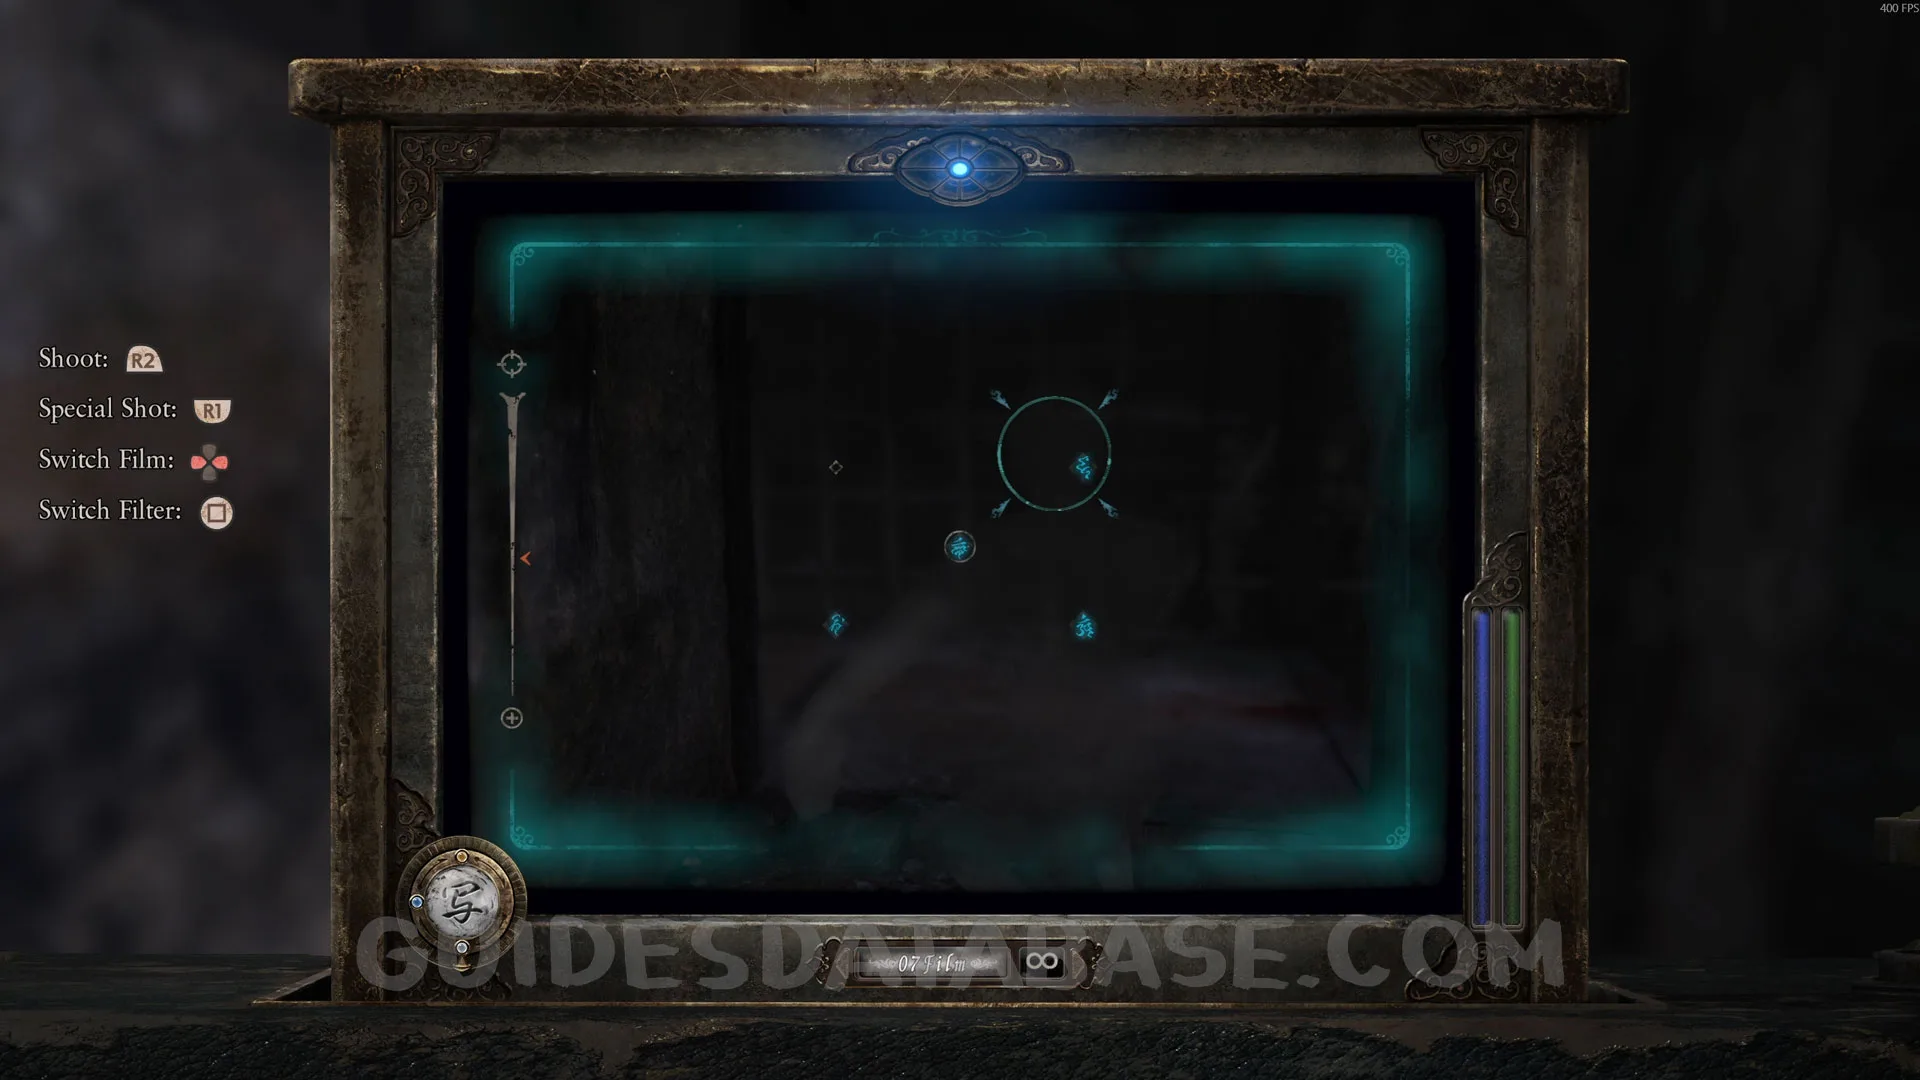 GUIDESDATABASE.COM
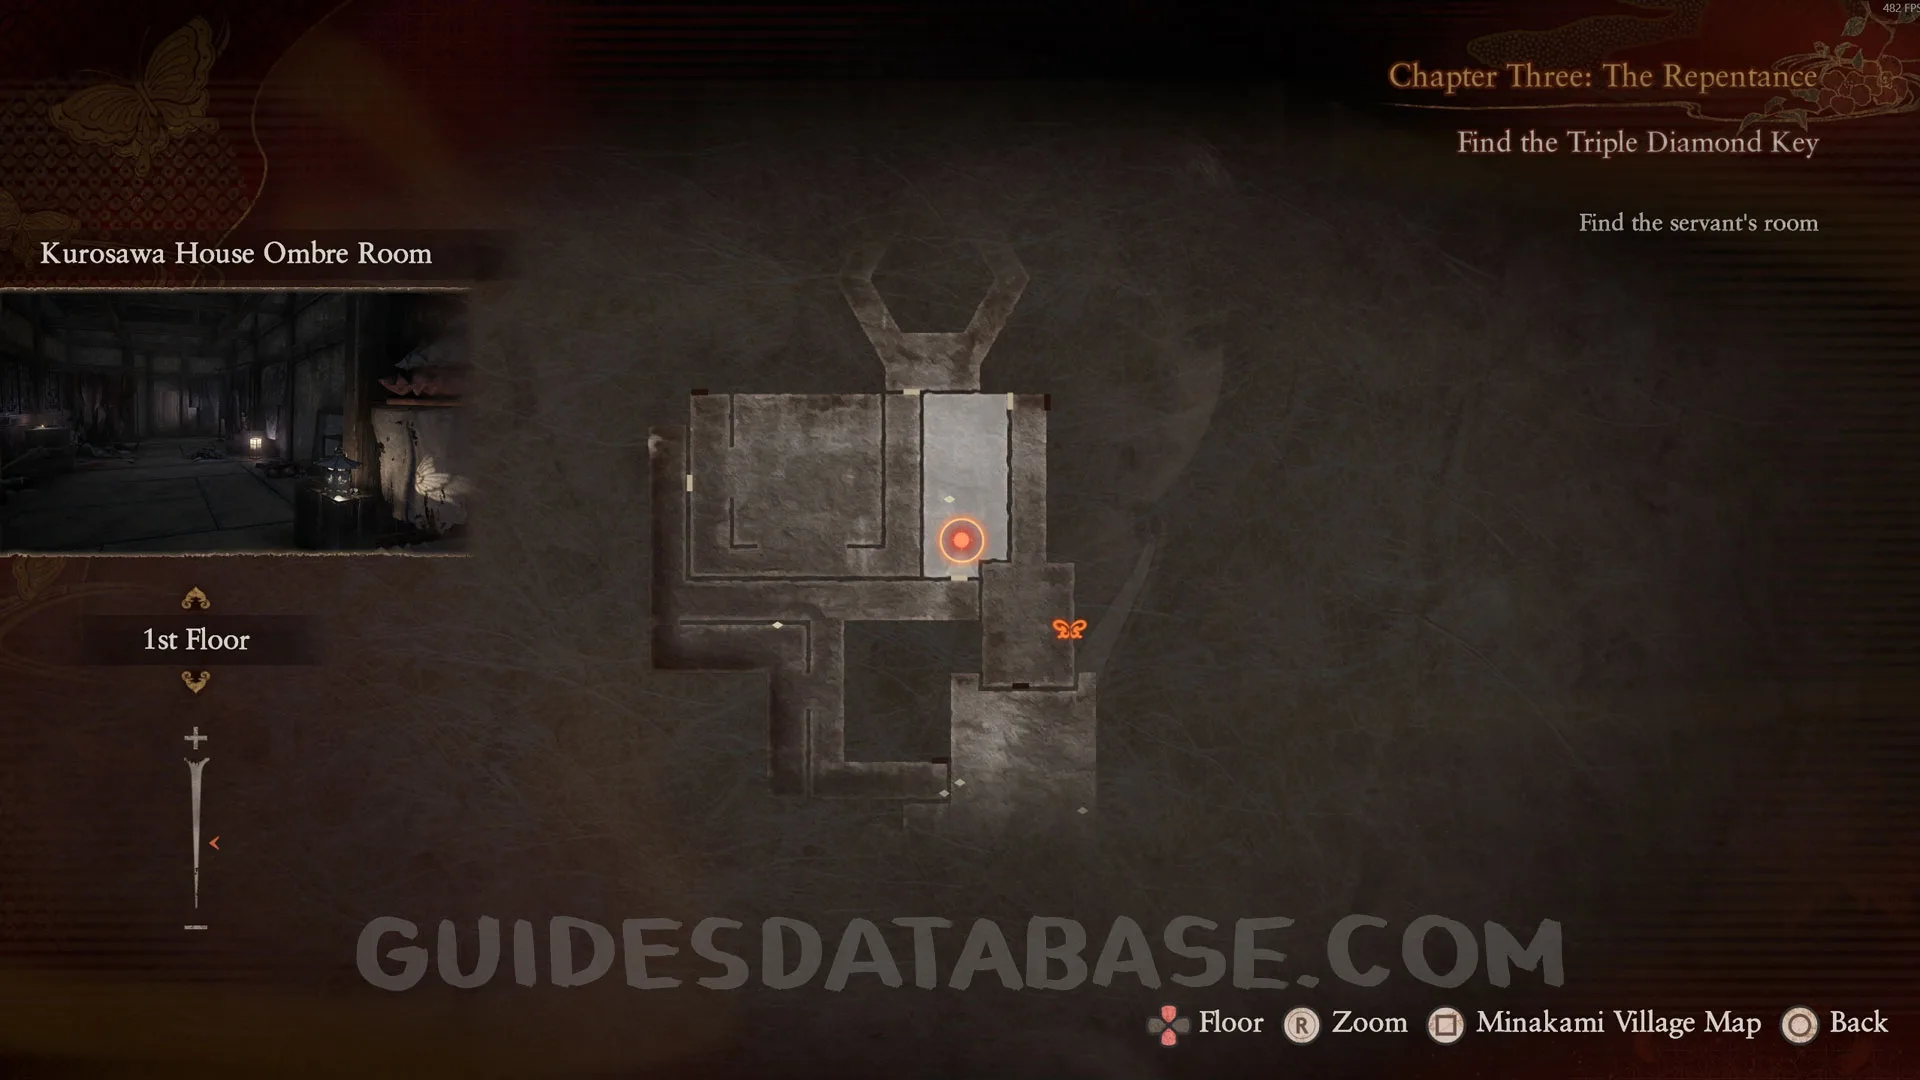
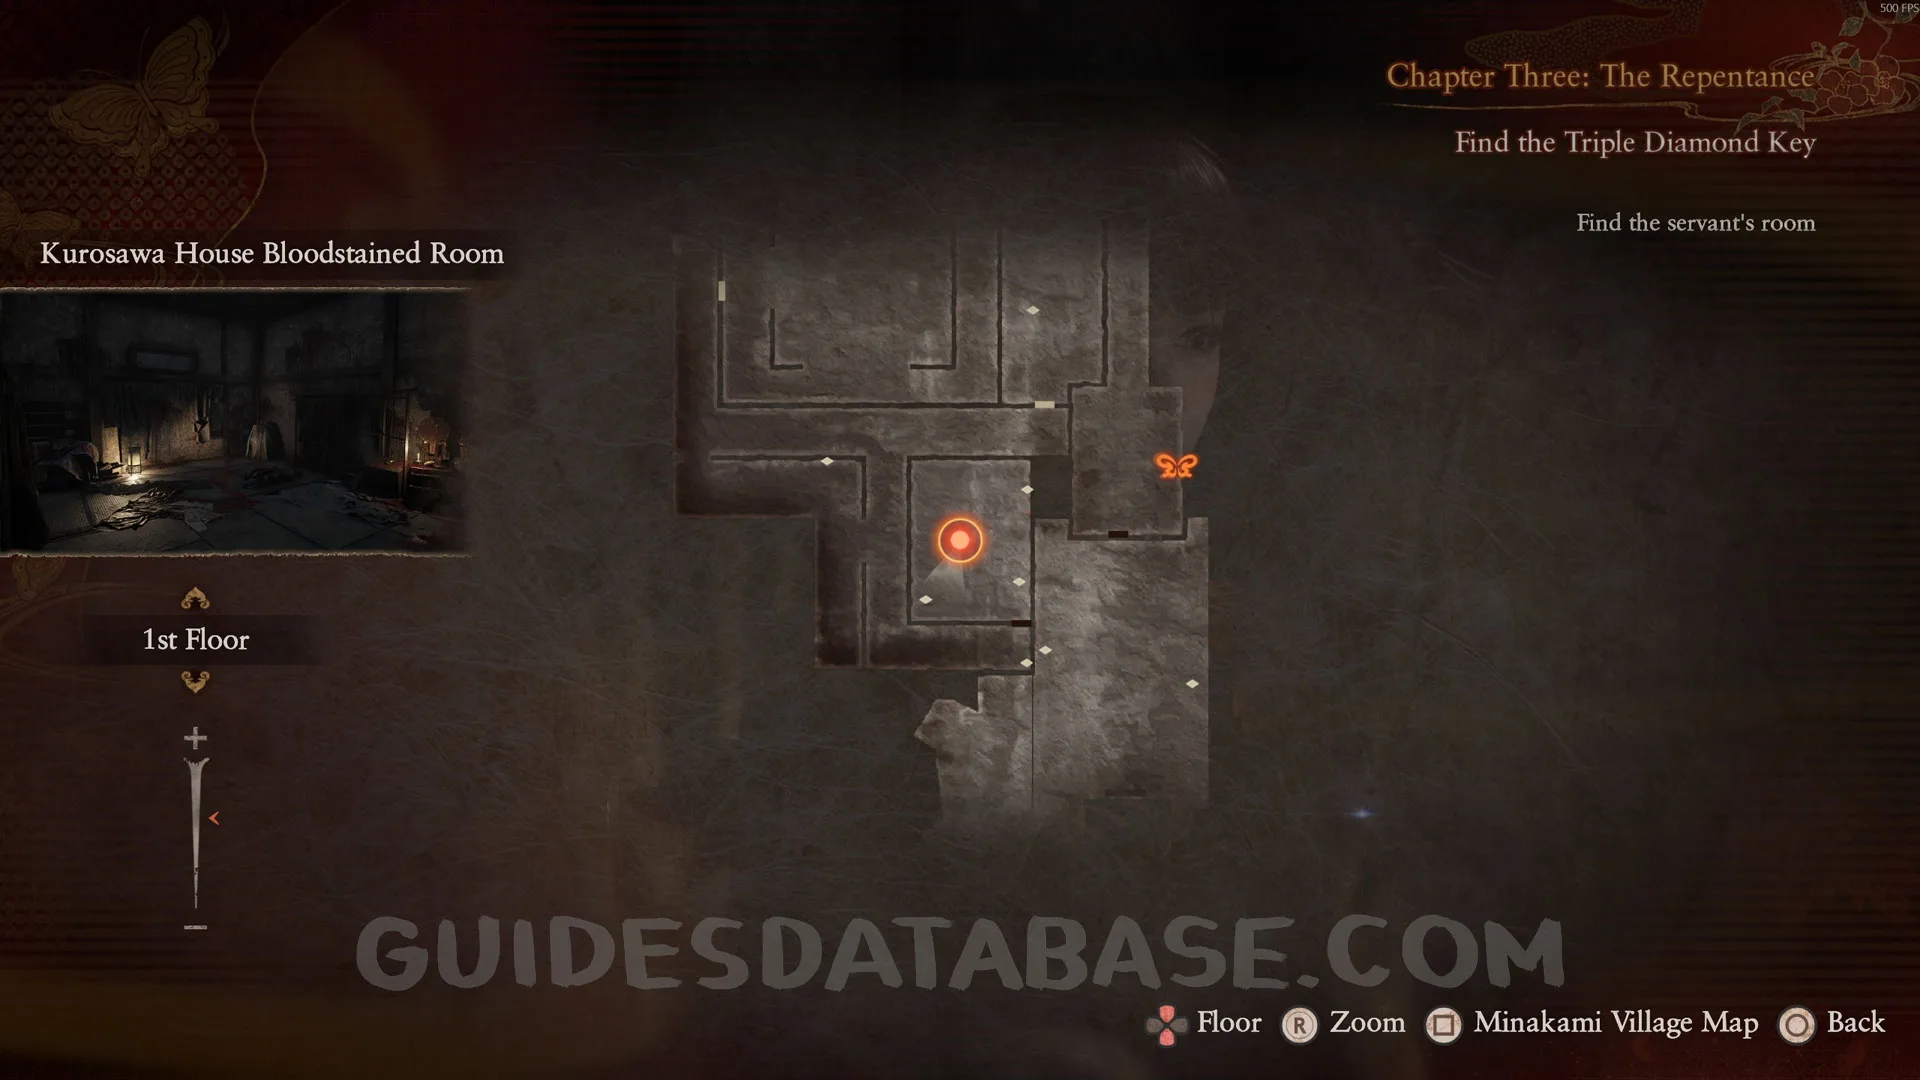
Photo #11: Servent's Room.
This is story-related and cannot be missed.
 GUIDESDATABASE.COM
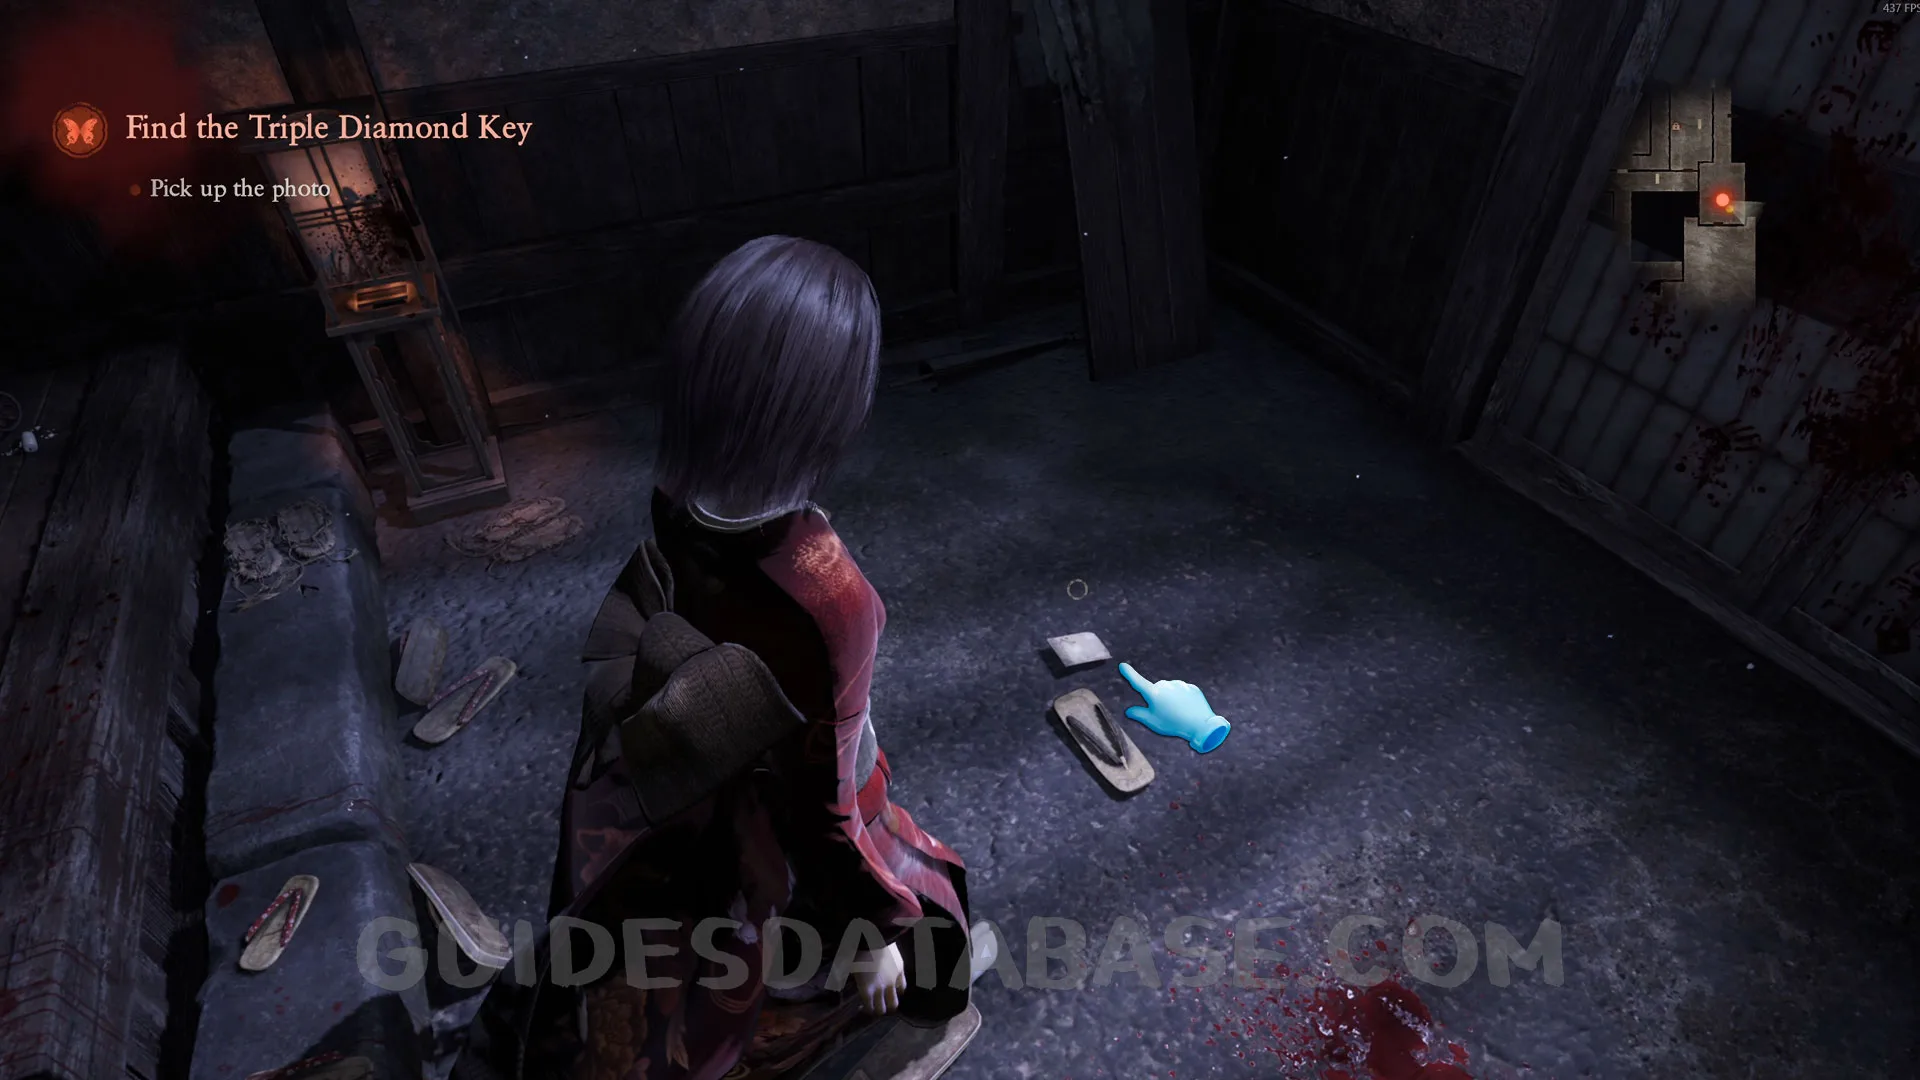 GUIDESDATABASE.COM
Specter #51 - #53: 037 Dragging Shadows, 038 The Forsaken, 039 Shadow Dragging Man.
From the previous collectible, you’ll go through the hallway again and need to turn left. When you turn left, you’ll see two specters. Make sure to get both of them in the shot so you can unlock the third specter entry.
 GUIDESDATABASE.COM
 GUIDESDATABASE.COM
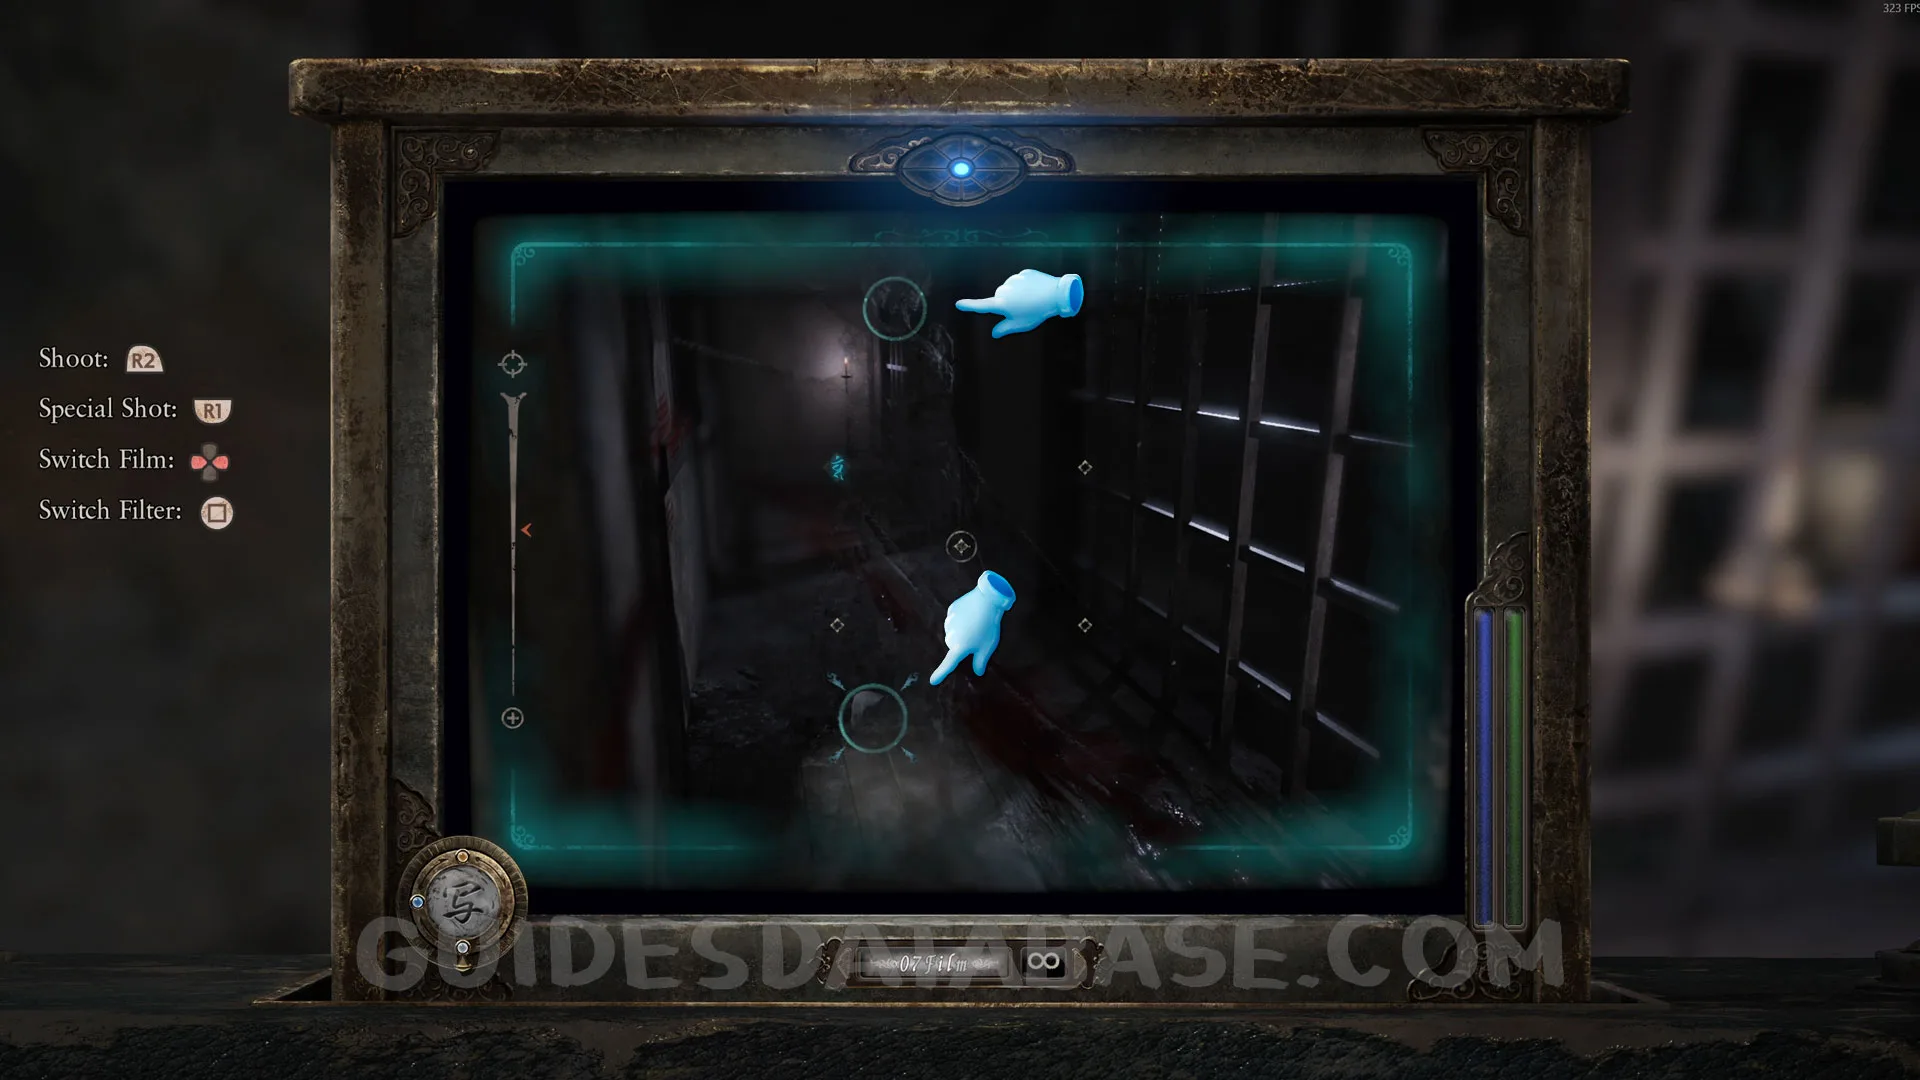 GUIDESDATABASE.COM
Specter #54 - 040 Closet Man.
In the same spot as the previous collectible, now look through the window on your left and you’ll see a specter in the closet. Take a photo of it.
 GUIDESDATABASE.COM
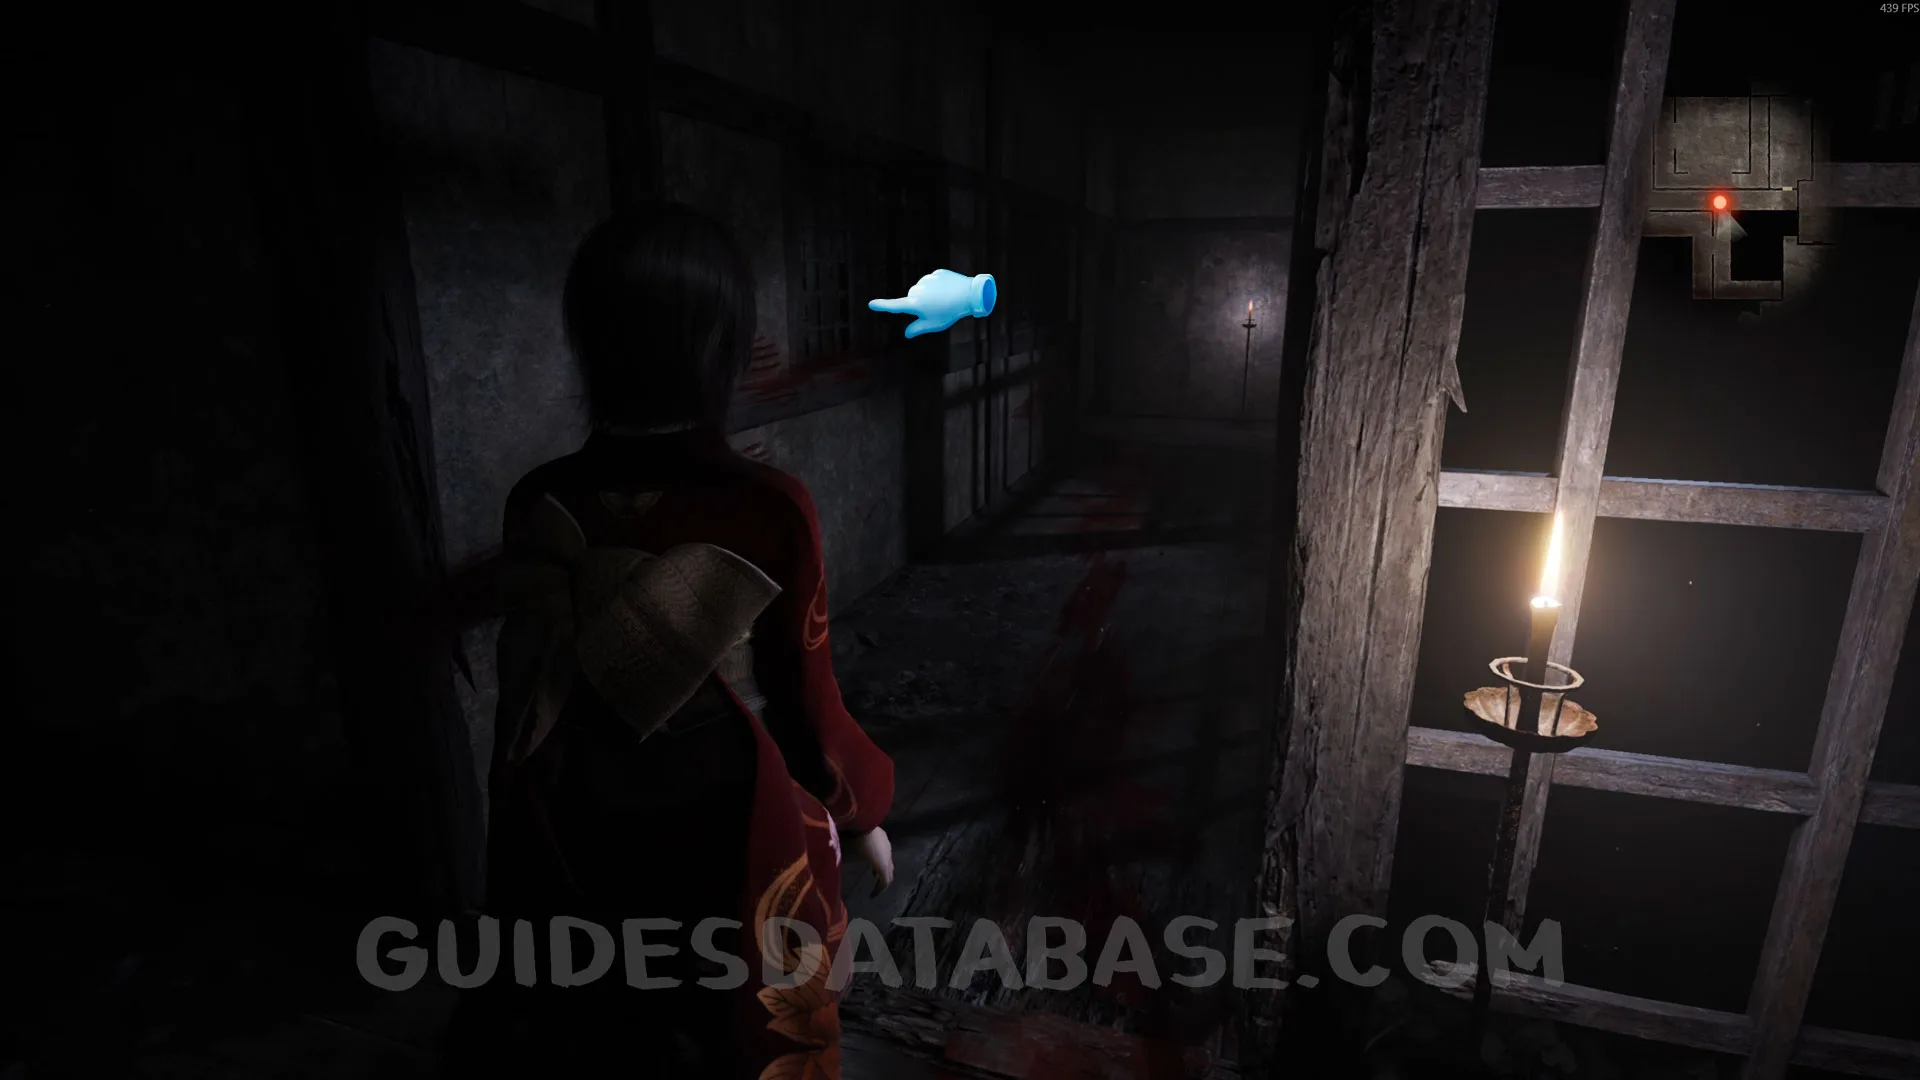 GUIDESDATABASE.COM
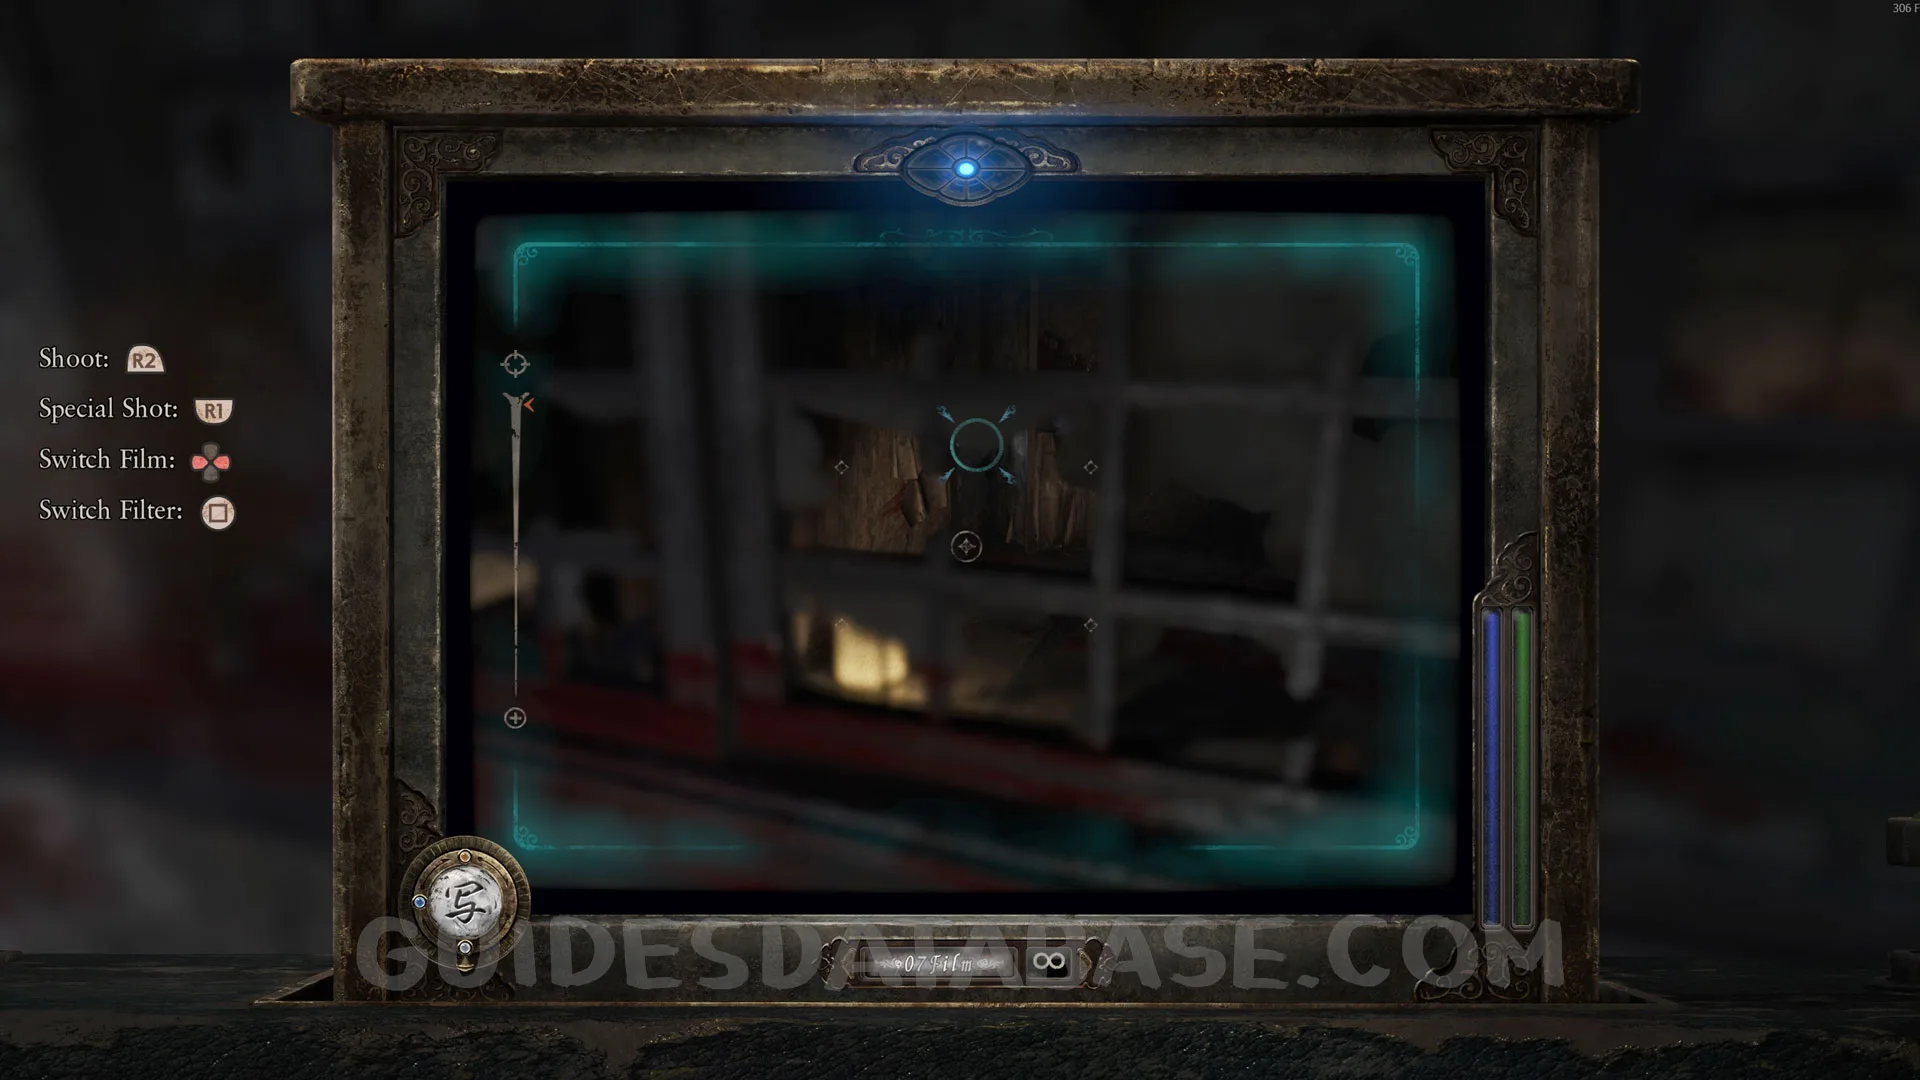 GUIDESDATABASE.COM
Phantom Expose #2 - Servant’s Room, Revenant #1 - 001 Fearful Man.
After using the Exposure Filter to open the passage in the wall, go to the closet, equip the Exposure Filter on the camera, and take a photo to reveal this revenant.
 GUIDESDATABASE.COM
 GUIDESDATABASE.COM
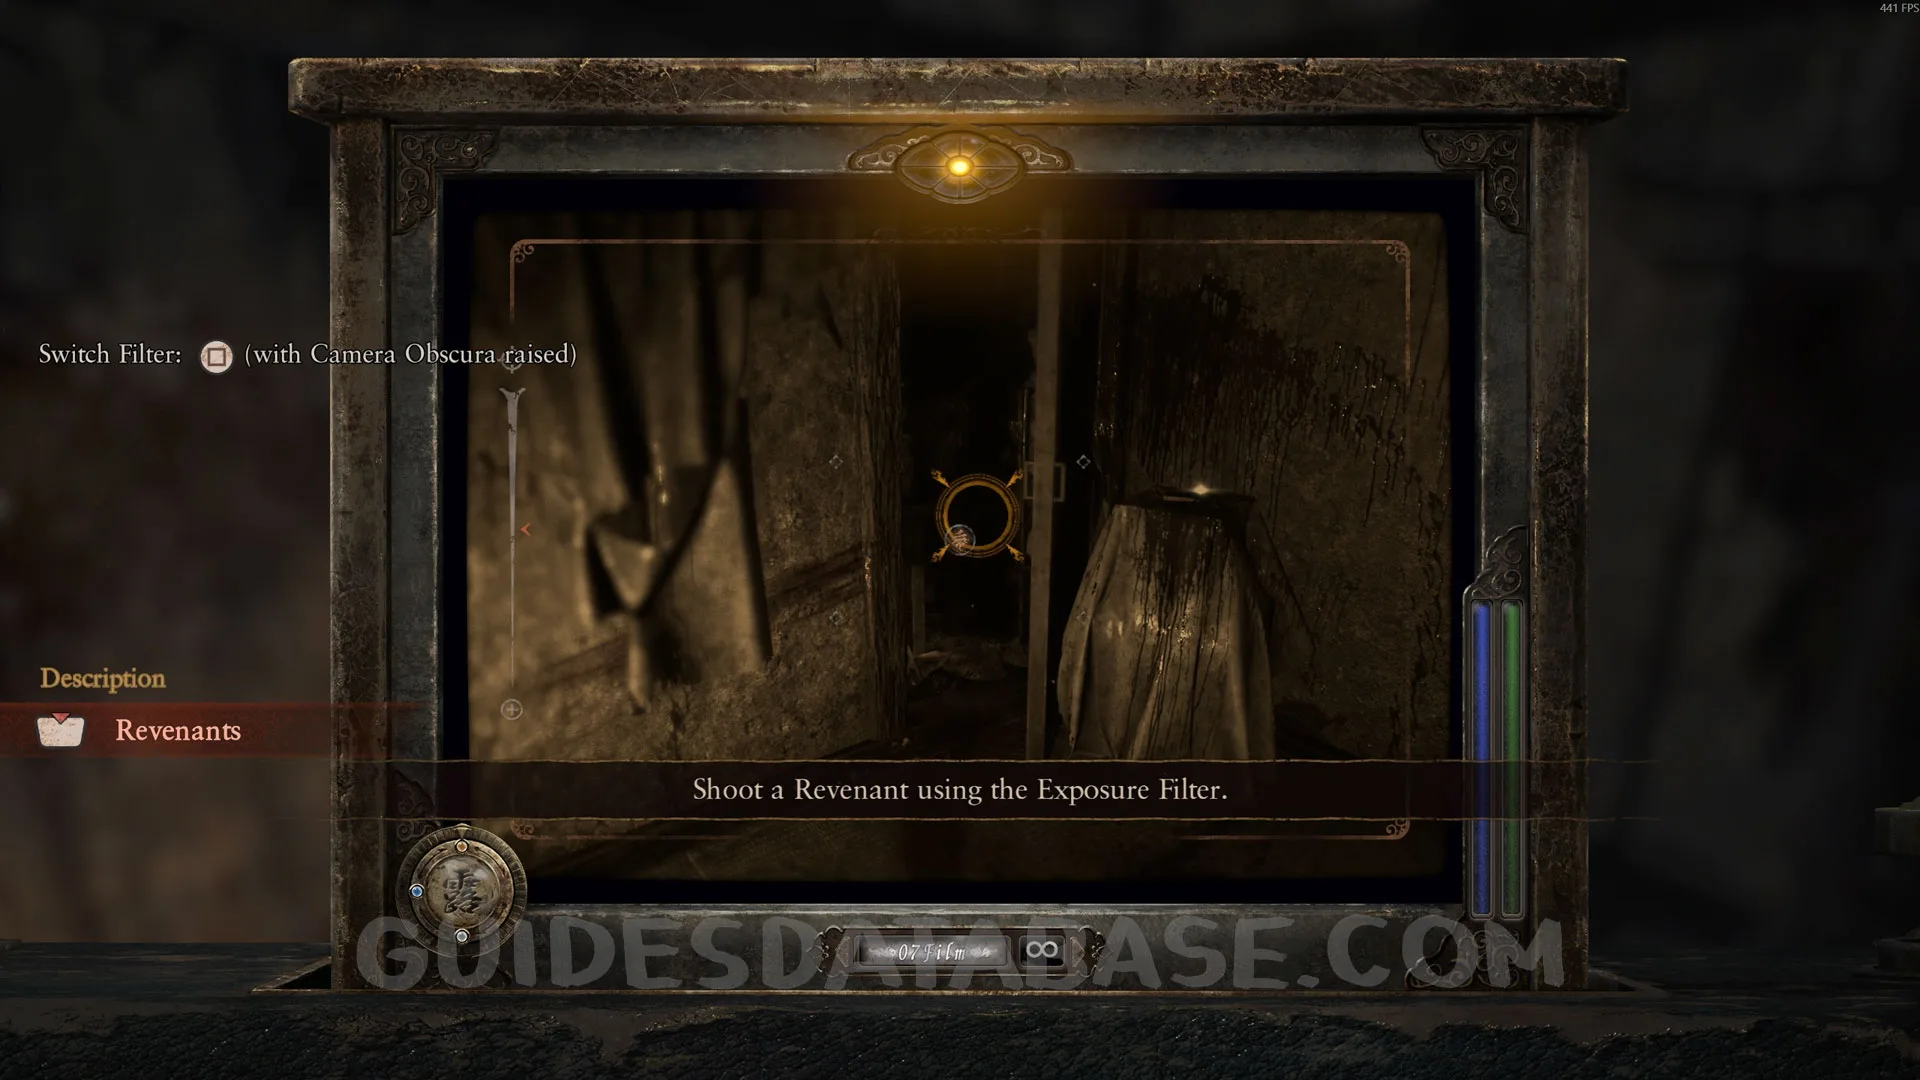 GUIDESDATABASE.COM
Spirit Stone #12 - Glowing Green Crystal.
In the same room as the previous collectible, this Spirit Stone is on the floor.
 GUIDESDATABASE.COM
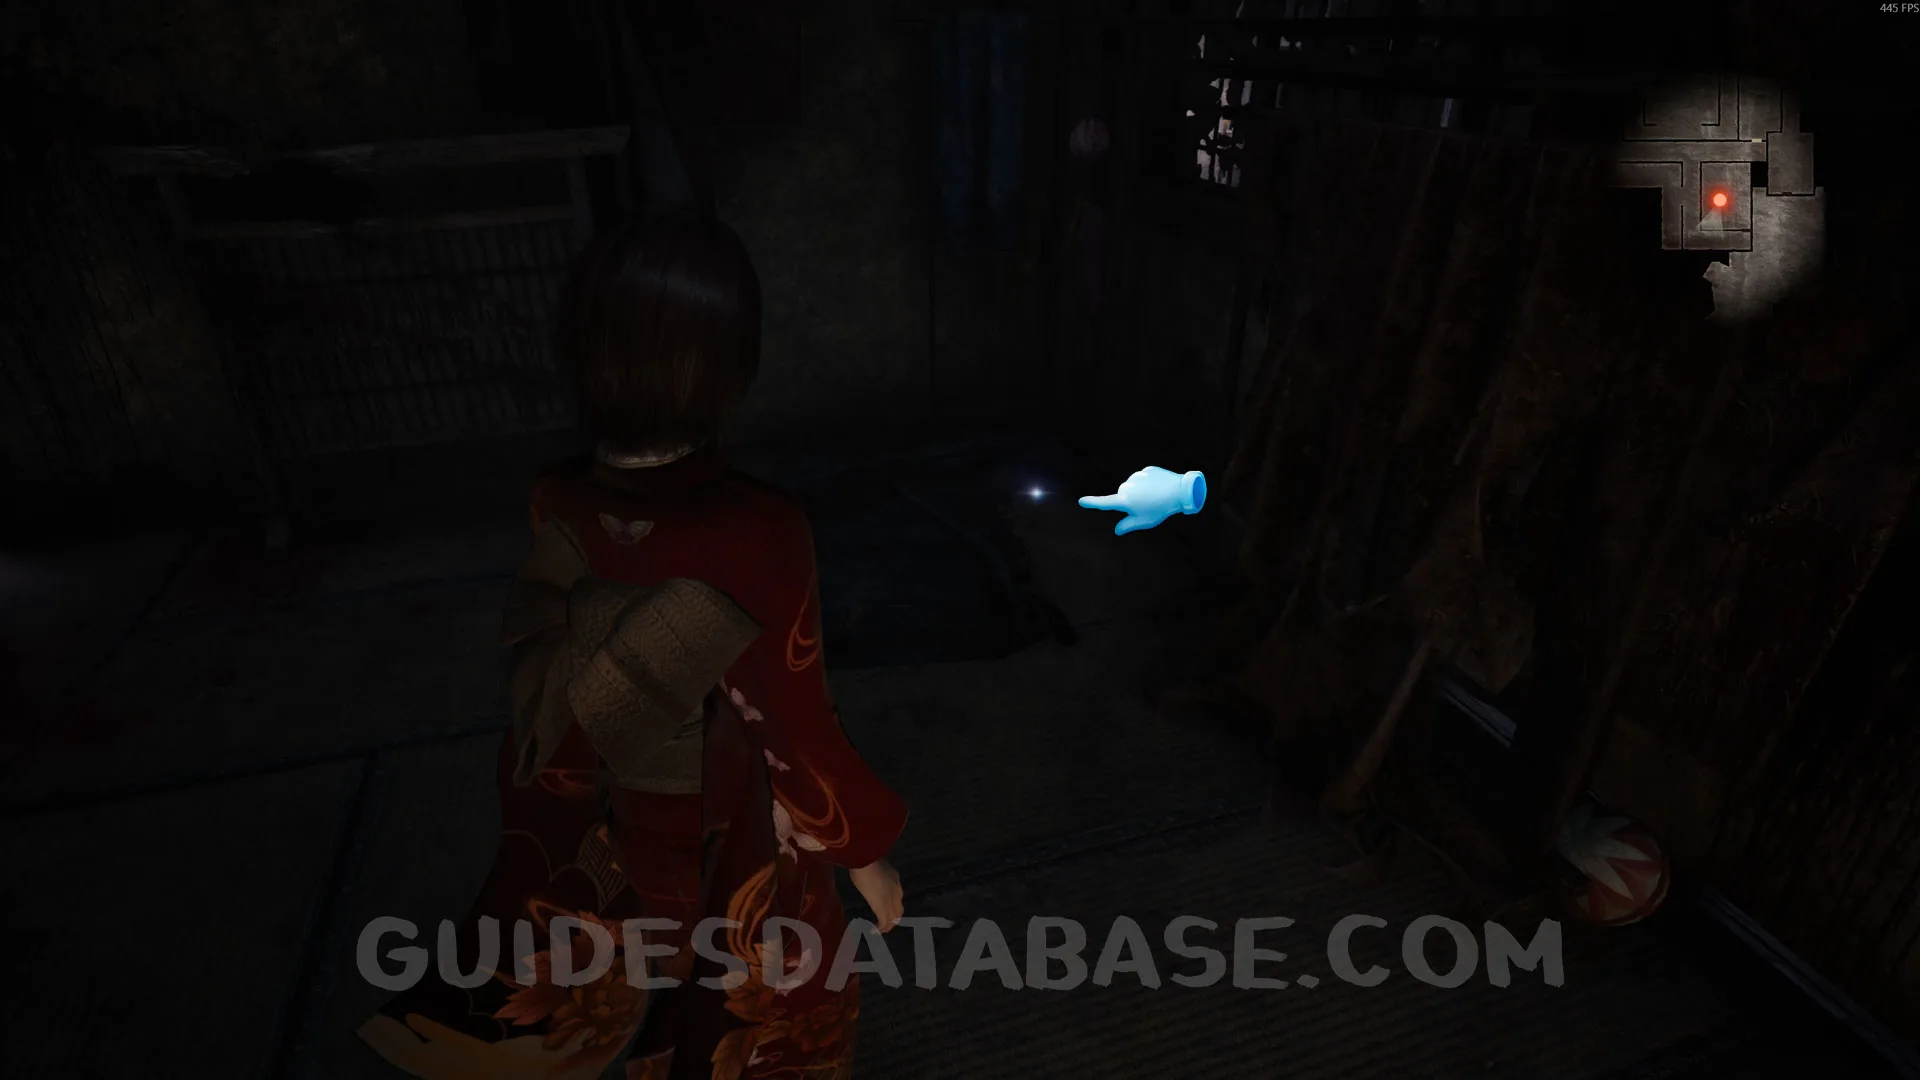 GUIDESDATABASE.COM
Prayer Bead #12.
In the same room as the previous collectible, it’s next to a lamp.
 GUIDESDATABASE.COM
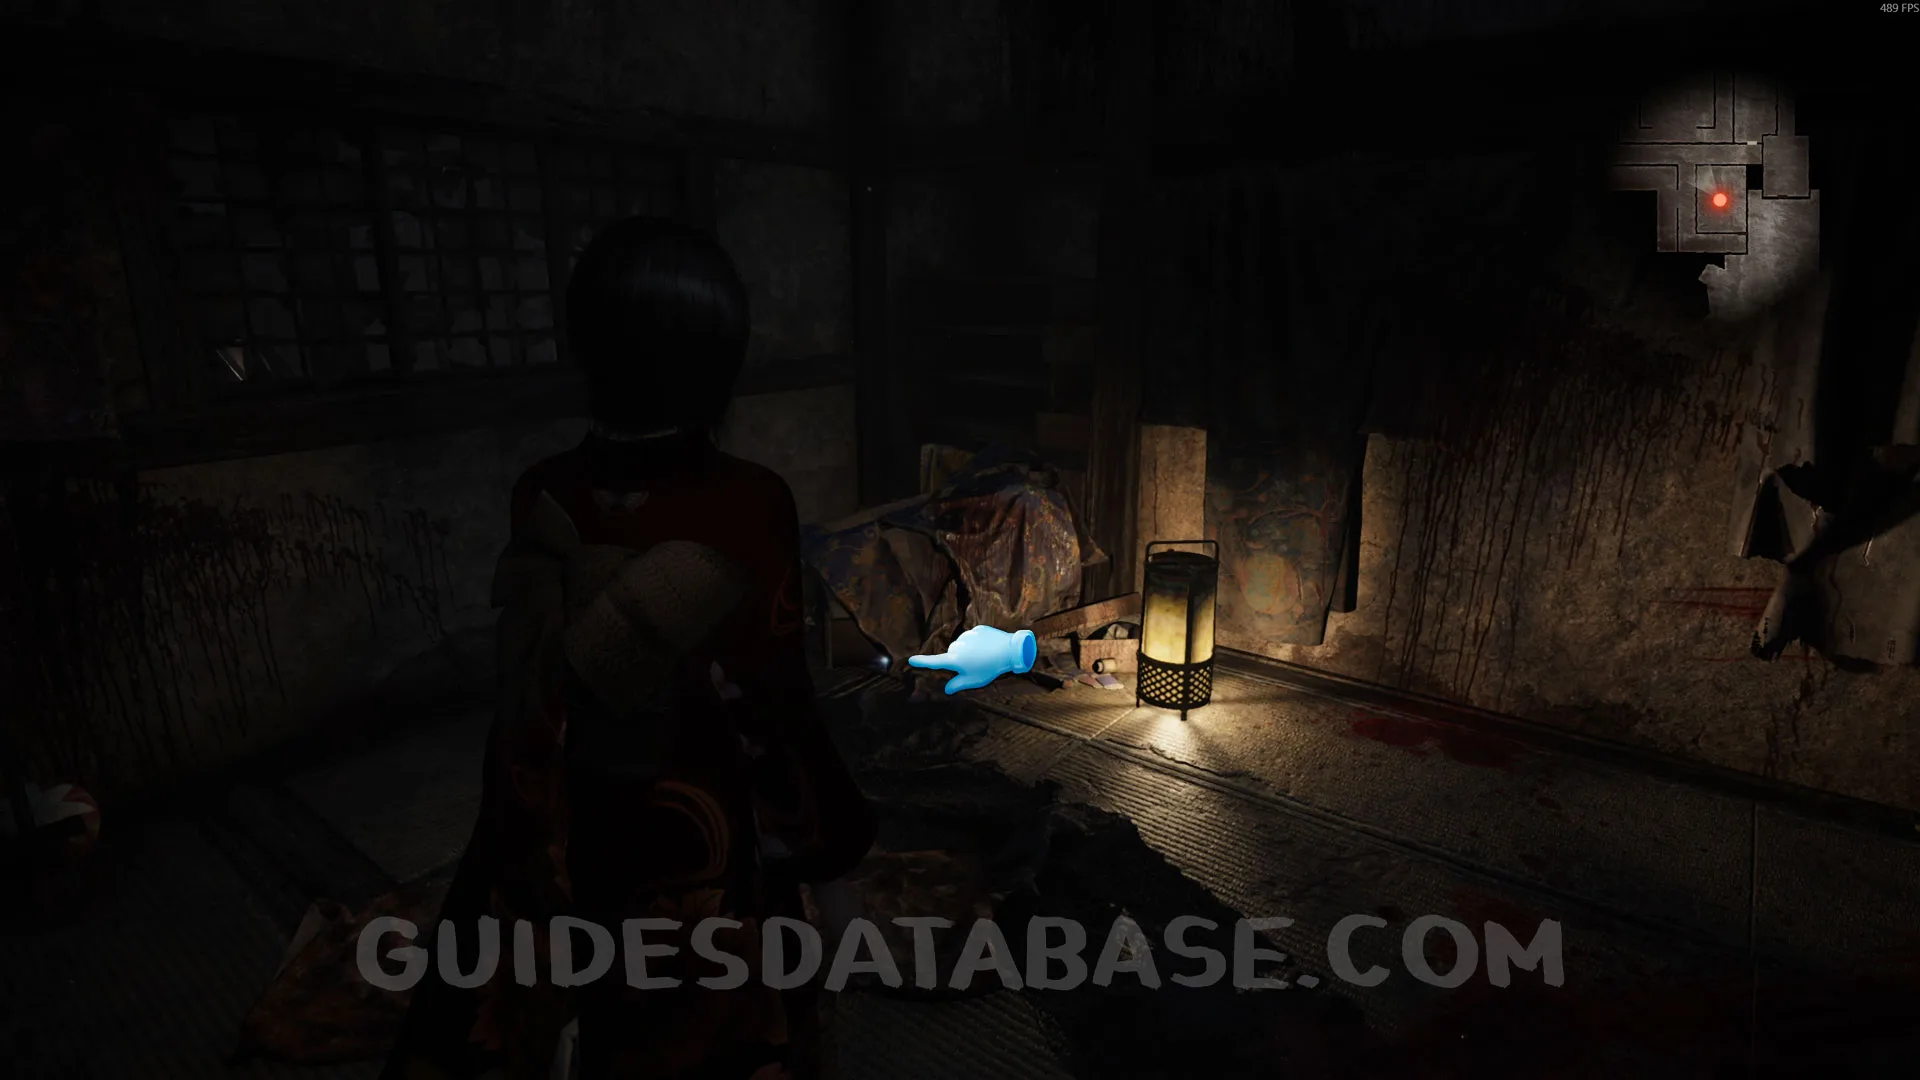 GUIDESDATABASE.COM
Specter #55 - 041 Woman Waiting Under Tree.
When you leave the room with the previous collectible, look through the window to the left of the door you came out of. You’ll see this specter, so take a photo of it.
 GUIDESDATABASE.COM
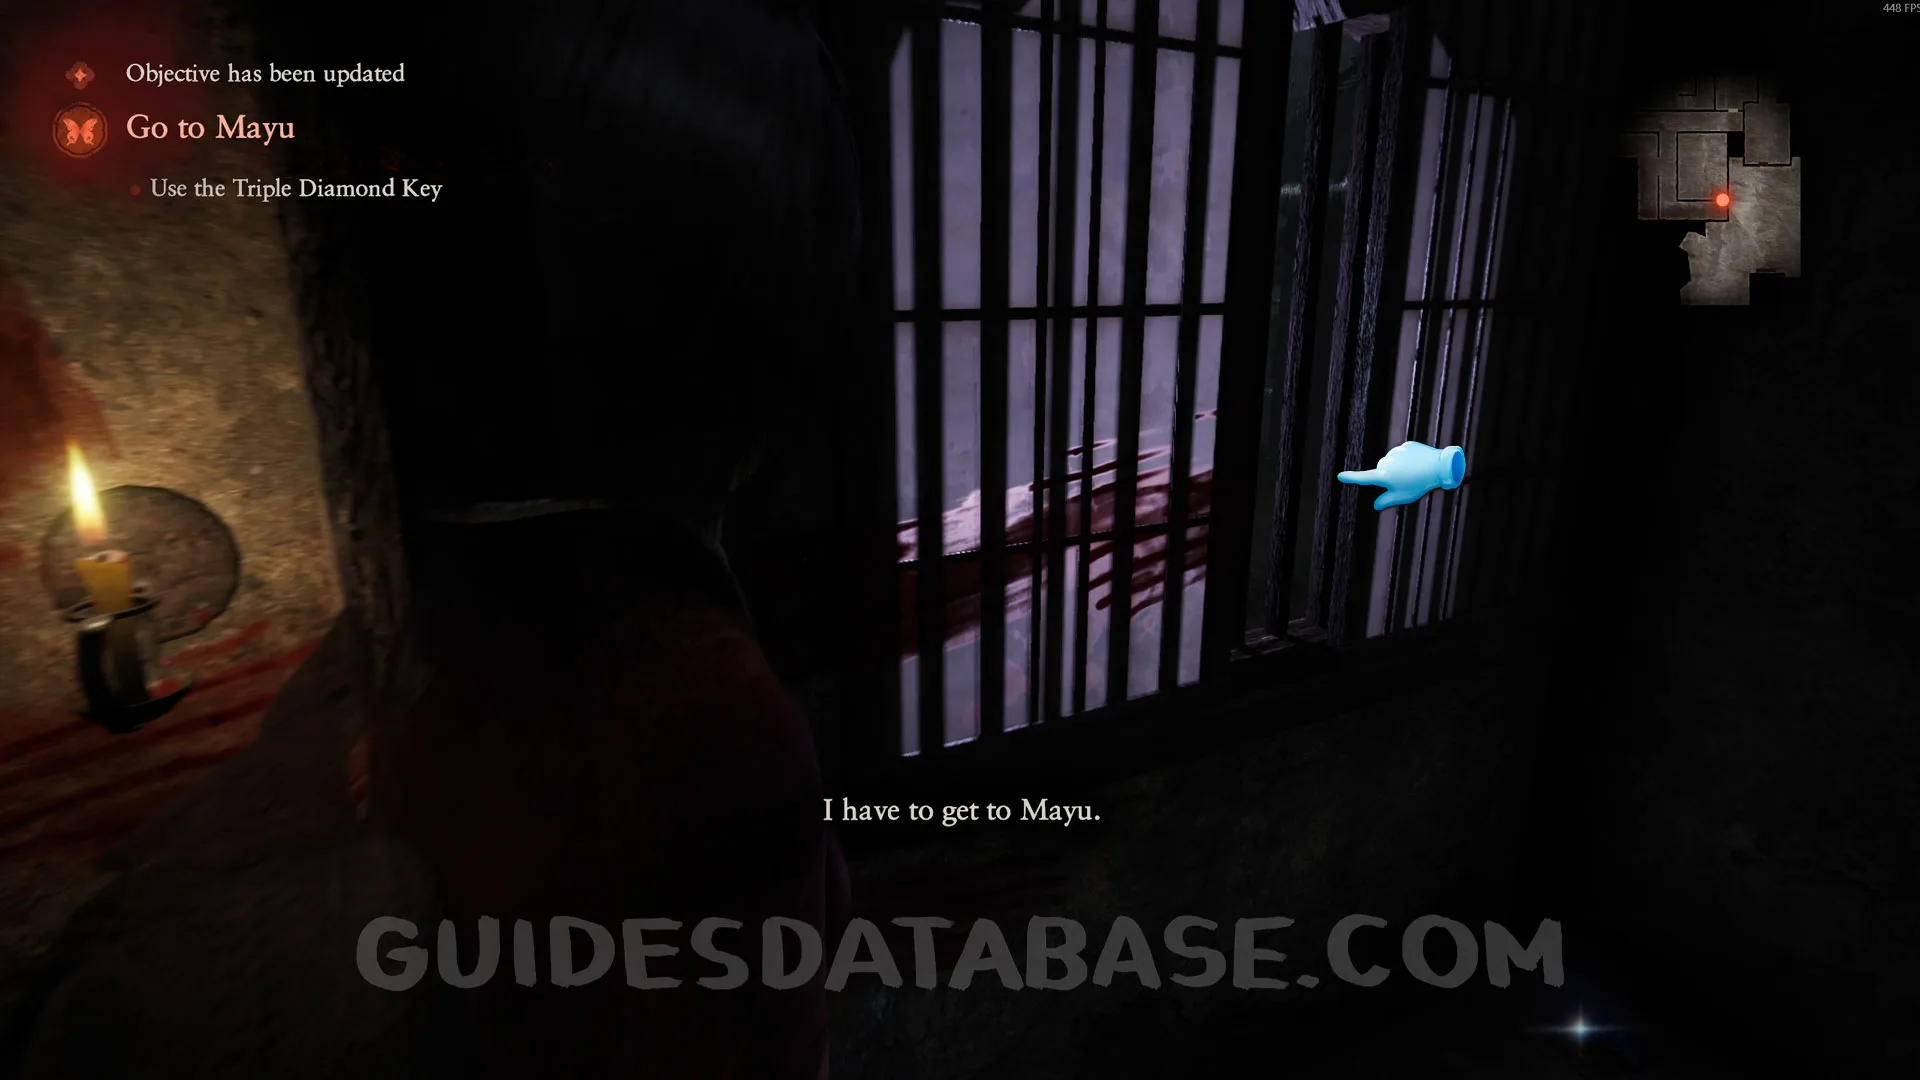 GUIDESDATABASE.COM
 GUIDESDATABASE.COM
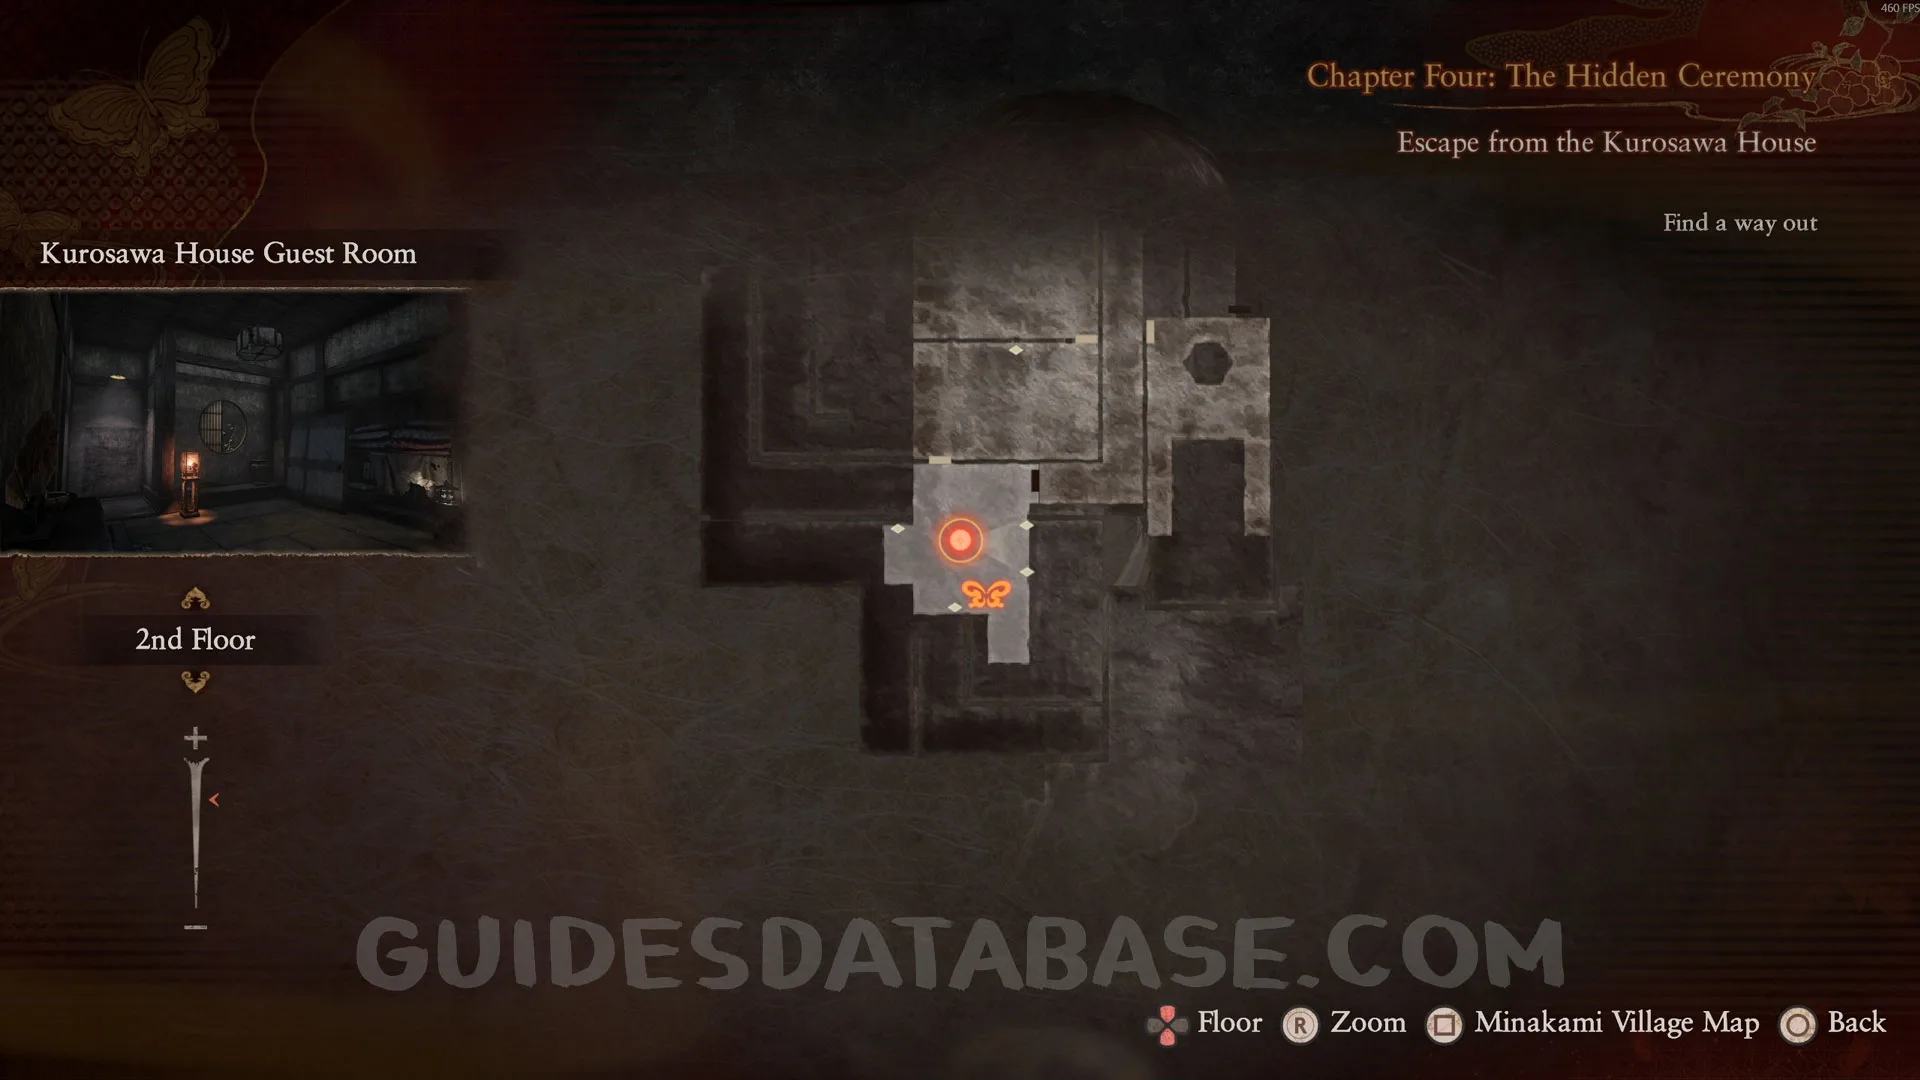
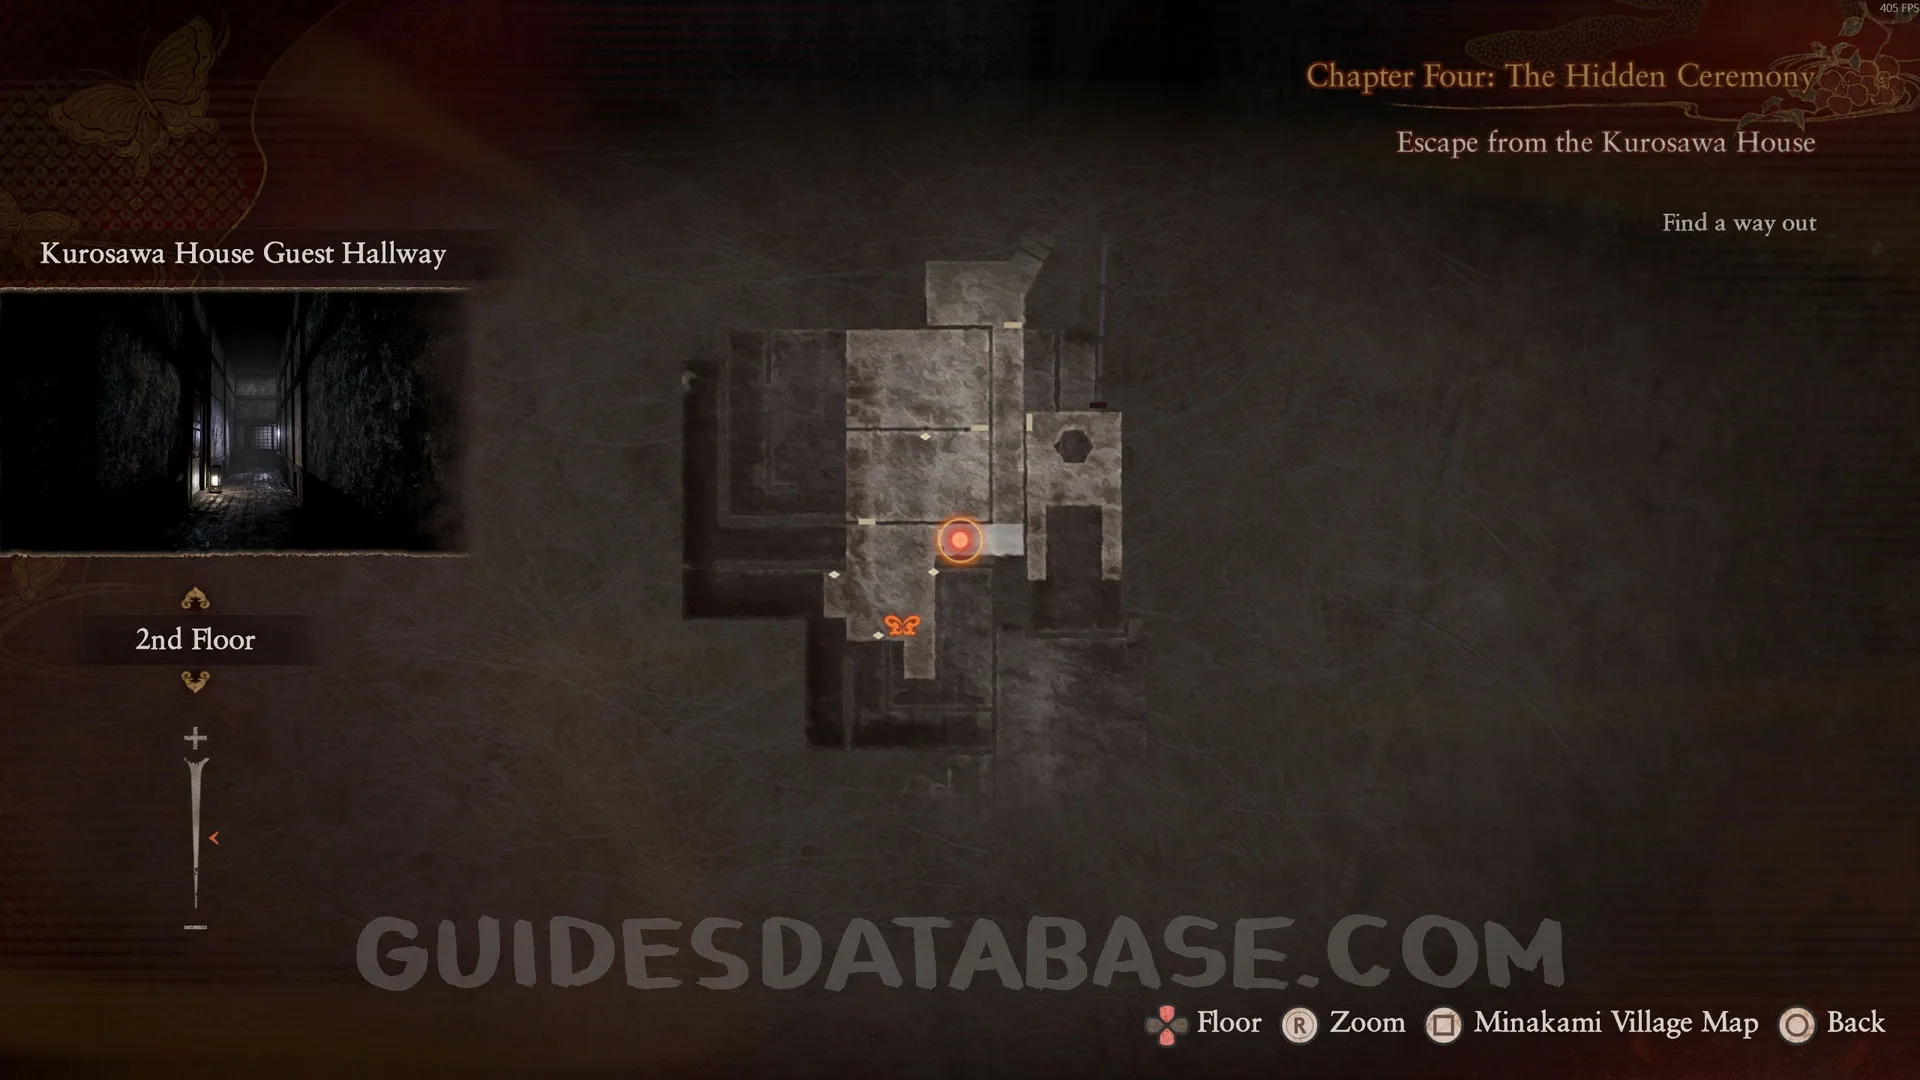
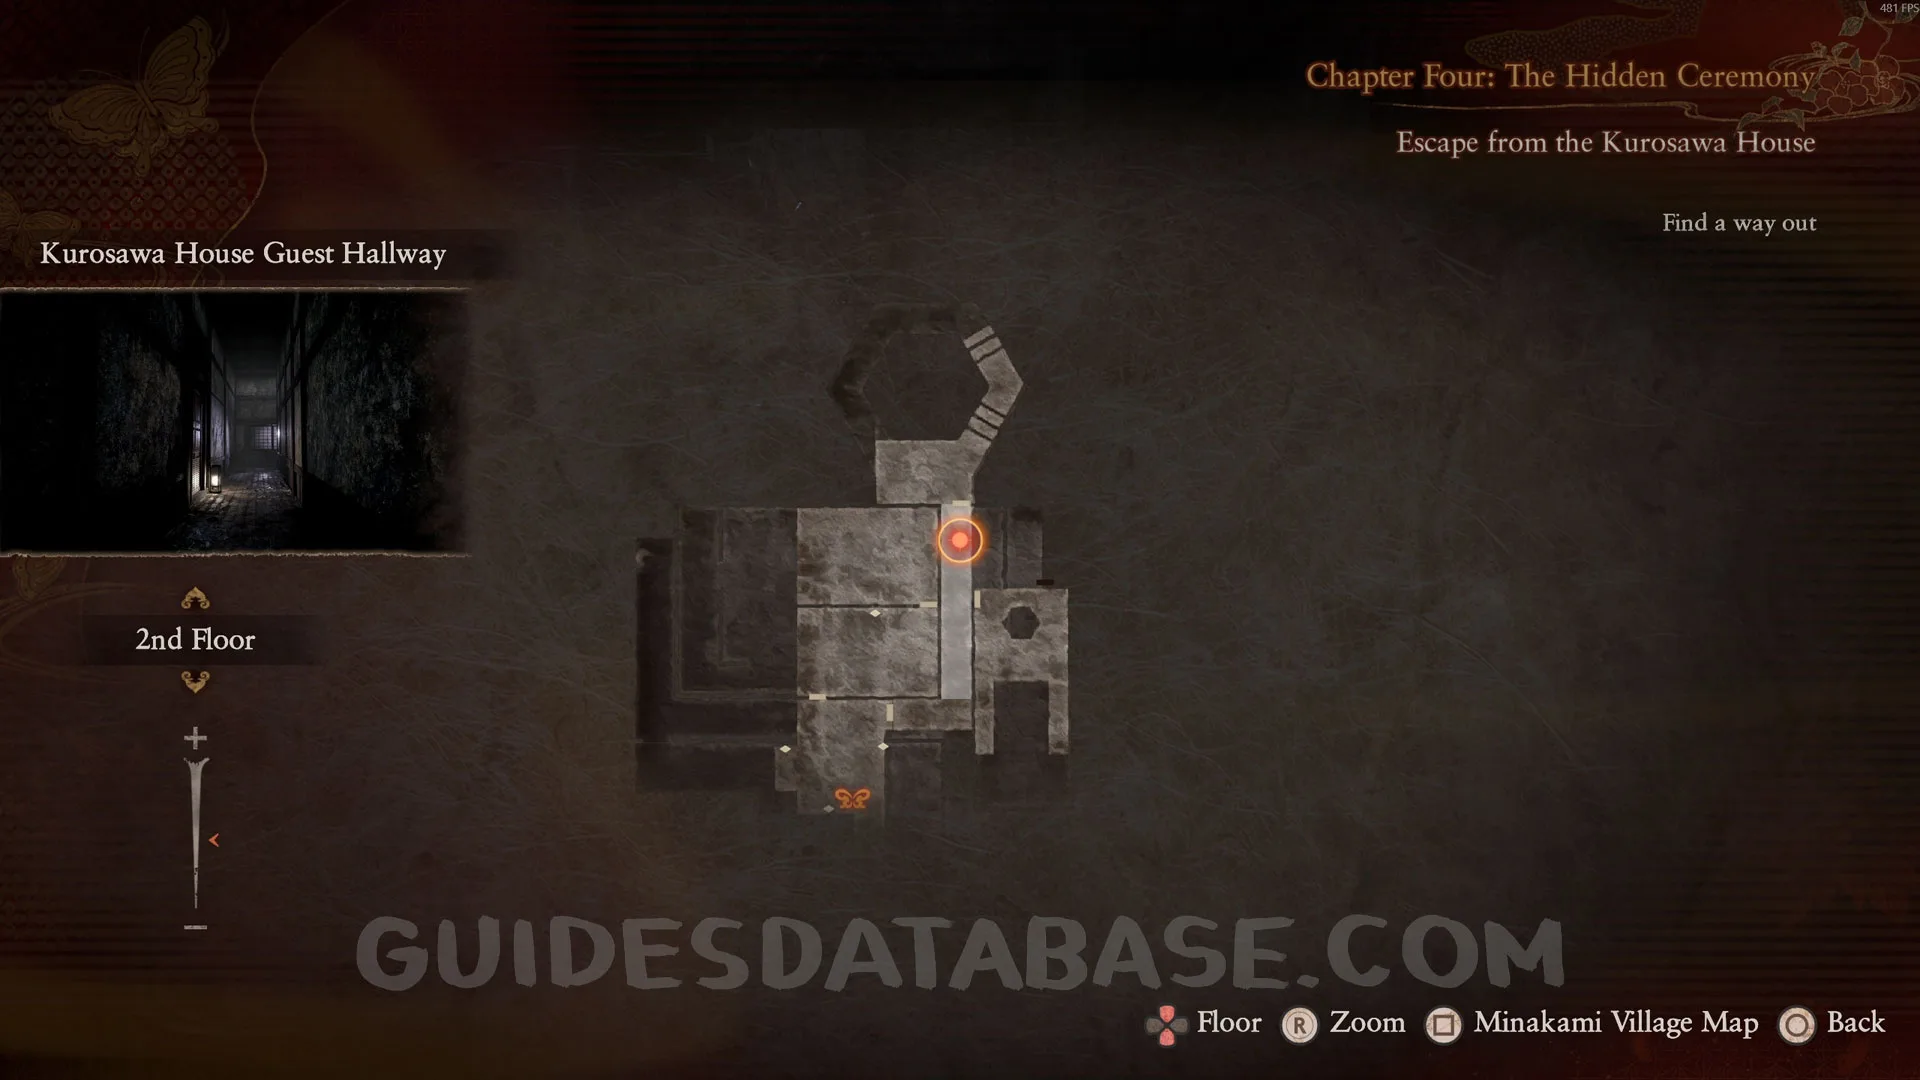
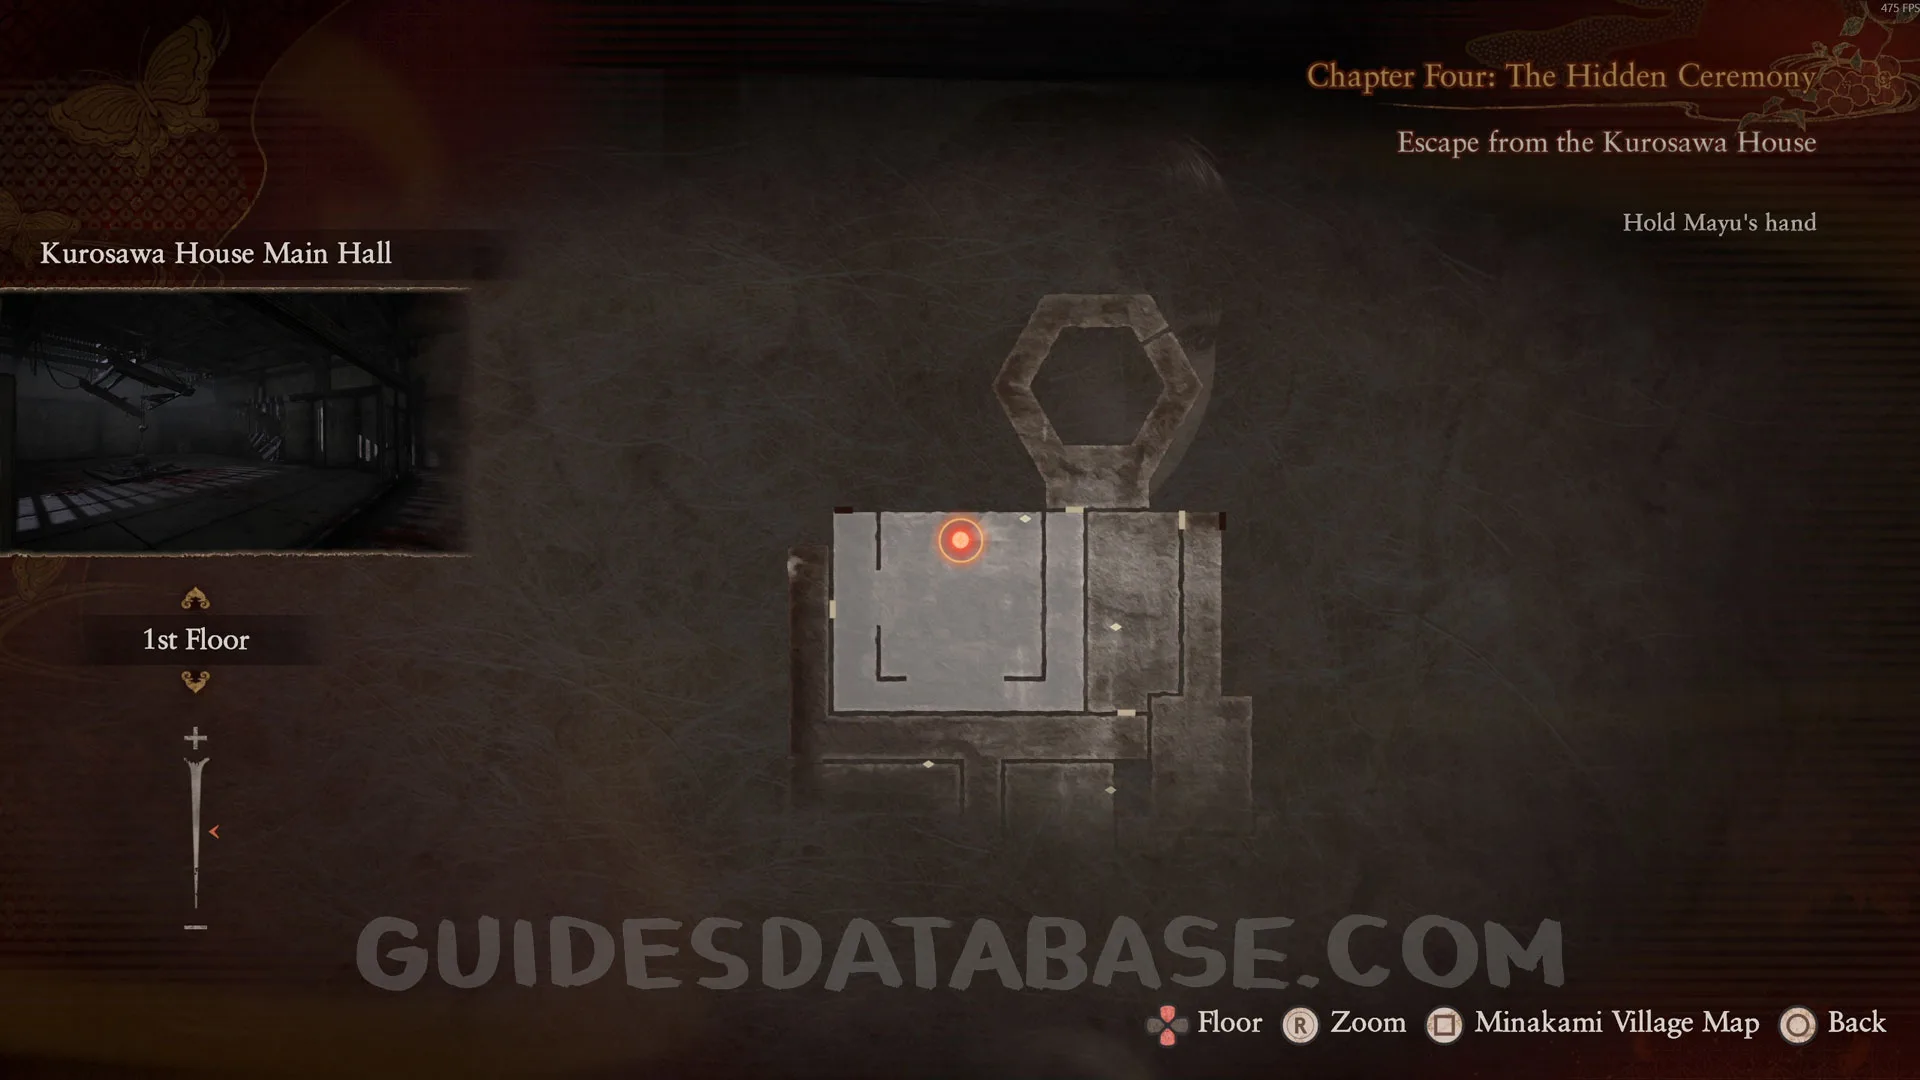
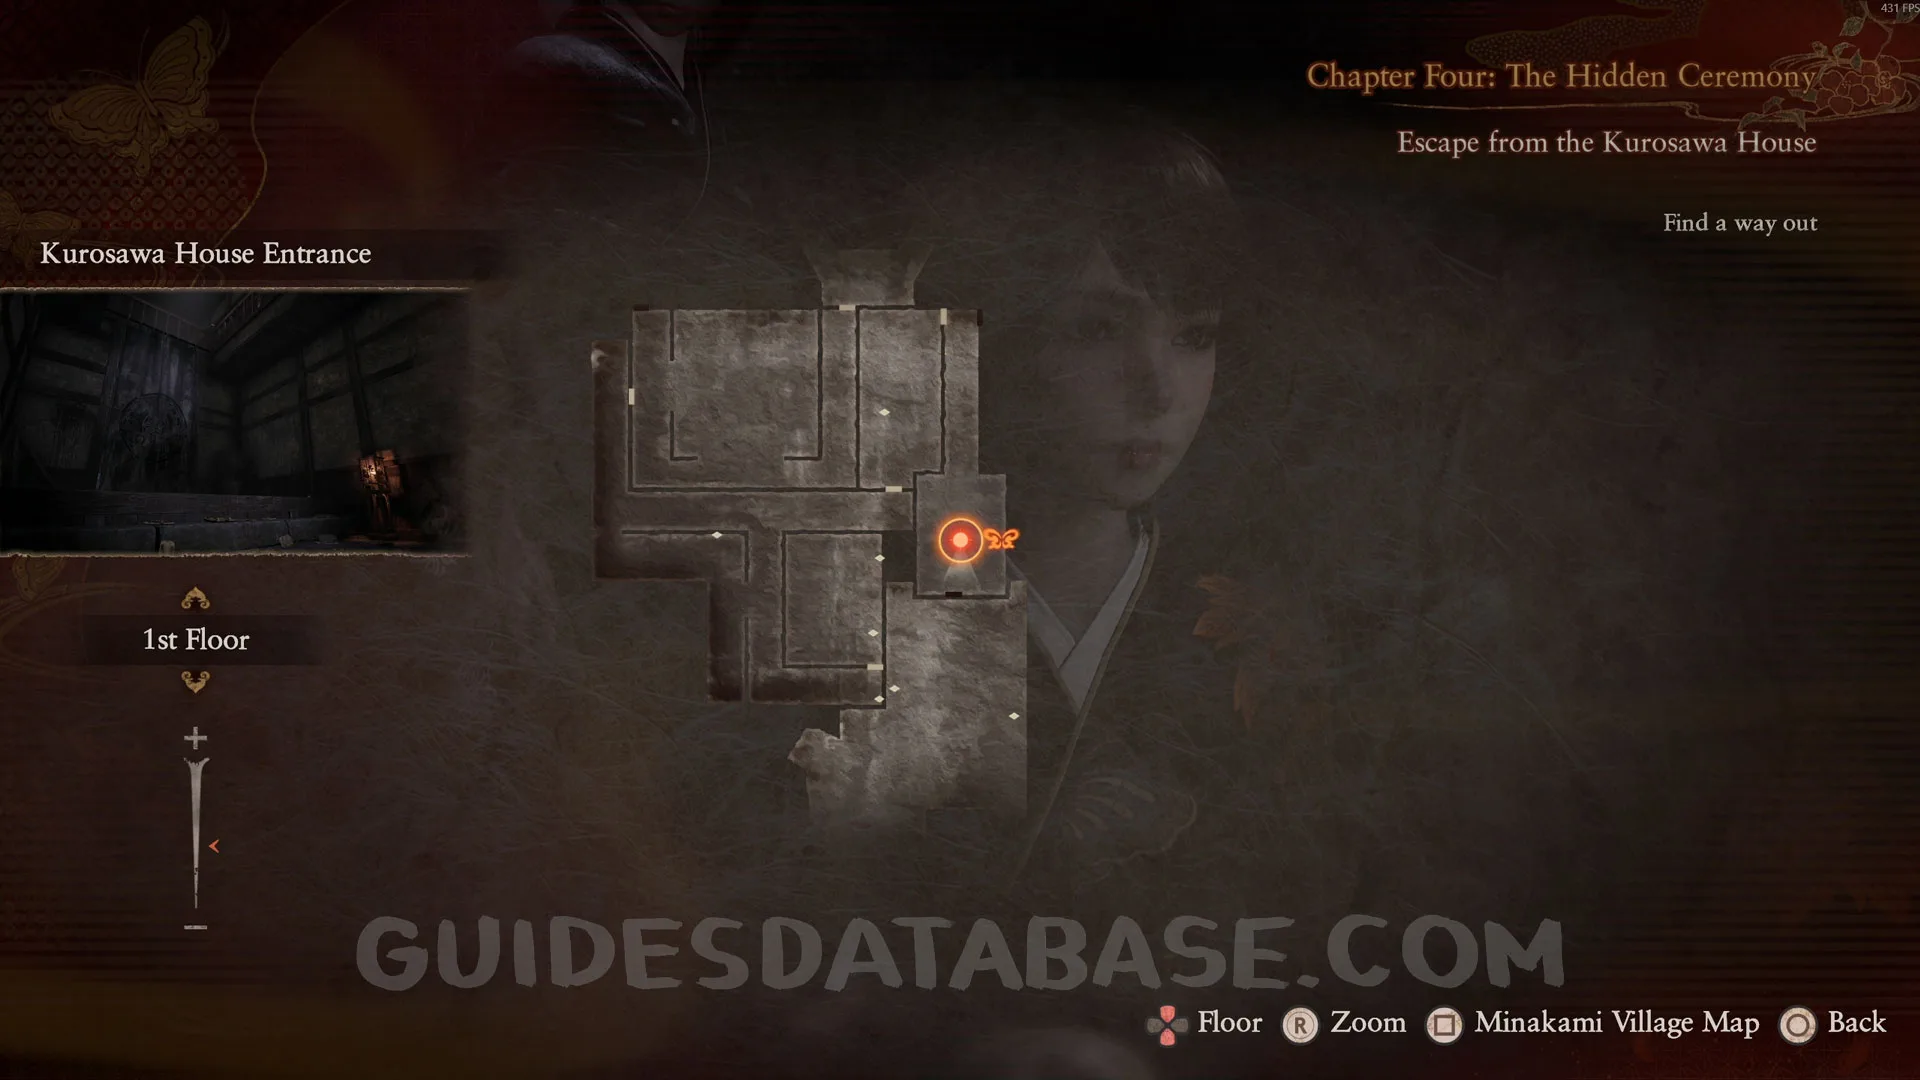
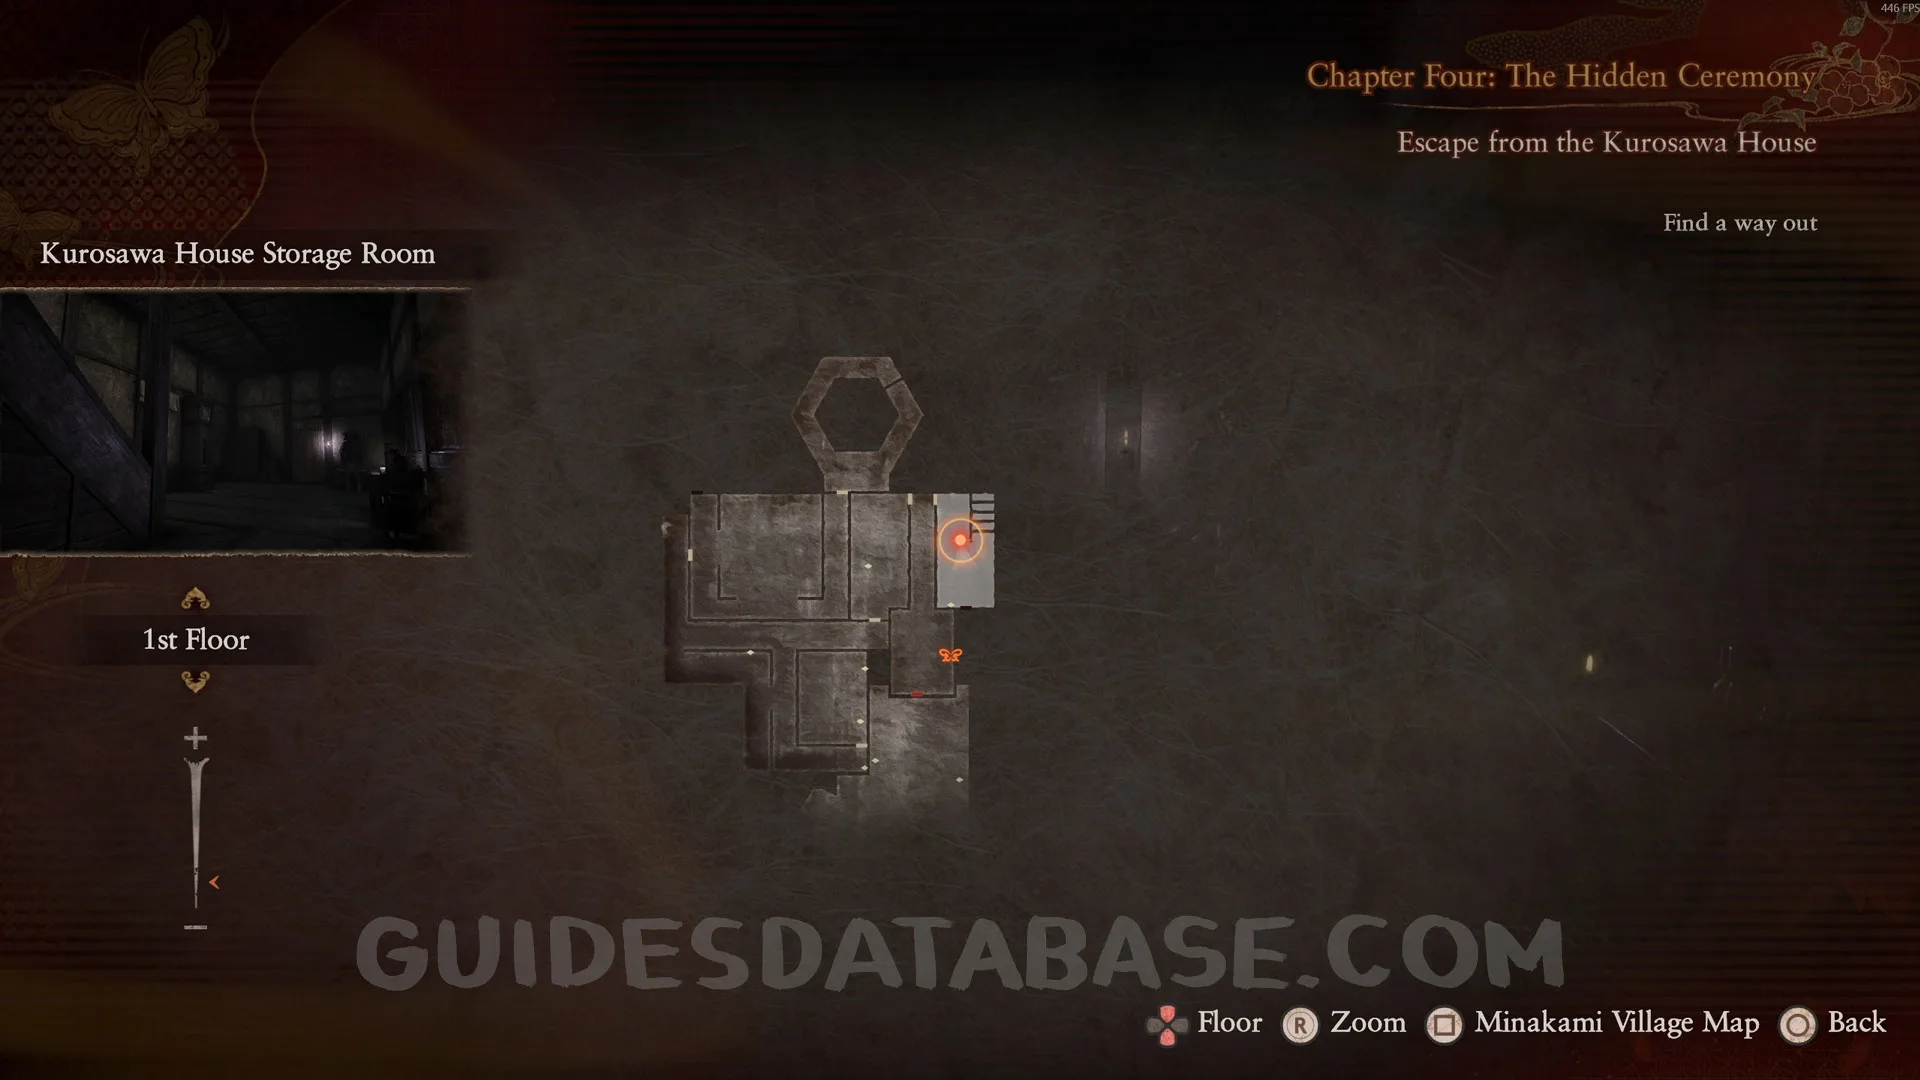
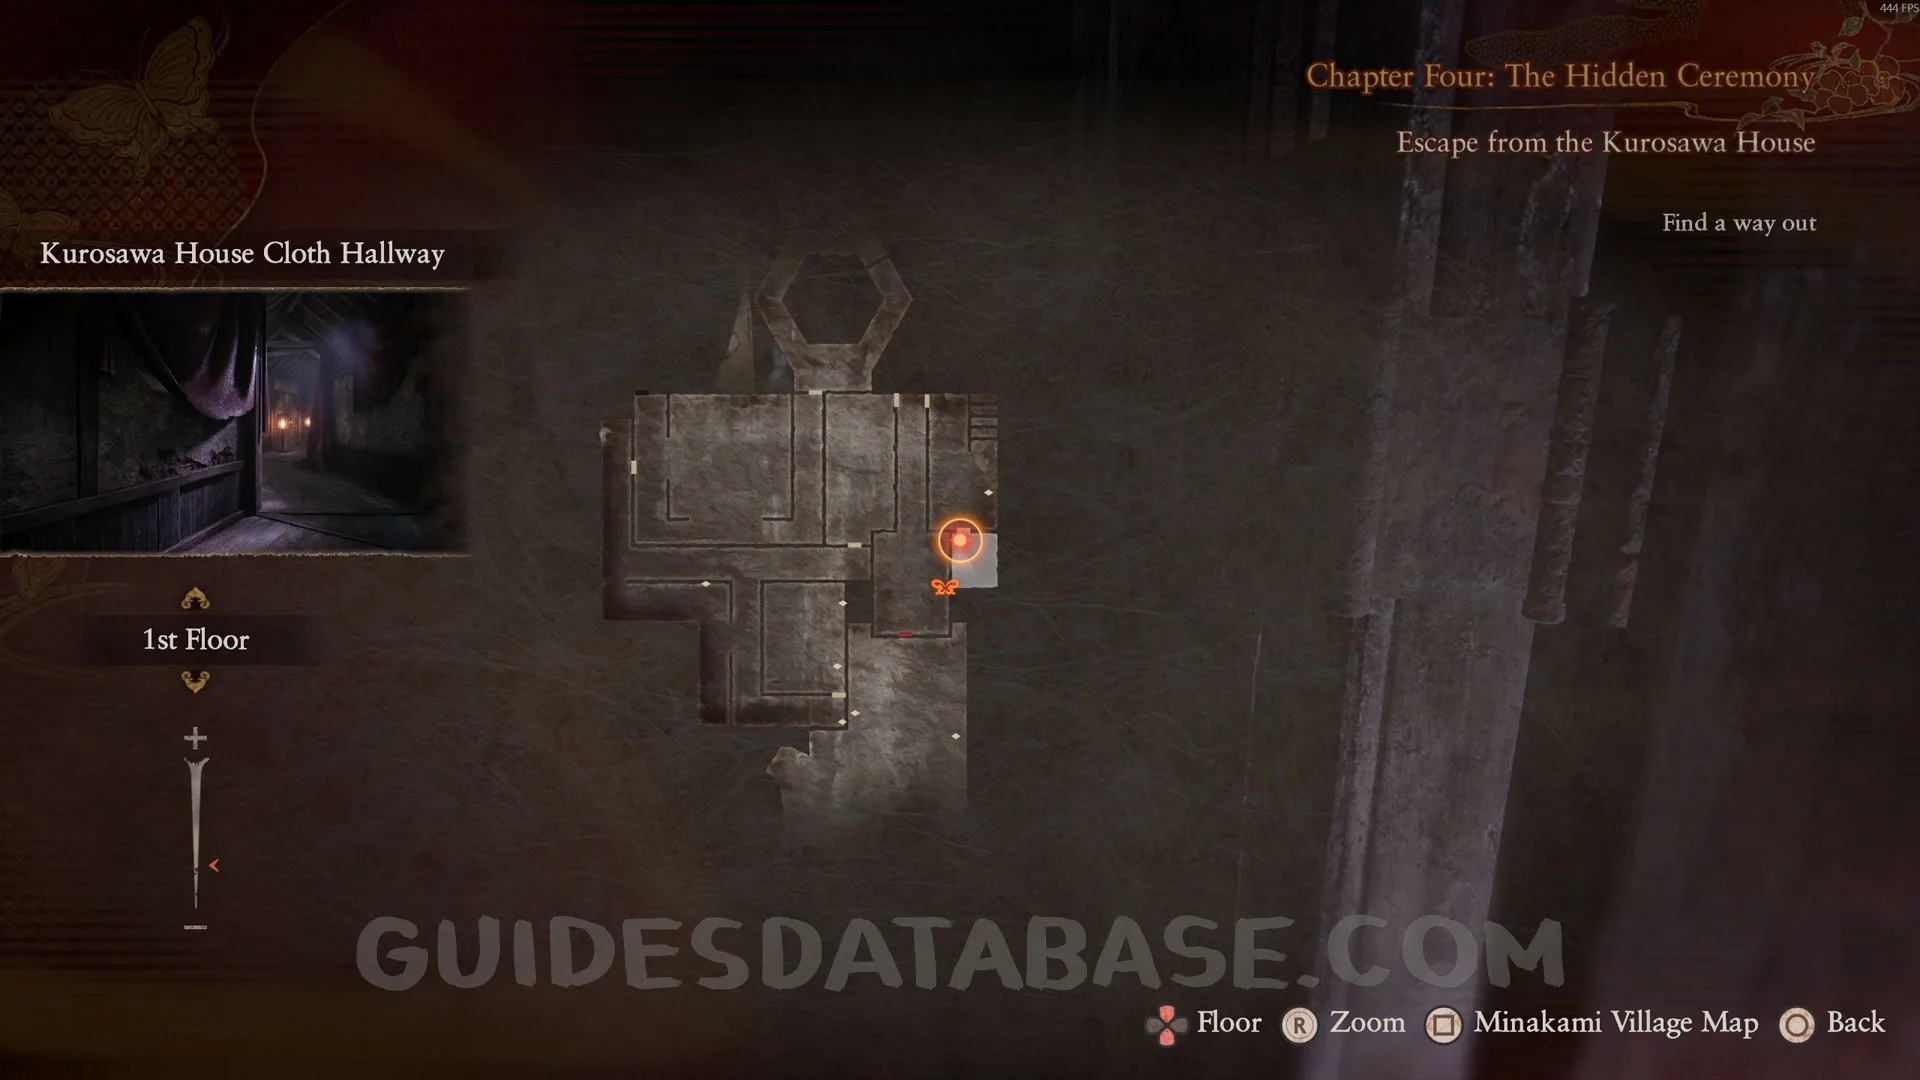
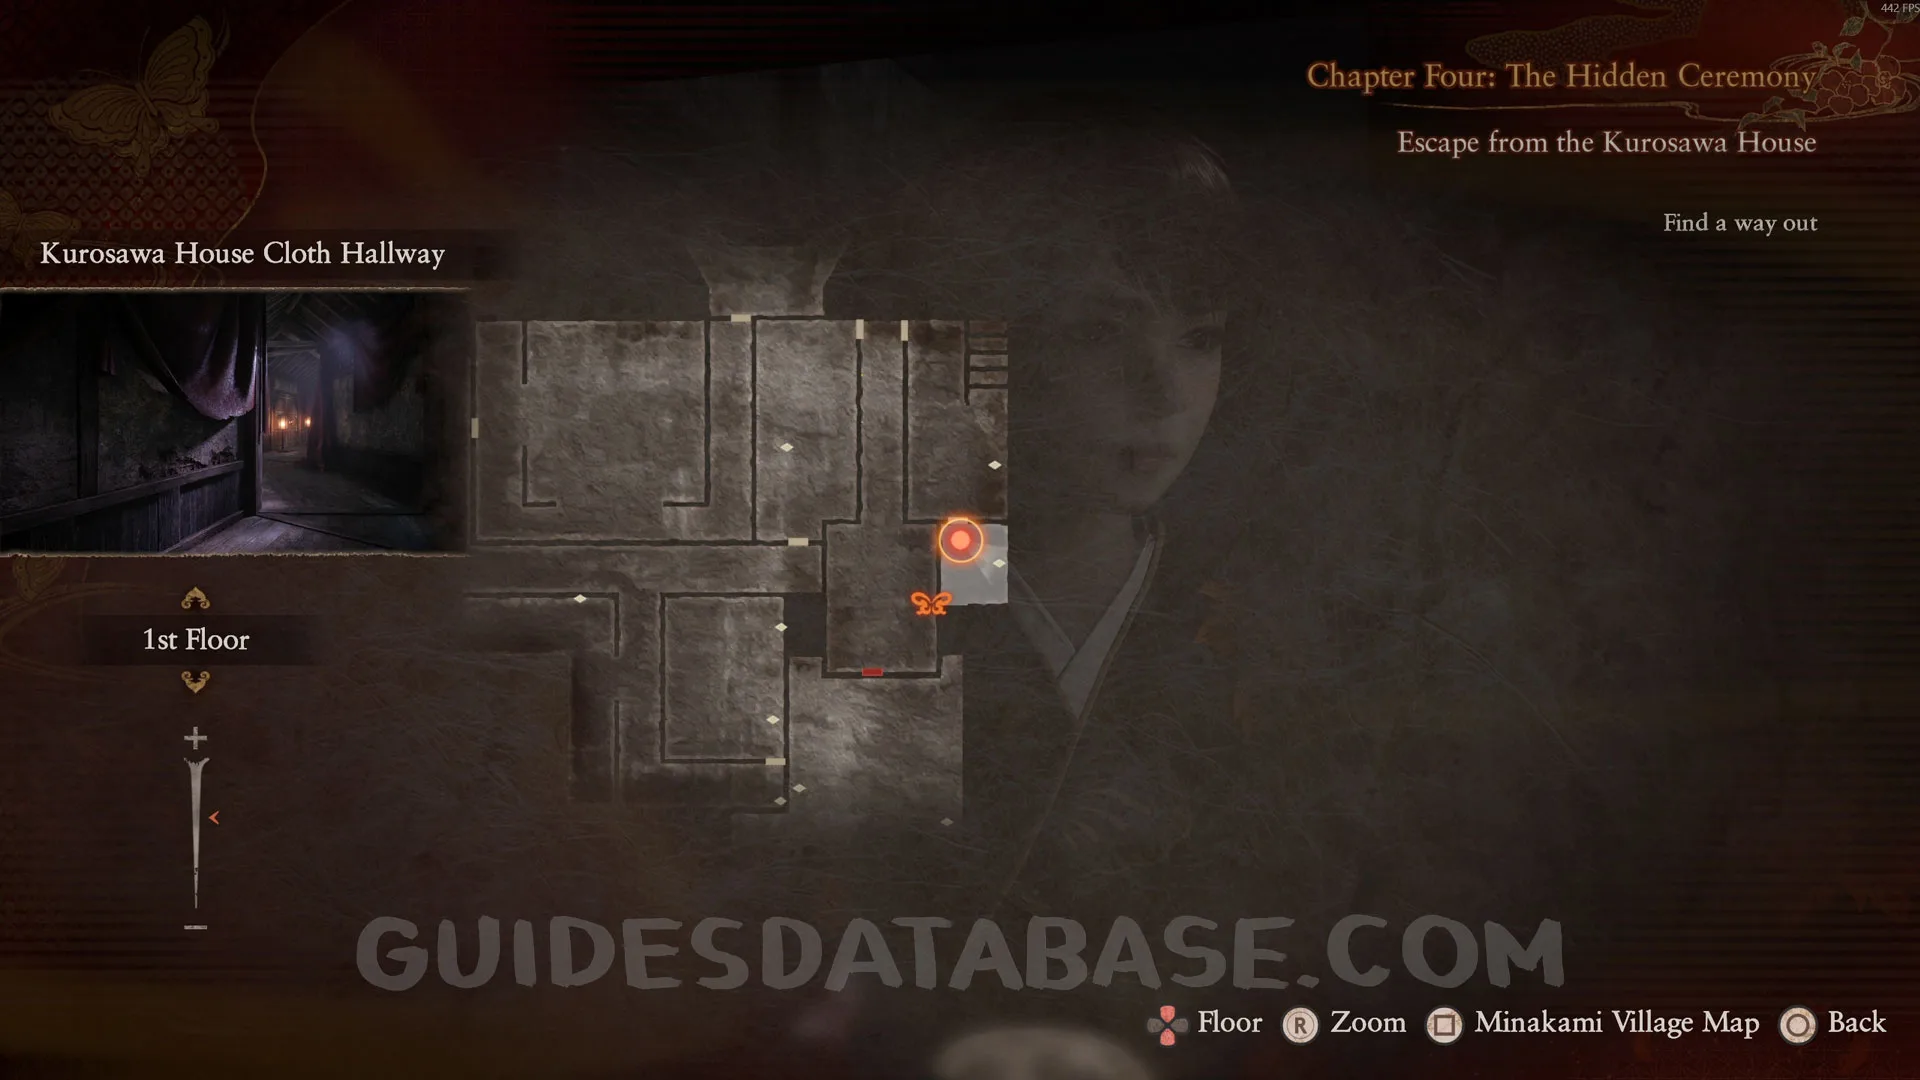
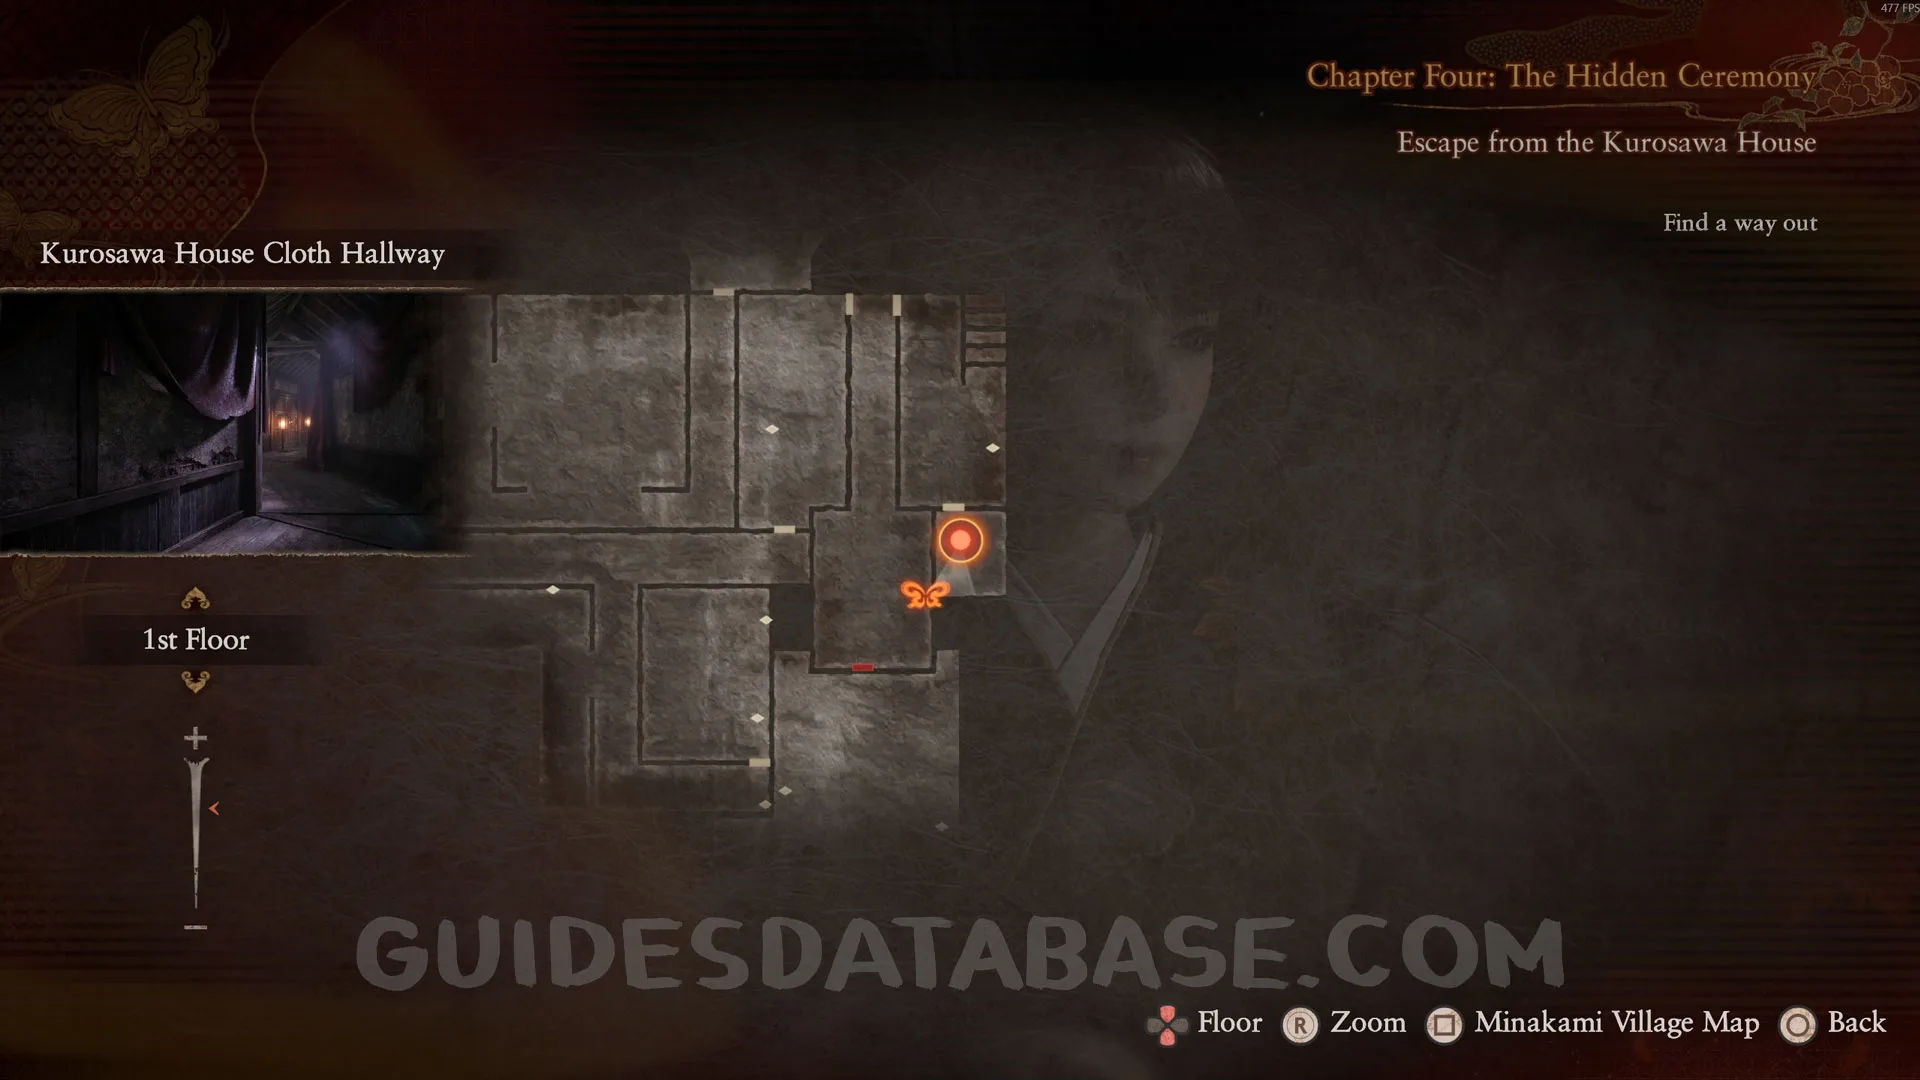
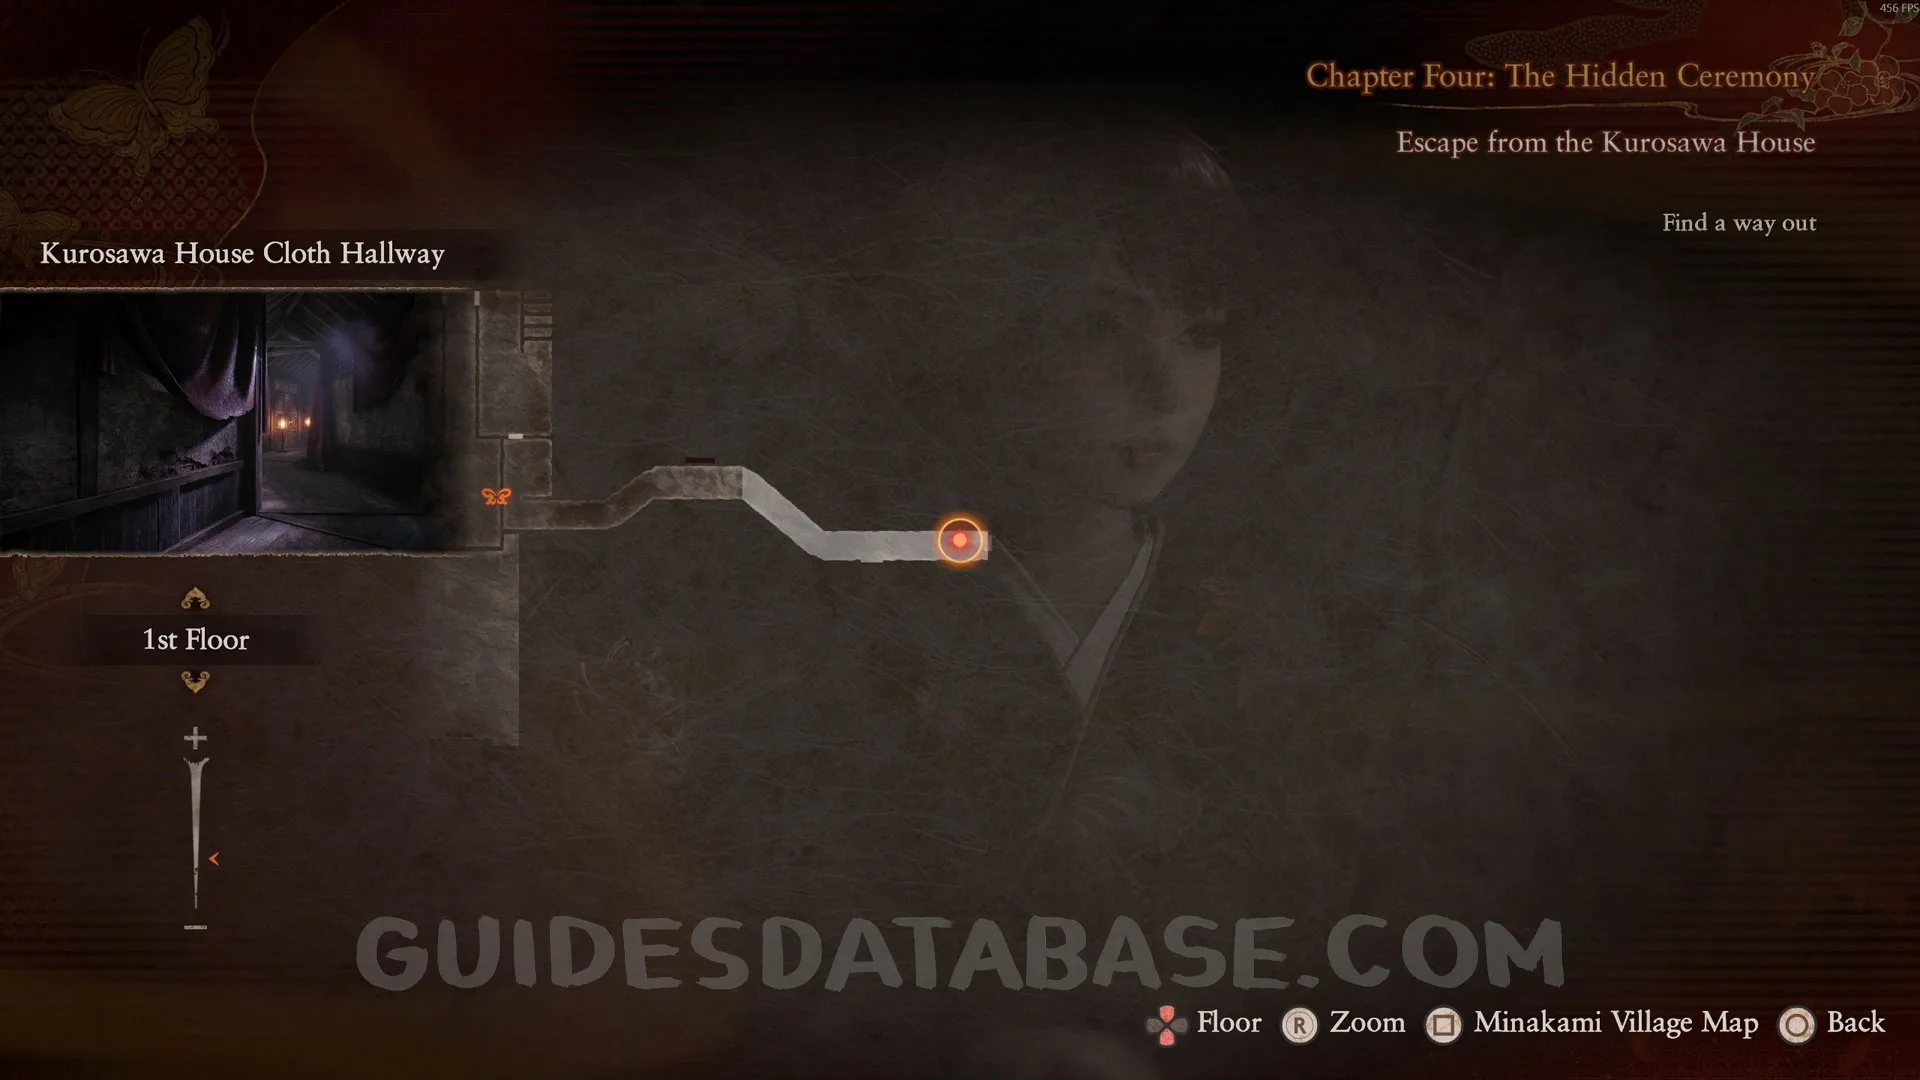
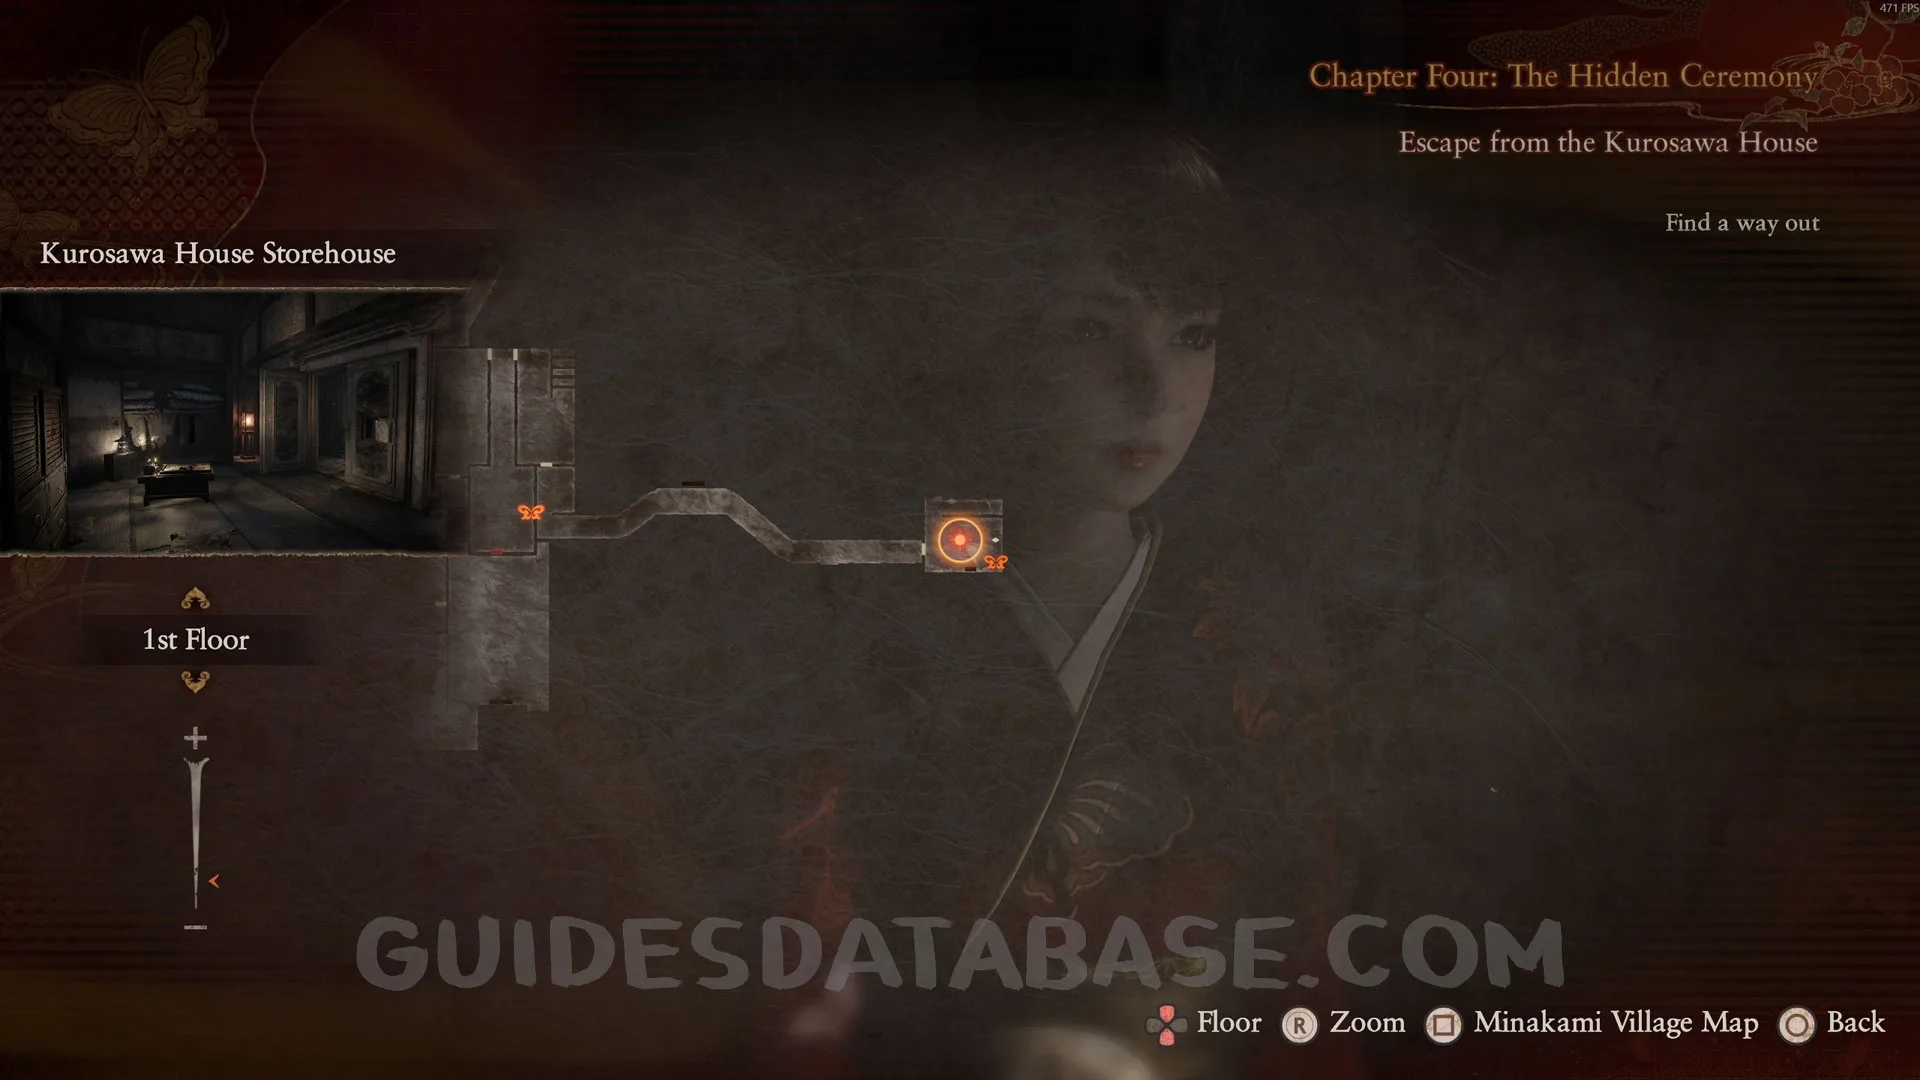
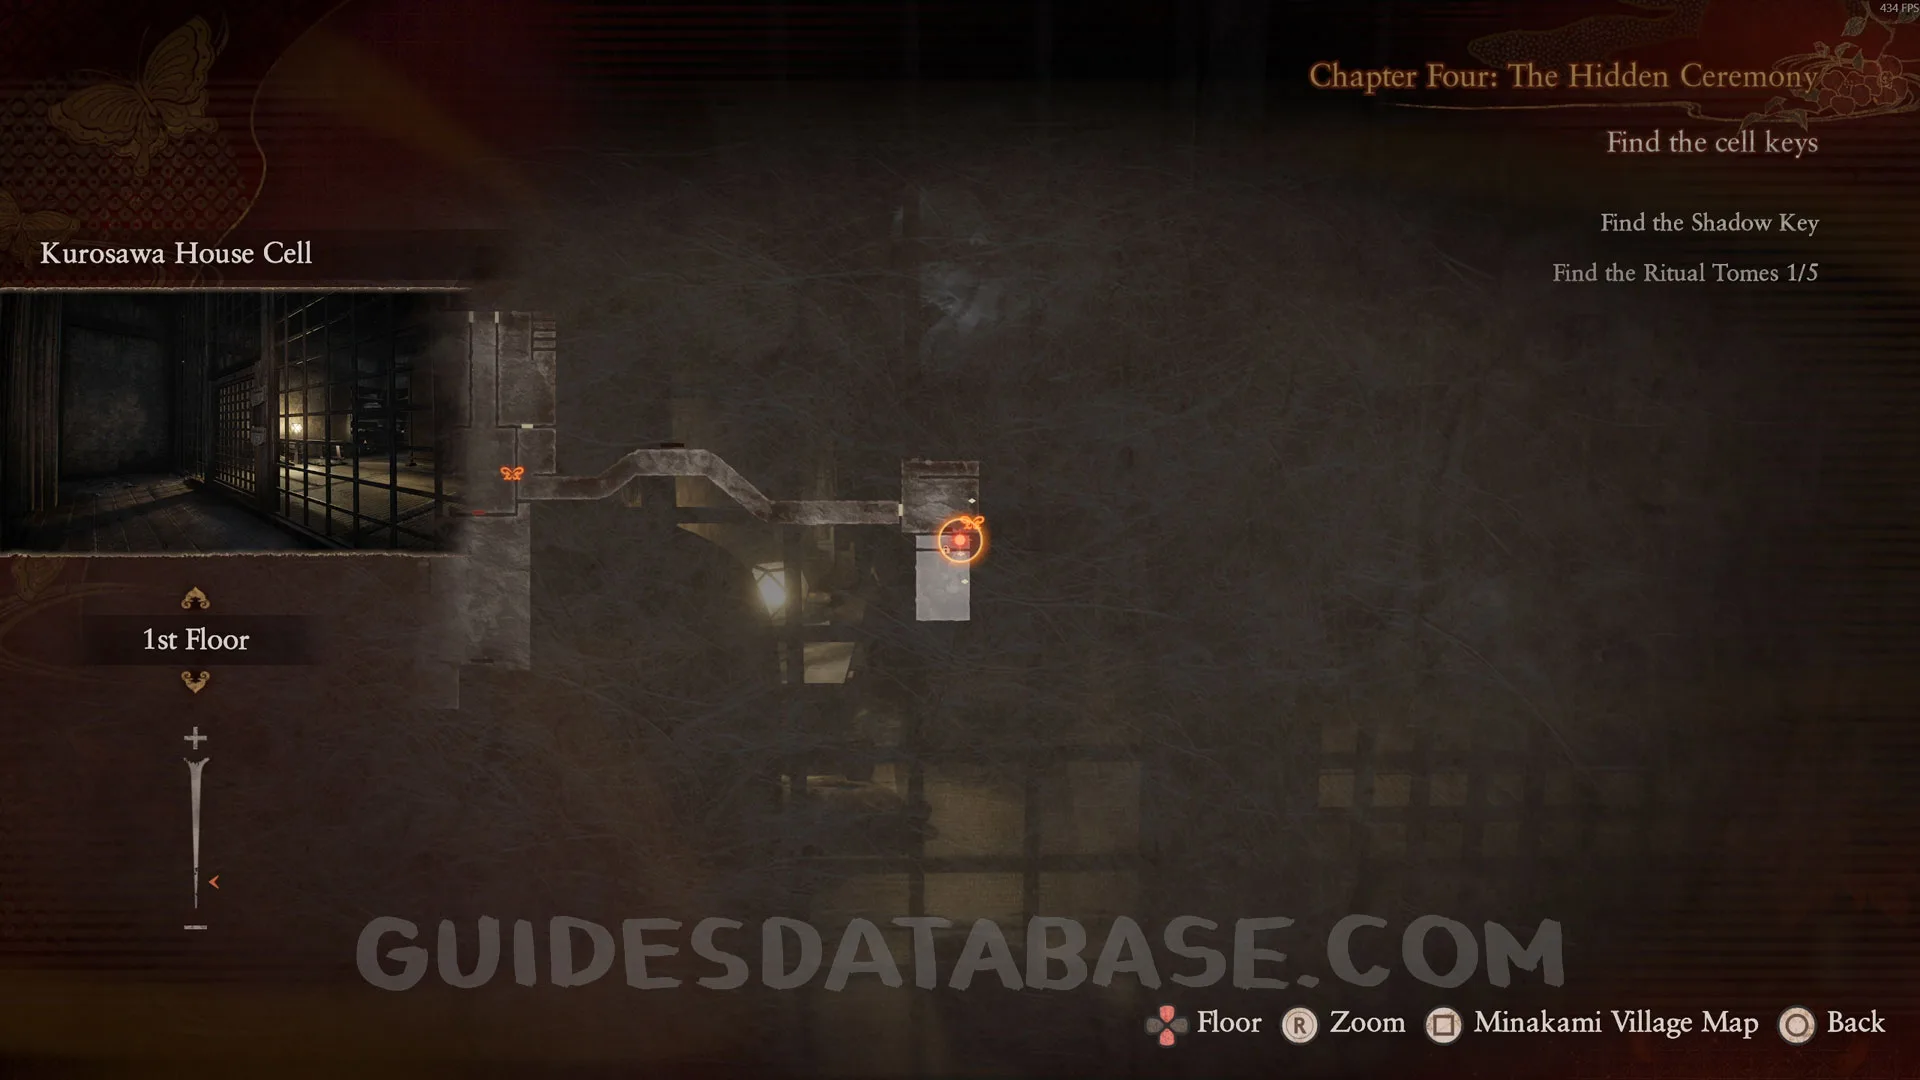
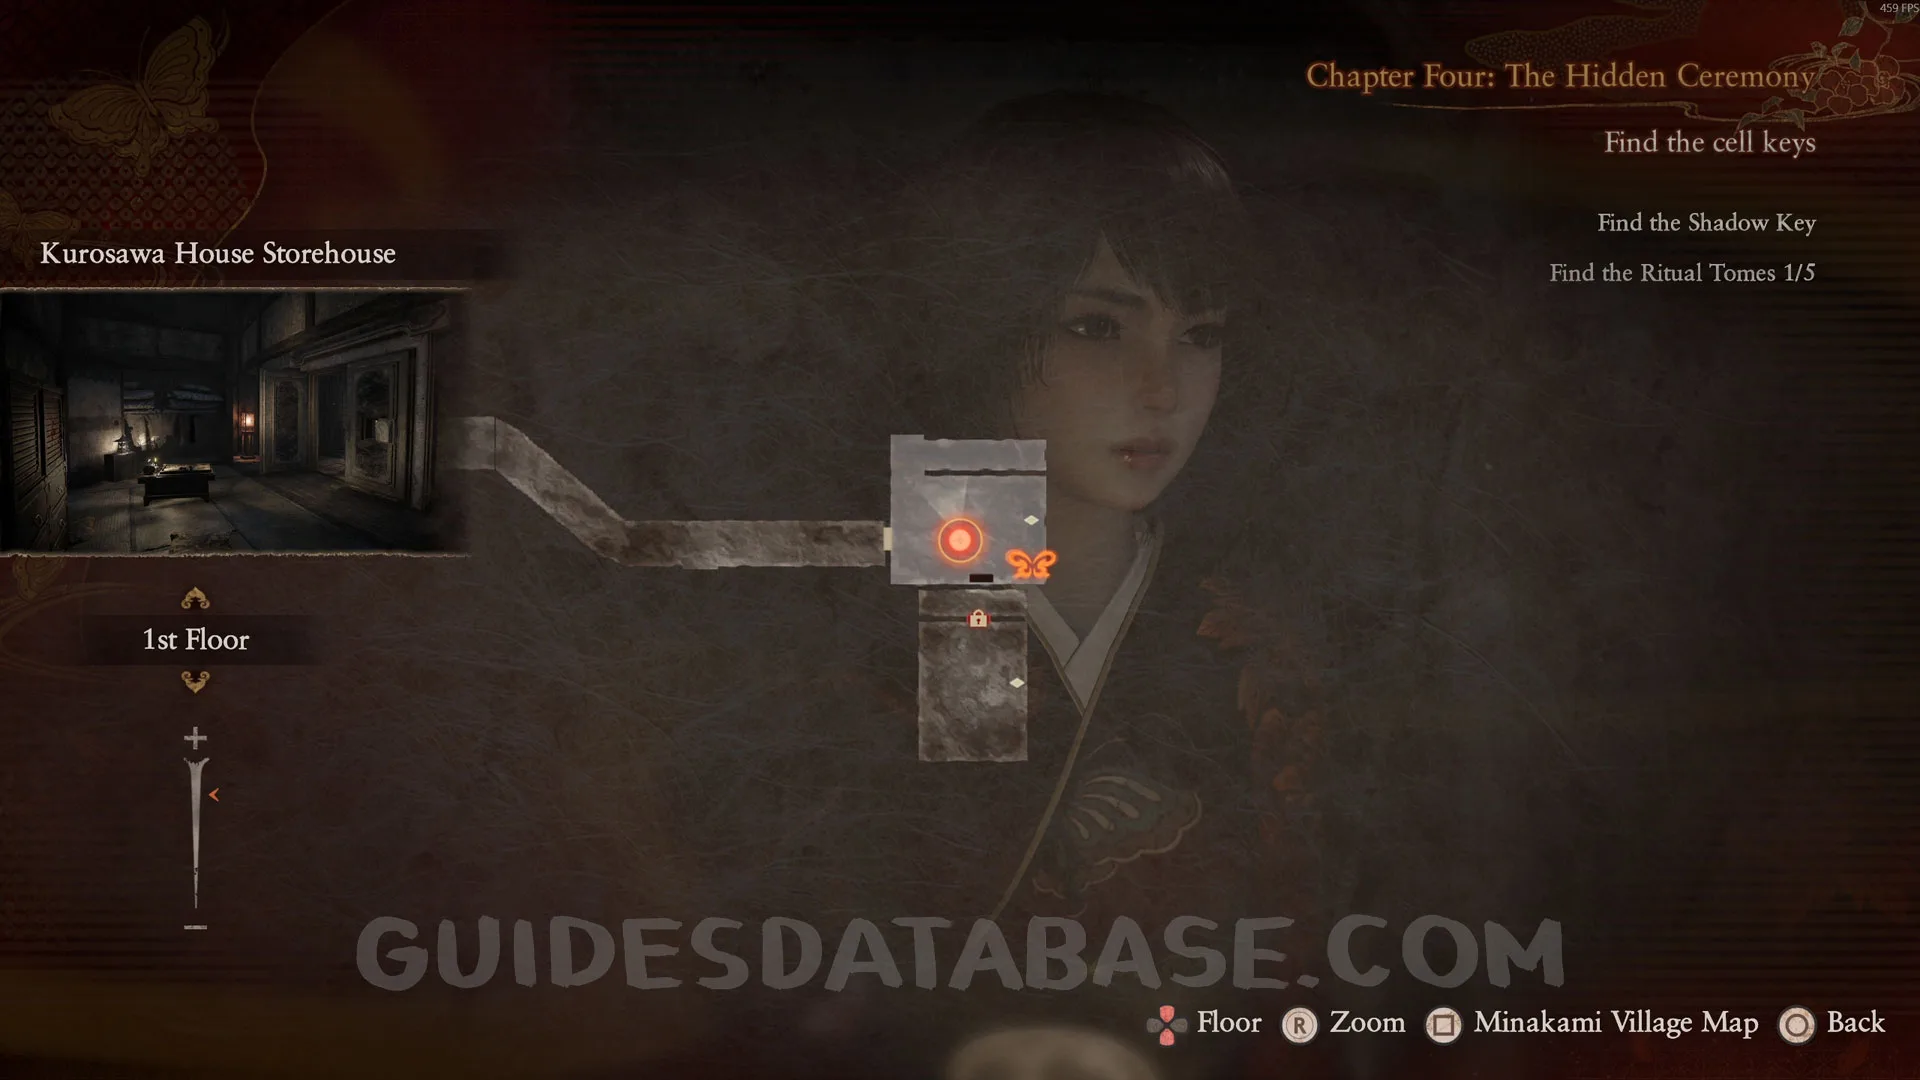
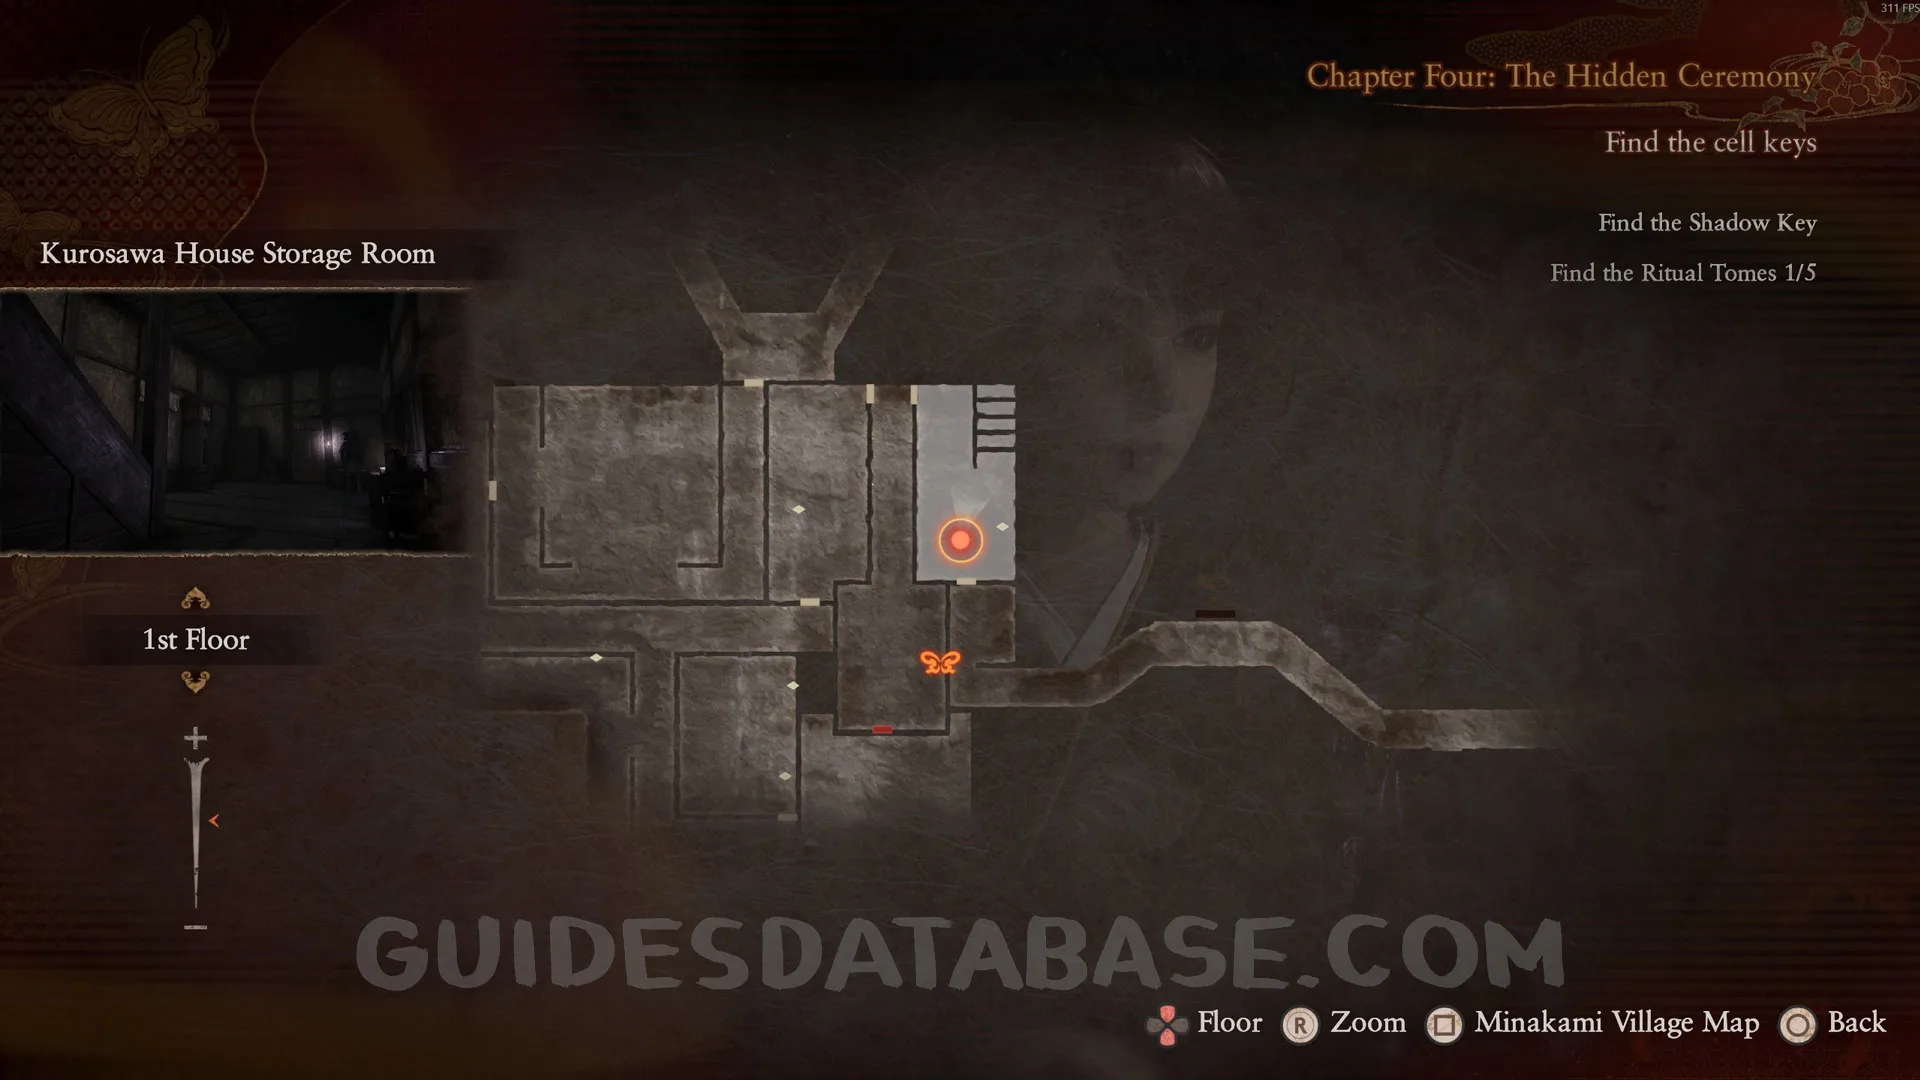
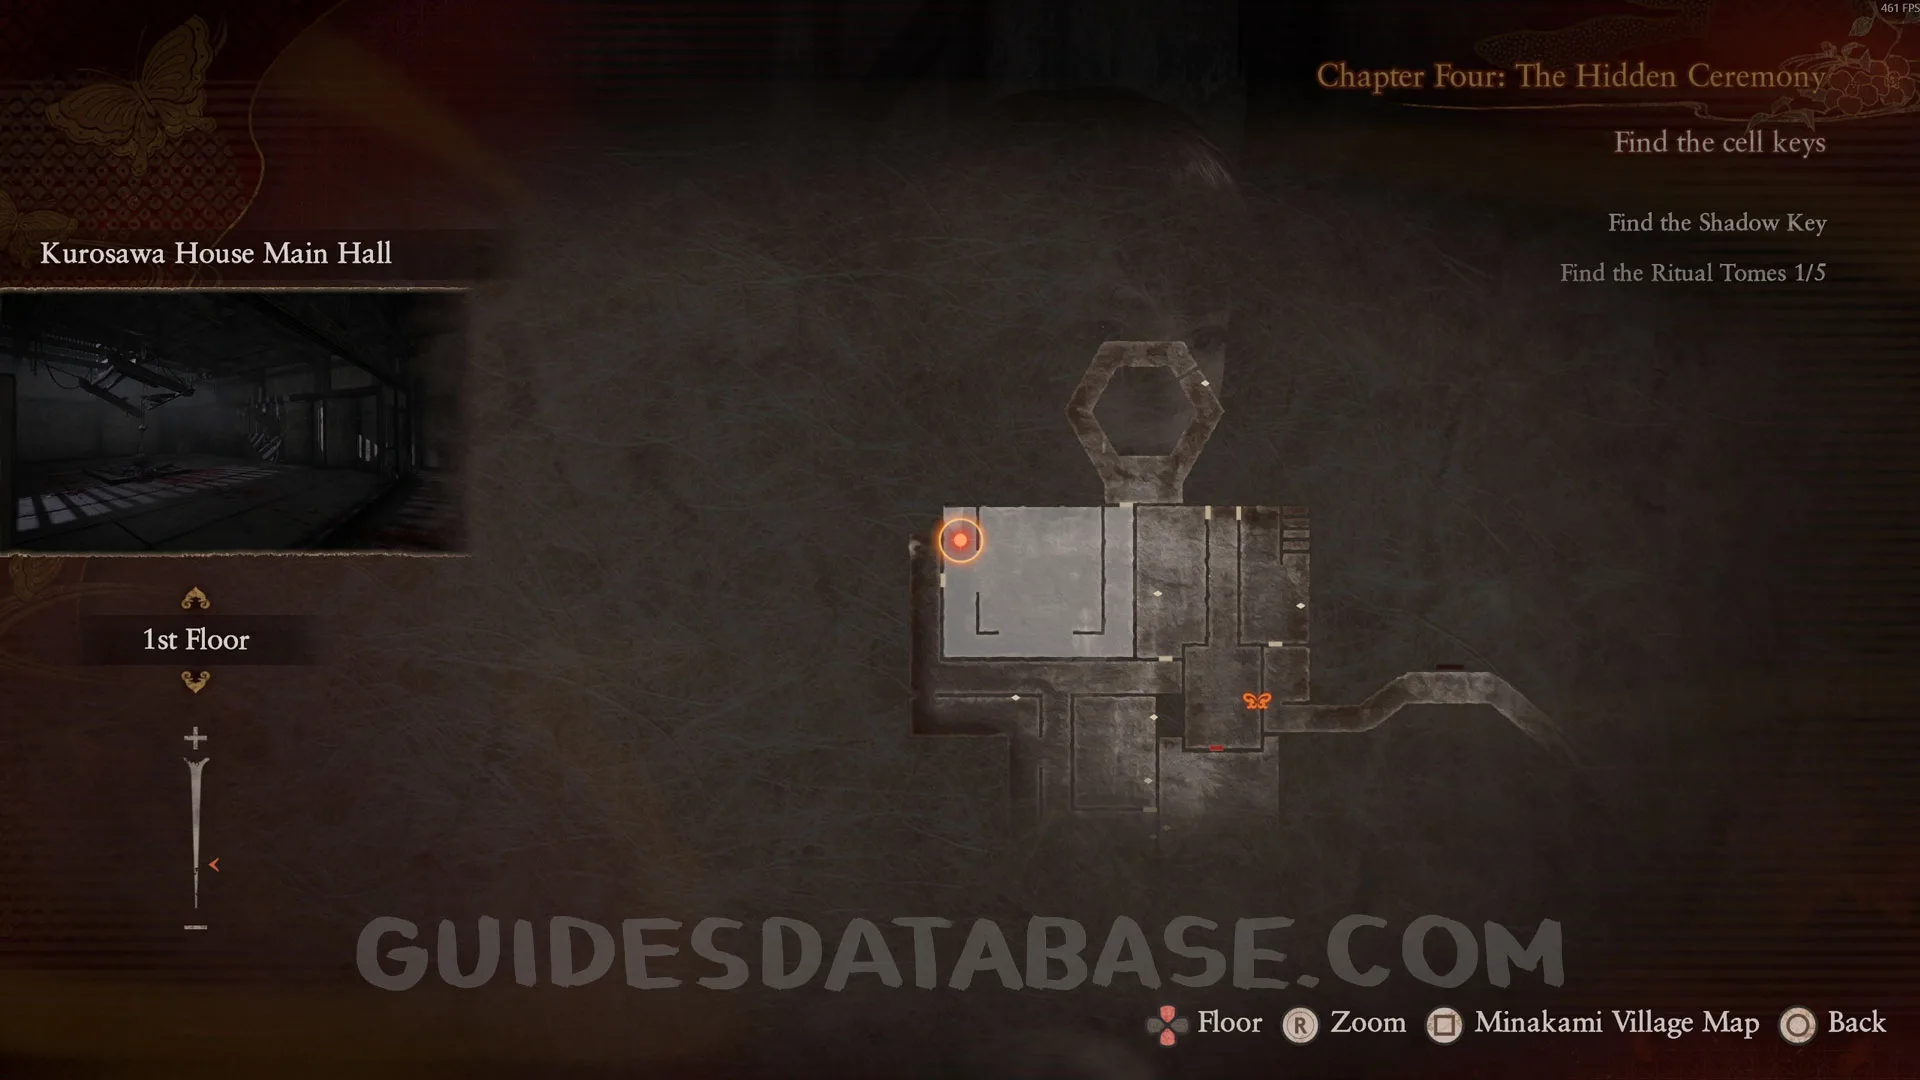
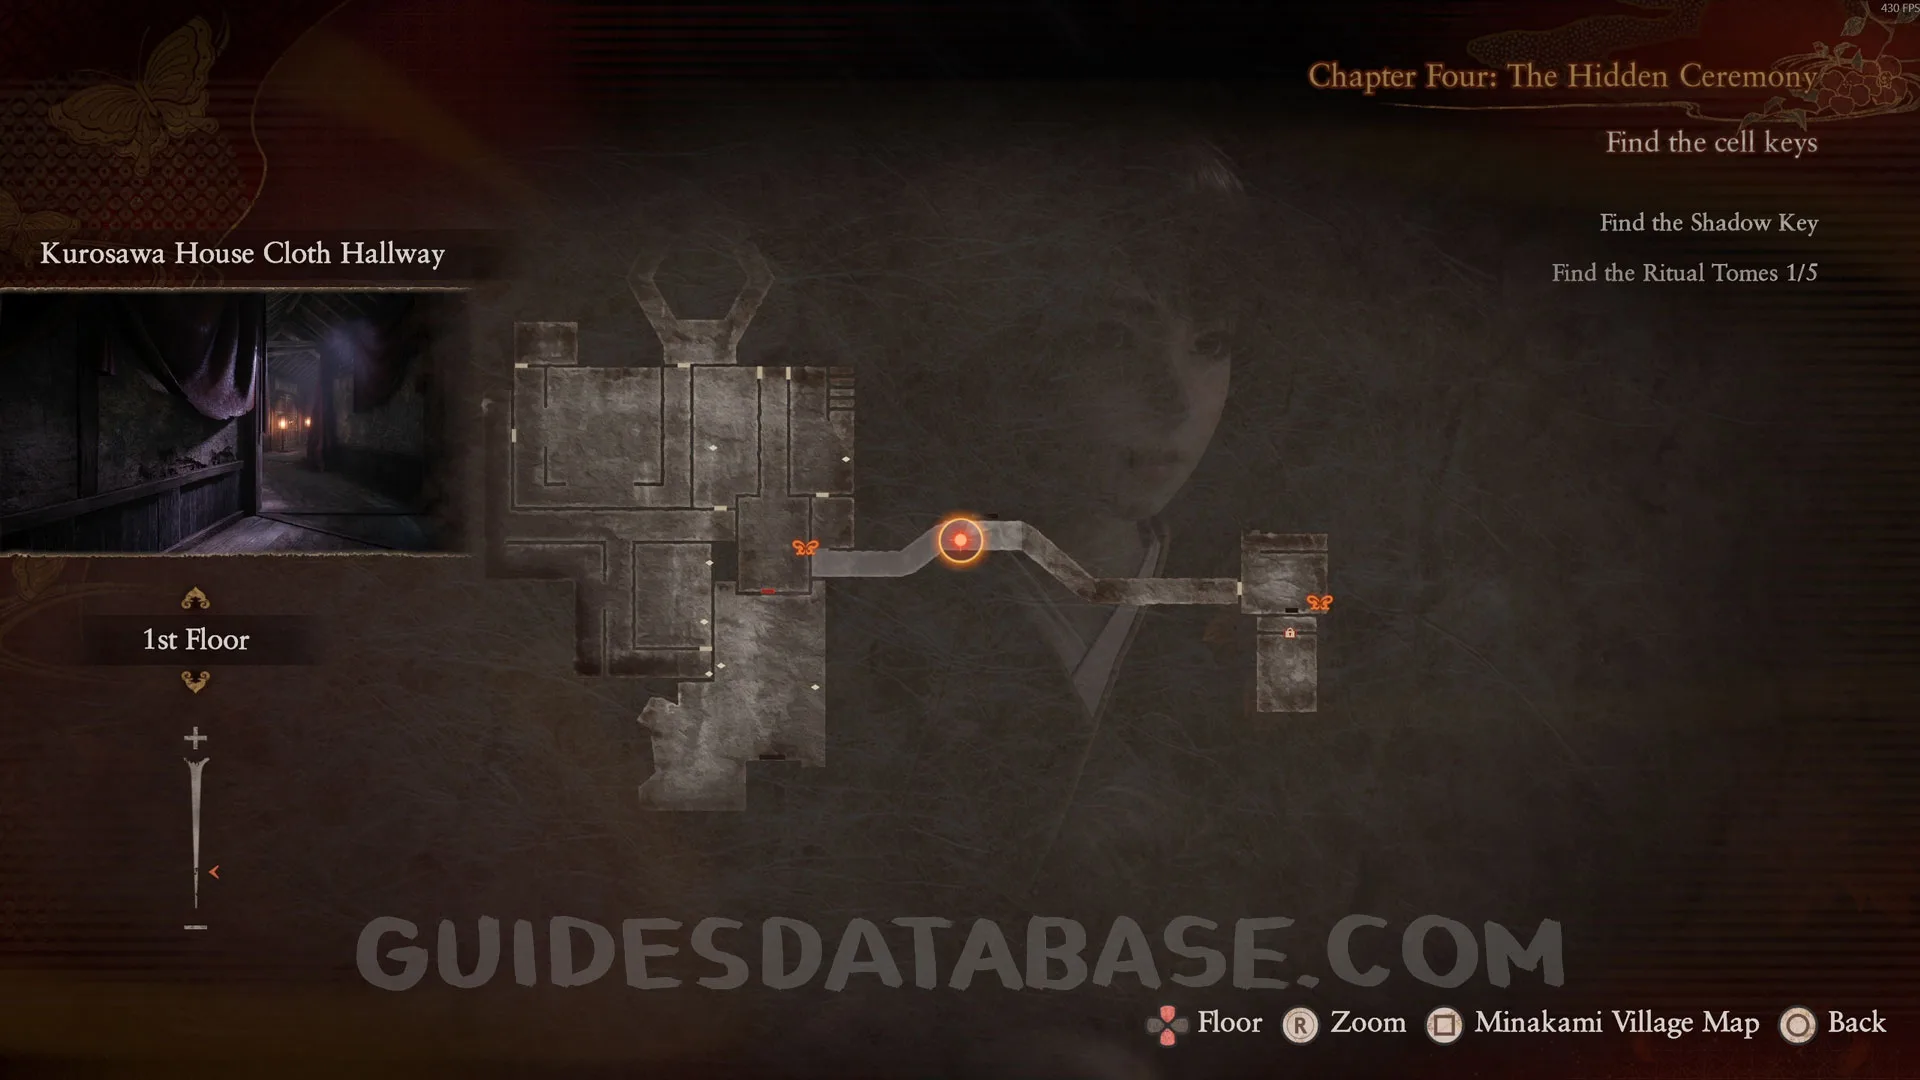
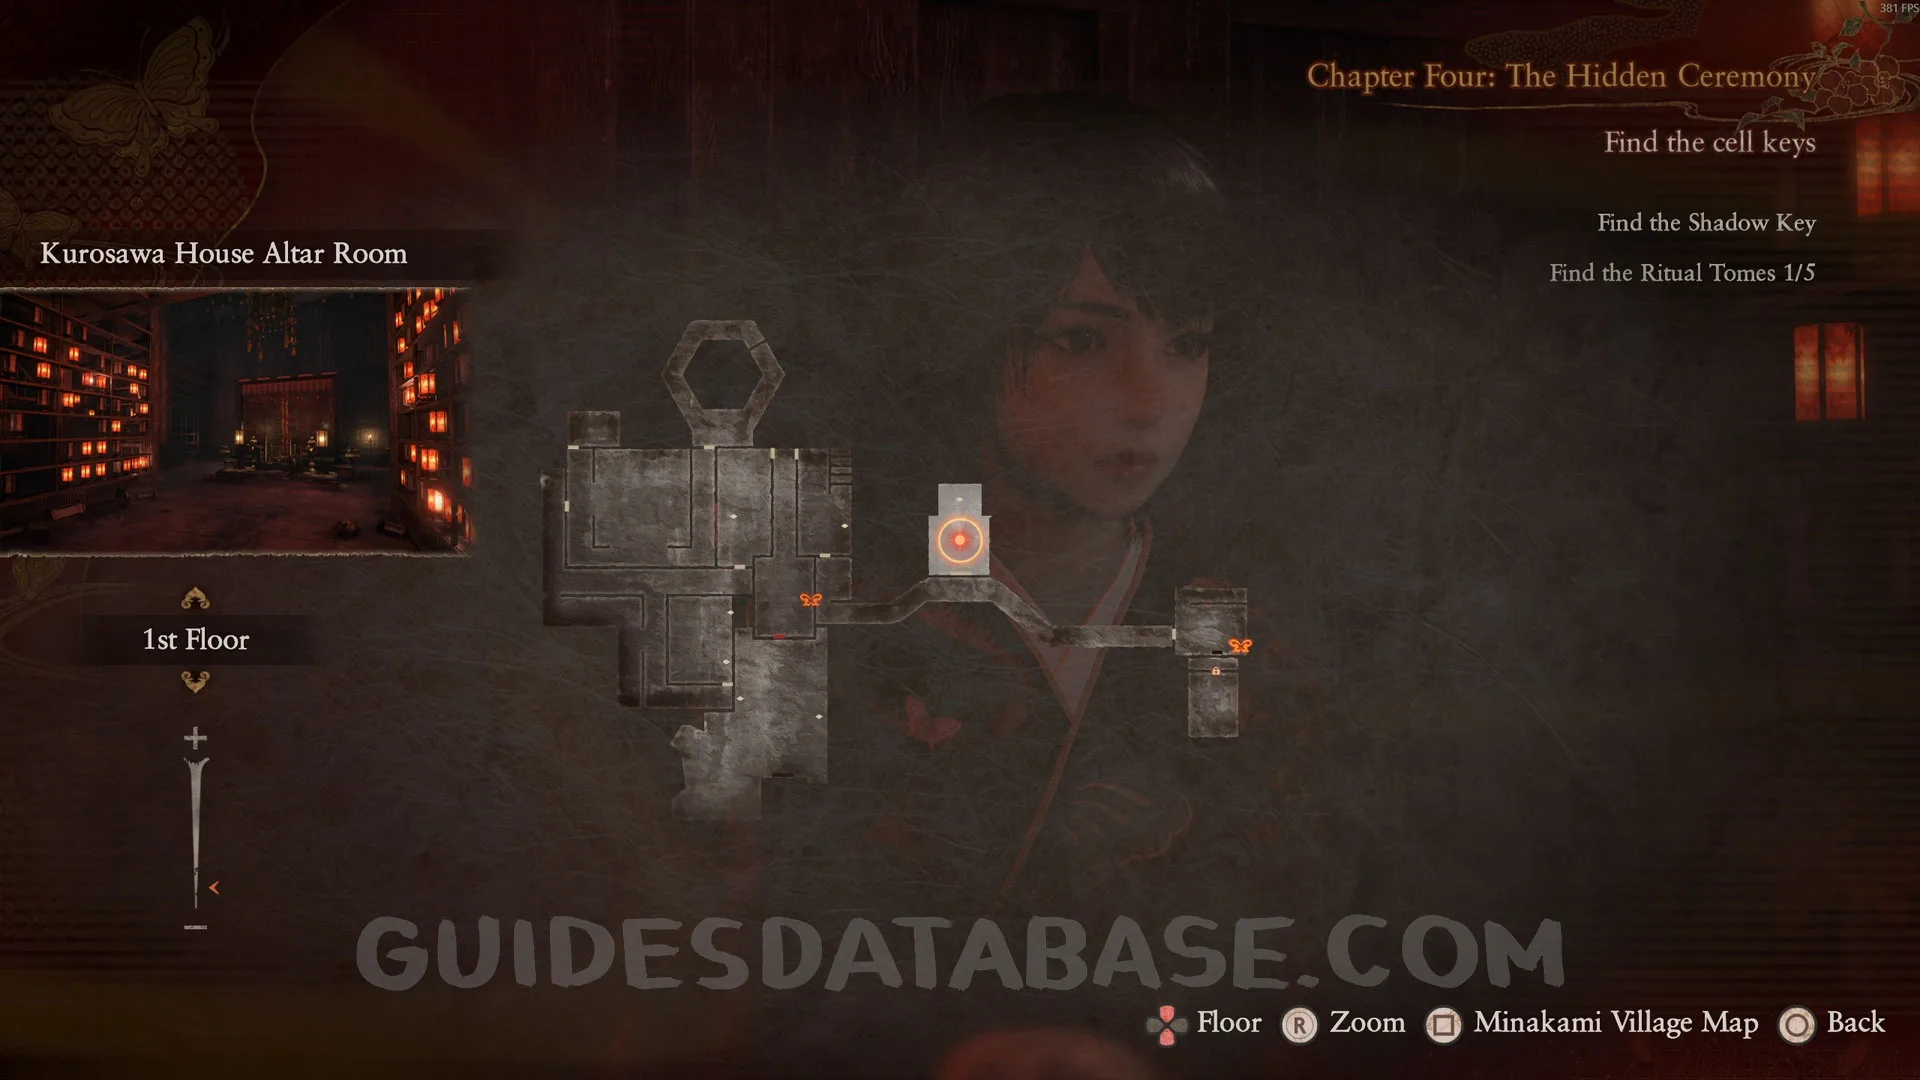
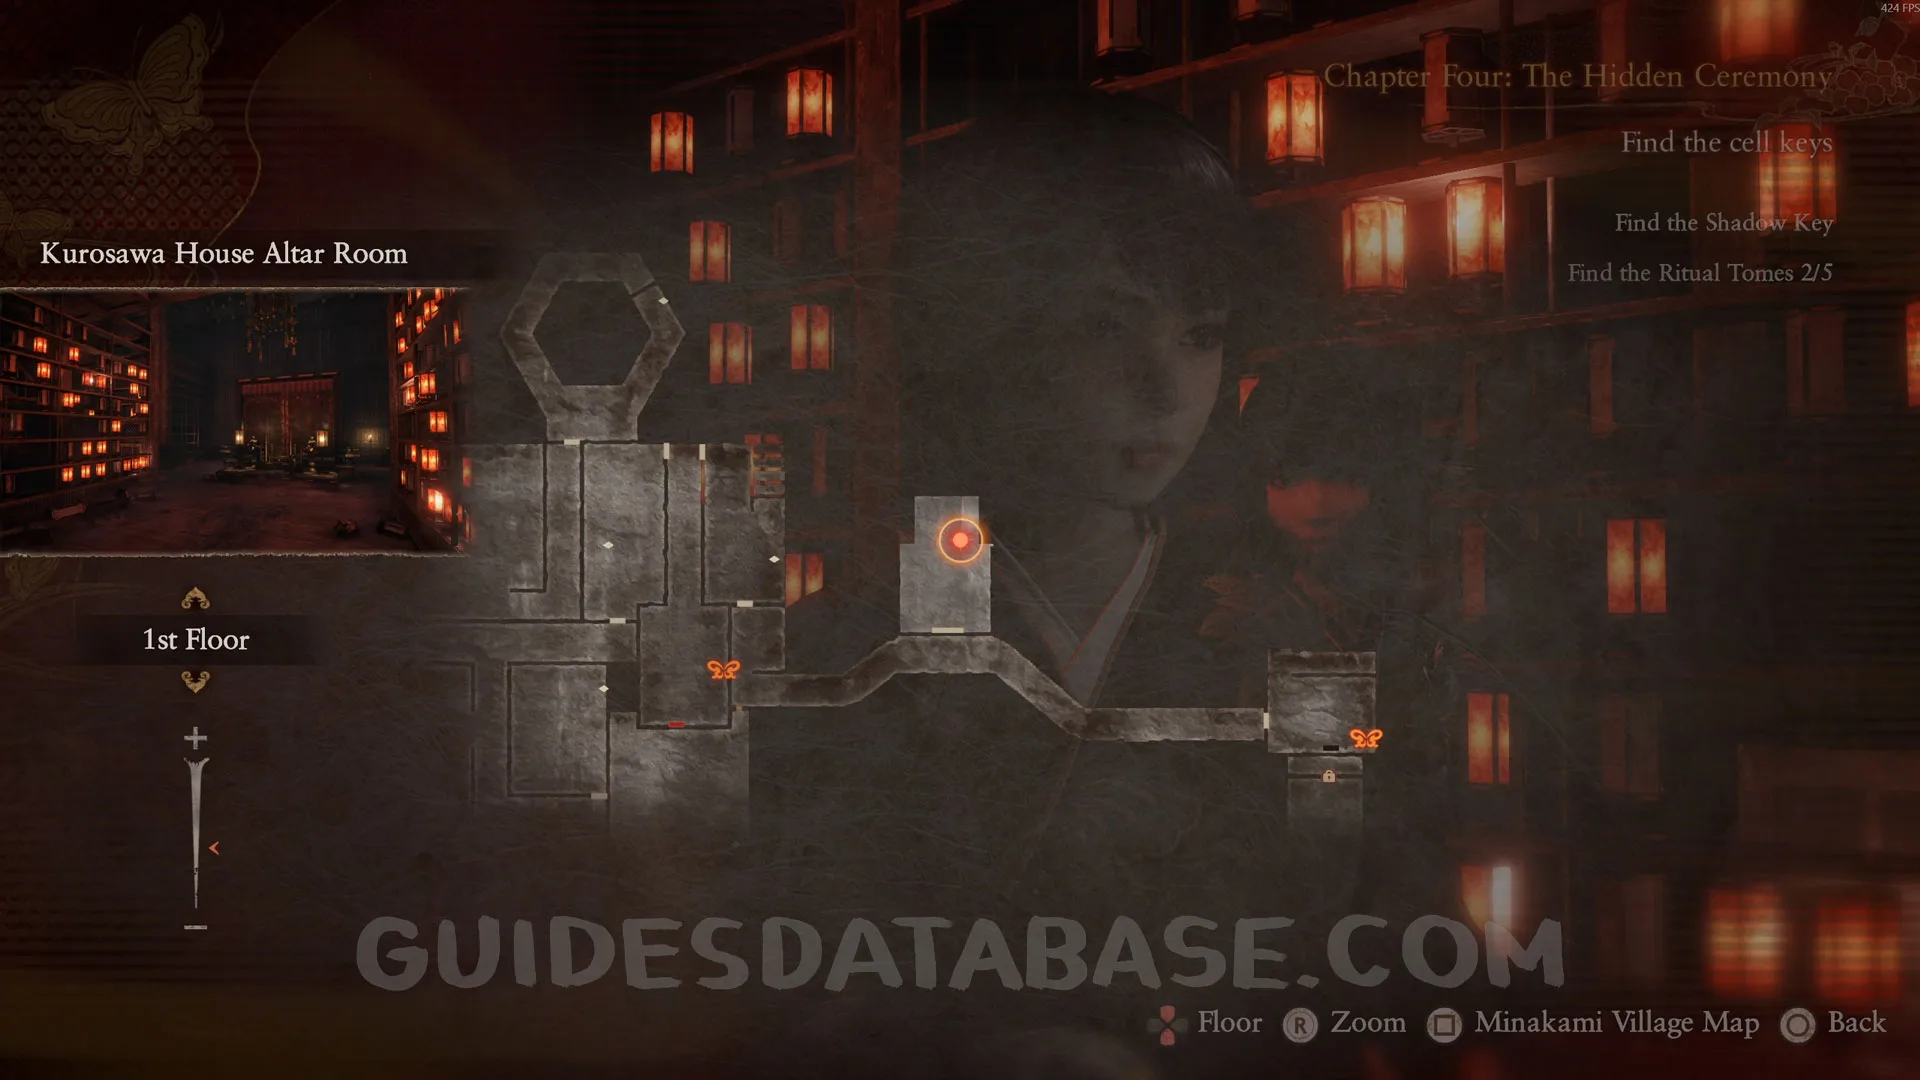
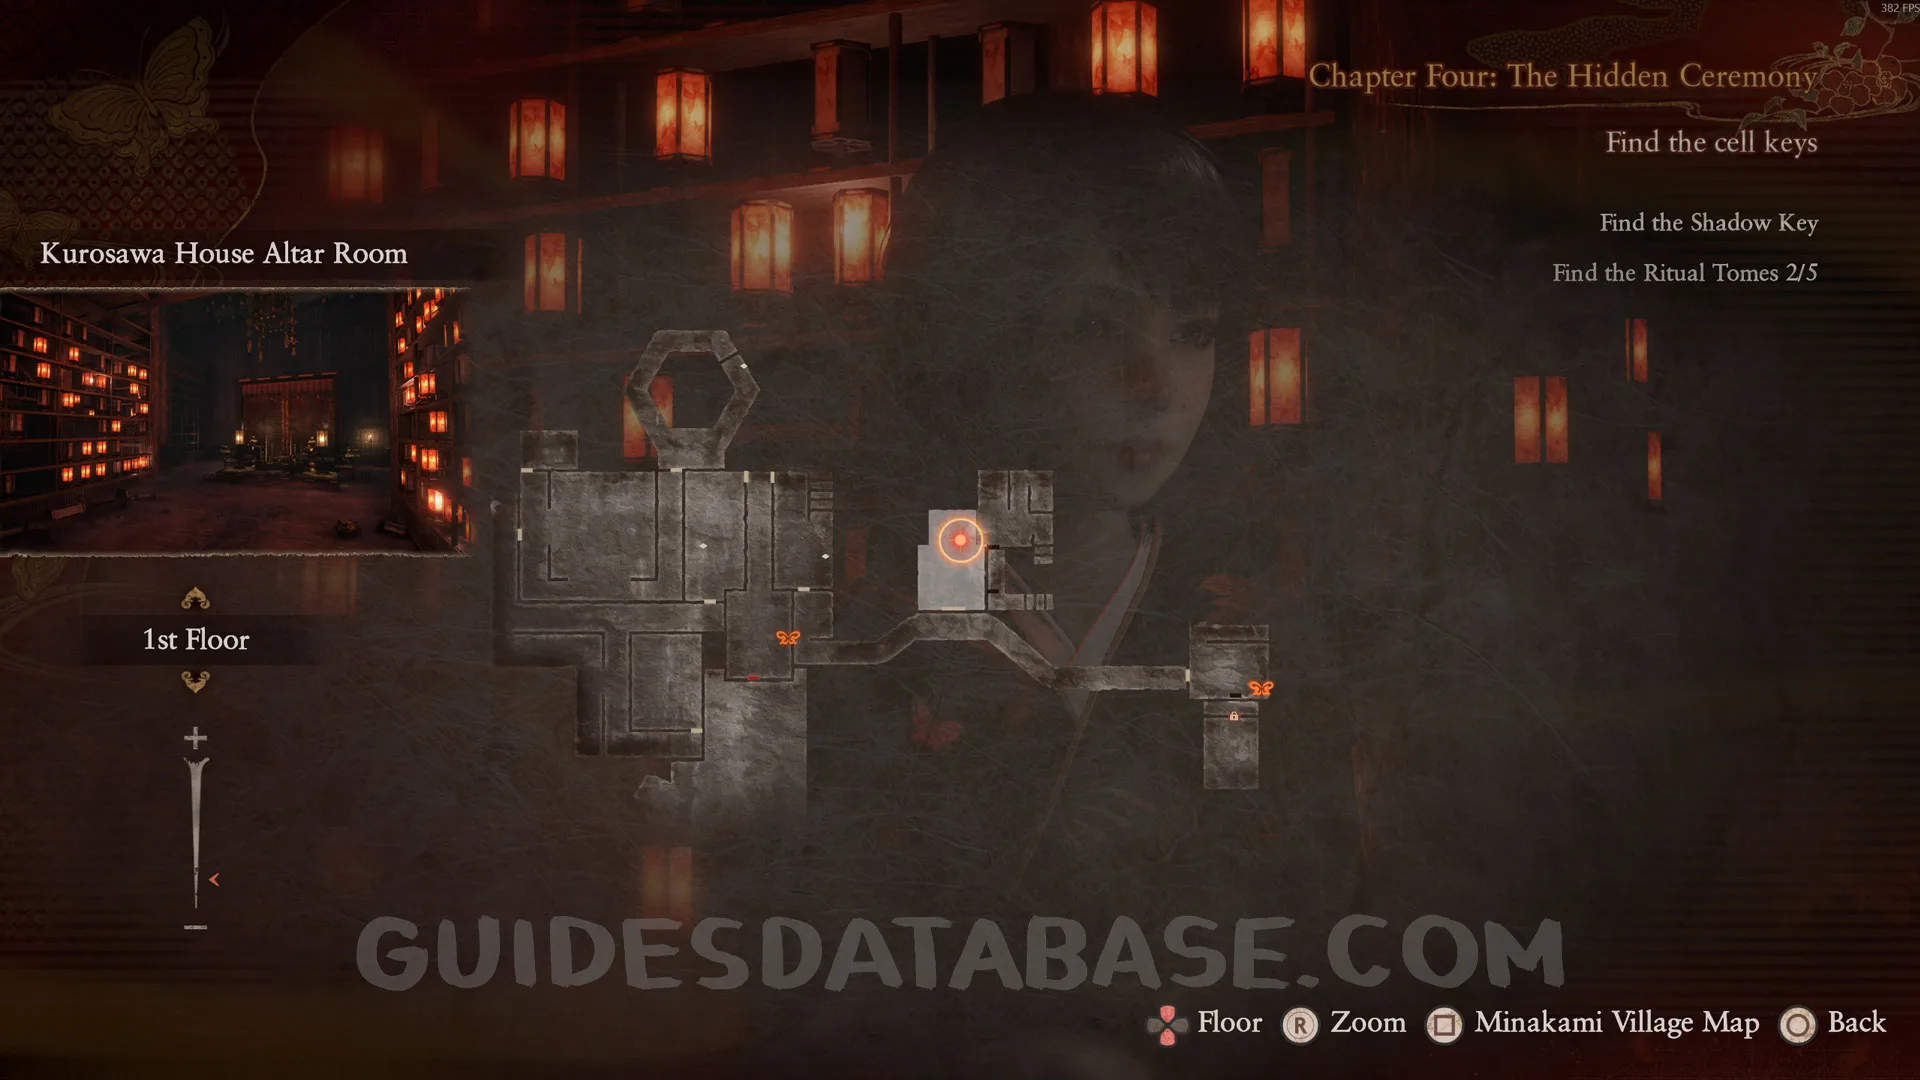
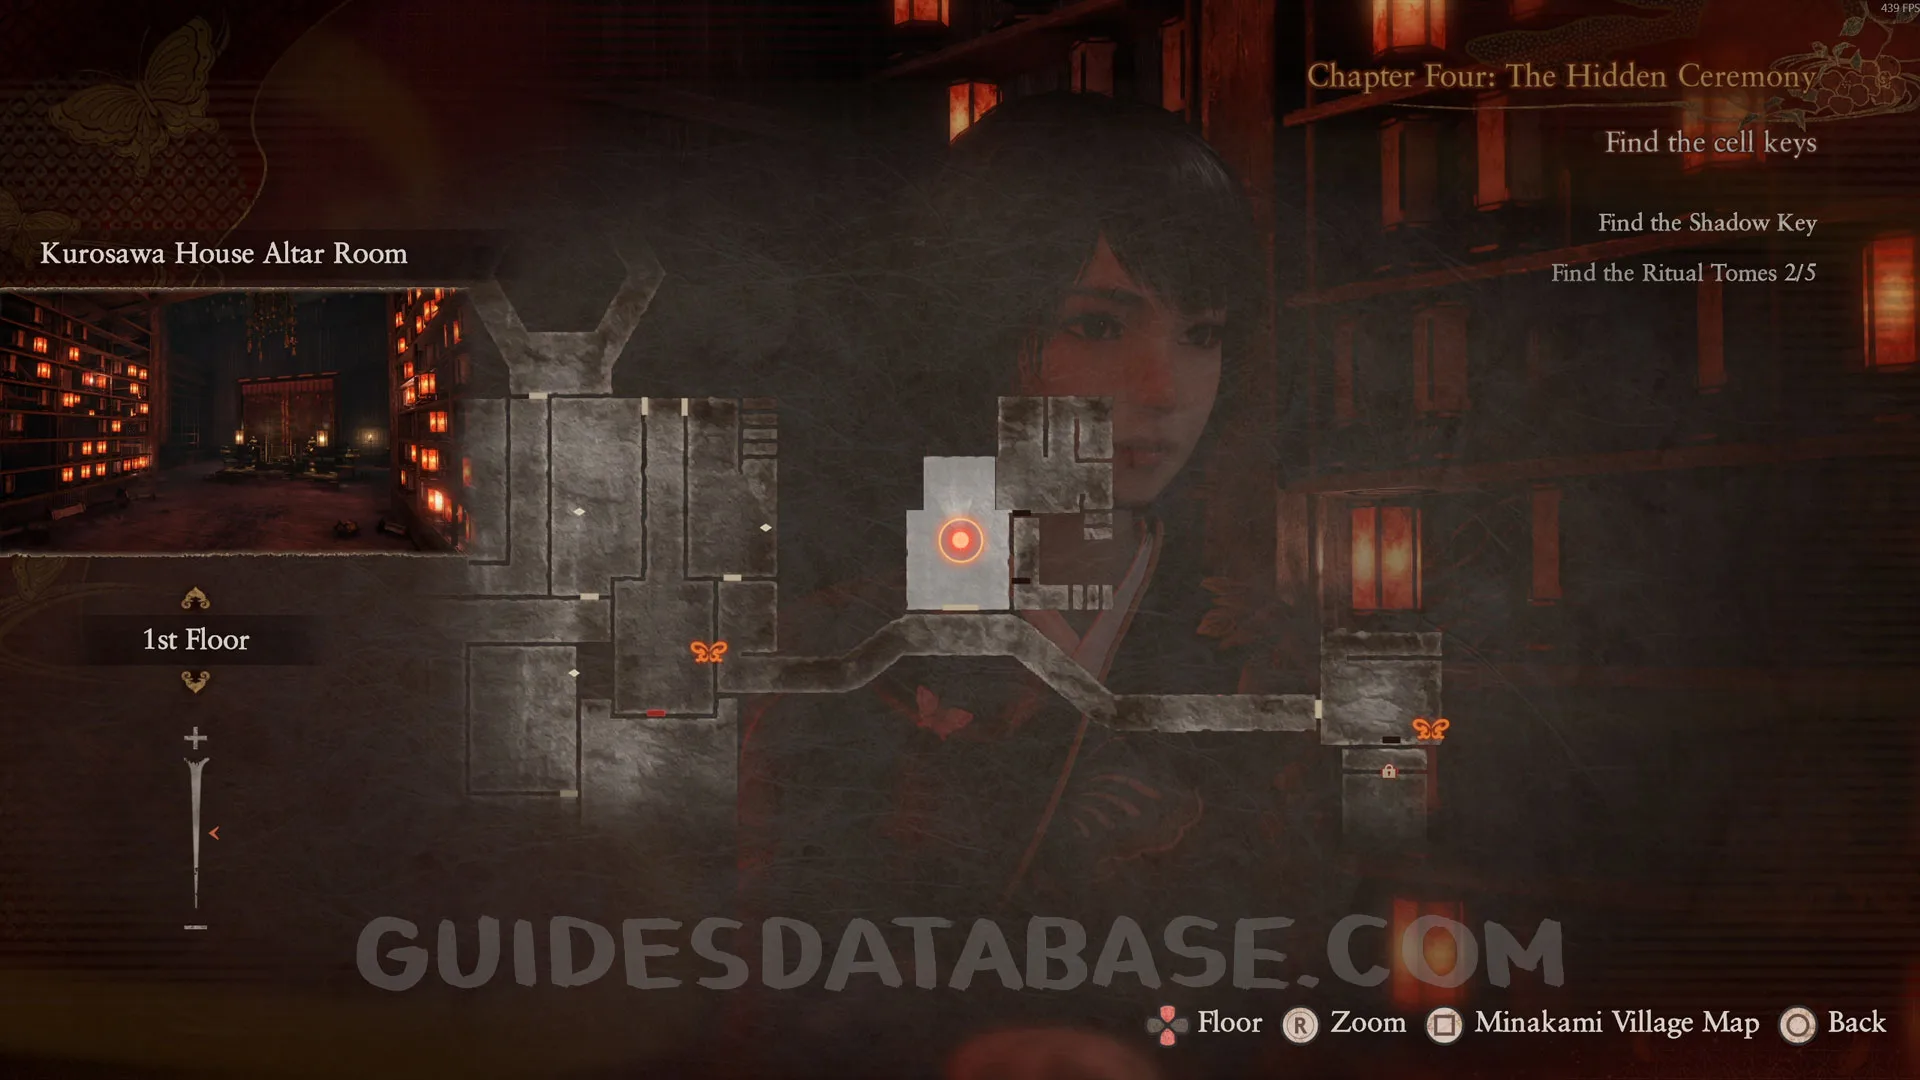
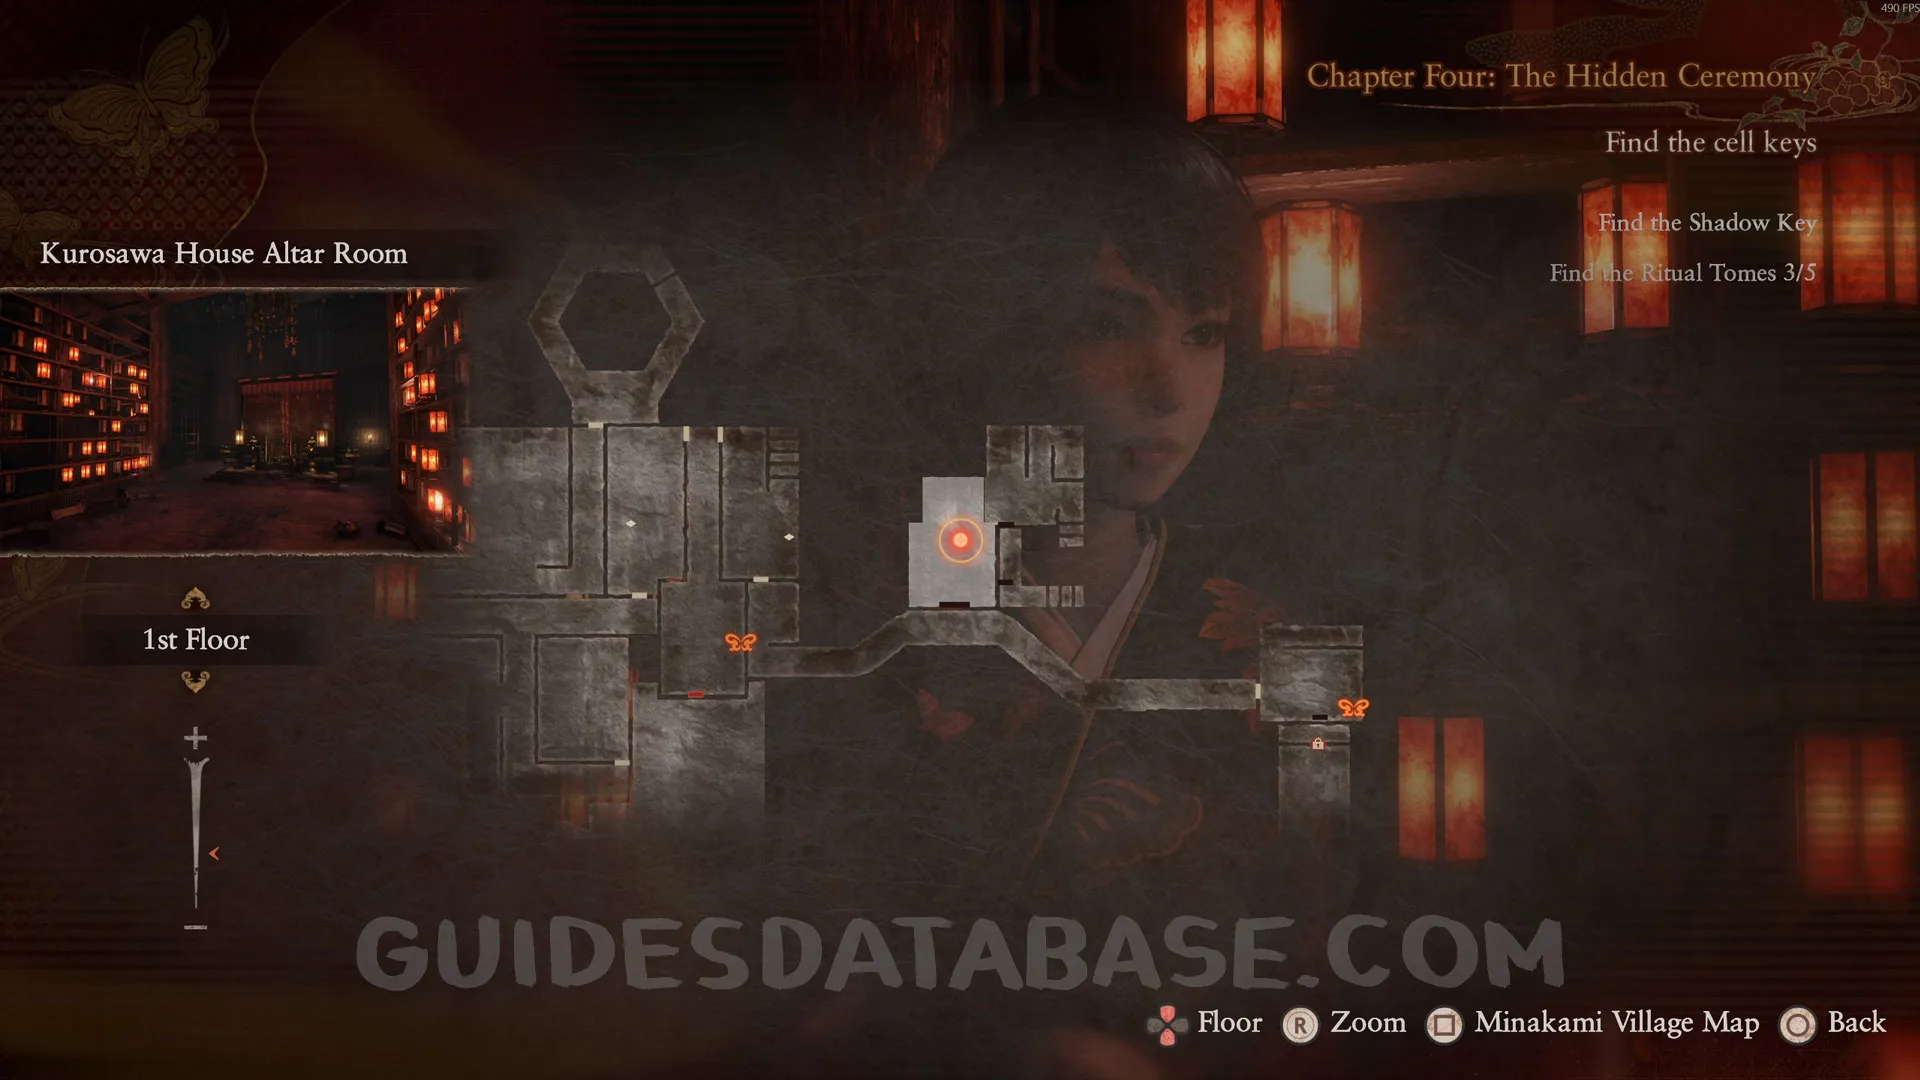
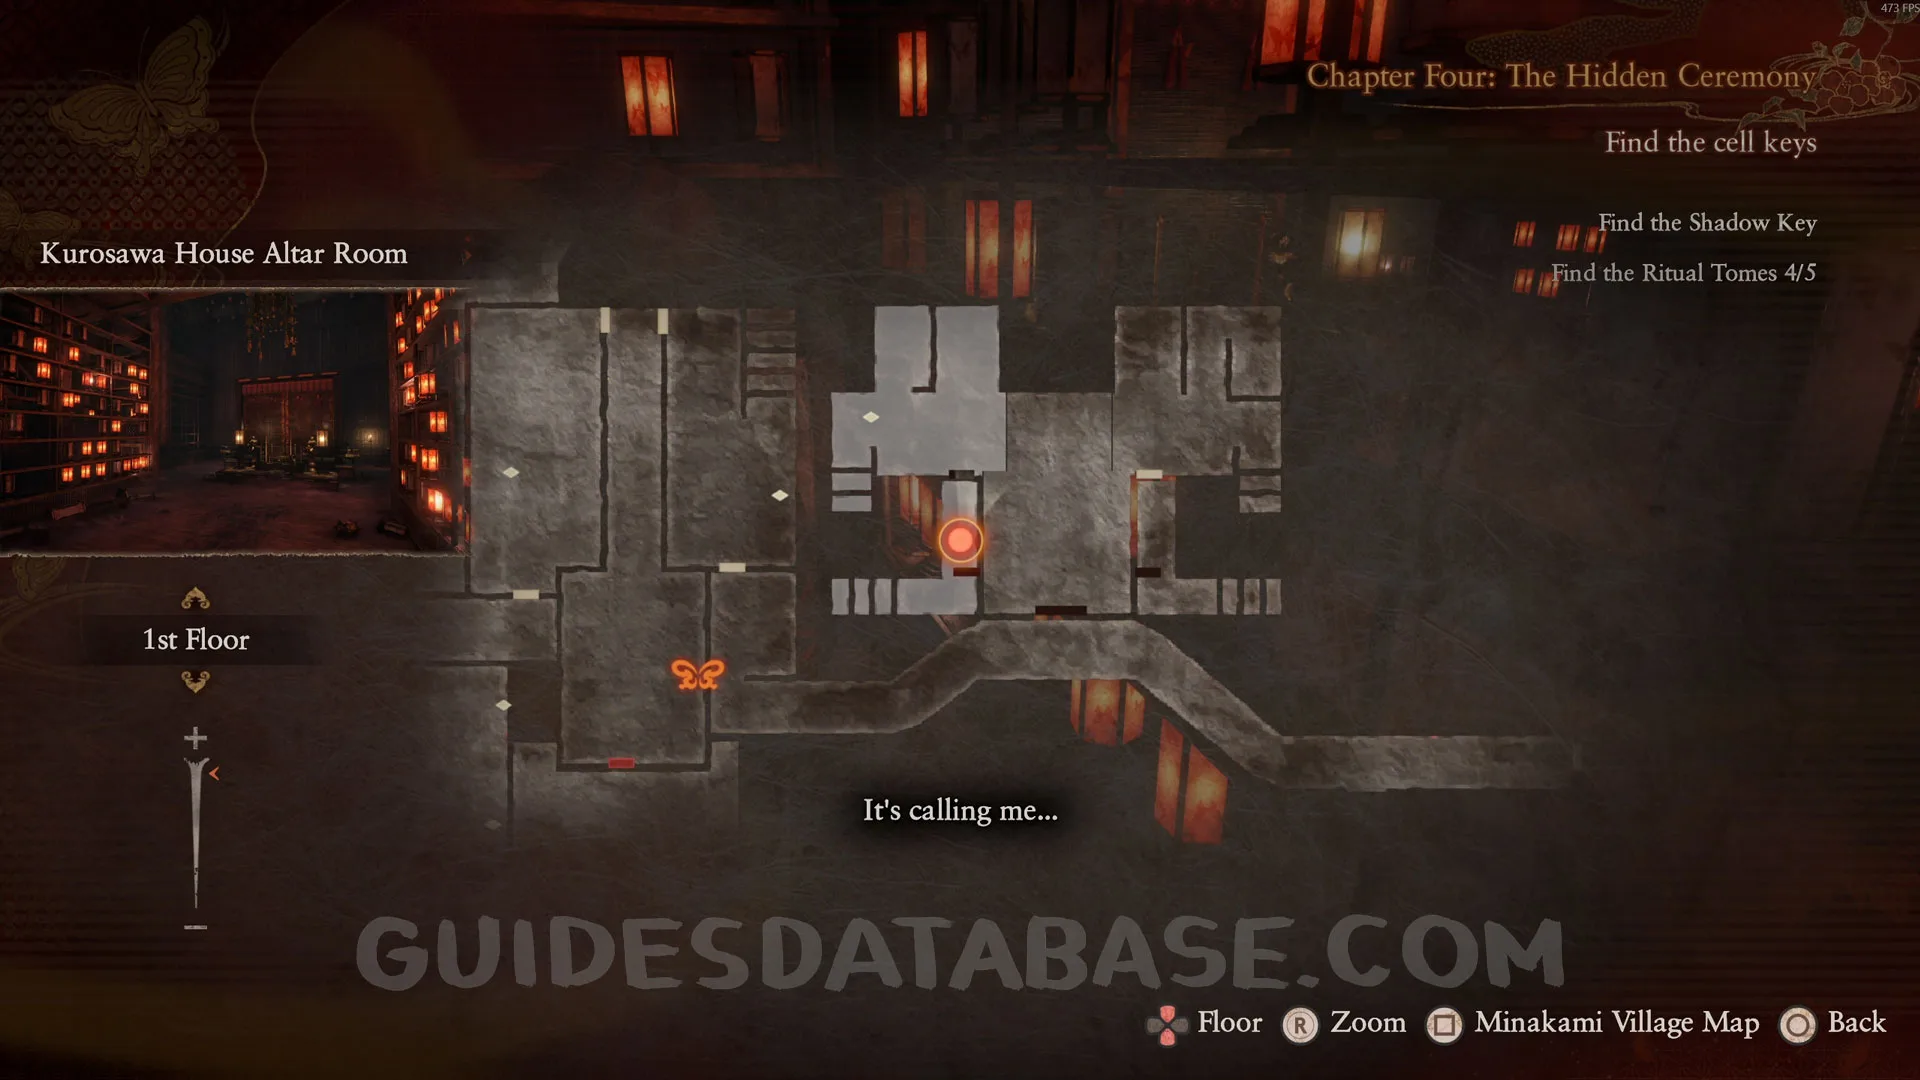
Chapter 4: The Hidden Ceremony
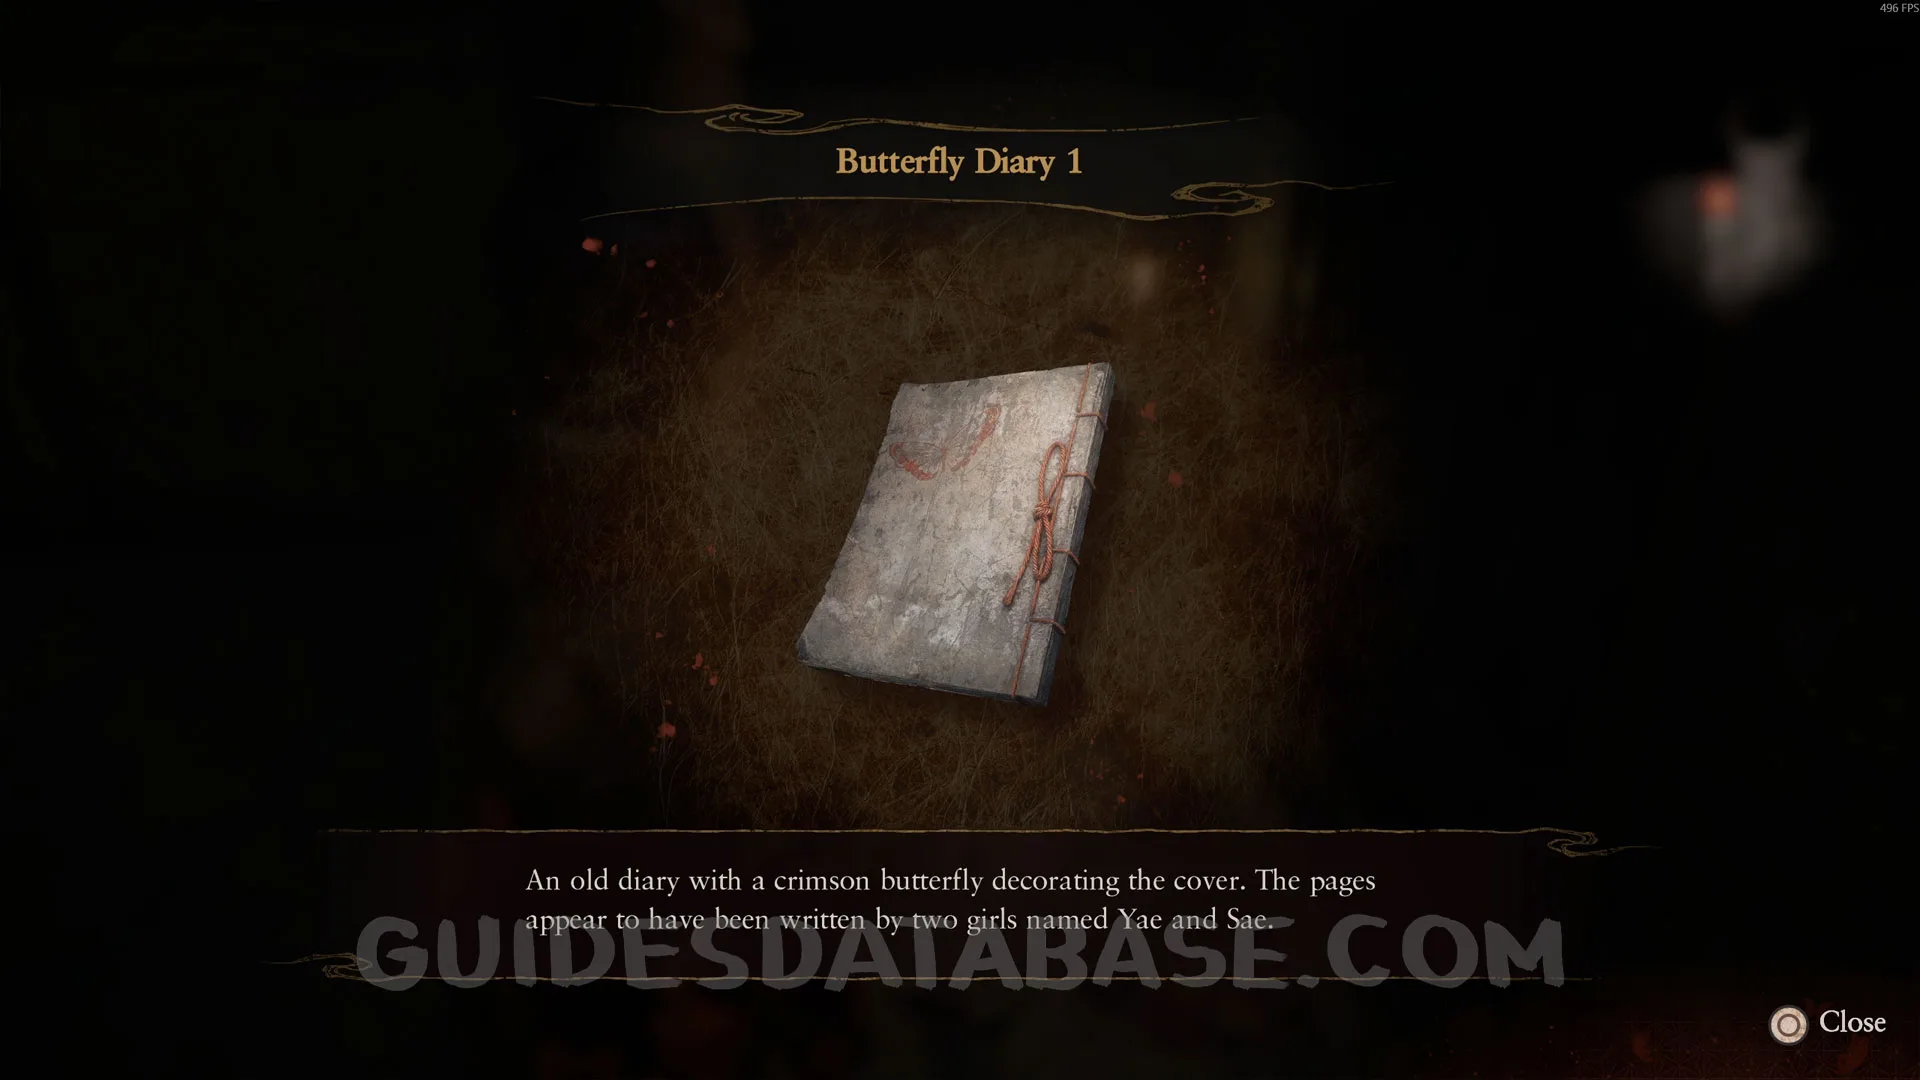
Document #32 - Butterfly Diary 1.
Obtained automatically at the start of the chapter.
 GUIDESDATABASE.COM
Prayer Bead #13.
 GUIDESDATABASE.COM
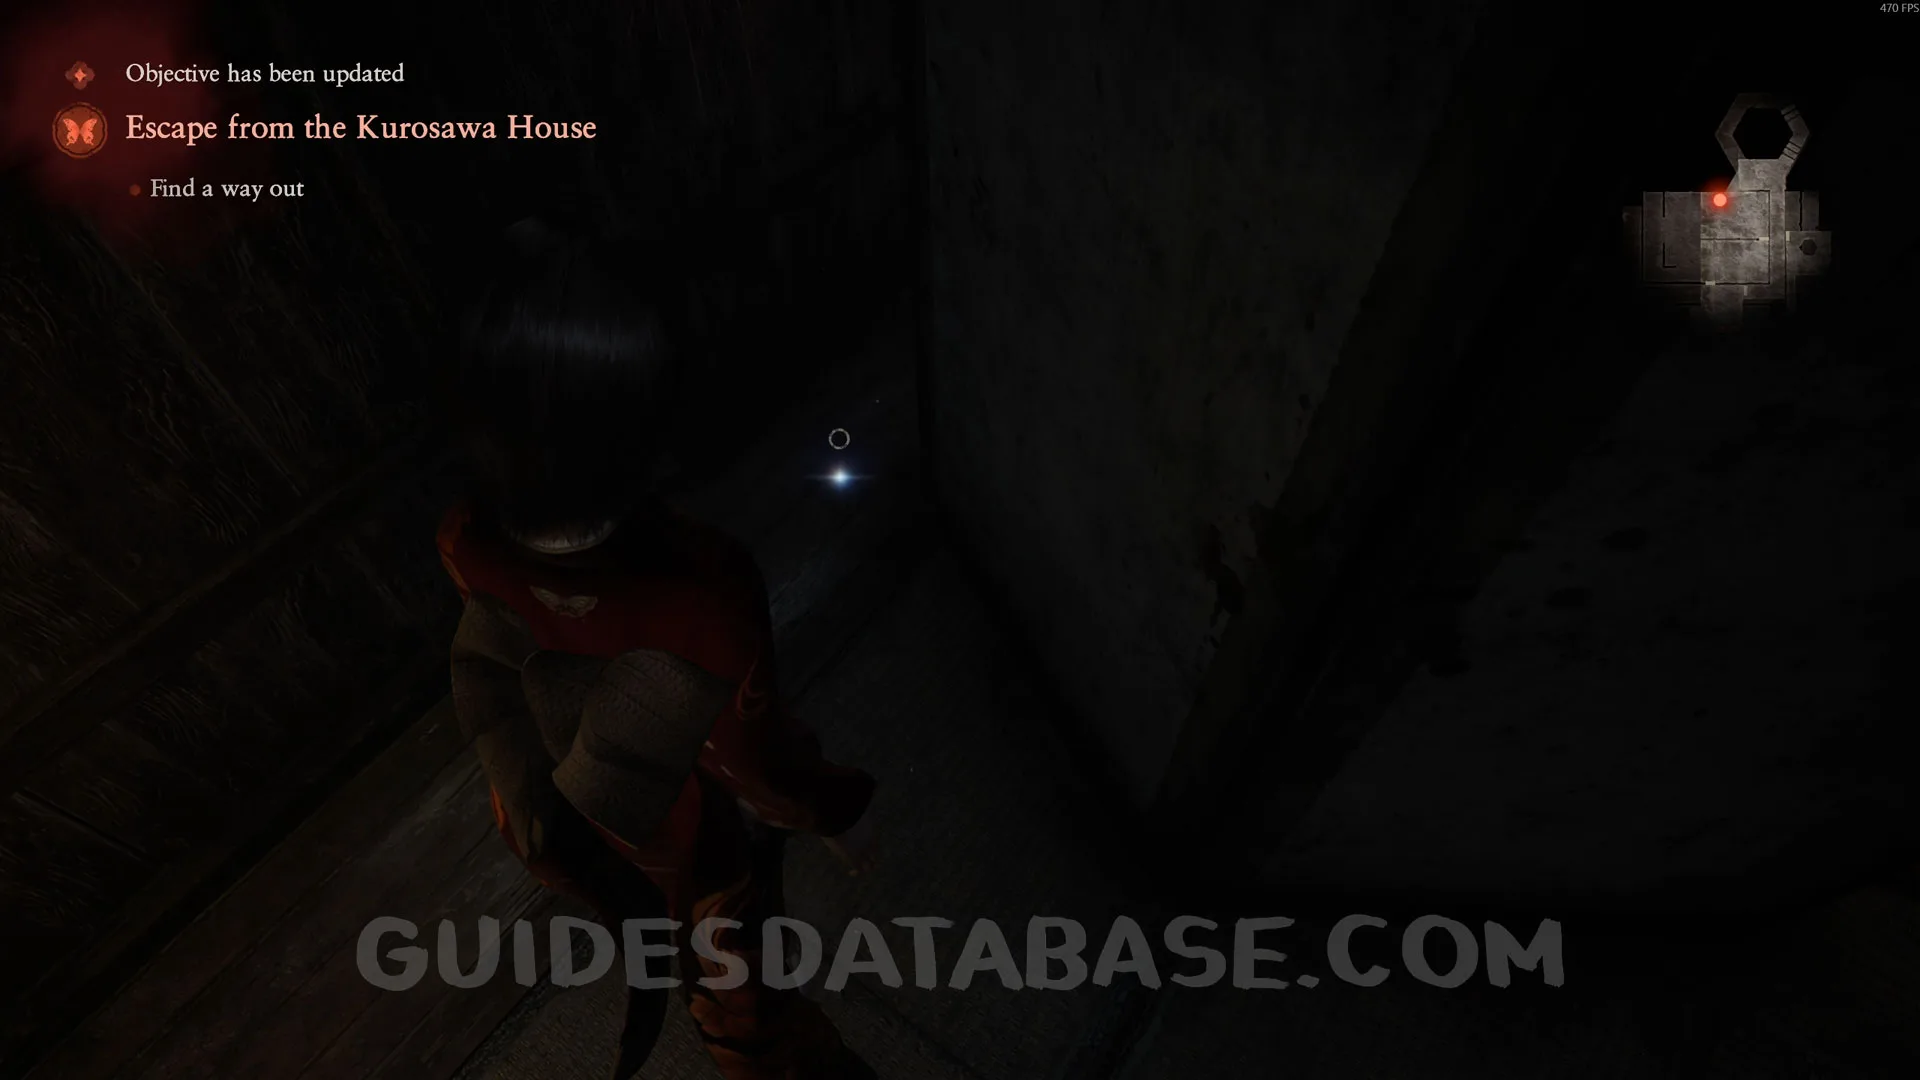 GUIDESDATABASE.COM
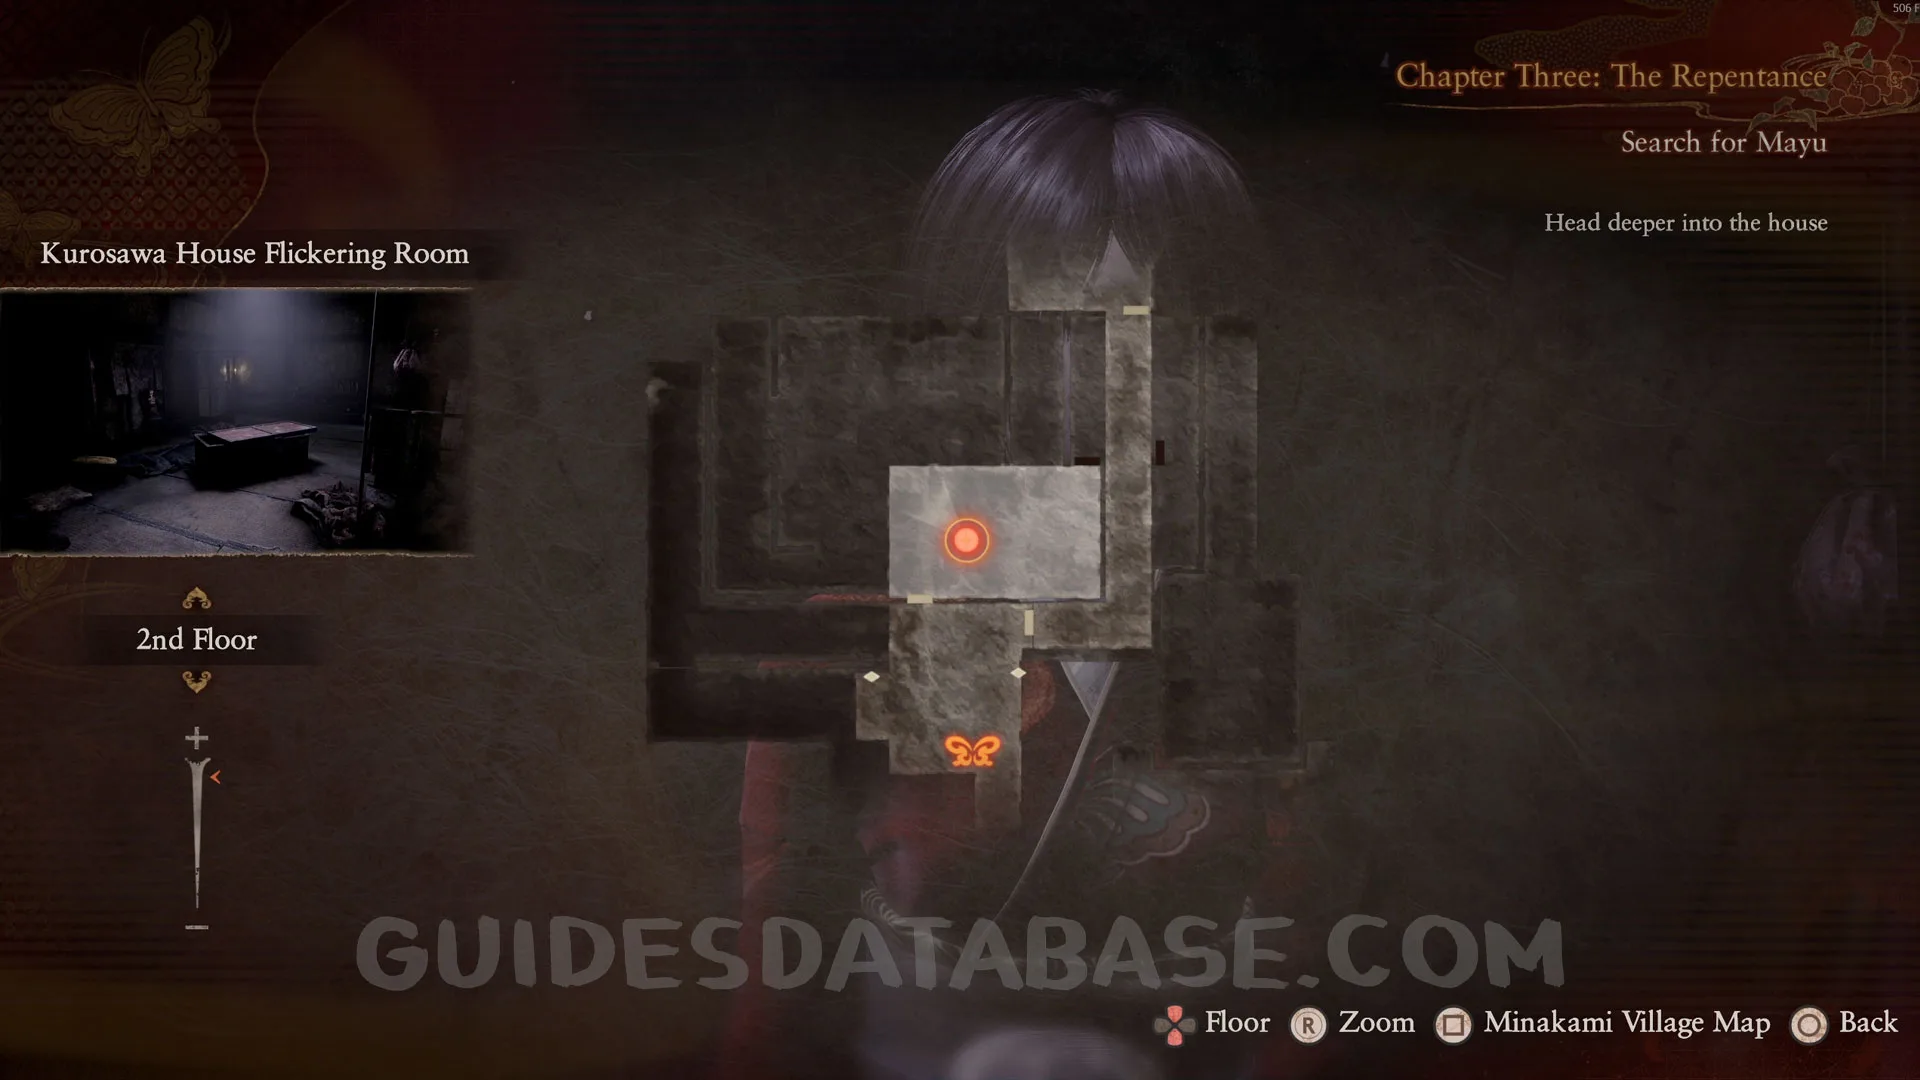
Phantom Expose #3 - Hina Doll Room.
Obtained automatically during the story while solving the Doll Puzzle.
 GUIDESDATABASE.COM
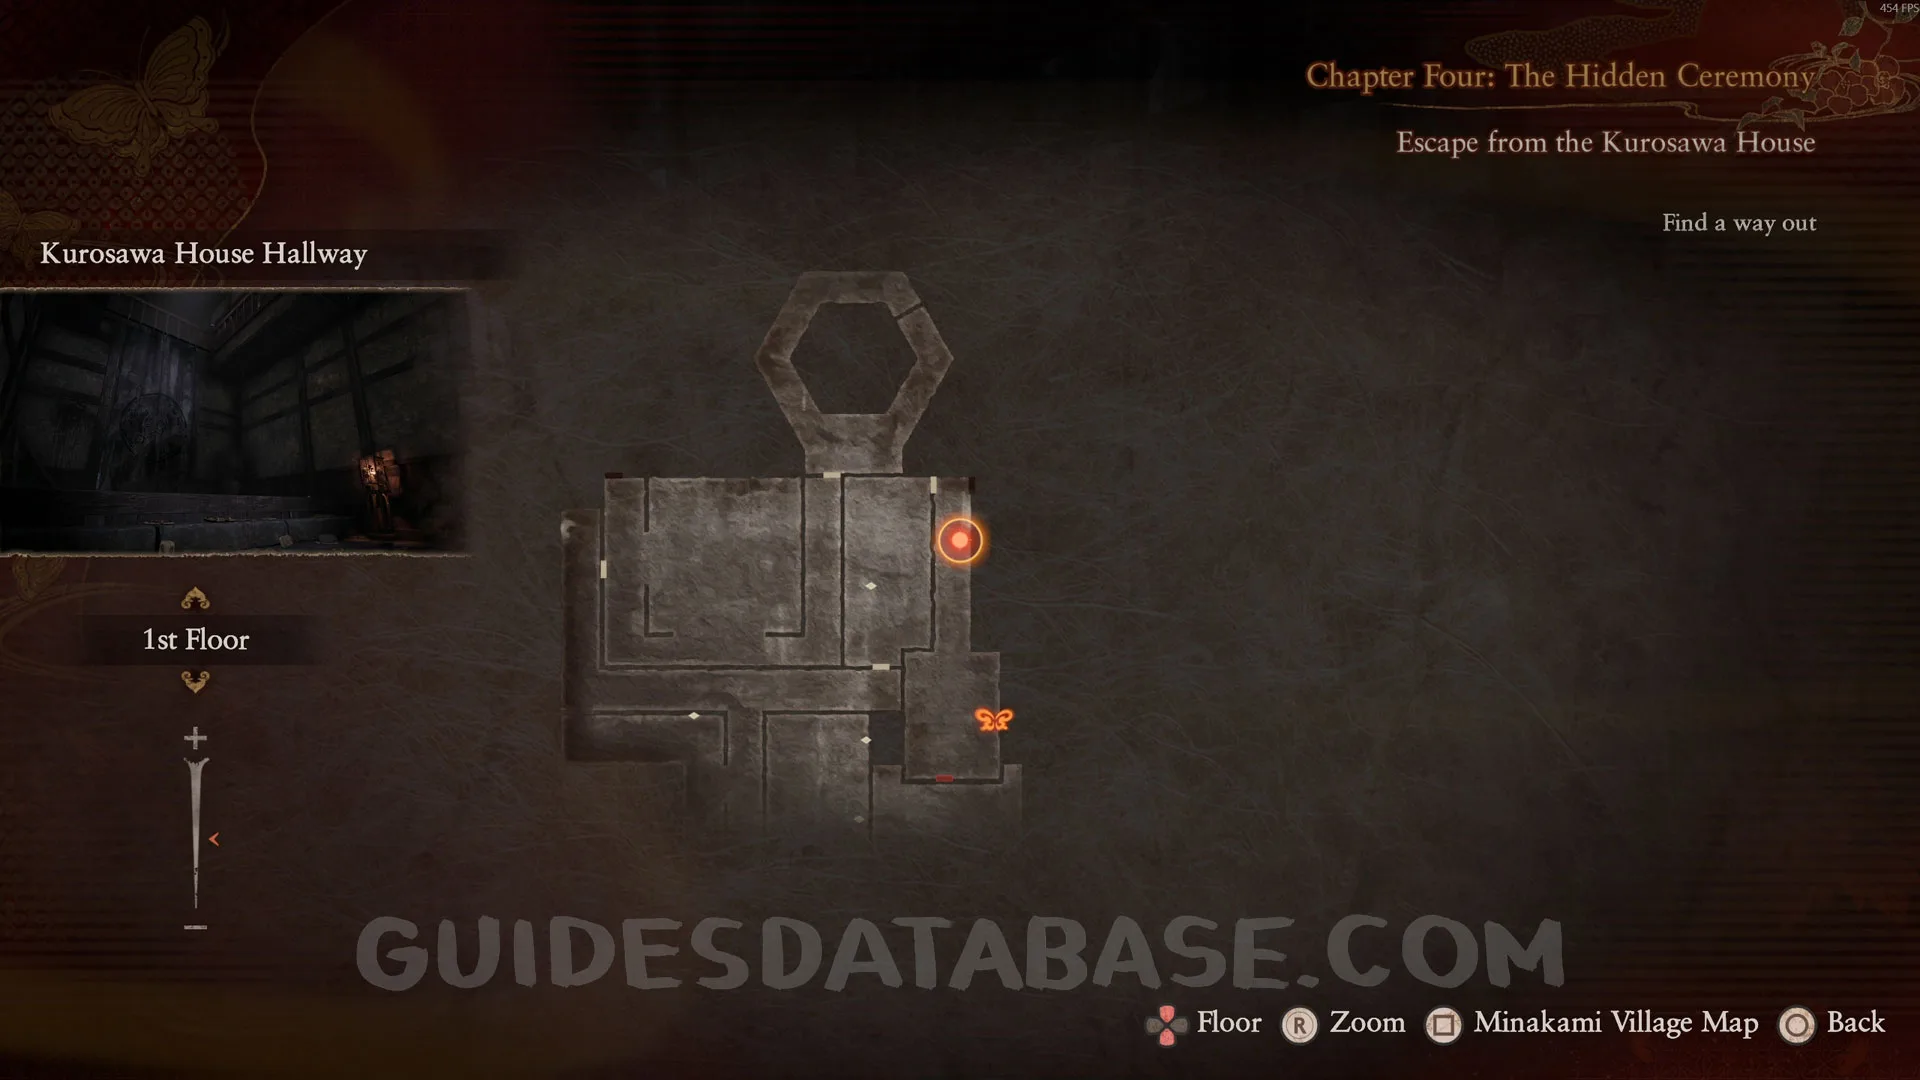
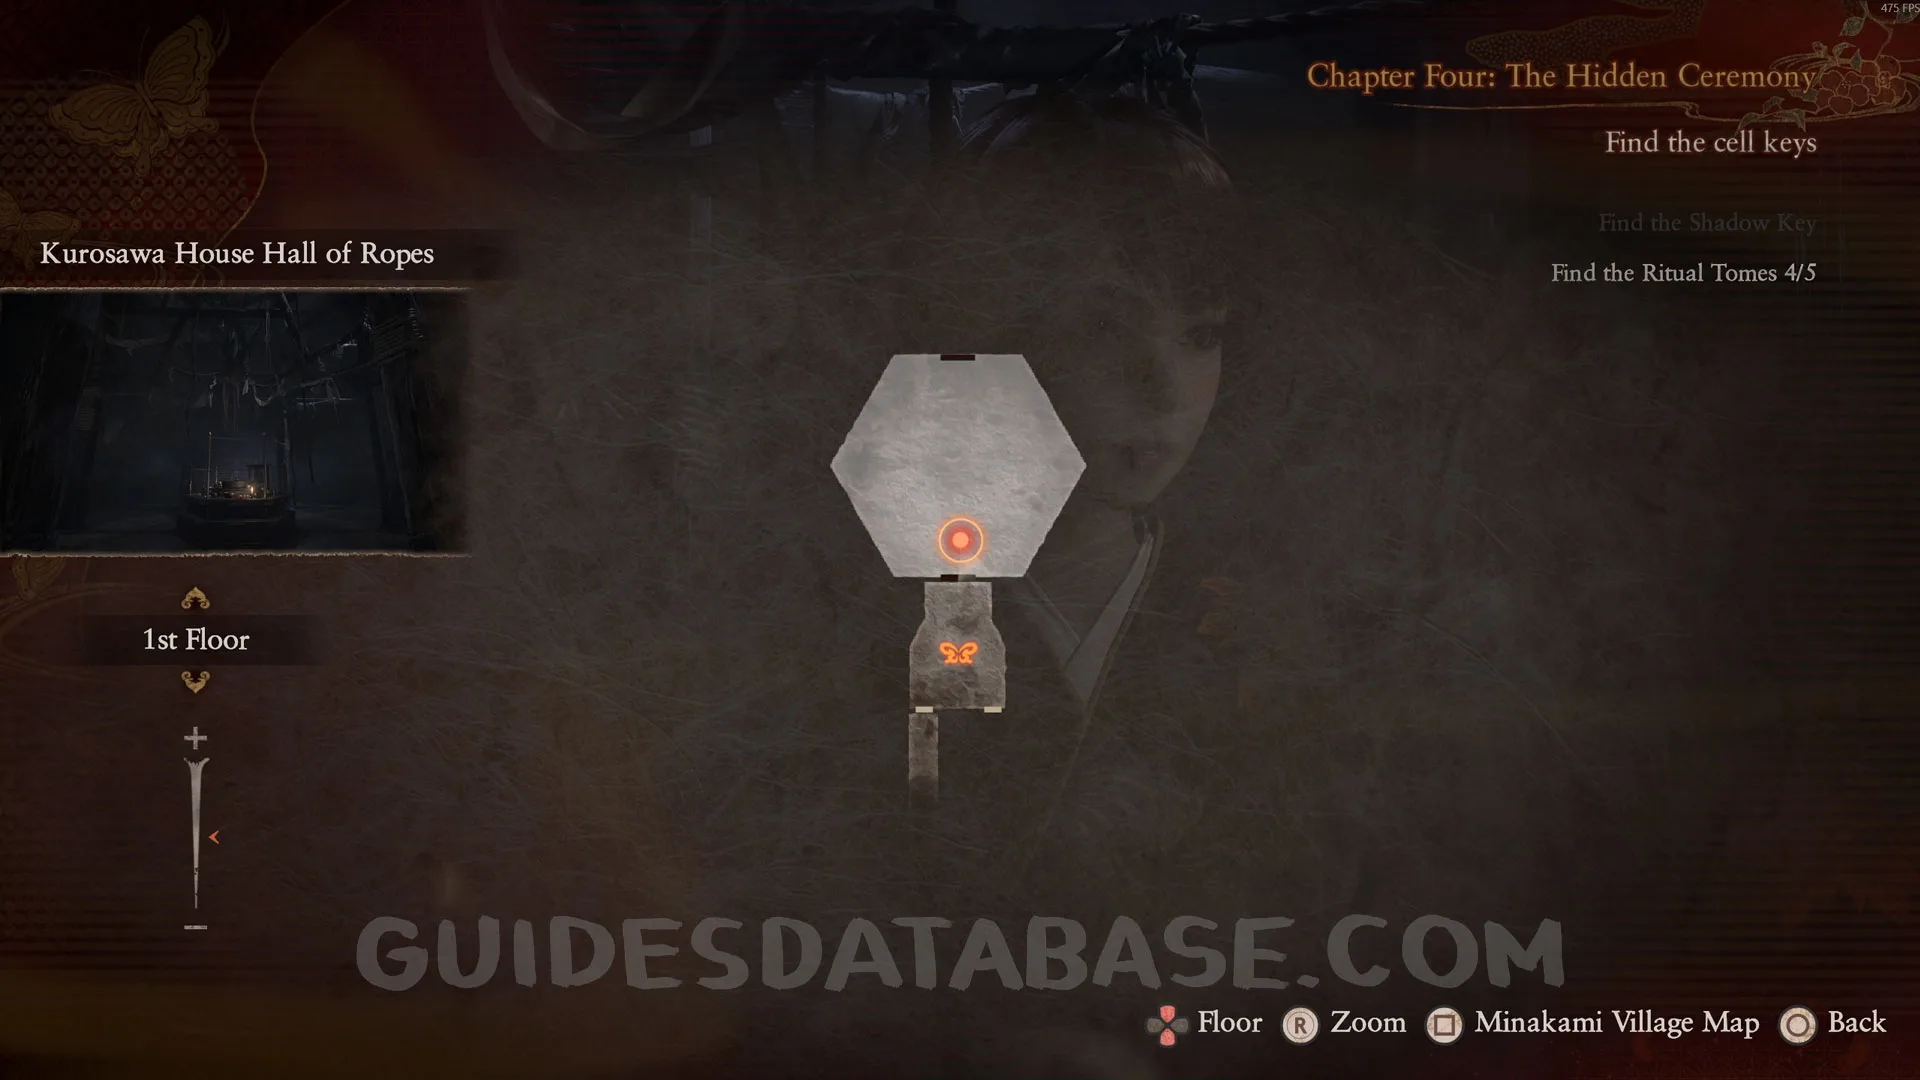
Document #33 - Folklorist’s Note 15.
Right after the previous collectible, return to the Save Point room to find this document on top of a small table.
 GUIDESDATABASE.COM
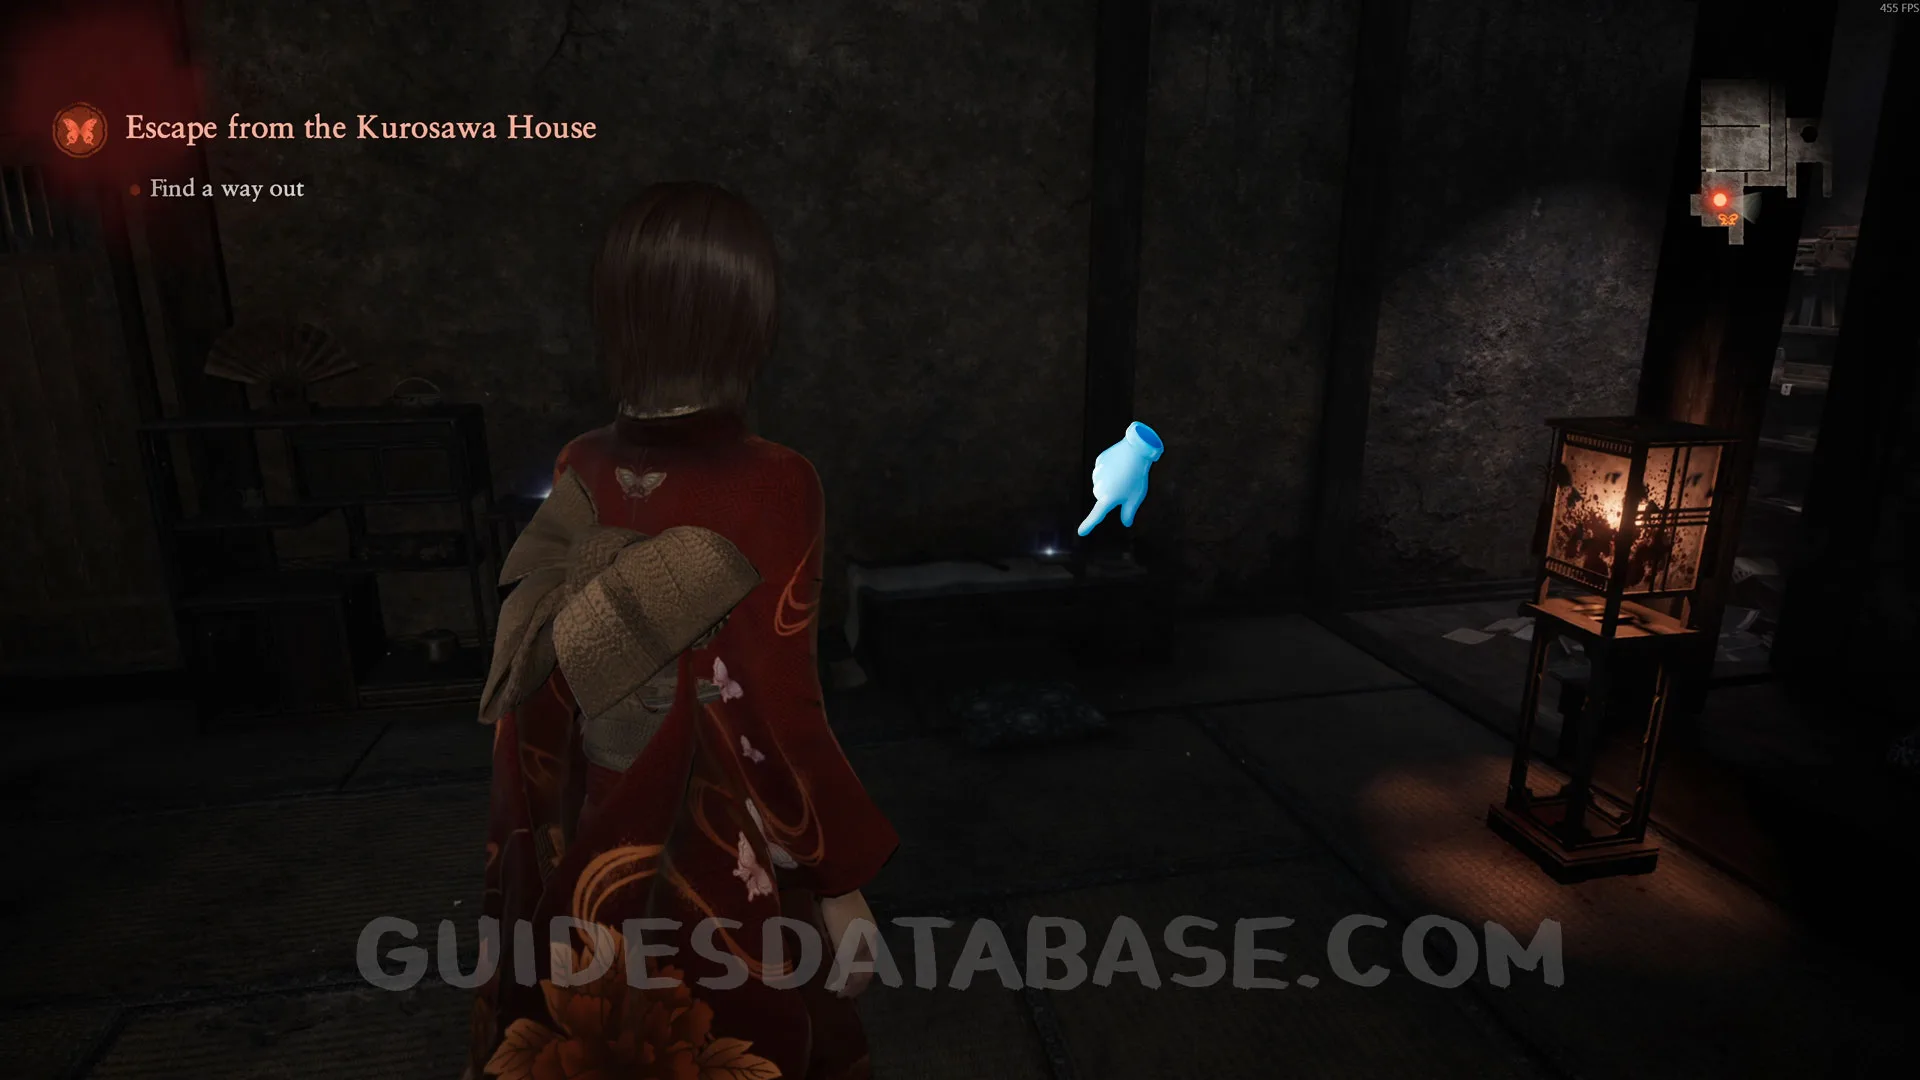 GUIDESDATABASE.COM
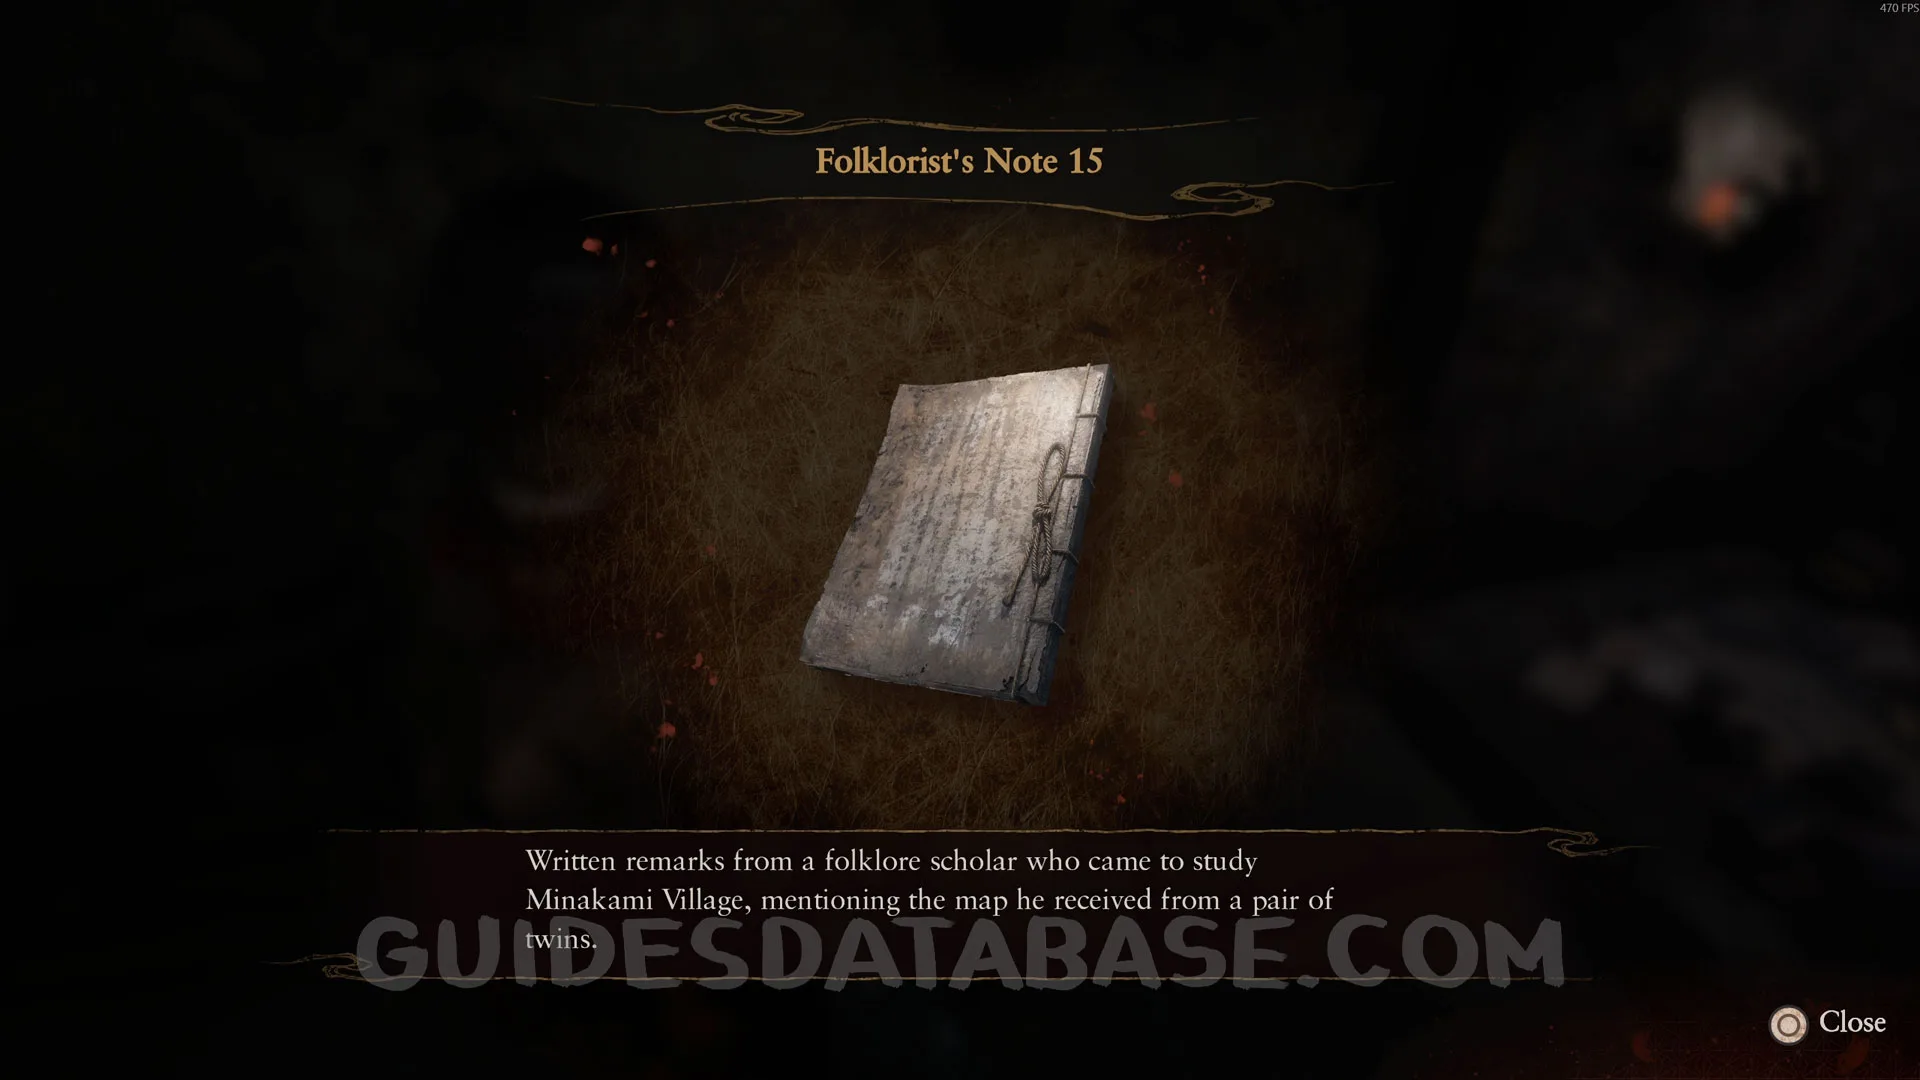 GUIDESDATABASE.COM
Specter #56 - 042 The Shamed
 GUIDESDATABASE.COM
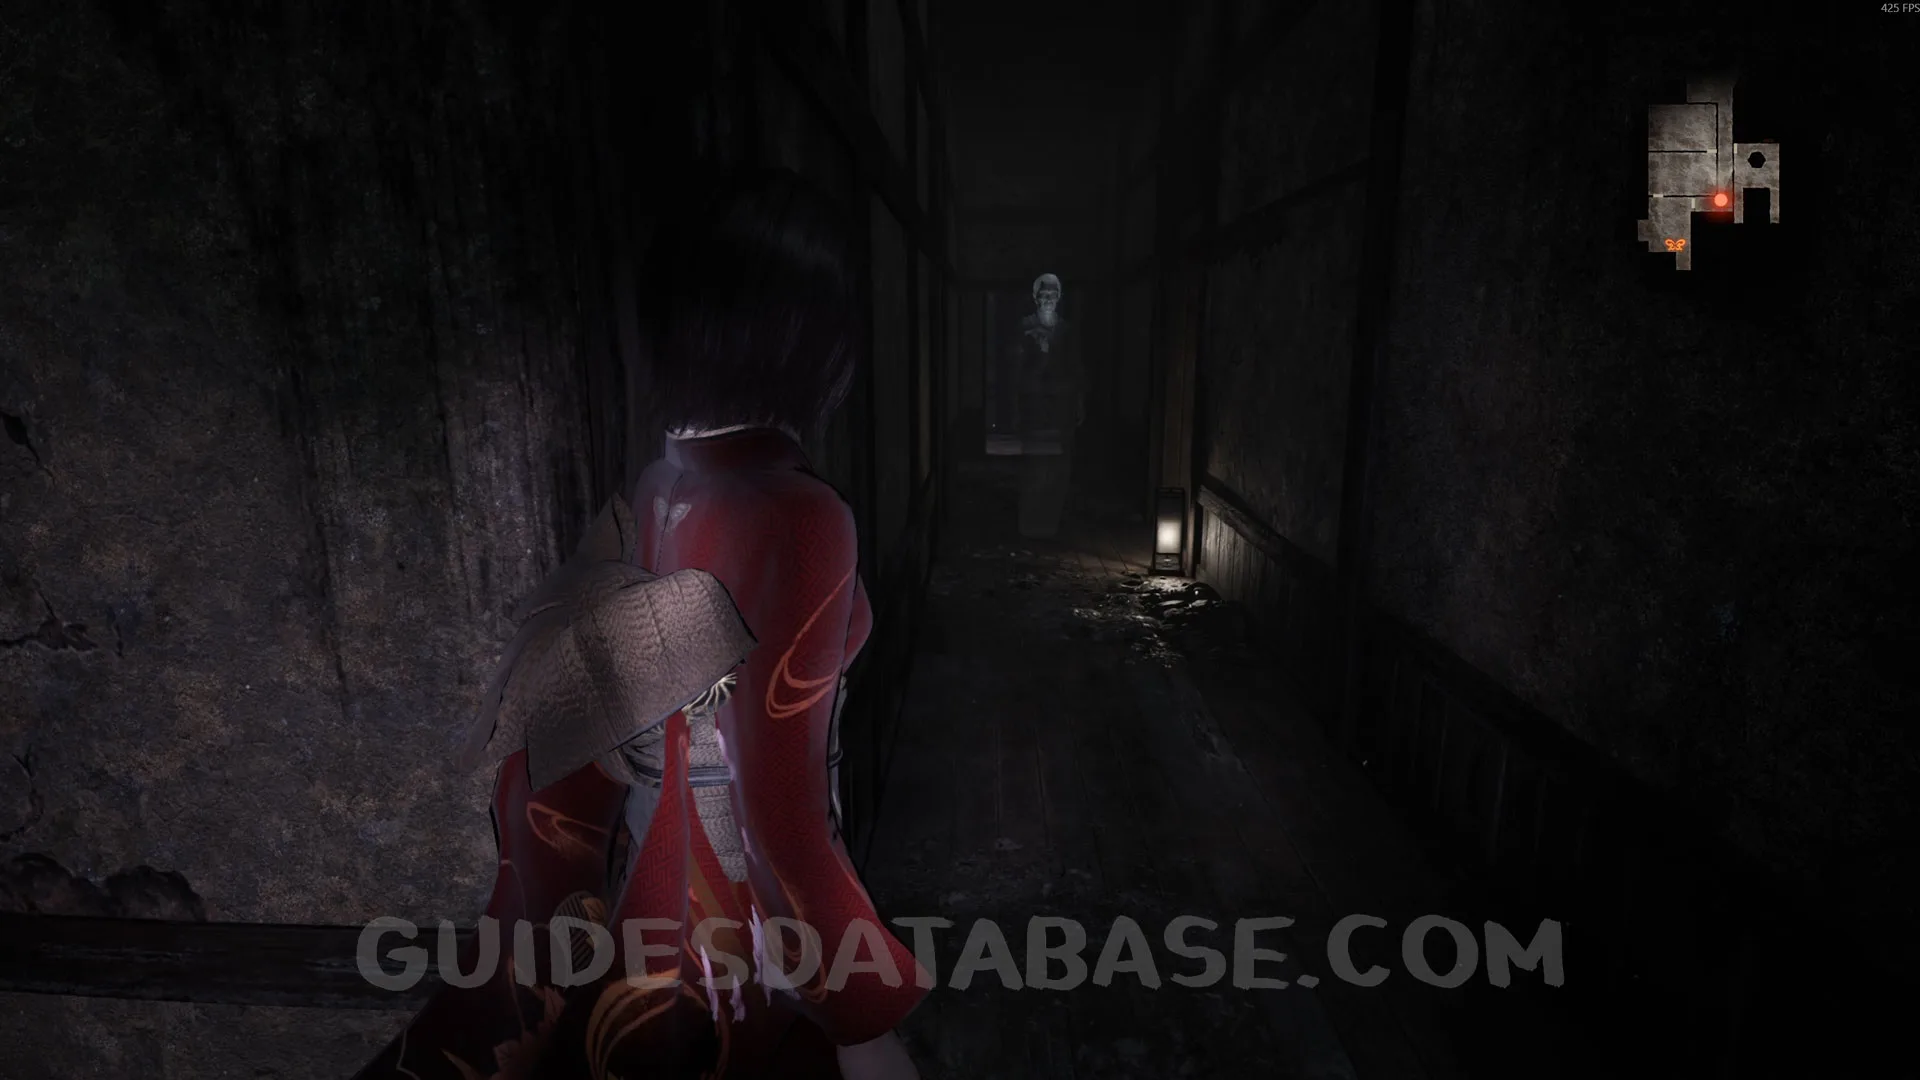 GUIDESDATABASE.COM
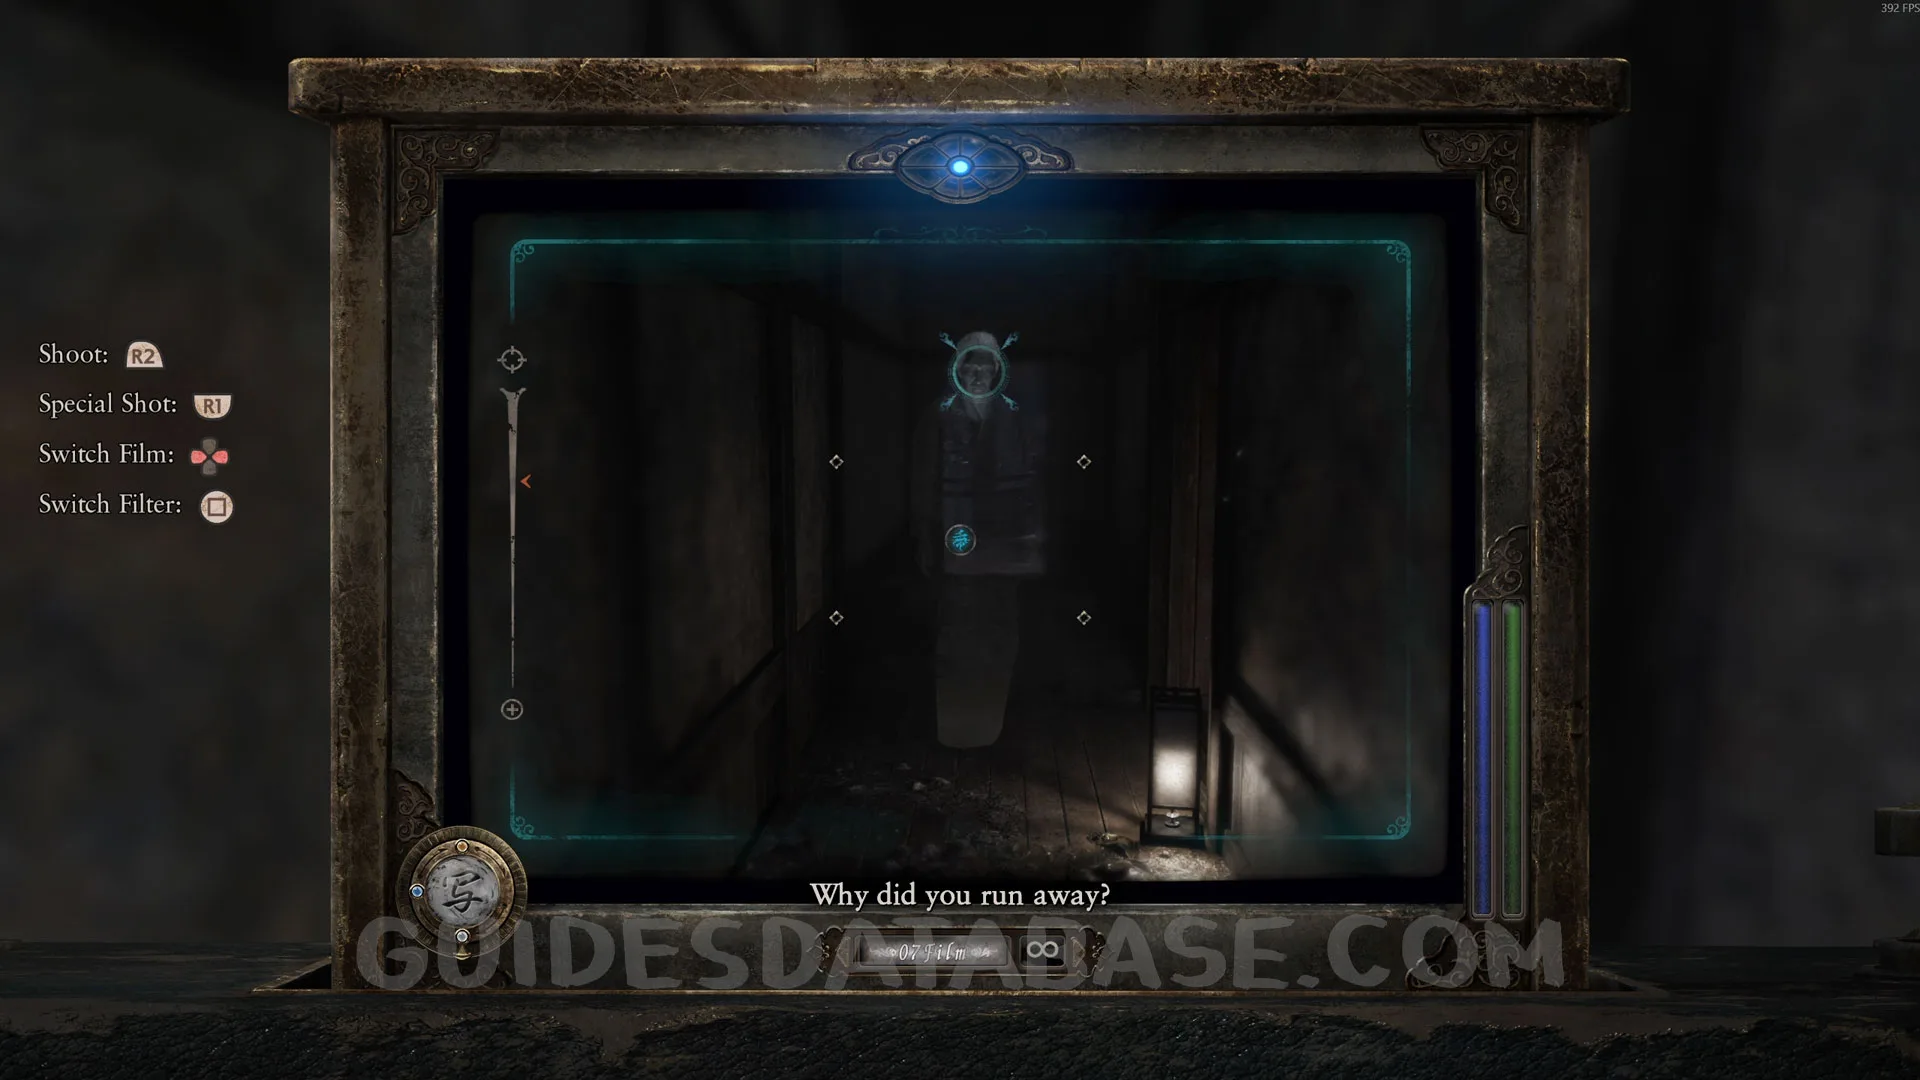 GUIDESDATABASE.COM
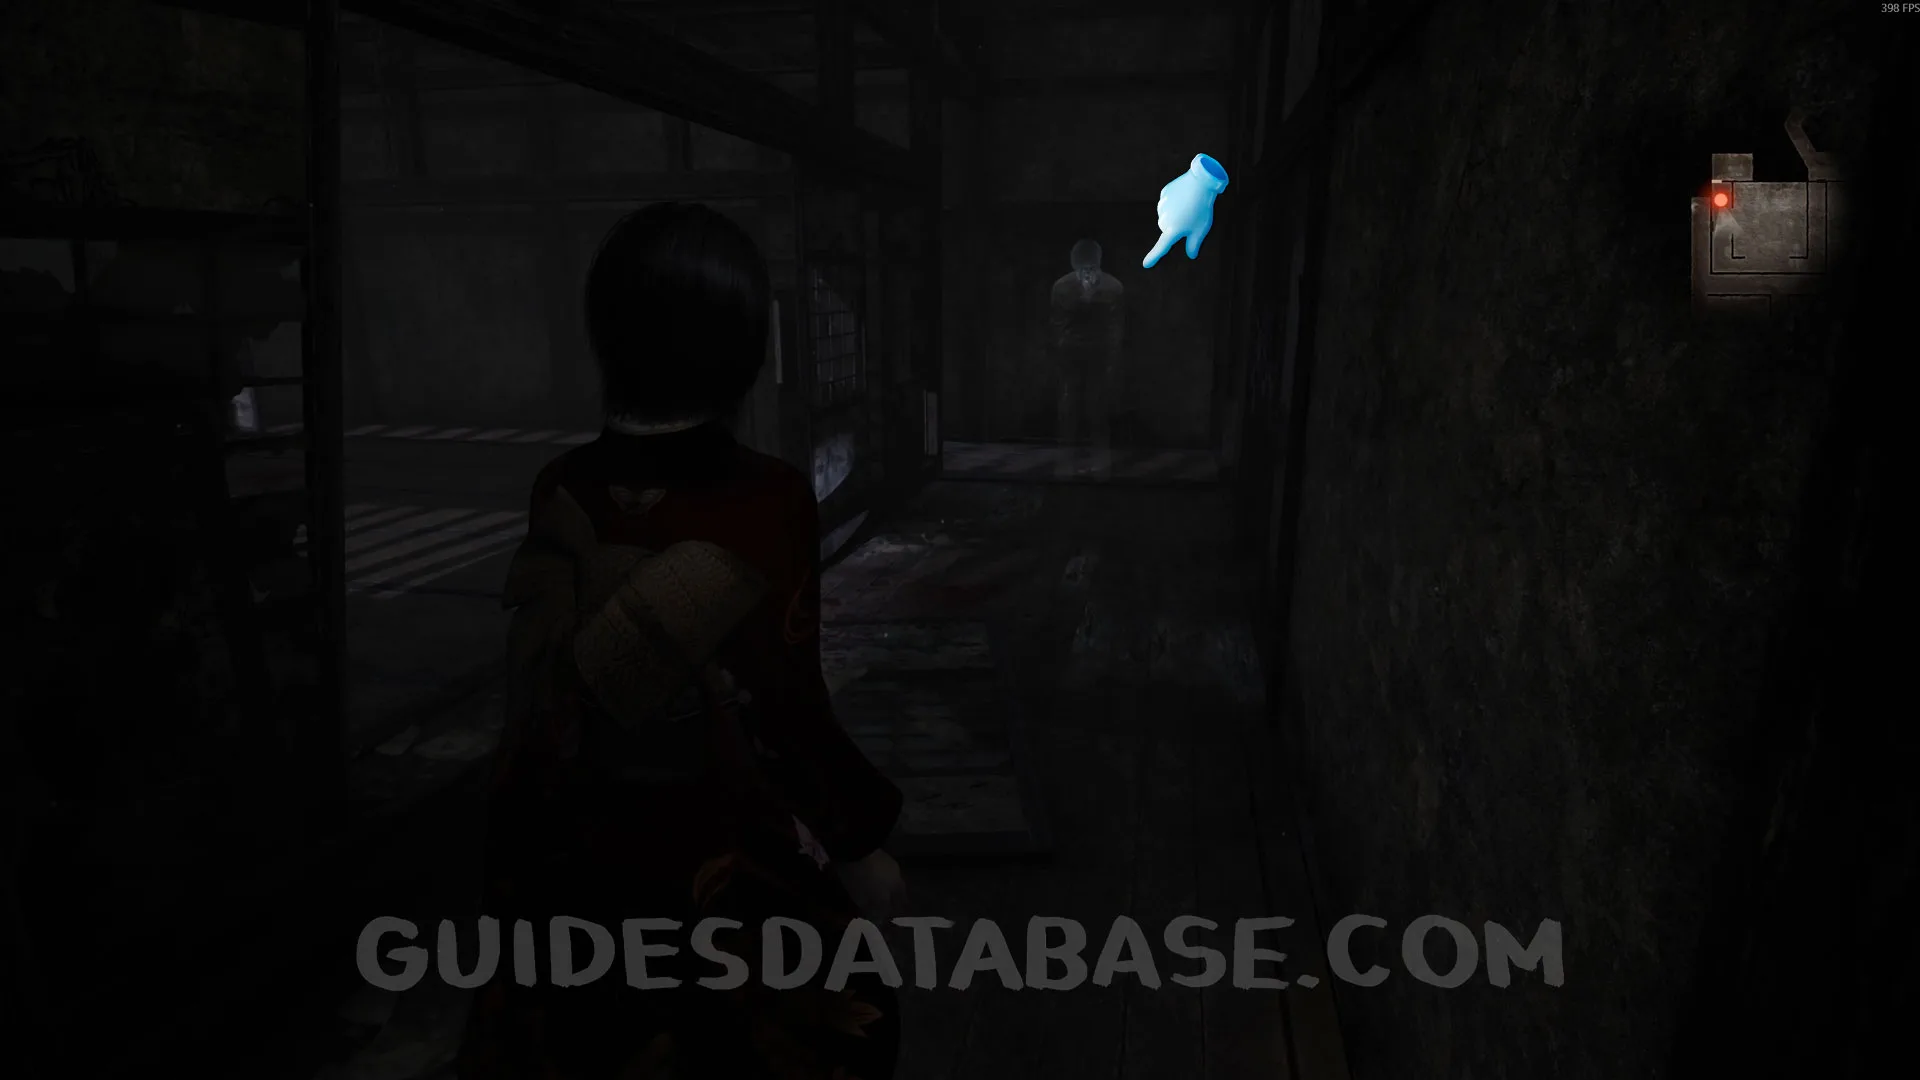
Specter #57 - 043 The Beckoning Man.
From the previous specter, go down the spiral staircase, and when you reach the bottom, look up toward where you came from and you’ll see this specter.
 GUIDESDATABASE.COM
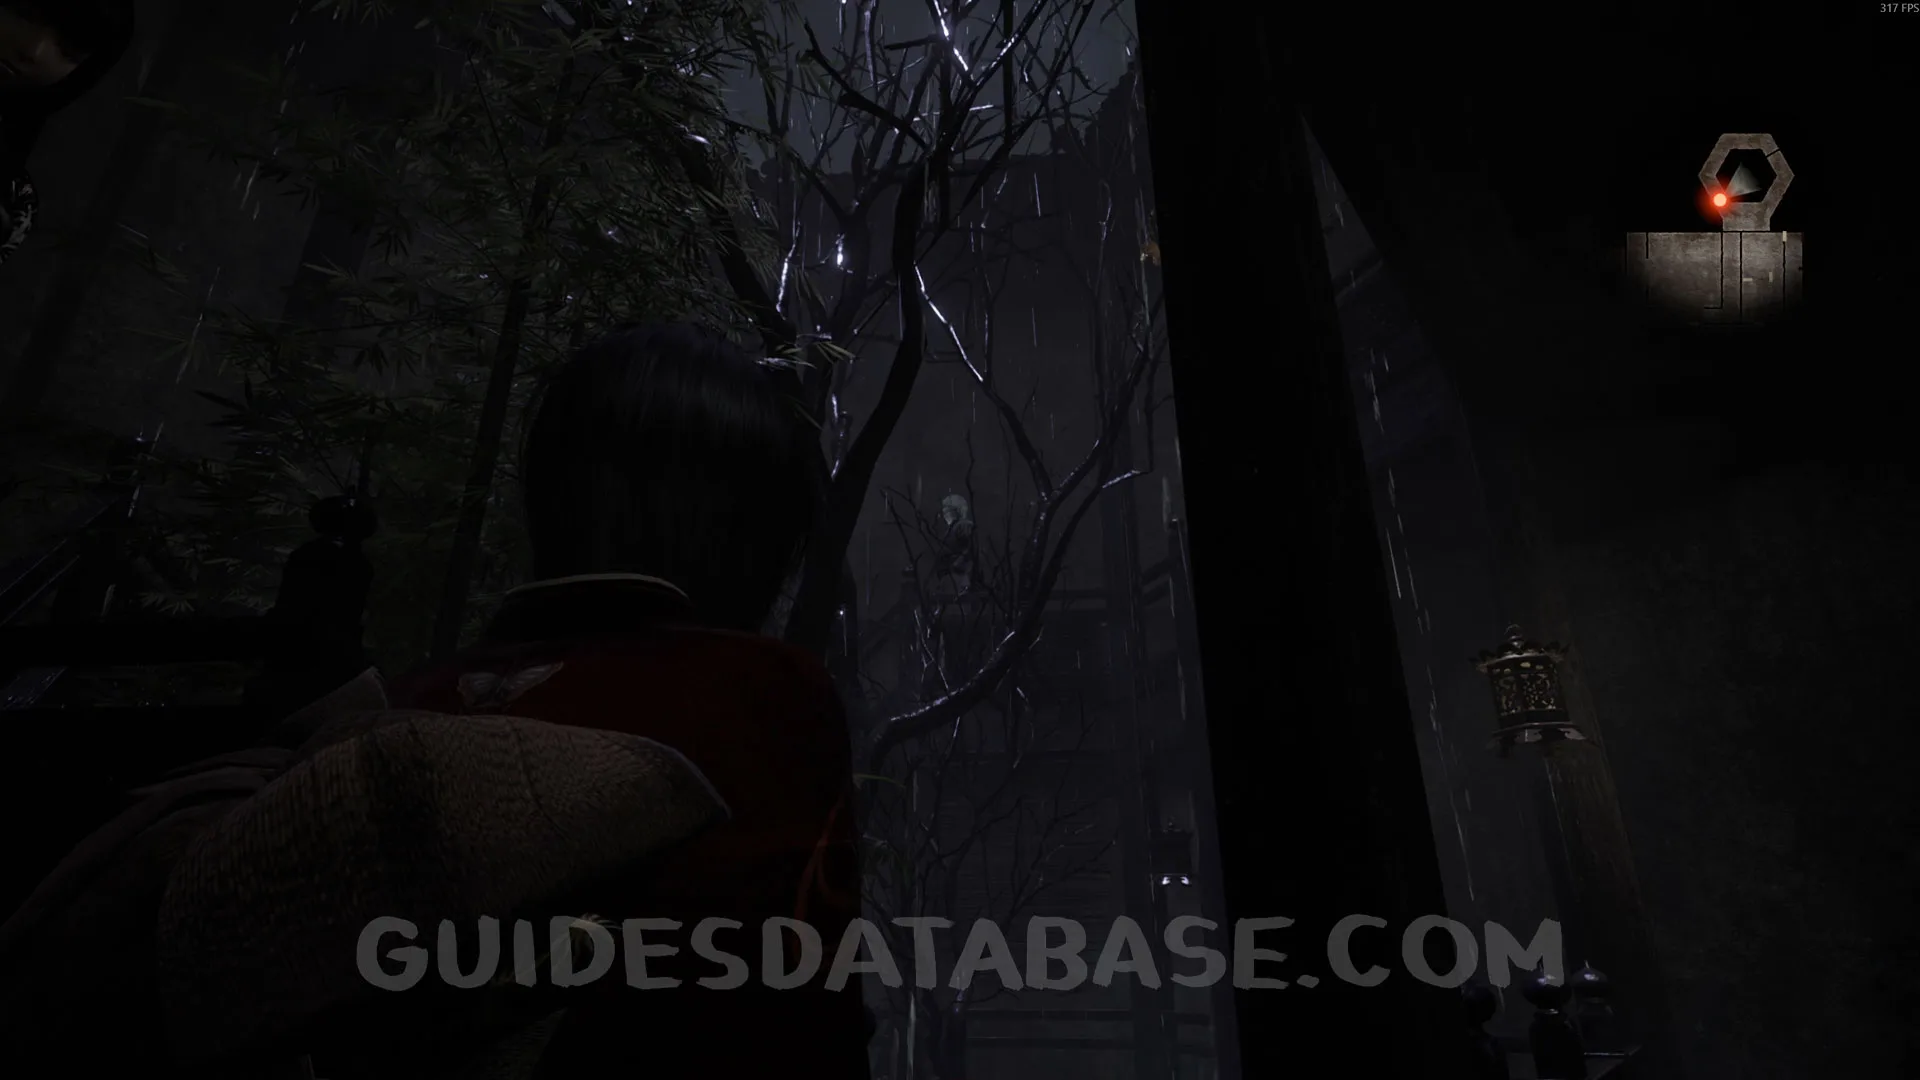 GUIDESDATABASE.COM
 GUIDESDATABASE.COM
Prayer Bead #14.
Enter the room where you were first chased by Kusabi. Next to the door you came in through, you’ll find this Prayer Bead. You’ll have to go around to get it.
 GUIDESDATABASE.COM
 GUIDESDATABASE.COM
Specter #58 - 044 Lurking Man.
 GUIDESDATABASE.COM
 GUIDESDATABASE.COM
 GUIDESDATABASE.COM
Specter #59 - 045 Man Ascending Stairs.
Same spot as the previous specter. Now go through the door on the right side of the hallway, and as soon as you pass through it, you’ll see this specter going up the stairs. Take a picture of it.
 GUIDESDATABASE.COM
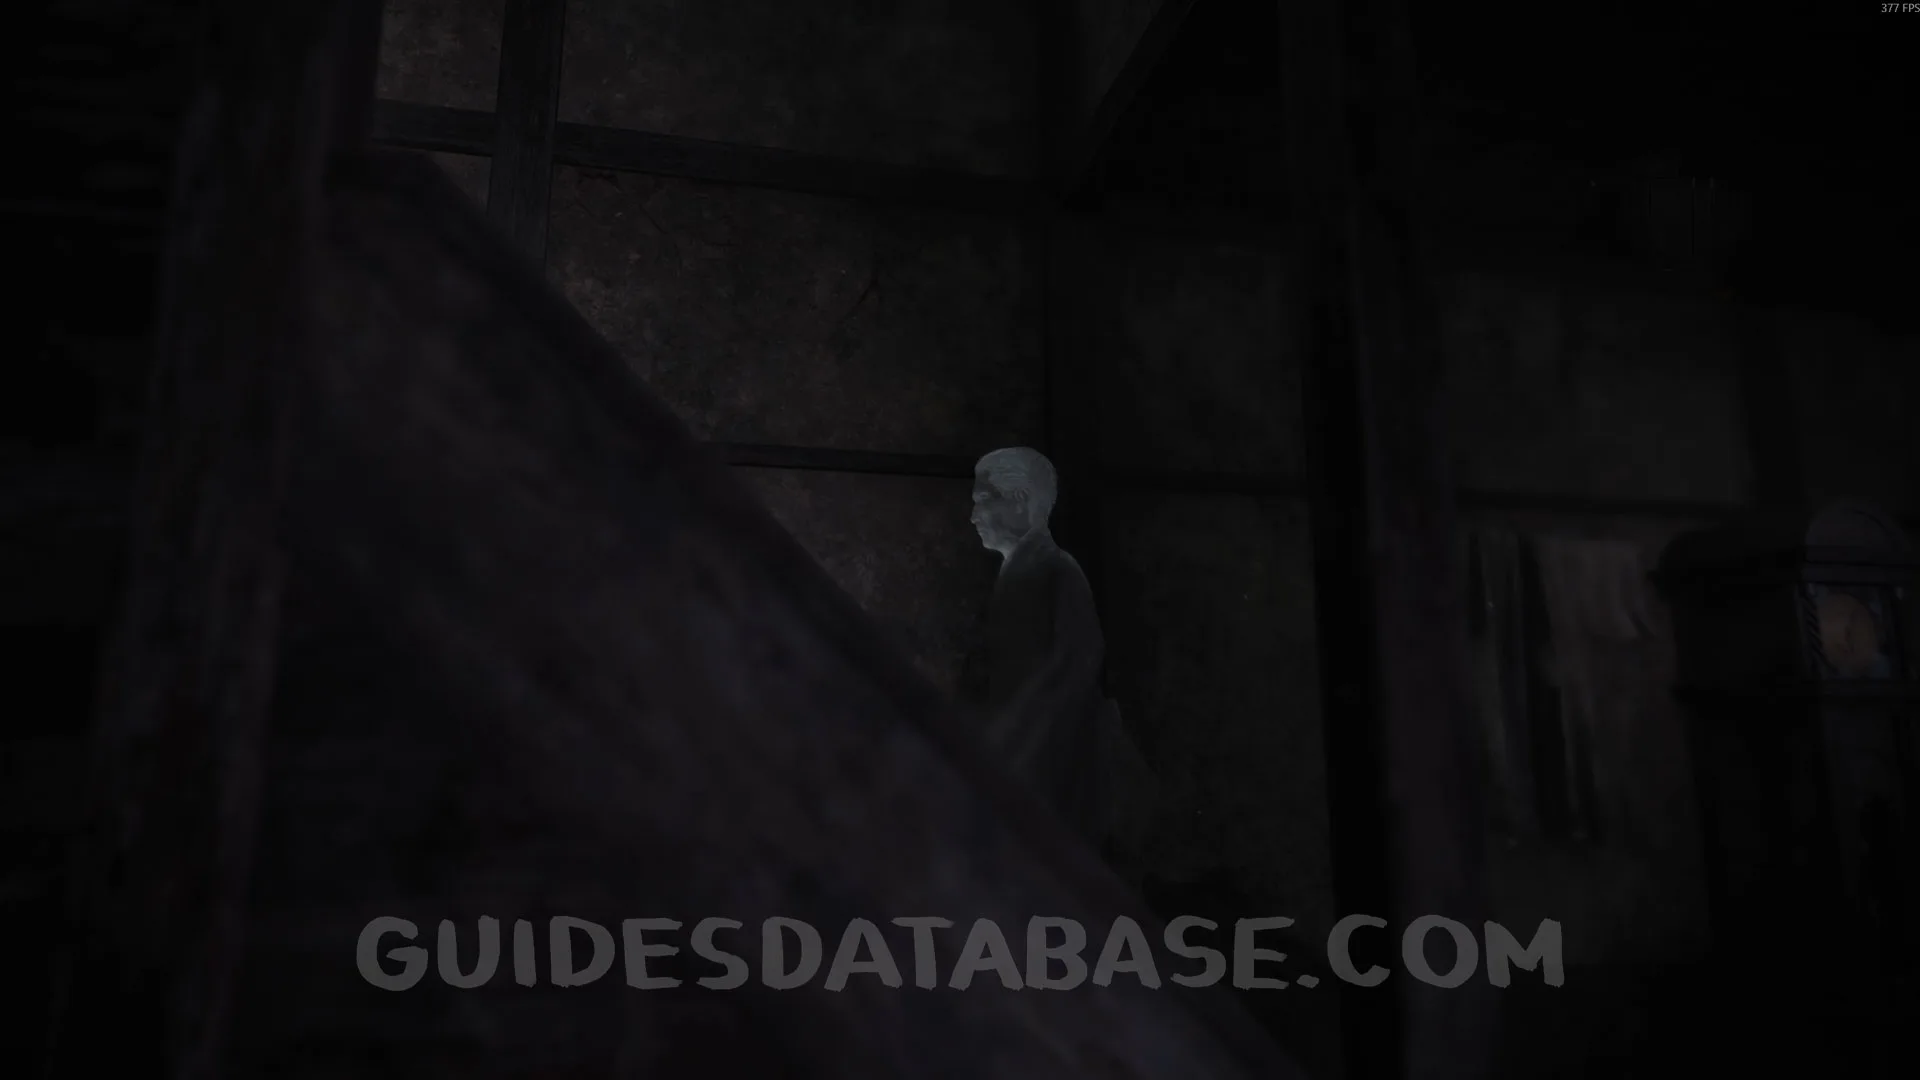 GUIDESDATABASE.COM
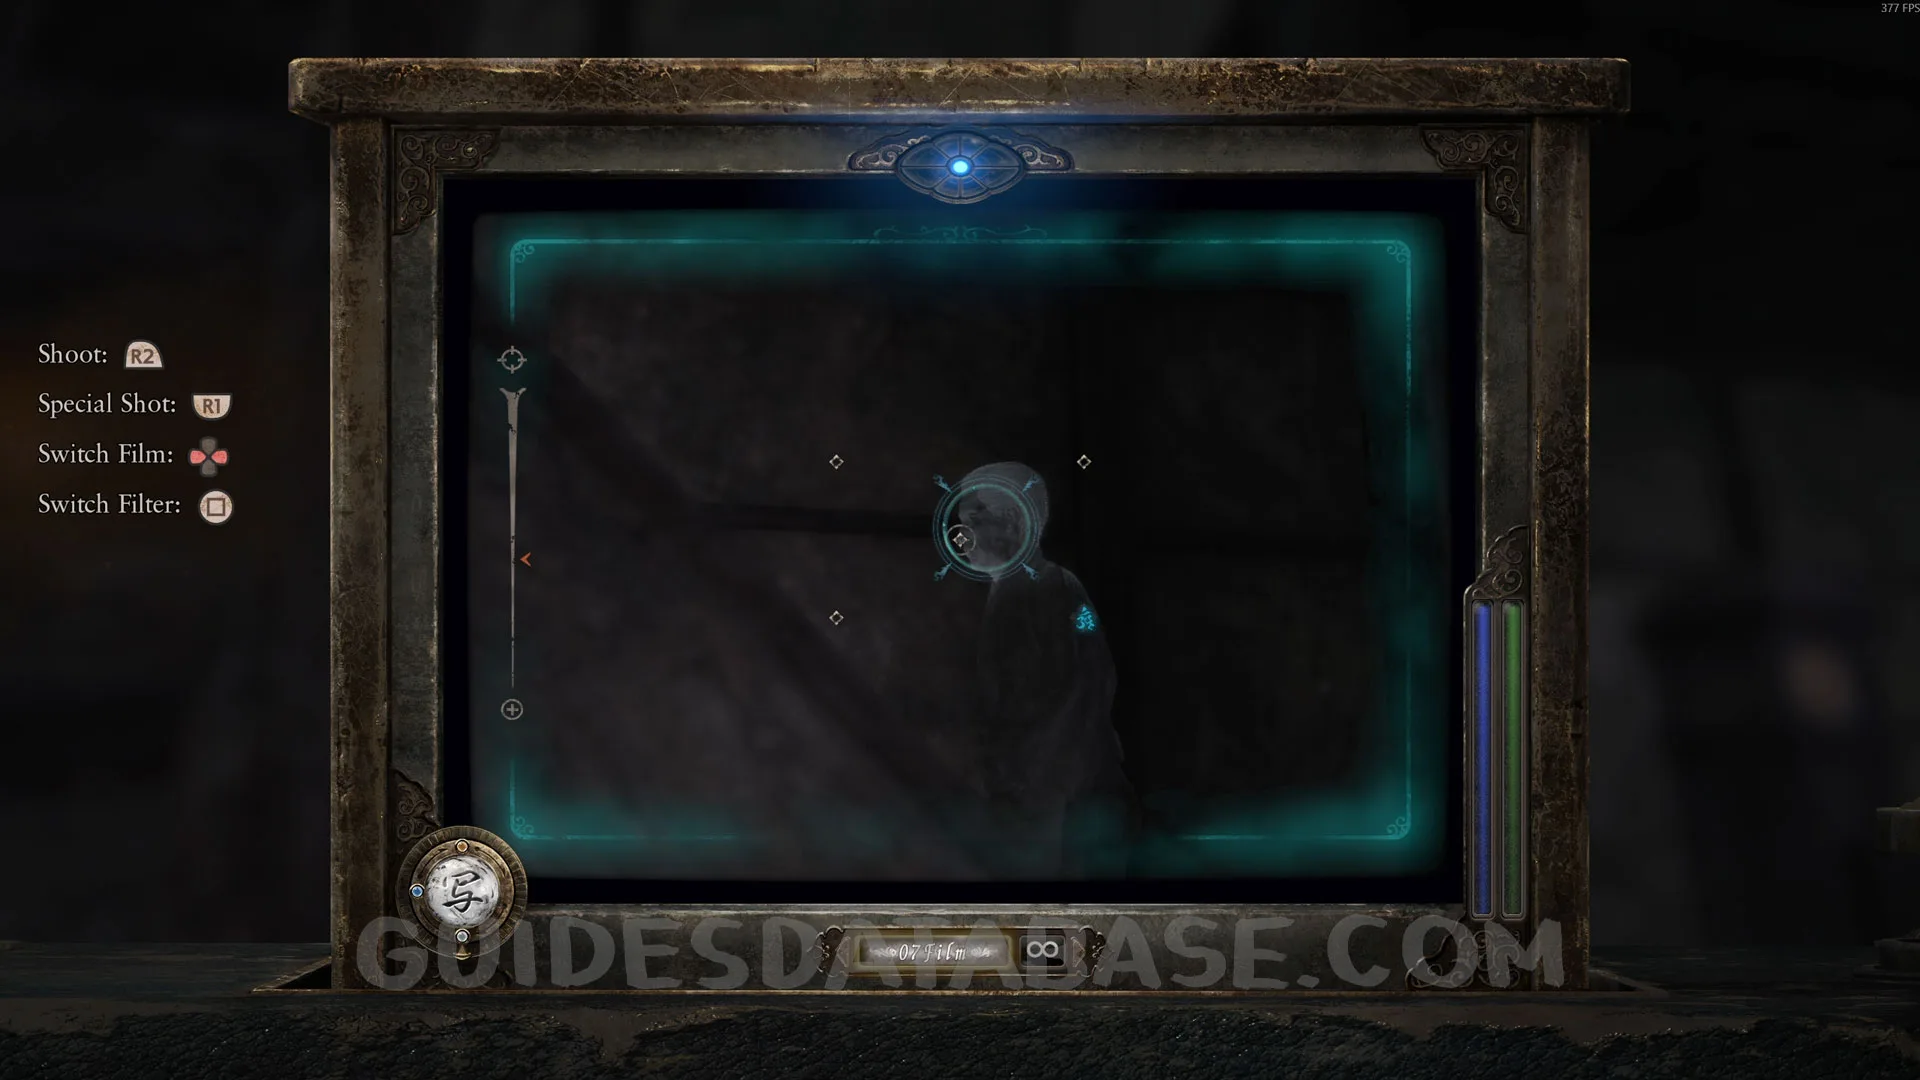 GUIDESDATABASE.COM
Prayer Bead #15.
In the same room as the previous specter, next to a suit of armor.
 GUIDESDATABASE.COM
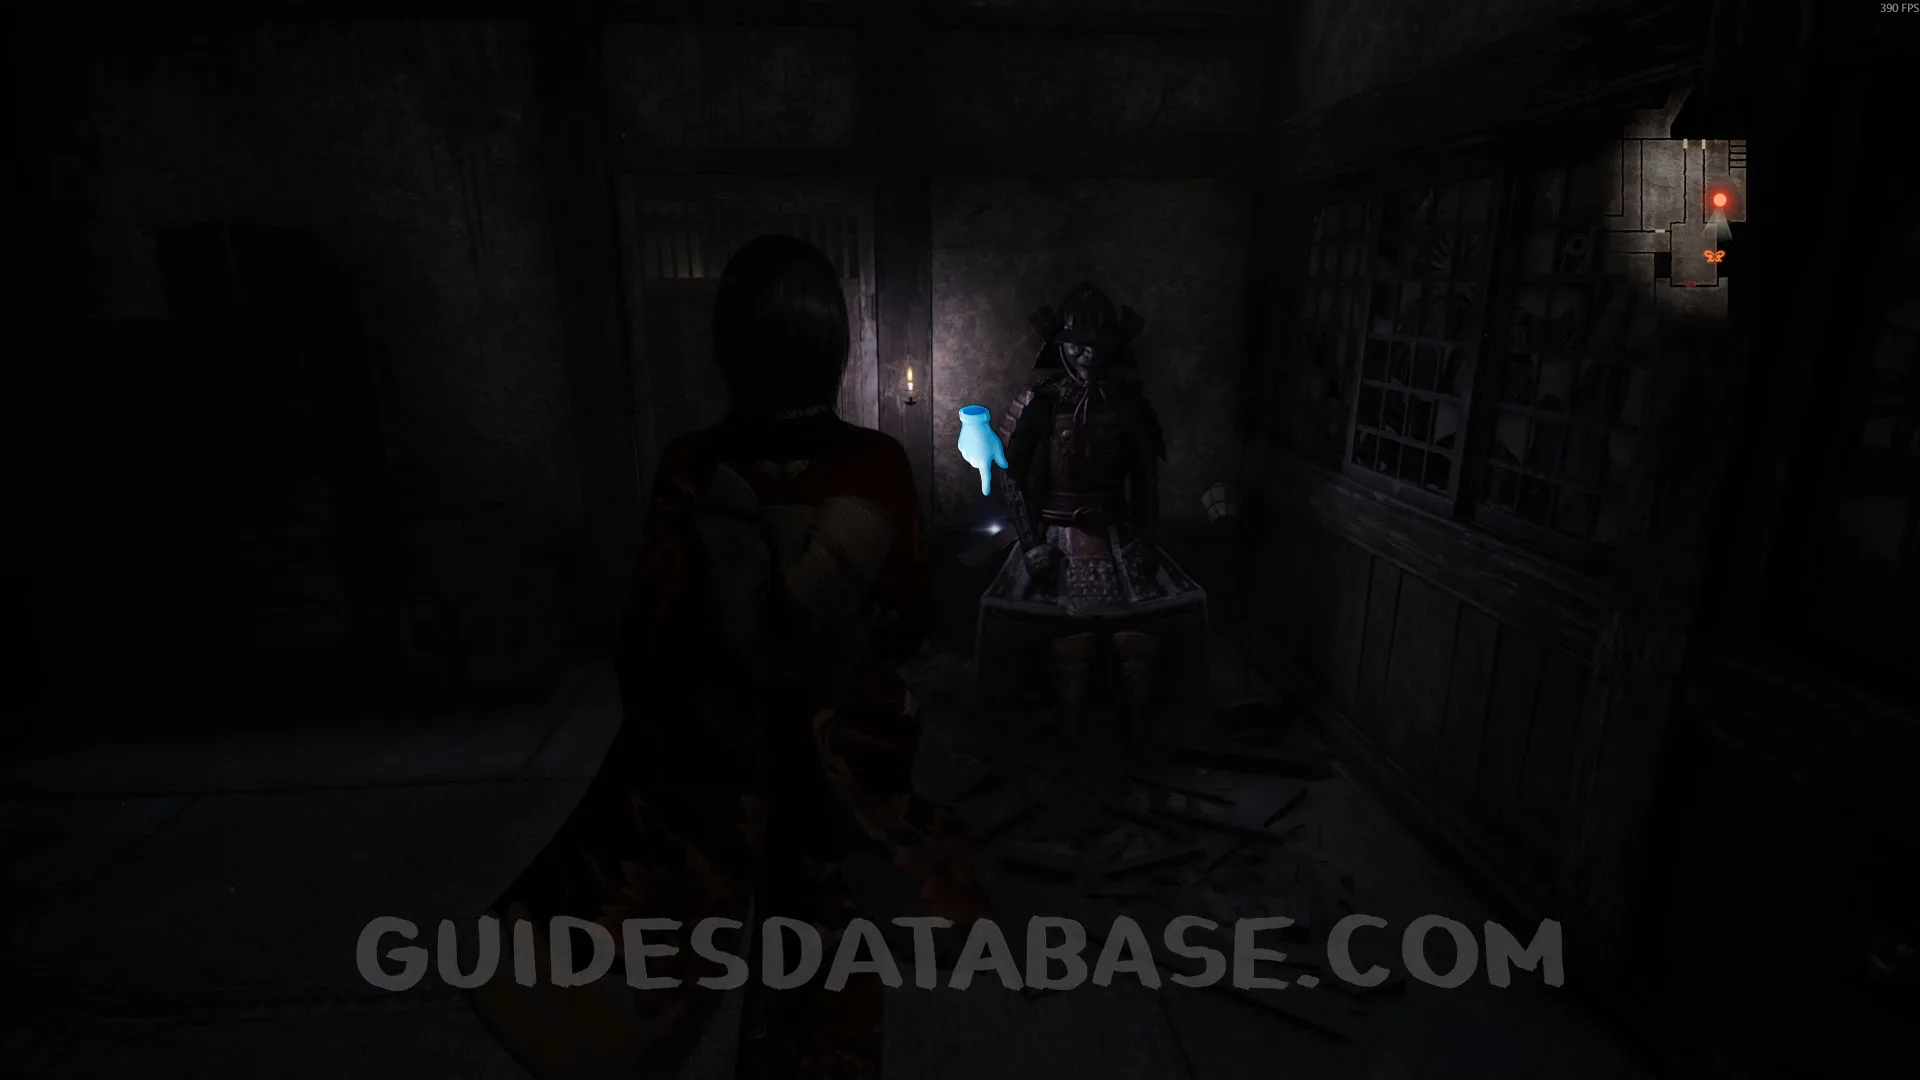 GUIDESDATABASE.COM
Specter #60 - 046 Boy Peering Down Hole.
 GUIDESDATABASE.COM
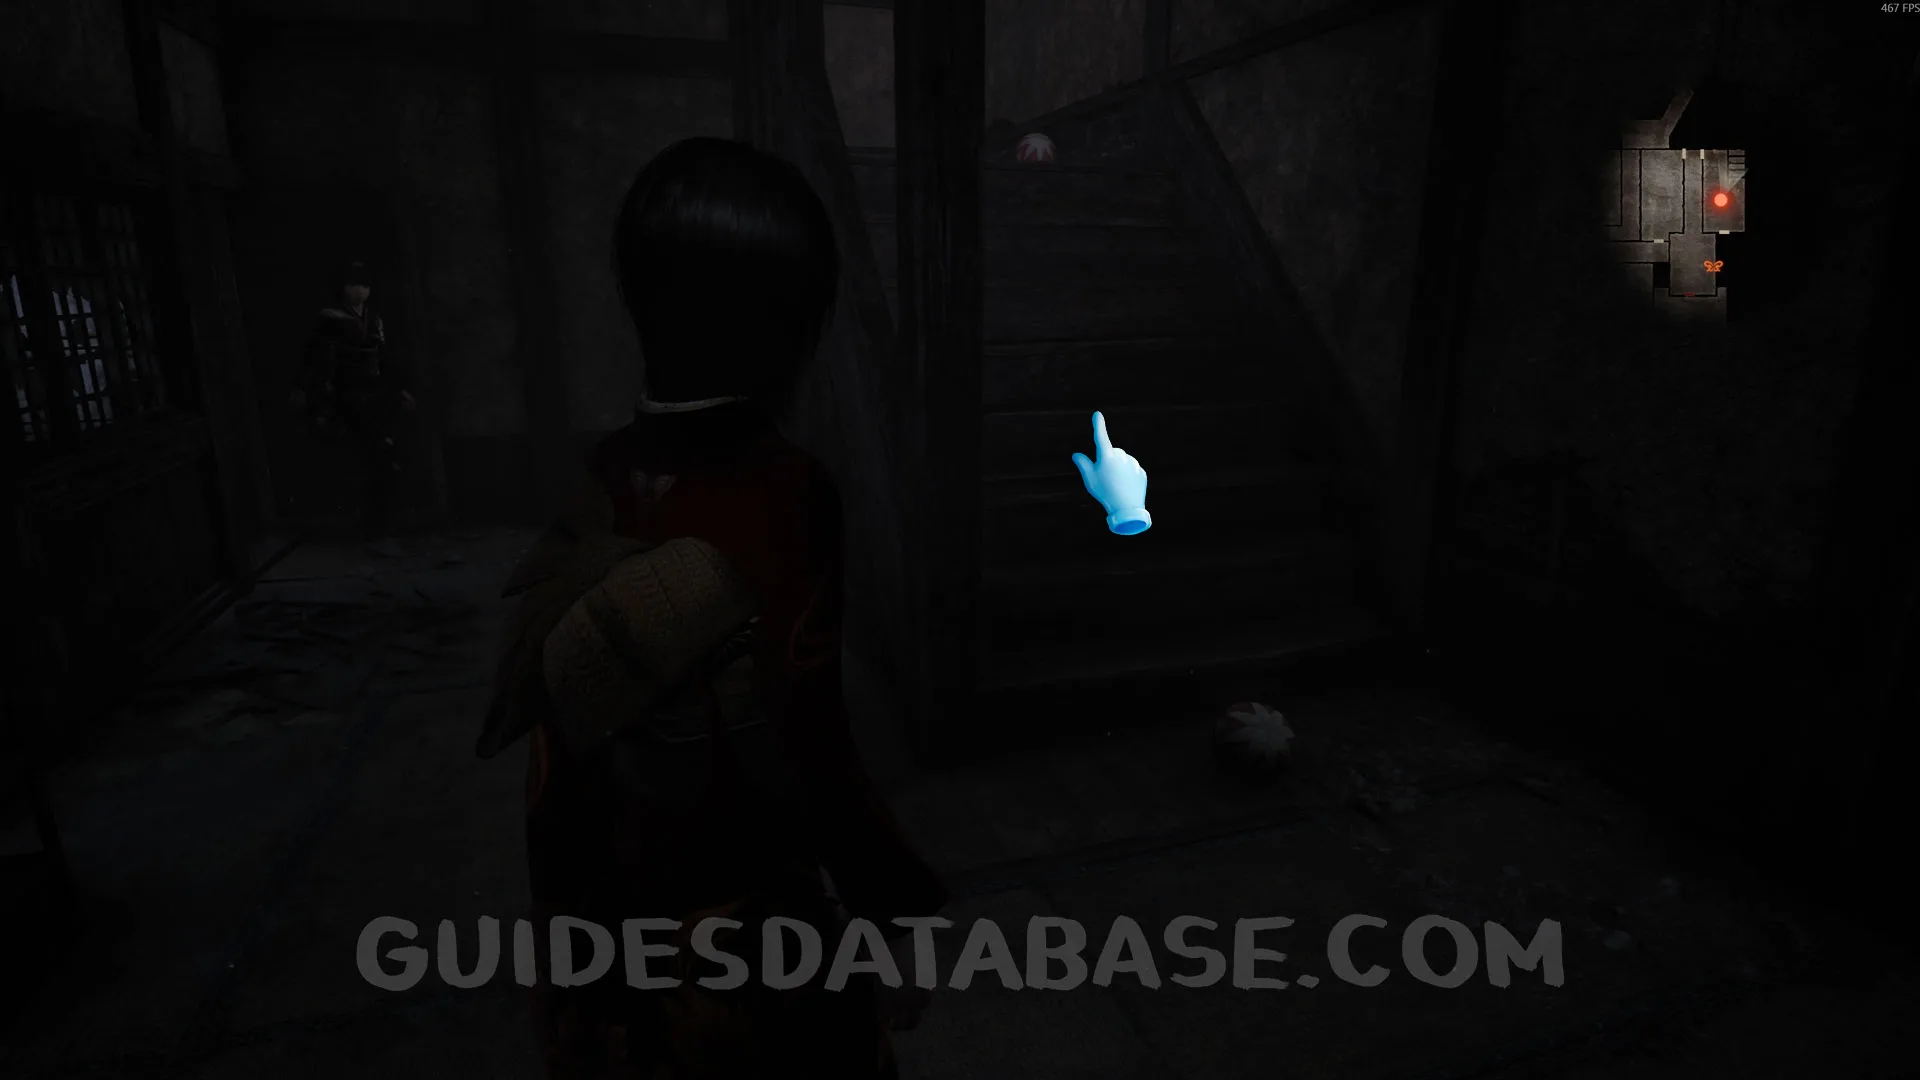 GUIDESDATABASE.COM
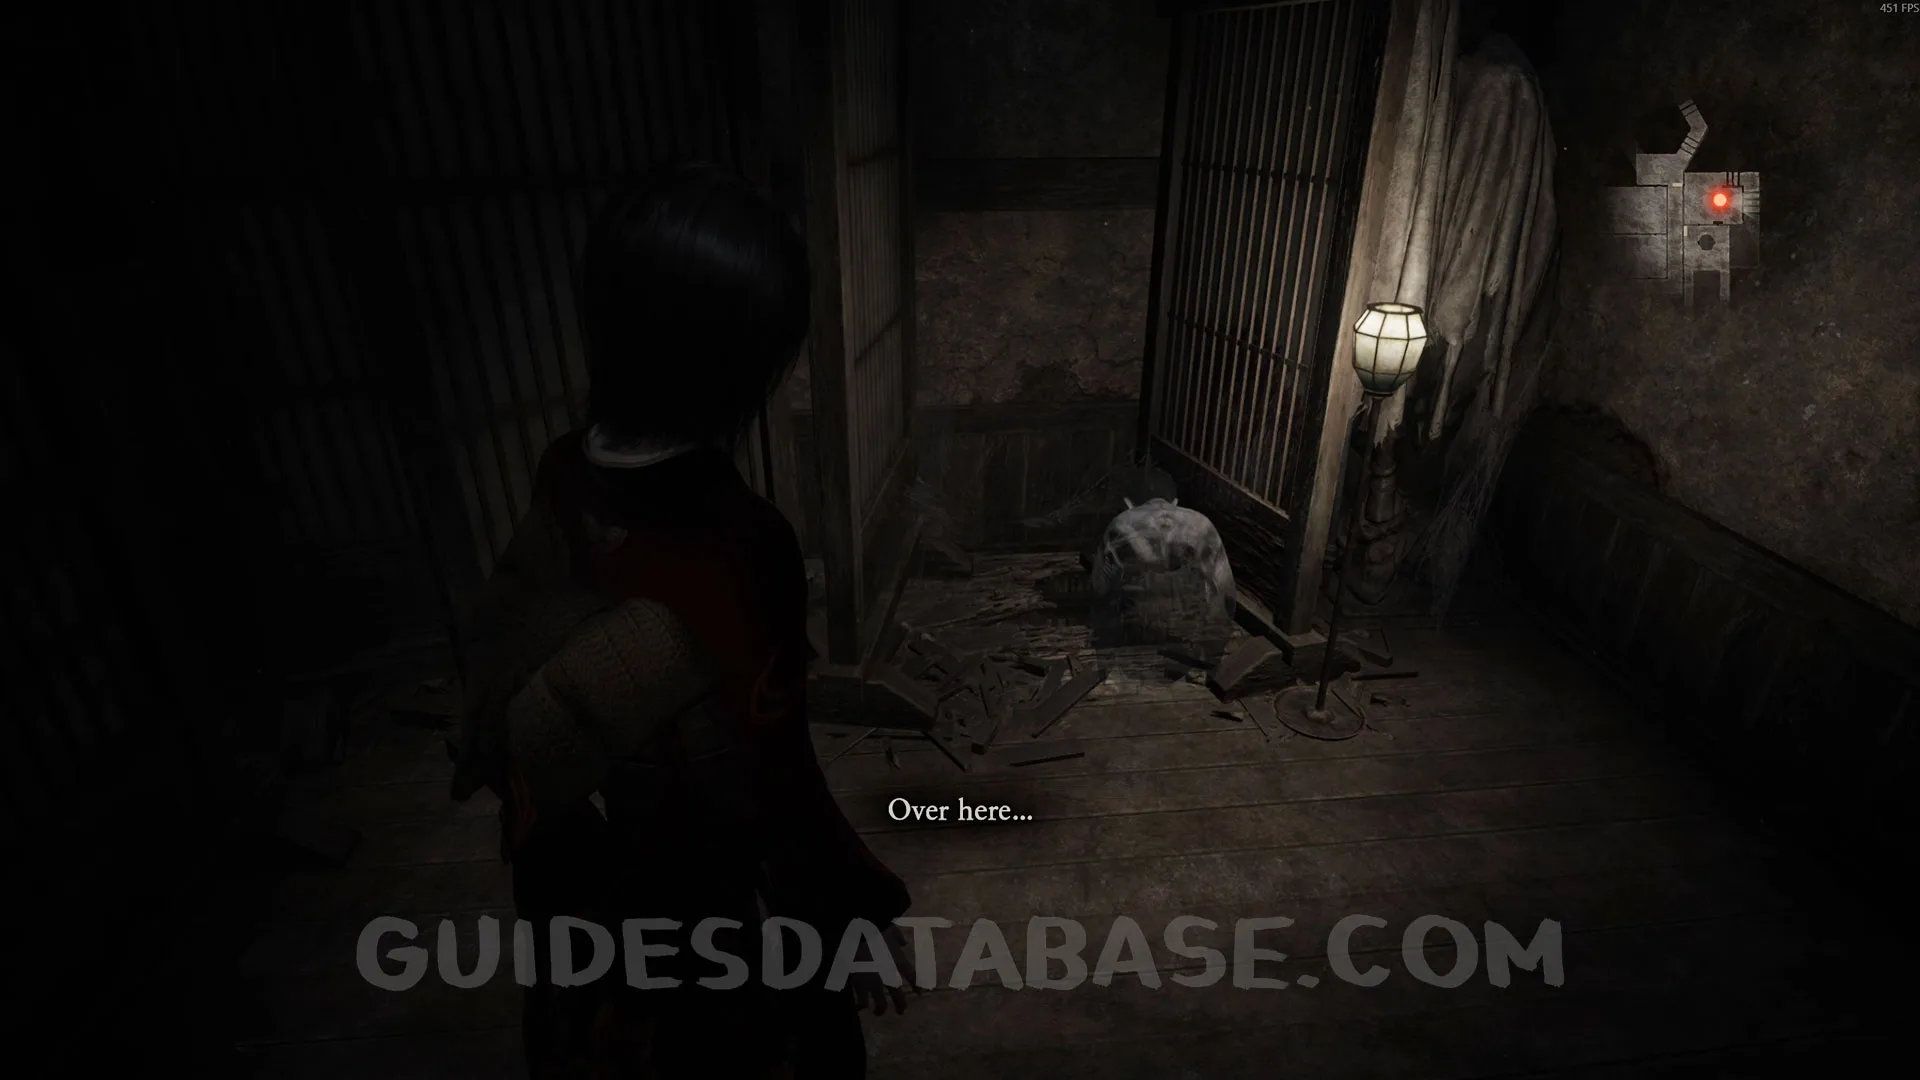 GUIDESDATABASE.COM
 GUIDESDATABASE.COM
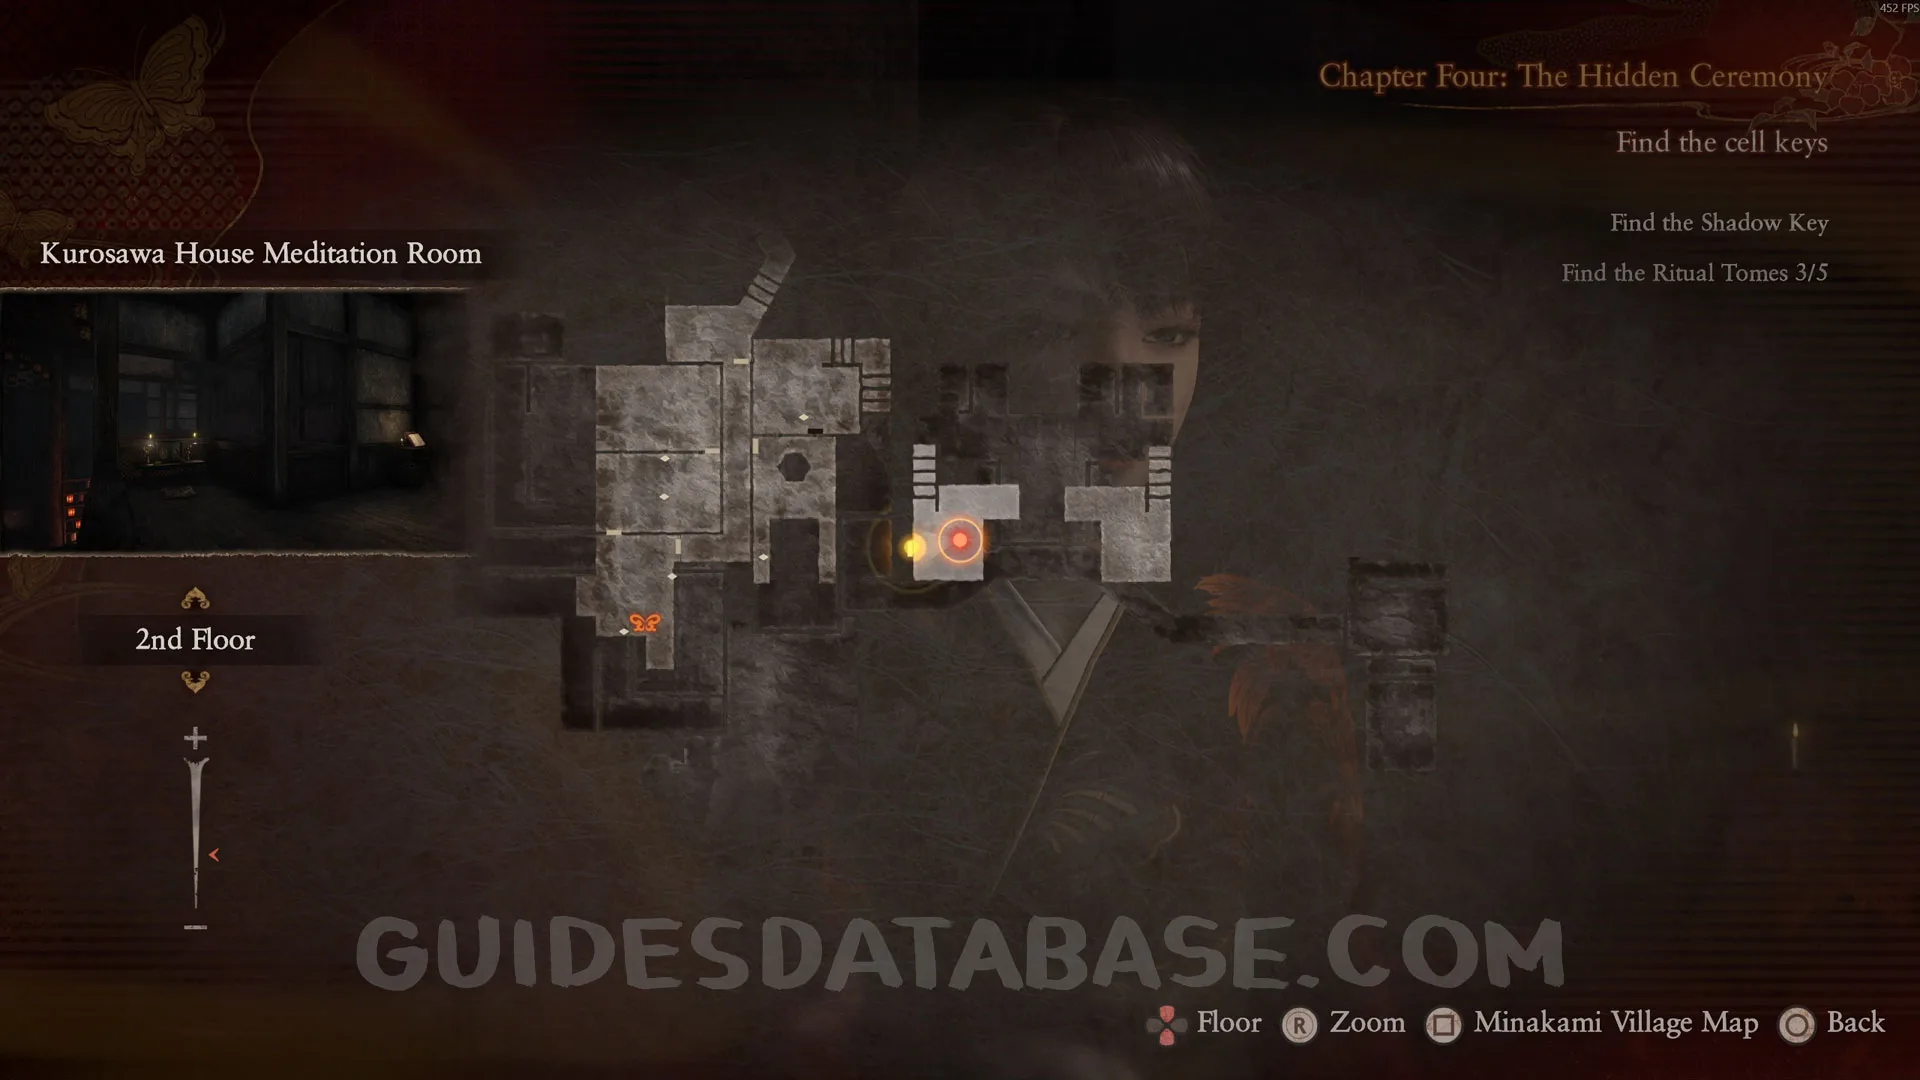
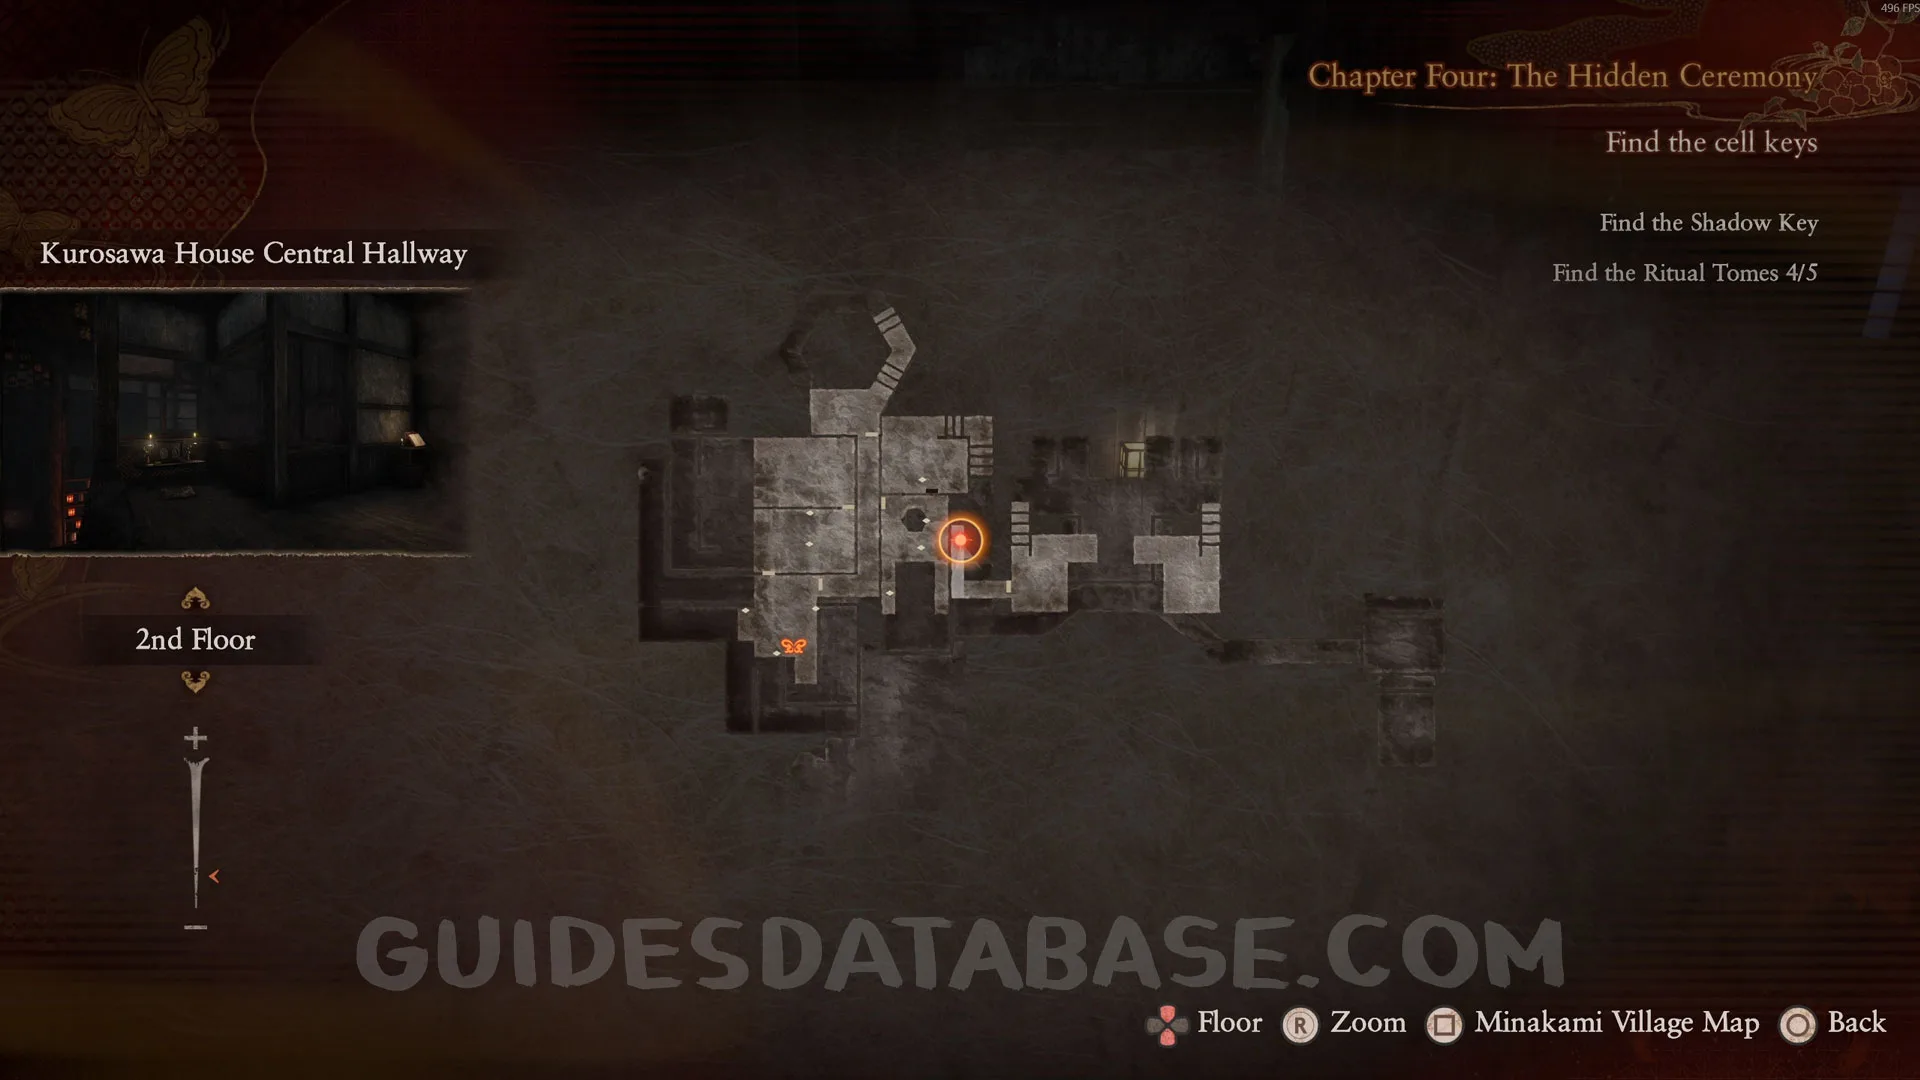
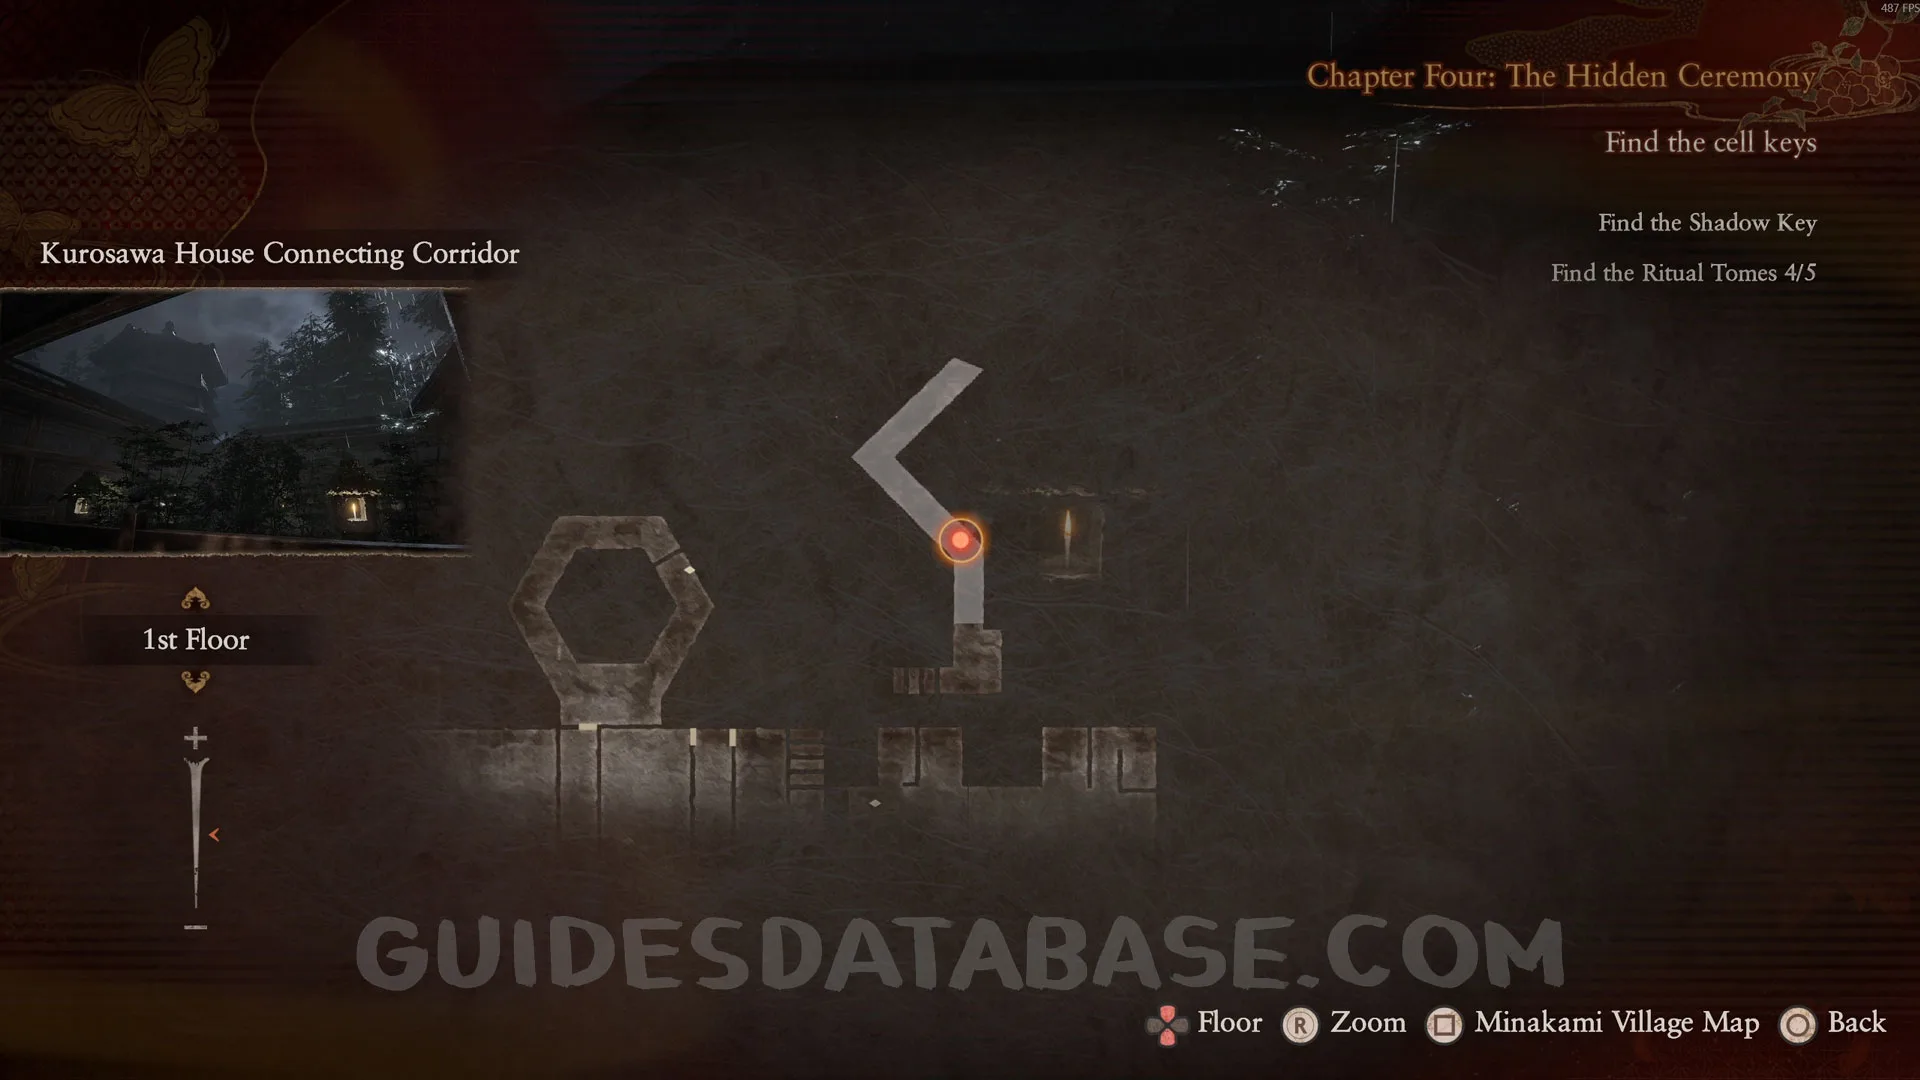
Document #34 - Ritual Host’s Note 3.
In the same room as the previous specter, this document is on the floor. It will only start glowing when you get very close to it.
 GUIDESDATABASE.COM
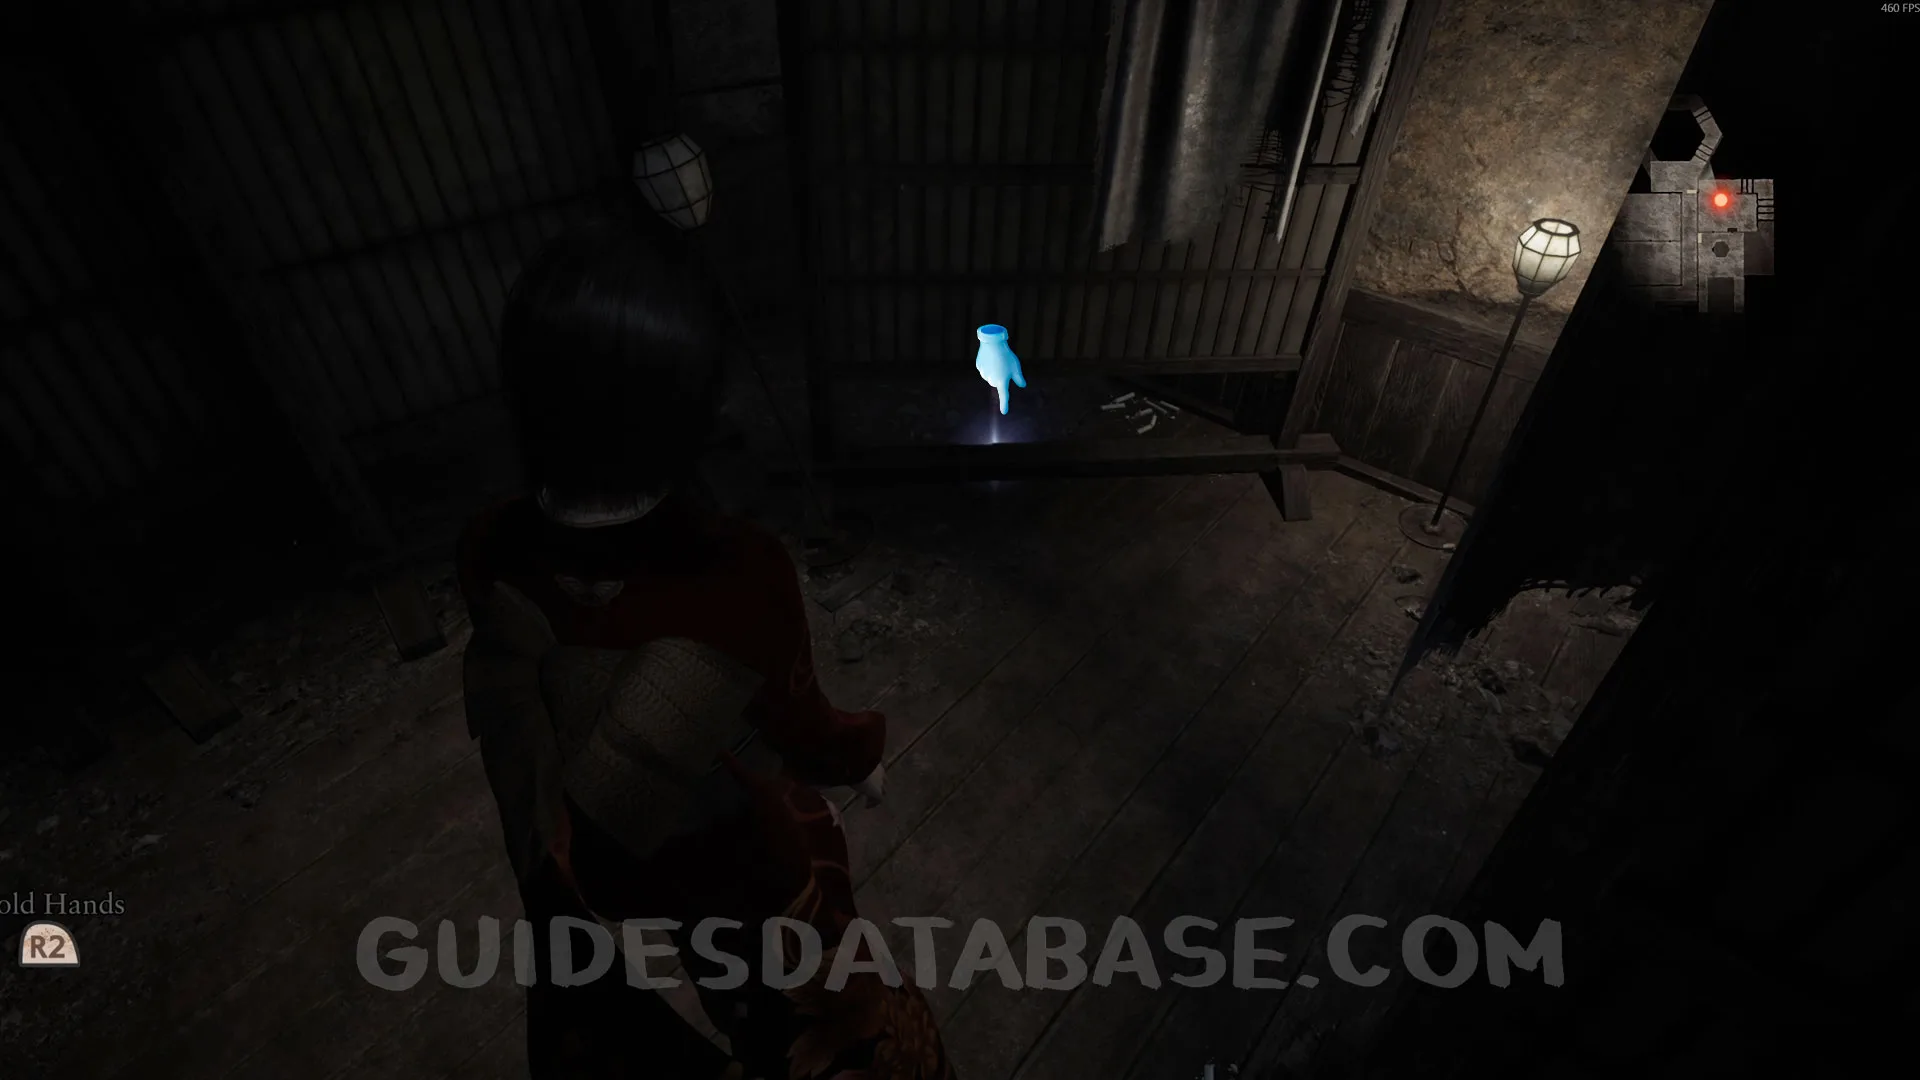 GUIDESDATABASE.COM
Specter #61 - 047 Peeping Boy.
From the previous collectible, go downstairs and open the door next to the suit of armor. You’ll see this specter right in front of you.
 GUIDESDATABASE.COM
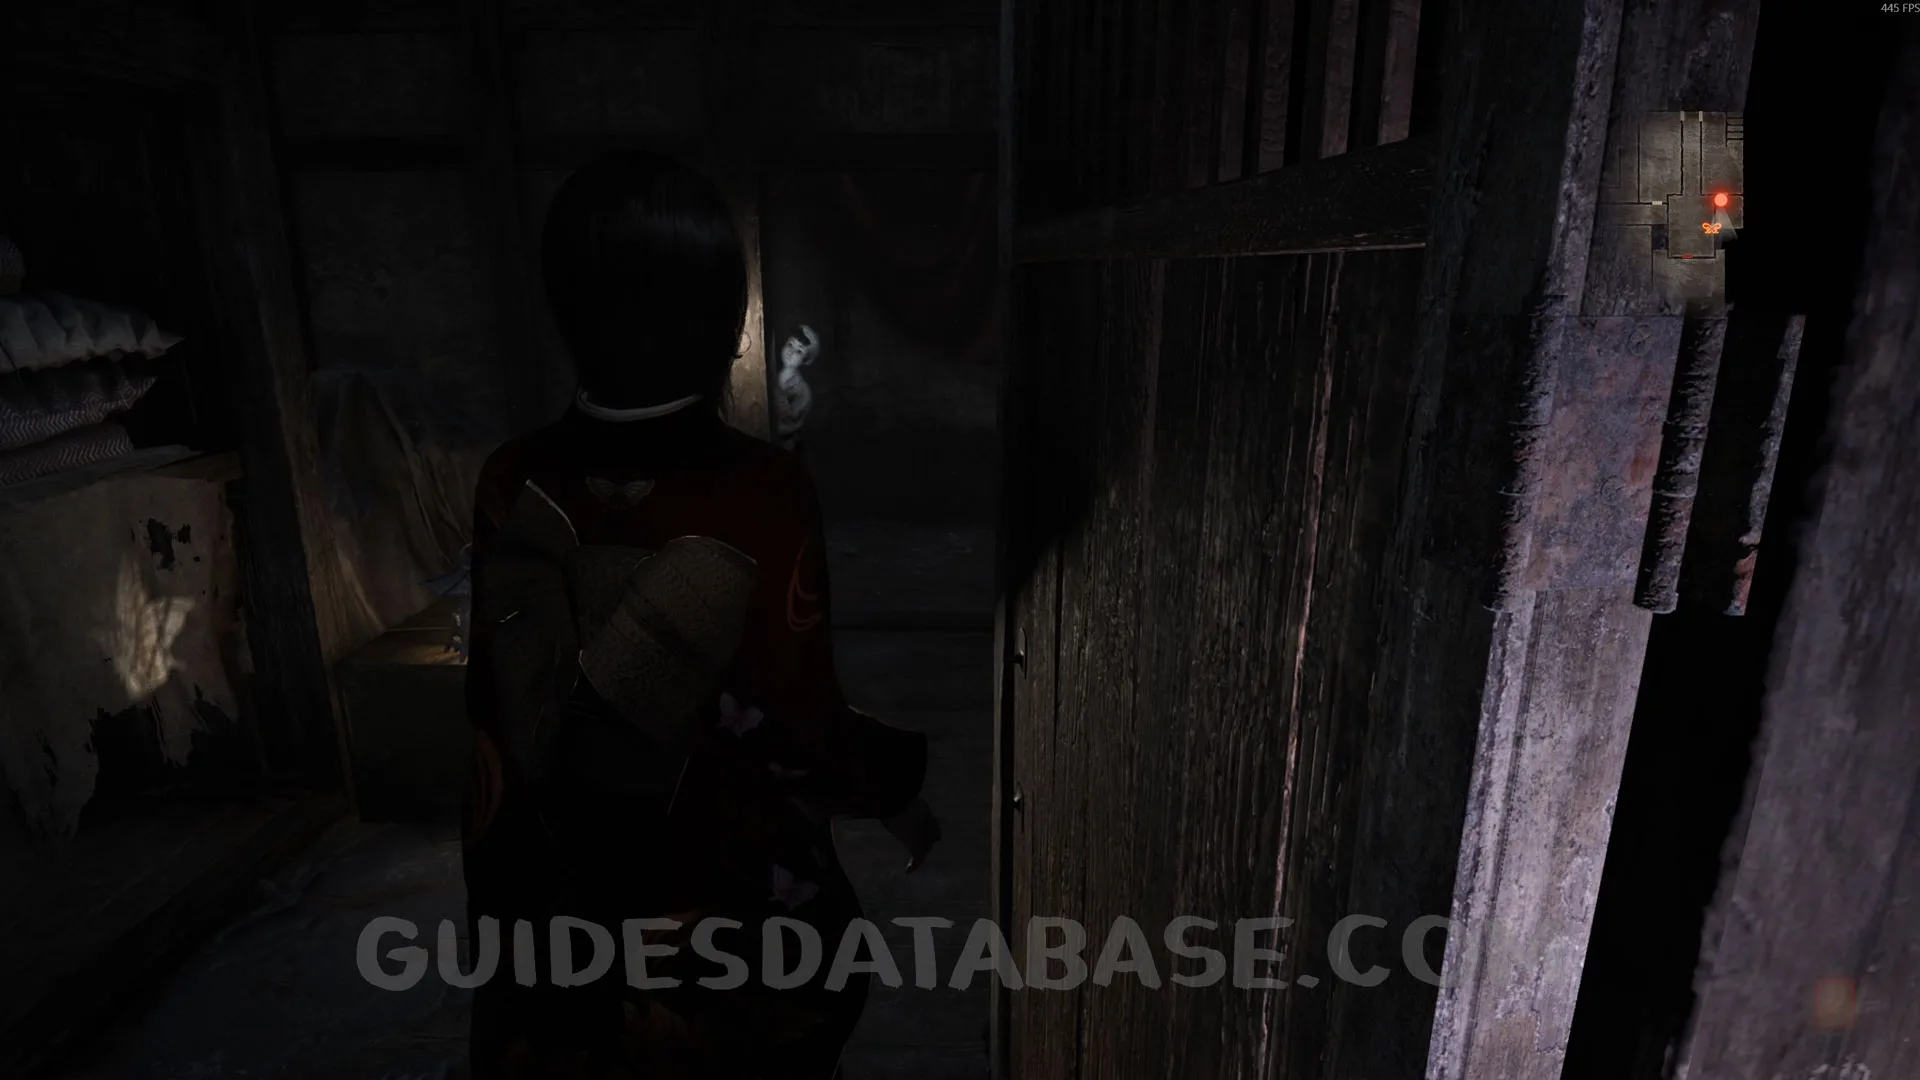 GUIDESDATABASE.COM
 GUIDESDATABASE.COM
Prayer Bead #16.
In the same room as the previous specter.
 GUIDESDATABASE.COM
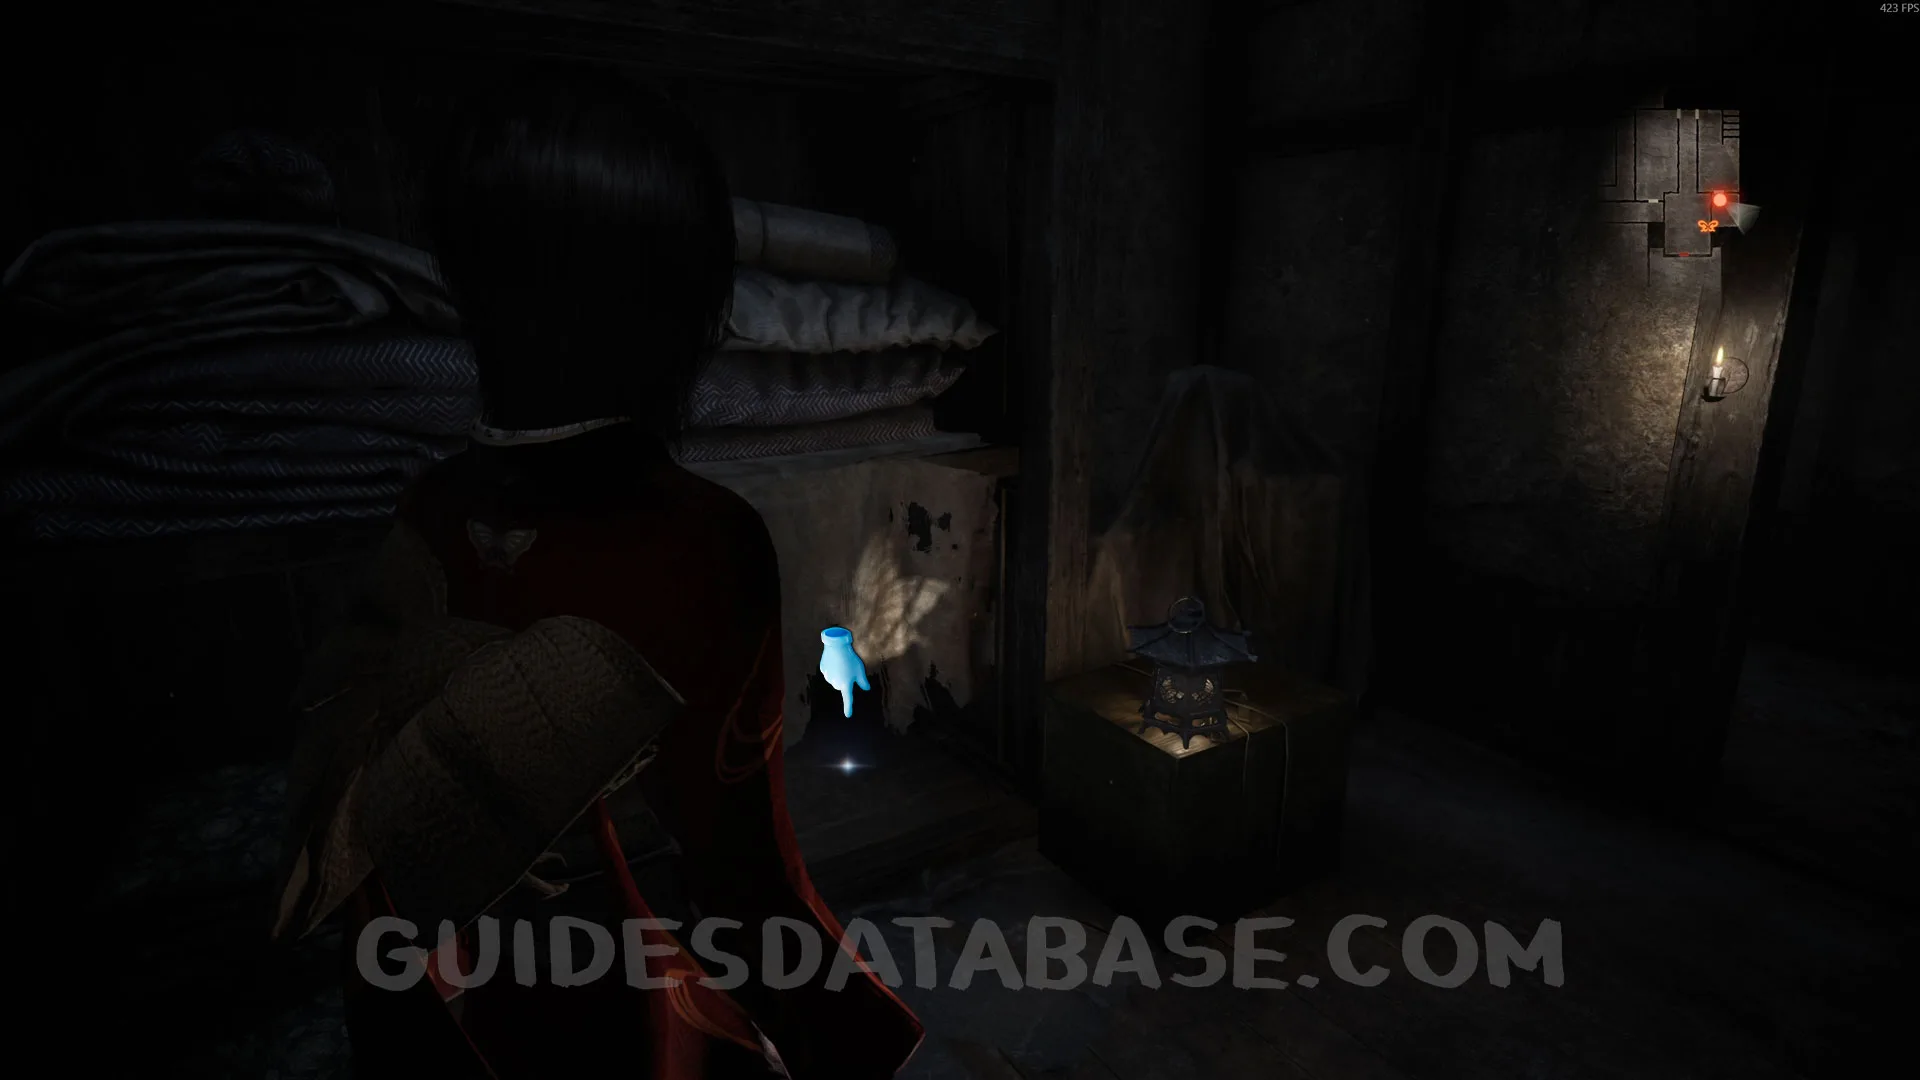 GUIDESDATABASE.COM
Specter #62 - 048 Boy Running Off.
 GUIDESDATABASE.COM
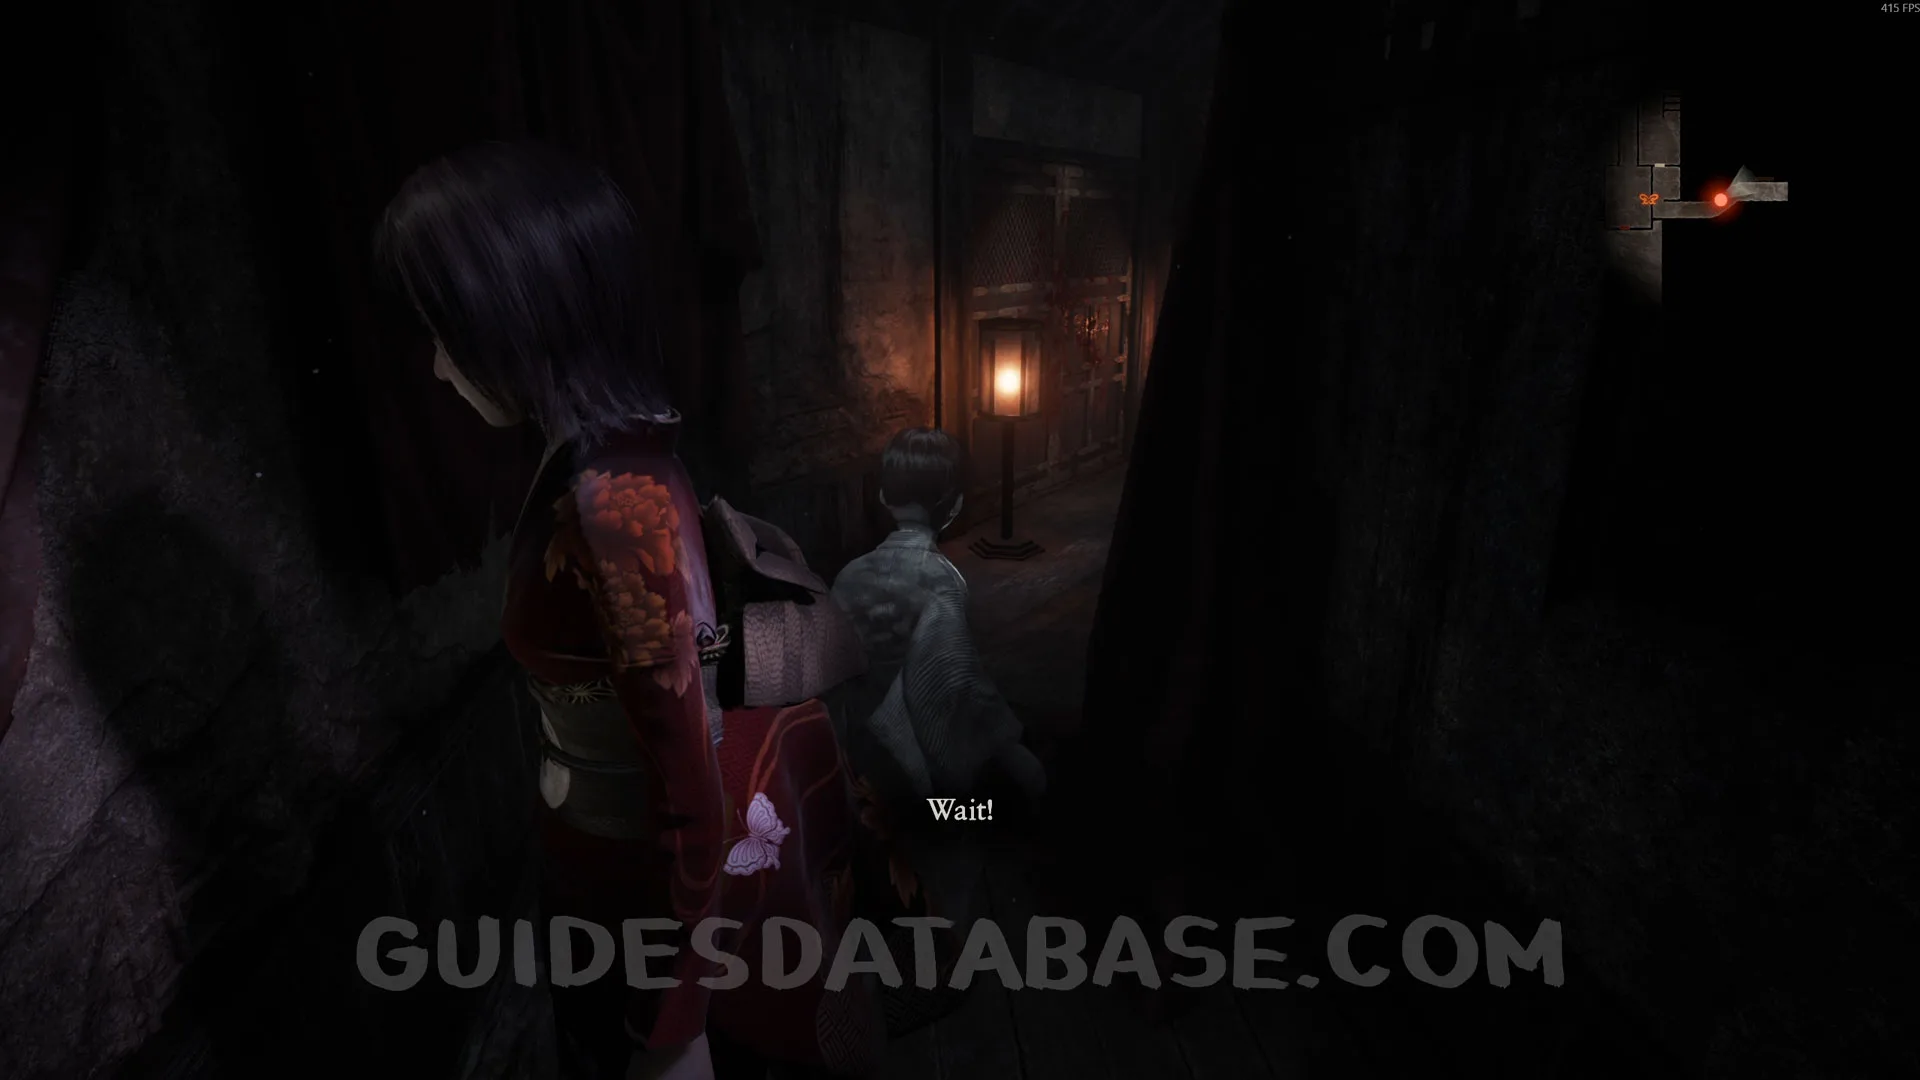 GUIDESDATABASE.COM
 GUIDESDATABASE.COM
Specter #63 - 049 Storehouse Investigator.
From the previous specter, you’ll need to interact with the door at the end of the hallway to continue. But when you interact with it for the first time, Kusabi will appear and start chasing you. Go back down the entire hallway with Mayu and hide. After Kusabi disappears, go to the end of the hallway again and open the door. You’ll see this specter pass right in front of you.
 GUIDESDATABASE.COM
 GUIDESDATABASE.COM
 GUIDESDATABASE.COM
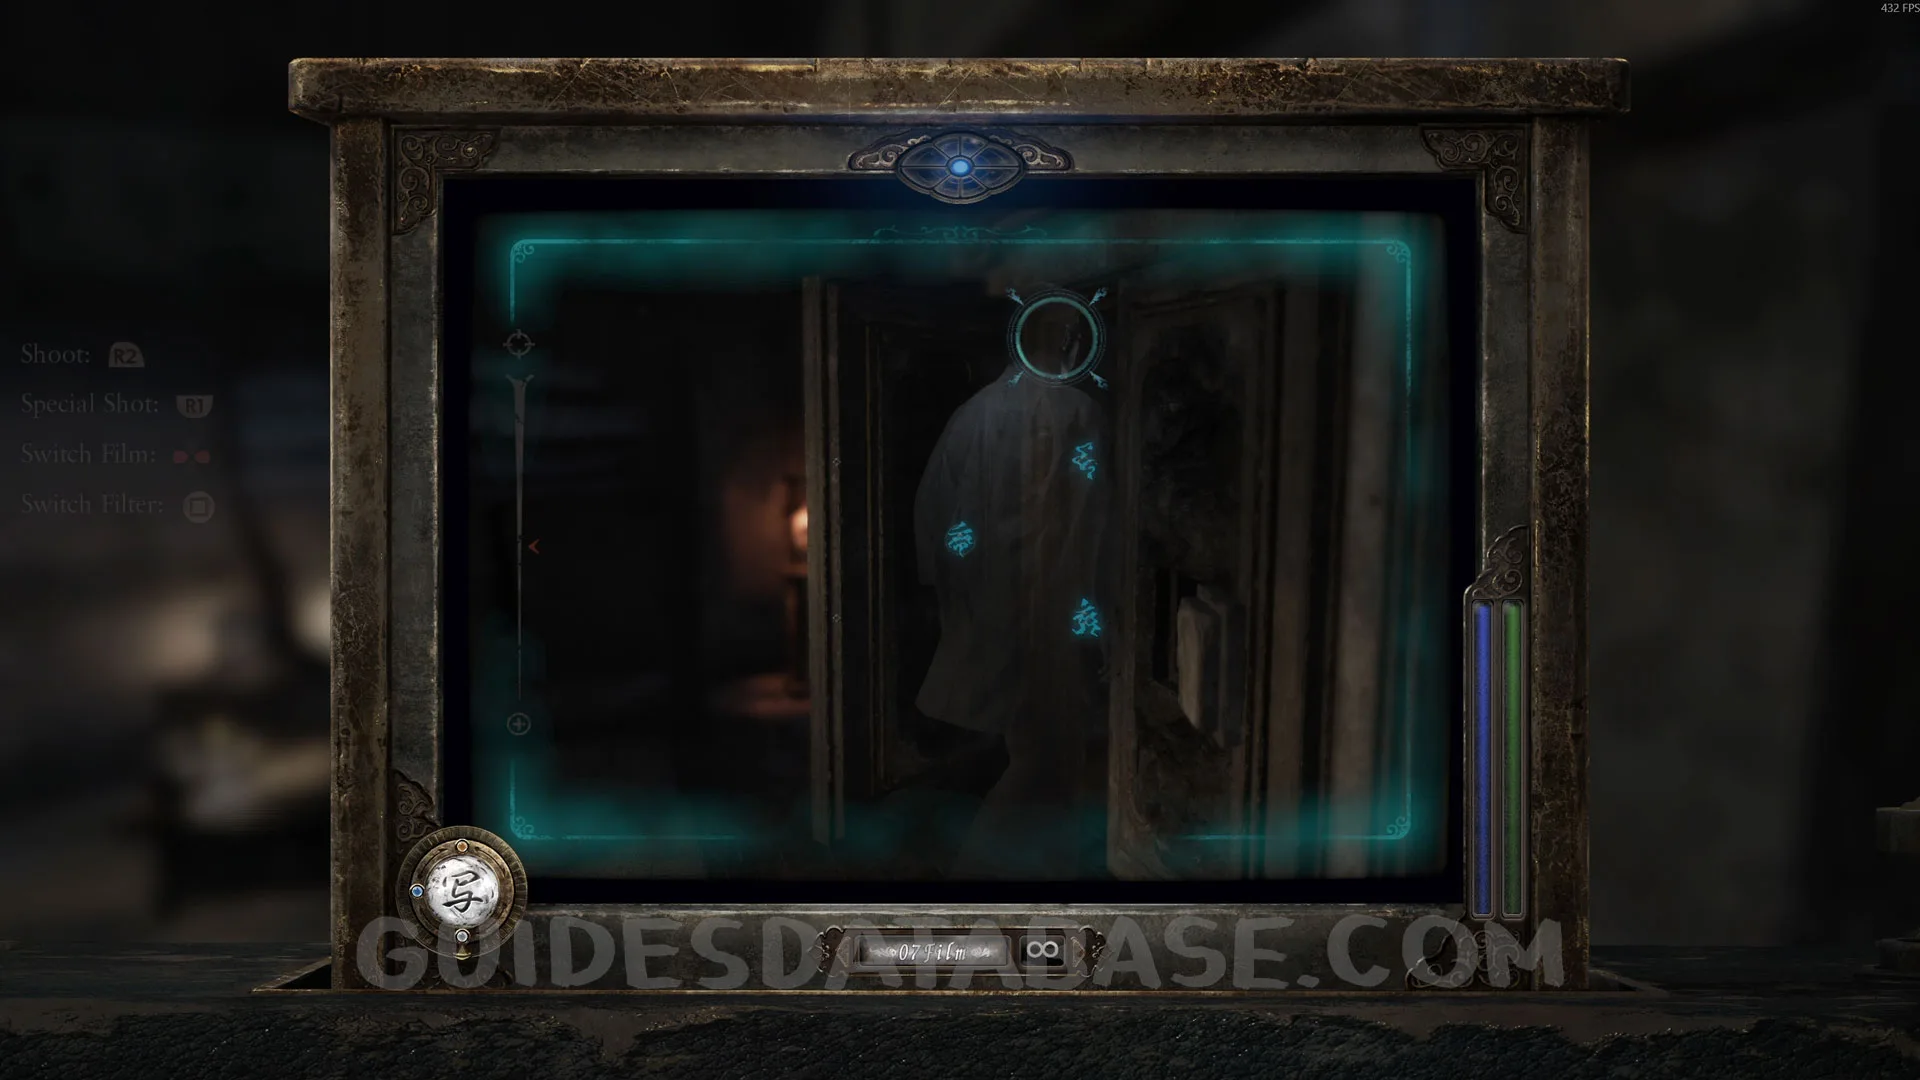 GUIDESDATABASE.COM
Document #35 - Ritual Host’s Note 4.
In the same area as the previous specter, on the table.
 GUIDESDATABASE.COM
 GUIDESDATABASE.COM
Specter #64 - 050 Imprisoned Man.
 GUIDESDATABASE.COM
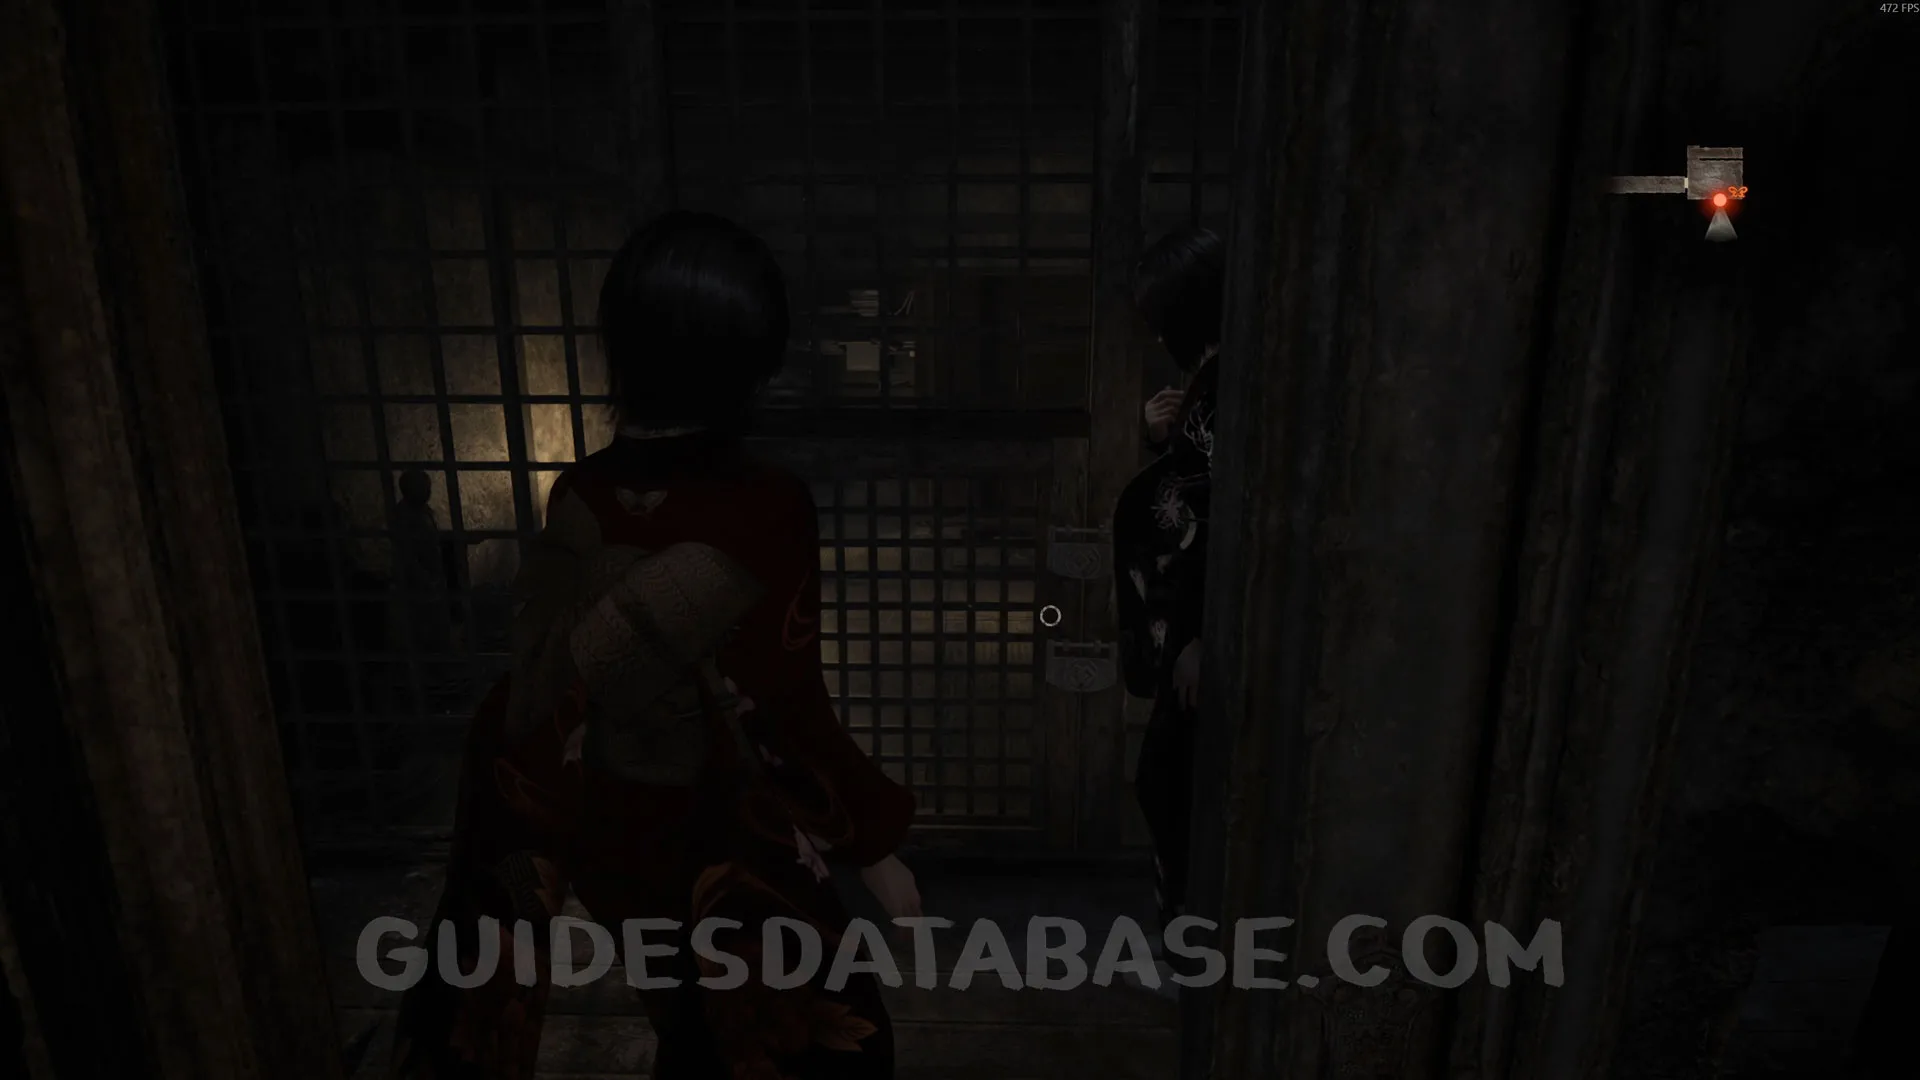 GUIDESDATABASE.COM
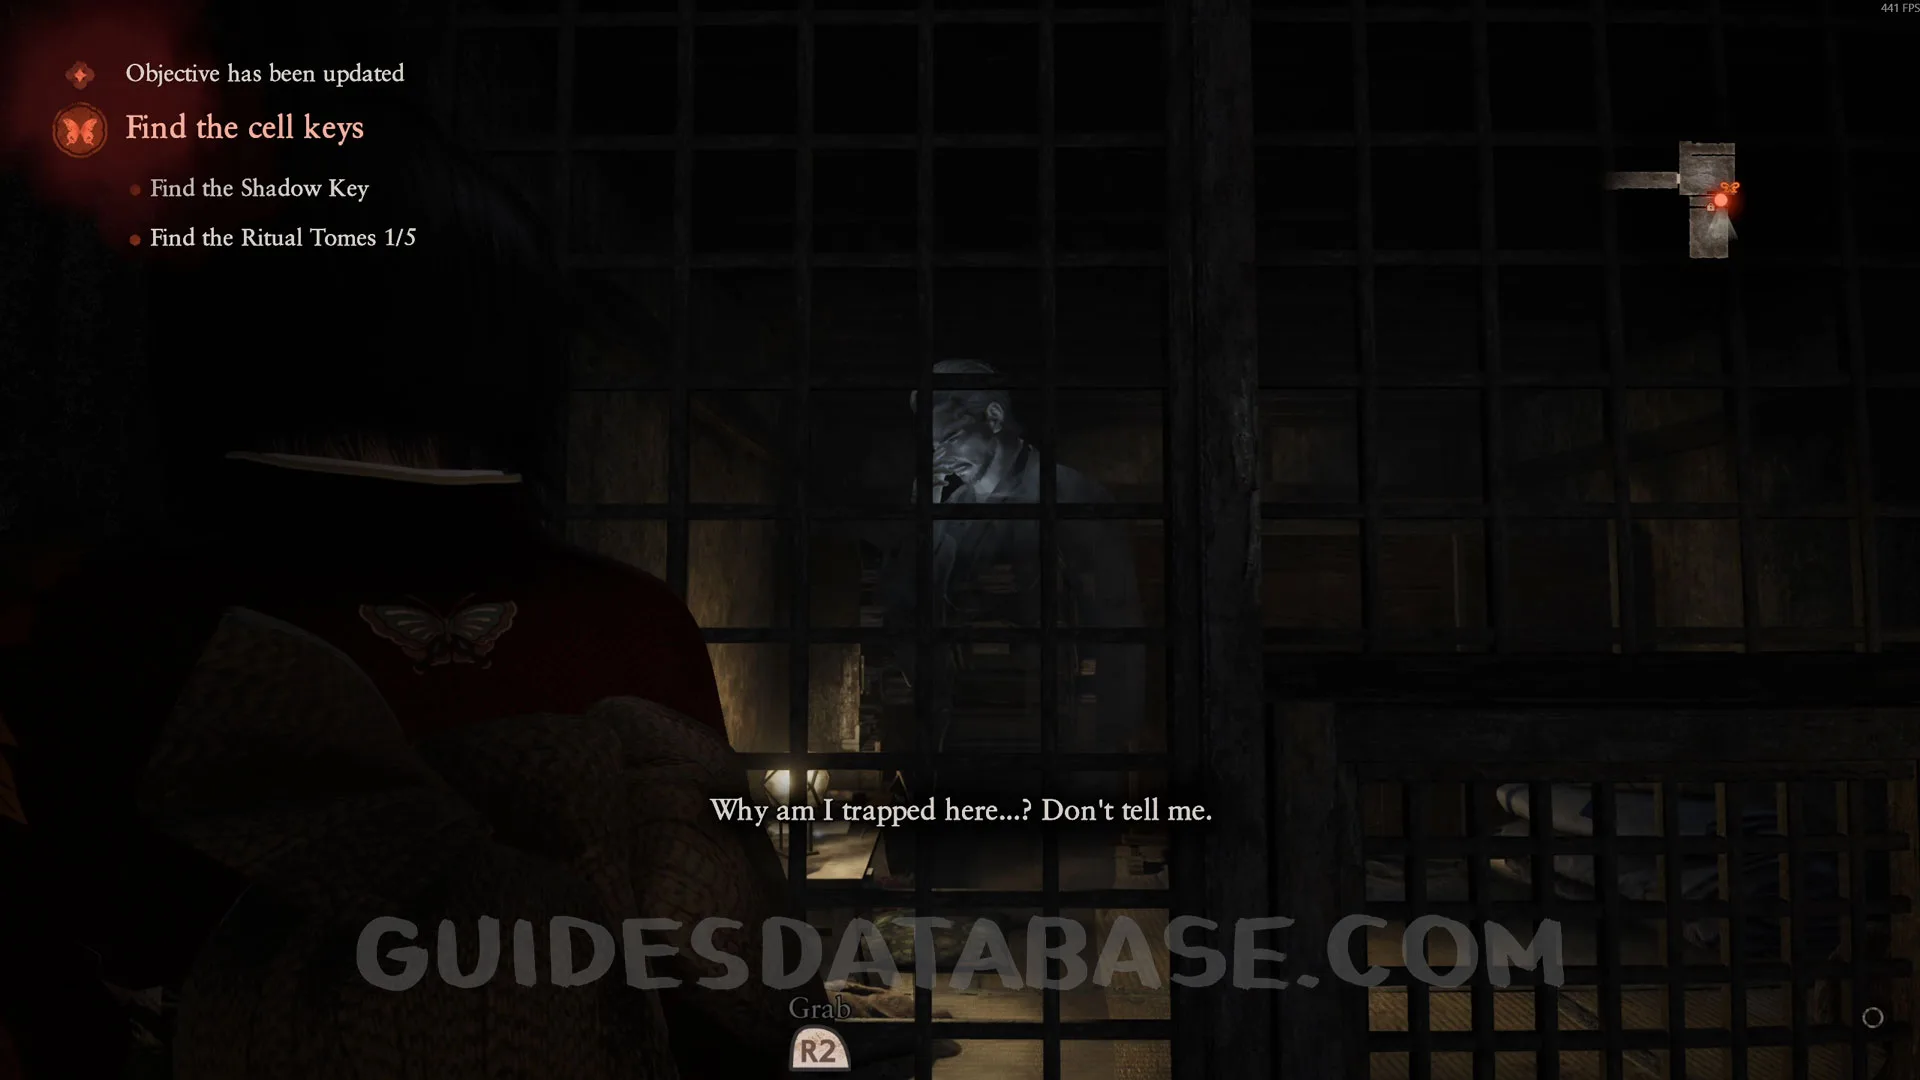 GUIDESDATABASE.COM
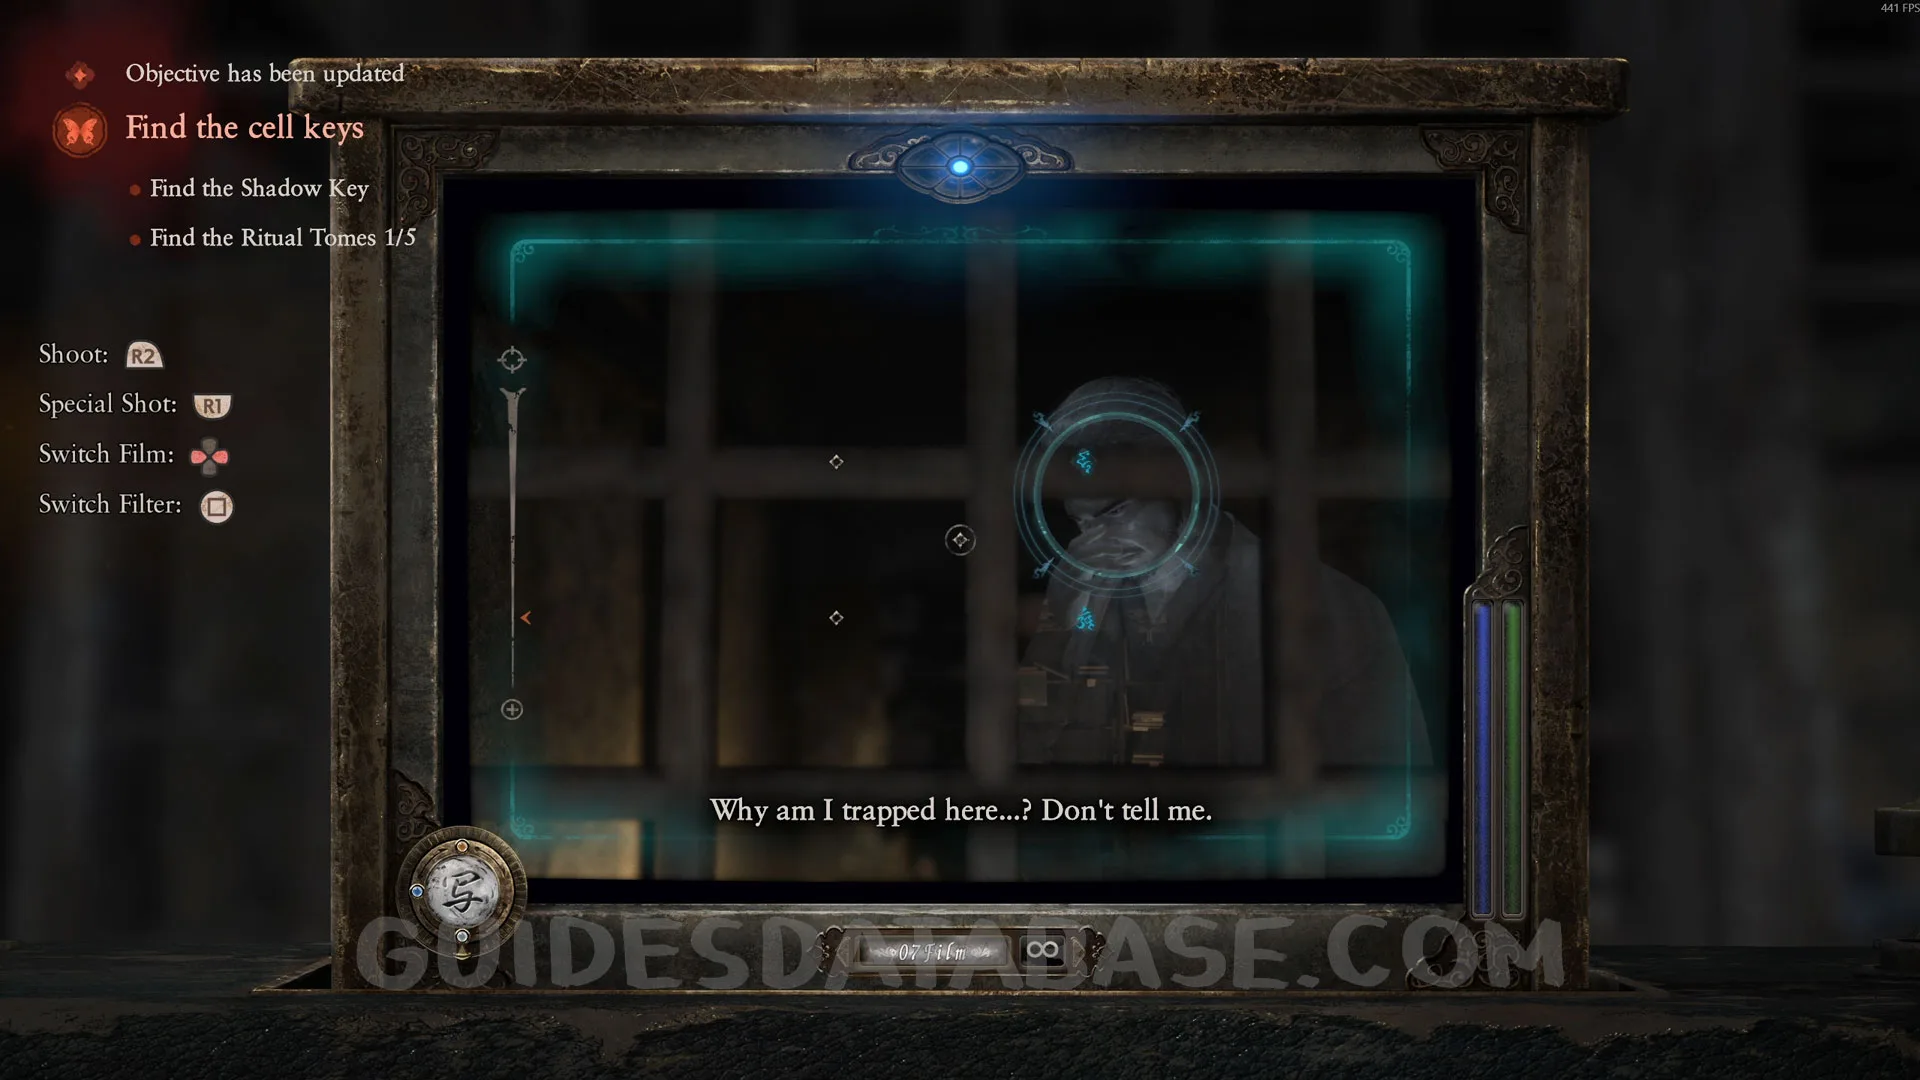 GUIDESDATABASE.COM
Document #36 - Radiant Filter Memo.
 GUIDESDATABASE.COM
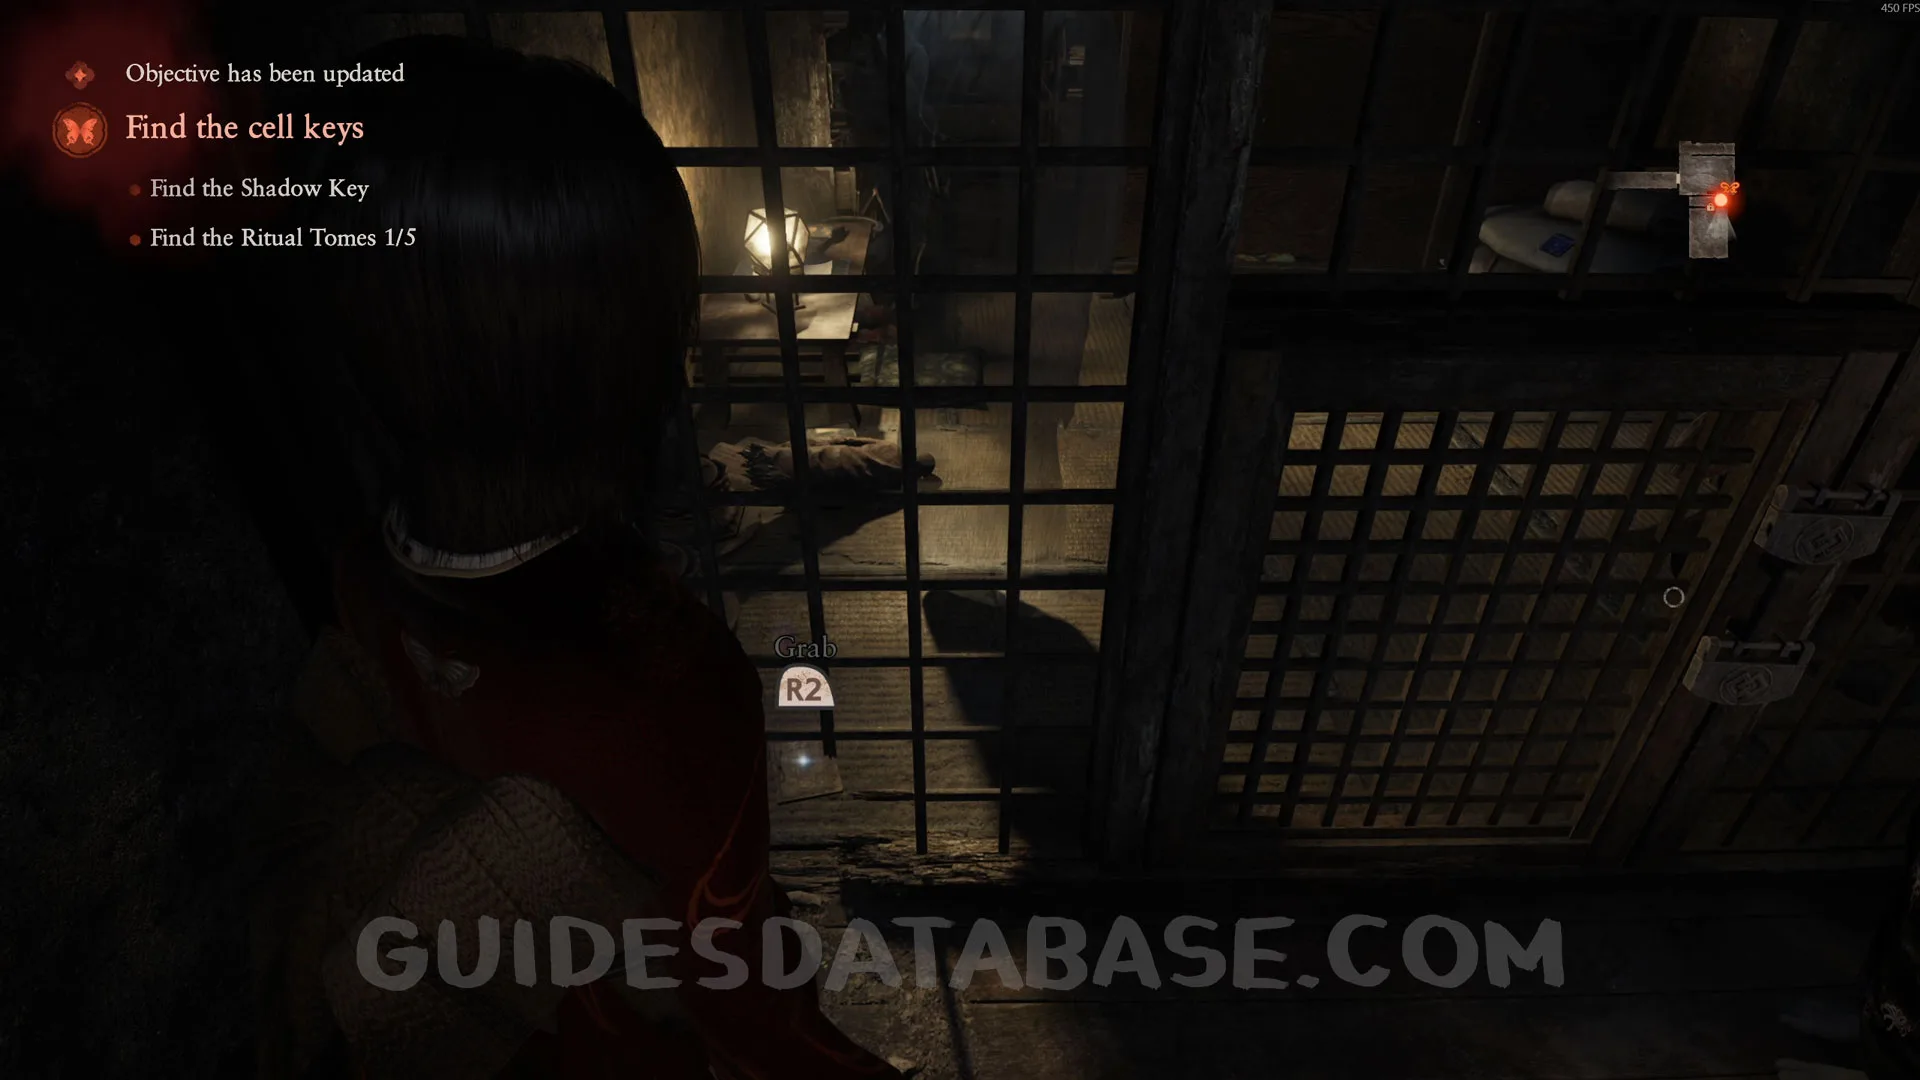 GUIDESDATABASE.COM
Unbinding of Blood #1 and Document #37 - Butterfly Diary 2.
 GUIDESDATABASE.COM
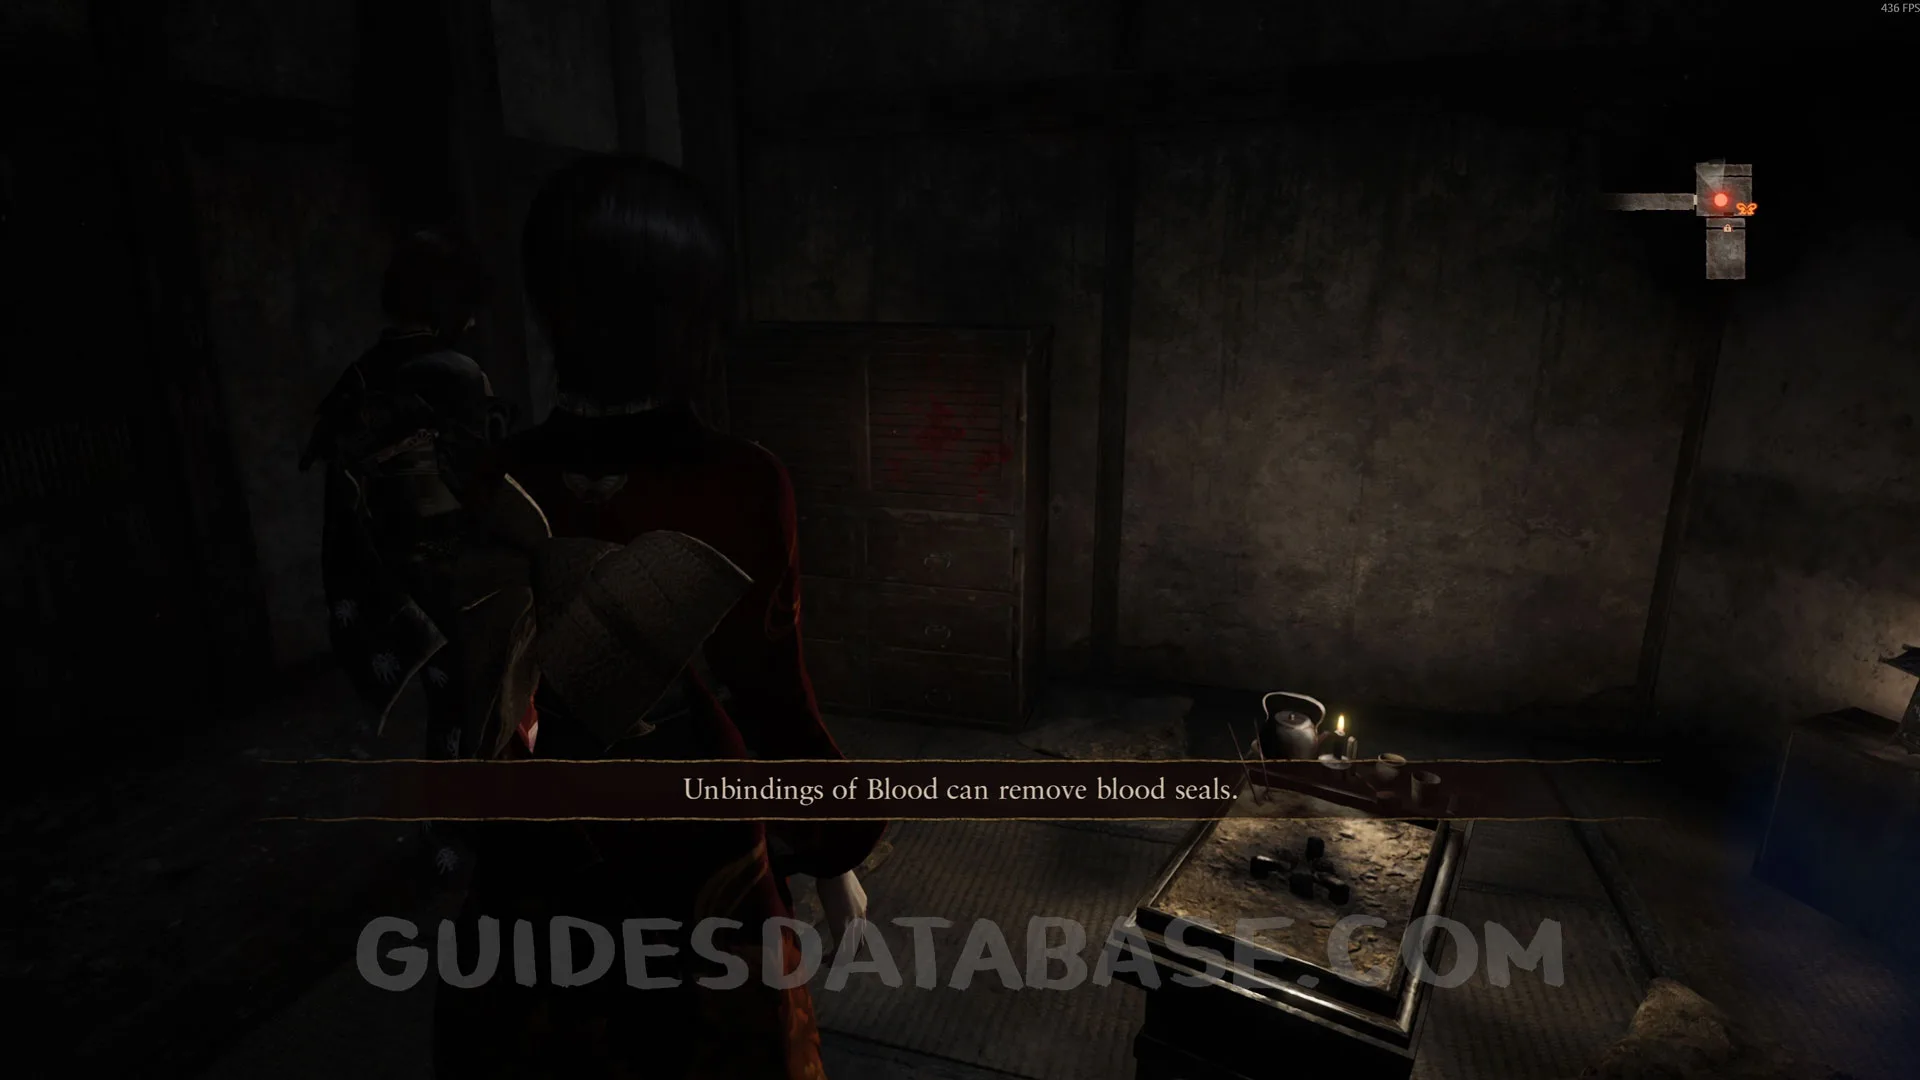 GUIDESDATABASE.COM
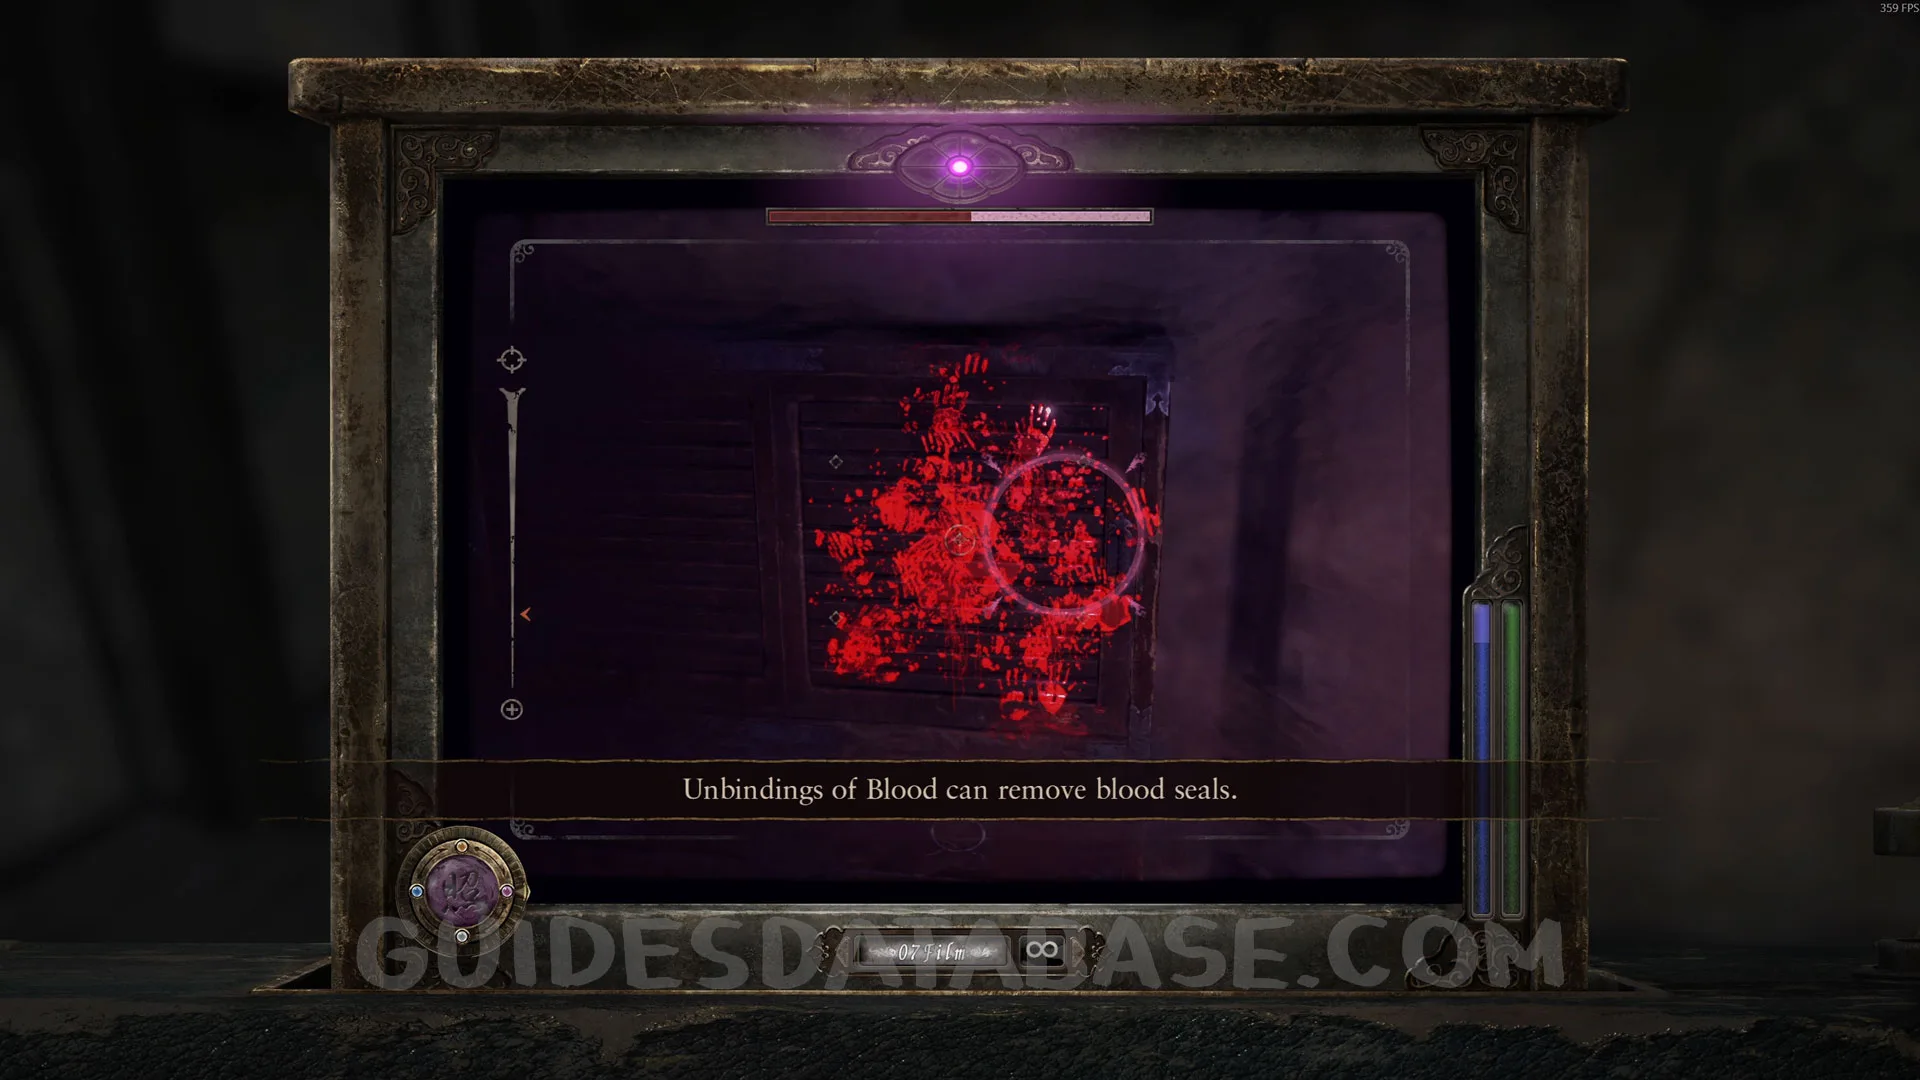 GUIDESDATABASE.COM
 GUIDESDATABASE.COM
Specter #65 - 051 The Ritualist.
Go back through the long hallway and you’ll see this specter right in front of you.
 GUIDESDATABASE.COM
 GUIDESDATABASE.COM
 GUIDESDATABASE.COM
Unbinding of Blood #2.
From the previous specter, follow the hallway to the end and go upstairs. Head to the hole where you found one of the earlier specters in this chapter, and you’ll see a ball. Use the Radiant Filter on it.
 GUIDESDATABASE.COM
 GUIDESDATABASE.COM
 GUIDESDATABASE.COM
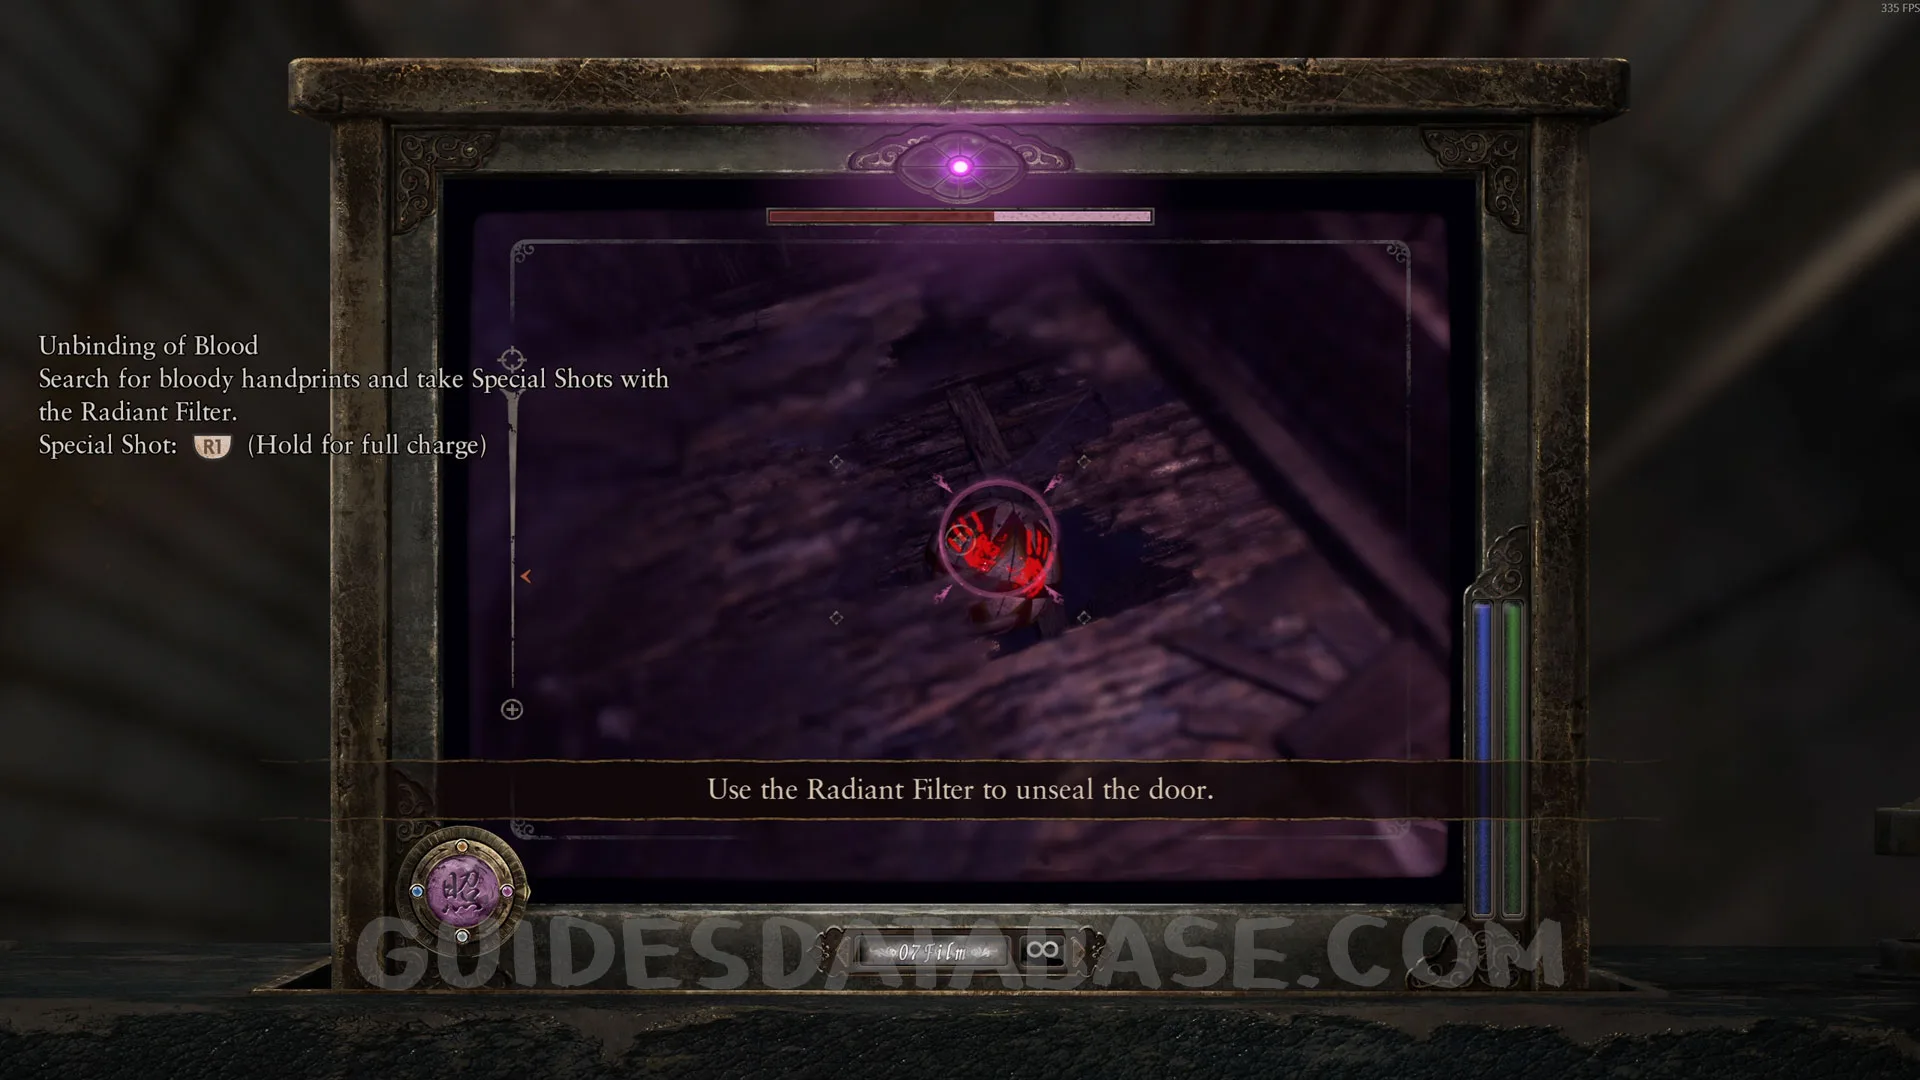 GUIDESDATABASE.COM
Unbinding of Blood #3.
From the previous collectible, turn around and you’ll see a door with a seal on it. Use the Radiant Filter on it.
 GUIDESDATABASE.COM
 GUIDESDATABASE.COM
 GUIDESDATABASE.COM
Unbinding of Blood #4 and Prayer Bead #17.
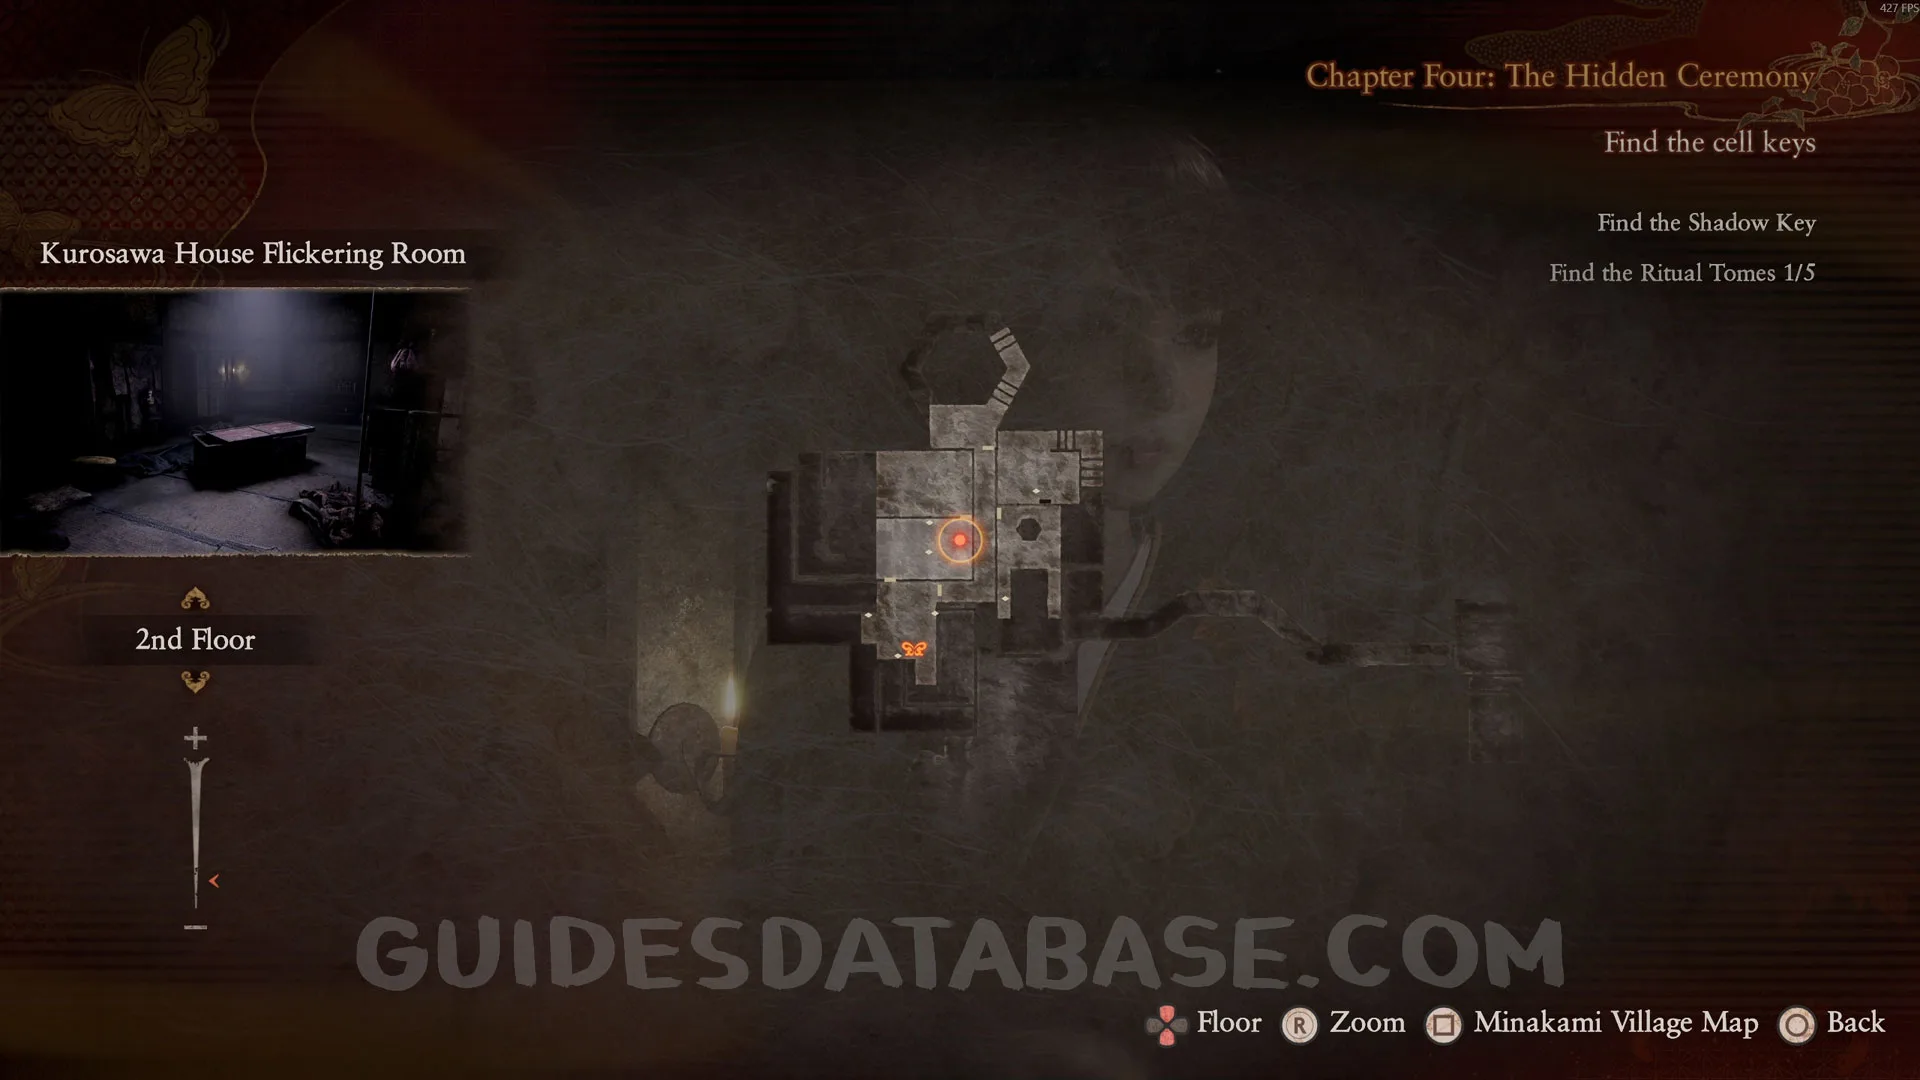
Now go back to the Flickering Room, where you started this chapter. You’ll see a cabinet there. Use the Radiant Filter on it.
 GUIDESDATABASE.COM
 GUIDESDATABASE.COM
 GUIDESDATABASE.COM
Unbinding of Blood #5 / Revenant #2 - 019 Exhausted Man / Document #38 - Bloody Memo / Prayer Bead #18.
From the previous collectible, go back to the room where Kusabi chases you for the first time. There, you’ll find a sealed door. Use the Radiant Filter on it, go into the room, and you’ll find a revenant. Use the Exposure Filter. Then pick up the document and the Prayer Bead in the same room.
 GUIDESDATABASE.COM
 GUIDESDATABASE.COM
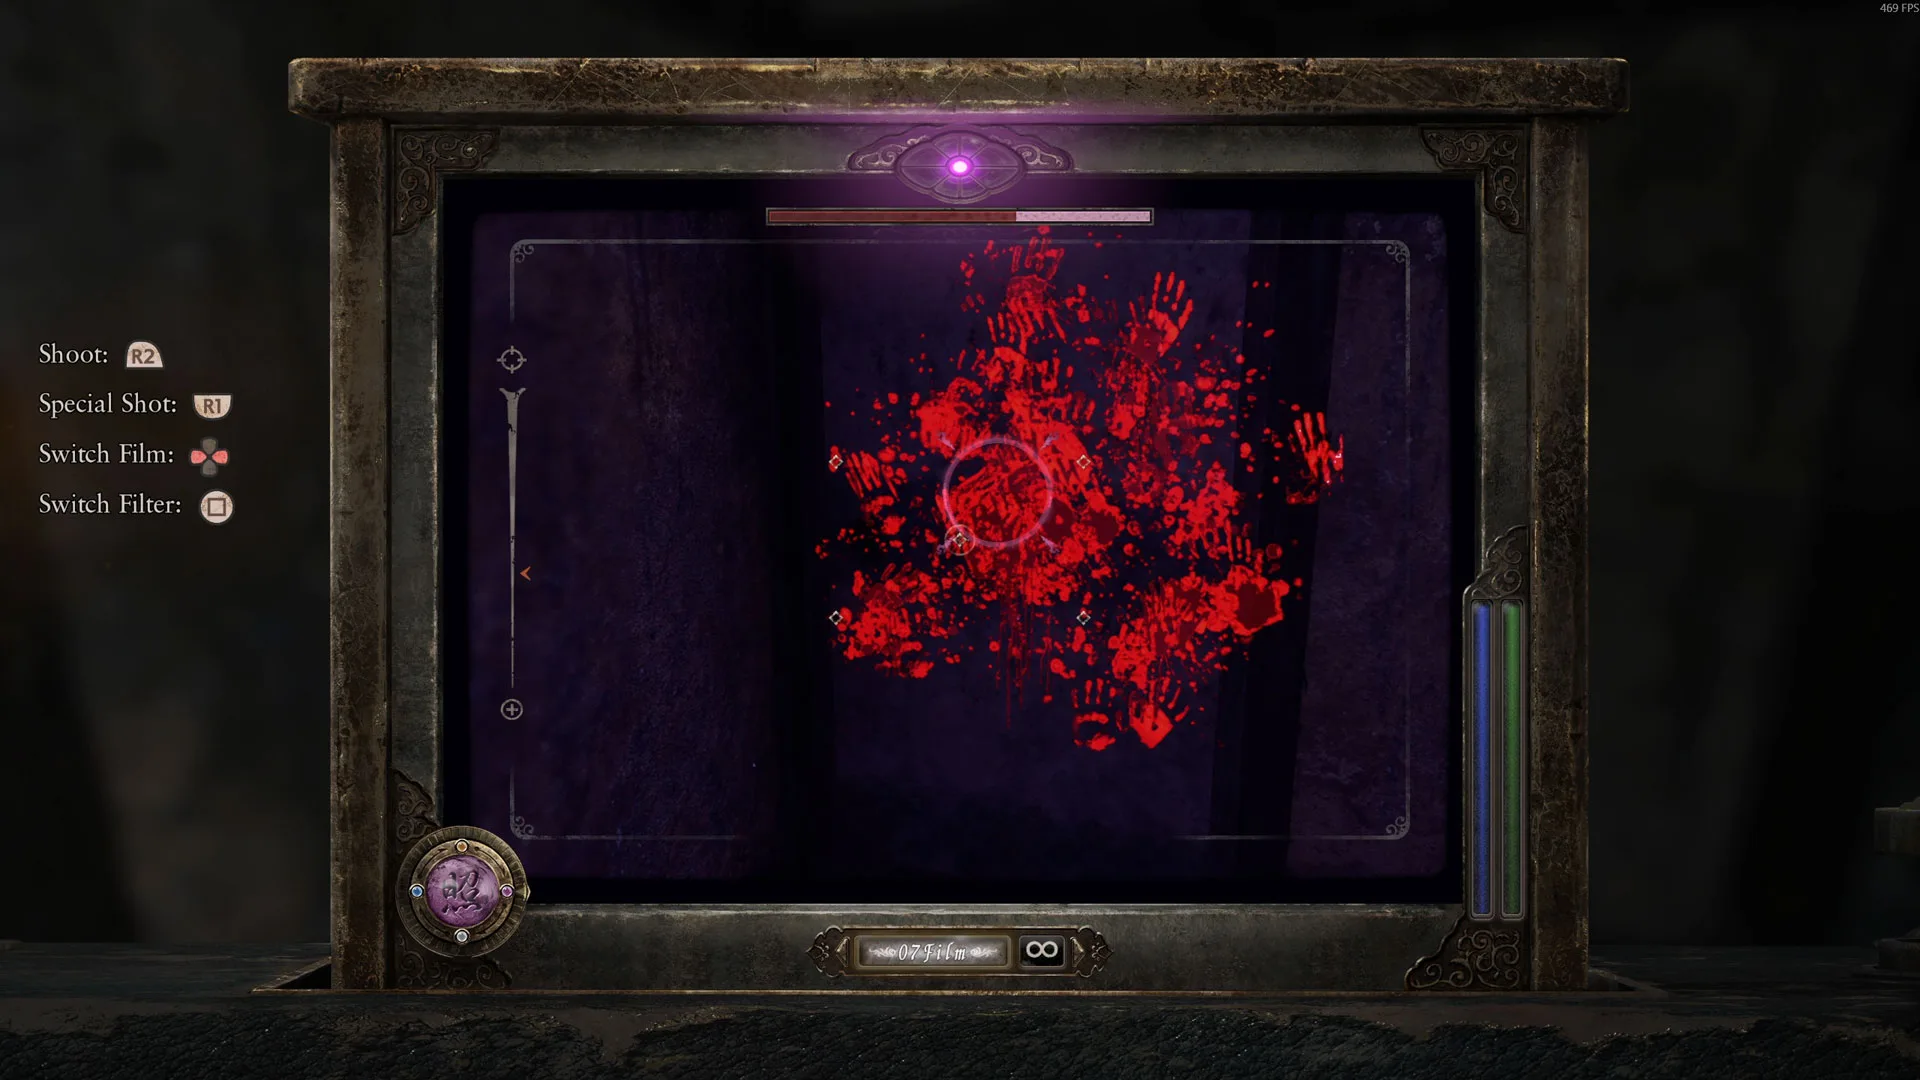 GUIDESDATABASE.COM
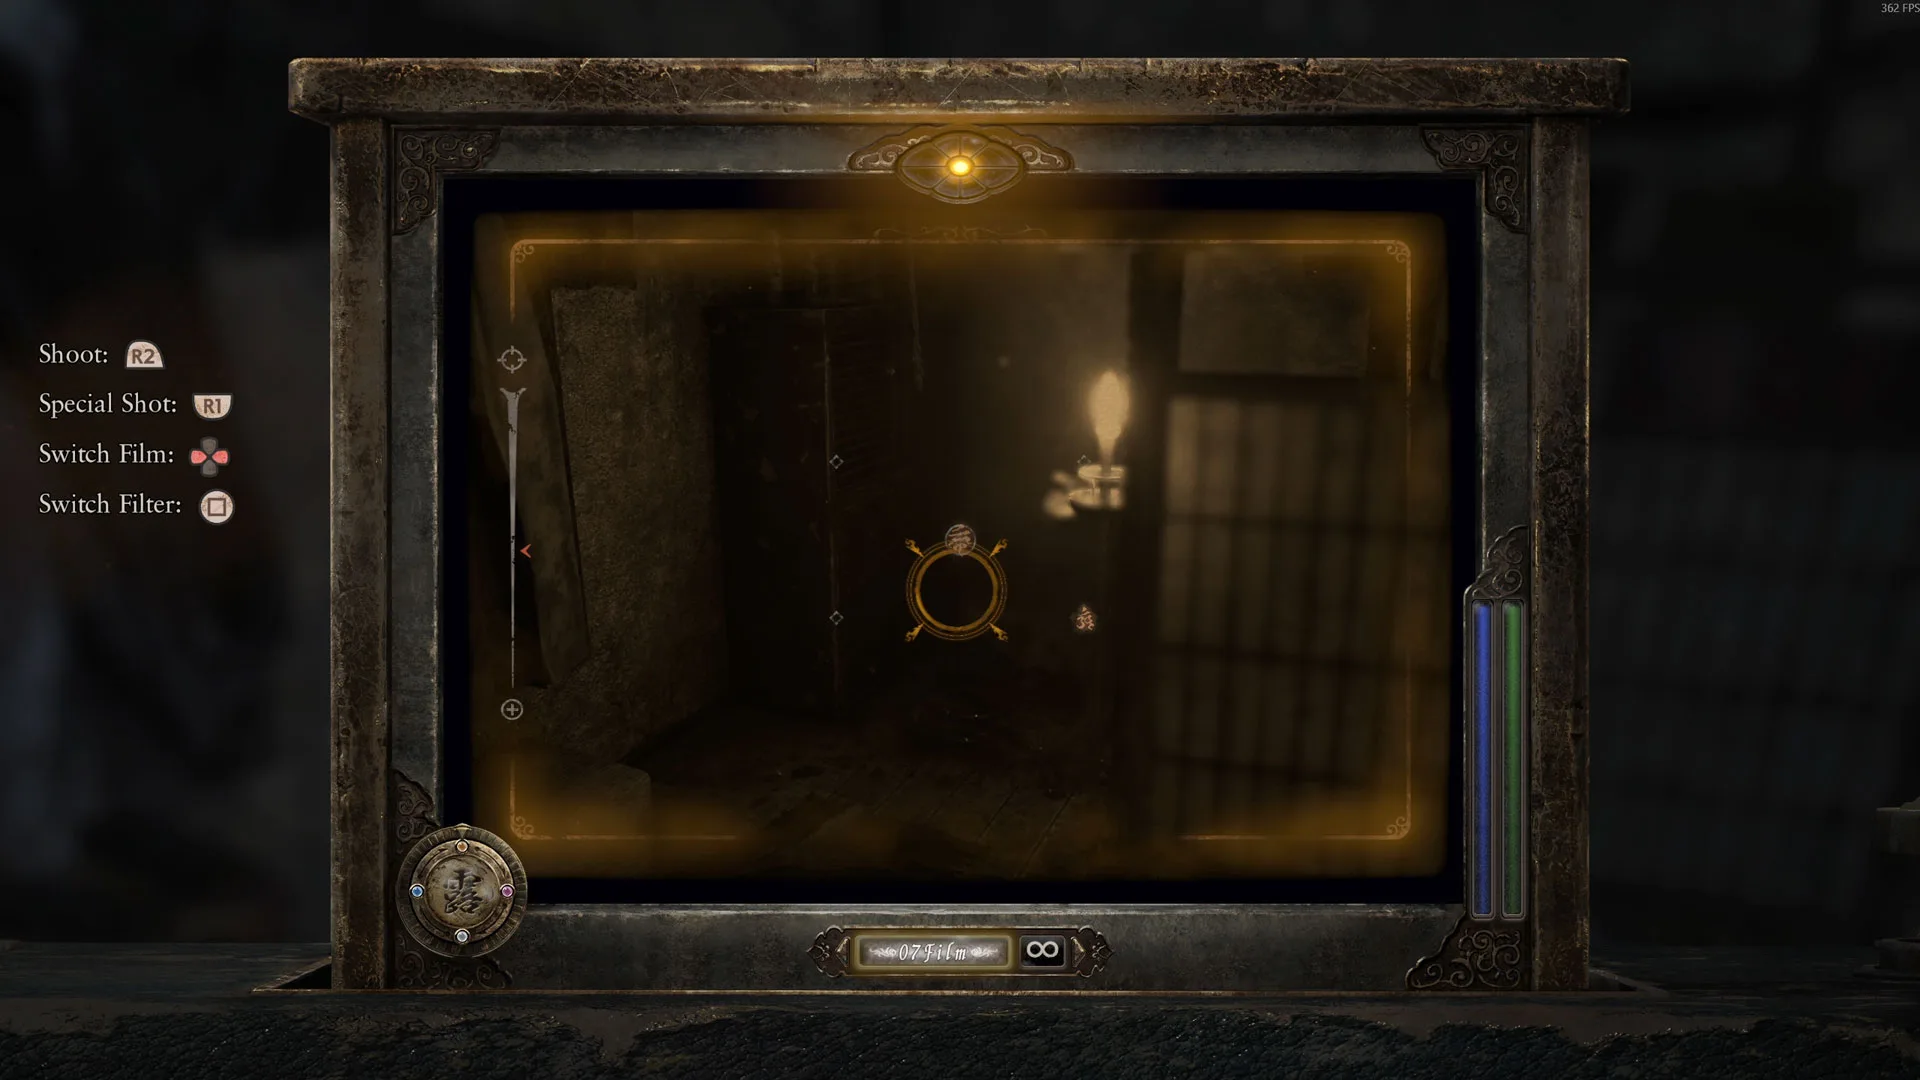 GUIDESDATABASE.COM
Wraith #11 - 011 The Shredded.
It will appear right in front of you after the previous collectibles.
 GUIDESDATABASE.COM
Unbinding of Blood #6 and Specter #66 - 052 Waiting Priest.
 GUIDESDATABASE.COM
 GUIDESDATABASE.COM
 GUIDESDATABASE.COM
 GUIDESDATABASE.COM
Document #39 - Crimson Wing Tome.
 GUIDESDATABASE.COM
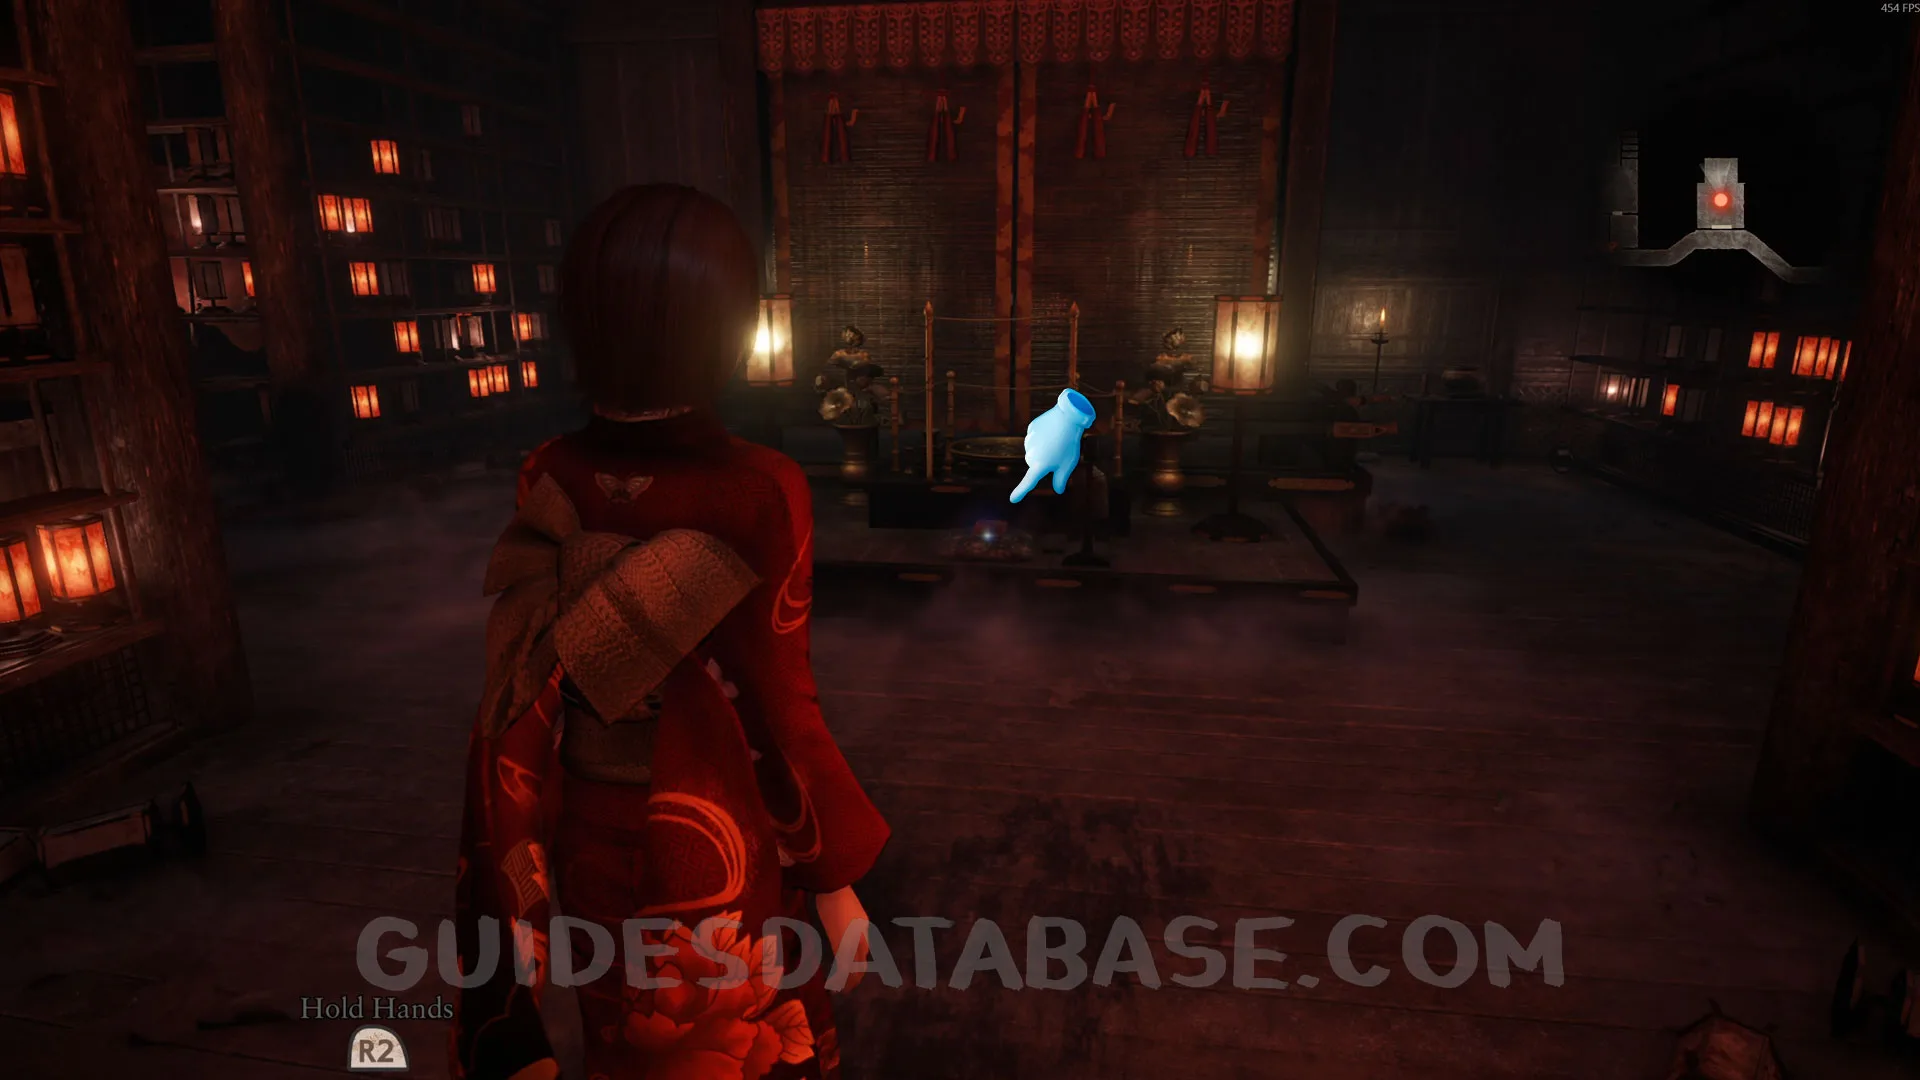 GUIDESDATABASE.COM
Spirit Stone #13 - Glowing Red Crystal.
In the same room as the previous collectible, on a table on the right side.
 GUIDESDATABASE.COM
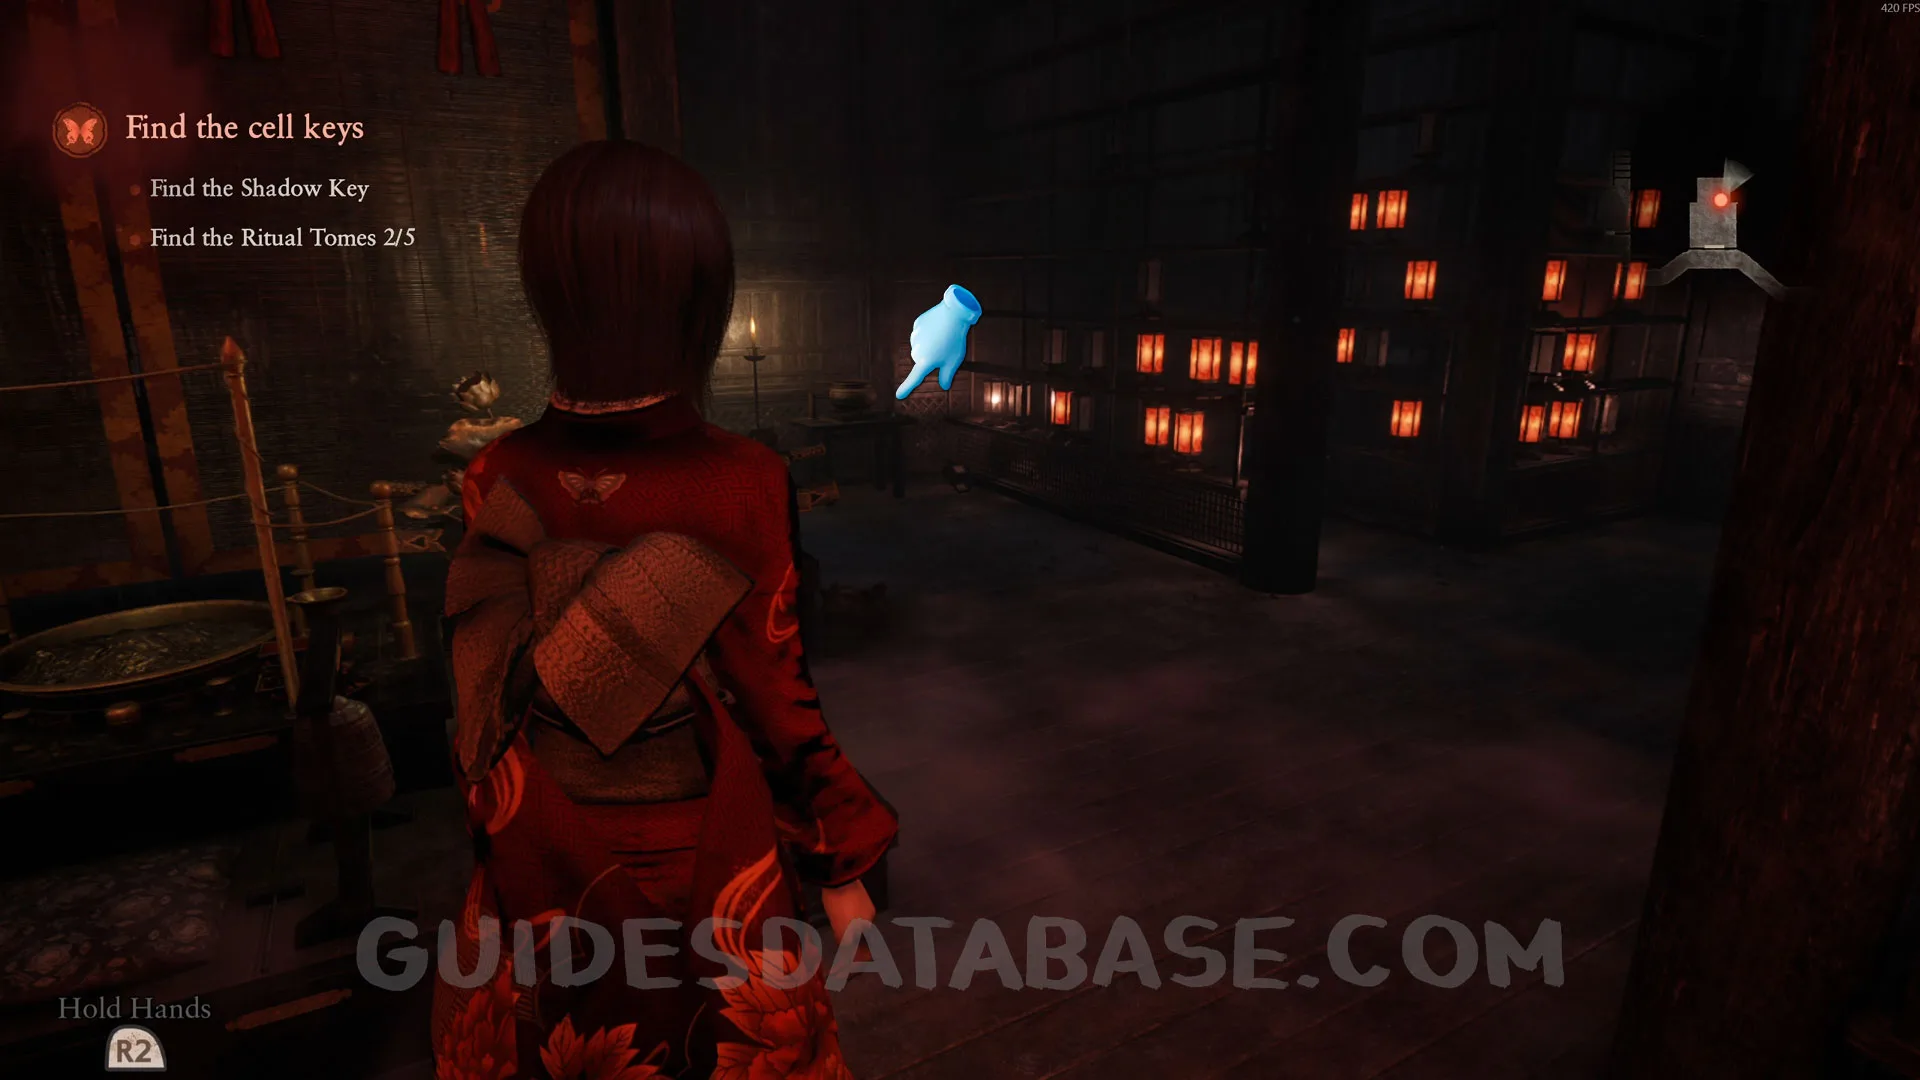 GUIDESDATABASE.COM
Prayer Bead #19.
In the same room as the previous collectible, on the right side, crawl through the hole to reach the other side and get this Prayer Bead.
 GUIDESDATABASE.COM
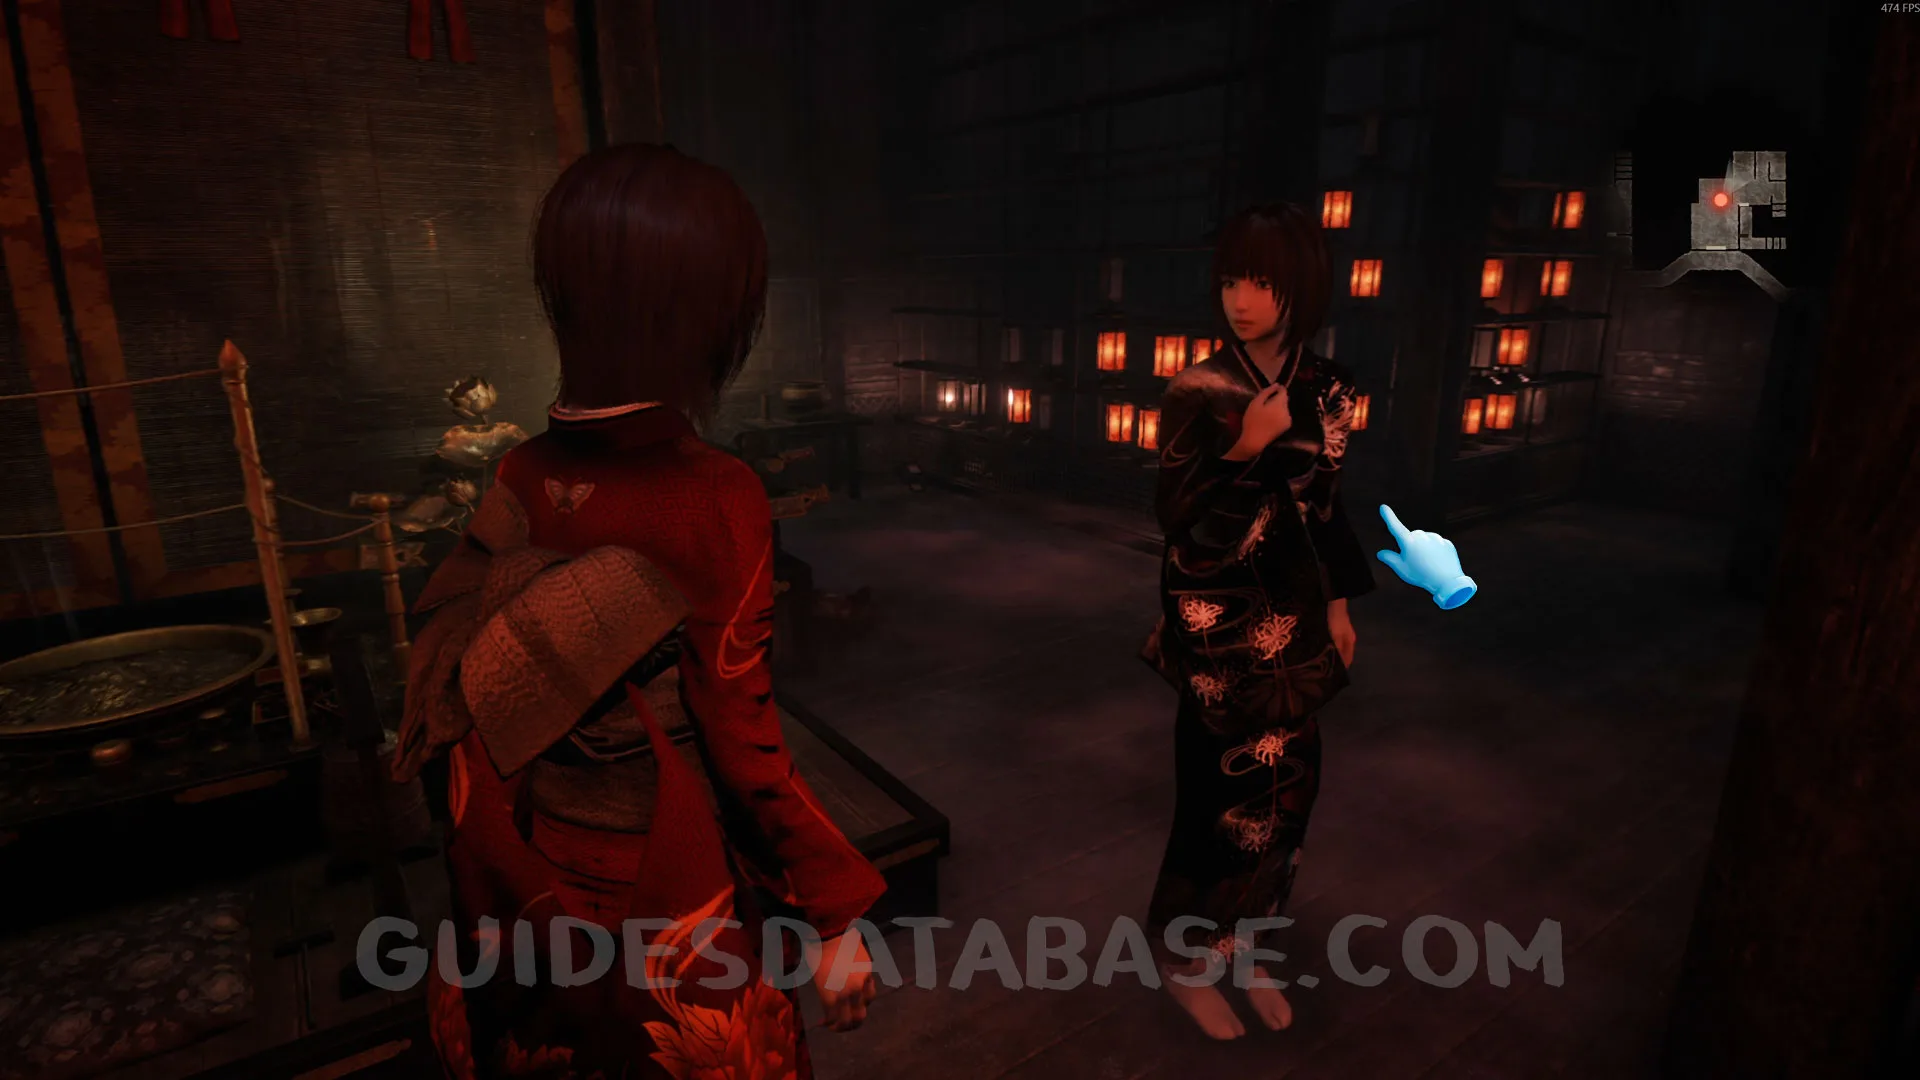 GUIDESDATABASE.COM
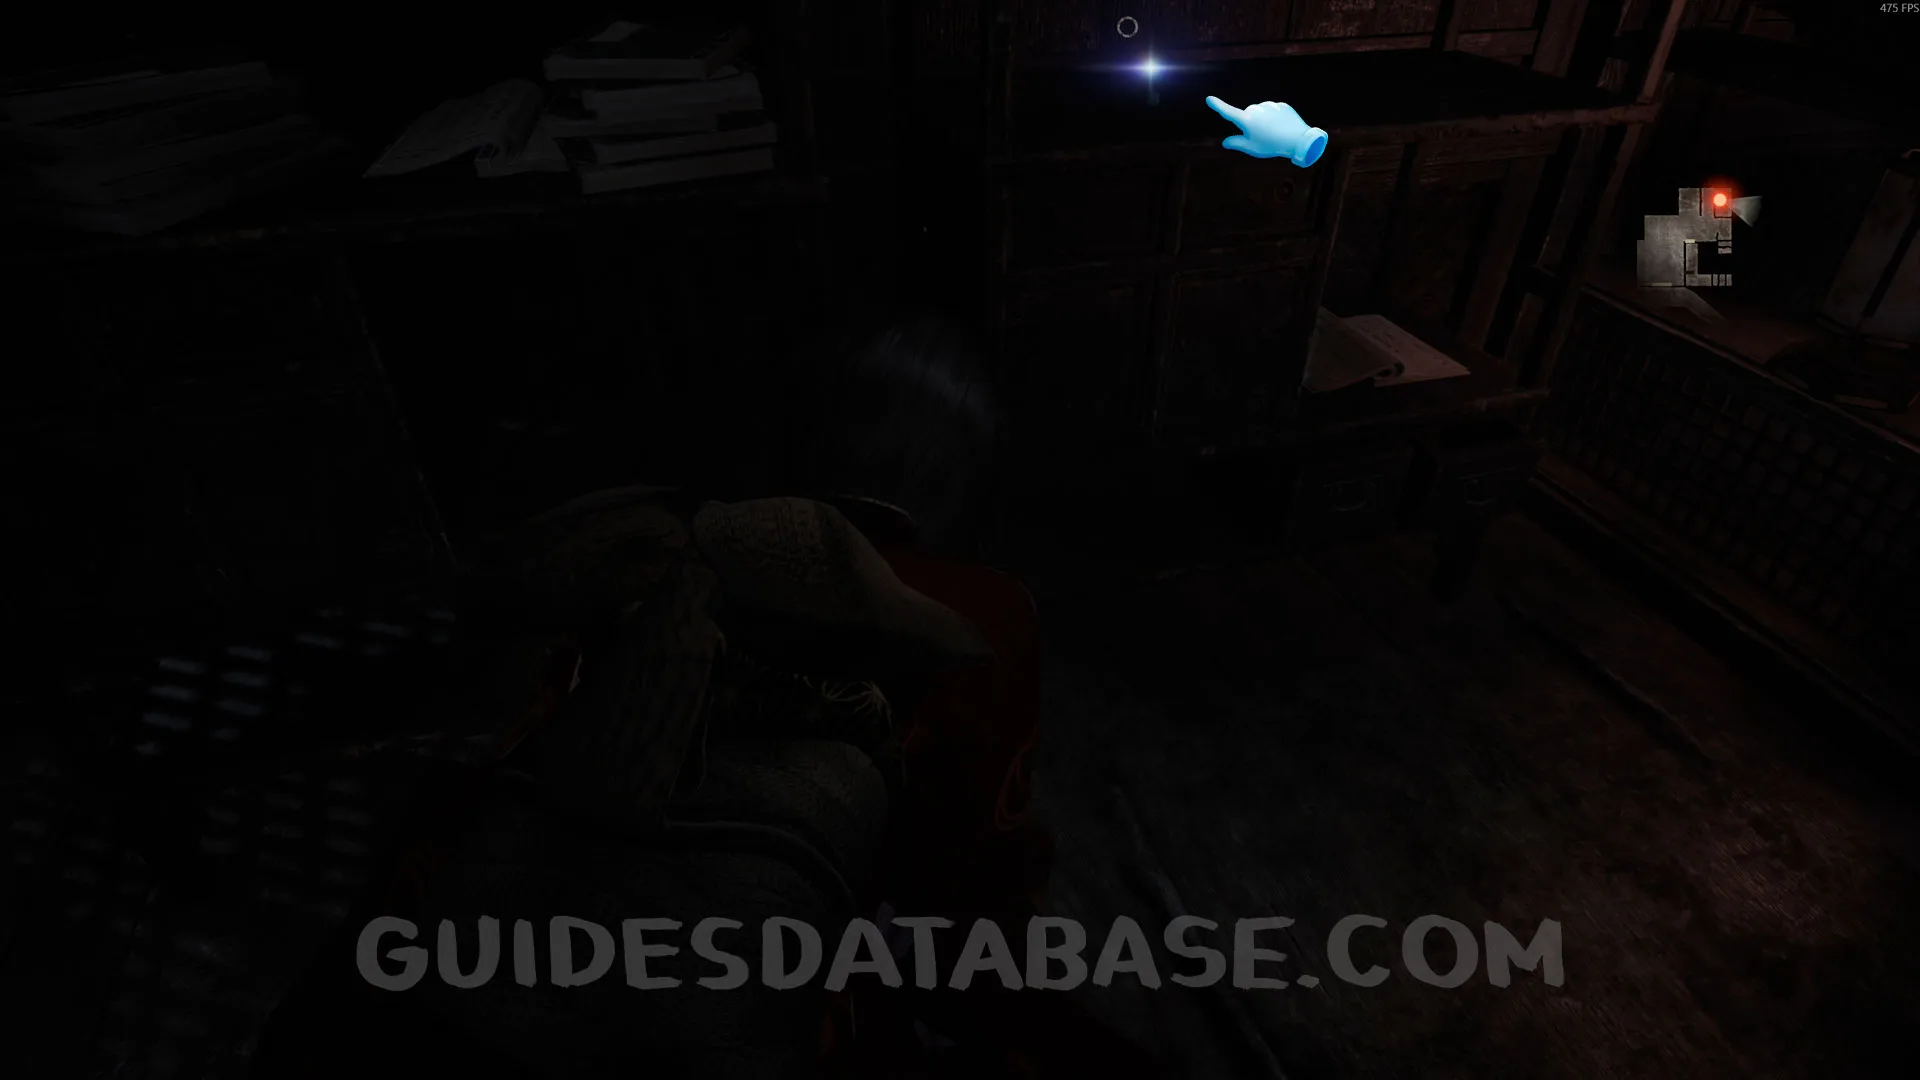 GUIDESDATABASE.COM
Document #40 - Disaster Tome.
In the same room as the previous collectible, now go up the stairs on the right and pick up this document in front of the pressure plate. Call Mayu and place her on top of that pressure plate to open the door on the left side of the area.
 GUIDESDATABASE.COM
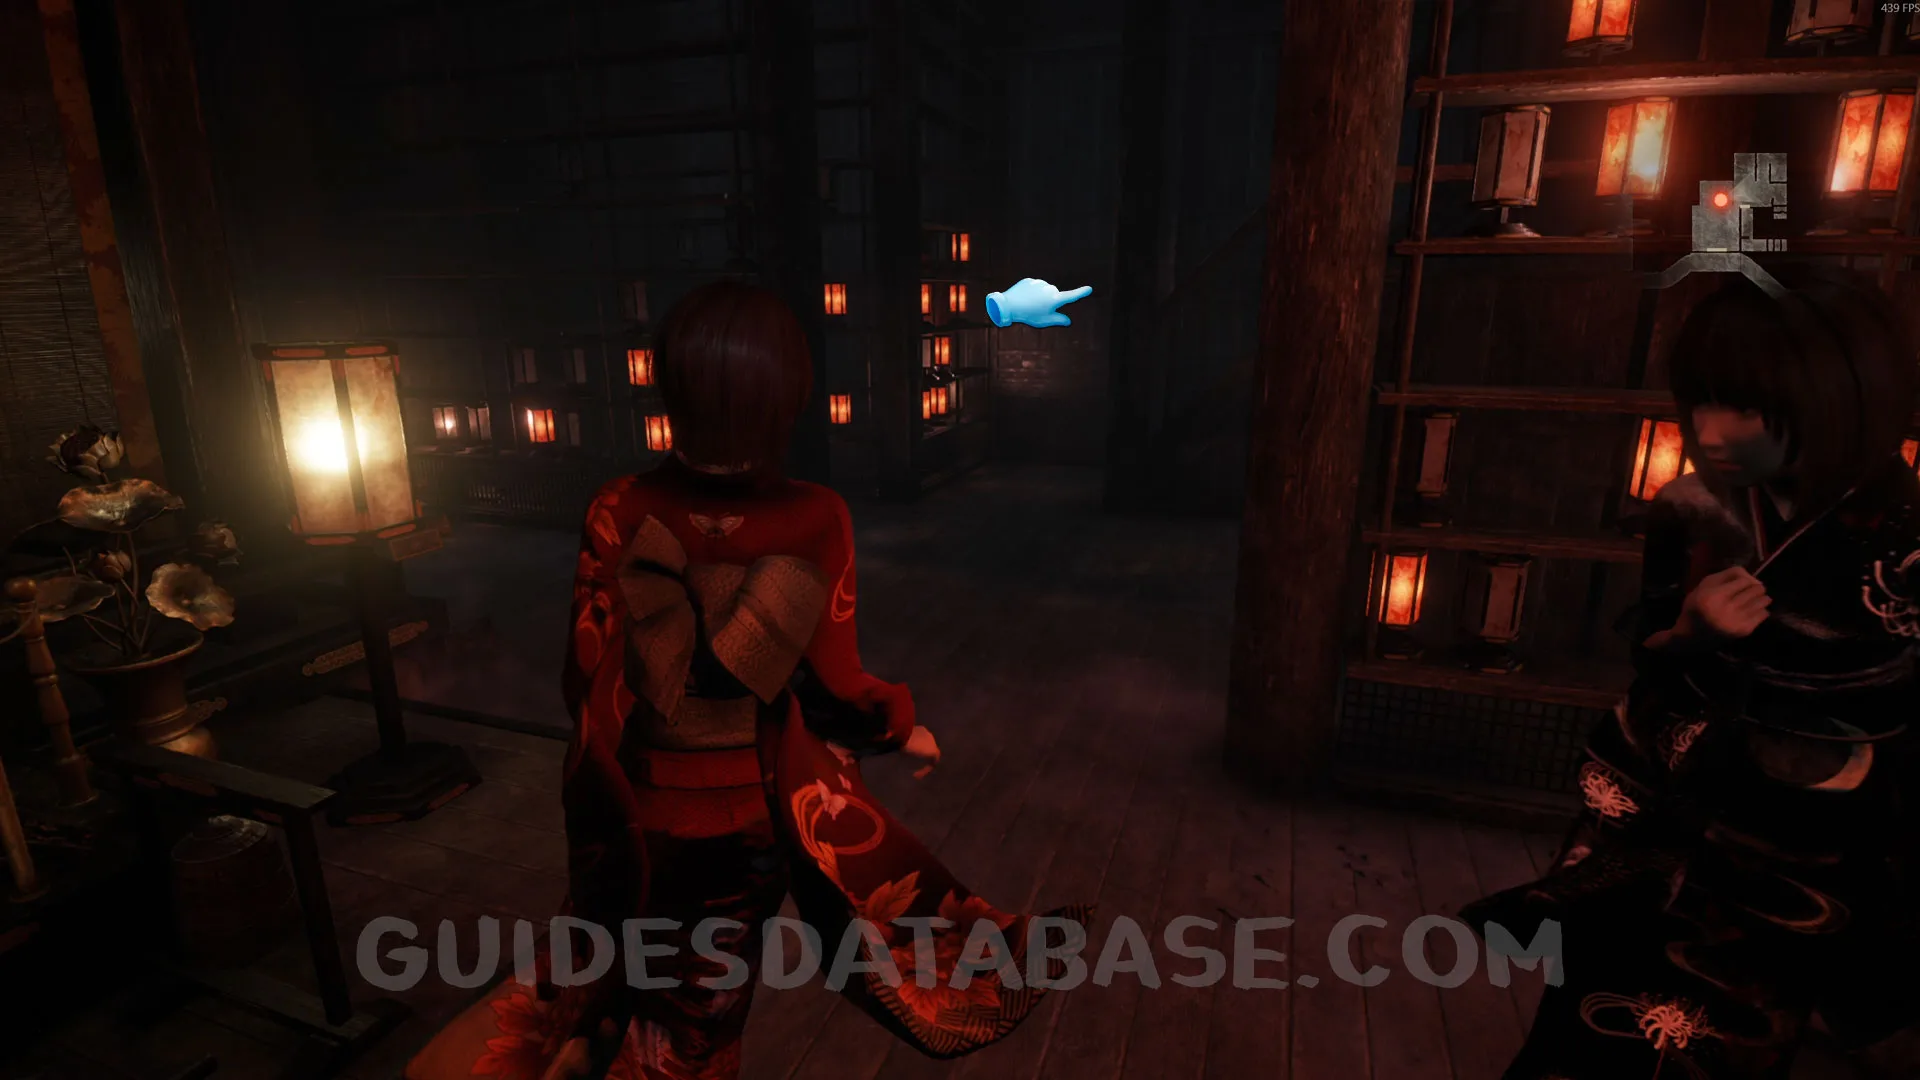 GUIDESDATABASE.COM
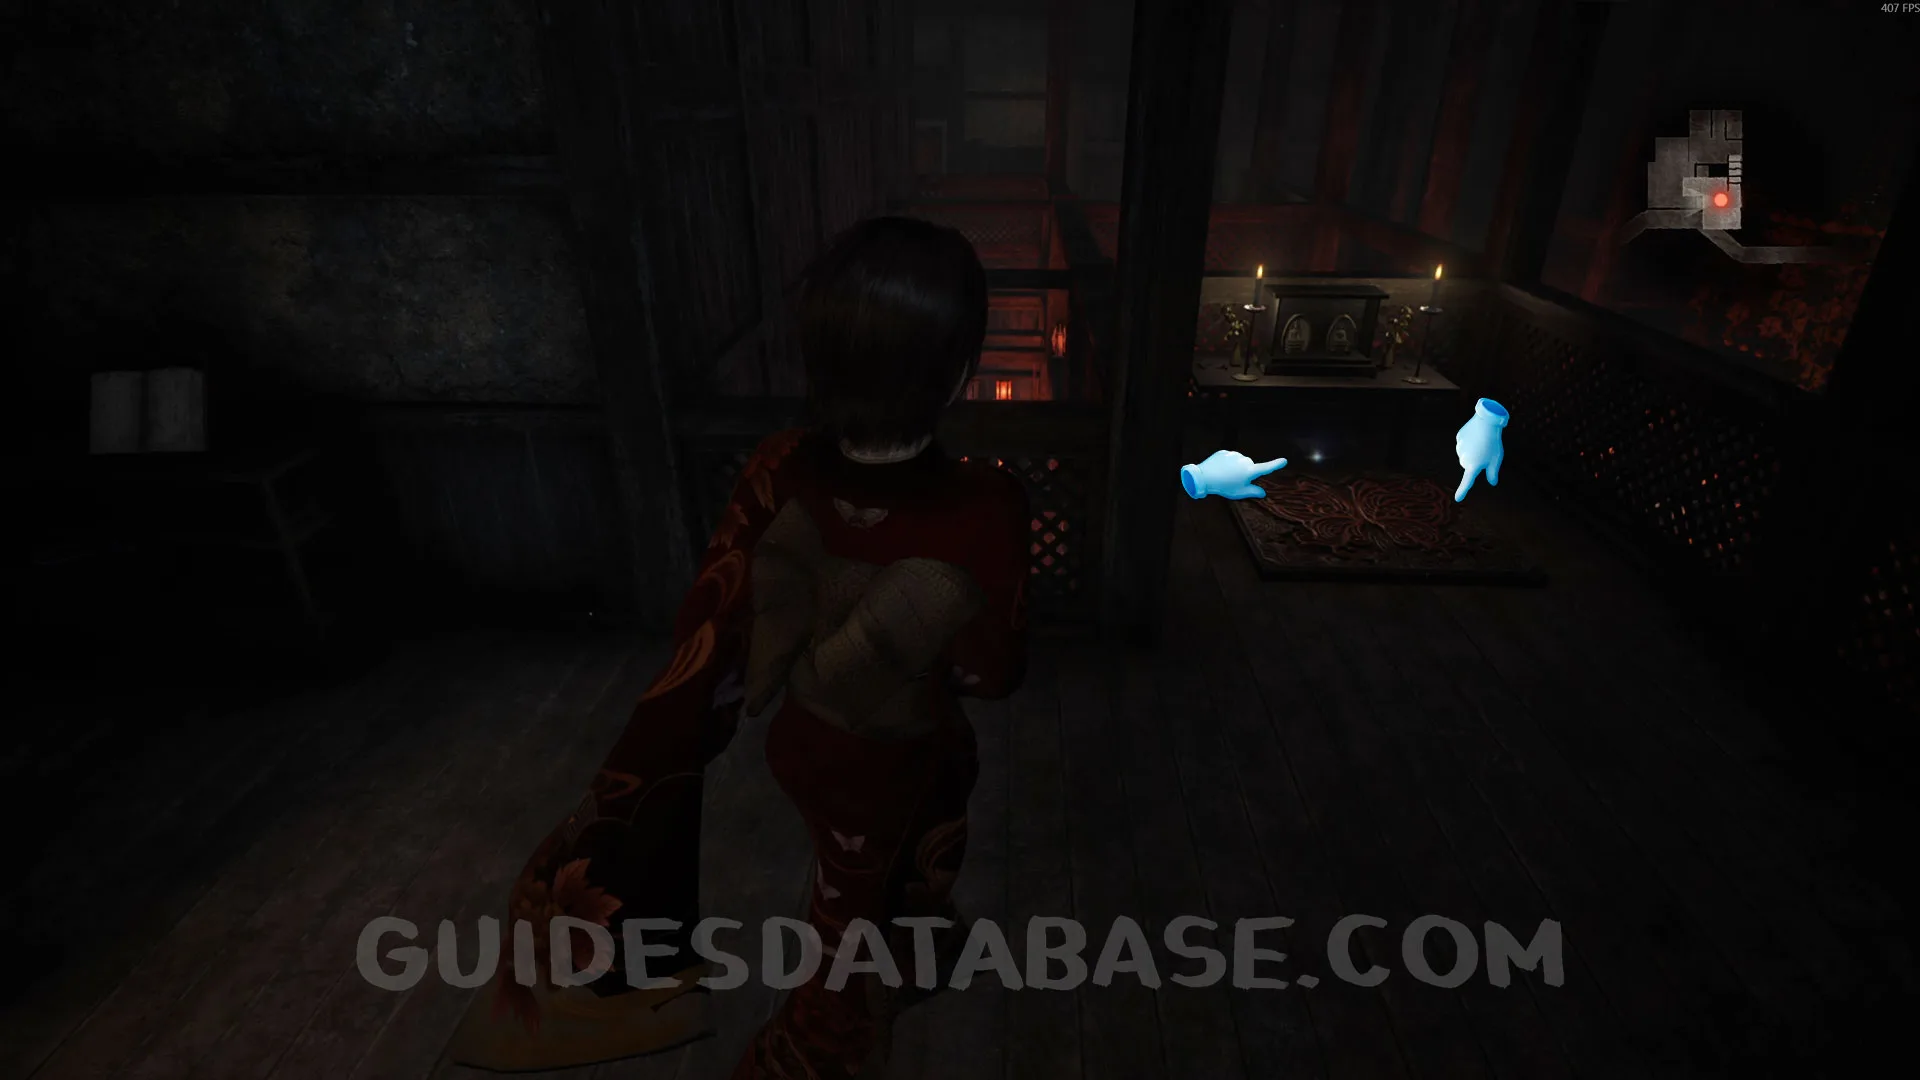 GUIDESDATABASE.COM
Twin Dolls #24 - 009.
From the previous collectible, go up the stairs on the left side and take a picture of the Twin Dolls.
 GUIDESDATABASE.COM
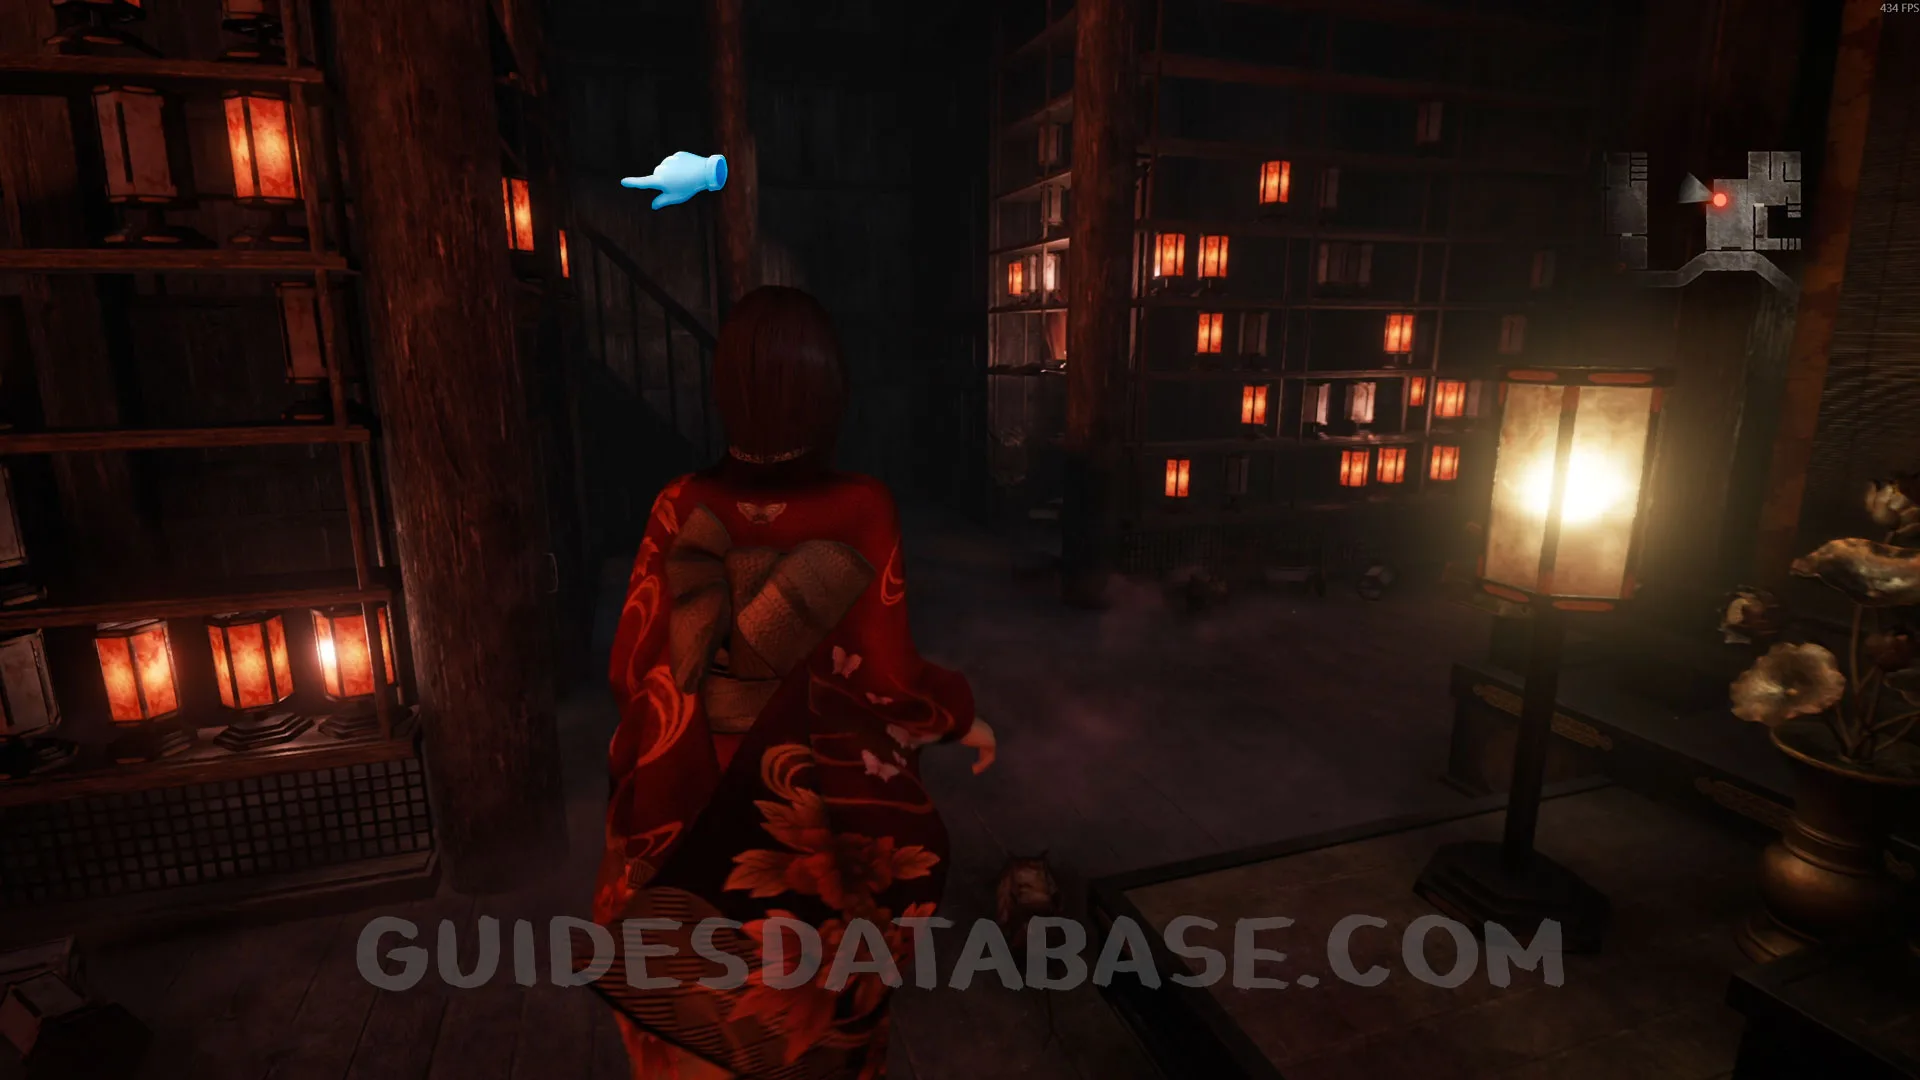 GUIDESDATABASE.COM
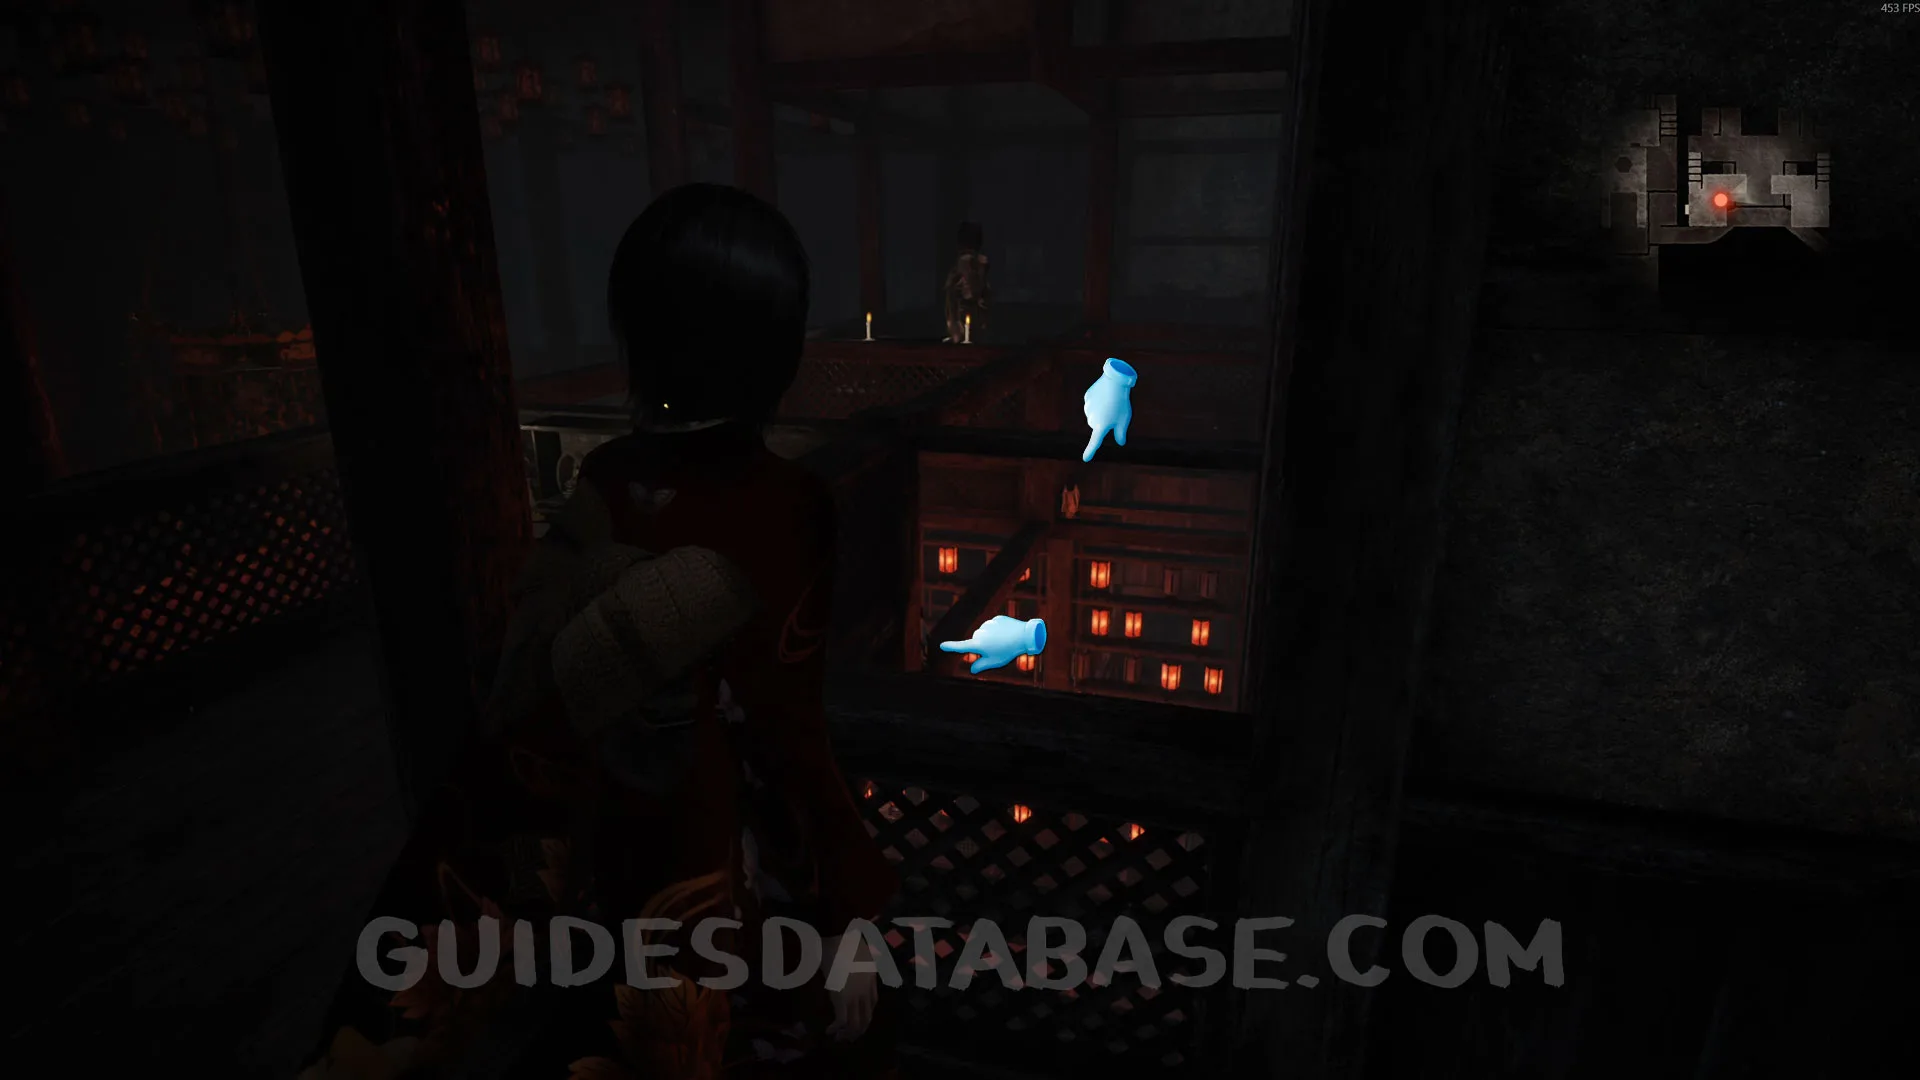 GUIDESDATABASE.COM
Document #41 - Twin Tome / Specter #67 - 053 Man Conversing Privately / Specter #68 - 054 Priest Speaking / Specter #69 - 055 Pair Talking Secretively.
From the previous collectible, turn around and go through the door. Pick up the document on the floor and look to the left. You’ll see two specters. Take a picture of both of them at the same time to get all 3 records.
 GUIDESDATABASE.COM
 GUIDESDATABASE.COM
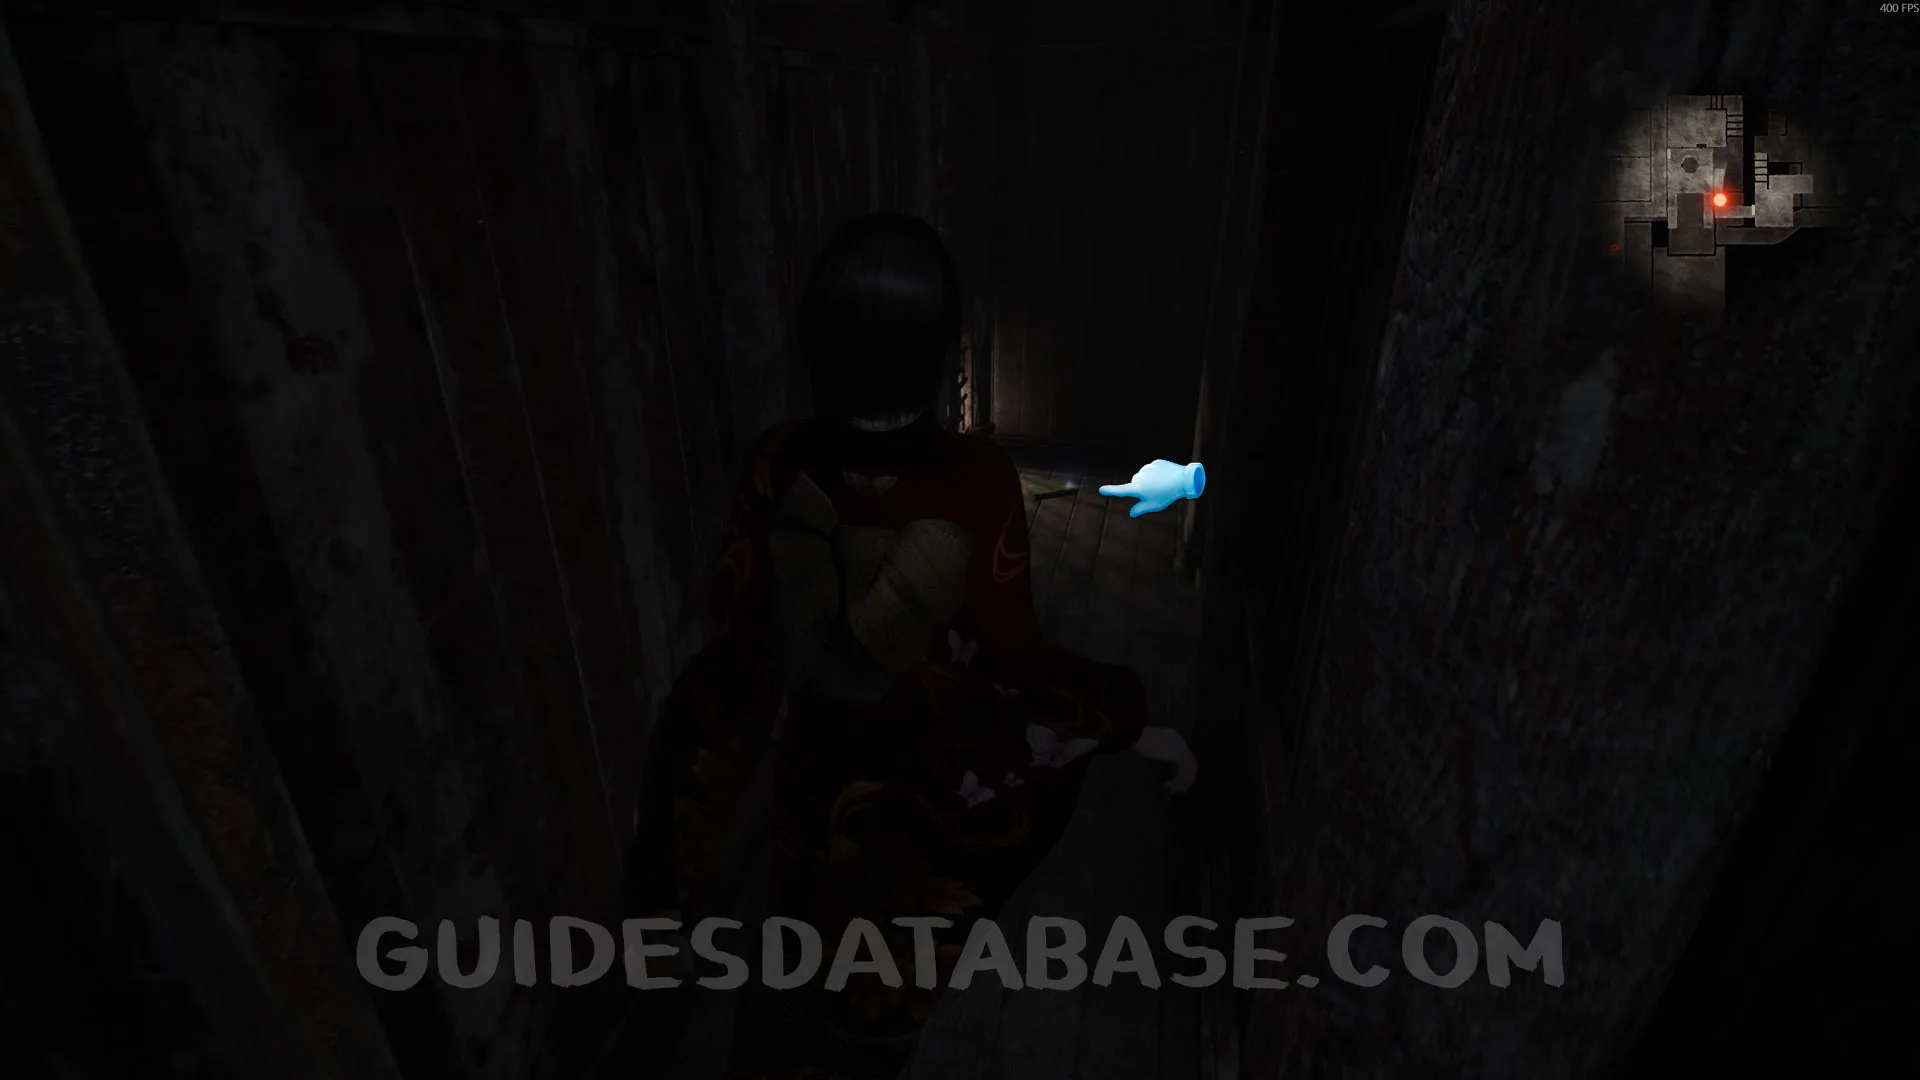 GUIDESDATABASE.COM
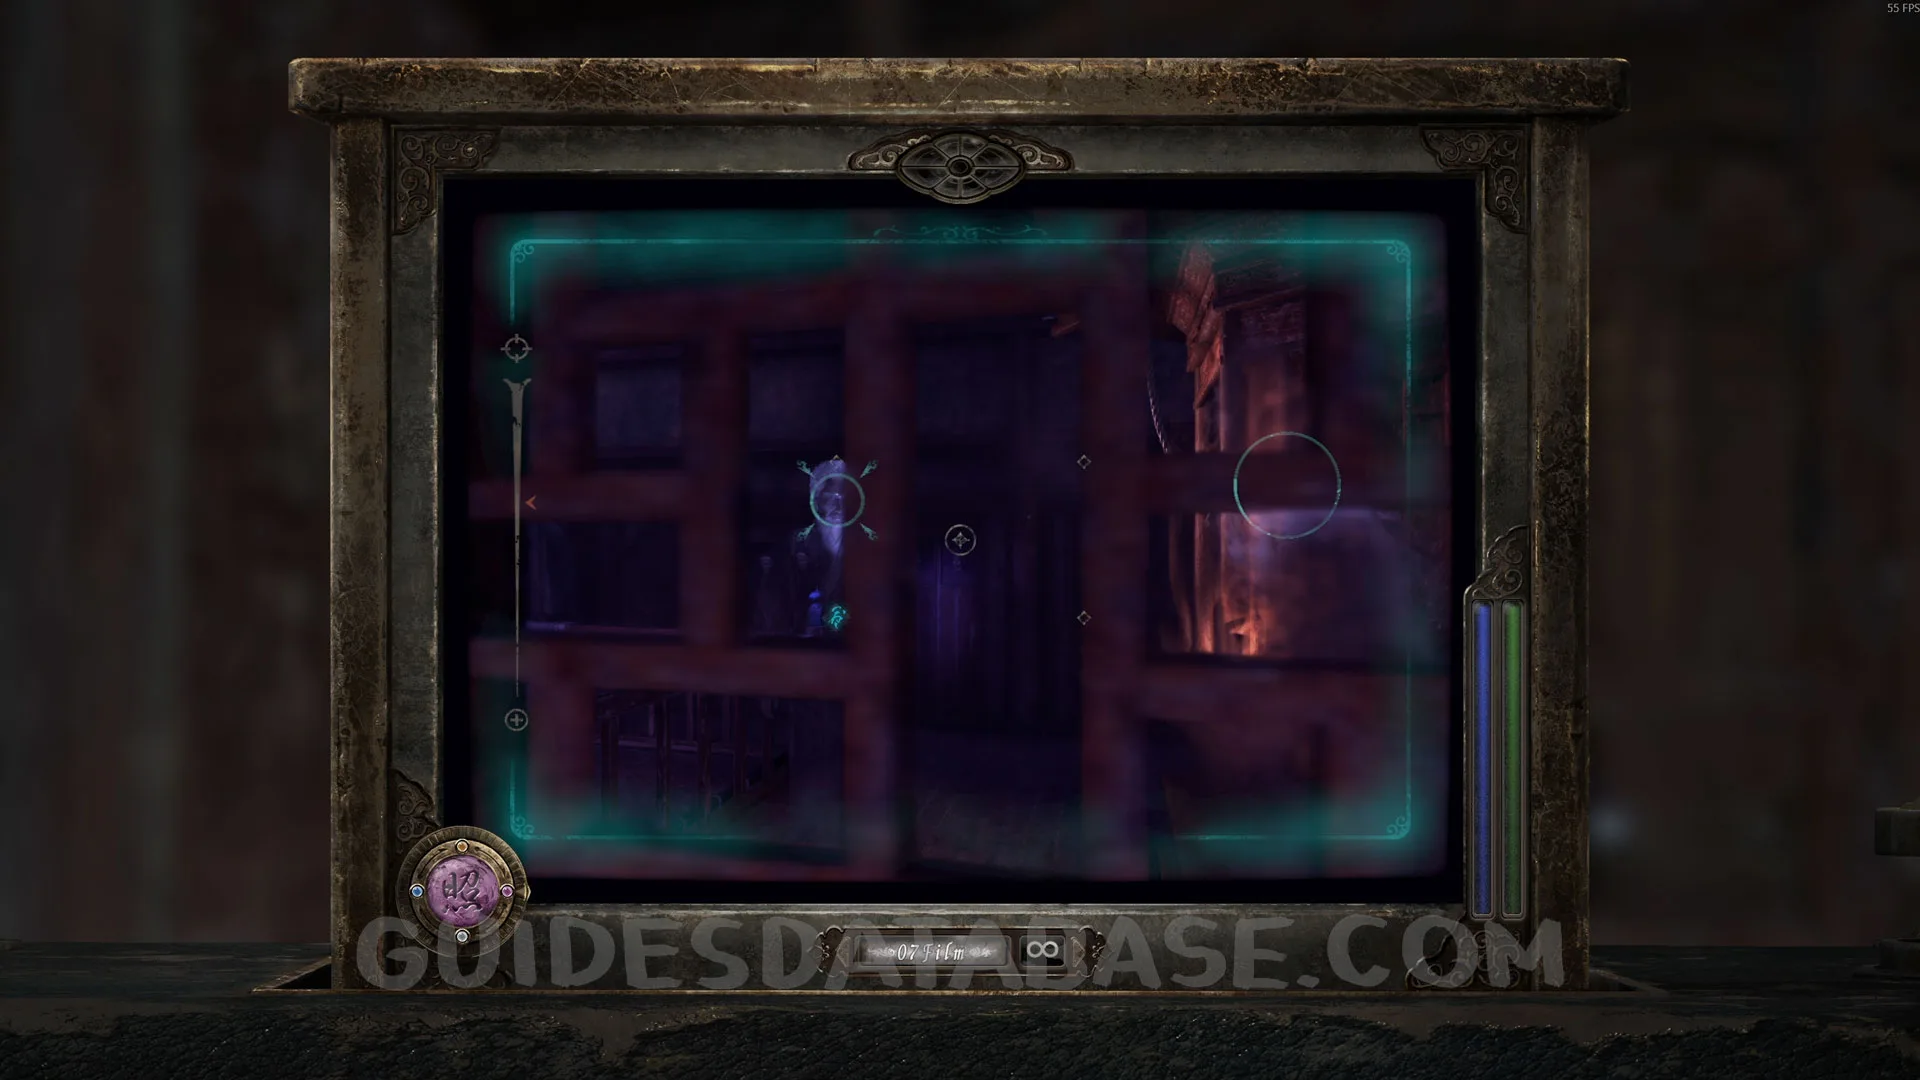 GUIDESDATABASE.COM
Wraith #12 - 010 Veiled Priest.
From the previous collectible, when you go back to Mayu, this wraith will attack her. Go over to it on the other side and take a picture of it.
 GUIDESDATABASE.COM
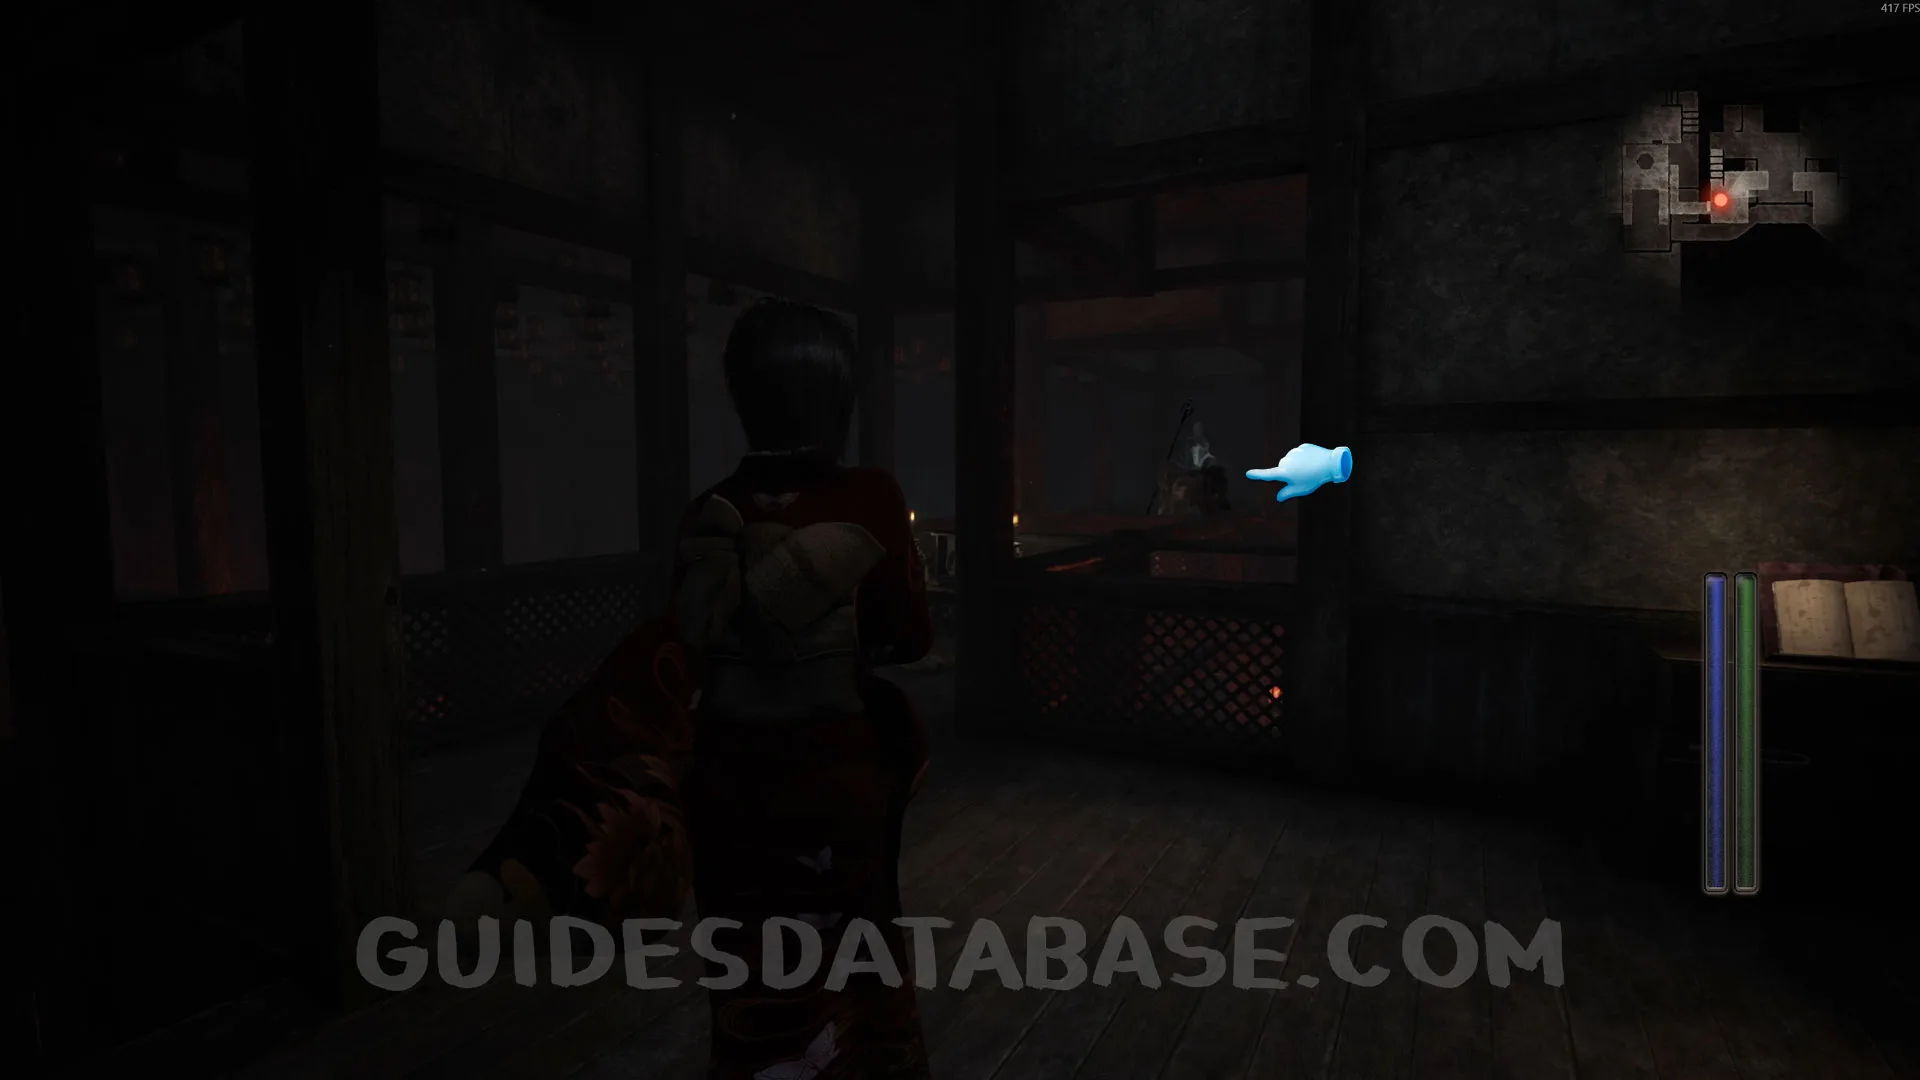 GUIDESDATABASE.COM
 GUIDESDATABASE.COM
Document #42 - Ritual Host’s Note 1.
 GUIDESDATABASE.COM
 GUIDESDATABASE.COM
 GUIDESDATABASE.COM
Specter #70 - 056 Mayu Heading Underground.
Now, go back out through the hole you just came through, crouch down, and crawl through the one directly in front of you. Step on the pressure plate to close the door you came through. Mayu will do the same on the other side, so take a picture of her.
 GUIDESDATABASE.COM
 GUIDESDATABASE.COM
Document #43 - Butterfly Diary 3.
On the floor next to you.
 GUIDESDATABASE.COM
Specter #71 - 057 Mayu Proceeding Through Corridor.
From the previous collectible, you’ll go through a tunnel and come out into a hallway. Mayu will be on the other side of the hallway. Take a picture of her before both of you step on the pressure plate.
 GUIDESDATABASE.COM
 GUIDESDATABASE.COM
Unbinding of Blood #7 / Document #44 - Ritual Host’s Note 5.
From the previous collectible, now step on the pressure plate together with Mayu. Then open the other door in front of you, and you’ll enter a circular area. The document is on the table in the middle. Use the Radiant Filter to continue and get a key.
 GUIDESDATABASE.COM
 GUIDESDATABASE.COM
Prayer Bead #20.
 GUIDESDATABASE.COM
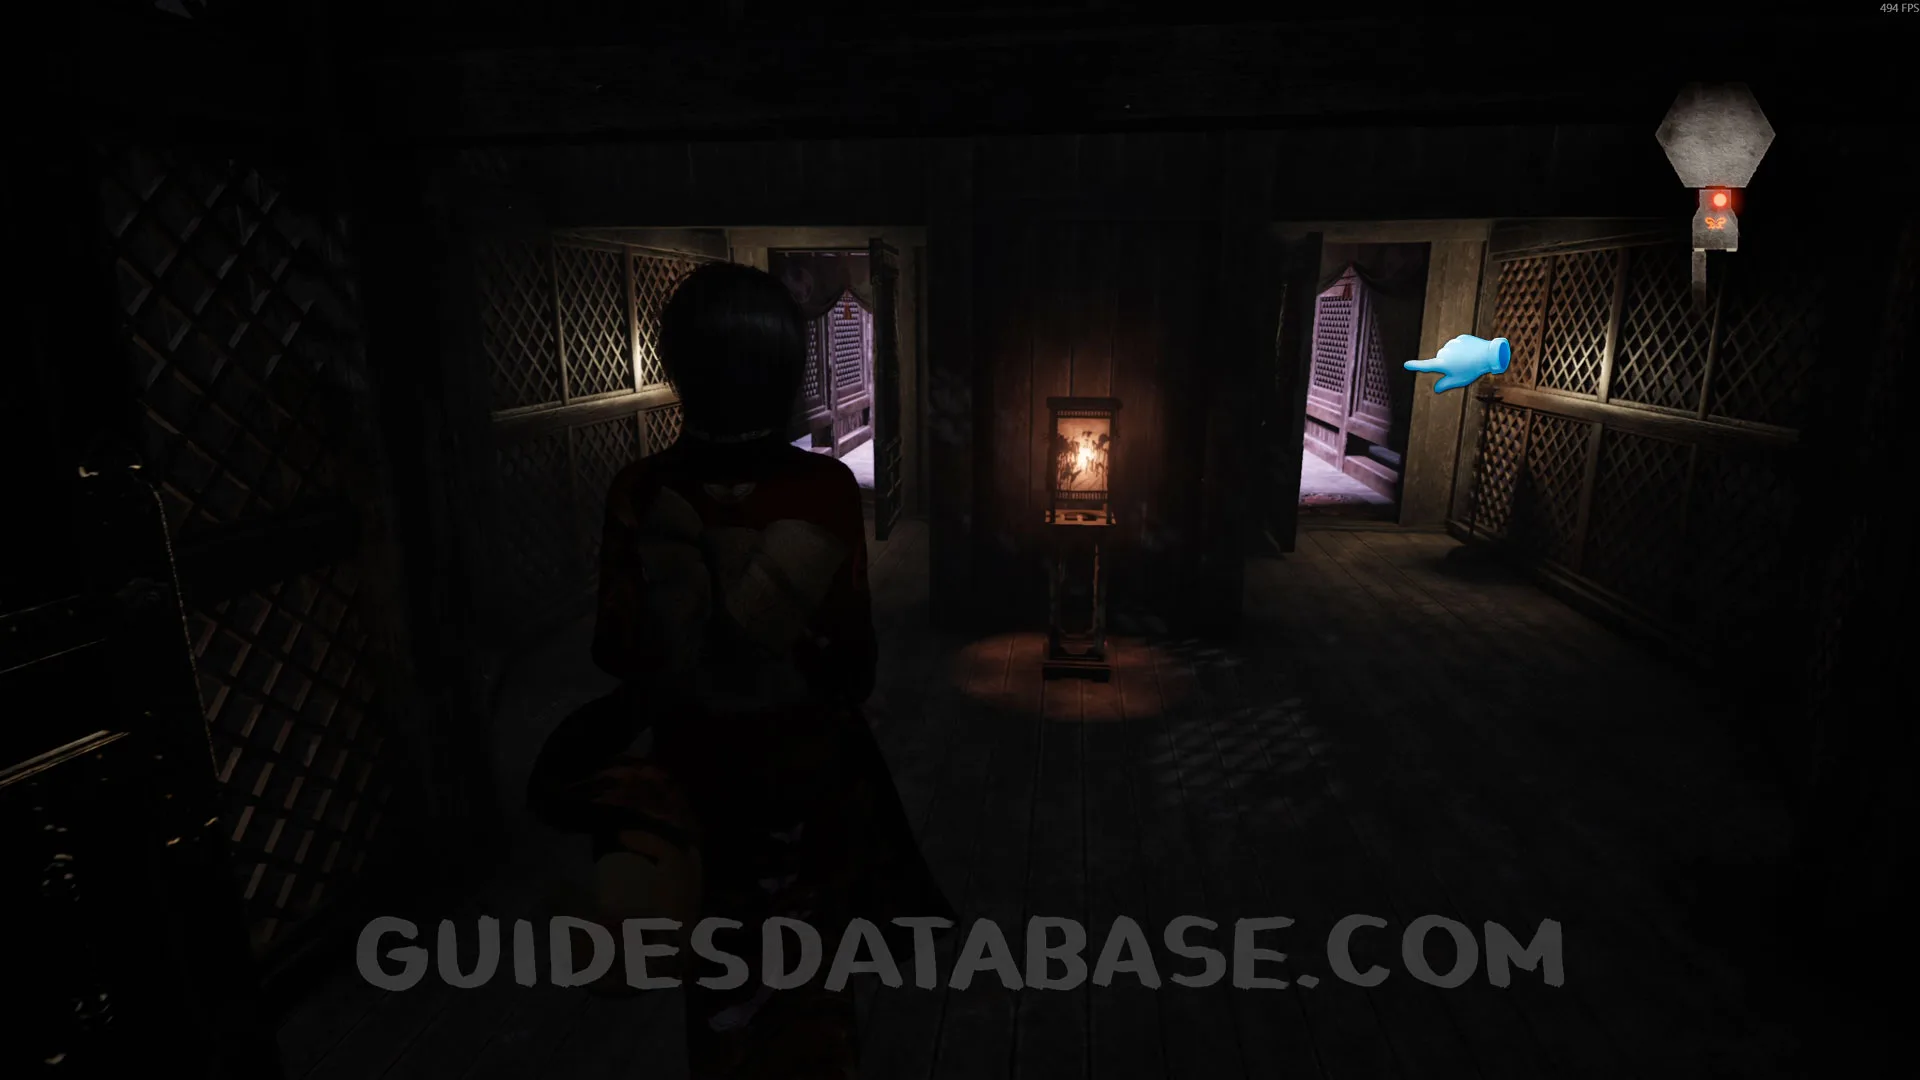 GUIDESDATABASE.COM
 GUIDESDATABASE.COM
Document #45 - Martyr Tome / Document #46 - Ritual Host’s Note 2.
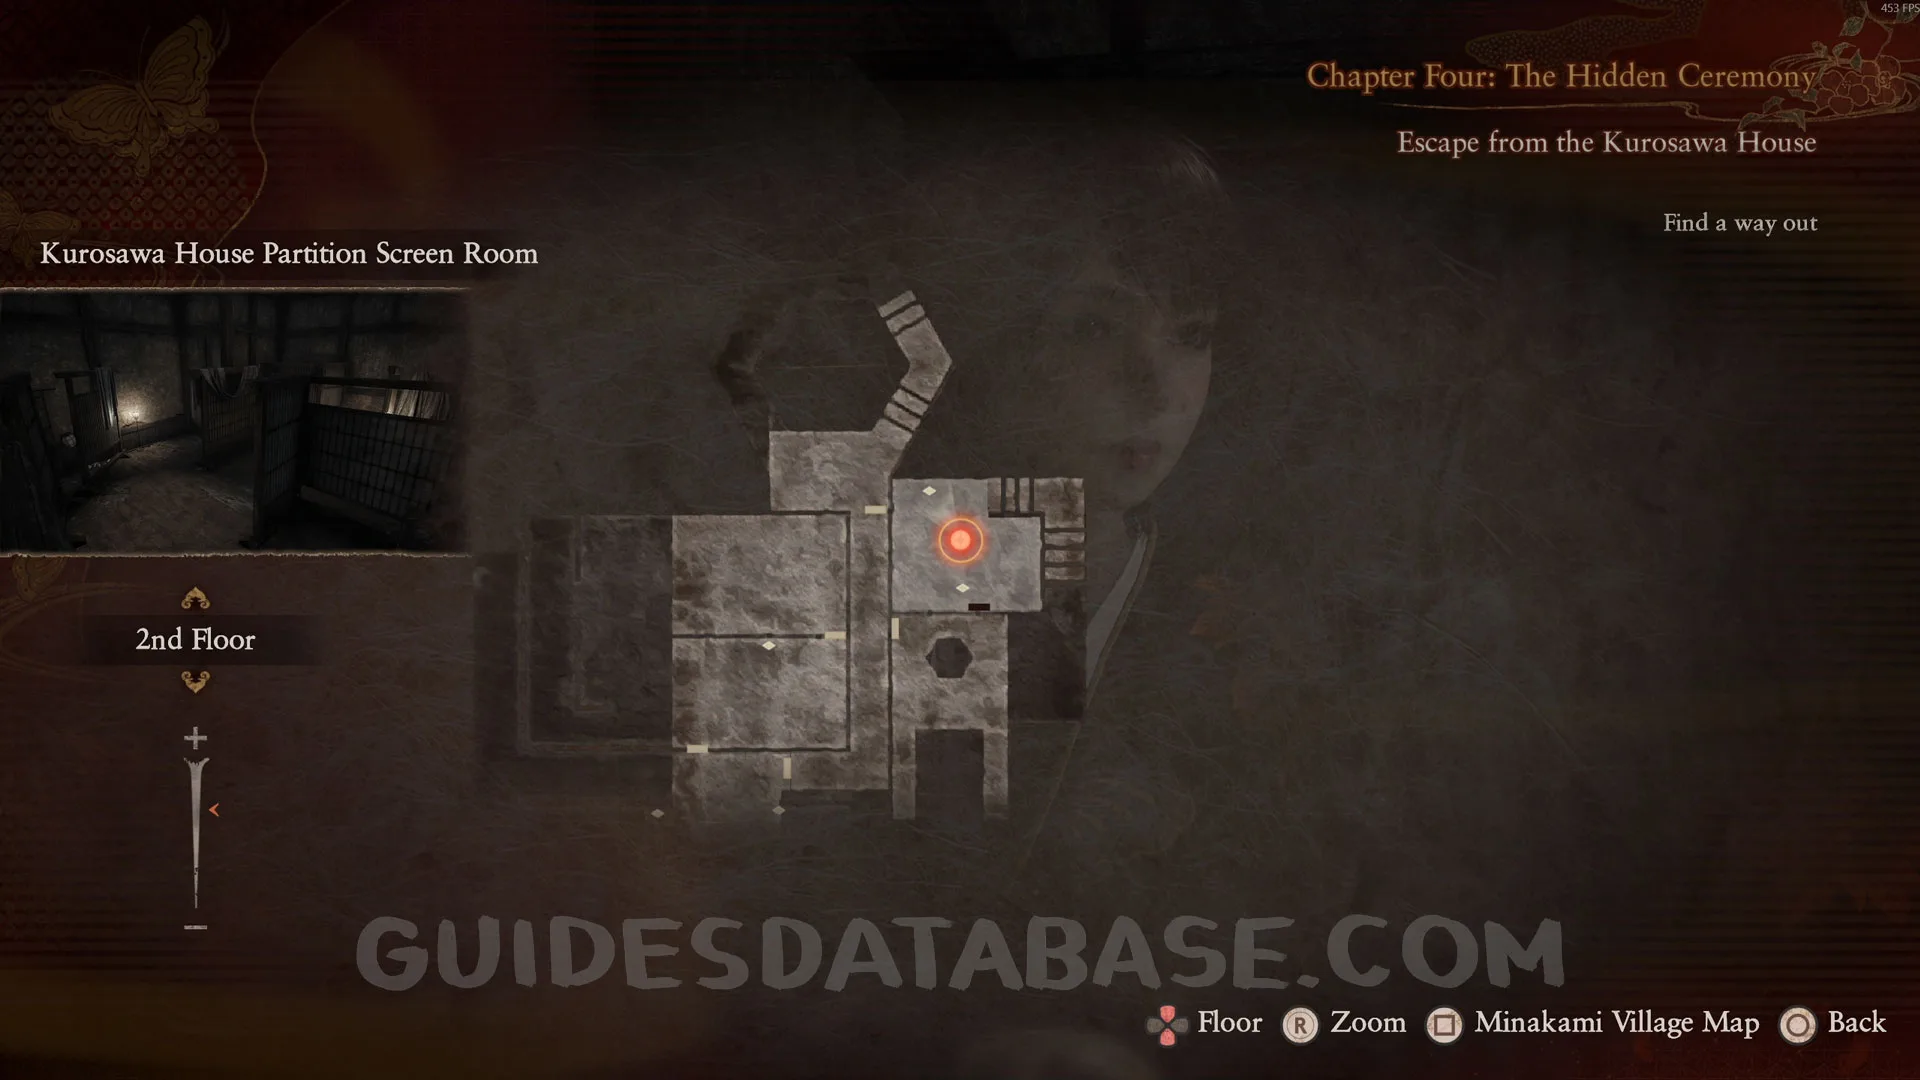
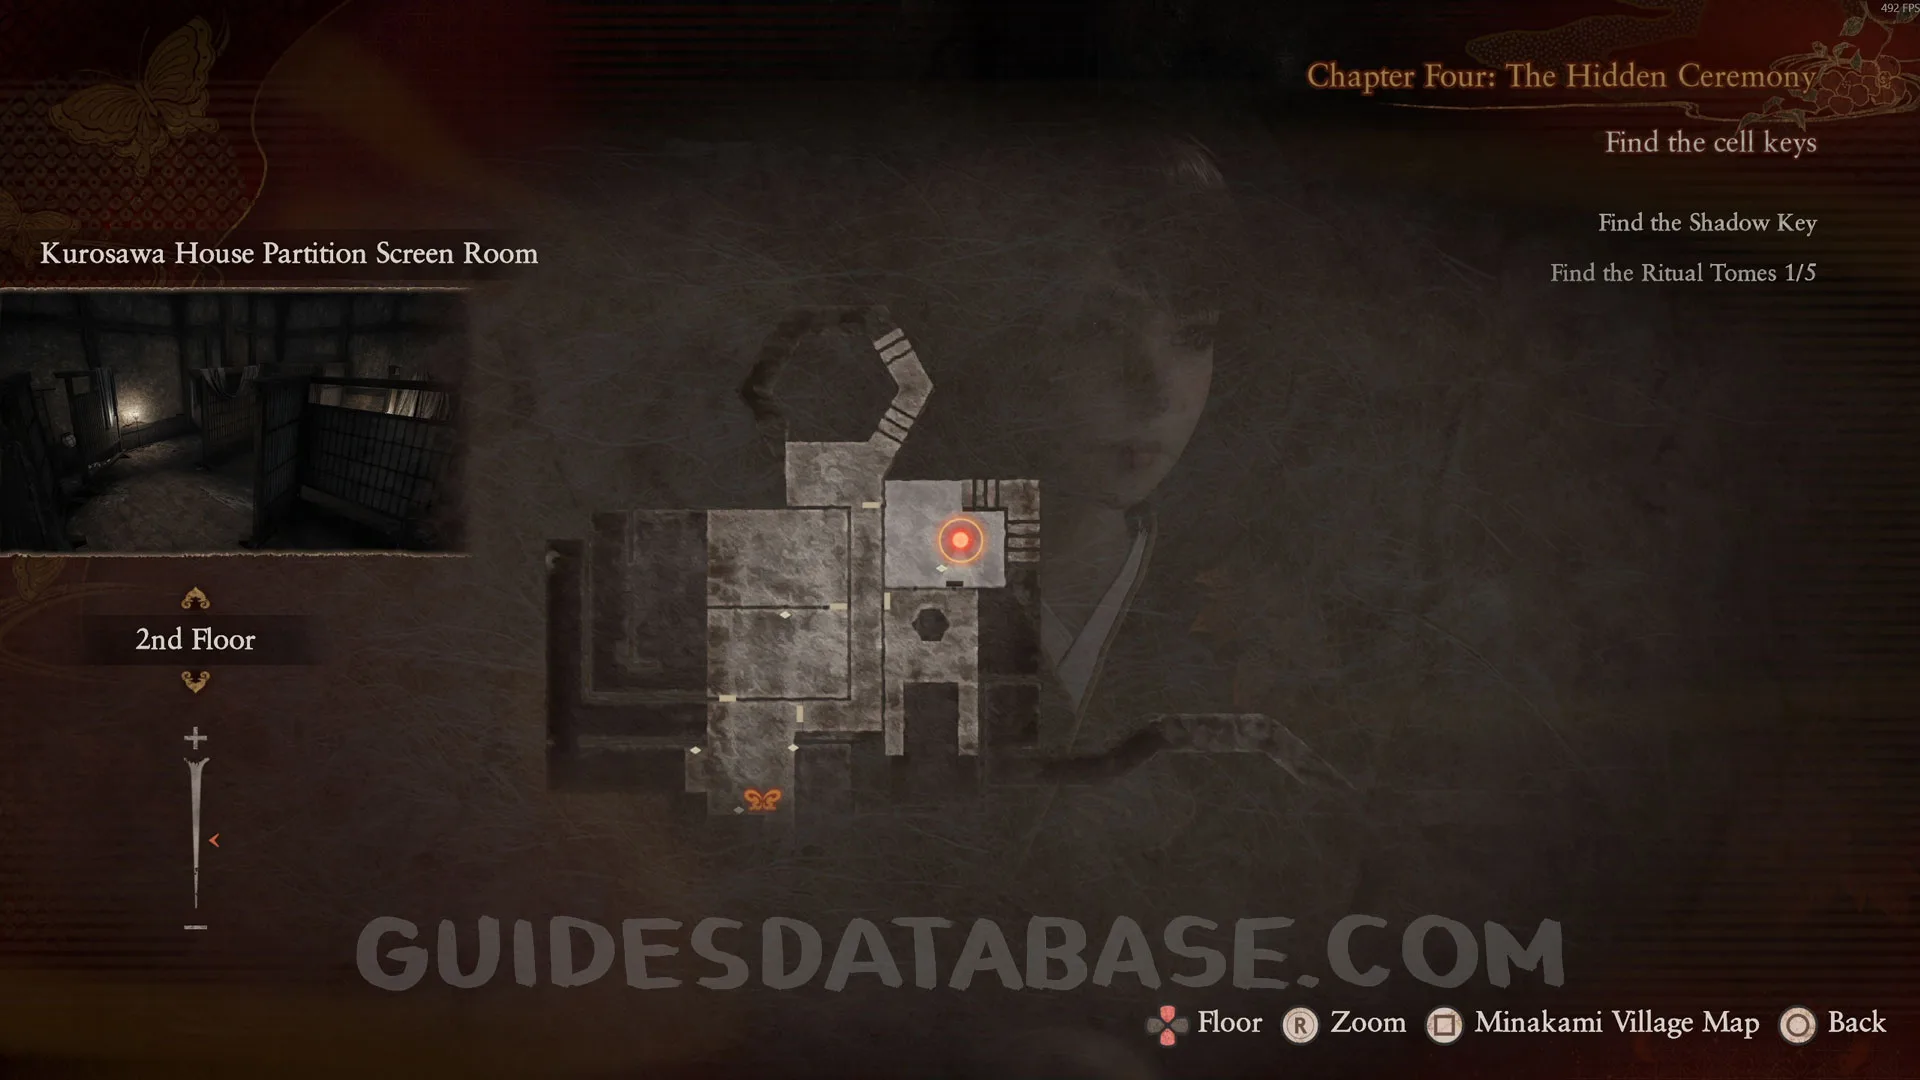
Now go back to the Partition Screen Room and go through the door to find these two documents.
 GUIDESDATABASE.COM
 GUIDESDATABASE.COM
Specter #72 - 058 Ritual Investigator
After using the Shadow and Light Keys to open the cell, go to the back of the cell to find the specter.
 GUIDESDATABASE.COM
 GUIDESDATABASE.COM
Document #47 - Folklorist’s Note 17 / Document #48 - Folklorist’s Note 18 / Document #49 - Folklorist’s Note 19 / Prayer Bead #21.
All of them can be obtained in the same room as the specter.
 GUIDESDATABASE.COM
 GUIDESDATABASE.COM