
REPLACED All Collectible Locations

There are 156 collectibles in total.
REPLACED features 156 collectibles split across 9 different types: 111 Scans, 17 Music Tracks, 10 Genetic Profiles, 5 Kinetic Inductors, 3 Rechargeable Ampoules, 3 Arcade Games, 3 Cats, 1 Immune Modulator, 1 Reduction Gear, 1 Balance Unit, and 1 Adrenaline Injector.

Prologue
There are no collectibles in this chapter.
Chapter 1
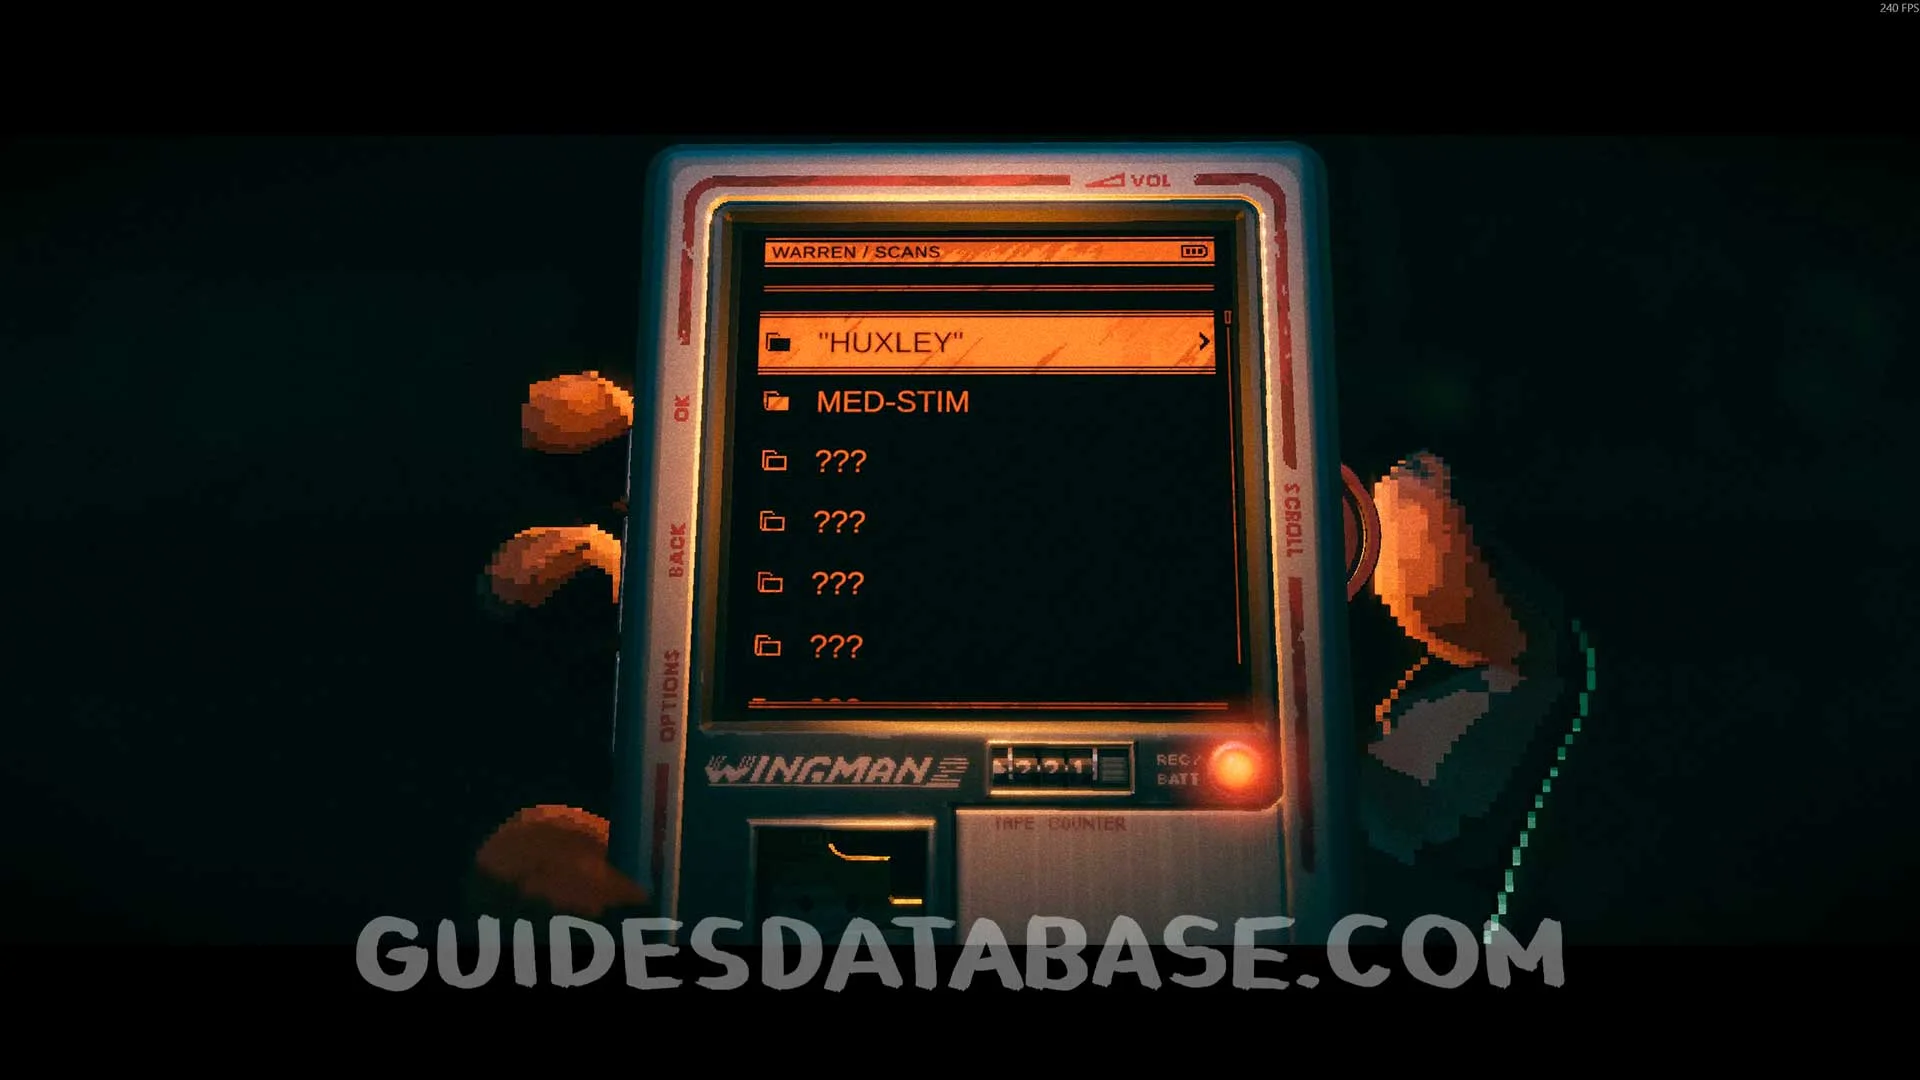
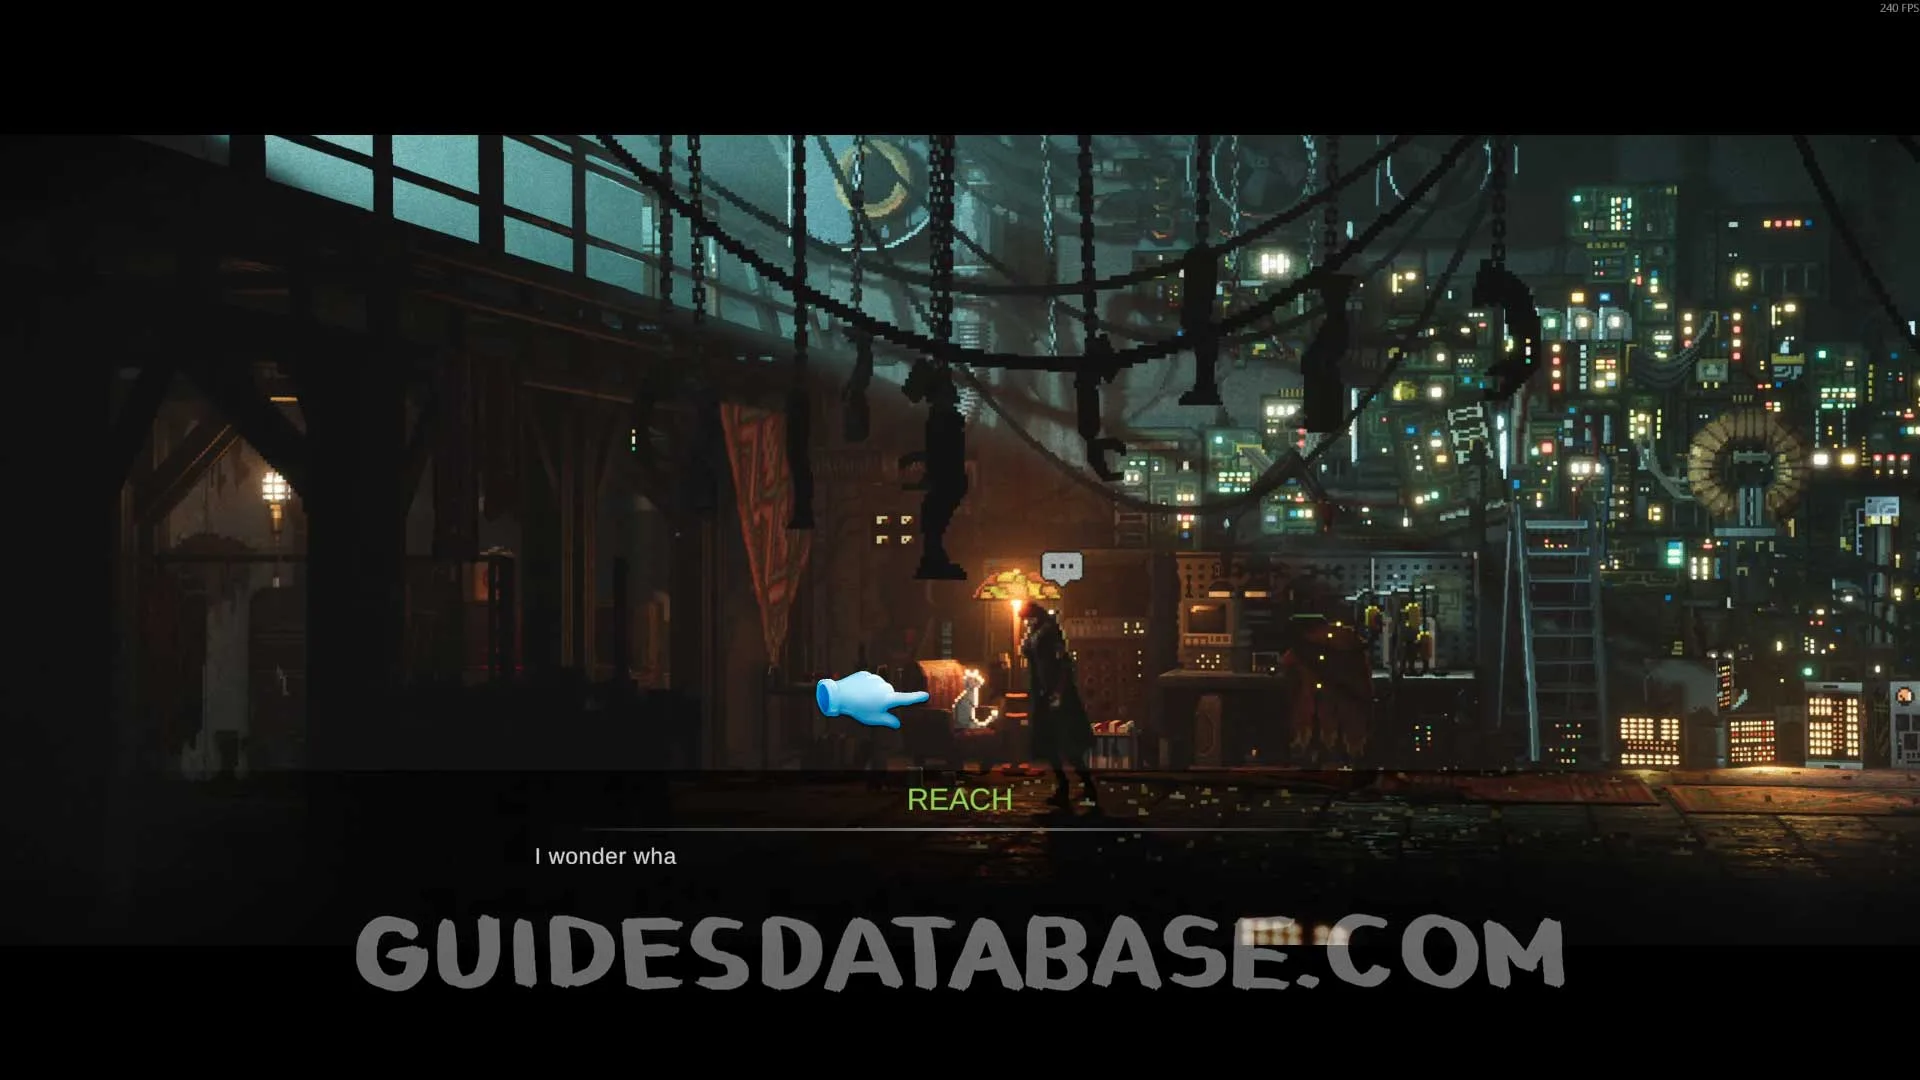
Scan #1 ''Huxley'' + Scan #2 Med-Stim
This is story-related and can’t be missed.
 GUIDESDATABASE.COM
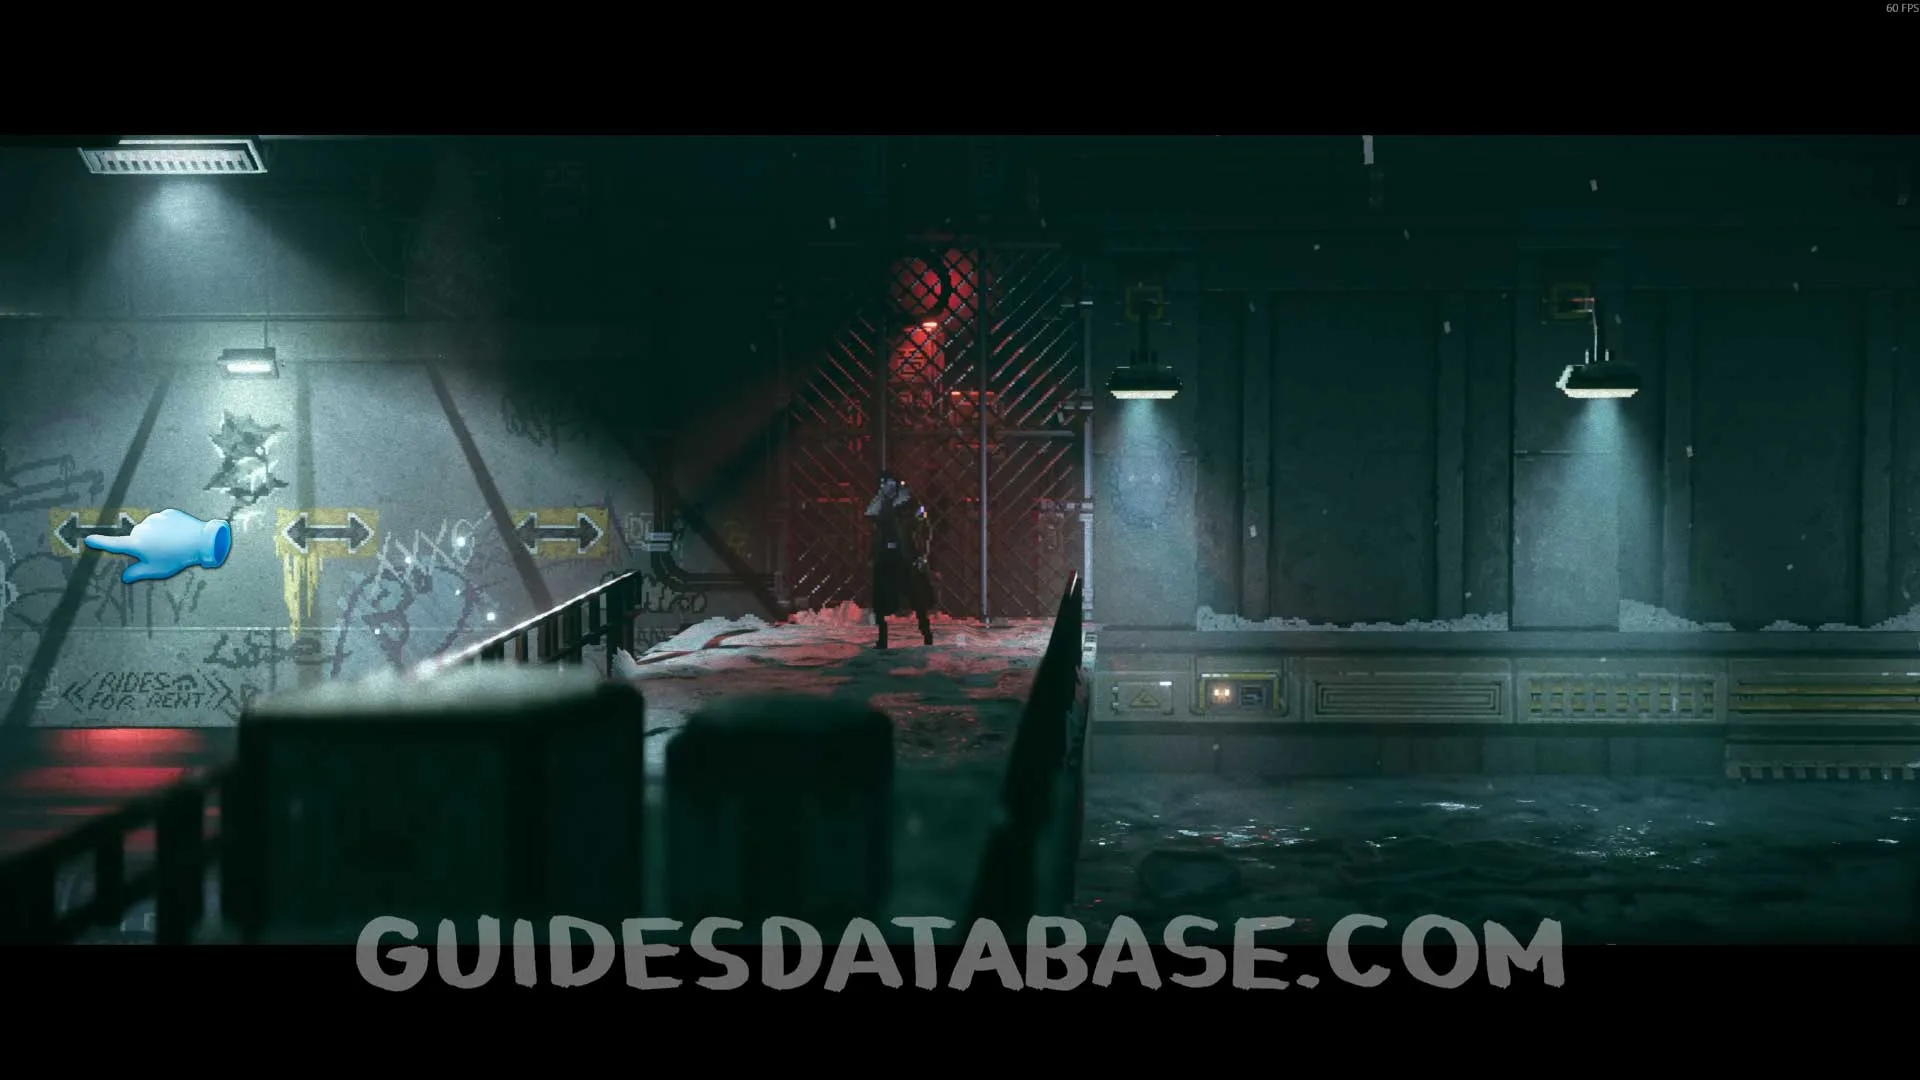
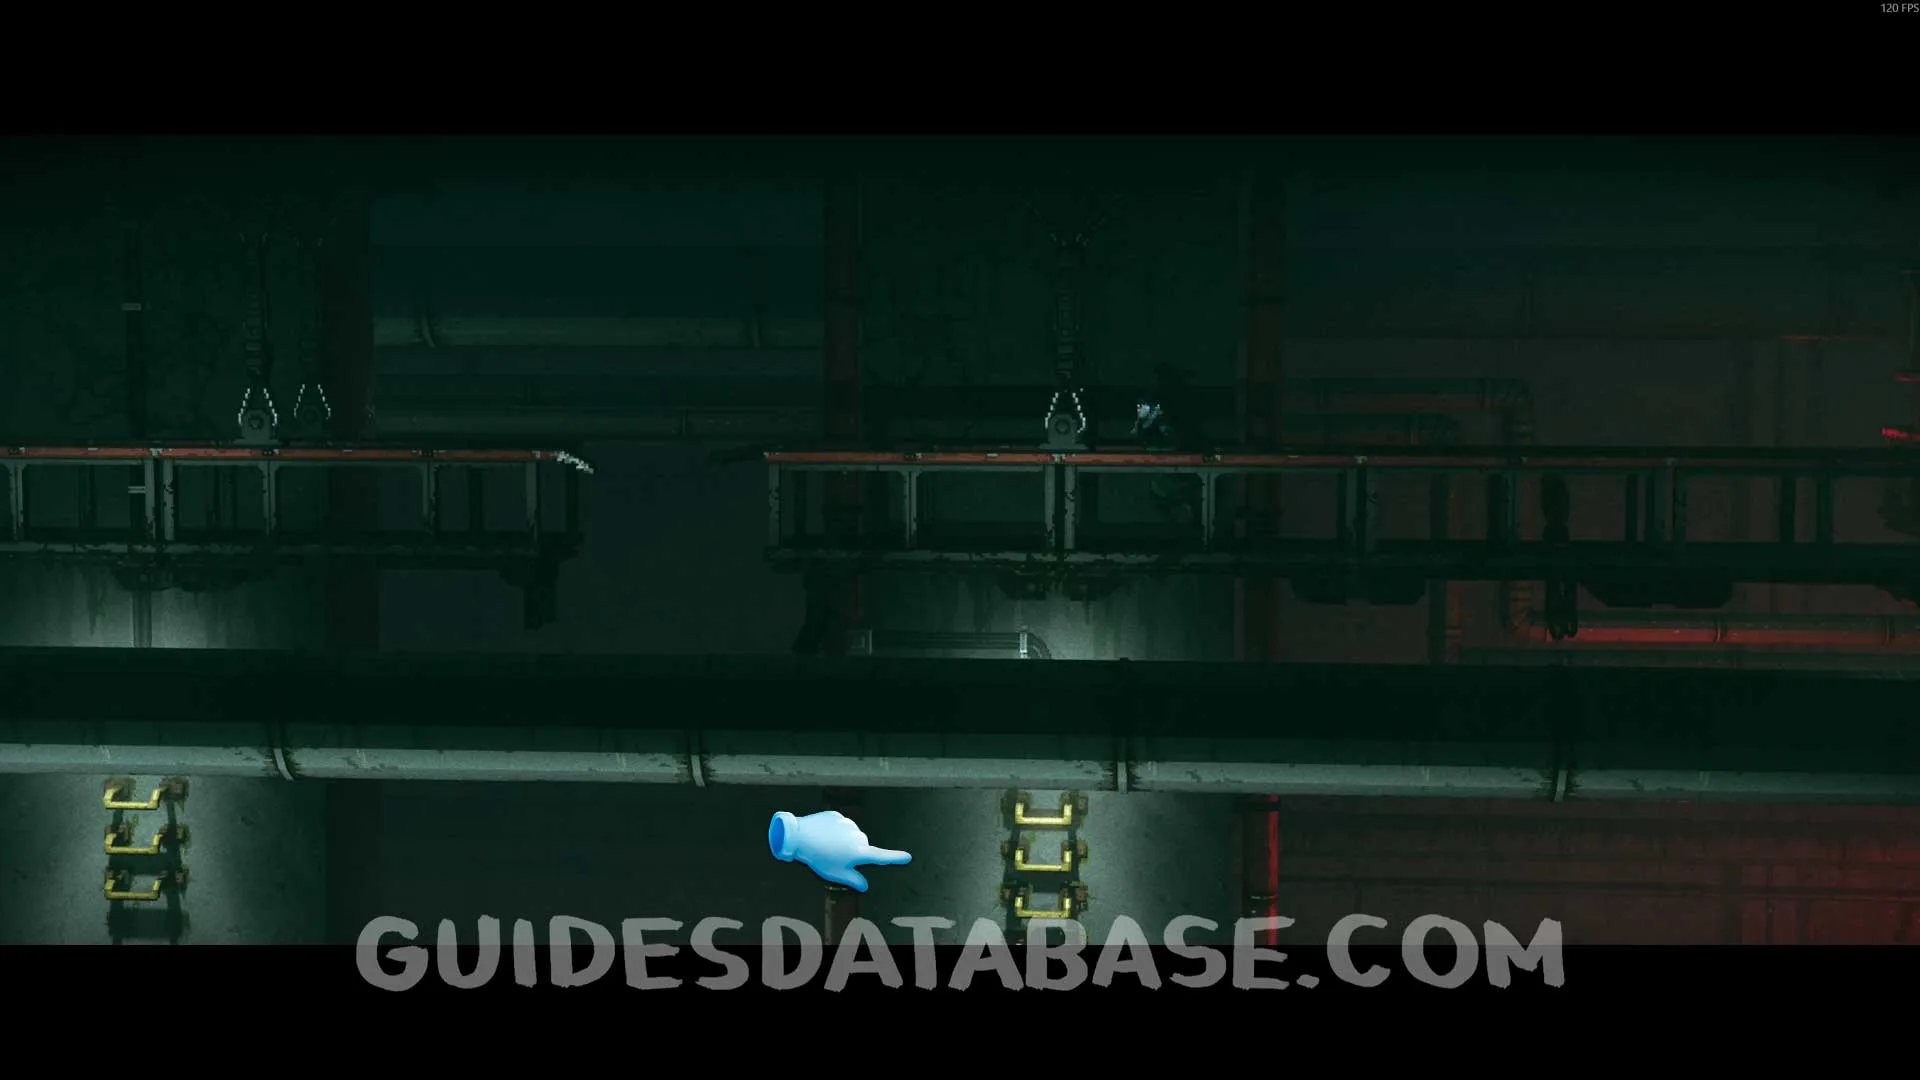
Music #1 Lab Rat
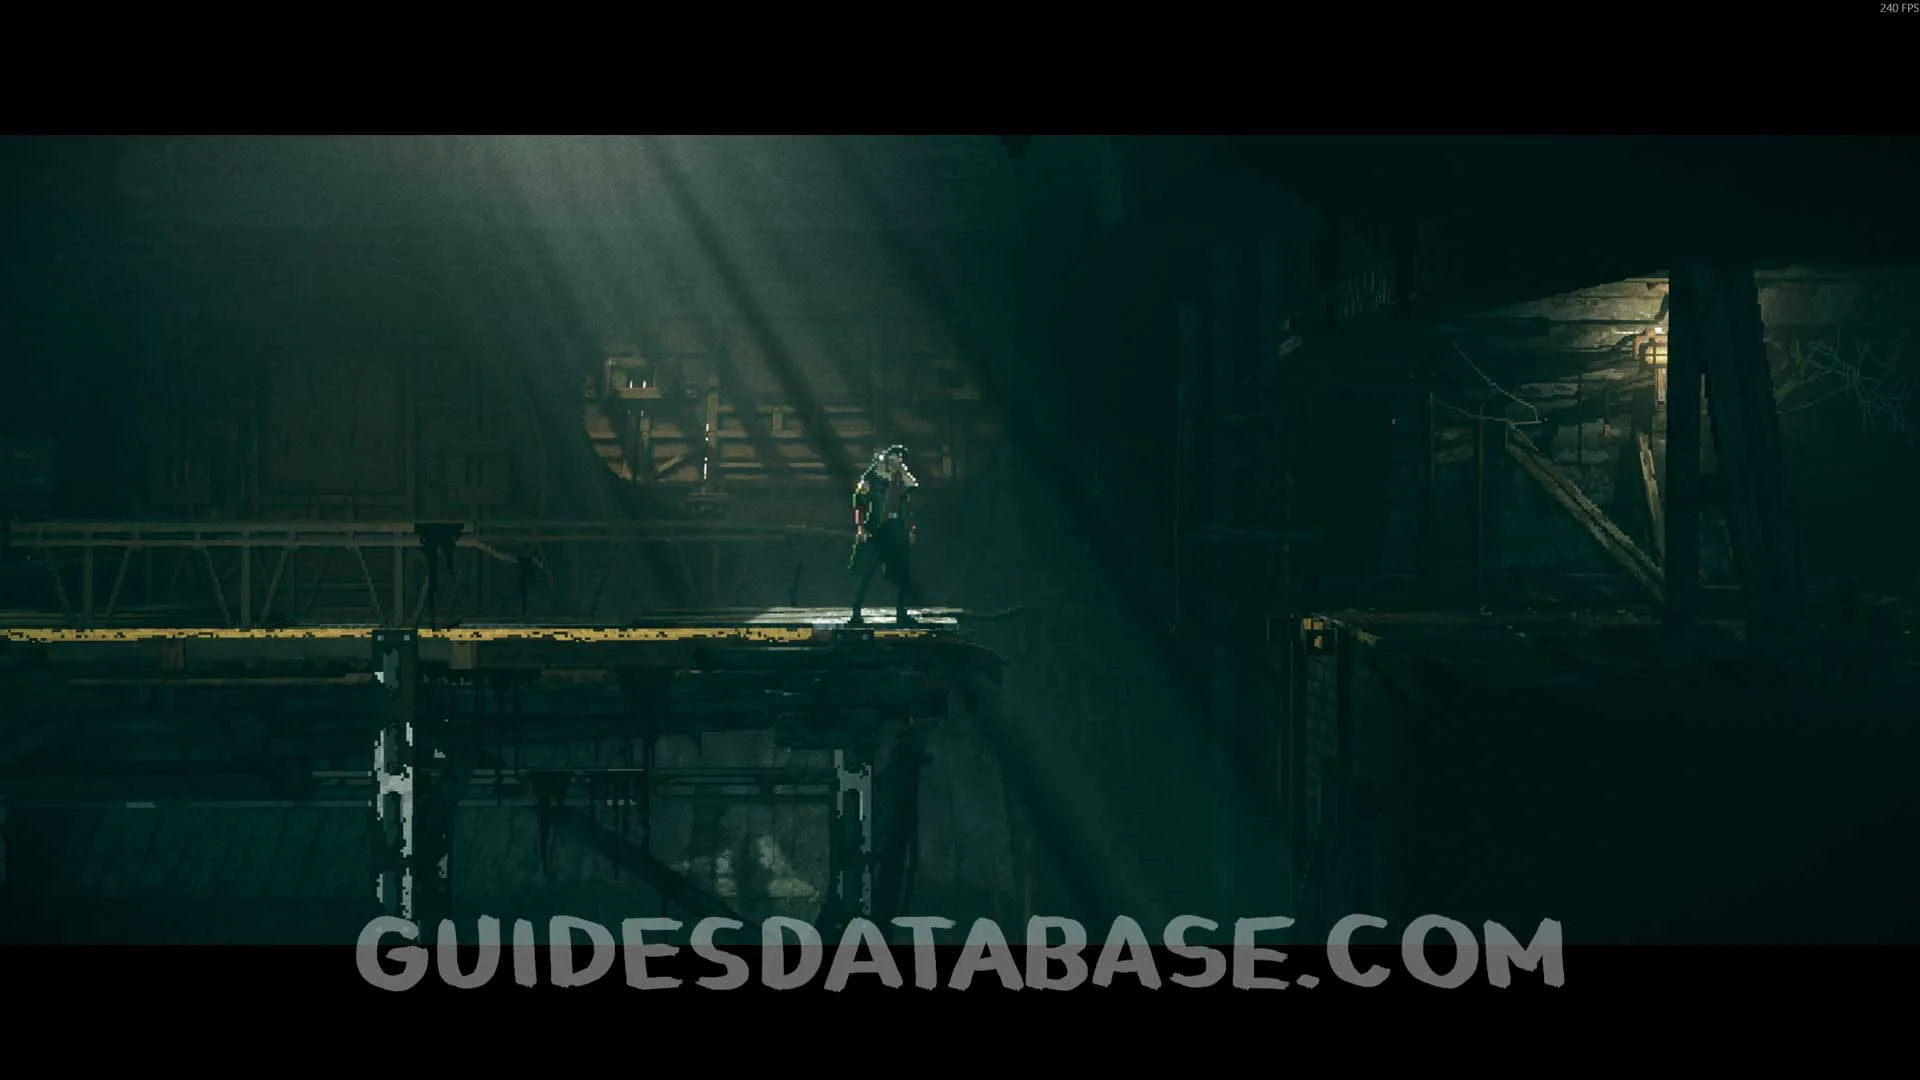
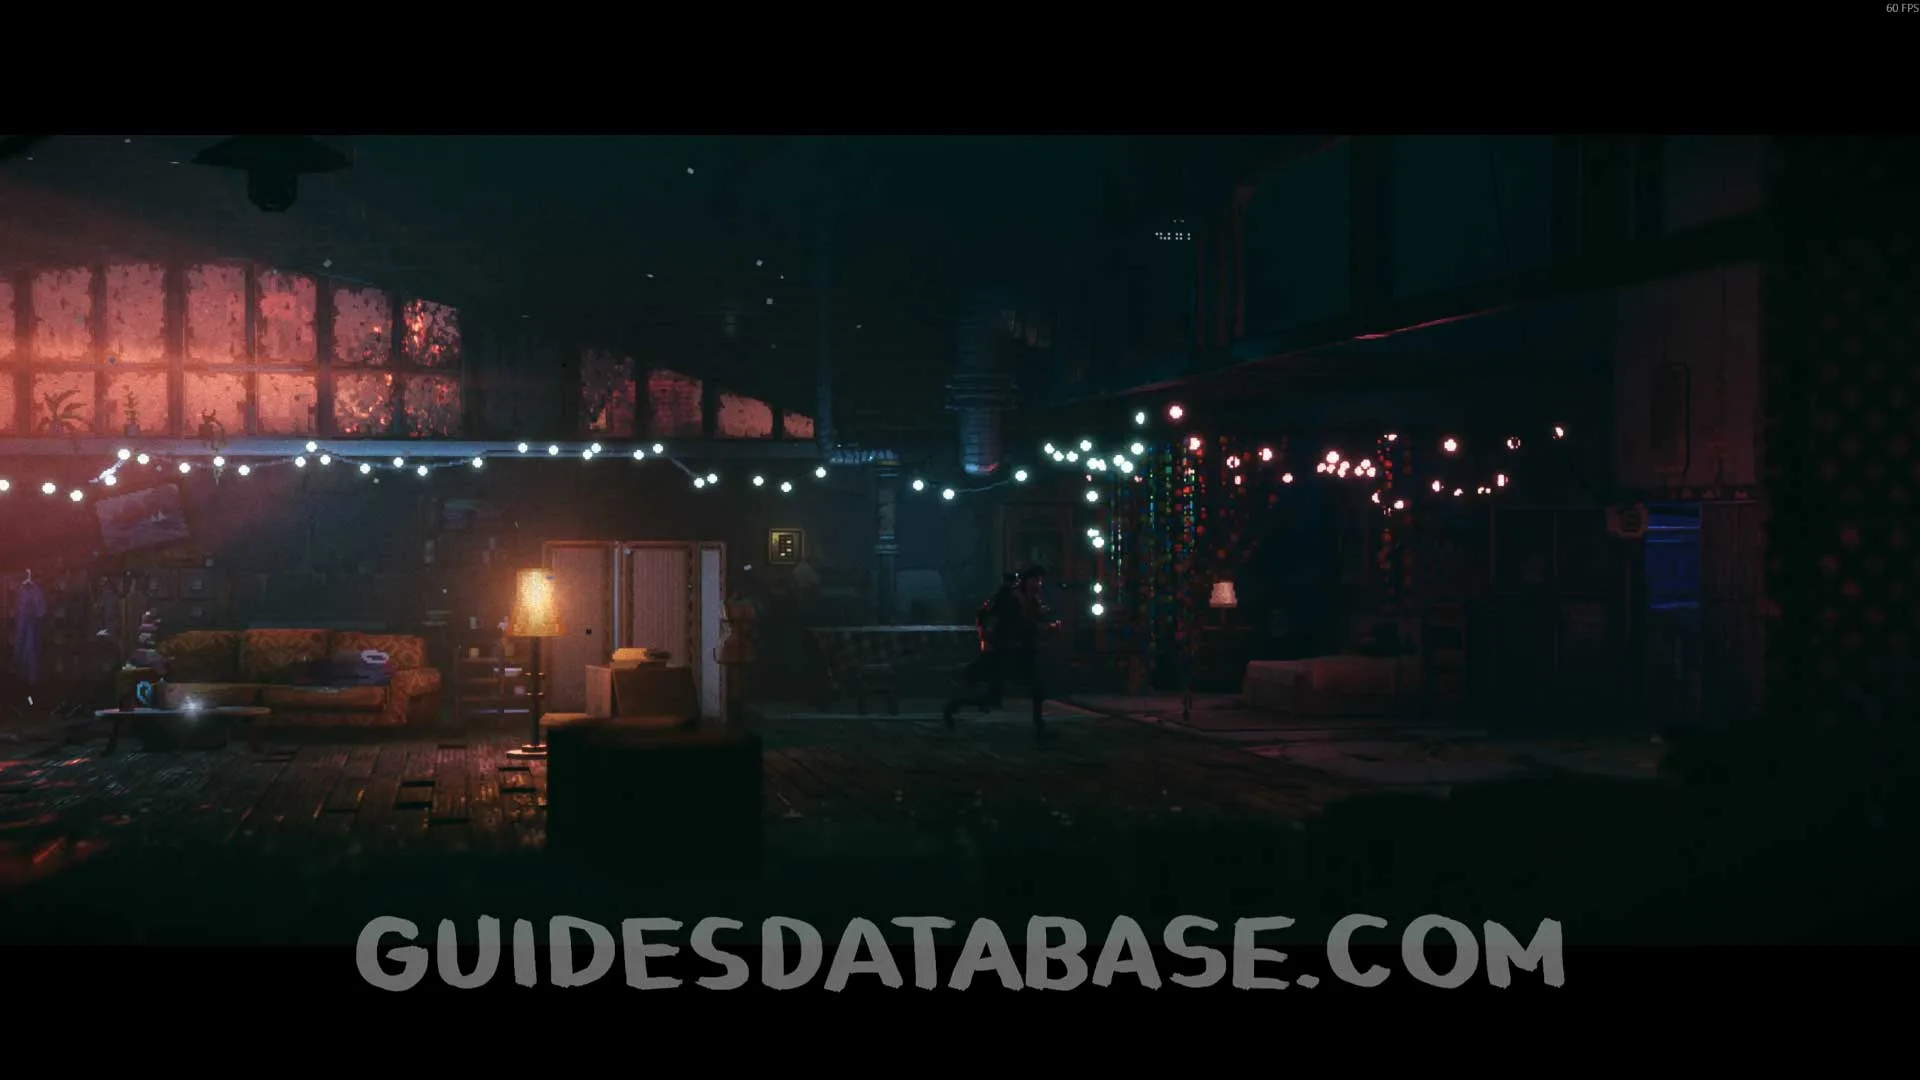
At the start of the chapter, after having to jump from one platform to another.
 GUIDESDATABASE.COM
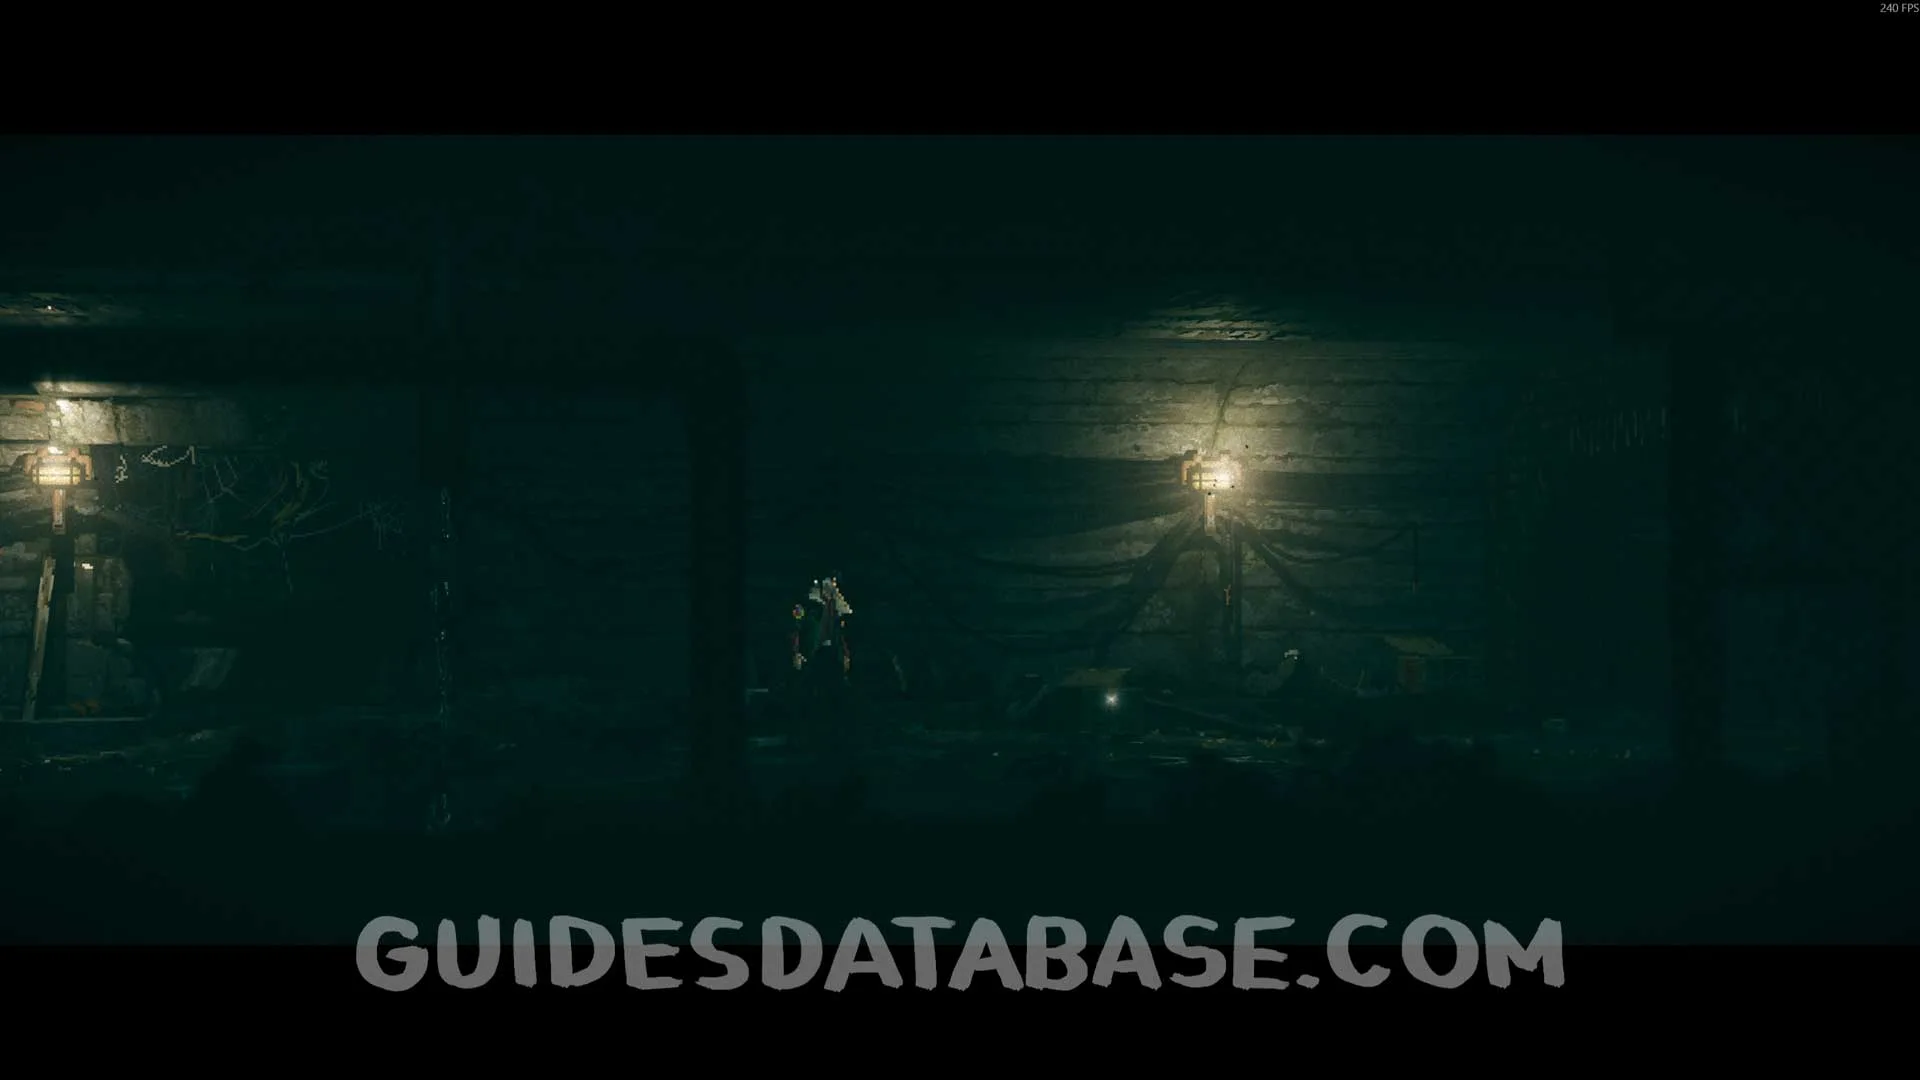 GUIDESDATABASE.COM
Scan #3 Survivor's Memoir
After defeating the first enemies of the chapter, it will be right in front of you.
 GUIDESDATABASE.COM
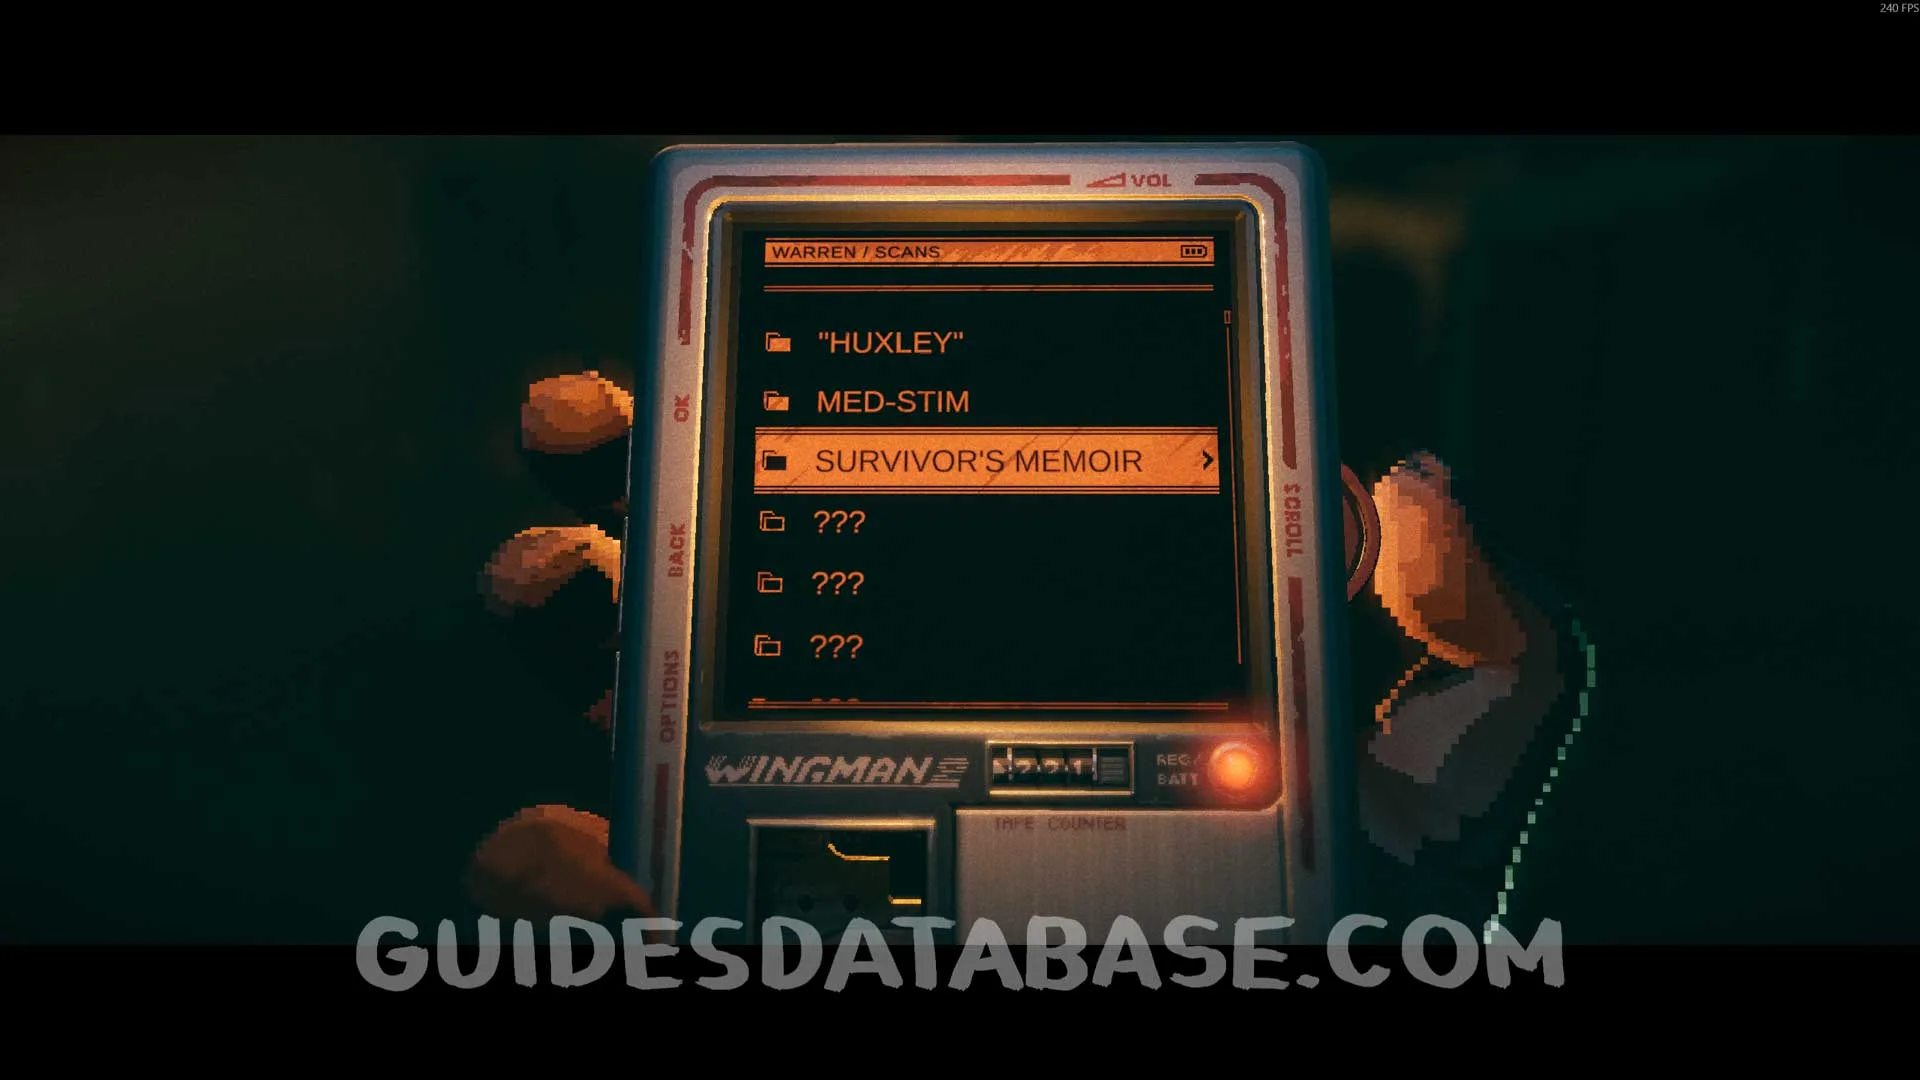 GUIDESDATABASE.COM
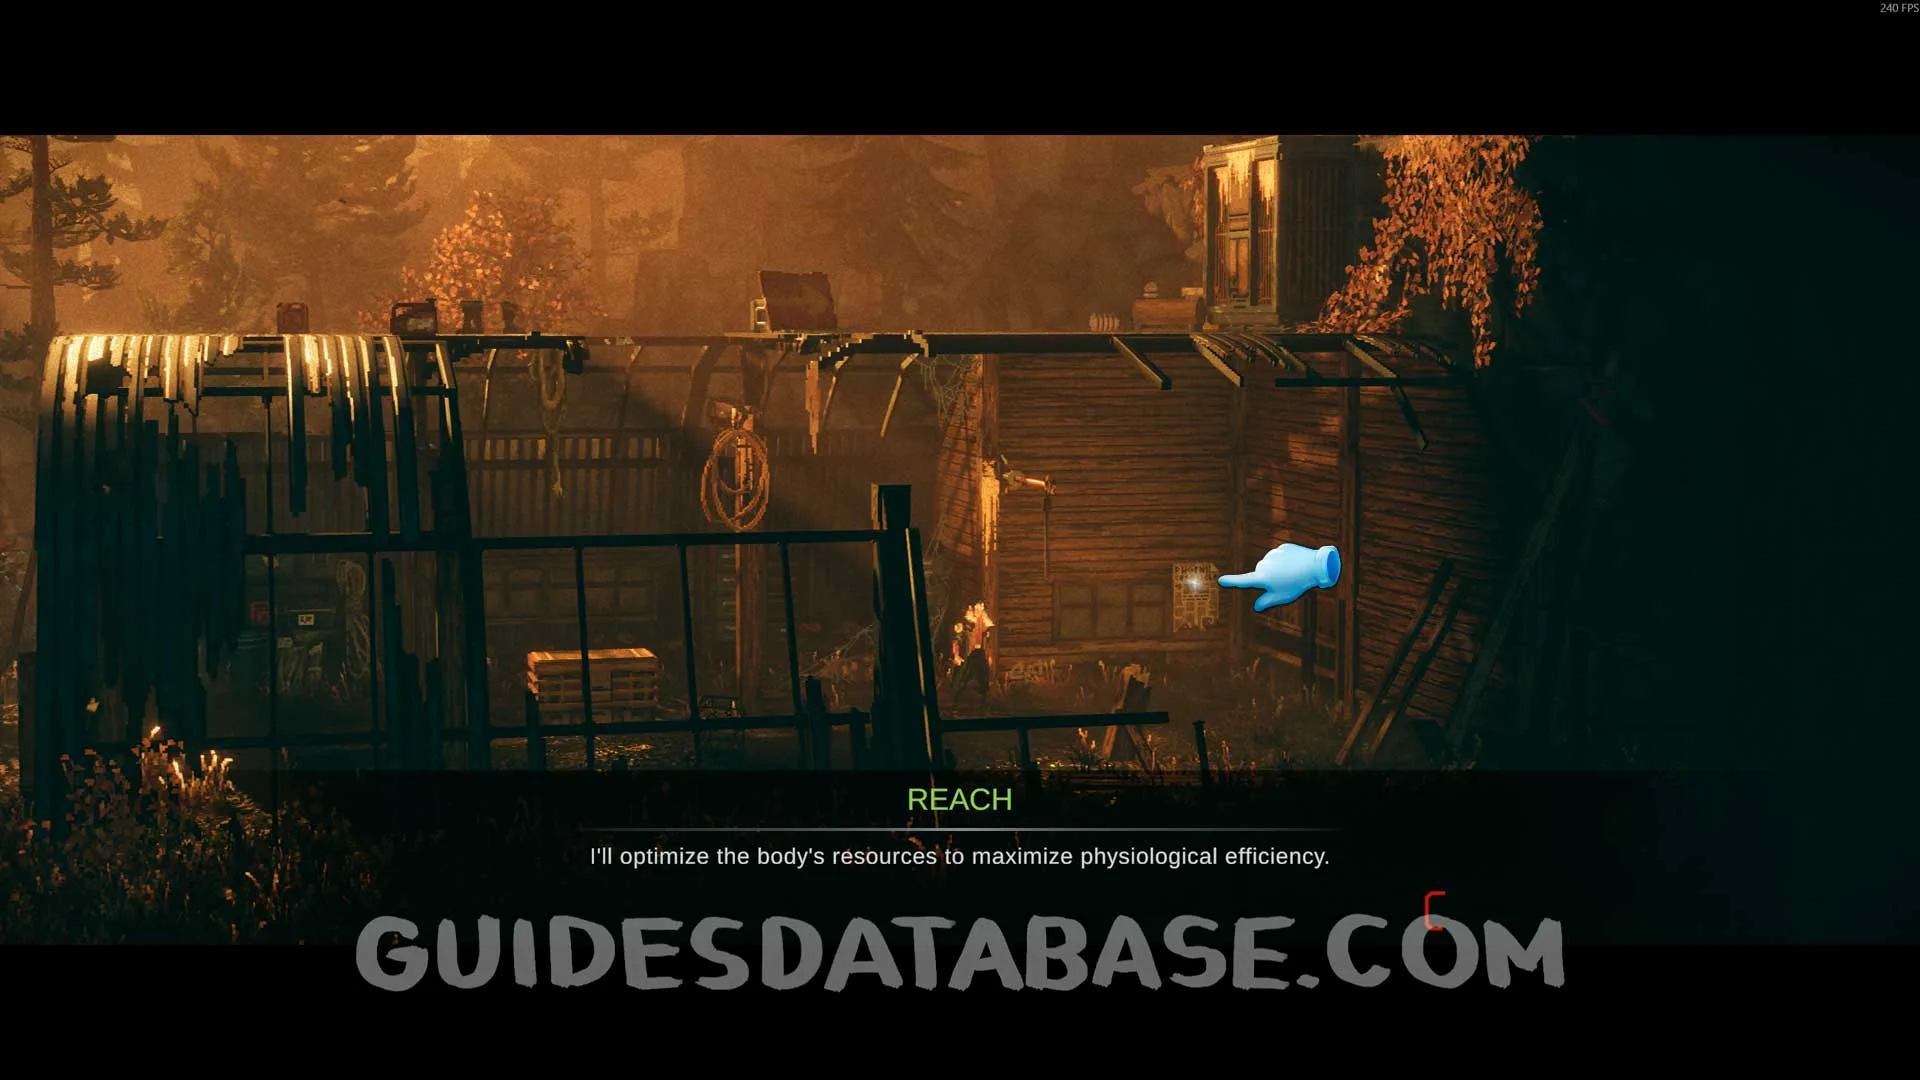
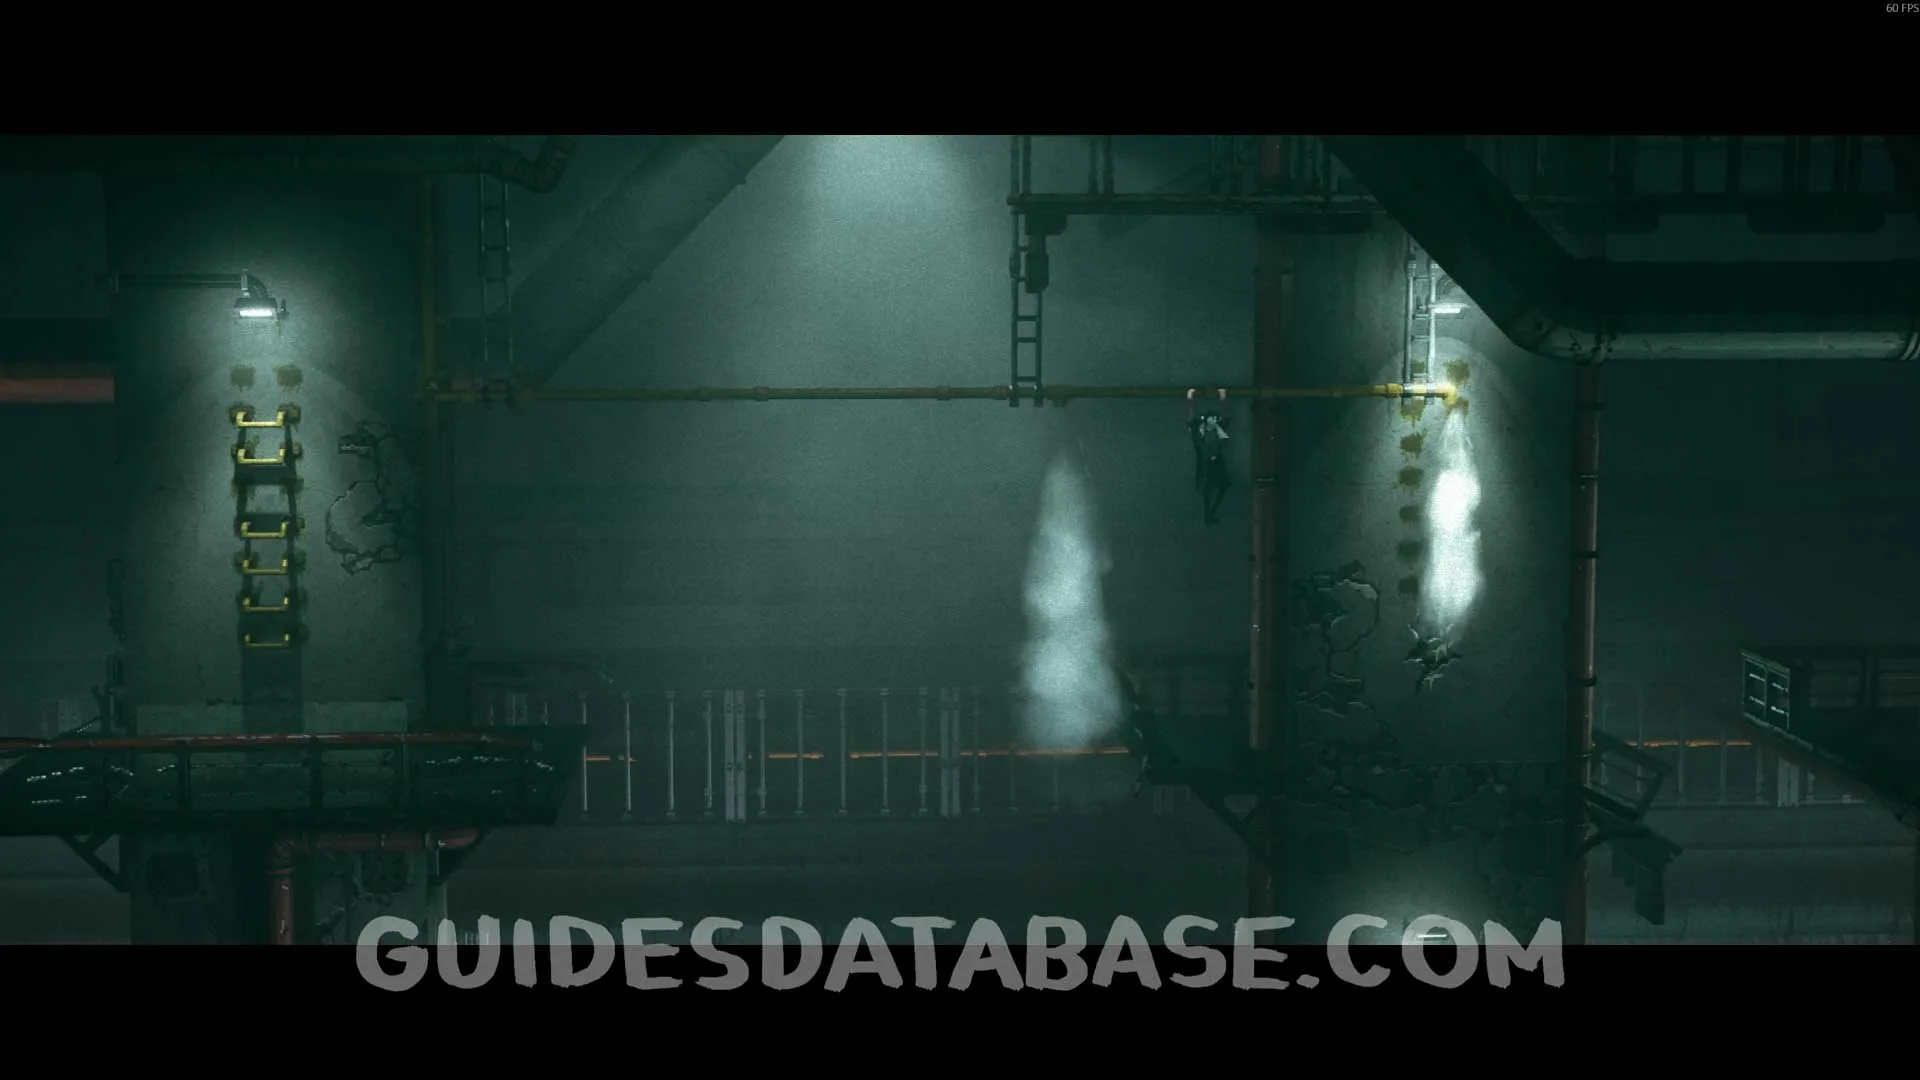
Scan #4 The Catastrophe: 20 Years Later
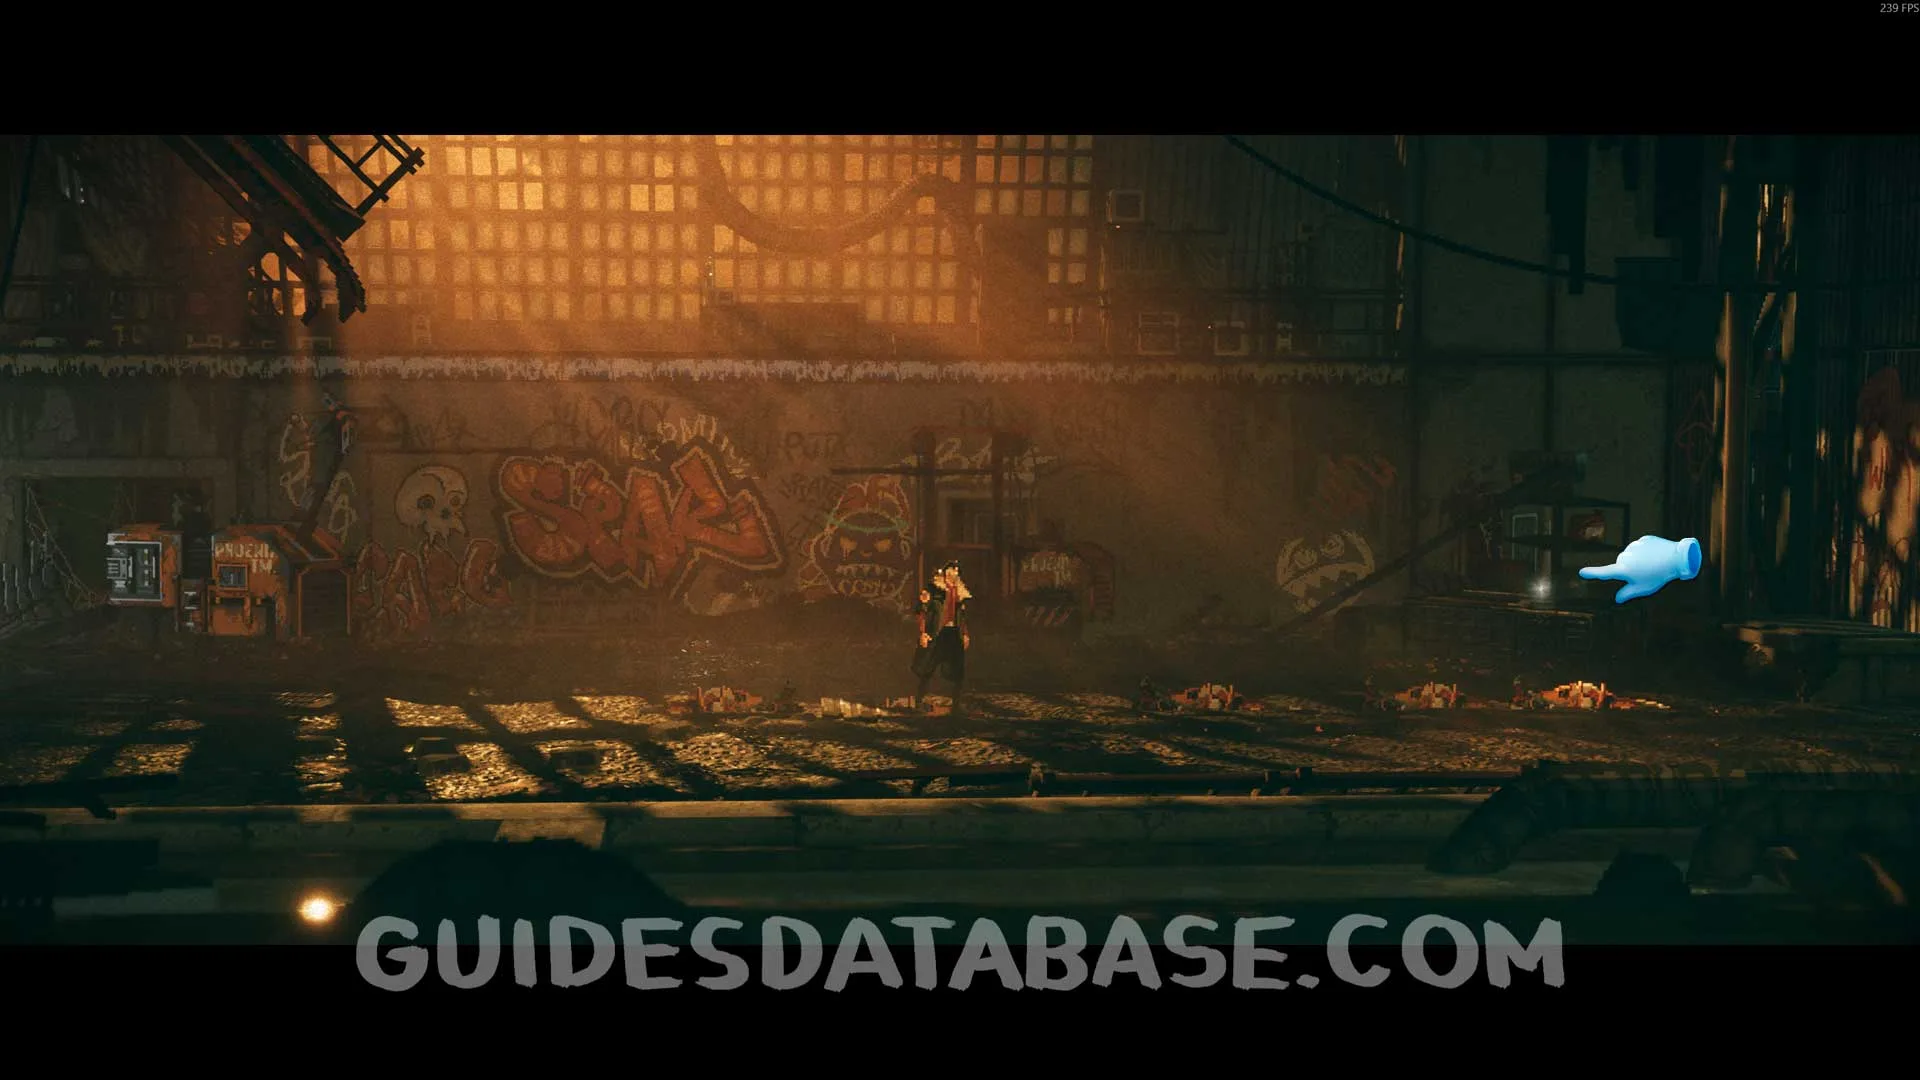
Directly from the previous collectible, head forward and before climbing to the upper part of the area you will find this Scan point on the wall.
 GUIDESDATABASE.COM
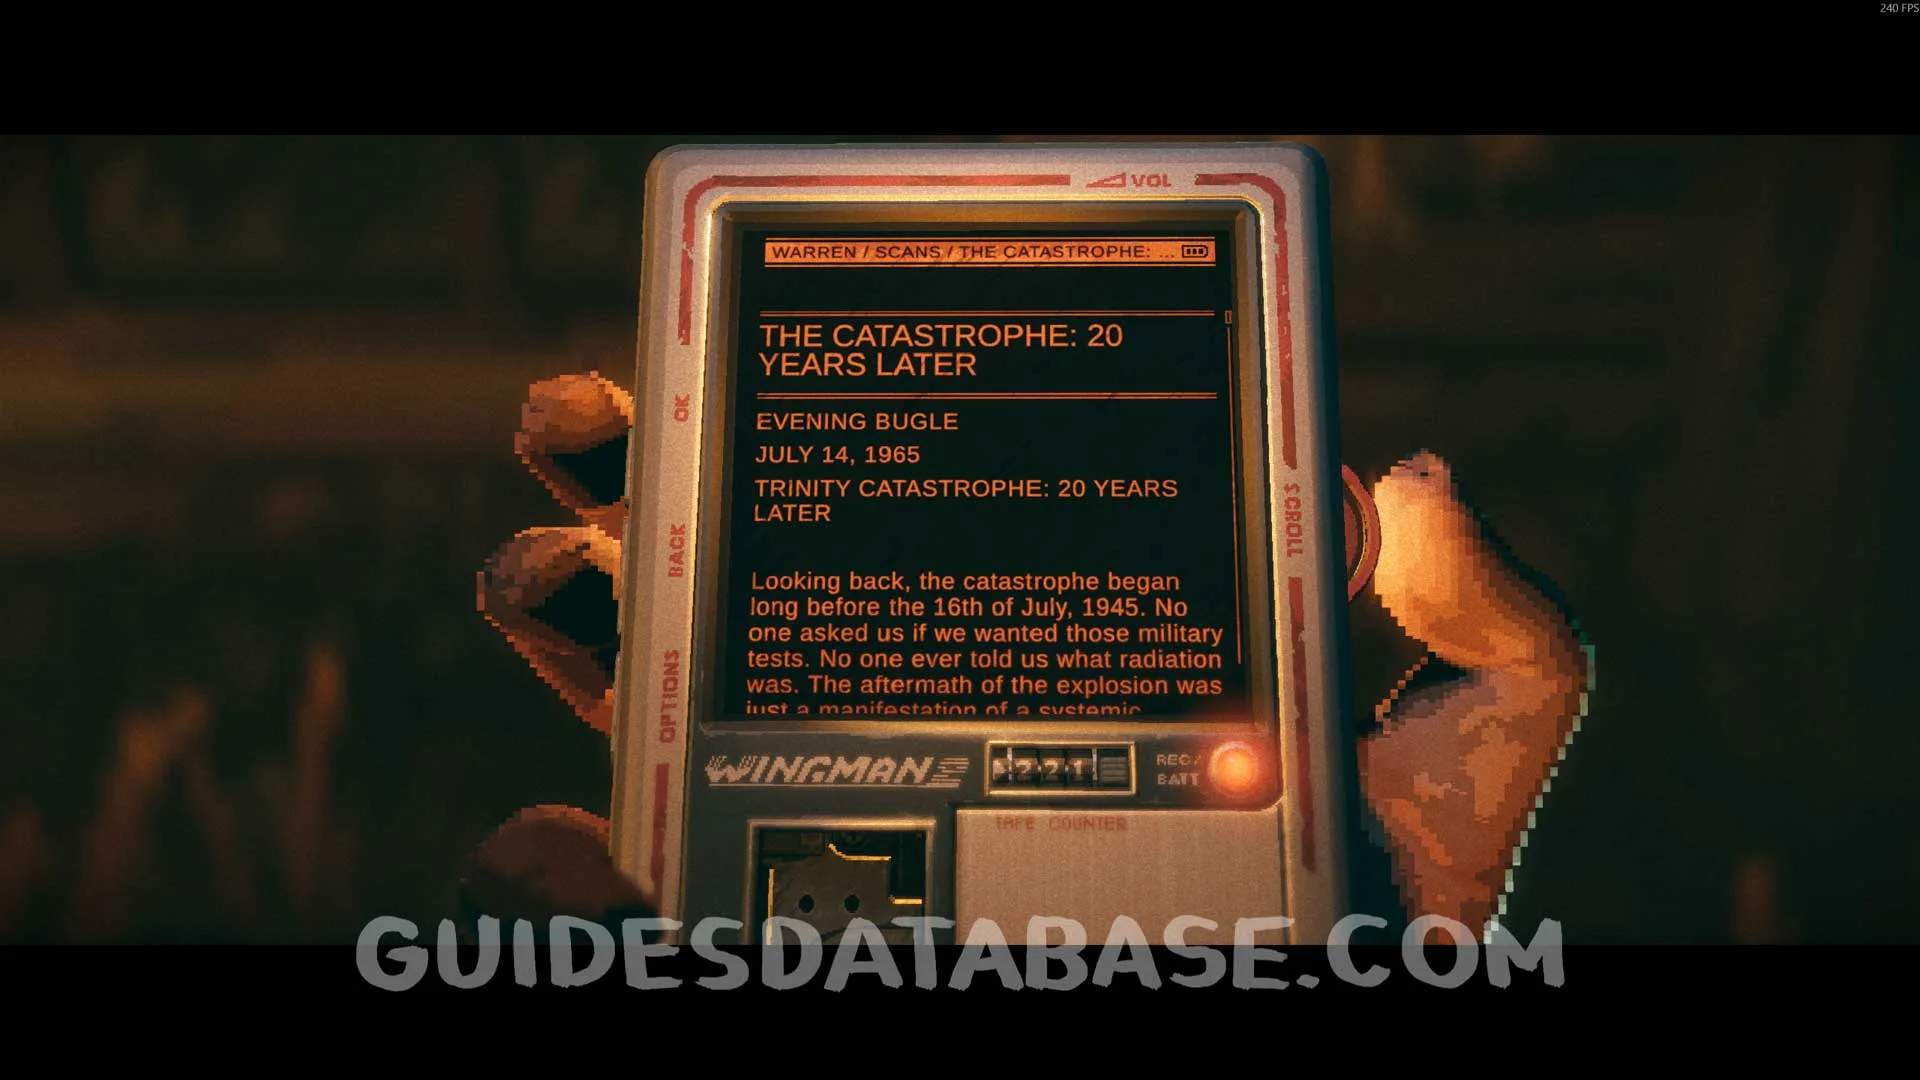 GUIDESDATABASE.COM
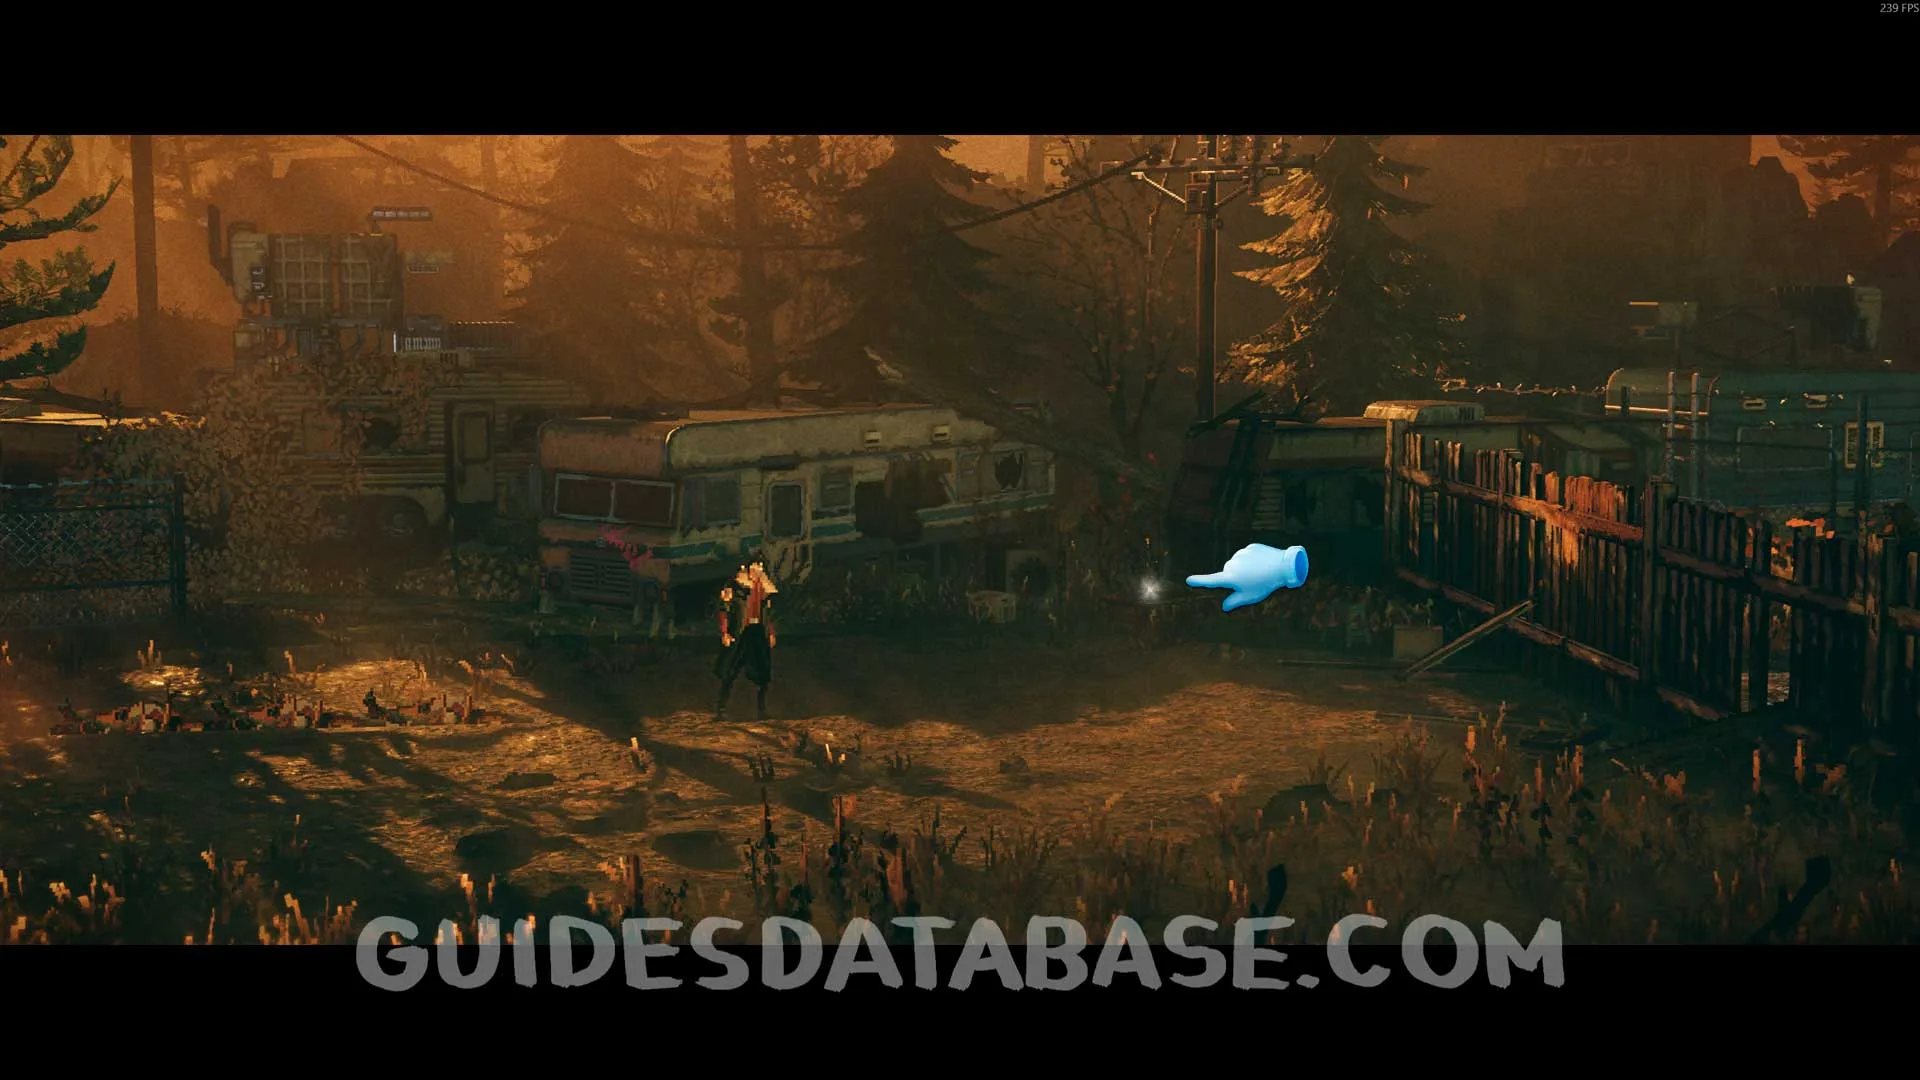
Scan #5 Board Game Box
From the previous collectible, head forward and you will soon need to defeat a few more enemies. After defeating them, this Scan will be right in front of you.
 GUIDESDATABASE.COM
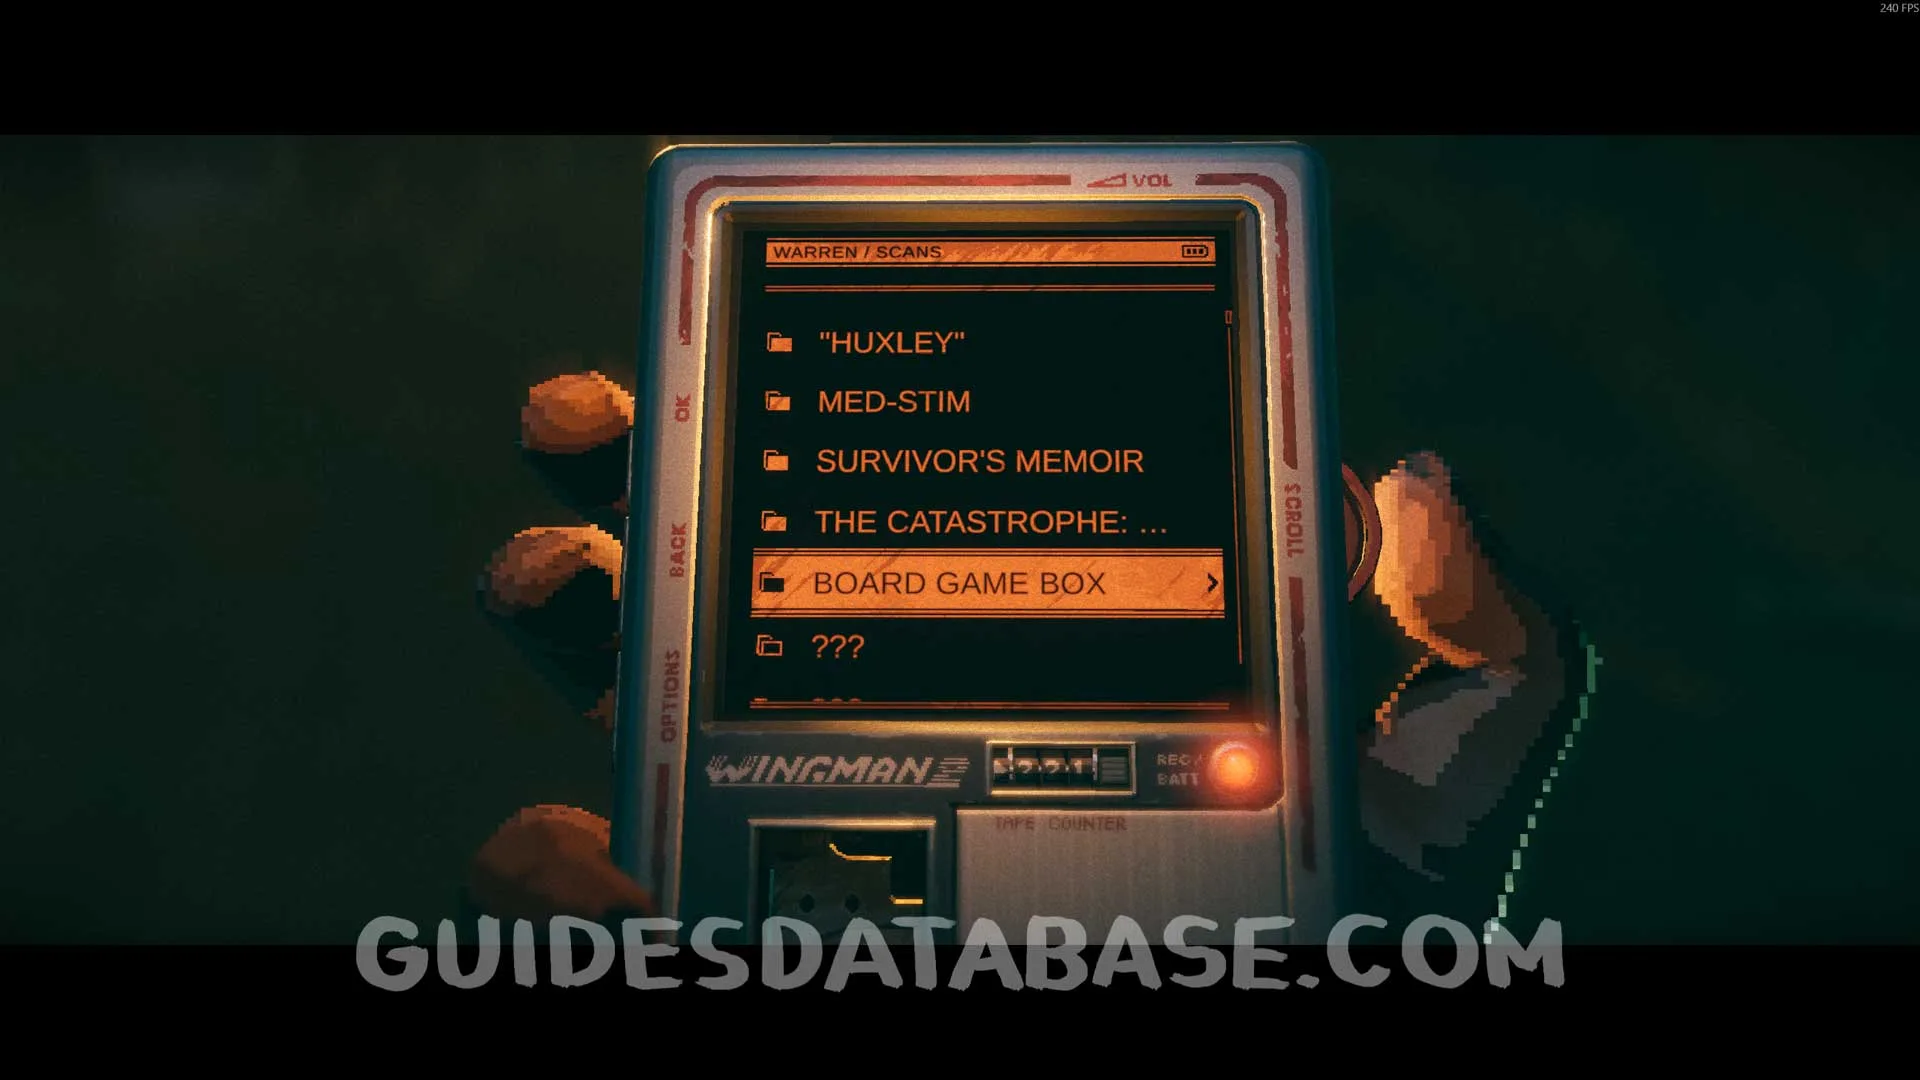 GUIDESDATABASE.COM
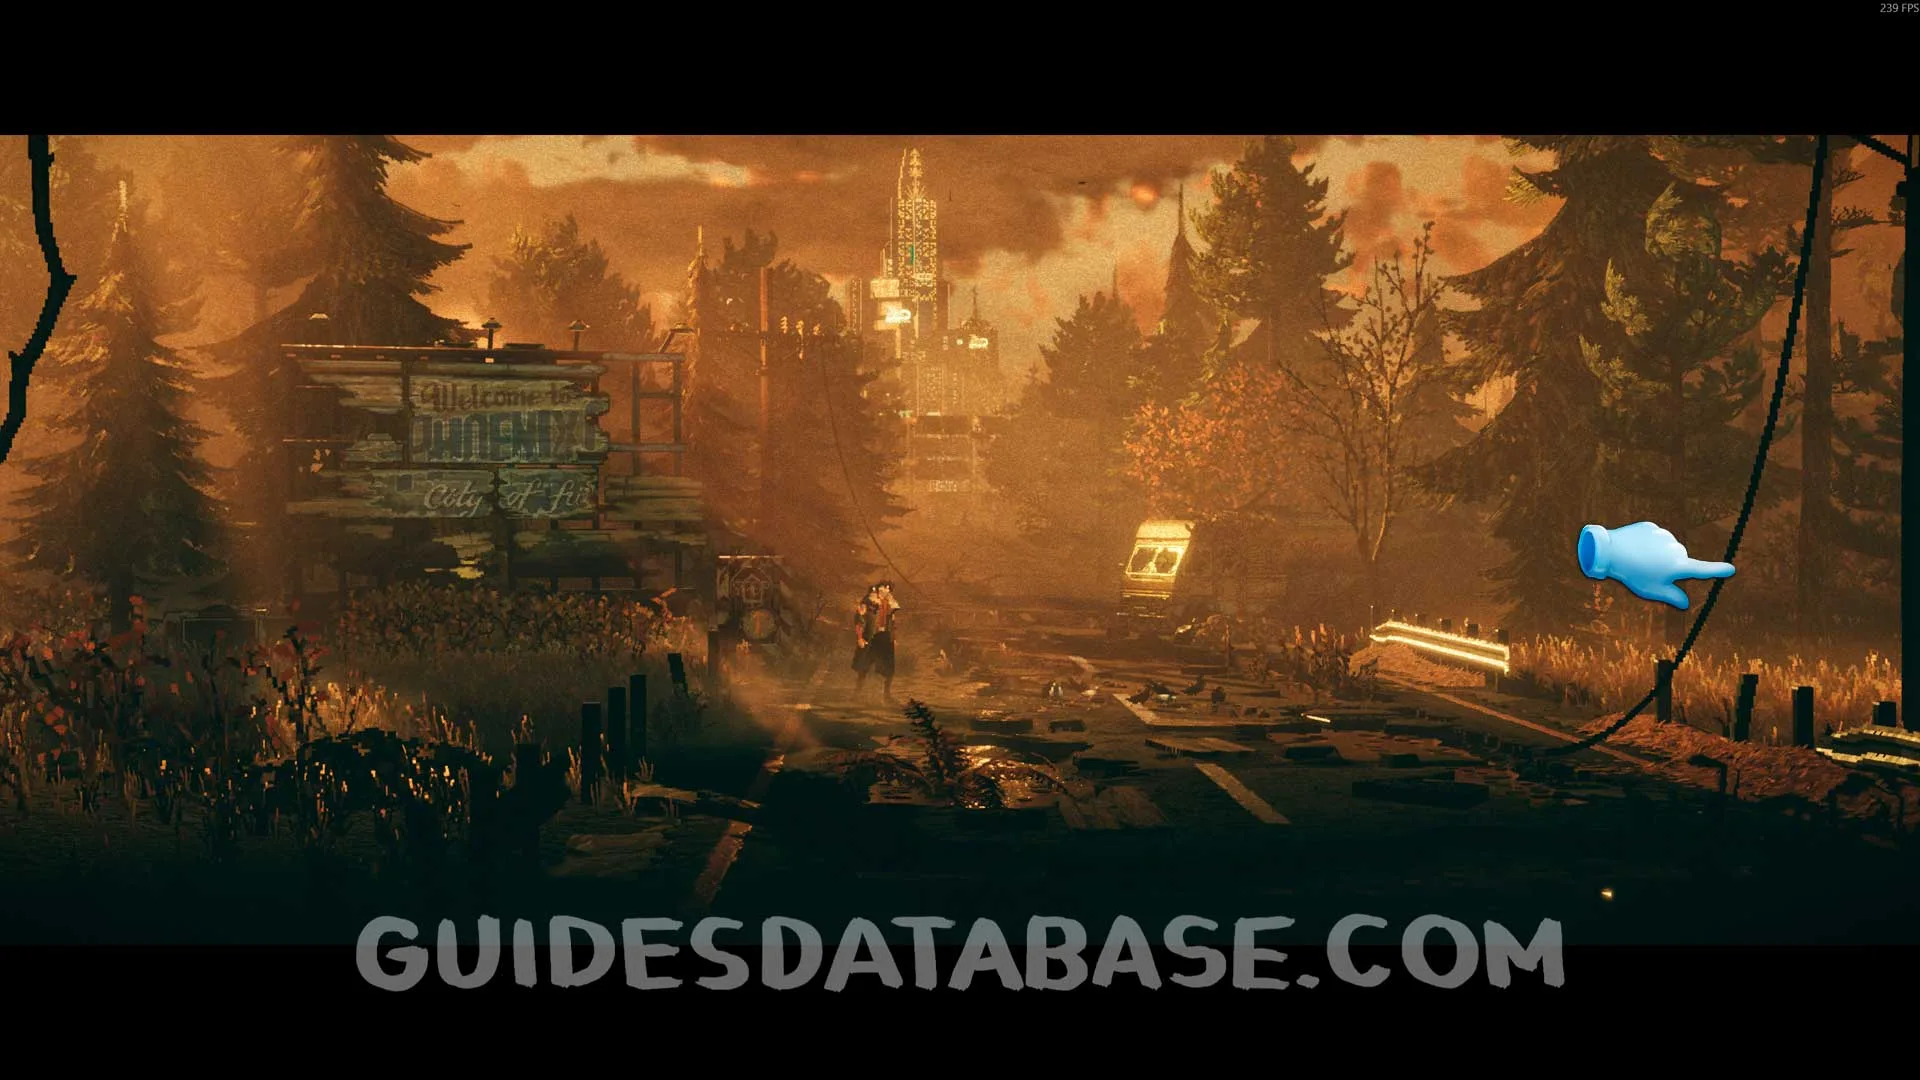
Scan #6 Goodbye Letter
For story purposes you will reach a road and will need to make your way through it to finish the chapter. Before doing so, head to the right side of the road to find this Scan.
 GUIDESDATABASE.COM
 GUIDESDATABASE.COM
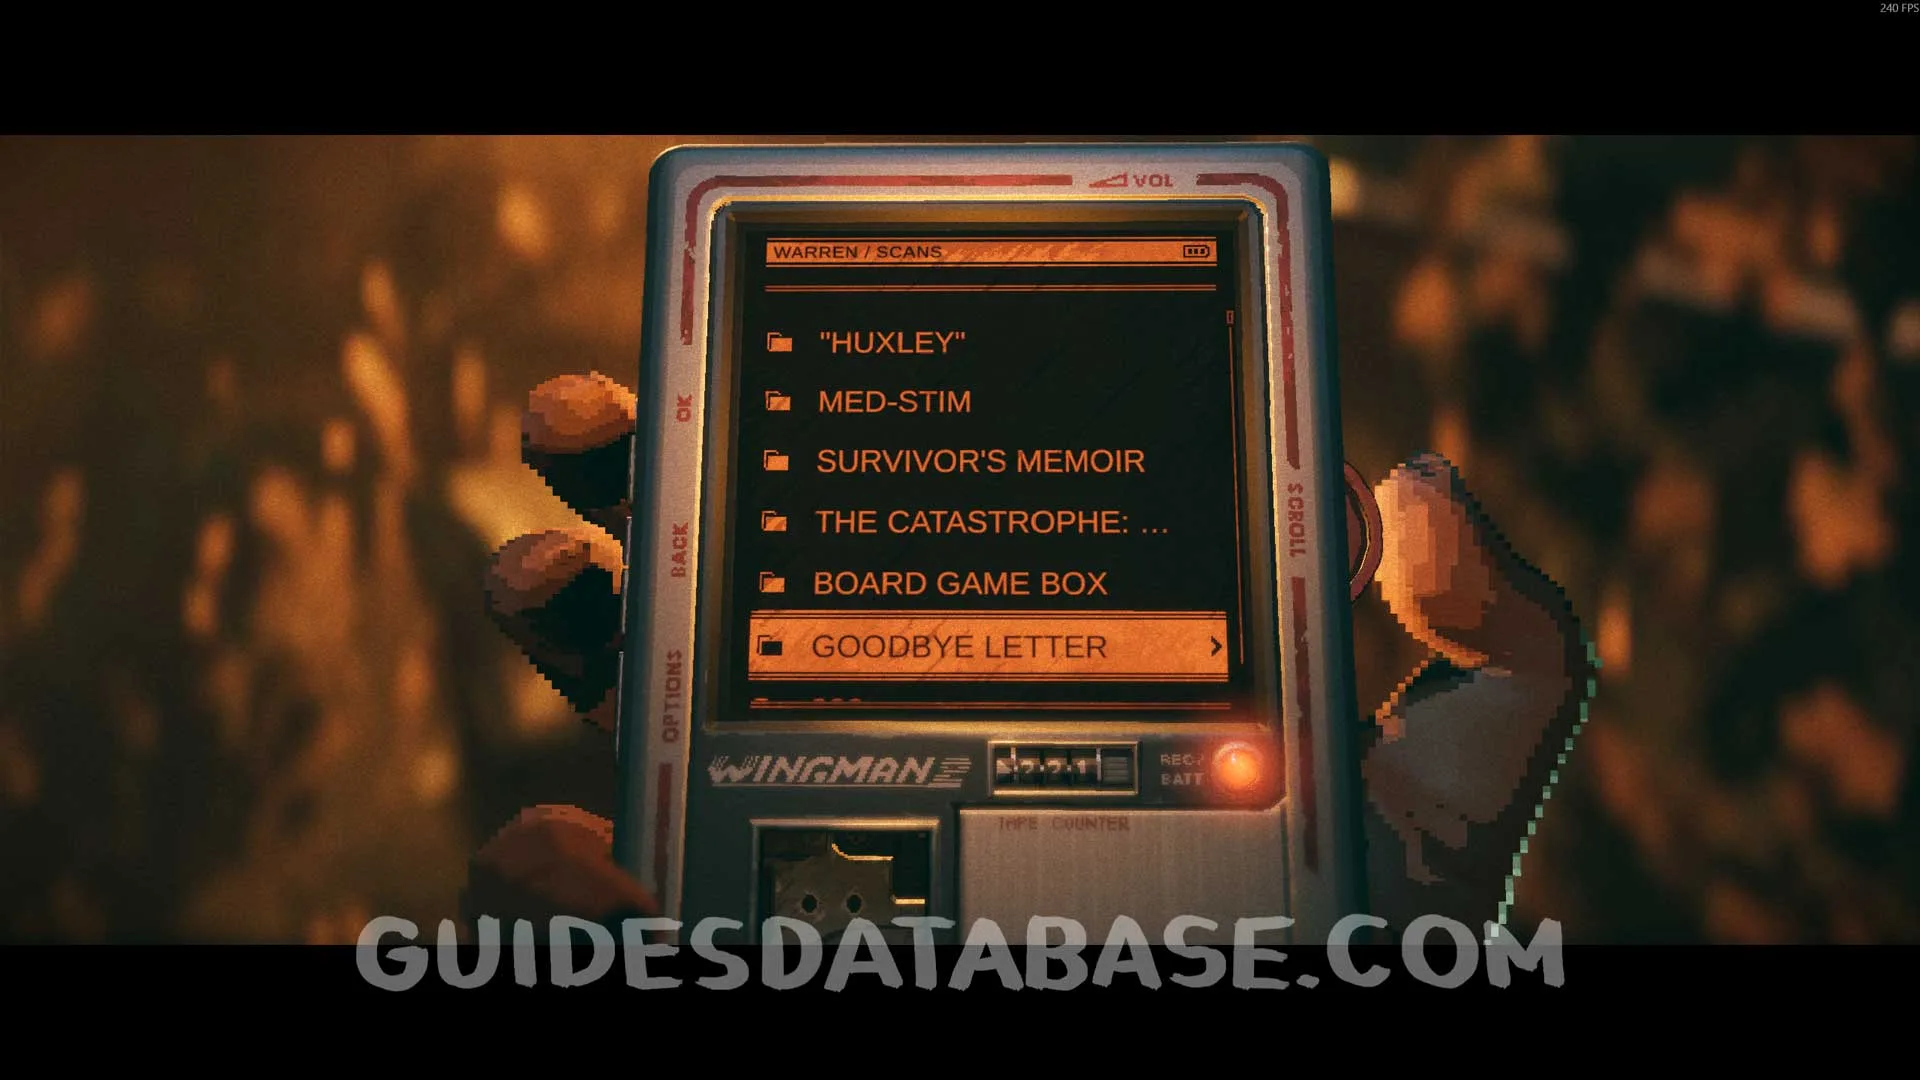 GUIDESDATABASE.COM
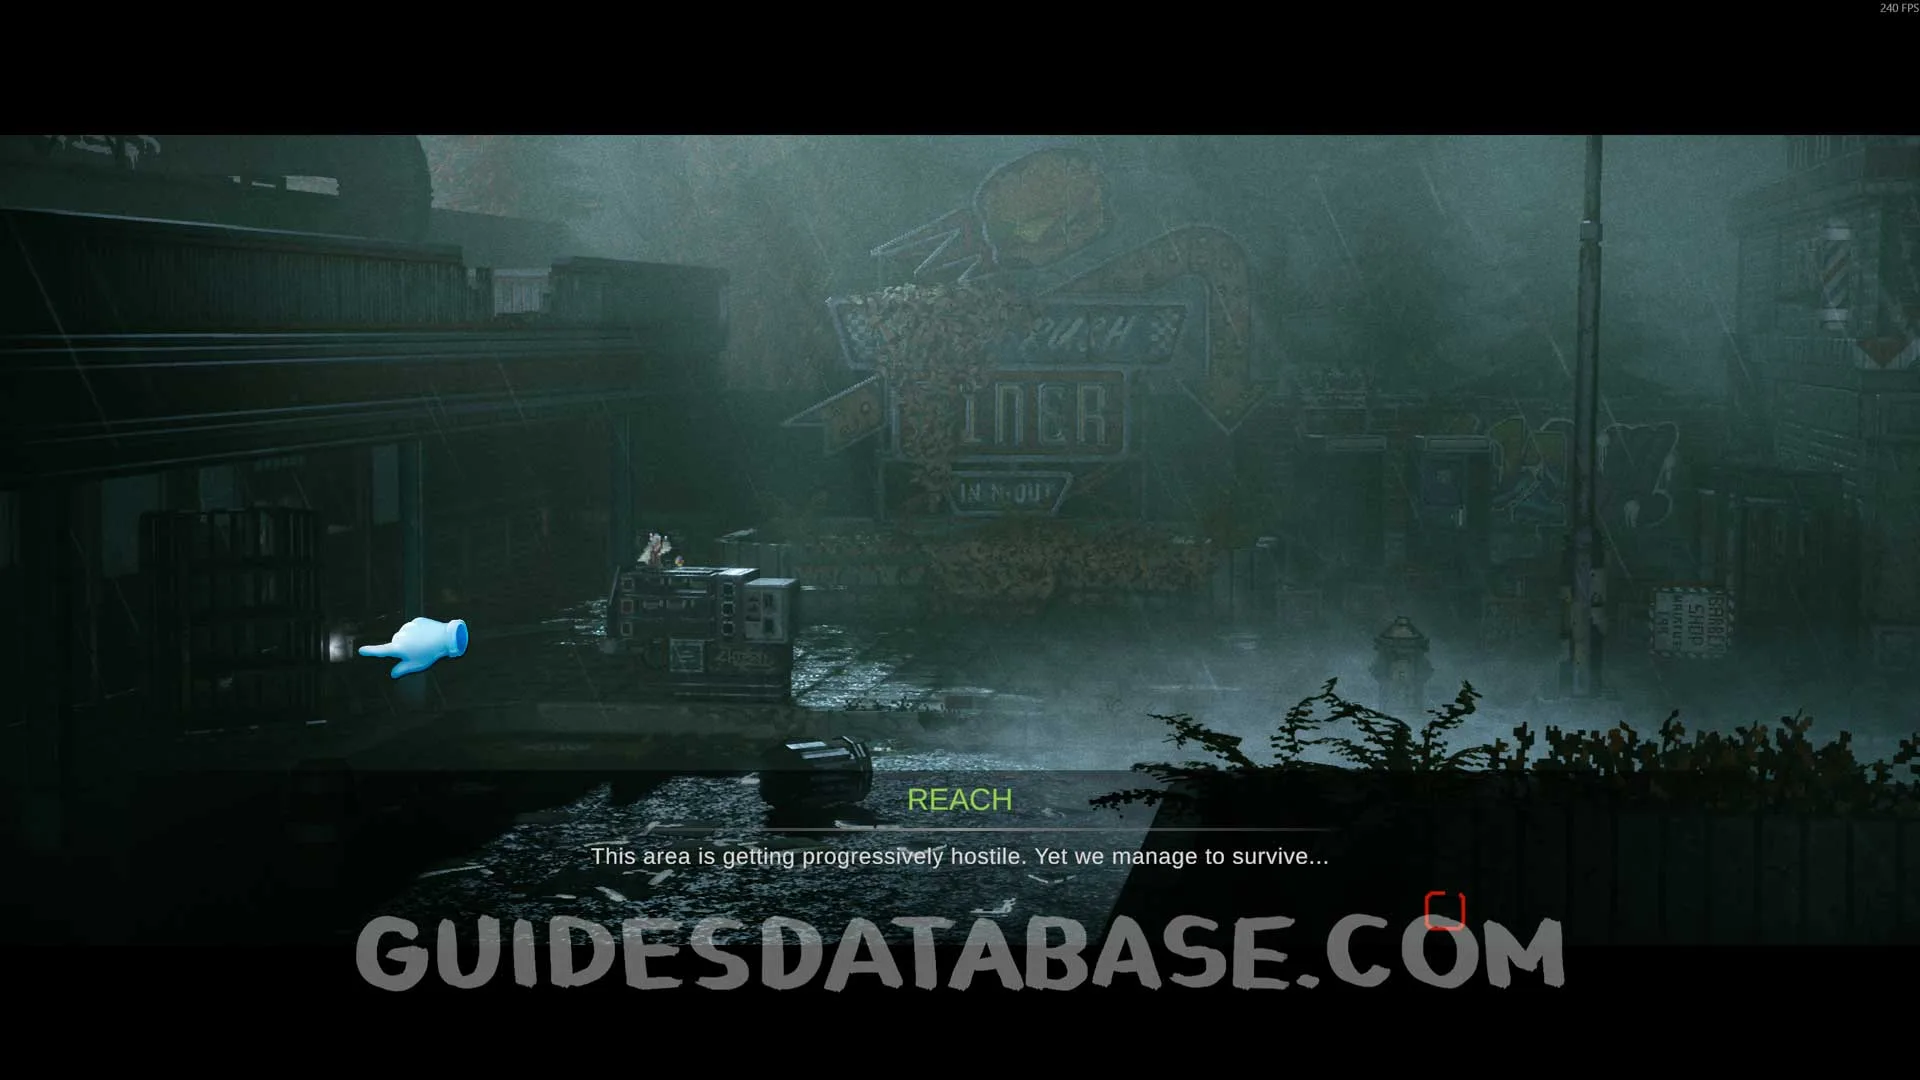
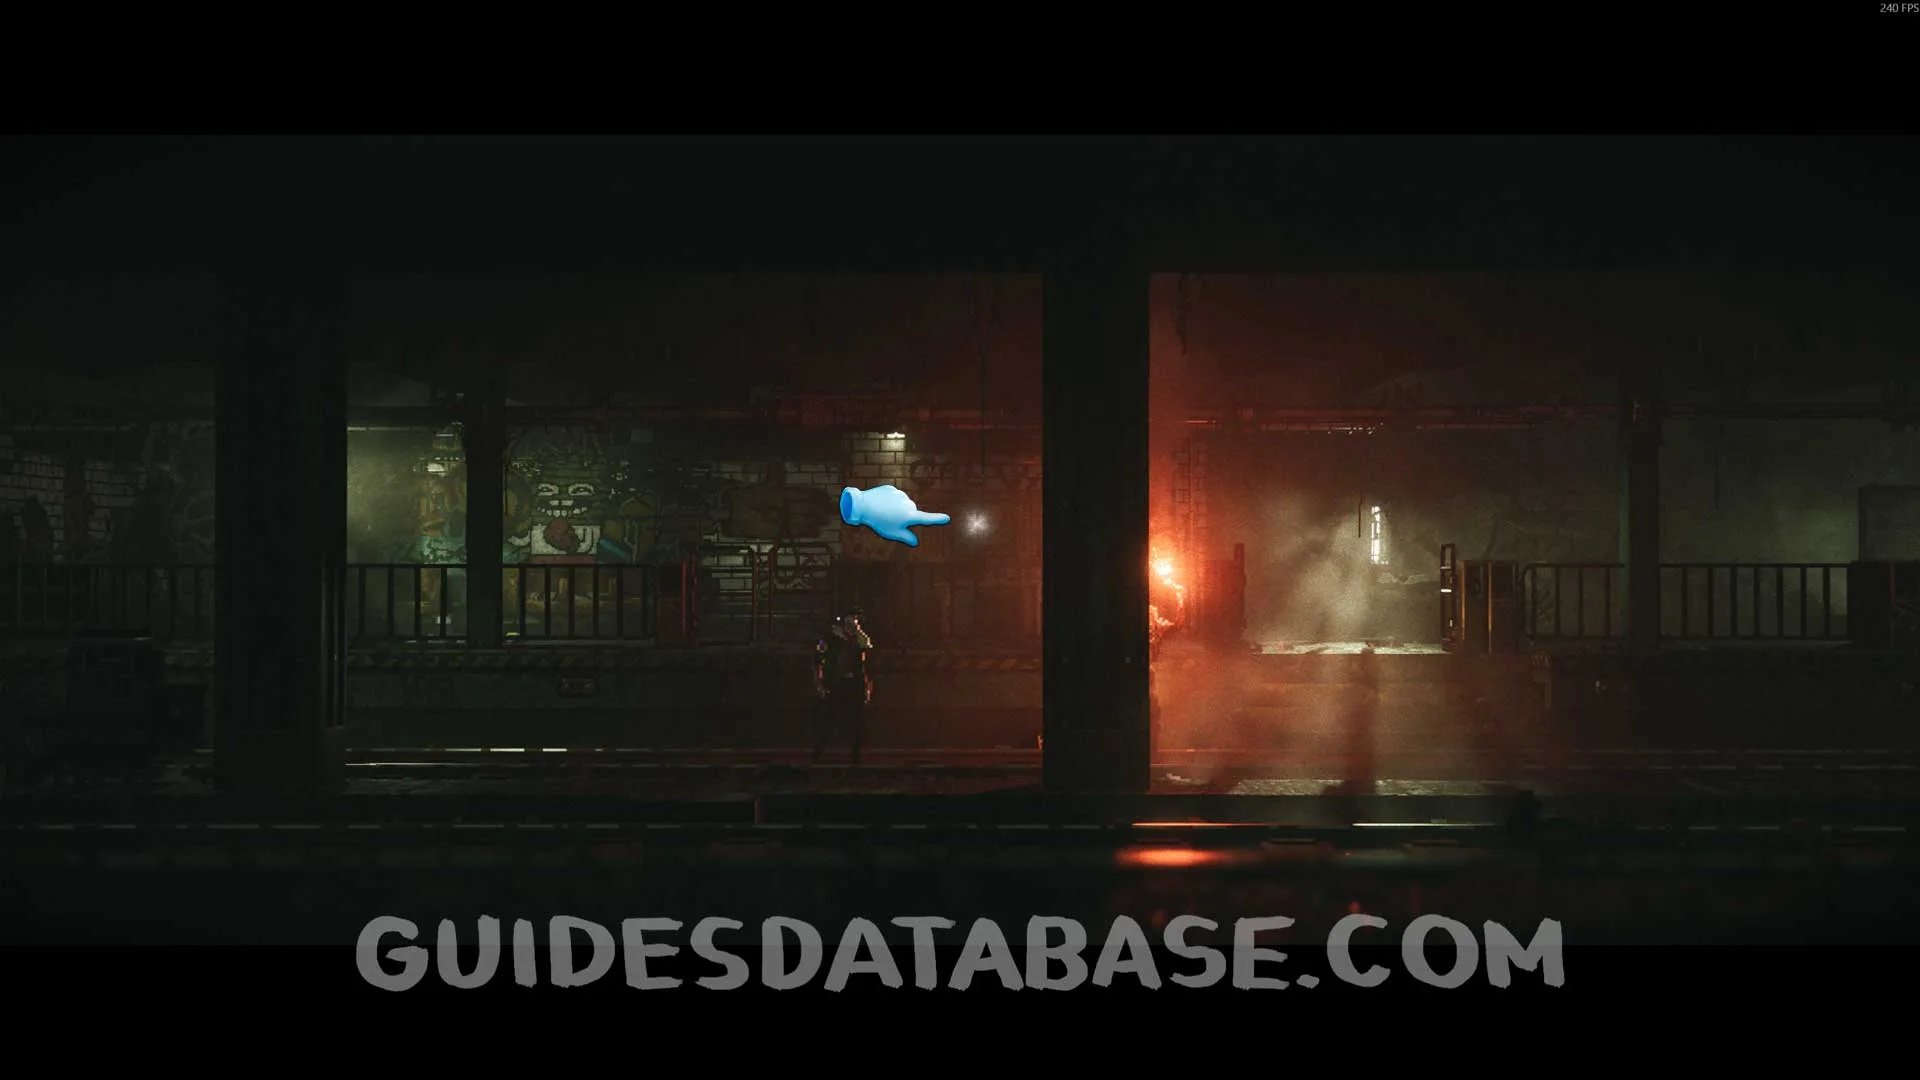
Genetic Profile #1
After hiding from the car's headlights at the back of the area, you will pass through a rooftop and descend. After that, you can find this Health item on the left side of the area.
 GUIDESDATABASE.COM
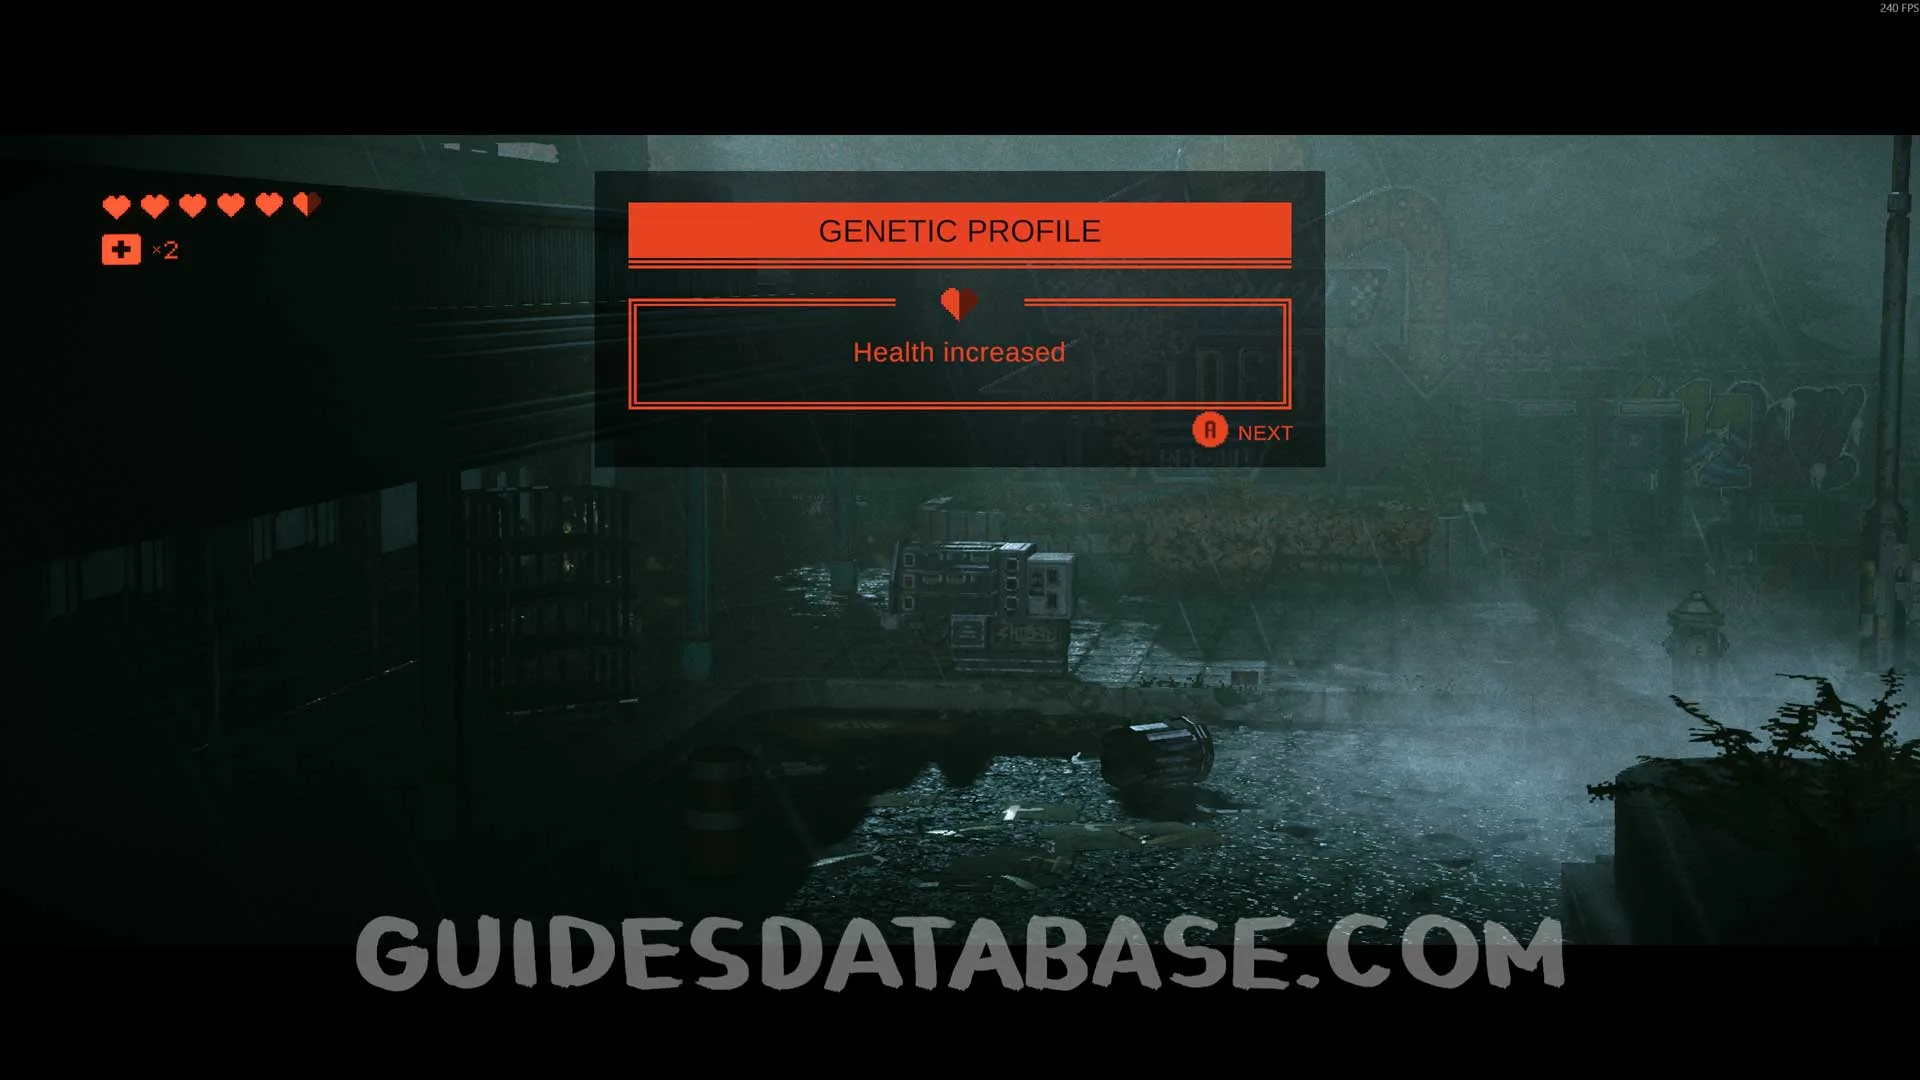 GUIDESDATABASE.COM
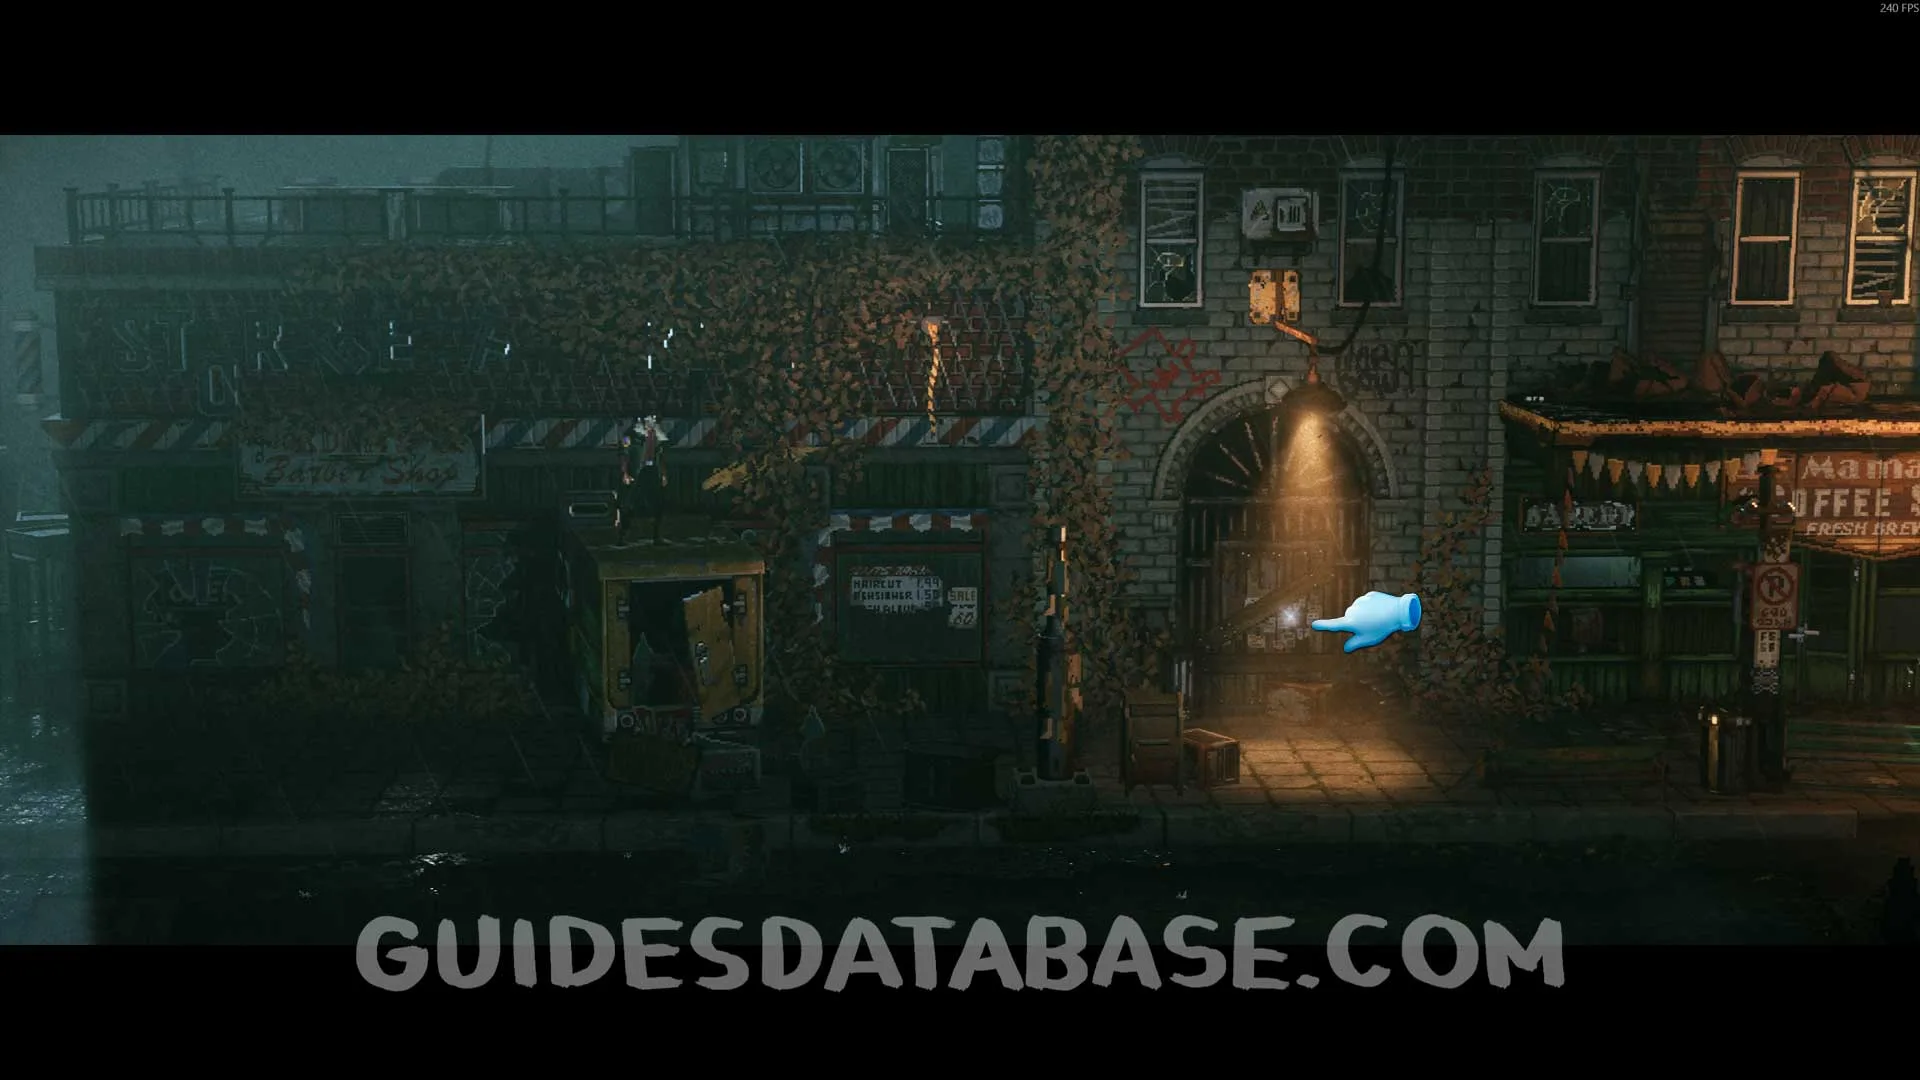
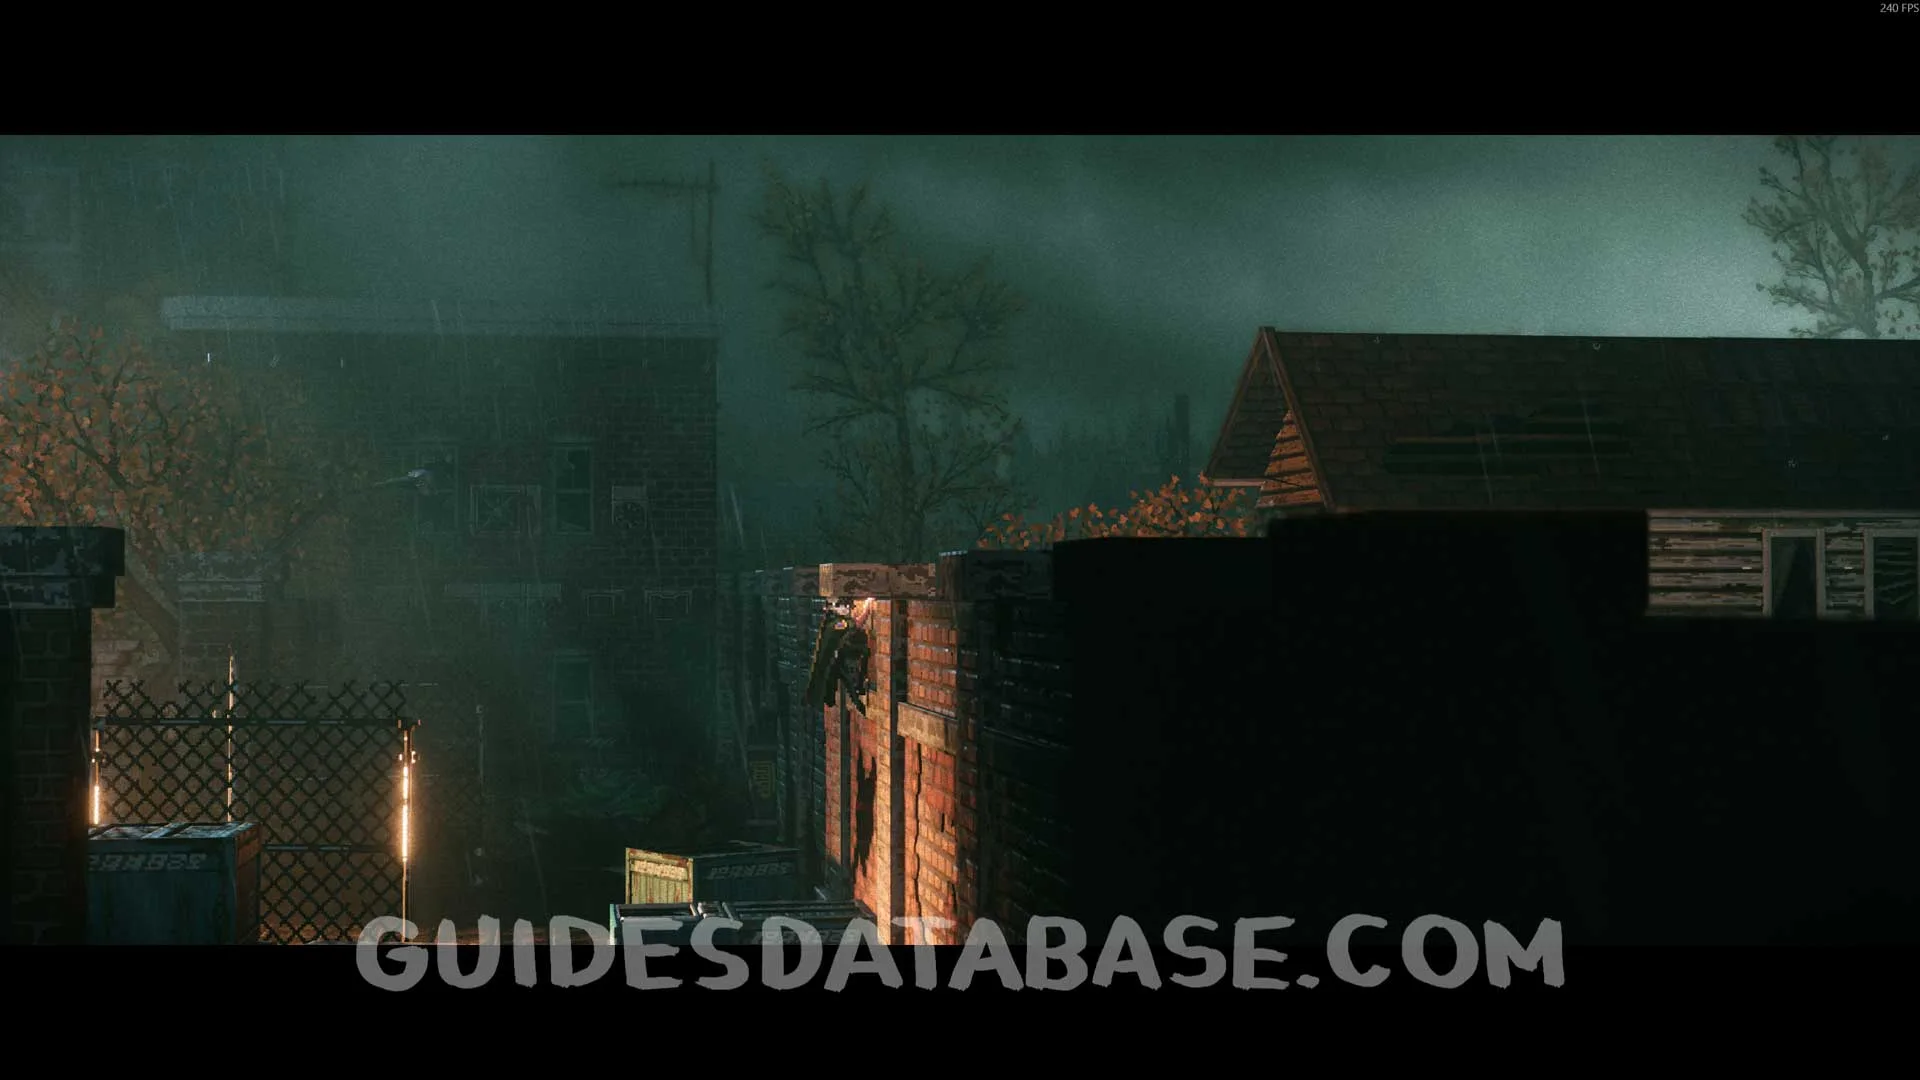
Scan #7 Eviction Notice
From the previous collectible, head to the right and you will see this Scan on the wall.
 GUIDESDATABASE.COM
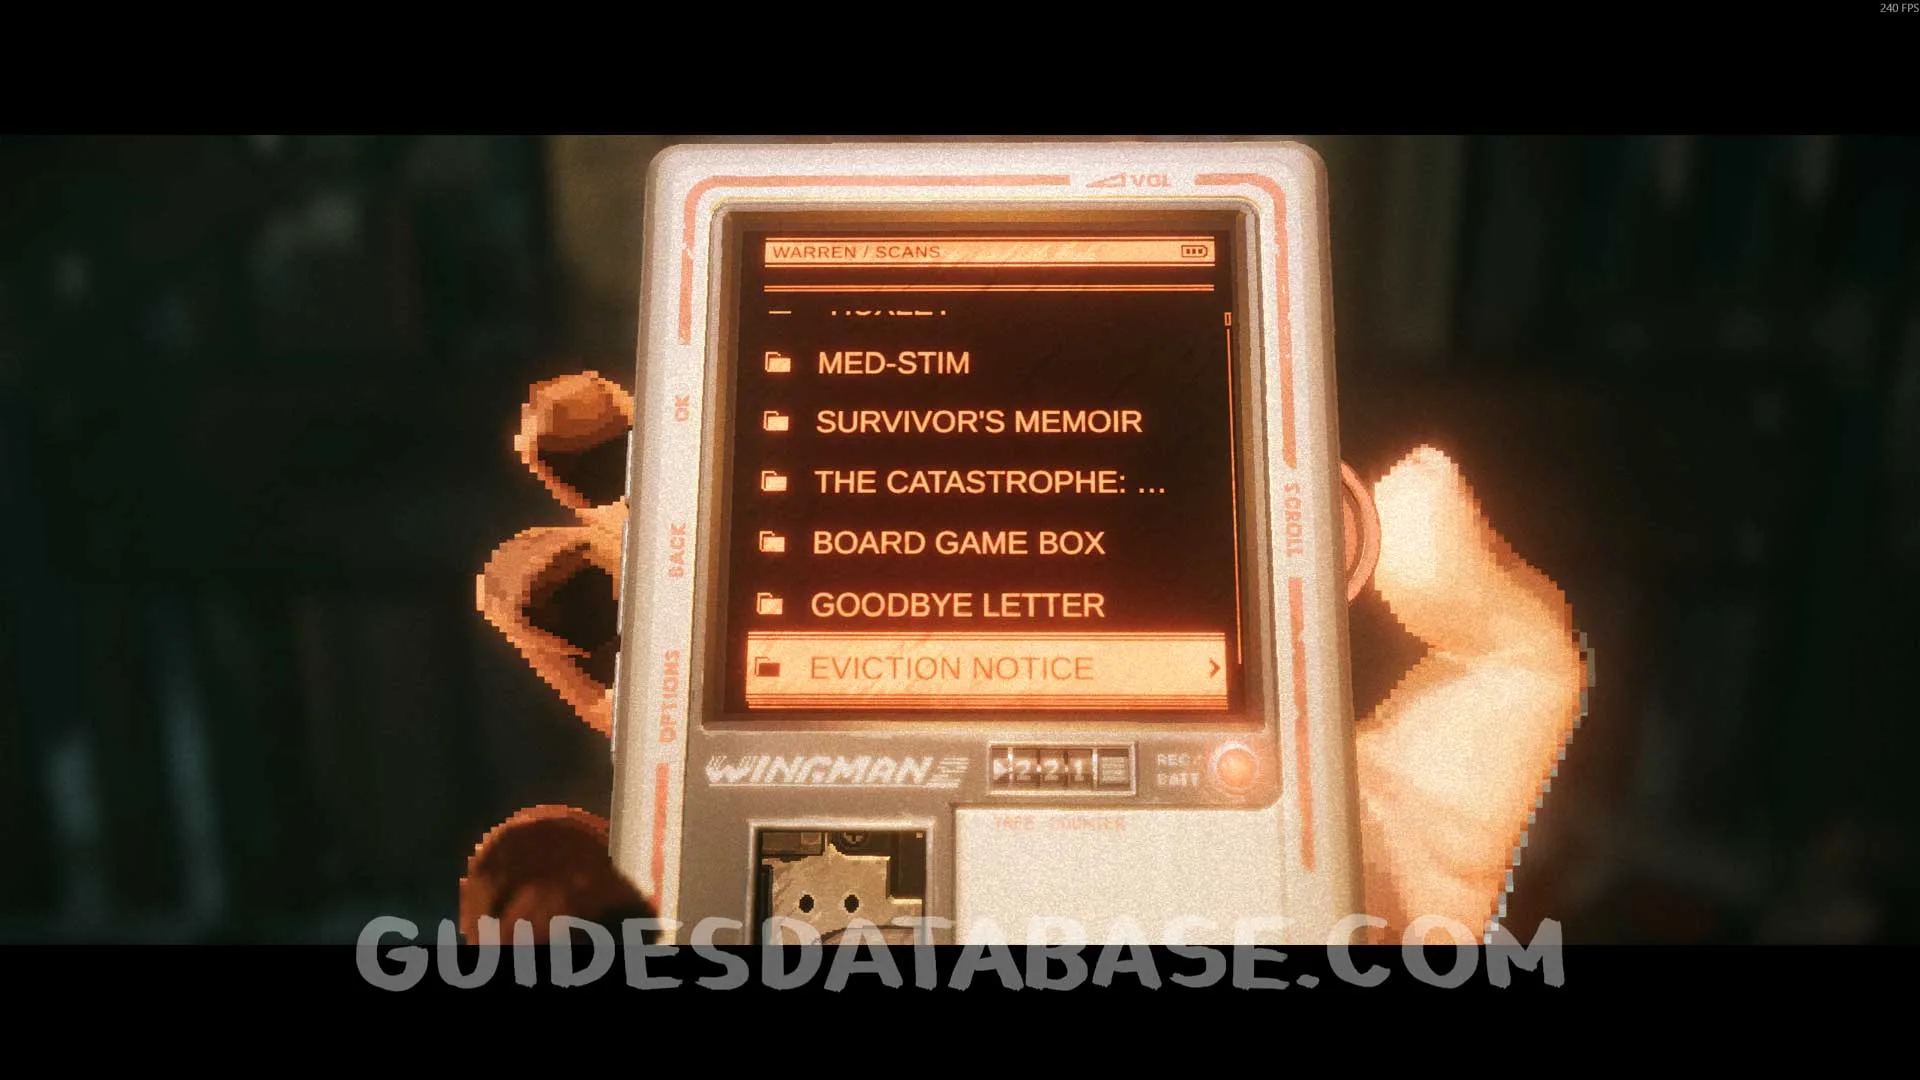 GUIDESDATABASE.COM
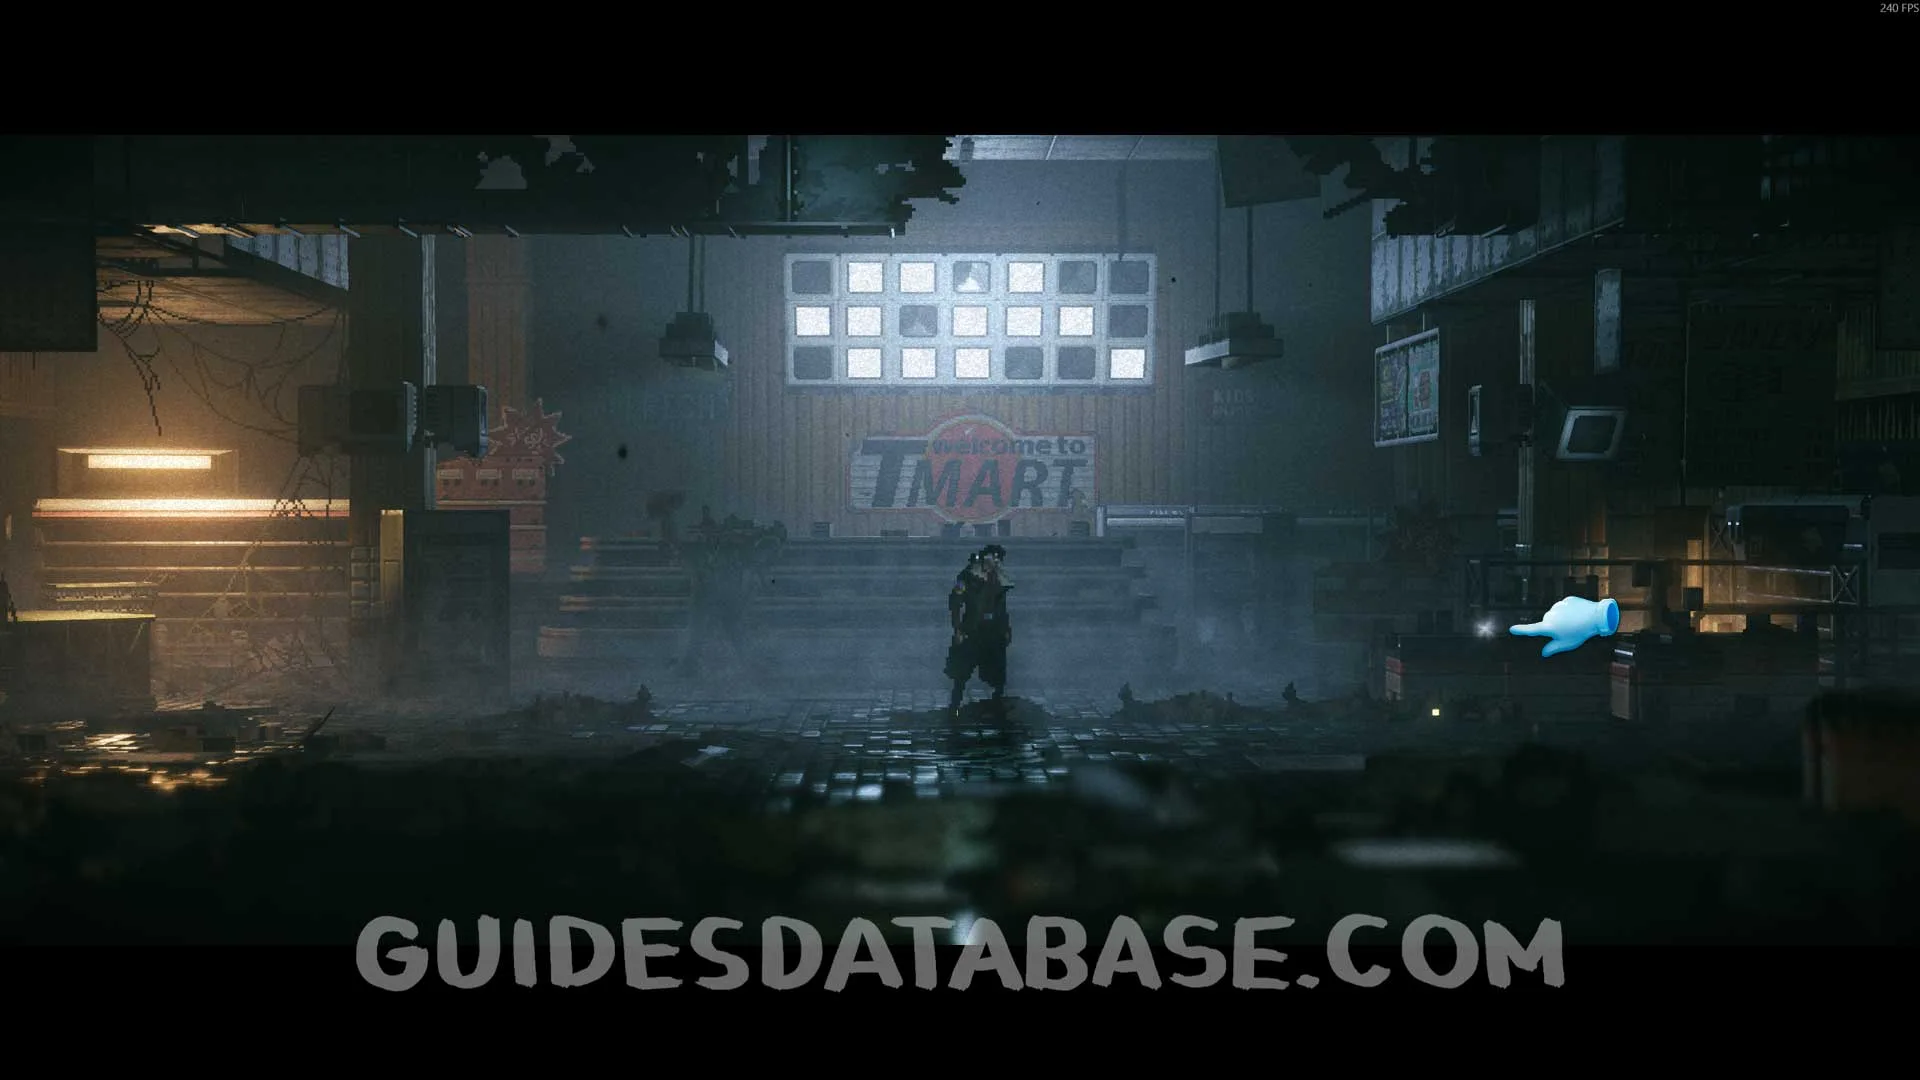
Scan #8 Pawn Shopkeeper's Note
Upon reaching the Tmart and defeating the enemies, this Scan will be right in front of you.
 GUIDESDATABASE.COM
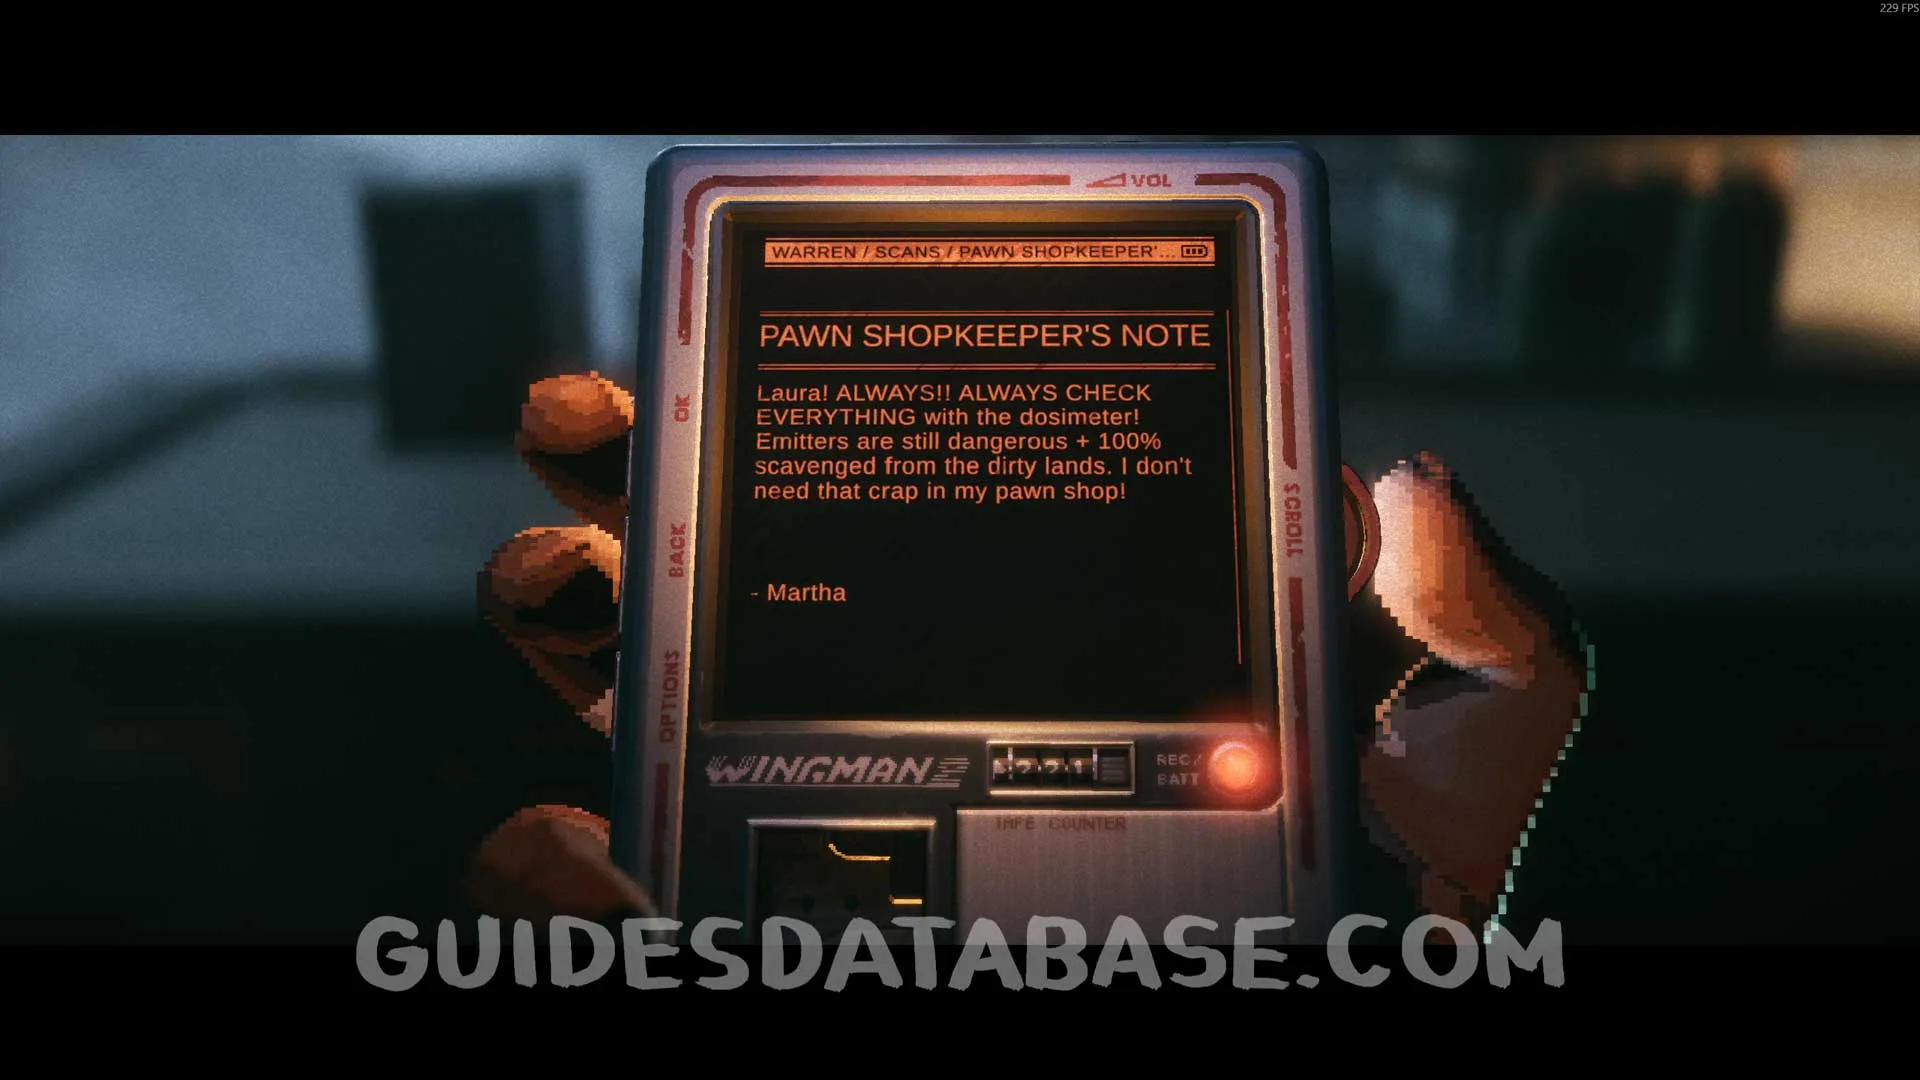 GUIDESDATABASE.COM
Scan #9 Preacher's Diary
After defeating some enemies and jumping over the wall, it will be right in front of you.
 GUIDESDATABASE.COM
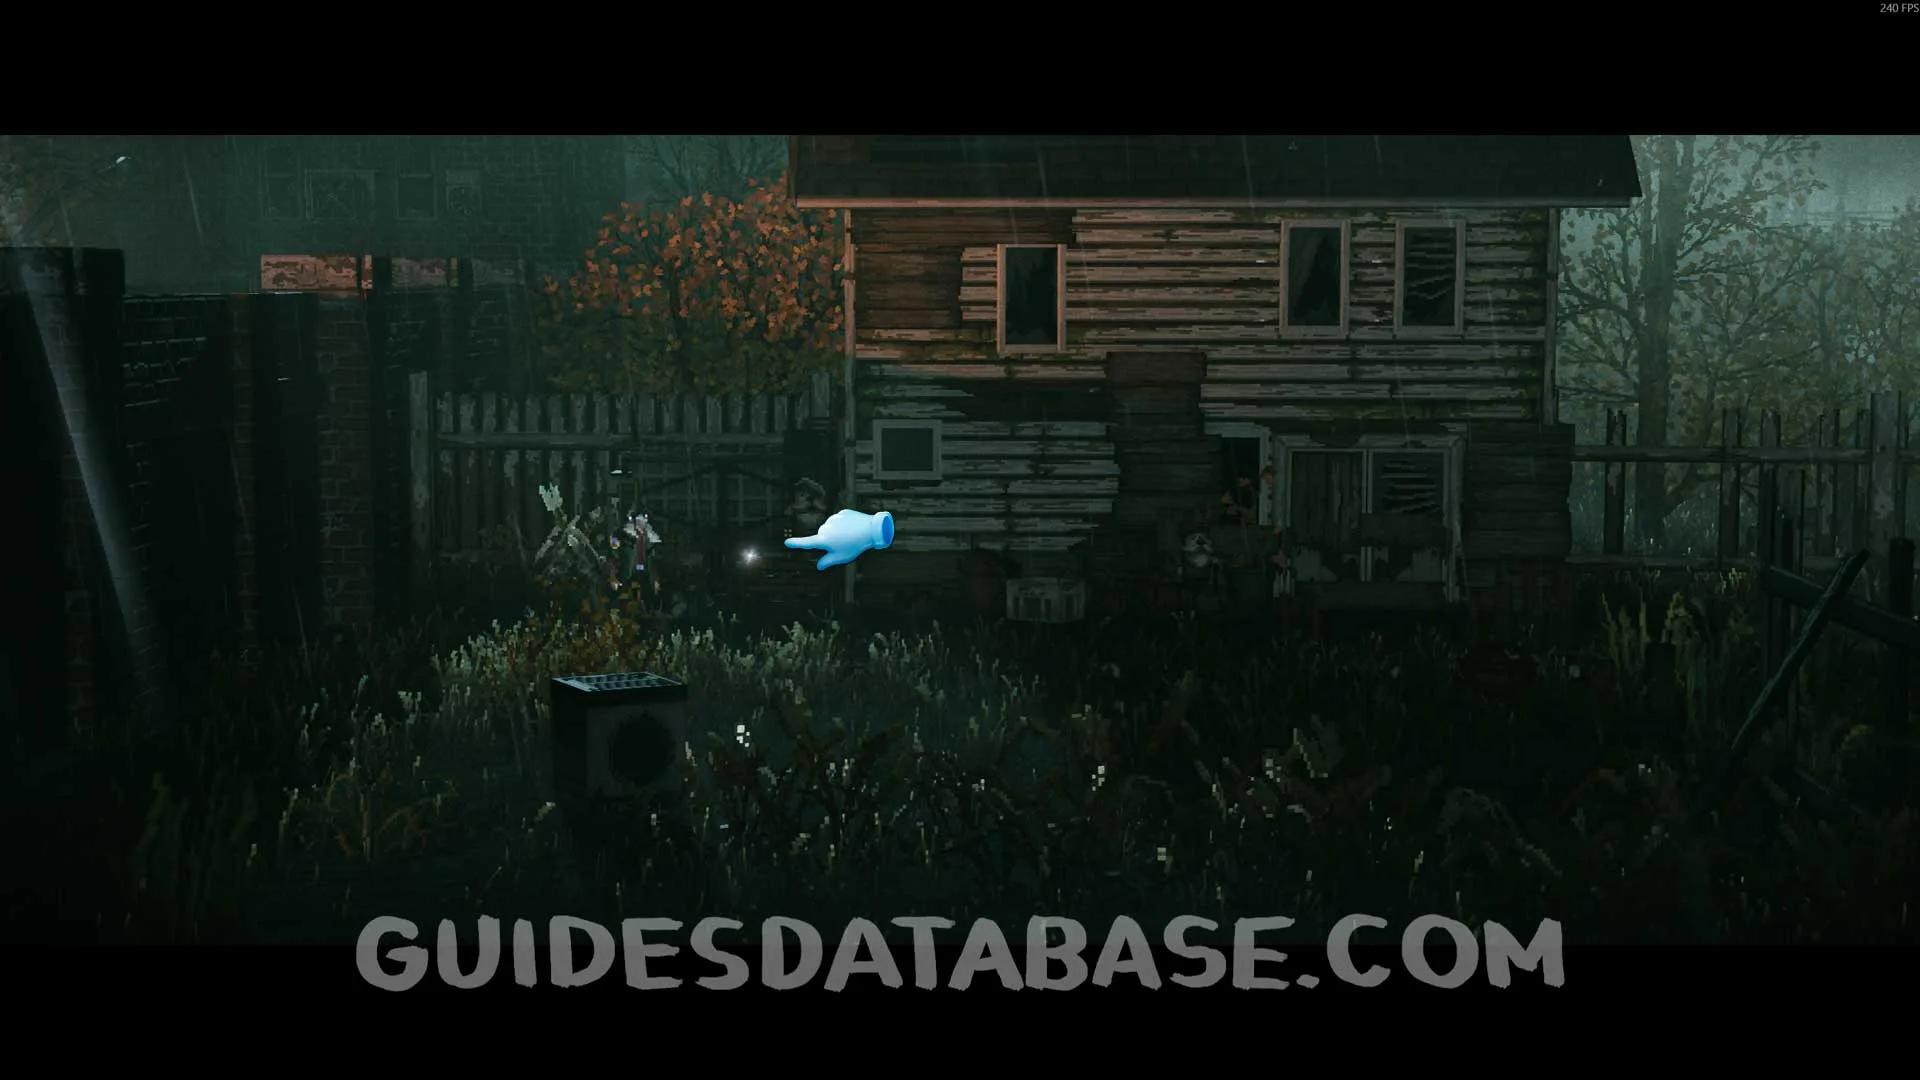 GUIDESDATABASE.COM
 GUIDESDATABASE.COM
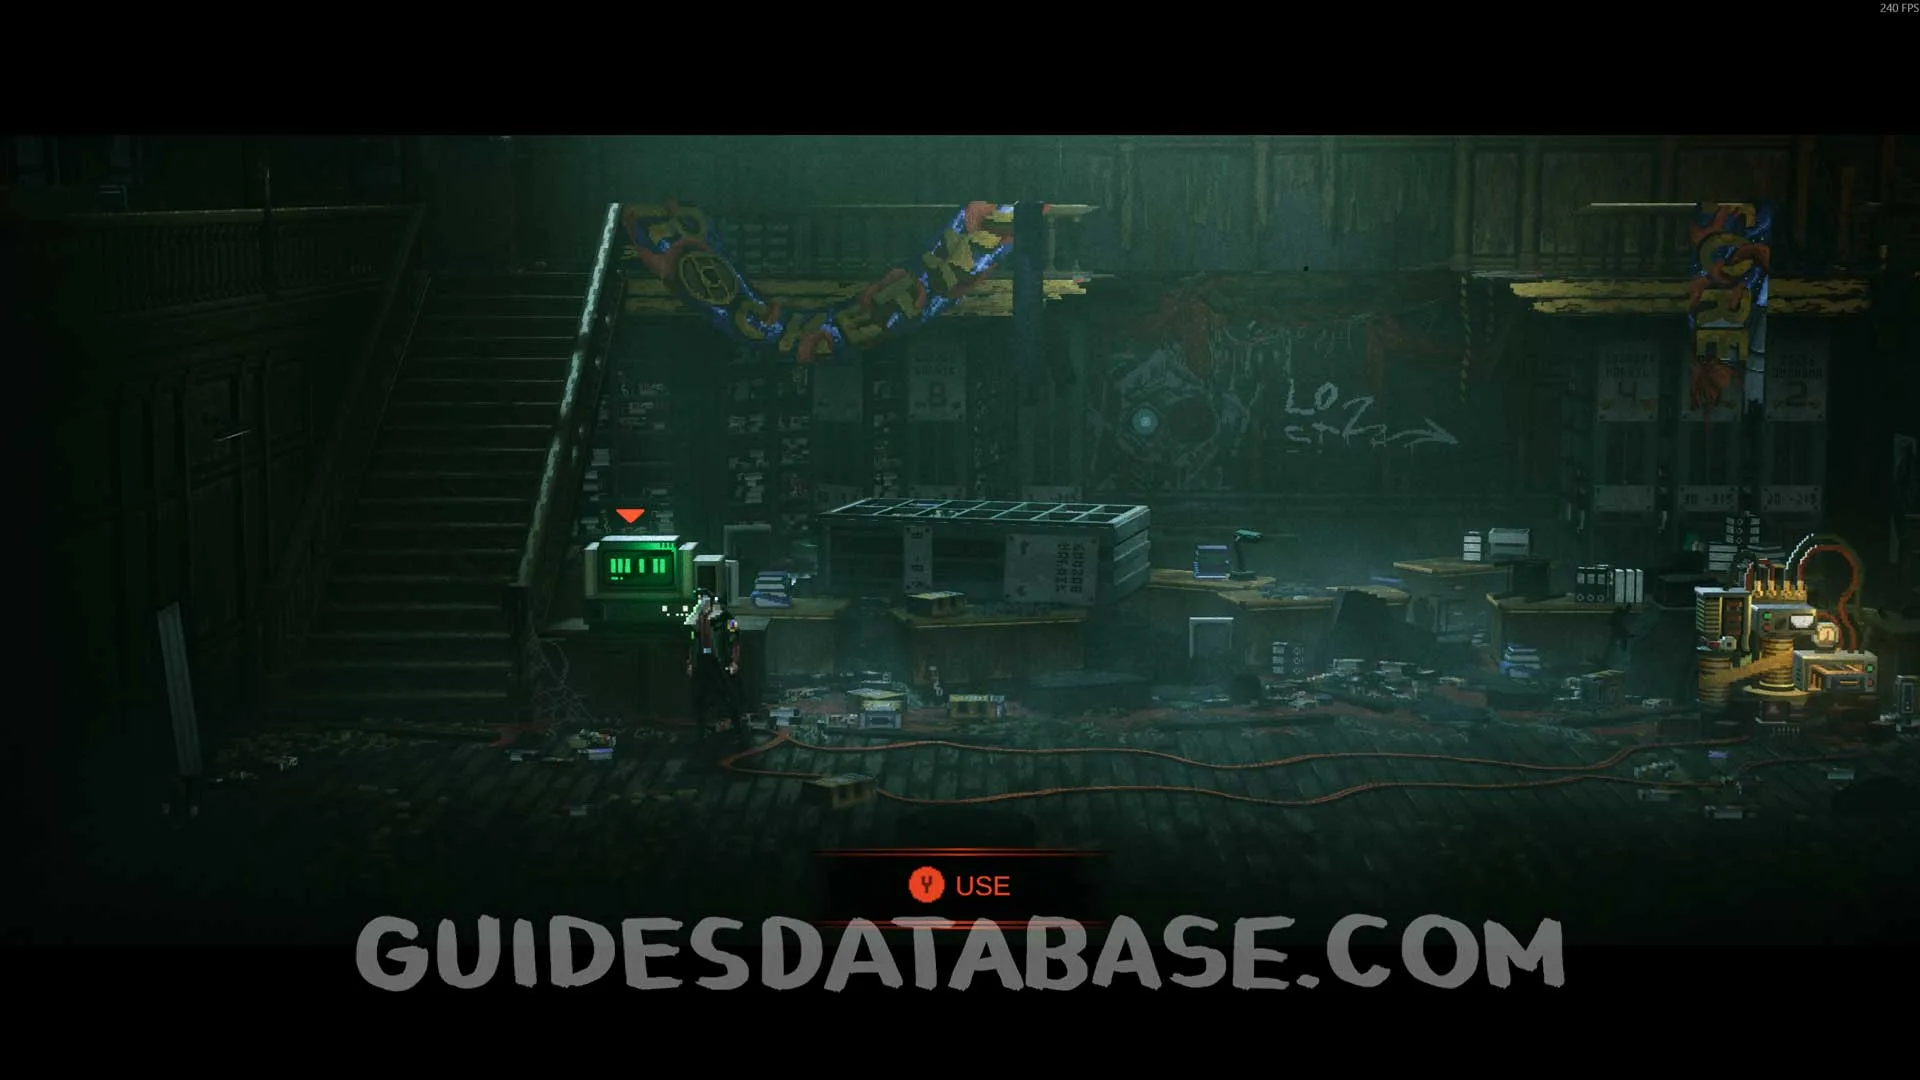
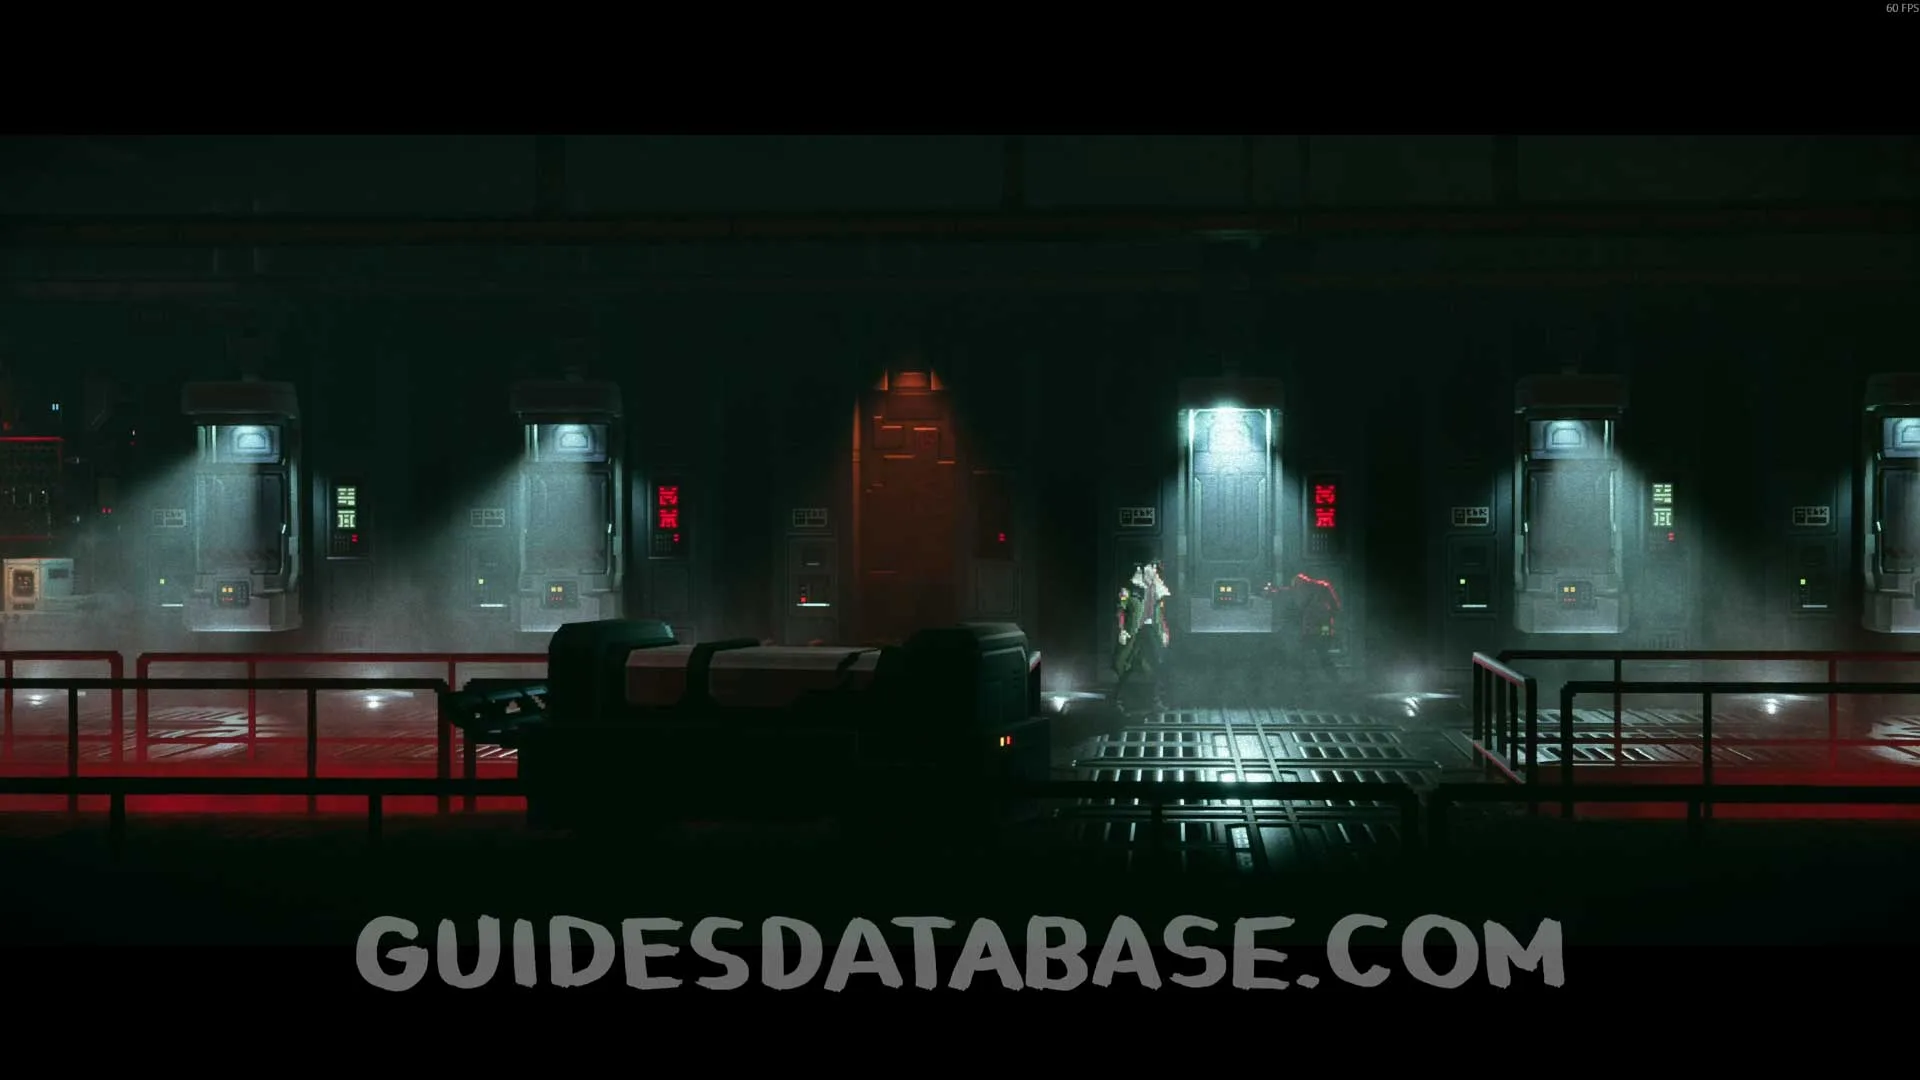
Scan #10 Portative Battery
Story-related Scan. You will obtain this Scan by collecting the battery required to progress through the story.
 GUIDESDATABASE.COM
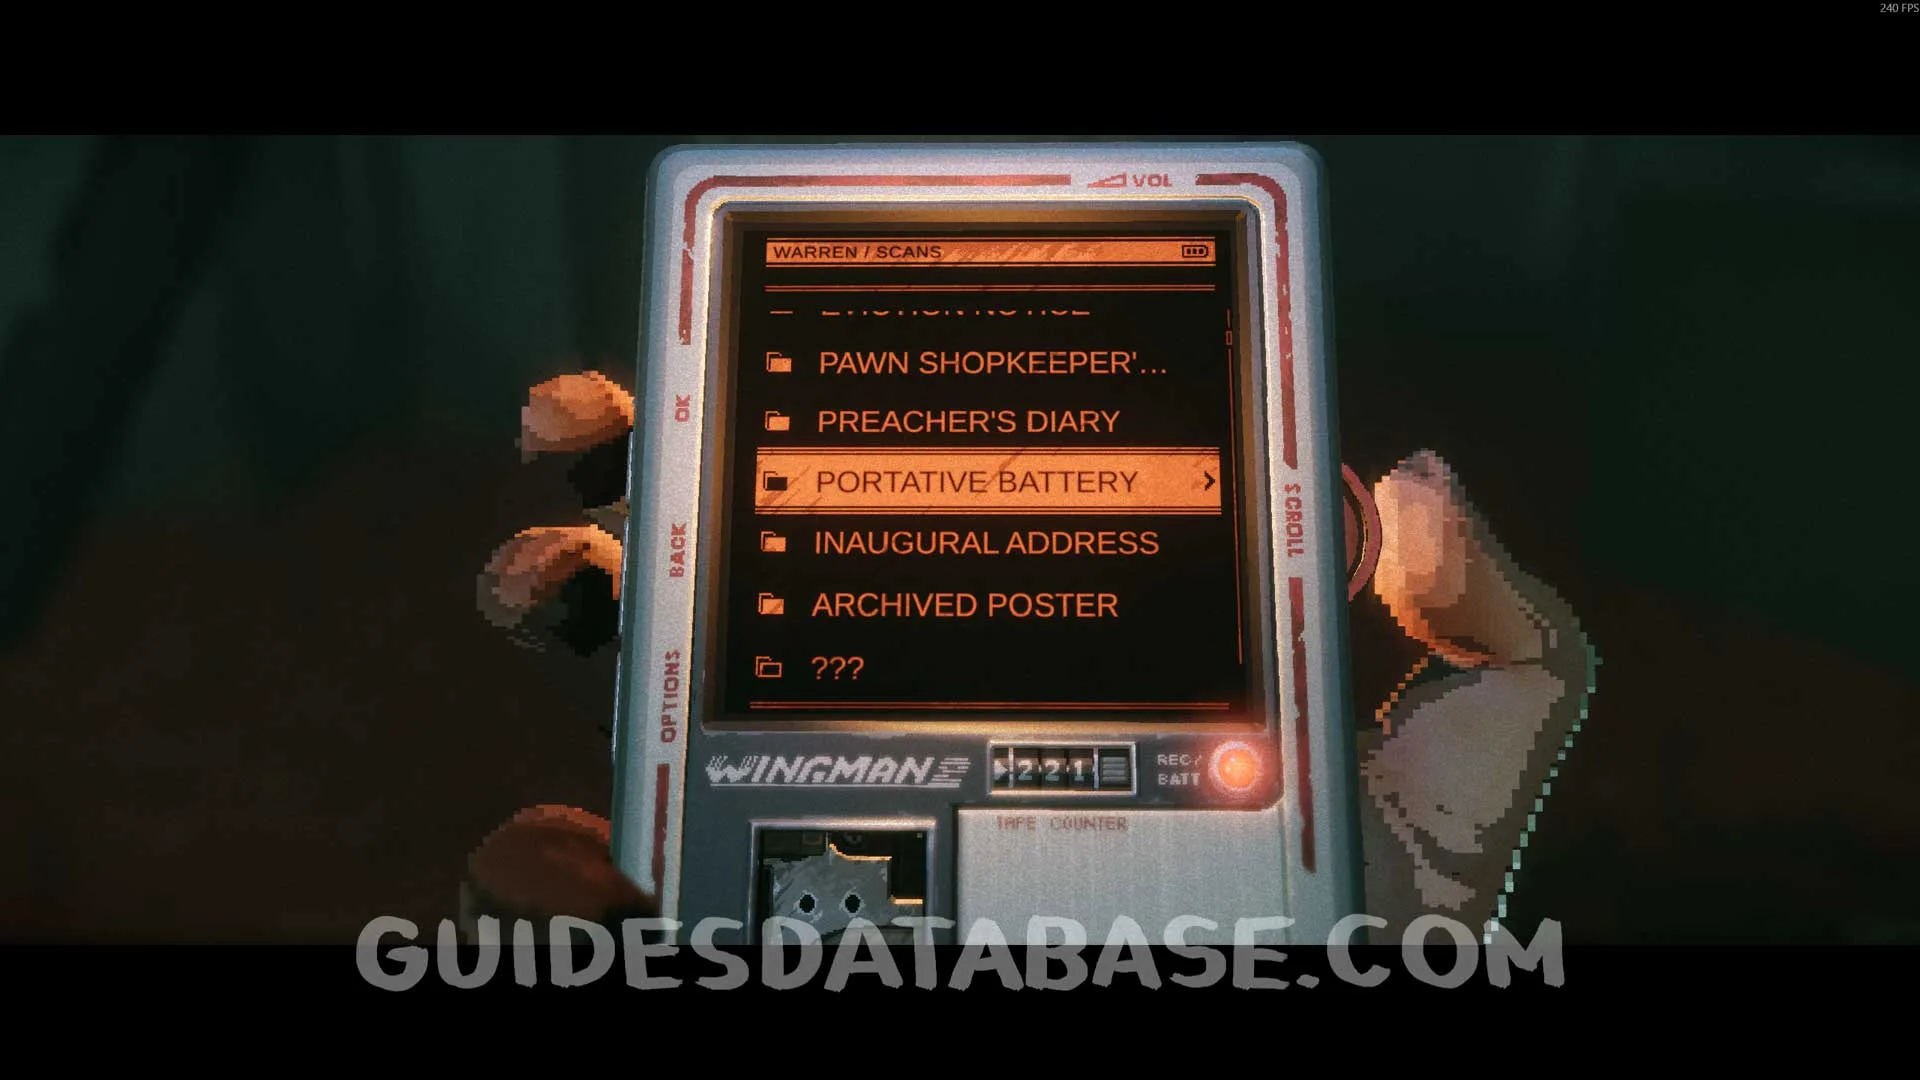 GUIDESDATABASE.COM
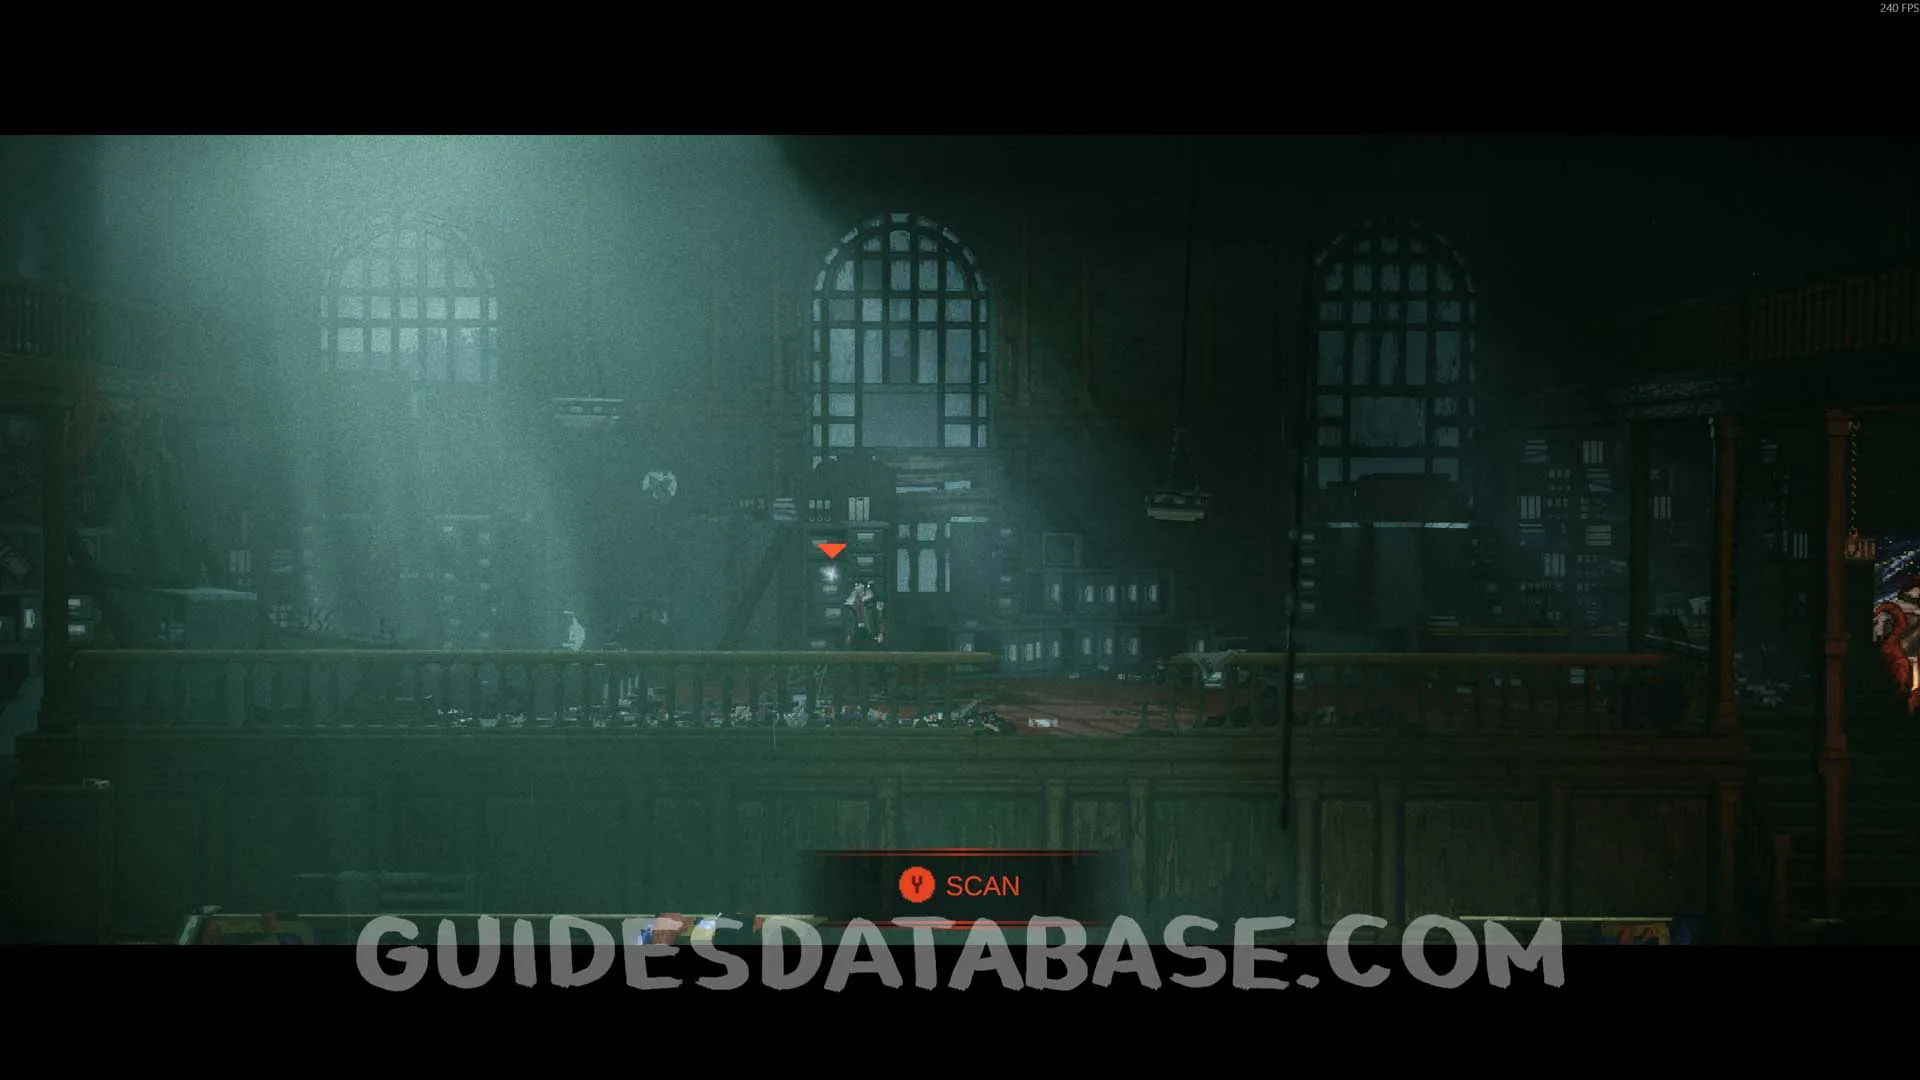
Scan #11 Inaugural Address
To progress through the story you will need to restore the power and move a platform to jump on top of it. After doing so, instead of continuing to the right, go up the stairs and you will see this Scan right in front of you.
GUIDESDATABASE.COM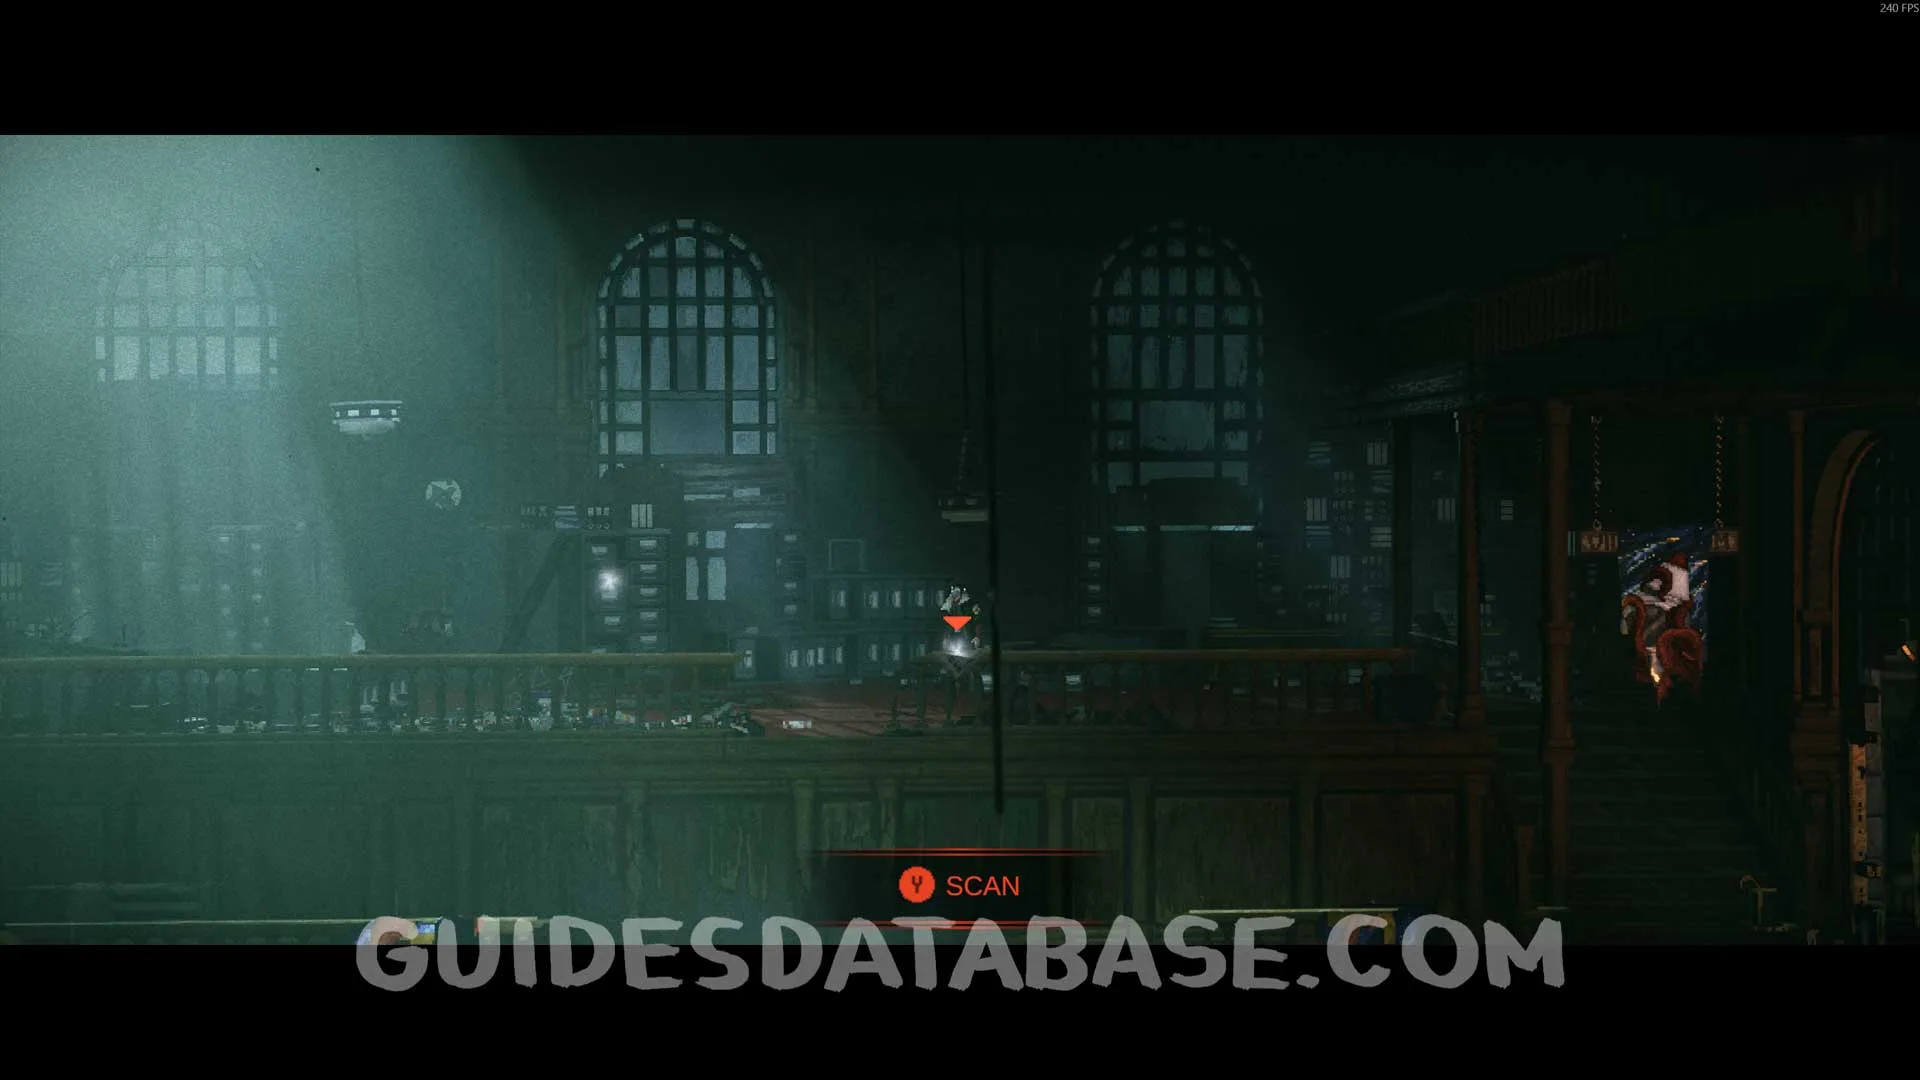 GUIDESDATABASE.COM
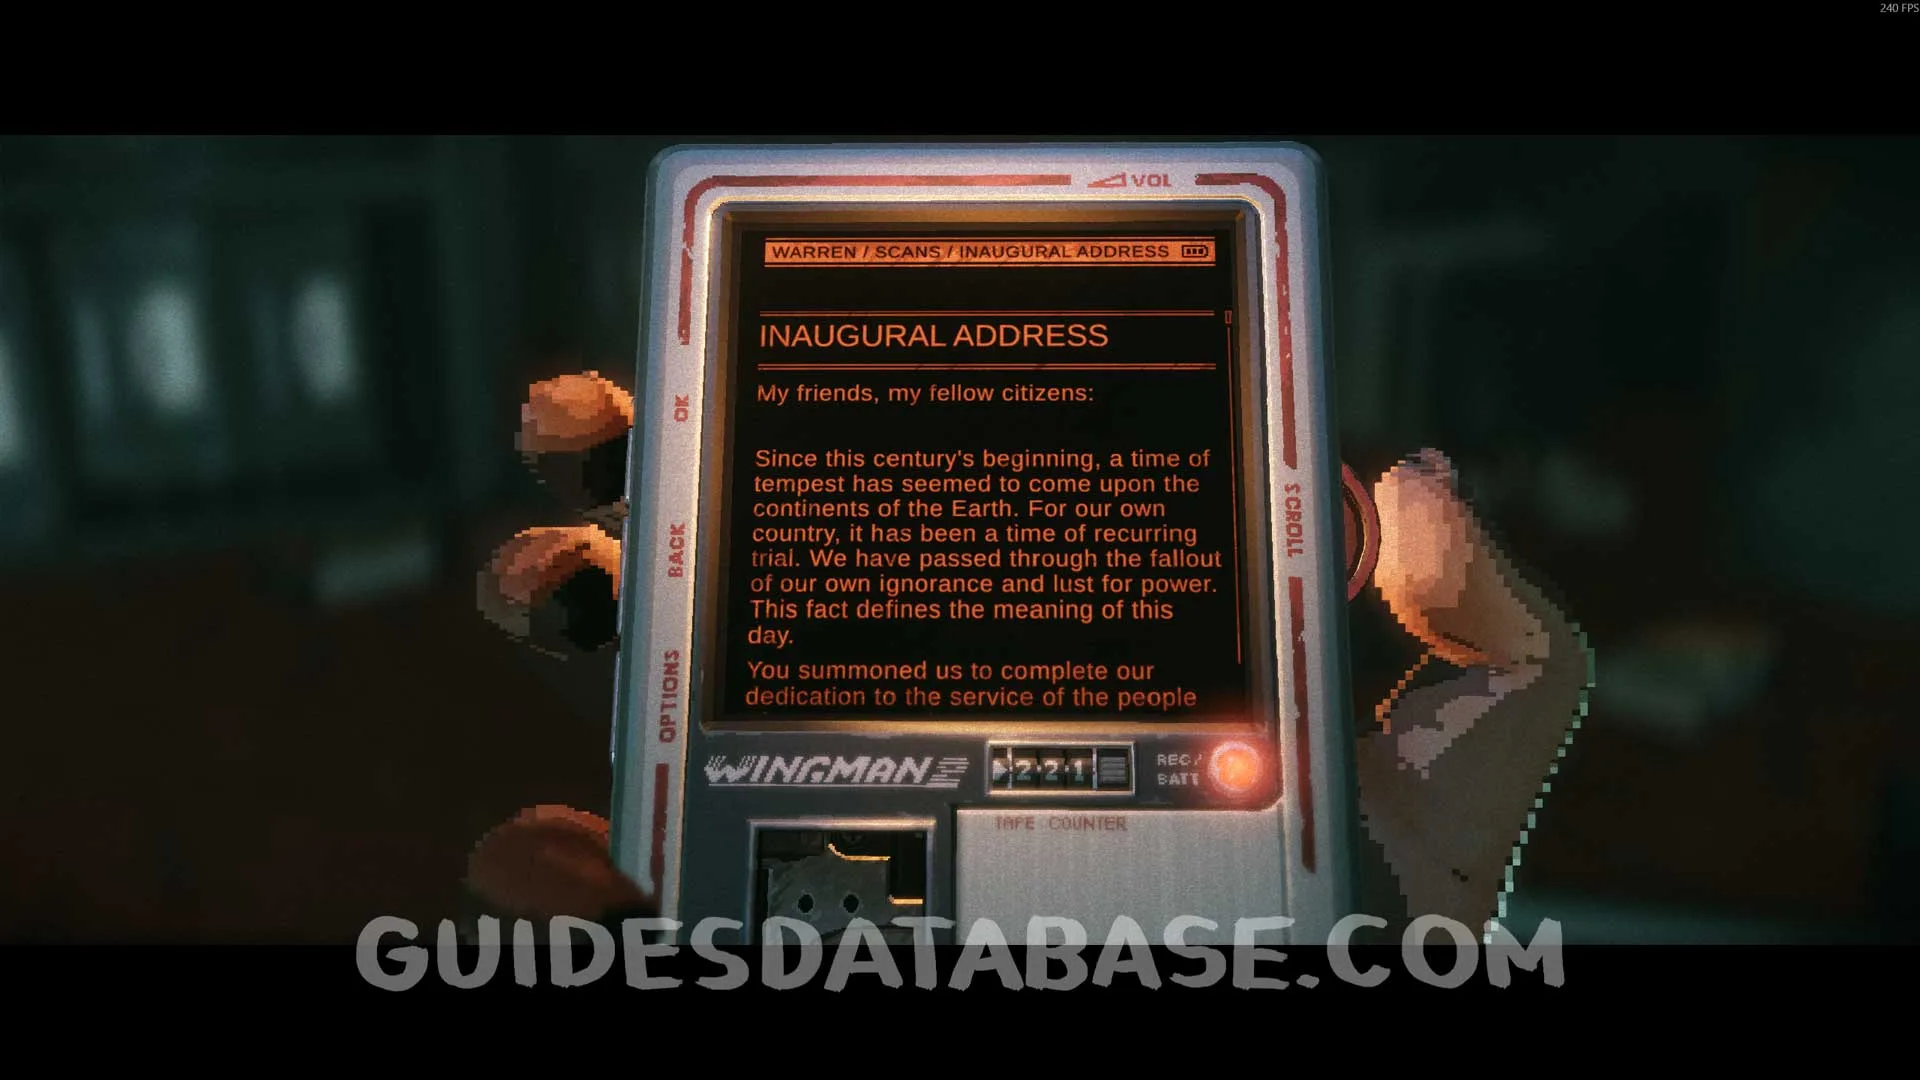 GUIDESDATABASE.COM
Scan #12 Archived Poster
Same location as the previous collectible.
 GUIDESDATABASE.COM
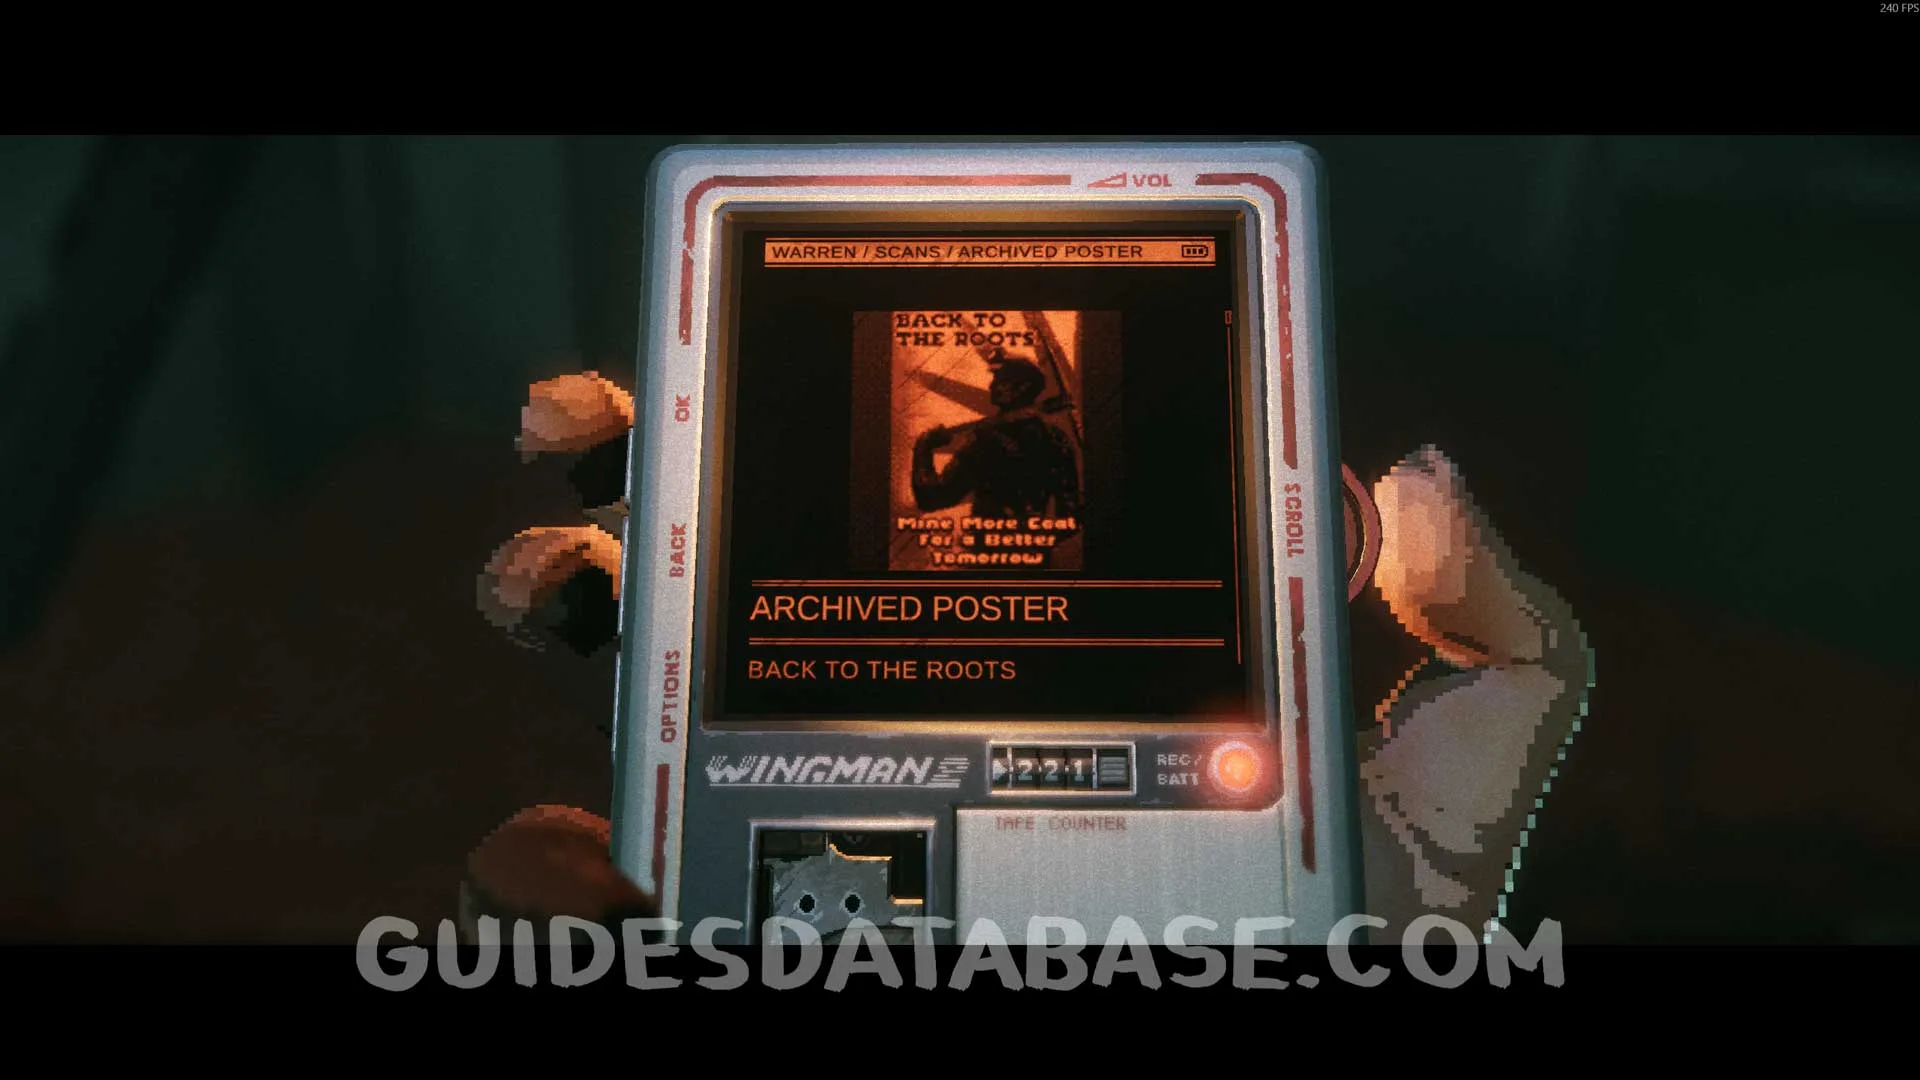 GUIDESDATABASE.COM
Chapter 2
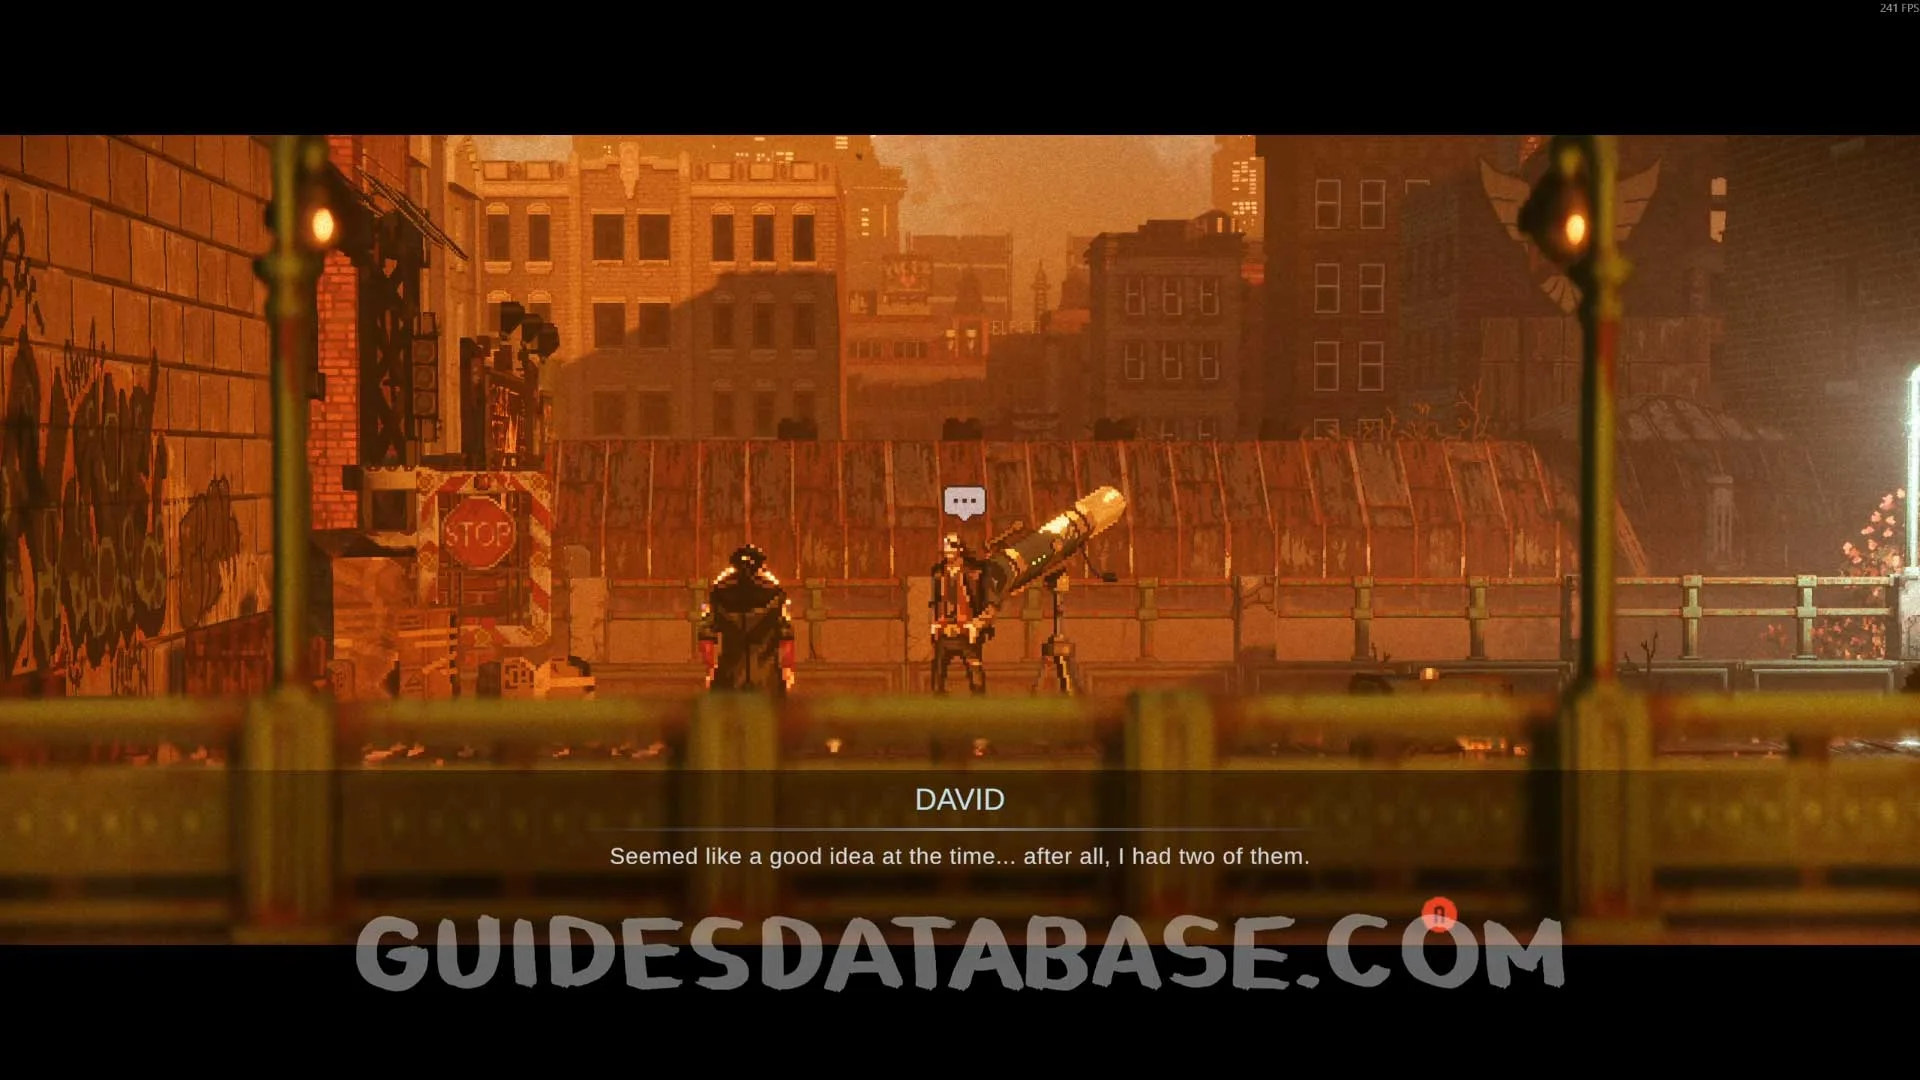
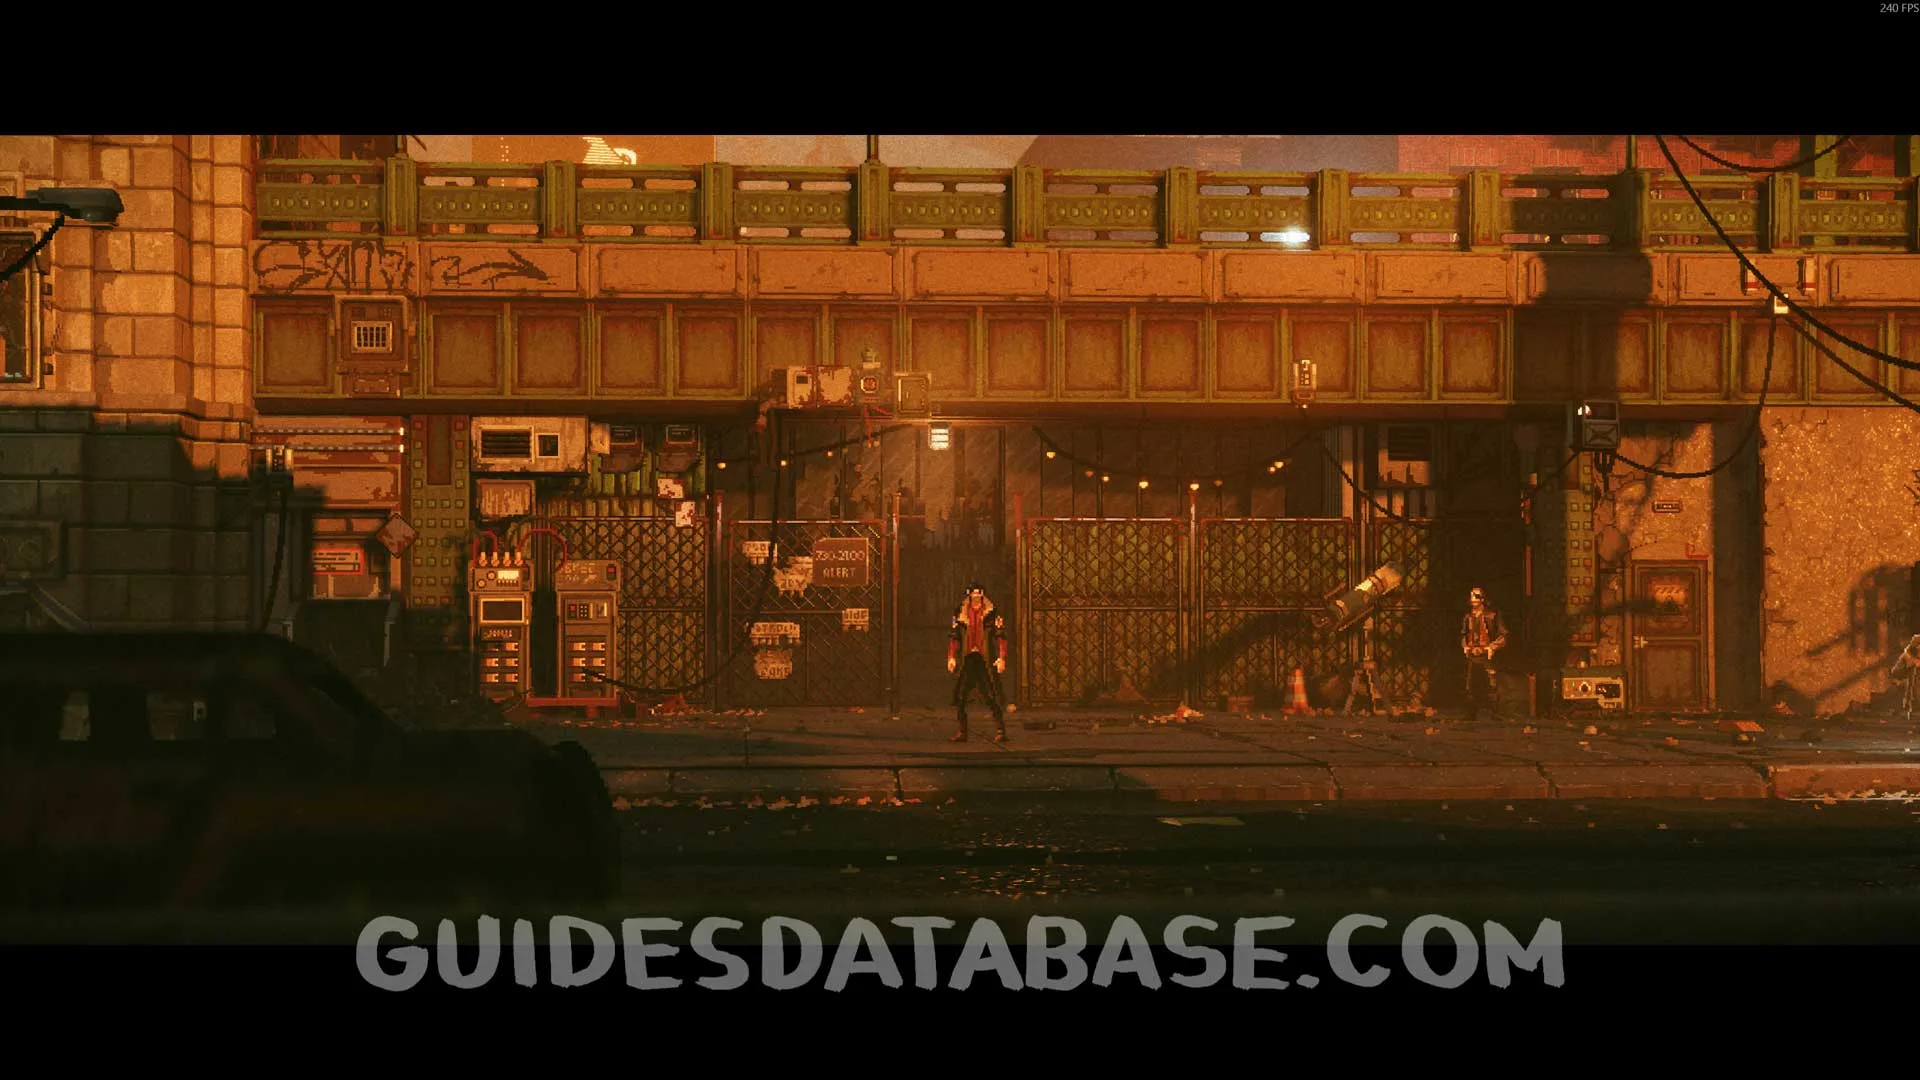
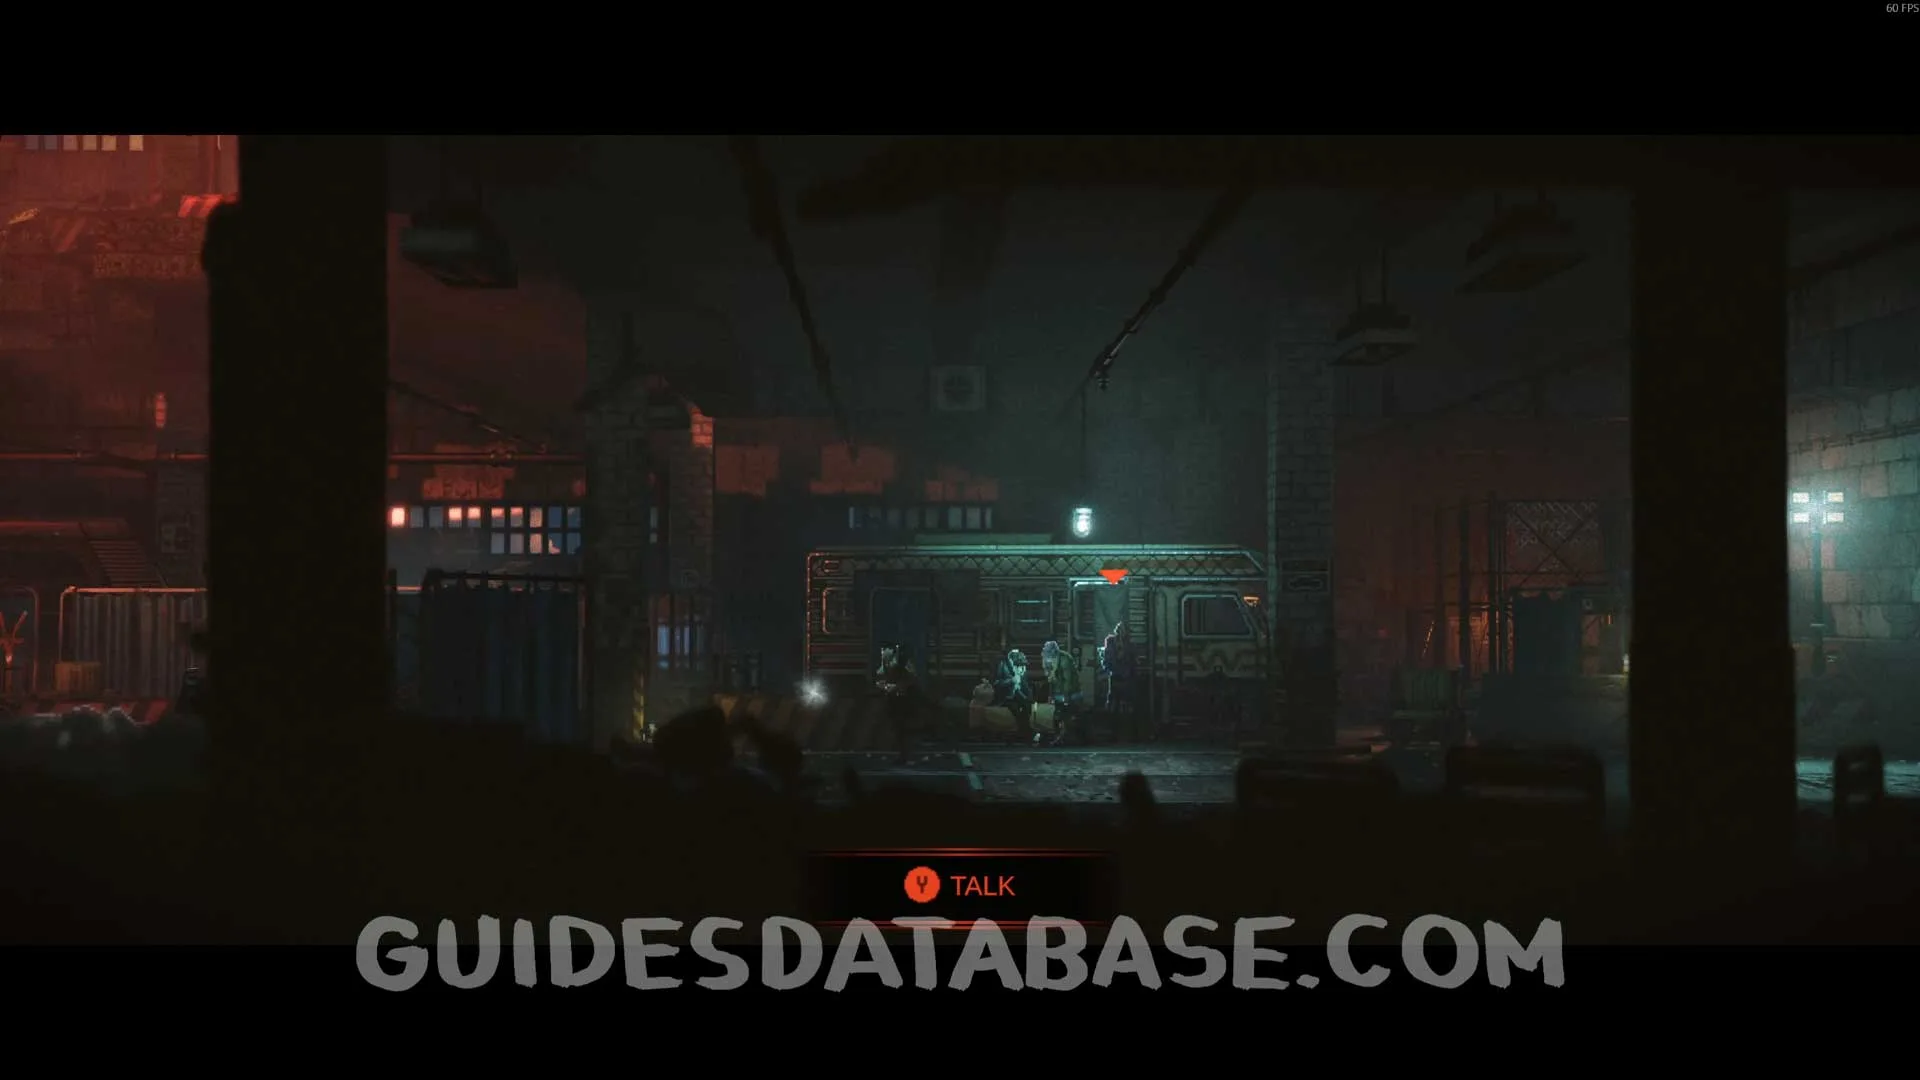
David's Quest + Scan #13 Eletronic Components + Immune Modulator #1 + Scan #14 Susan's Binoculars + Arcade Game #1 + Genetic Profile #2
Start David's Quest by talking to David next to the stairs.
 GUIDESDATABASE.COM
Enter the safe zone, go to the left side of the area and enter the next room. You will find Susan inside. Talk to her and she will ask you to collect some Electronic Components to restore the arcade.
 GUIDESDATABASE.COM
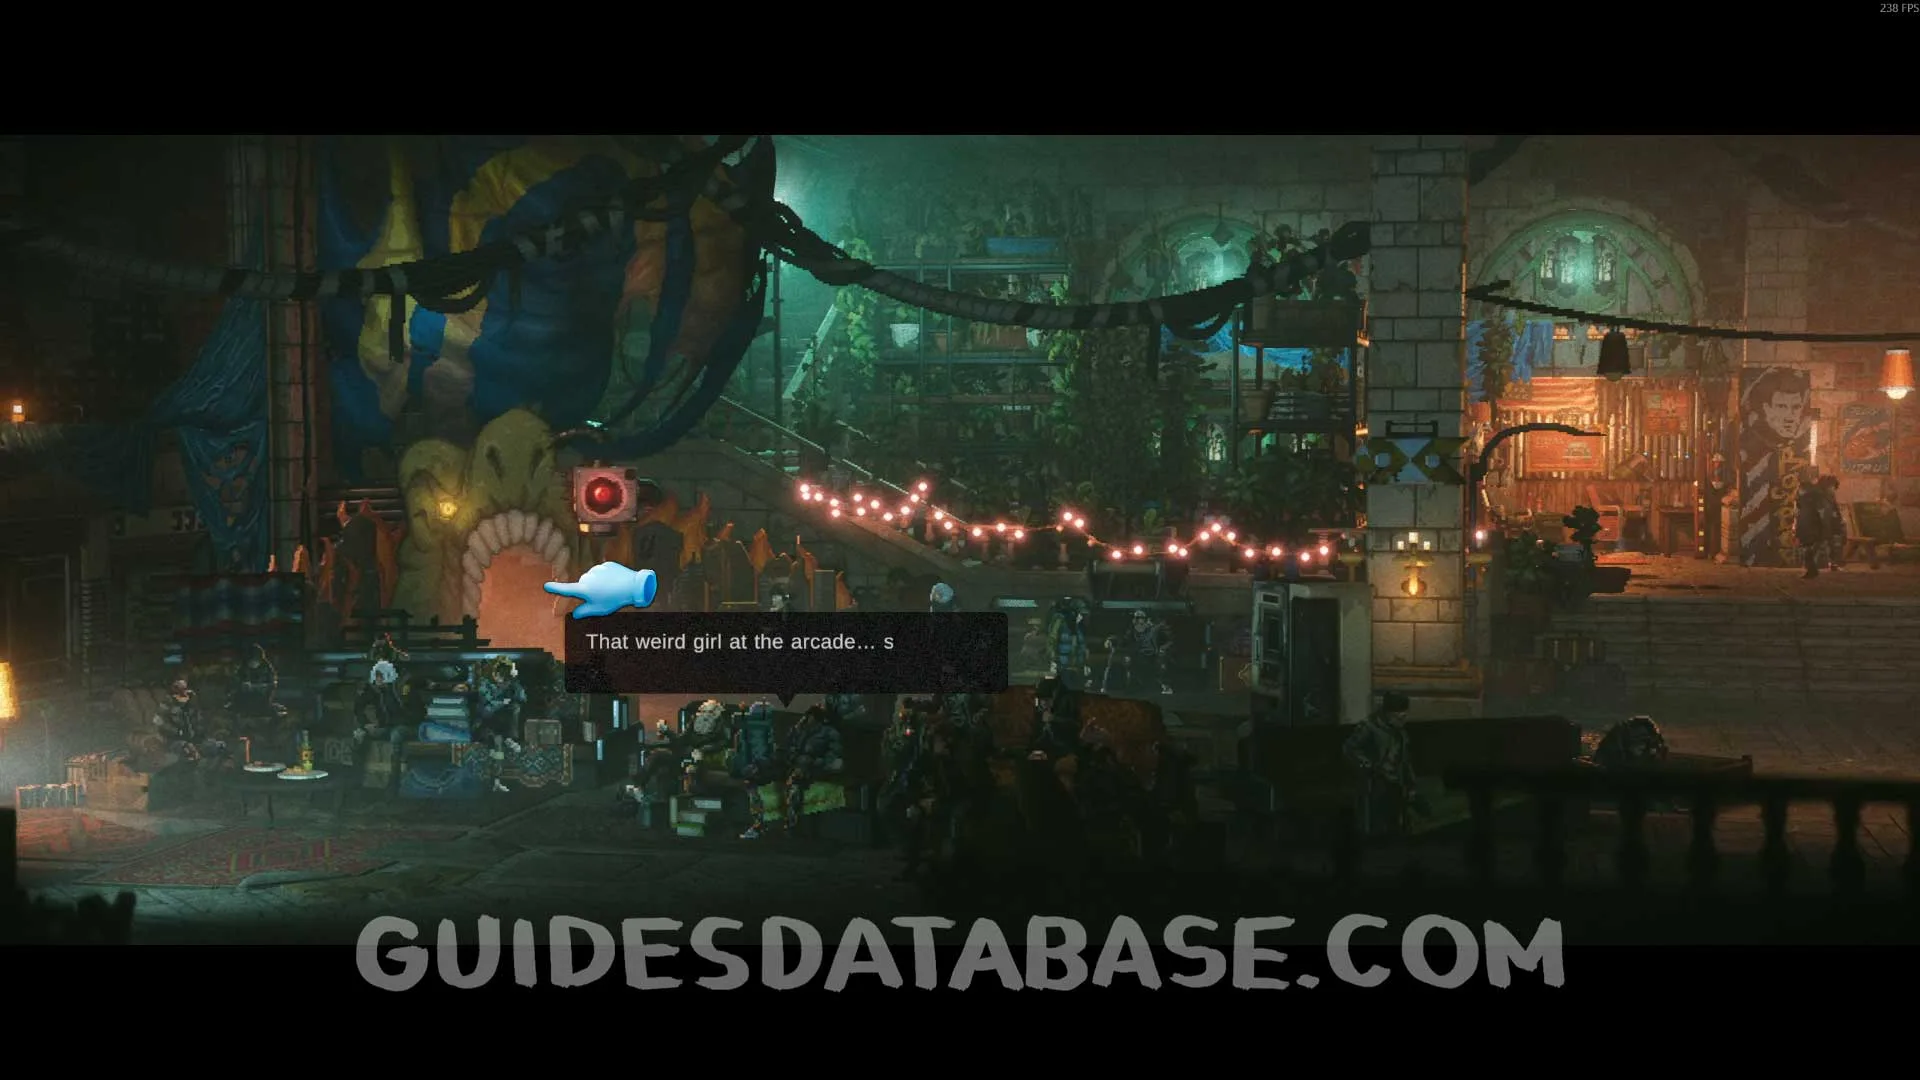 GUIDESDATABASE.COM
 GUIDESDATABASE.COM
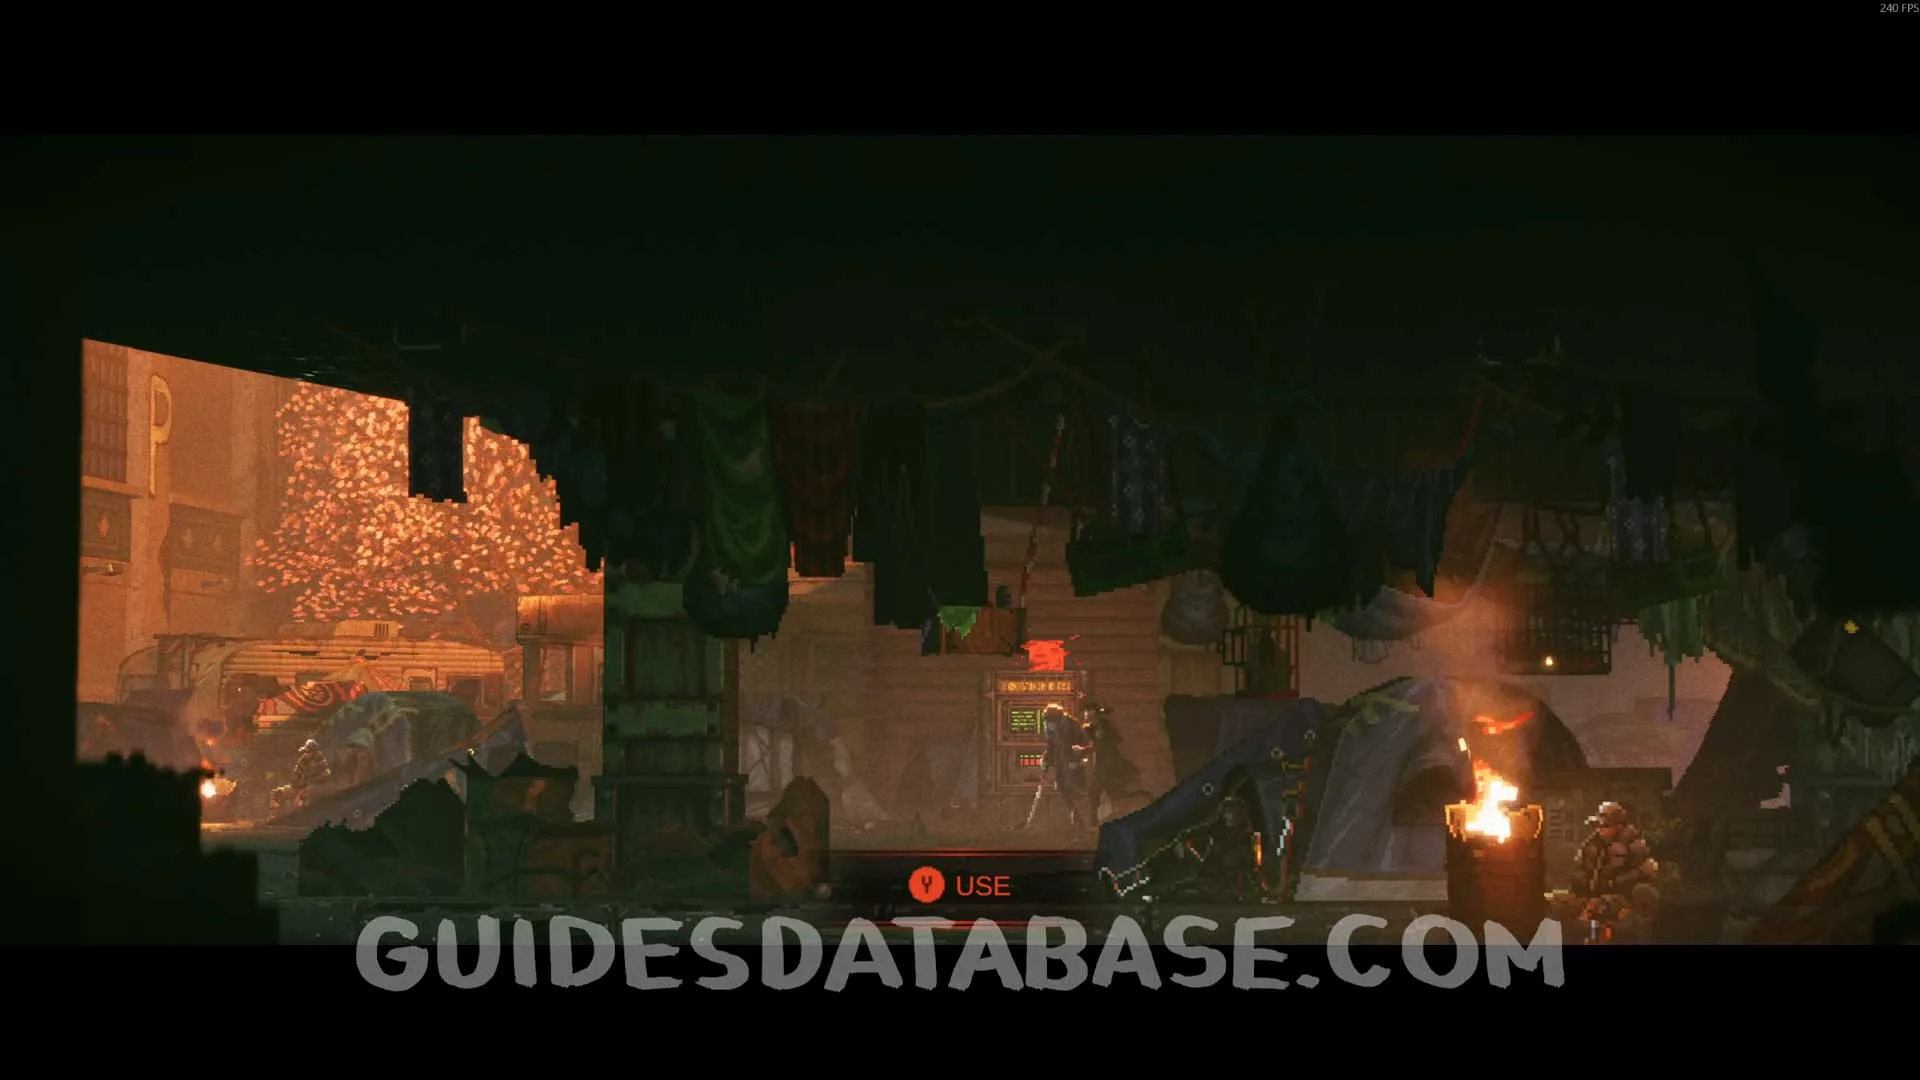
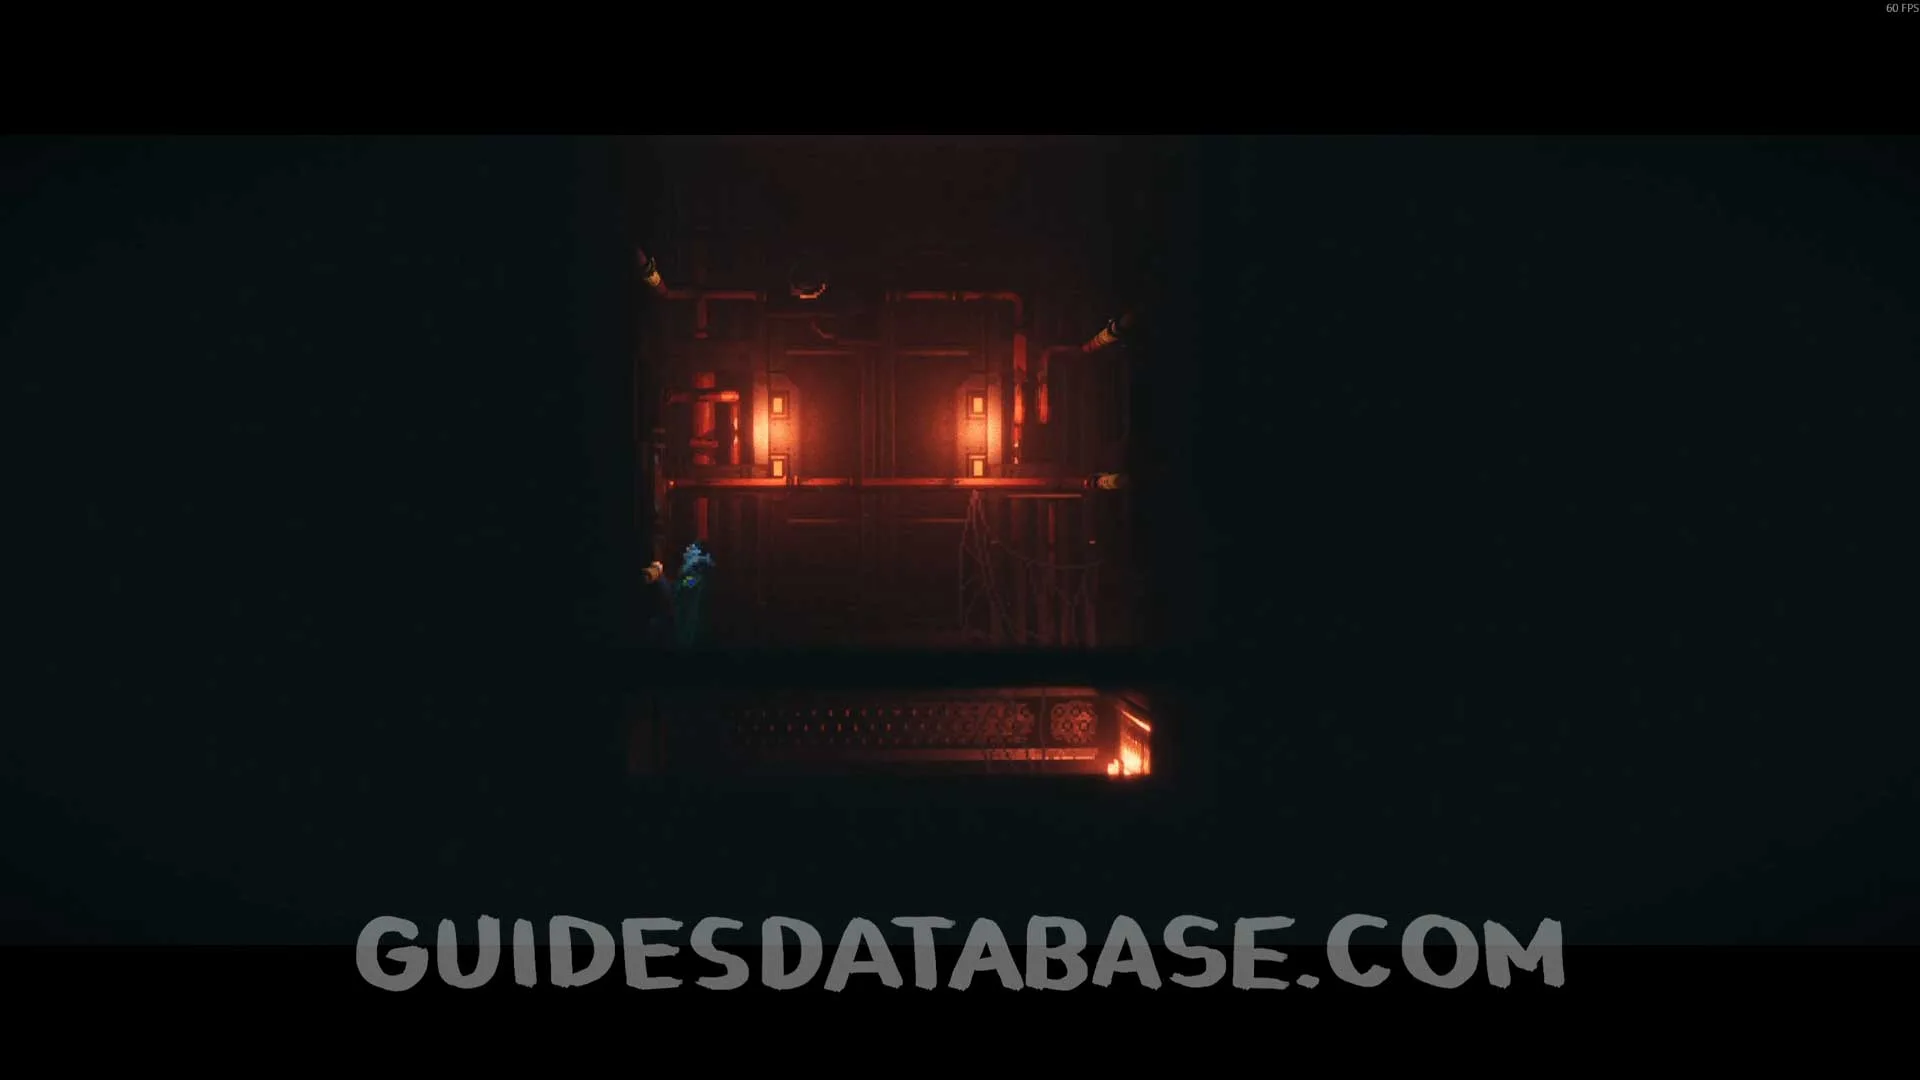
Leave the safe zone and head to the left. You will find a ticket machine. Interact with it to obtain the Electronic Components.
 GUIDESDATABASE.COM
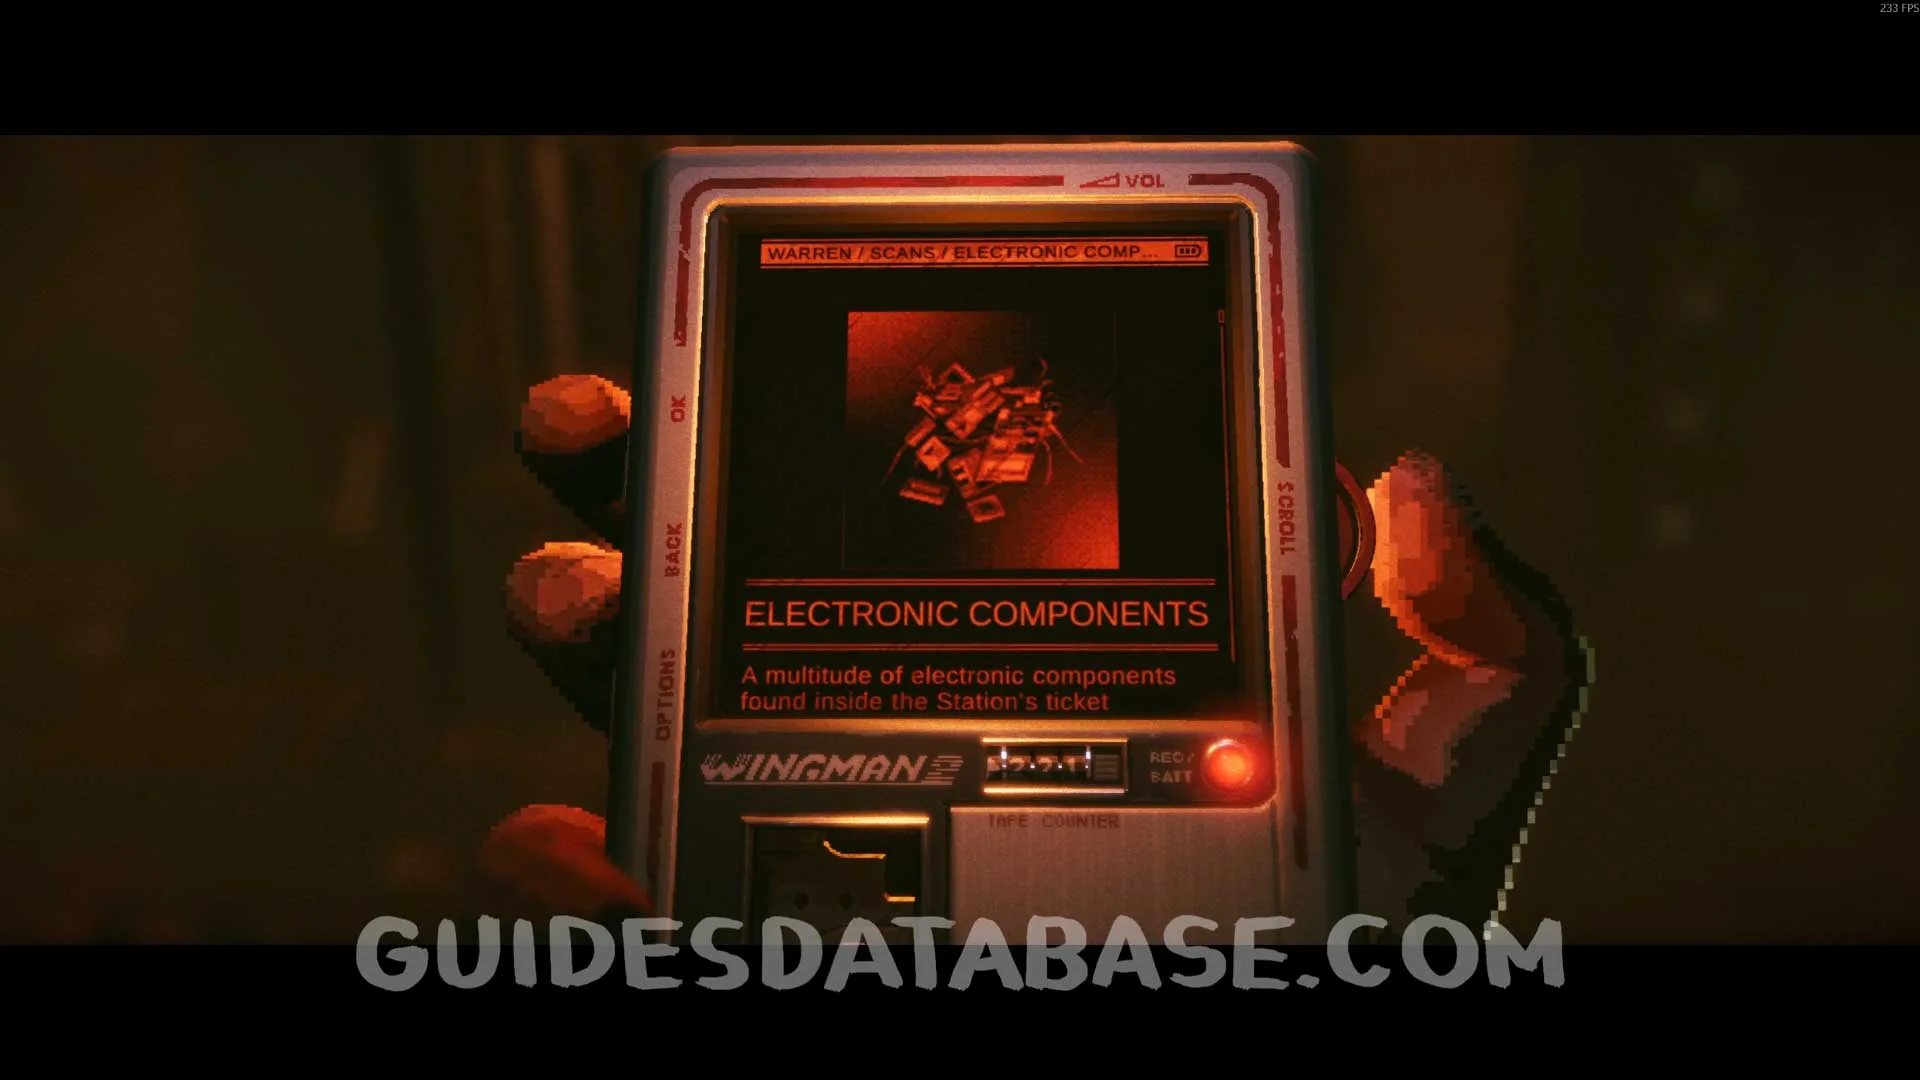 GUIDESDATABASE.COM
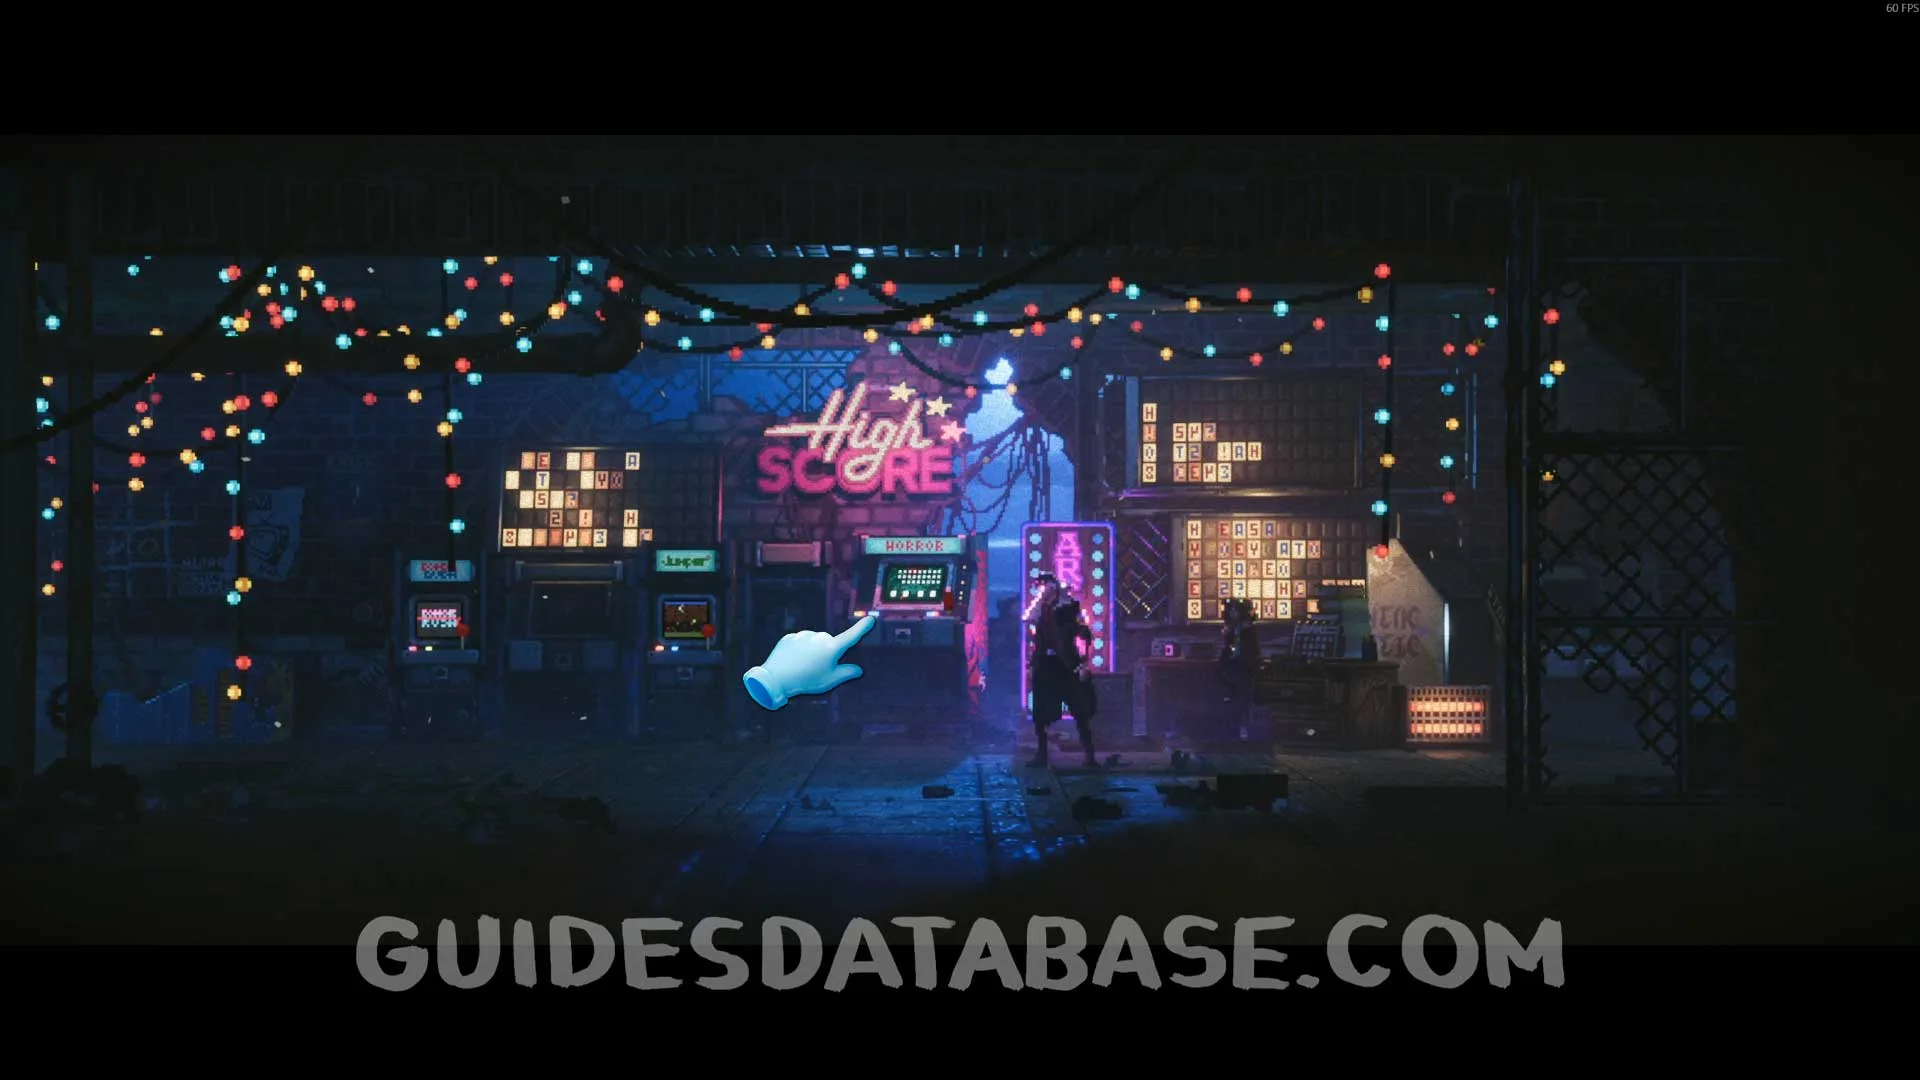
Return to Susan and talk to her to deliver the Electronic Components. She will use them to repair one of the arcade machines. After she repairs it, interact with the arcade and your objective is to beat the record of the mini game. After beating the record, talk to Susan again and select the Binoculars option for her to hand you the binoculars that David needs to repair the telescope.
 GUIDESDATABASE.COM
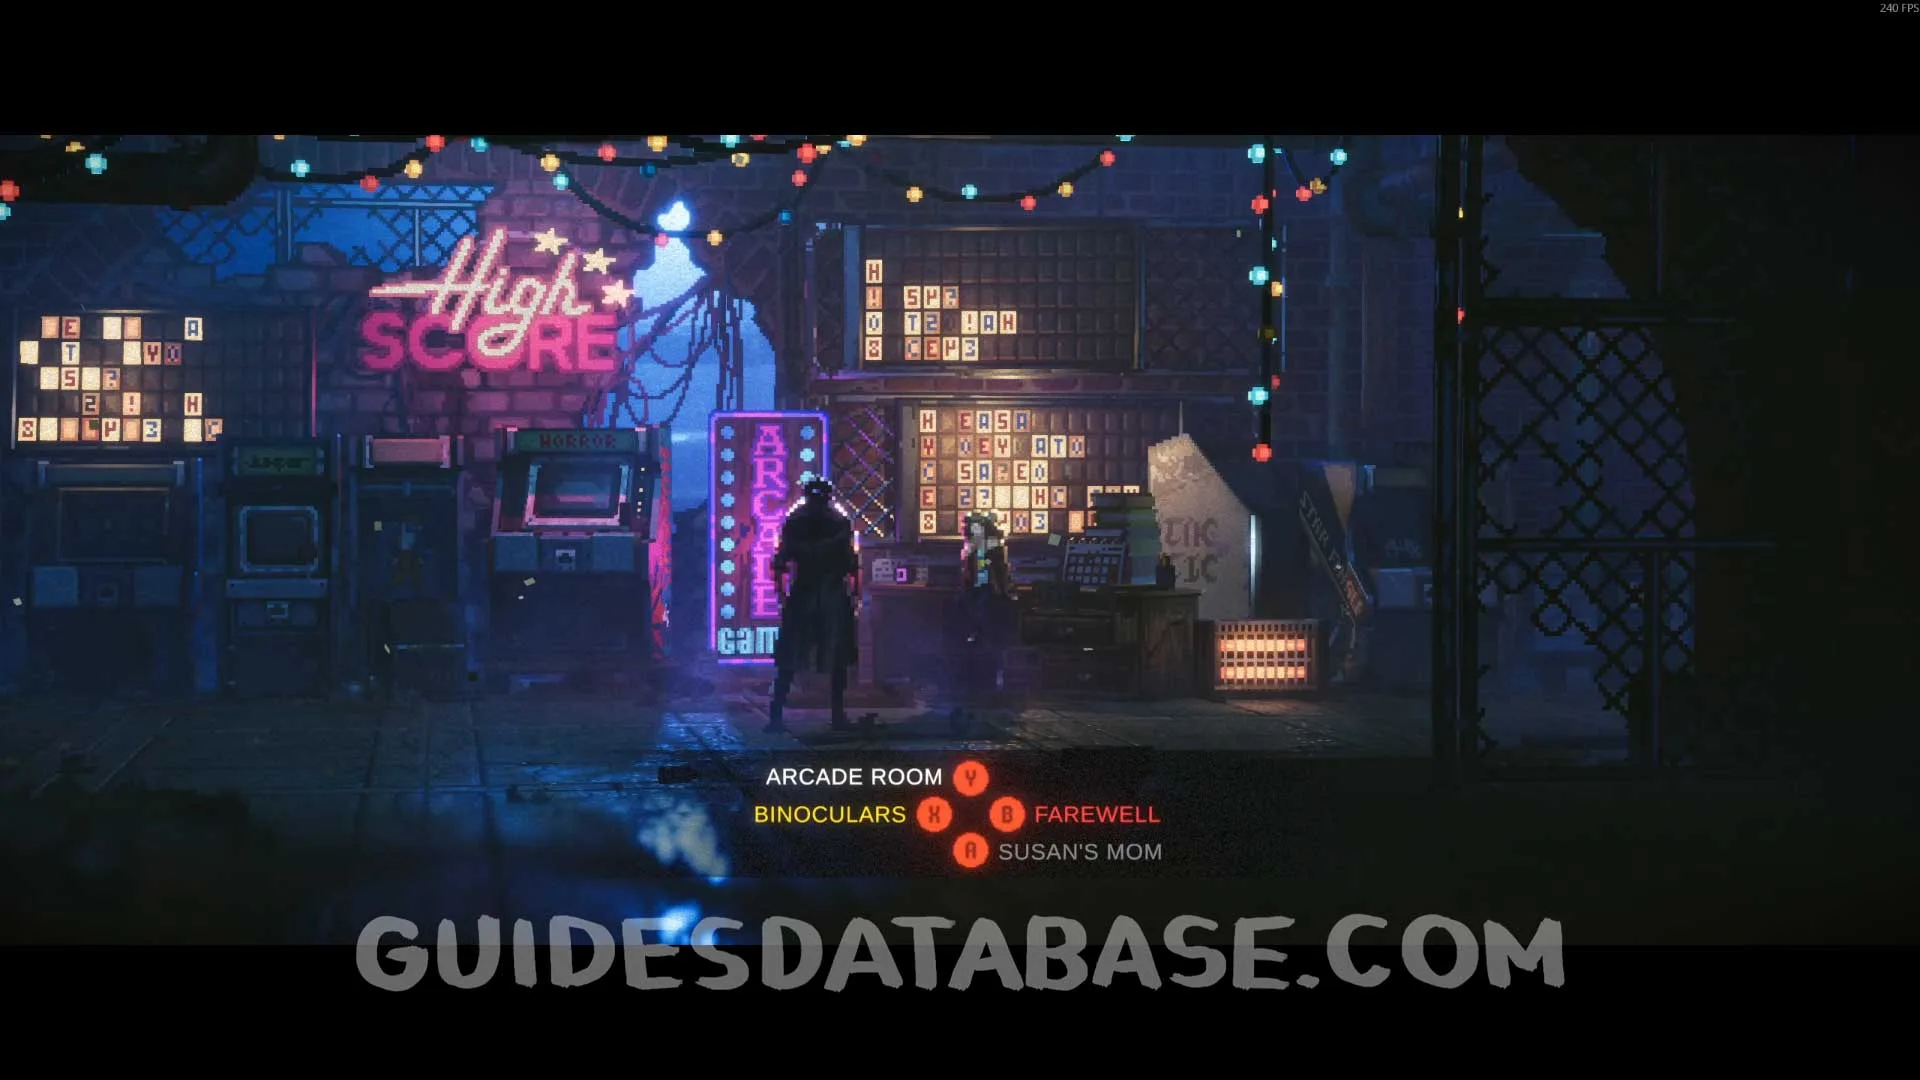 GUIDESDATABASE.COM
Return to the train station where you started the chapter and talk to David. He will ask you to turn on the generator. After doing so, talk to him again to complete the quest. In addition to the Scans and upgrade you receive from this quest, you will also earn the My Only Sunshine achievement for completing David's Quest.
 GUIDESDATABASE.COM
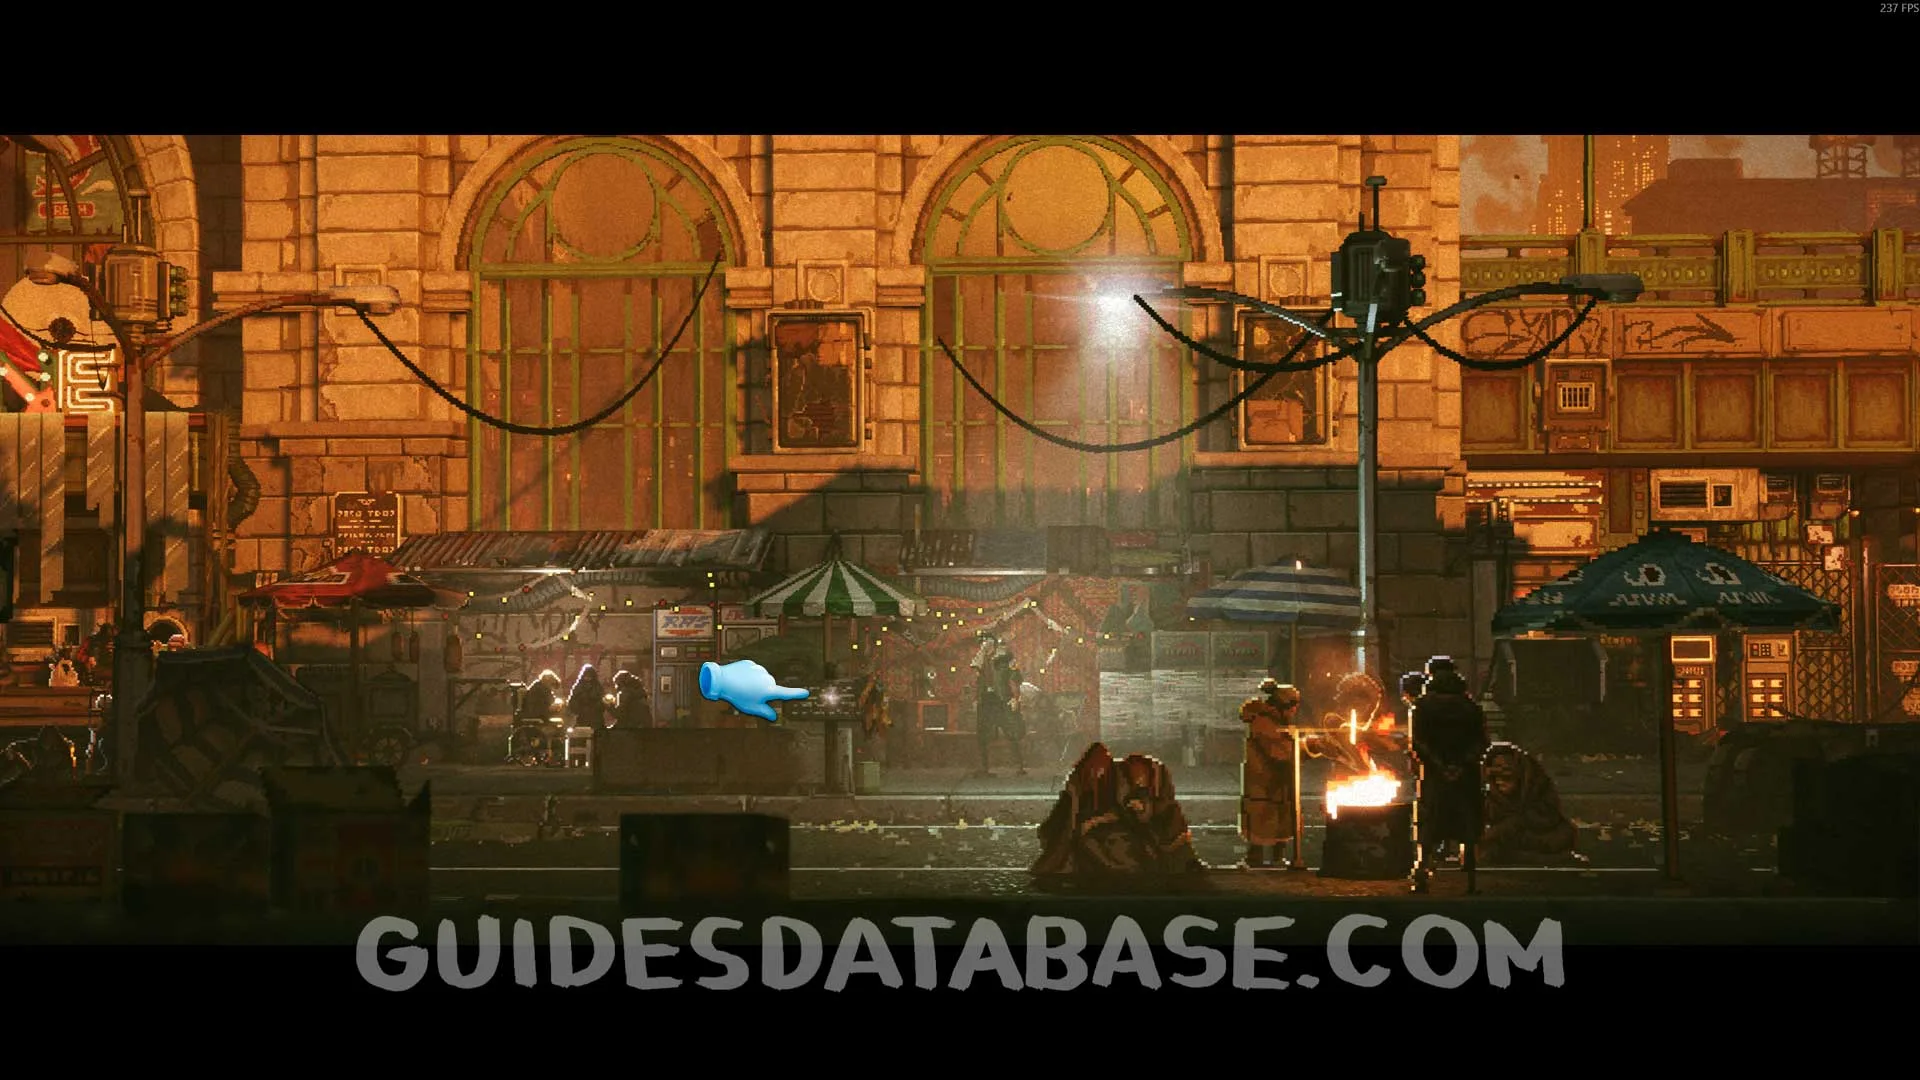
Scan #15 Tower Districts Prospect
At the start of the chapter, enter the first room to find this Scan on top of a trash can.
 GUIDESDATABASE.COM
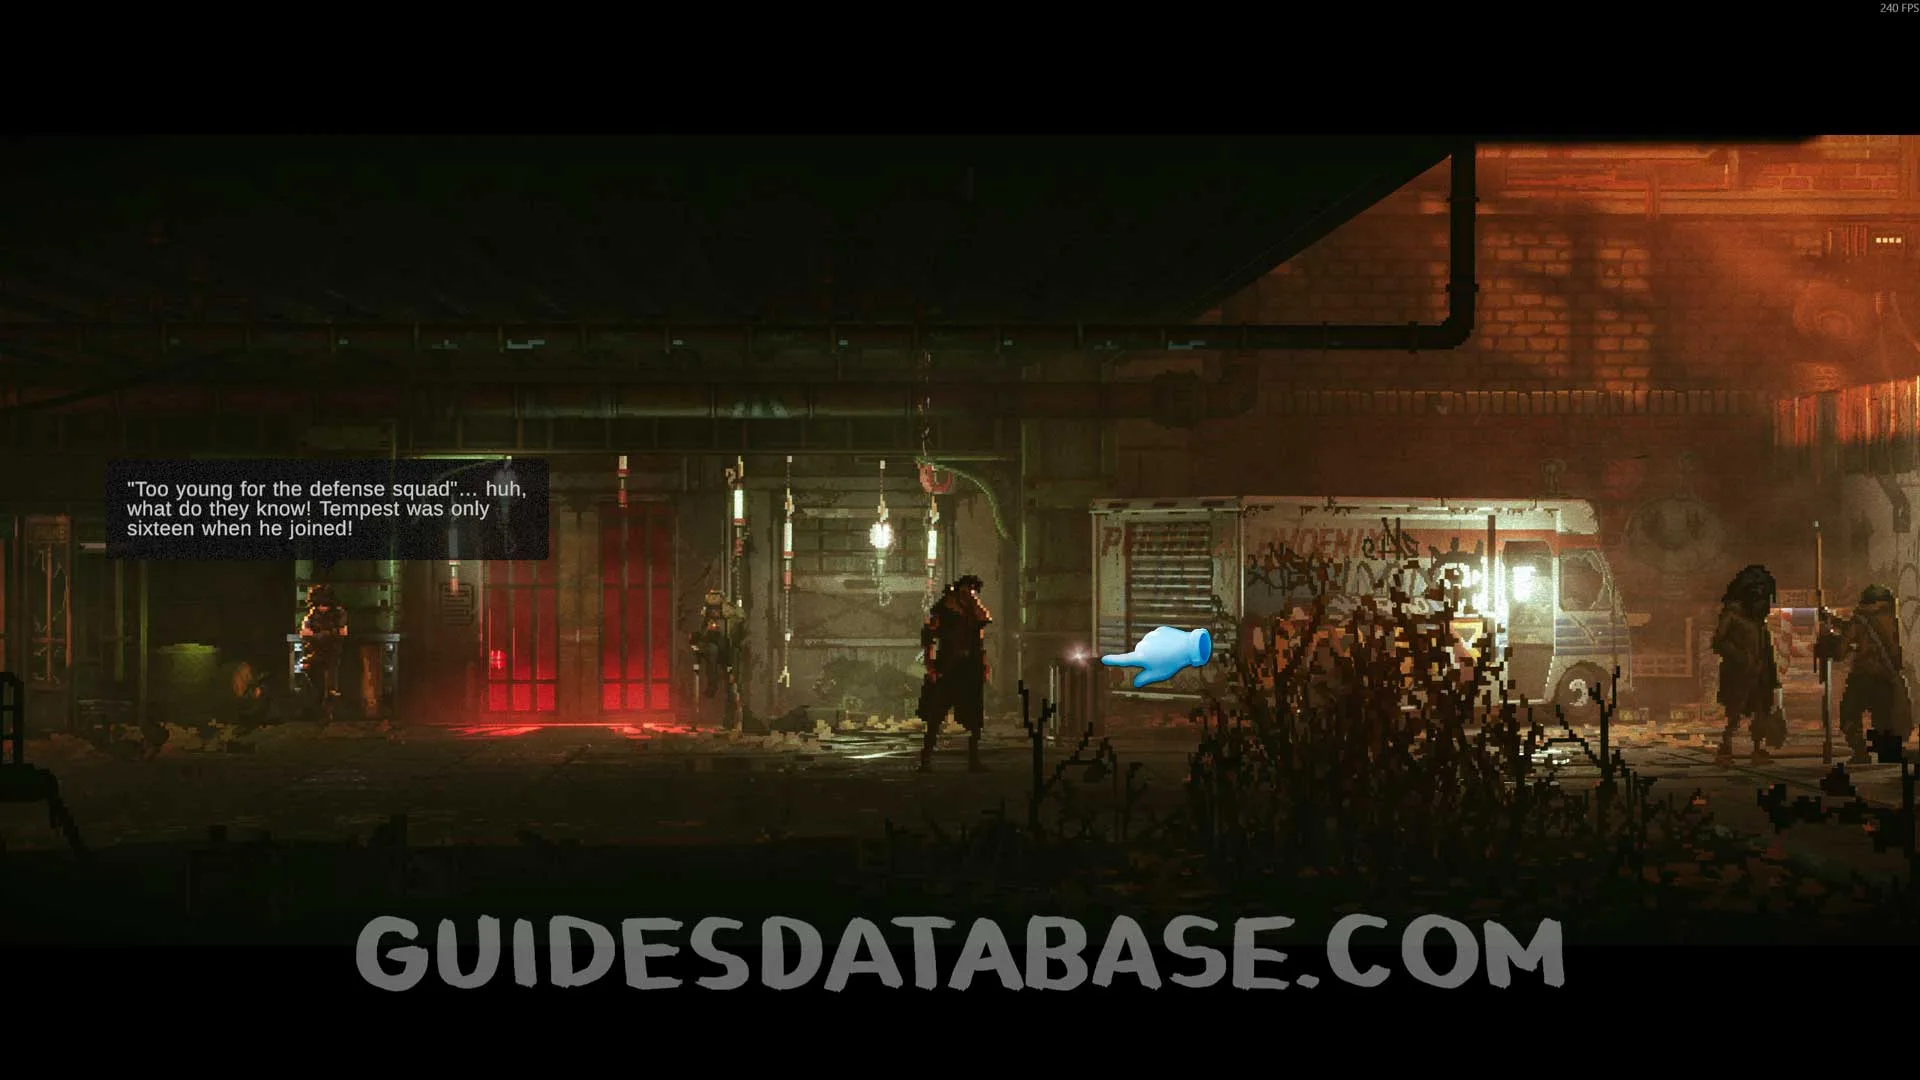 GUIDESDATABASE.COM
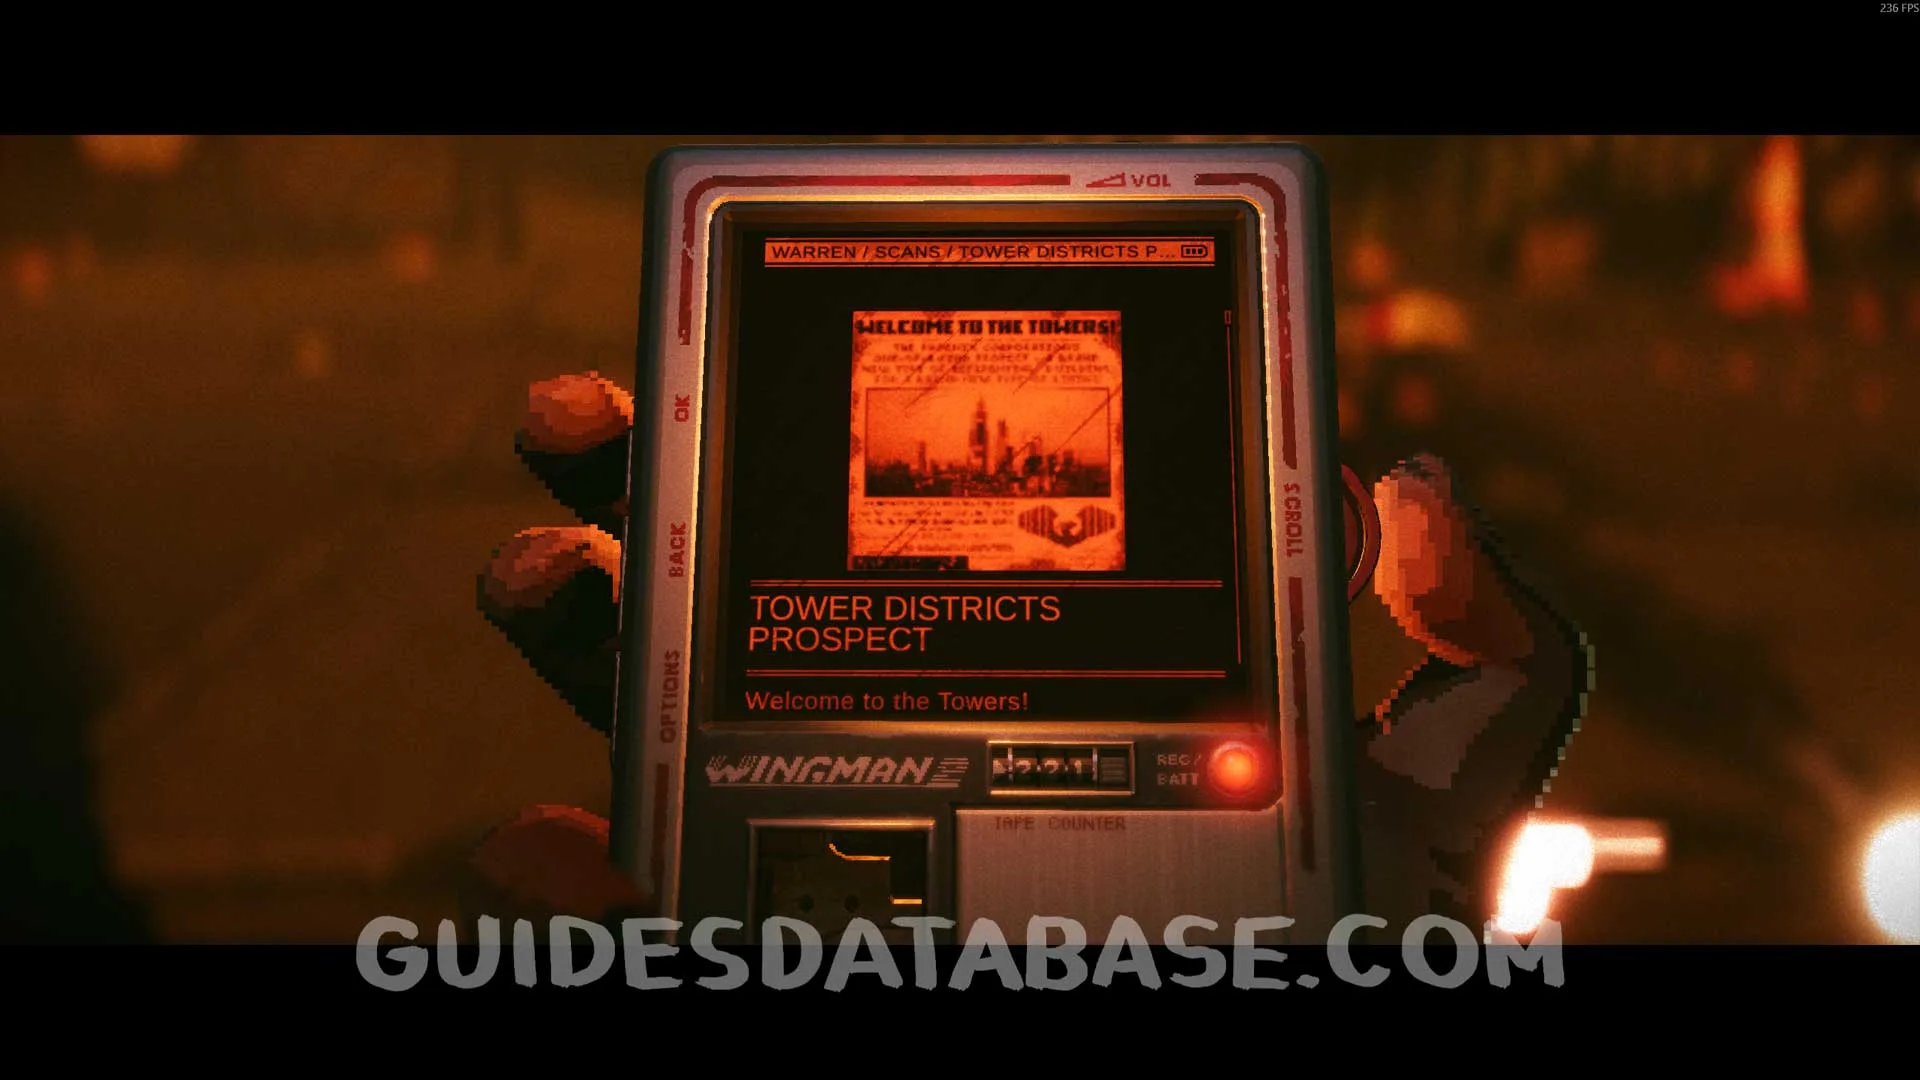 GUIDESDATABASE.COM
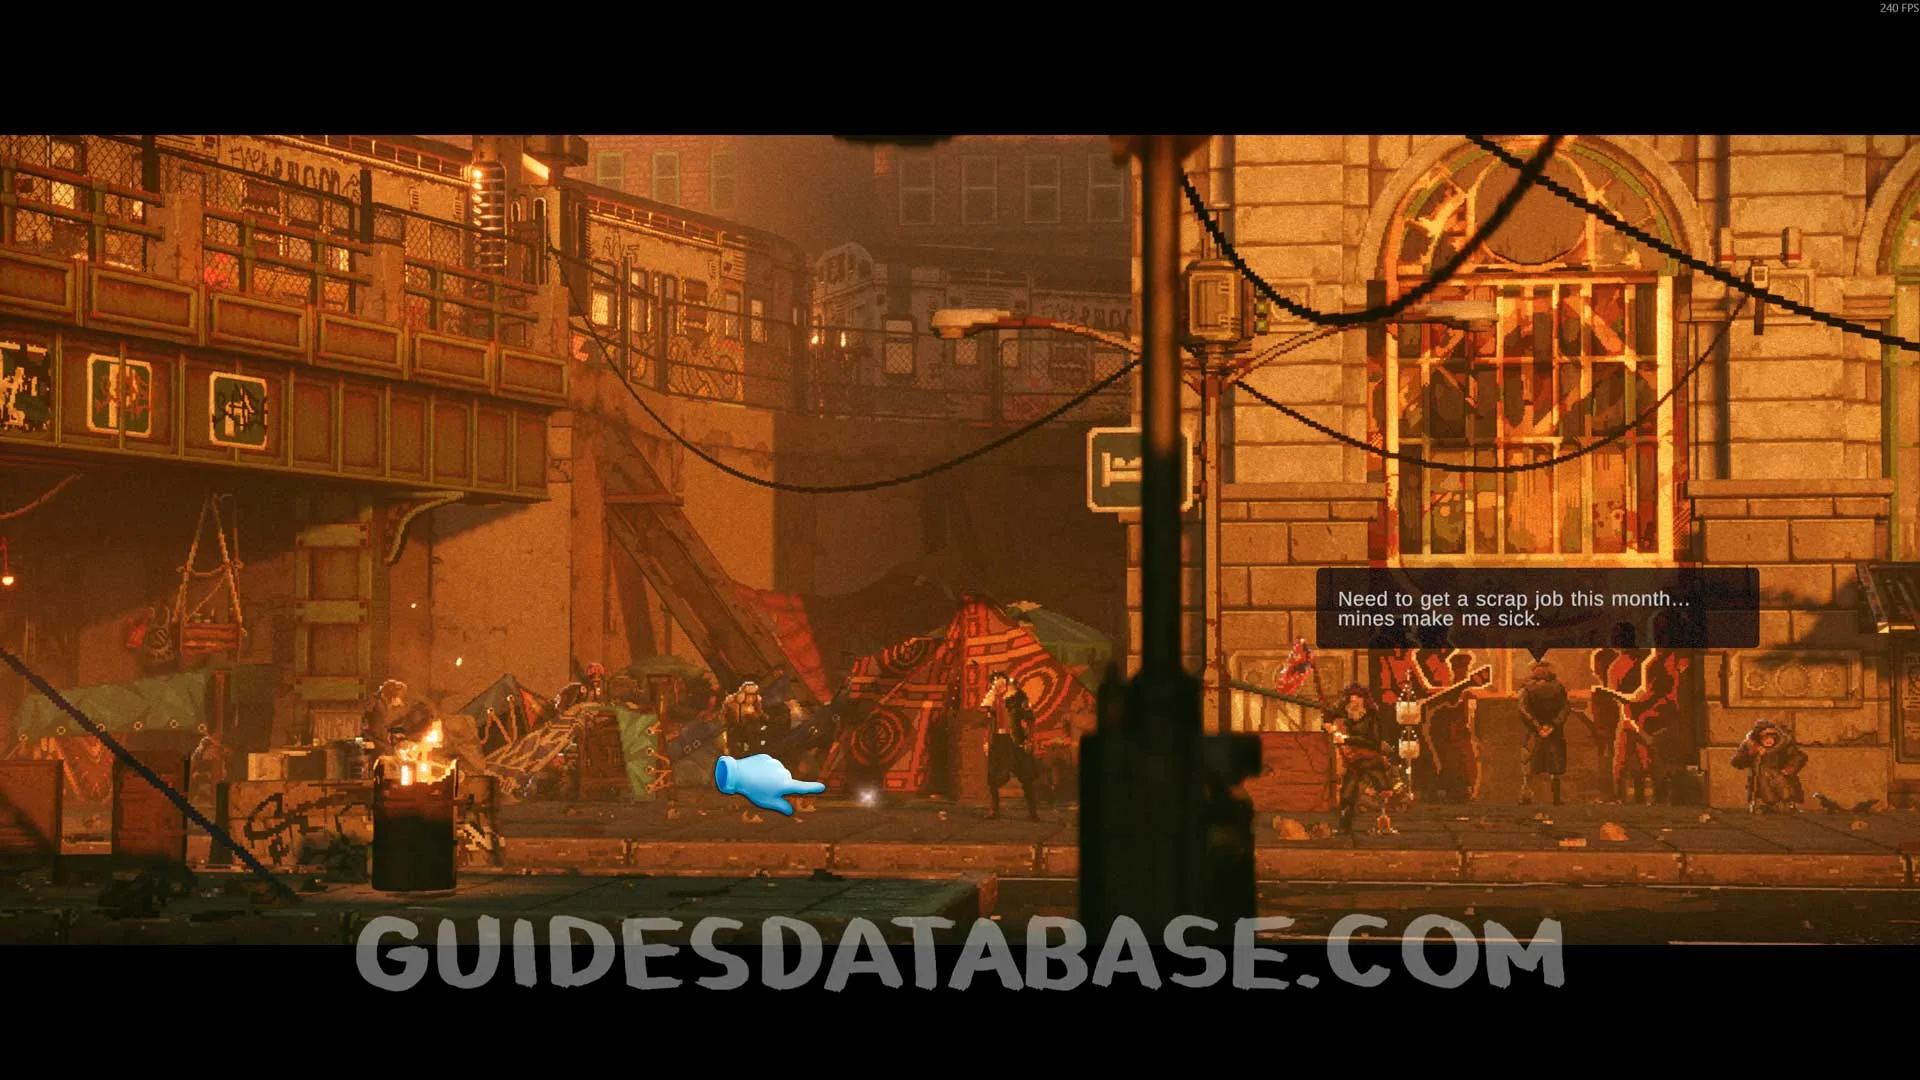
Scan #16 Strange Counting Rhyme
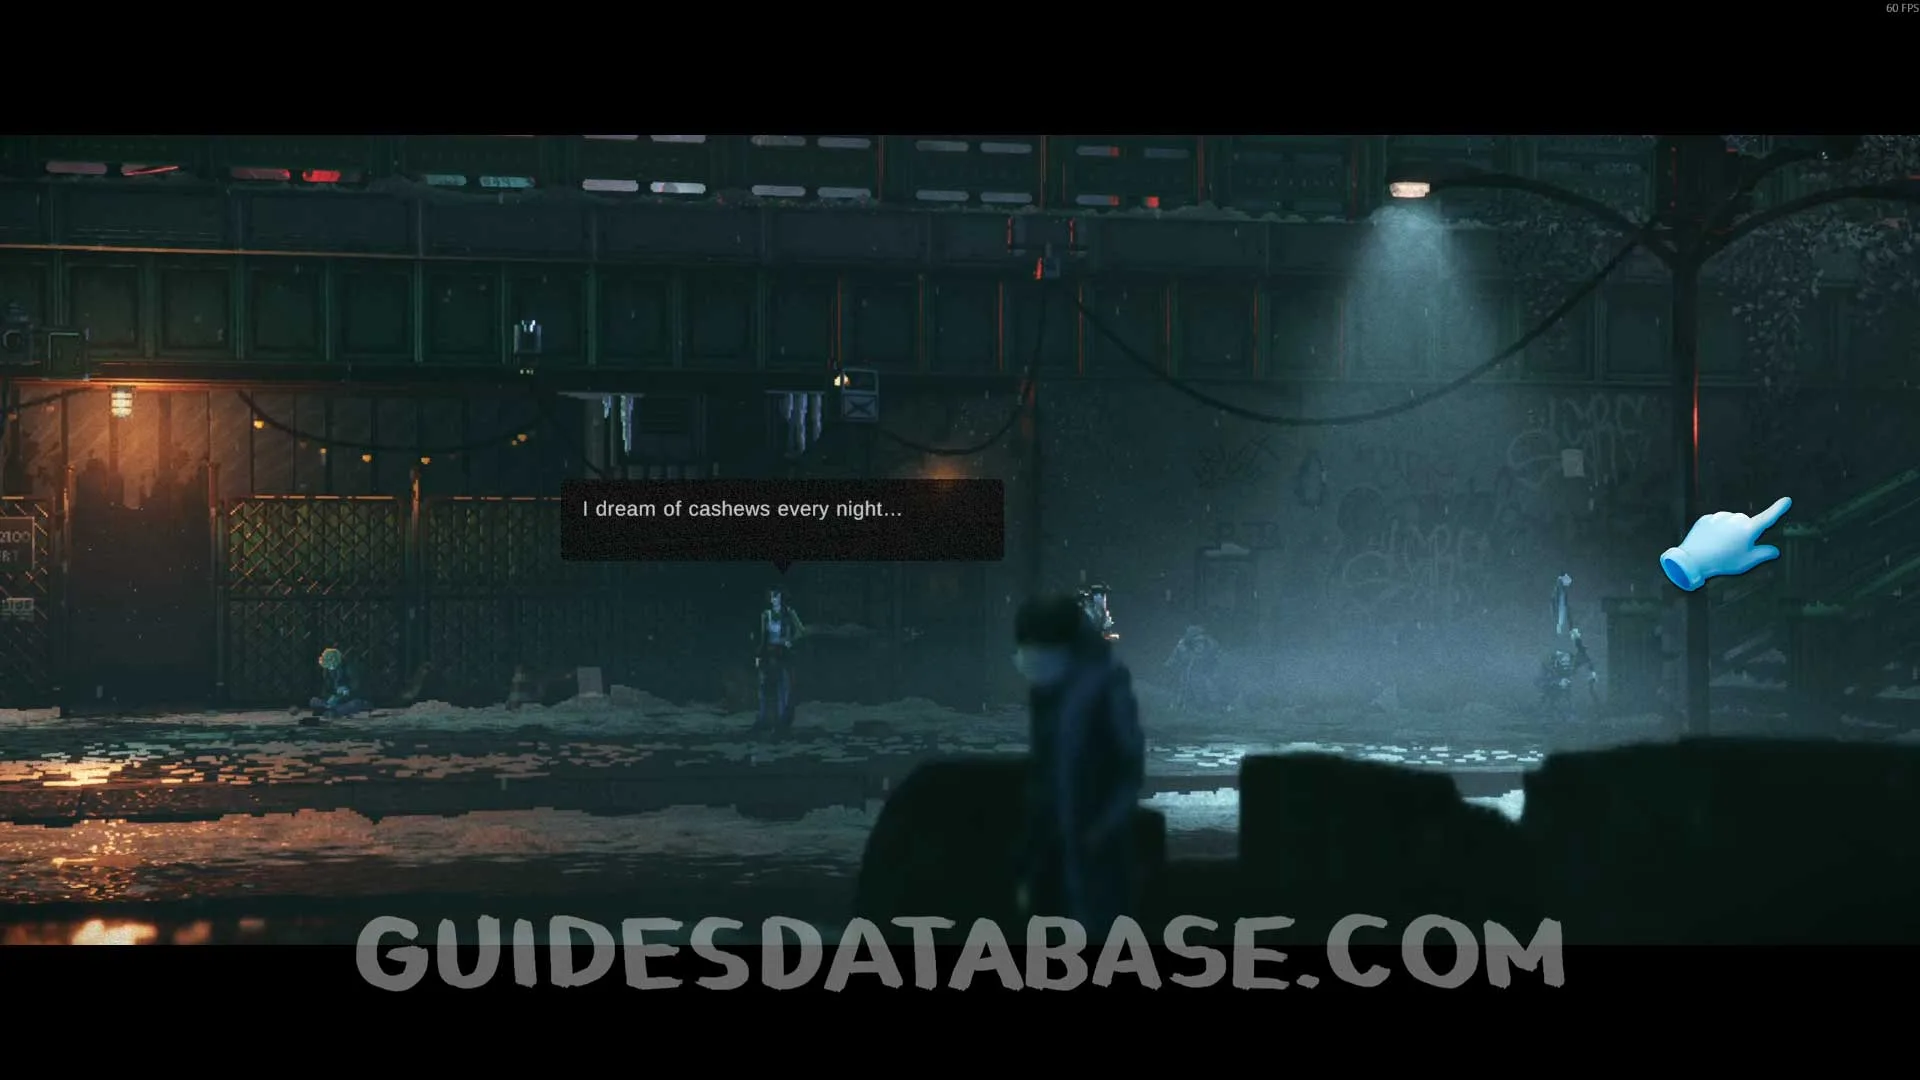
From the previous collectible, head back outside and walk to the left. You will see this on a sign.
 GUIDESDATABASE.COM
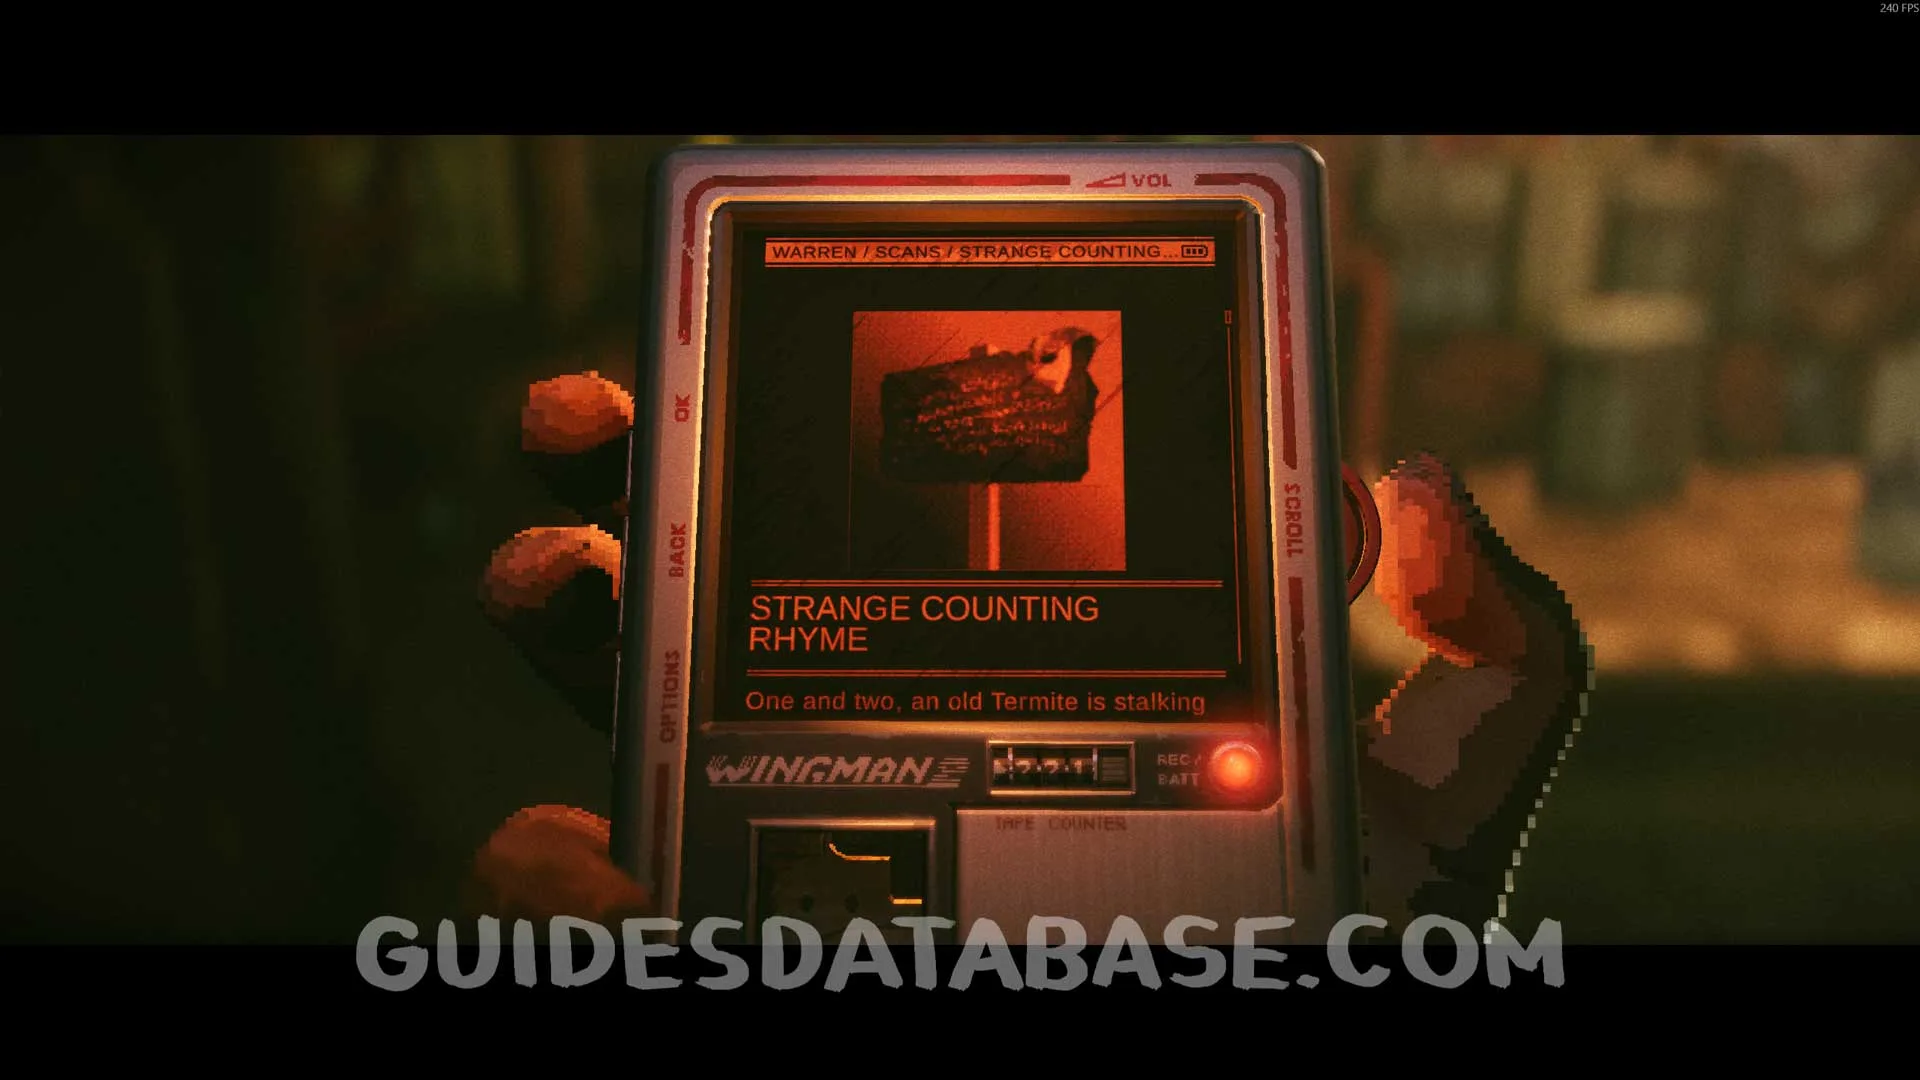 GUIDESDATABASE.COM
Scan #17 Disposal's Diary
On the left side of the safe zone.
 GUIDESDATABASE.COM
 GUIDESDATABASE.COM
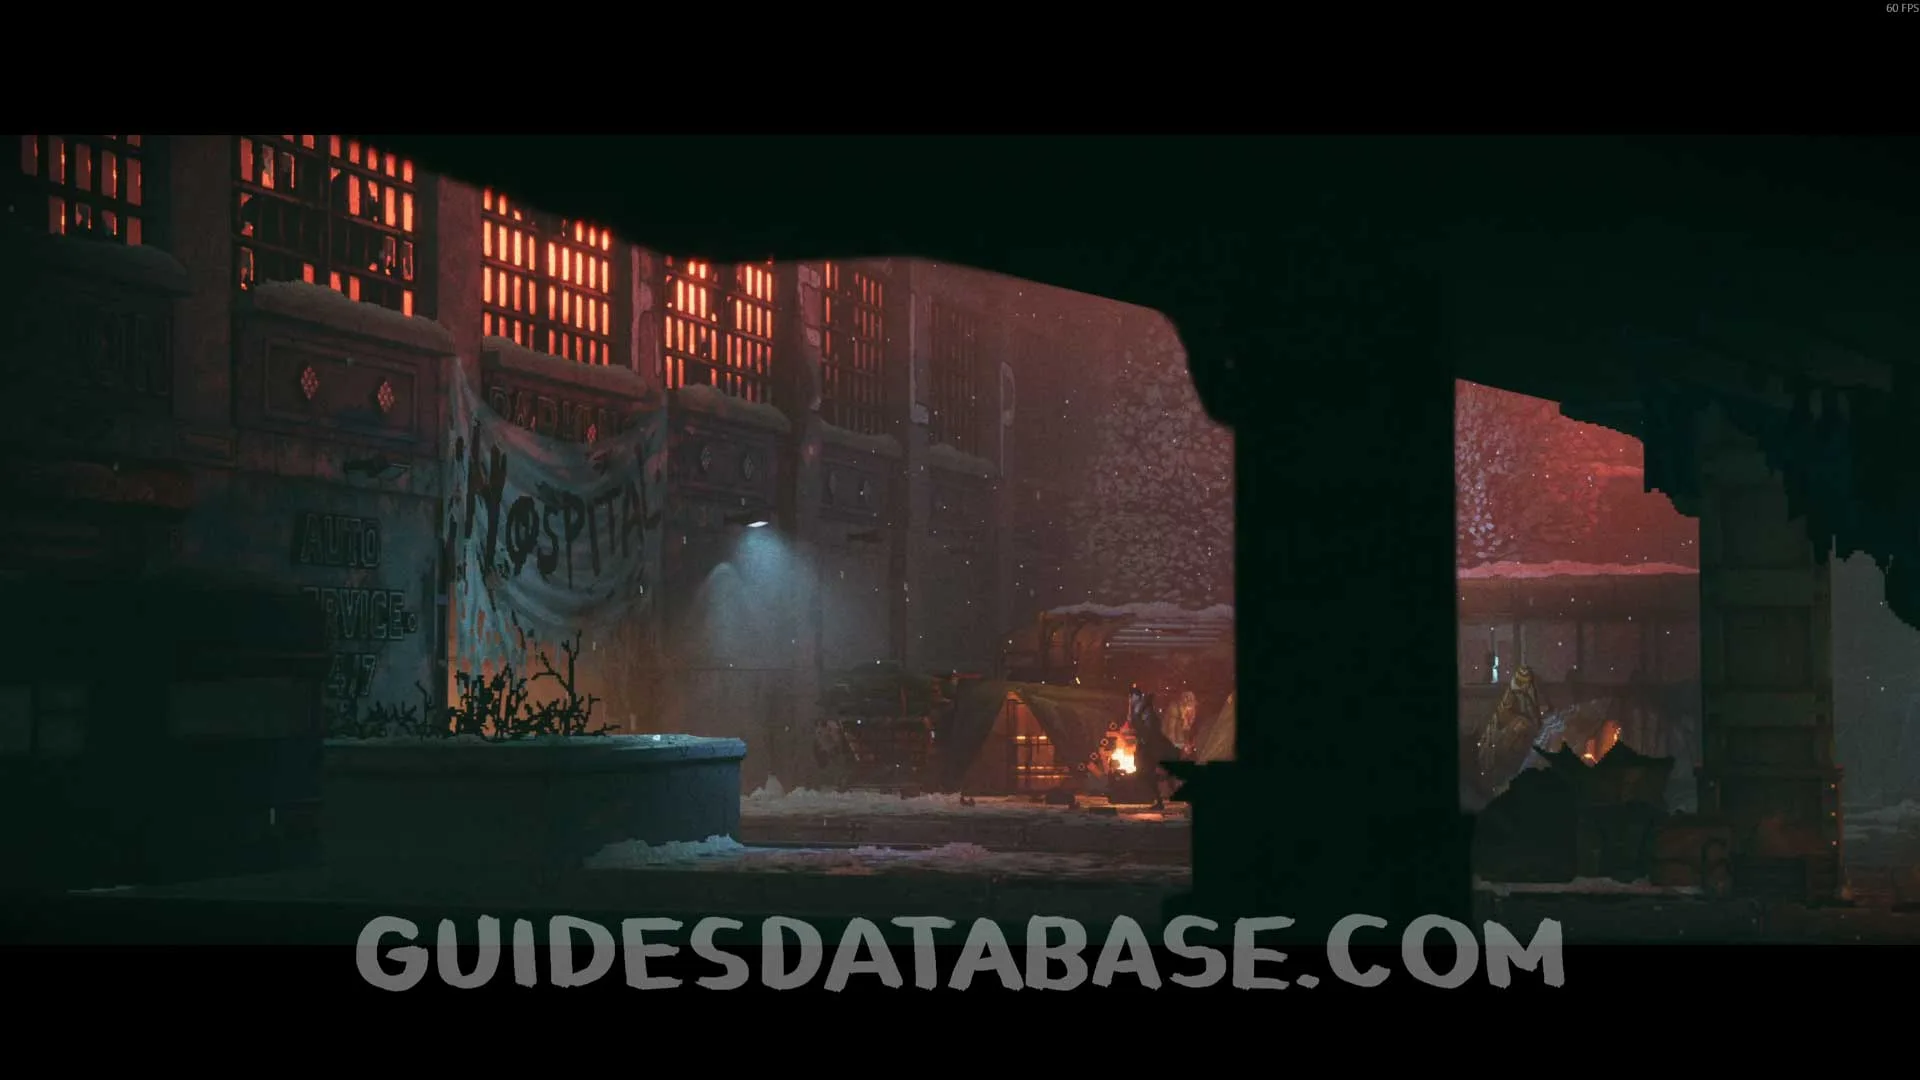
Scan #18 Old Frps Brooklet
From the previous collectible, continue heading to the left until you reach the hospital. Enter it and go to the far right to find this.
 GUIDESDATABASE.COM
 GUIDESDATABASE.COM
 GUIDESDATABASE.COM
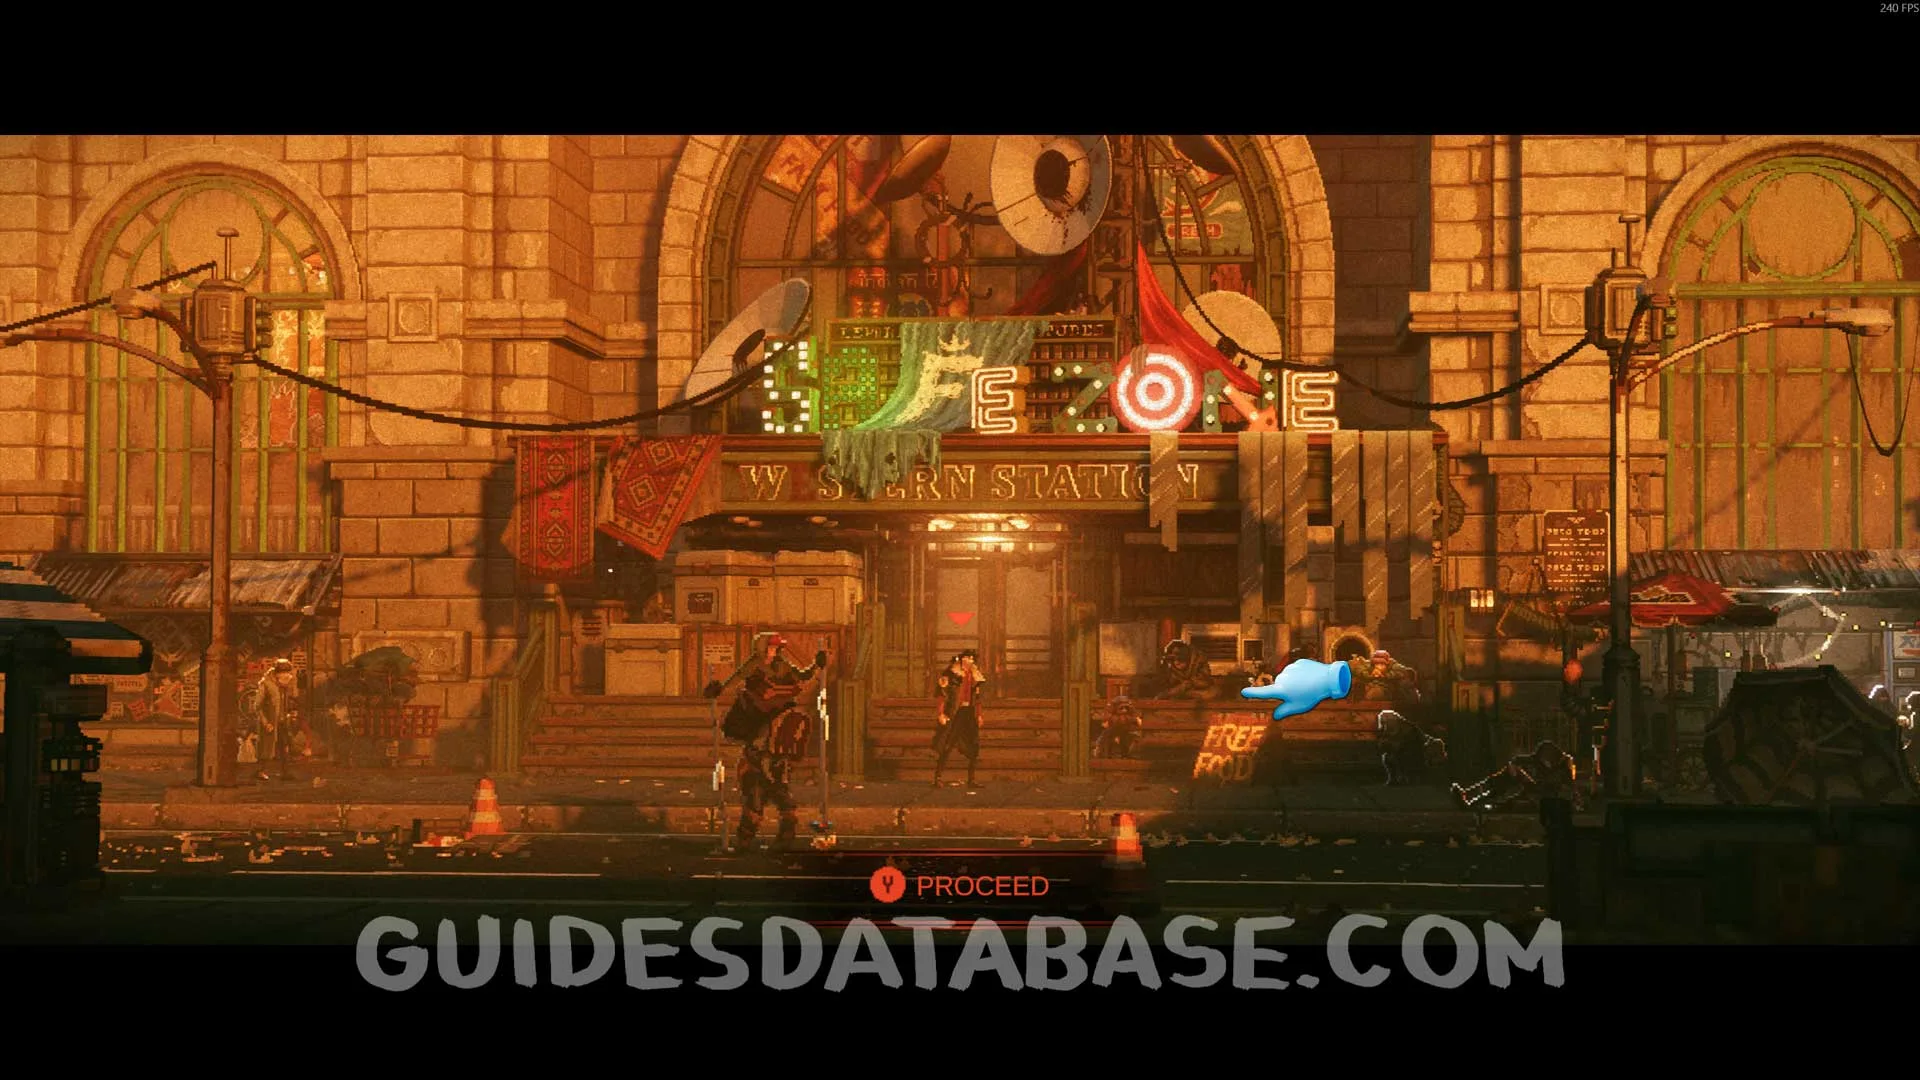
Music #2 Endless Meadow
Enter the safe zone and this music will be directly in front of you.
 GUIDESDATABASE.COM
 GUIDESDATABASE.COM
 GUIDESDATABASE.COM
Music #3 A Place to Call home
Inside the safe zone, go to the left and pass through to the next area, then head to the far right to find this.
 GUIDESDATABASE.COM
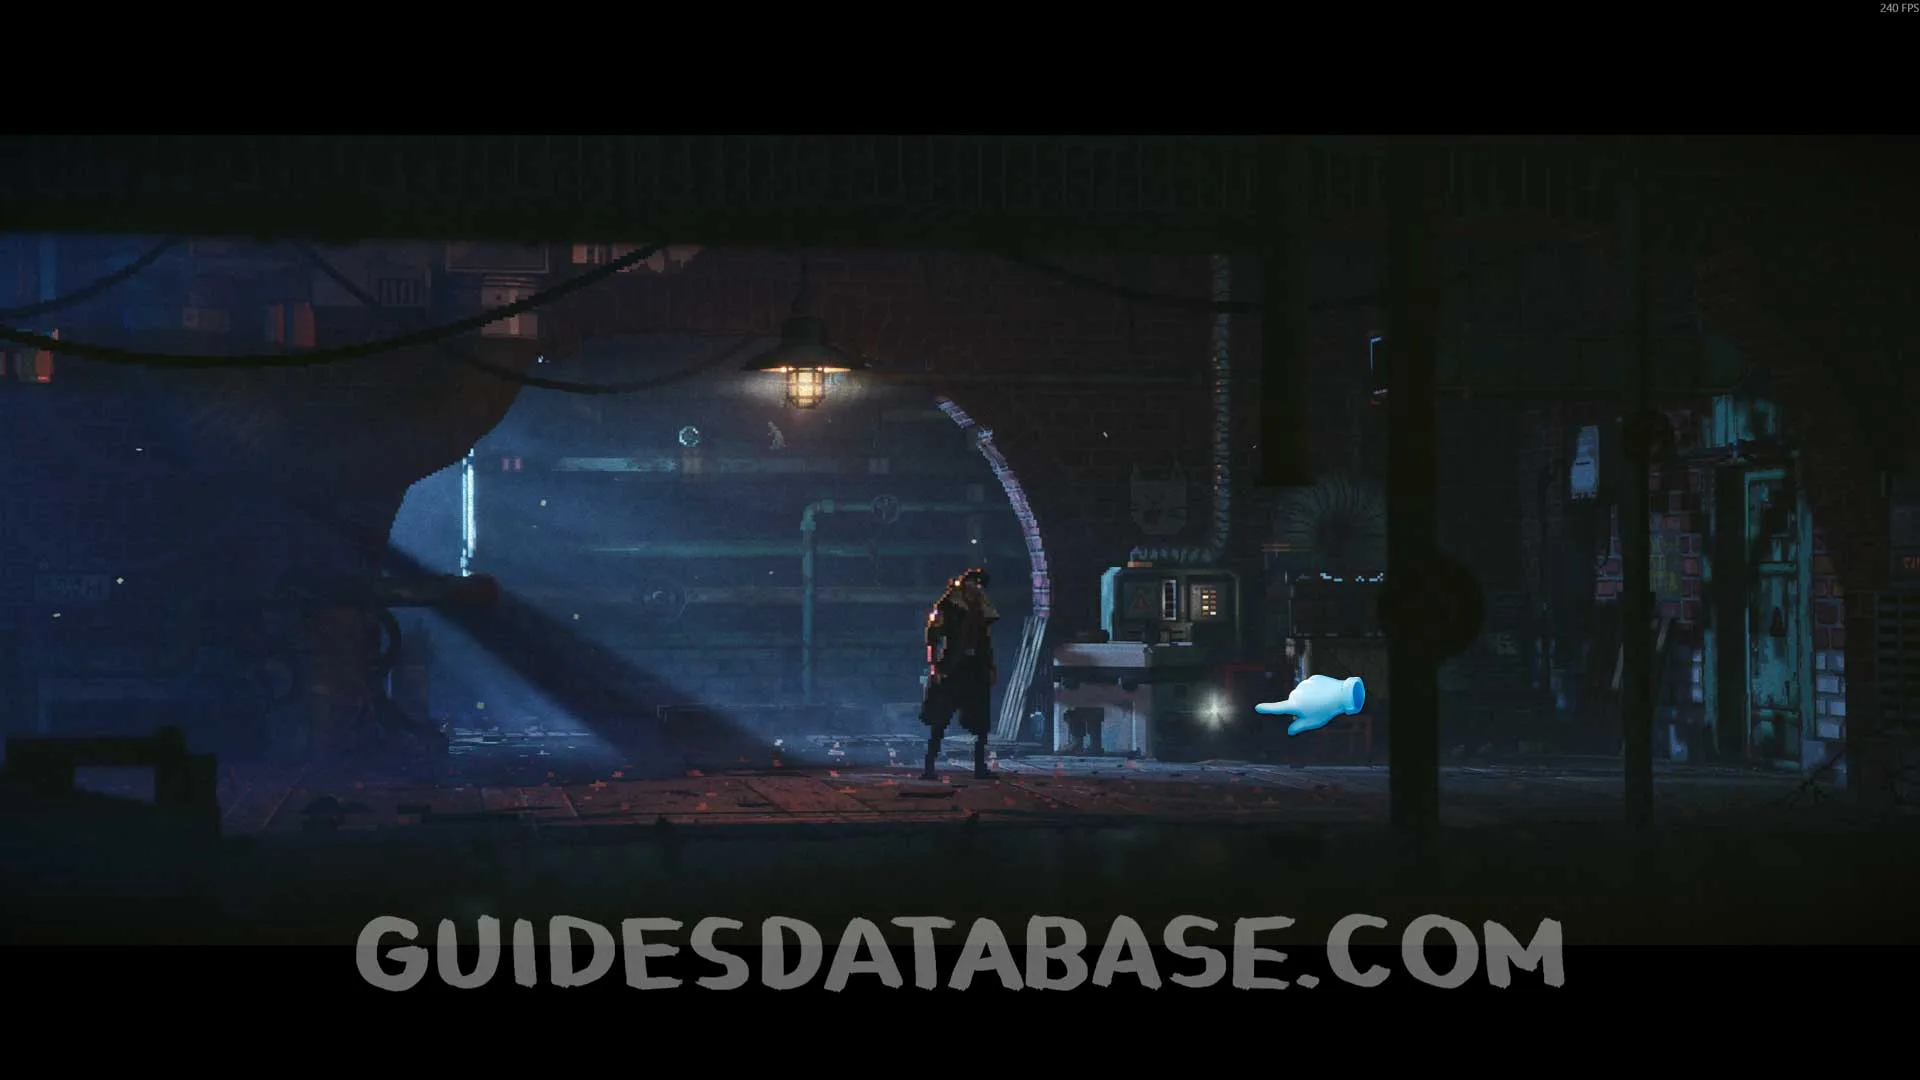 GUIDESDATABASE.COM
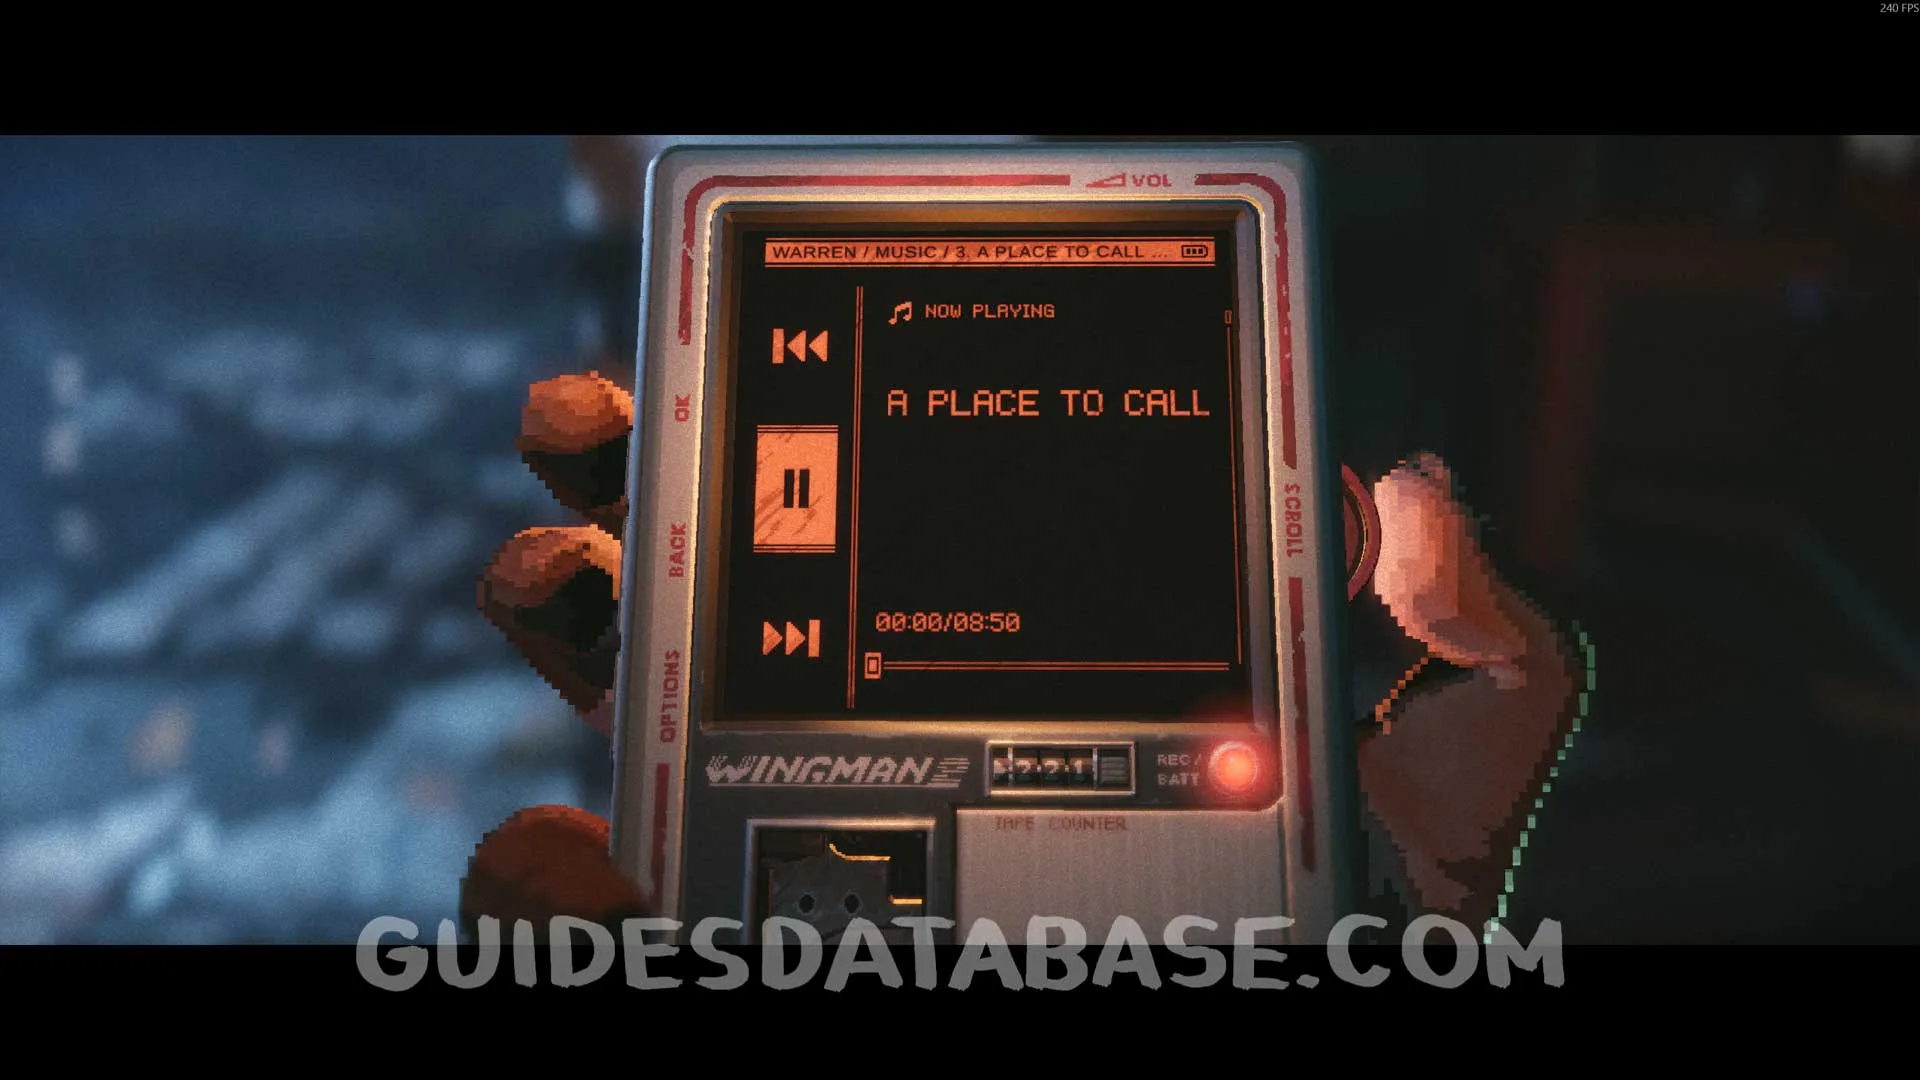 GUIDESDATABASE.COM
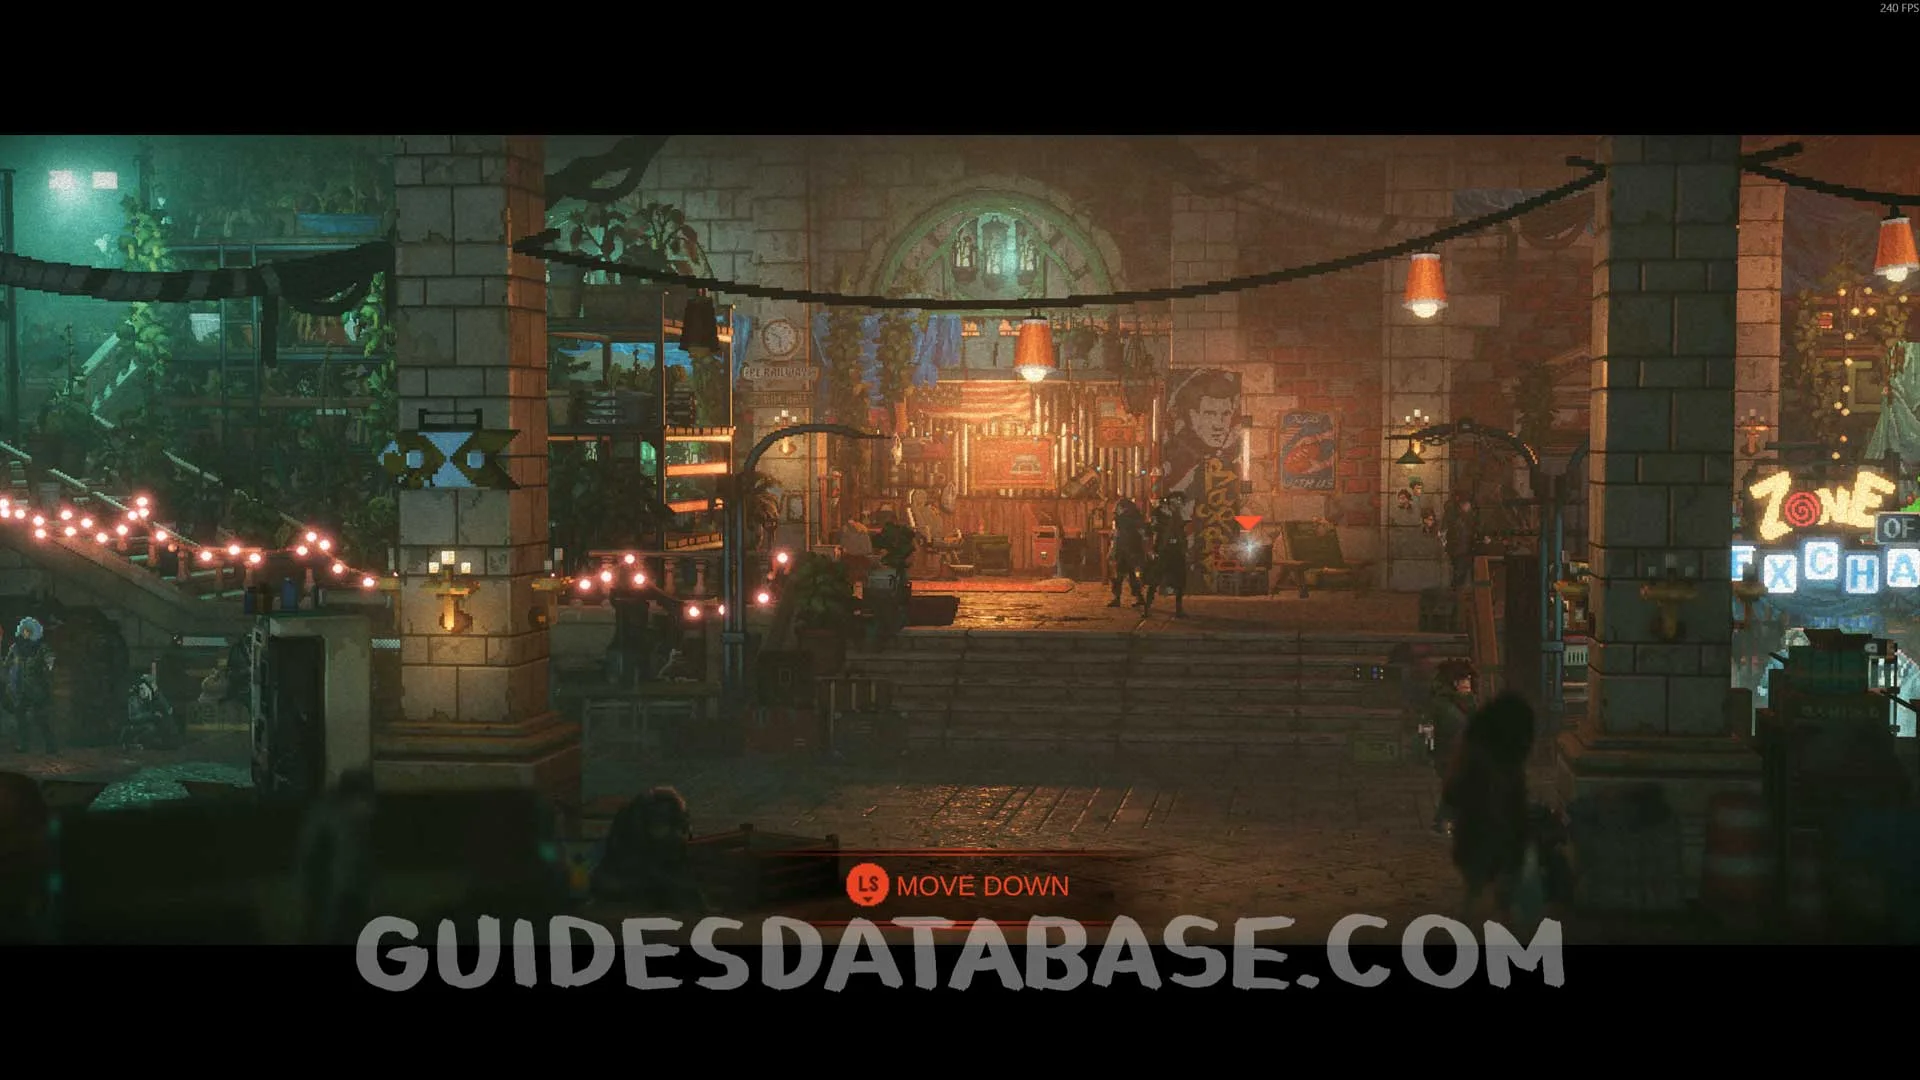
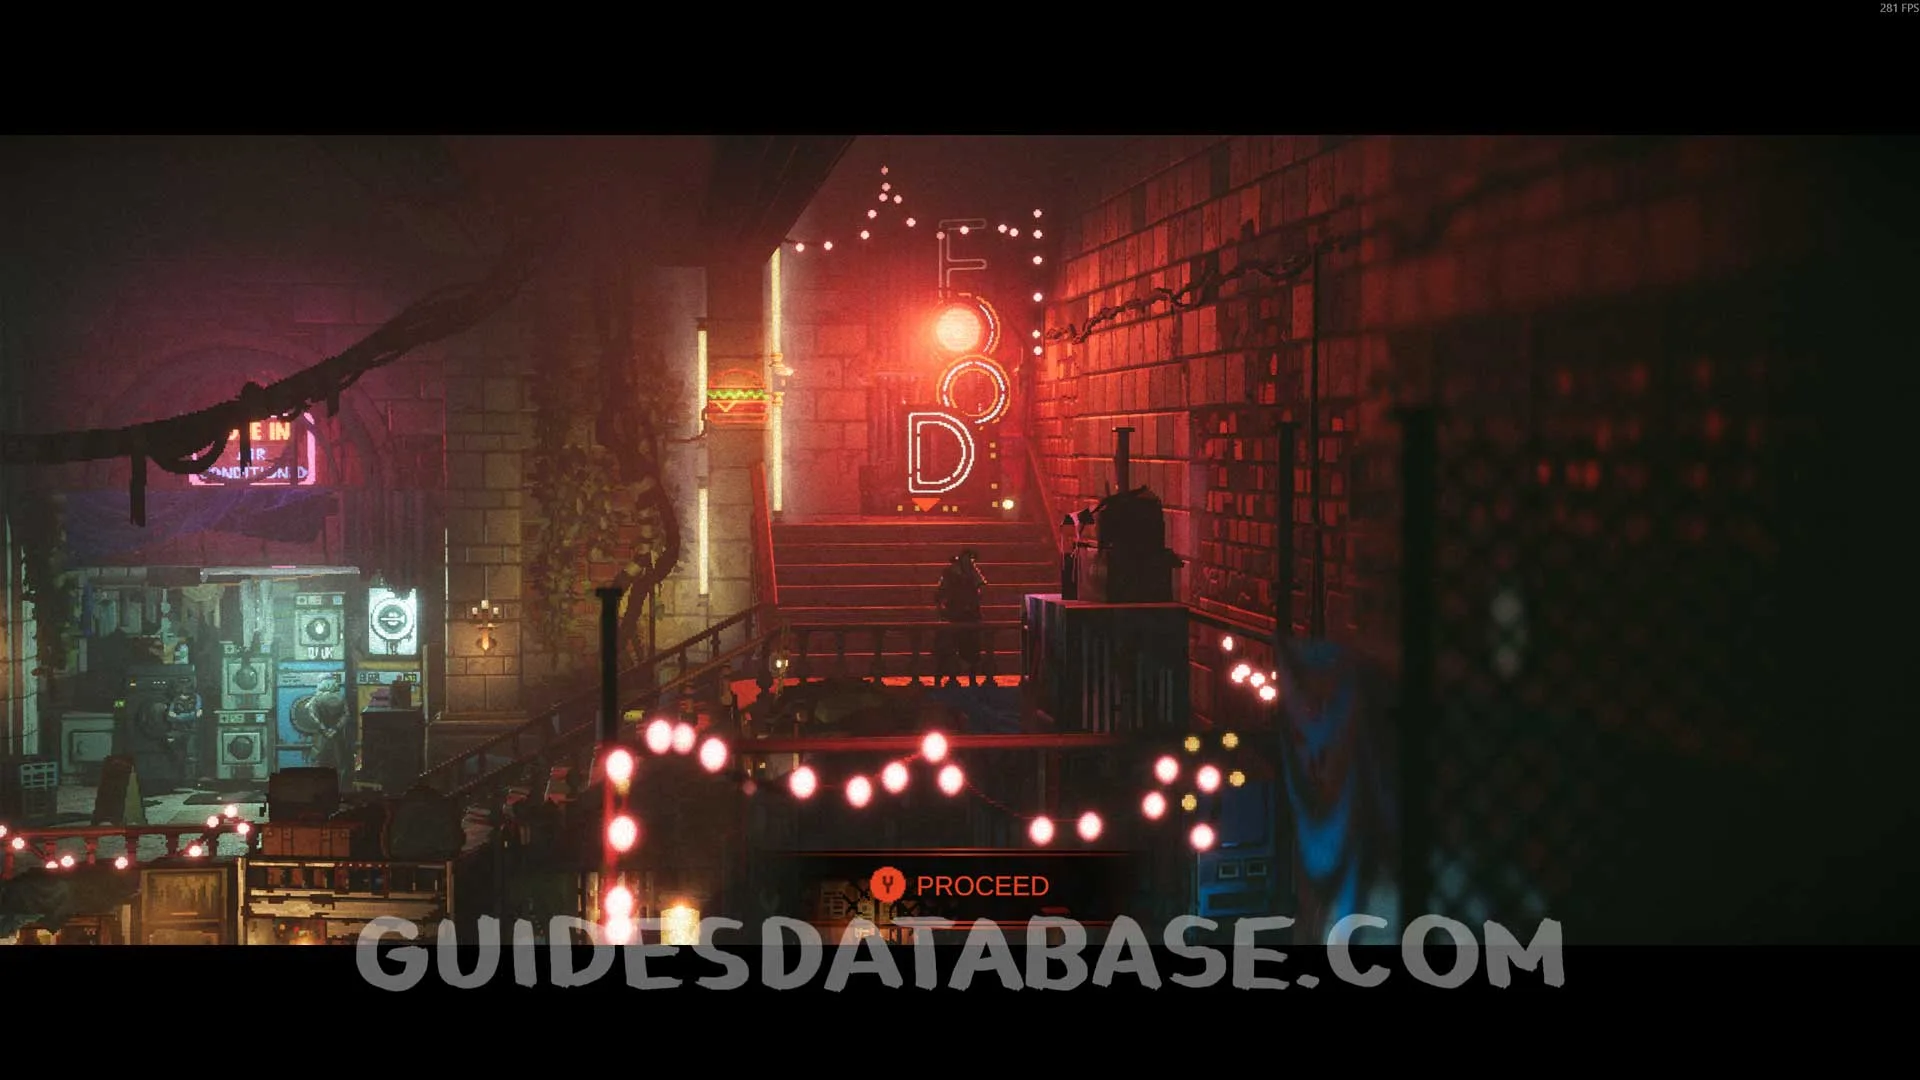
Scan #19 Phoenix Corporation is Born
Now back at the safe zone entrance, get this Scan on the left side.
 GUIDESDATABASE.COM
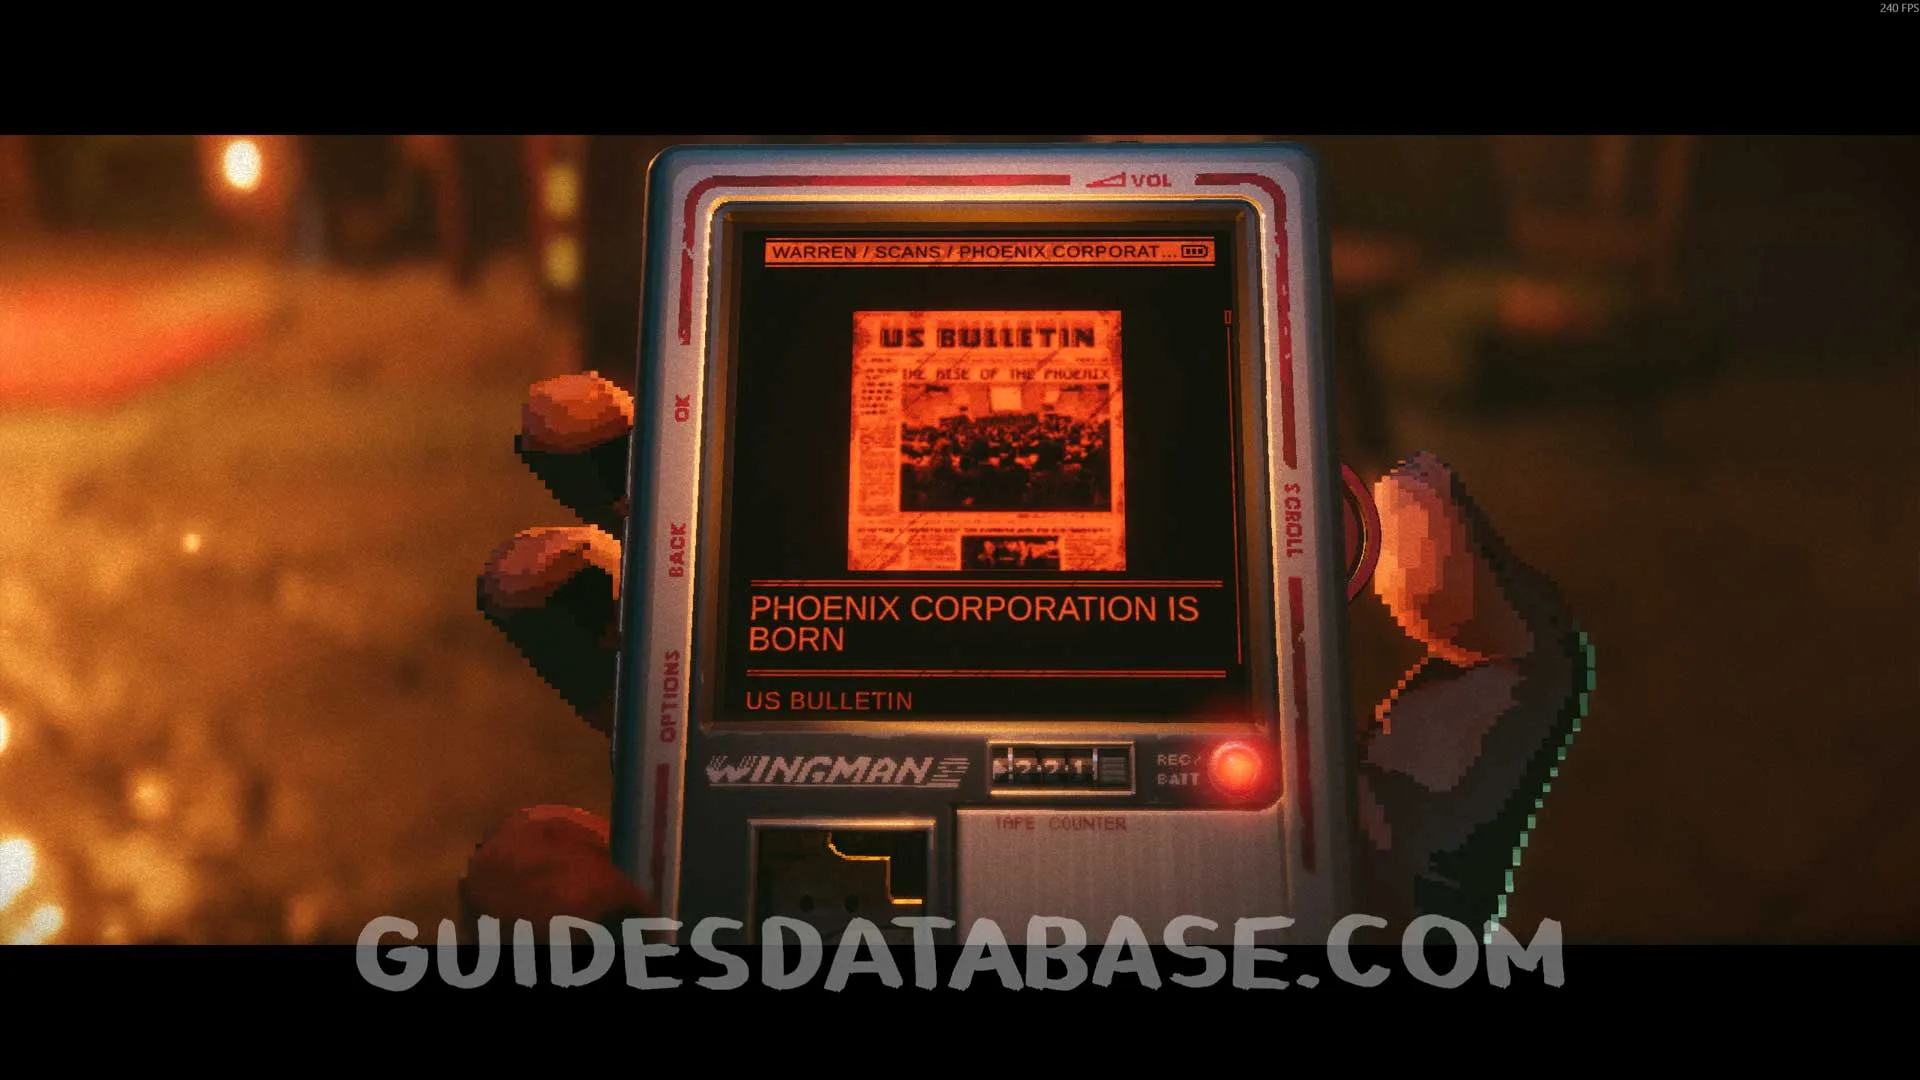 GUIDESDATABASE.COM
Scan #20 Phoenix-City Wall Specs
From the previous collectible, head to the right, go up the stairs and enter the bar. Once inside the bar, head to the far left to find this.
 GUIDESDATABASE.COM
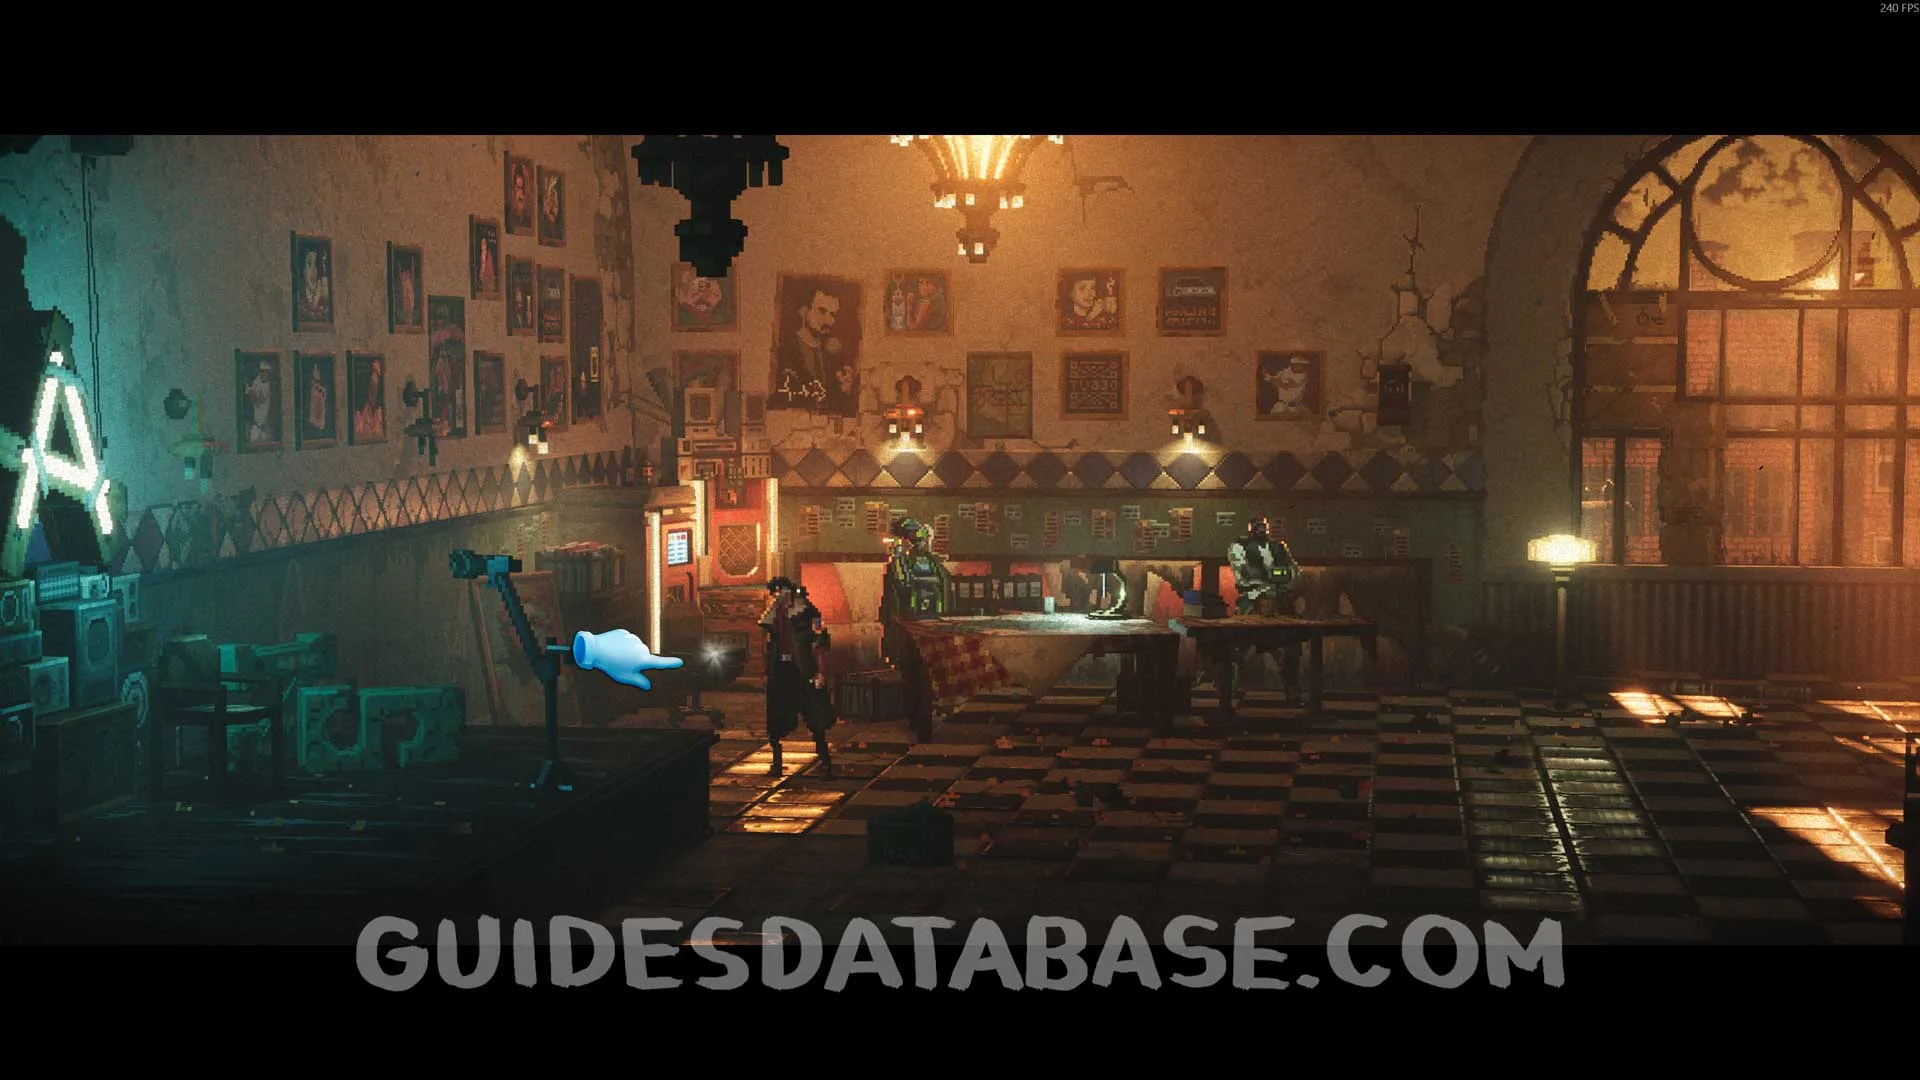 GUIDESDATABASE.COM
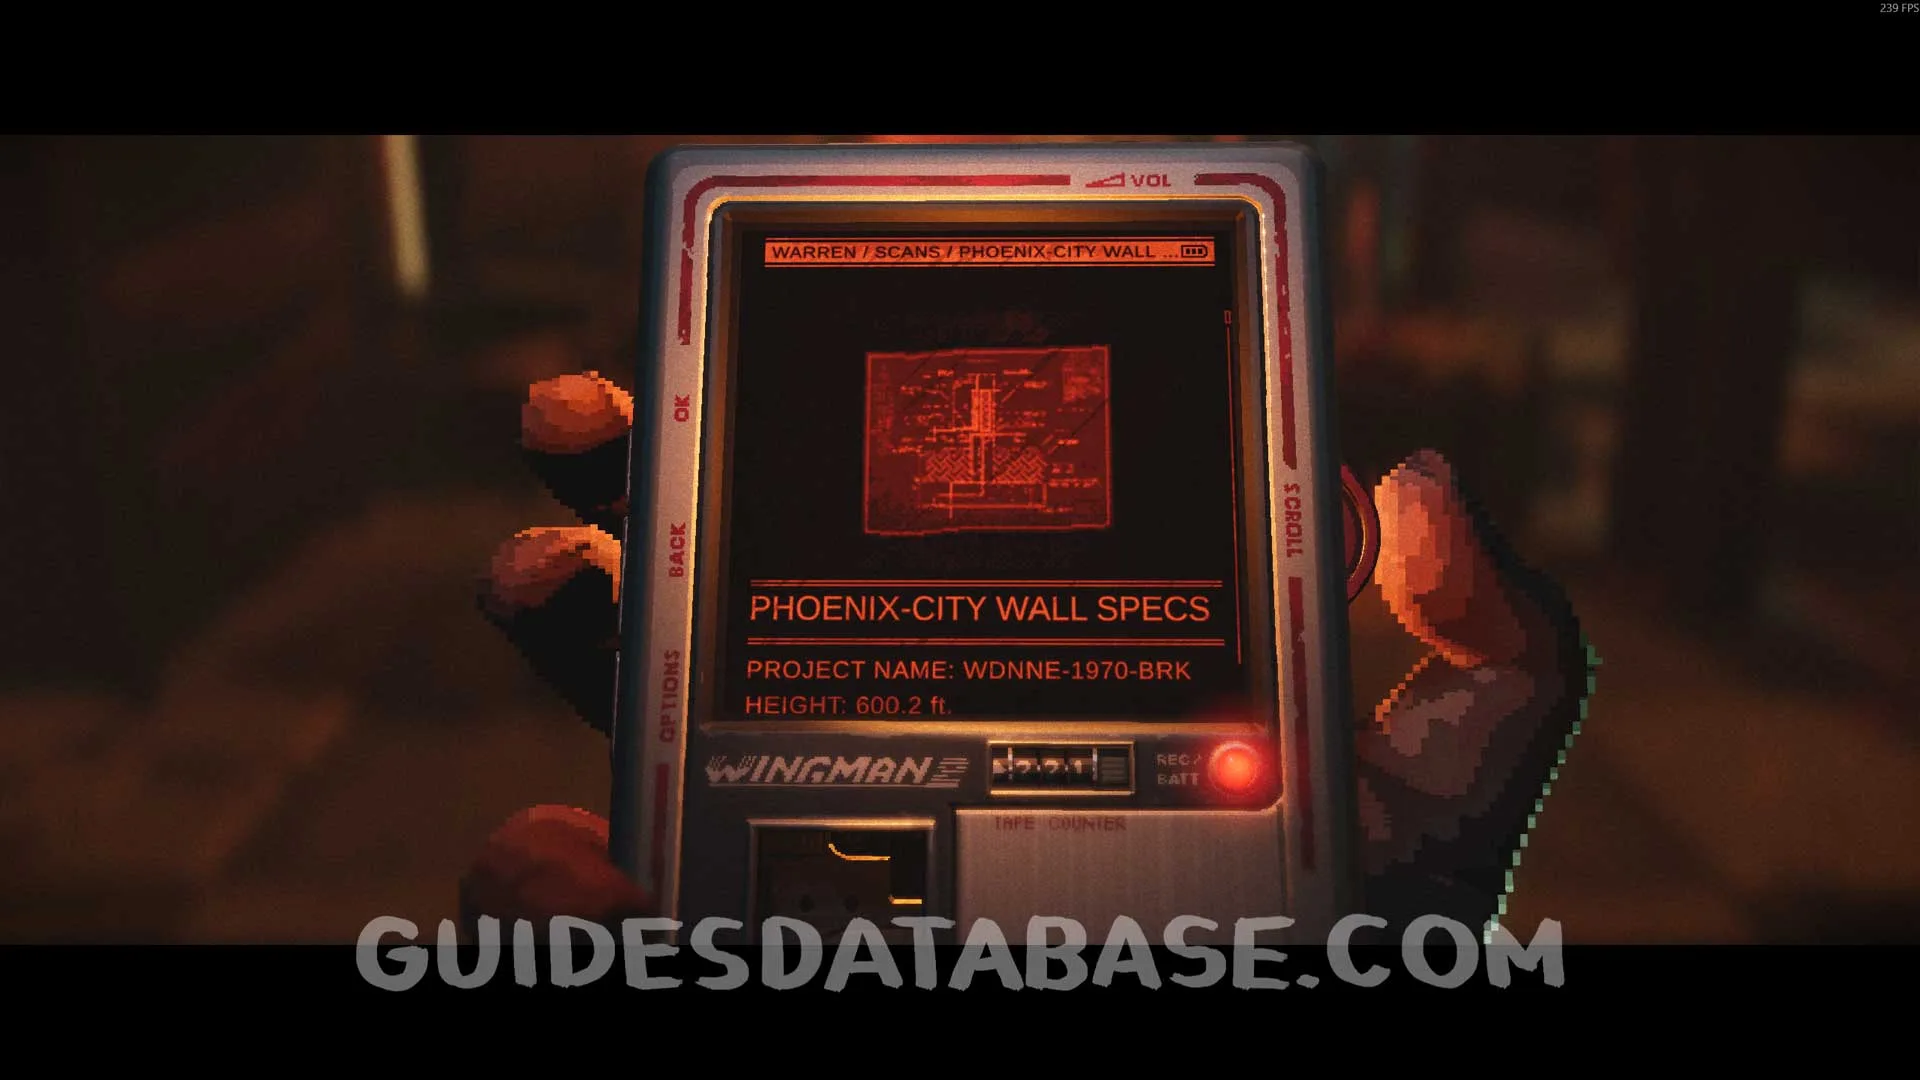 GUIDESDATABASE.COM
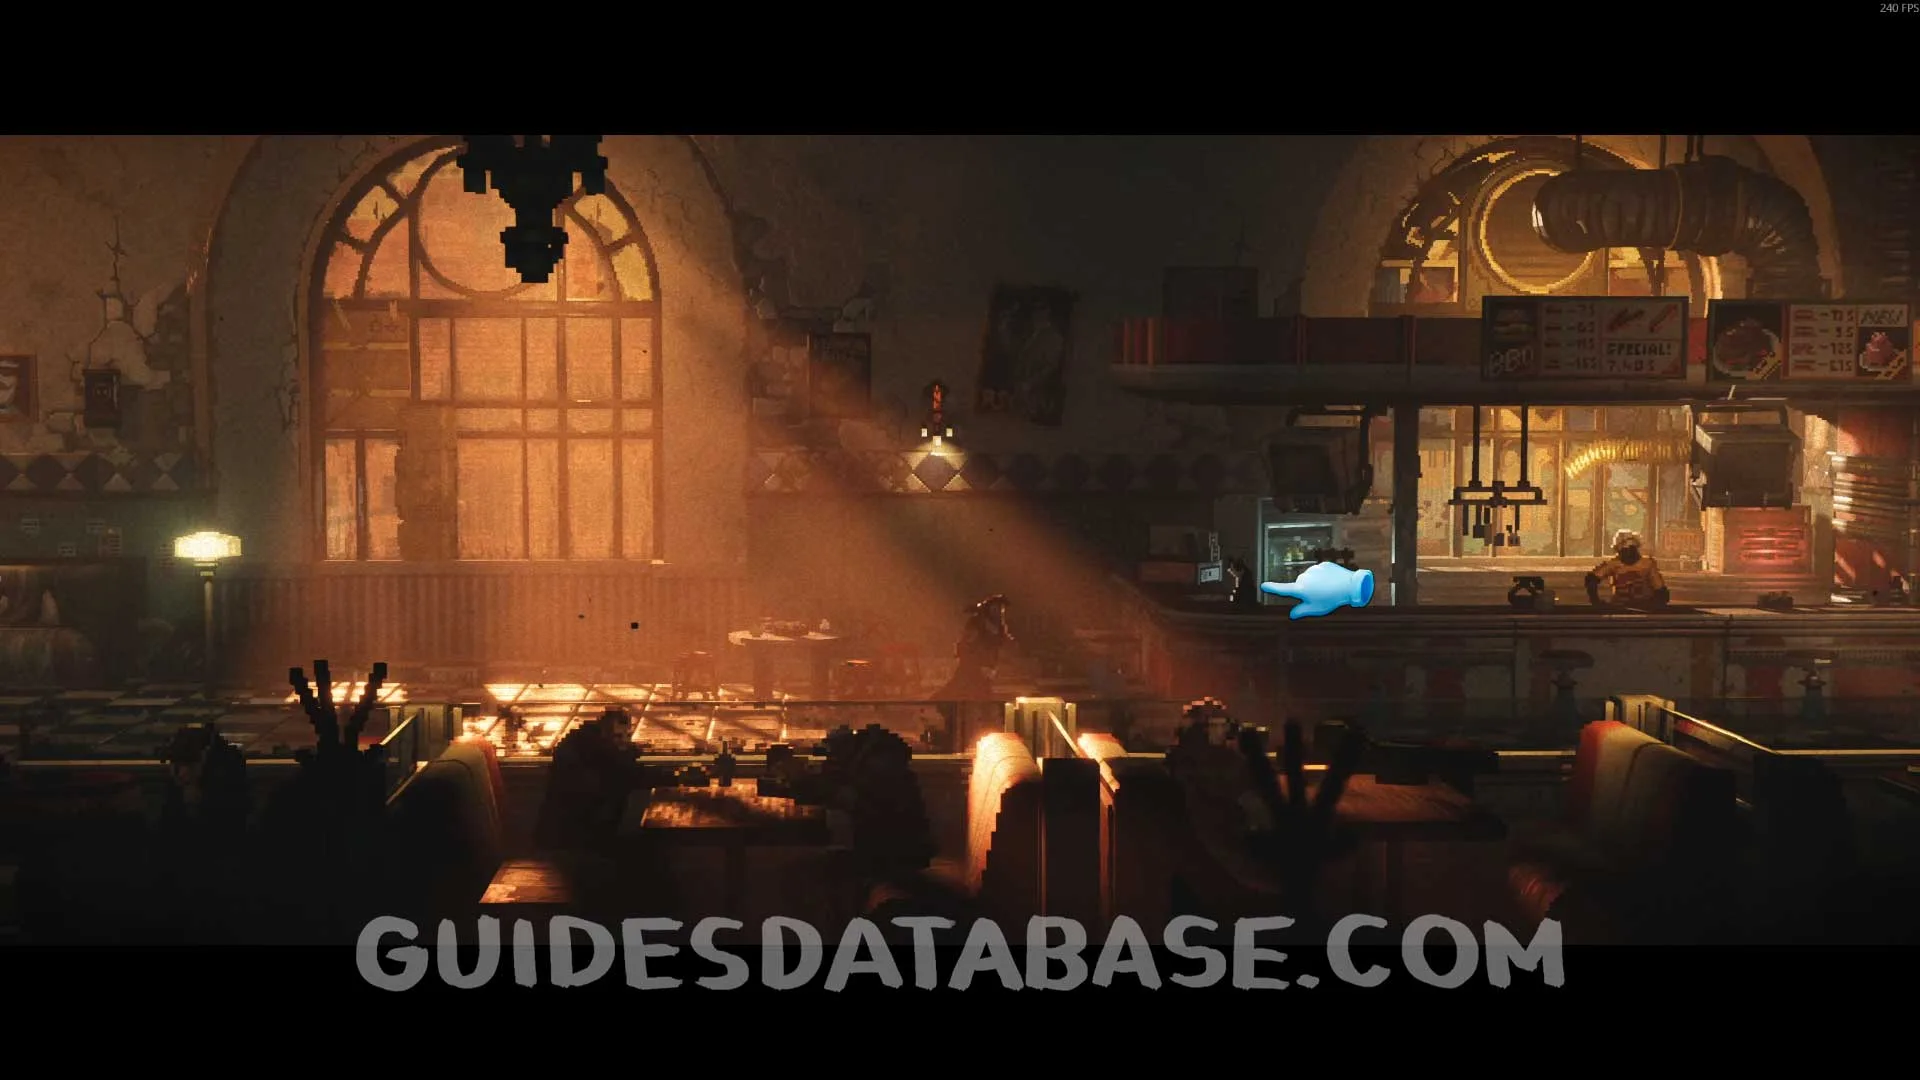
Cat #1
Same area as the previous collectible, on top of the counter.
 GUIDESDATABASE.COM
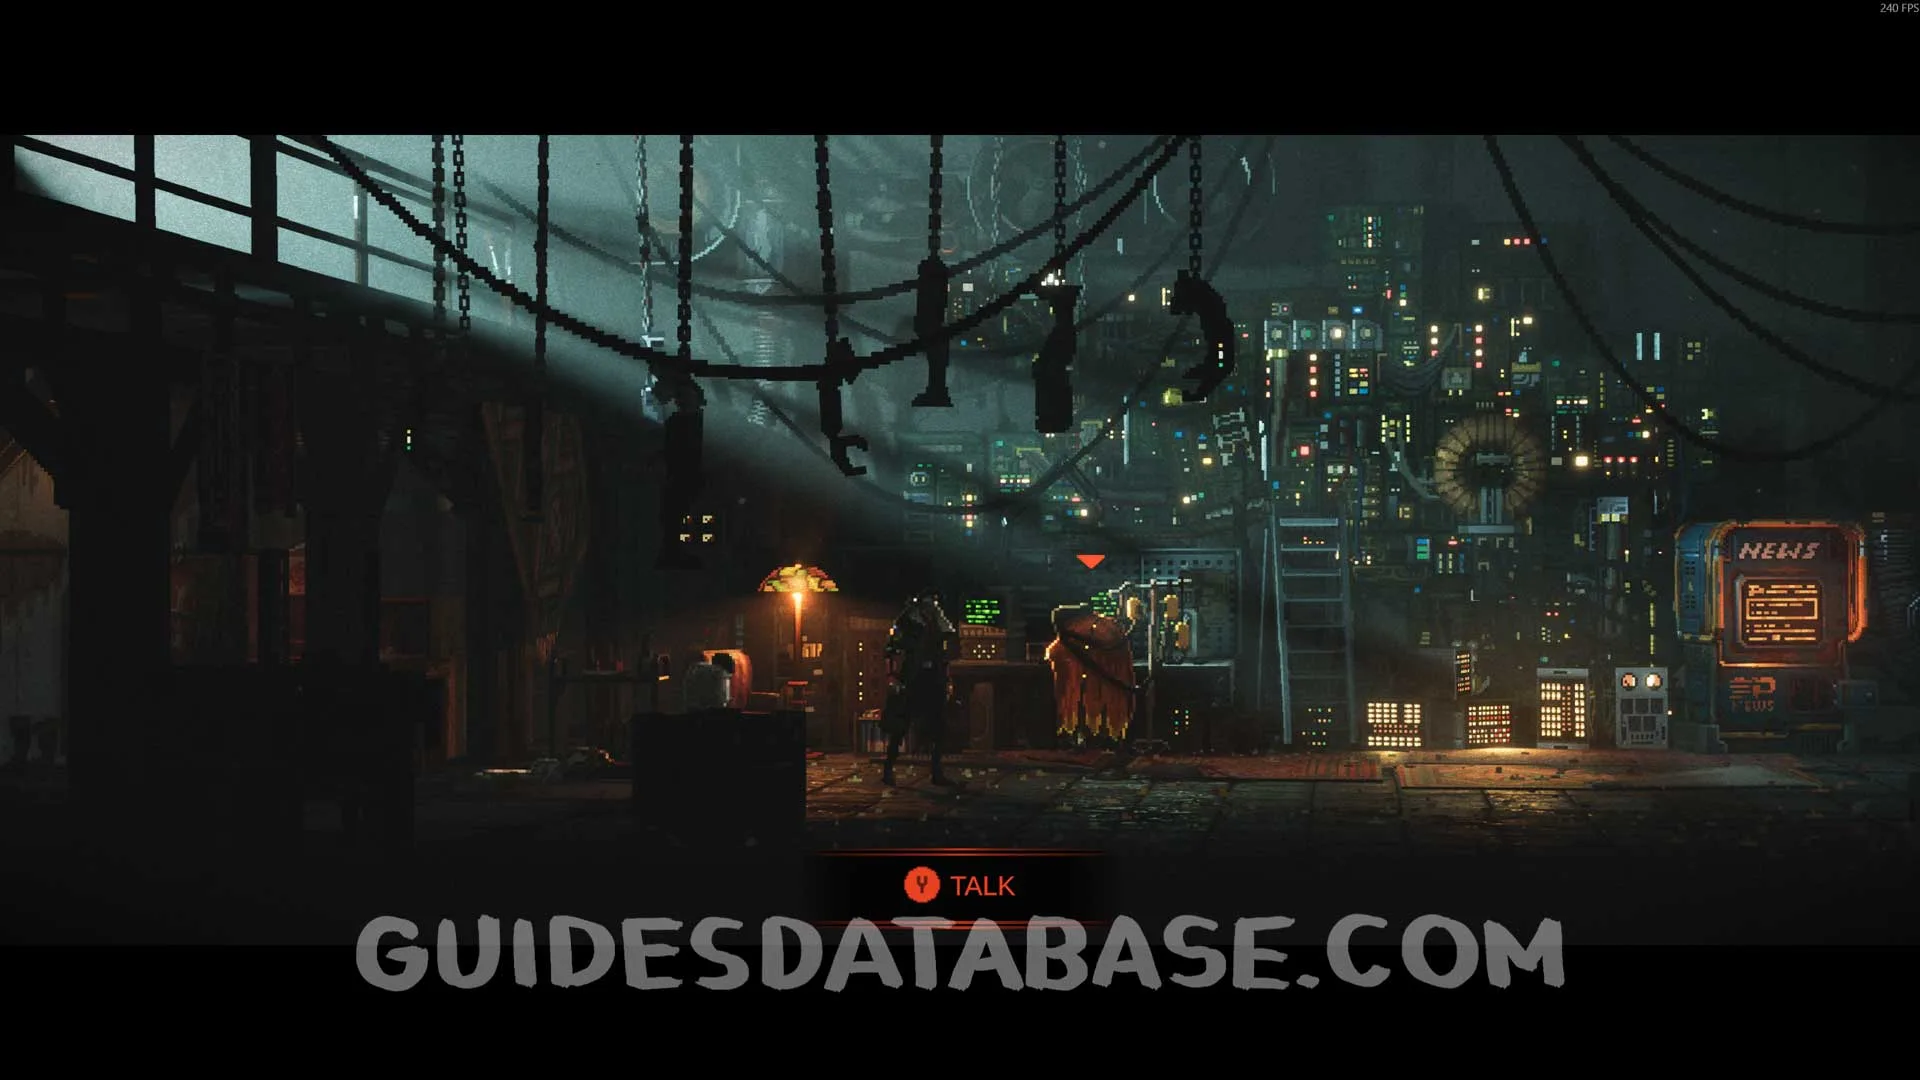
Doctor's Quest + Scan #21 Note to YO-YO + Scan #22 Vacuum Regulator + Rechargable Ampoule #1
Leave the safe zone and head left again. Enter the hospital and talk to the doctor to start this side quest.
 GUIDESDATABASE.COM
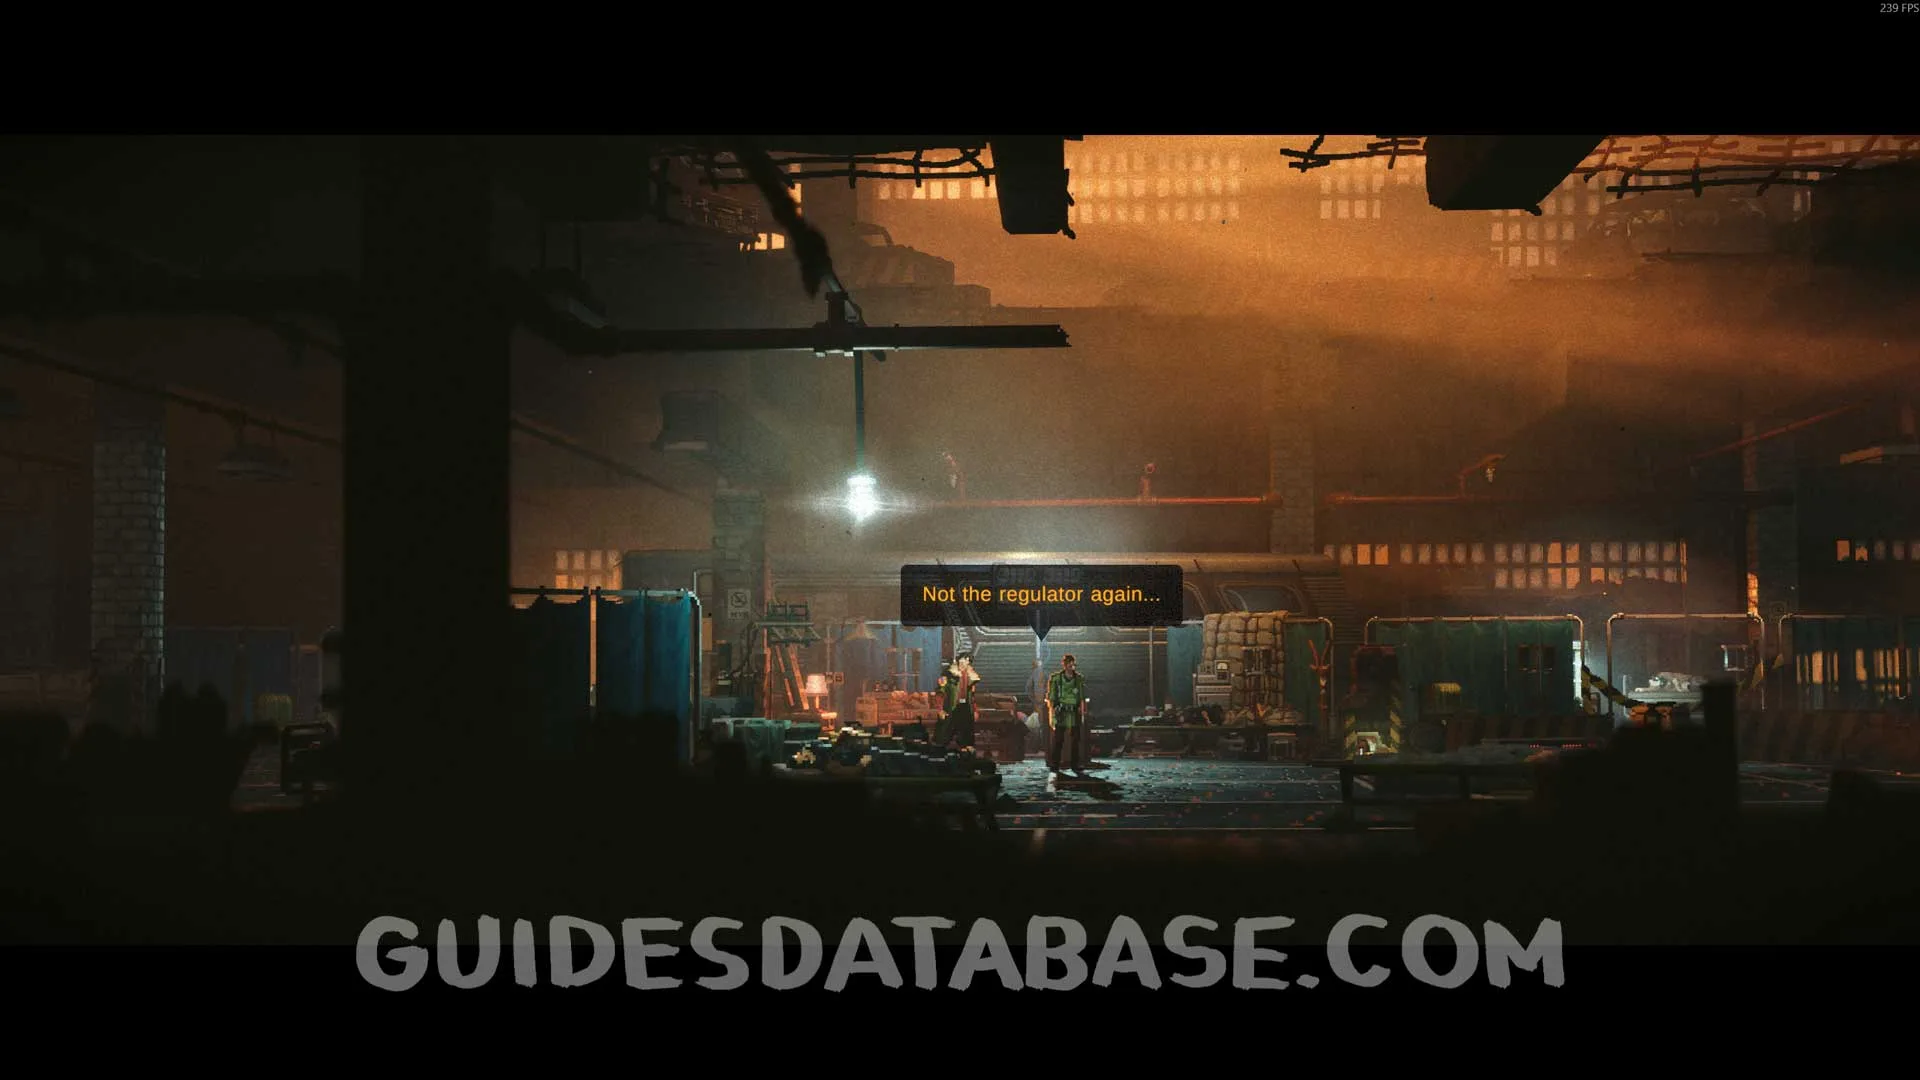 GUIDESDATABASE.COM
Now go back to the right side of the safe zone near the stairs you go down at the start of the chapter. Enter the room, then go into the next room. You will see this scan on your right.
 GUIDESDATABASE.COM
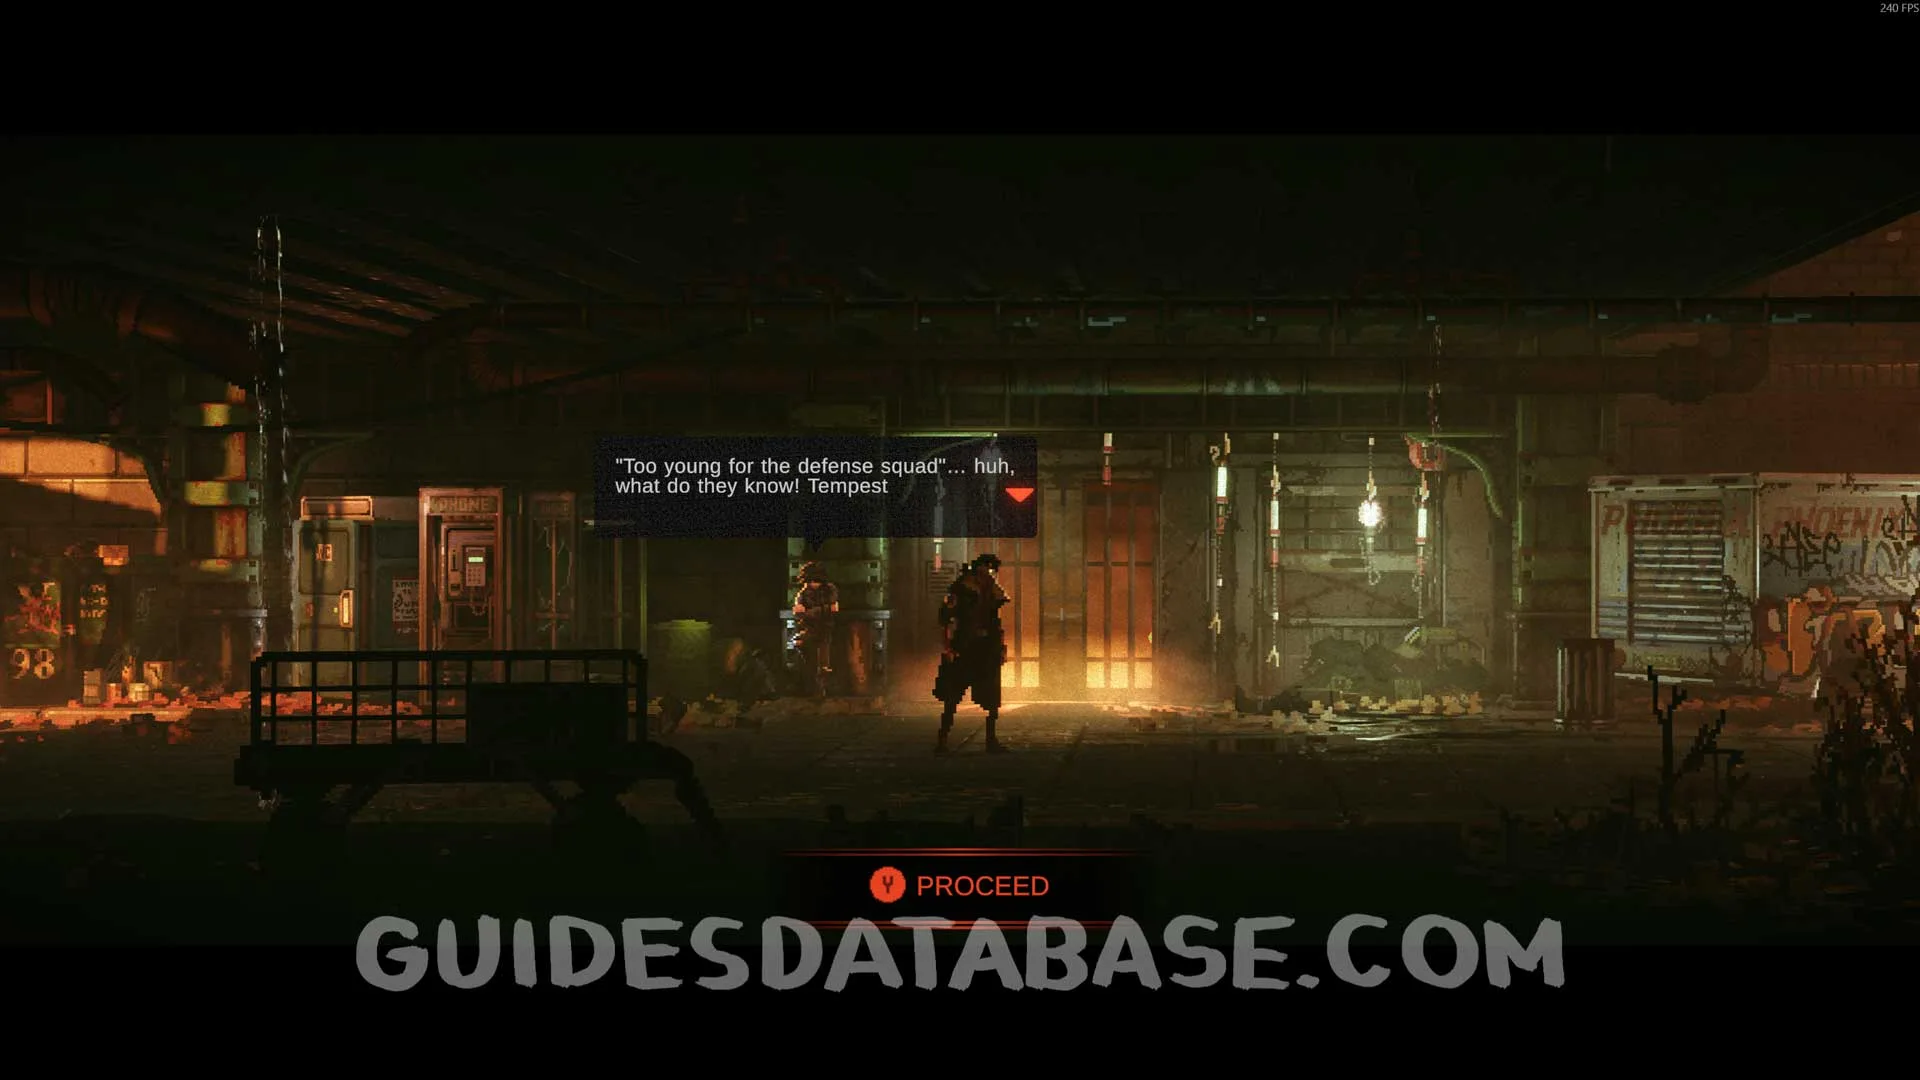 GUIDESDATABASE.COM
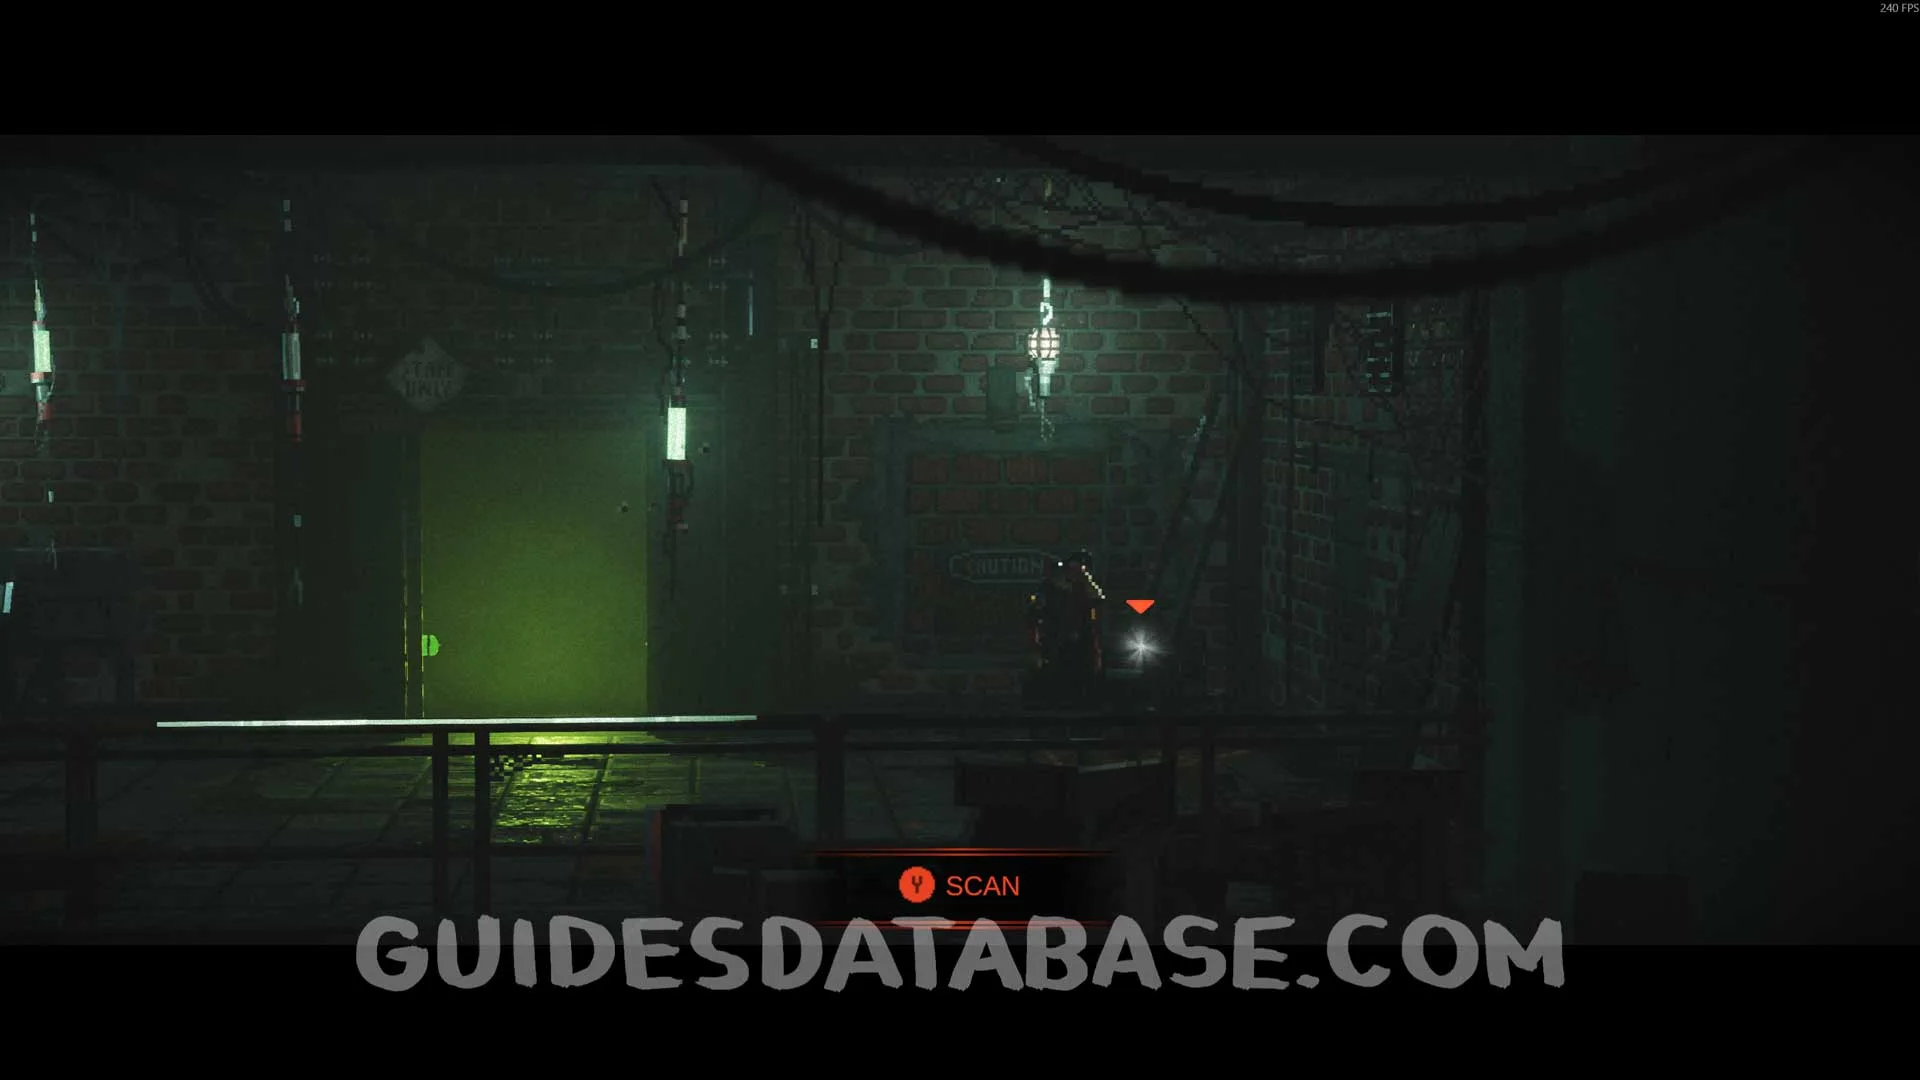 GUIDESDATABASE.COM
Now head to the left and you will find YO-YO and Tempest. A cutscene will start and you will get the Gun Blast. After that, talk to YO-YO and select the Regulator option to progress the doctor’s side quest. You will also get a Scan.
 GUIDESDATABASE.COM
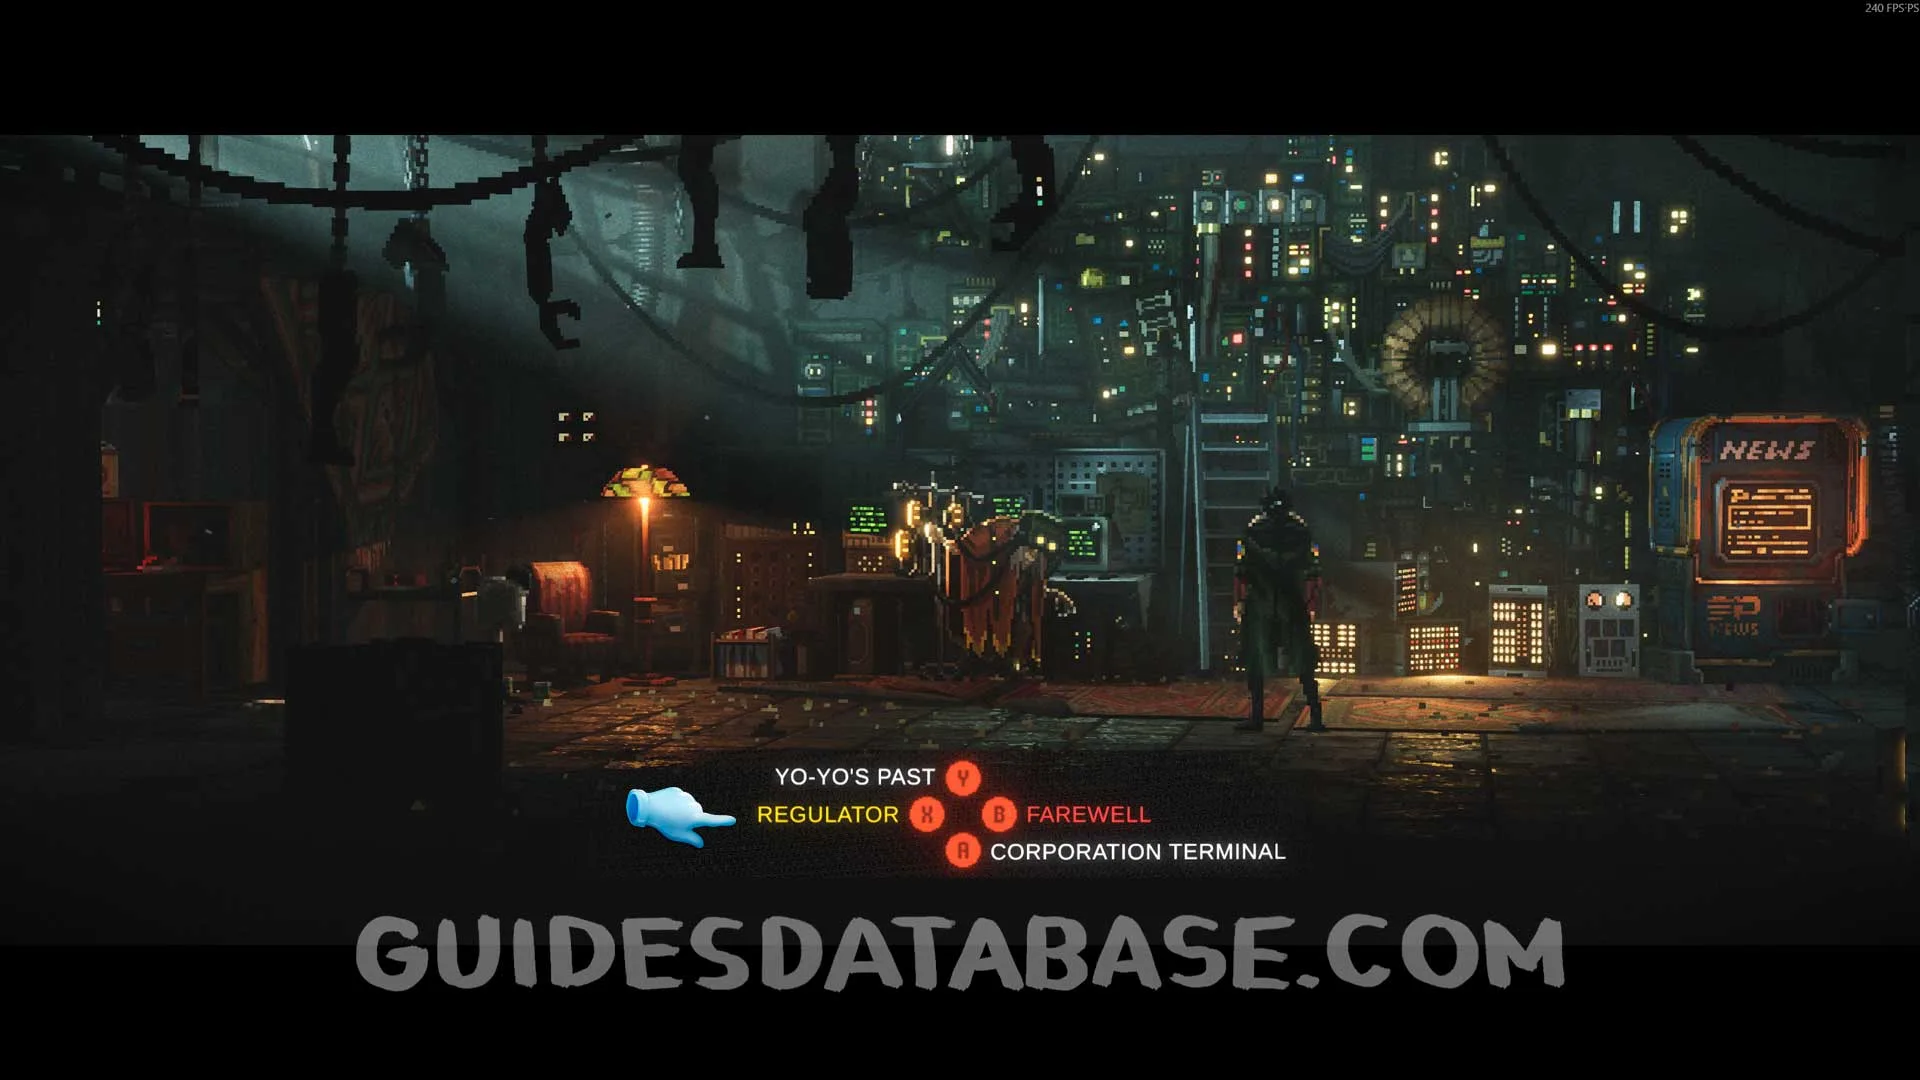 GUIDESDATABASE.COM
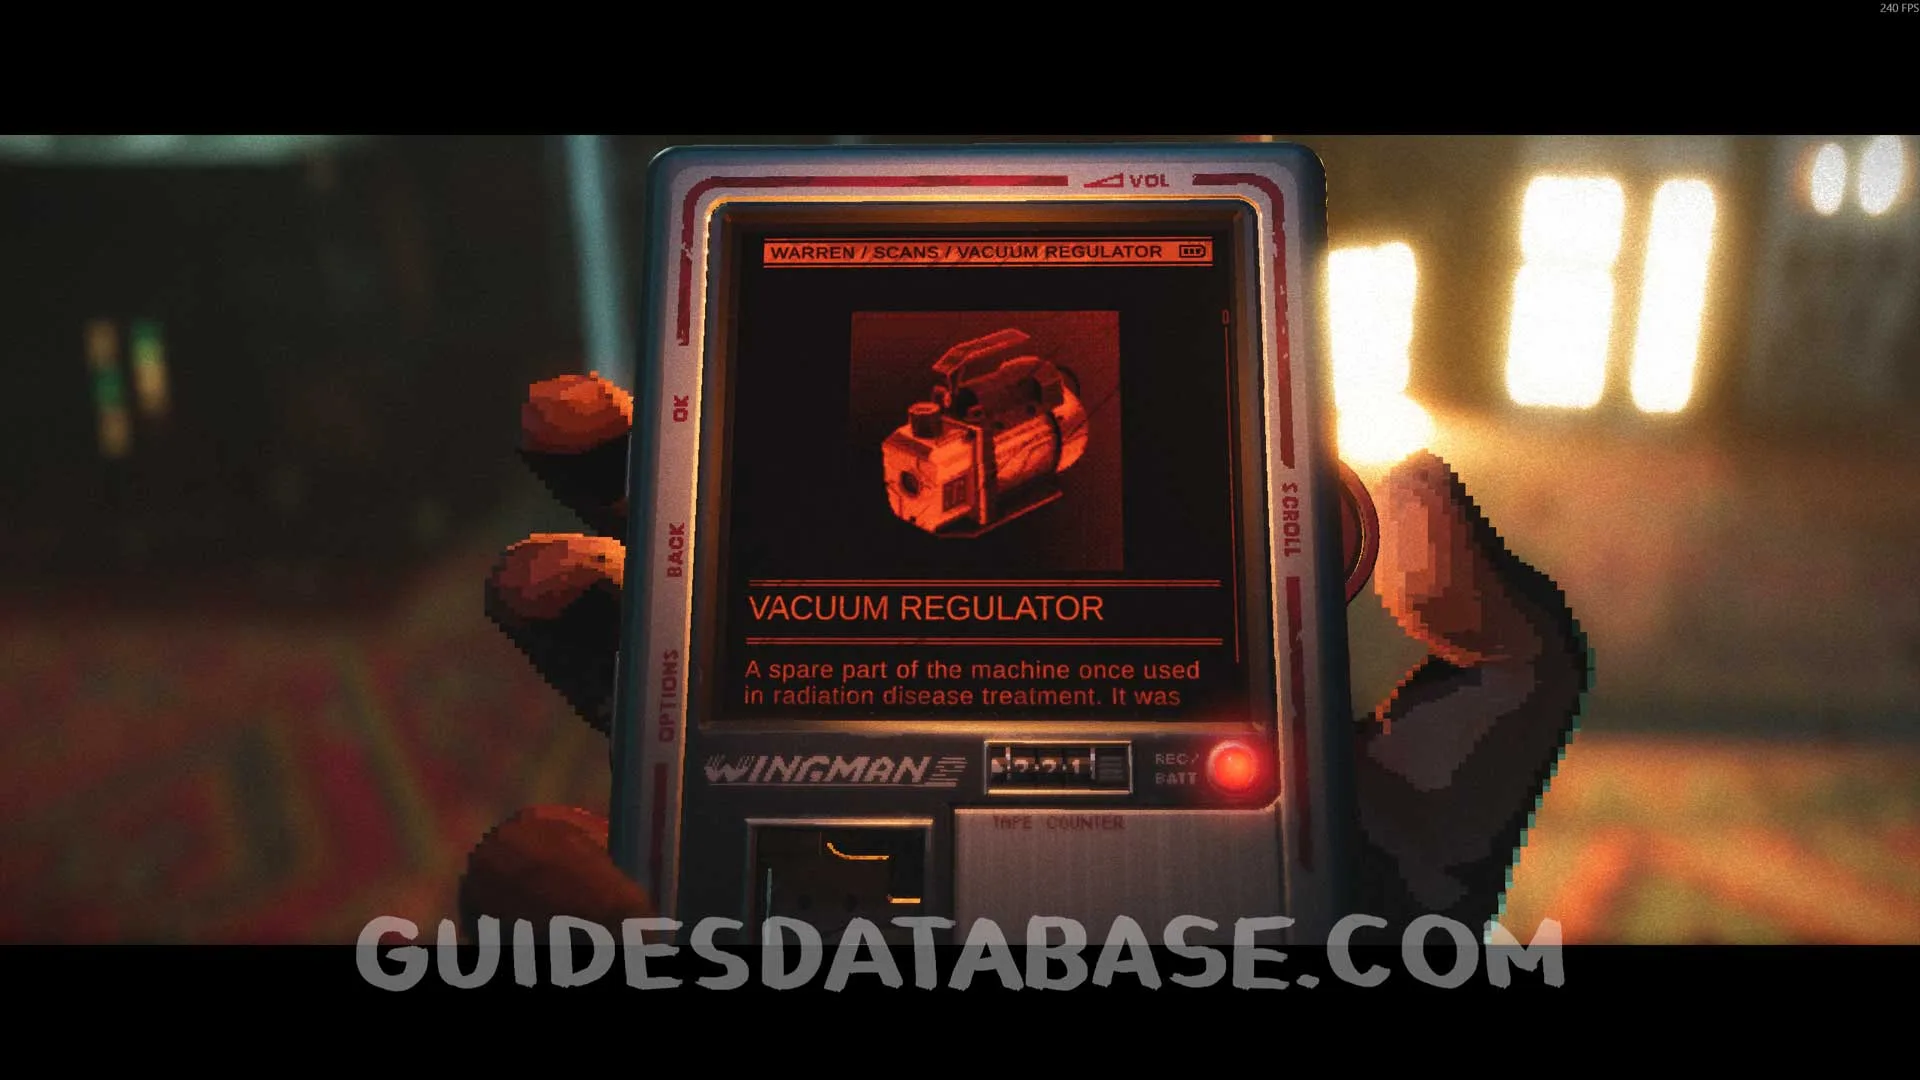 GUIDESDATABASE.COM
Finally, go back to the doctor and give him the Regulator. This will complete the side quest. You will get a Med-Stims Upgrade and the achievement Let There Be Blood.
 GUIDESDATABASE.COM
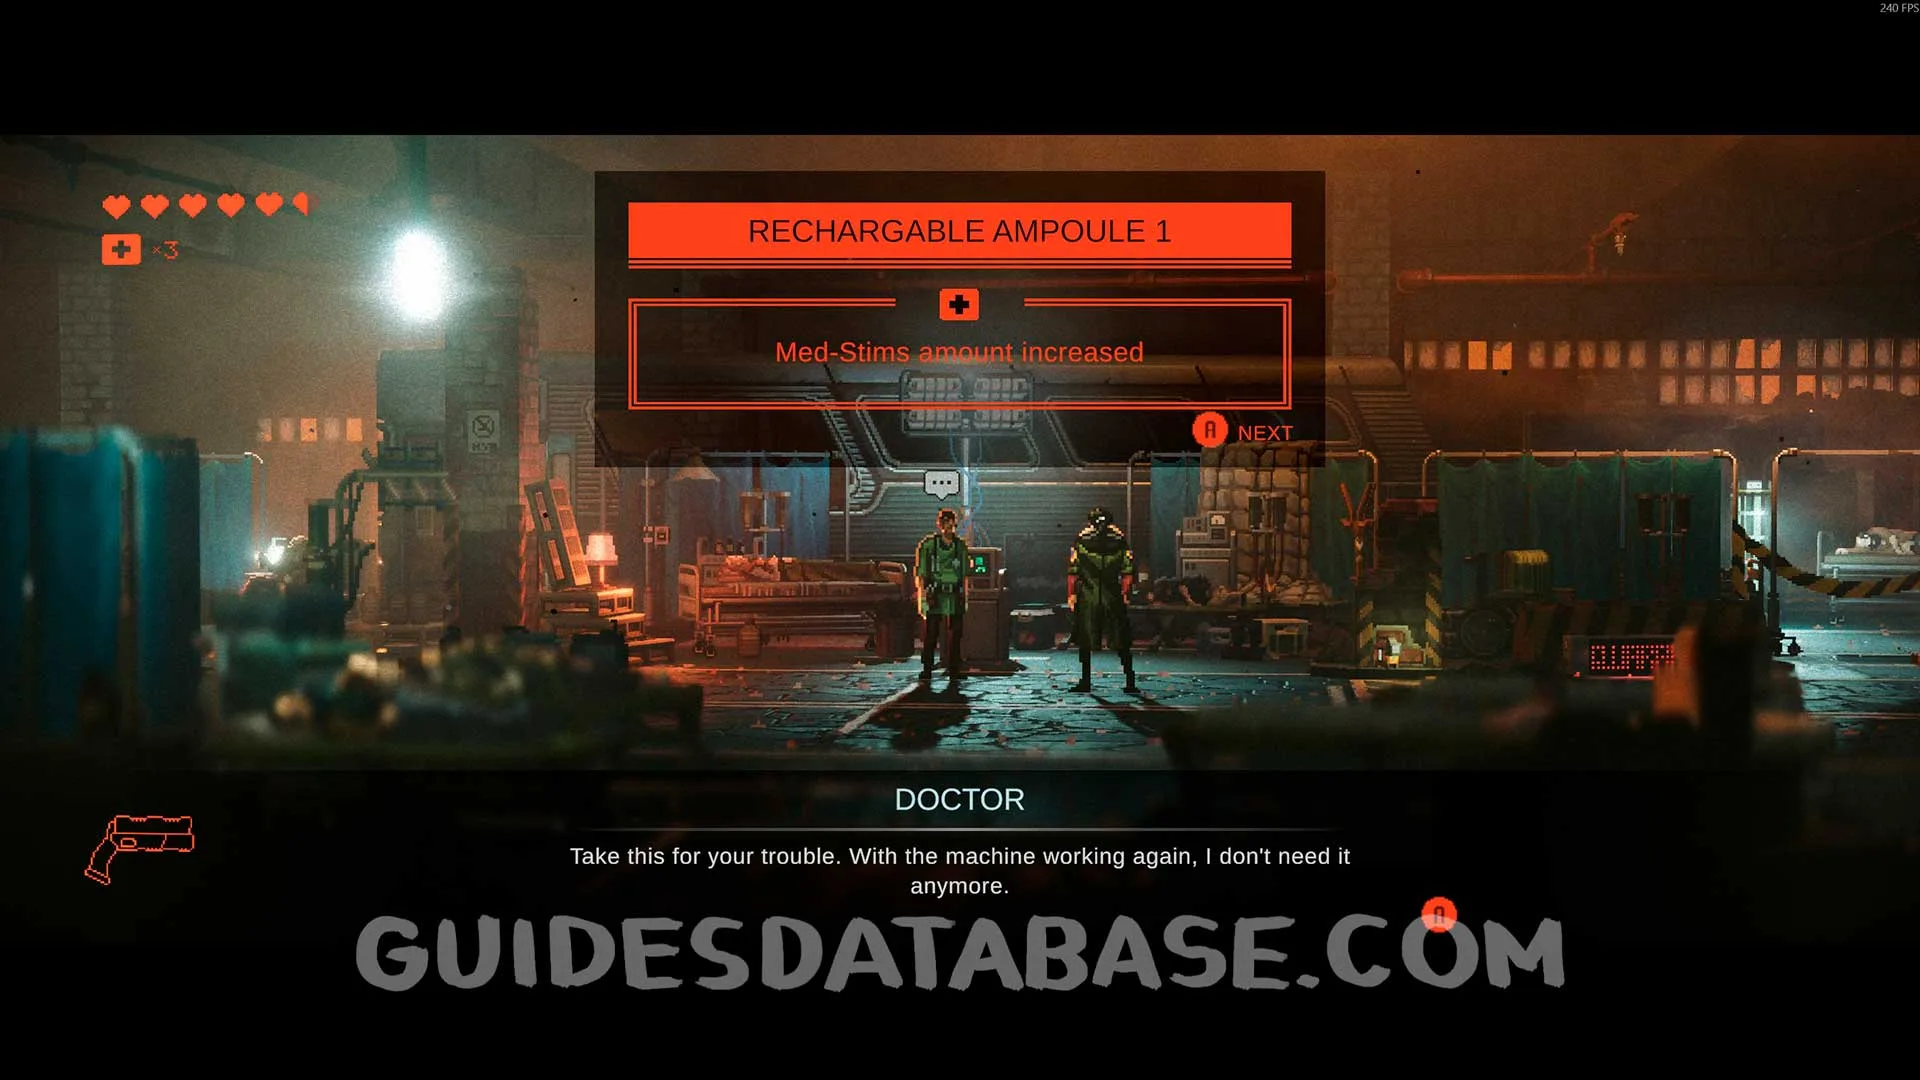 GUIDESDATABASE.COM
Scan #23 Underground Chatroom + Scan #24 Laboratory Incident News Article
Go back to the room where you first found YO-YO and interact with the machine next to YO-YO. Read the files and exit to get this scan.
 GUIDESDATABASE.COM
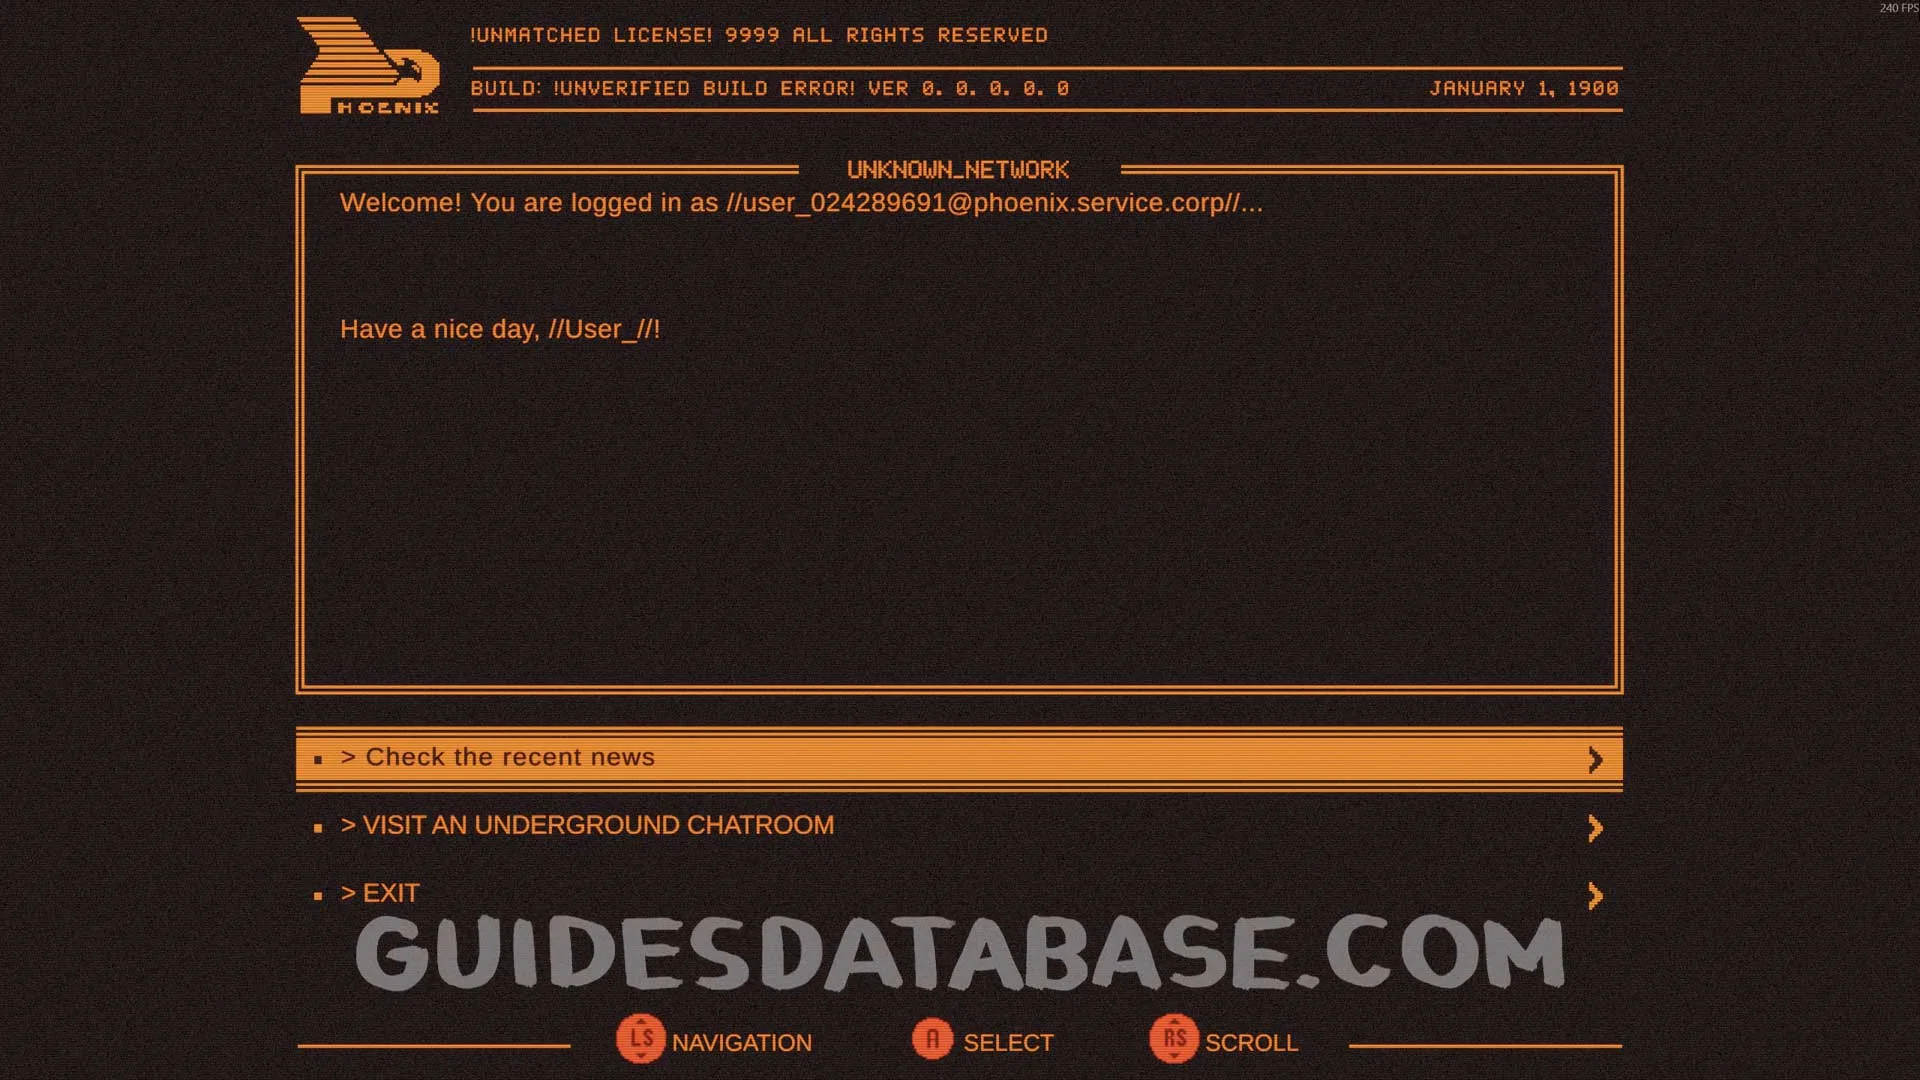 GUIDESDATABASE.COM
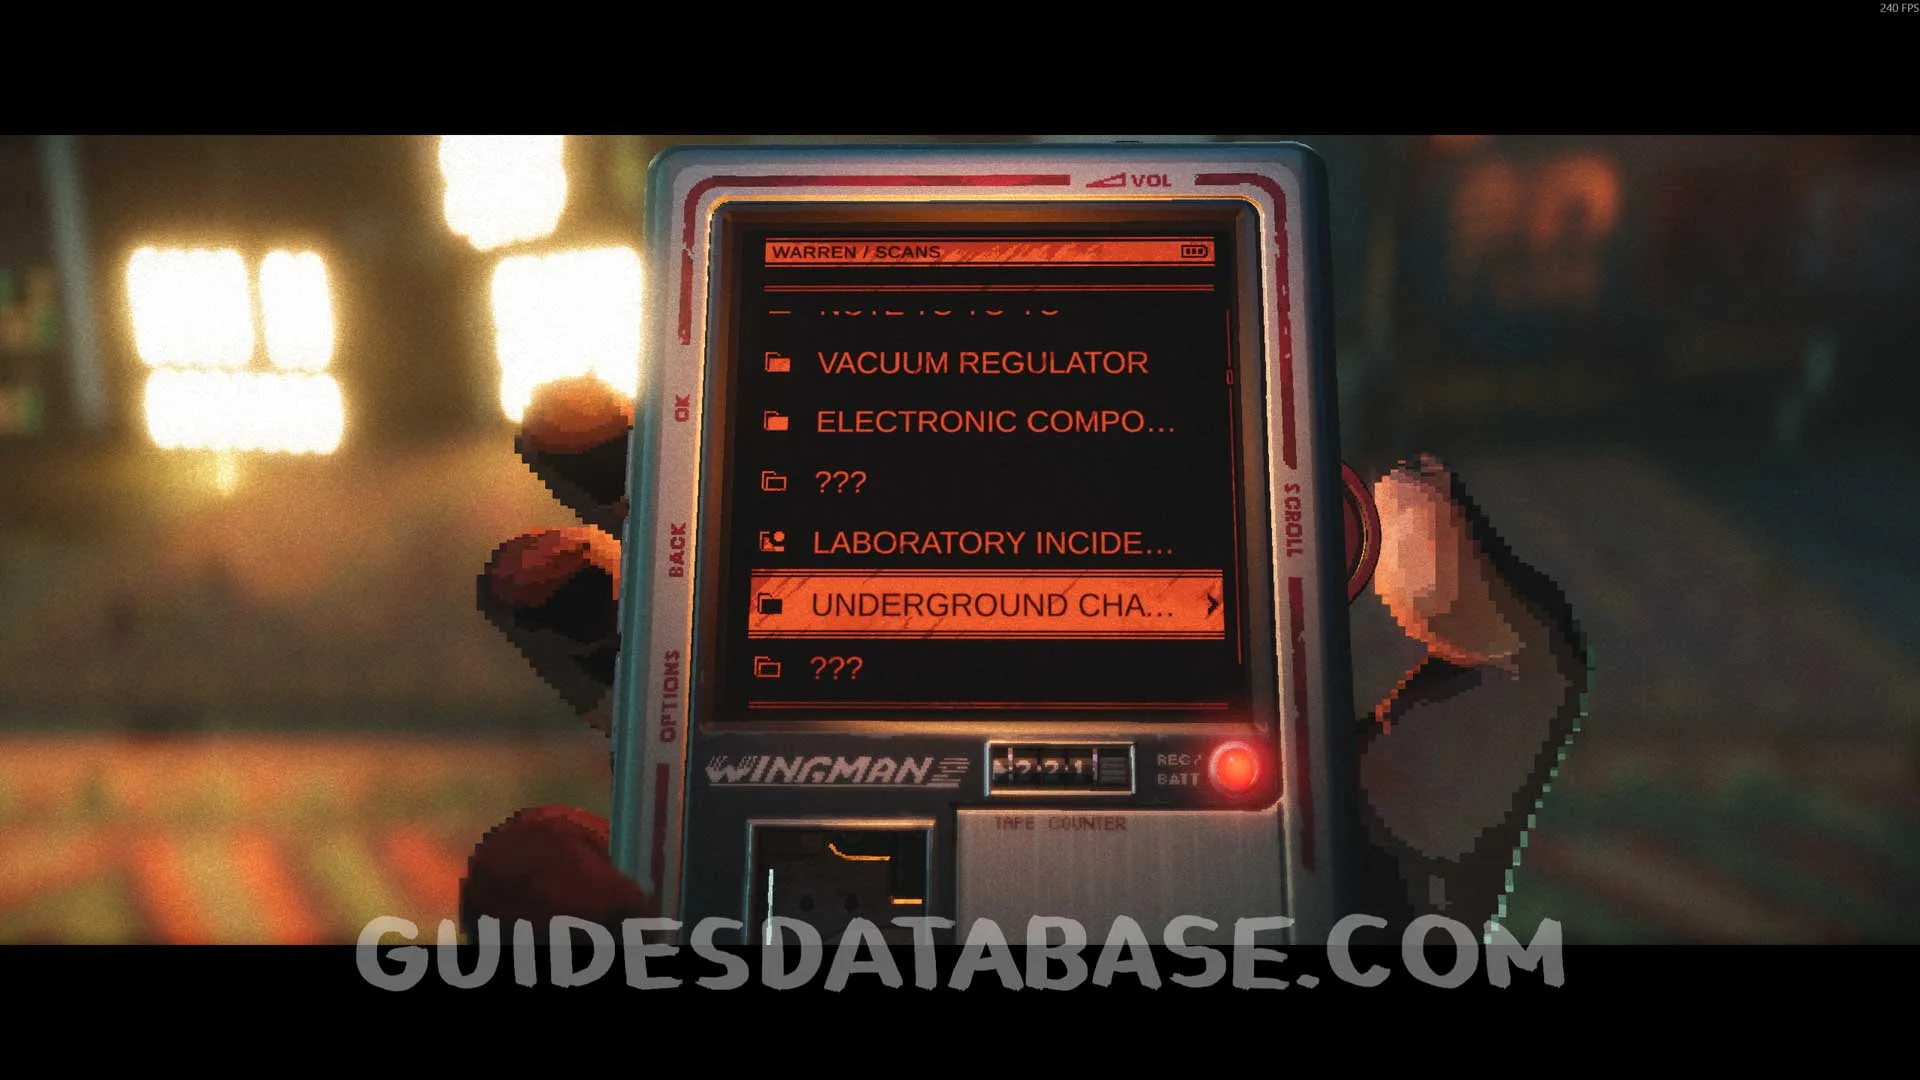 GUIDESDATABASE.COM
Chapter 3
Scan #25 Prospero Information Board
At the start of the chapter, you will be in a tunnel. Go up the stairs and get this scan on the left side.
 GUIDESDATABASE.COM
 GUIDESDATABASE.COM
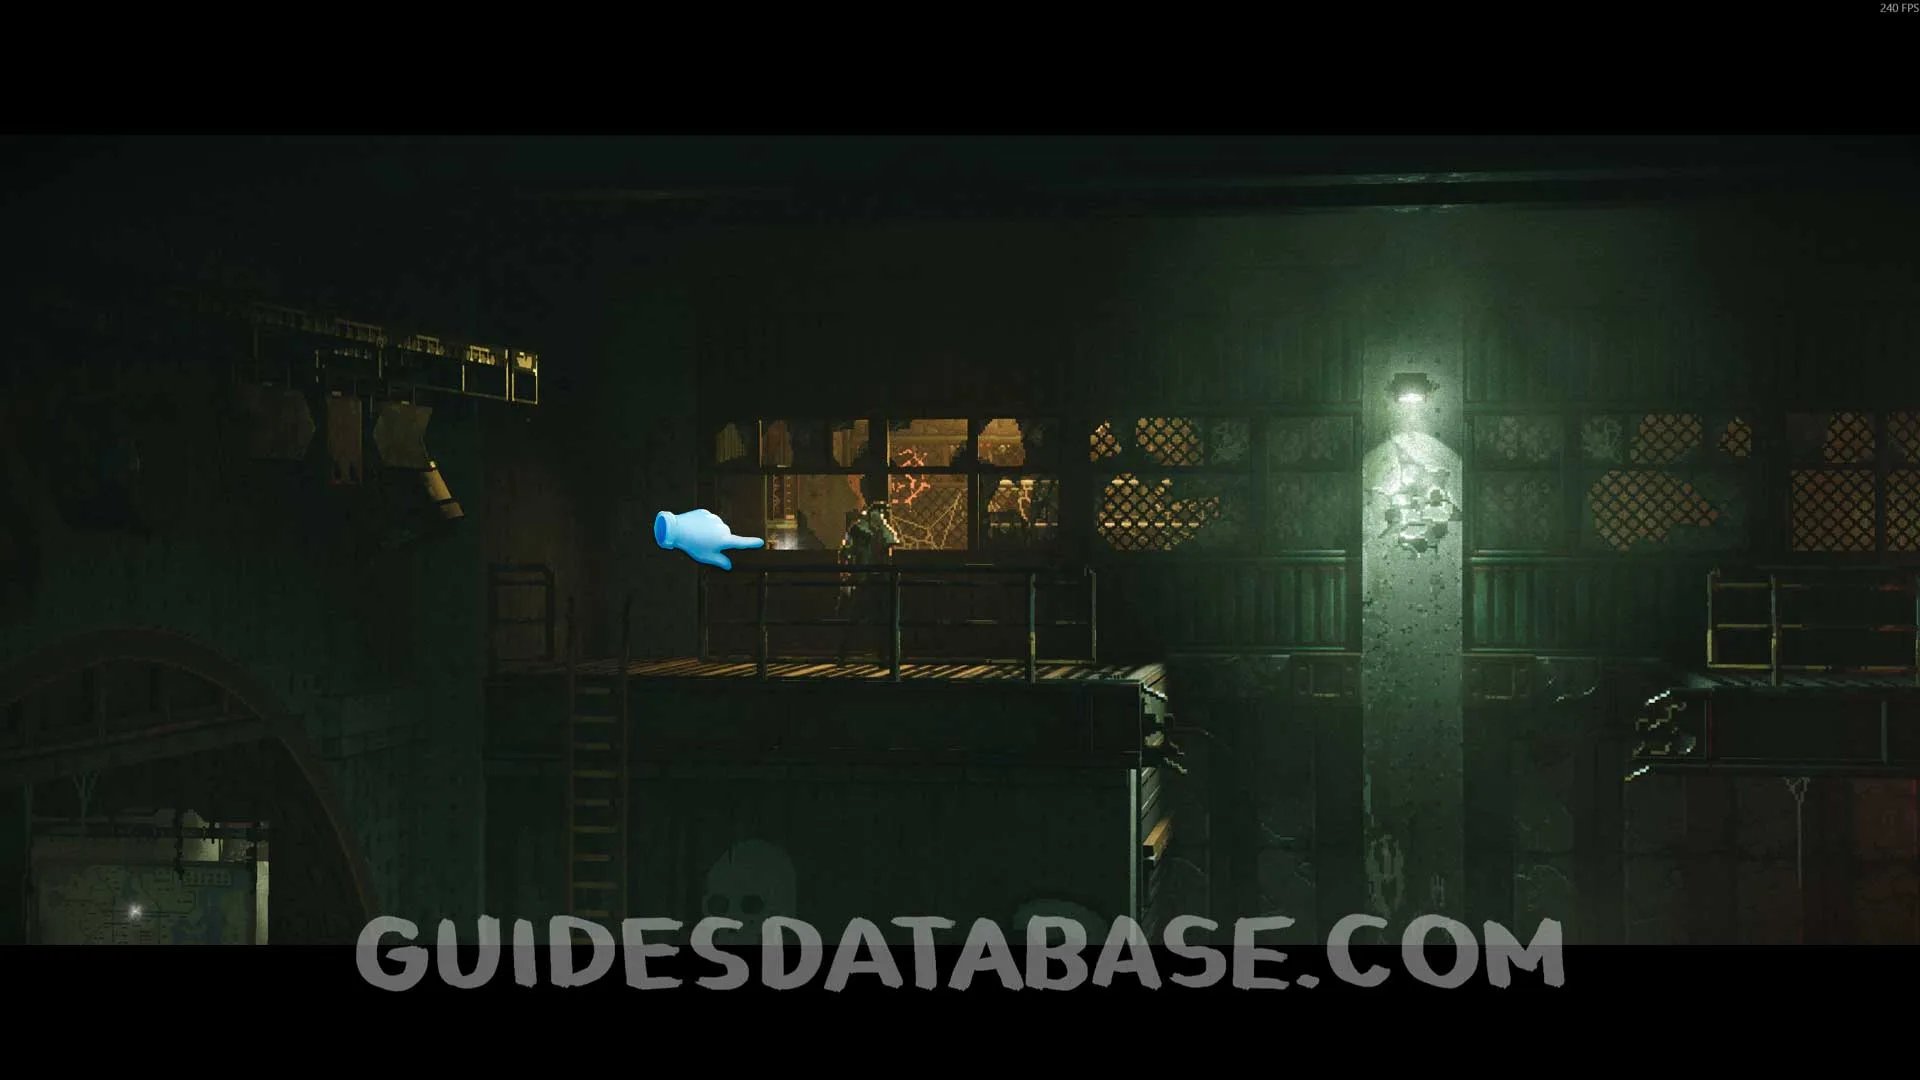
Genetic Profile #3
From the previous collectible, go up the stairs and use your pickaxe to hang. After that, go through the door on the left and head to the end to find this.
 GUIDESDATABASE.COM
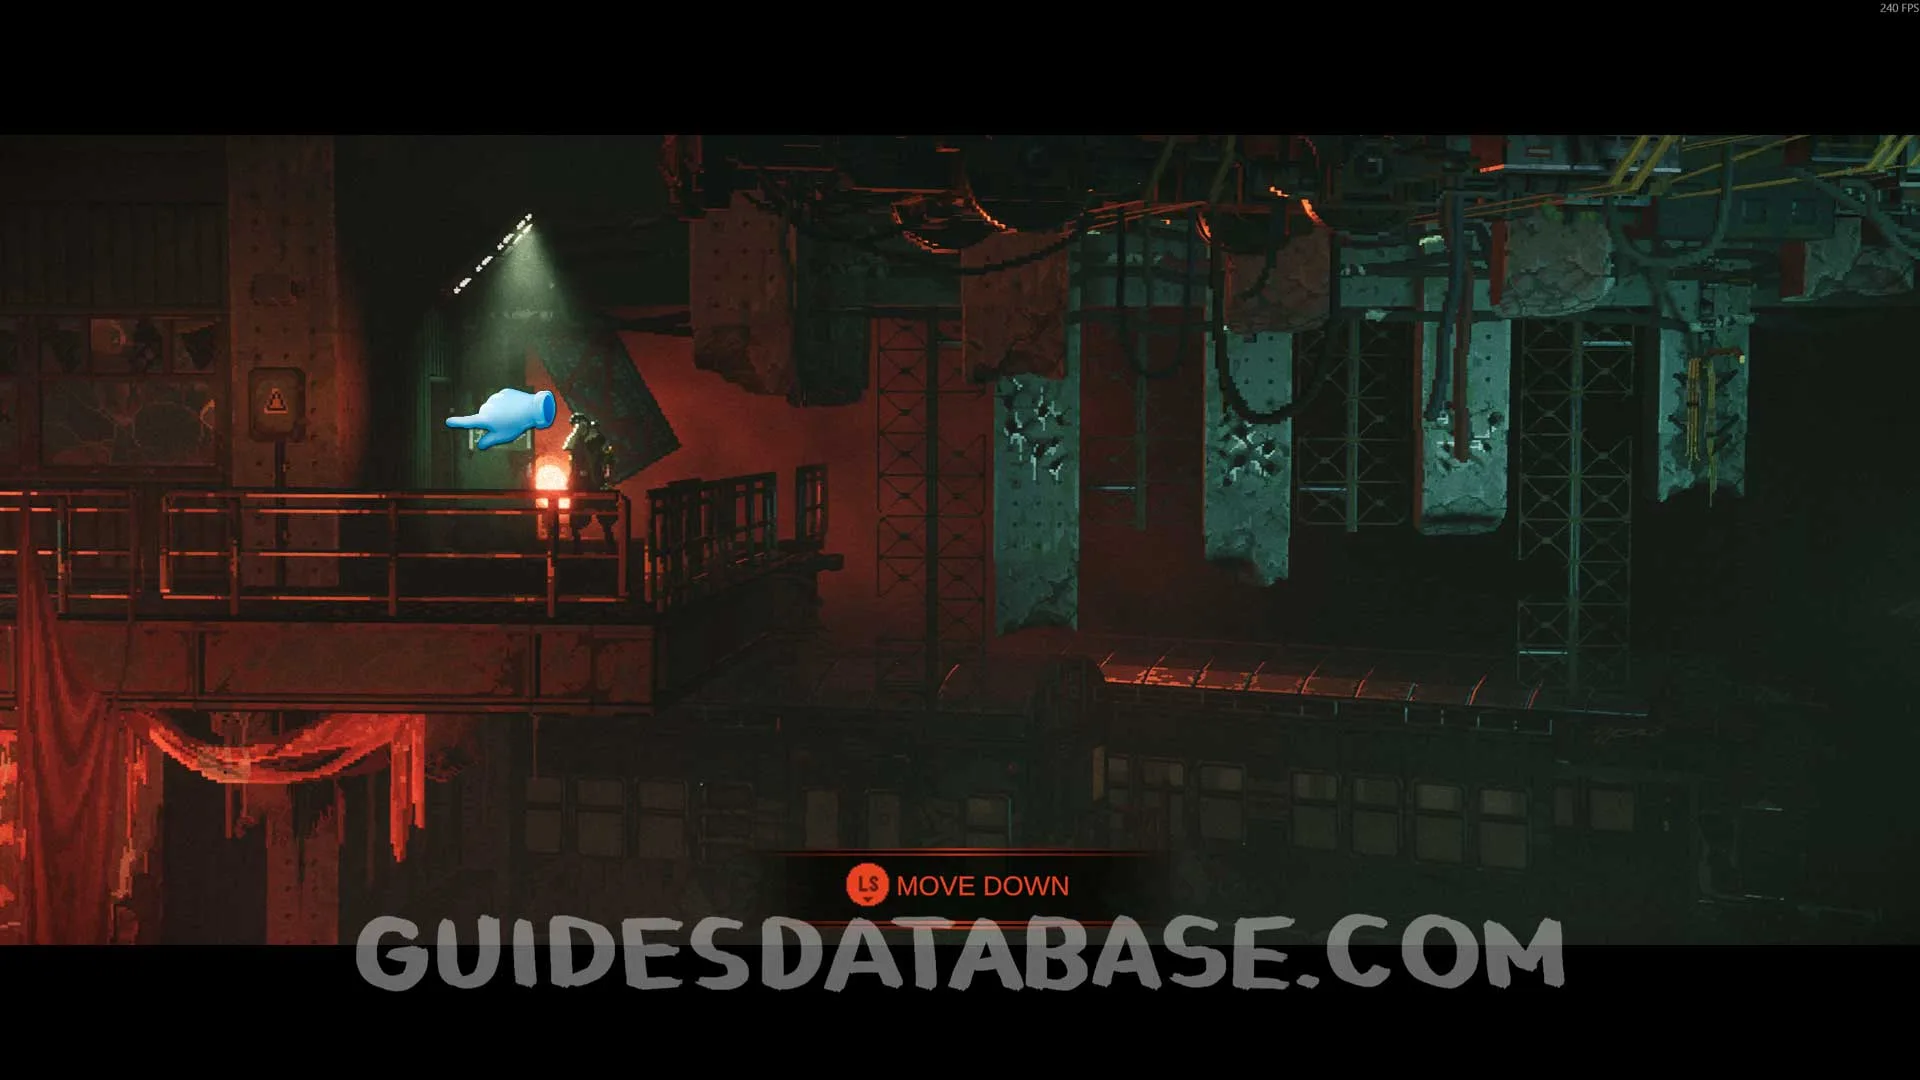 GUIDESDATABASE.COM
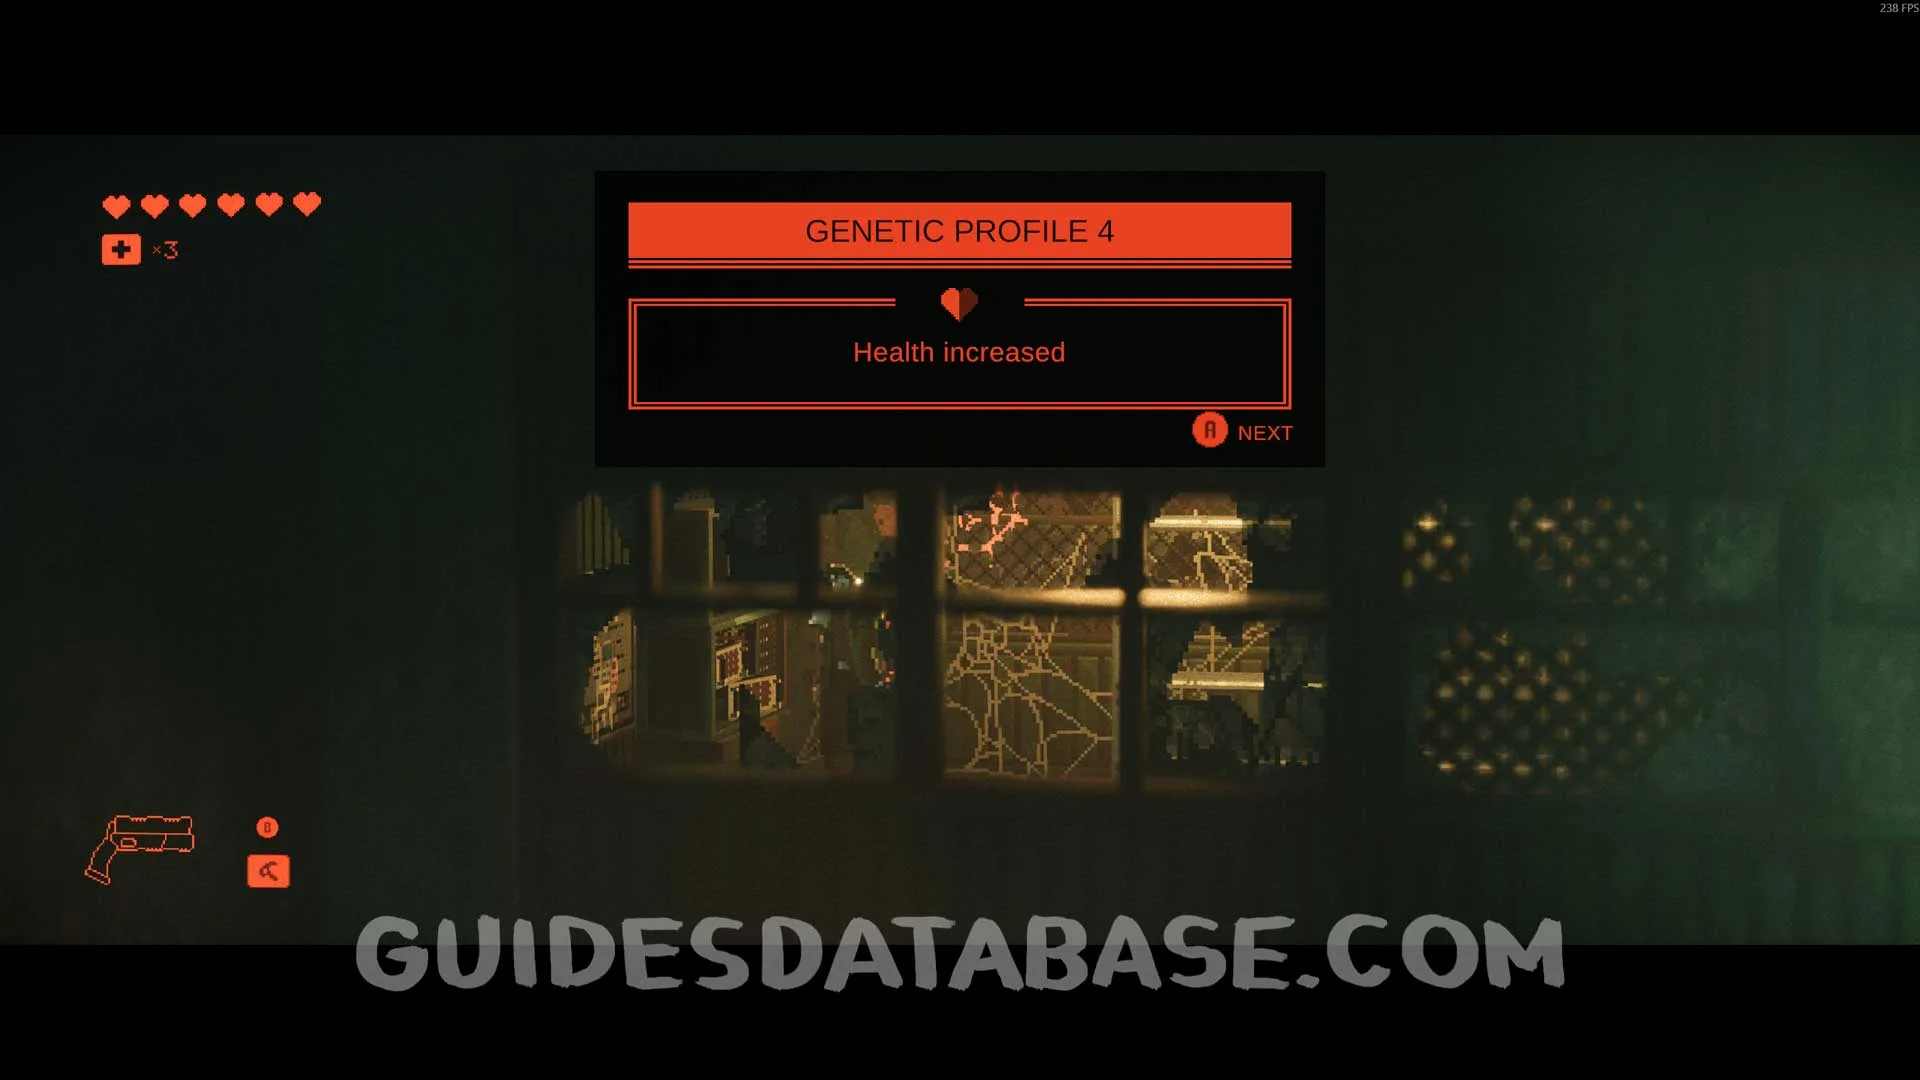 GUIDESDATABASE.COM
Scan #26 Ironwood's Interview
After defeating the Termite Tank, go right, then go up the stairs and head left all the way to the end to find this scan.
 GUIDESDATABASE.COM
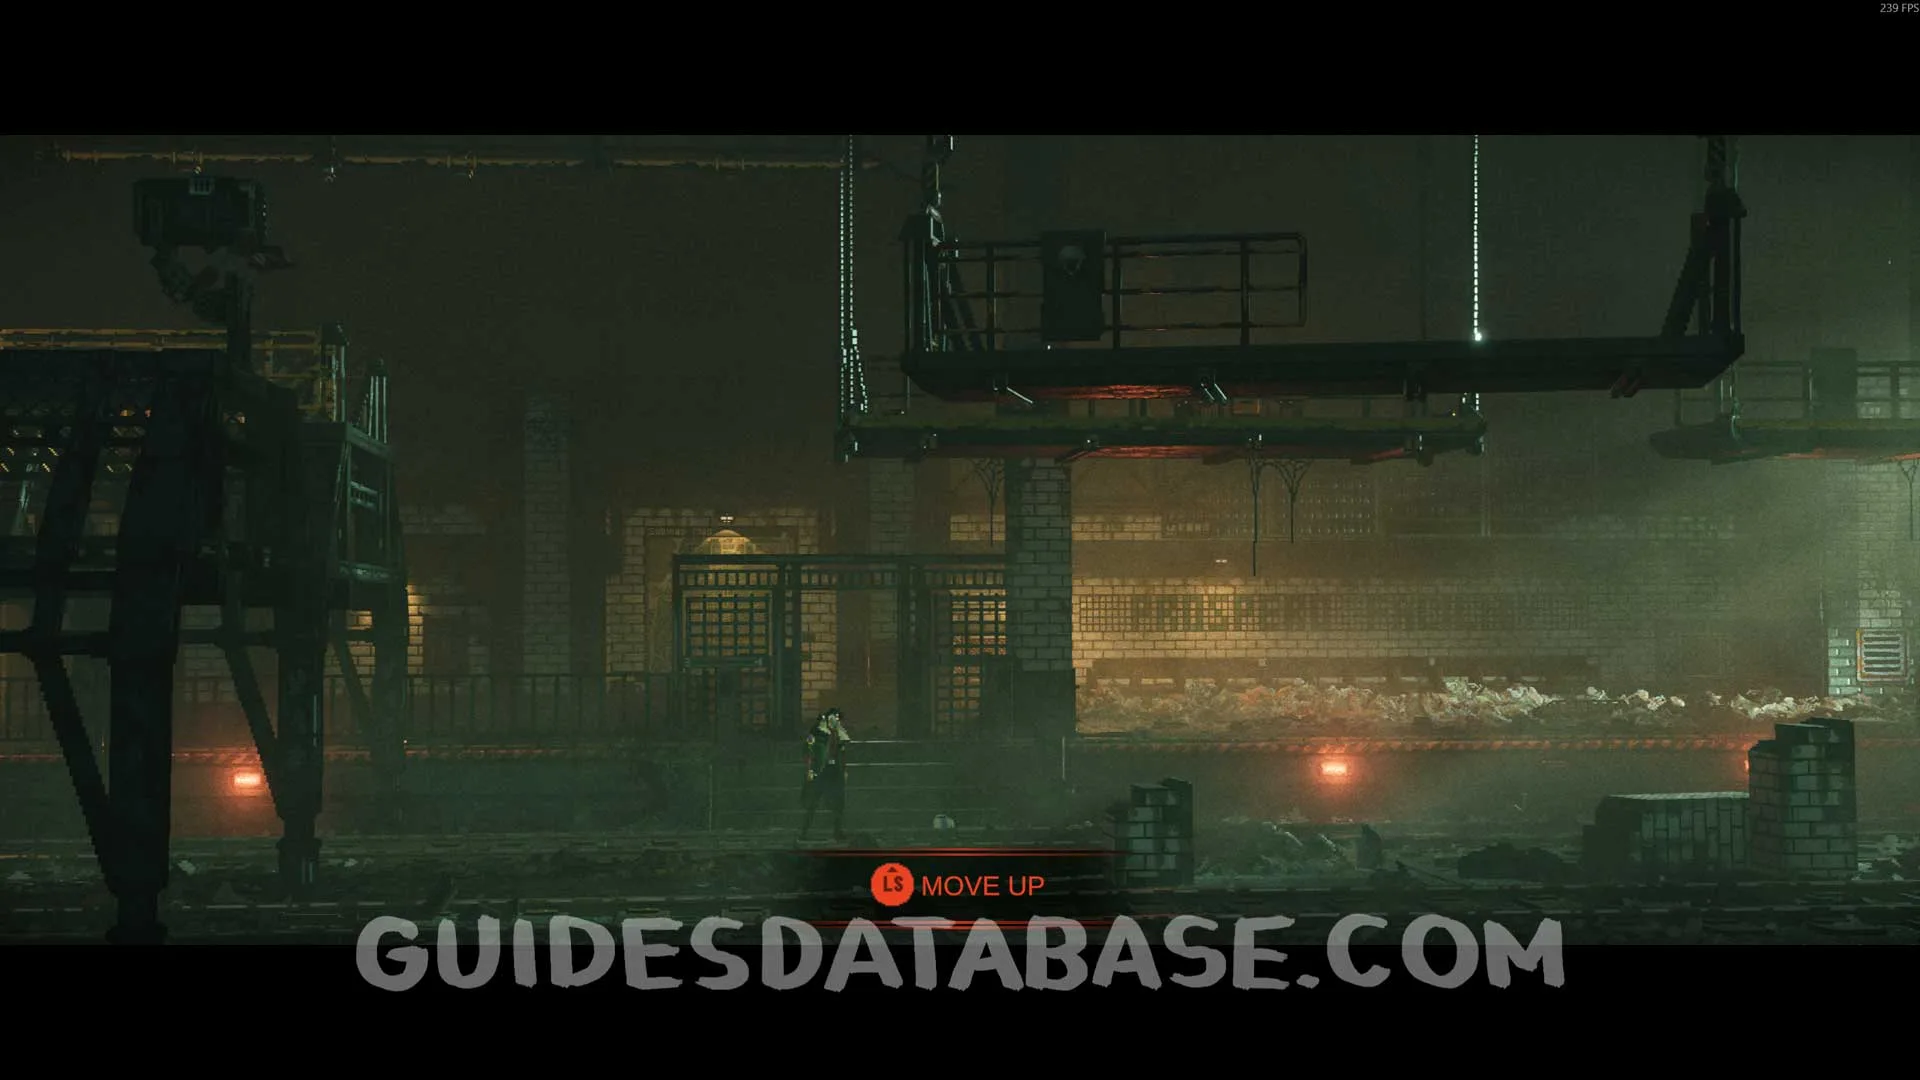 GUIDESDATABASE.COM
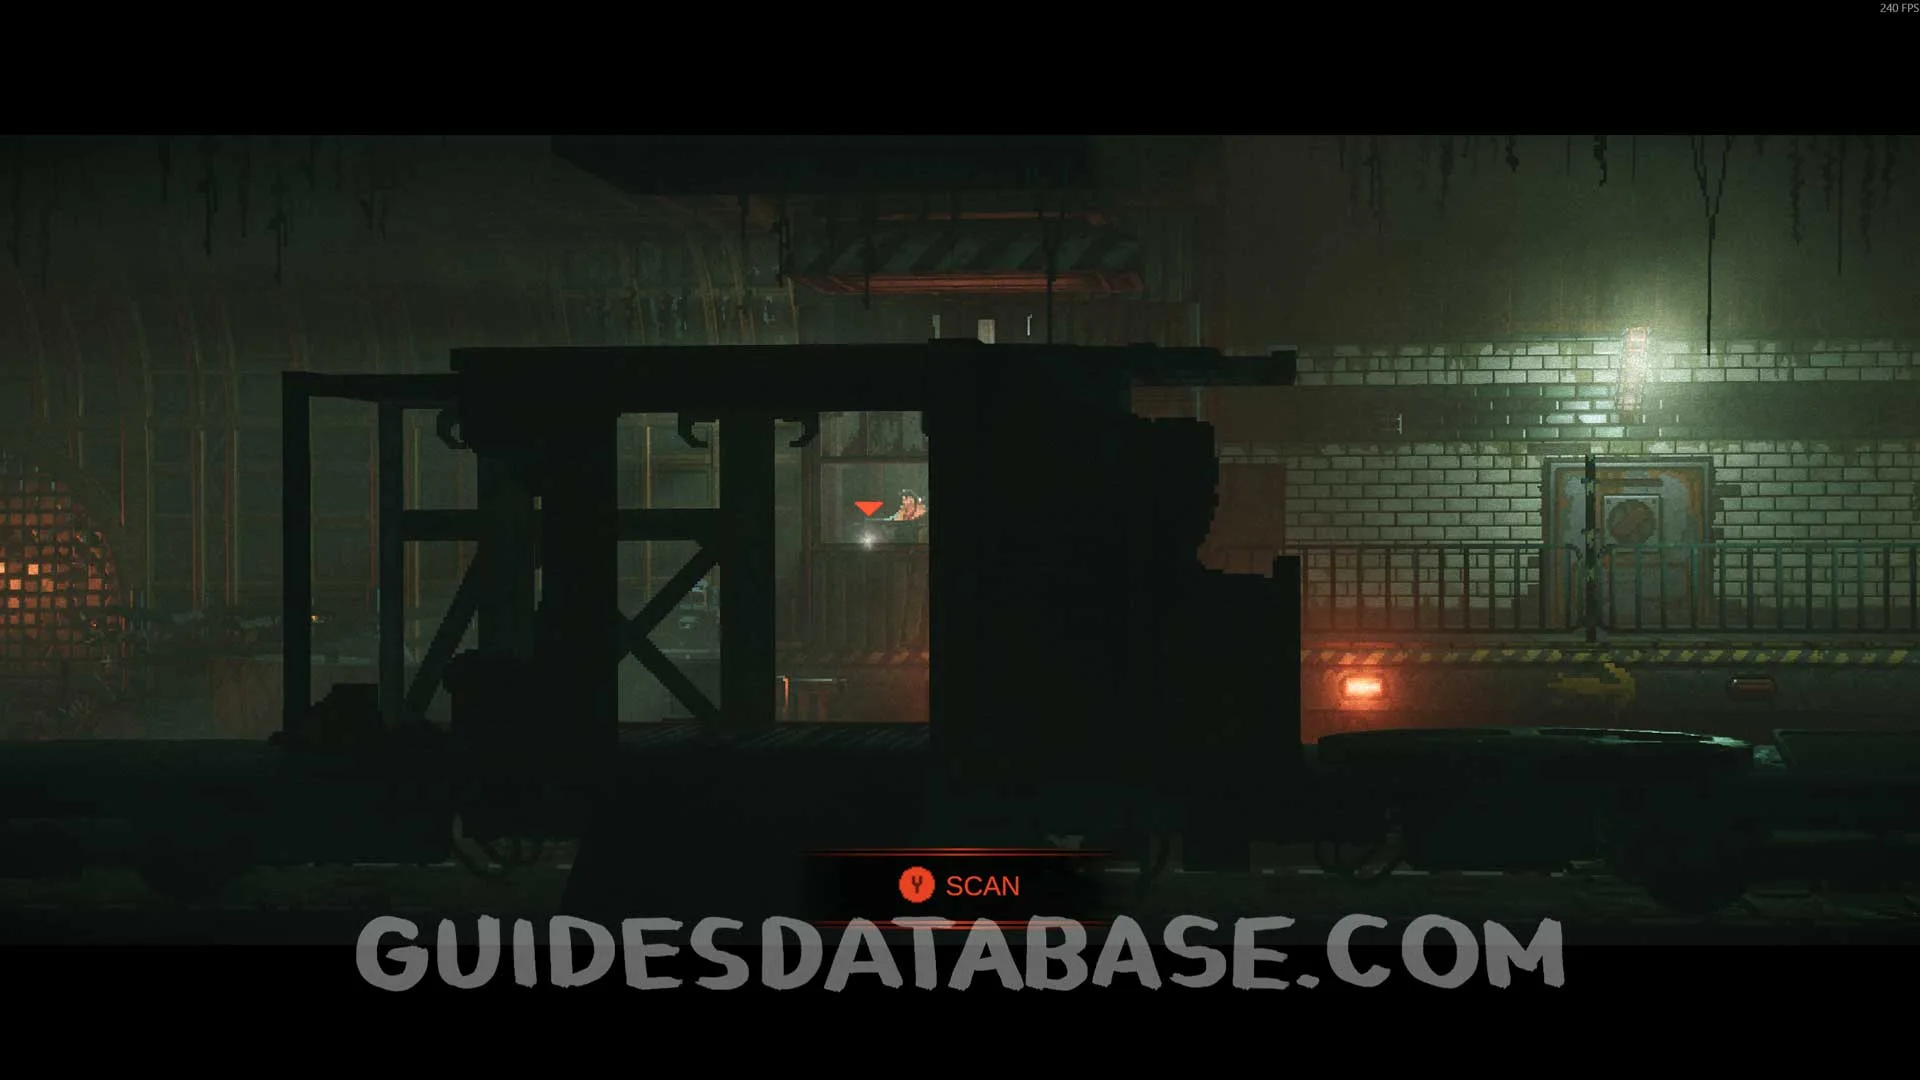 GUIDESDATABASE.COM
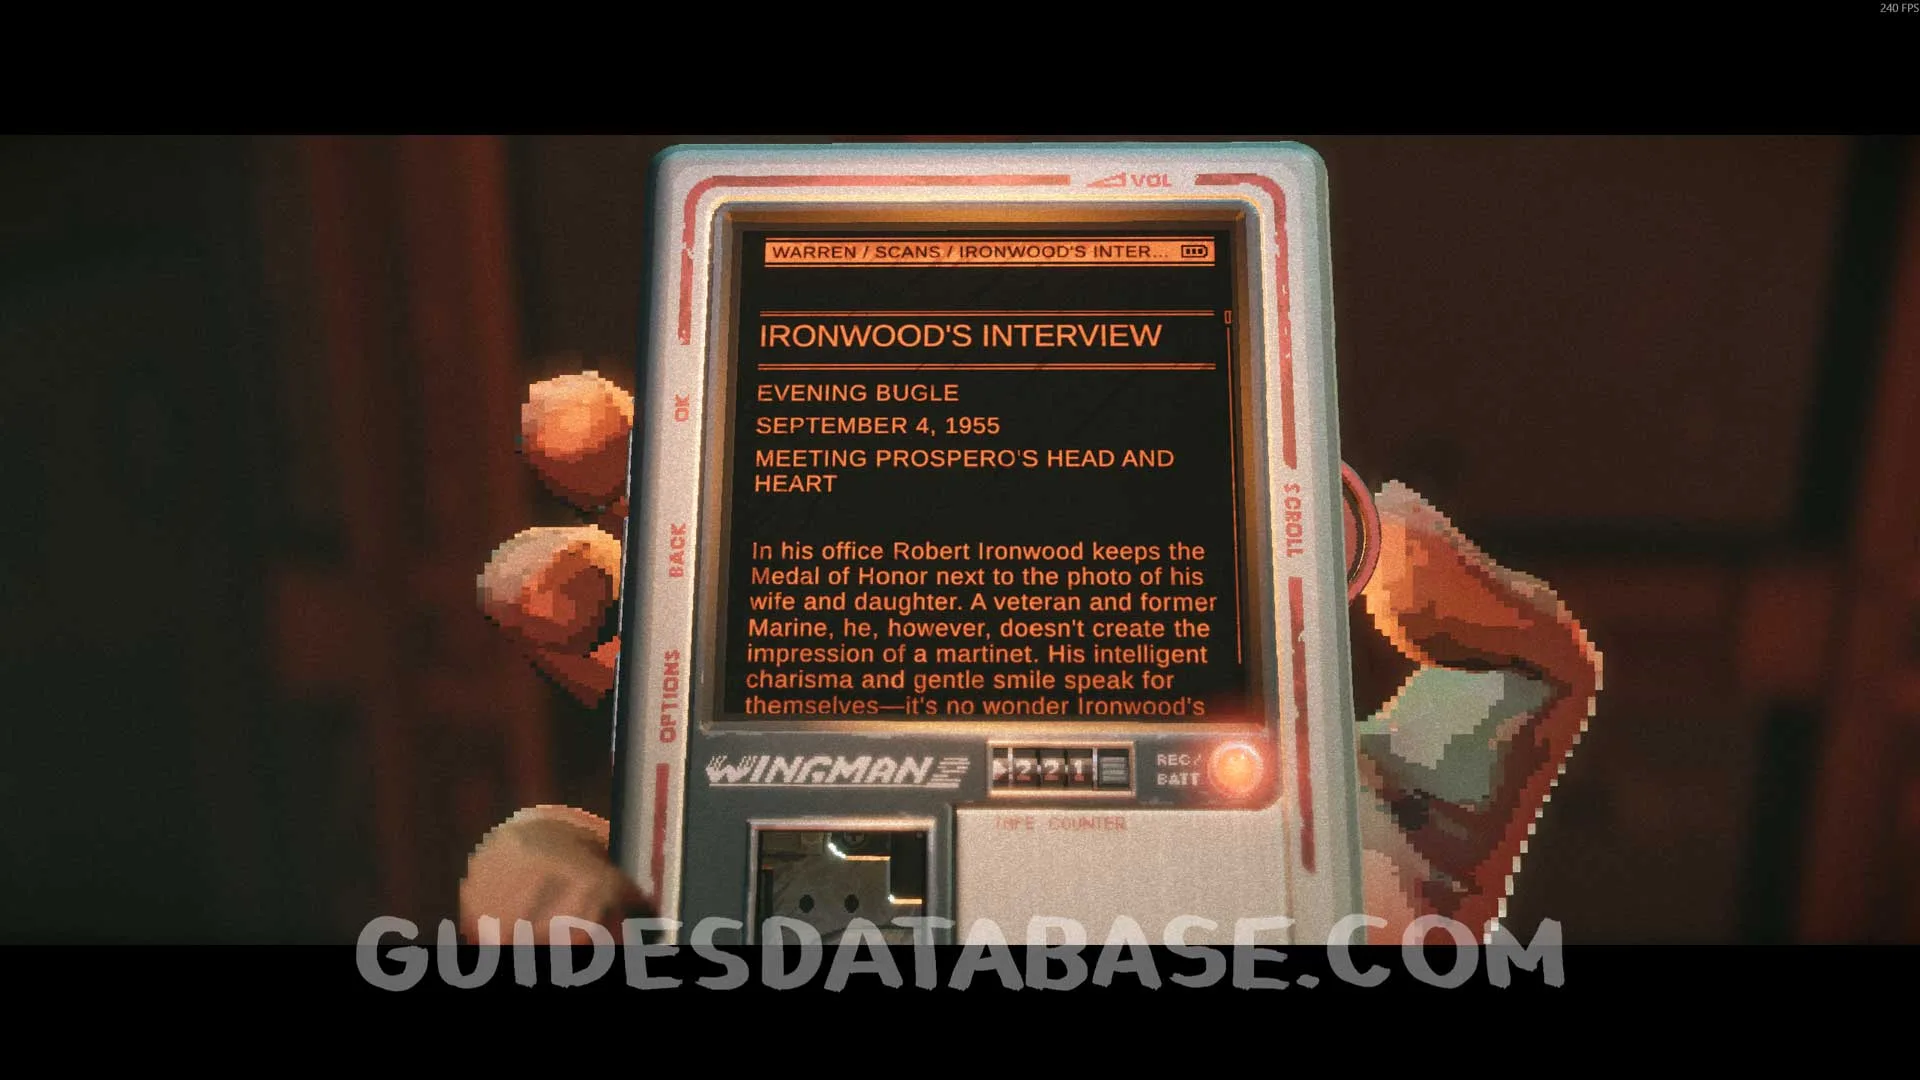 GUIDESDATABASE.COM
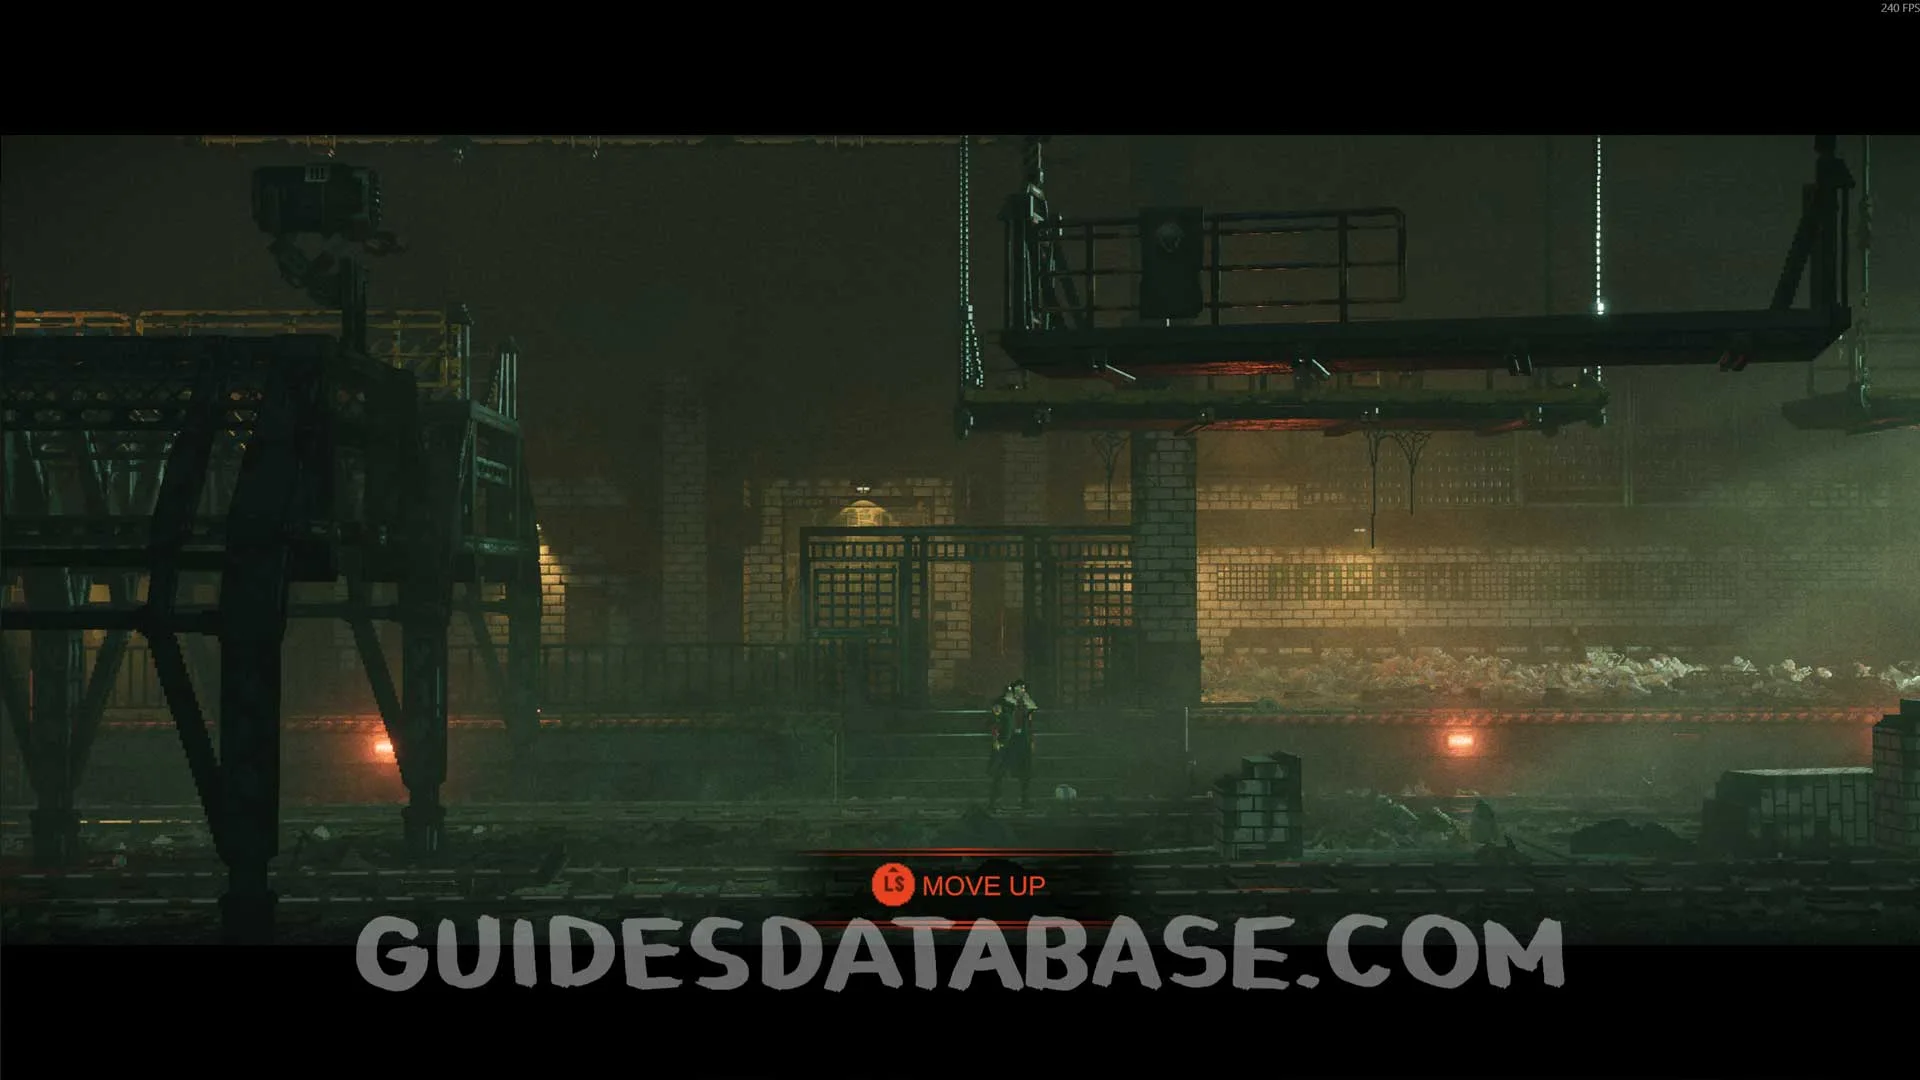
Genetic Profile #4
From the previous collectible, head forward to find this Genetic Profile.
 GUIDESDATABASE.COM
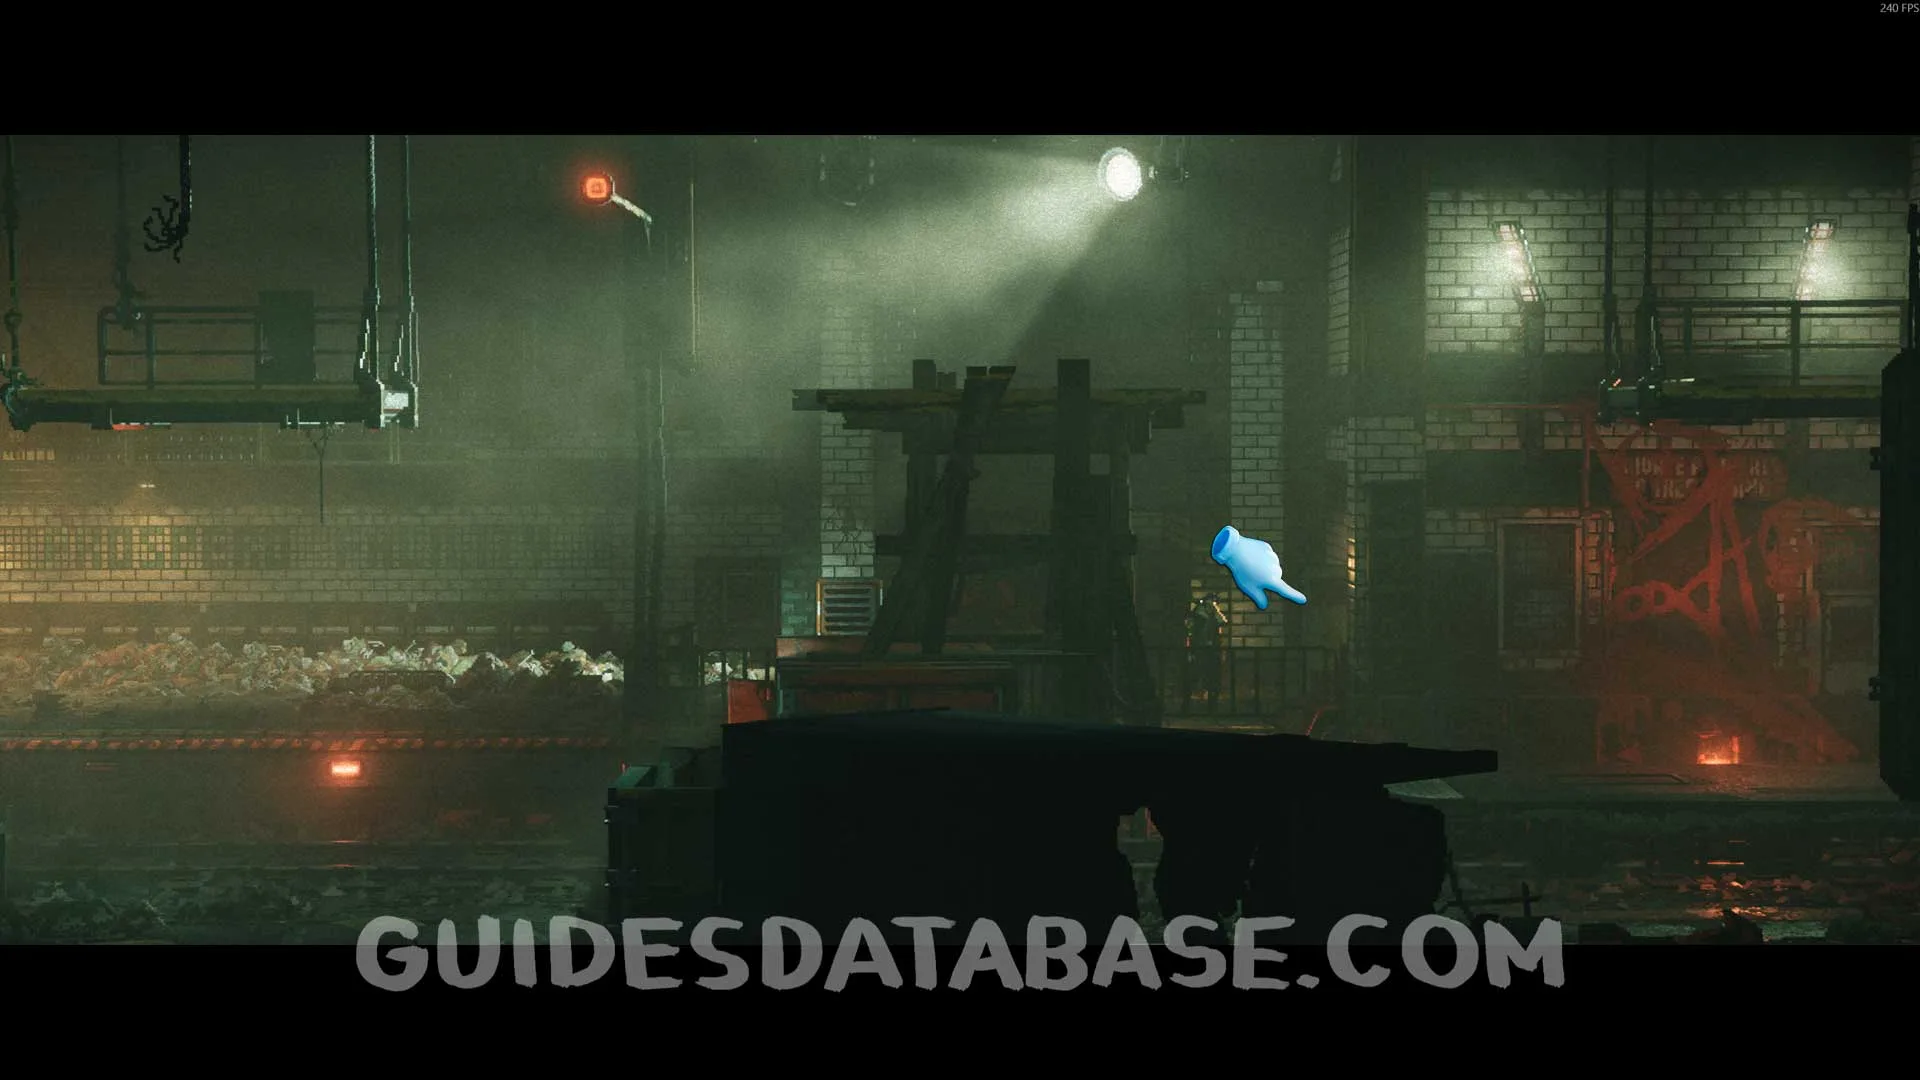 GUIDESDATABASE.COM
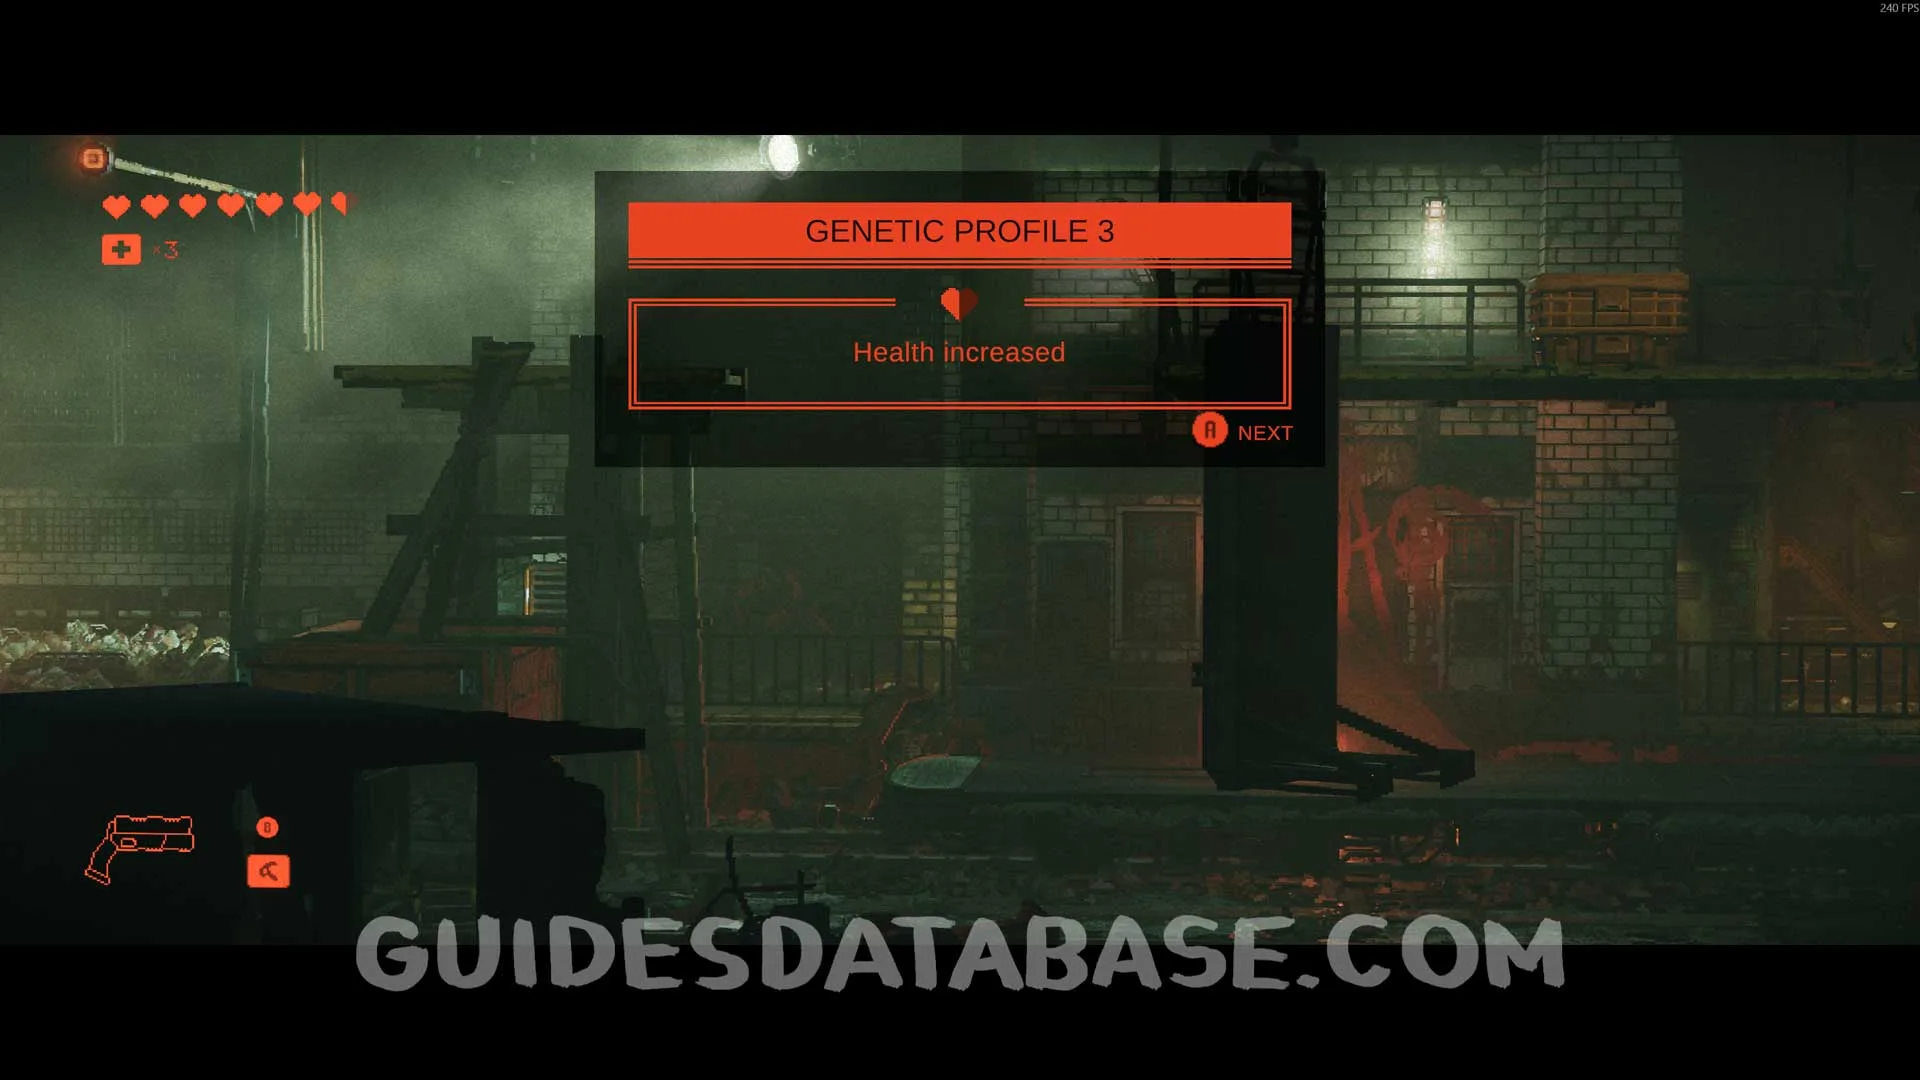 GUIDESDATABASE.COM
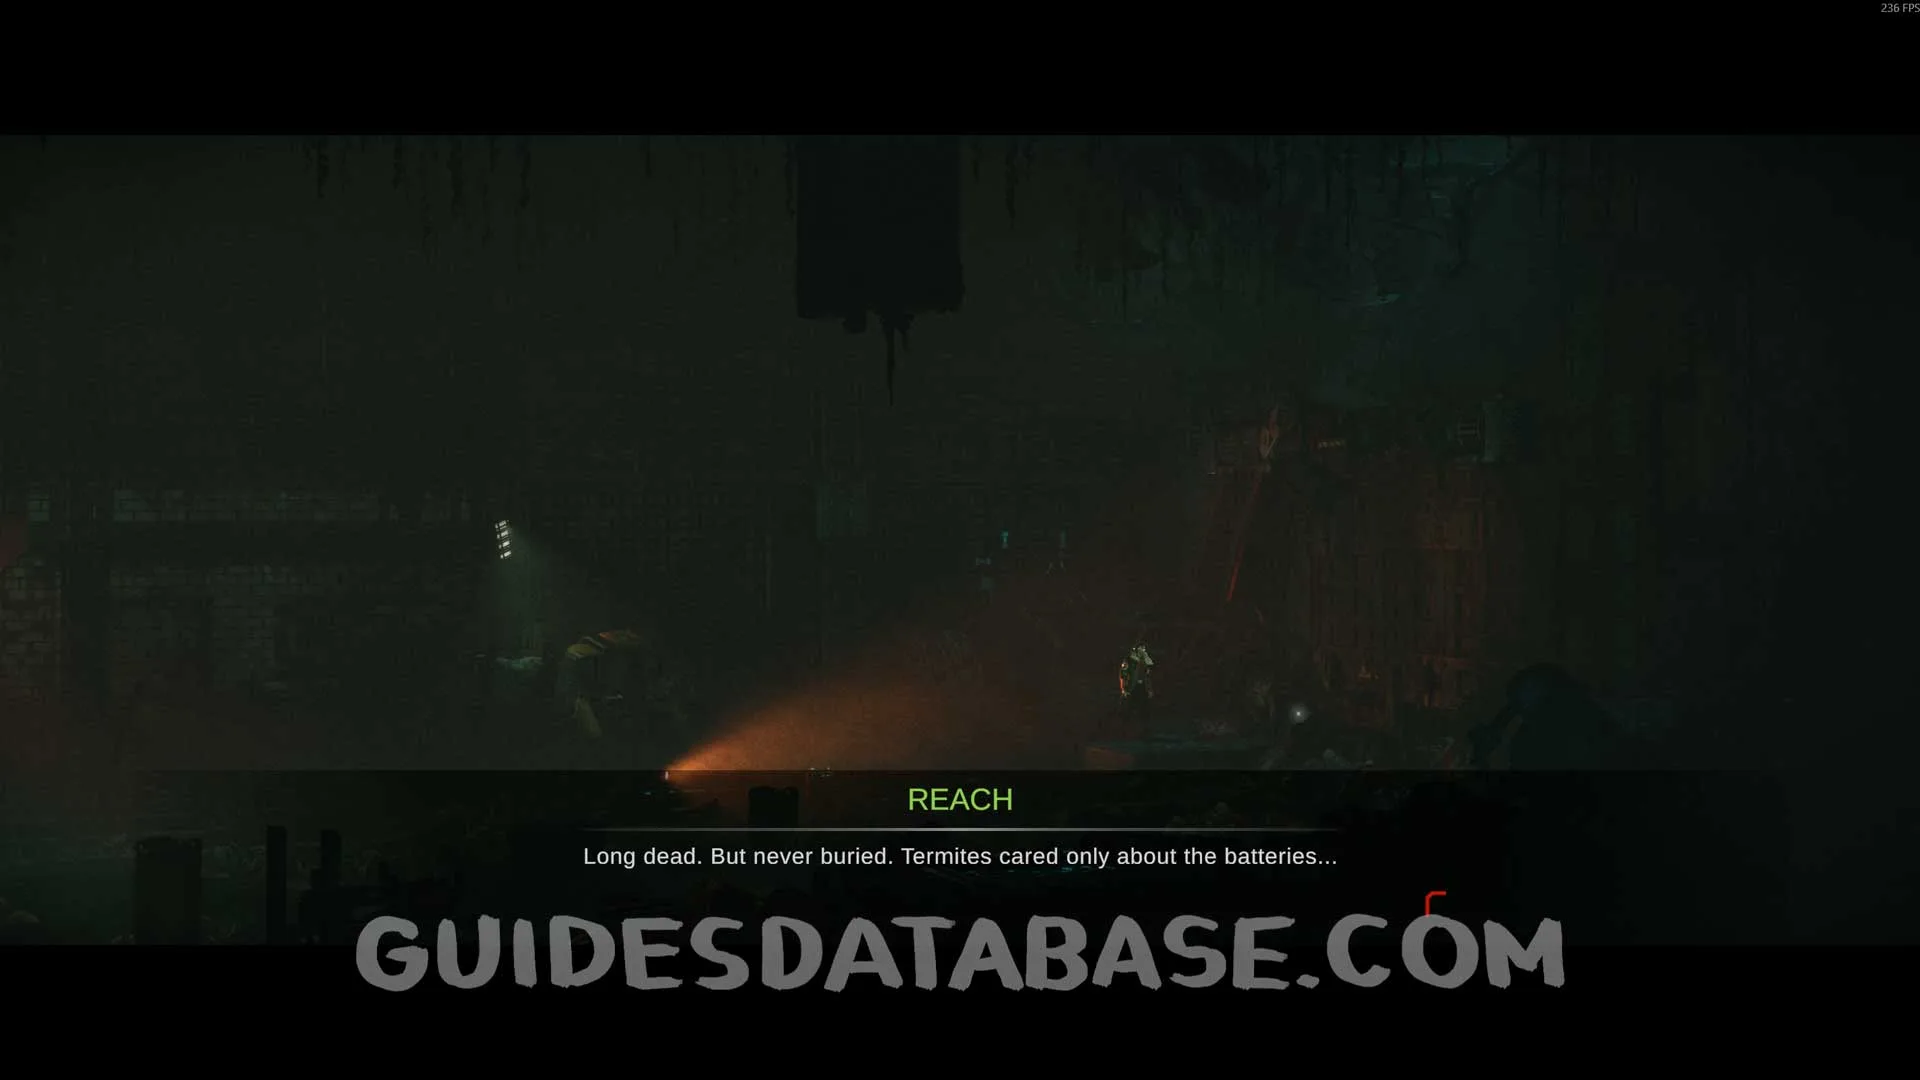
Scan #27 Prospero Incident Recording
At the end of the tunnel.
 GUIDESDATABASE.COM
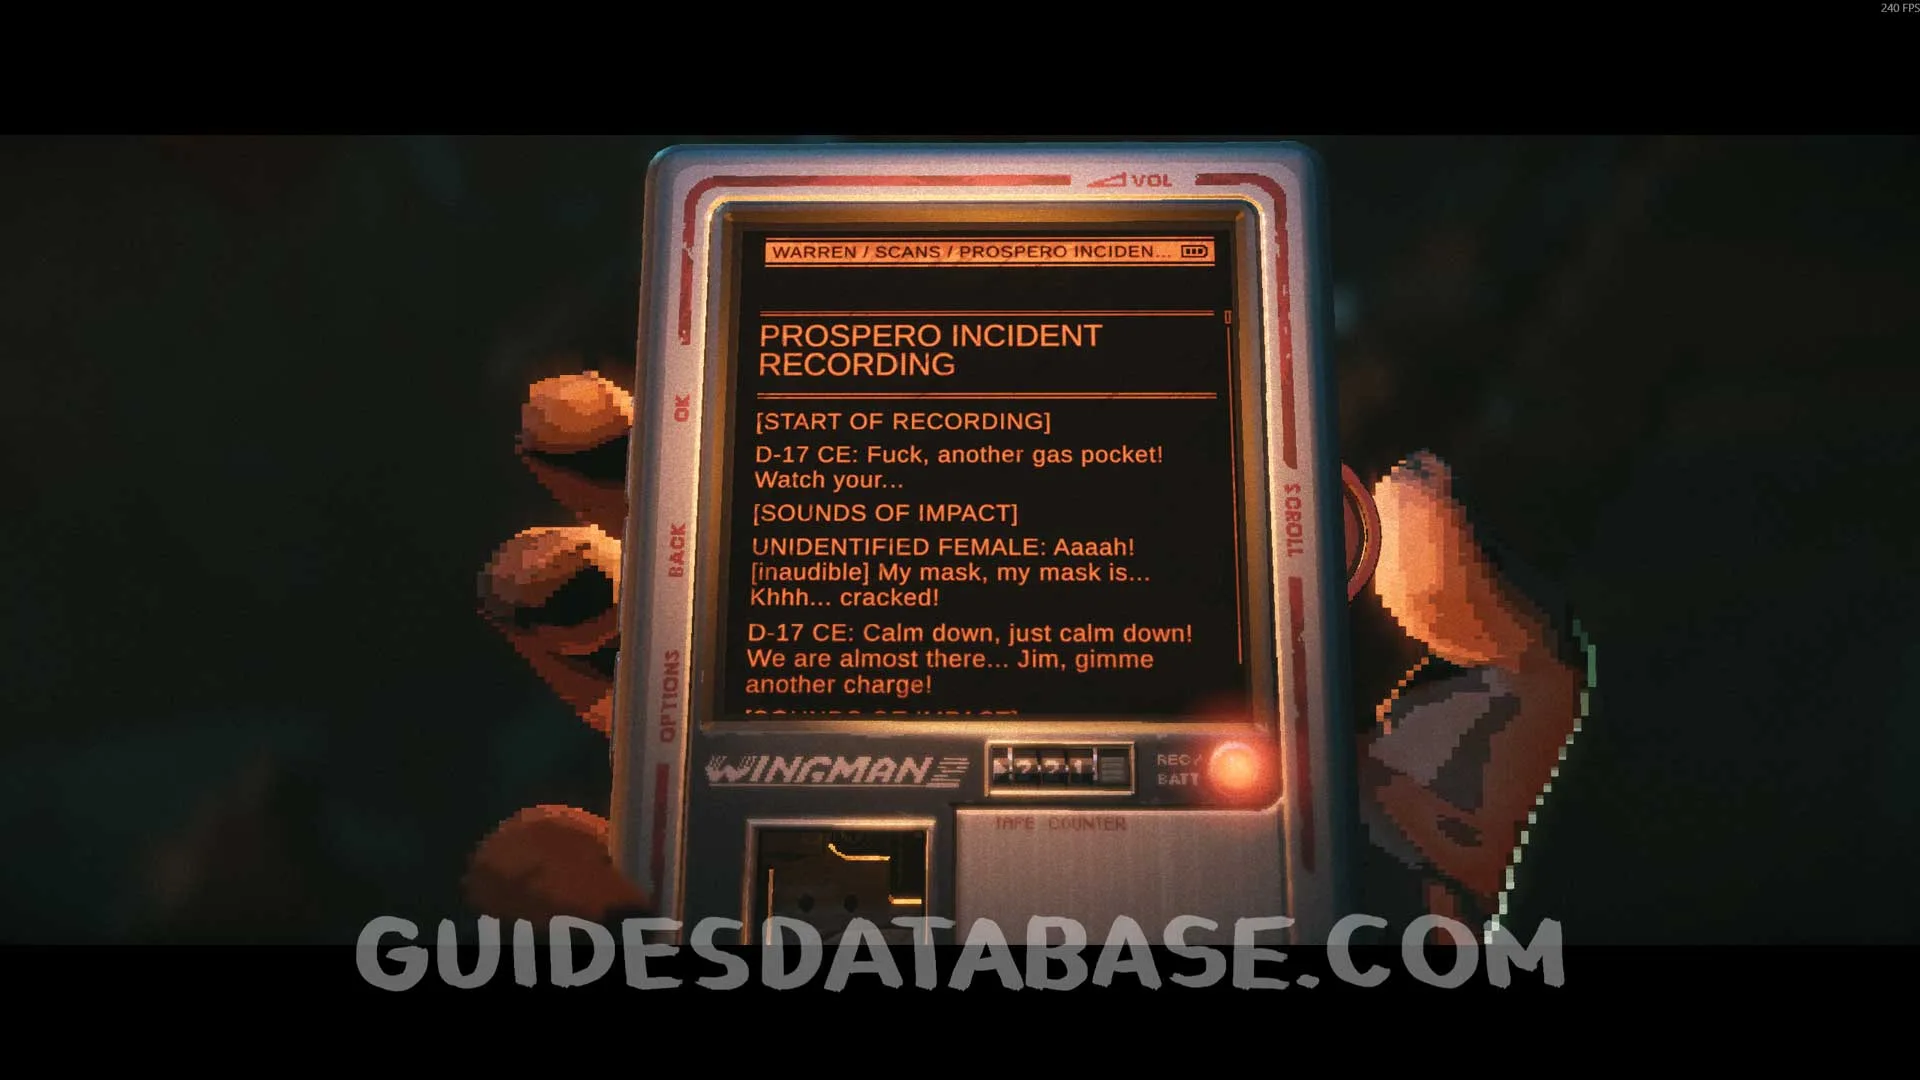 GUIDESDATABASE.COM
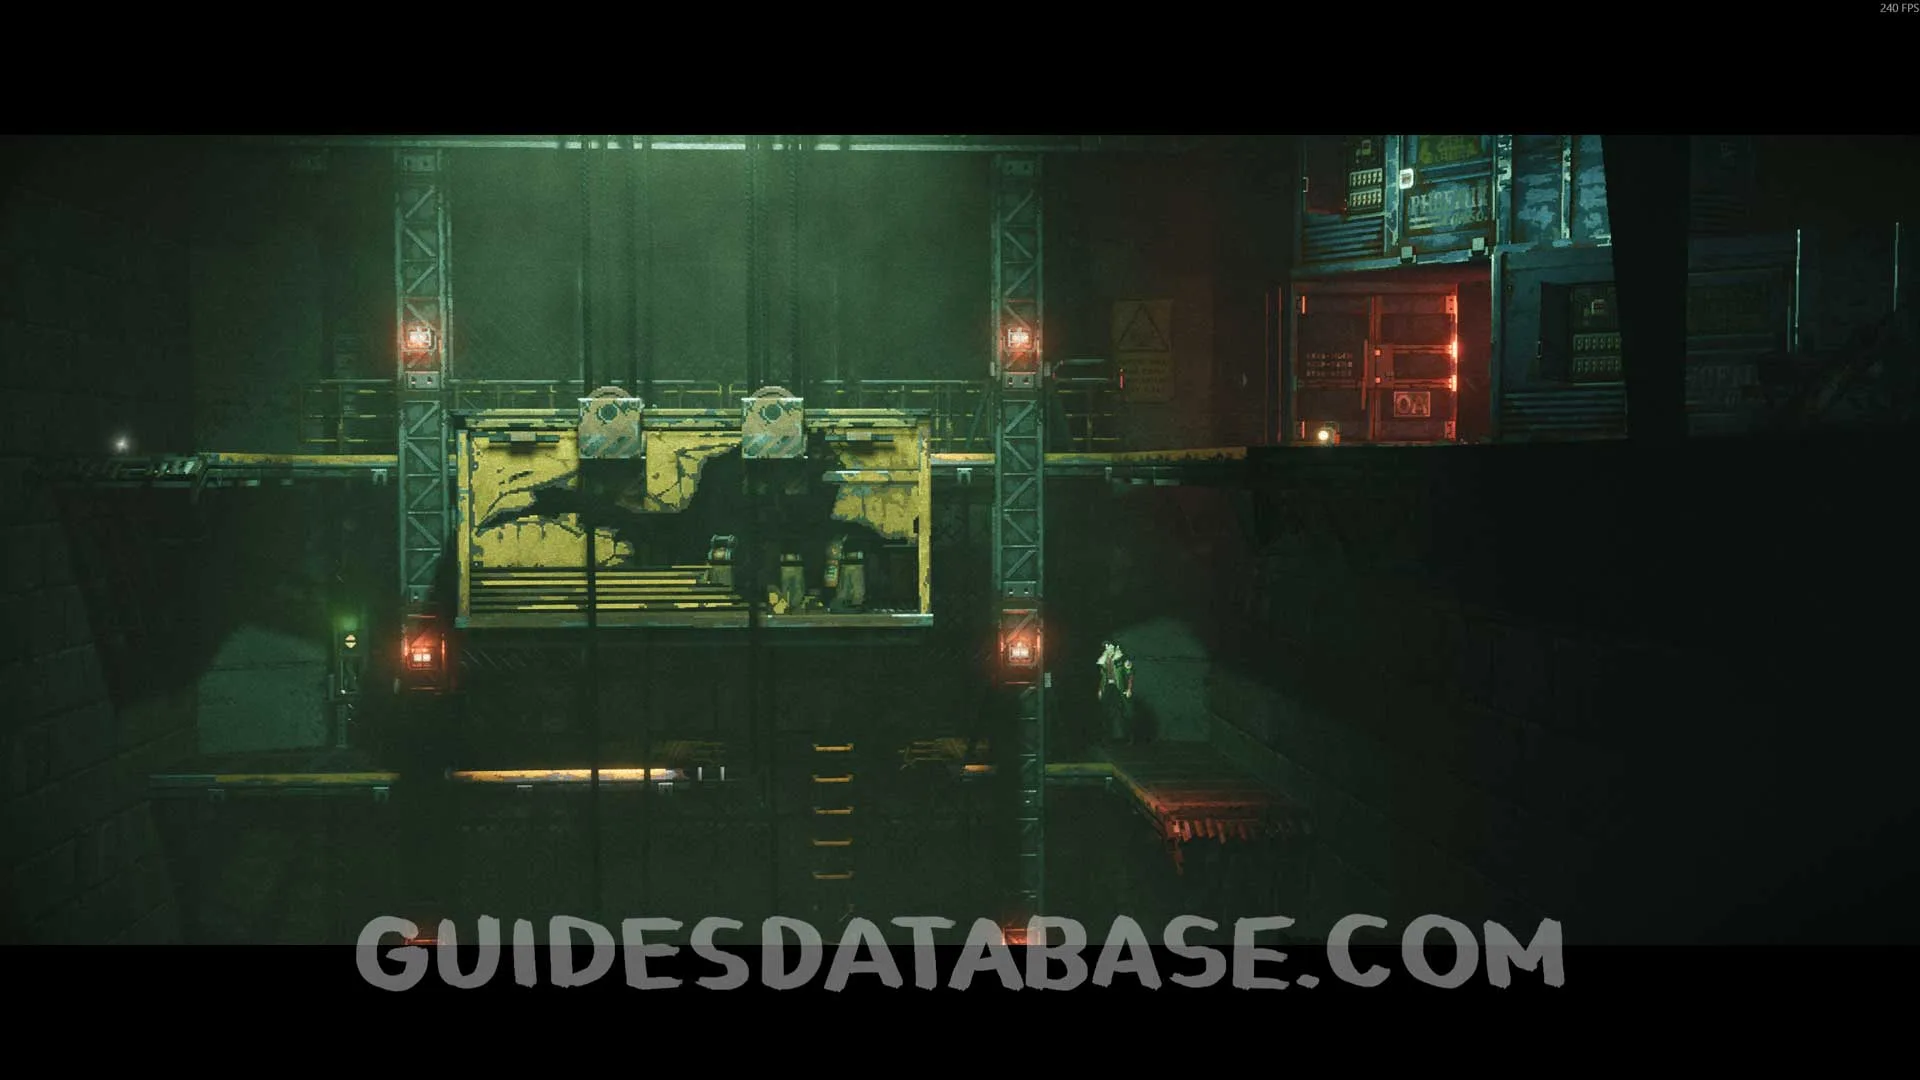
Scan #28 Termite's Diary
From the previous collectible, you will need to climb several platforms using the cargo elevator. At the top of this area on the left side you will find this Scan.
 GUIDESDATABASE.COM
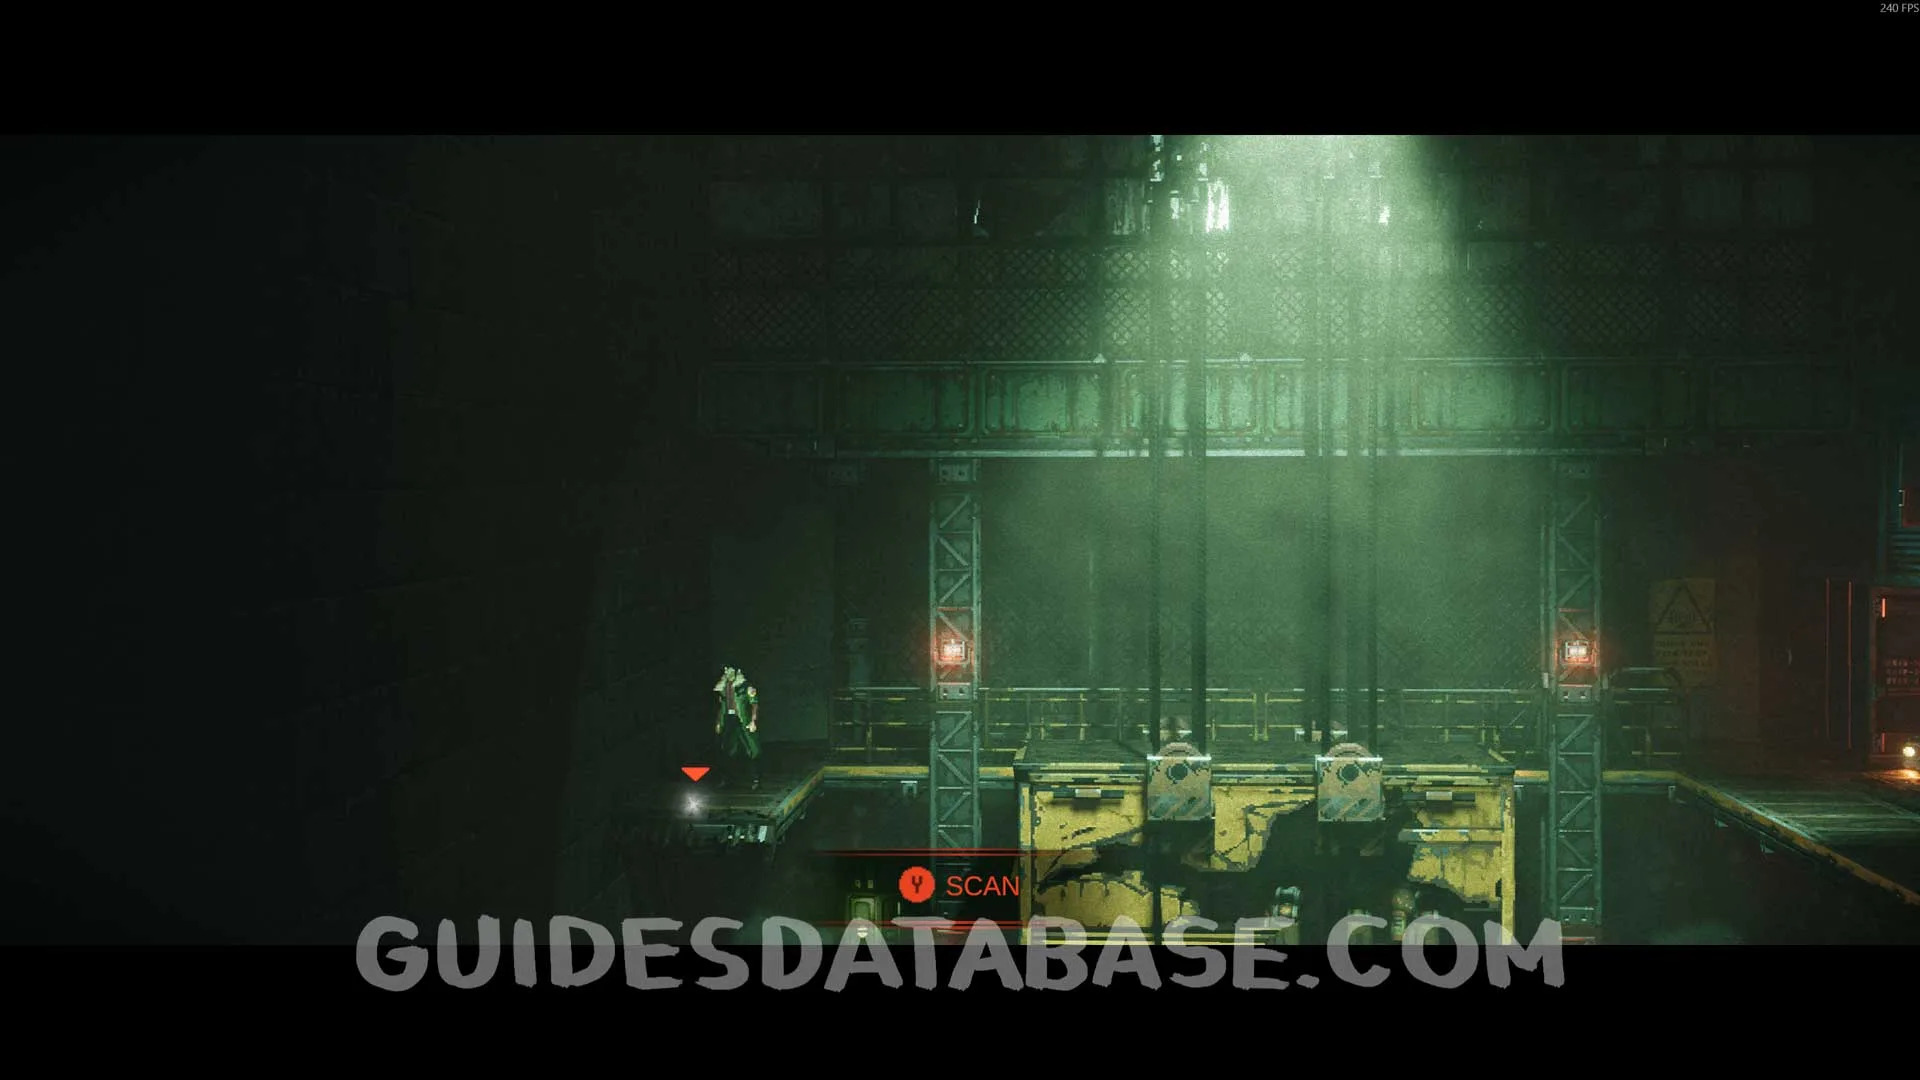 GUIDESDATABASE.COM
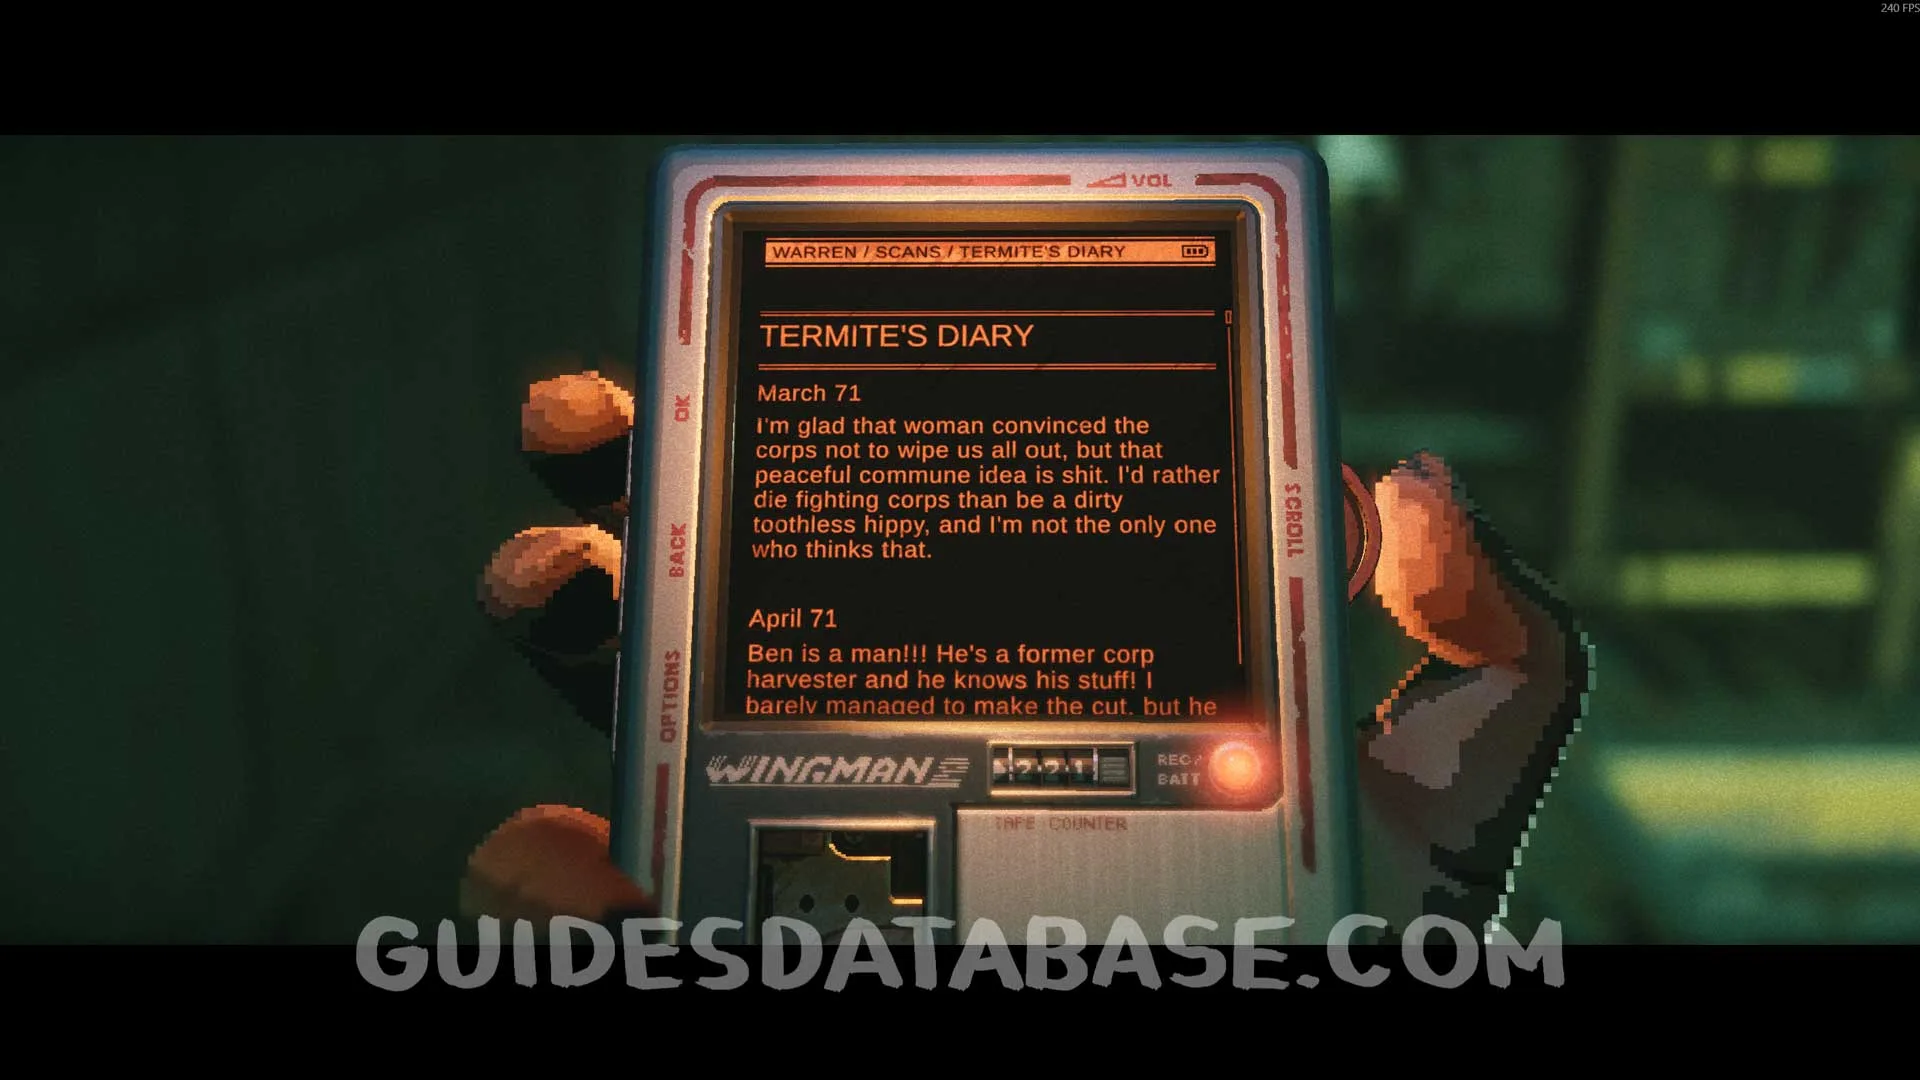 GUIDESDATABASE.COM
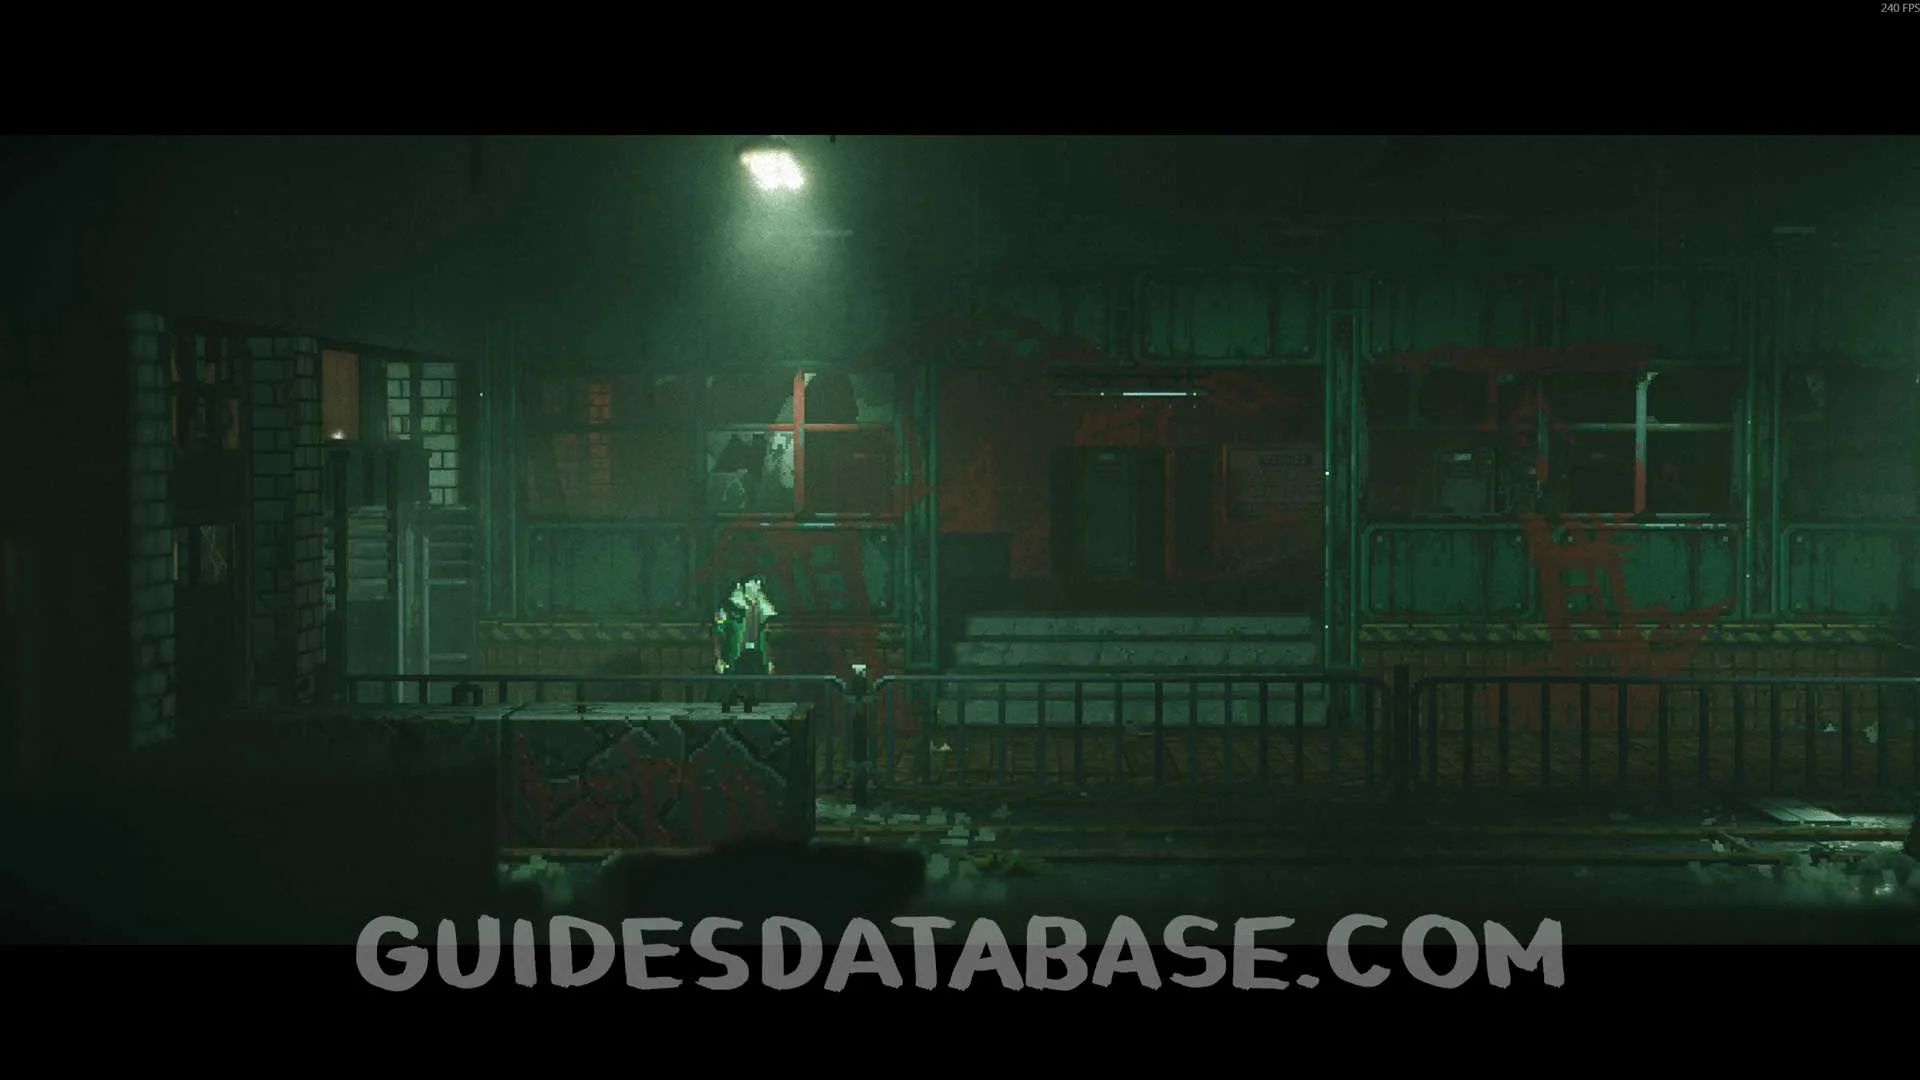
Music #4 Solving a Problem
After defeating the enemies in the next area, go left to find this music track in front of a train car.
 GUIDESDATABASE.COM
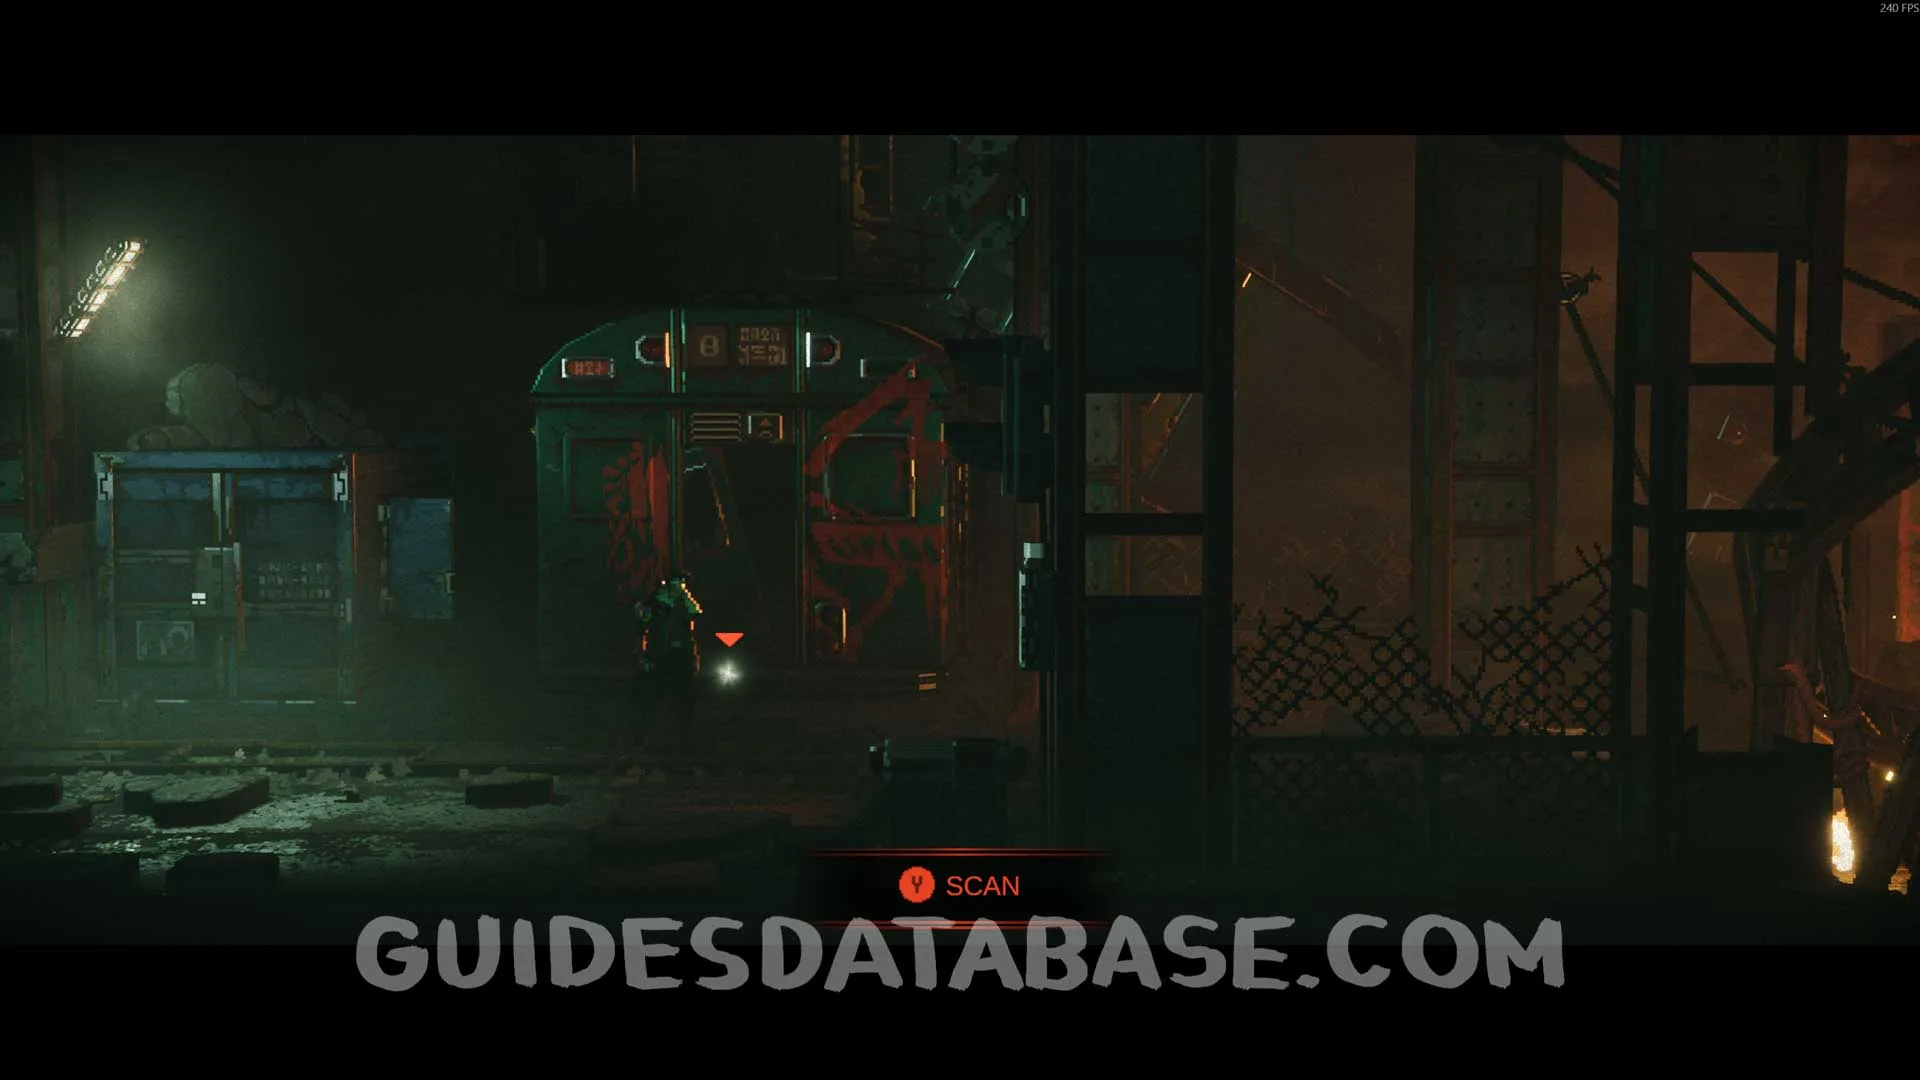 GUIDESDATABASE.COM
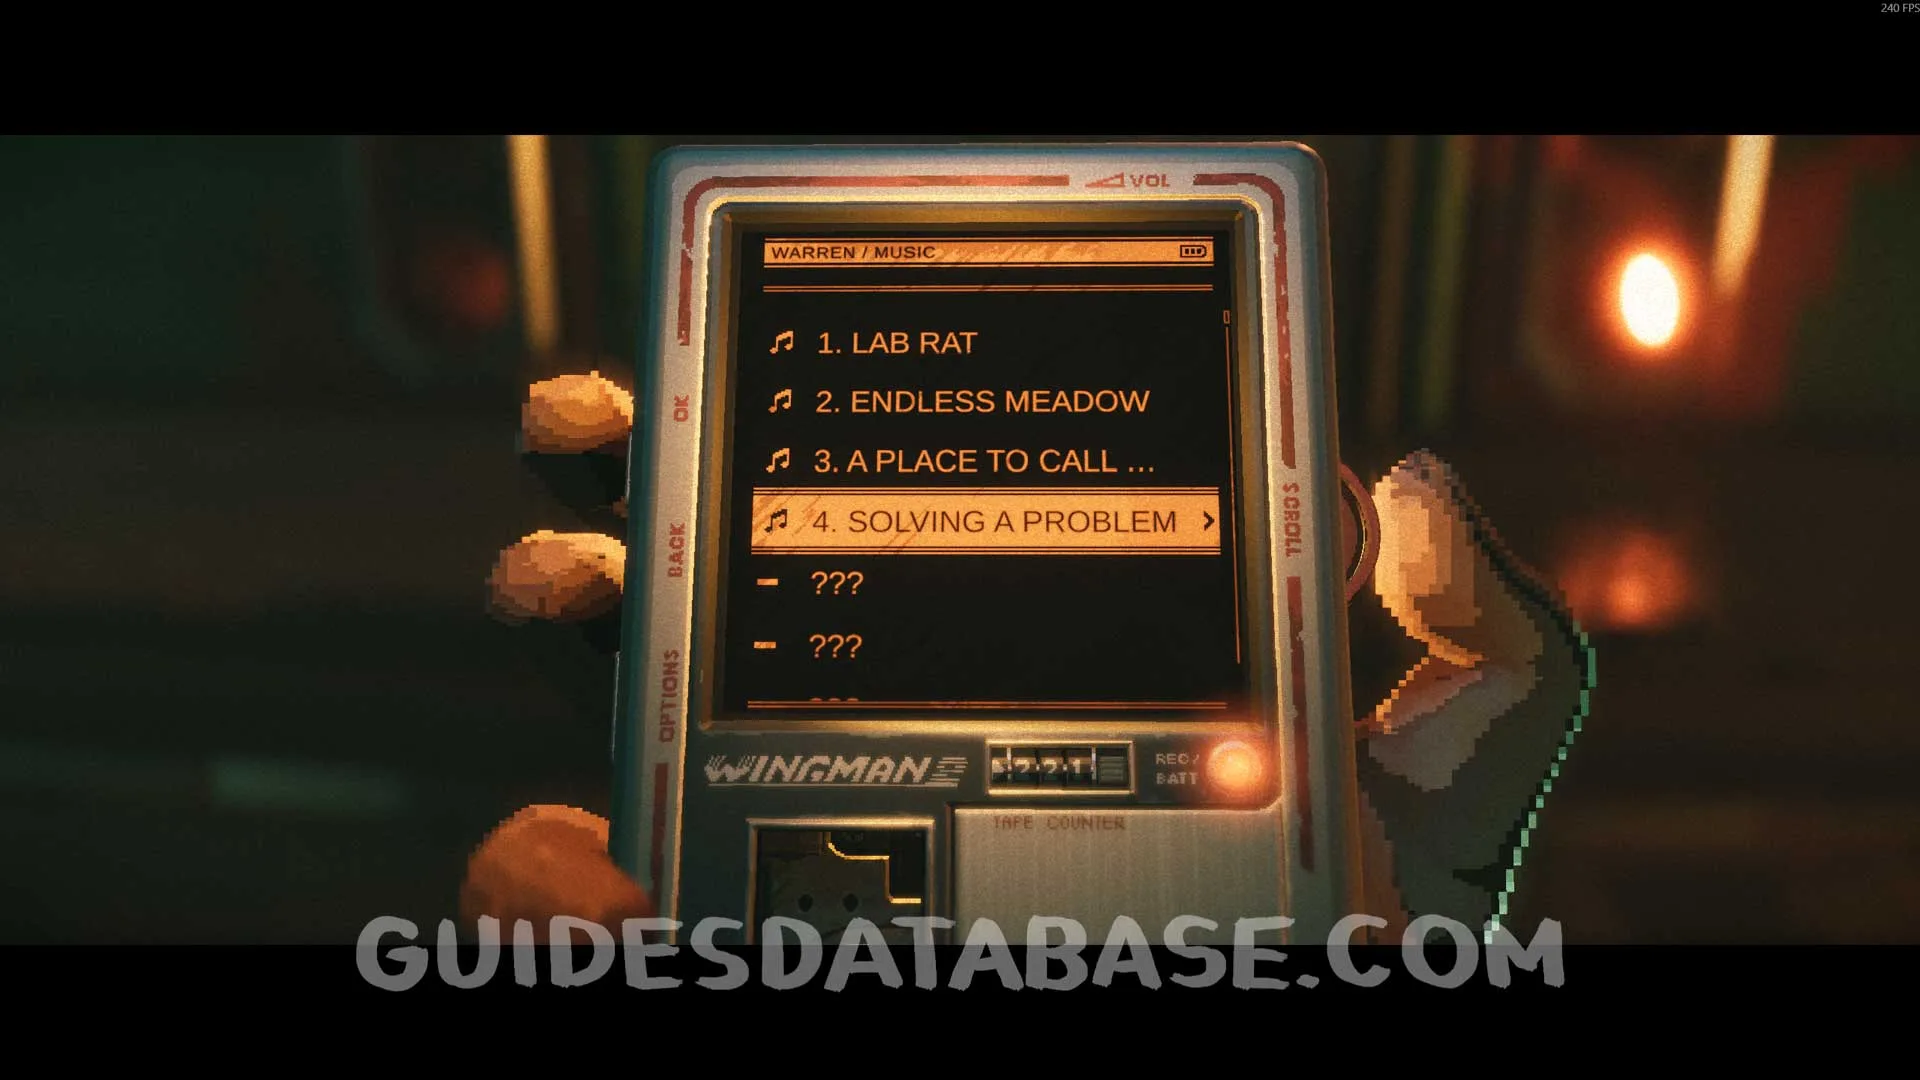 GUIDESDATABASE.COM
Scan #29 Warden's Letter
From the previous collectible, head to the right and go up the stairs, then head to the left to find this Scan.
 GUIDESDATABASE.COM
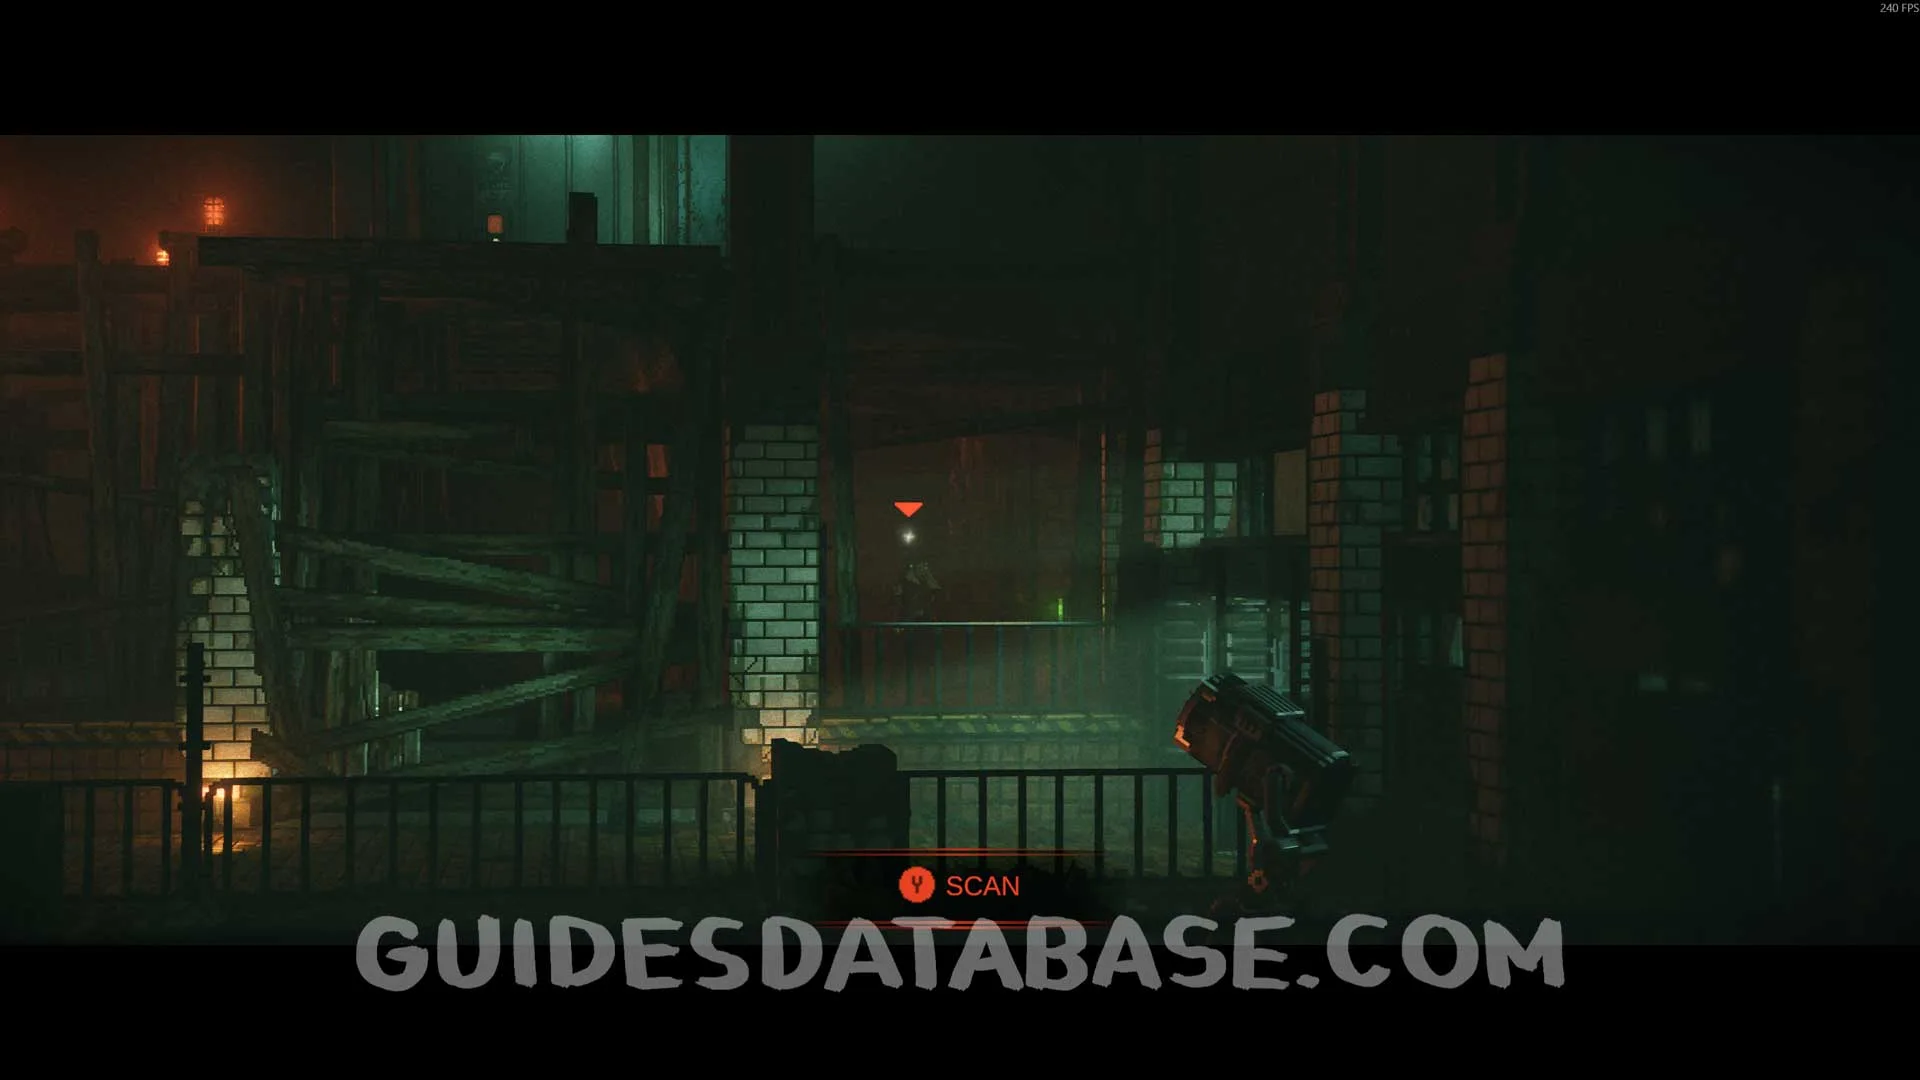 GUIDESDATABASE.COM
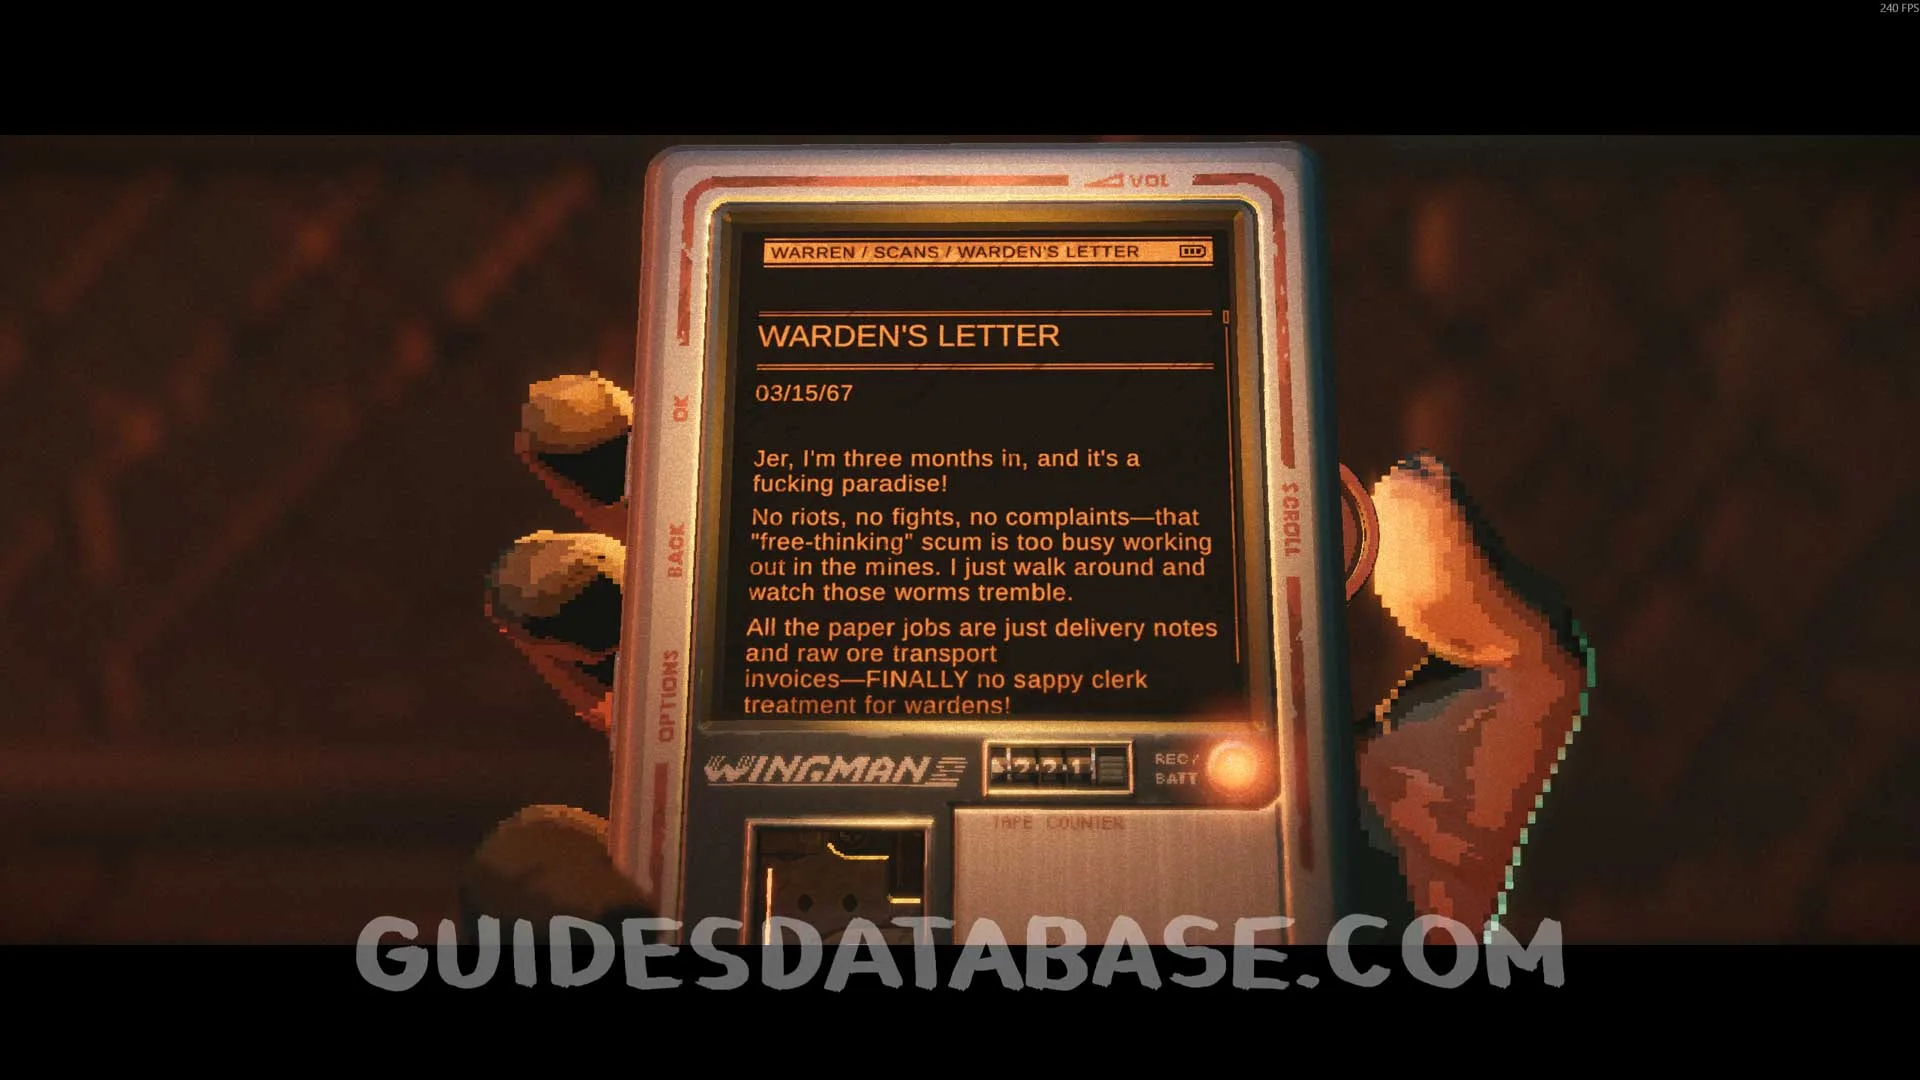 GUIDESDATABASE.COM
Scan #30 Water Station Notice
At the top left of the area where you have to turn the valves. You will need to use your pickaxe to latch onto the wall to reach this scan.
 GUIDESDATABASE.COM
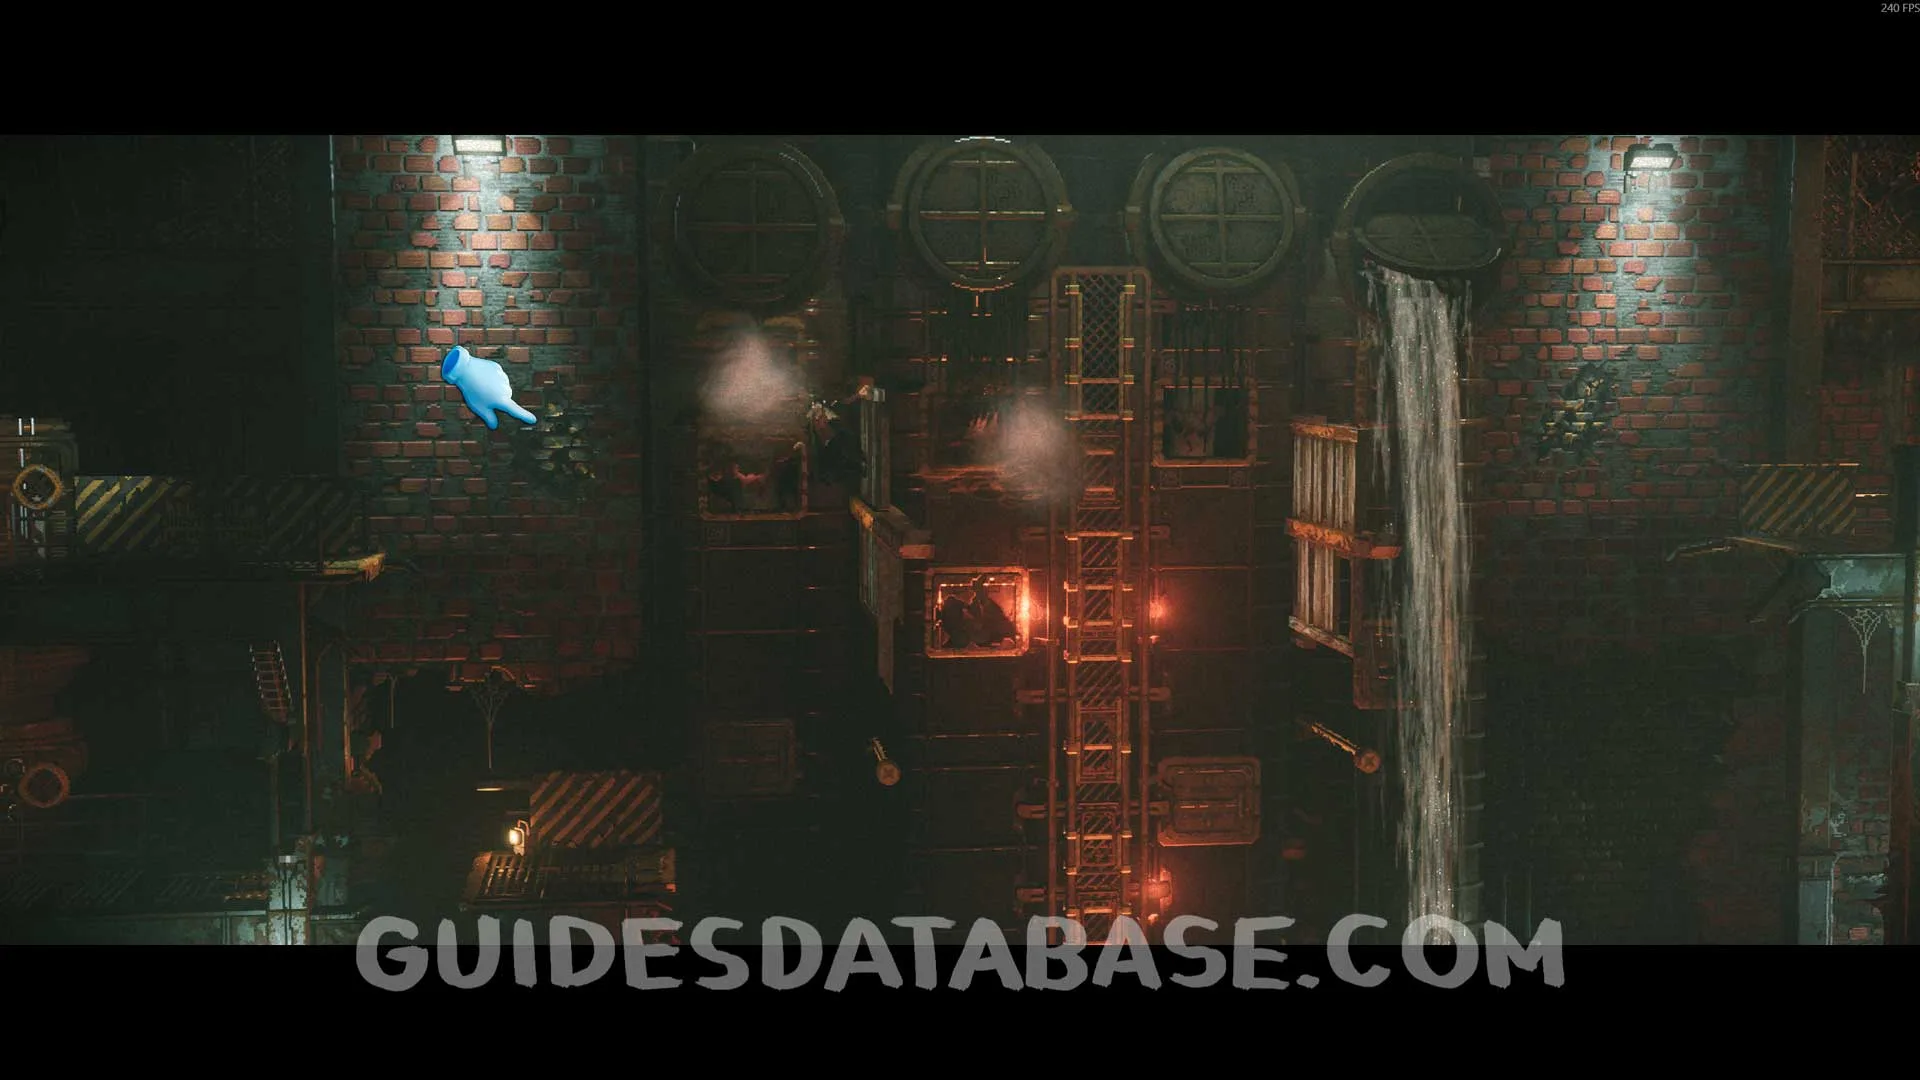 GUIDESDATABASE.COM
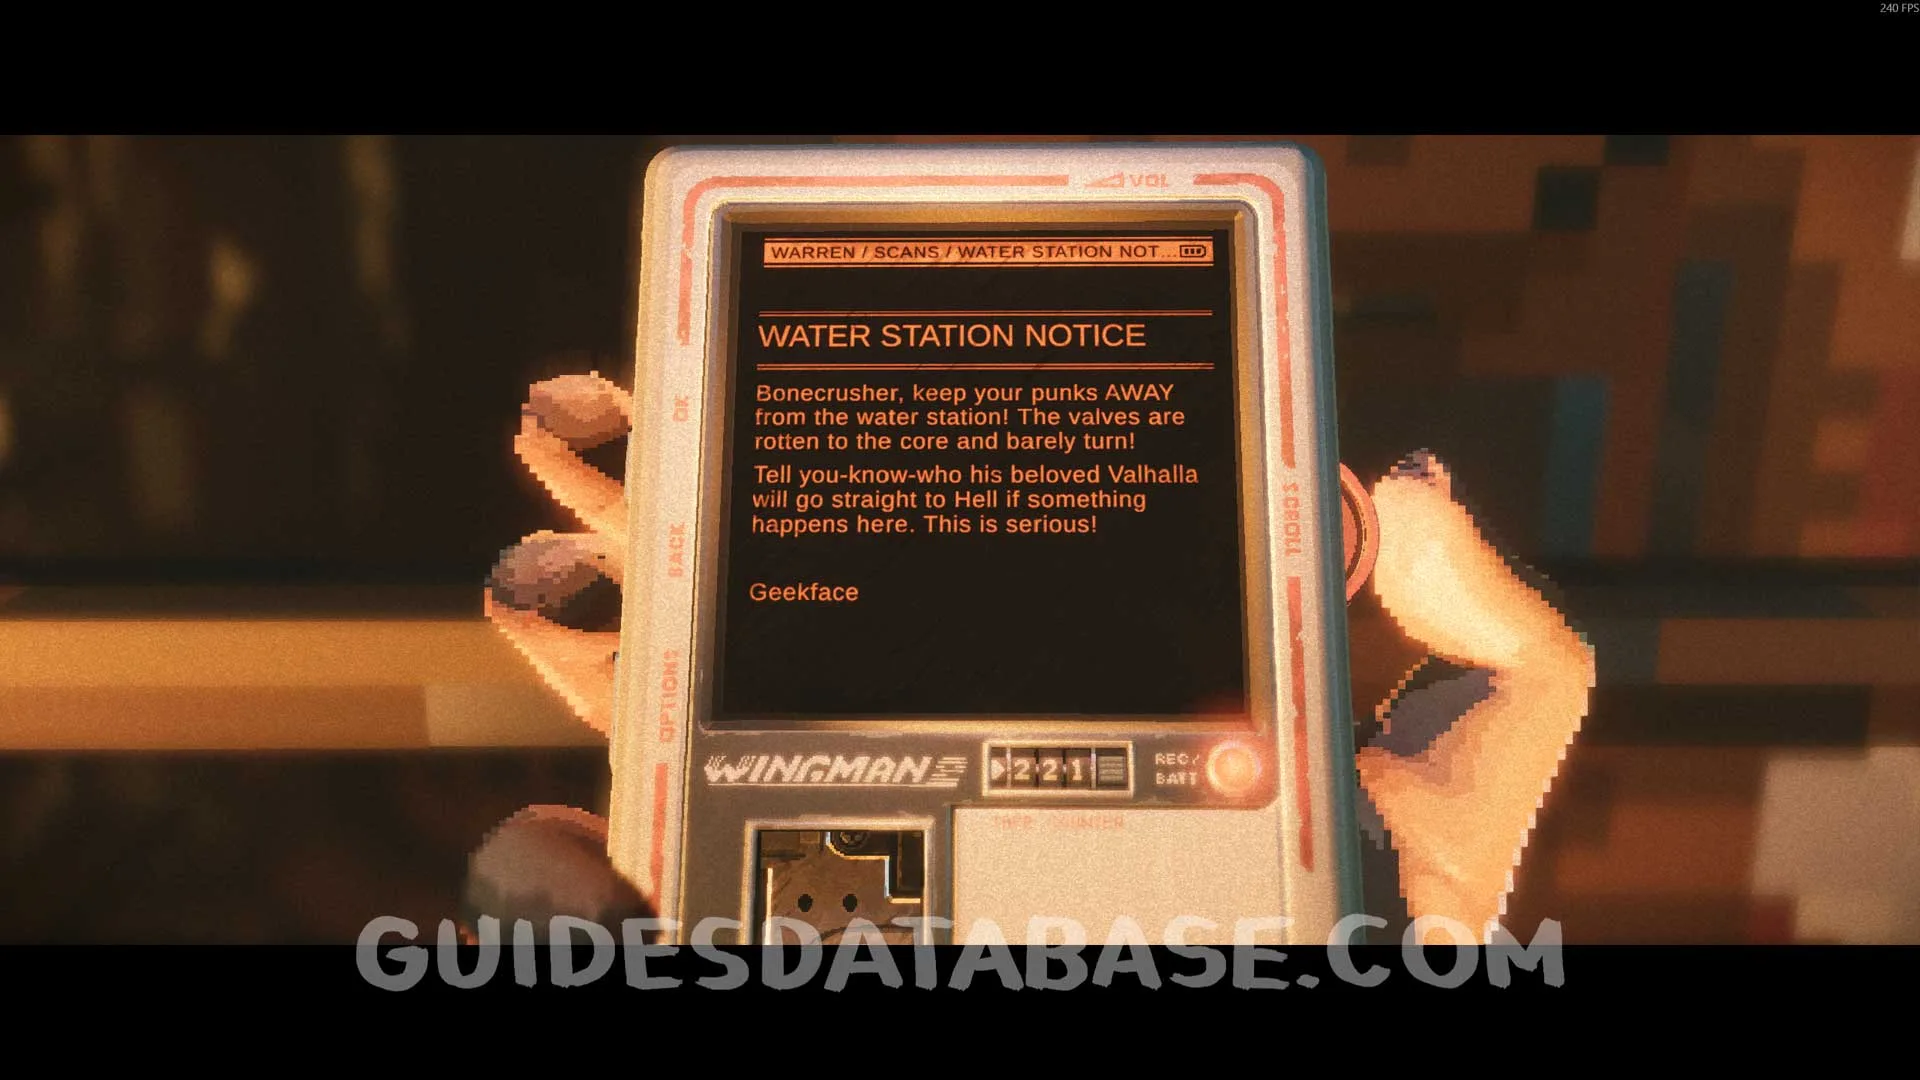 GUIDESDATABASE.COM
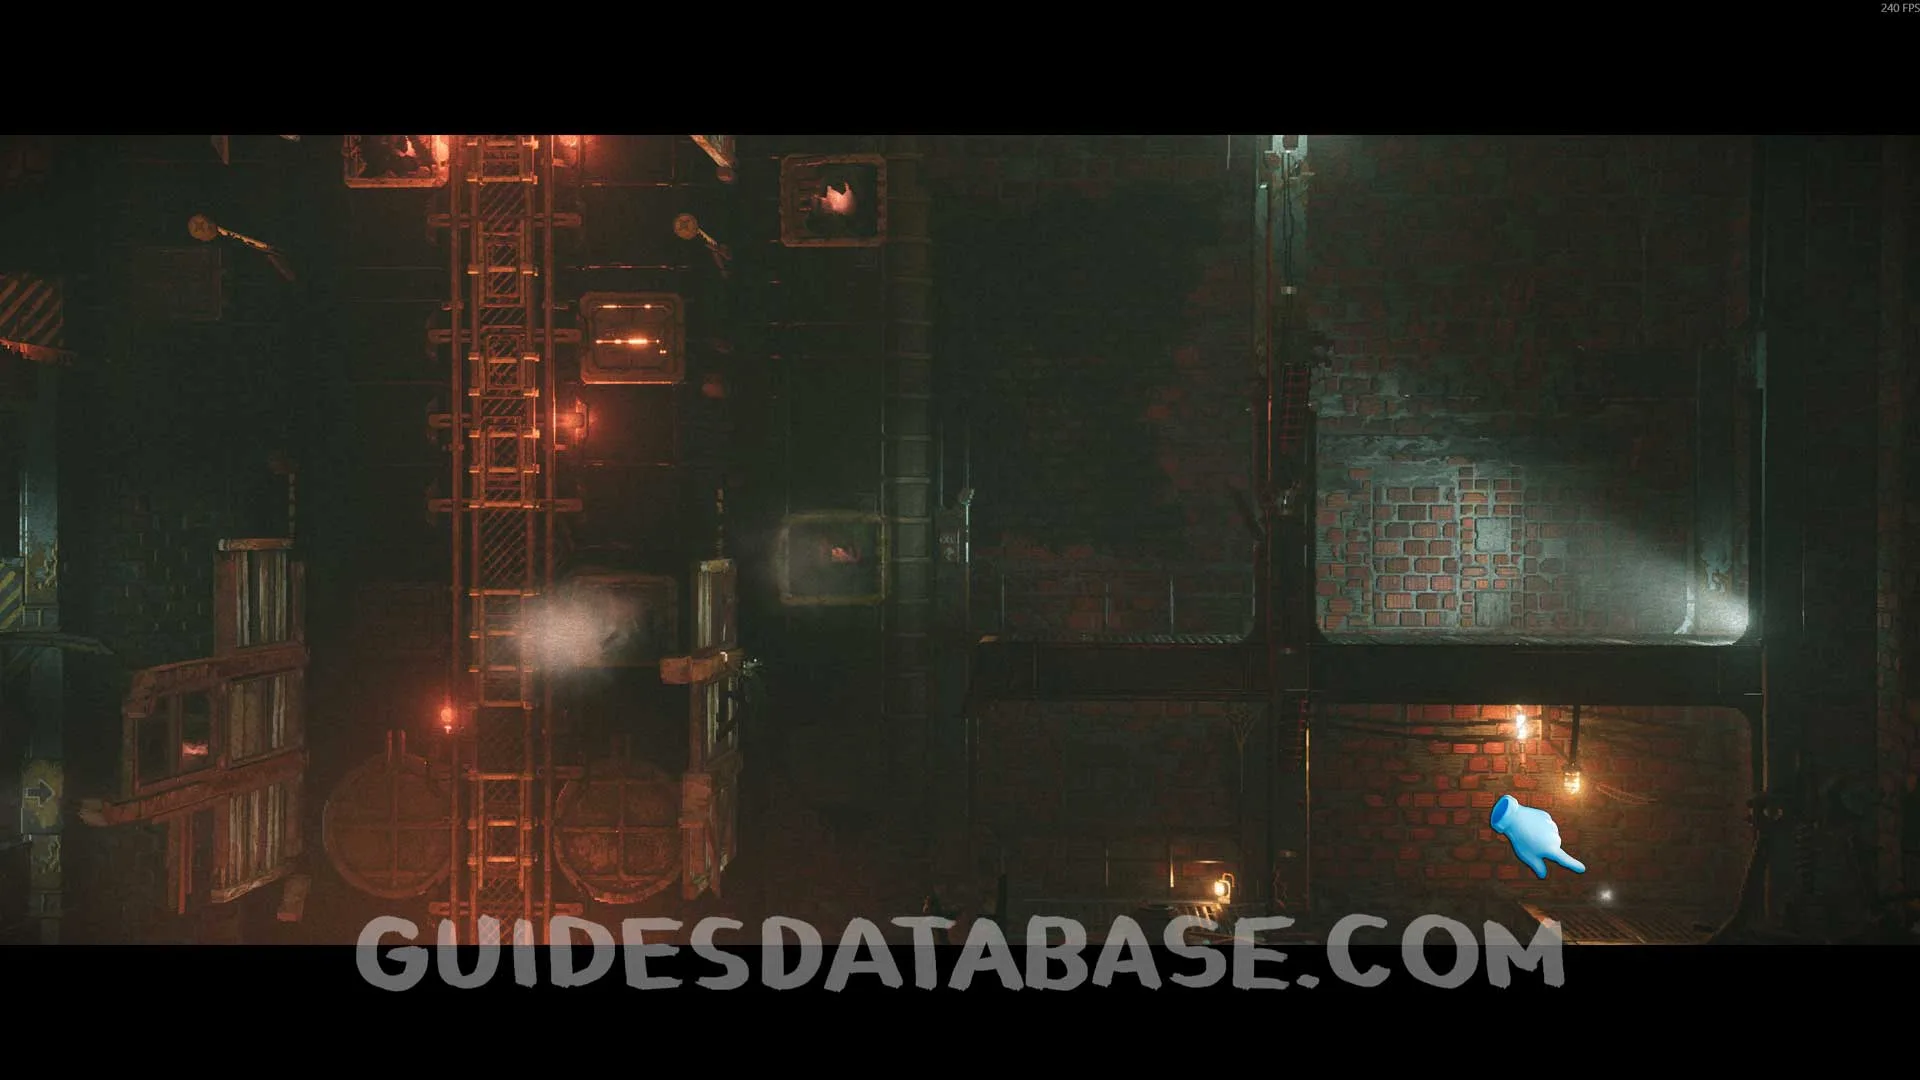
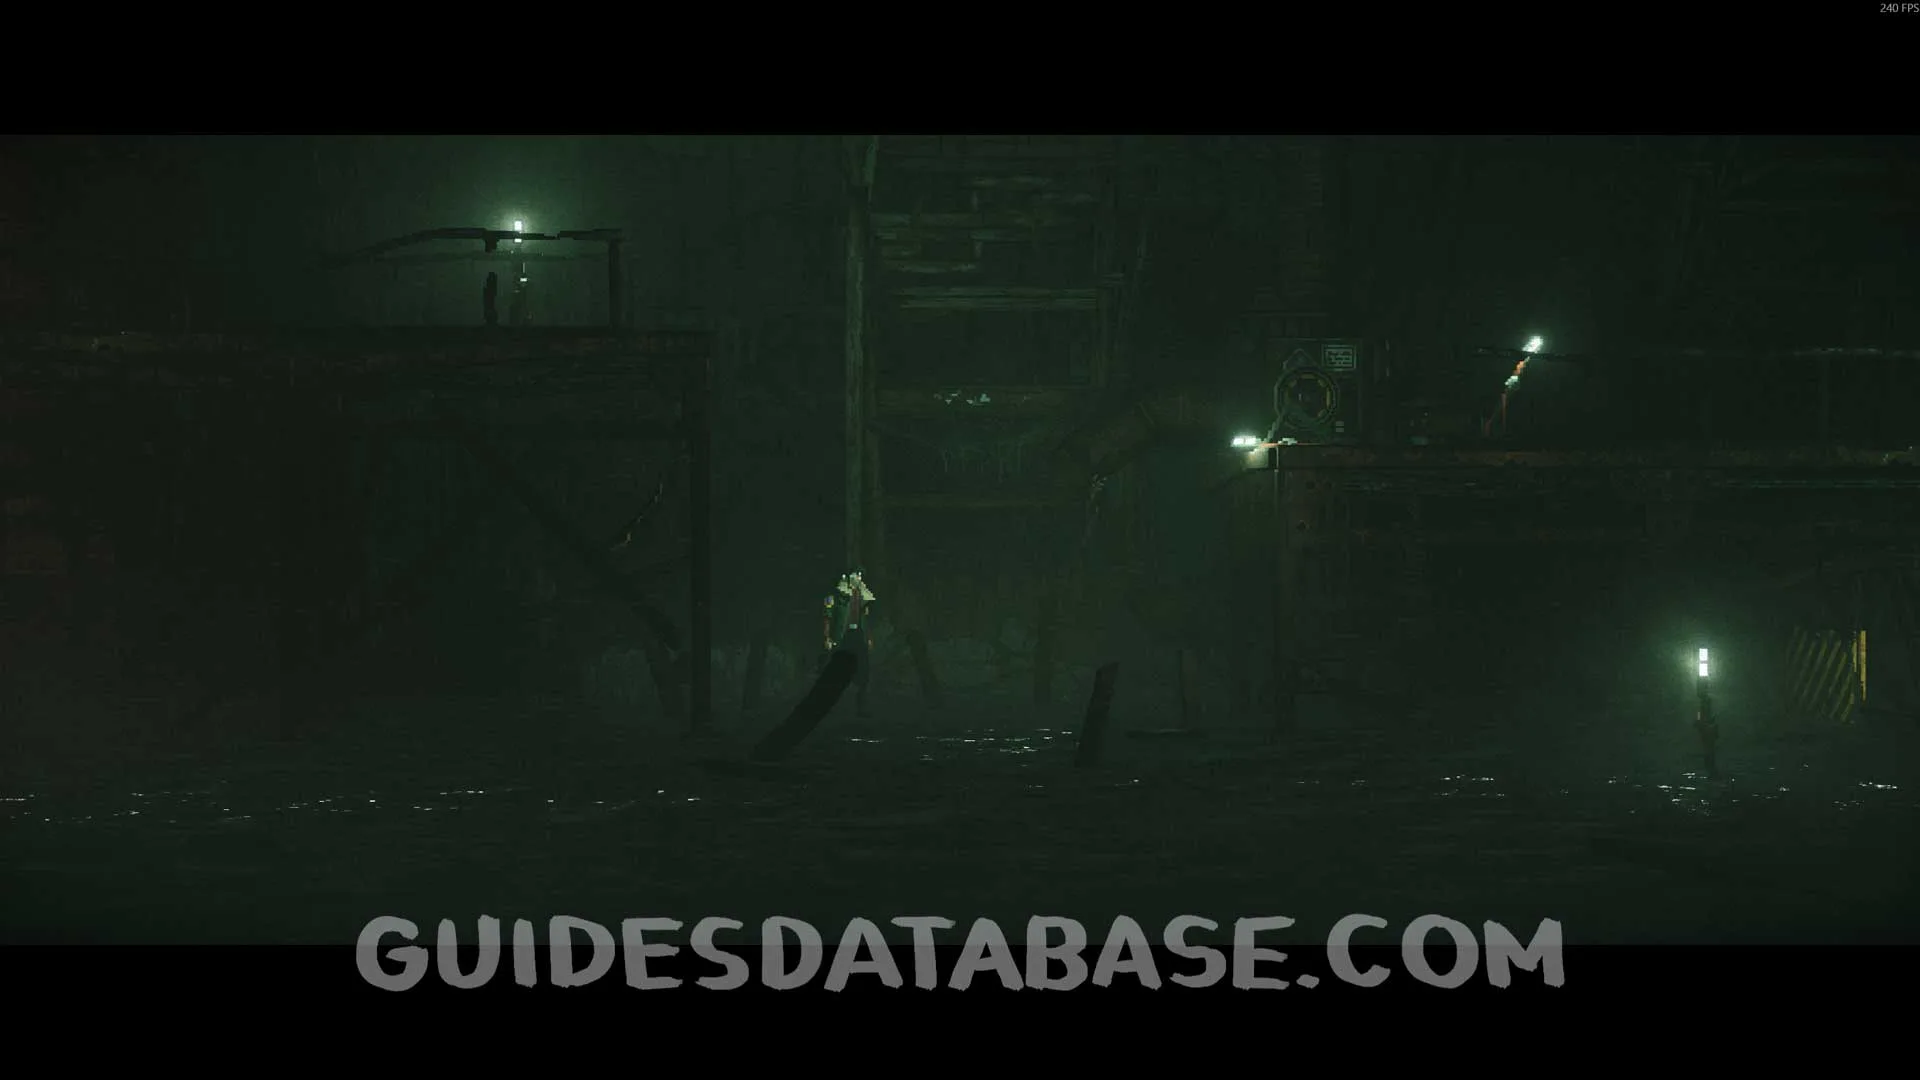
Kinetic Inductor #1
Same area as the previous collectible, now on the lower right side of the area.
 GUIDESDATABASE.COM
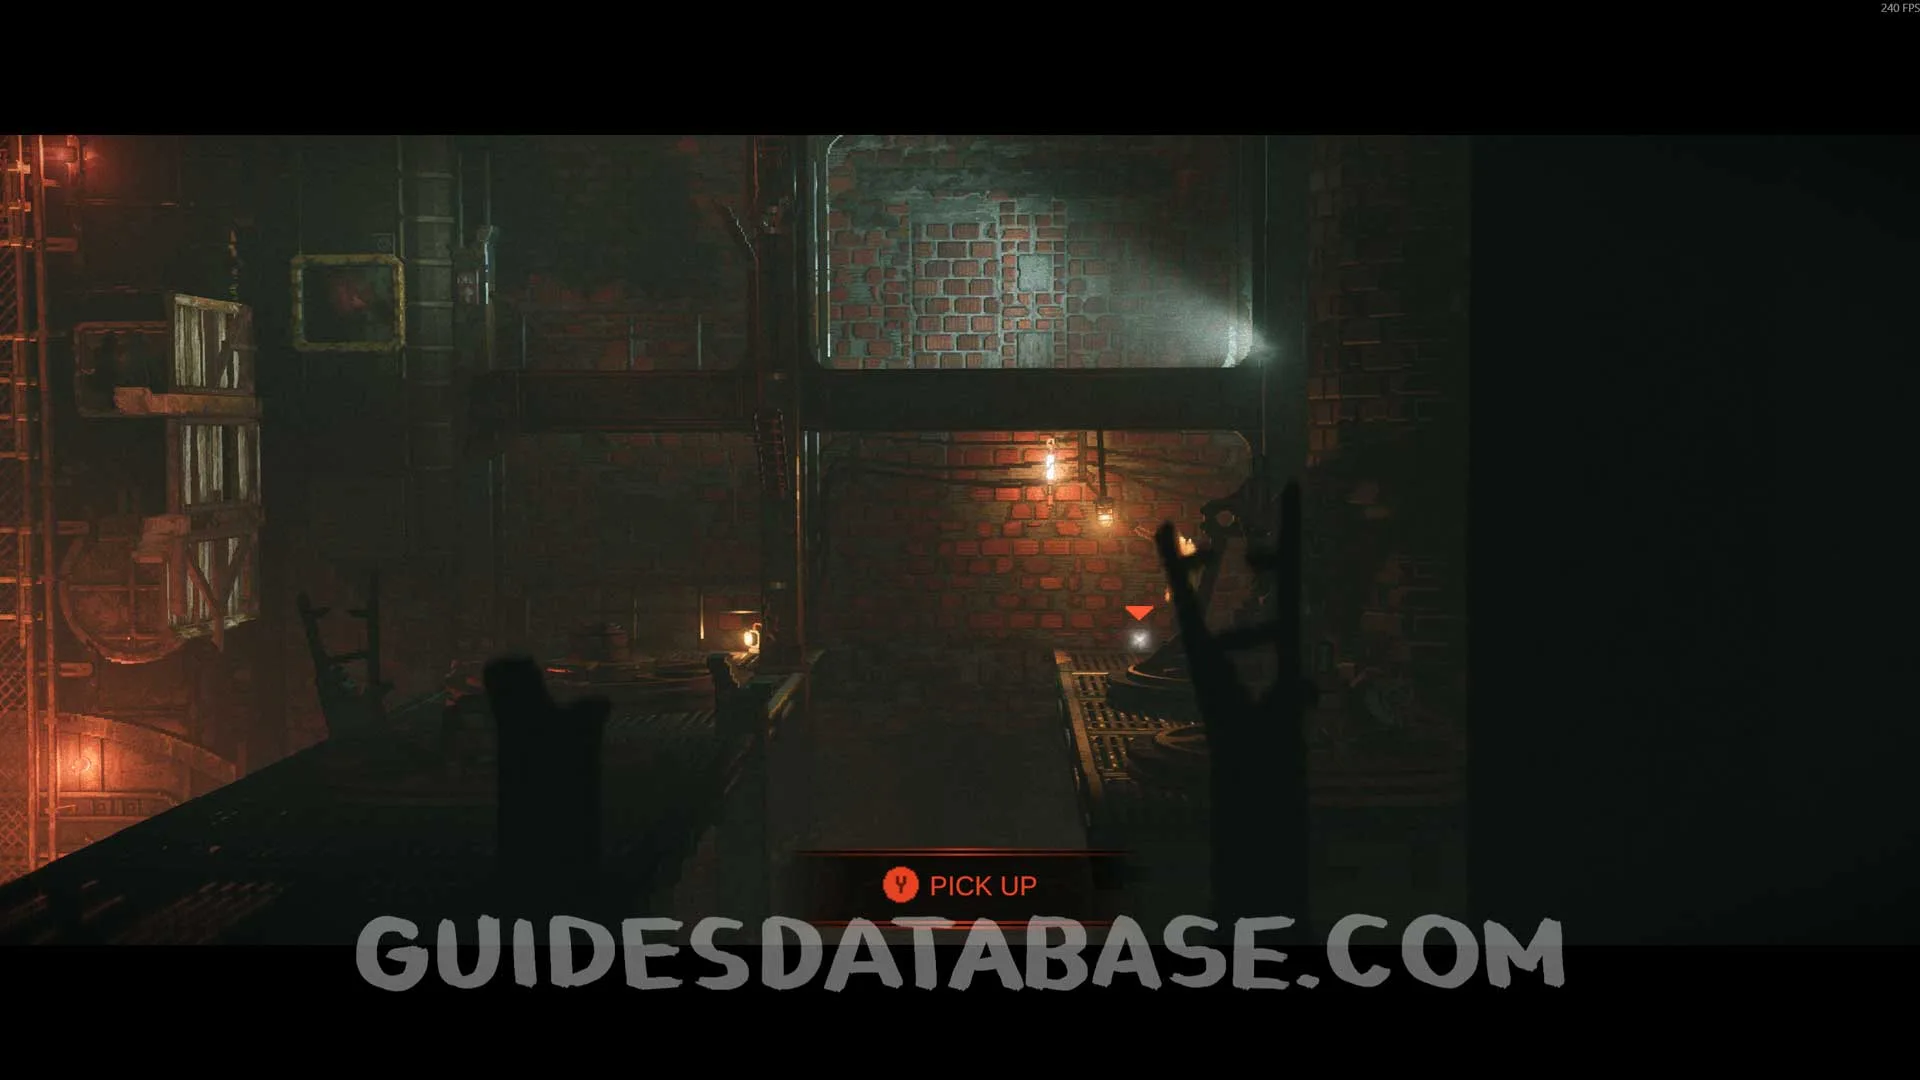 GUIDESDATABASE.COM
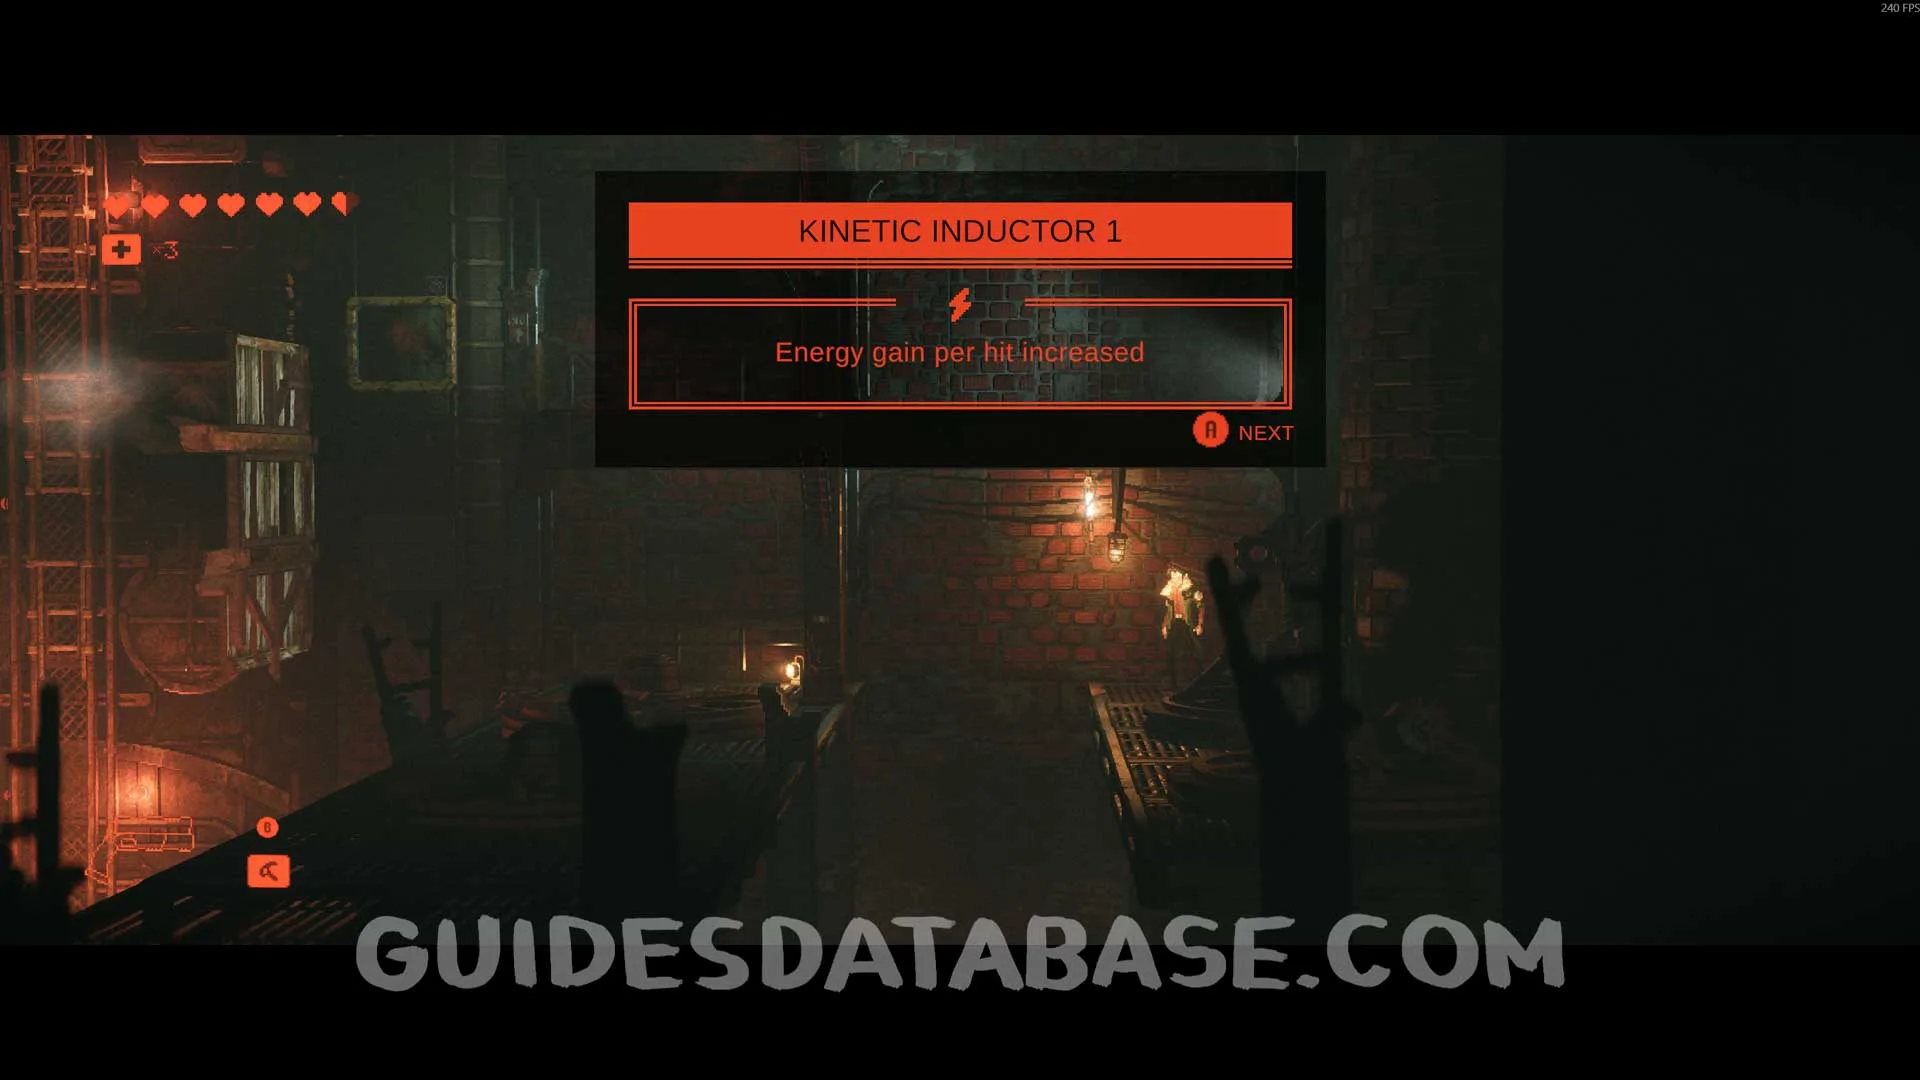 GUIDESDATABASE.COM
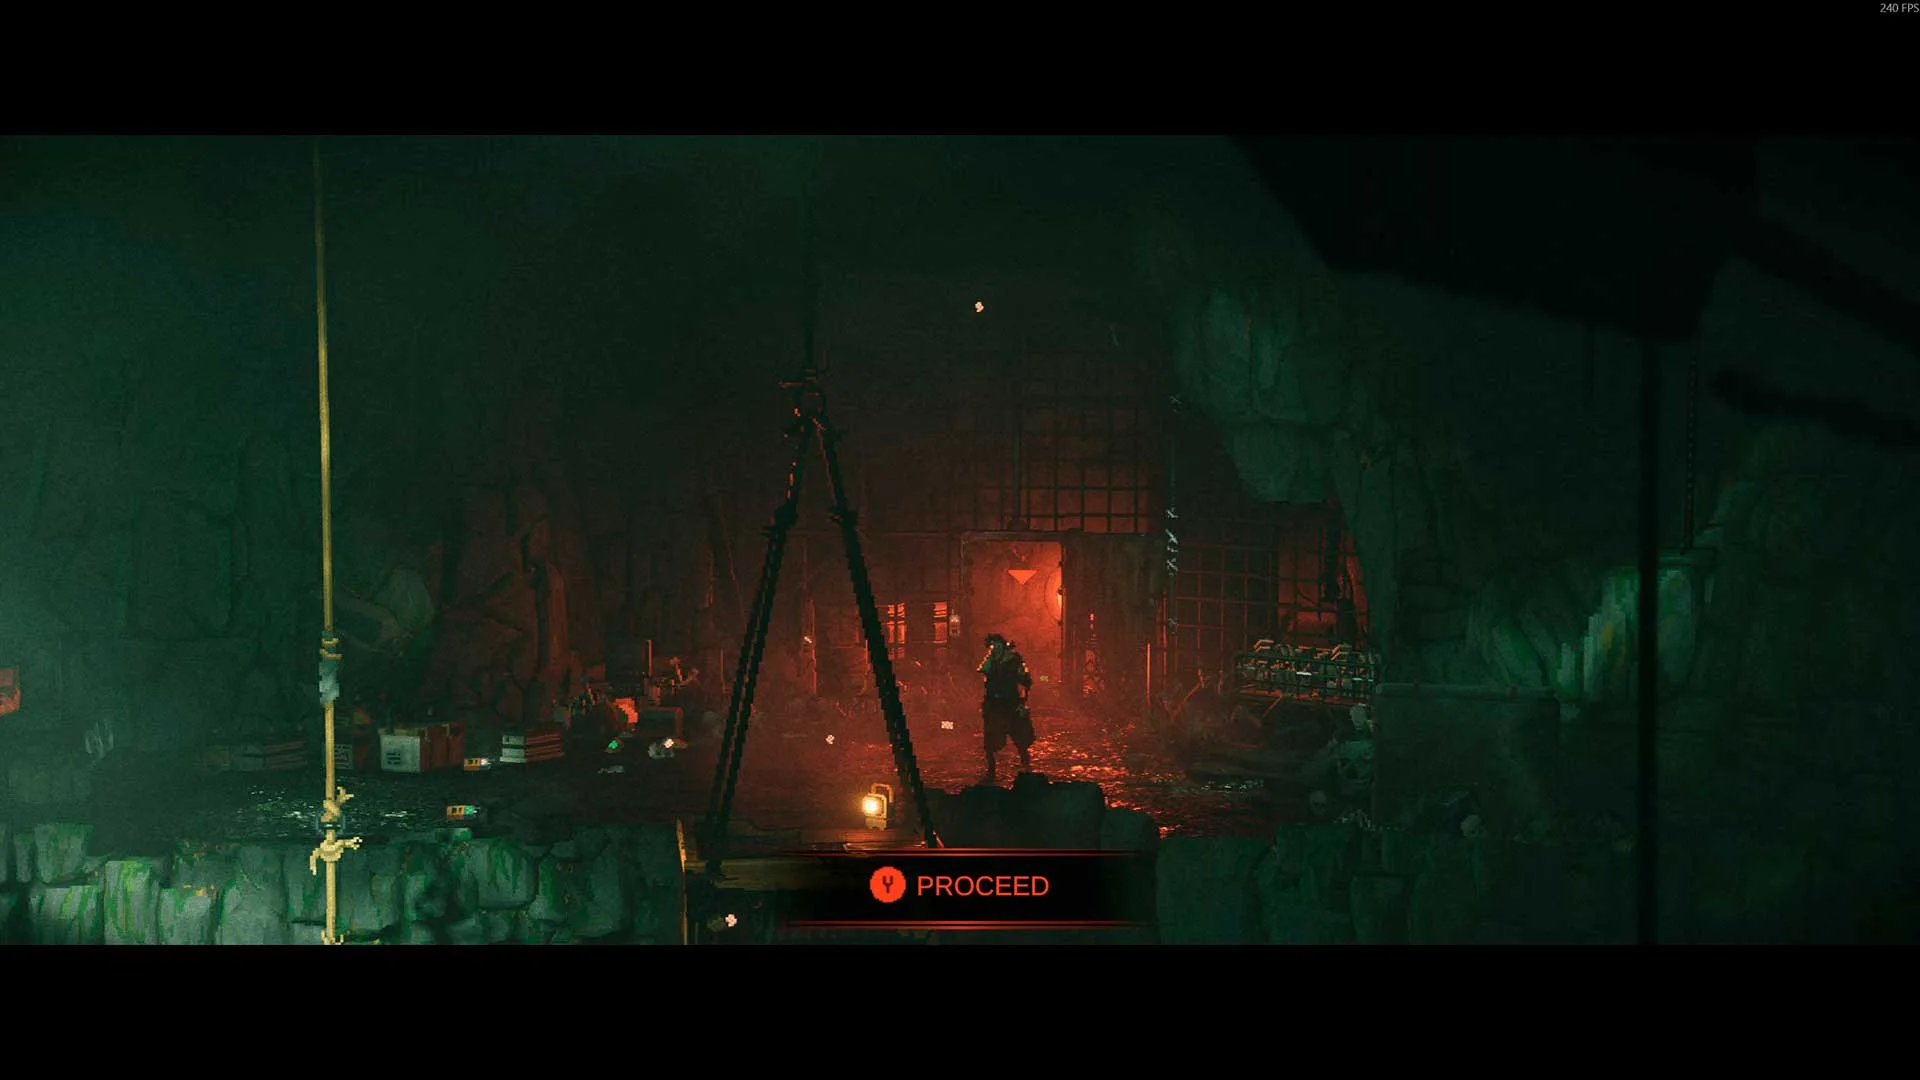
Scan #31 Kennedy's Speech
After trying to jump across a broken bridge, you will fall to the lower section. Head left all the way to the end to find this scan.
 GUIDESDATABASE.COM
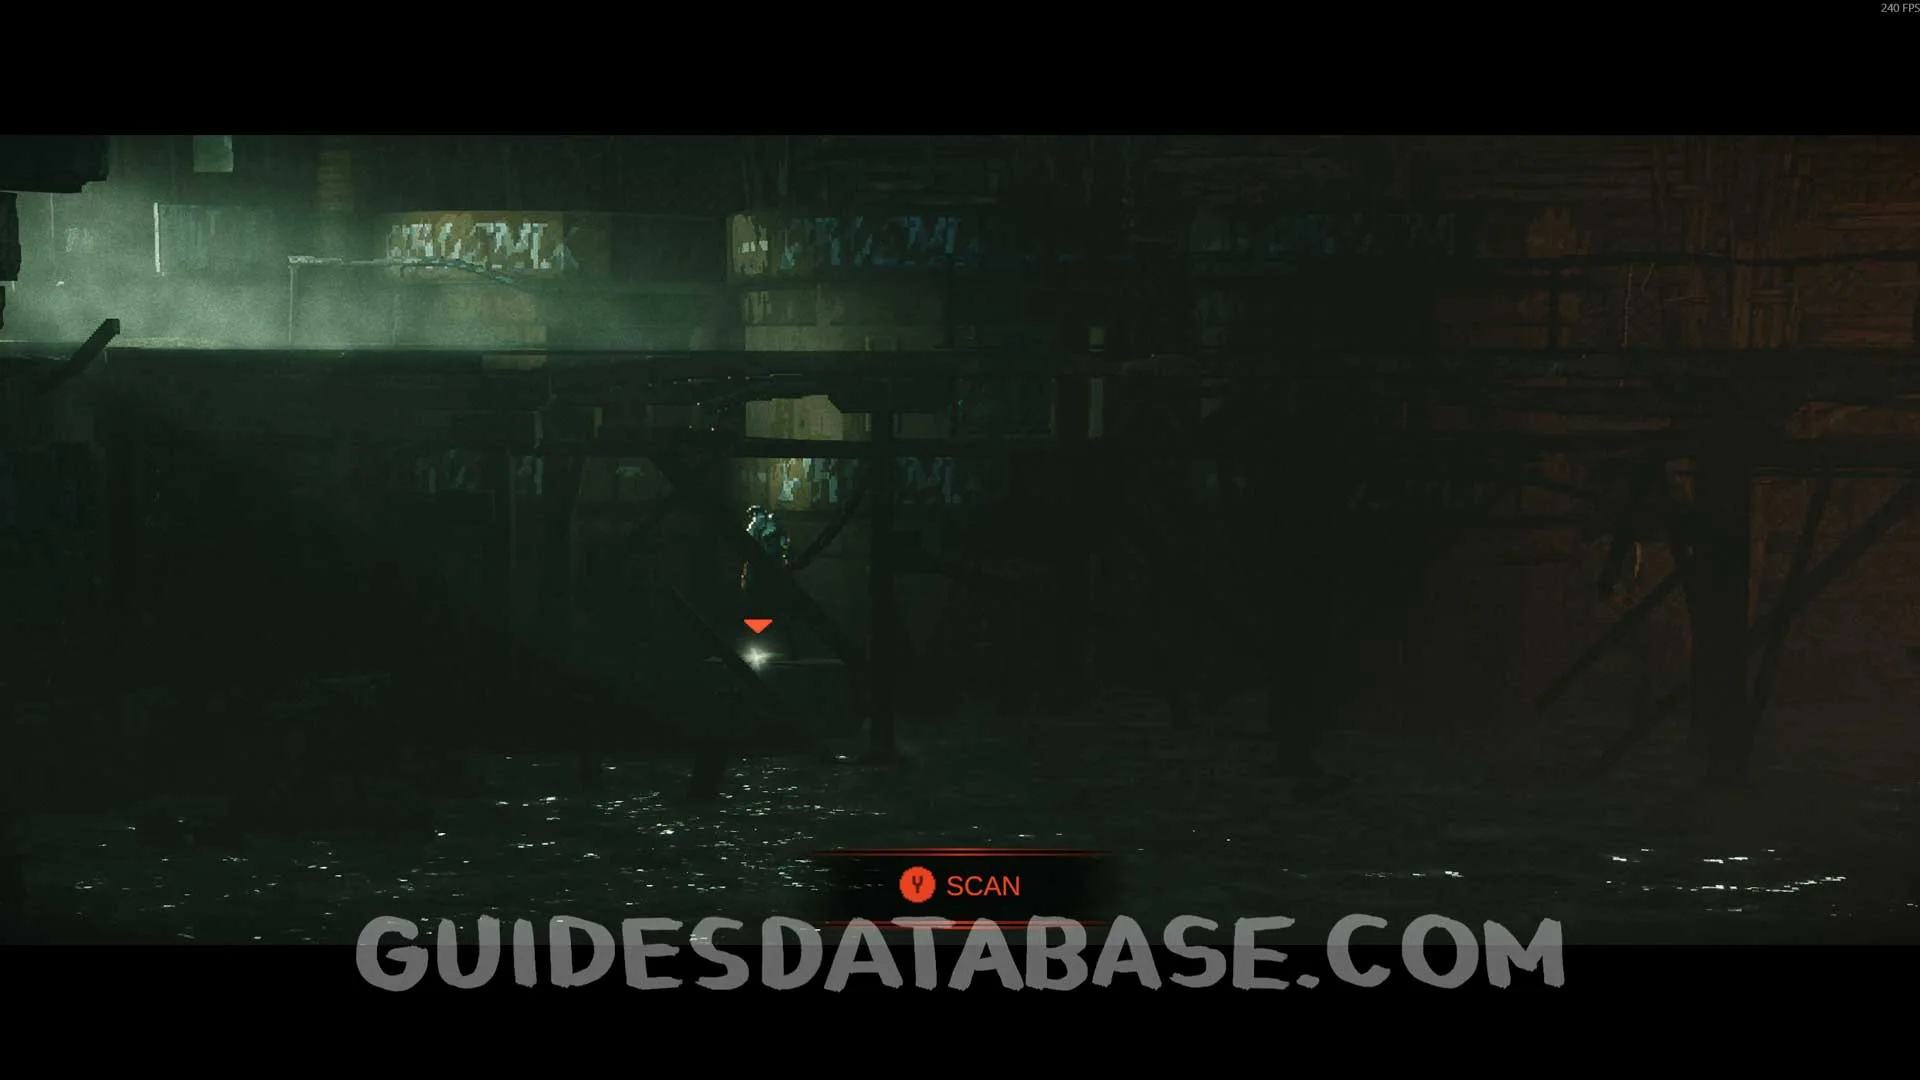 GUIDESDATABASE.COM
 GUIDESDATABASE.COM
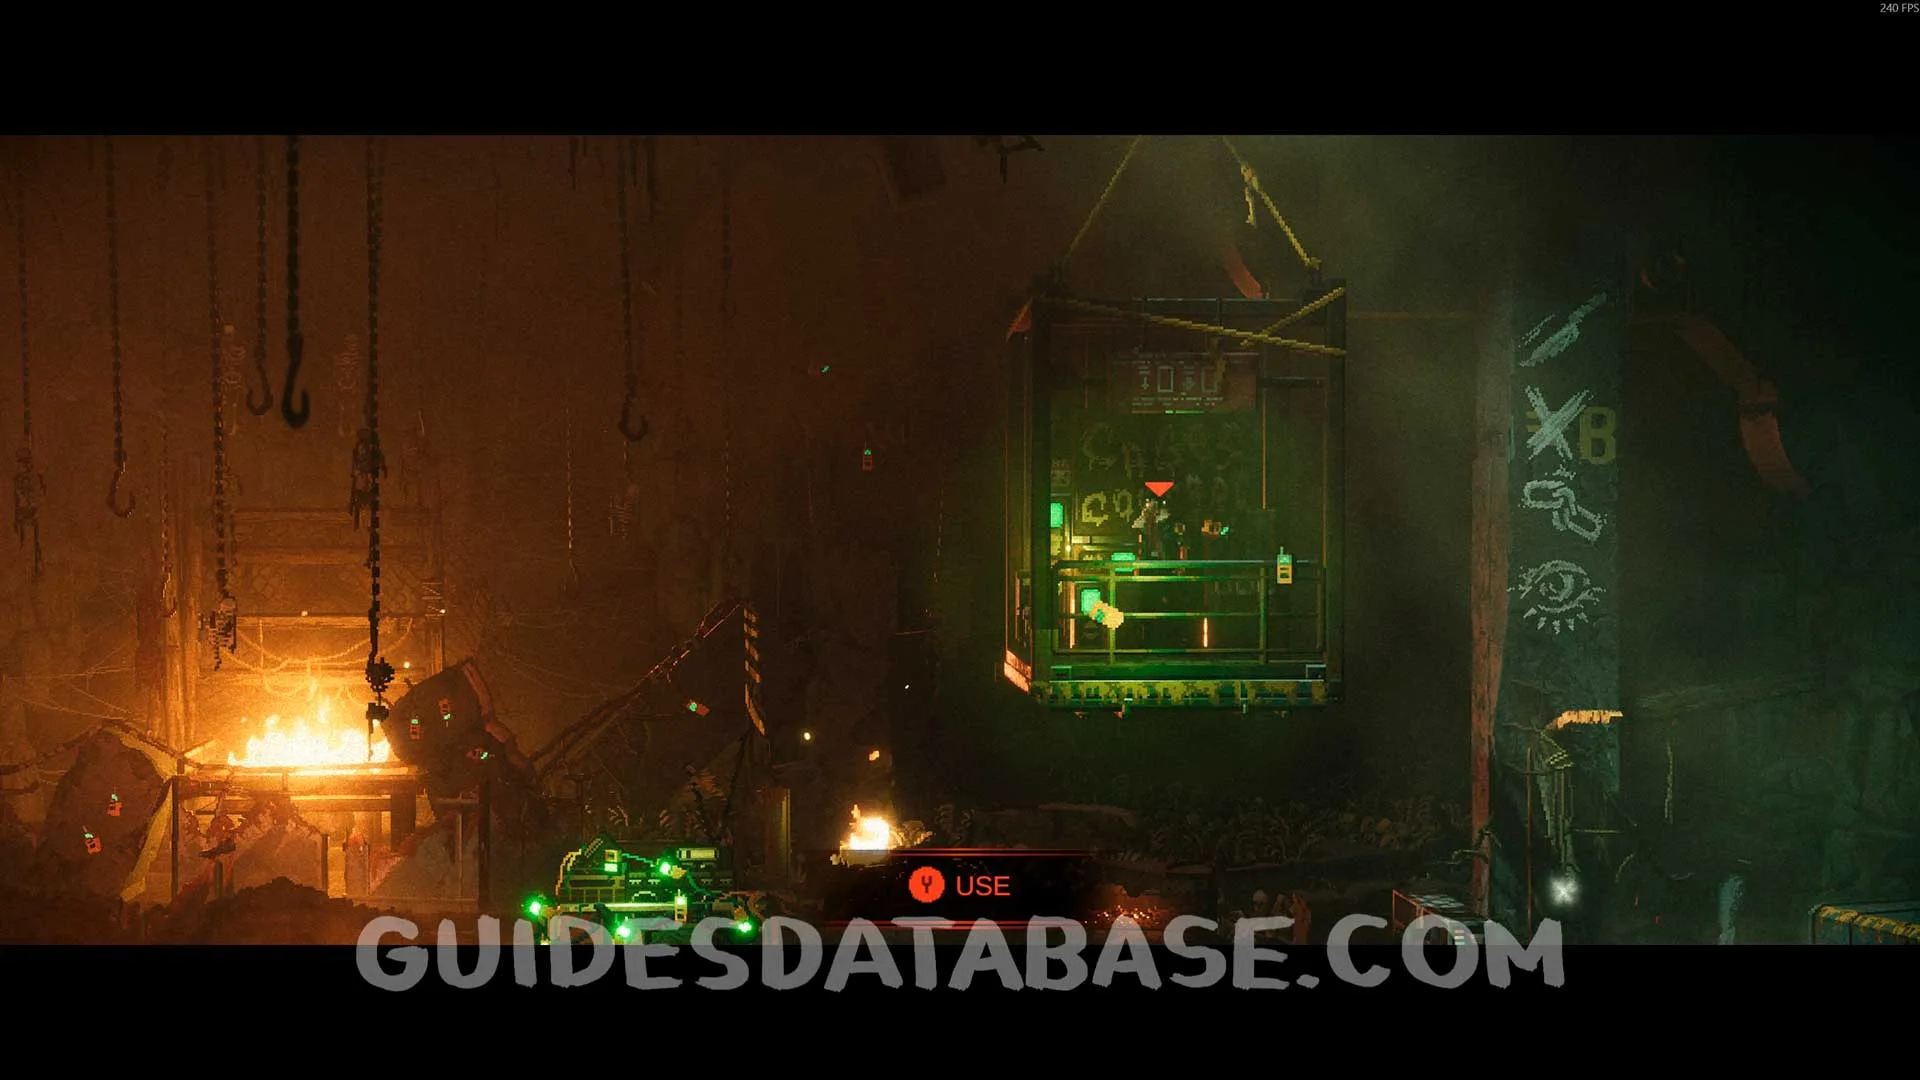
Scan #32 Corpse Butchering Guide
From the previous collectible, head forward and talk to the Slave Leader, then start climbing to the upper area by hanging on the wall with your pickaxe.
 GUIDESDATABASE.COM
 GUIDESDATABASE.COM
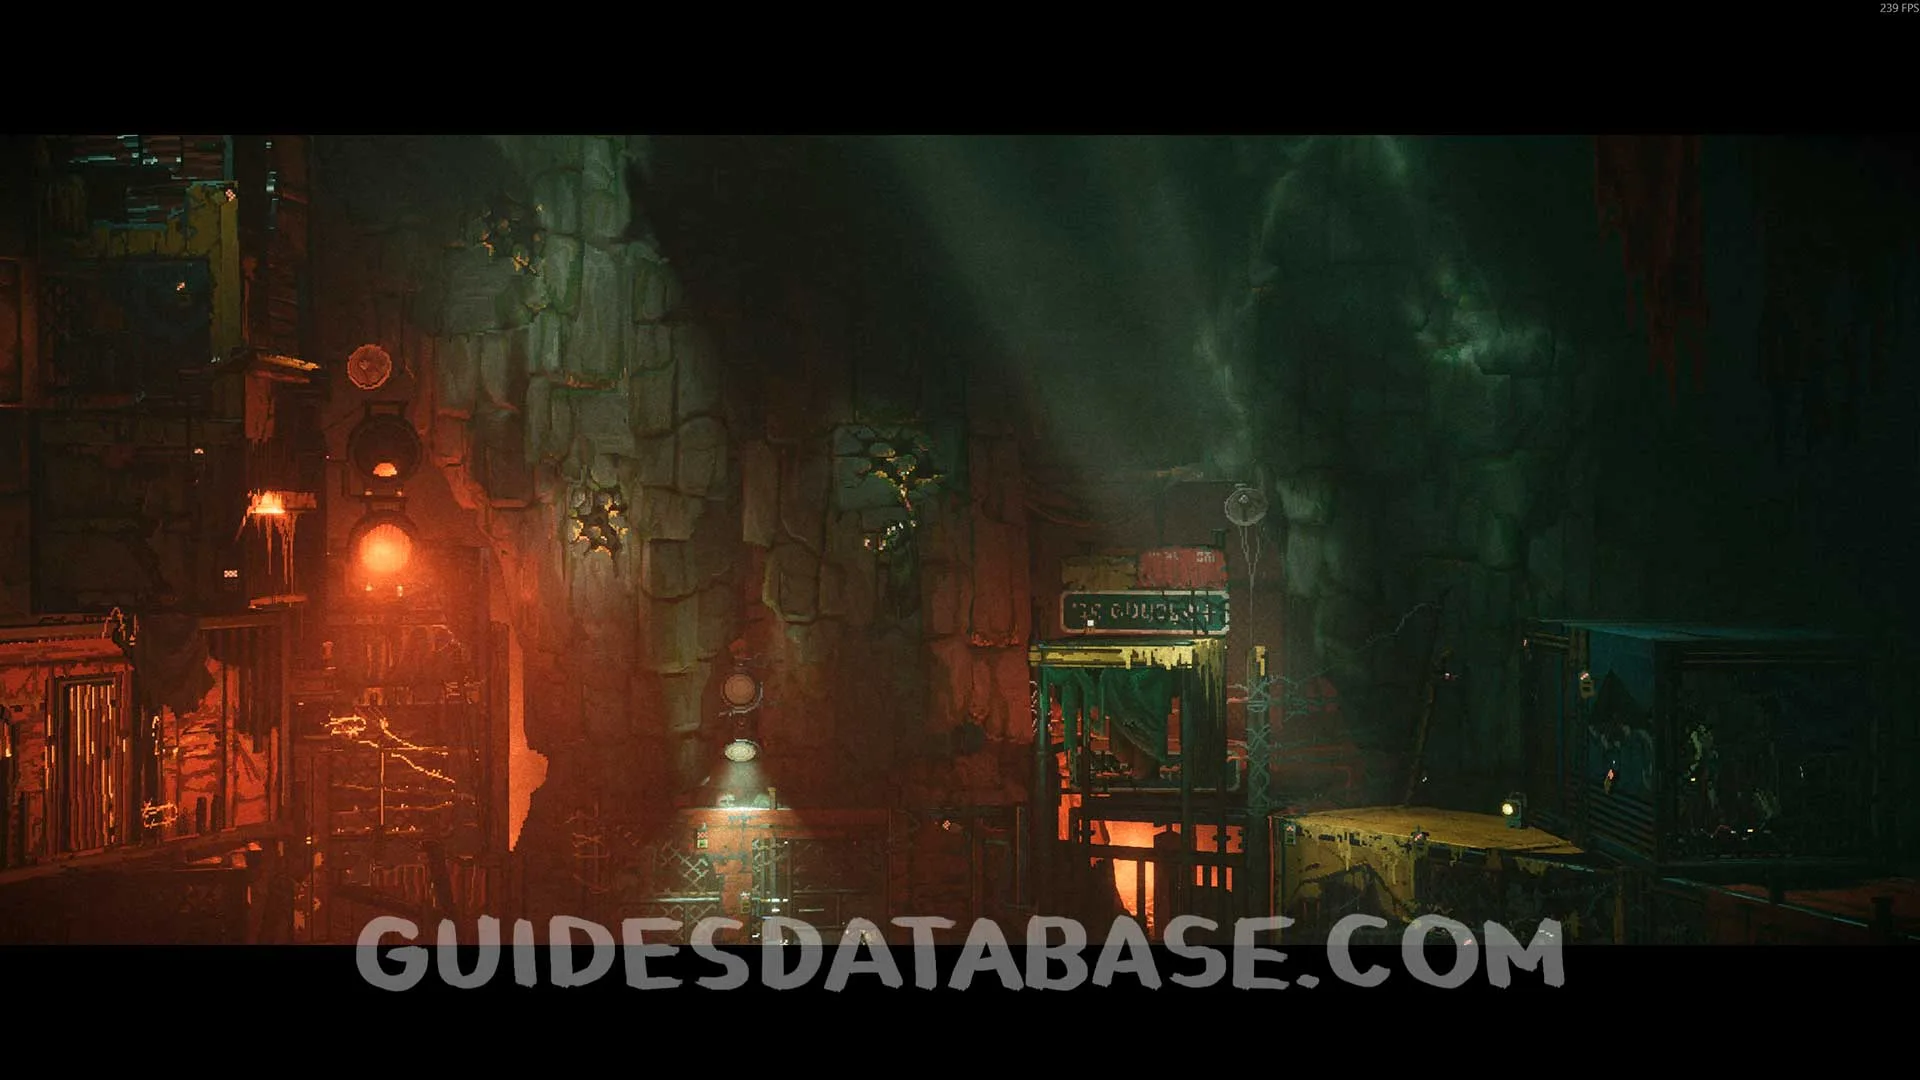 GUIDESDATABASE.COM
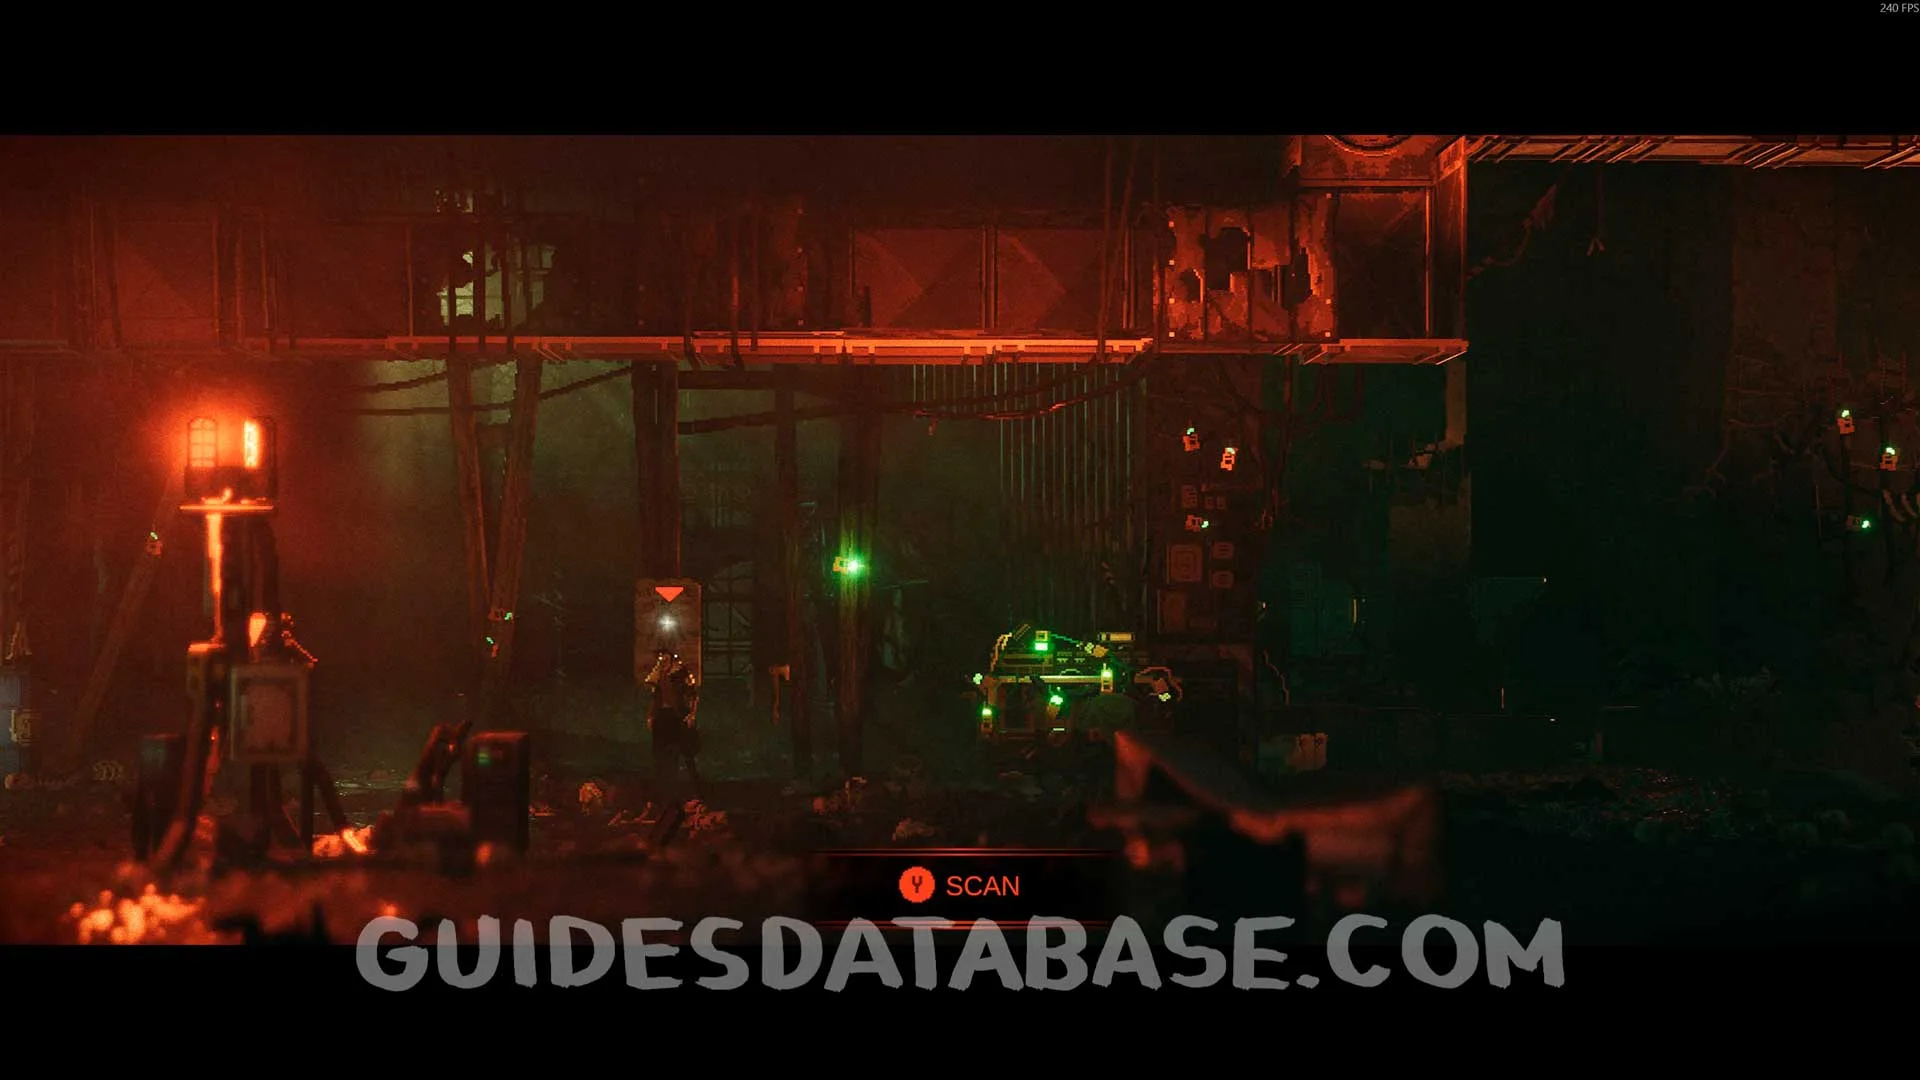
Once you reach the top of the area, move forward. You will go through a duct and then have to drop down and fight several enemies. Defeat them all.
 GUIDESDATABASE.COM
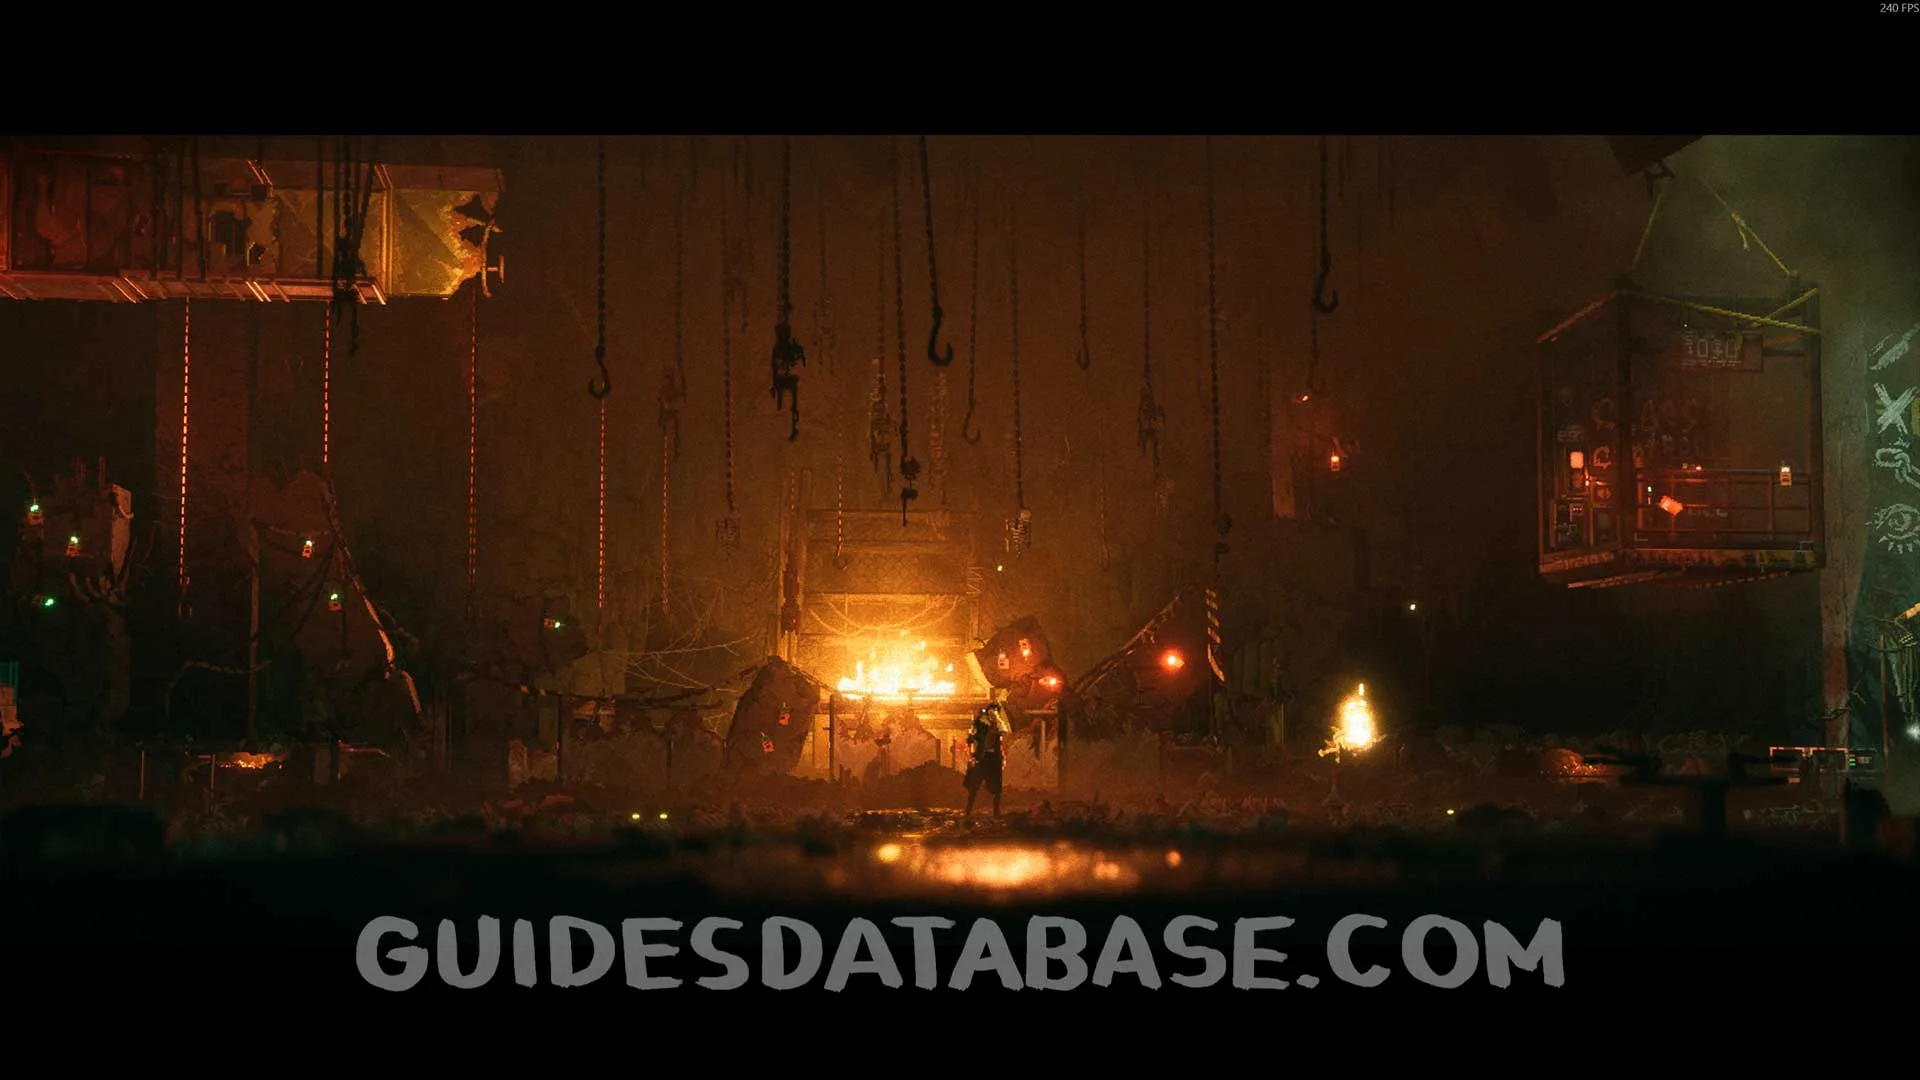 GUIDESDATABASE.COM
After defeating all the enemies, go left to find this scan.
 GUIDESDATABASE.COM
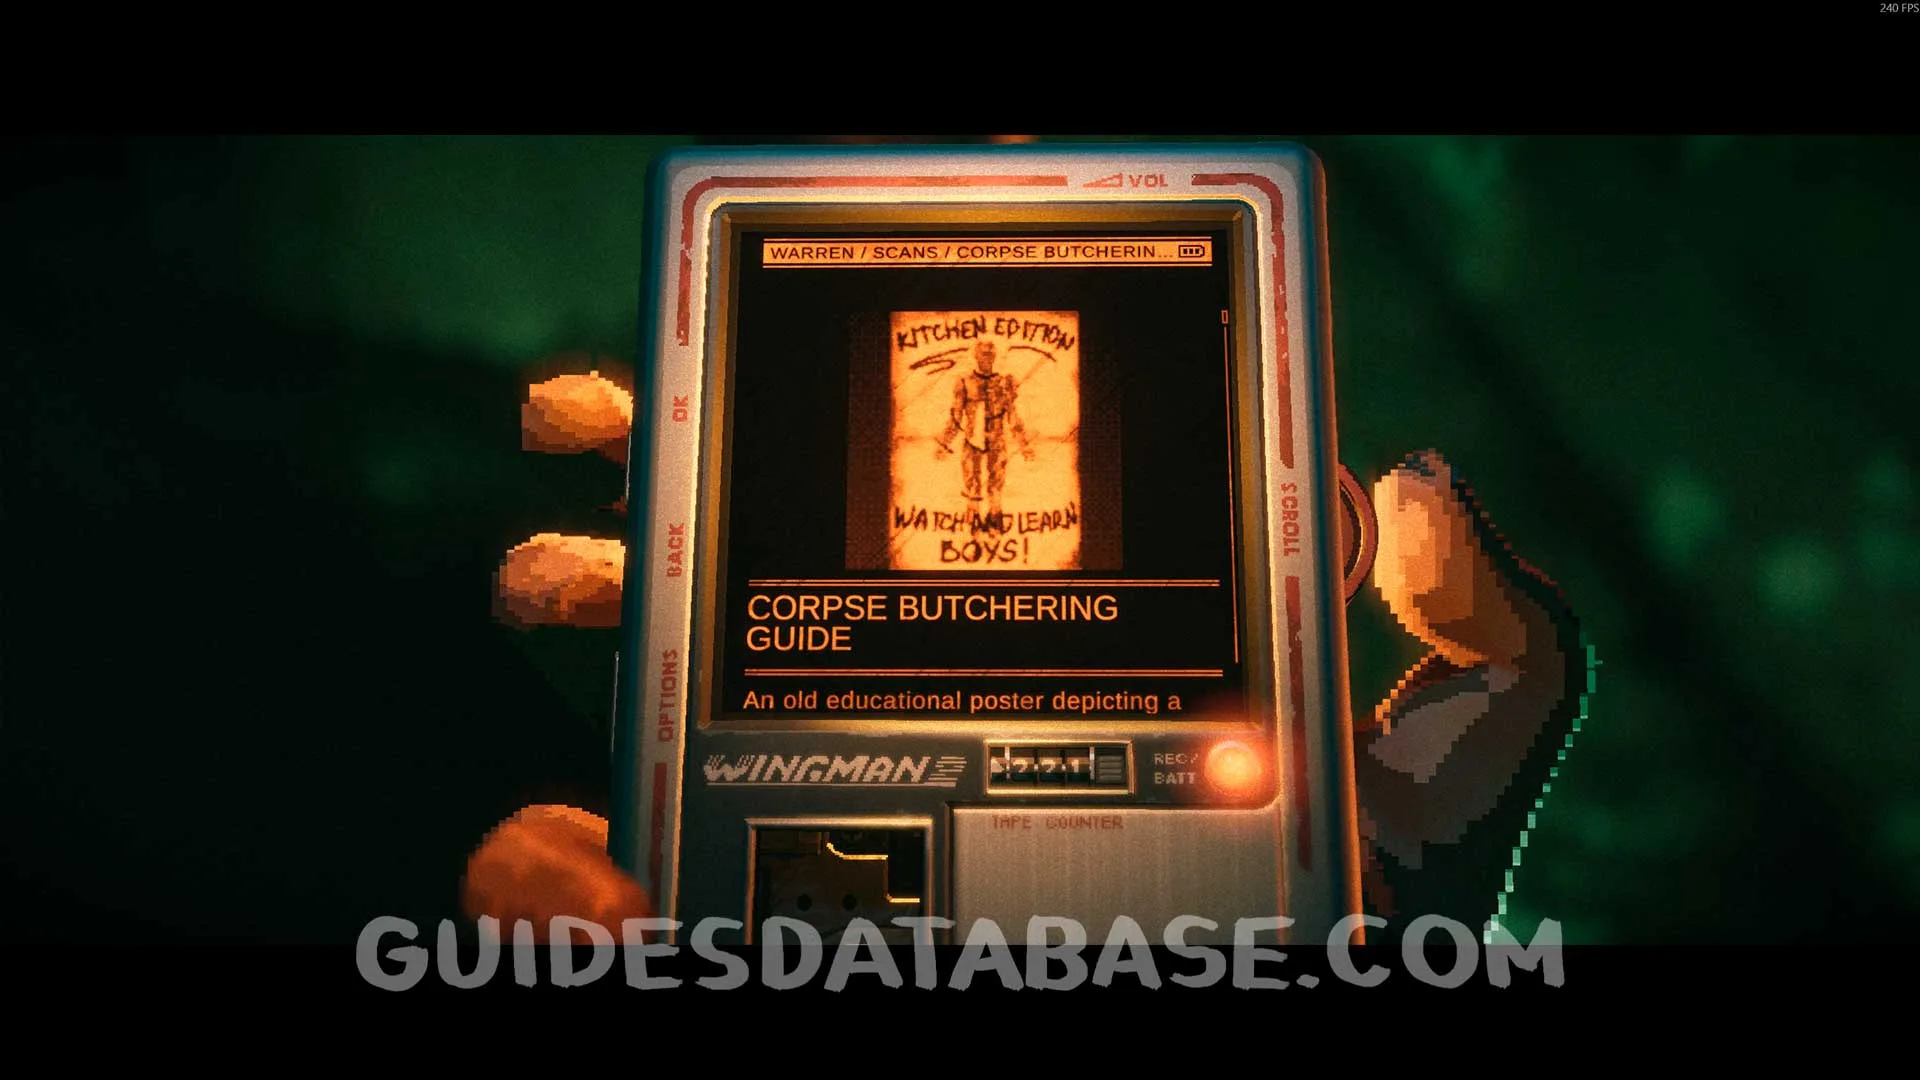 GUIDESDATABASE.COM
Scan #33 Incriminating Chat
Same location as the previous collectible, interact with the terminal.
 GUIDESDATABASE.COM
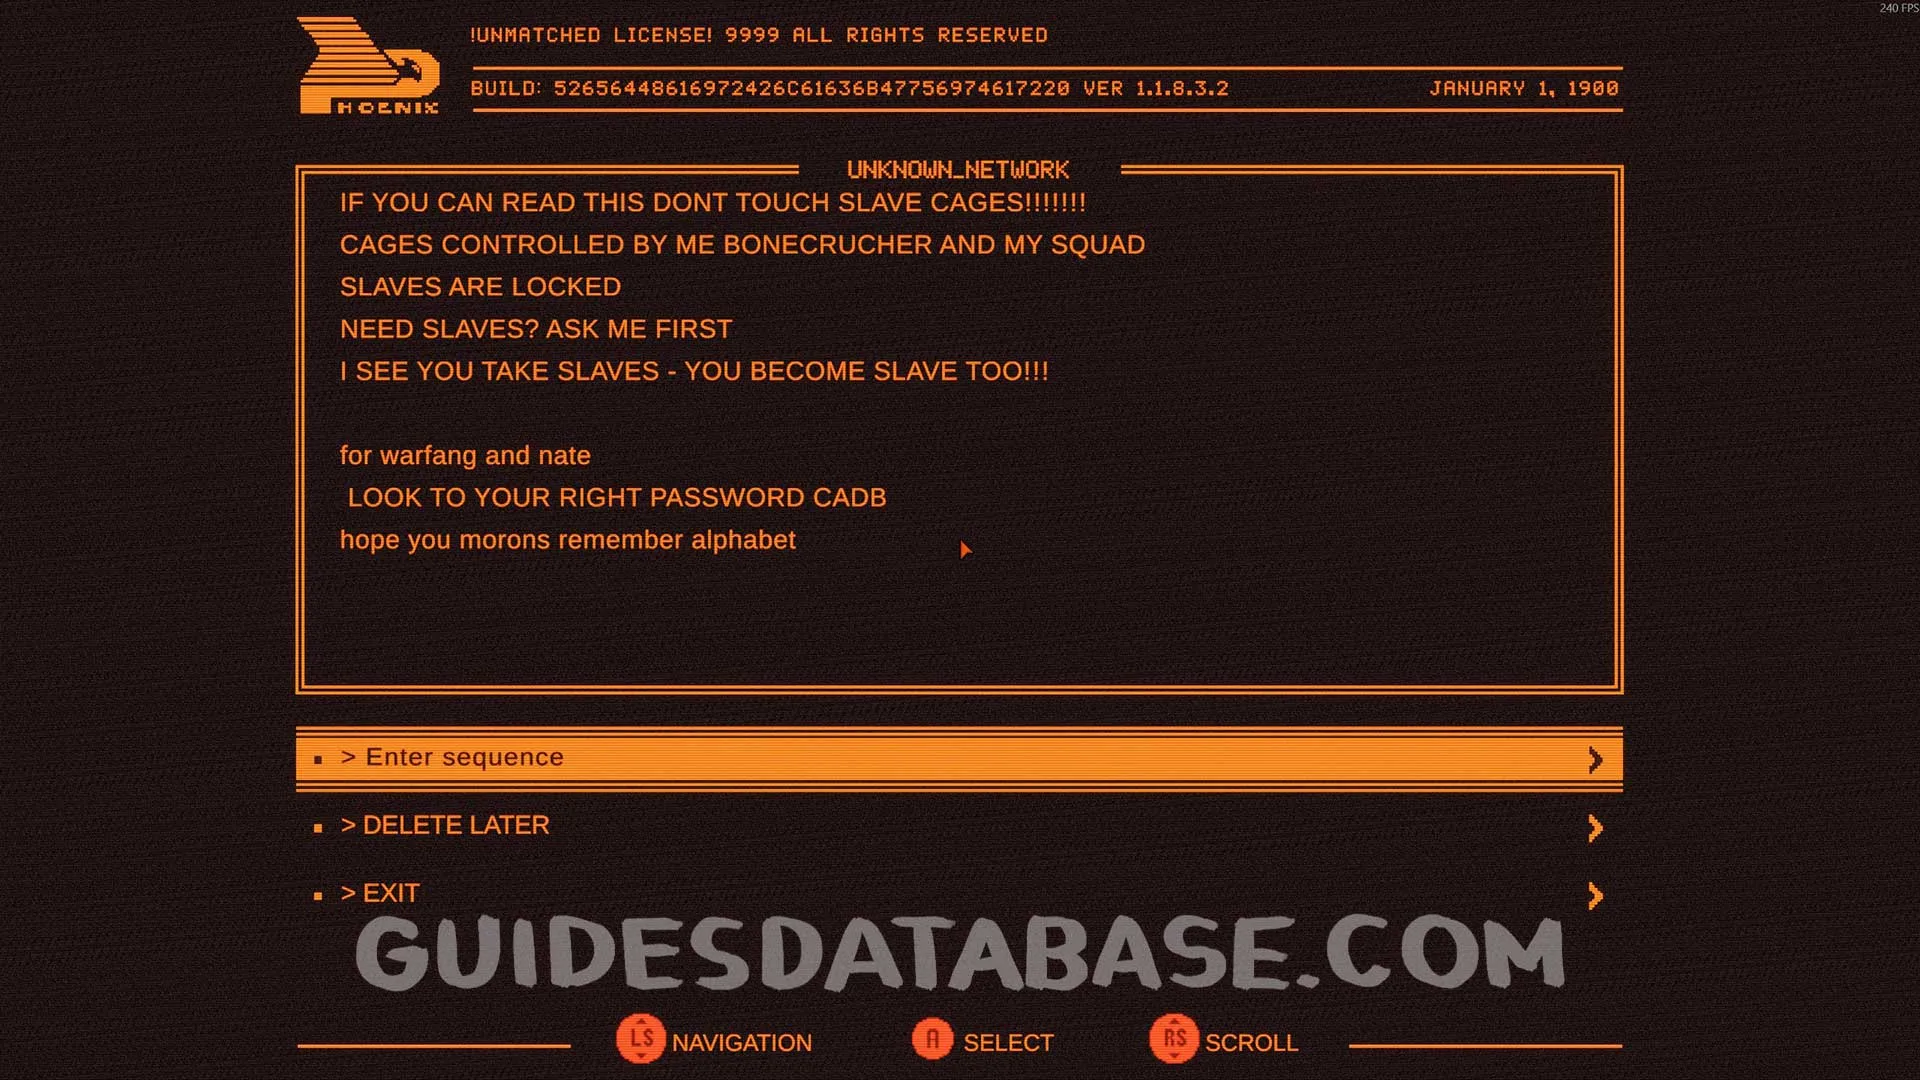 GUIDESDATABASE.COM
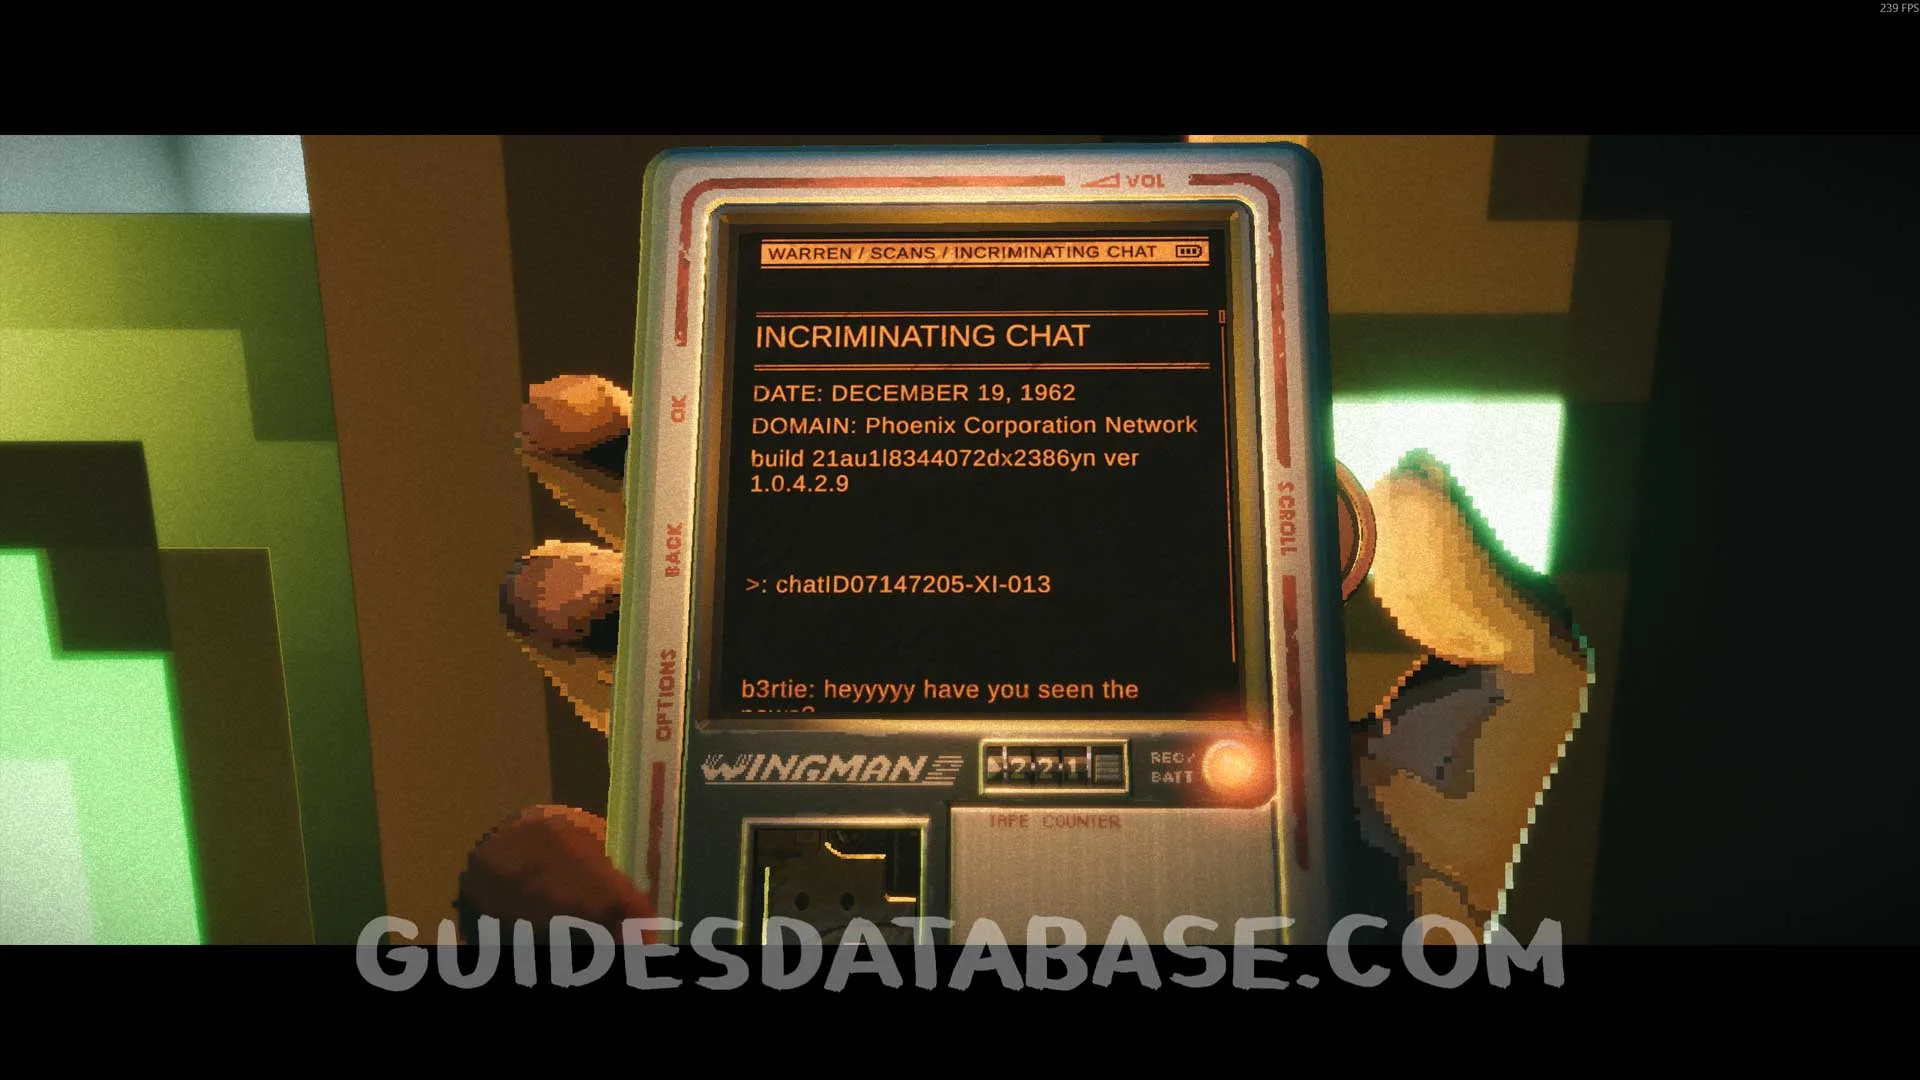 GUIDESDATABASE.COM
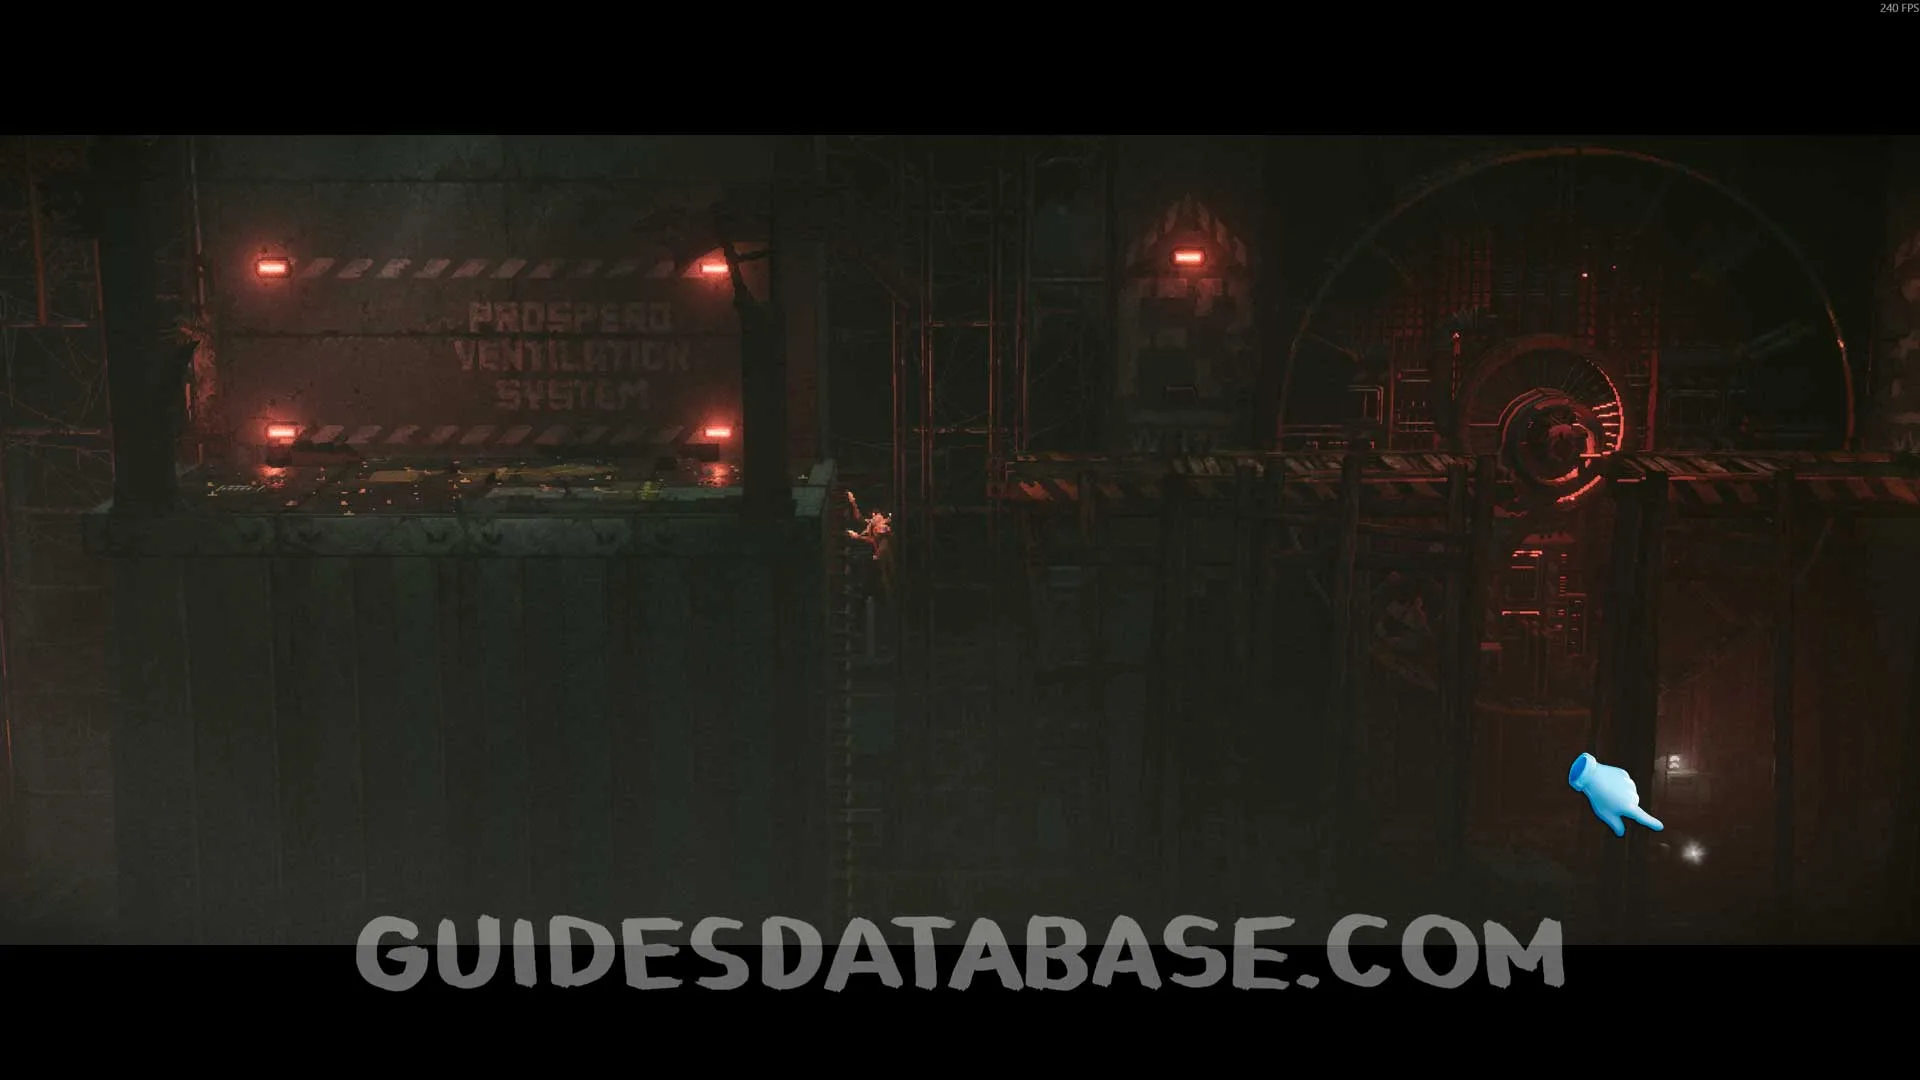
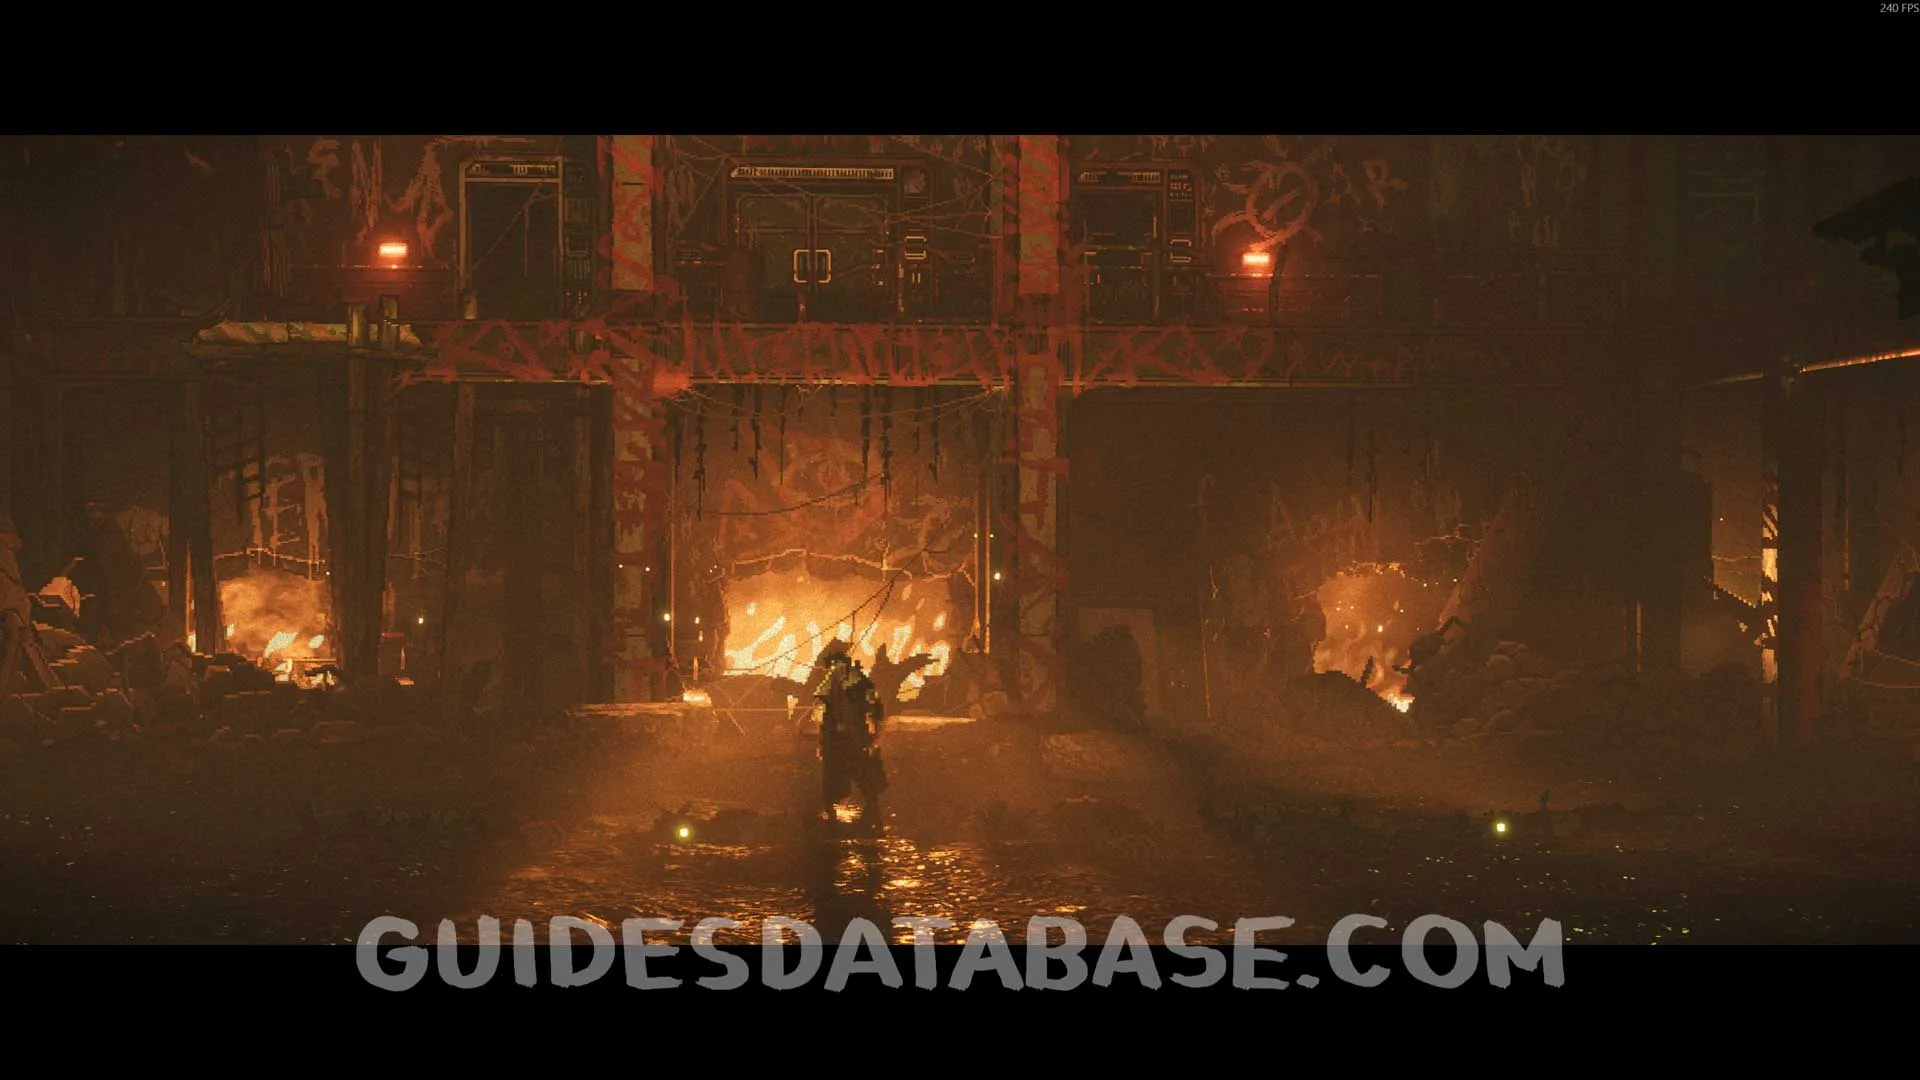
Scan #34 The City Gets A New Name
Right after the section where you have to hold the flare in your hand to scare off some enemies, you will need to pull an object to climb up and progress to a new area. In this new area, jump past the first platform and when you reach the second platform, drop down to find this Scan.
 GUIDESDATABASE.COM
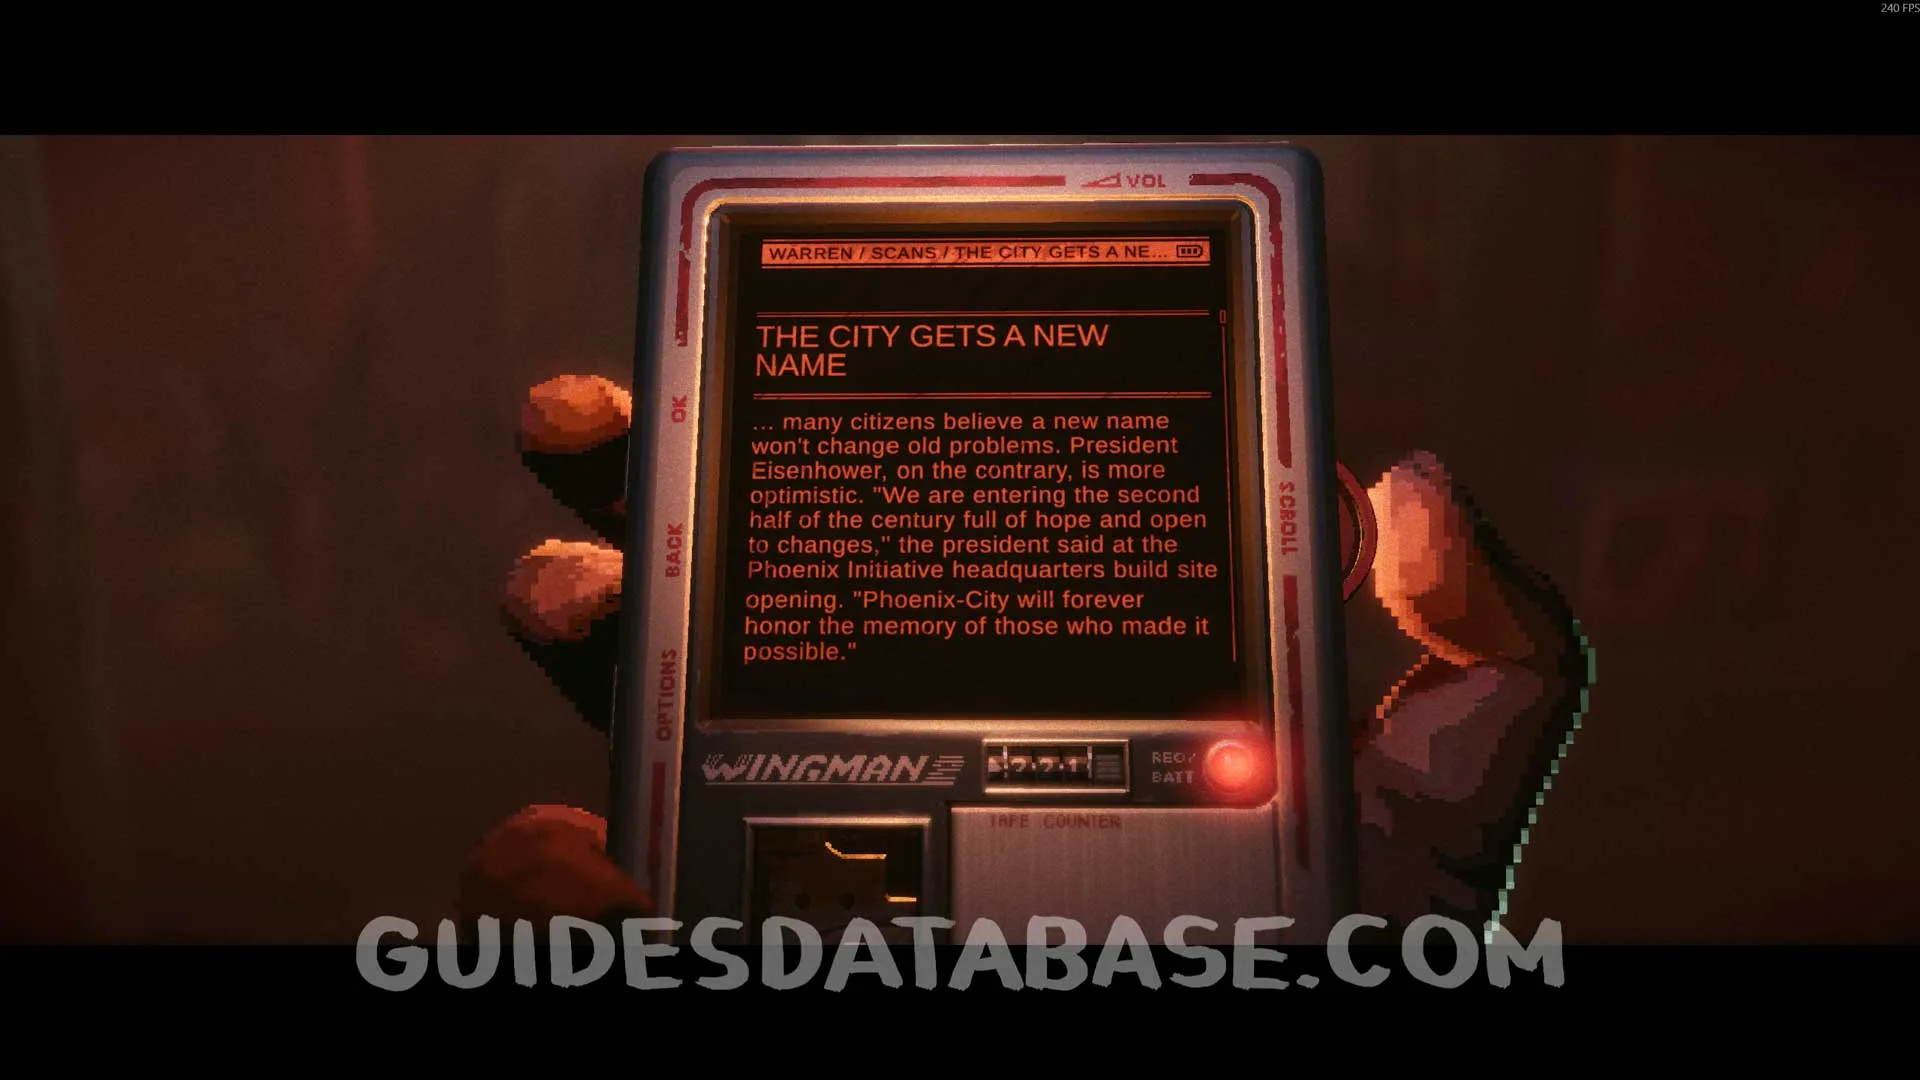 GUIDESDATABASE.COM
Scan #35 New Prospero Head Worries
Later in the chapter, an enemy will push you off a platform. After that, defeat all the enemies and go left to find this scan.
 GUIDESDATABASE.COM
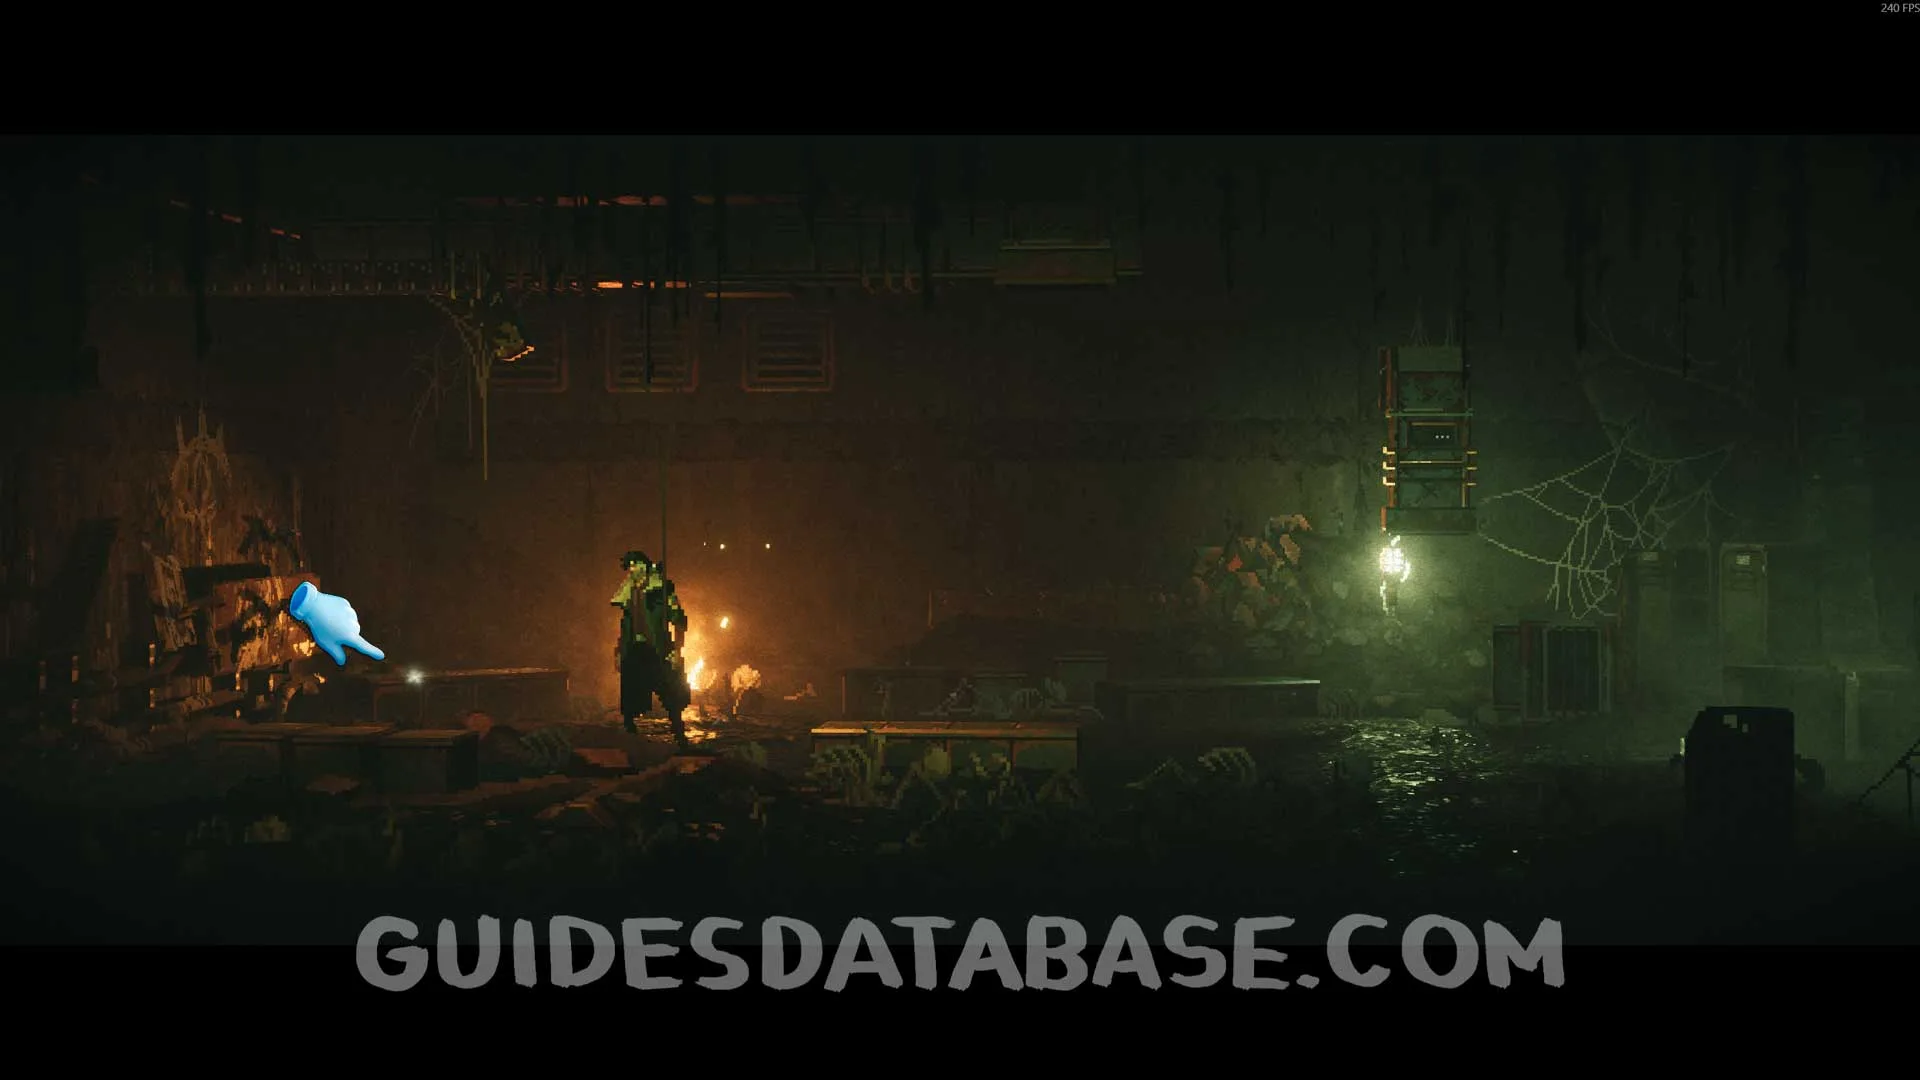 GUIDESDATABASE.COM
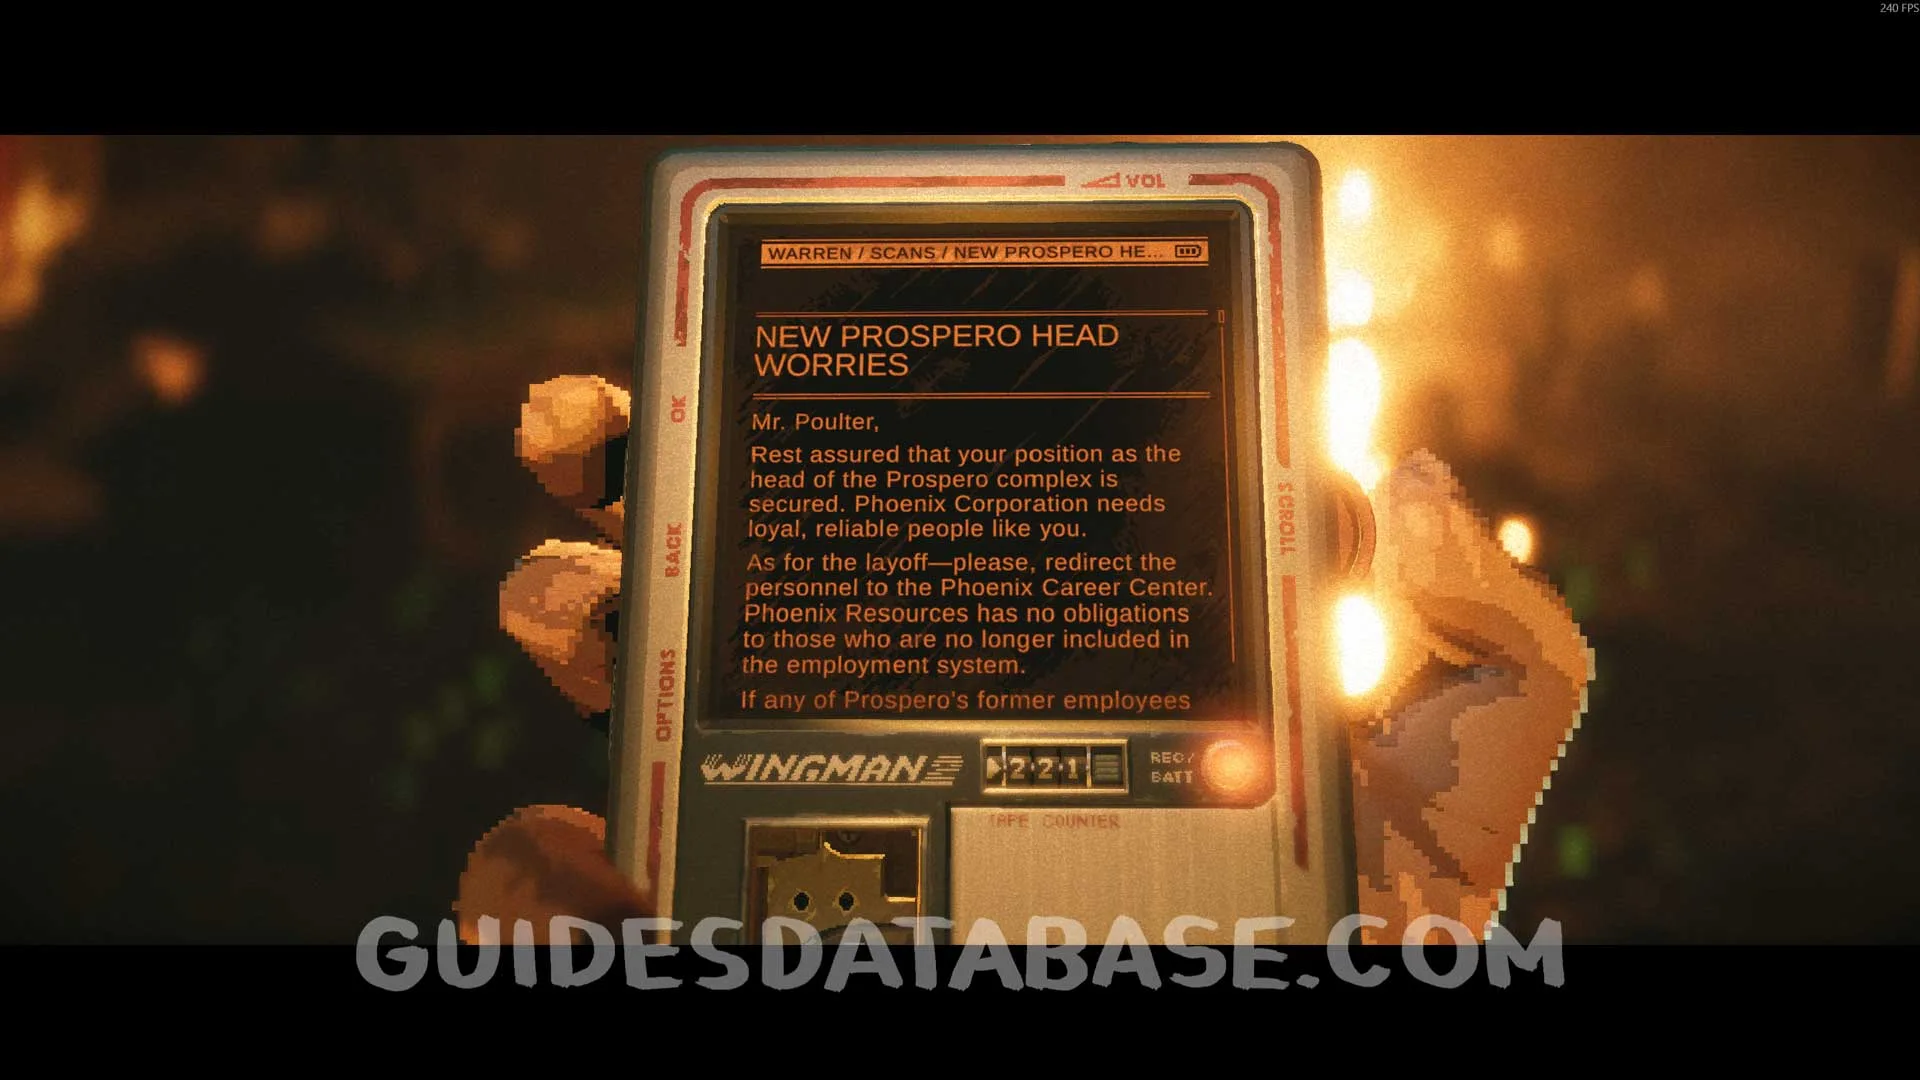 GUIDESDATABASE.COM
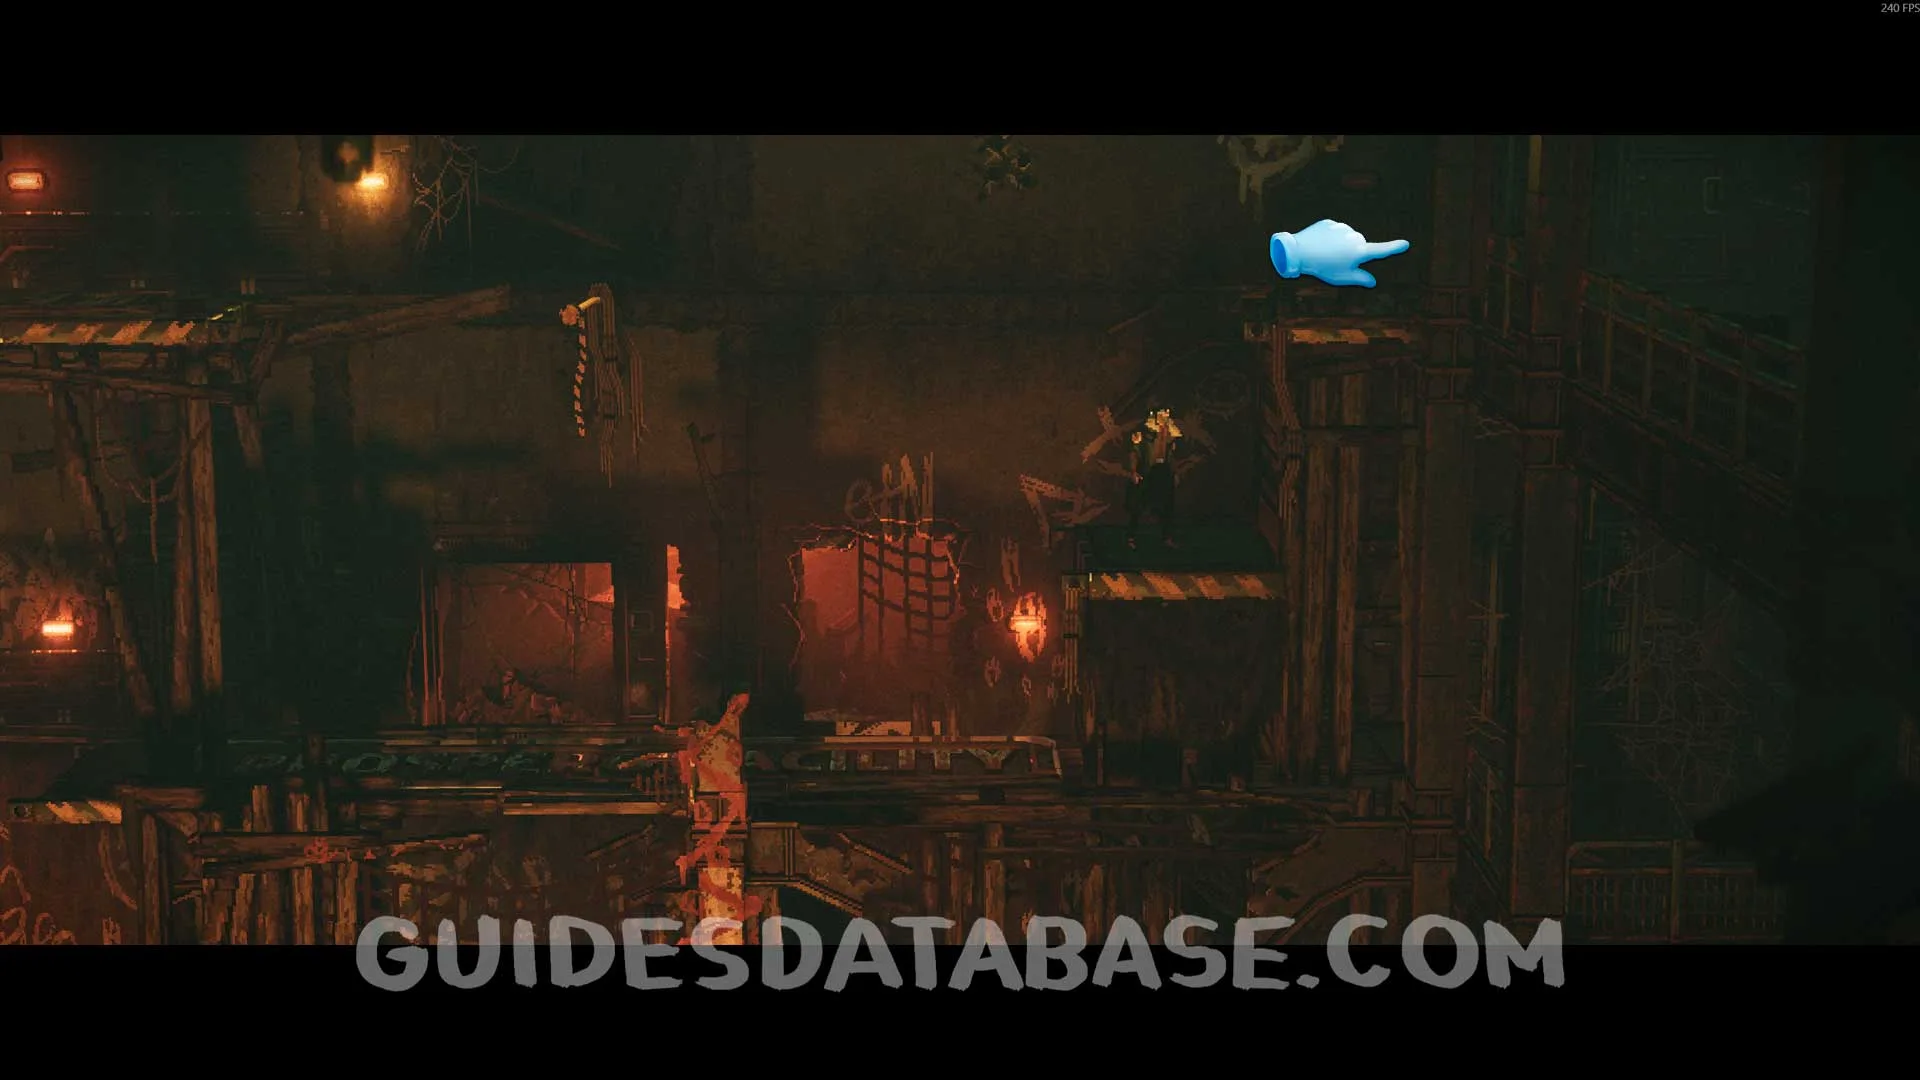
Scan #36 Unsent Letter Home
From the previous collectible, continue climbing the platforms. At the top, instead of going left, go right to find this on top of a bed.
 GUIDESDATABASE.COM
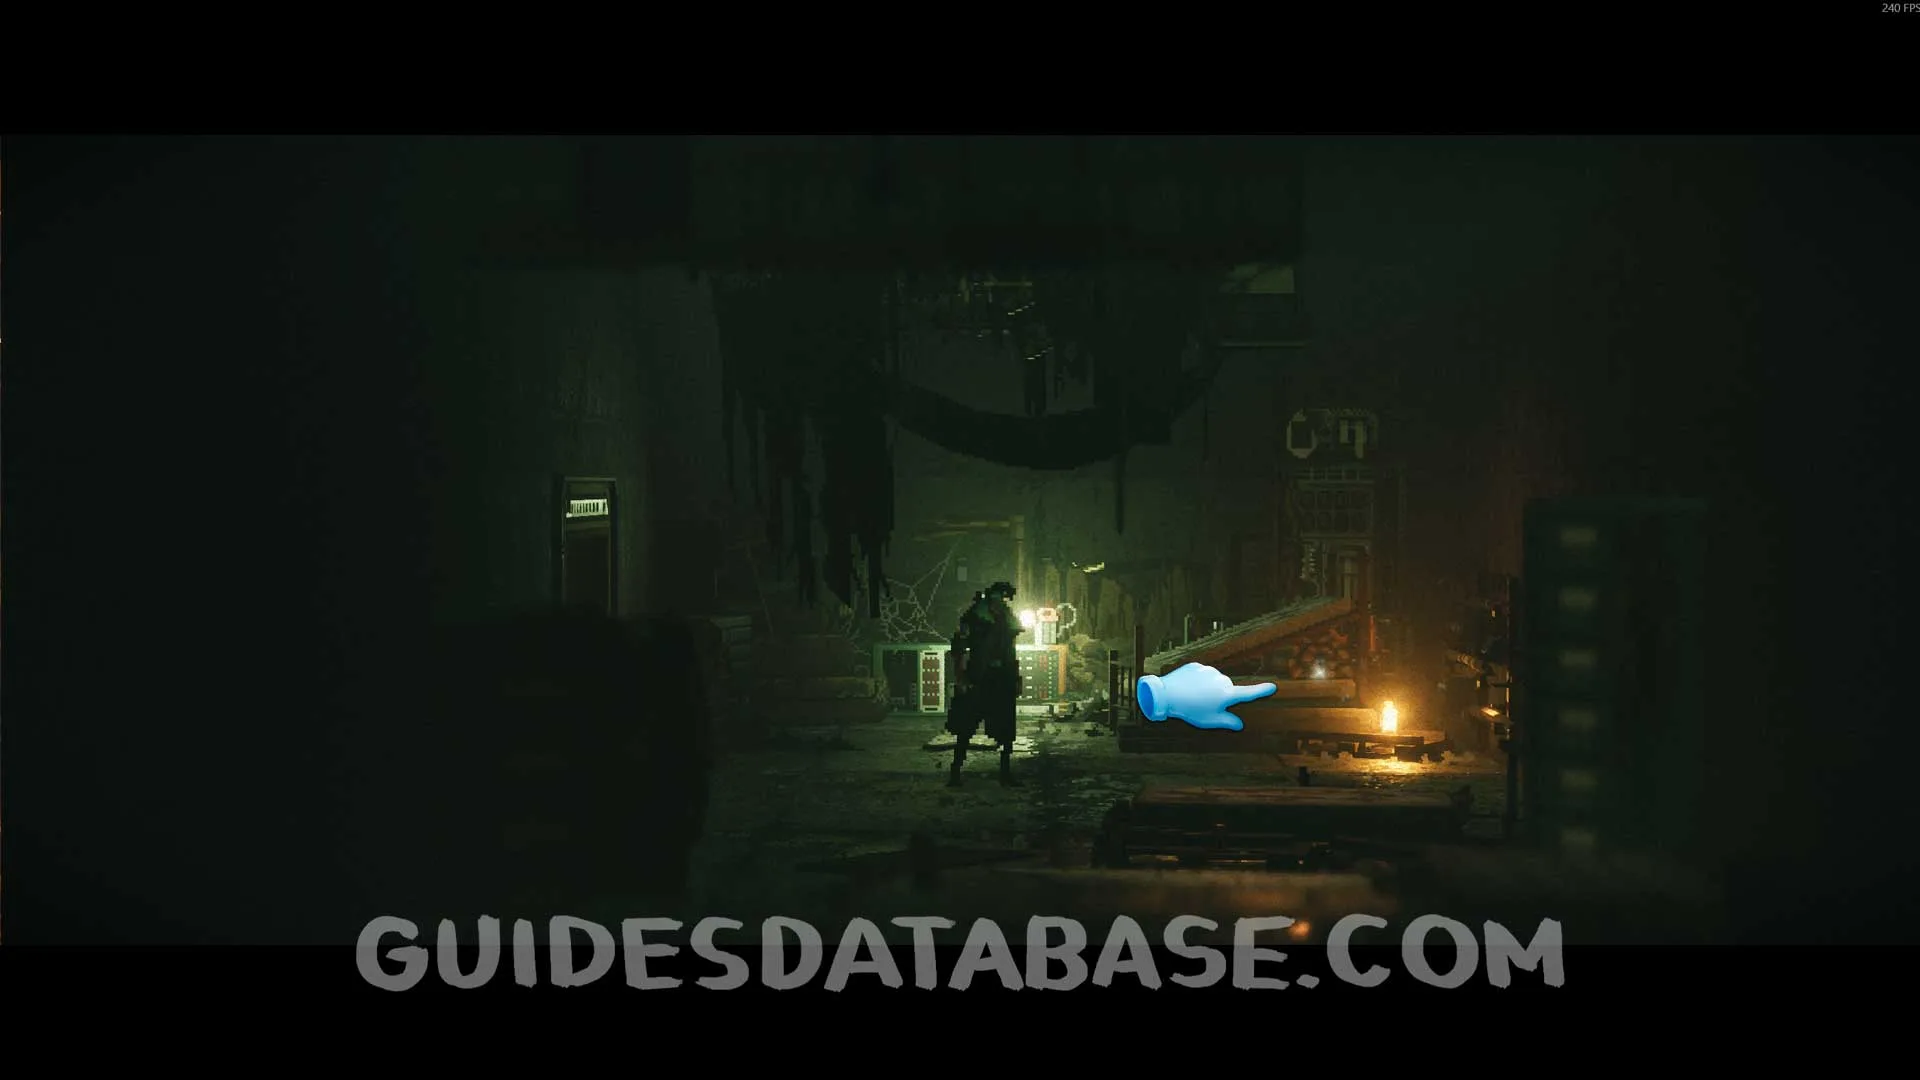 GUIDESDATABASE.COM
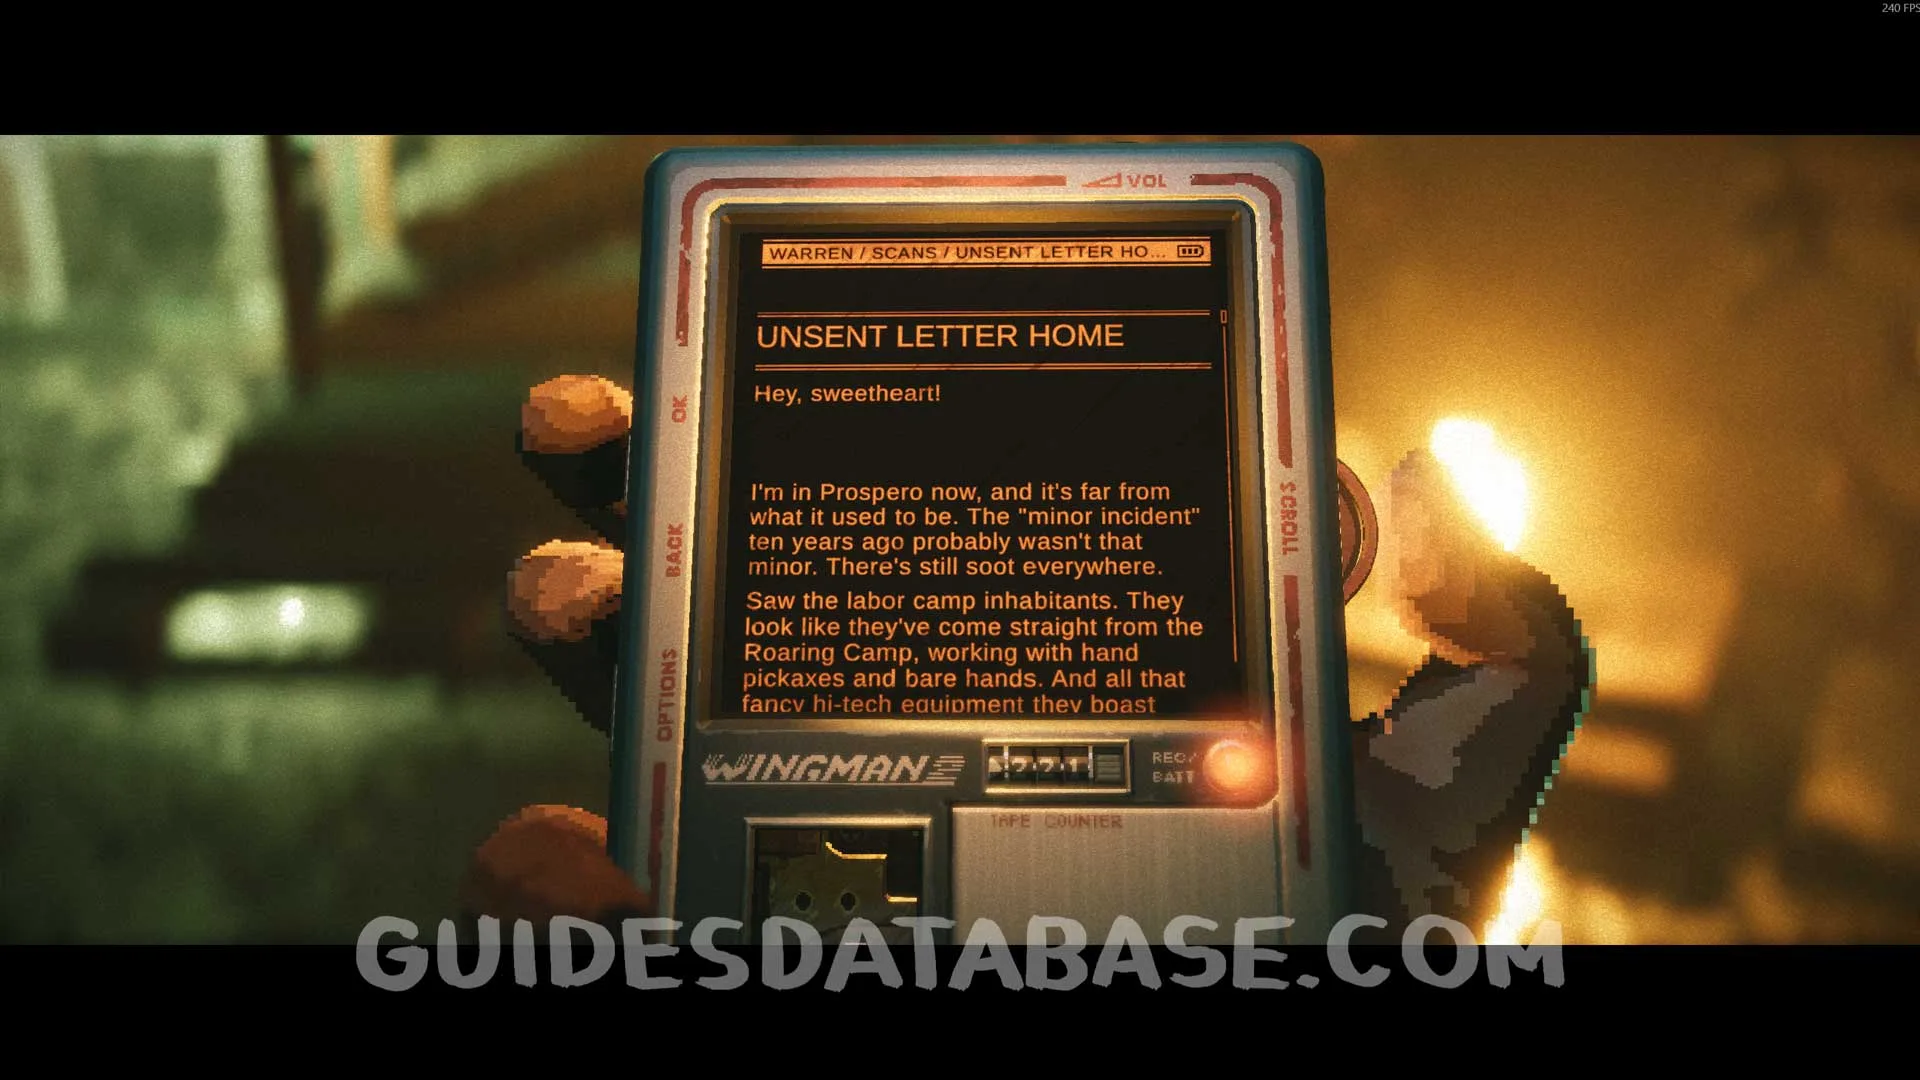 GUIDESDATABASE.COM
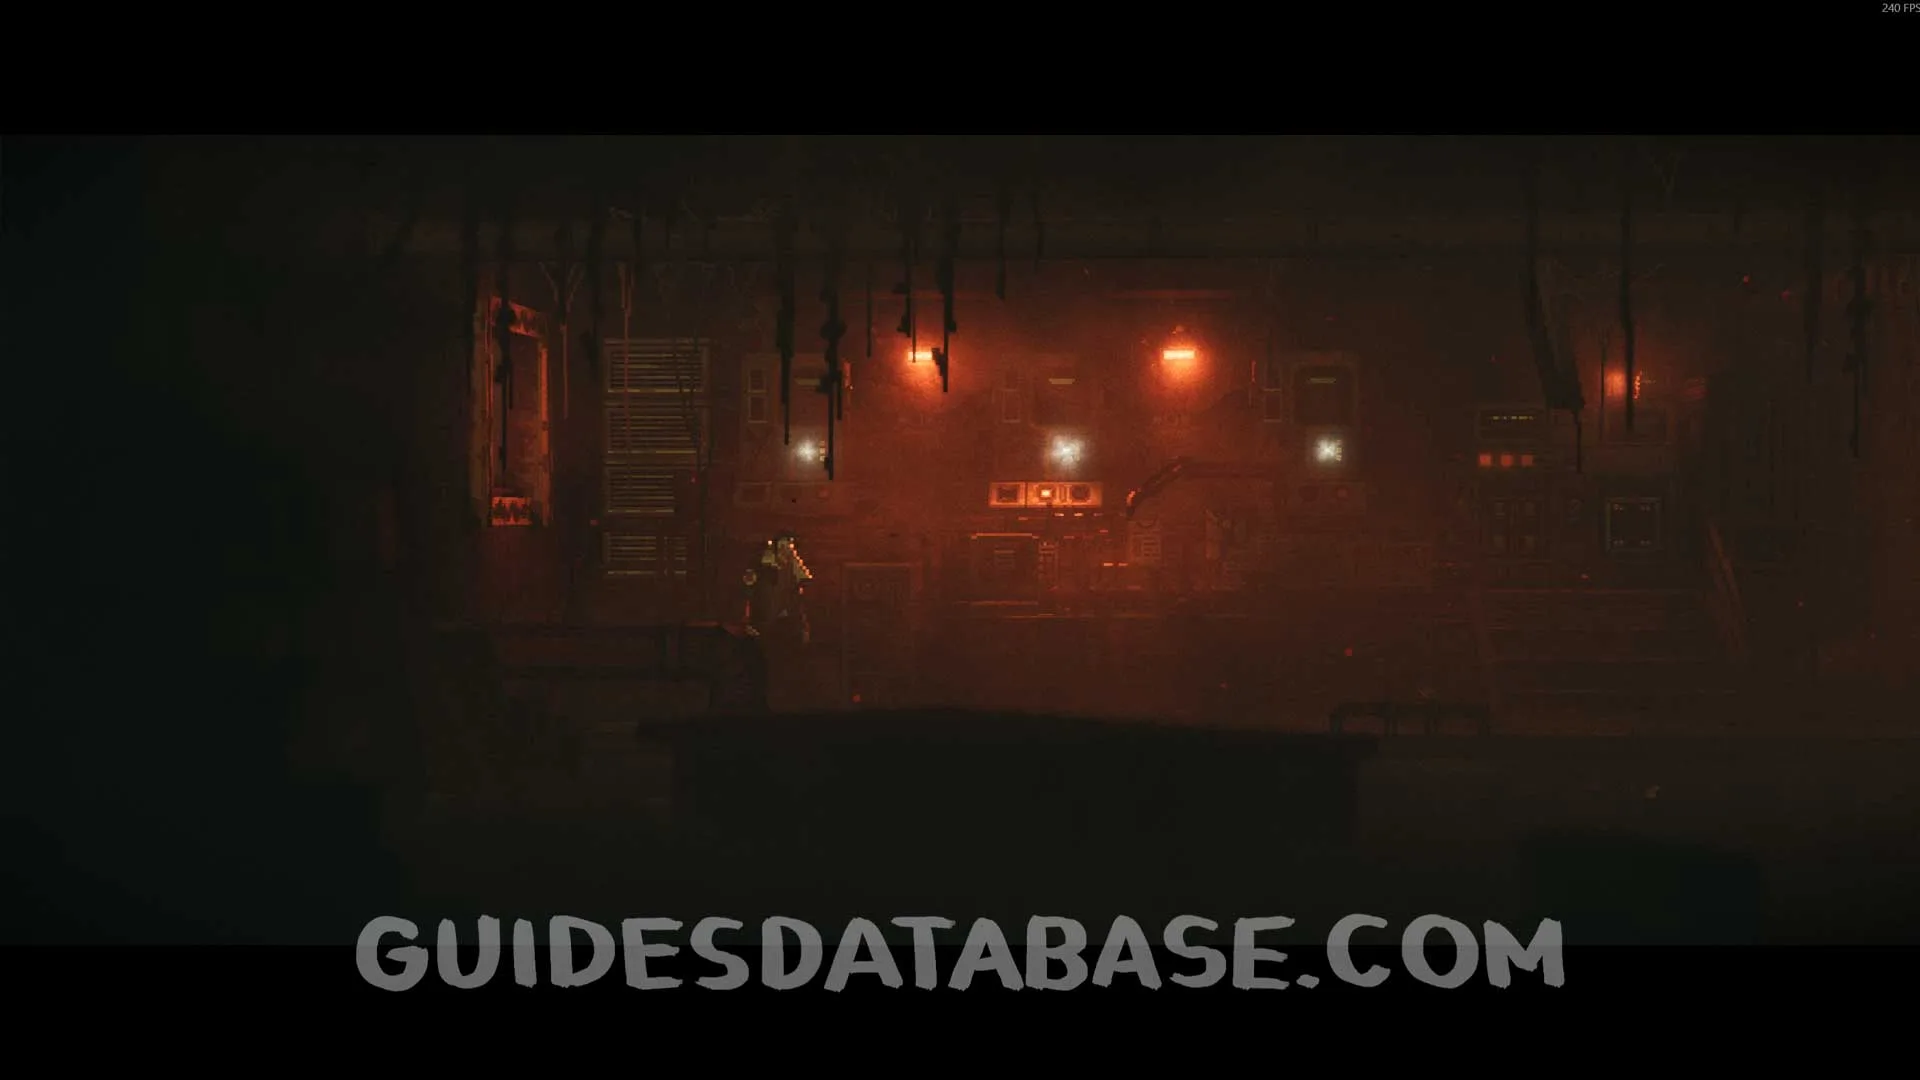
Scan #37 Miner's Last Hours
After going through the ventilation duct, you will reach an area with some inactive machines. Go all the way to the right to find this scan.
 GUIDESDATABASE.COM
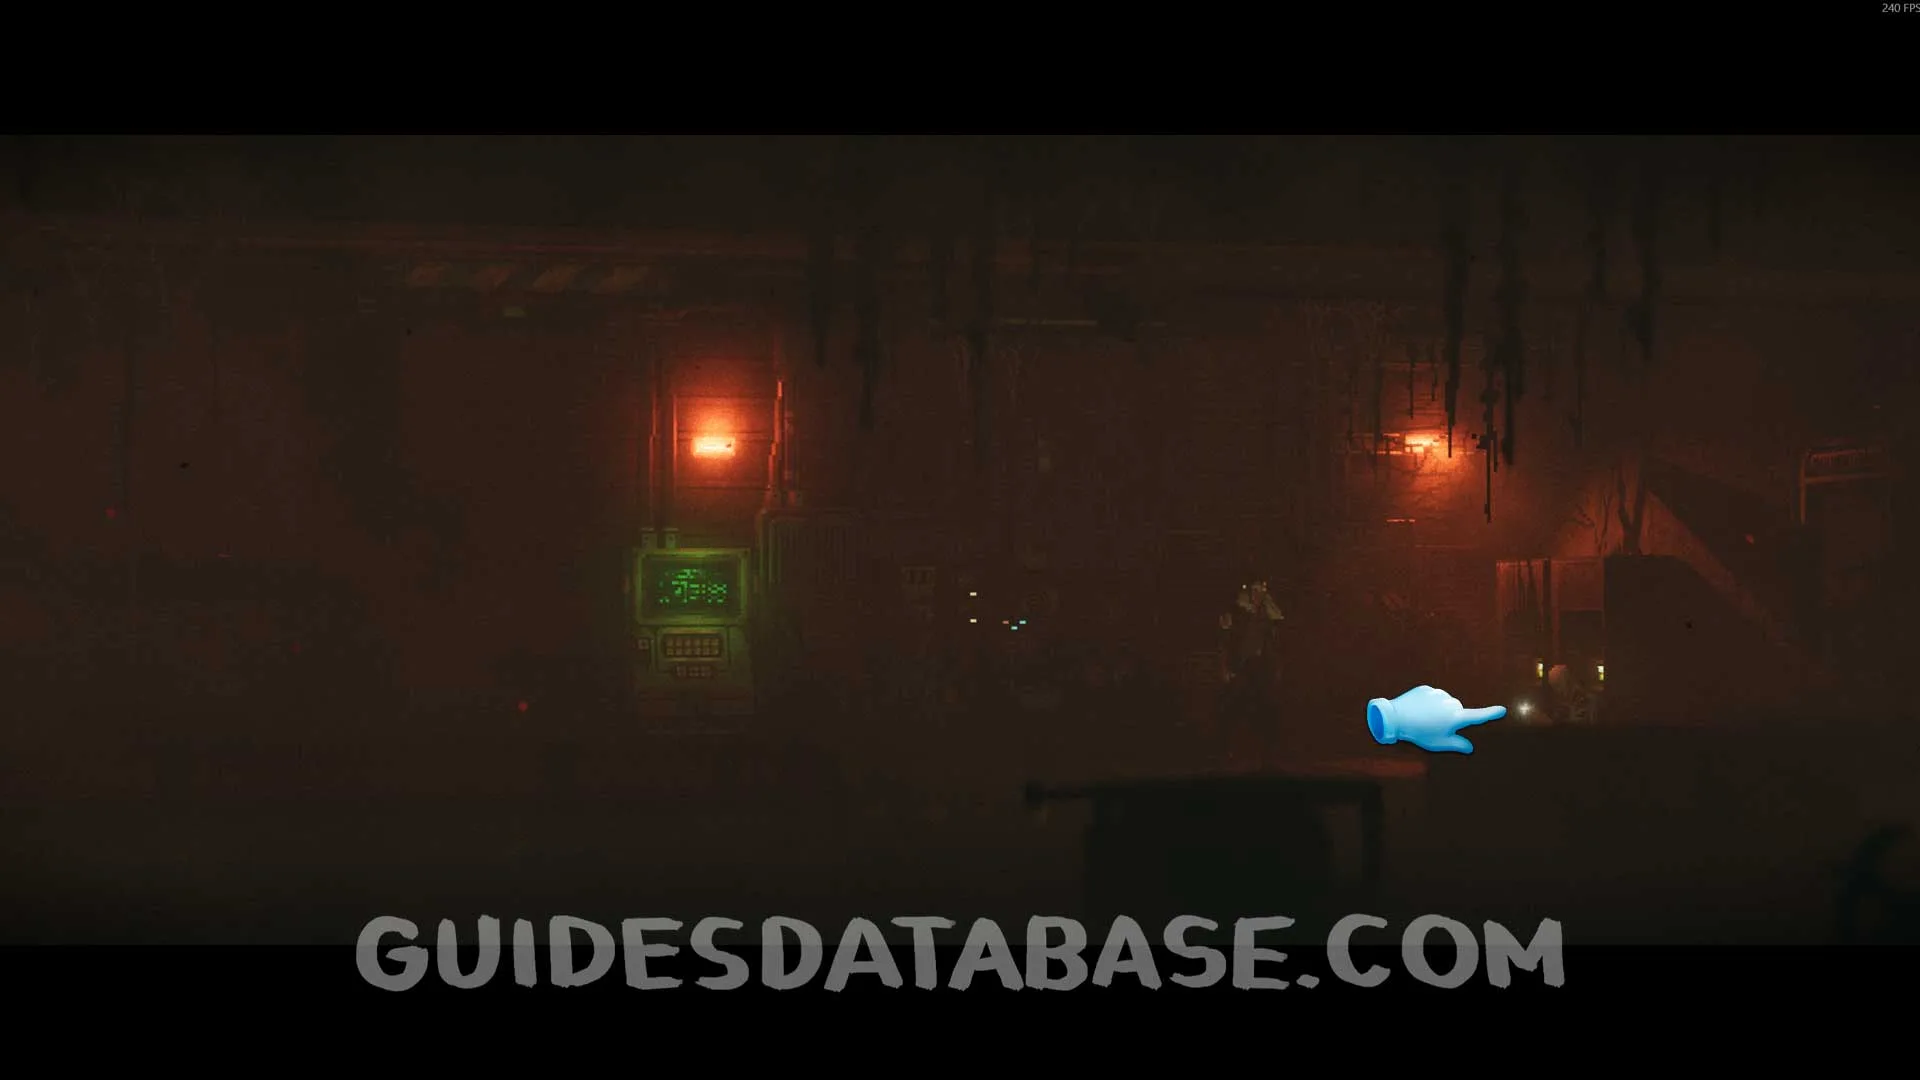 GUIDESDATABASE.COM
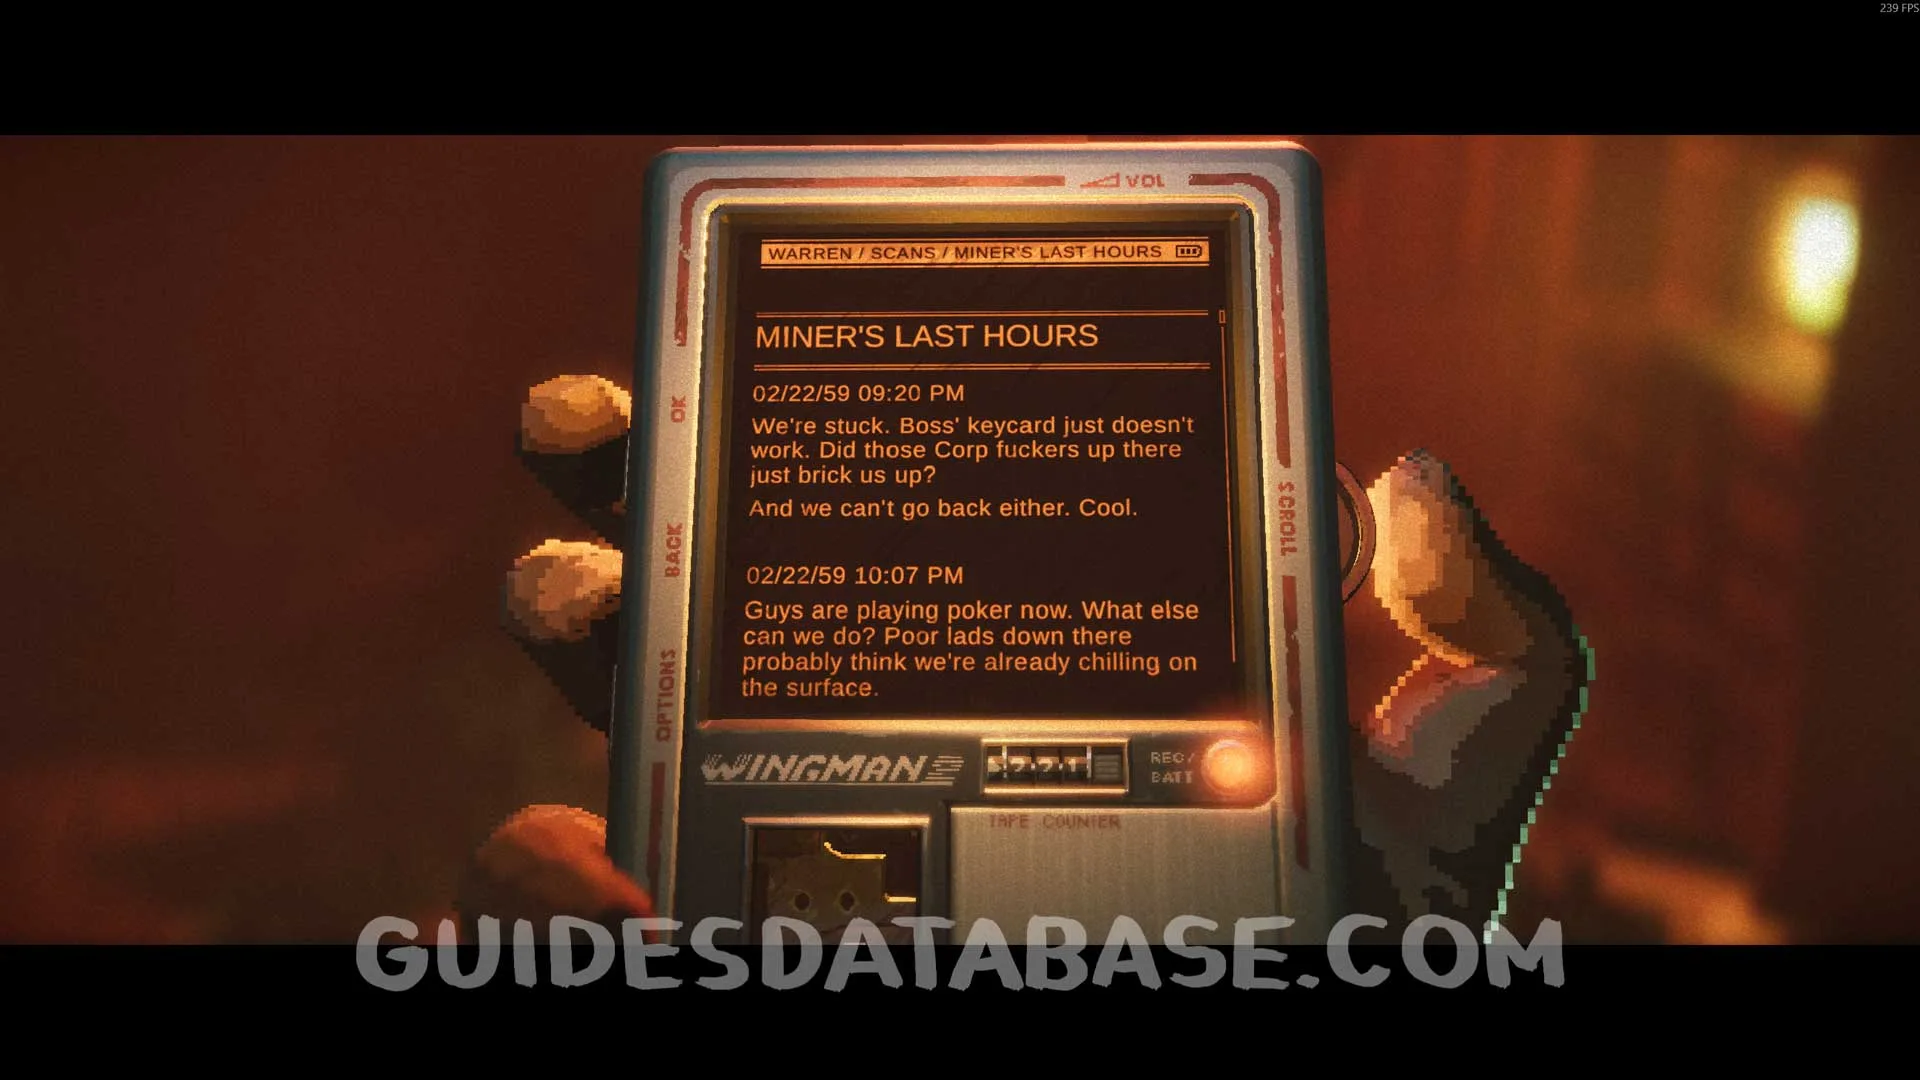 GUIDESDATABASE.COM
Scan #38 Prospero Universal Keycard
Same location as the previous collectible, after turning on the power.
.webp) GUIDESDATABASE.COM
GUIDESDATABASE.COM.webp) GUIDESDATABASE.COM
GUIDESDATABASE.COMChapter 4
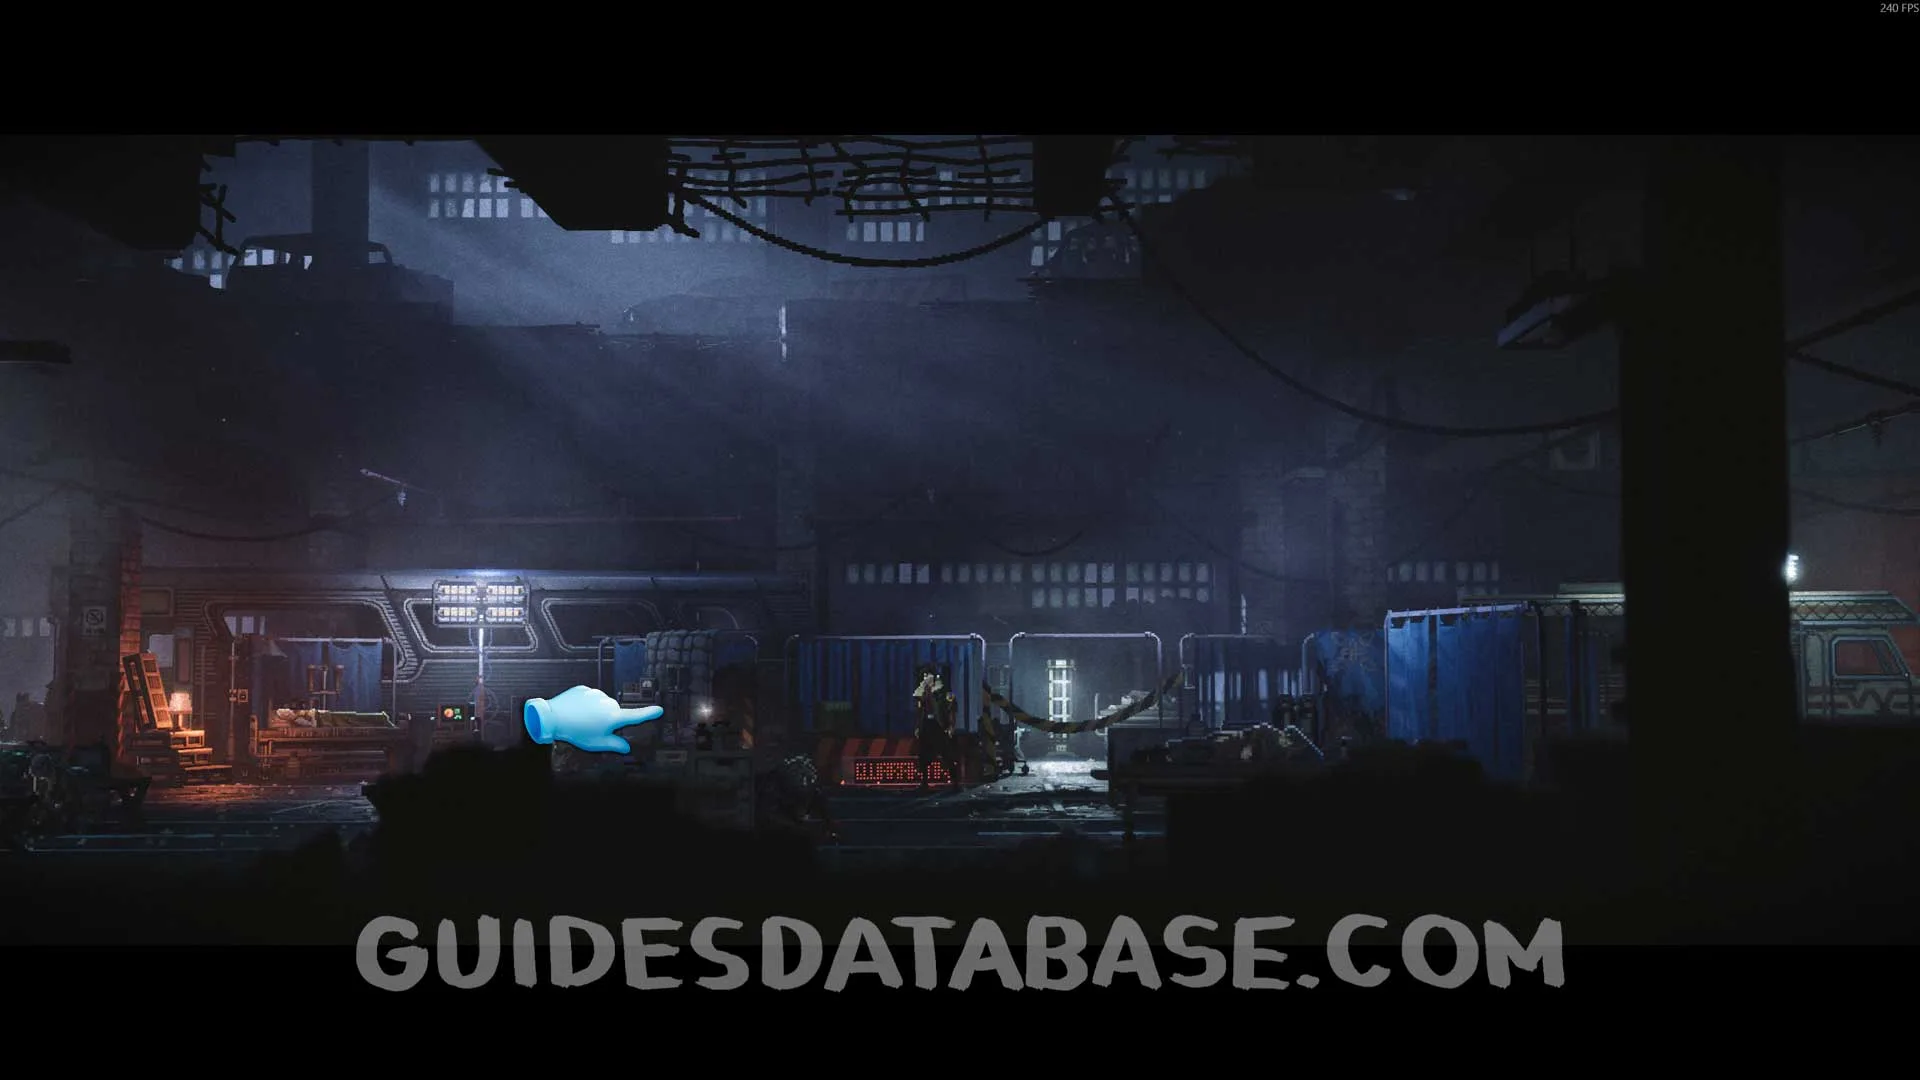
Scan #39 Doctor's Orders
At the start of the chapter, right in front of you.
 GUIDESDATABASE.COM
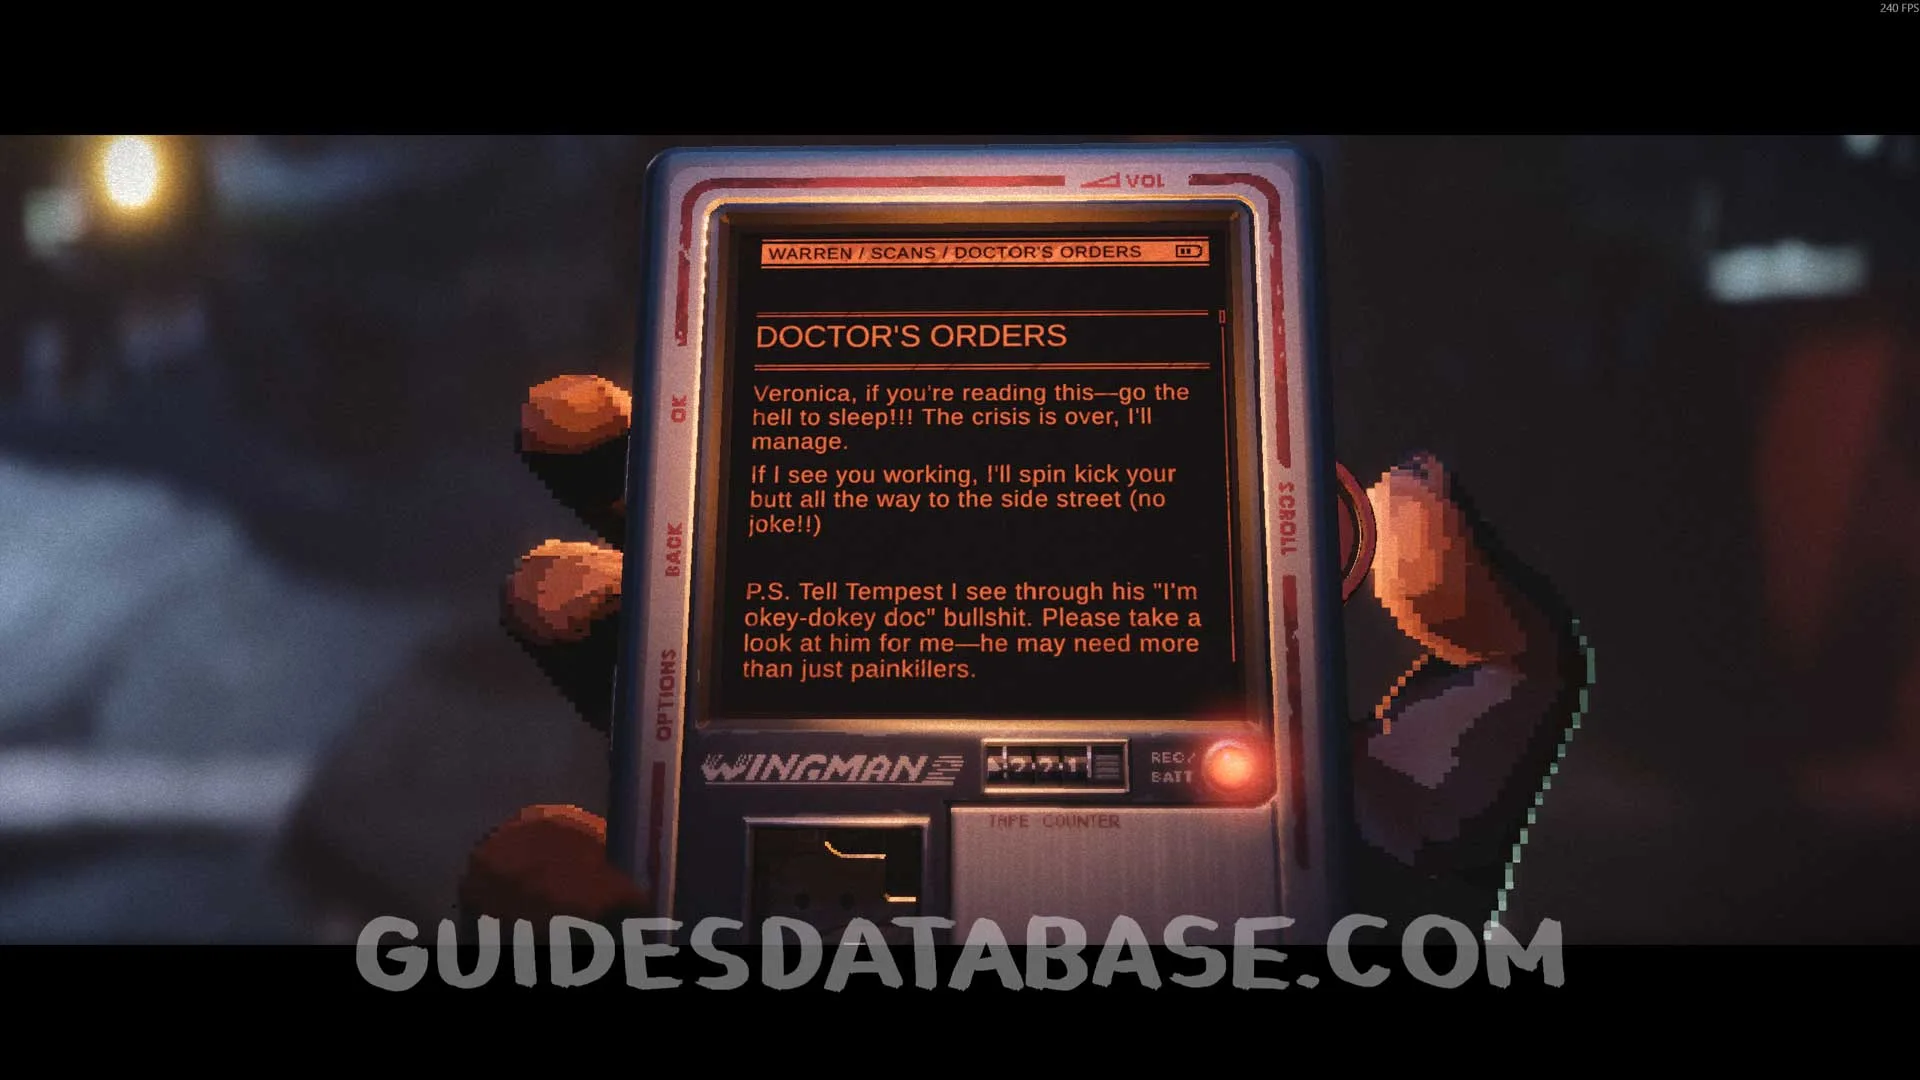 GUIDESDATABASE.COM
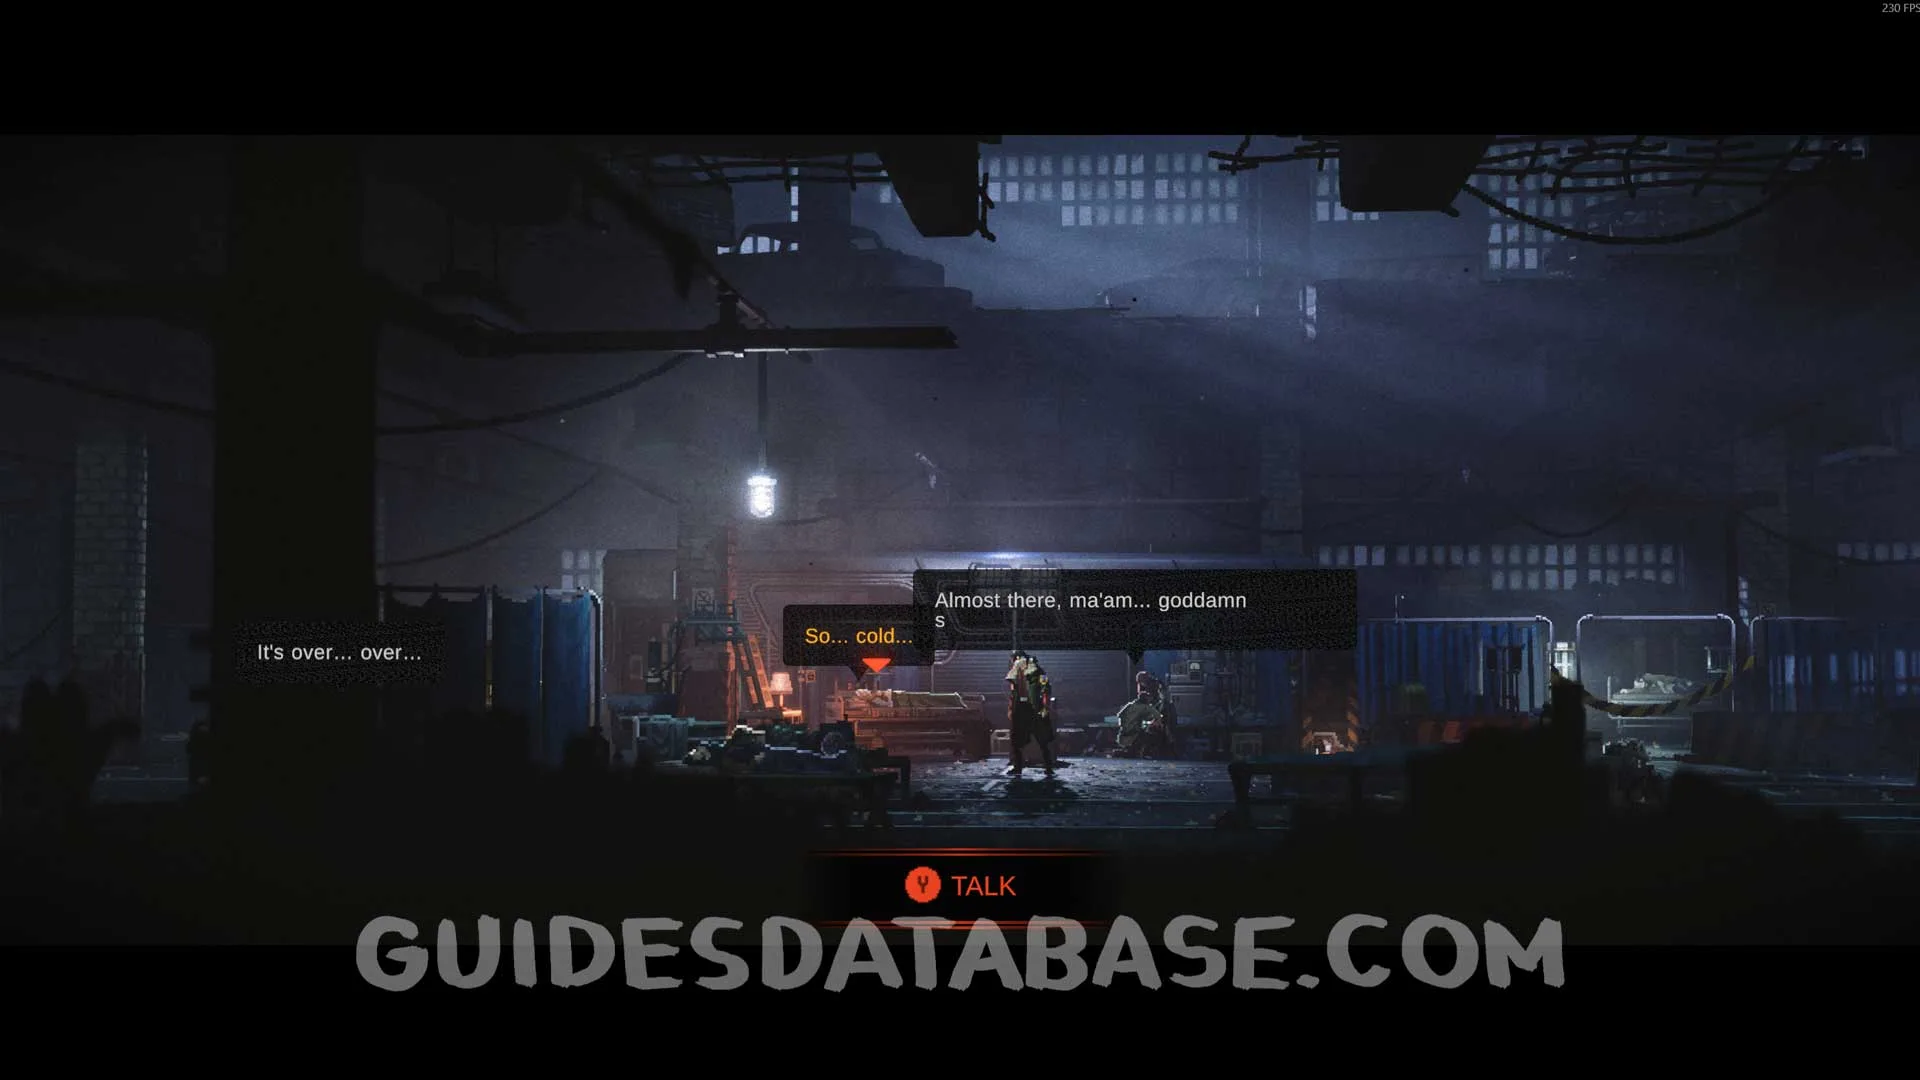
Old Man Quest + Scan #40 Family Photo + Genetic Profile #5
Next to the previous collectible, talk to the old man to start the side quest.
 GUIDESDATABASE.COM
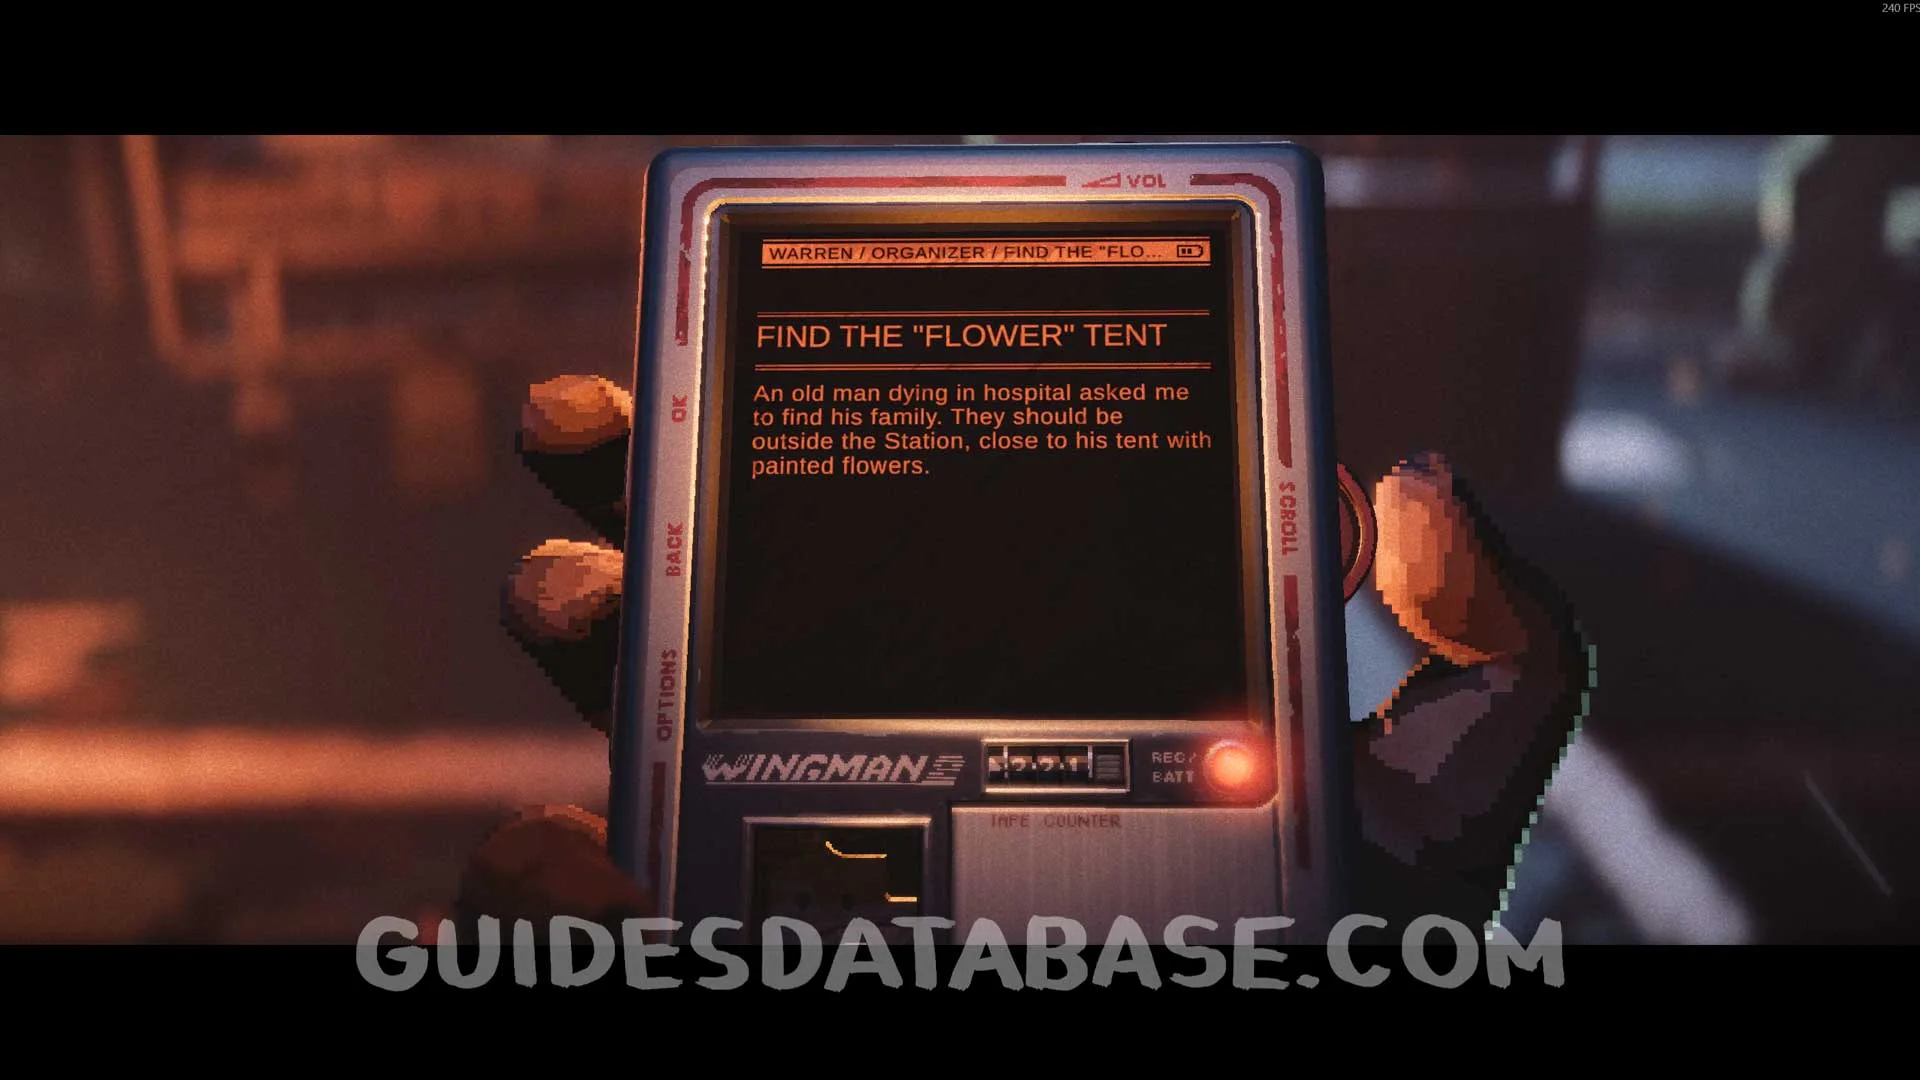 GUIDESDATABASE.COM
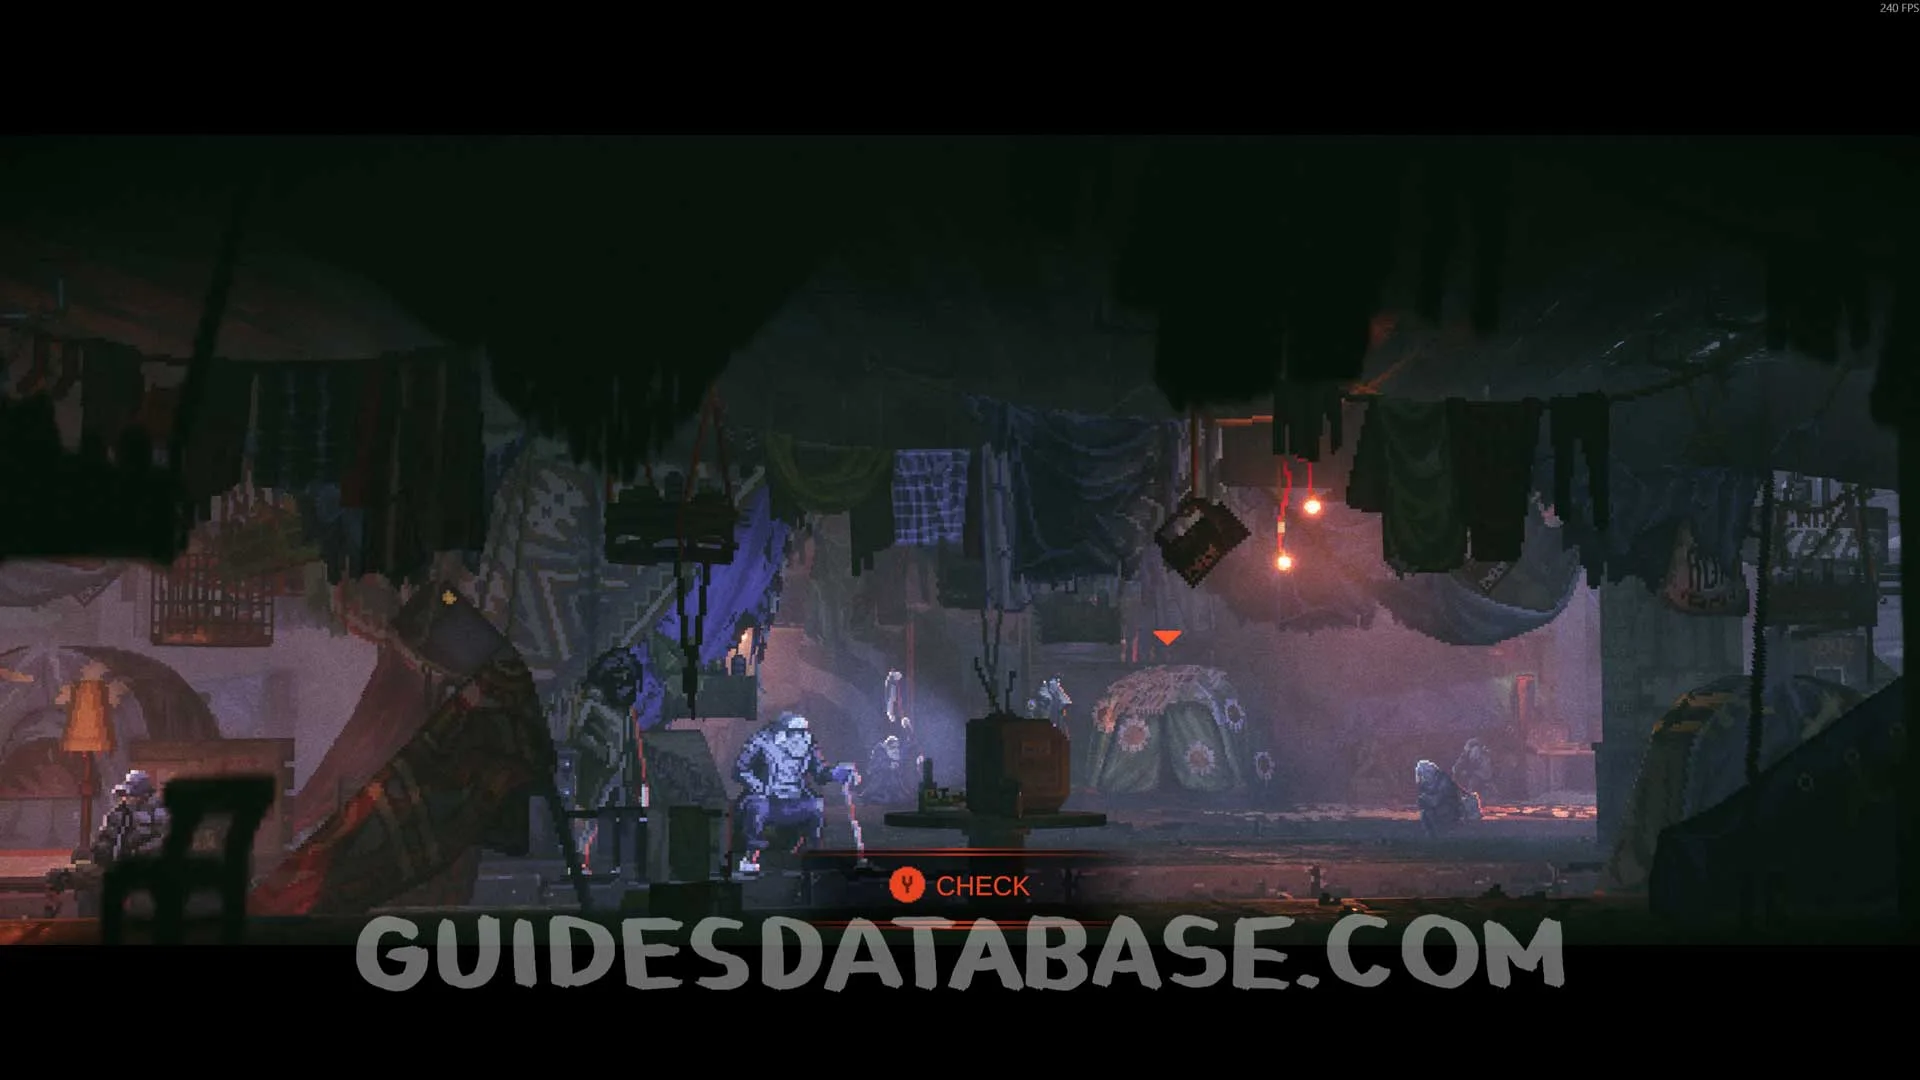
Exit the hospital and outside, fully examine the tent with flowers. The code you will need to enter is: 02, 18, 1944. After entering the code, you will receive Scan #39 Family Photo.
 GUIDESDATABASE.COM
 GUIDESDATABASE.COM
Return to the Old Man and talk to him again to complete the quest and obtain Genetic Profile #5 and the Family Reunion achievement.
 GUIDESDATABASE.COM
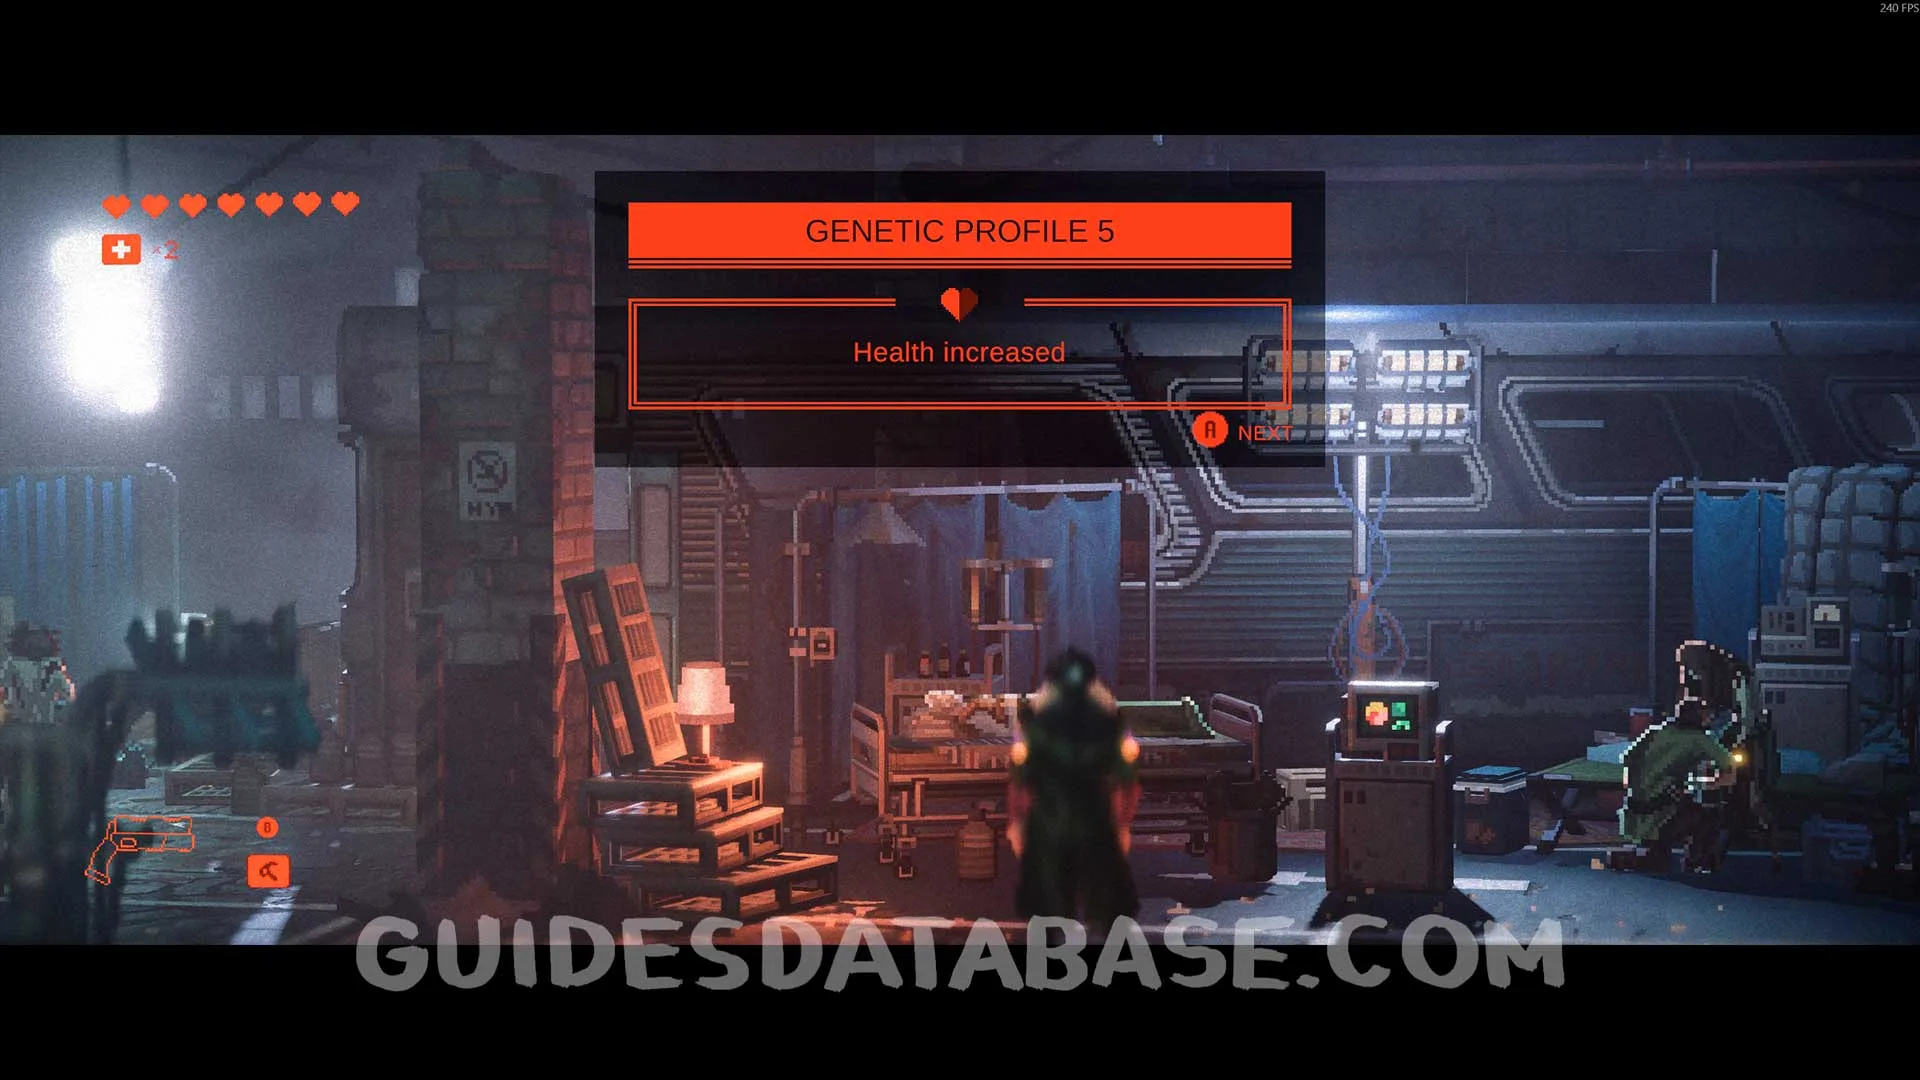 GUIDESDATABASE.COM
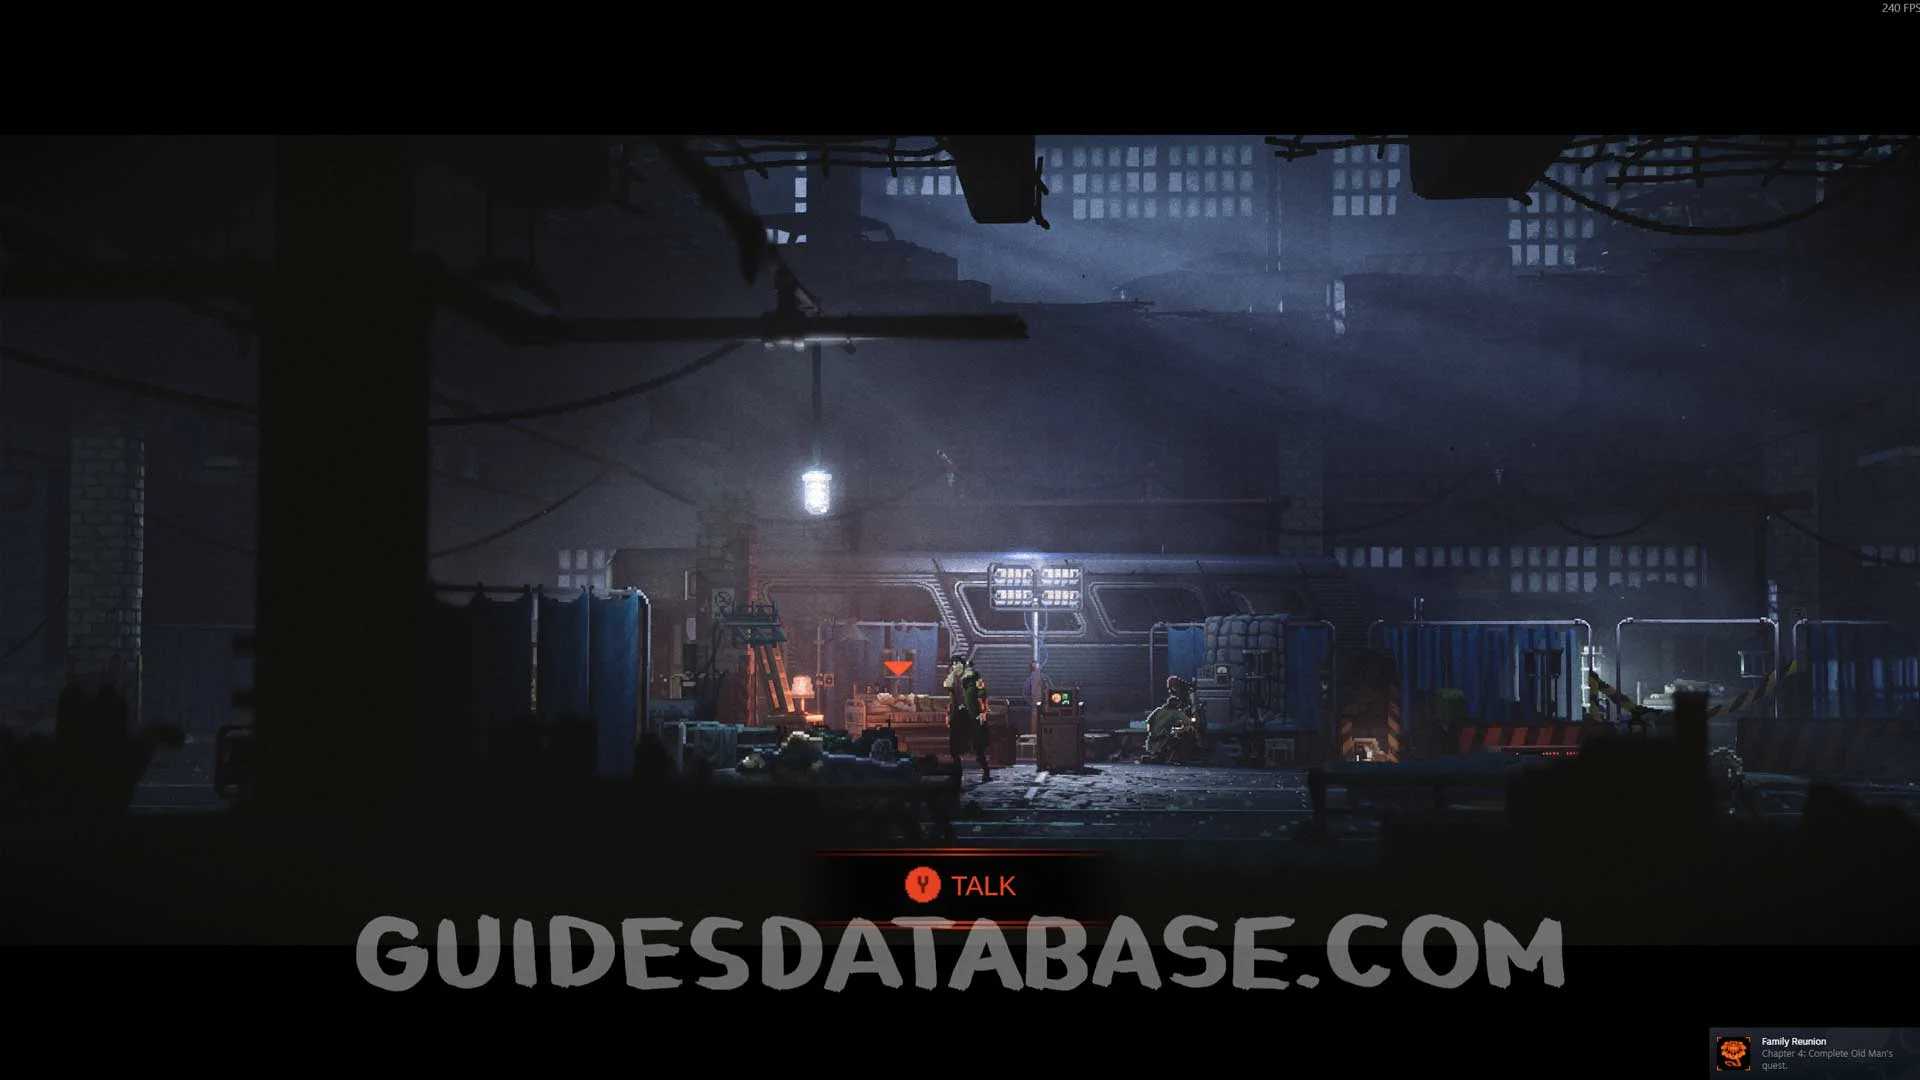 GUIDESDATABASE.COM
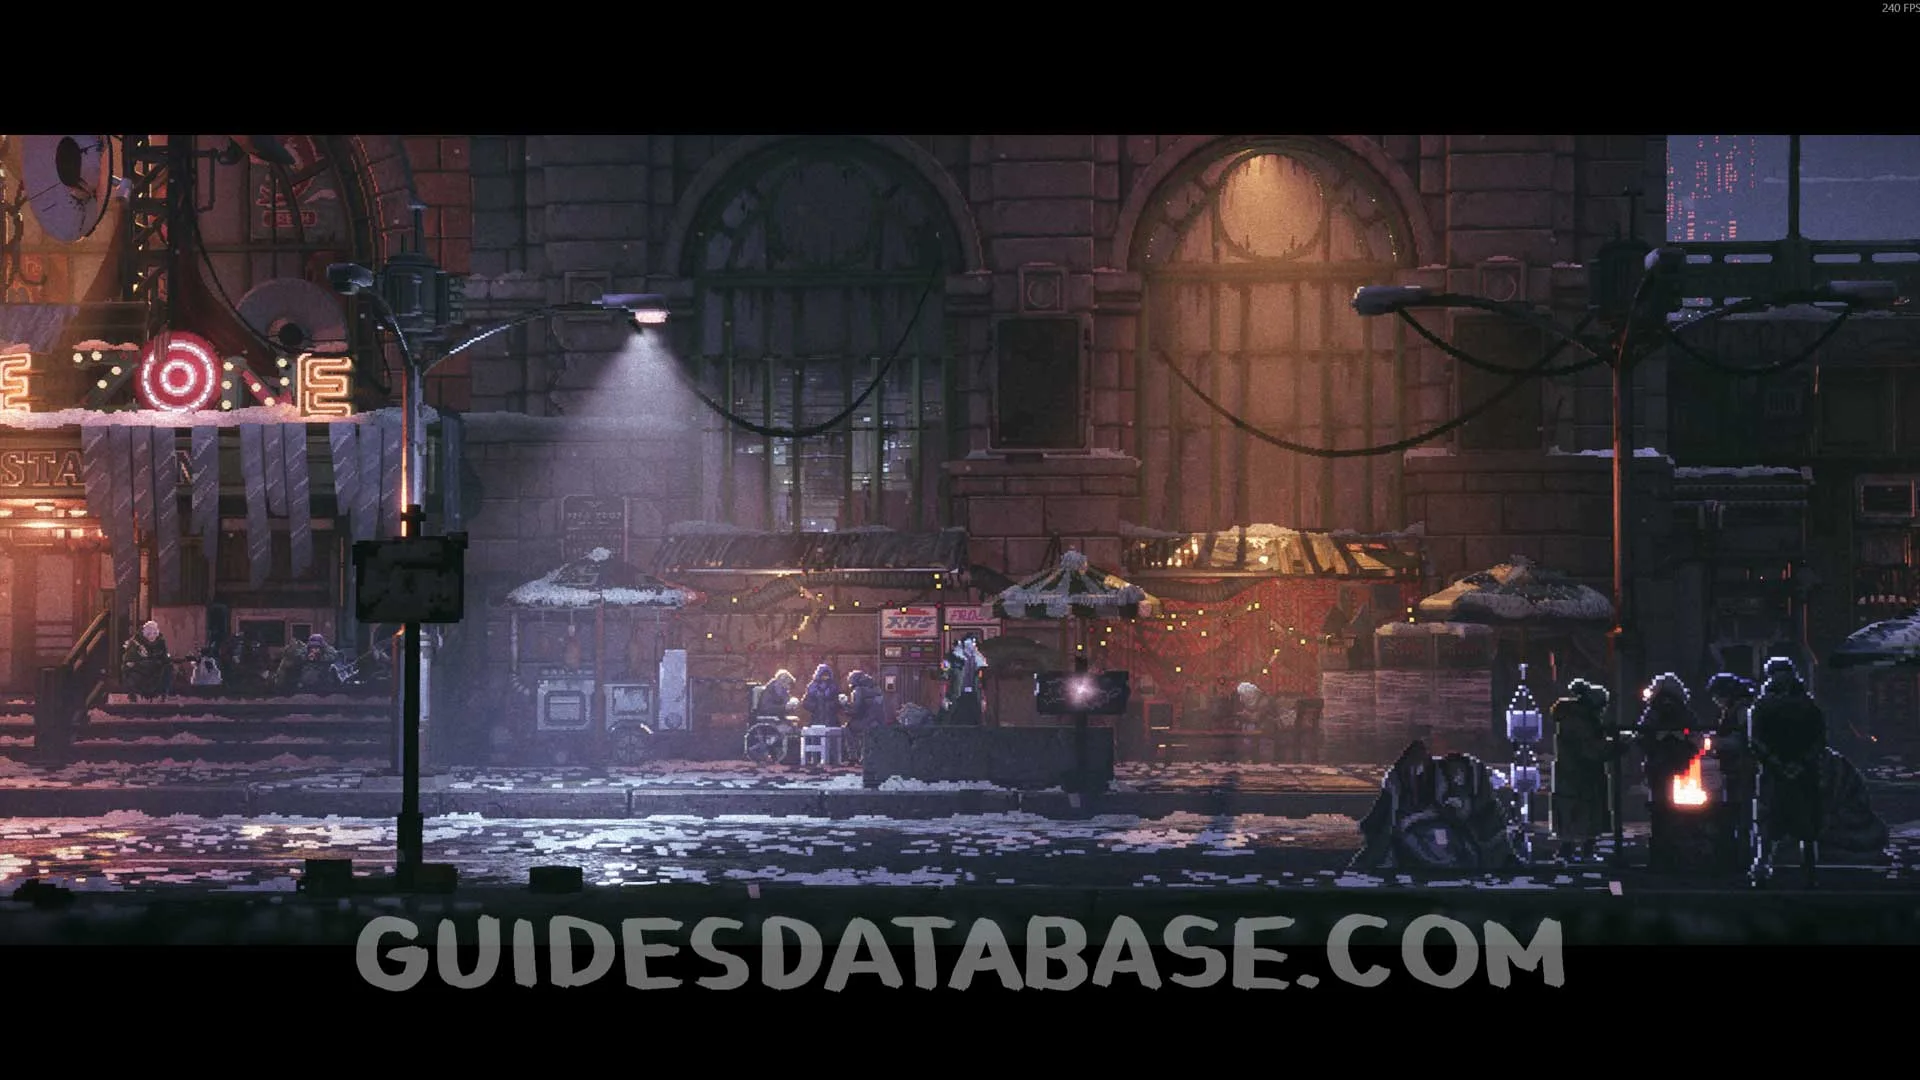
Scan #41 Nursery Rhyme
On a sign on the right side of the safe zone.
 GUIDESDATABASE.COM
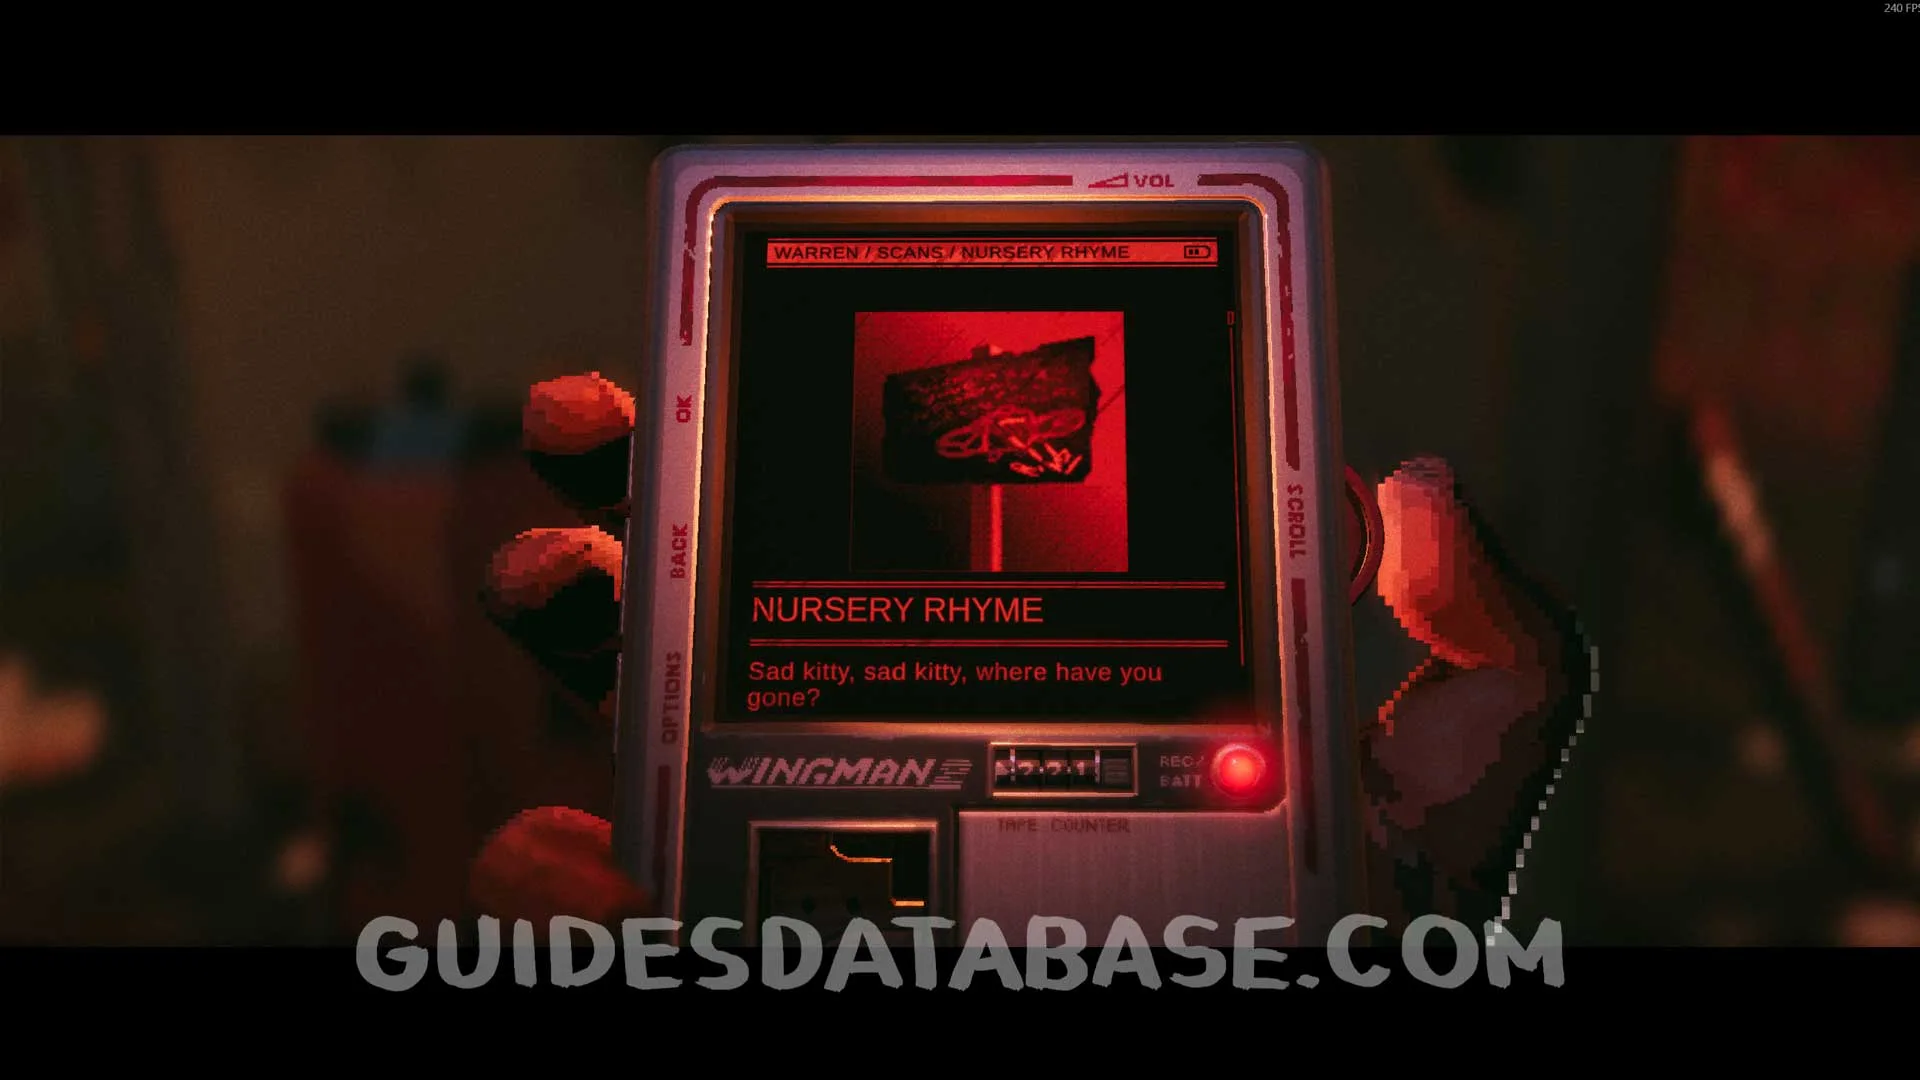 GUIDESDATABASE.COM
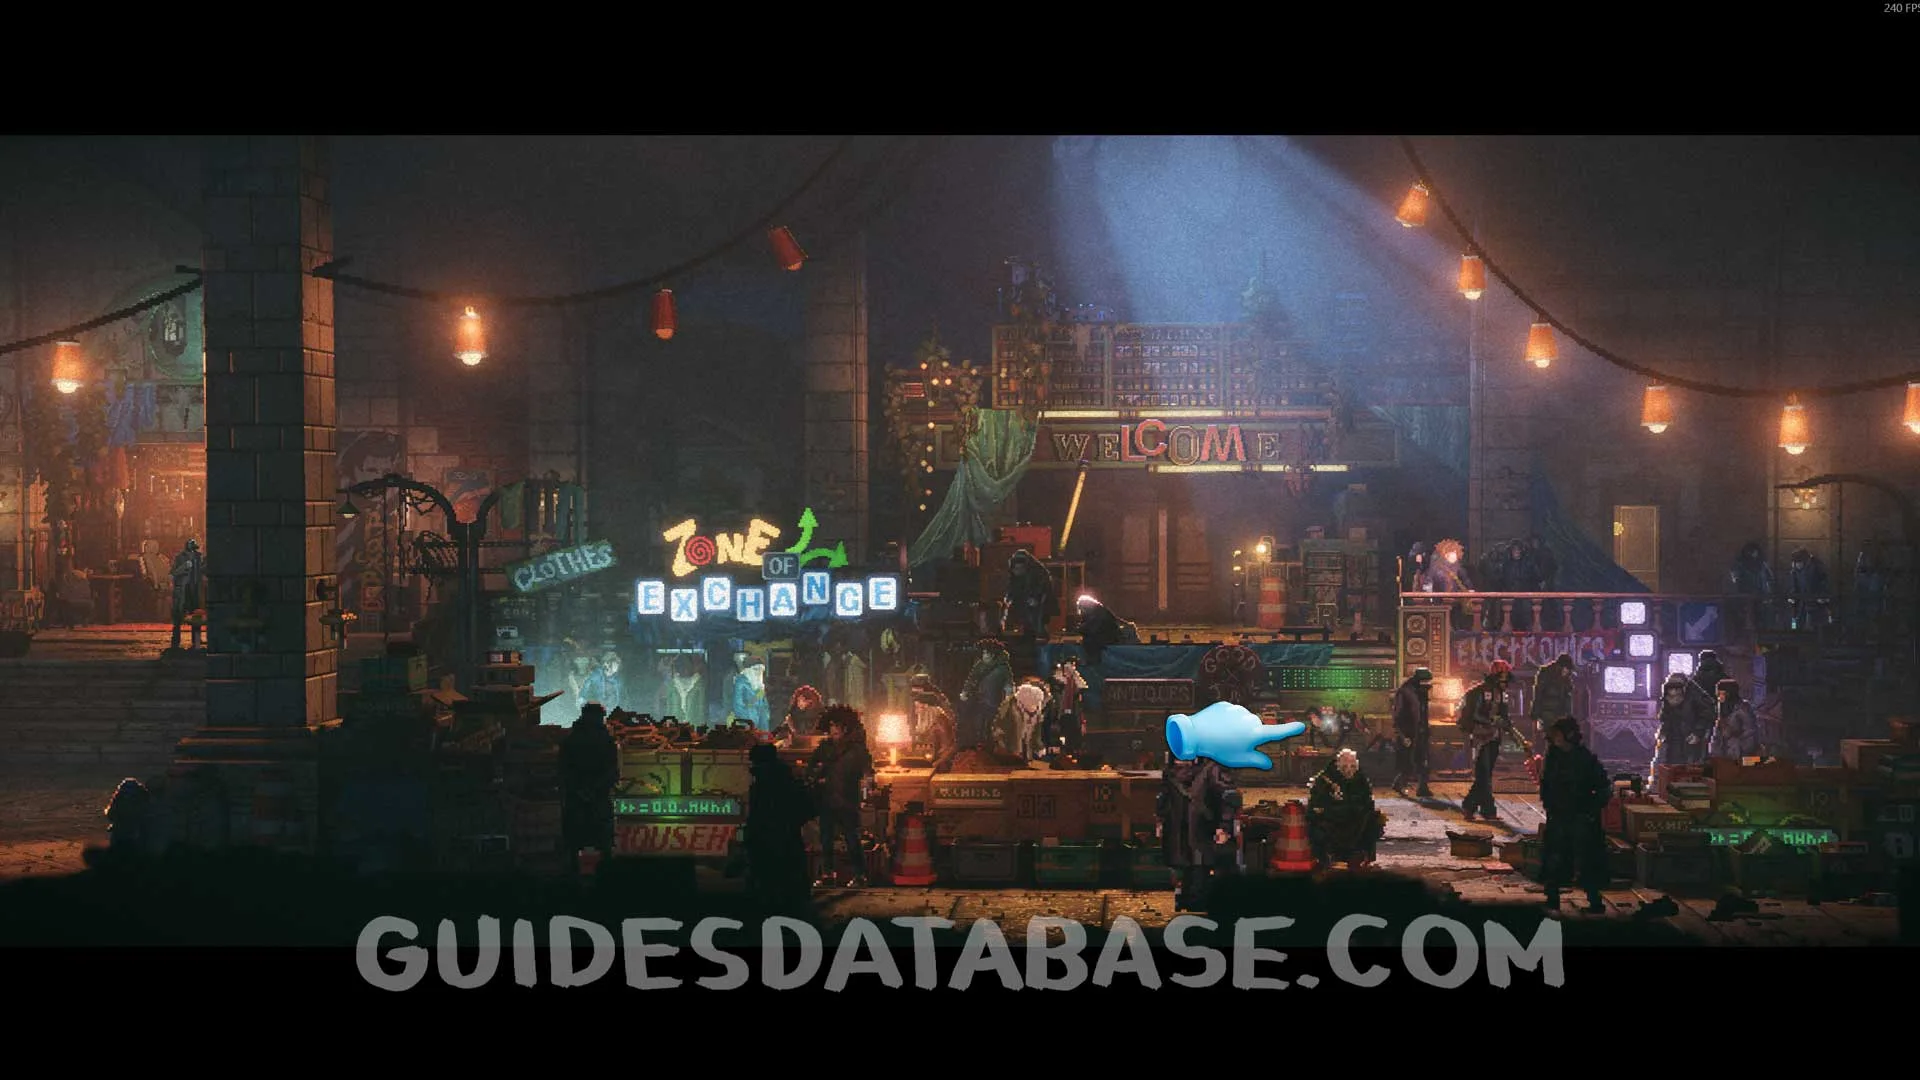
Music #5 Great Power, Great Responsibility
Inside the safe zone.
 GUIDESDATABASE.COM
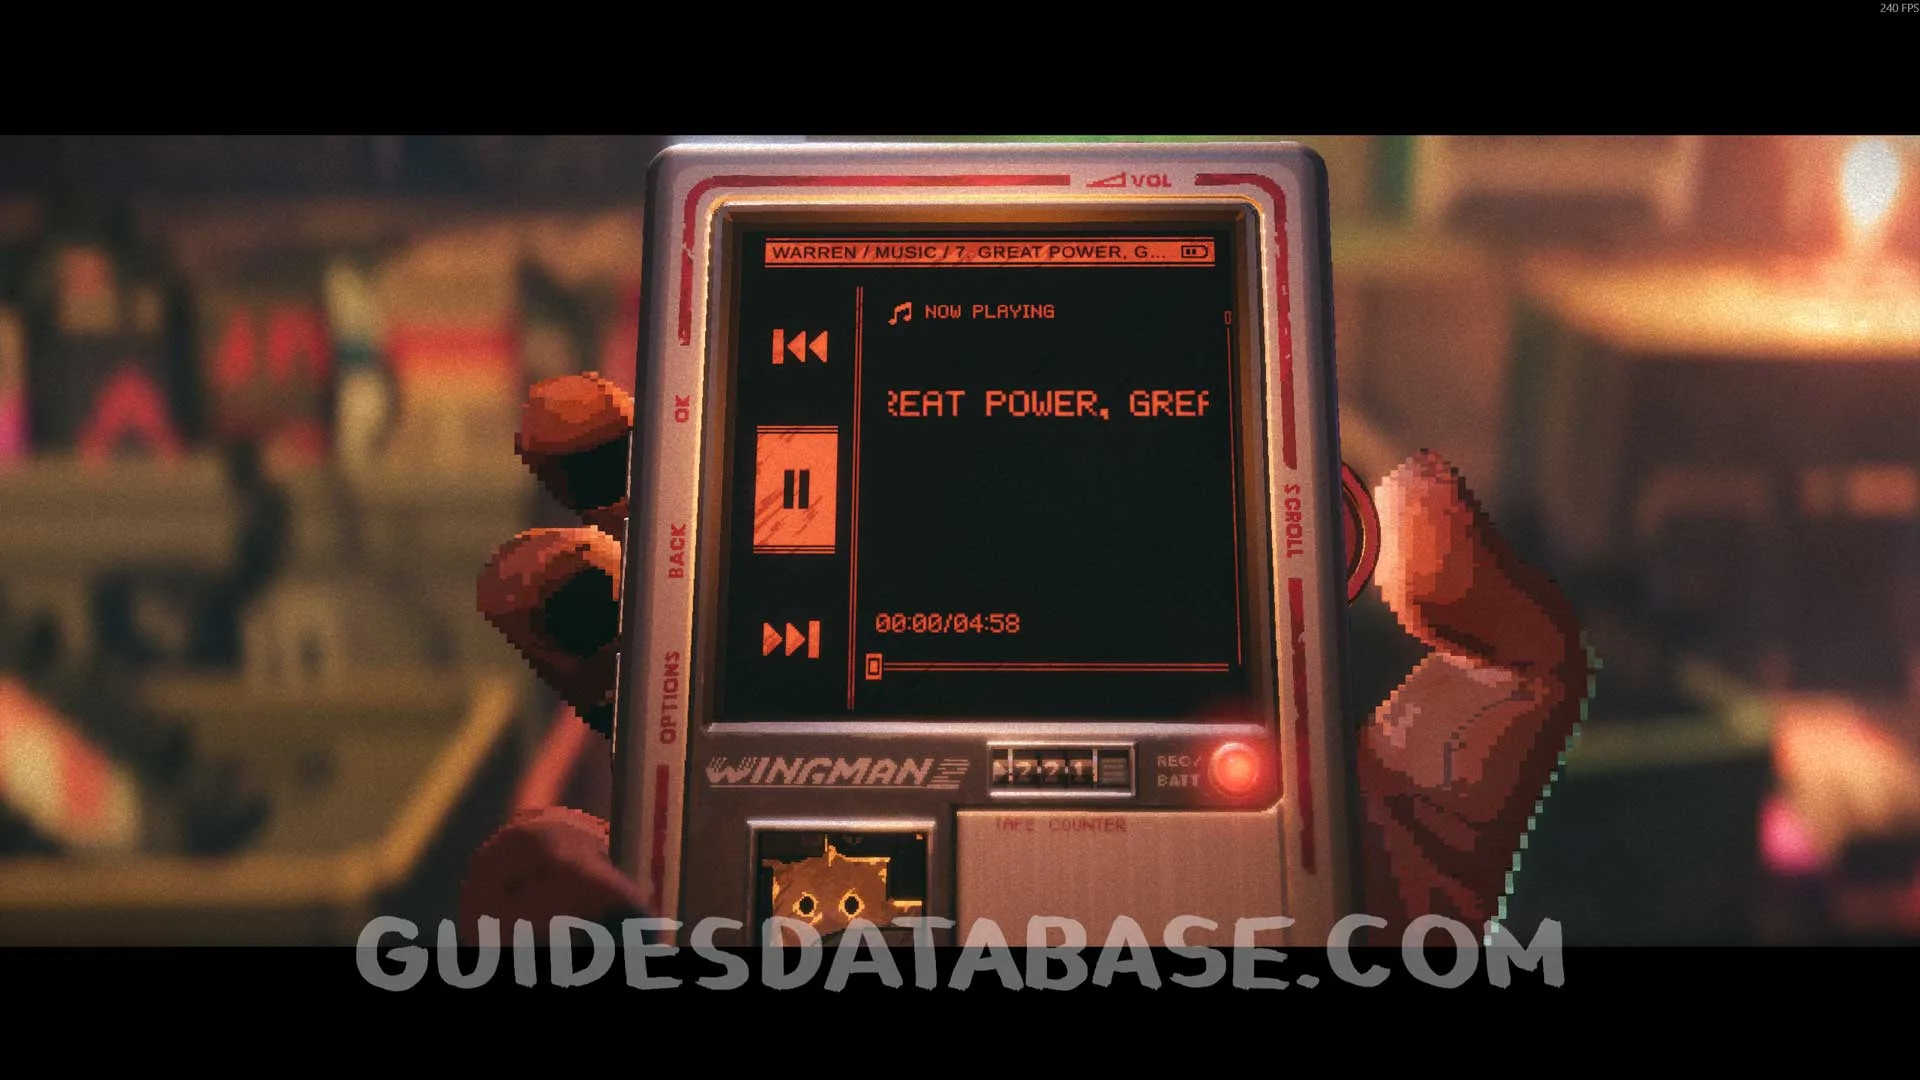 GUIDESDATABASE.COM
Scan #42 Phoenix Initiative Takes Control
Same location as the previous collectible, on the right side of the area.
 GUIDESDATABASE.COM
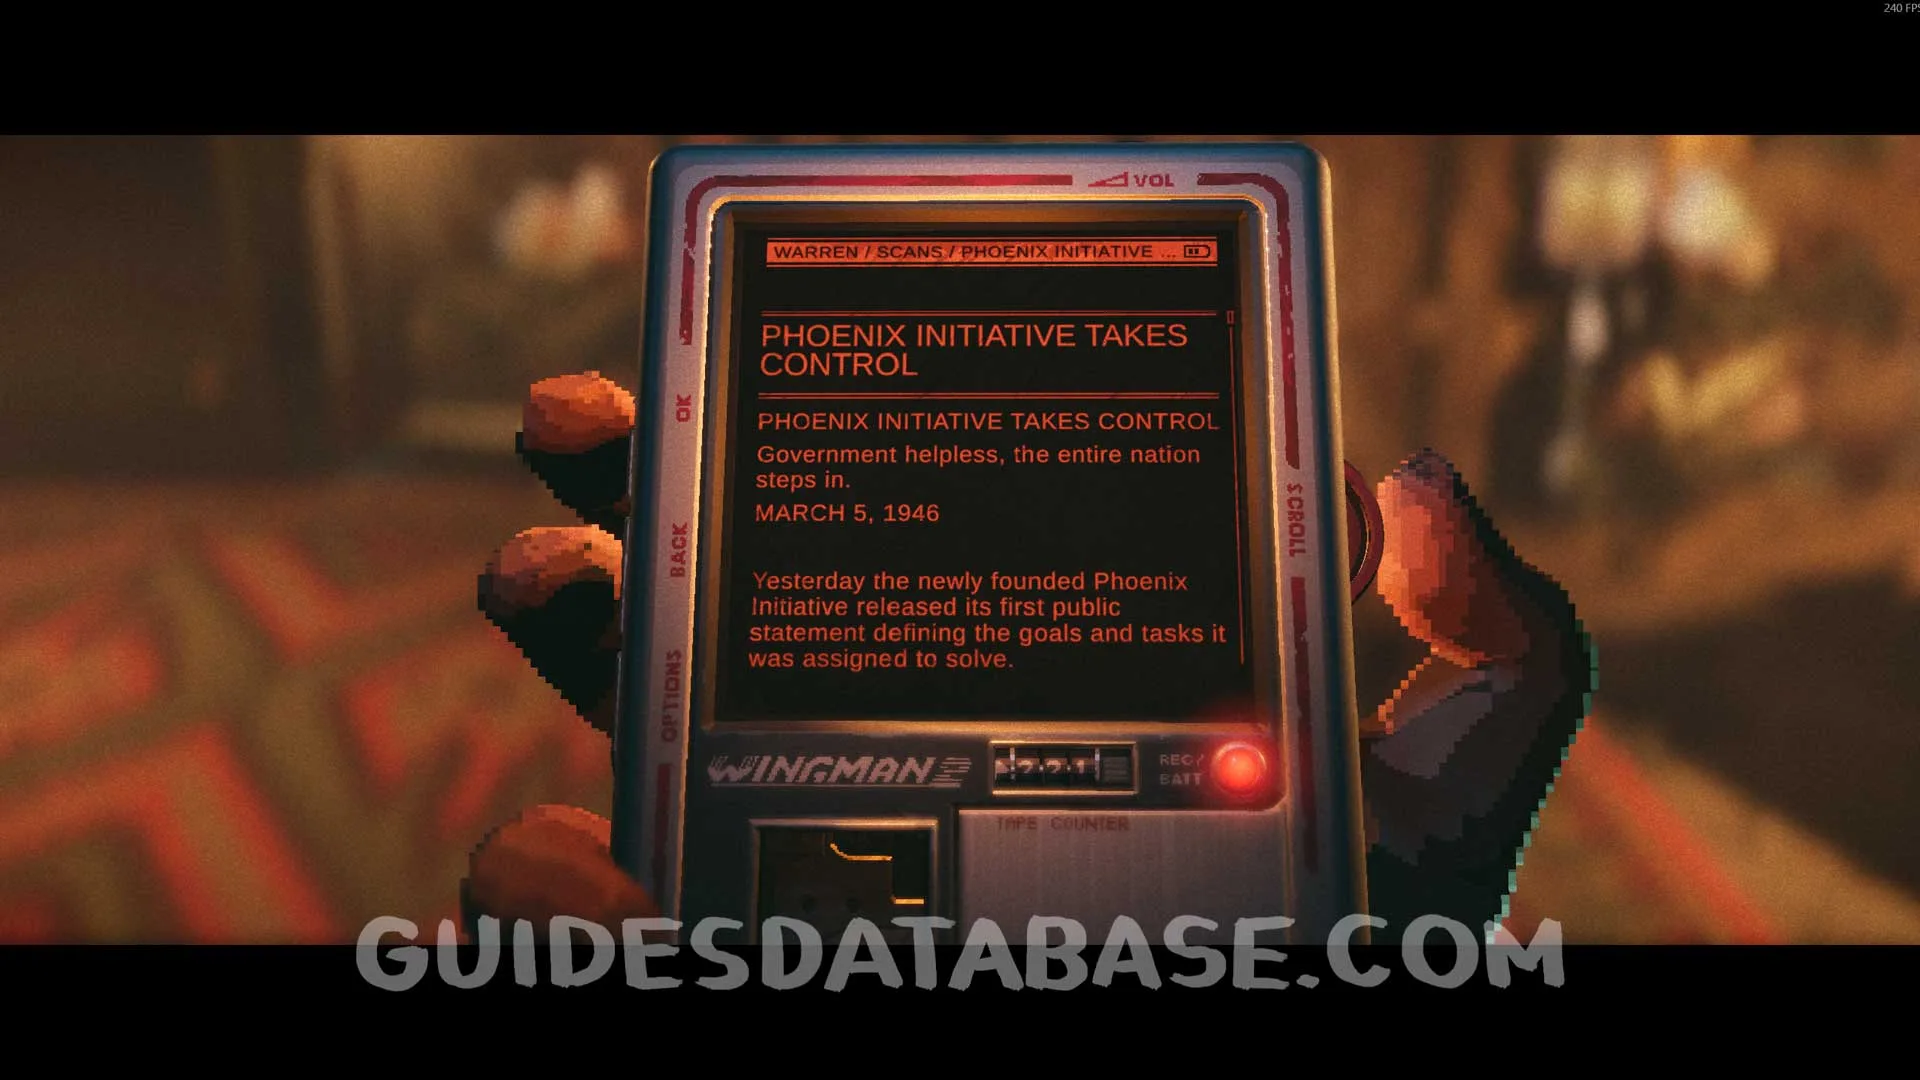 GUIDESDATABASE.COM
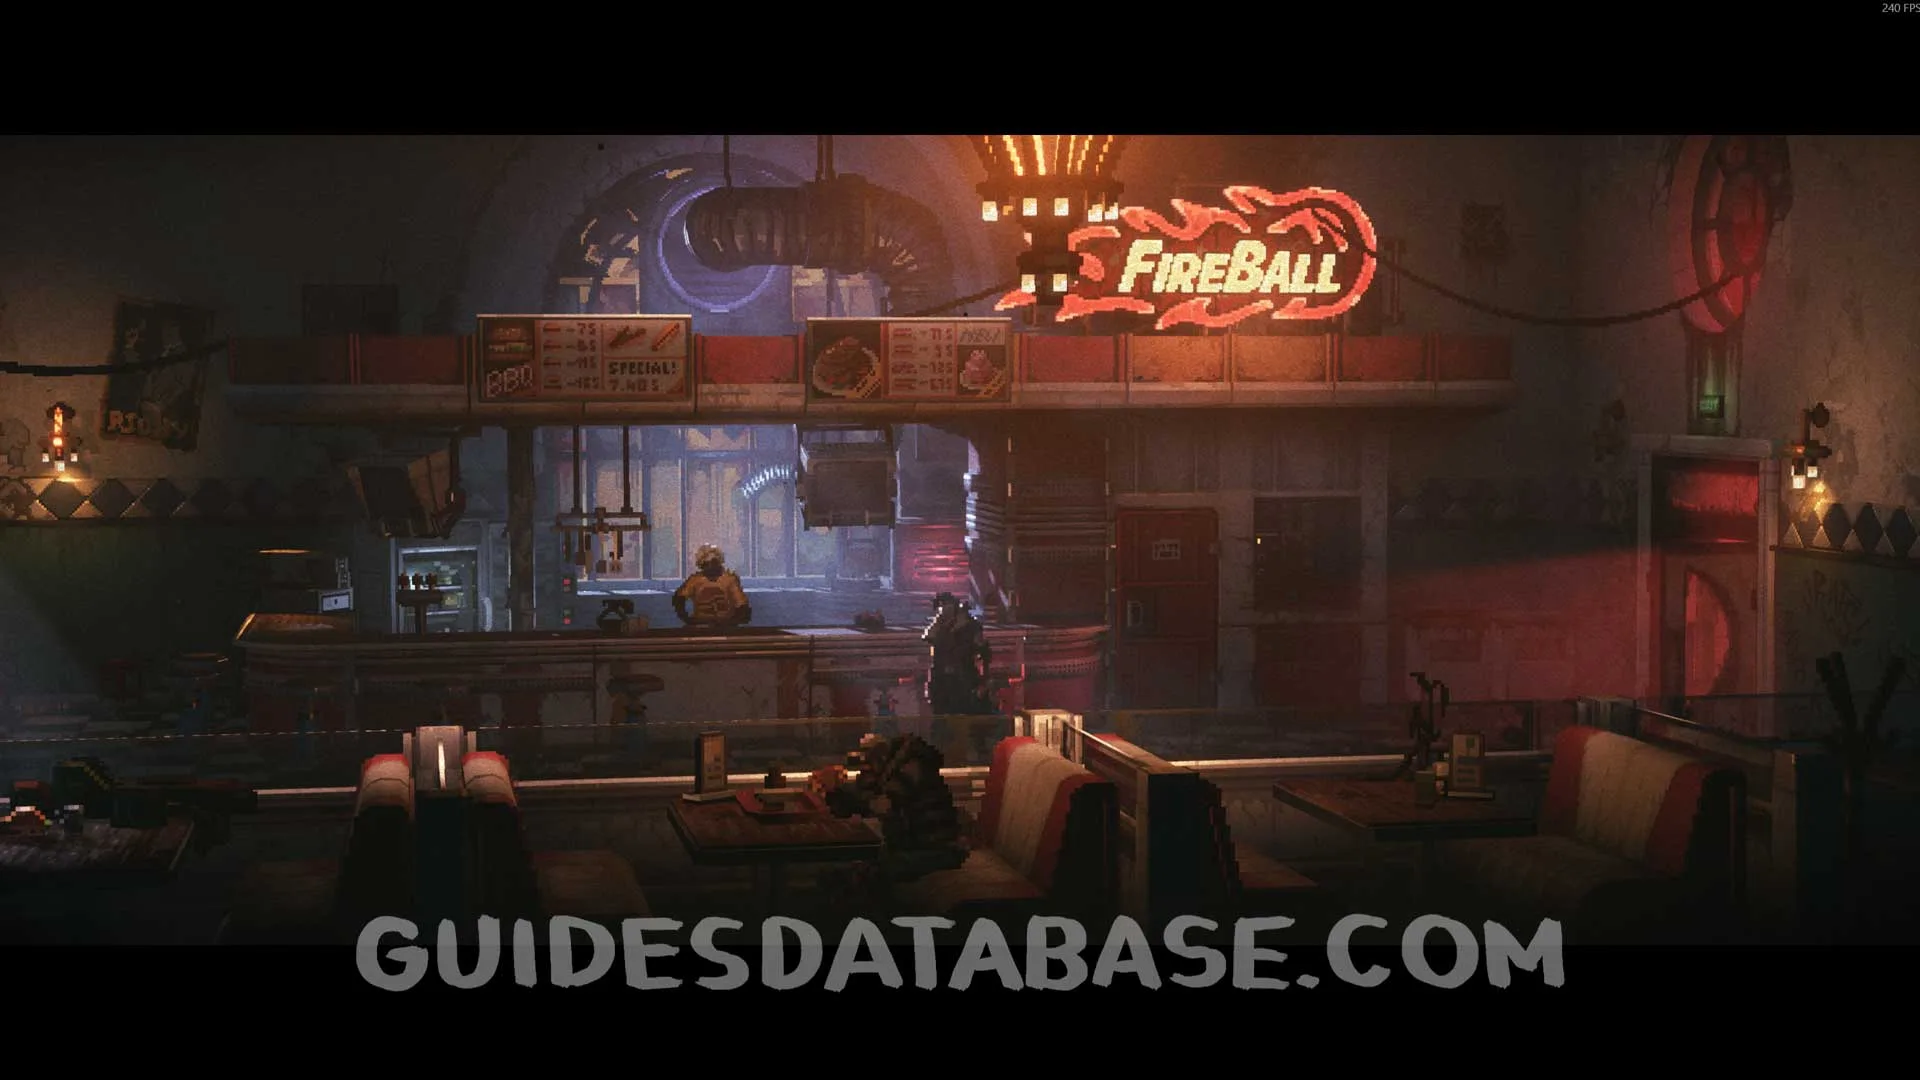
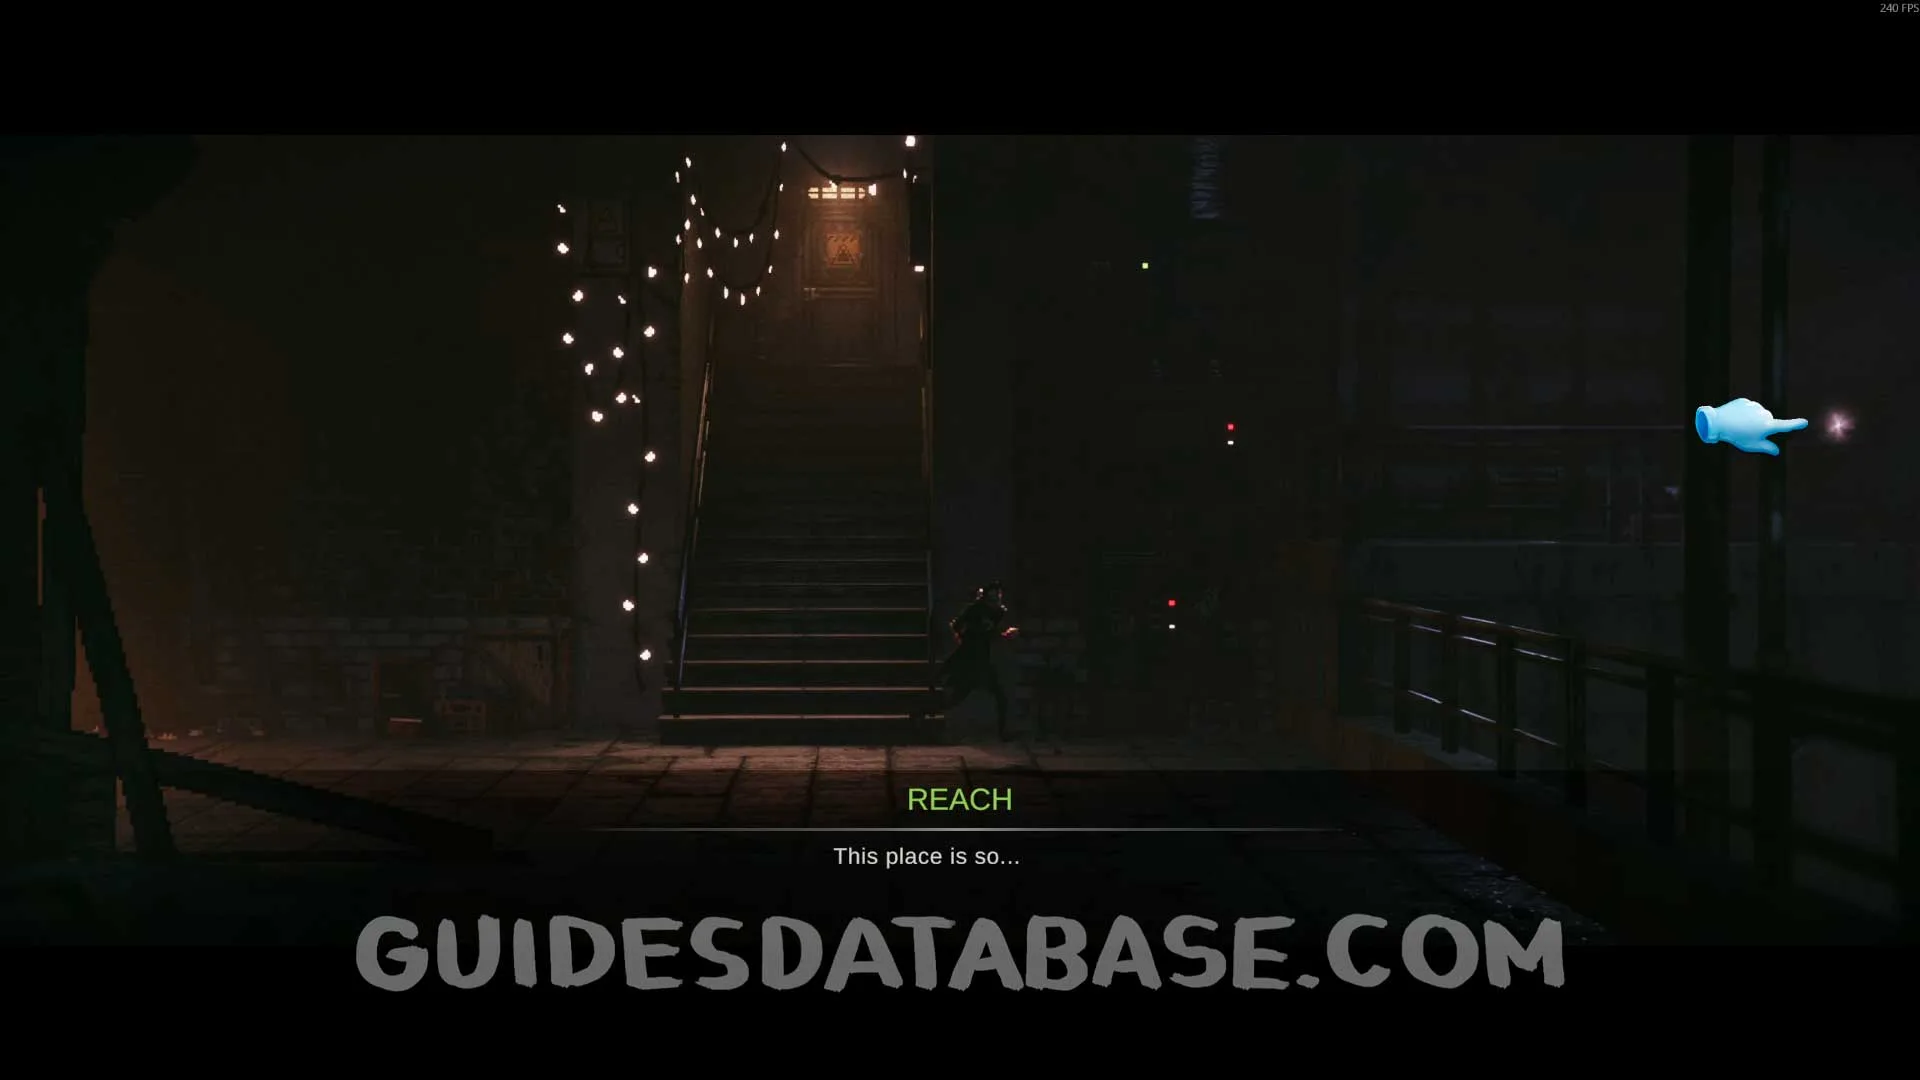
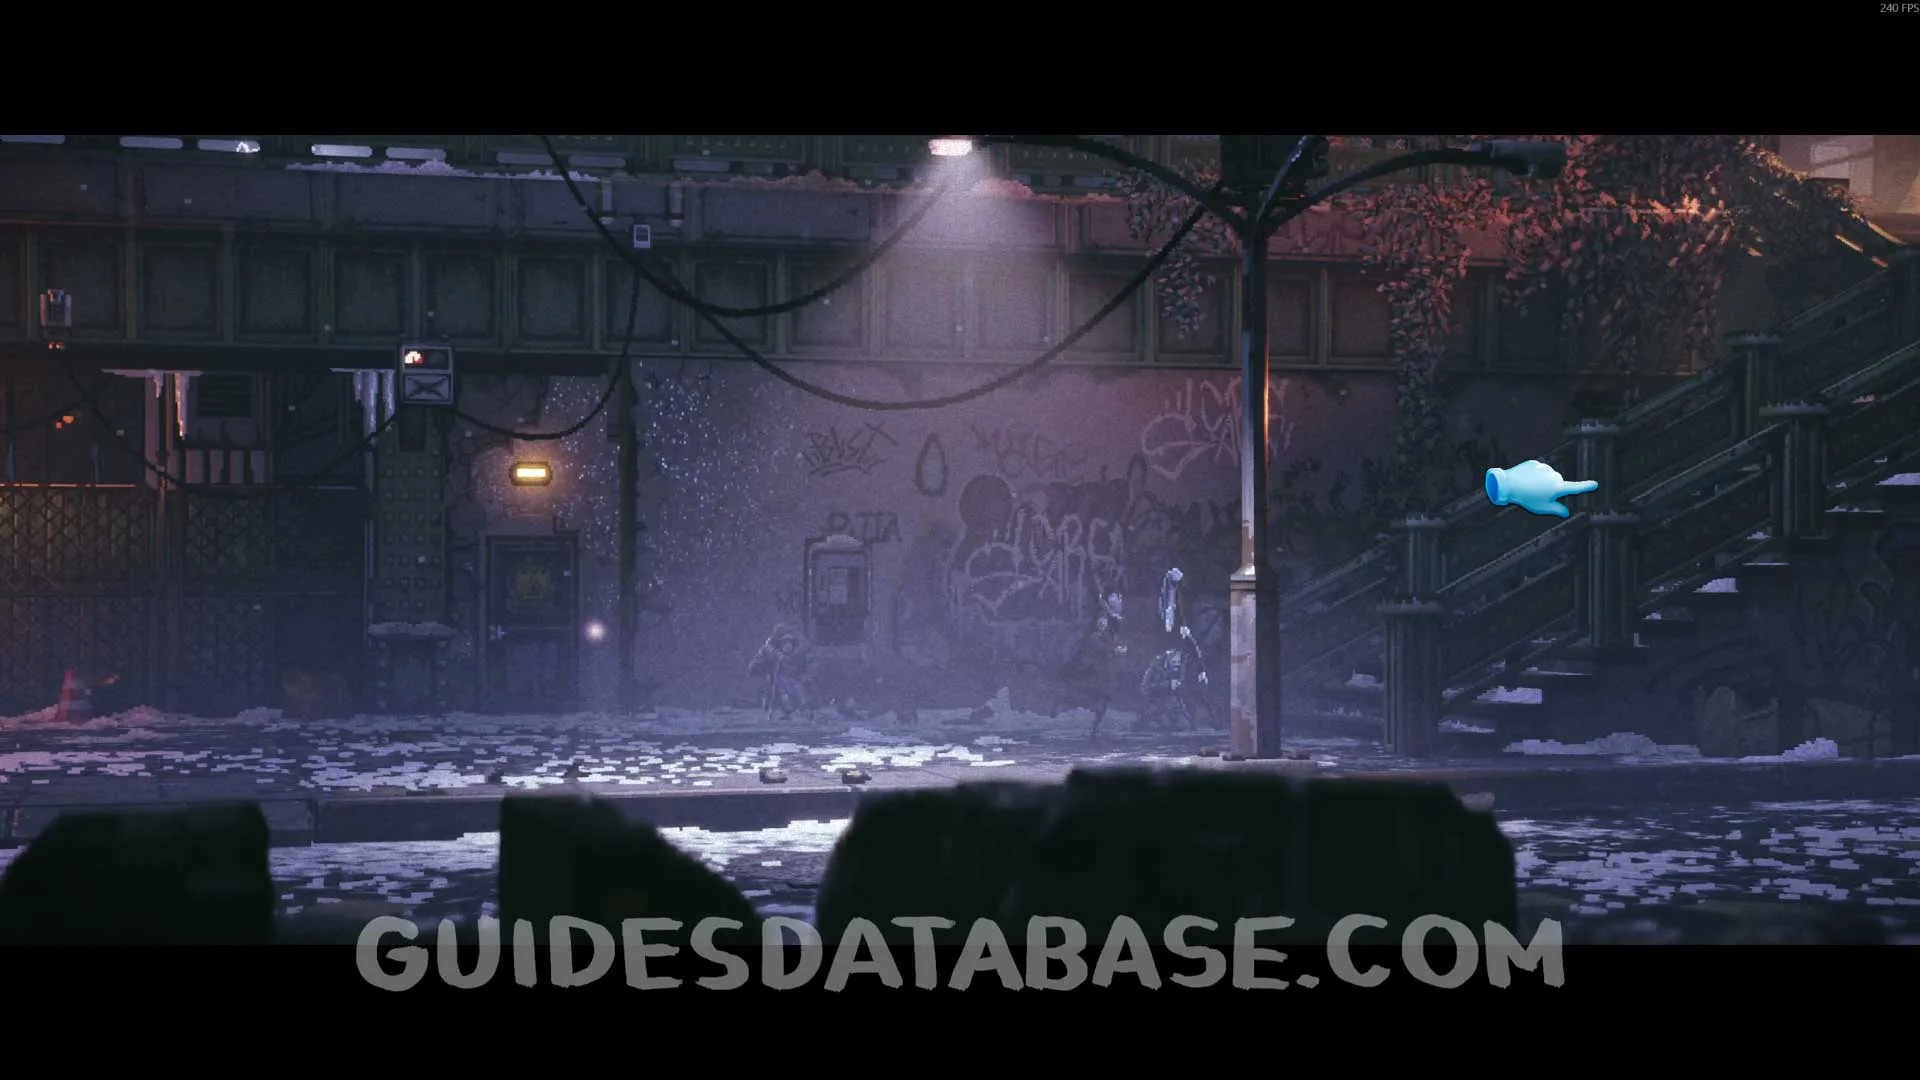
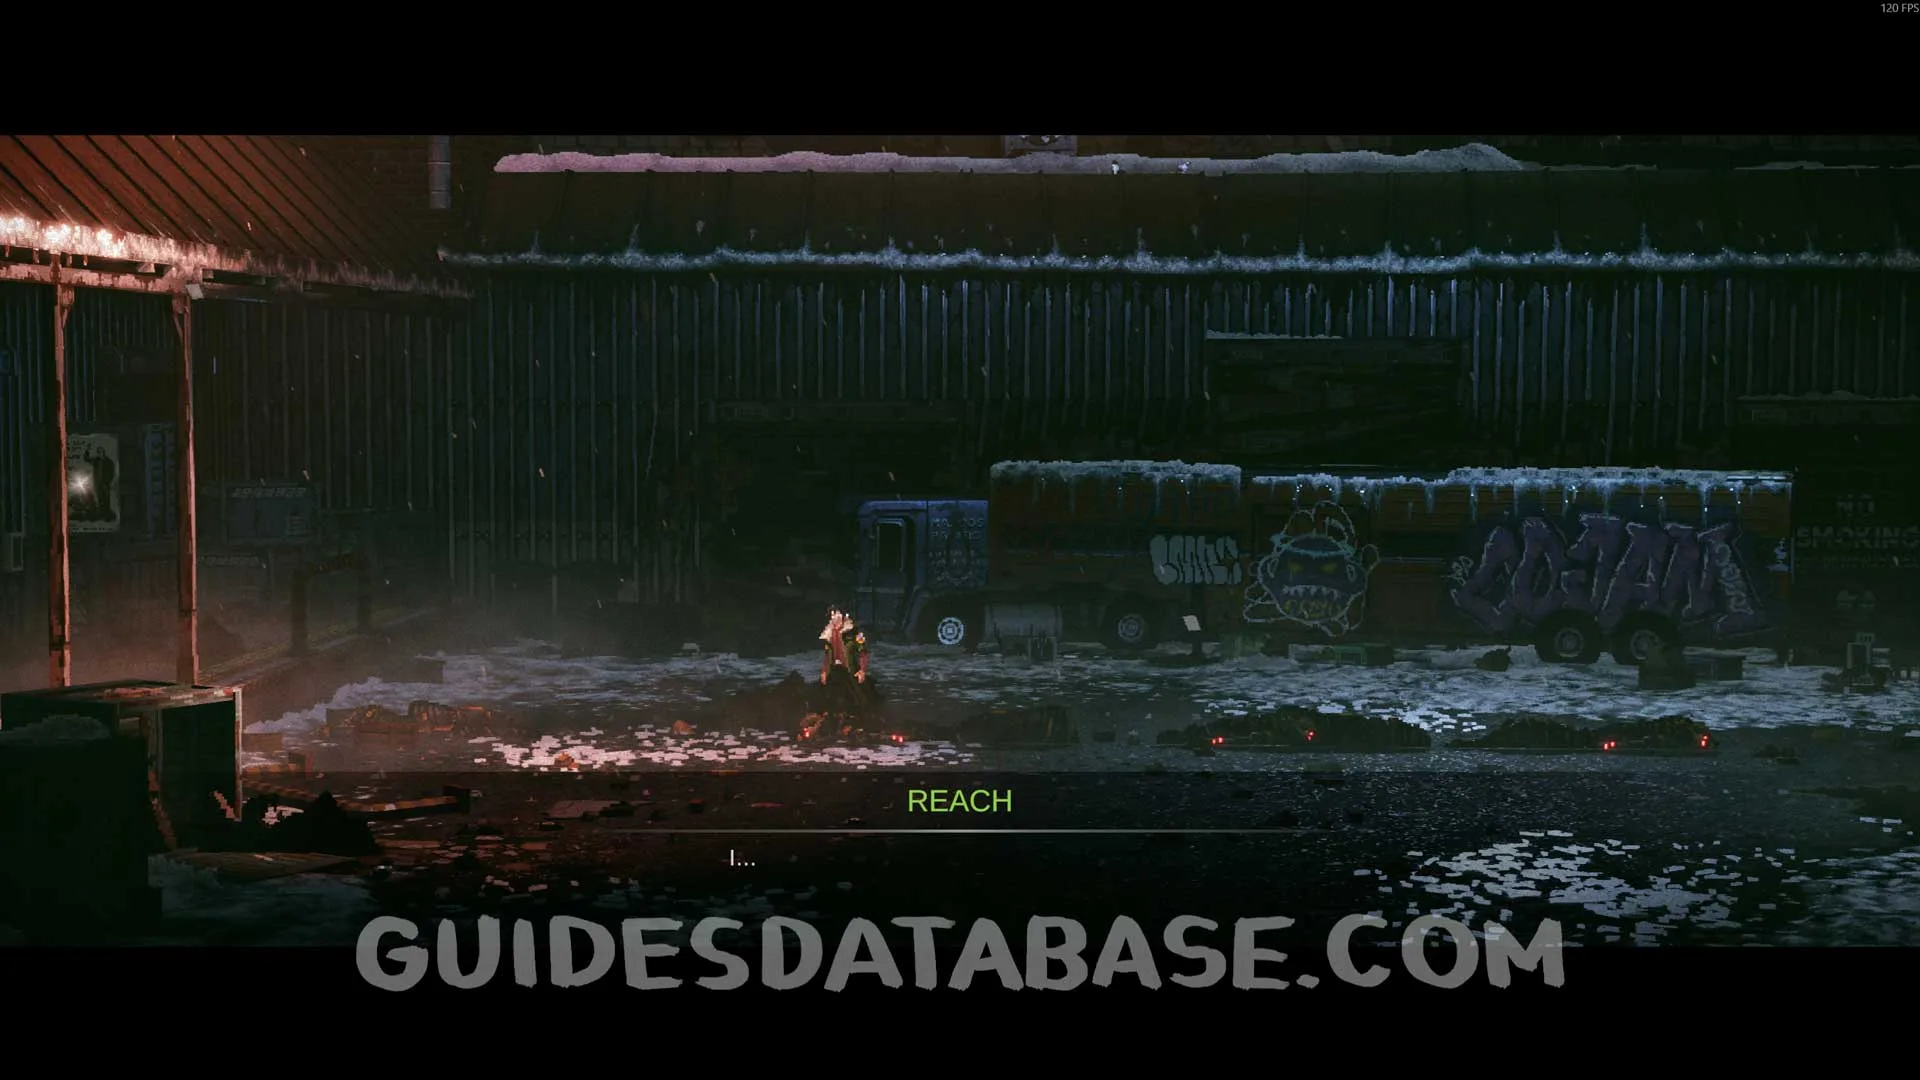
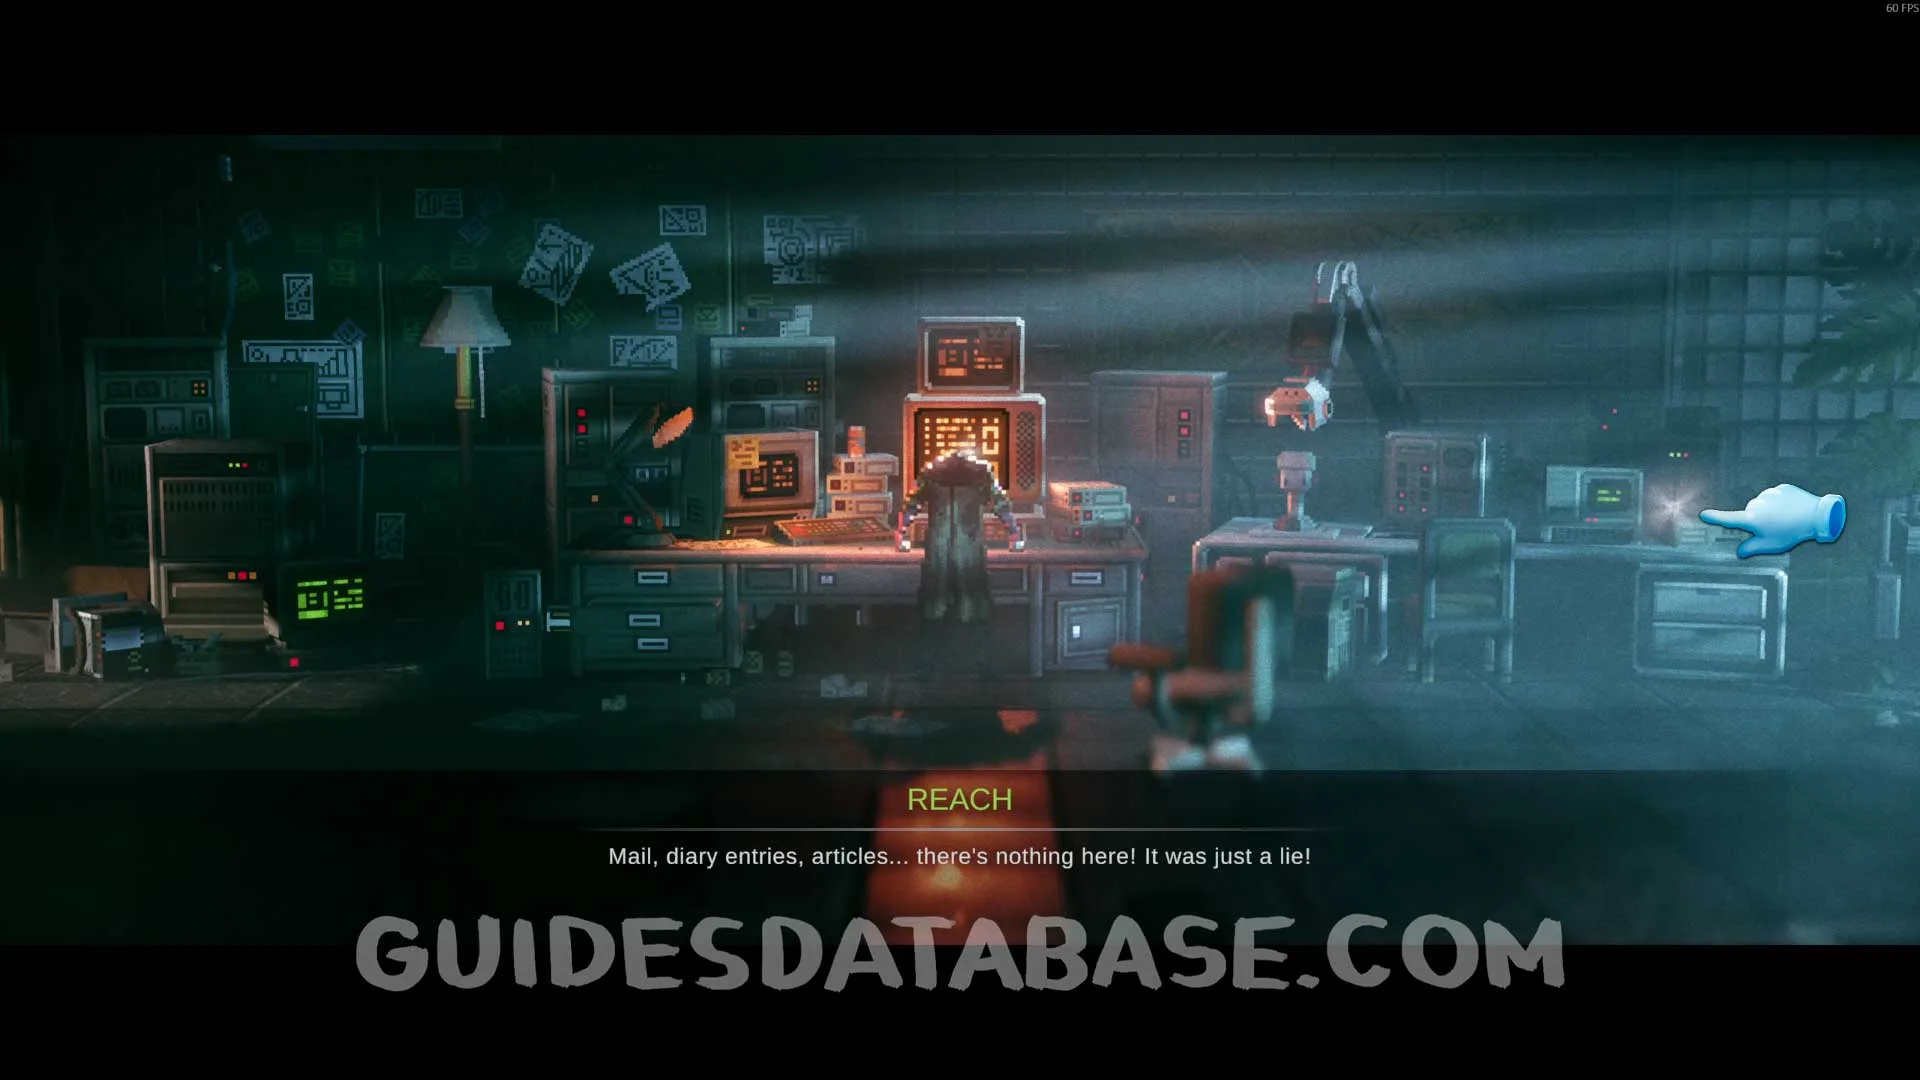
Scan #43 About Reach
From the previous collectible, get into the Fireball and go all the way to the left to find this.
 GUIDESDATABASE.COM
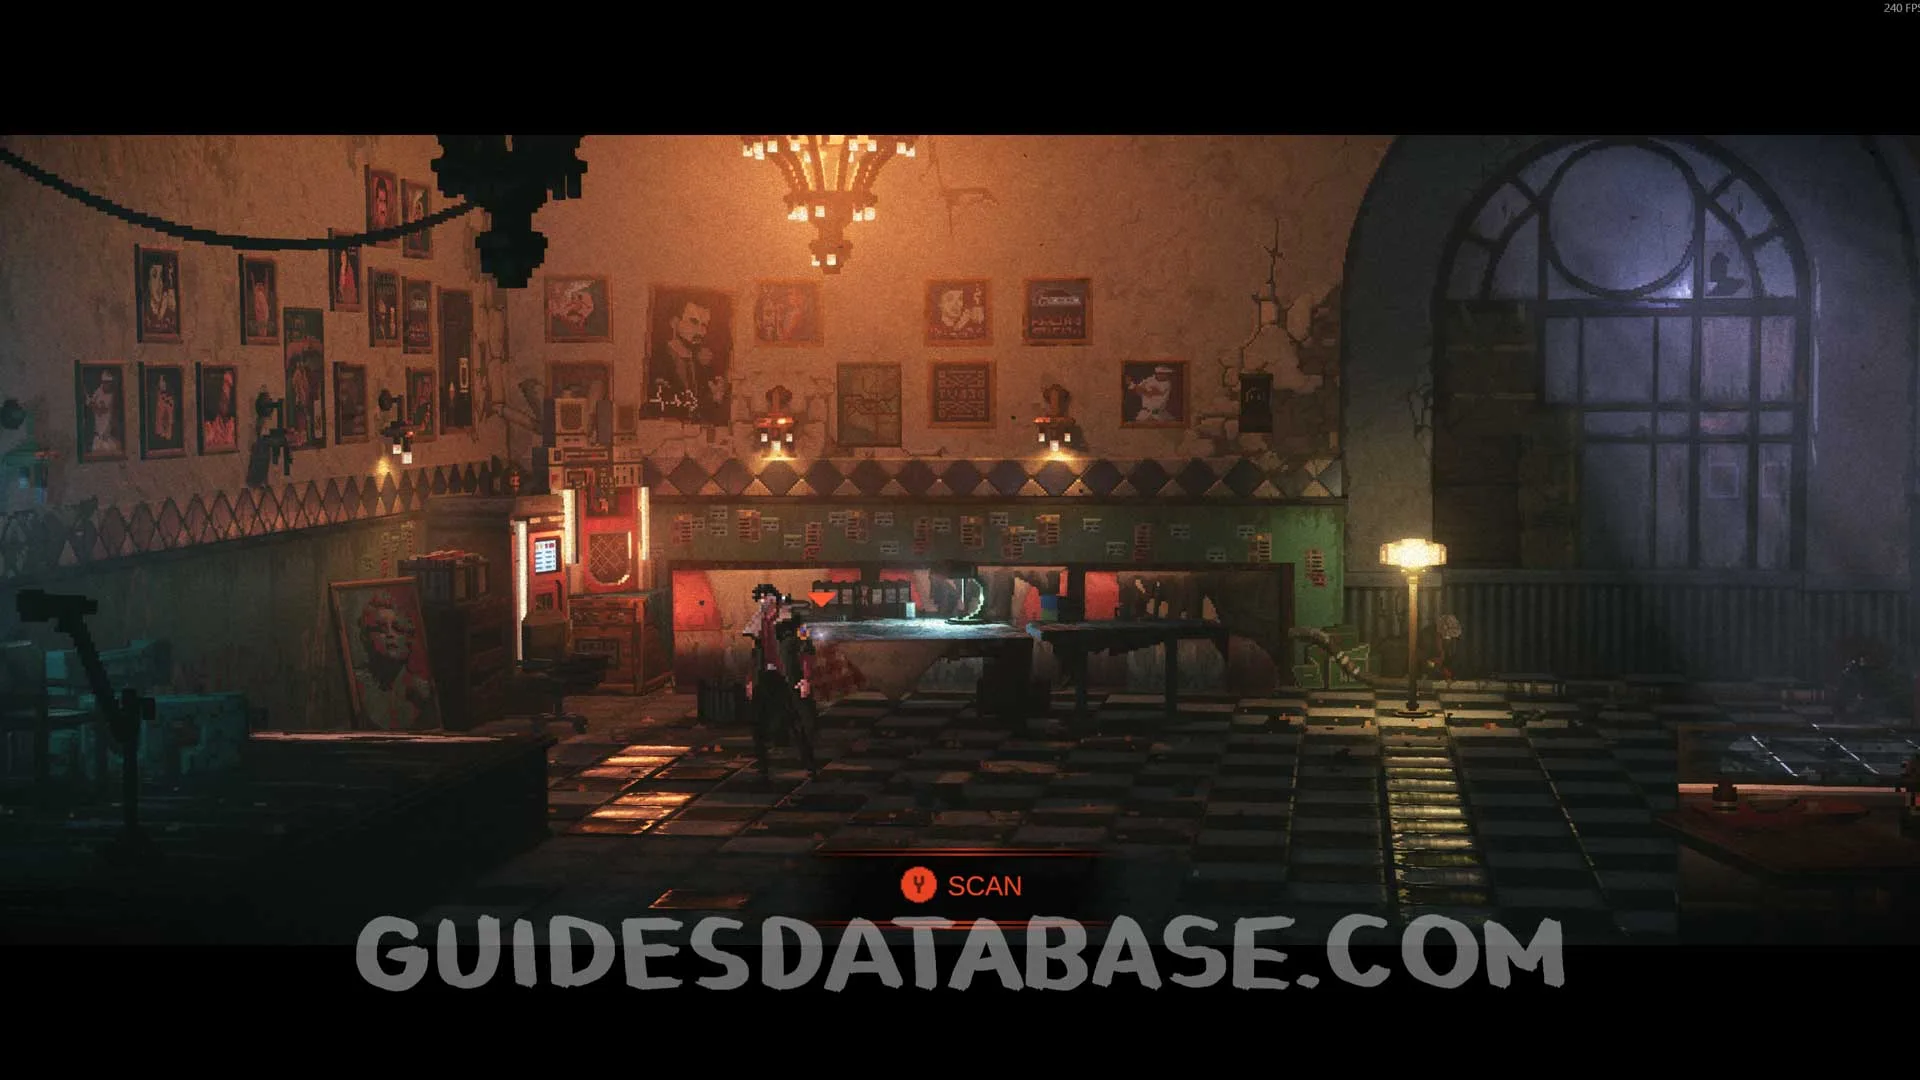 GUIDESDATABASE.COM
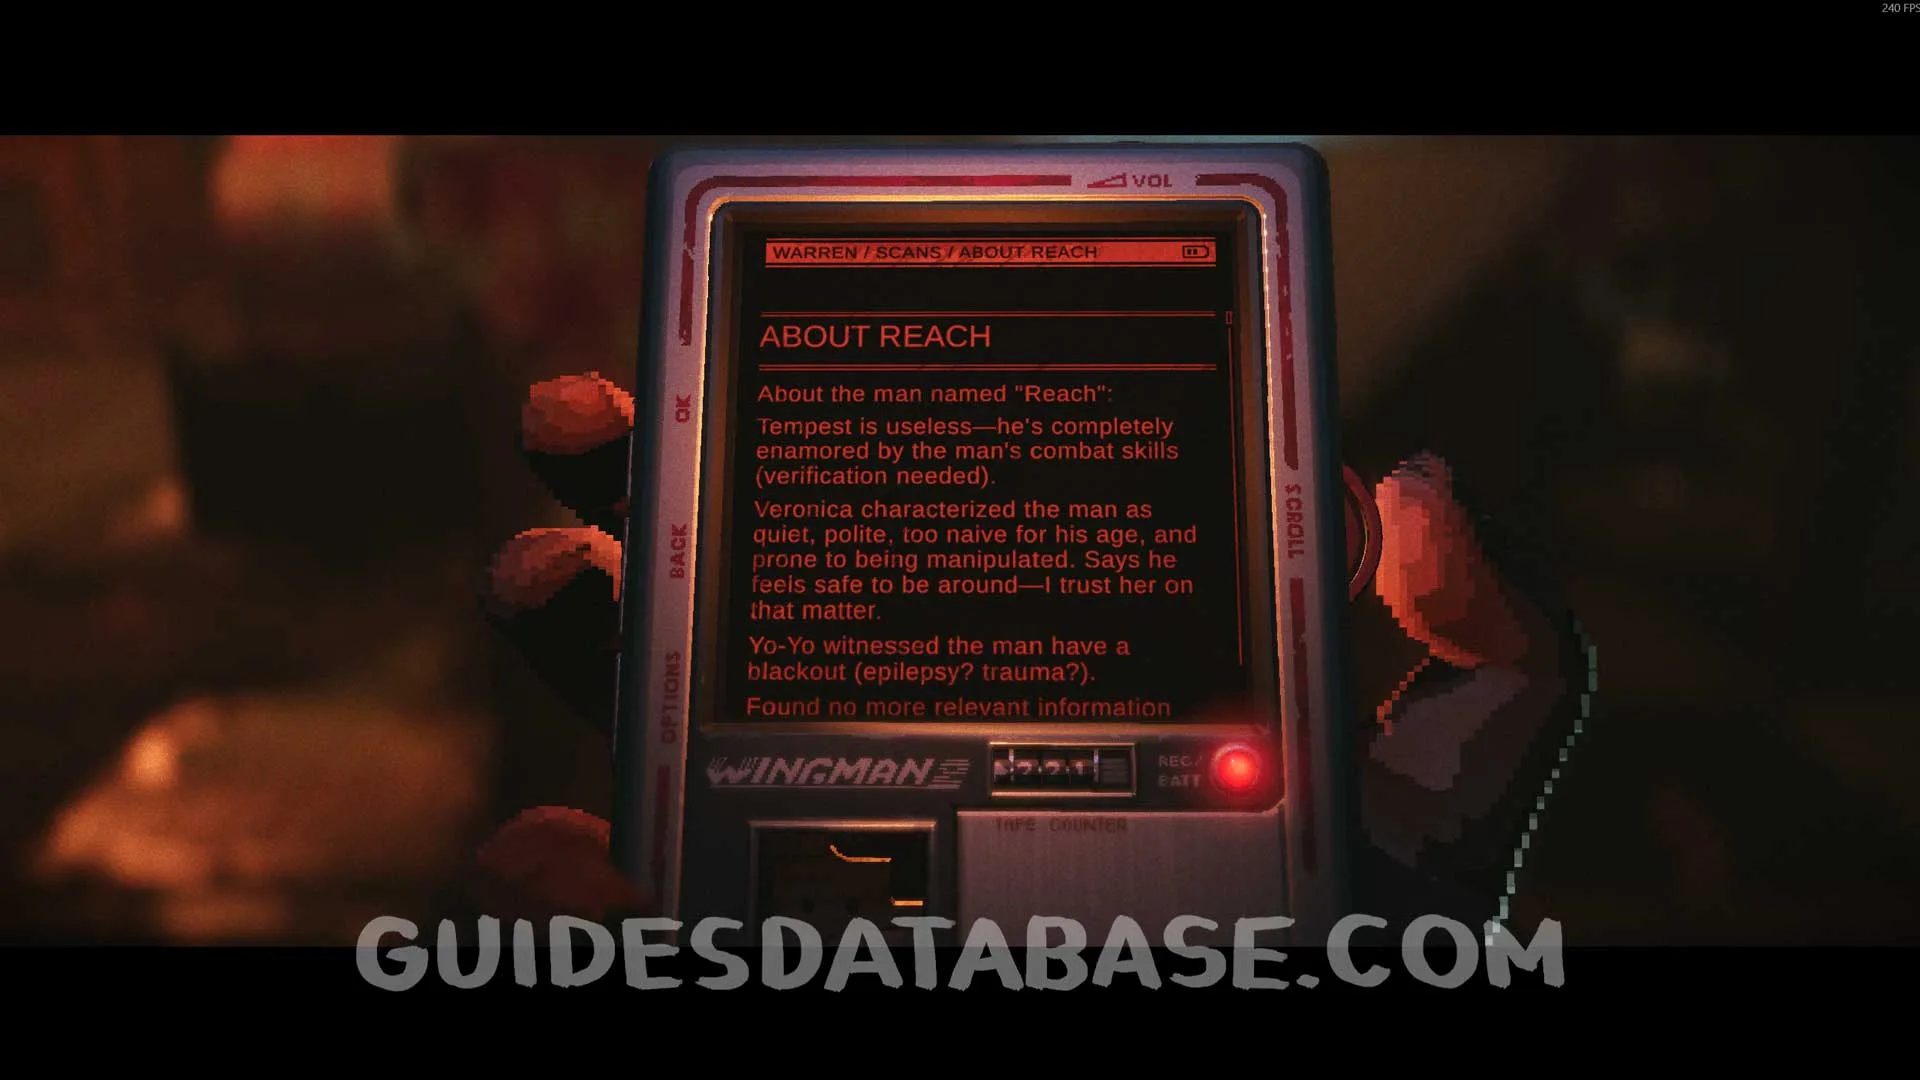 GUIDESDATABASE.COM
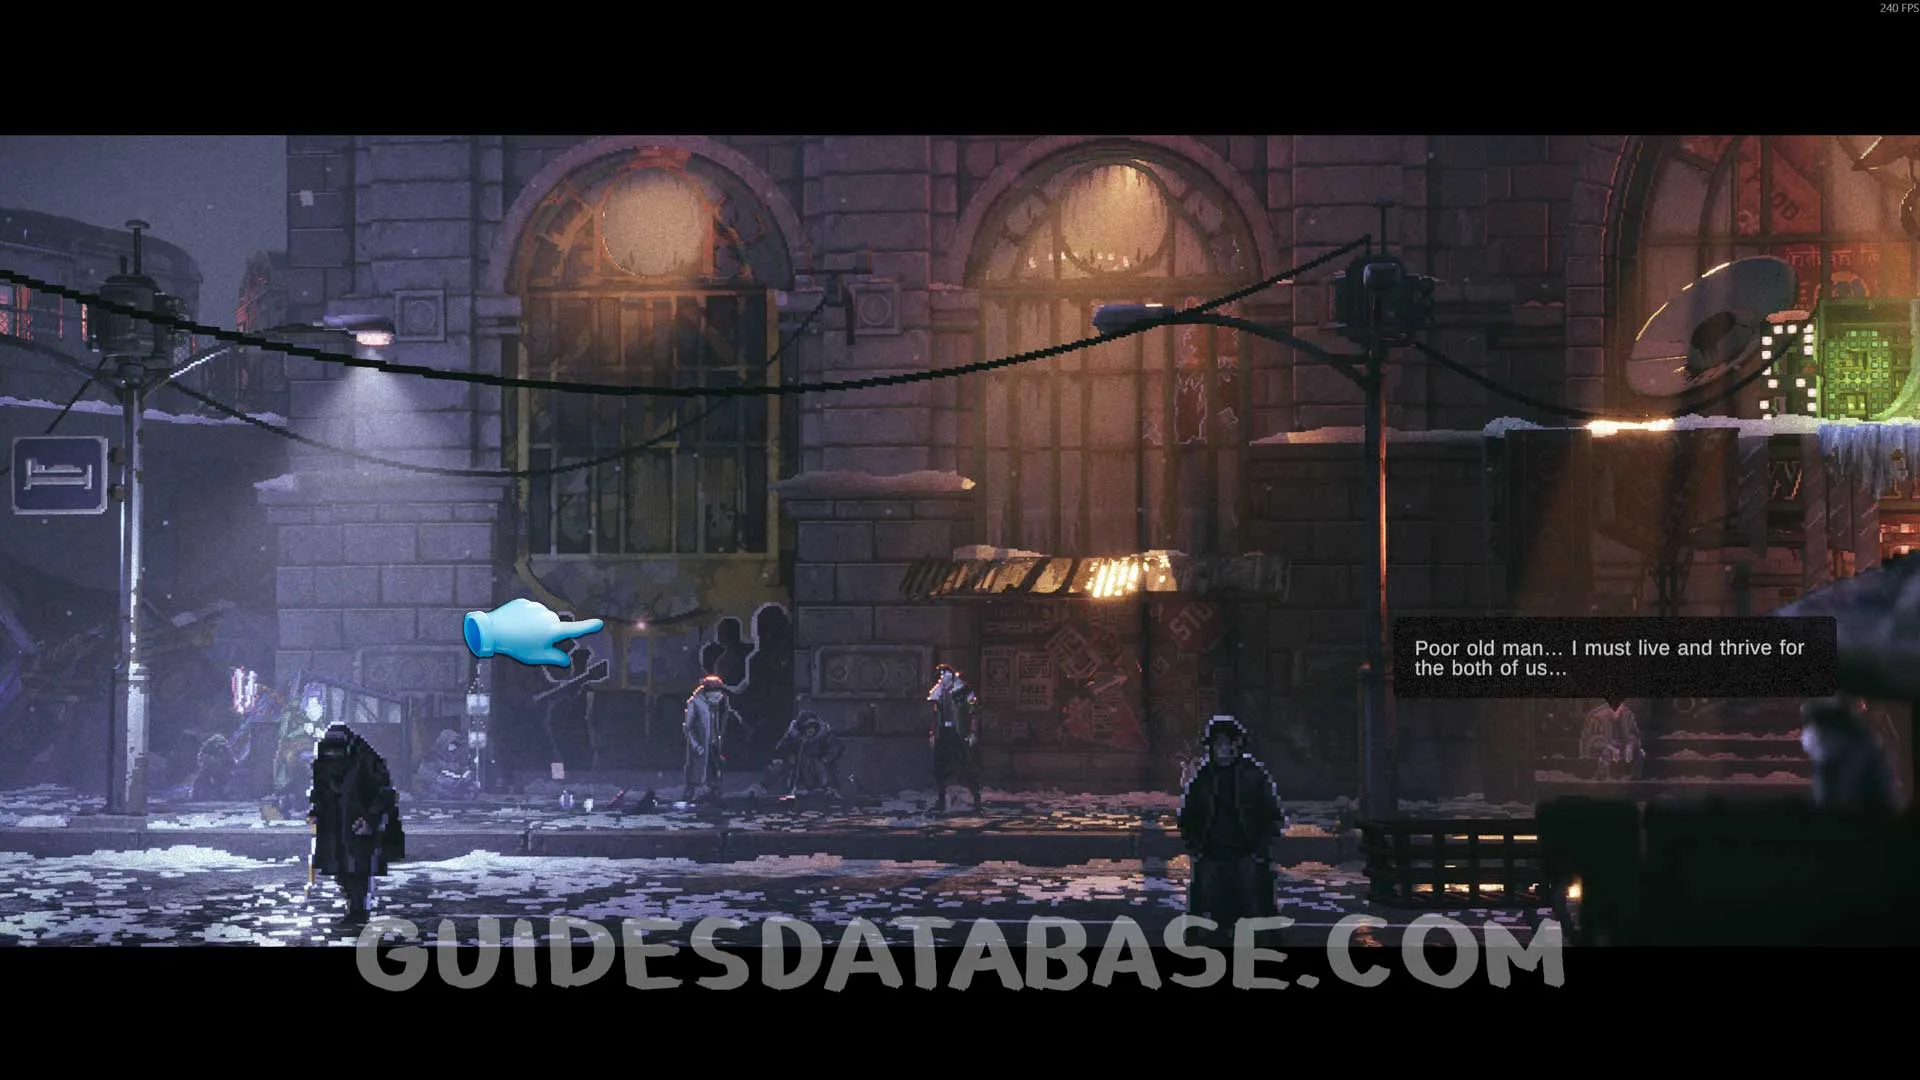
Edward's Quest + Scan #44 Edward's Diary + Rechargable Ampoule #2 + Scan #45 Old Logs
After leaving the bar where you found the previous collectible, head to the left and talk to Edward to start his quest.
 GUIDESDATABASE.COM
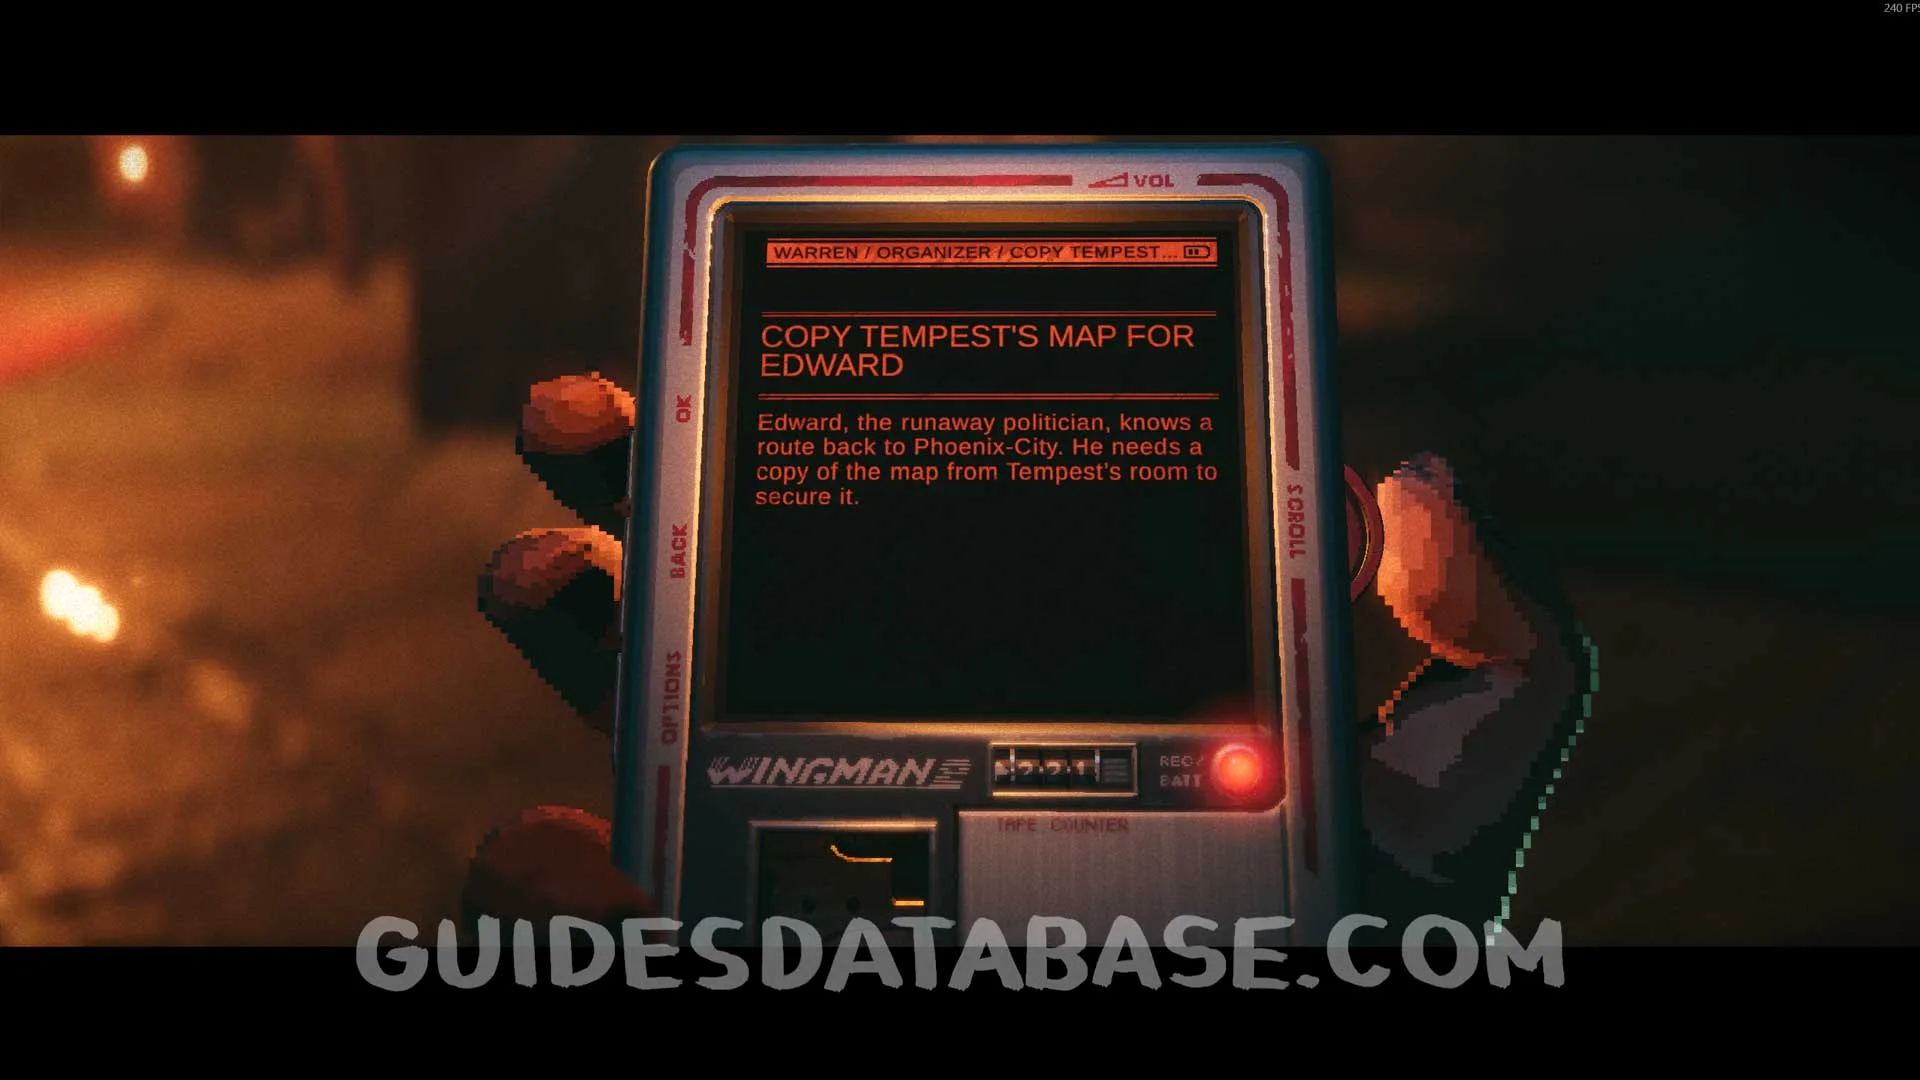 GUIDESDATABASE.COM
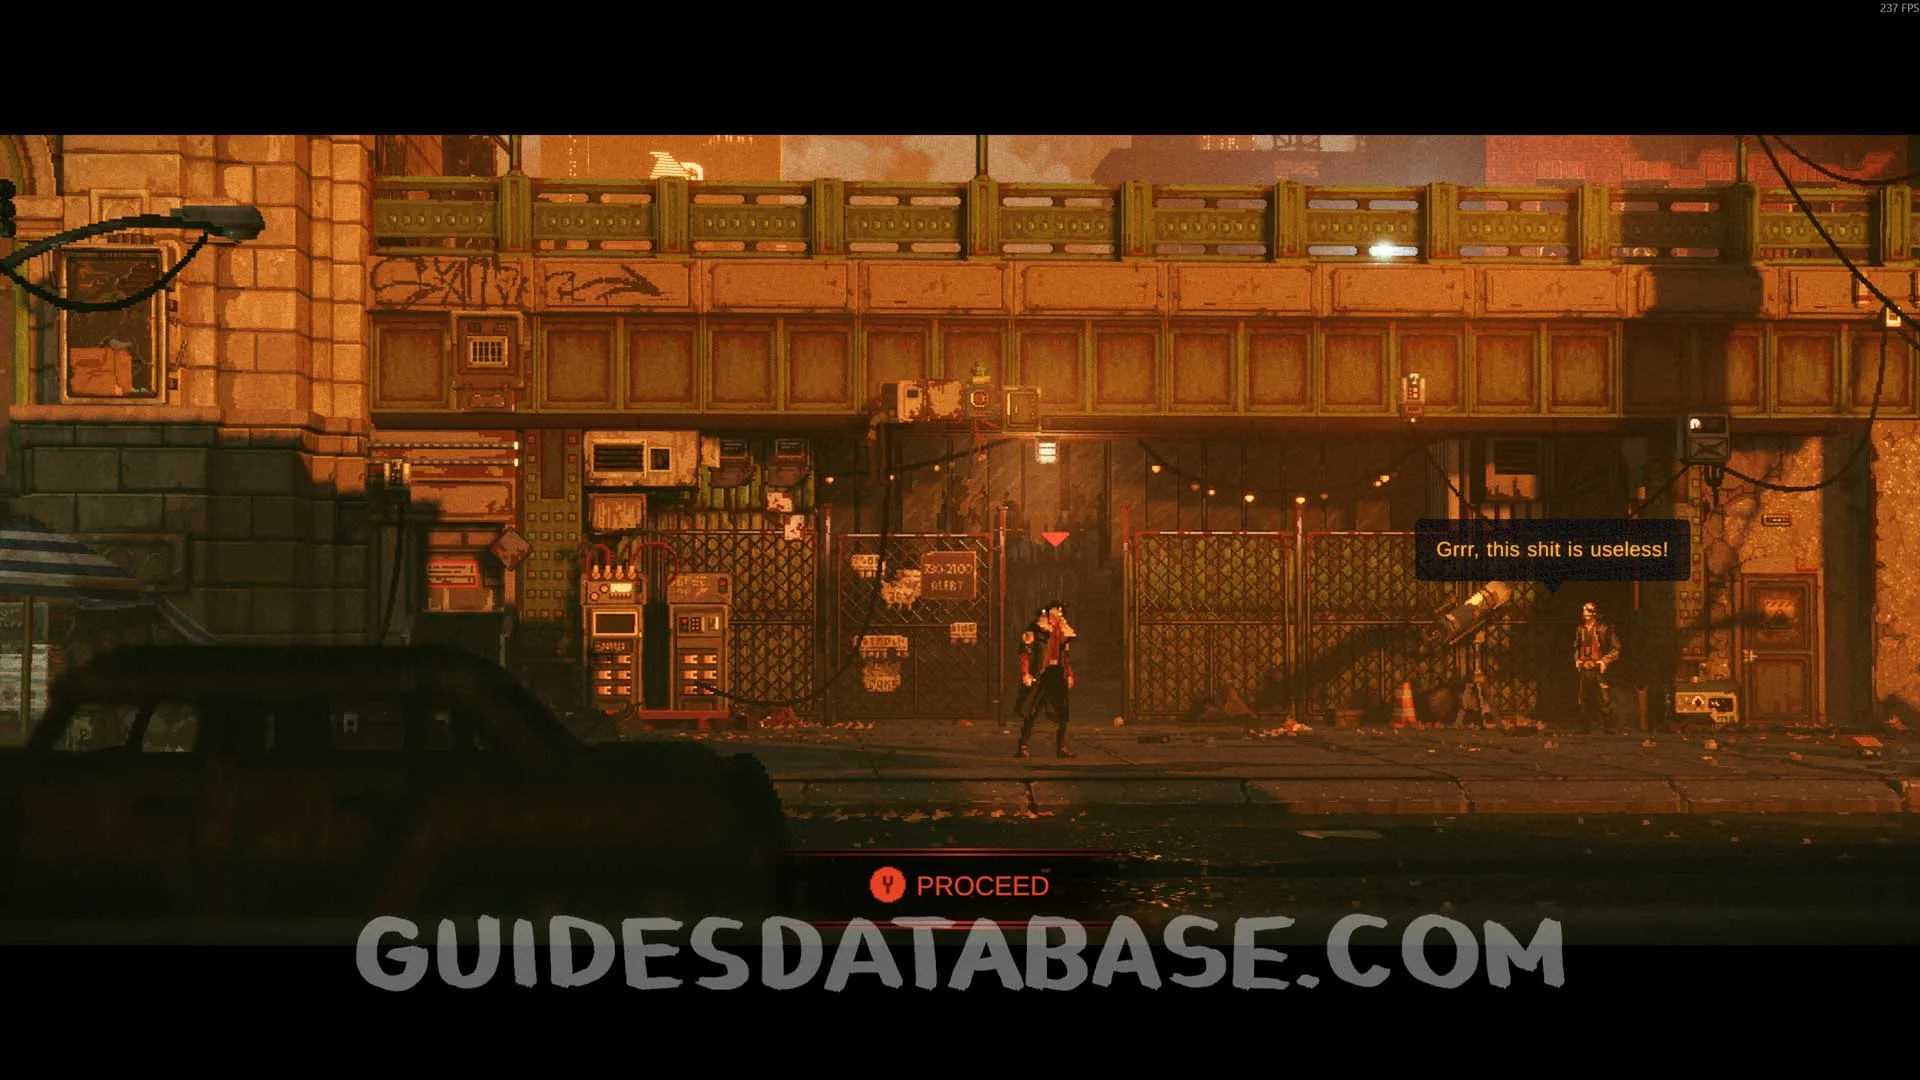
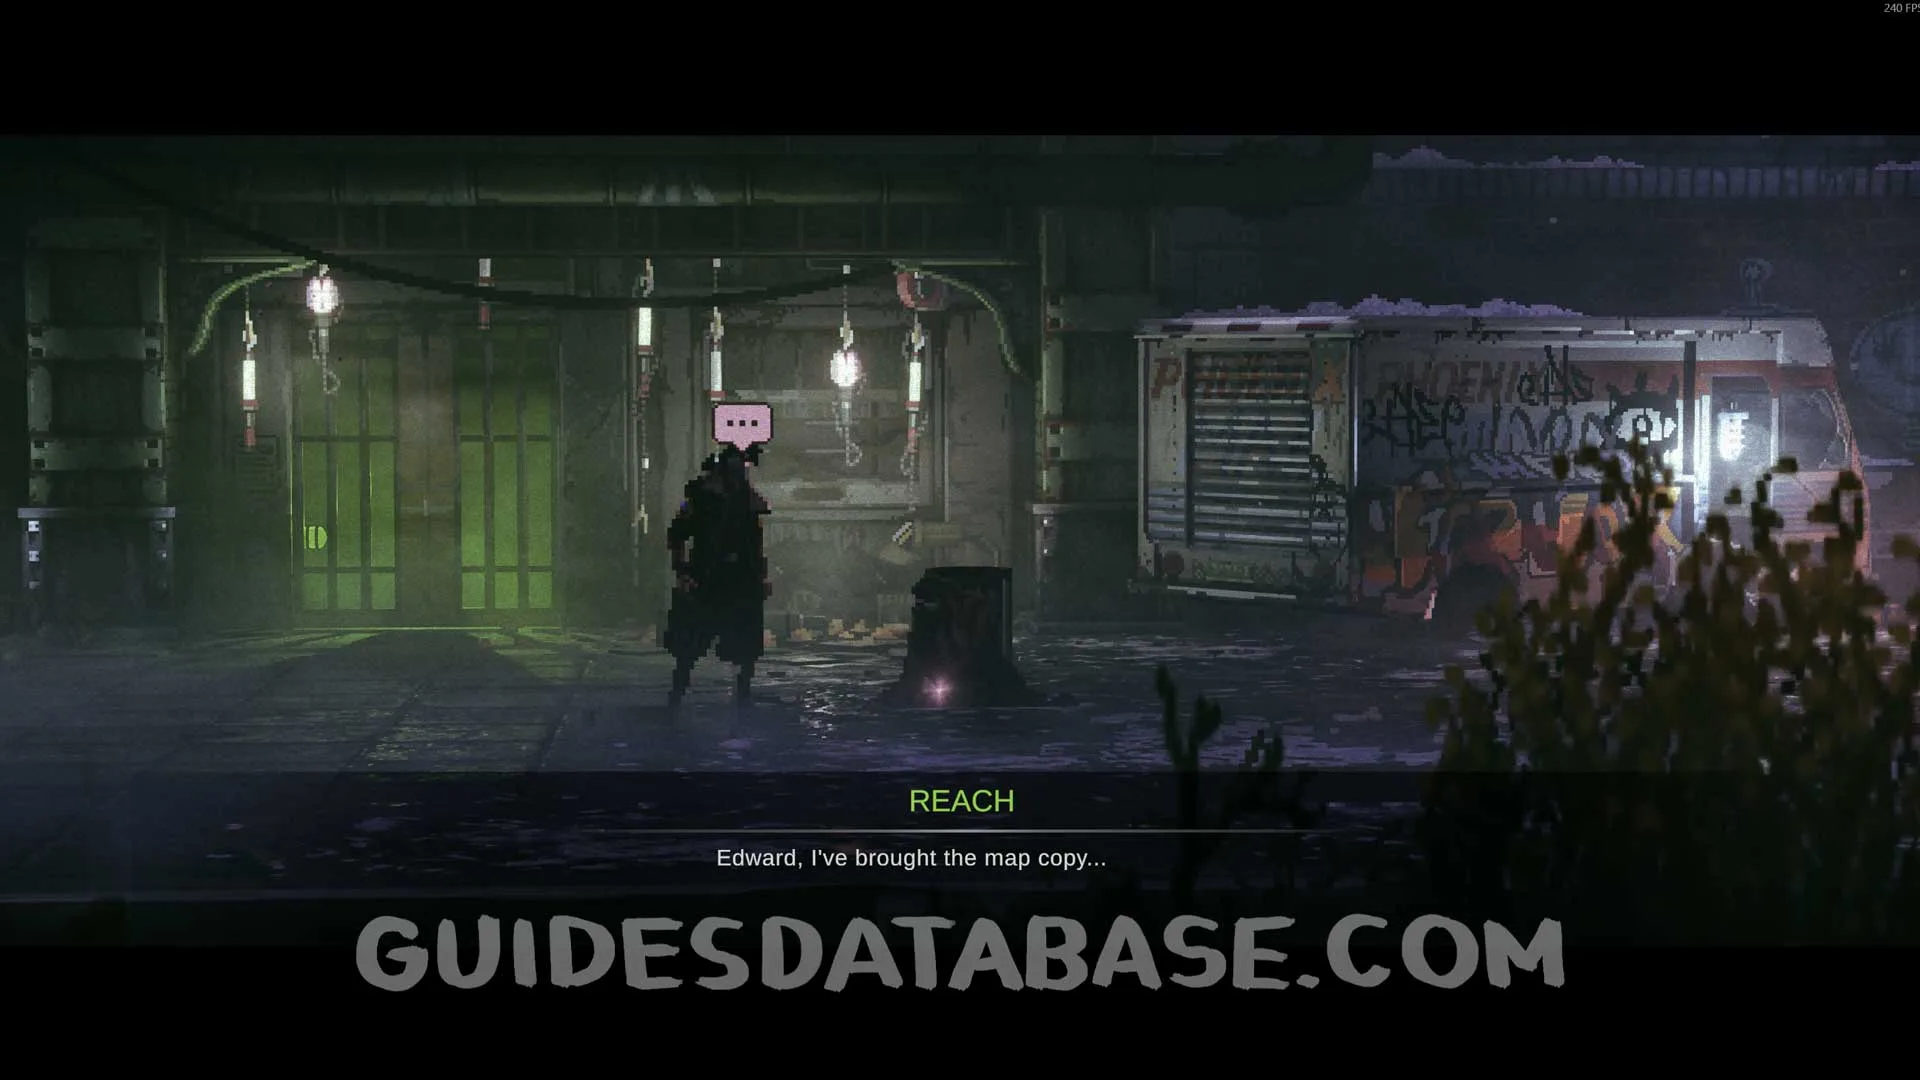
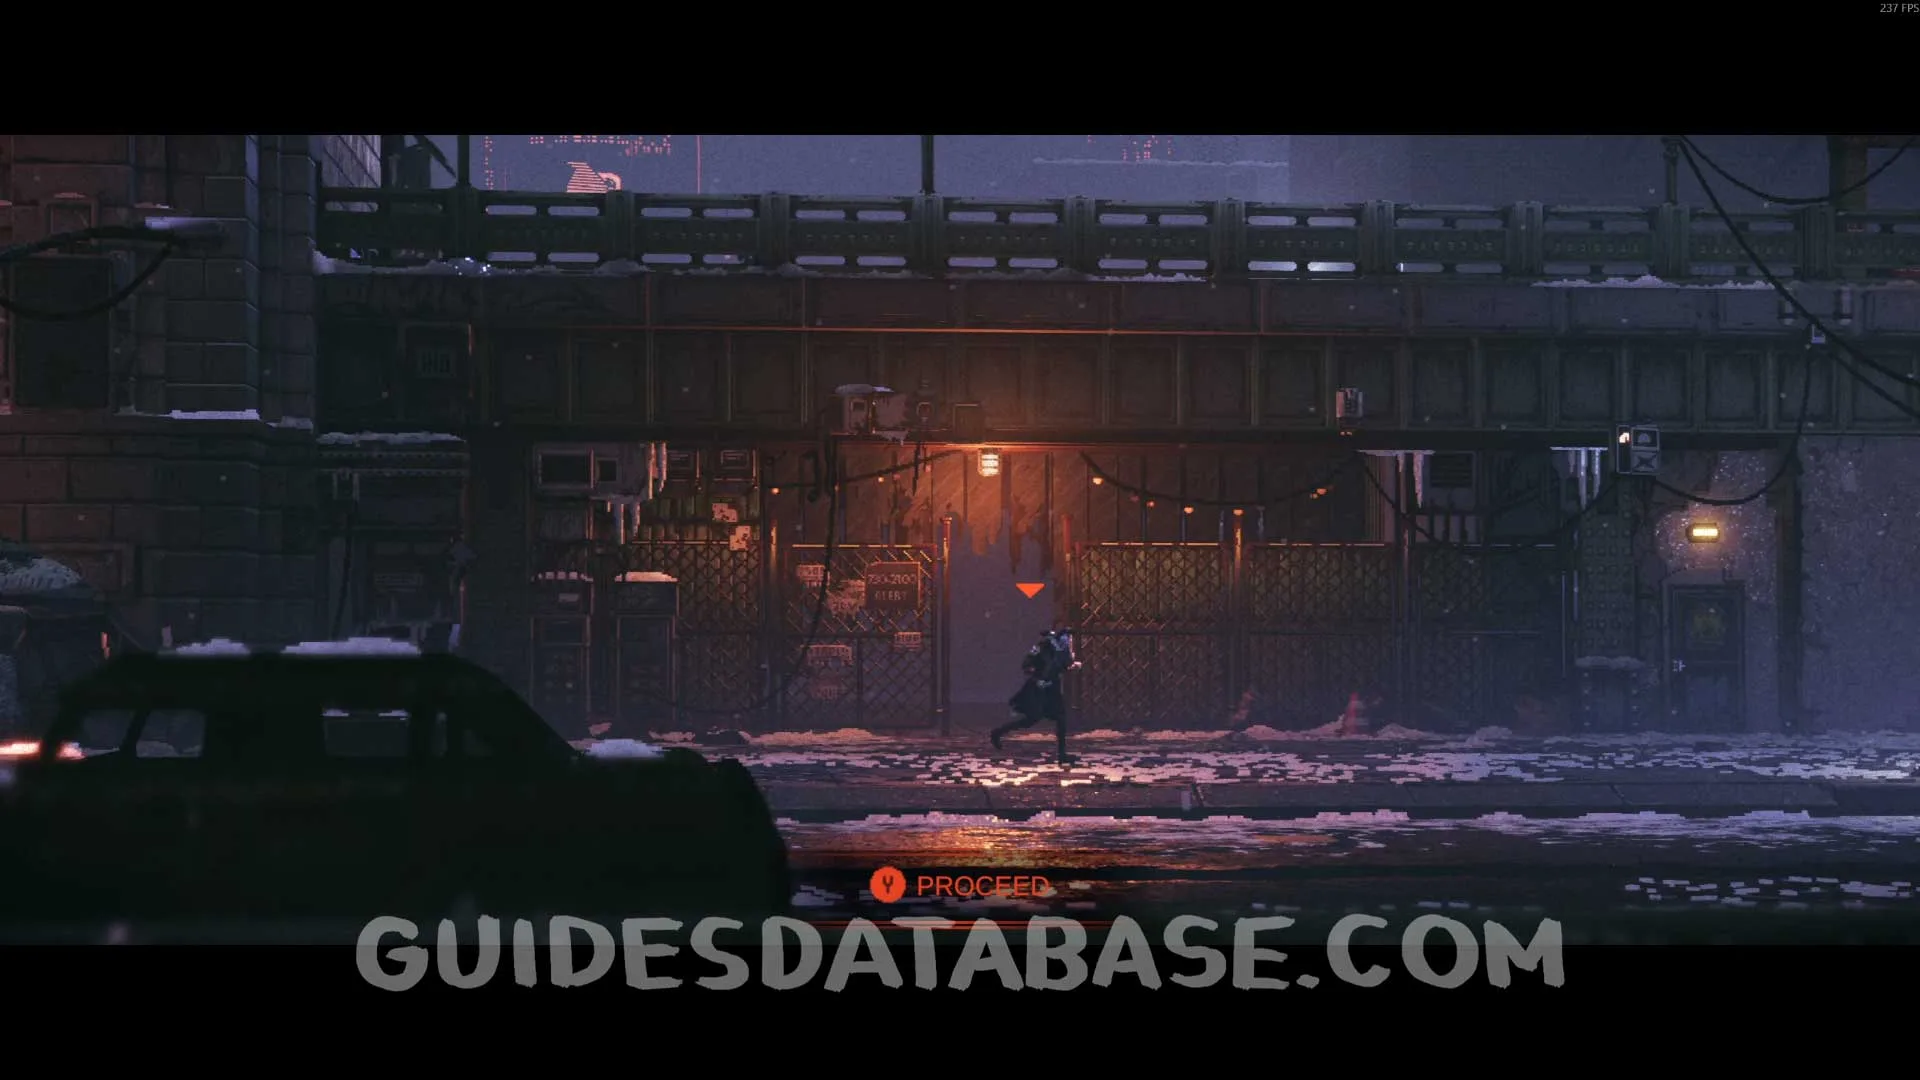
Leave the safe zone and go through the door on the right. Head to the end of the area and interact with the map on the wall to progress the side quest.
 GUIDESDATABASE.COM
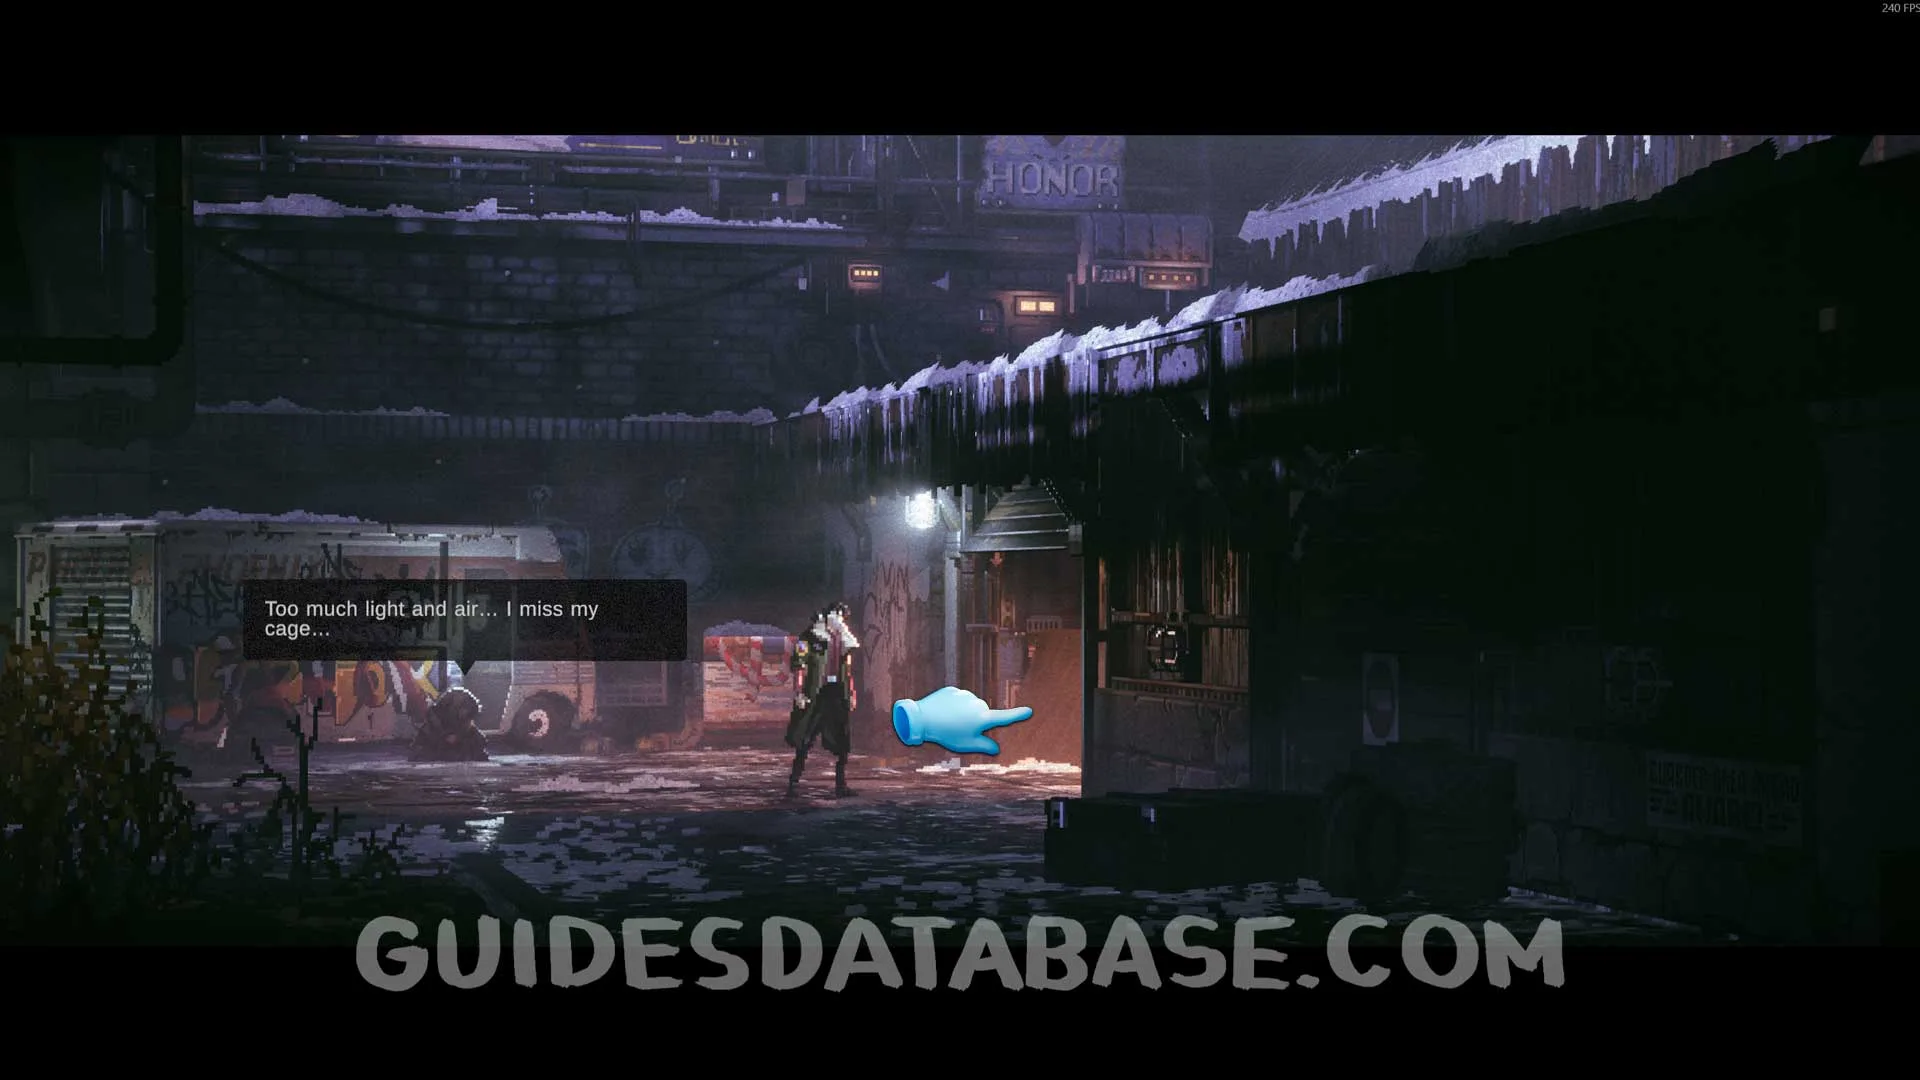 GUIDESDATABASE.COM
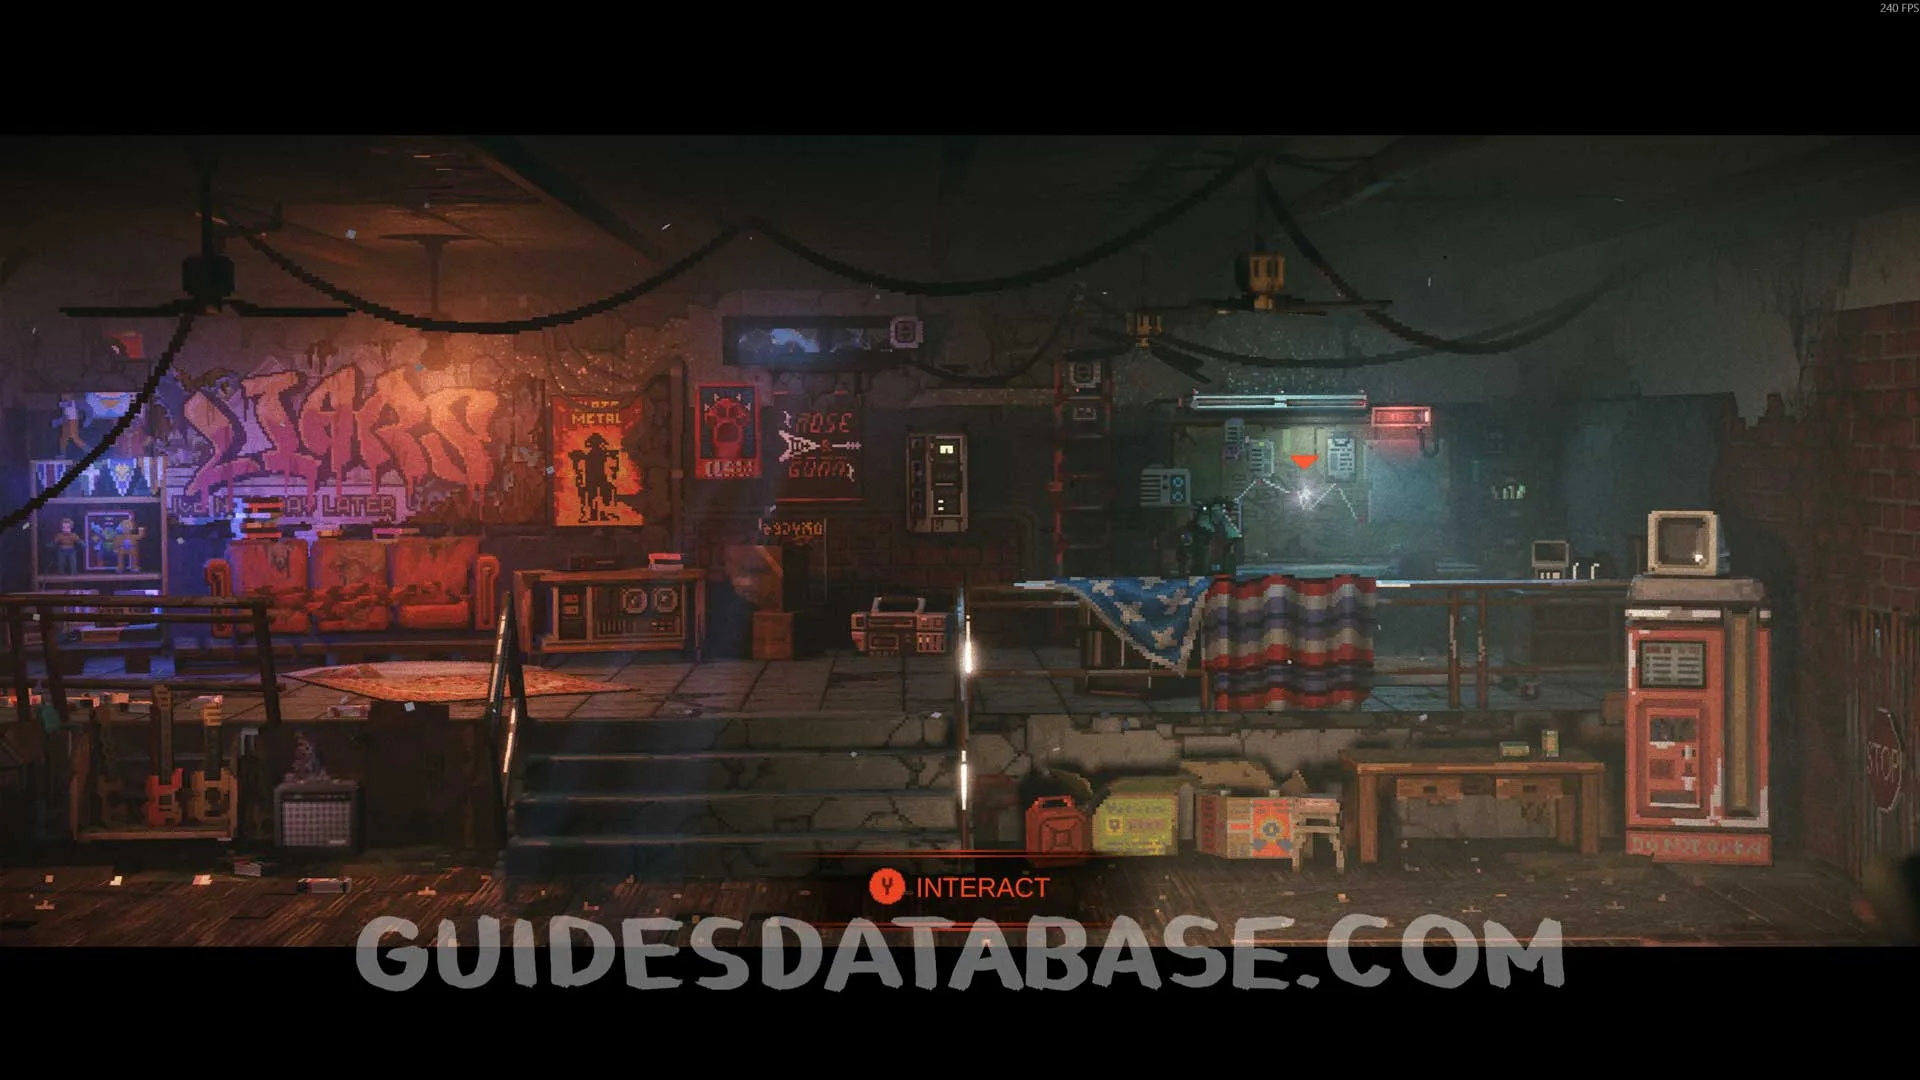 GUIDESDATABASE.COM
Go back to the entrance you passed through earlier and this scan will be right in front of you. This will also progress Edward’s side quest.
 GUIDESDATABASE.COM
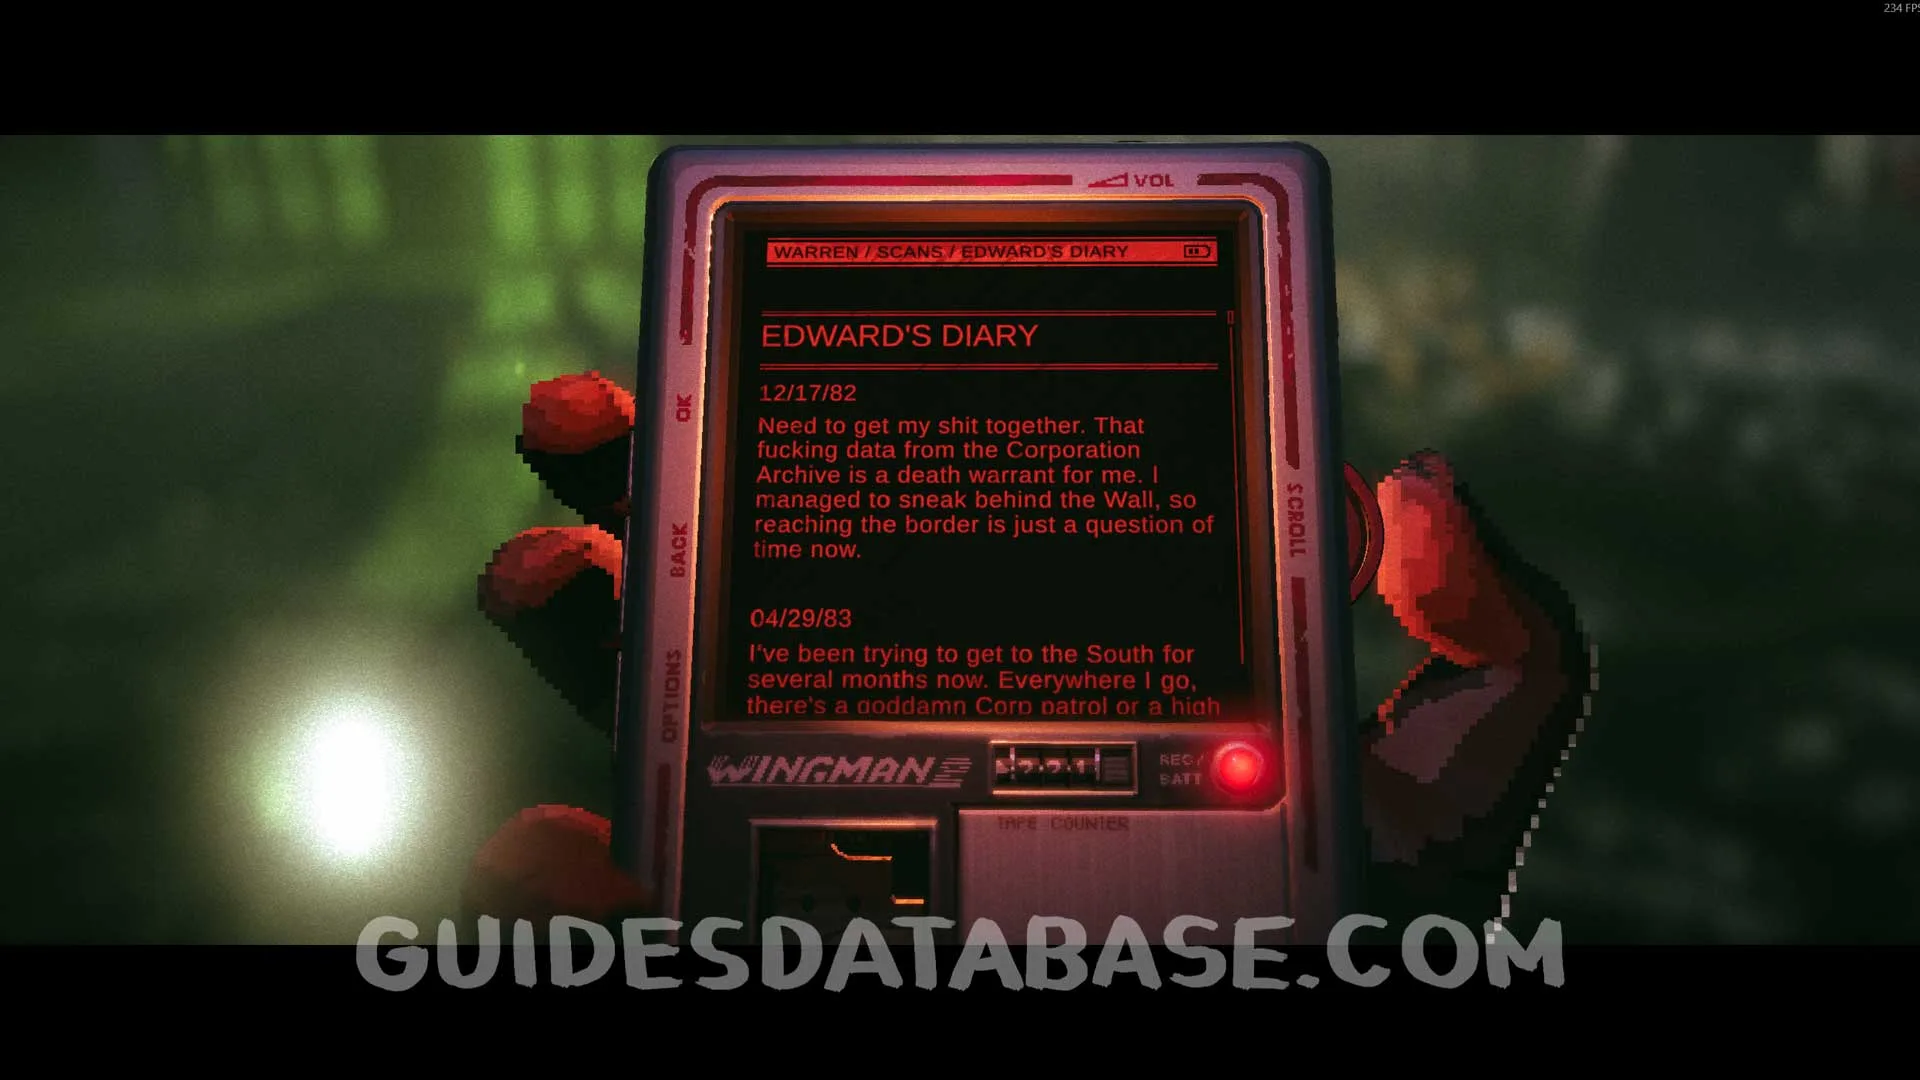 GUIDESDATABASE.COM
On the left side of the safe zone, interact with the painting on the wall to complete the side quest and get the achievement Hunted.
 GUIDESDATABASE.COM
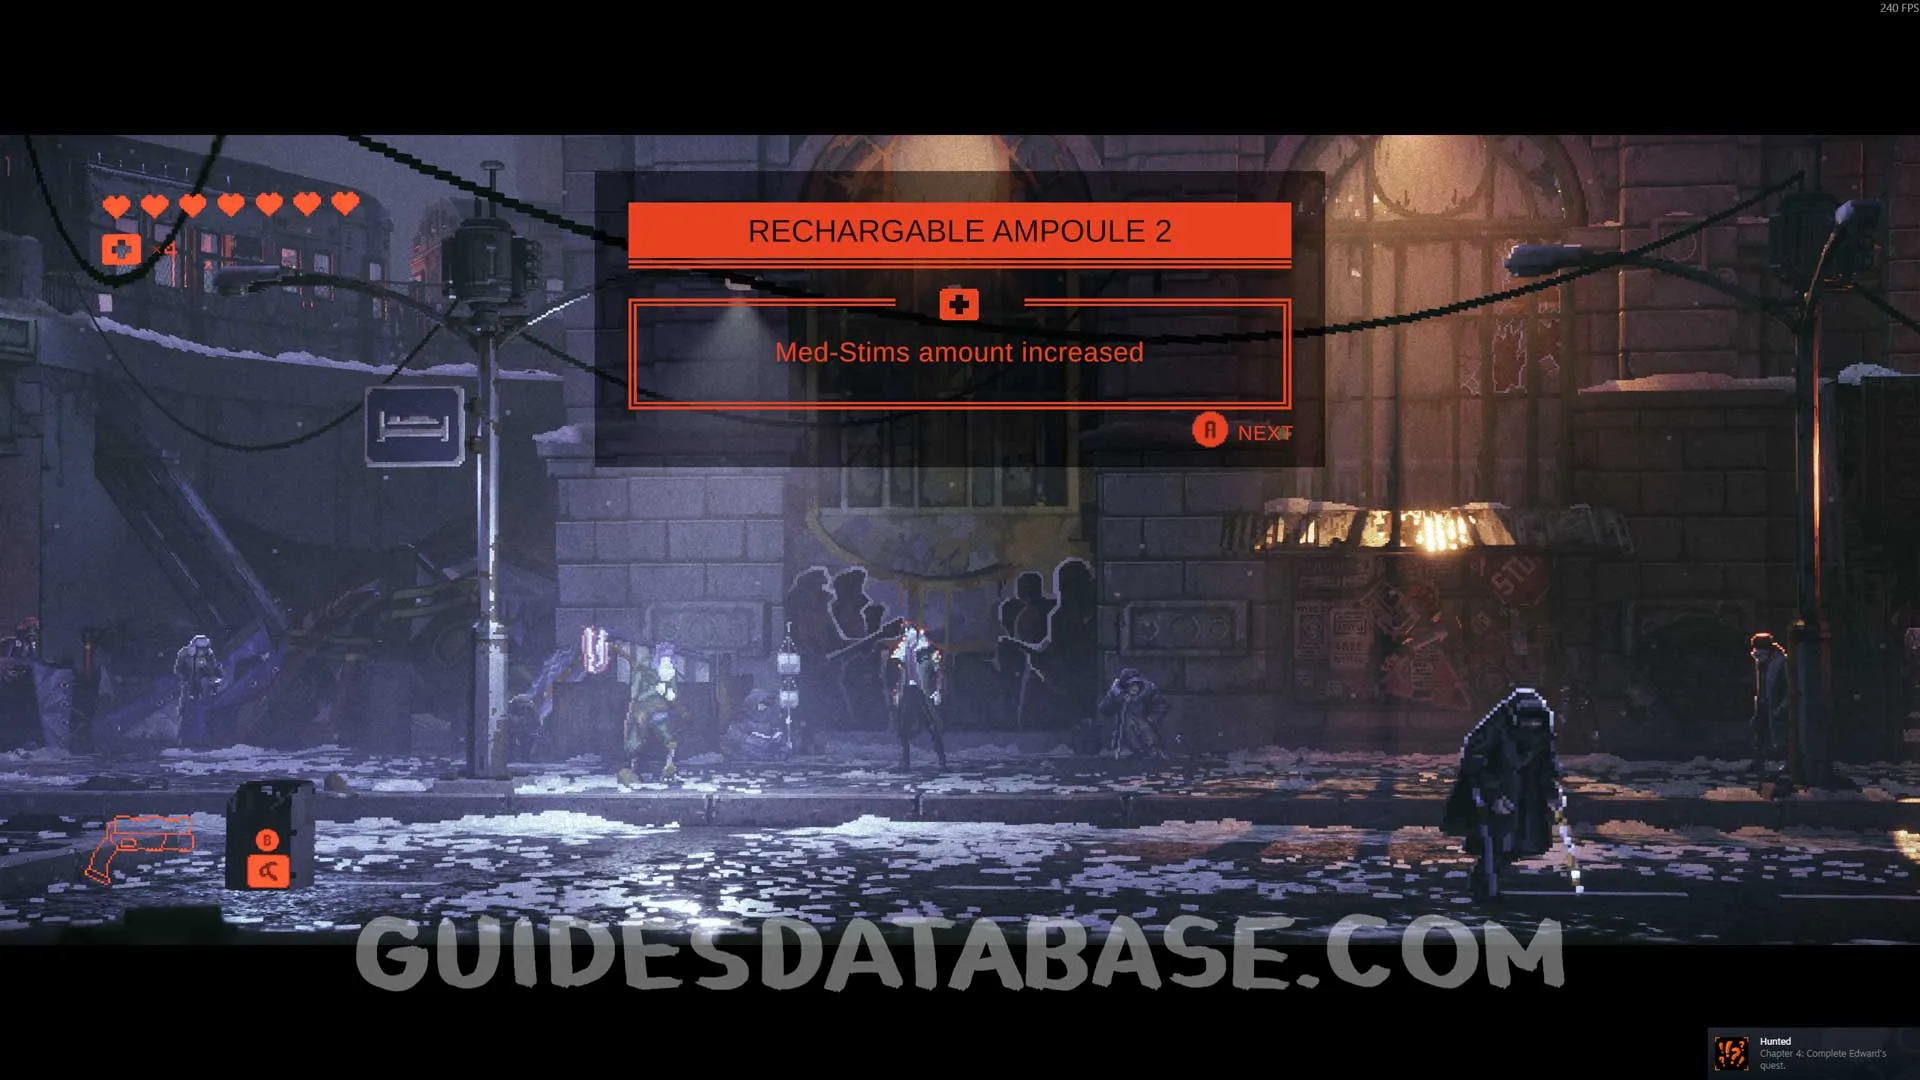 GUIDESDATABASE.COM
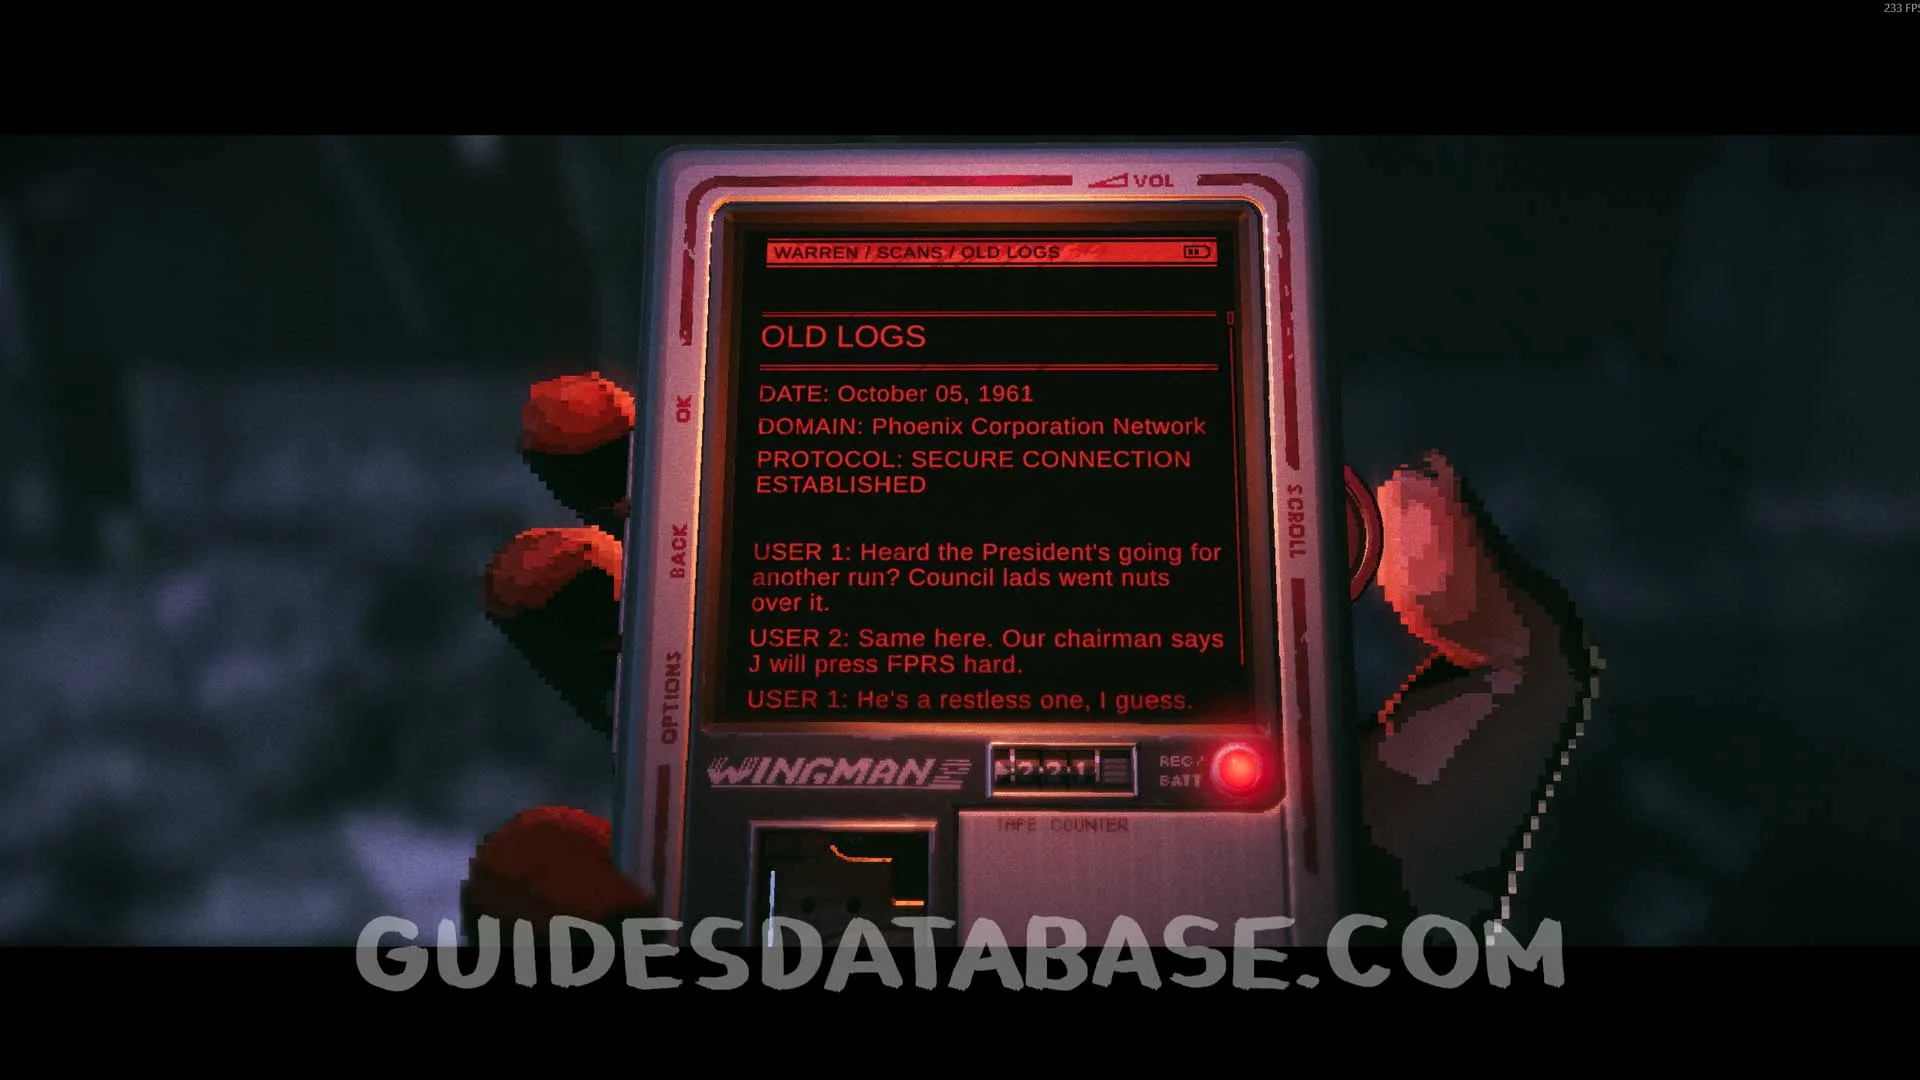 GUIDESDATABASE.COM
Excalibur's Quest + Scan #46 Station Meal + Reduction Gear #1 + Scan #47 Unsent Letter to Mole
To the right of the safe zone, pass through the gate and you will find the dog Excalibur. Talk to him to start his quest and you will need to find food for him.
 GUIDESDATABASE.COM
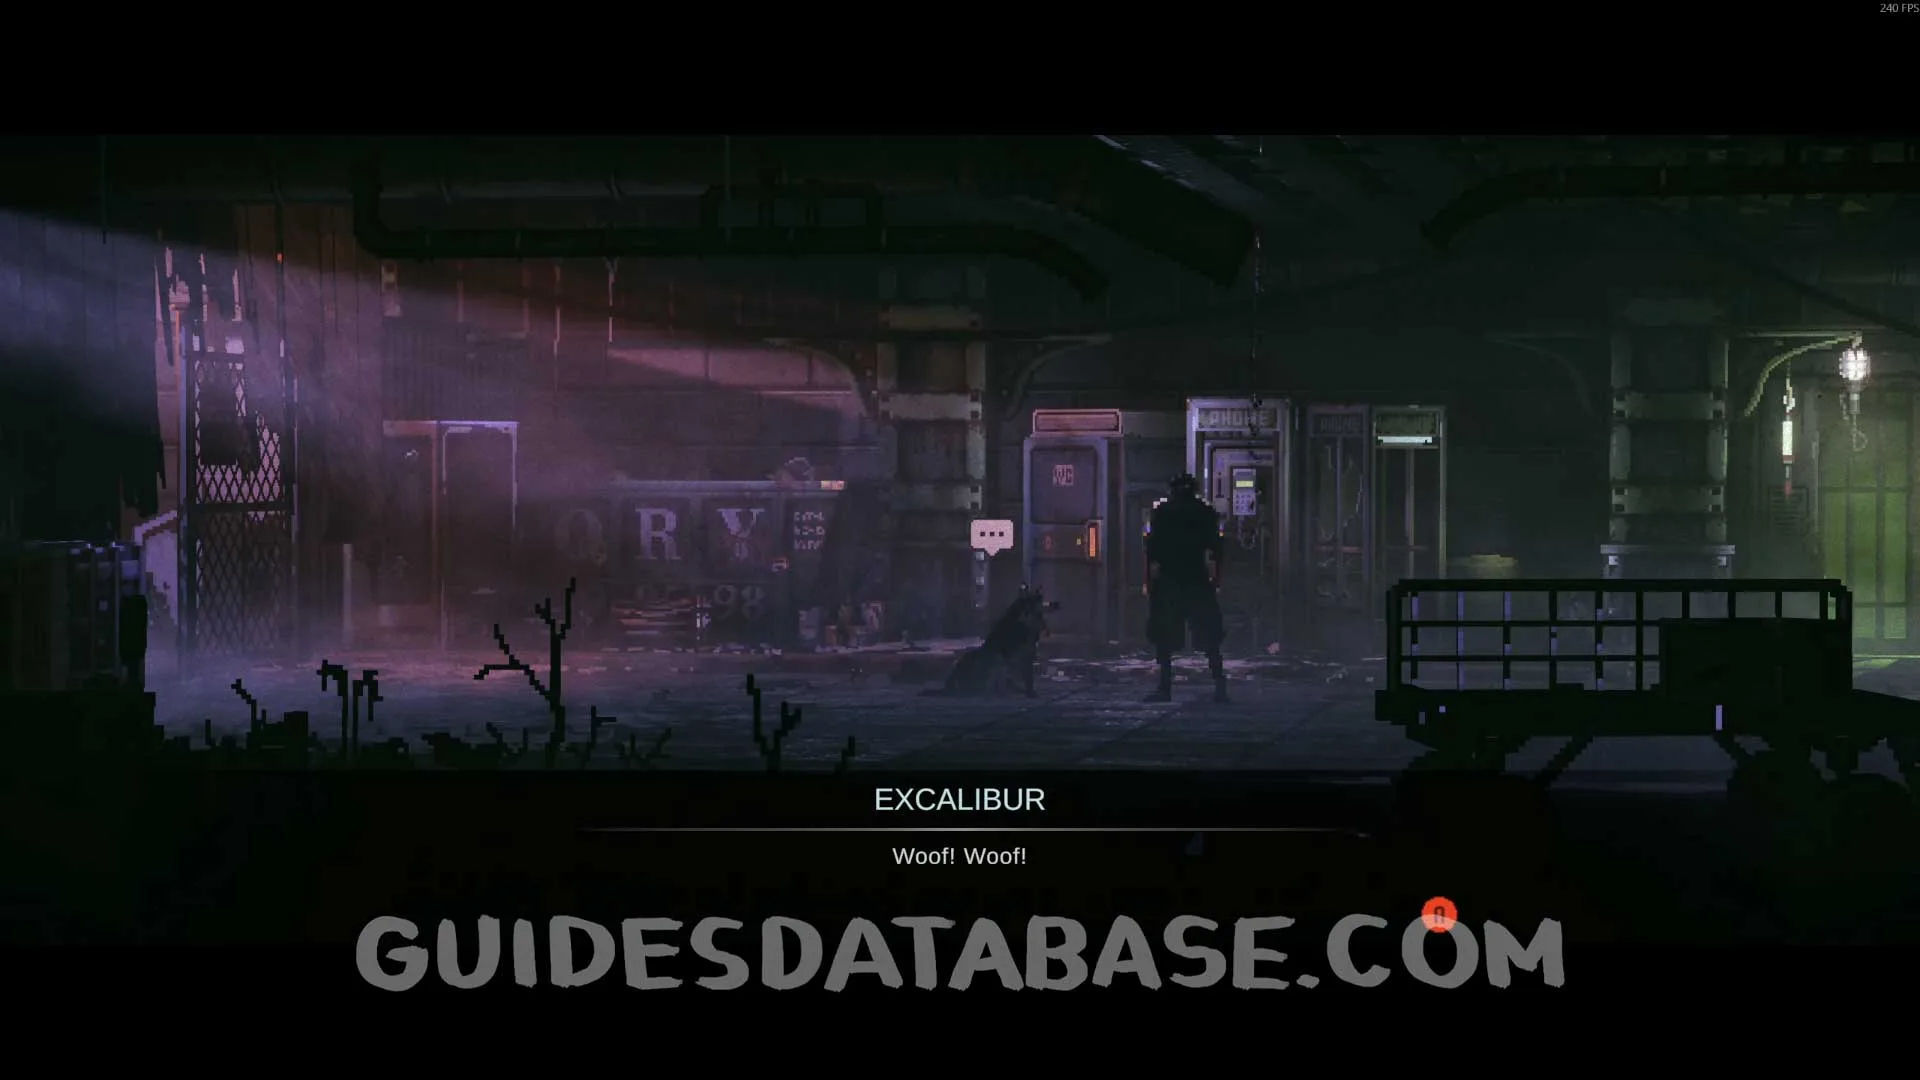 GUIDESDATABASE.COM
Enter the safe zone again and head to the bar. Talk to the bartender to obtain a hamburger.
 GUIDESDATABASE.COM
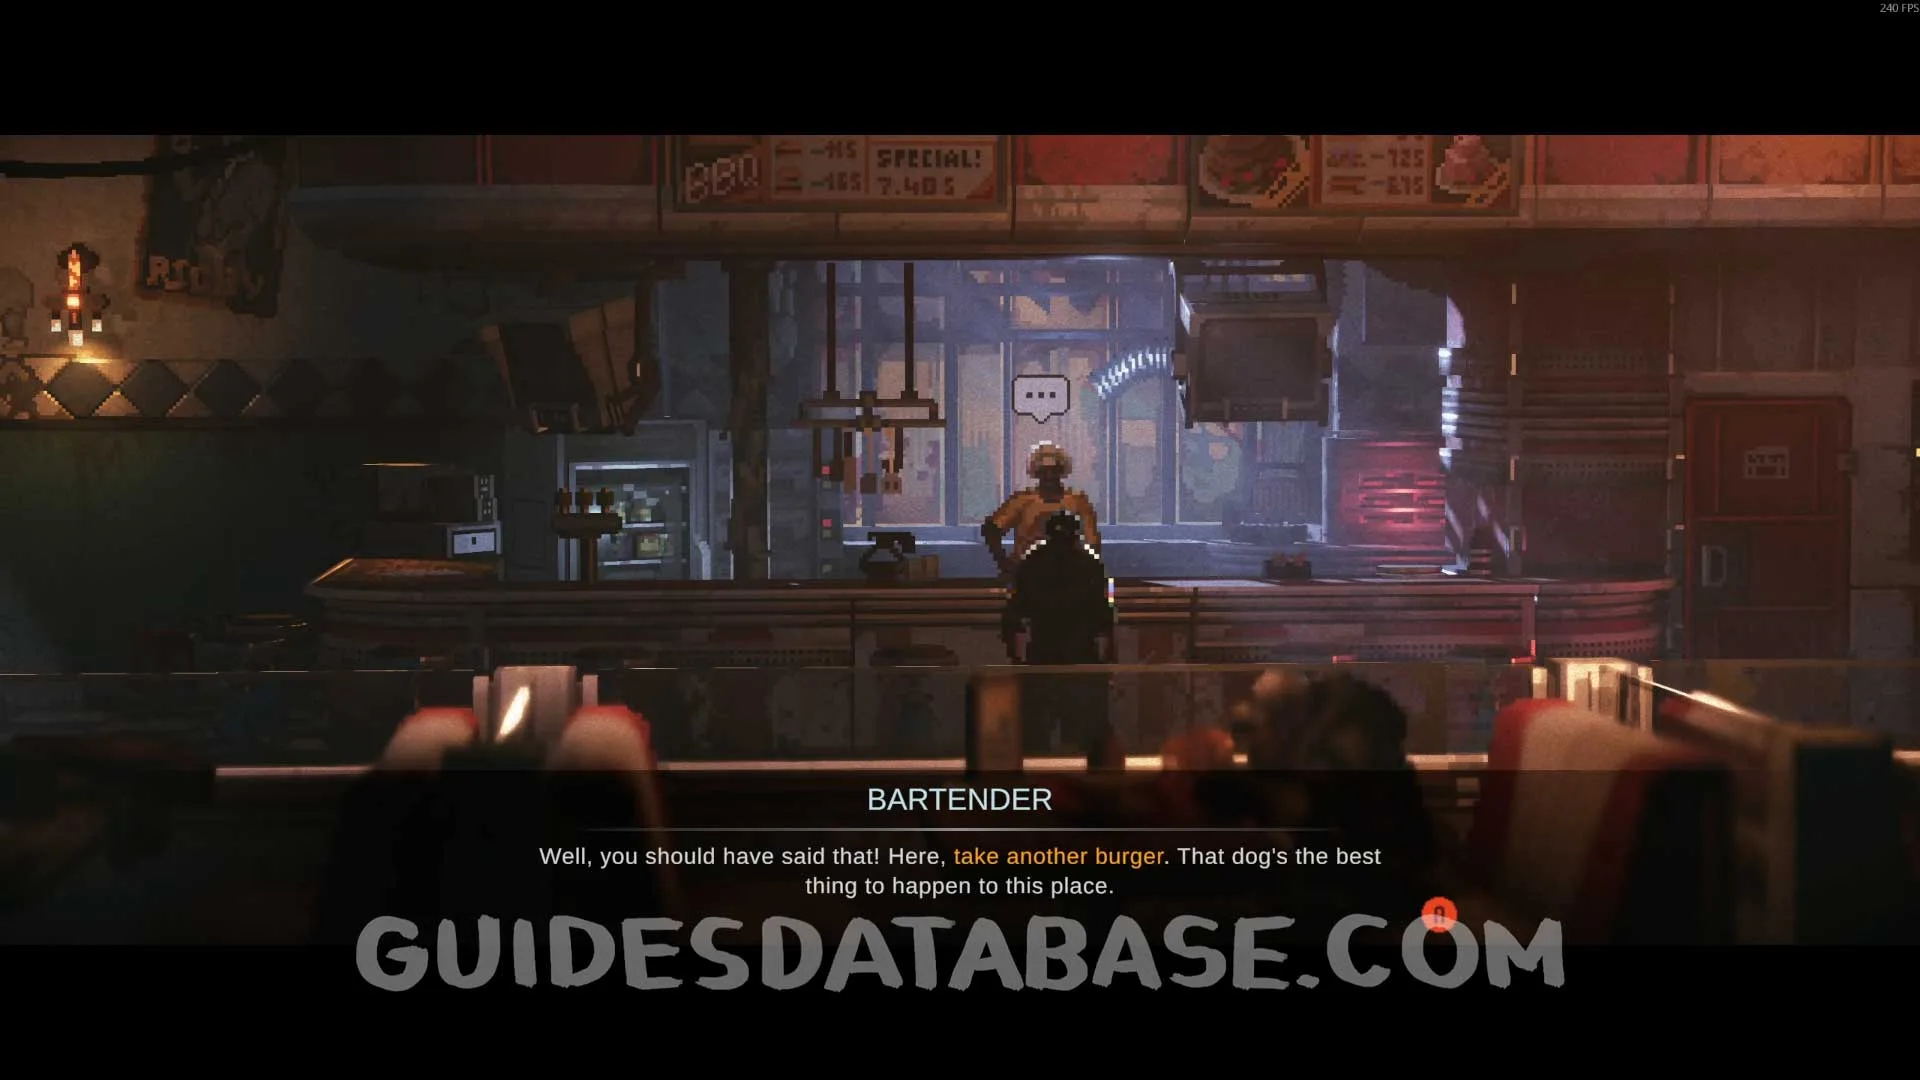 GUIDESDATABASE.COM
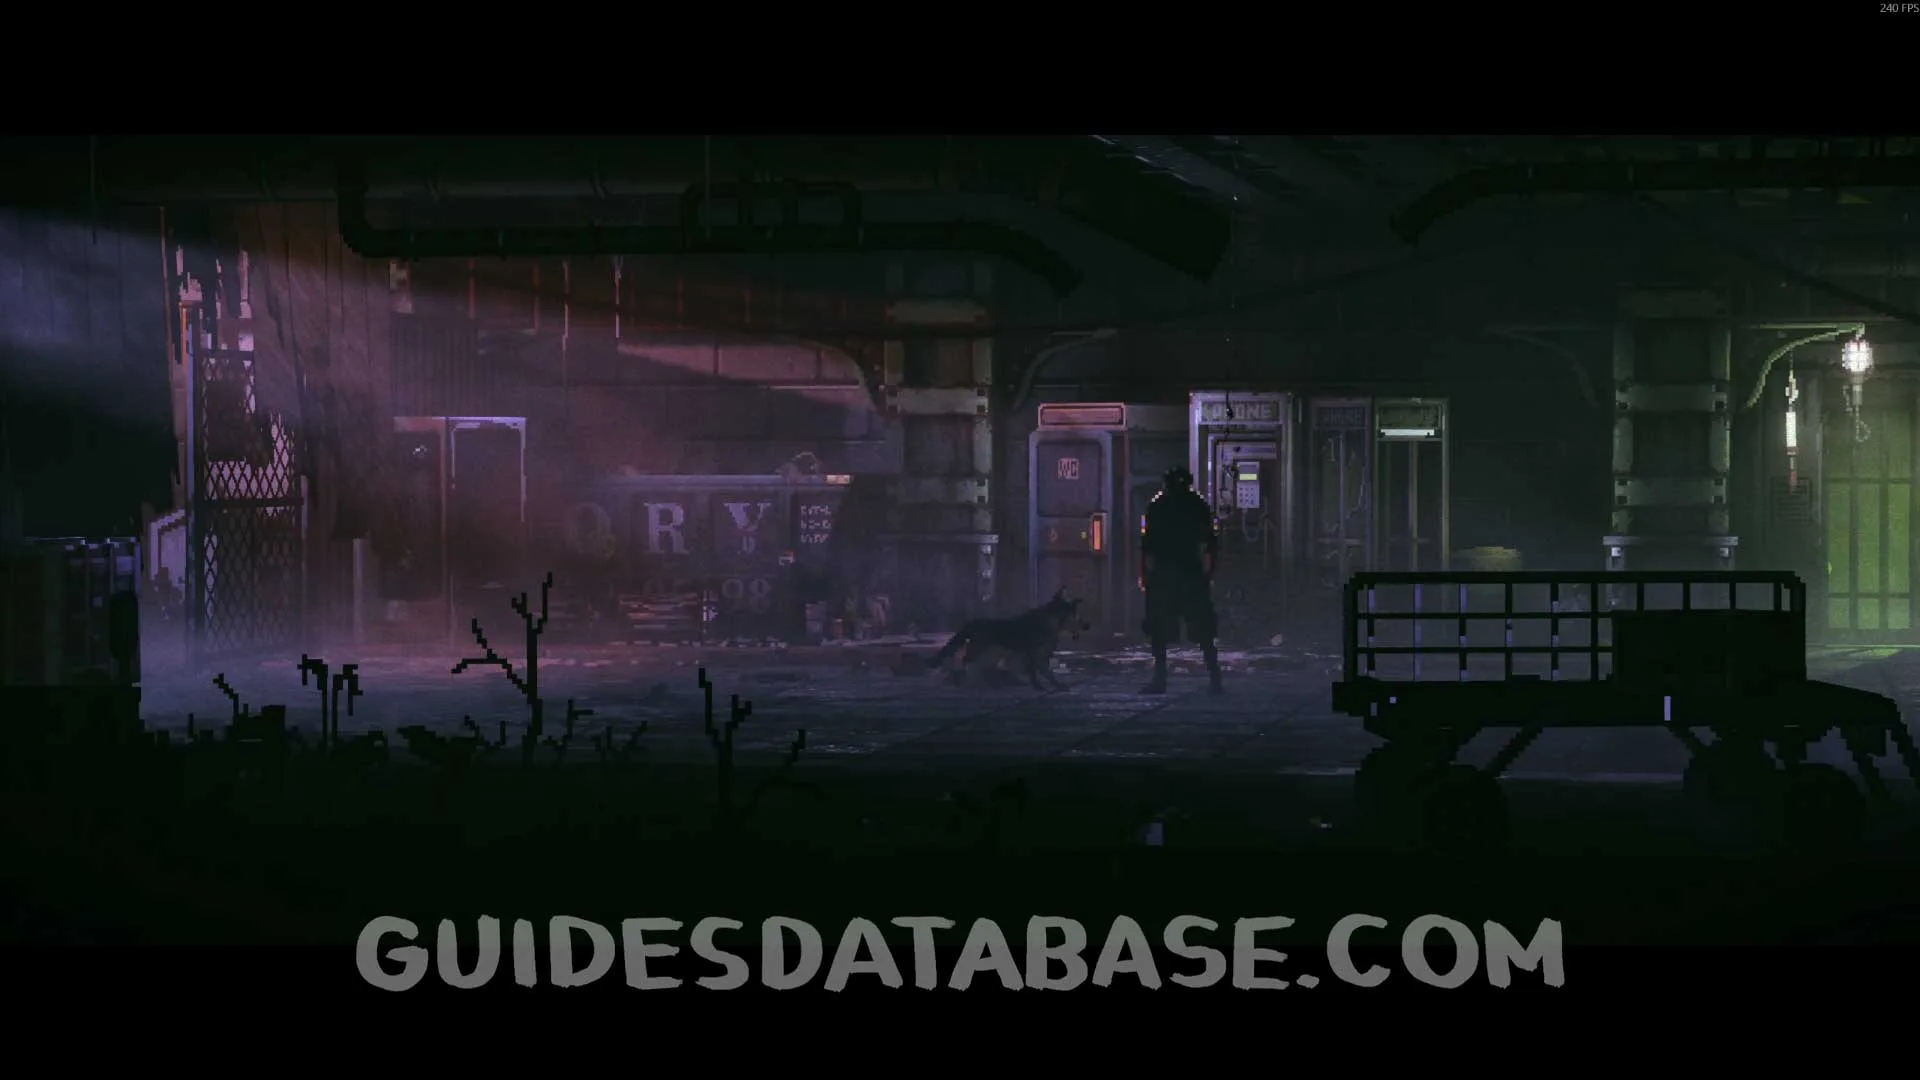
Return to Excalibur and talk to him. He will leave the area. Follow him and enter the next door on the right side that he goes through. Once inside, head to the left and talk to him again.
 GUIDESDATABASE.COM
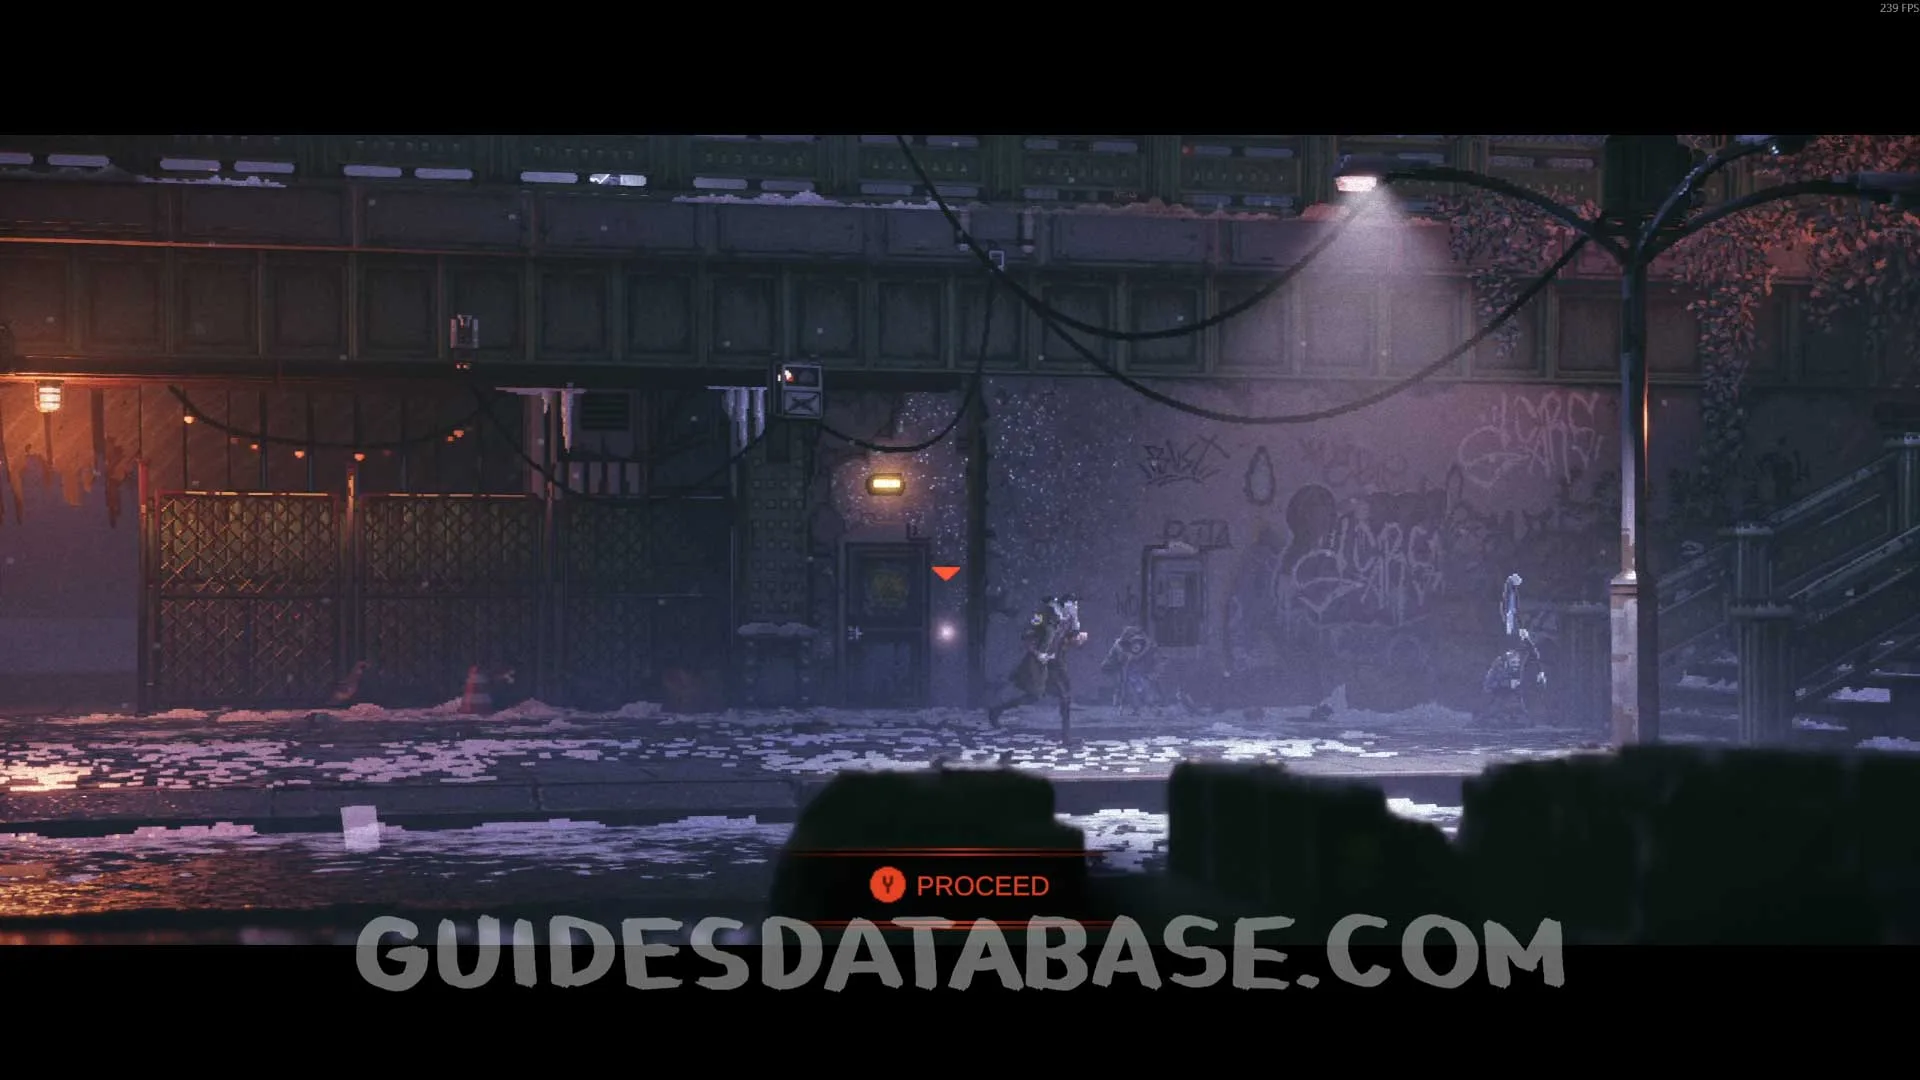 GUIDESDATABASE.COM
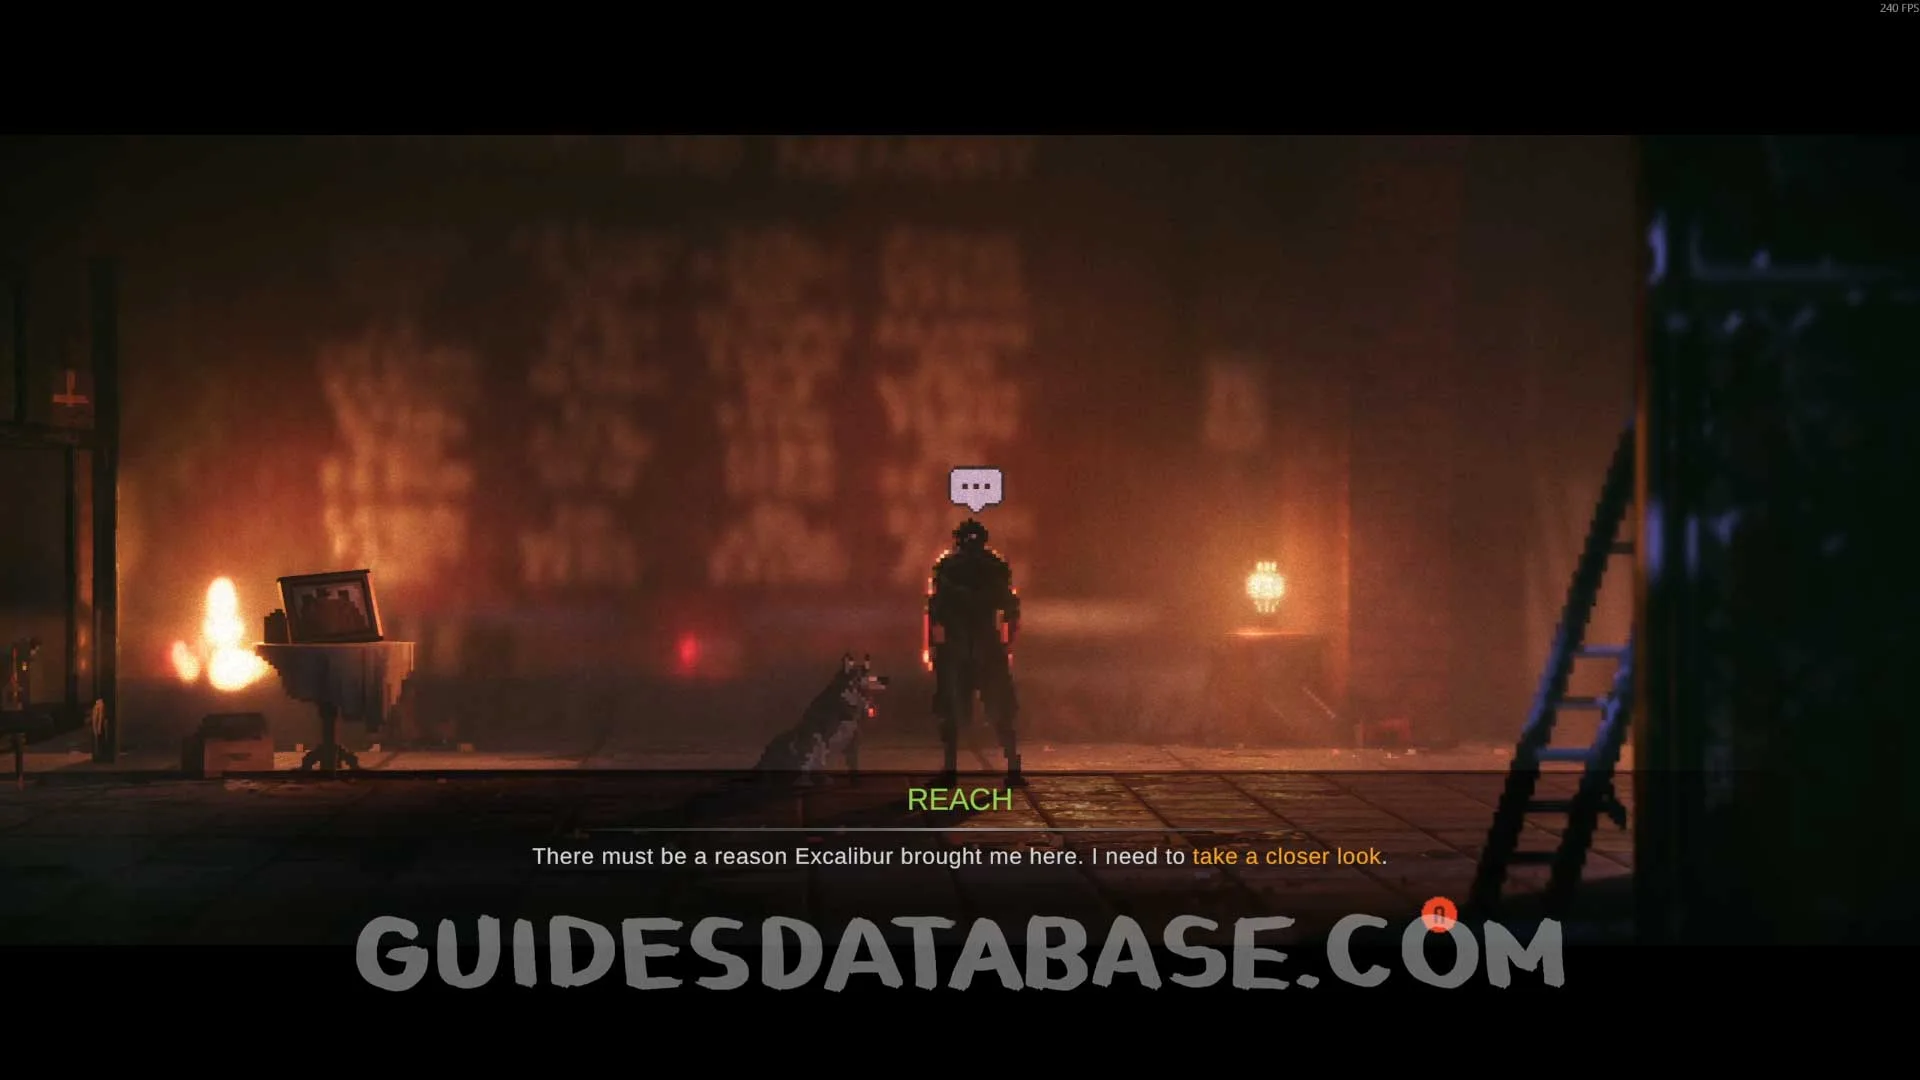 GUIDESDATABASE.COM
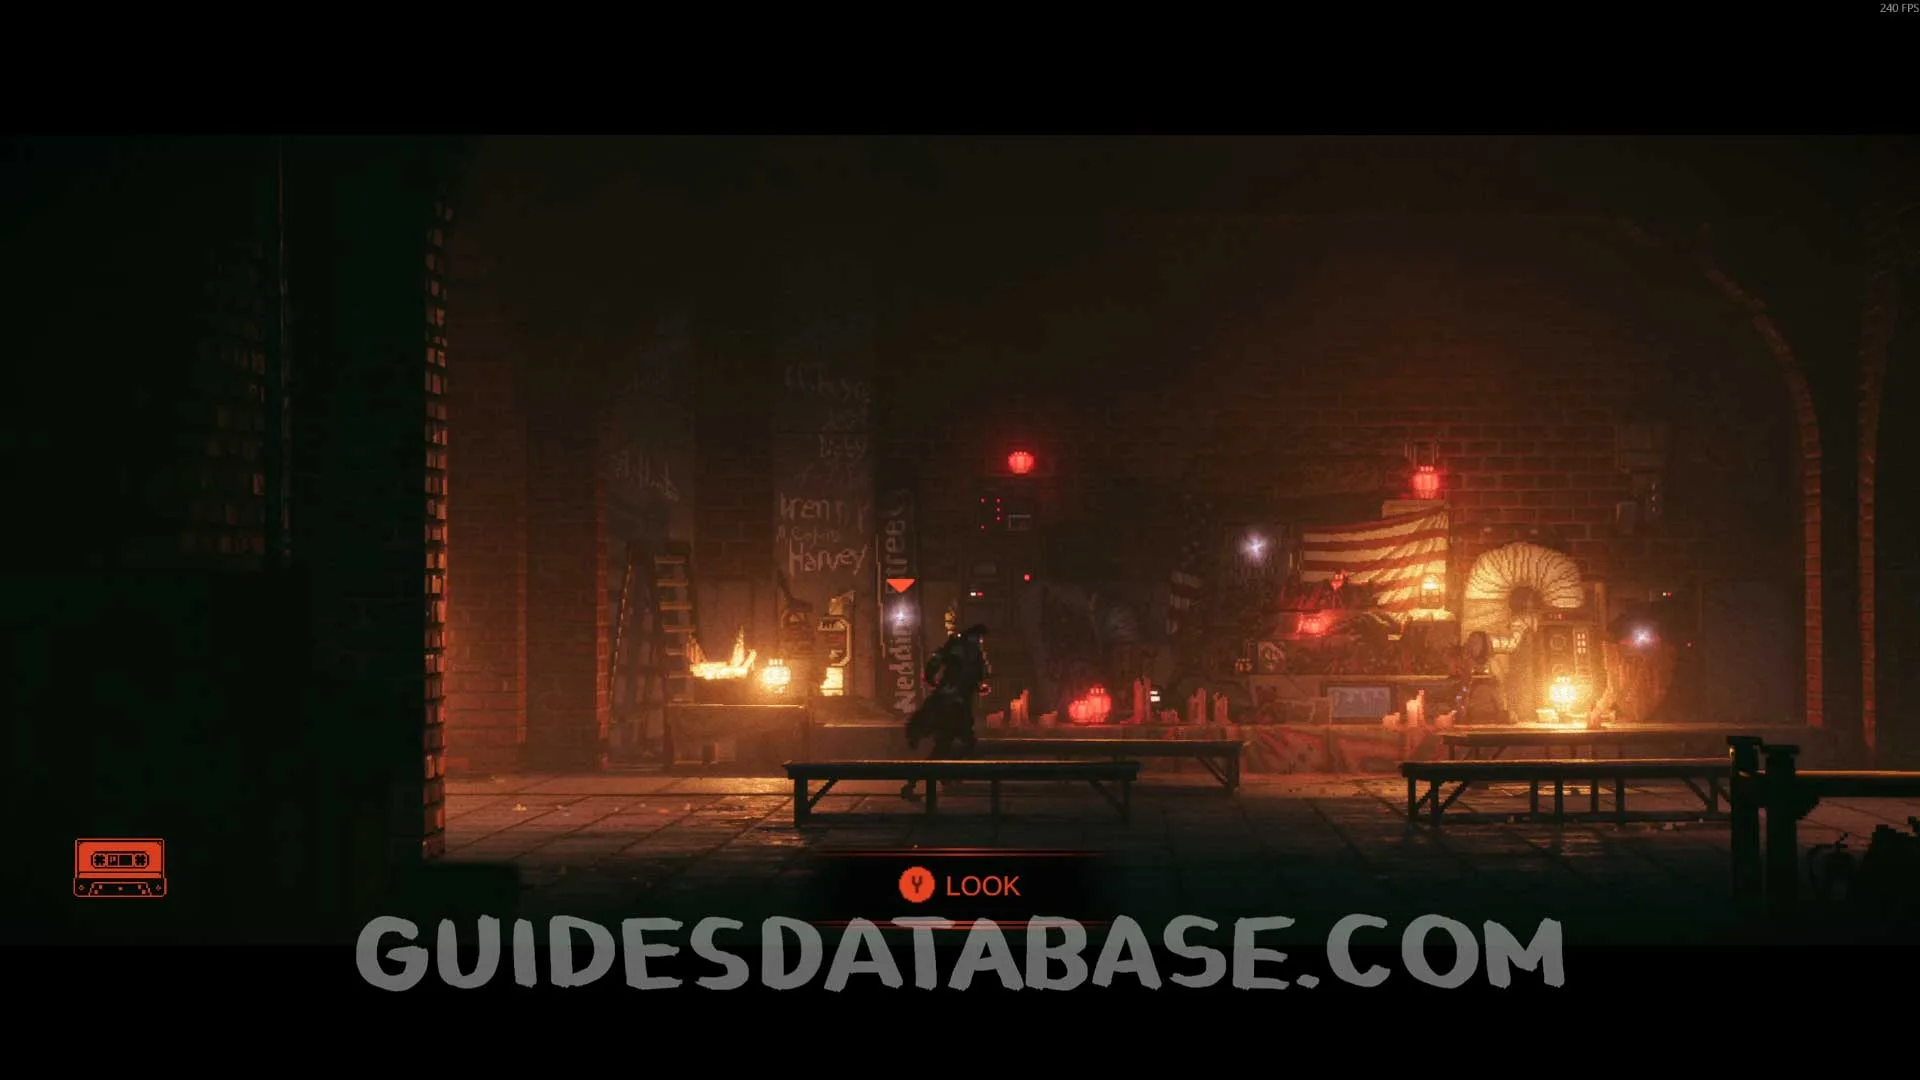
Interact with the 3 glowing points on the wall and then return and talk to Excalibur again. This will complete his quest and you will receive the Reduction Gear and the Good Boy! achievement.
 GUIDESDATABASE.COM
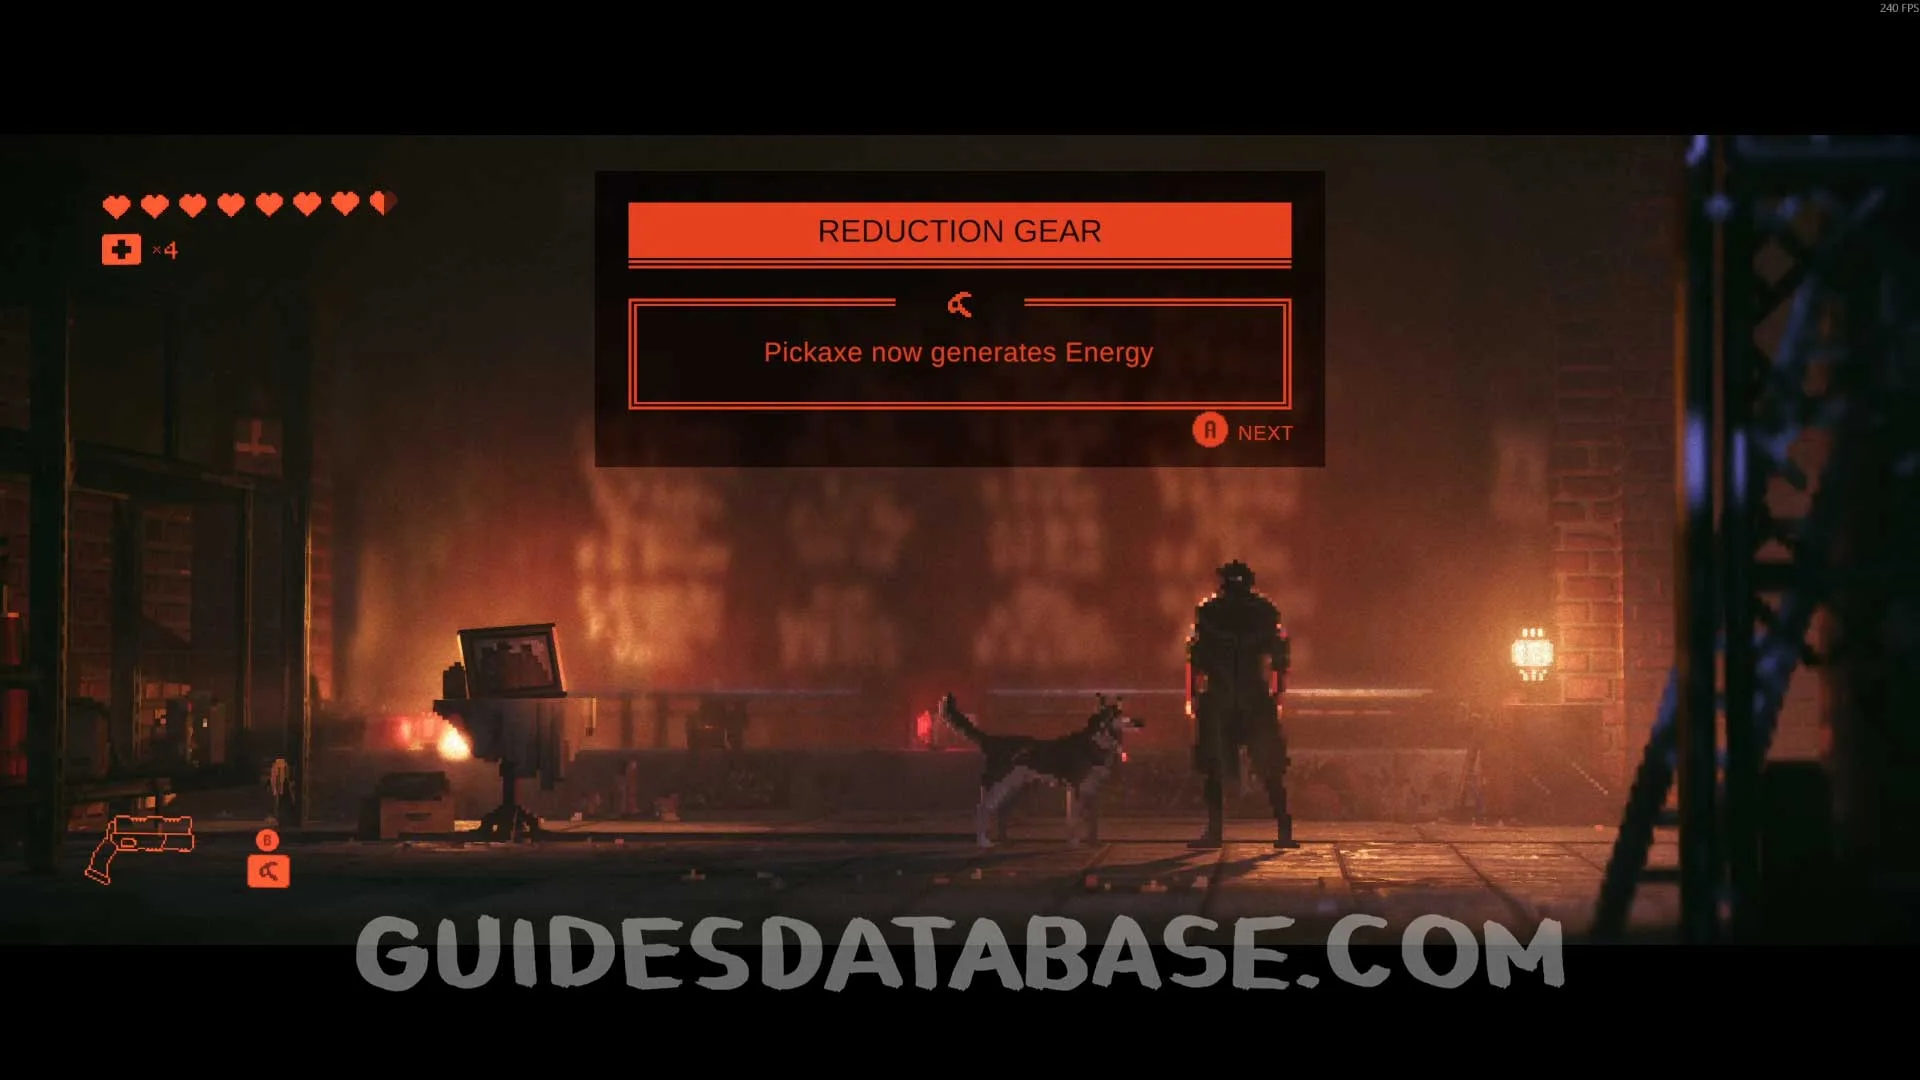 GUIDESDATABASE.COM
Music #6 Prayer of The Damned Ones
Same area as before, before going up the stairs climb the platform on the right and pick up this music.
 GUIDESDATABASE.COM
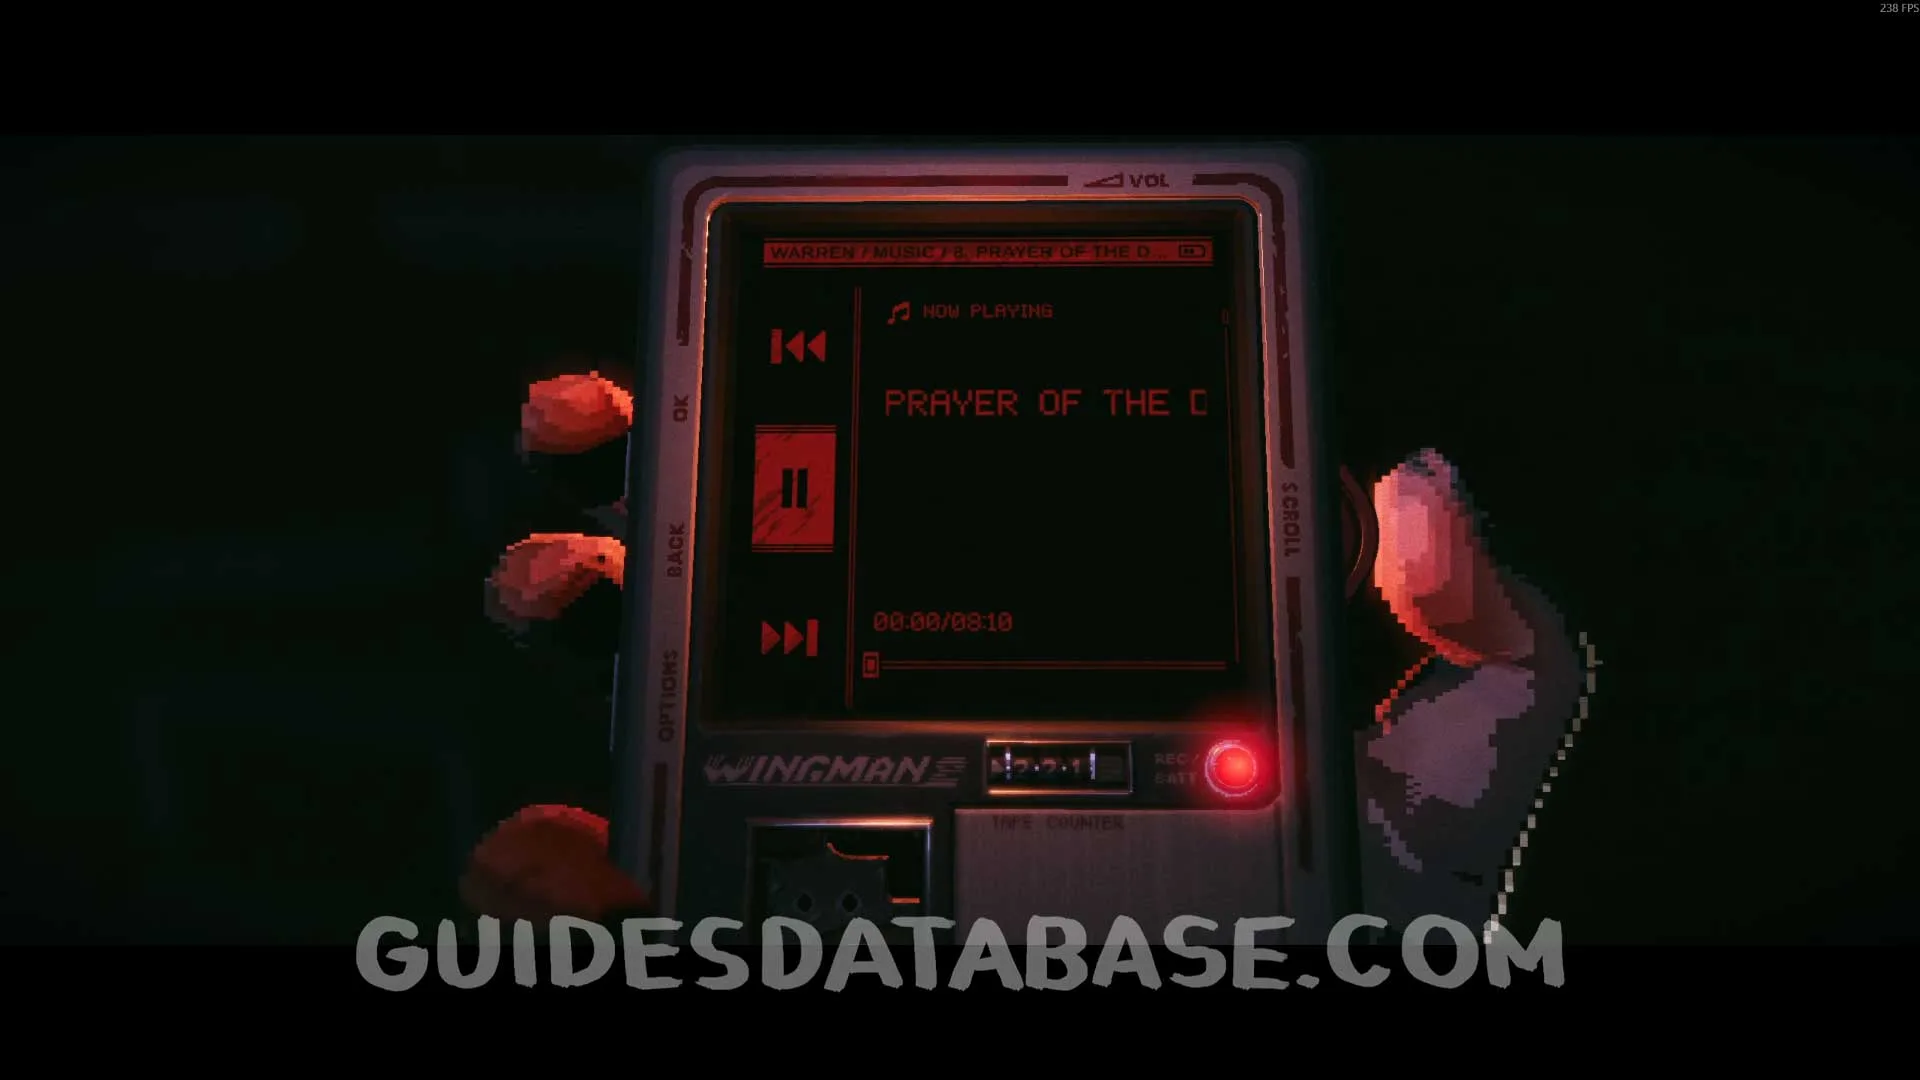 GUIDESDATABASE.COM
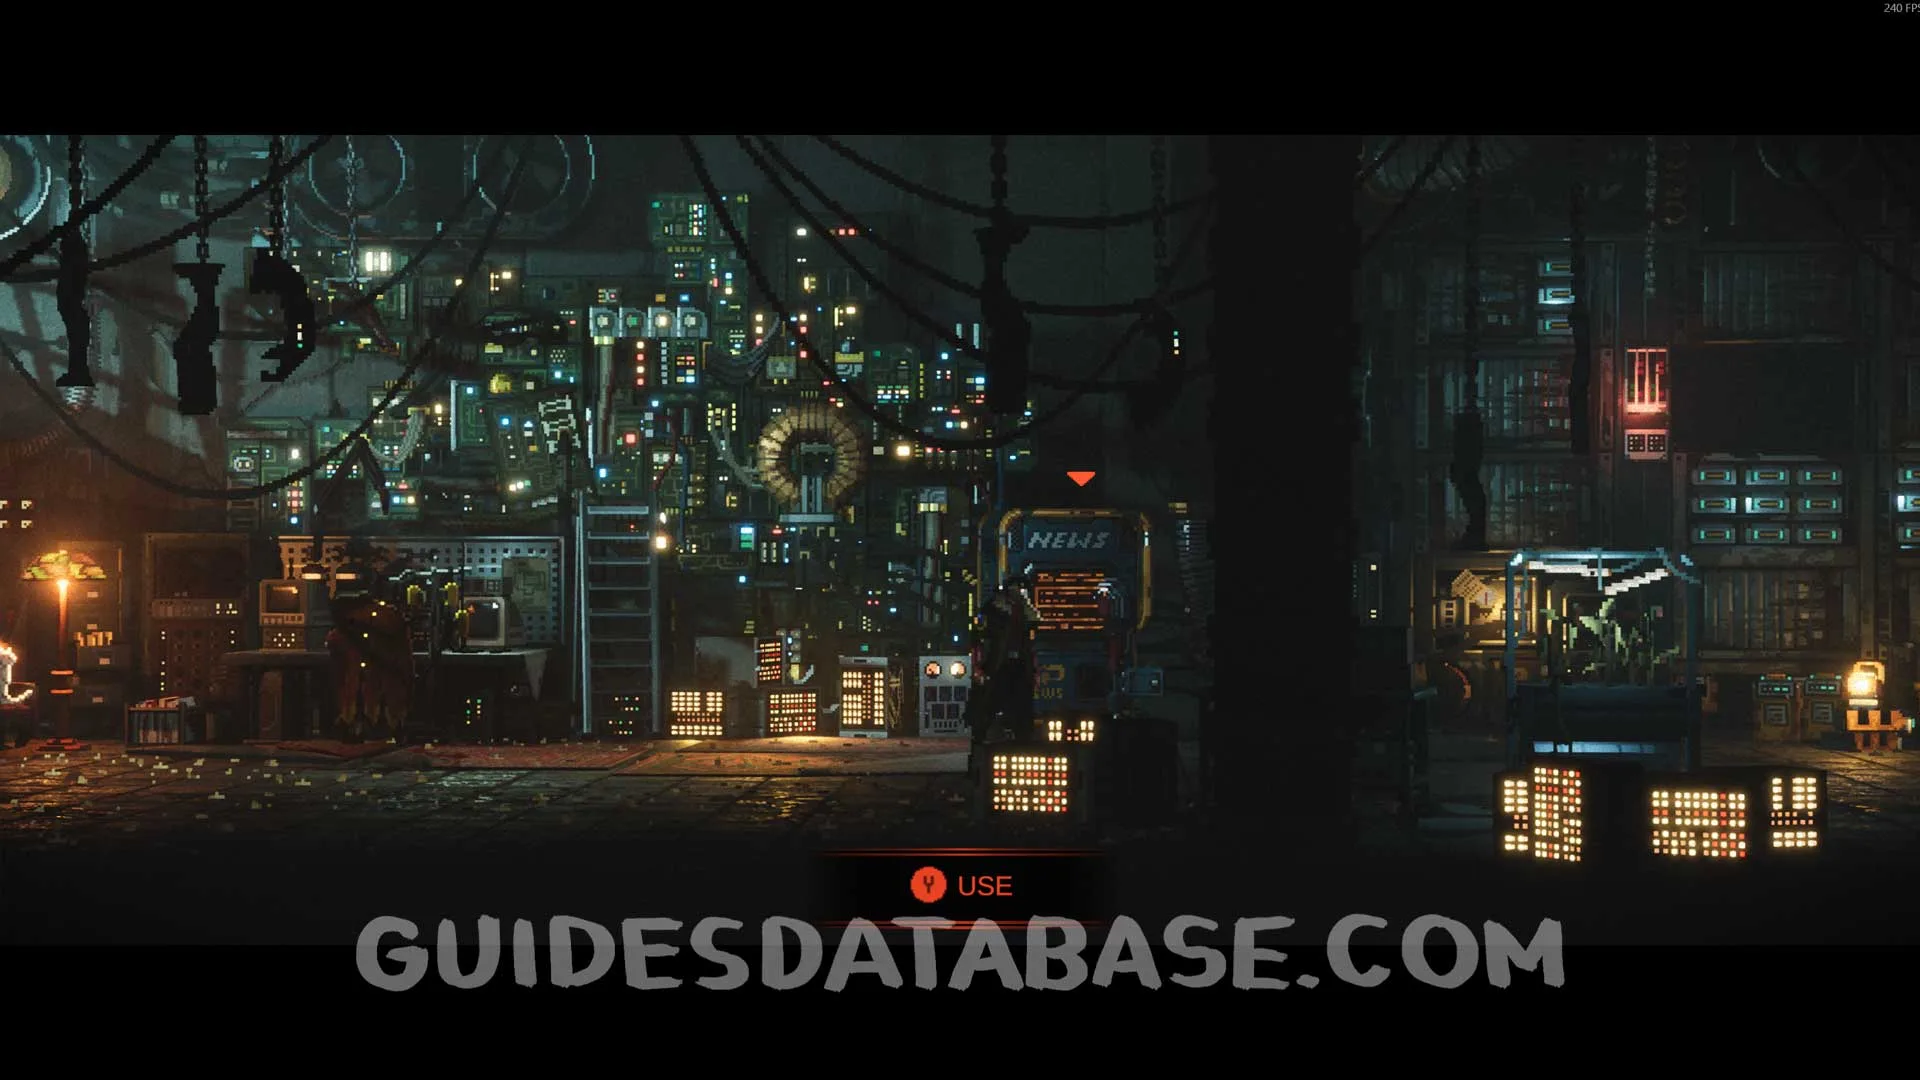
Scan #48 Solar Panels Are Safe
Go to YO-YO, talk to him, and interact with the terminal to get this scan.
 GUIDESDATABASE.COM
 GUIDESDATABASE.COM
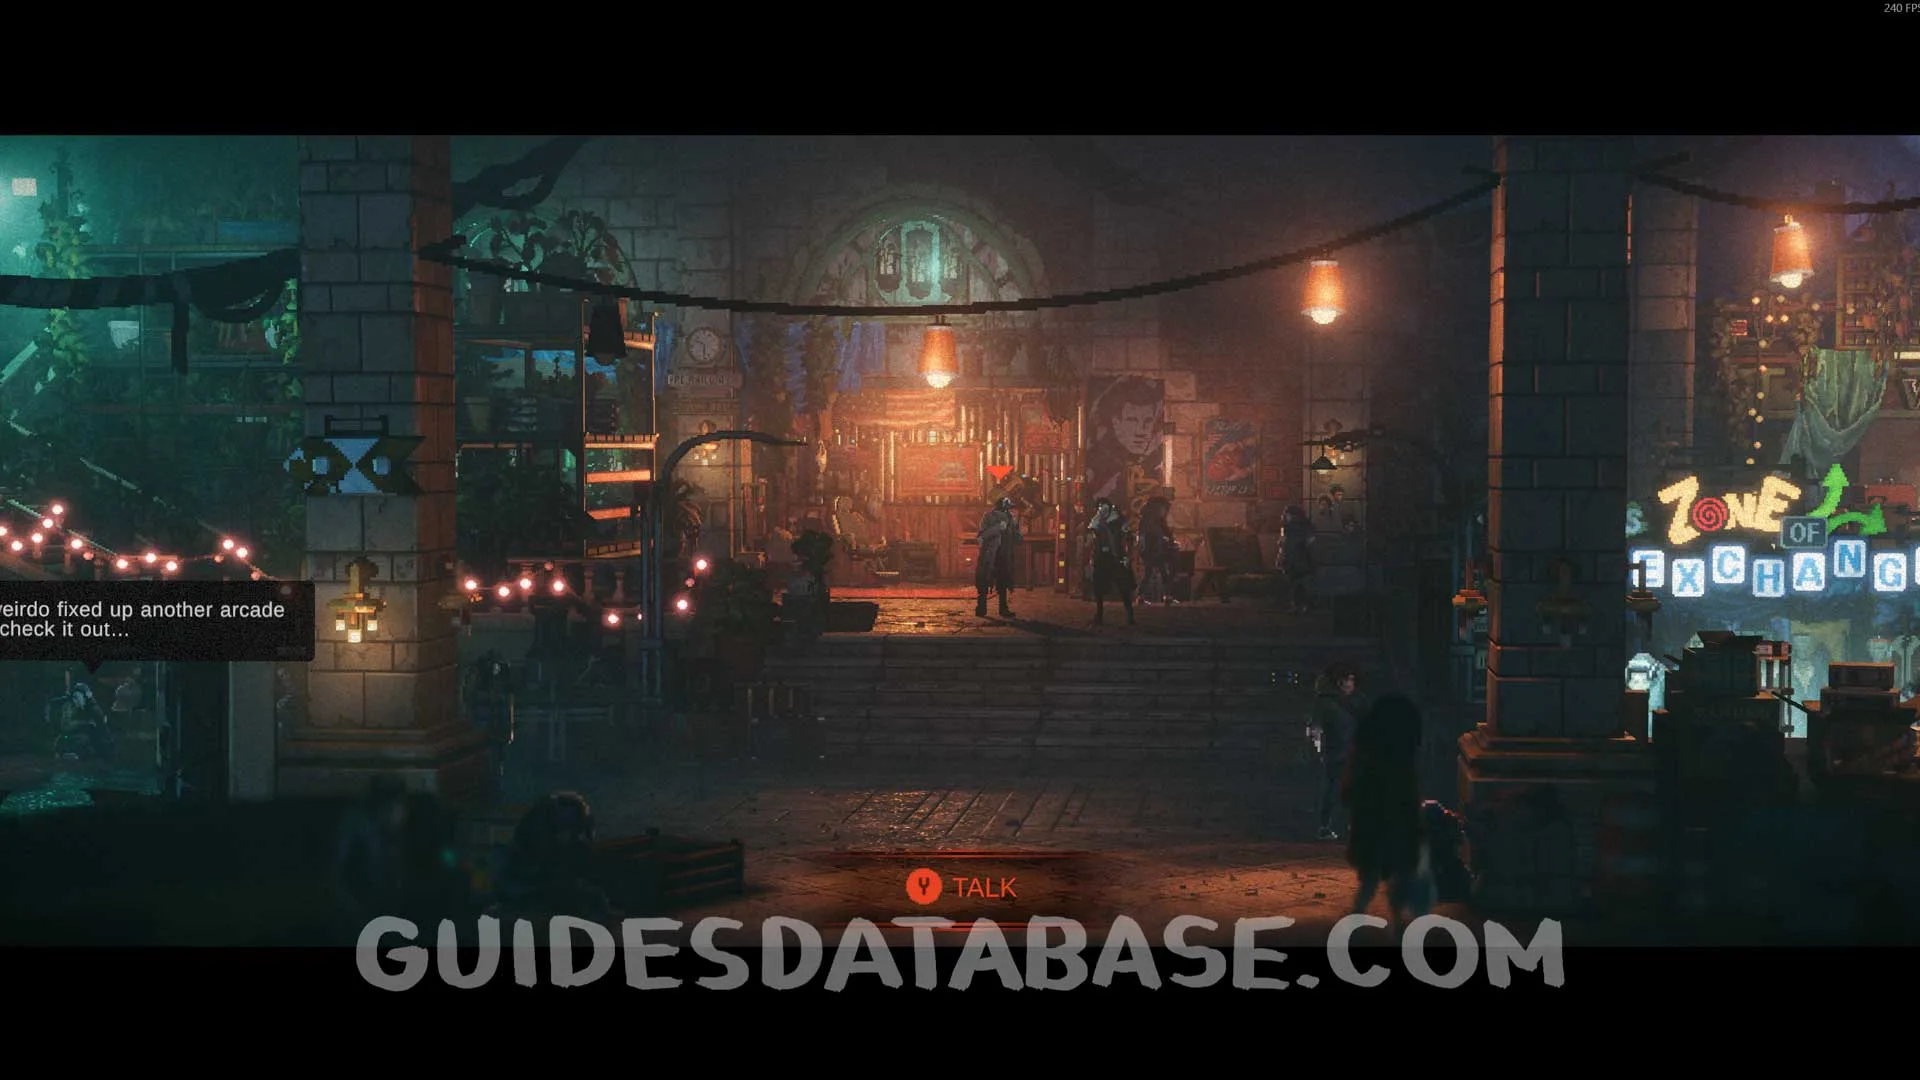
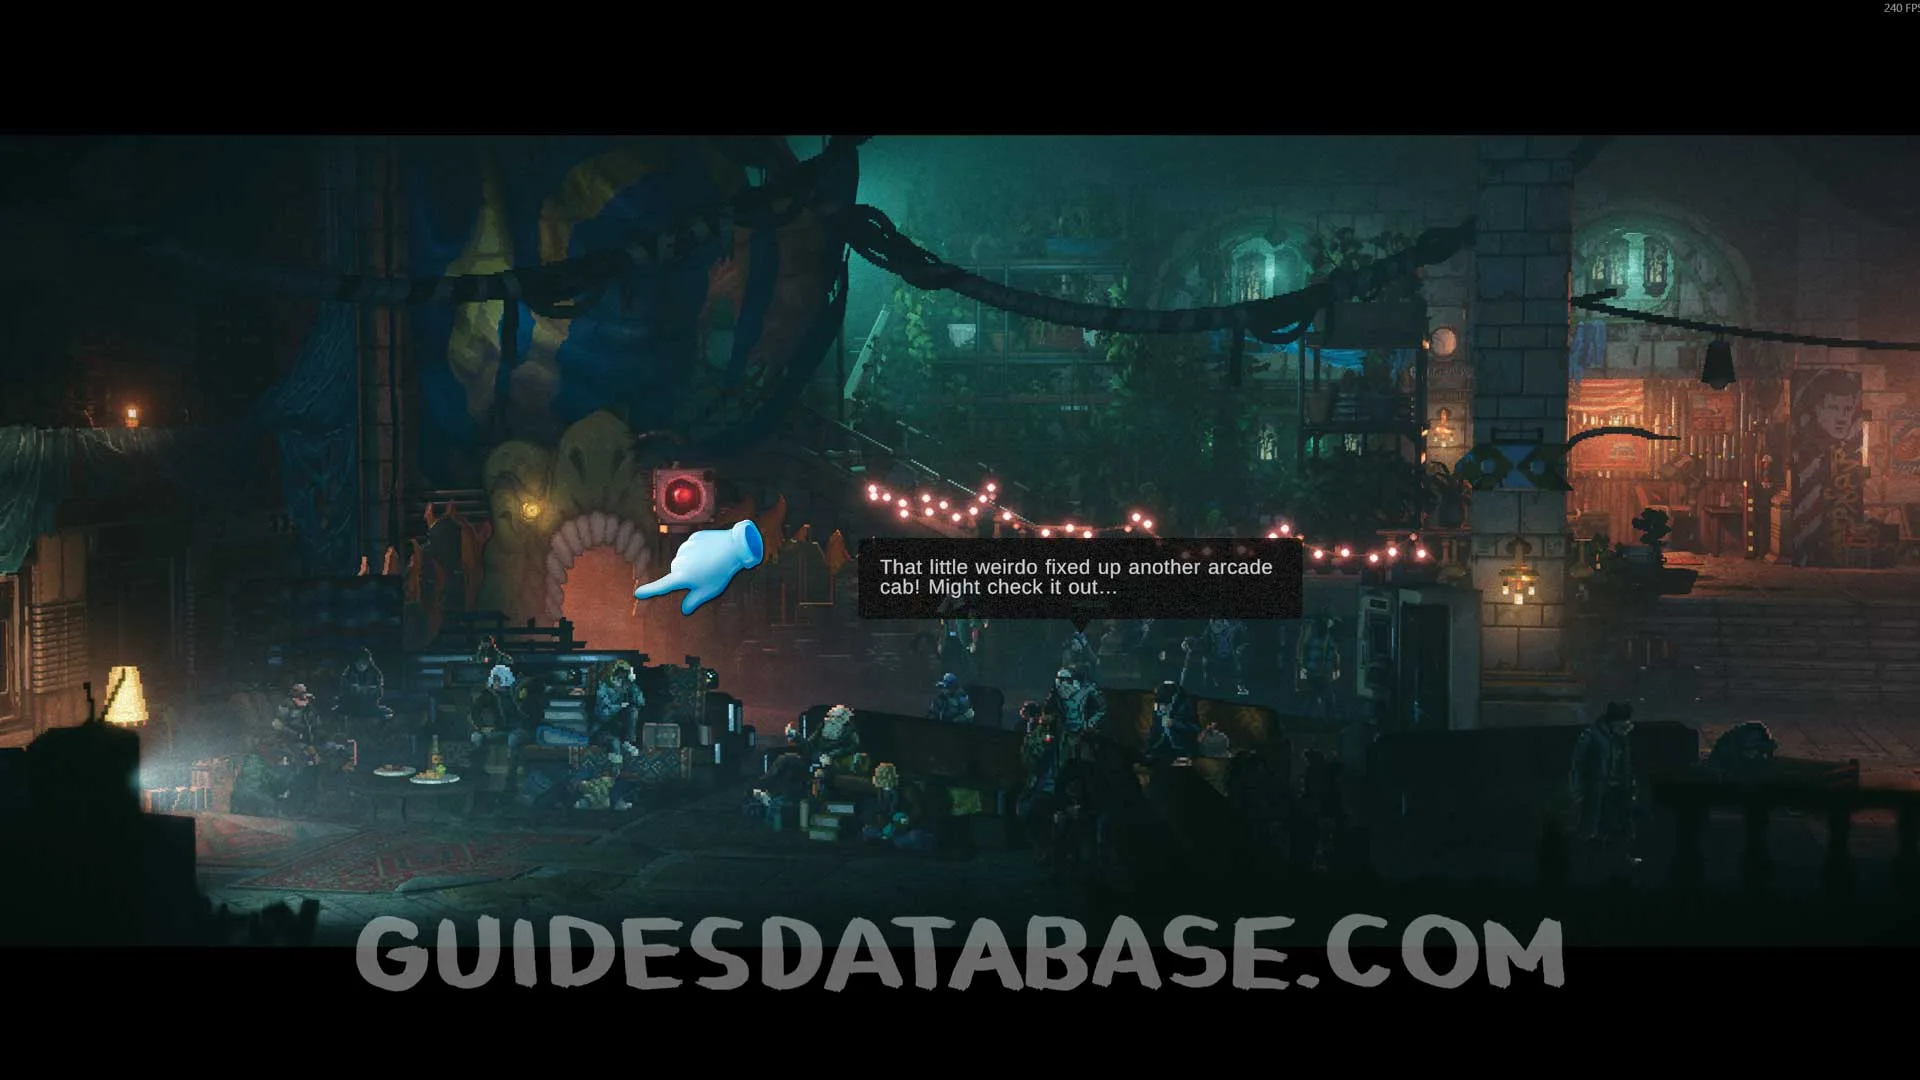
Arcade Game #2 + Kinetic Inductor #2
Go inside the safe zone and head left to reach Susan. There will be a new mini game. Play it and beat the high score. Then talk to Susan to get your reward.
 GUIDESDATABASE.COM
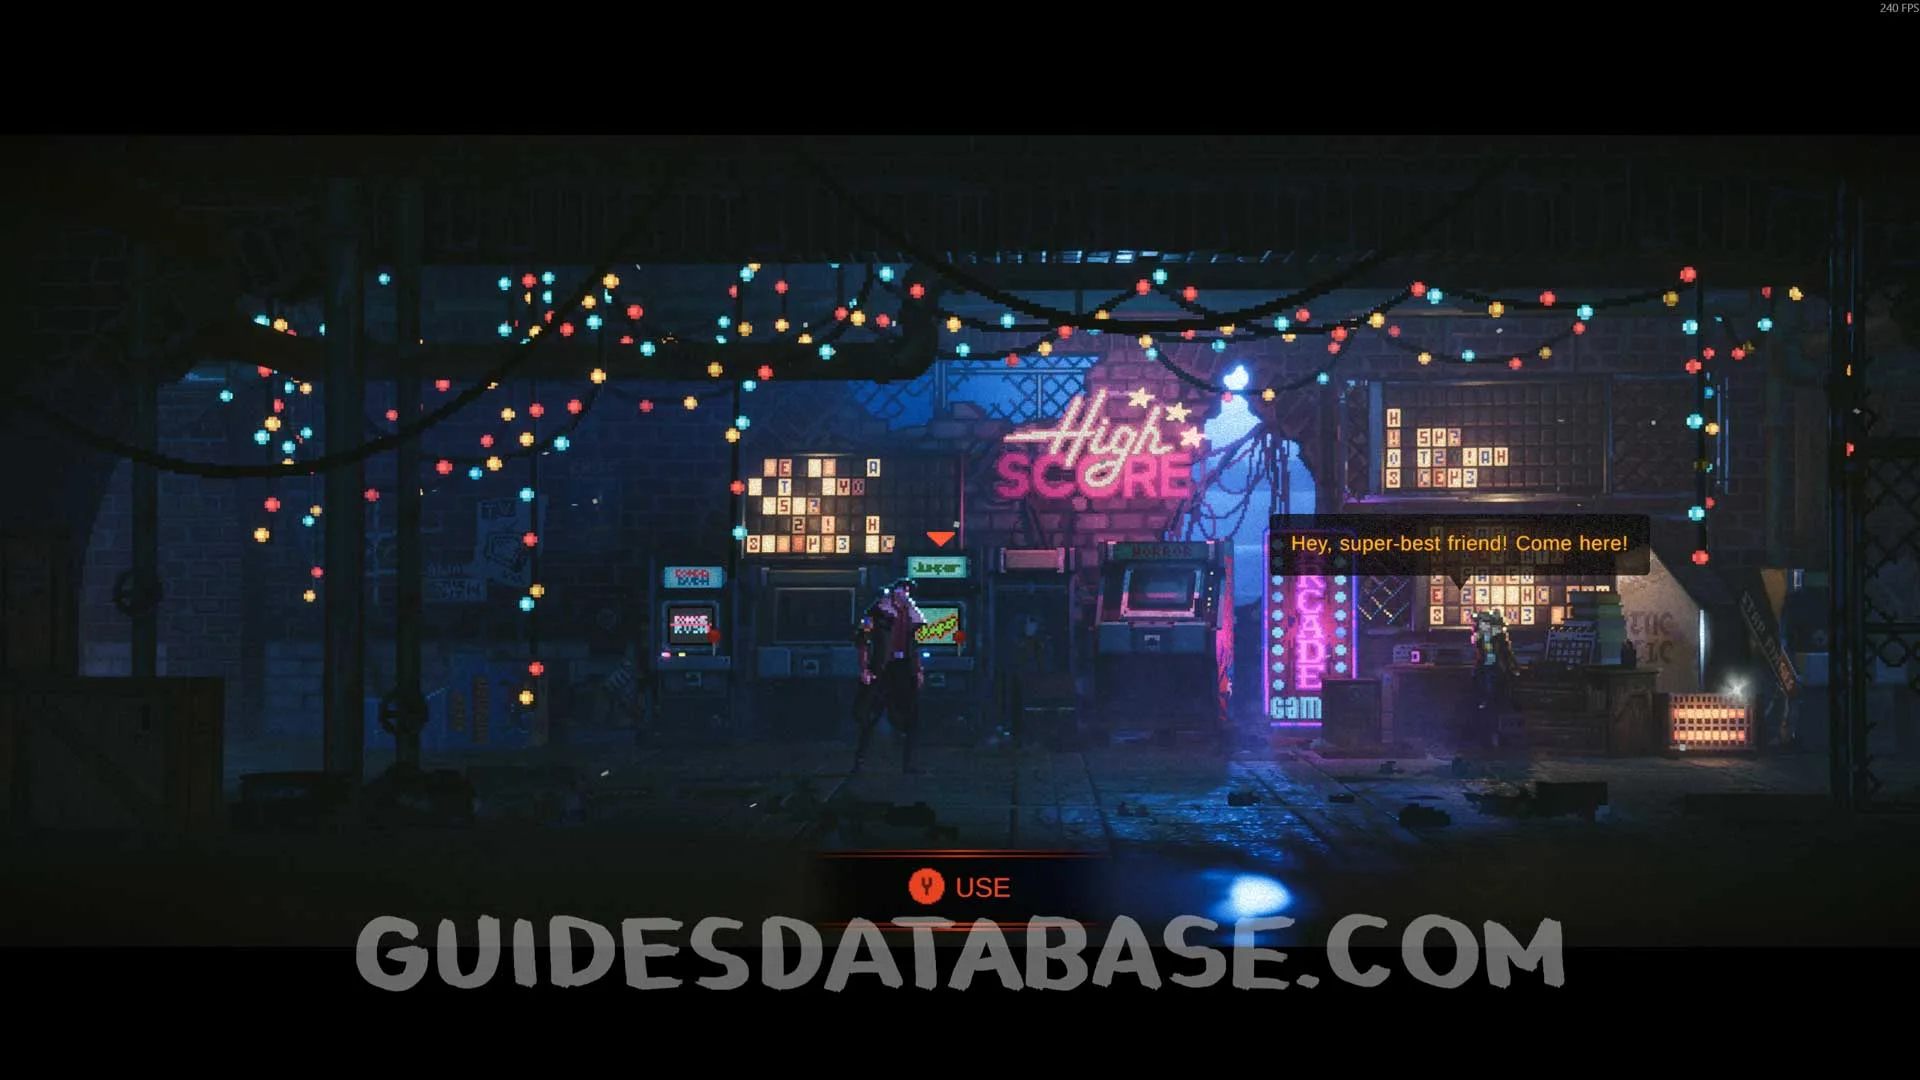 GUIDESDATABASE.COM
 GUIDESDATABASE.COM
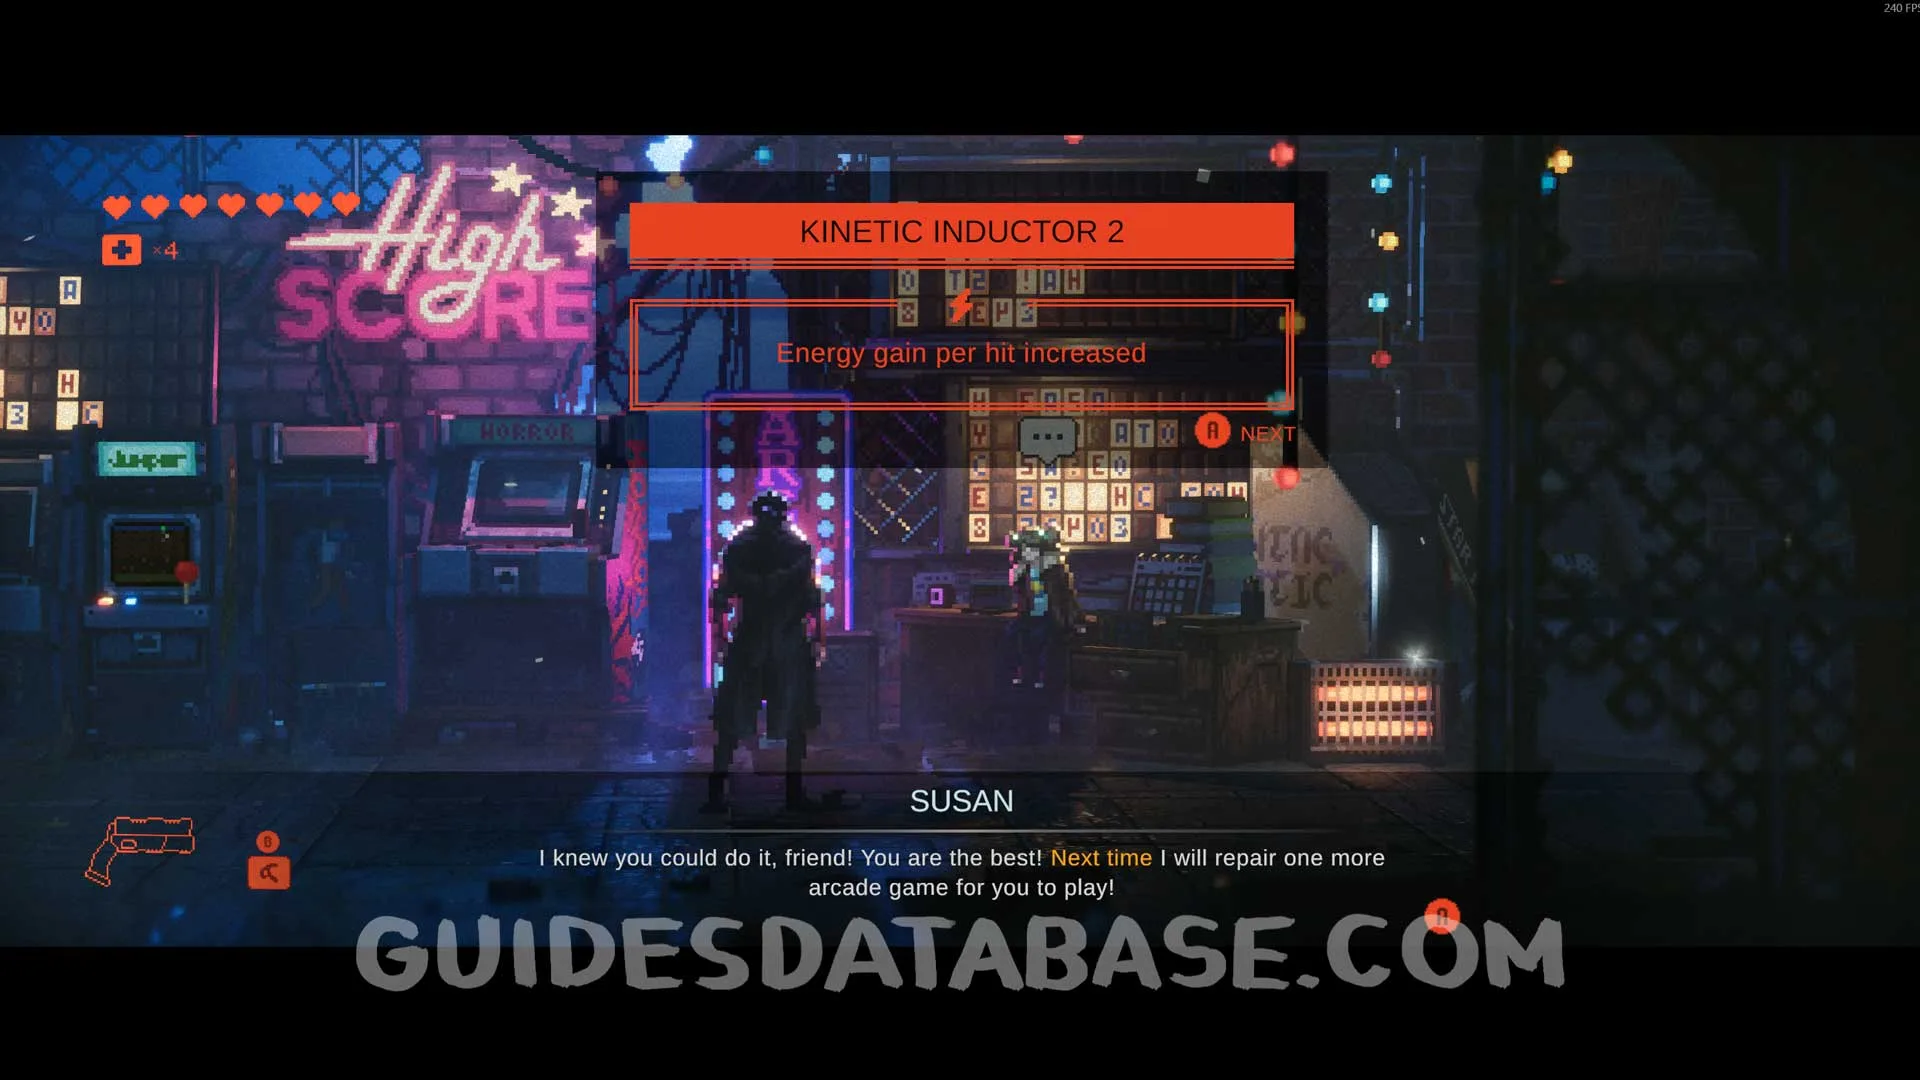 GUIDESDATABASE.COM
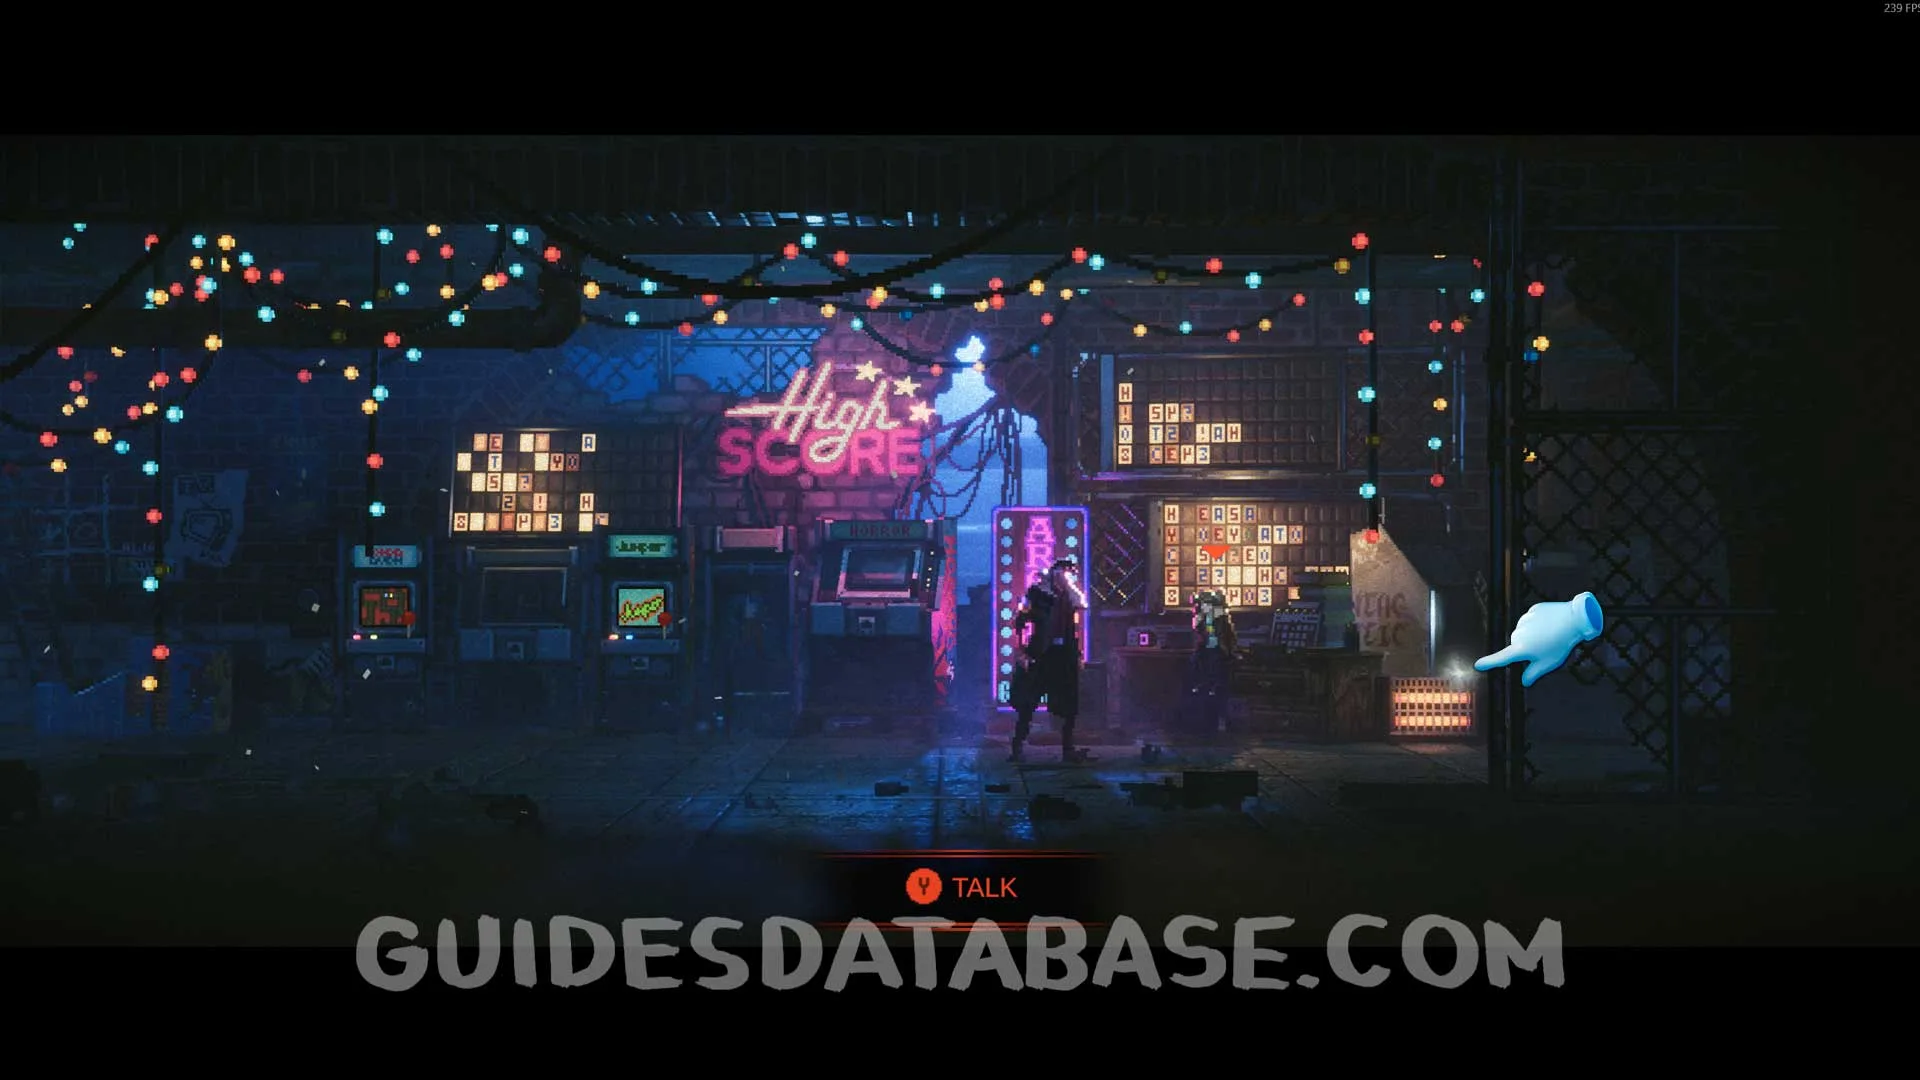
Scan #49 Mommy's Letter
Next to Susan, you will find this scan.
 GUIDESDATABASE.COM
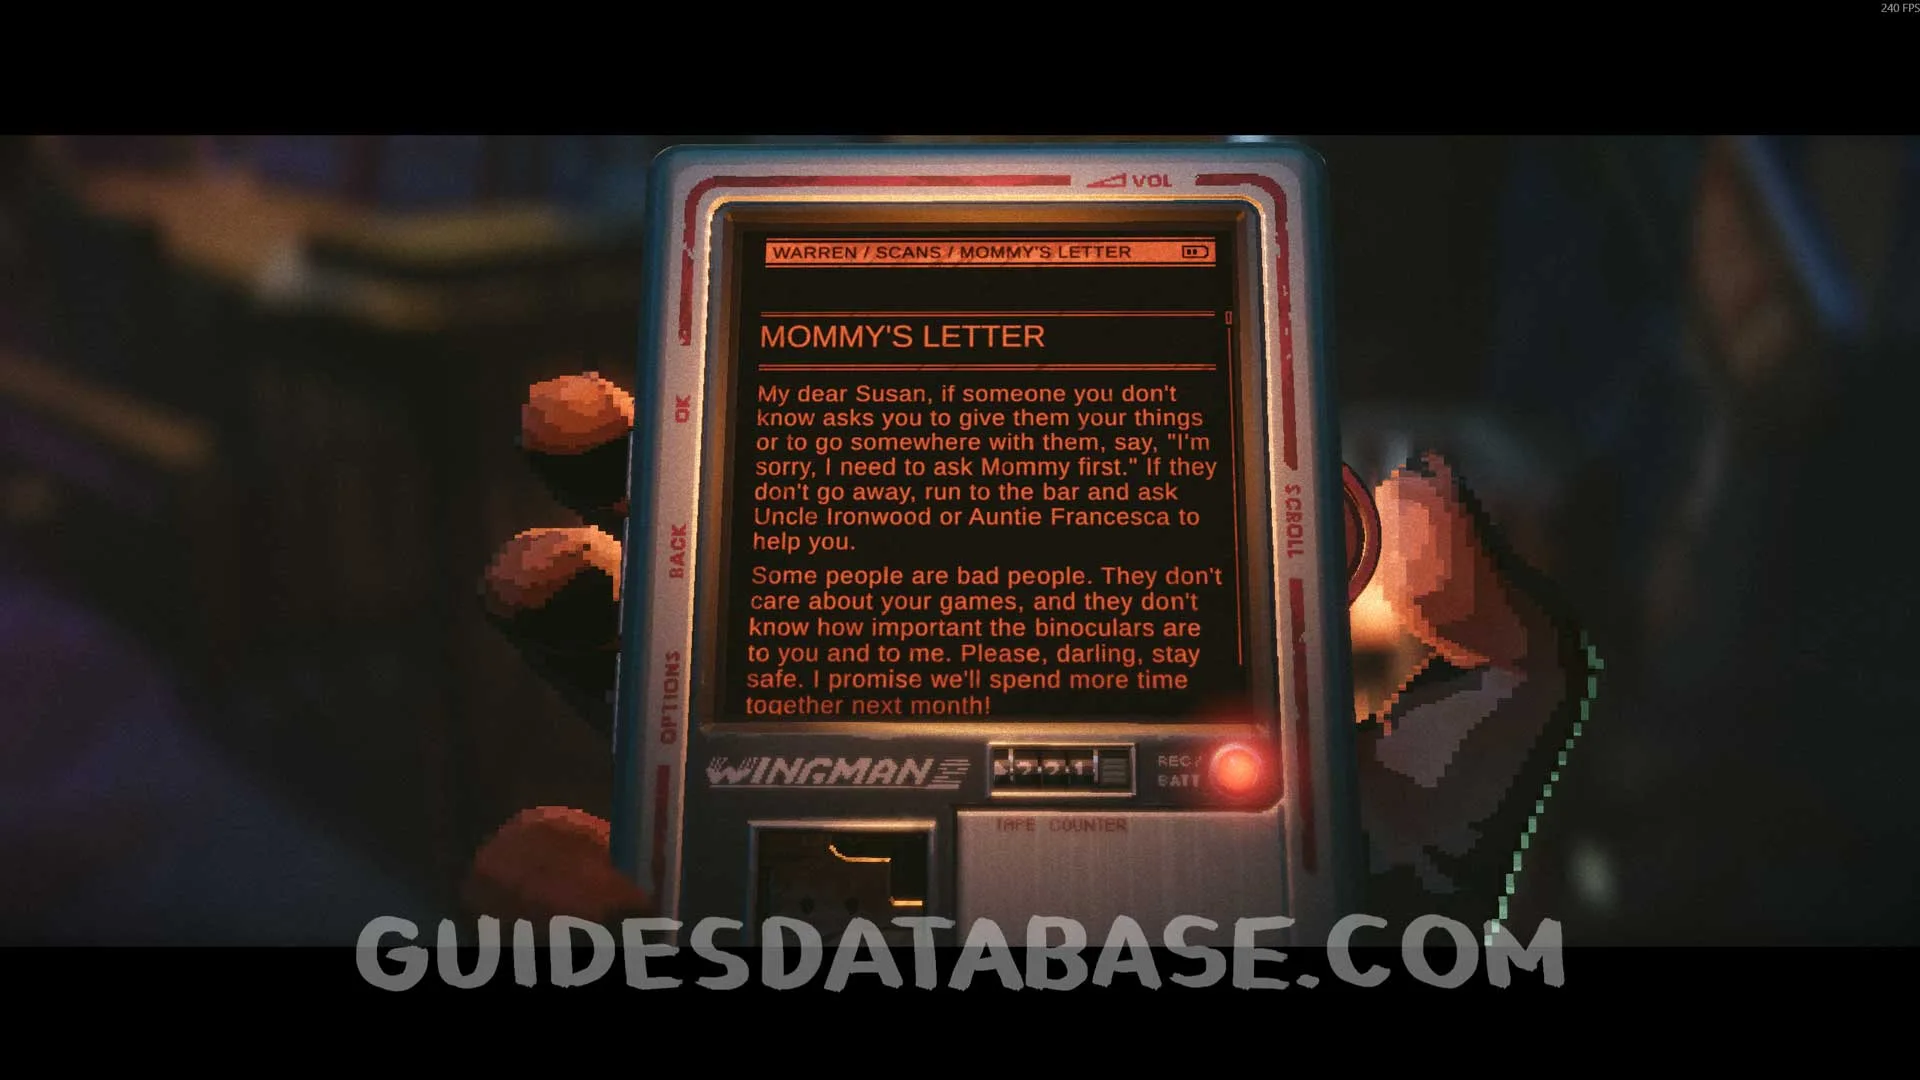 GUIDESDATABASE.COM
Cat #2
In the same room where you talked to YO-YO.
 GUIDESDATABASE.COM
Scan #50 Ironwood's Note
Same location where you completed David's side quest in Chapter 2.
 GUIDESDATABASE.COM
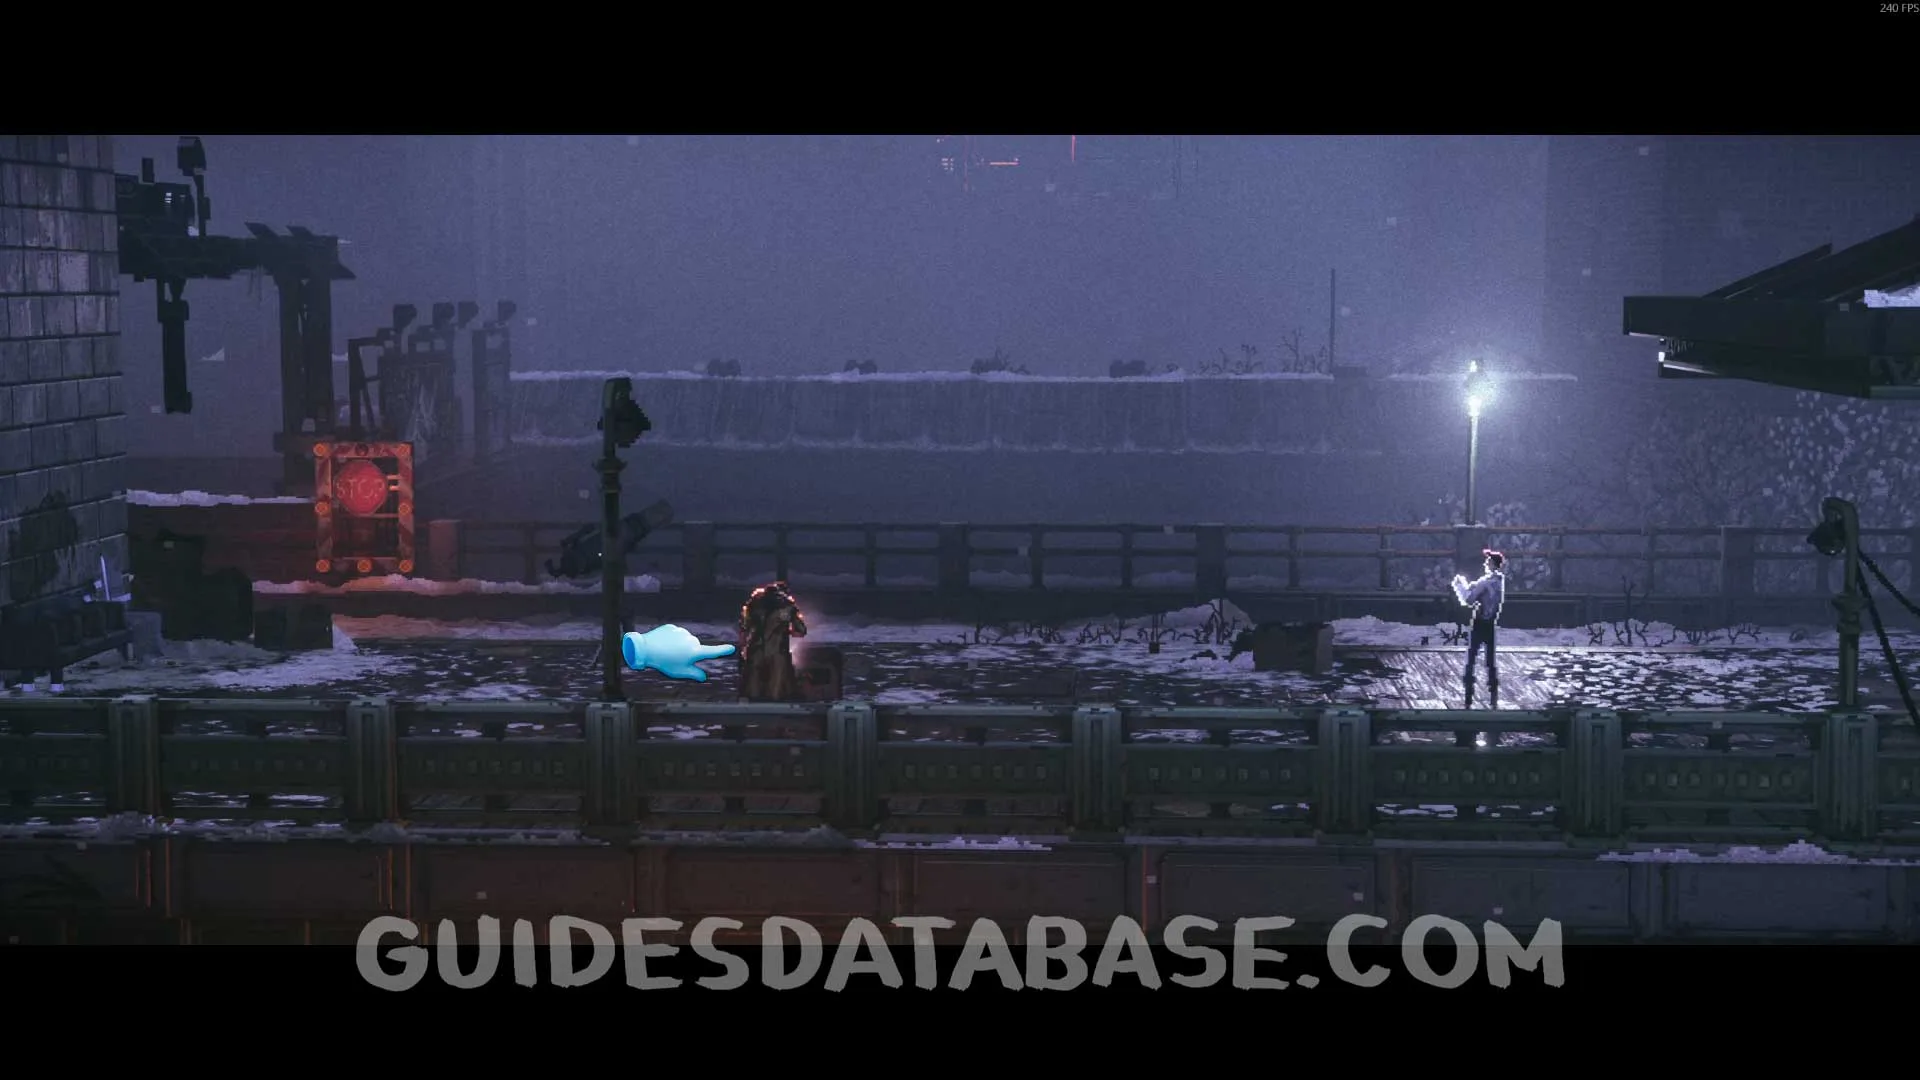 GUIDESDATABASE.COM
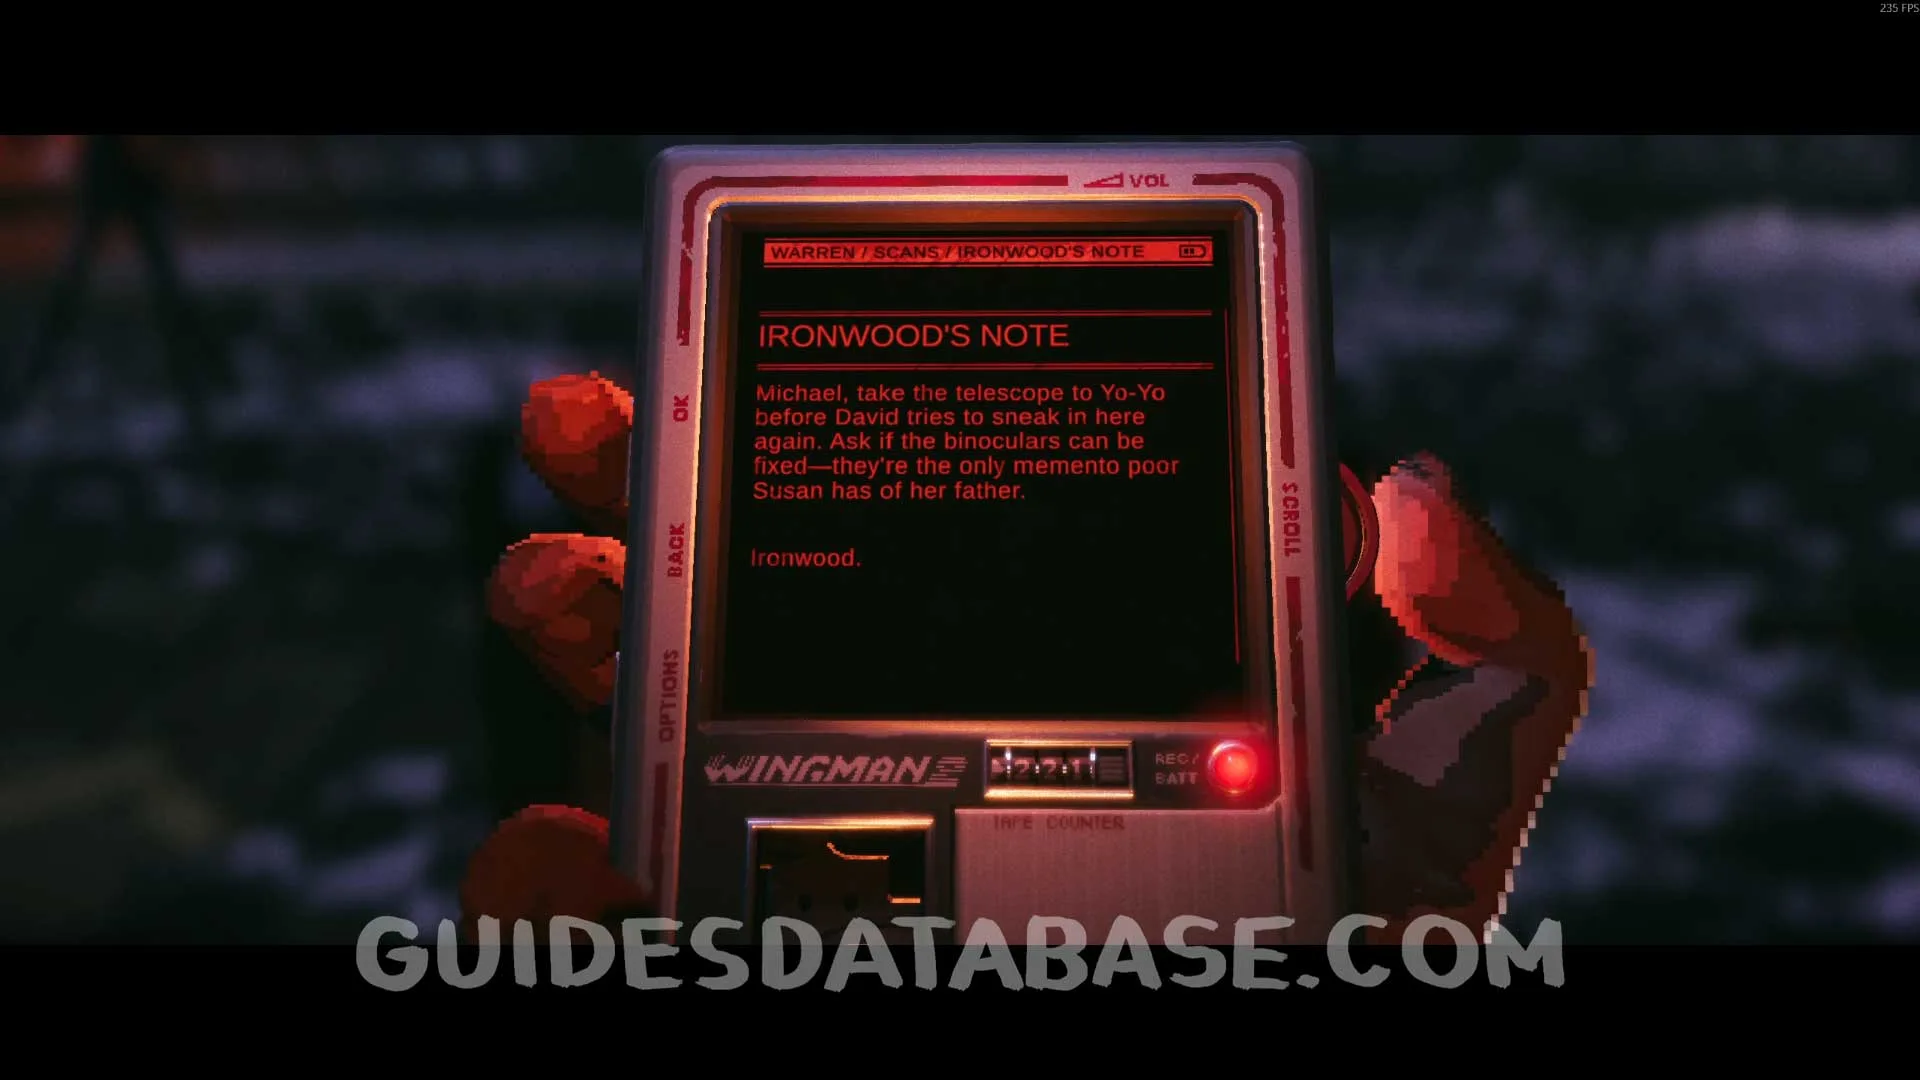 GUIDESDATABASE.COM
Chapter 5
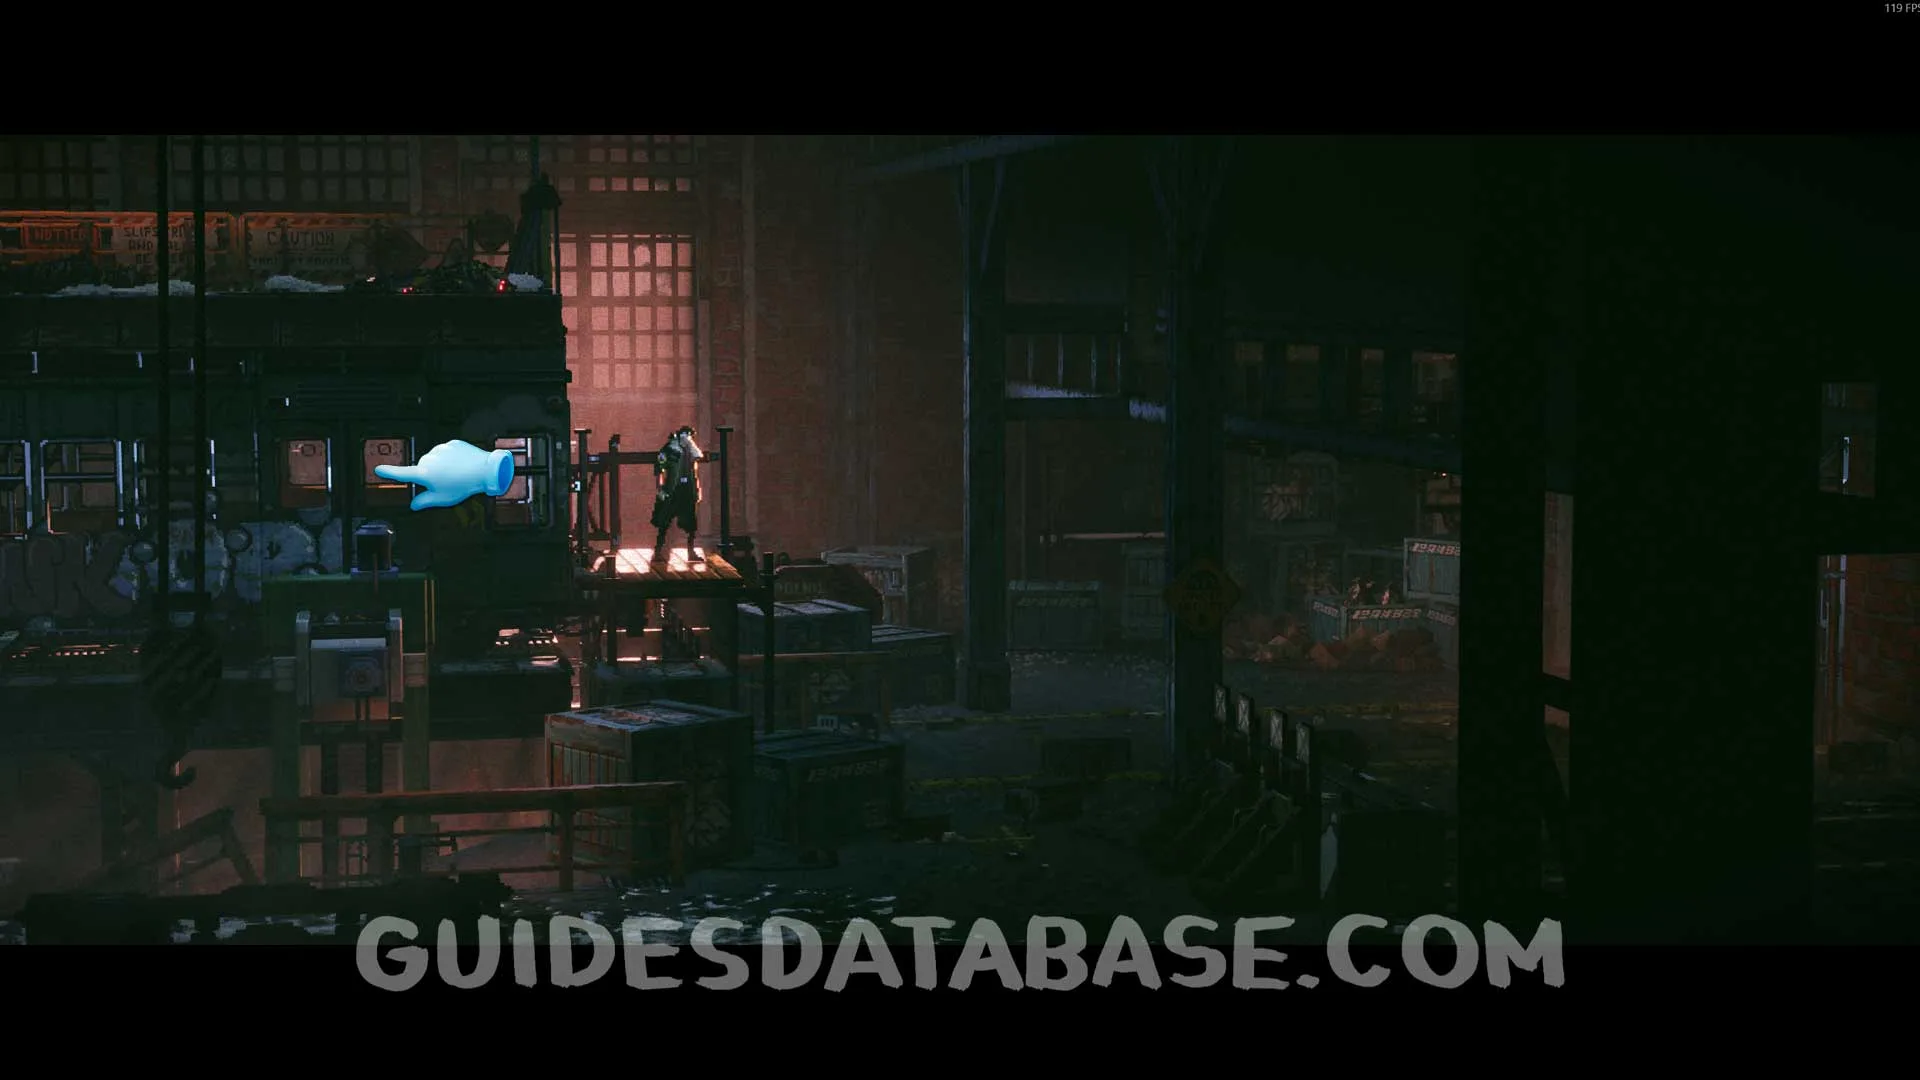
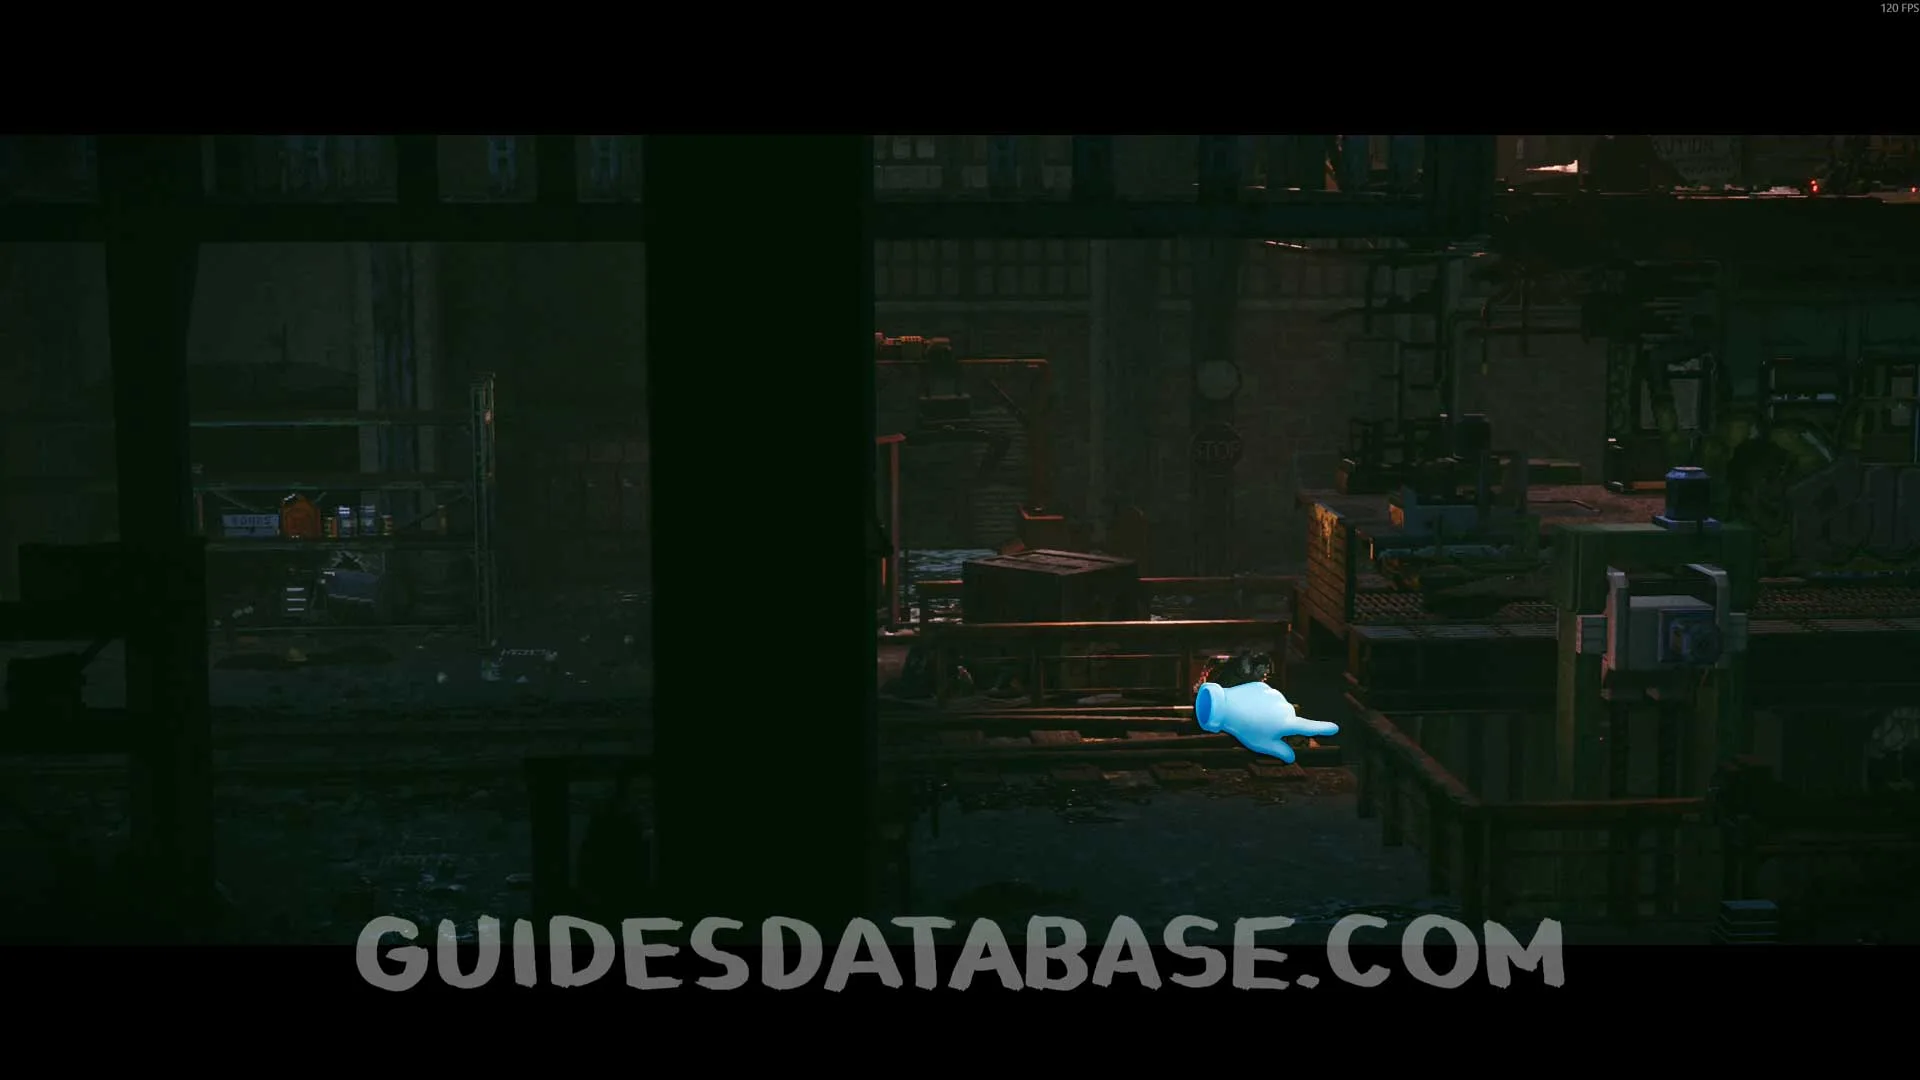
Scan #51 Protester's Note
After placing the battery in the device that releases an air current for you to use the double jump, it will be right in front of you.
 GUIDESDATABASE.COM
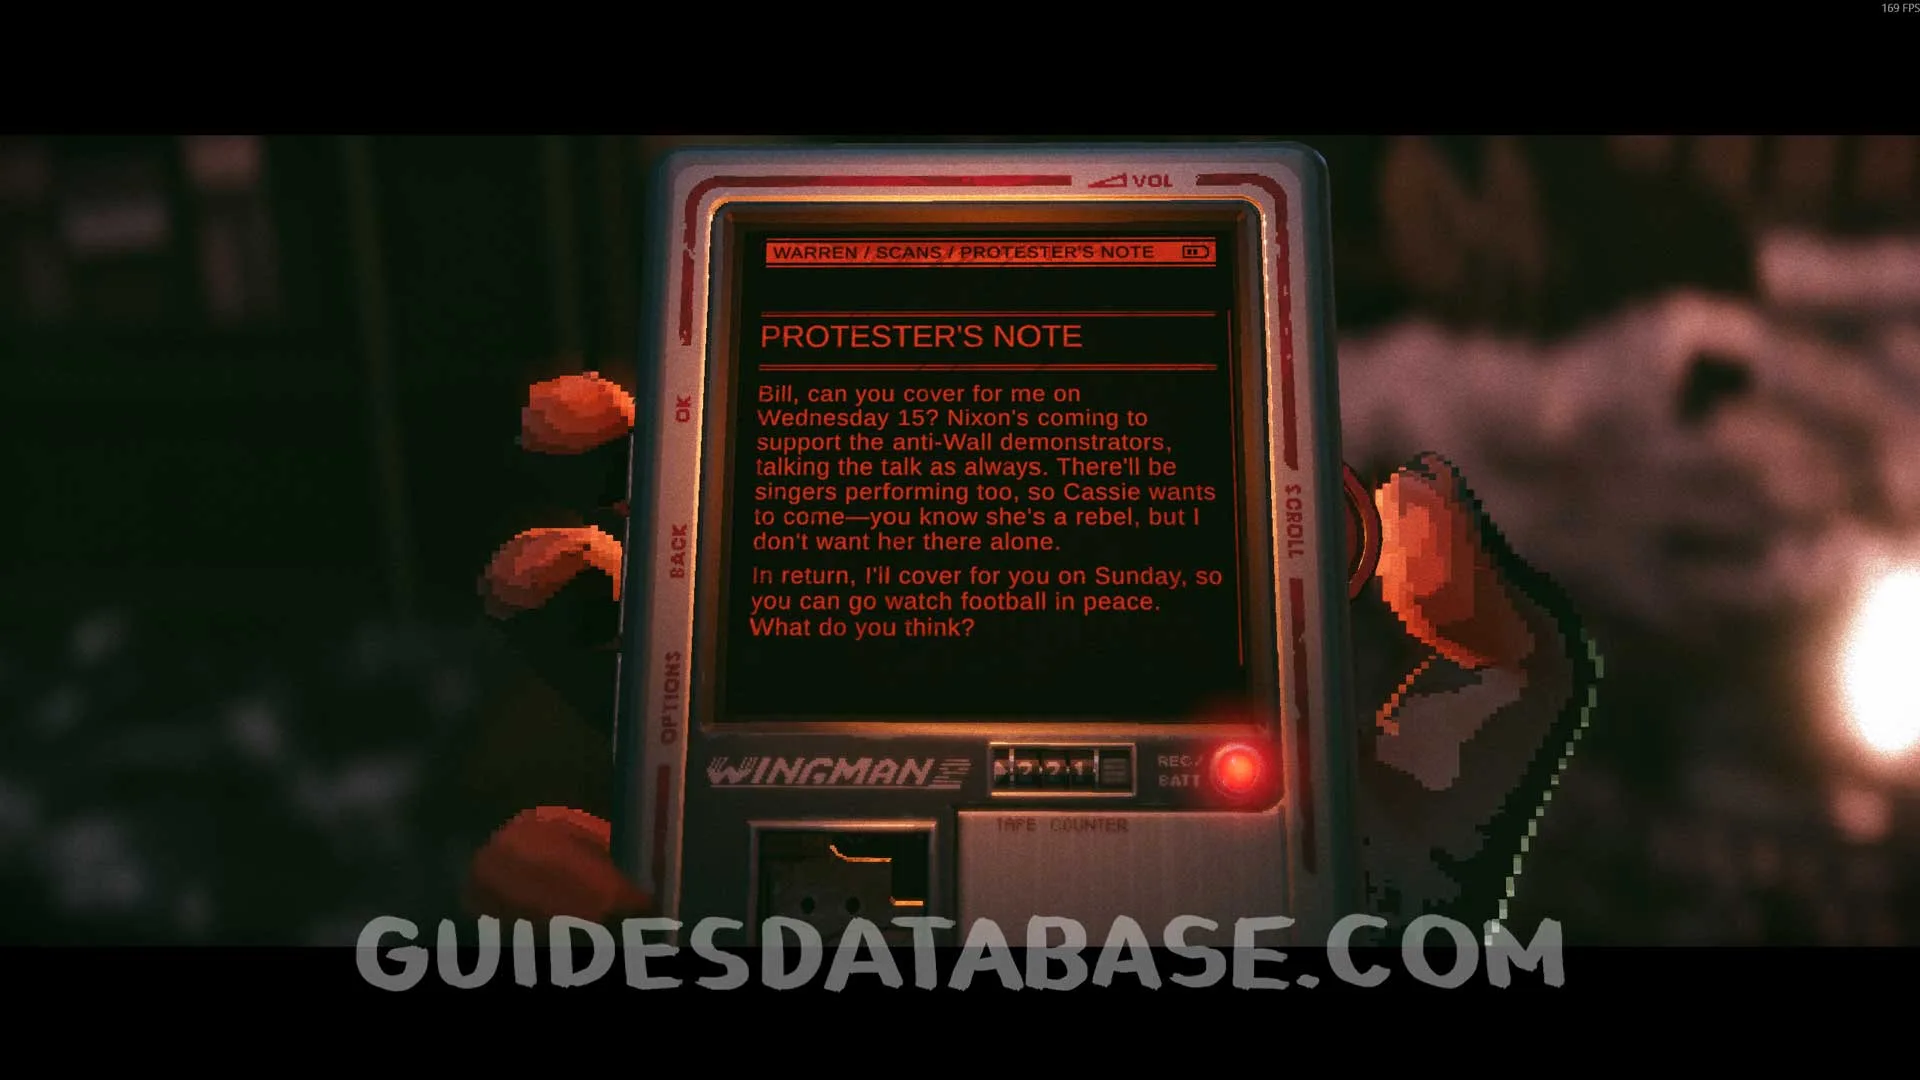 GUIDESDATABASE.COM
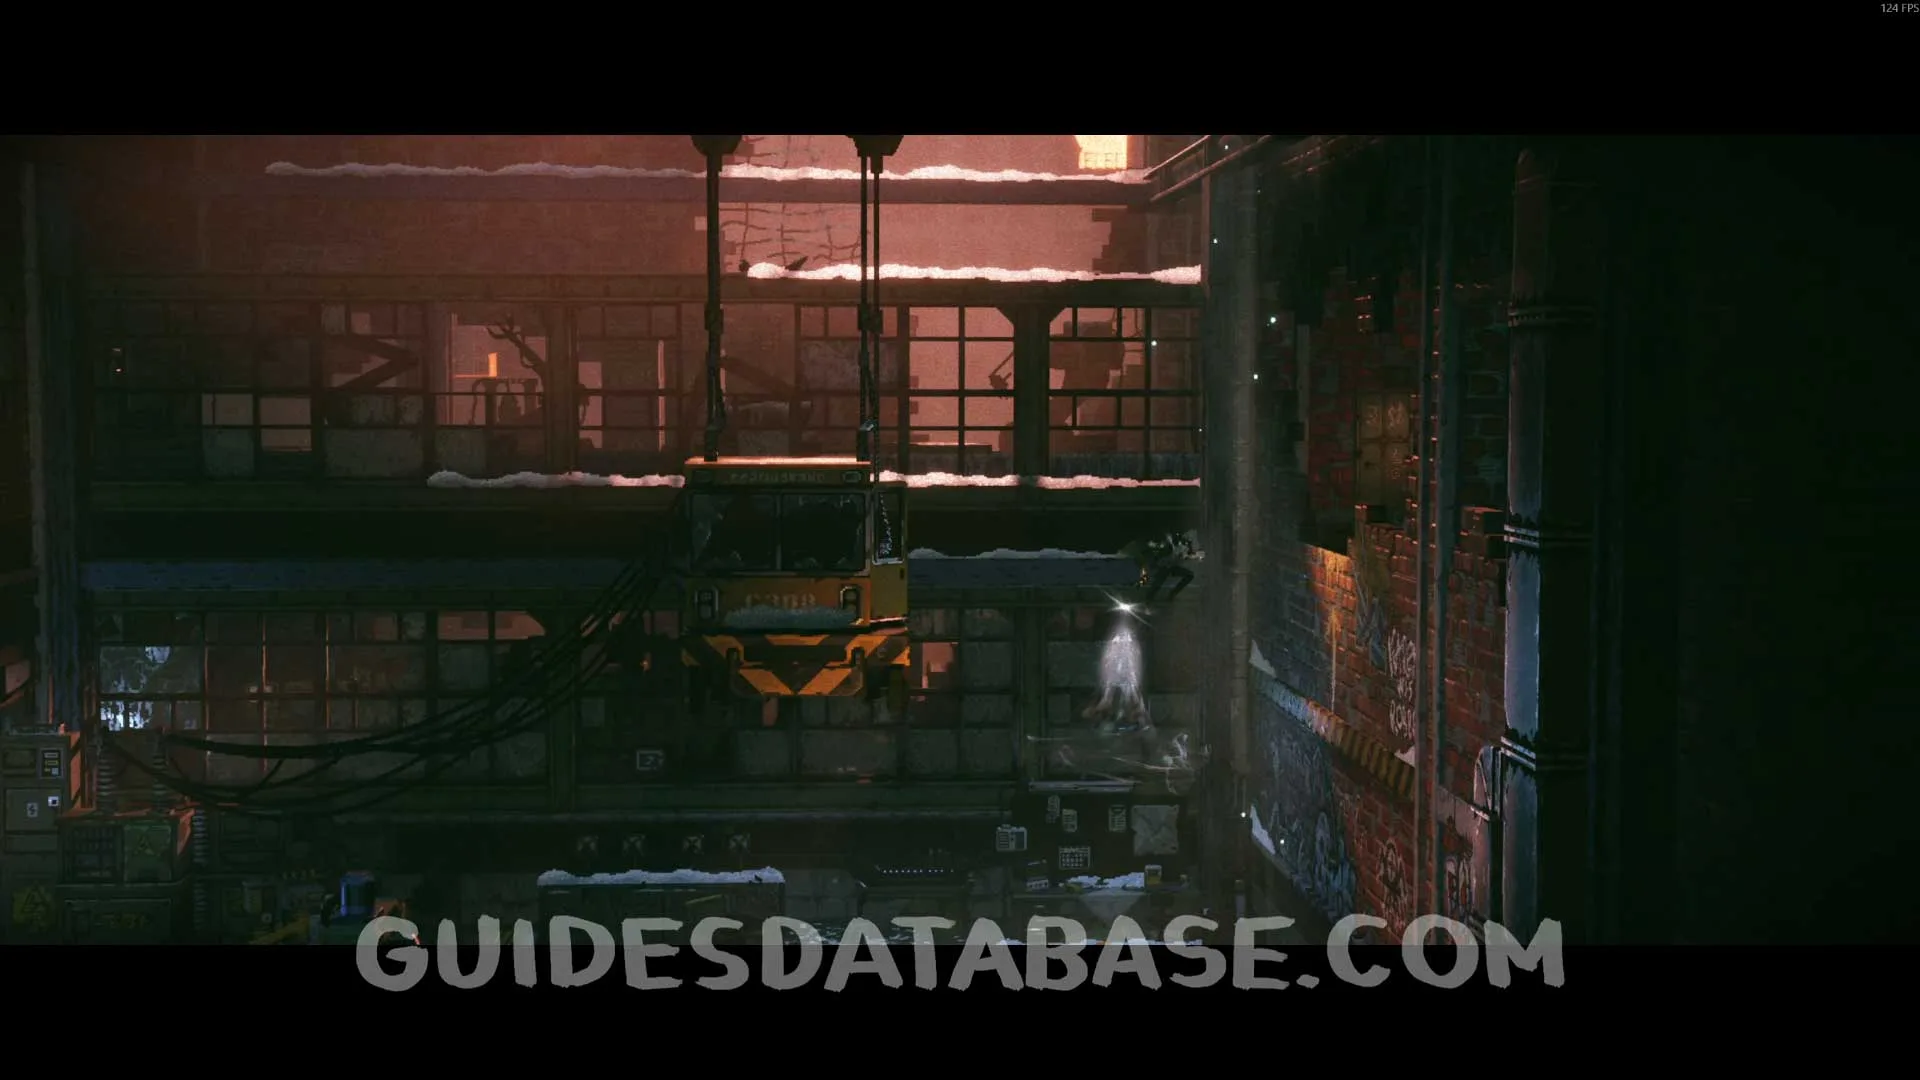
Scan #52 Cult Leader Arrested
From the previous collectible, you will defeat some enemies. After that, drop down and go left, passing the train car, to find this scan.
 GUIDESDATABASE.COM
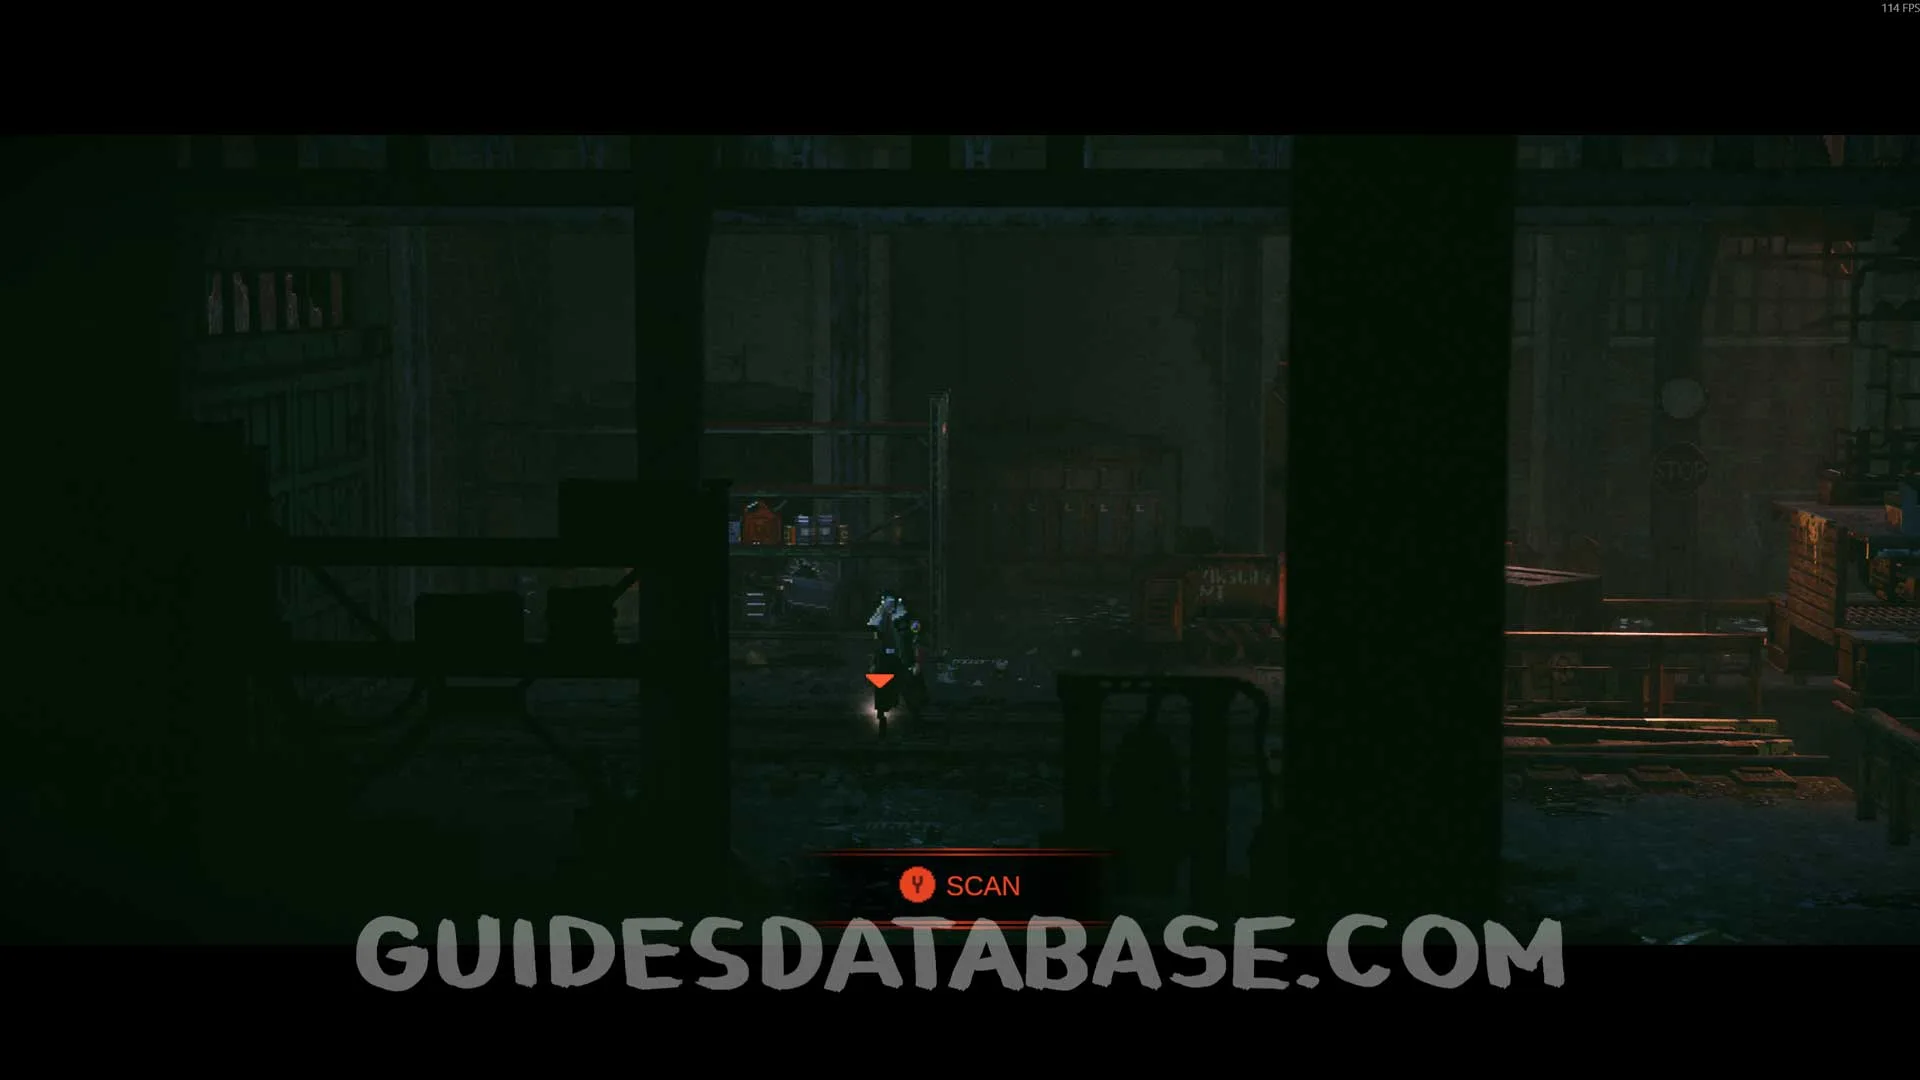 GUIDESDATABASE.COM
 GUIDESDATABASE.COM
Genetic Profile #6
Same area as the previous collectible, below the train car platform.
 GUIDESDATABASE.COM
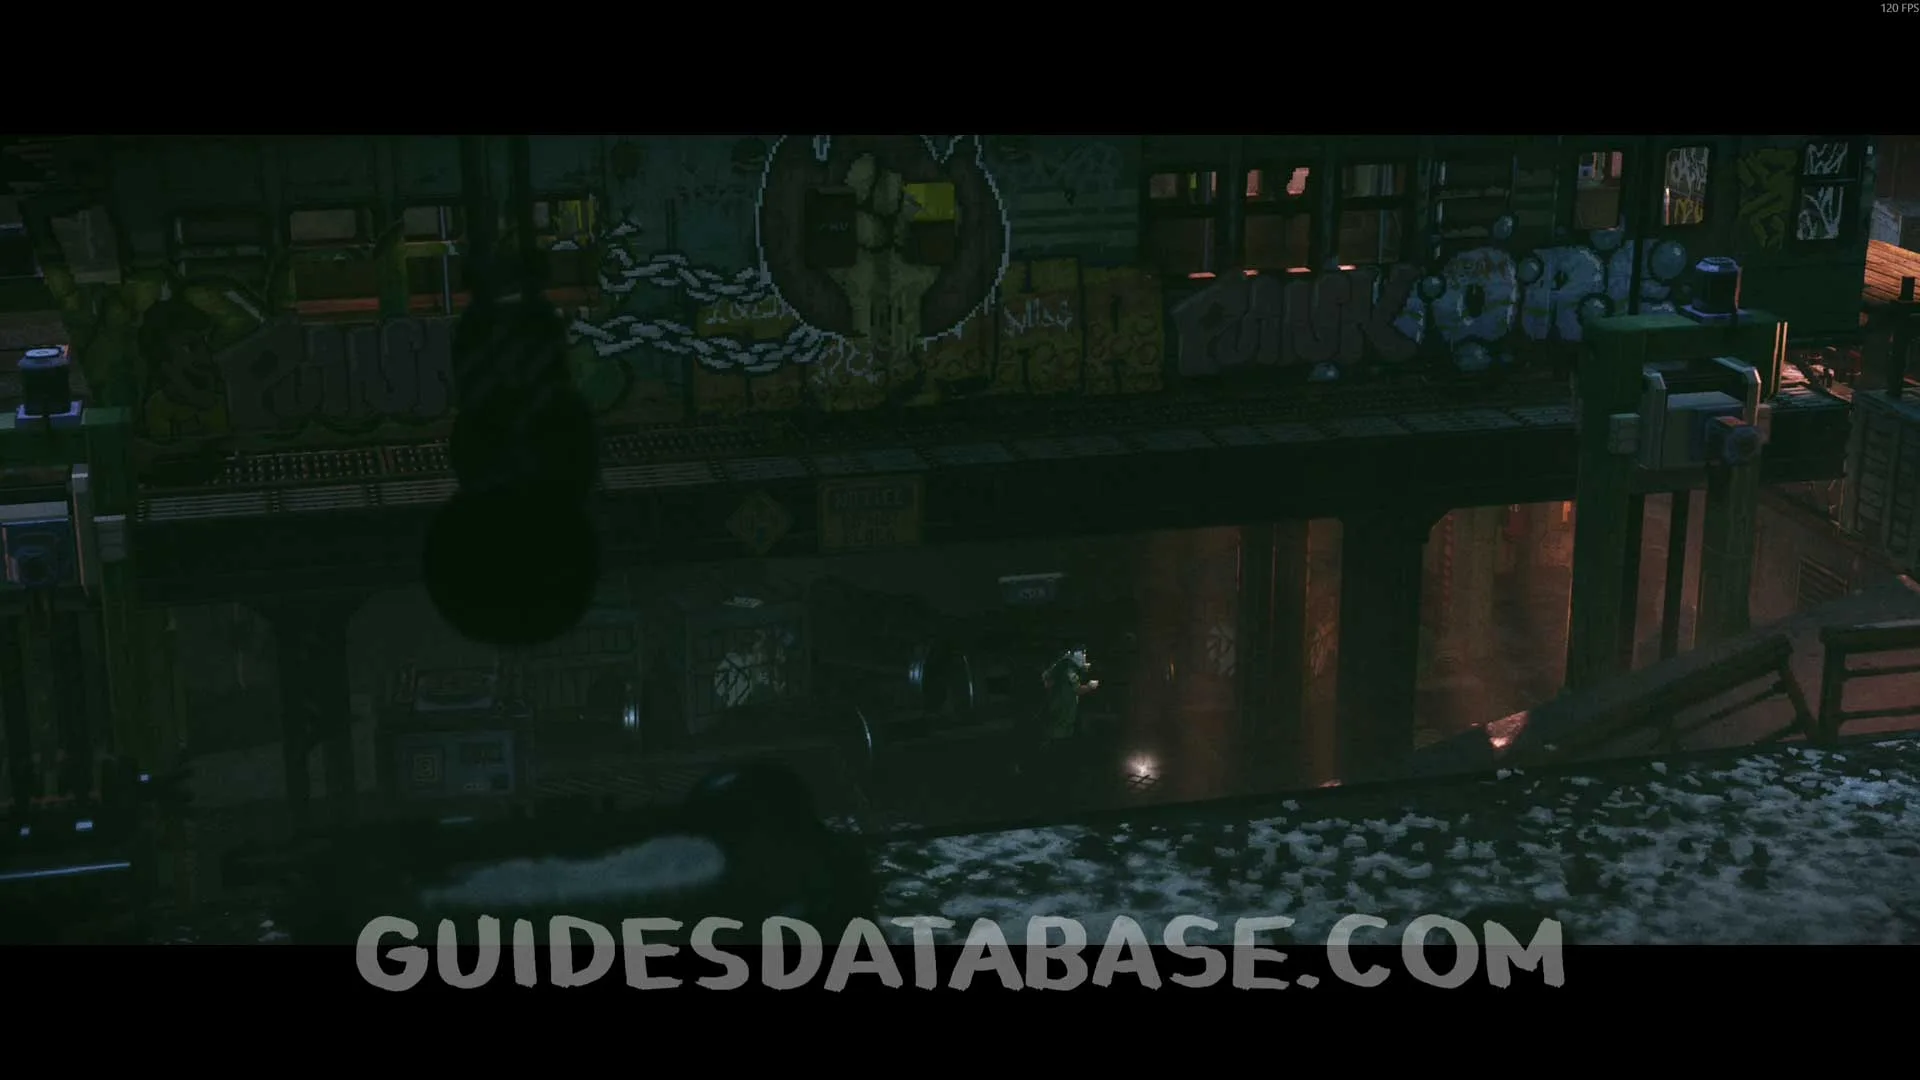 GUIDESDATABASE.COM
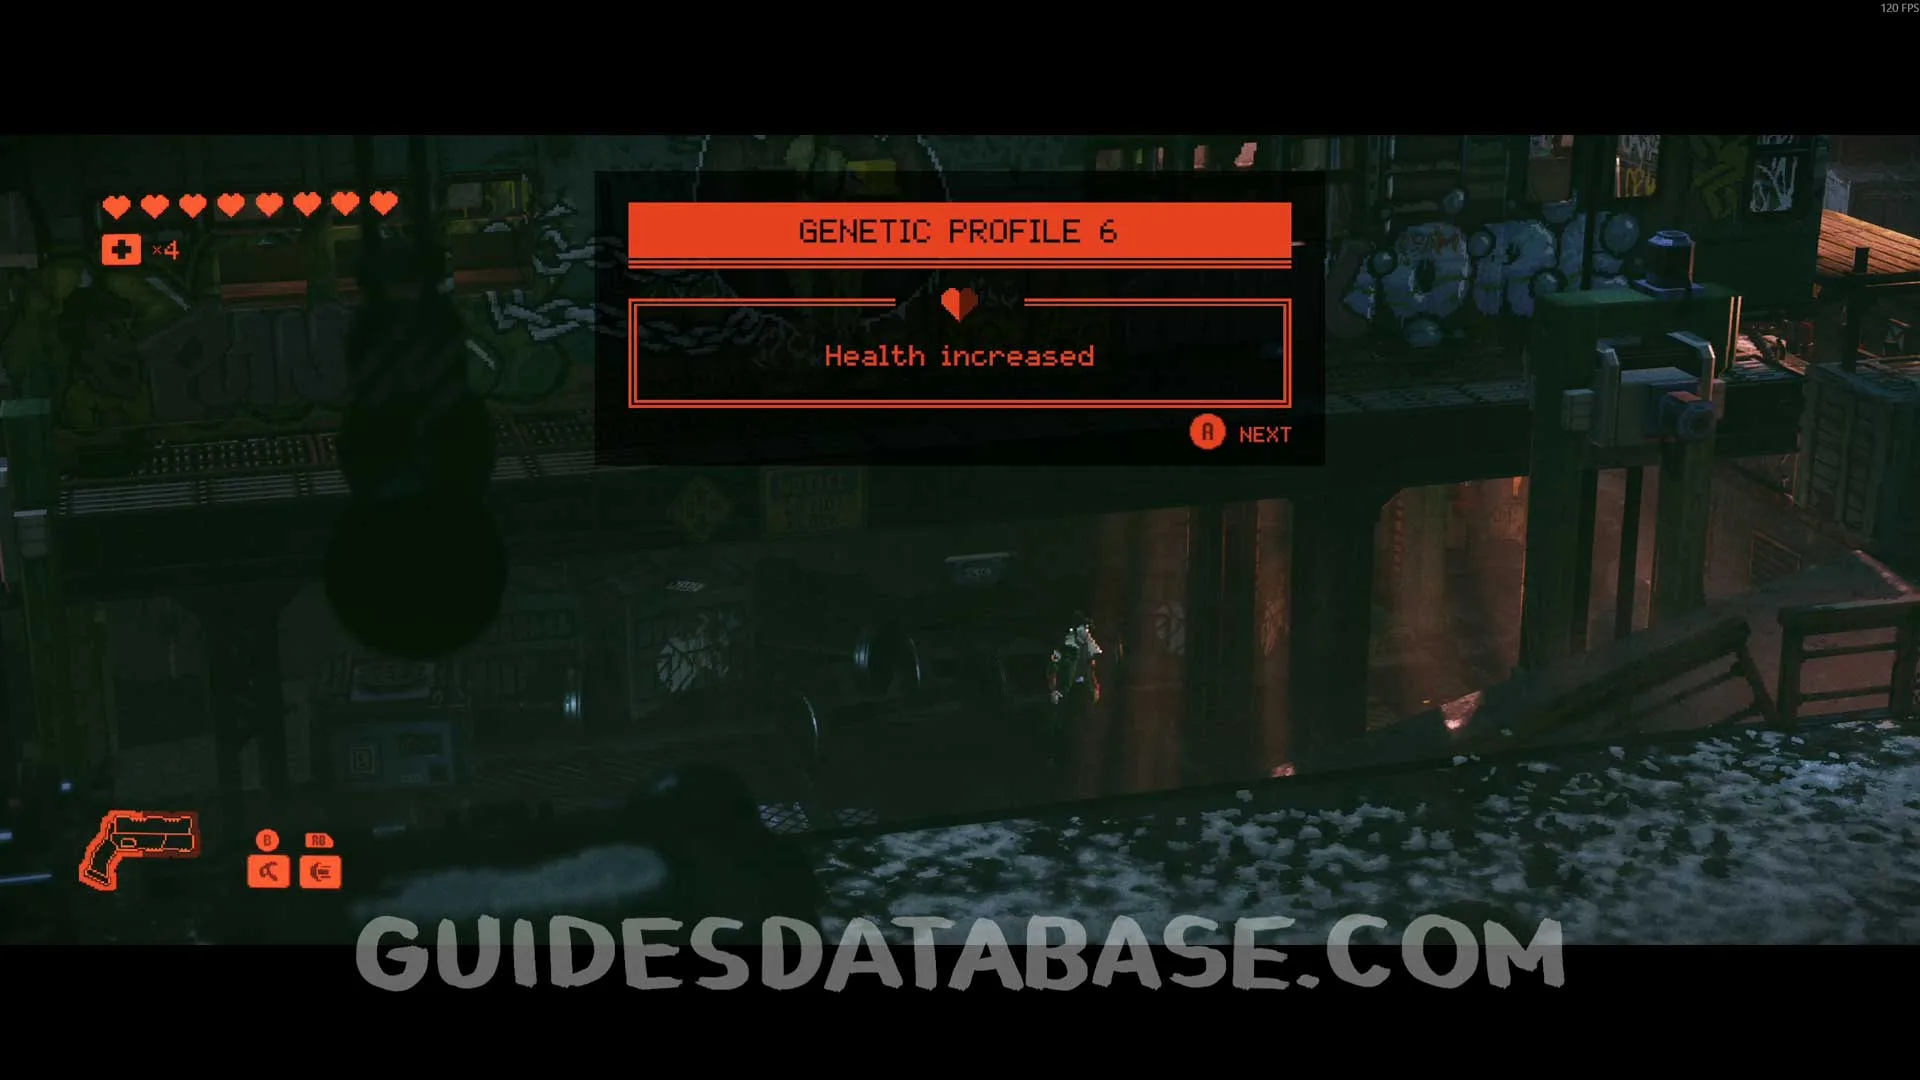 GUIDESDATABASE.COM
Scan #53 Termite's Regrets
After using the double jump and climbing a ladder you will reach the rooftop. Head to the left to find this.
 GUIDESDATABASE.COM
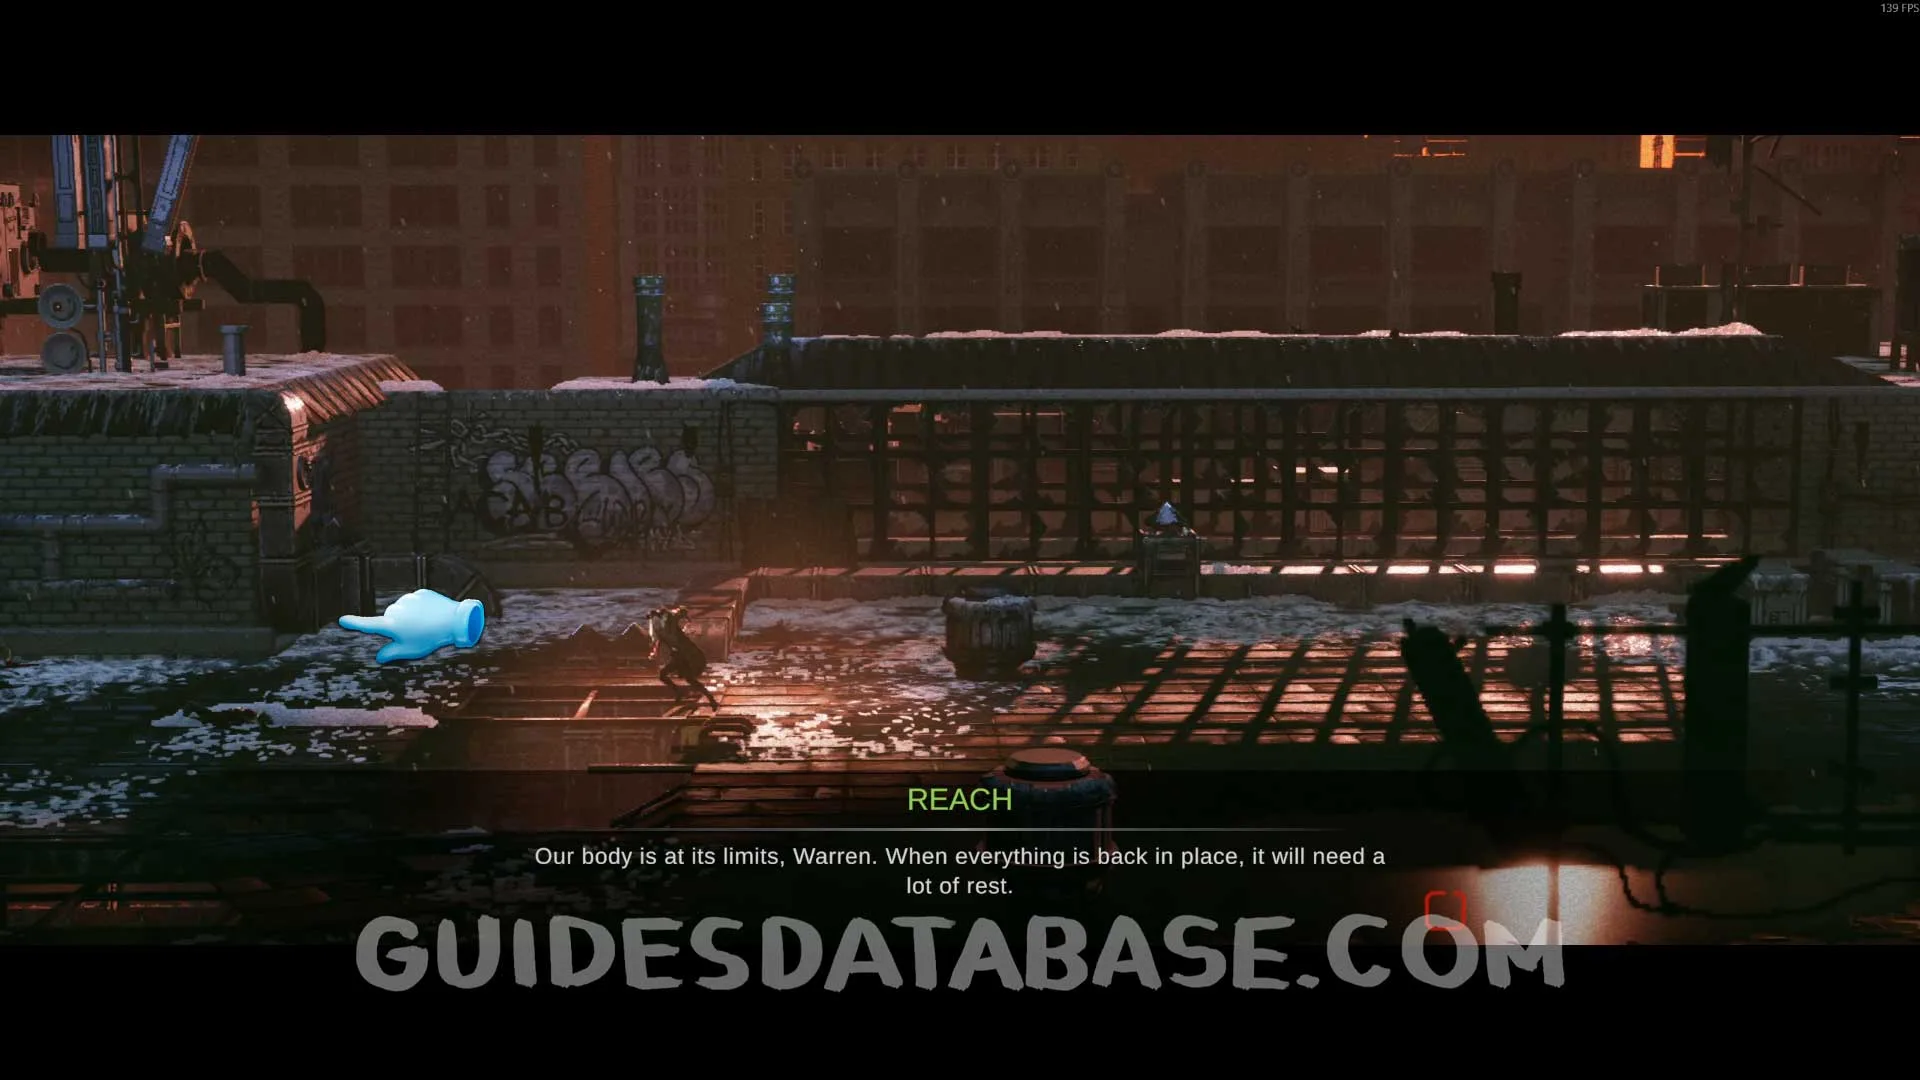 GUIDESDATABASE.COM
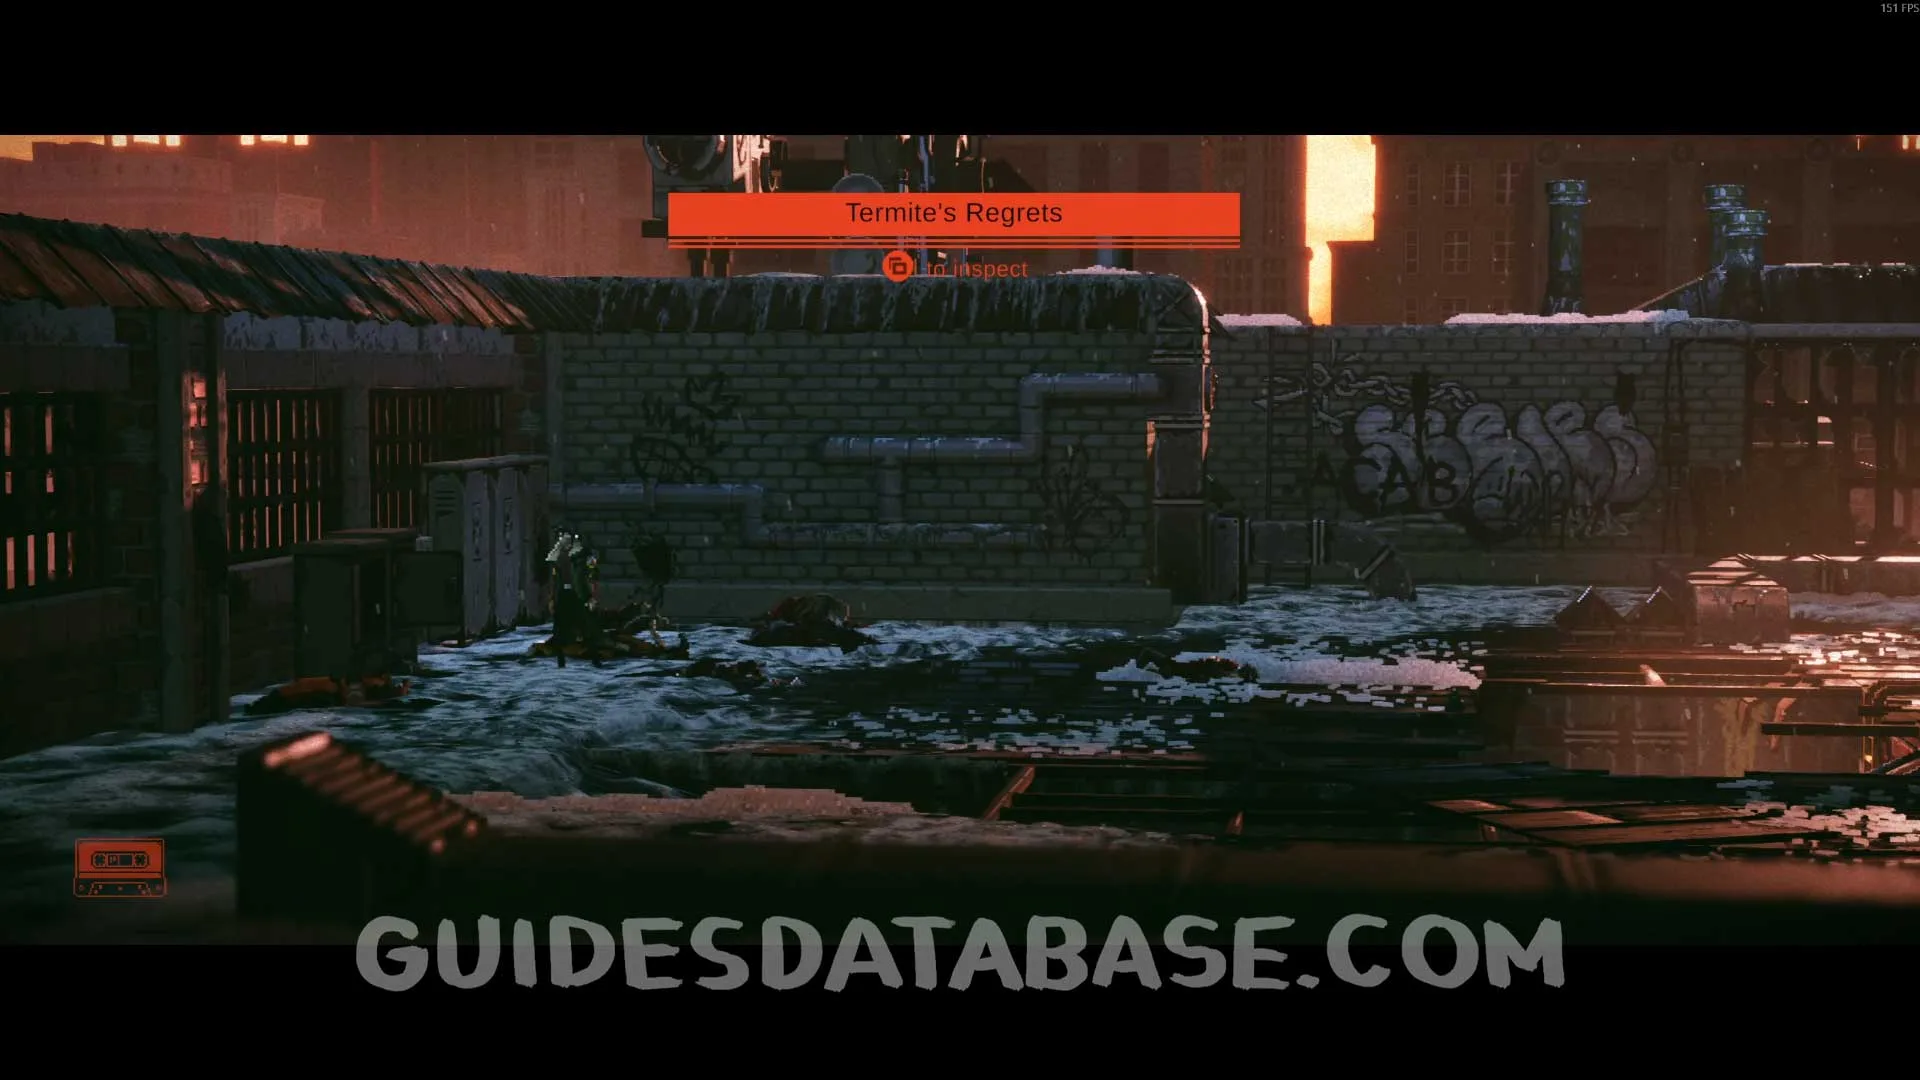 GUIDESDATABASE.COM
Scan #54 ''Help Those In Need''
After defeating the enemies in the courtyard, go left to find this scan.
 GUIDESDATABASE.COM
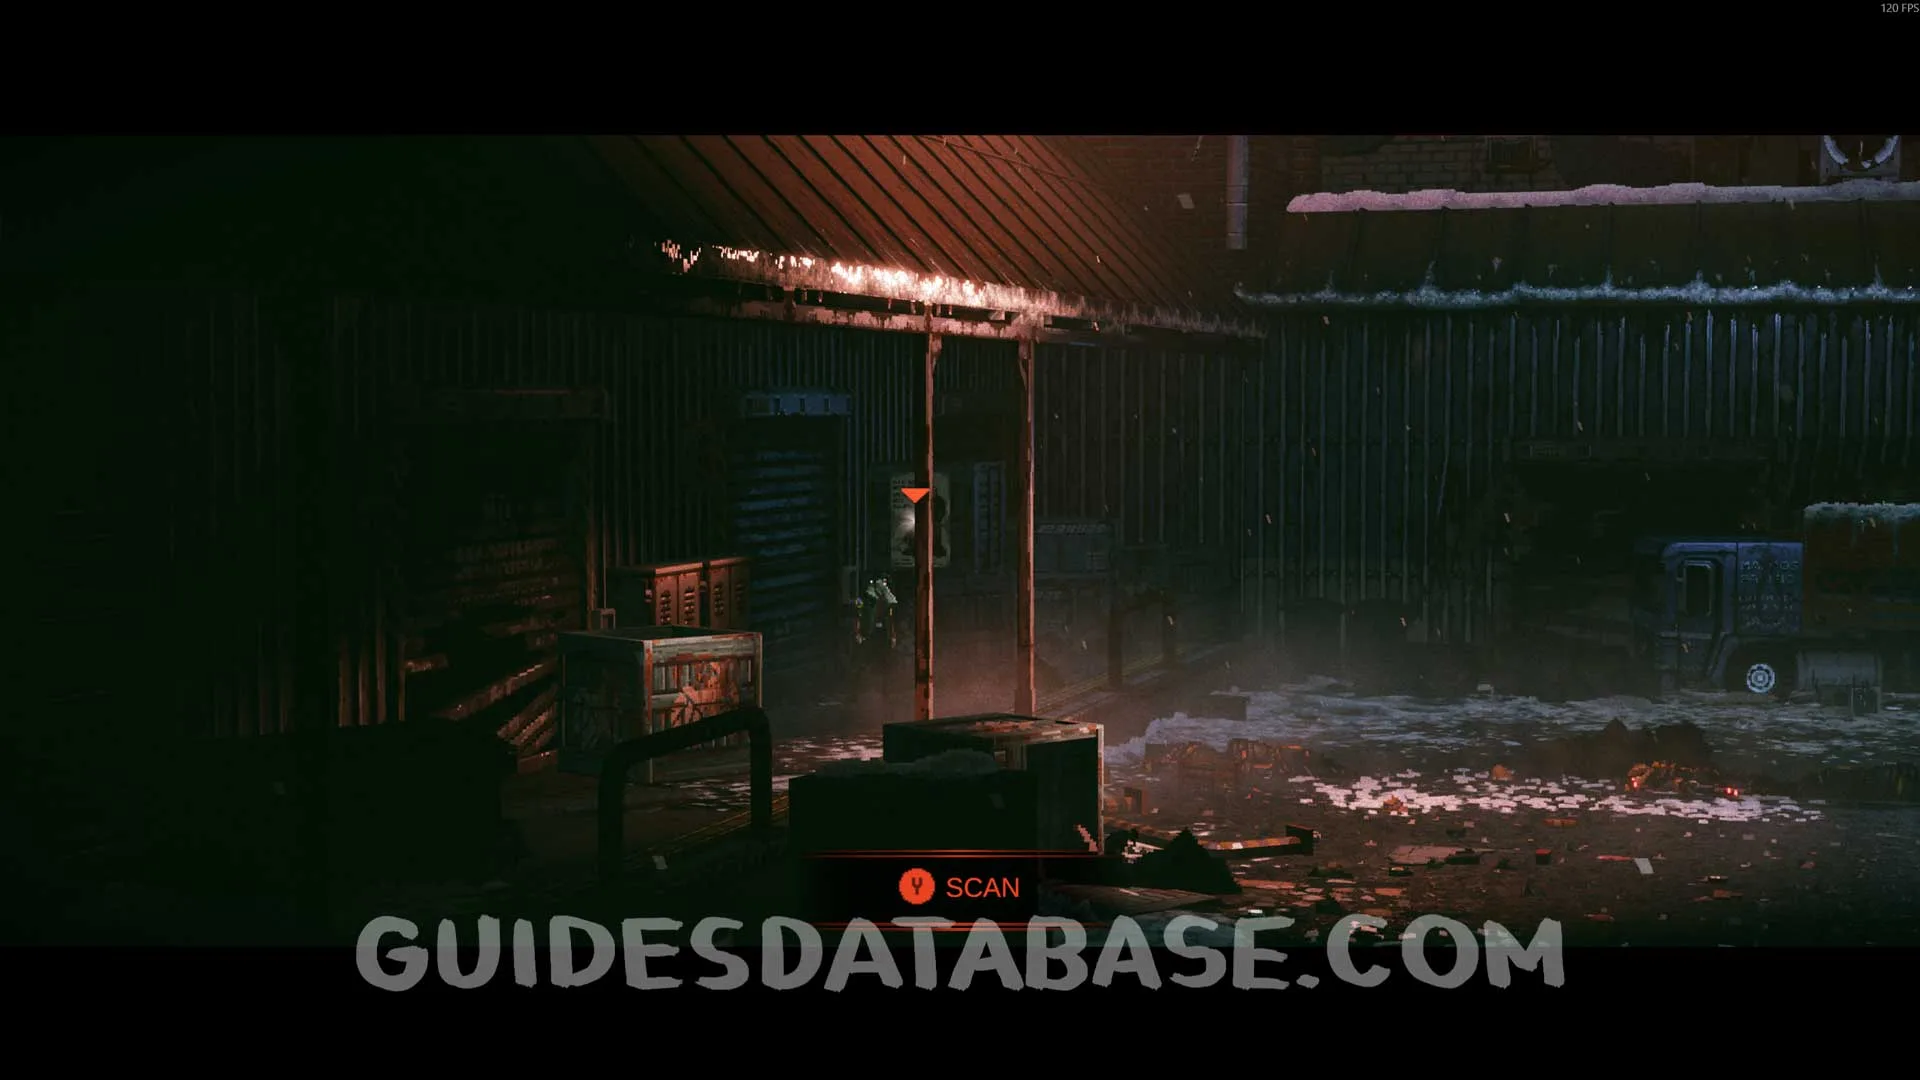 GUIDESDATABASE.COM
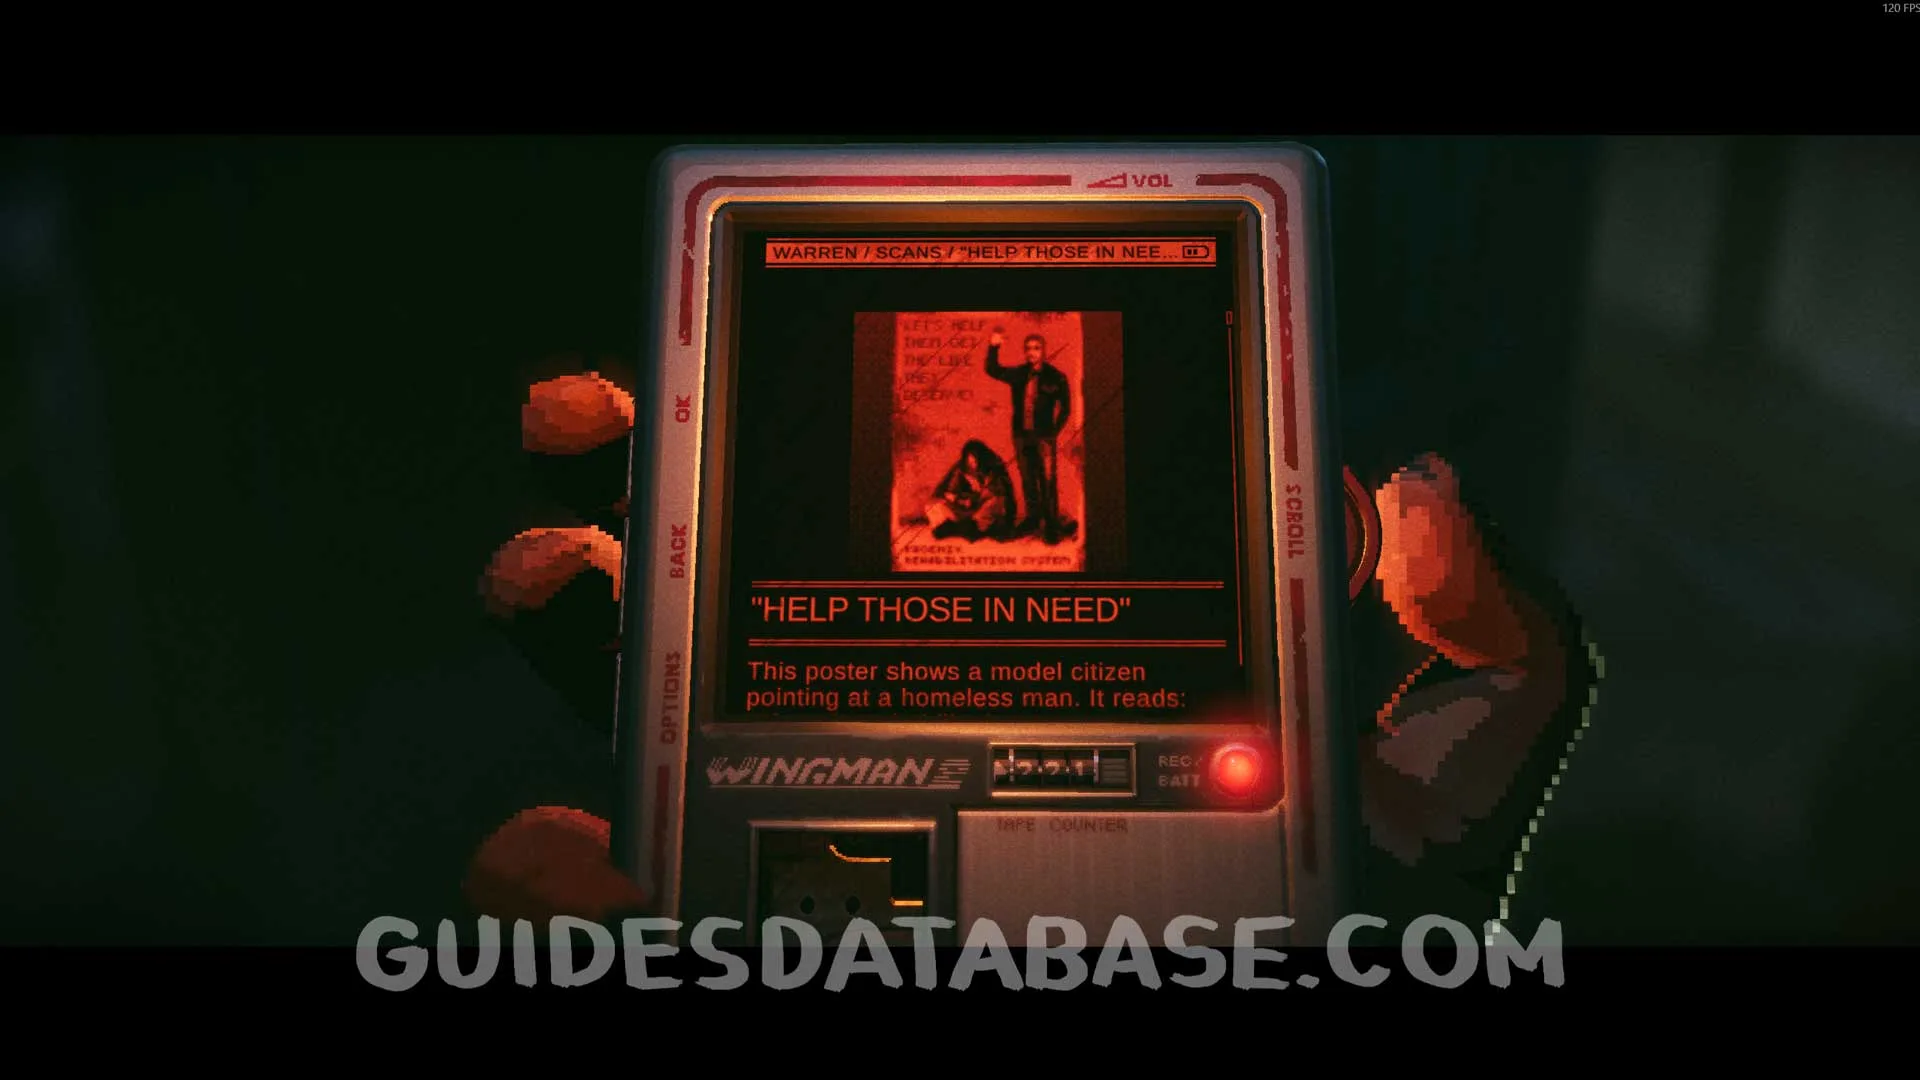 GUIDESDATABASE.COM
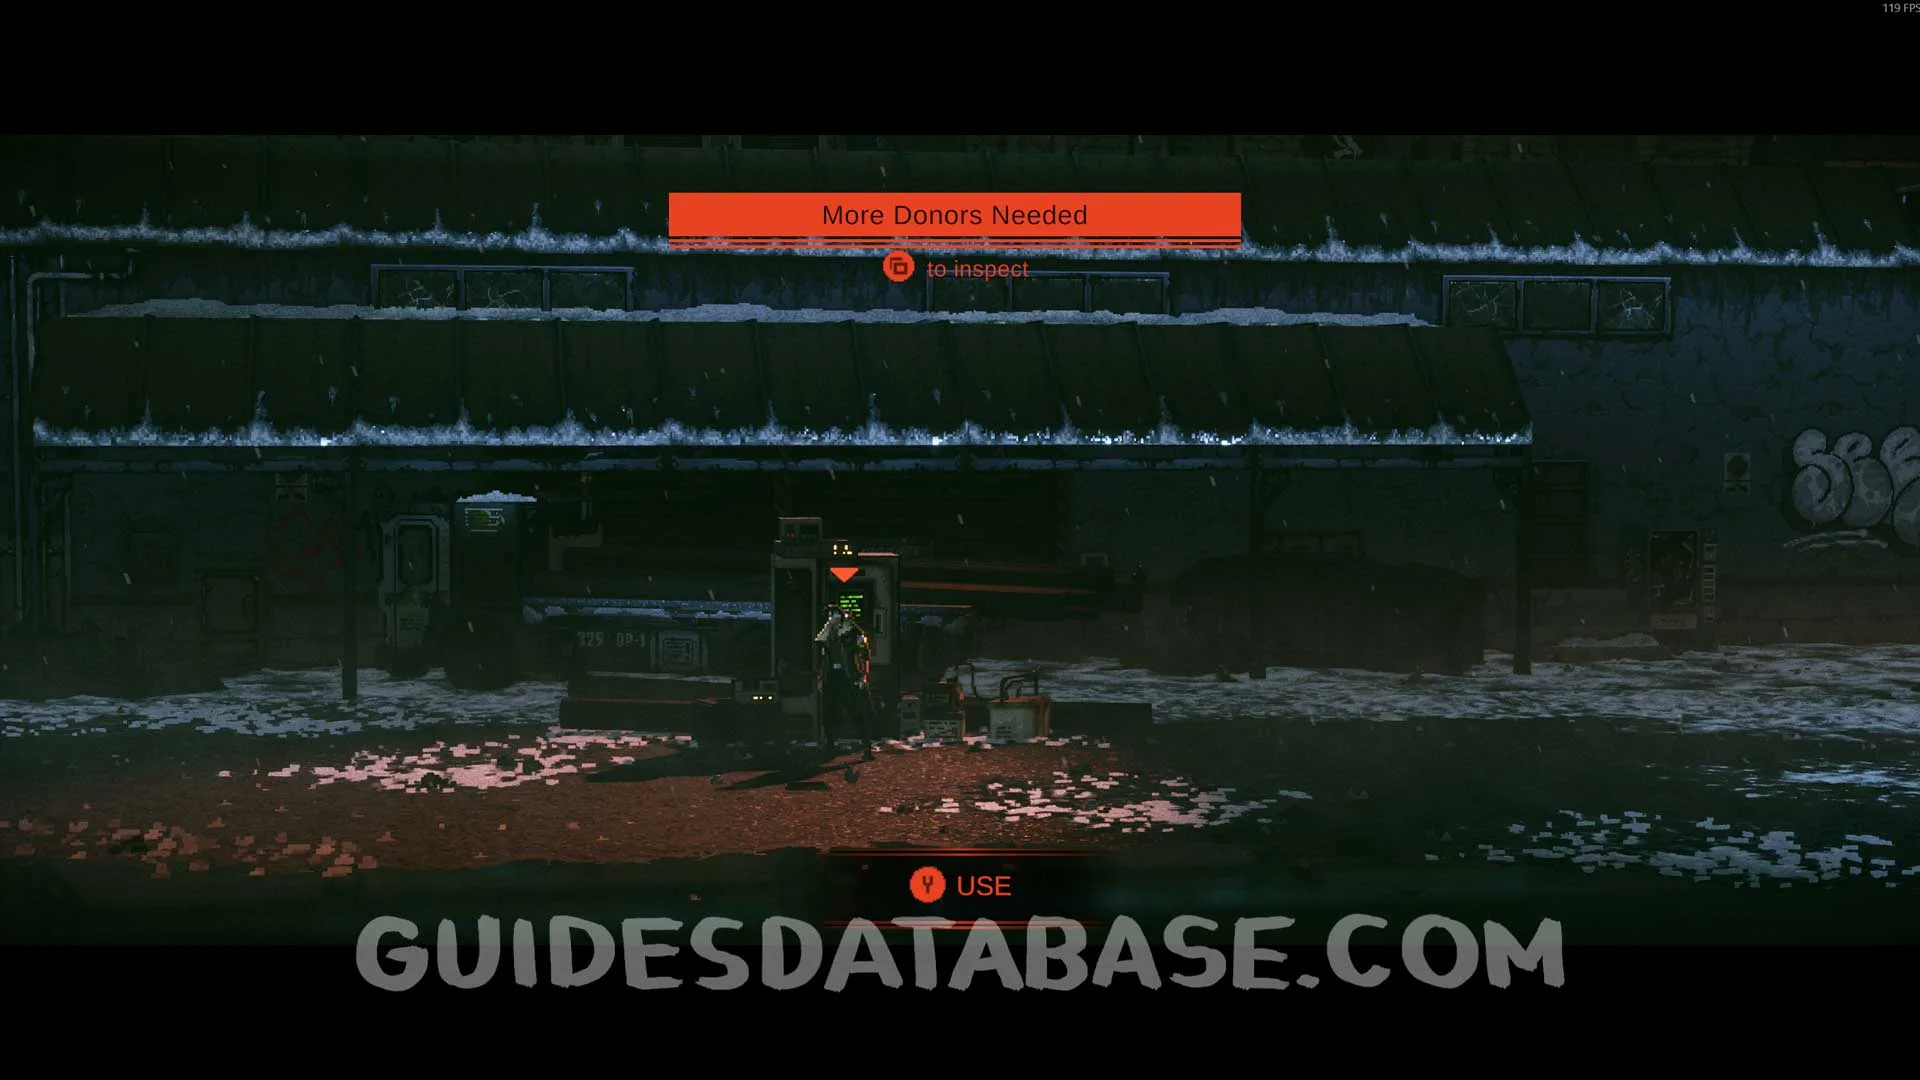
Scan #55 More Donors Needed + Scan #56 Update Notes
From the previous collectible, go right, interact with the terminal, and read the files to obtain this scan.
 GUIDESDATABASE.COM
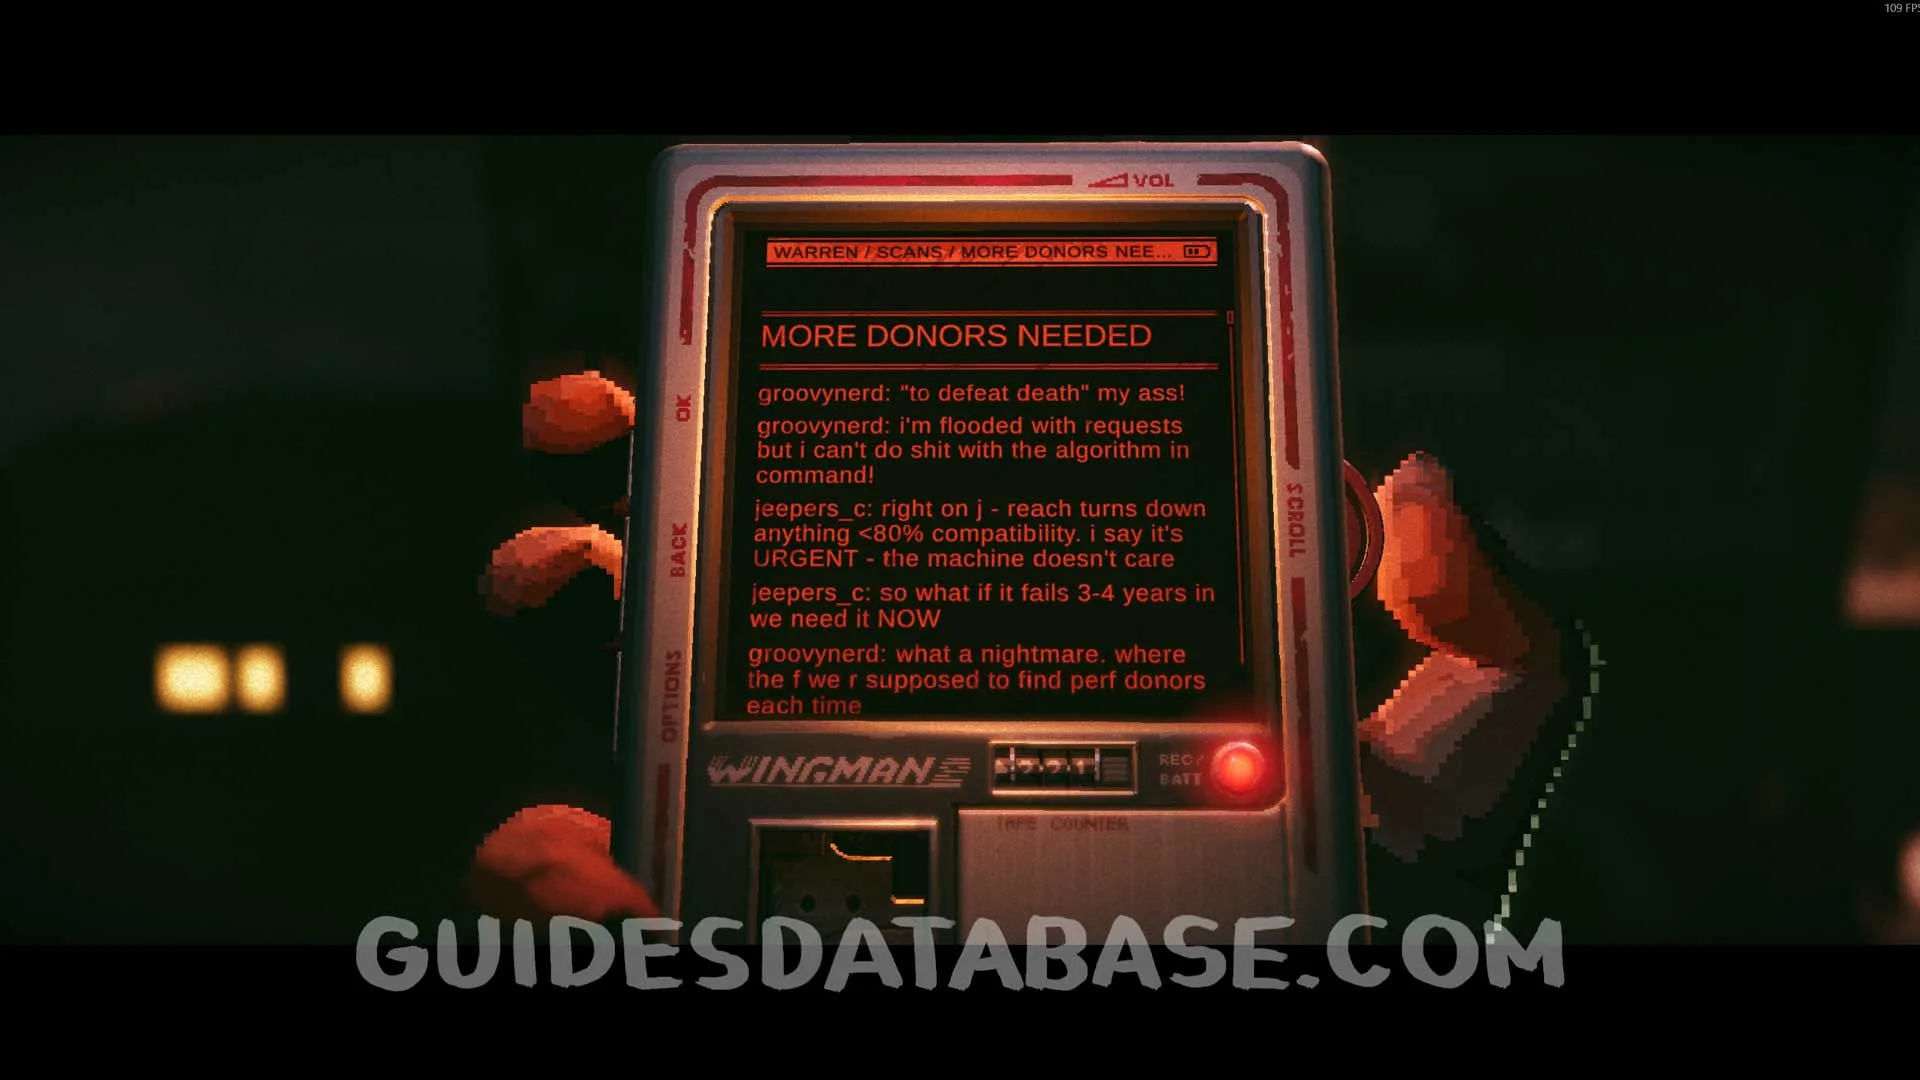 GUIDESDATABASE.COM
Scan #57 Watergate Scandal
A little further on in the chapter, you’ll need to pick up a battery in a room to continue; this scan will be in the same room.
 GUIDESDATABASE.COM
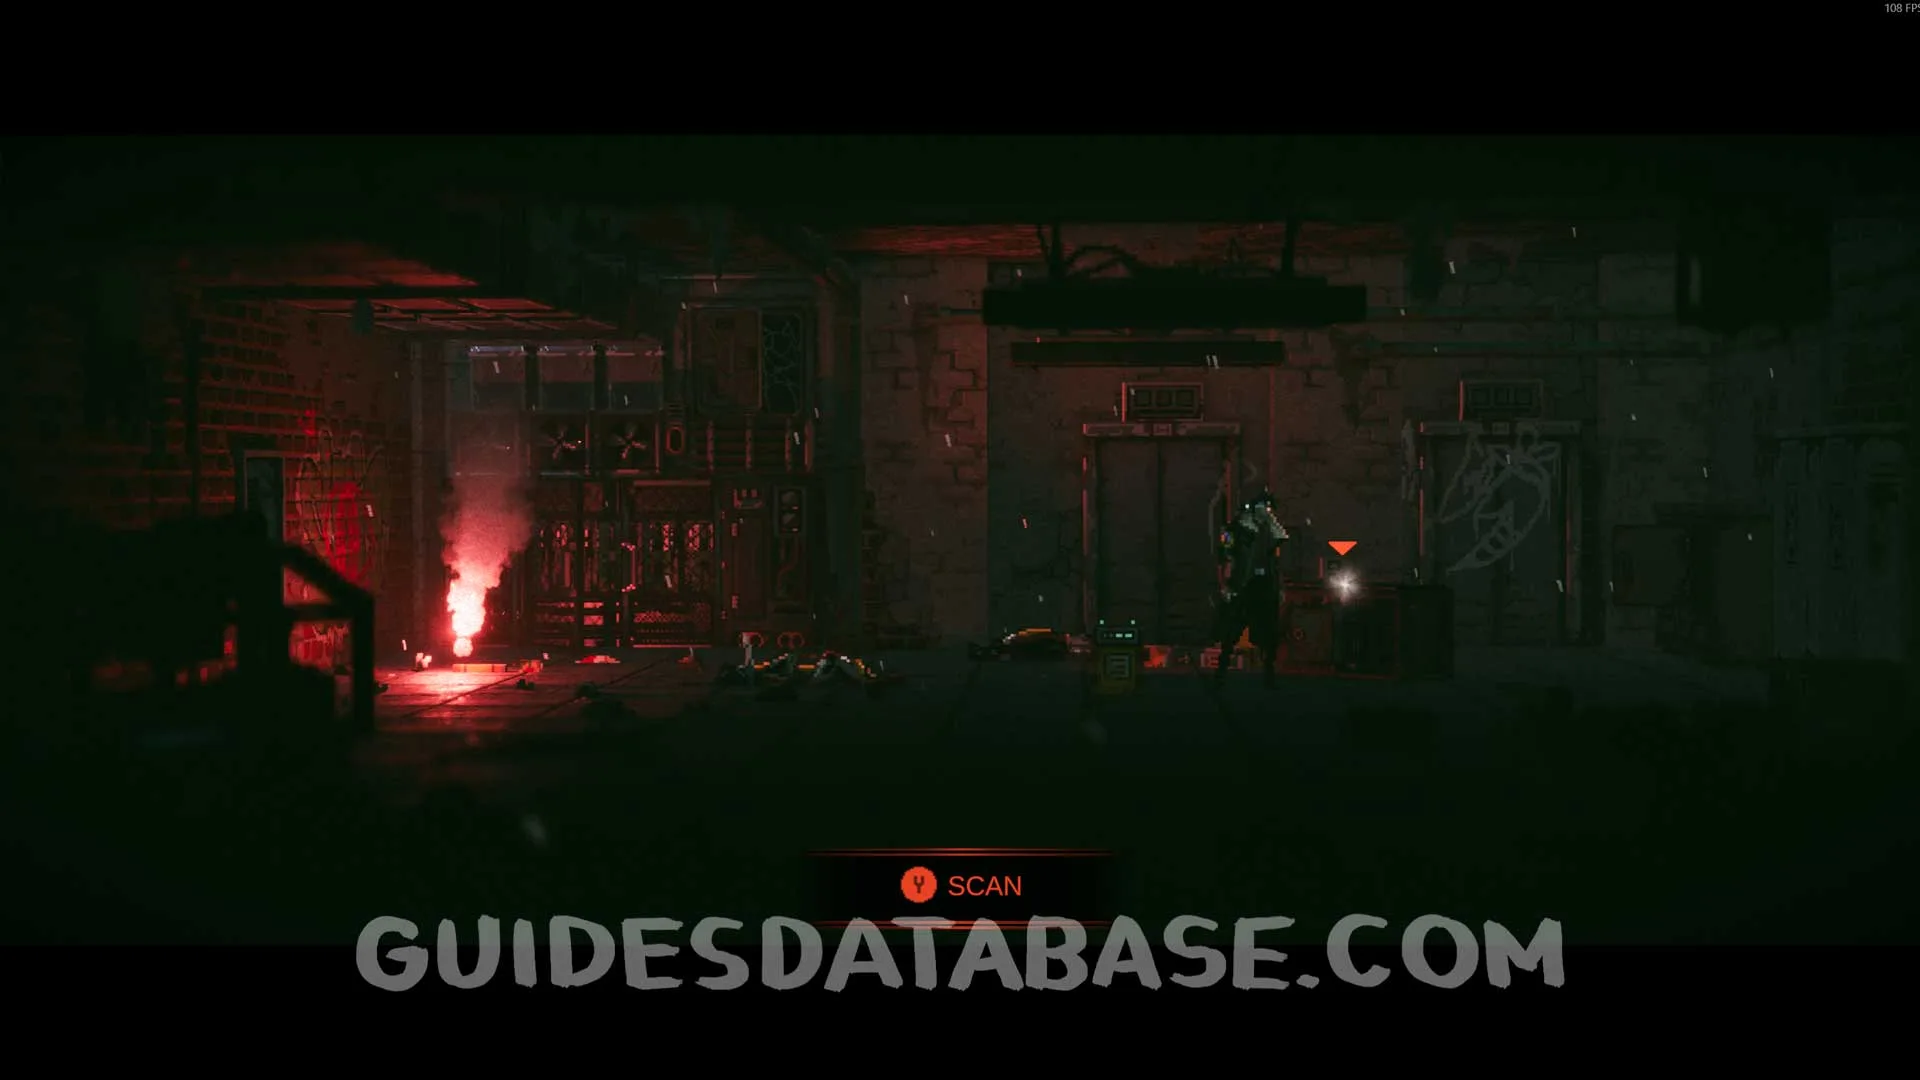 GUIDESDATABASE.COM
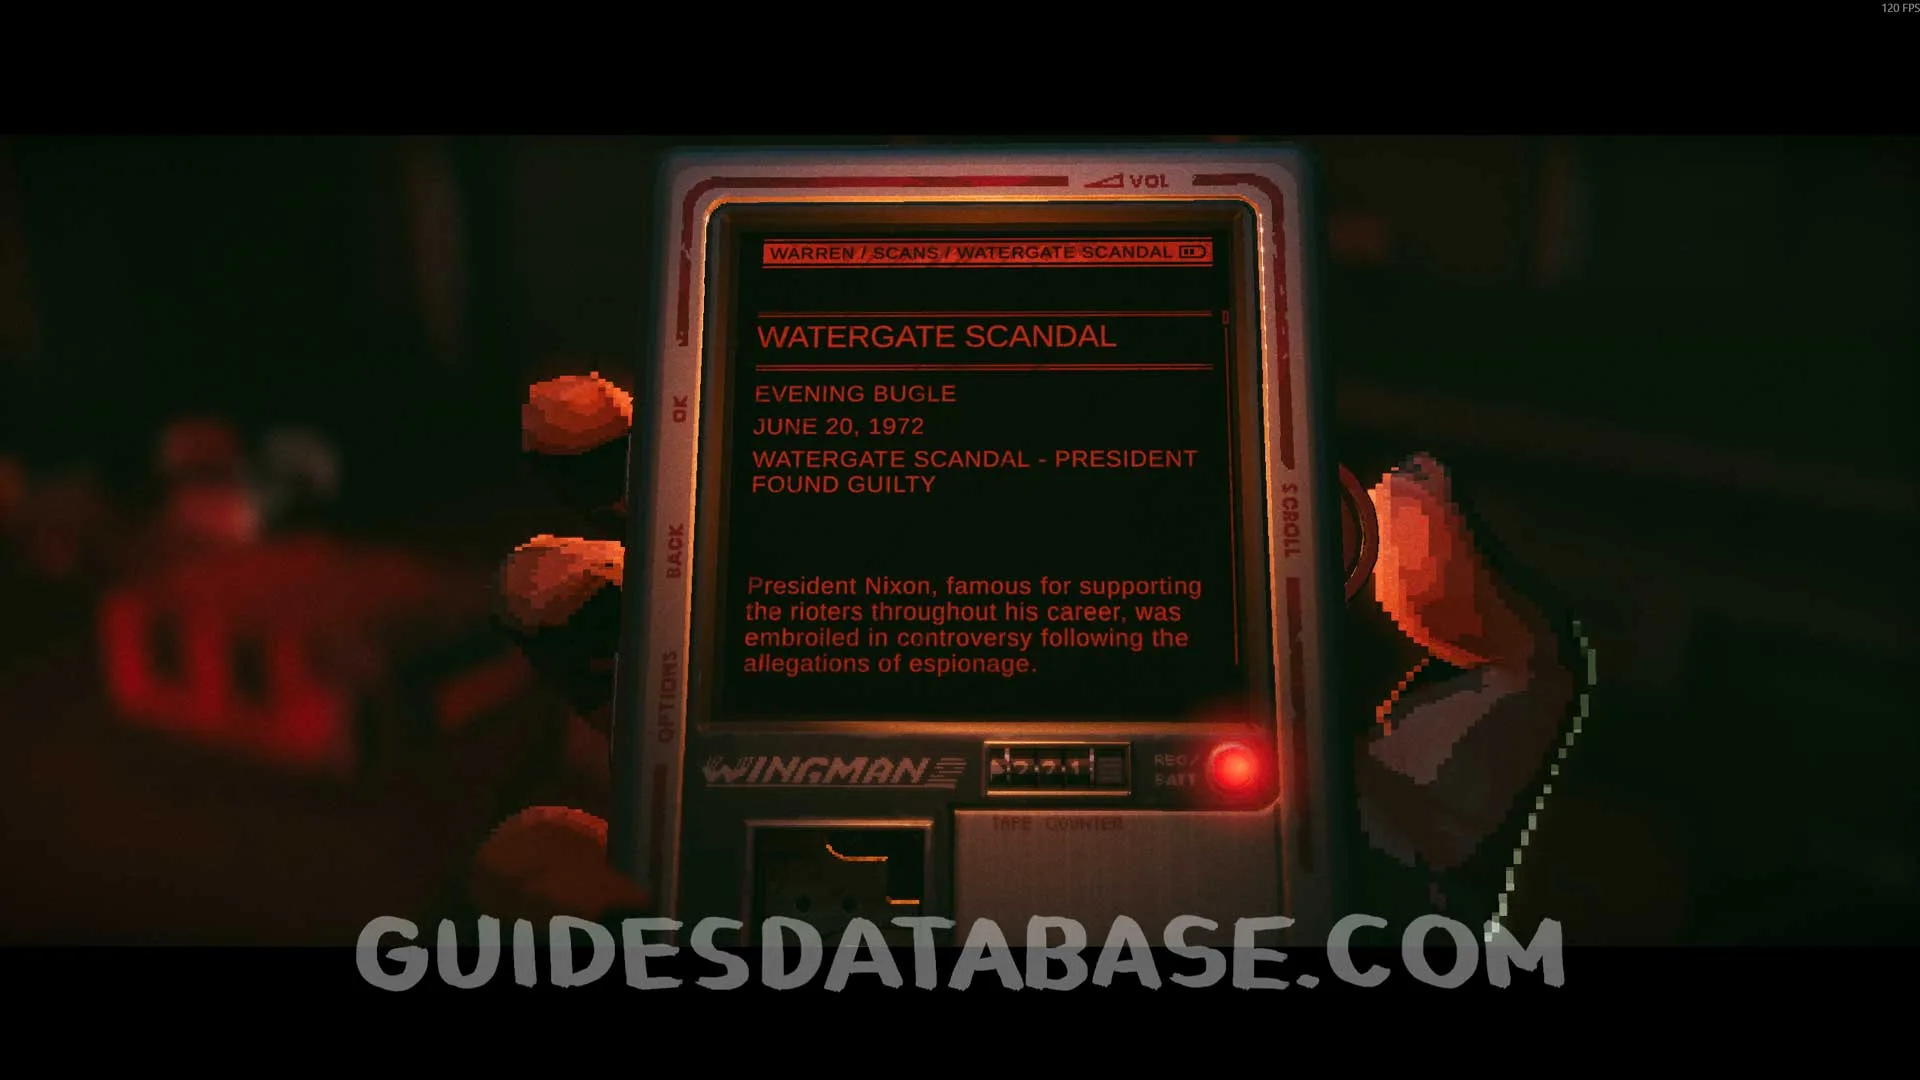 GUIDESDATABASE.COM
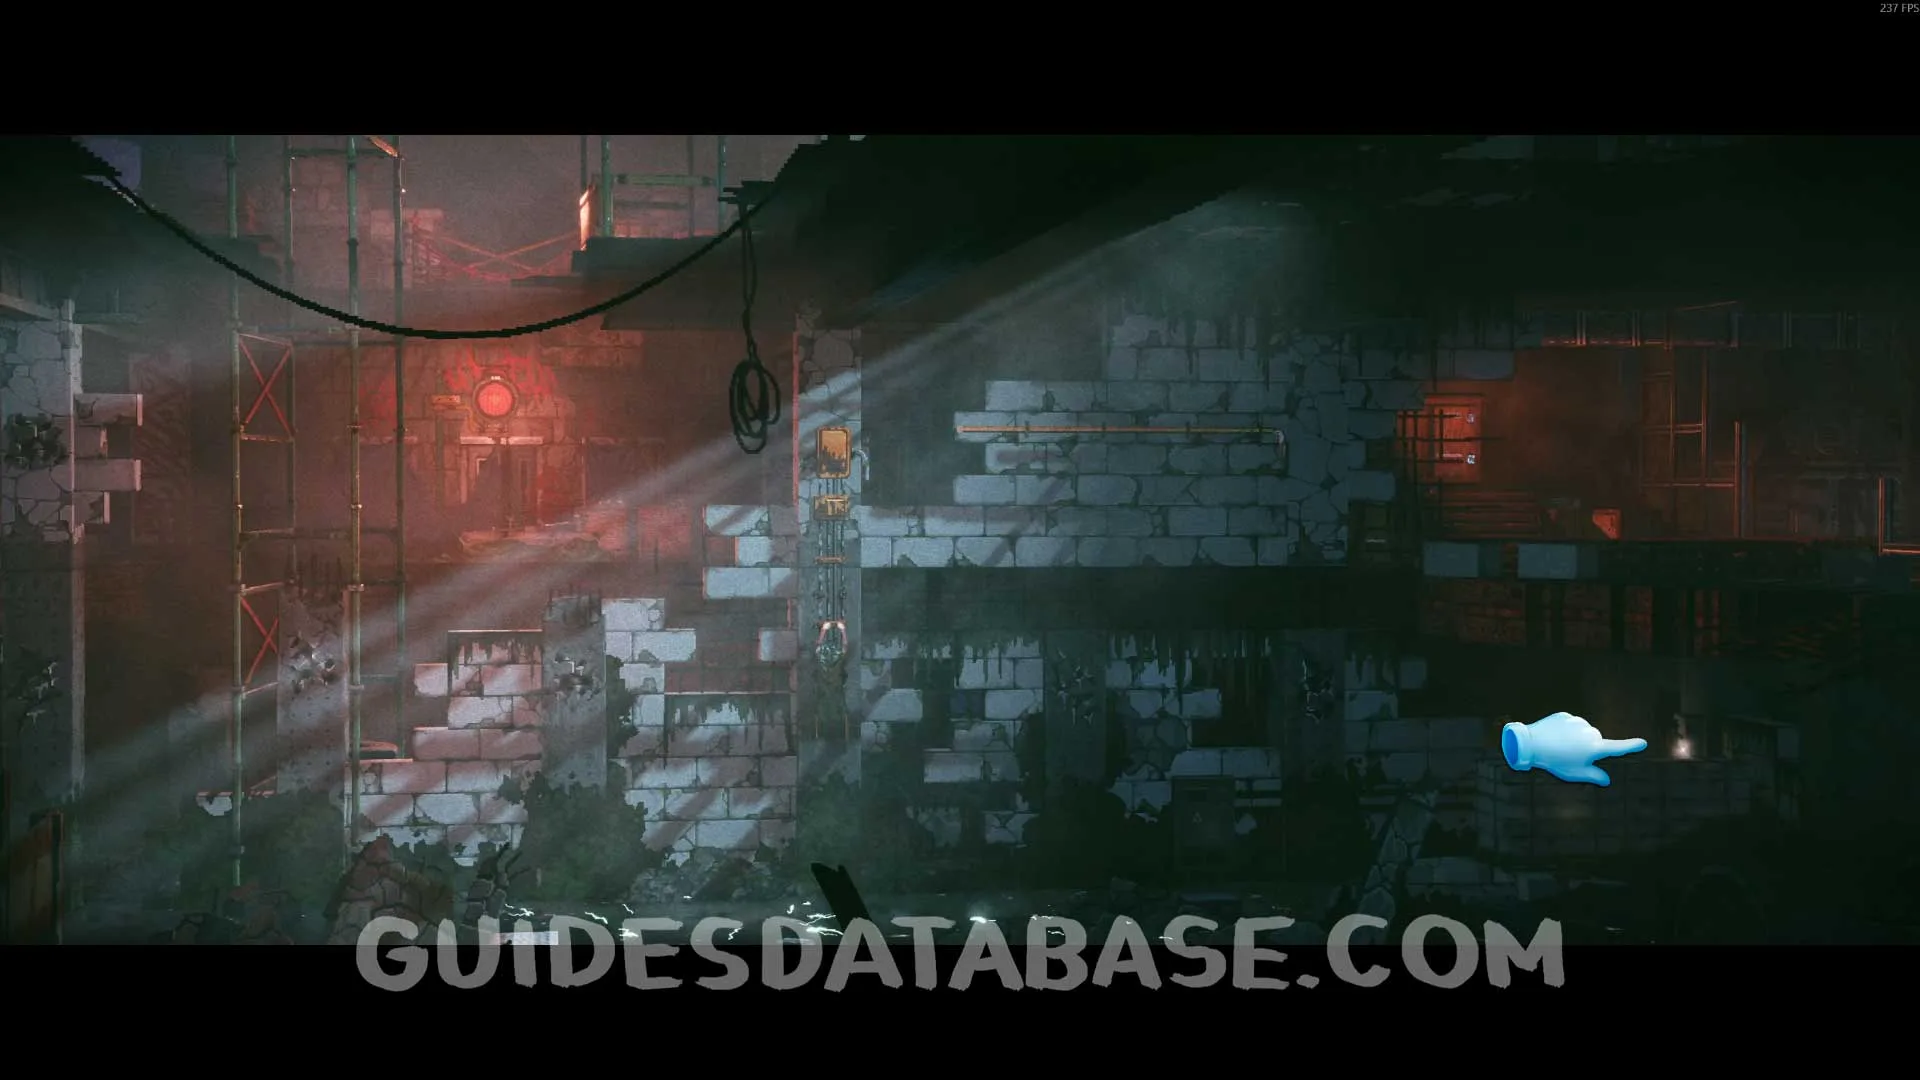
Scan #58 Action Figure
In the area with electrified water on the floor, you will need to hang on the walls using your pickaxe. This Scan will be in the bottom right corner.
 GUIDESDATABASE.COM
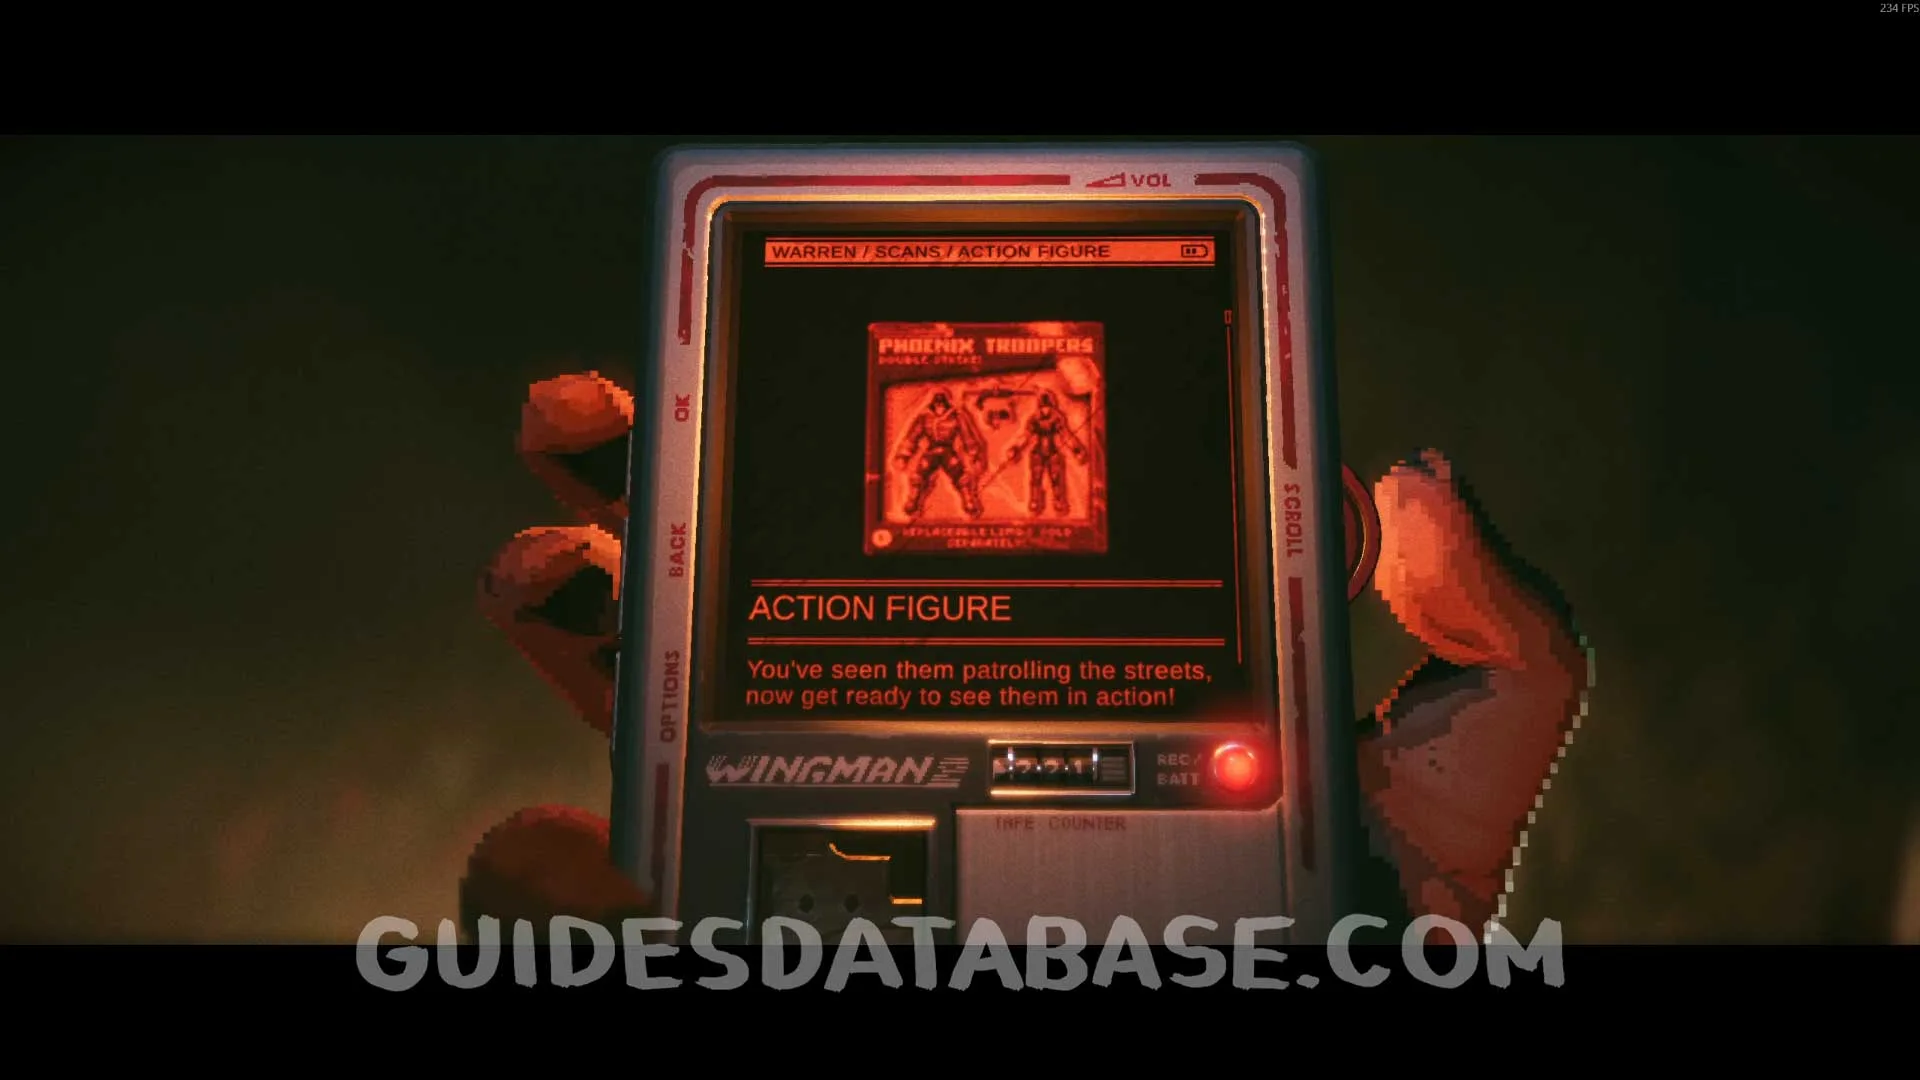 GUIDESDATABASE.COM
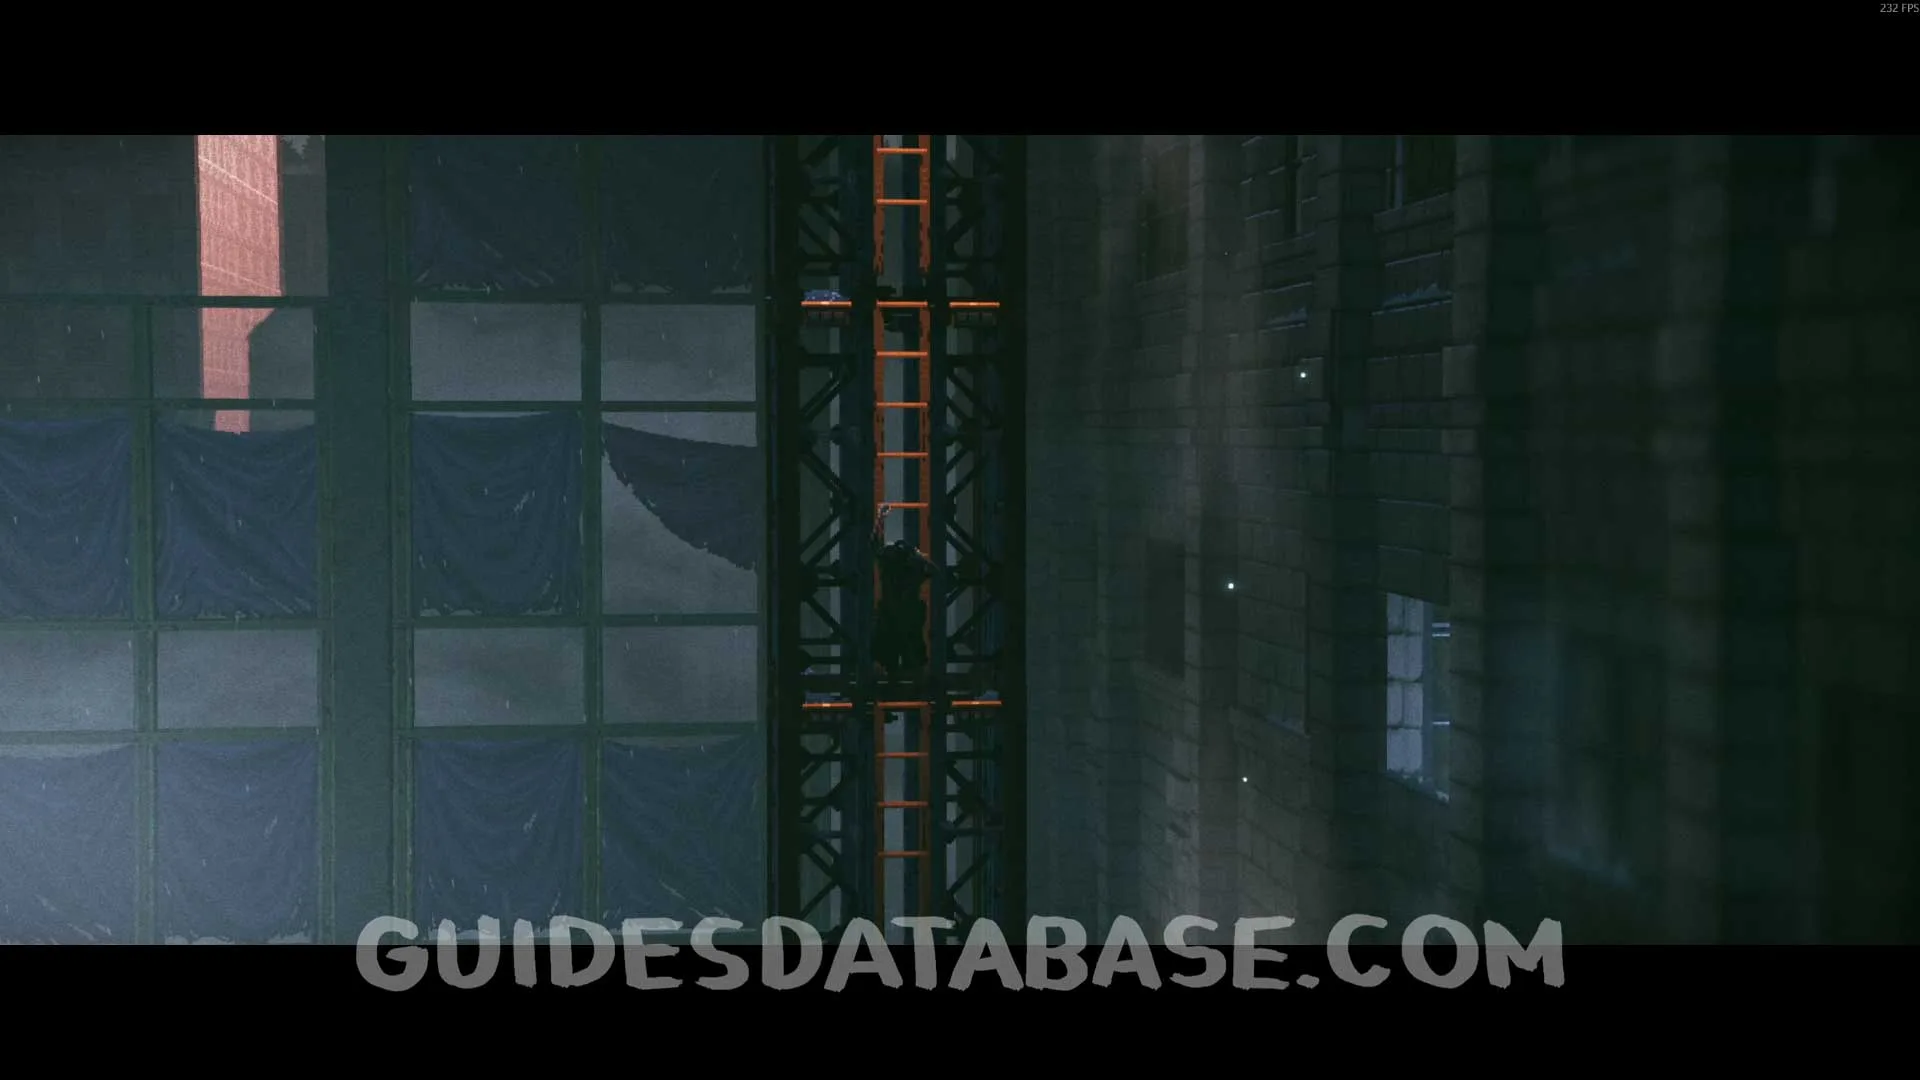
Scan #59 Portable Solar Panel
After going up the stairs, pass through the hole in the wall on the right side to find this Scan.
 GUIDESDATABASE.COM
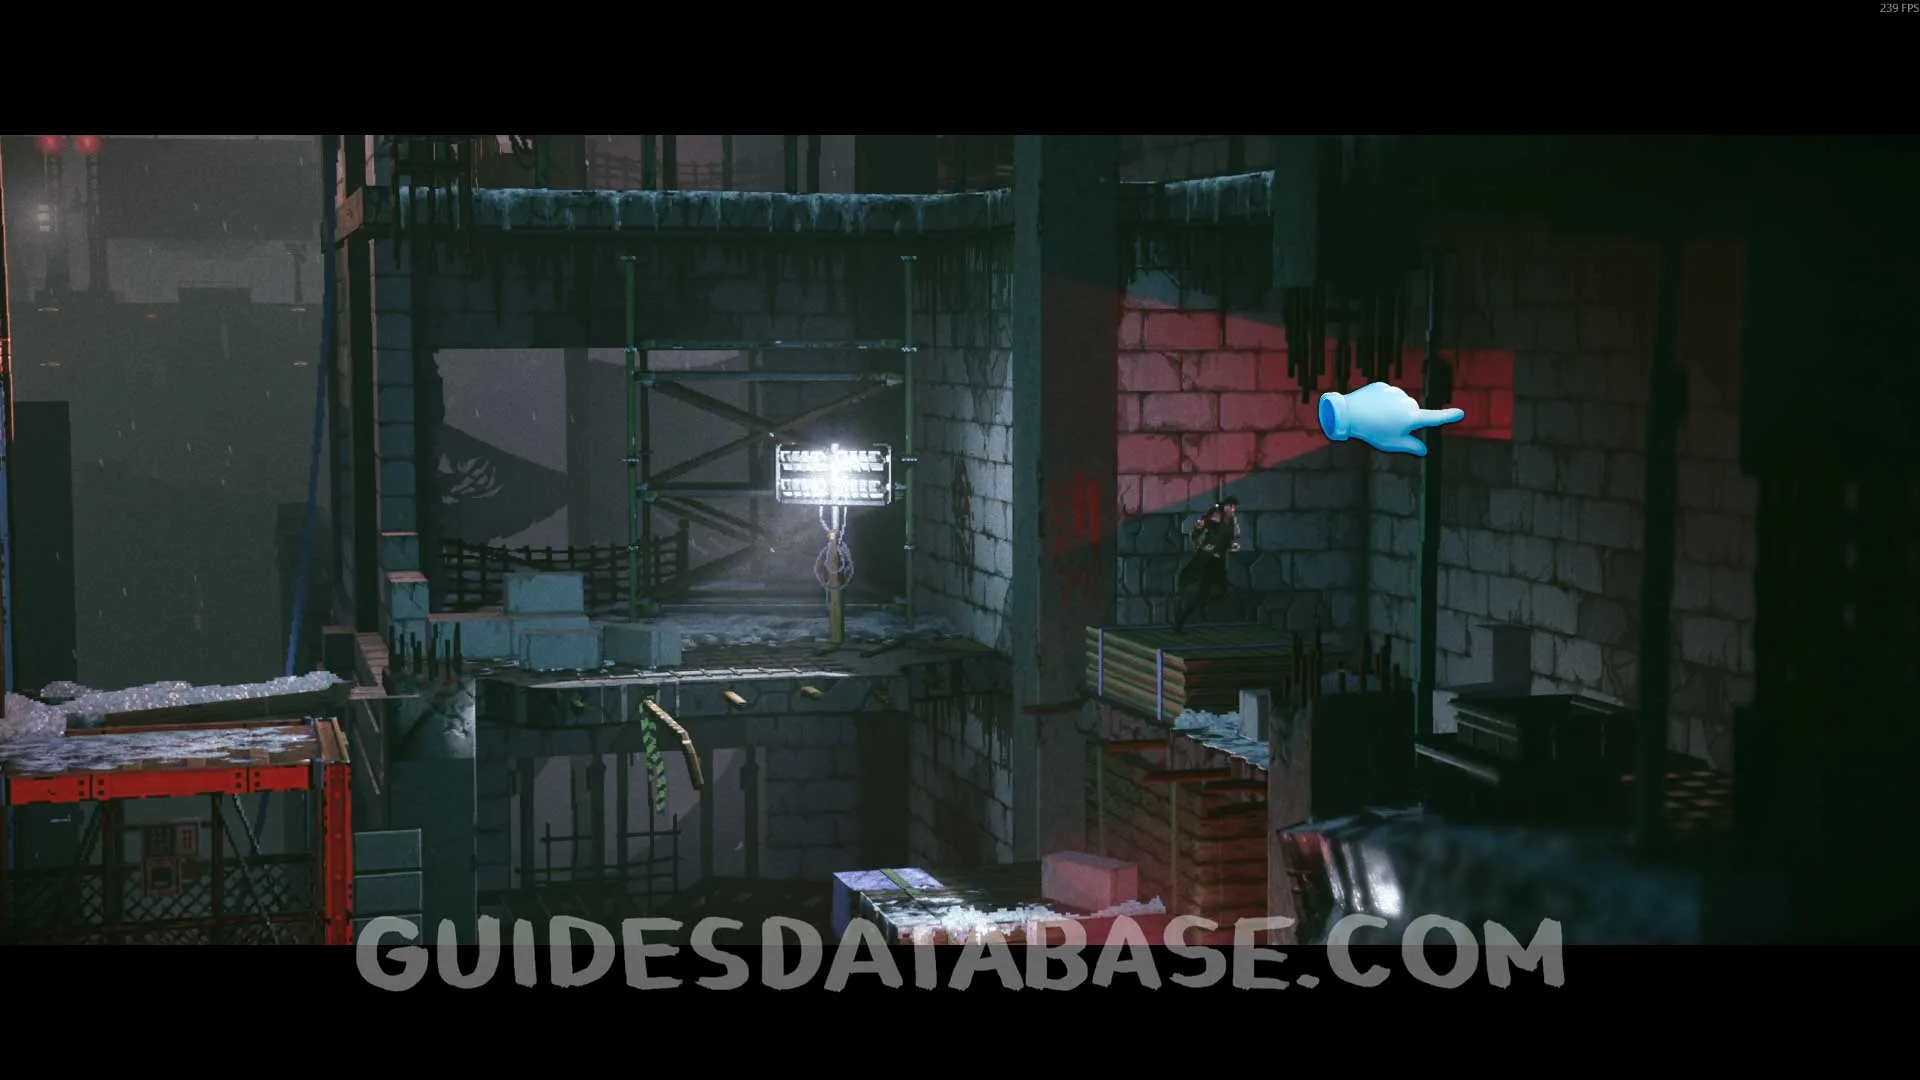 GUIDESDATABASE.COM
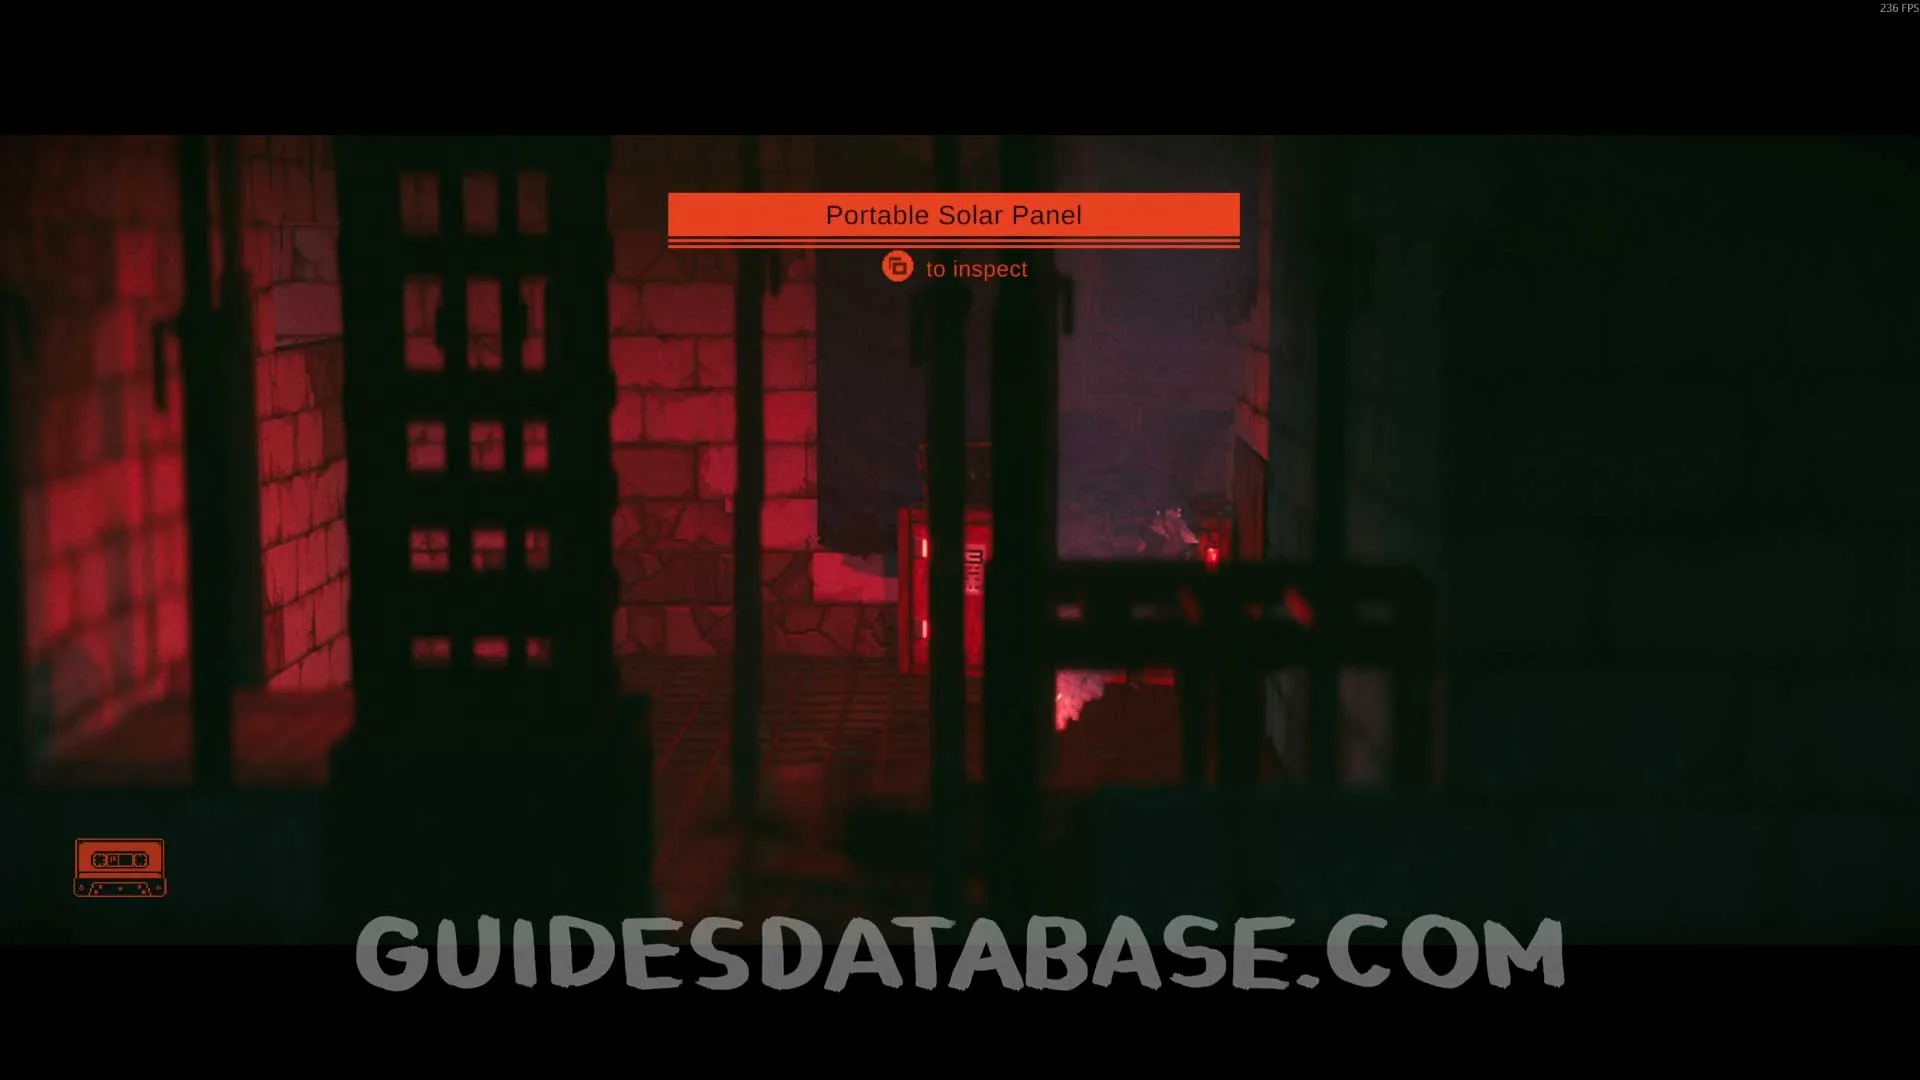 GUIDESDATABASE.COM
Scan #60 Rusted Pin
After defeating the next enemies, it will be on the left side of the area.
 GUIDESDATABASE.COM
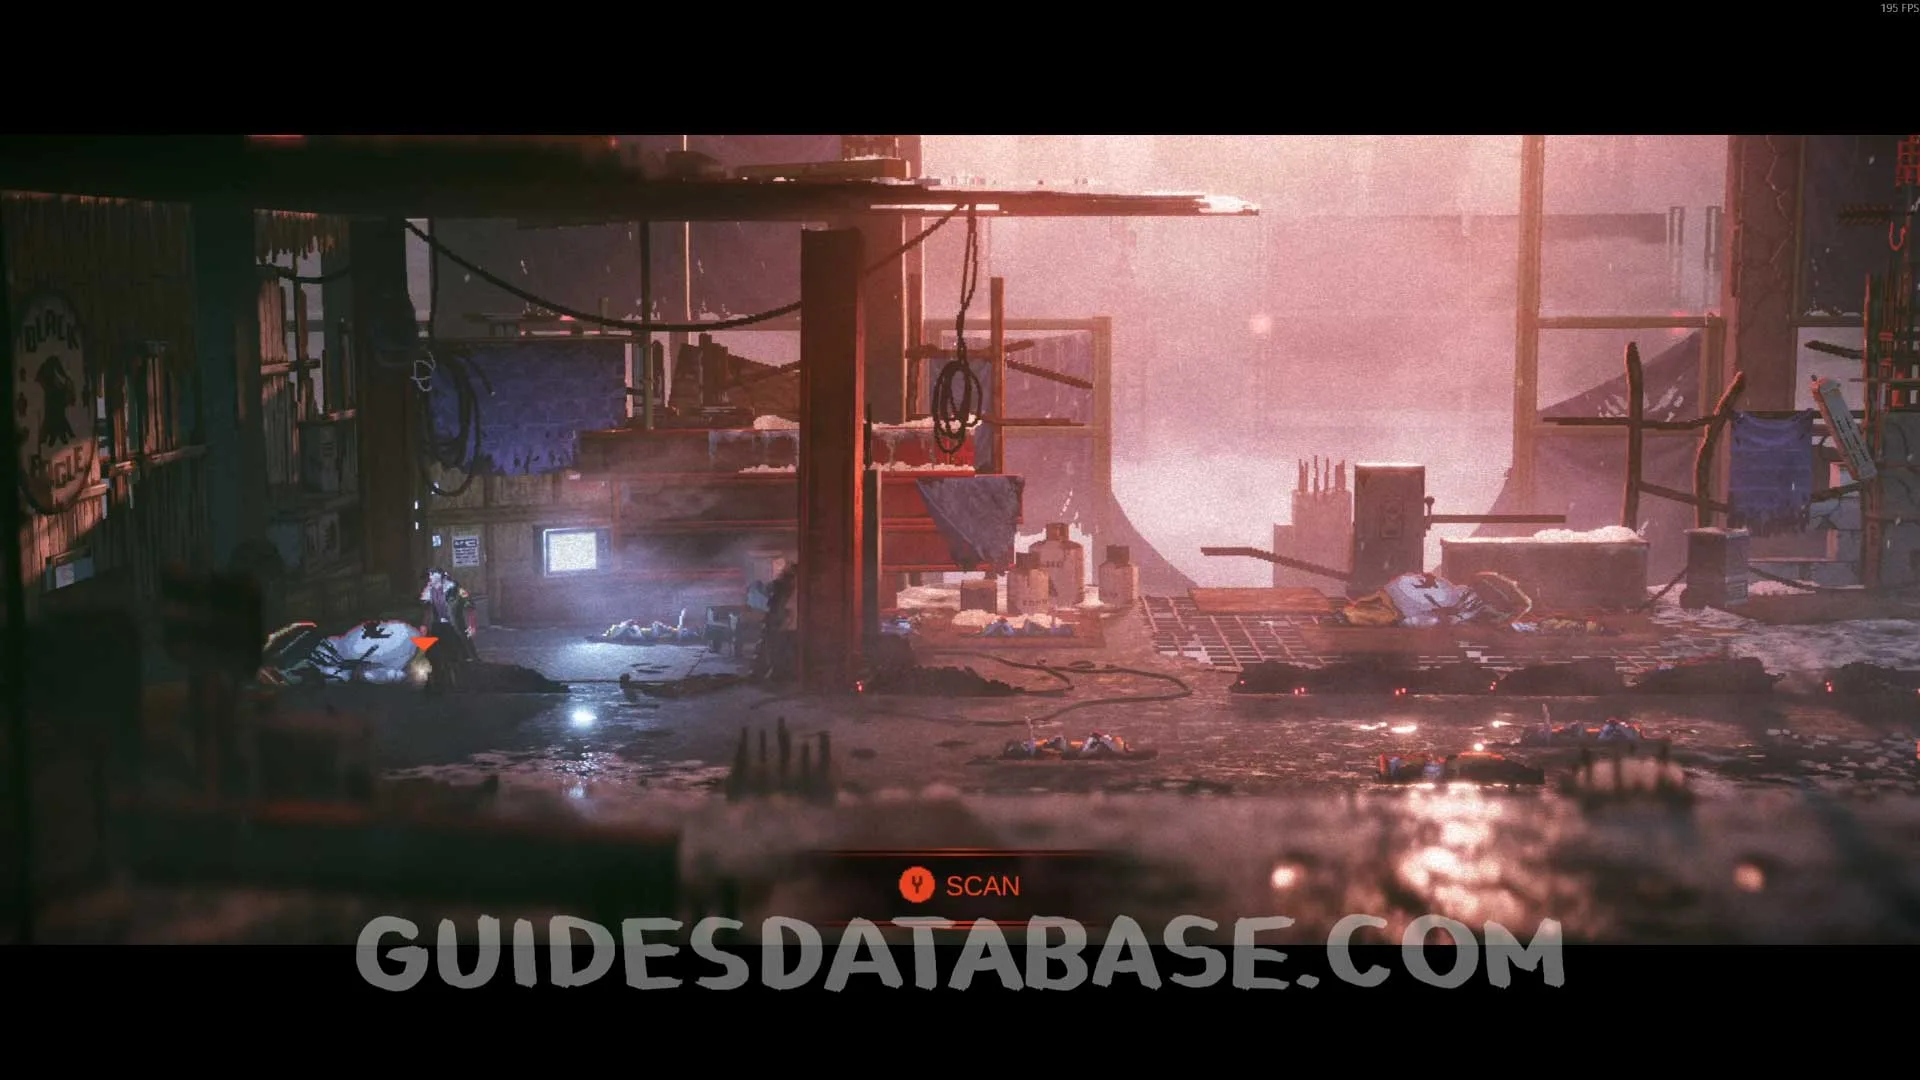 GUIDESDATABASE.COM
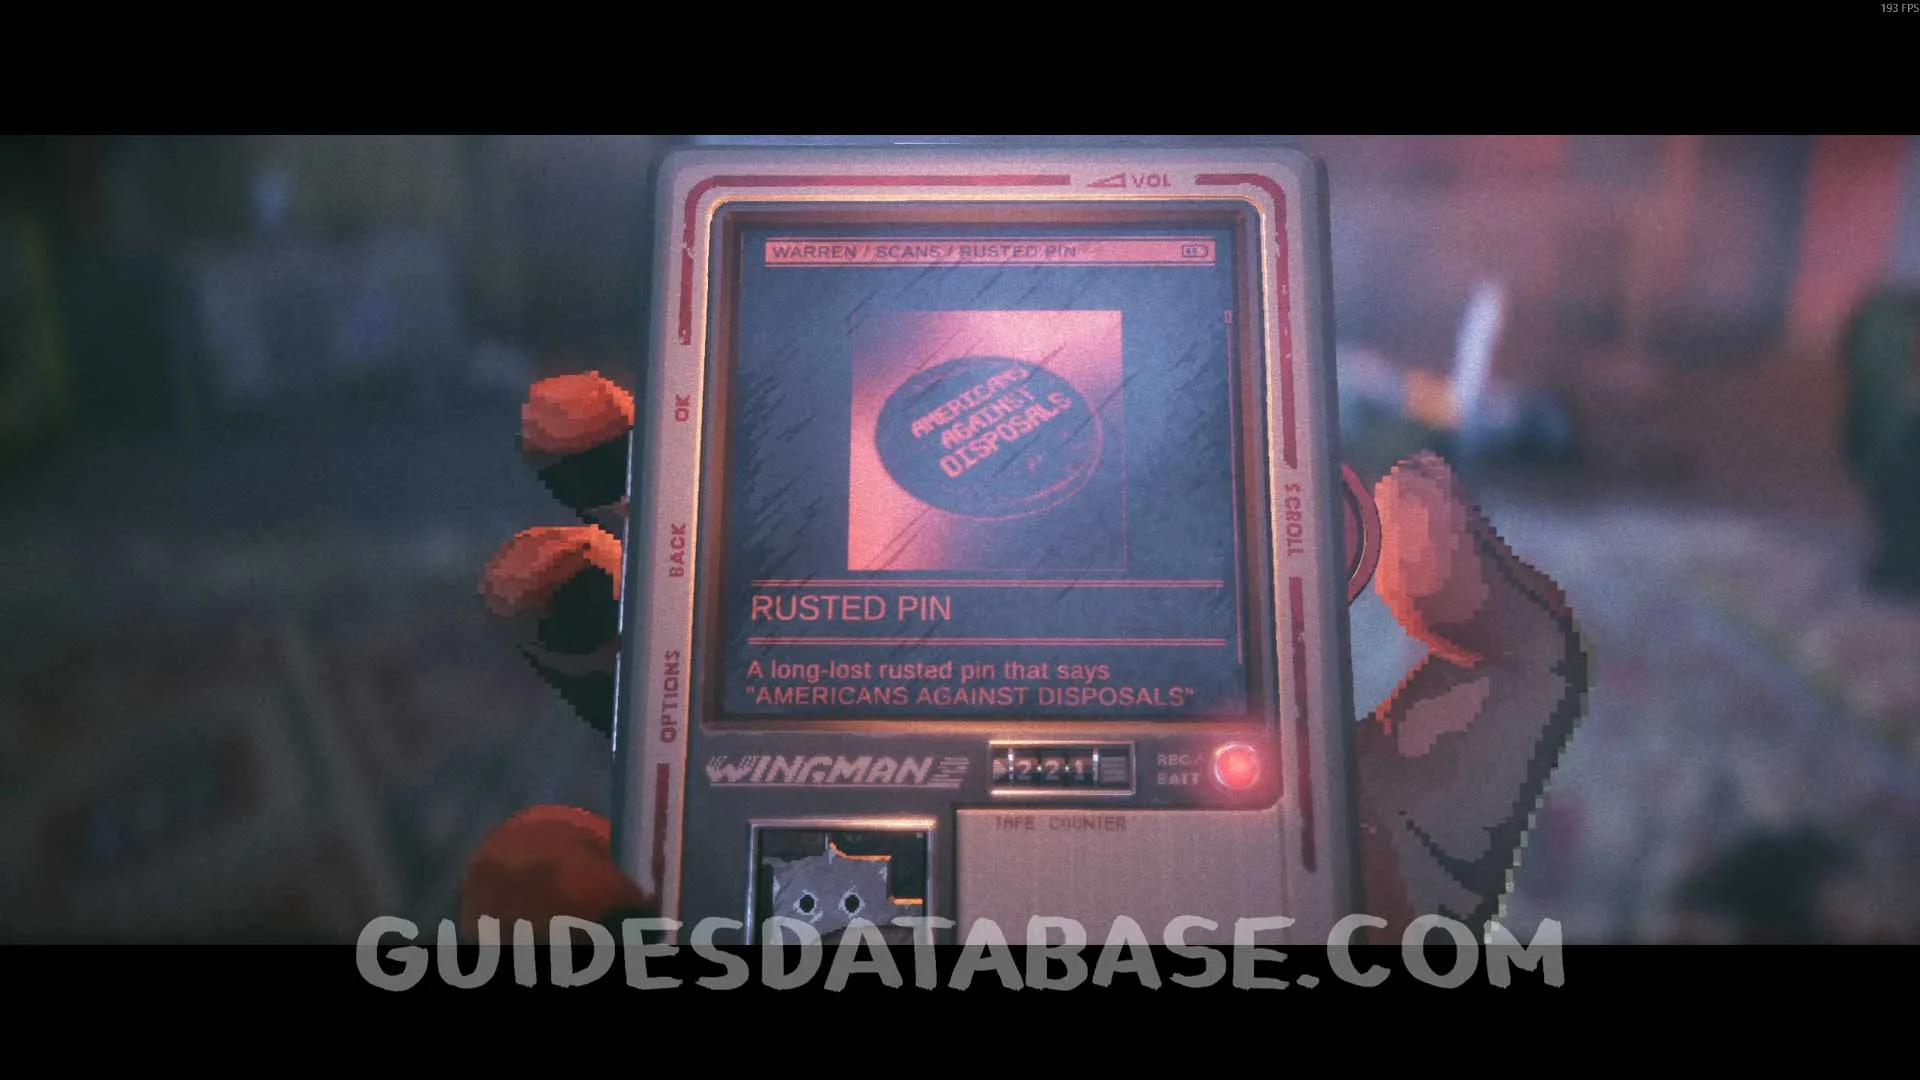 GUIDESDATABASE.COM
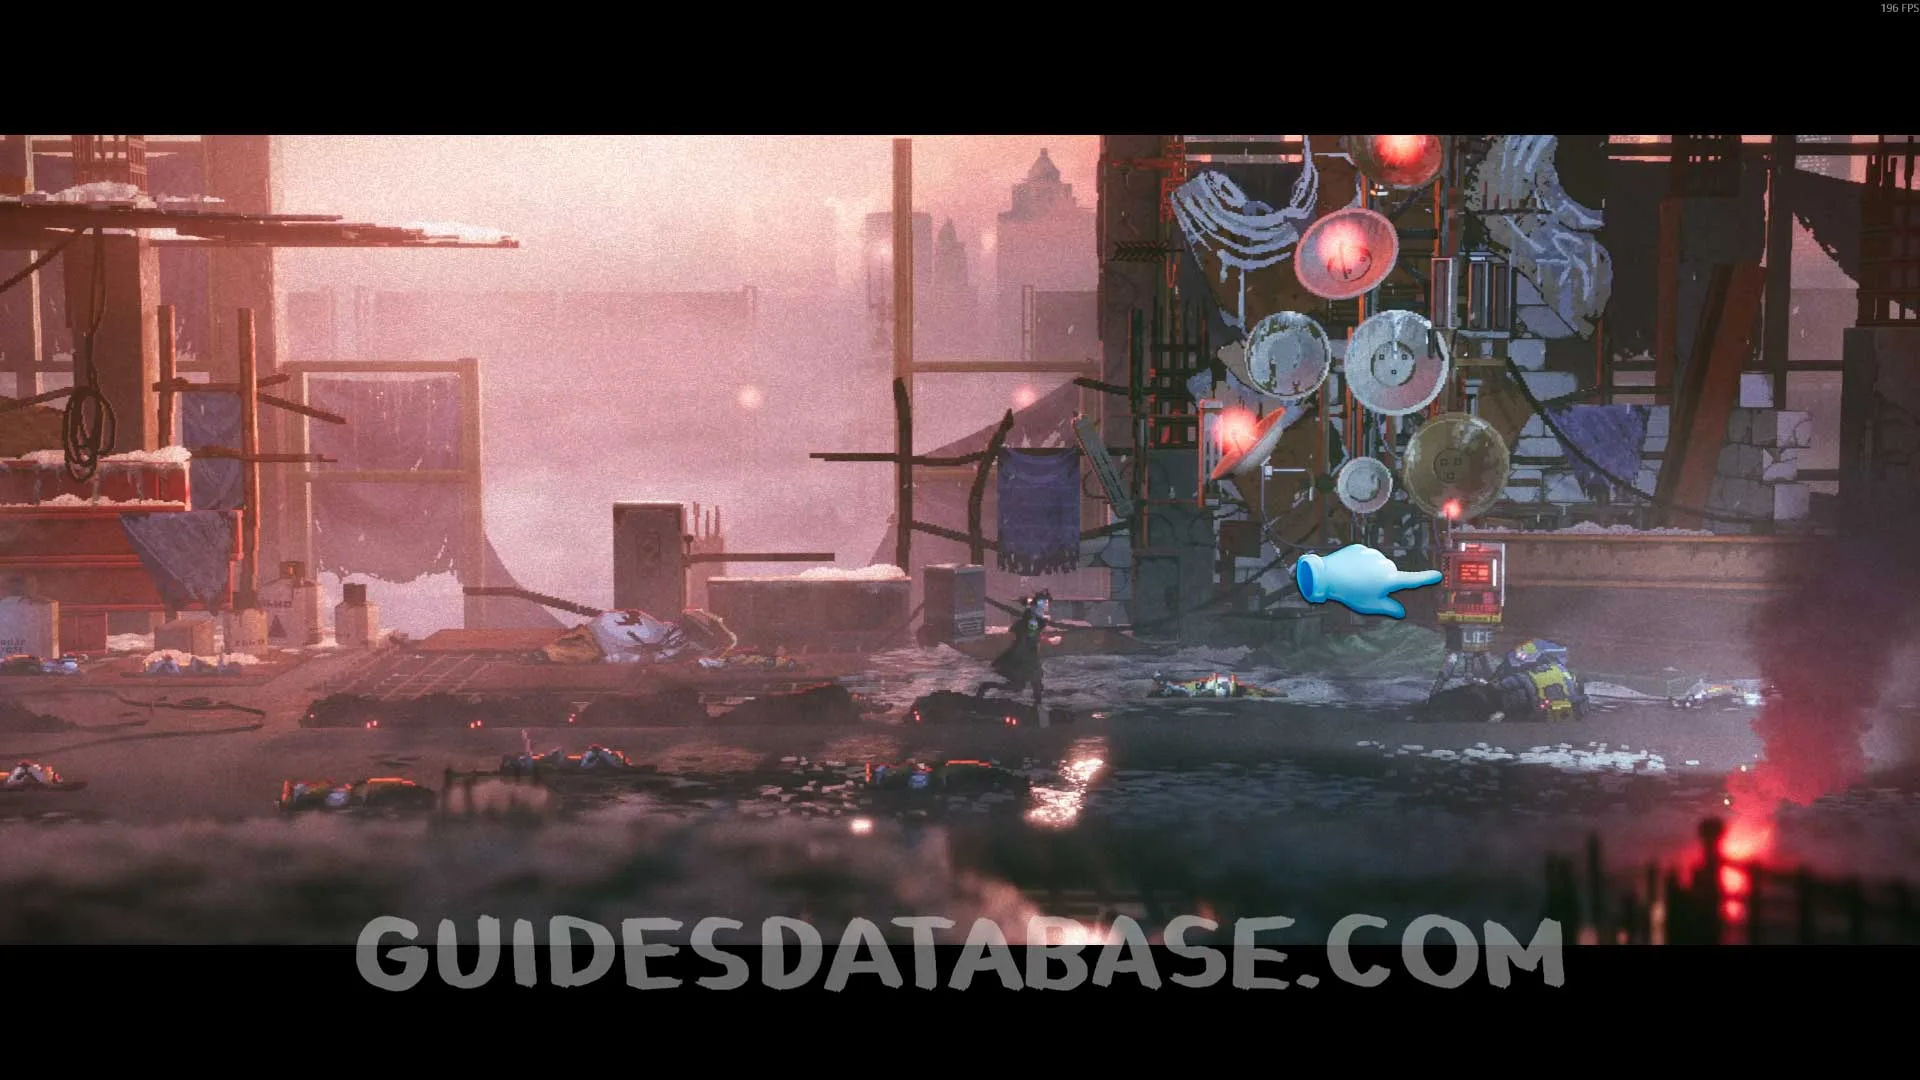
Scan #61 PCPD Trooper's Report + Scan #62 Nixon Vs Phoenix Corporation
Same area as the previous collectible. On the right side, interact with the terminal and go through the files.
 GUIDESDATABASE.COM
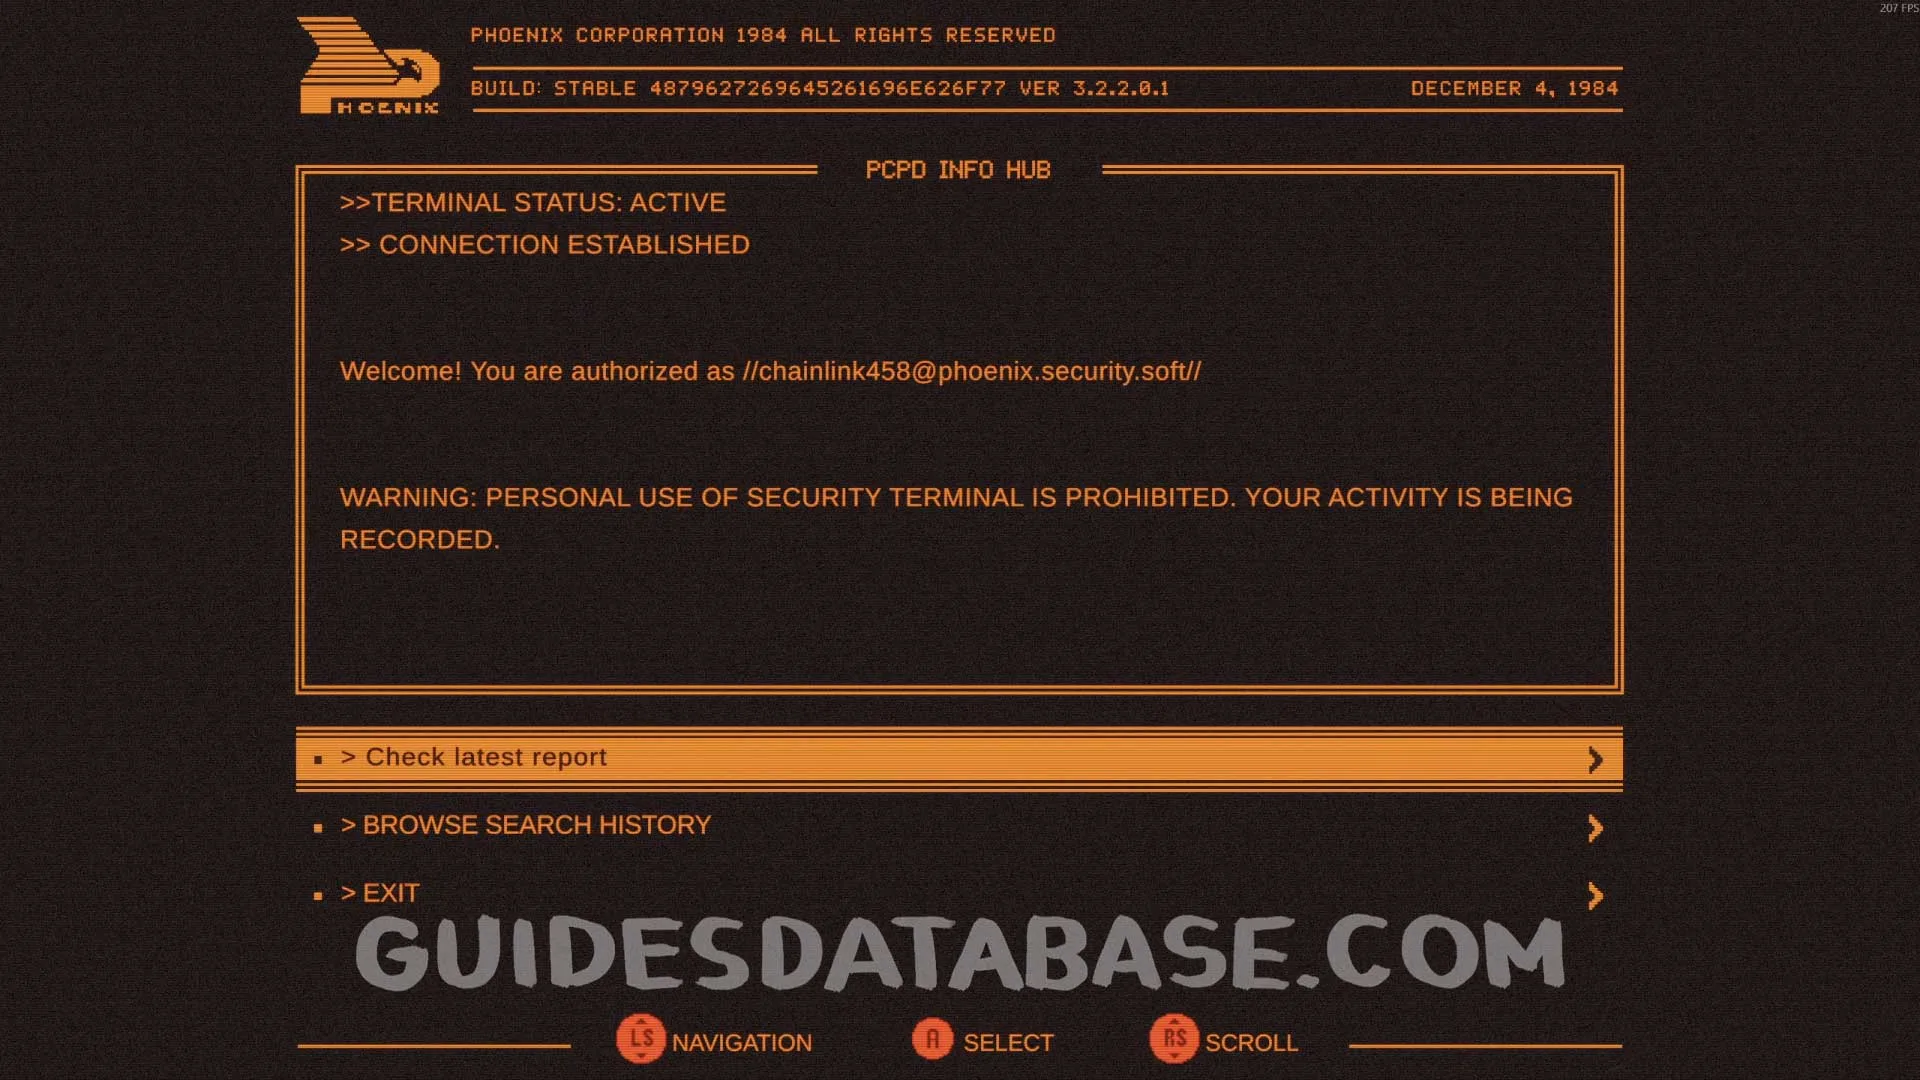 GUIDESDATABASE.COM
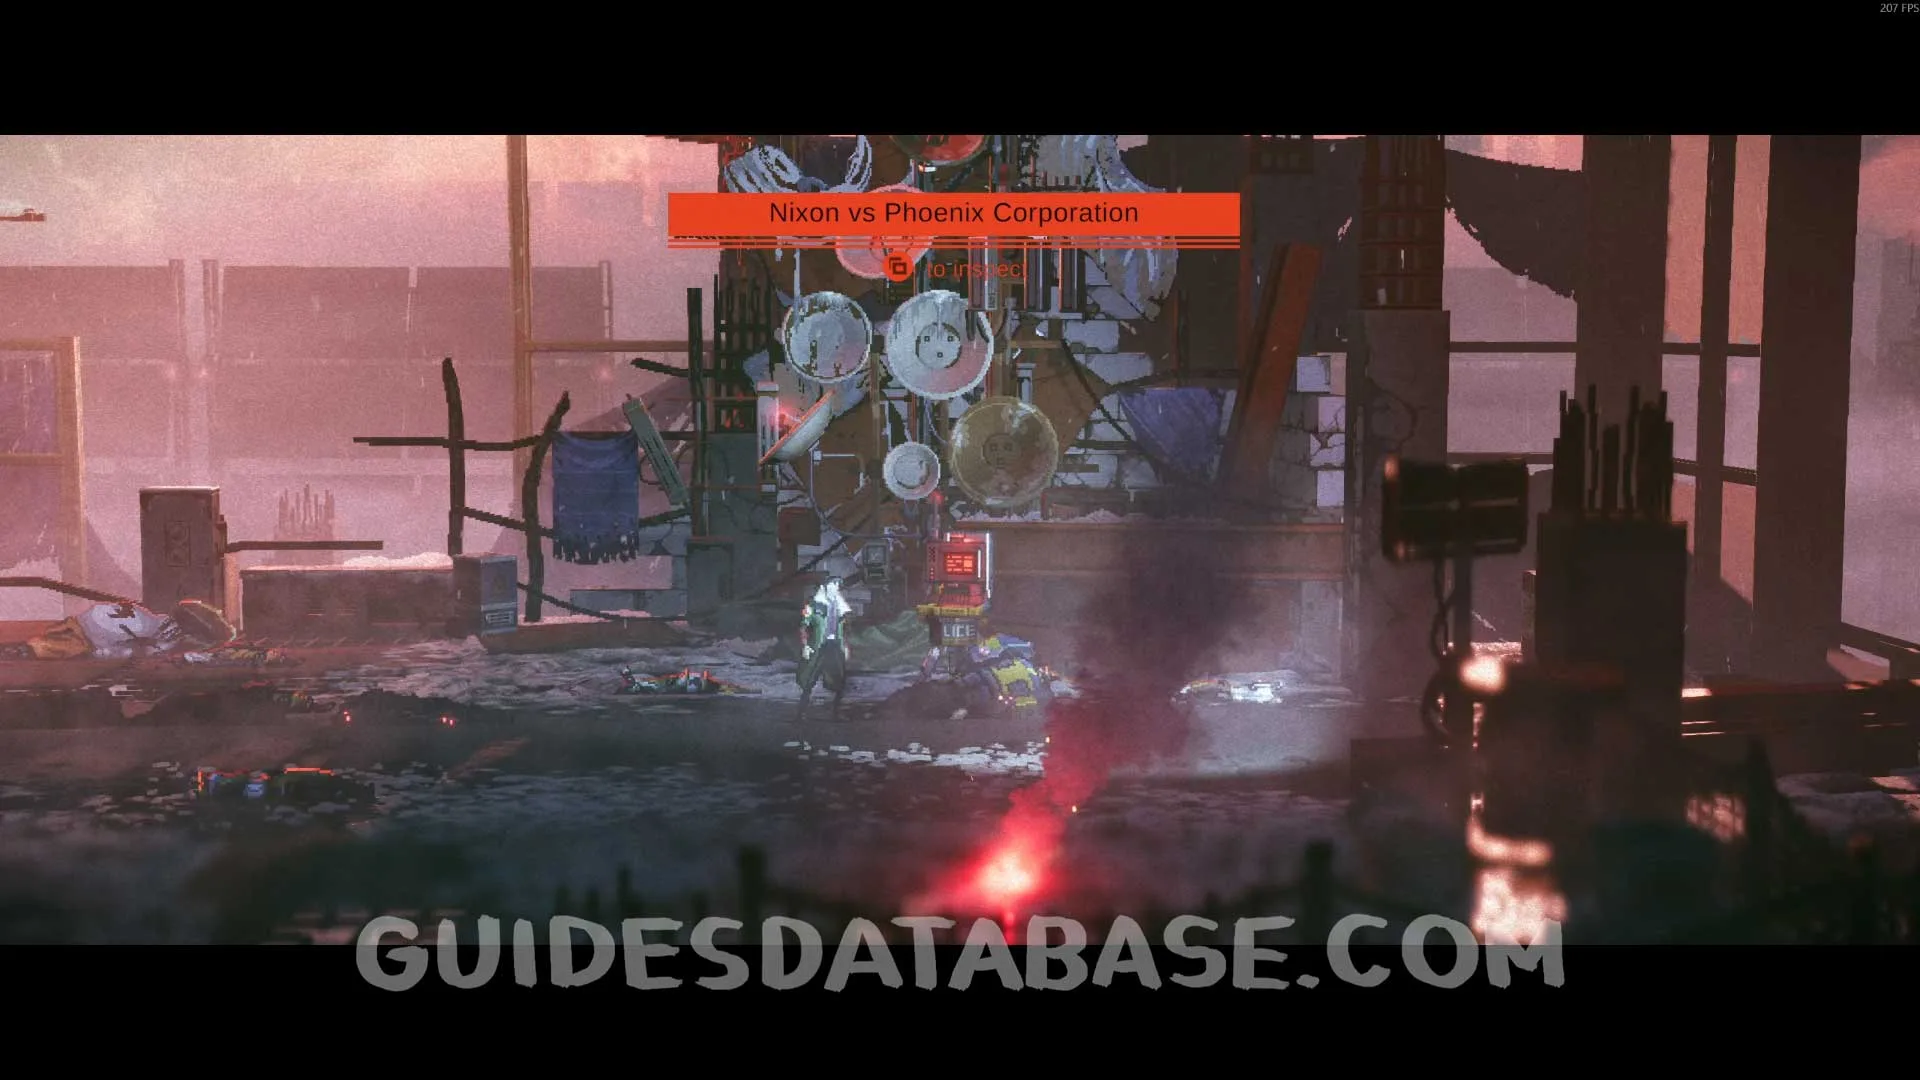 GUIDESDATABASE.COM
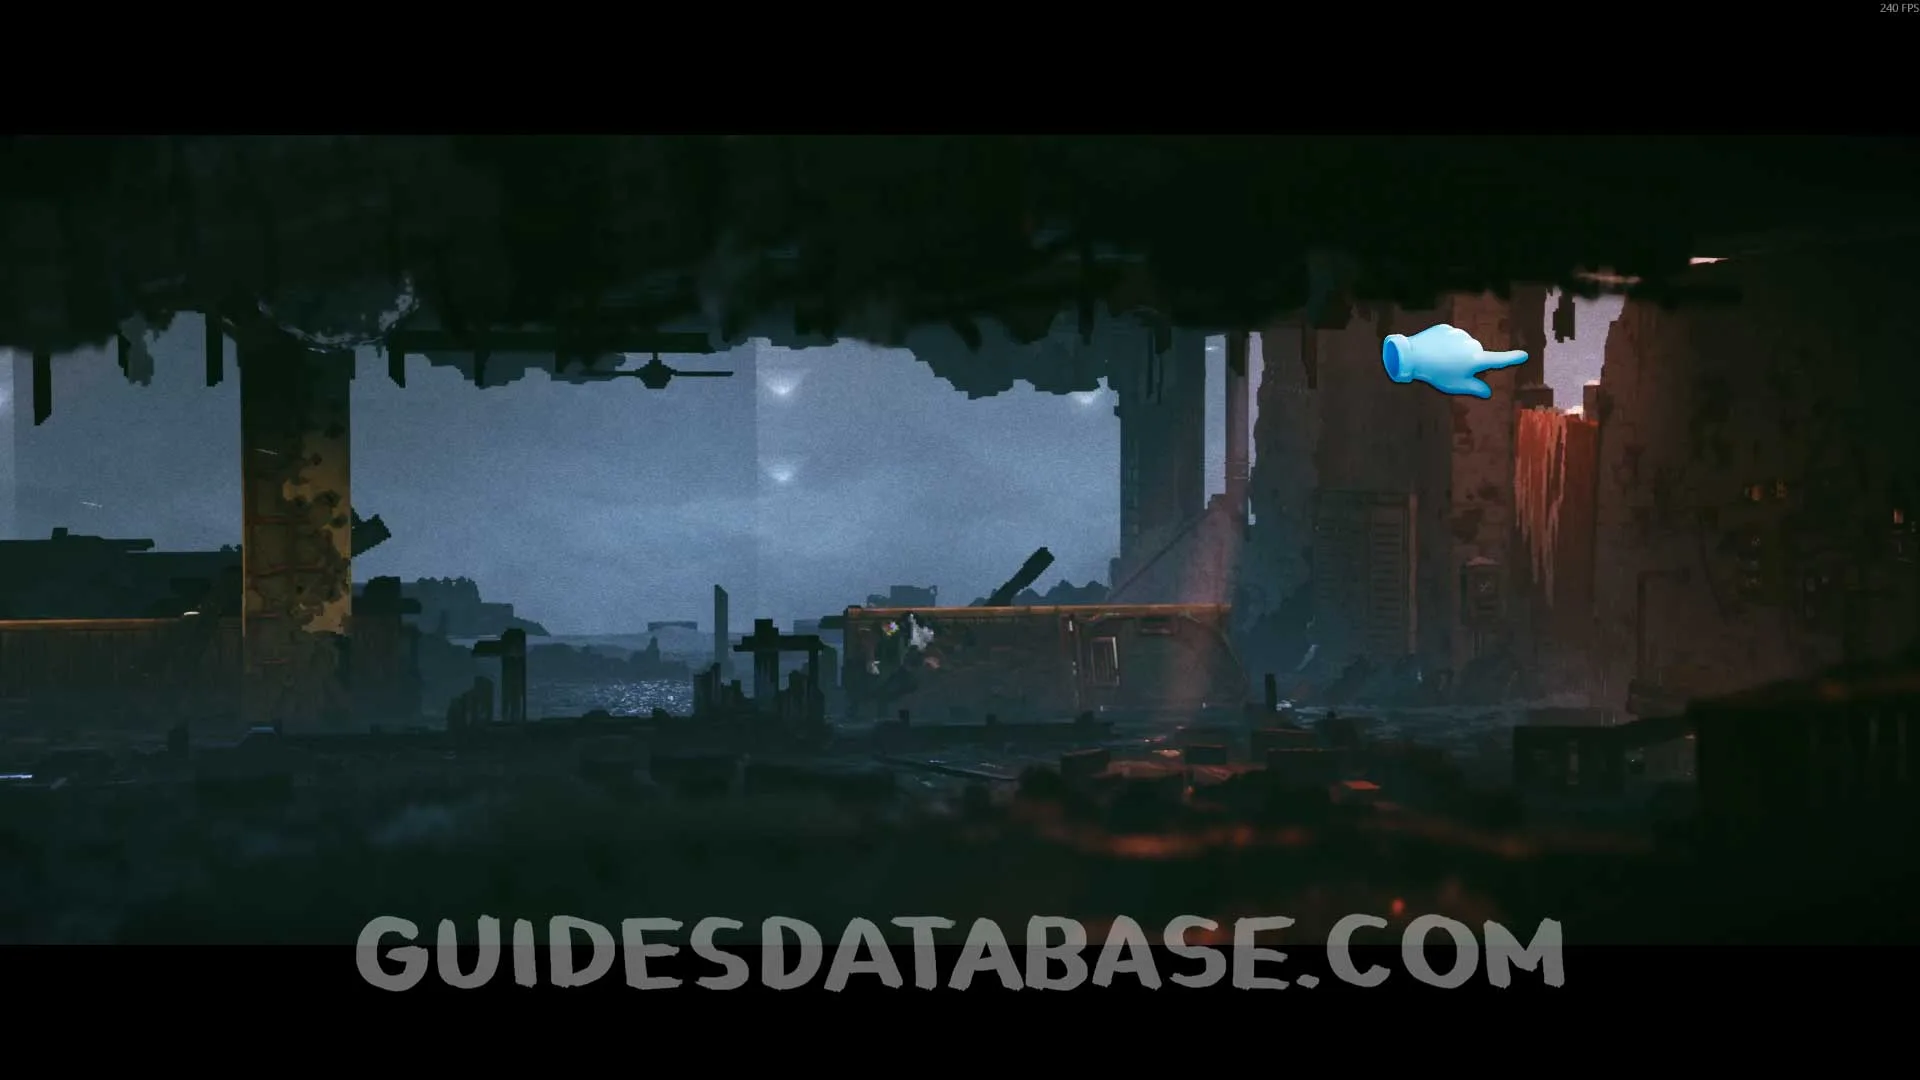
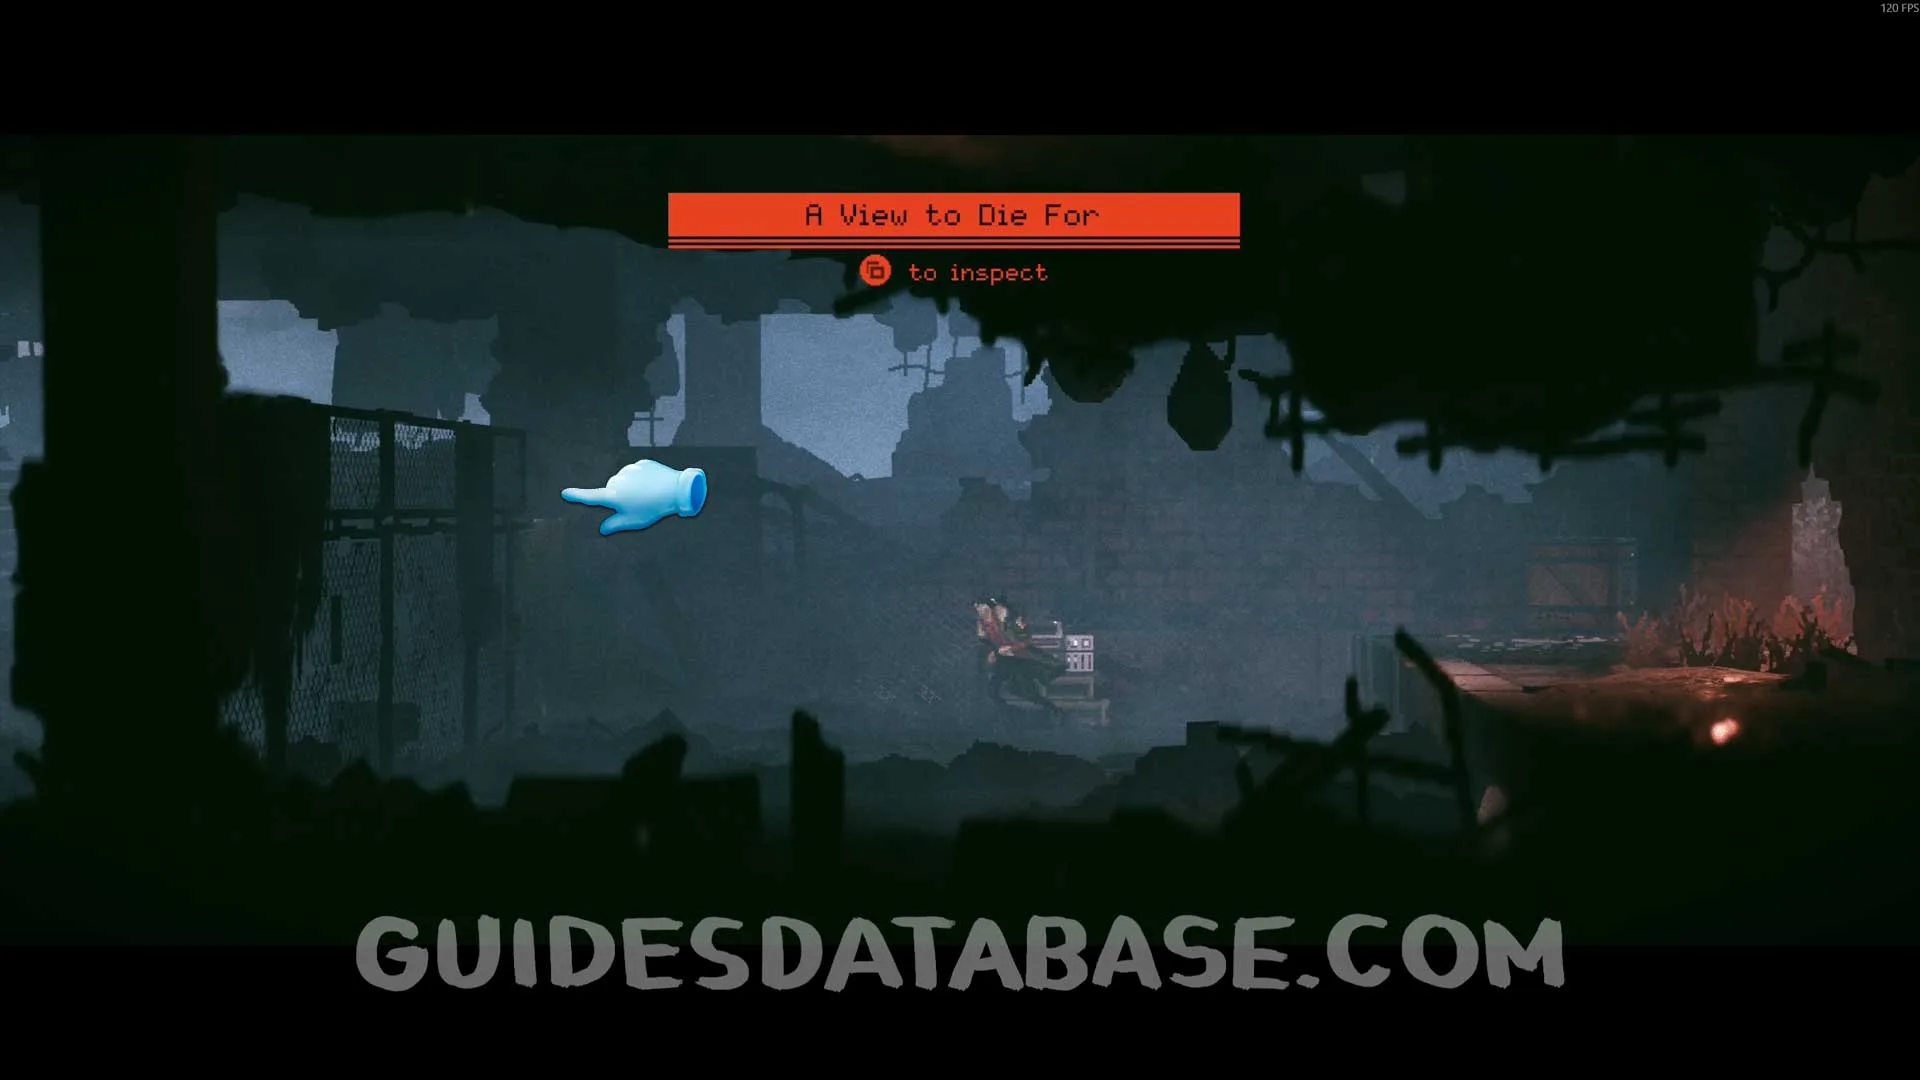
Music #7 A View To Die For
Further into the chapter, after being chased by a drone and sliding through some areas, you will need to pass through a hole in the wall to progress. After going through the hole and landing on the ground, head to the left to find this music.
 GUIDESDATABASE.COM
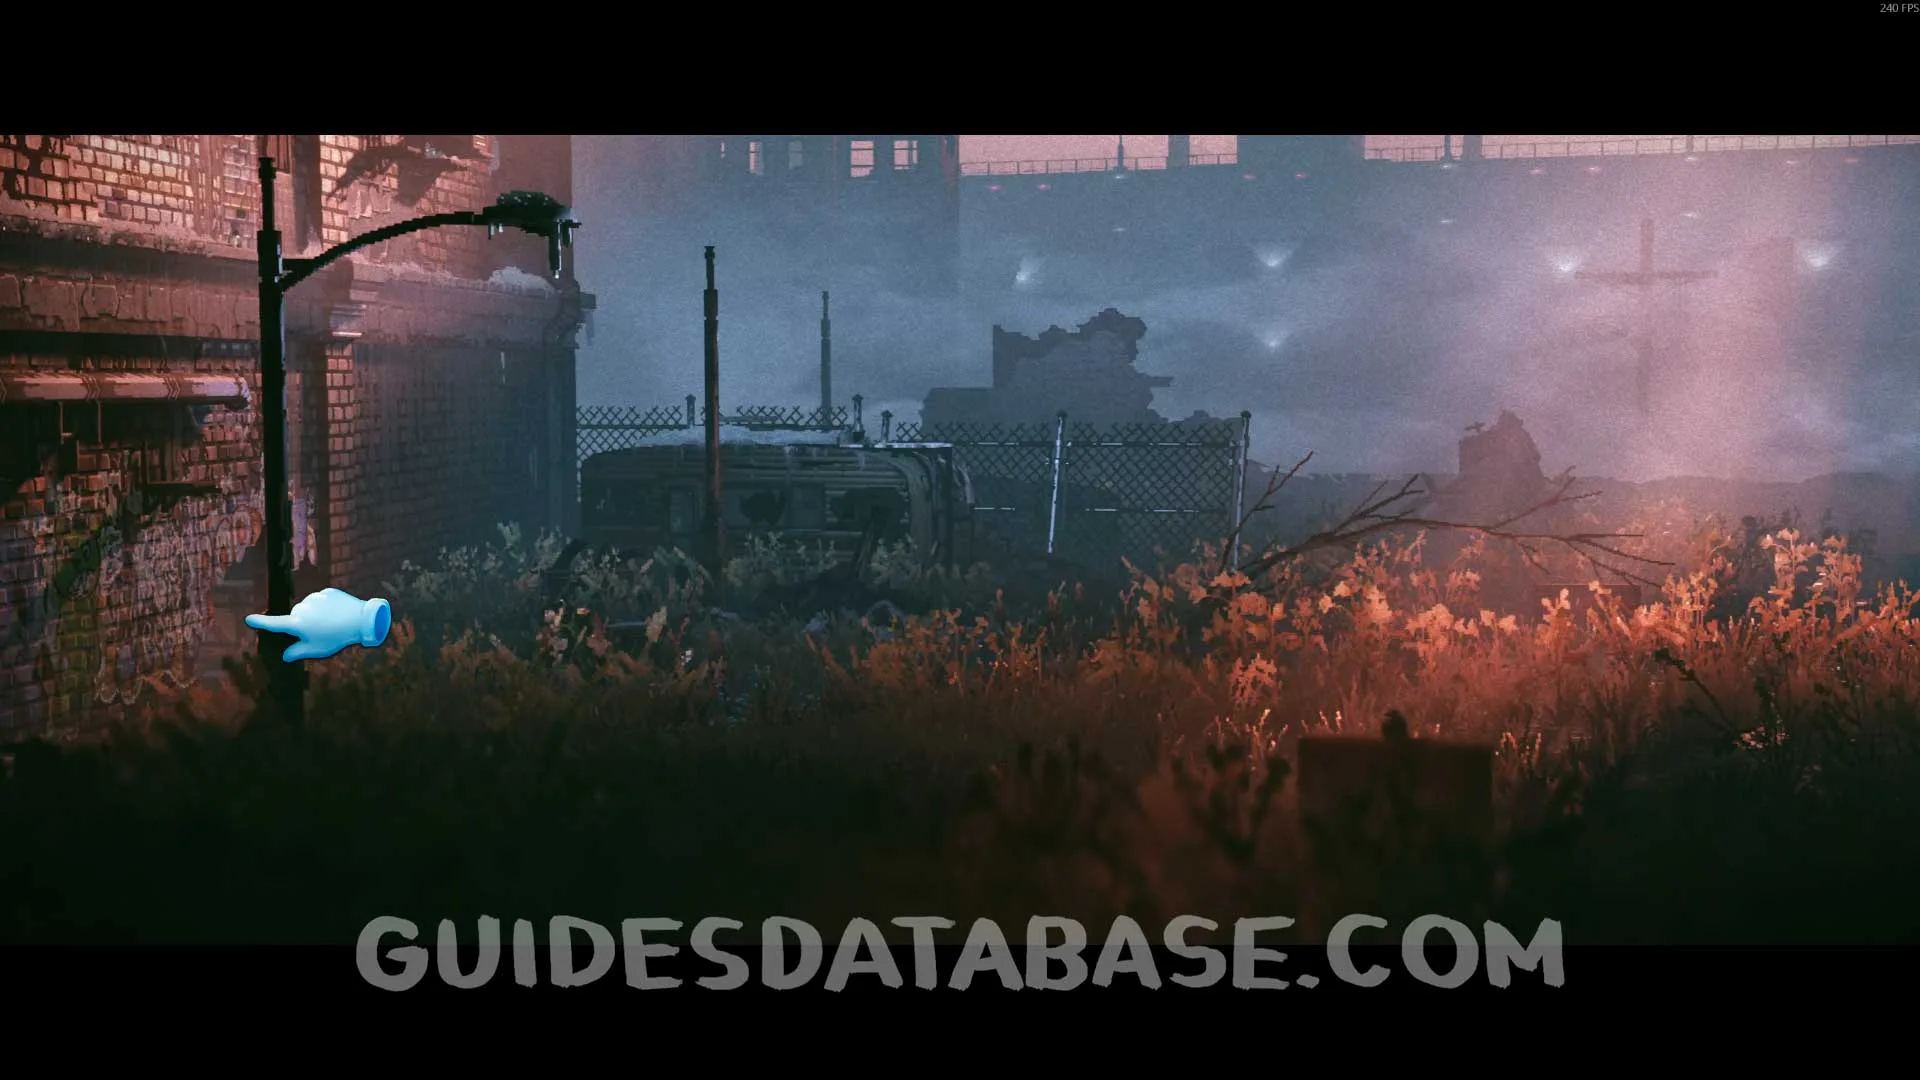 GUIDESDATABASE.COM
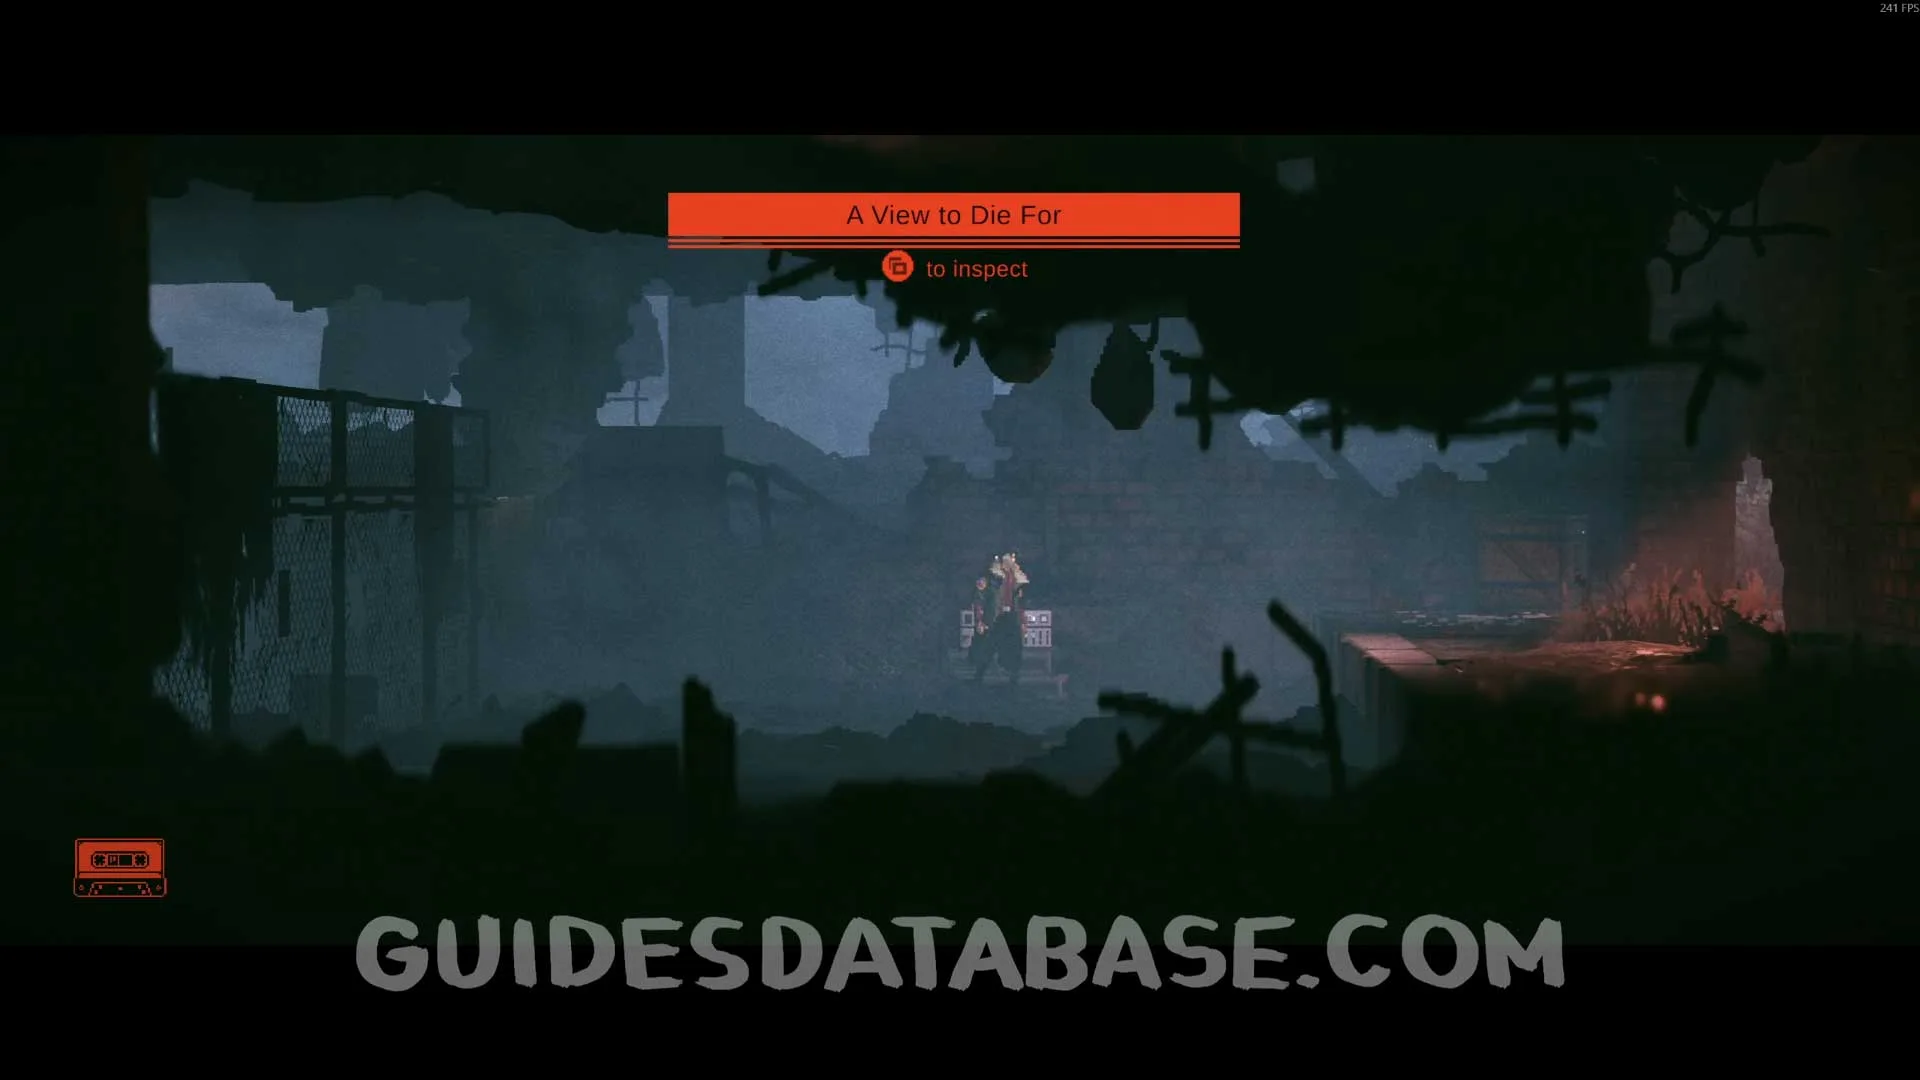 GUIDESDATABASE.COM
Kinetic Inductor #3
Same area as the previous collectible, jump over the fence on the left to pick up this Kinetic Inductor.
 GUIDESDATABASE.COM
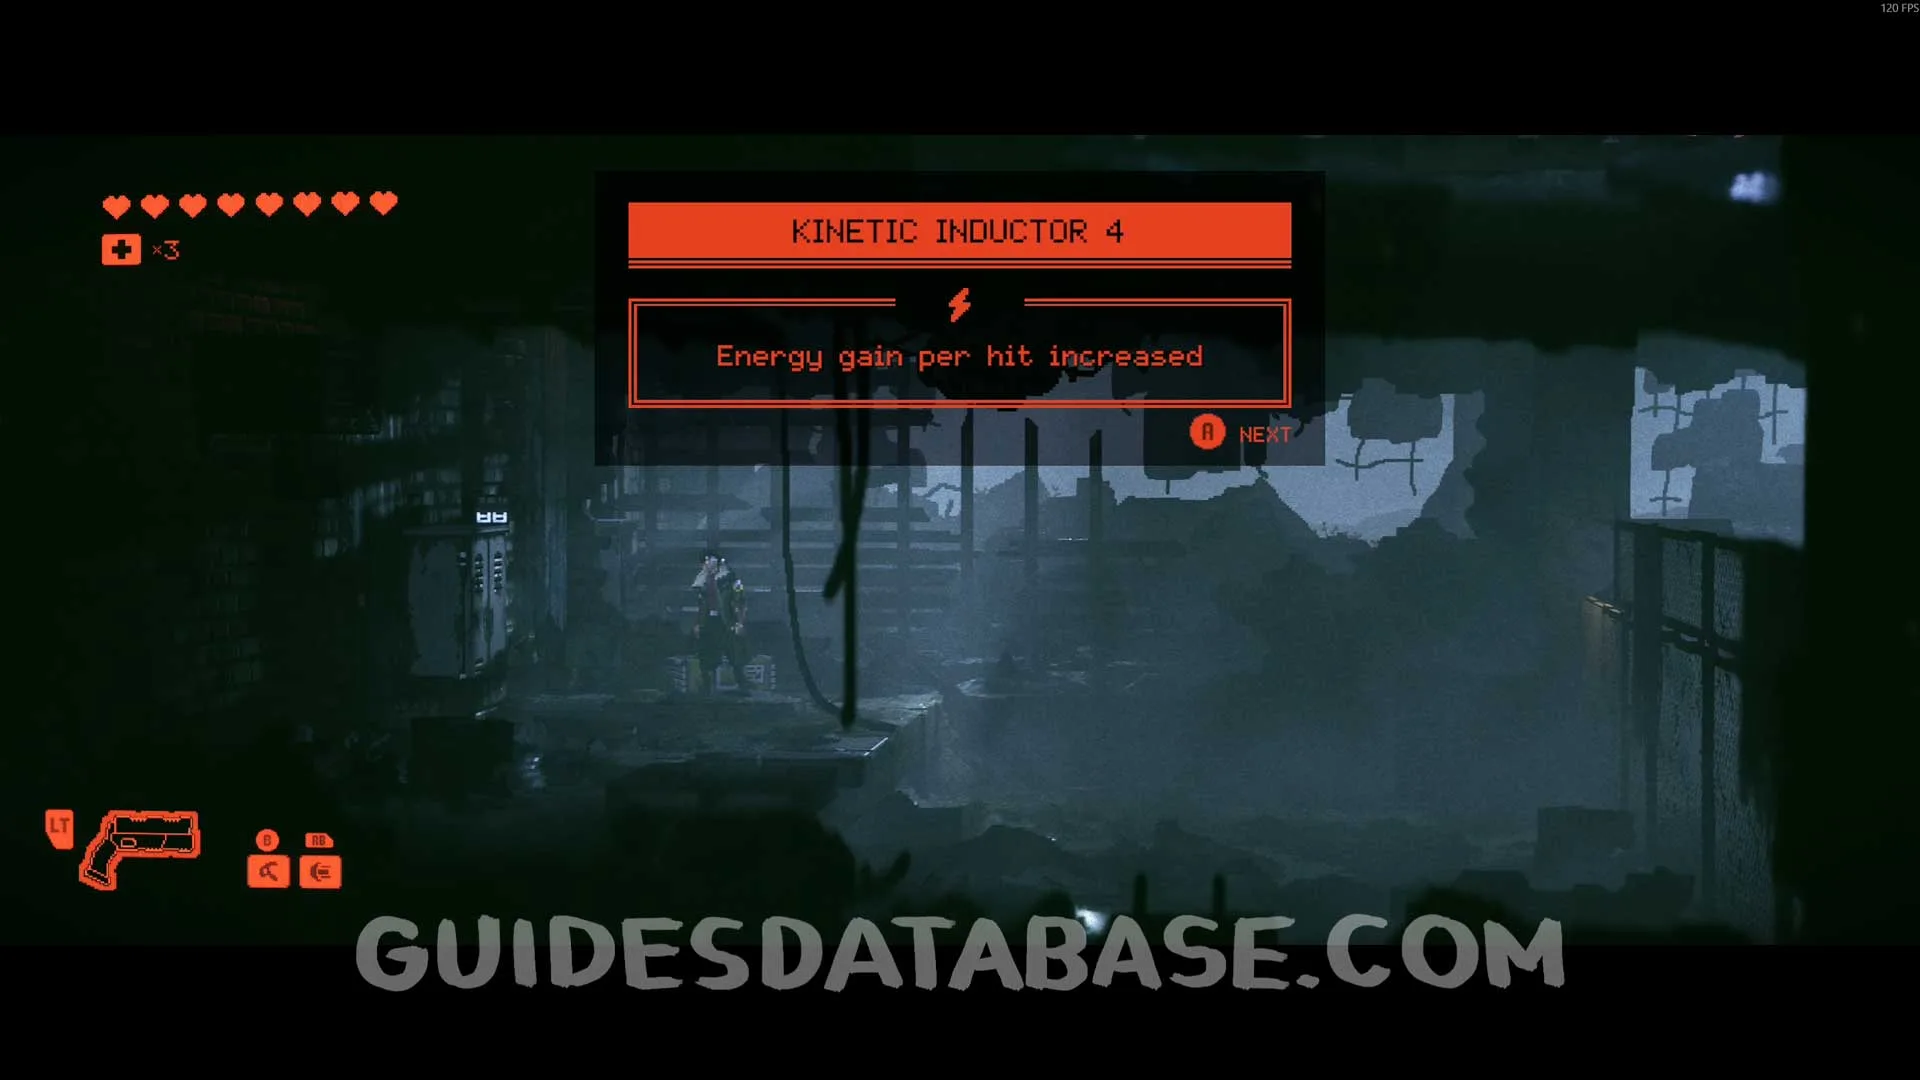 GUIDESDATABASE.COM
Chapter 6
Scan #63 Souvenir Key Chain
At the start of the chapter, after pushing the wind machine to use the double jump, head to the left to pick up this Scan.
 GUIDESDATABASE.COM
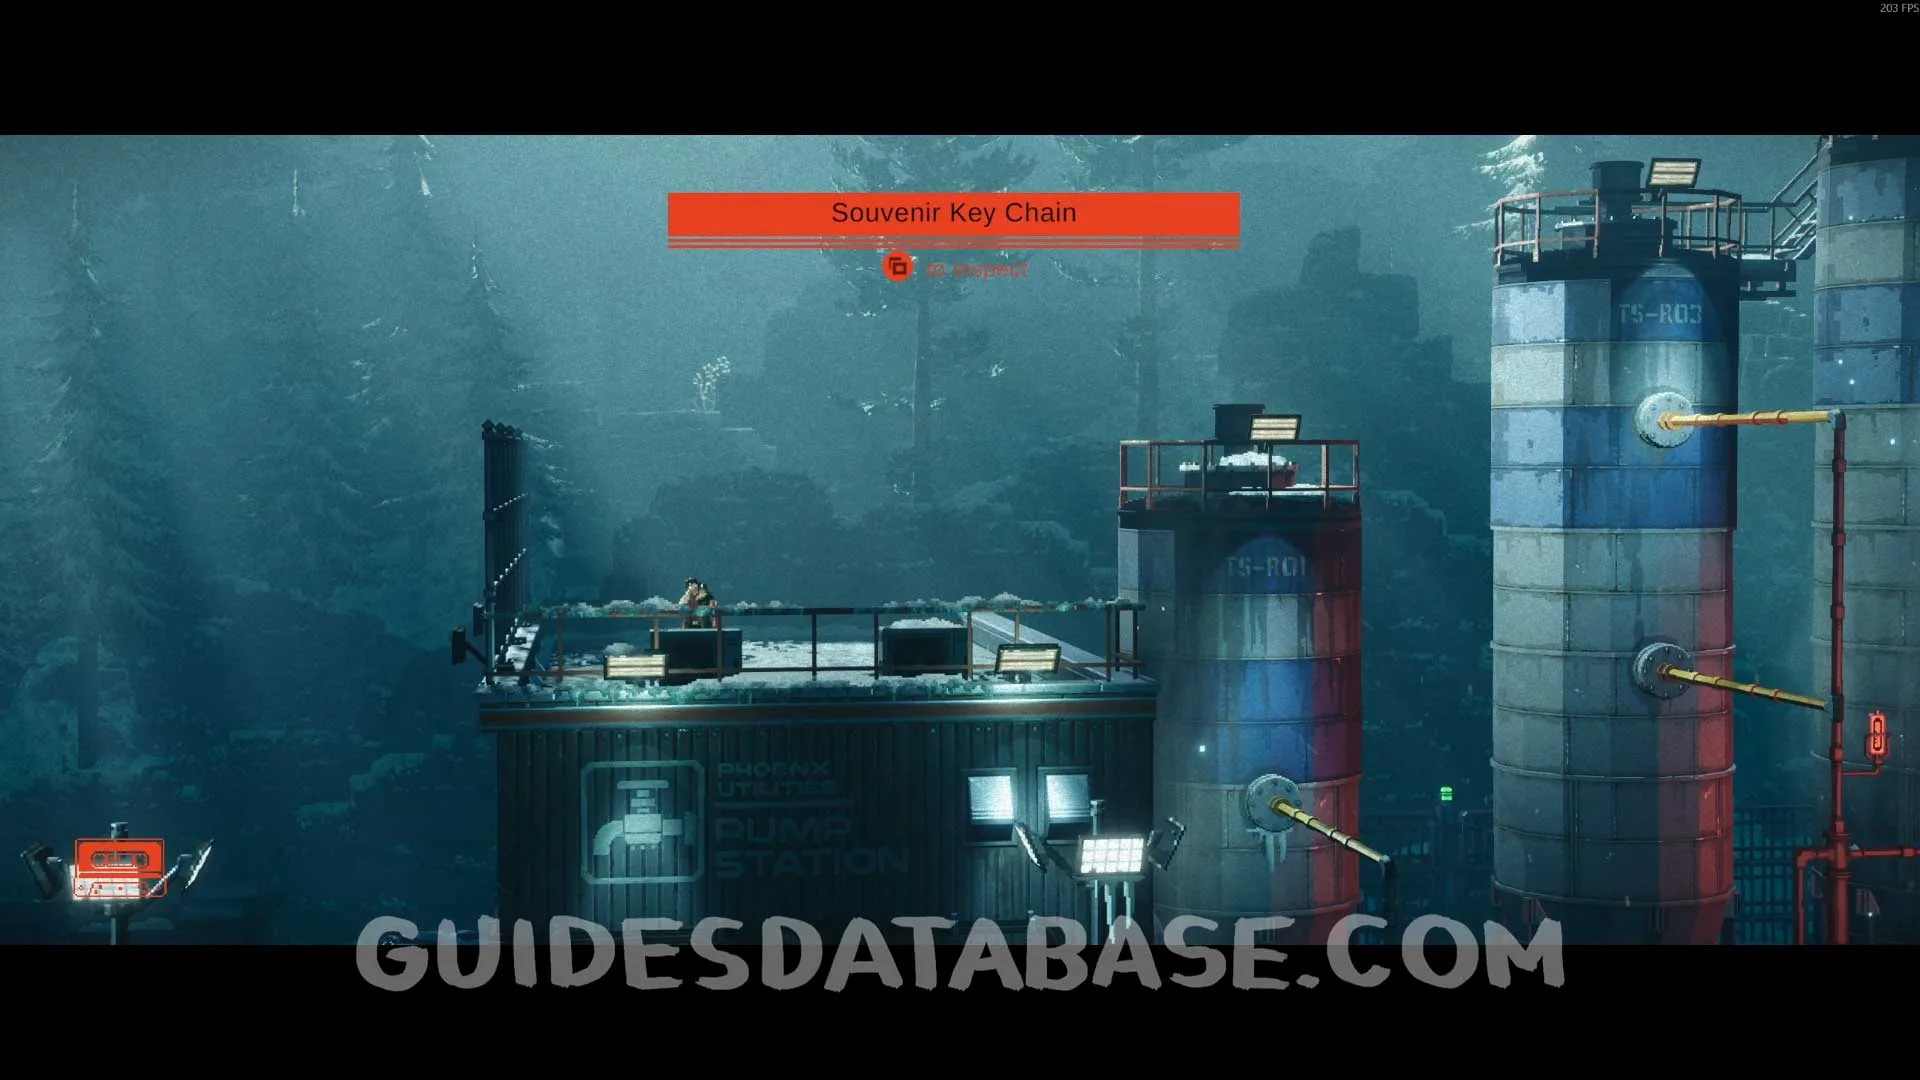 GUIDESDATABASE.COM
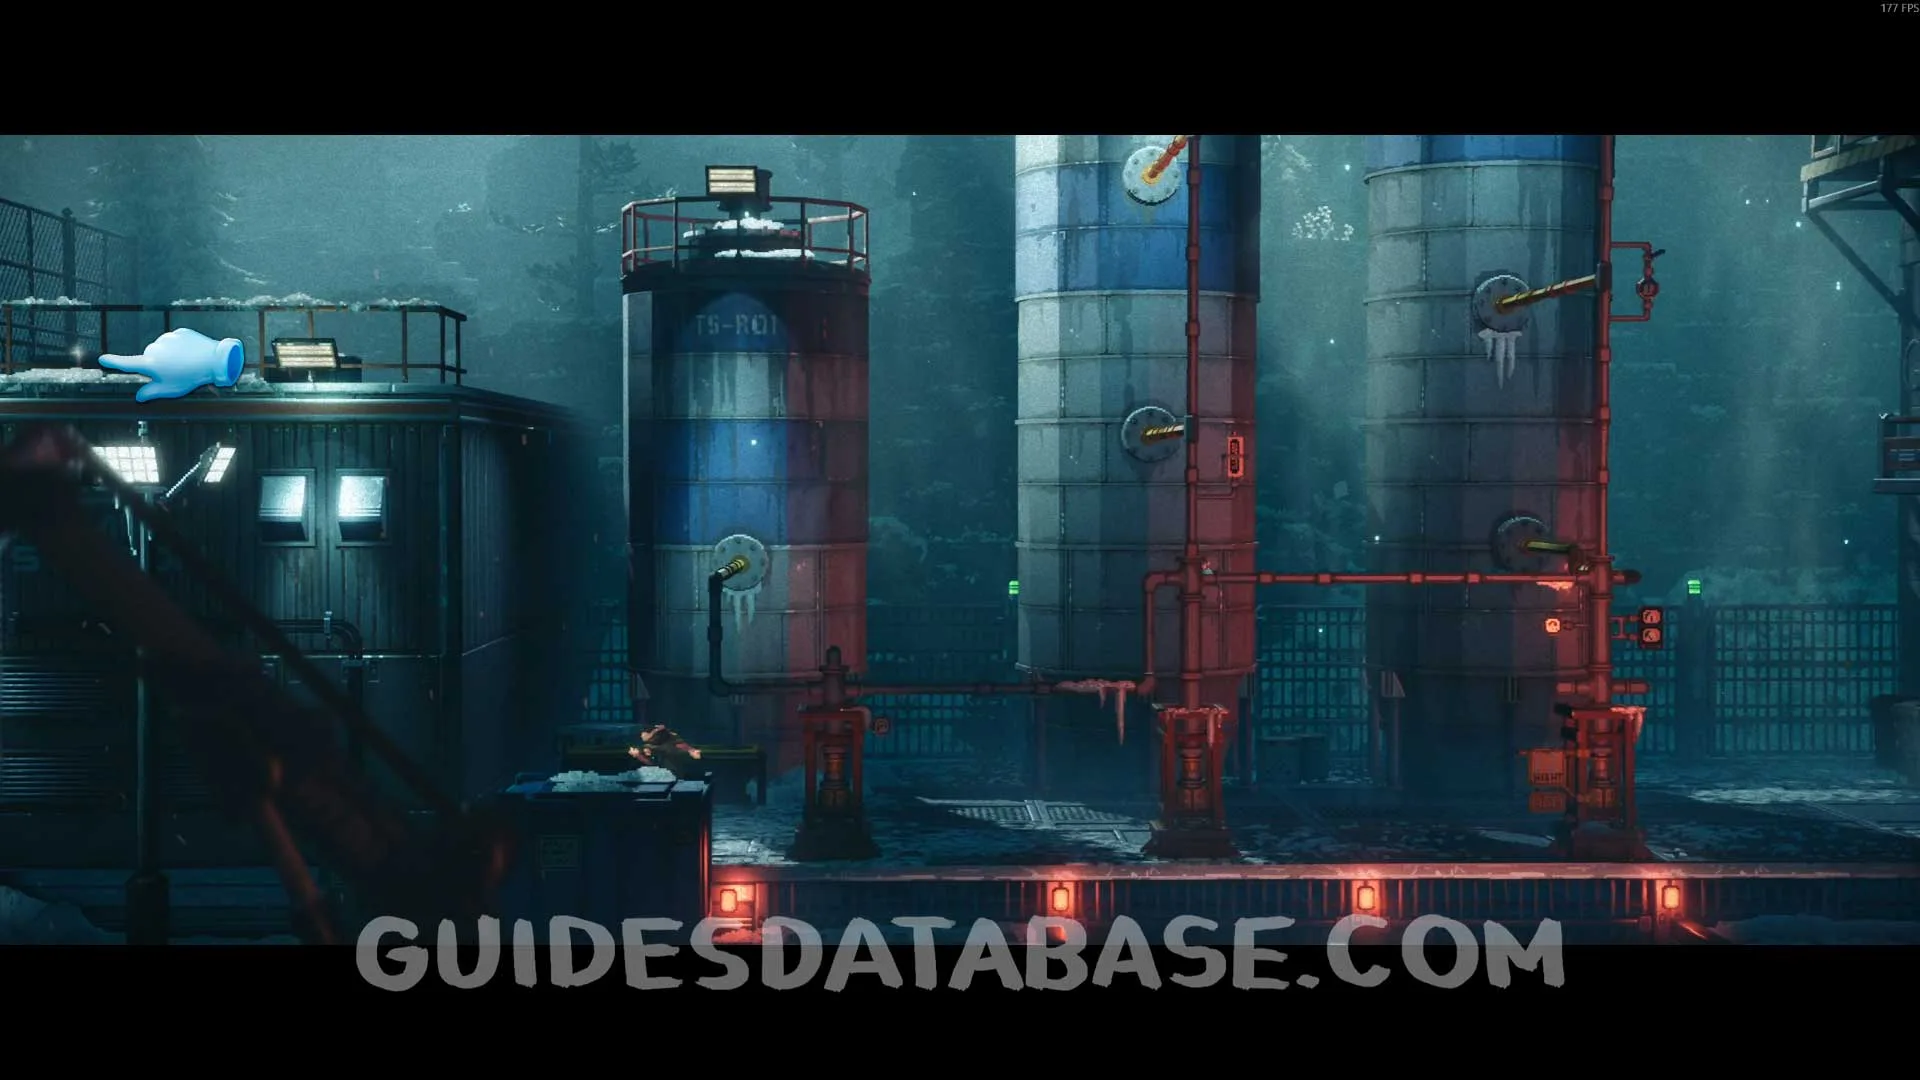
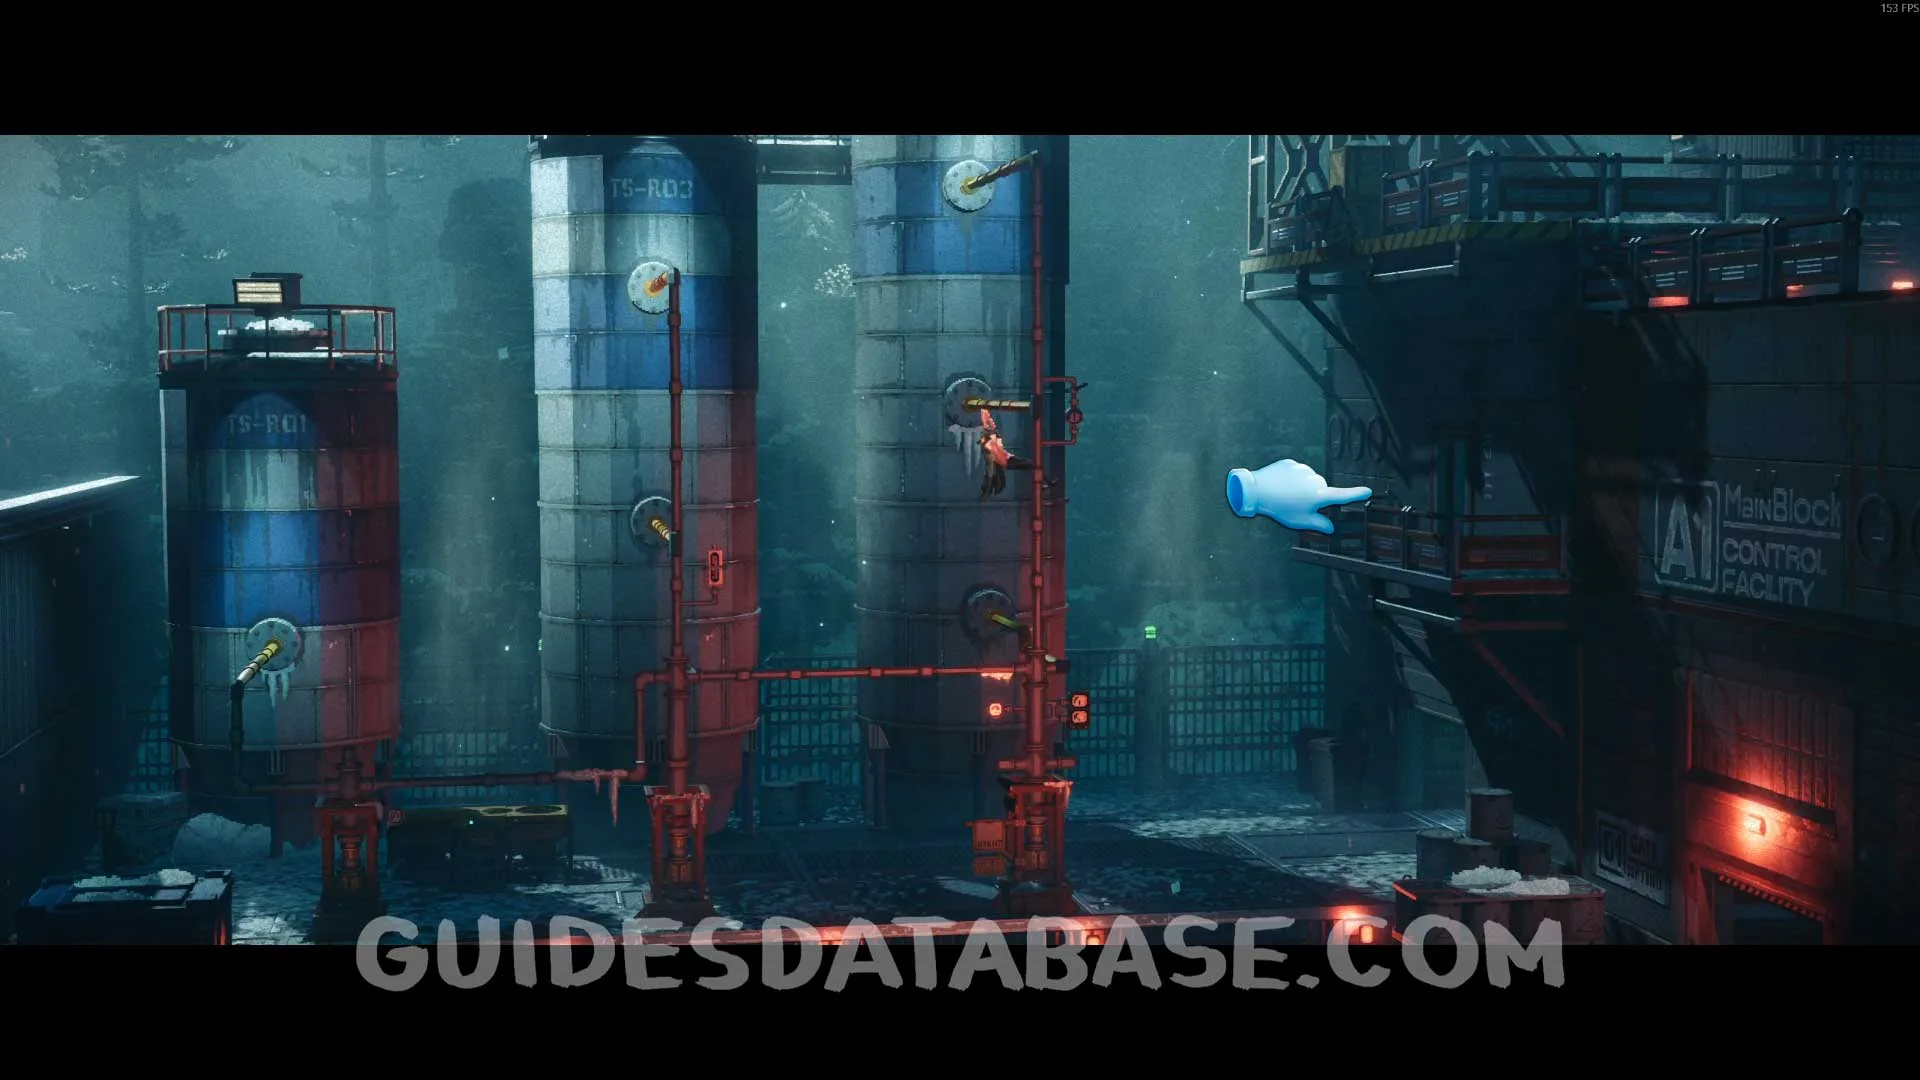
Kinetic Inductor #4
From the previous collectible, use the bars to reach the door, go through it and head to the end. Drop down the hole and pick up this Kinetic Inductor right in front of you.
 GUIDESDATABASE.COM
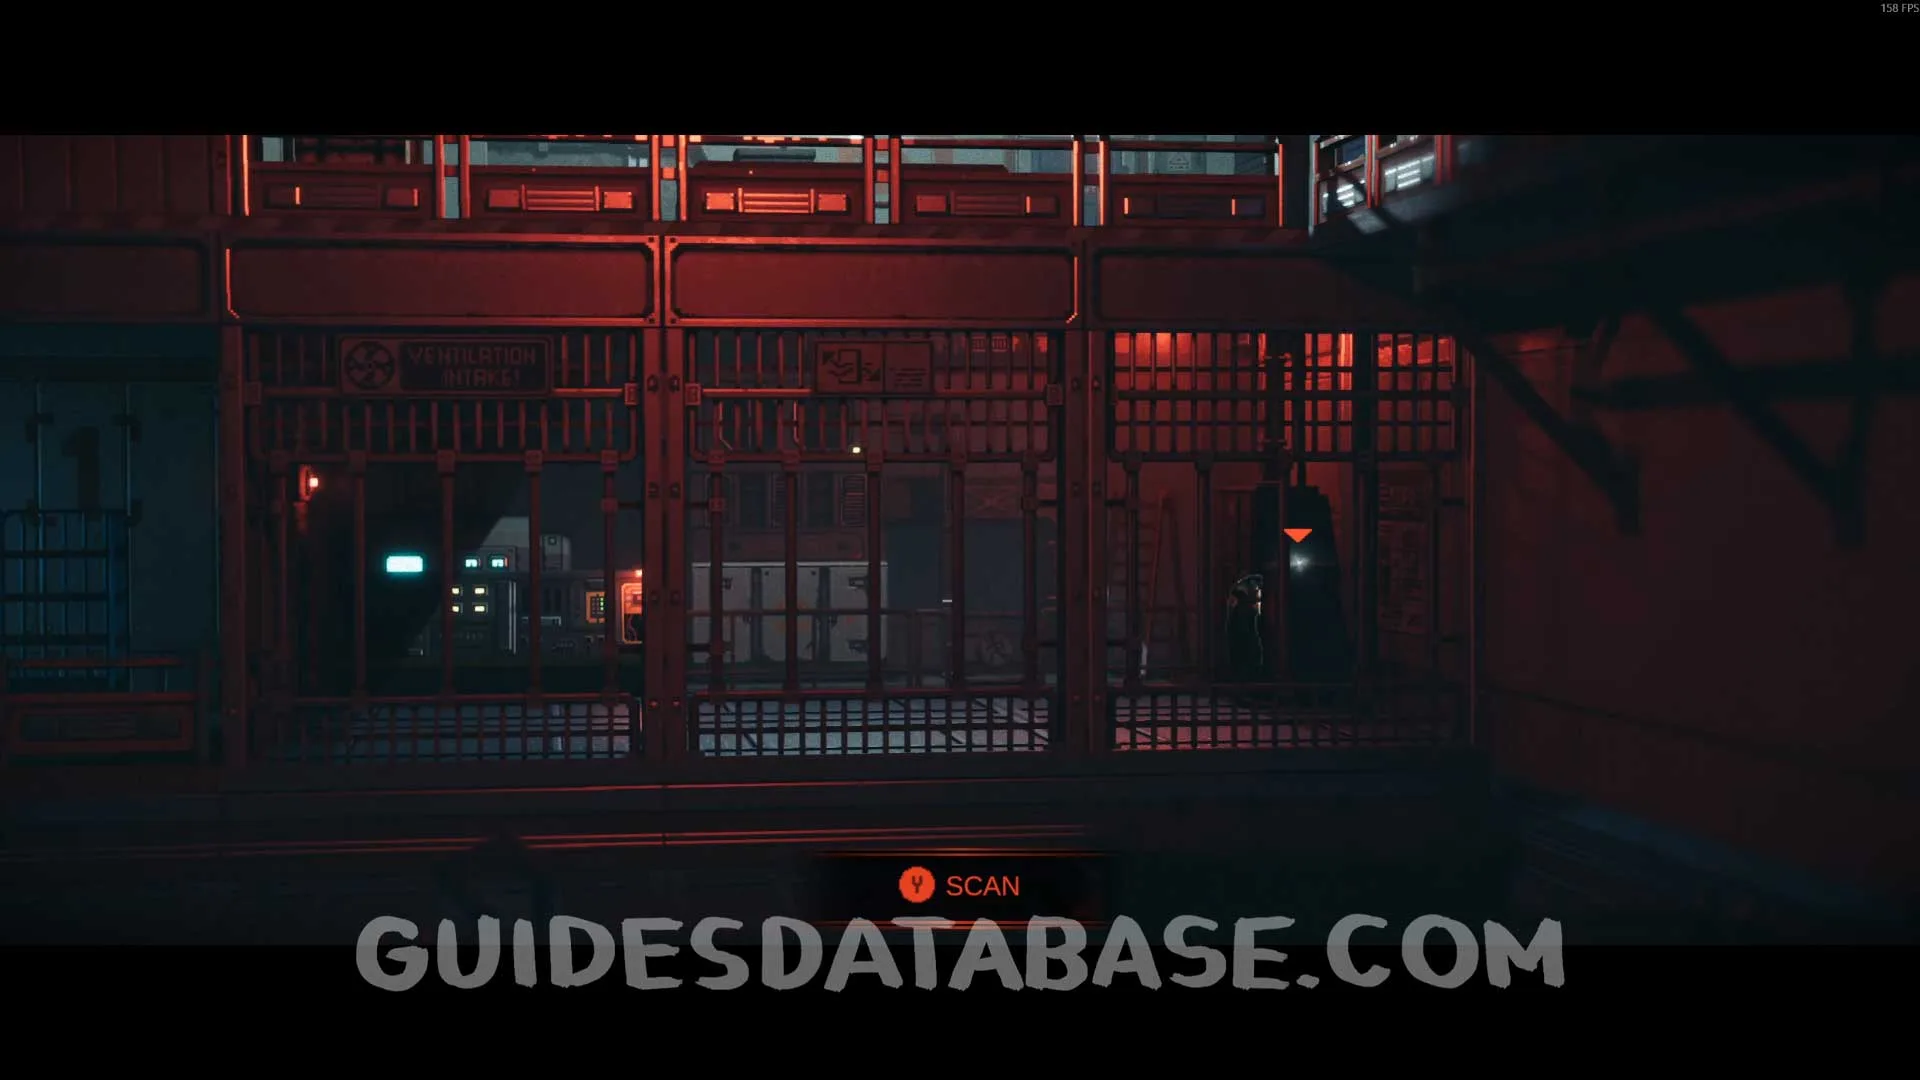 GUIDESDATABASE.COM
Scan #64 Trading Worldwide
In the area with the platforms, climb up through the right side and head back to reach this Scan.
 GUIDESDATABASE.COM
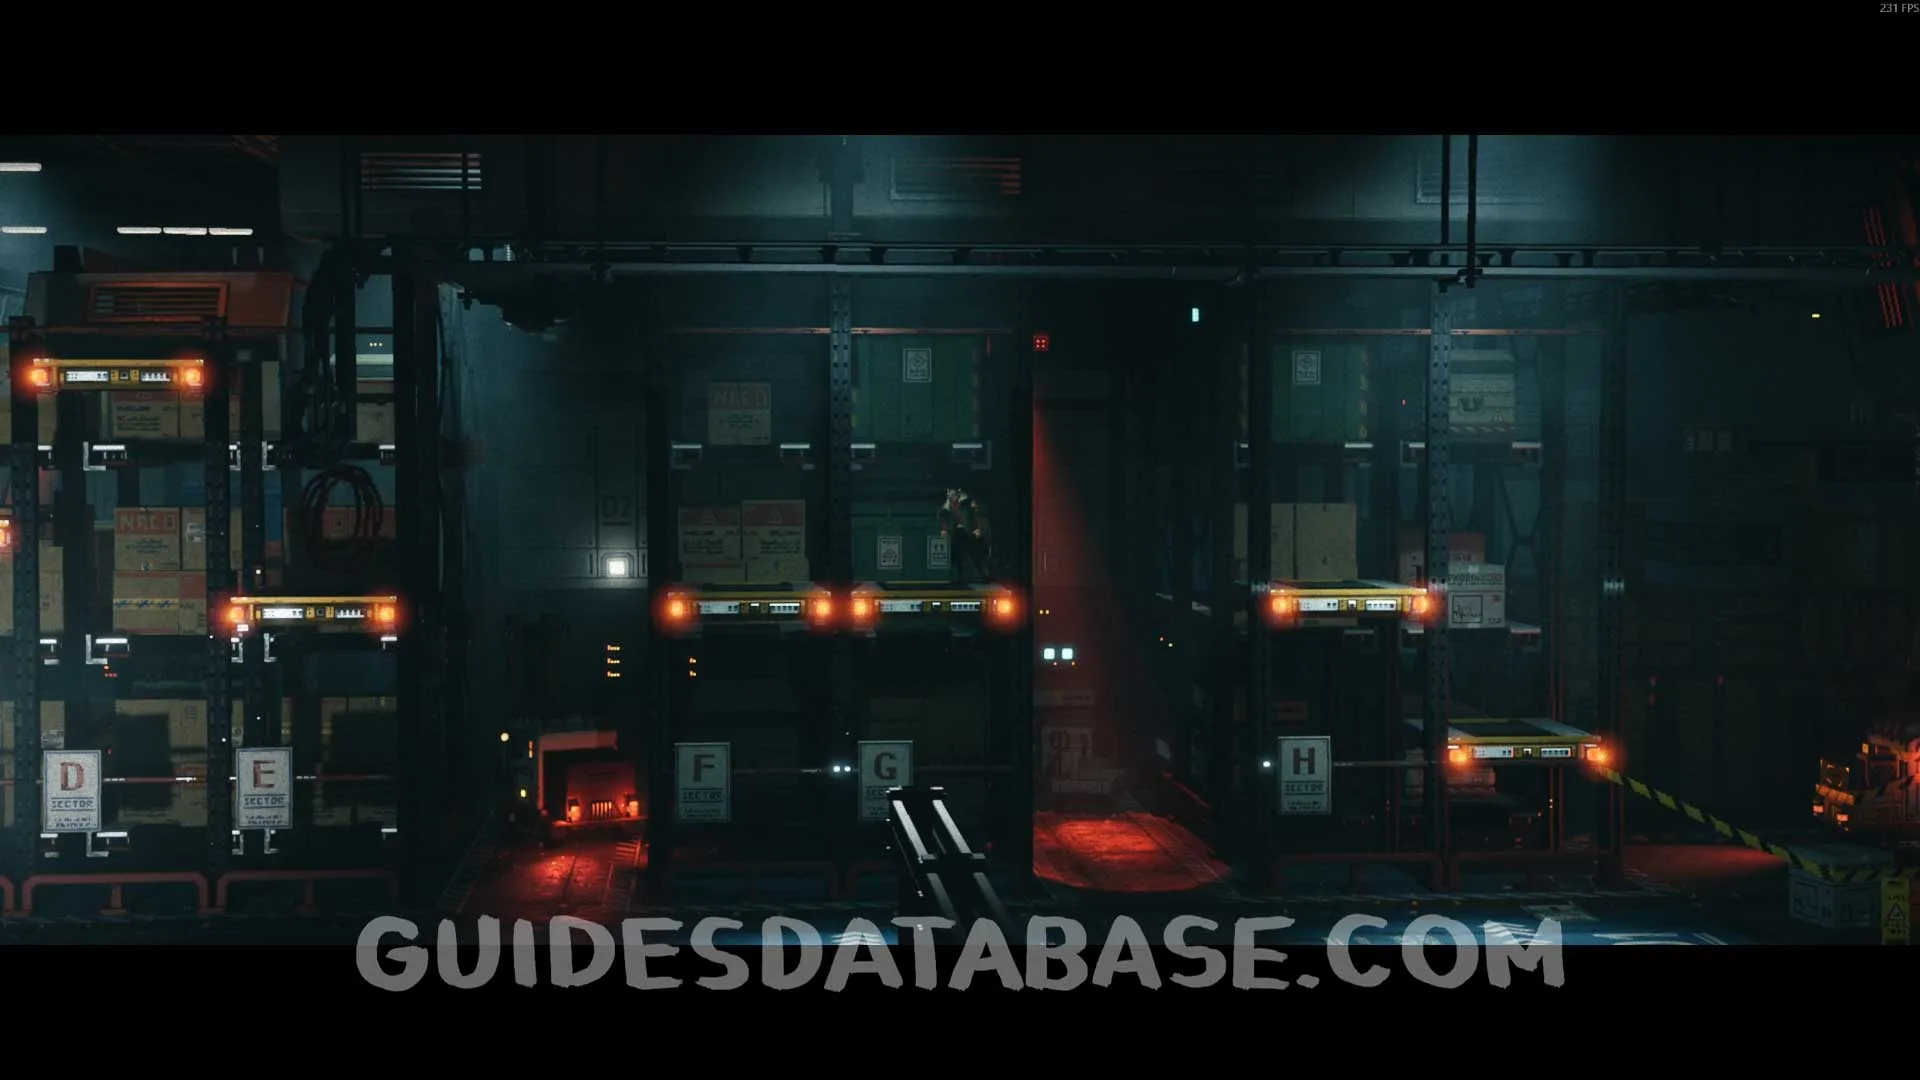 GUIDESDATABASE.COM
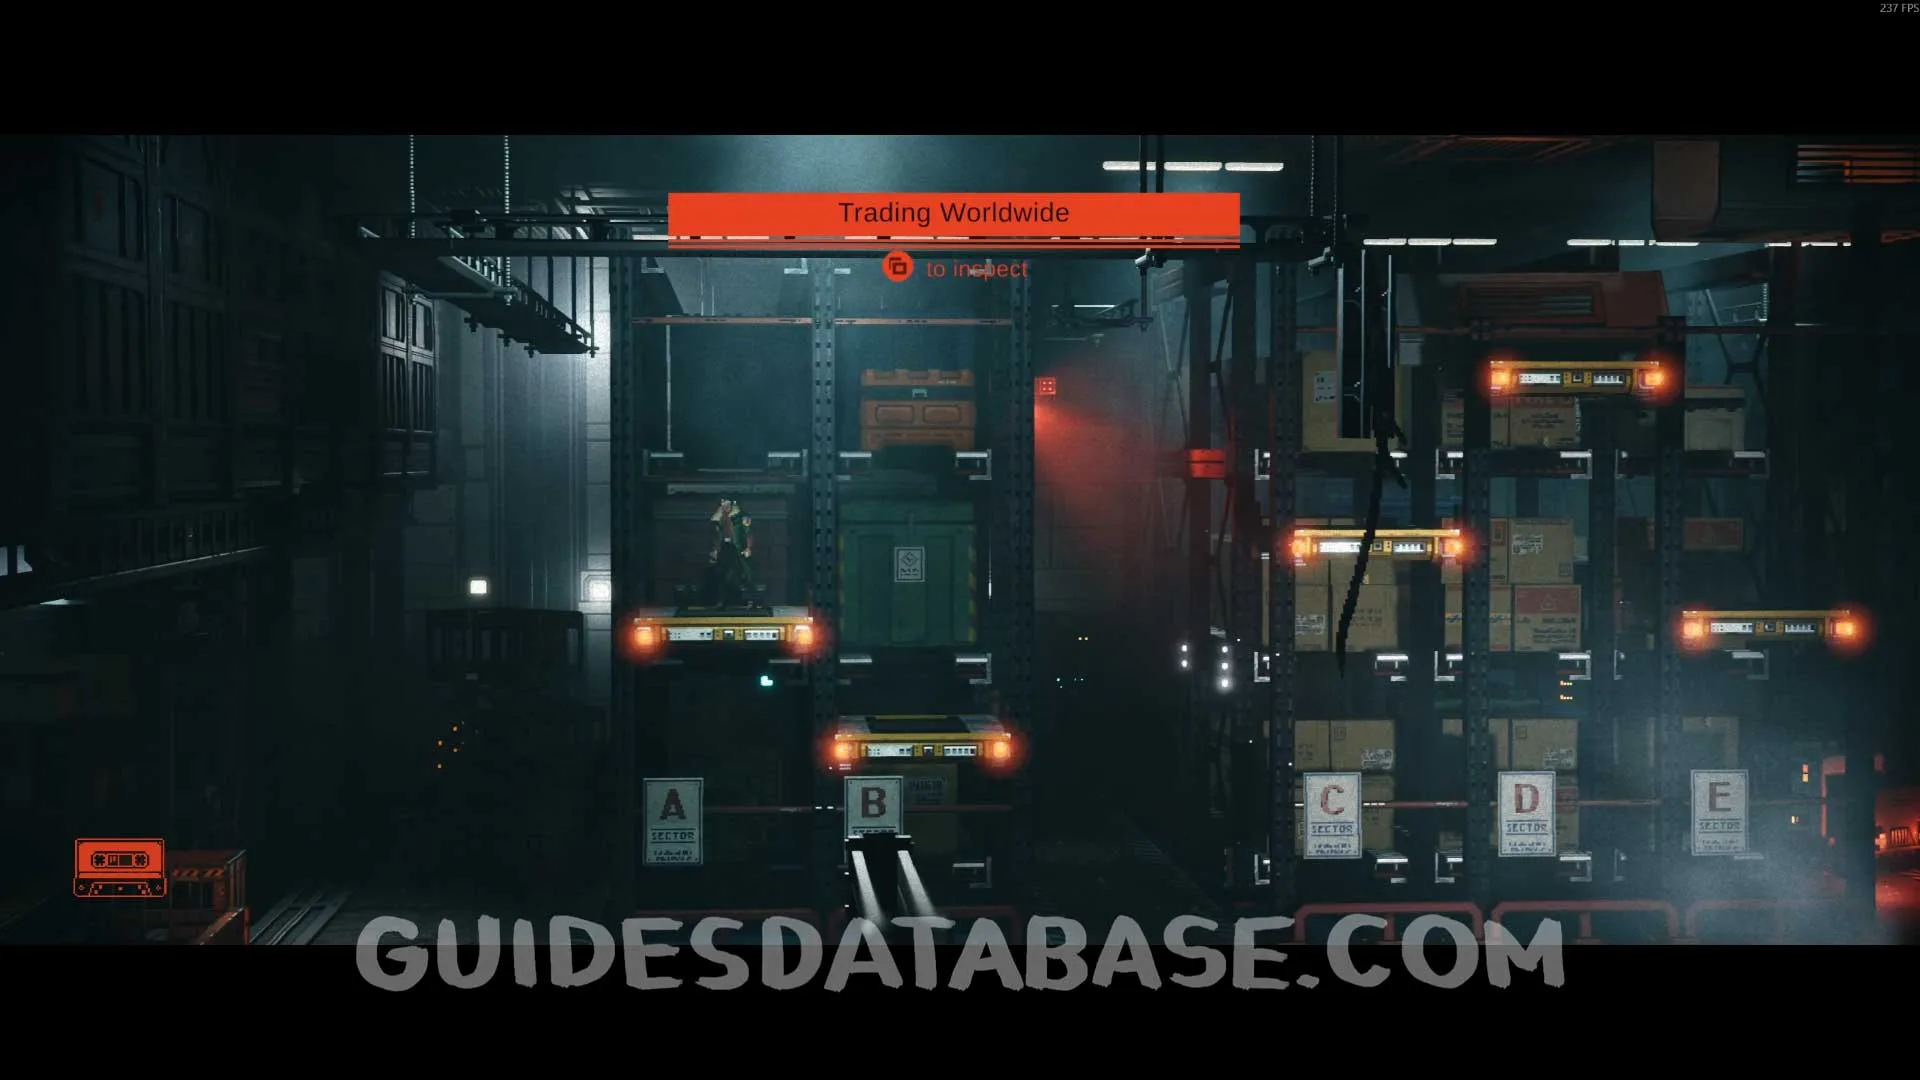 GUIDESDATABASE.COM
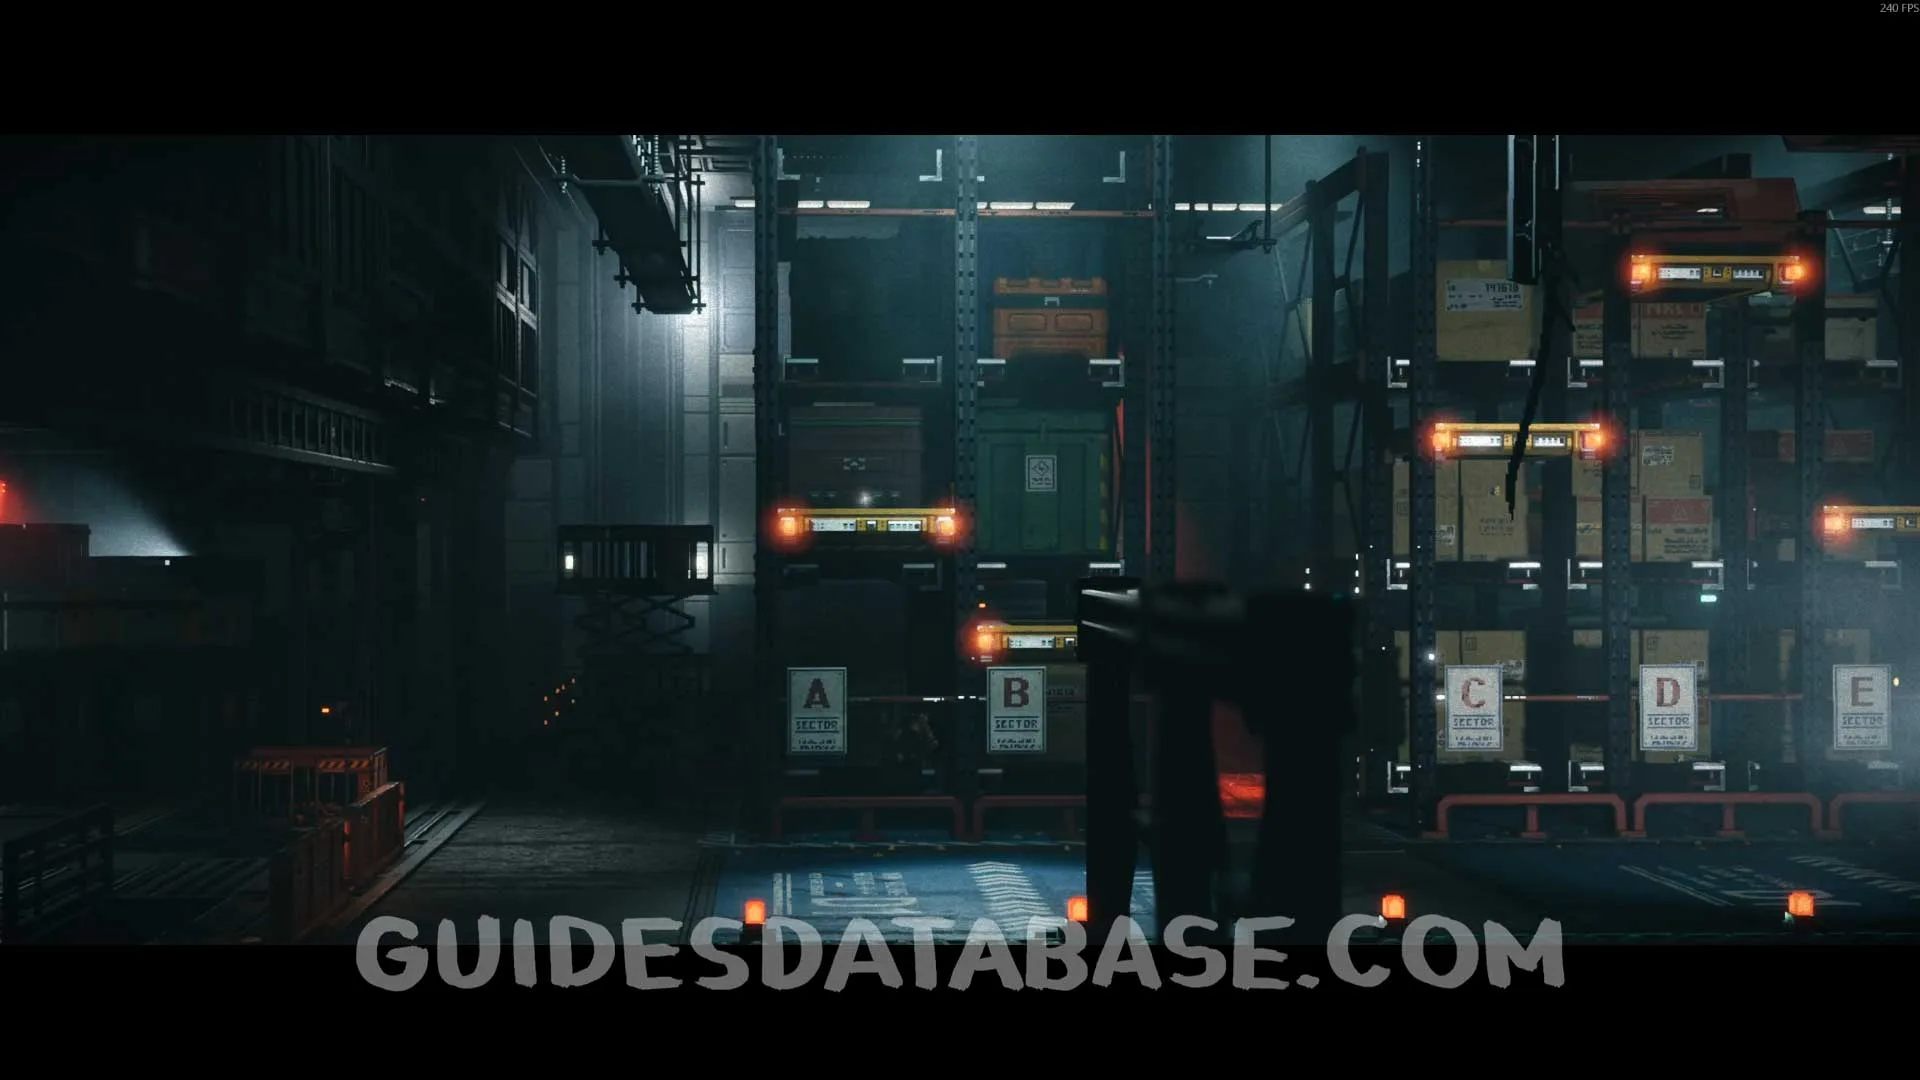
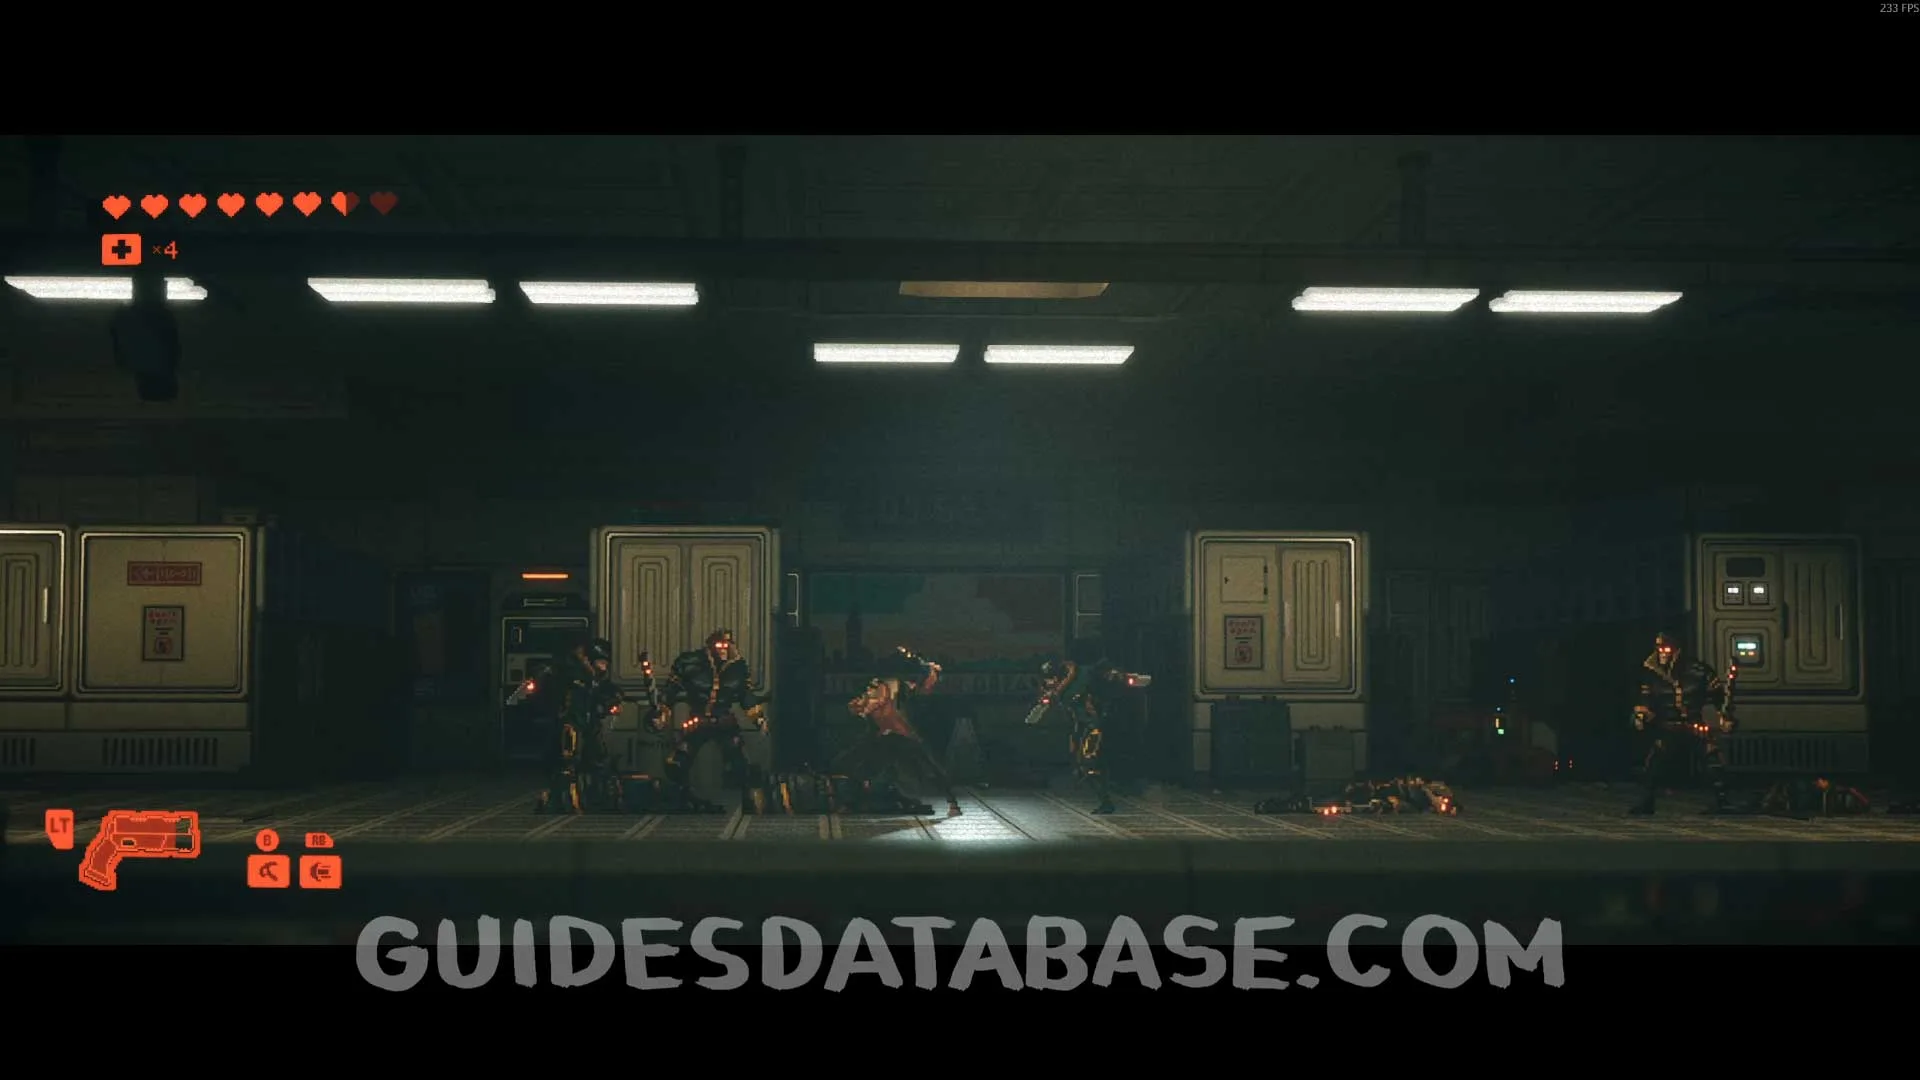
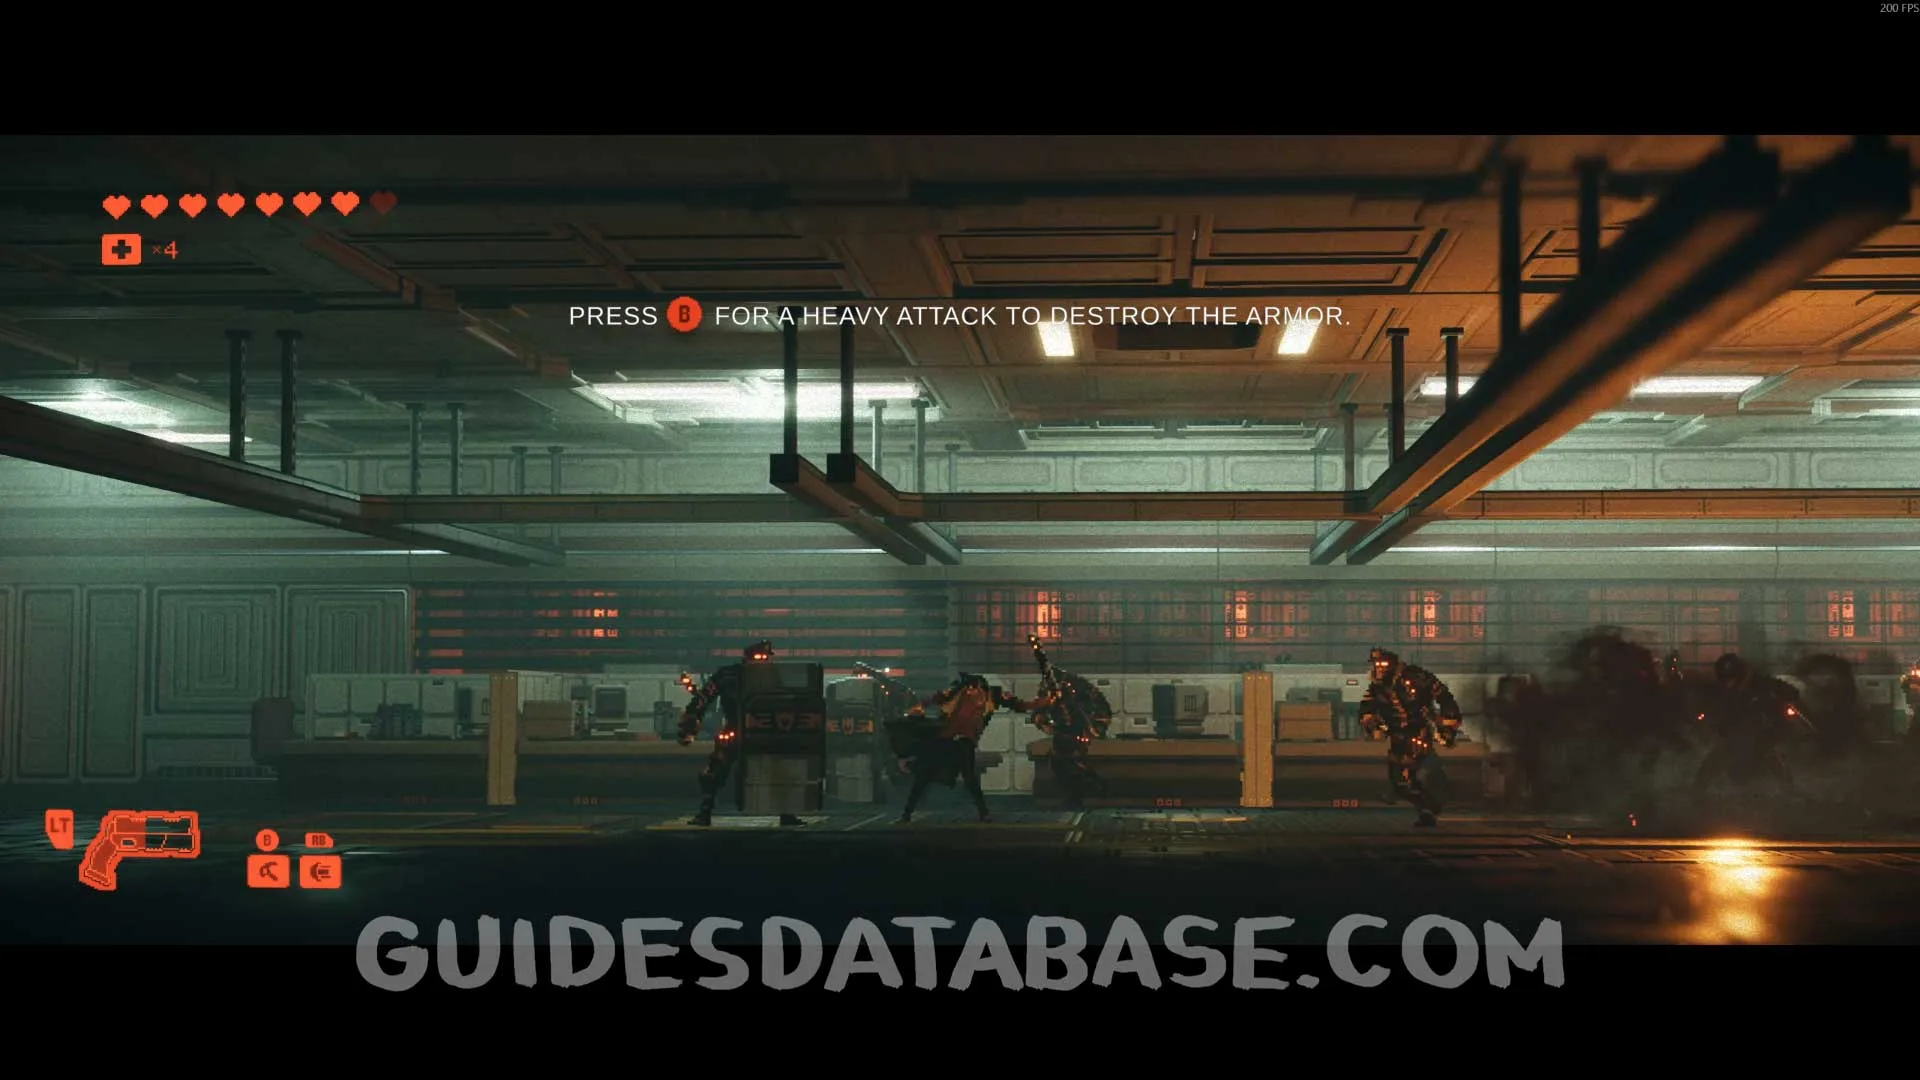
Scan #65 Phoenix Tech Show
In the next area you will need to defeat several enemies. This Scan will be on top of the table.
 GUIDESDATABASE.COM
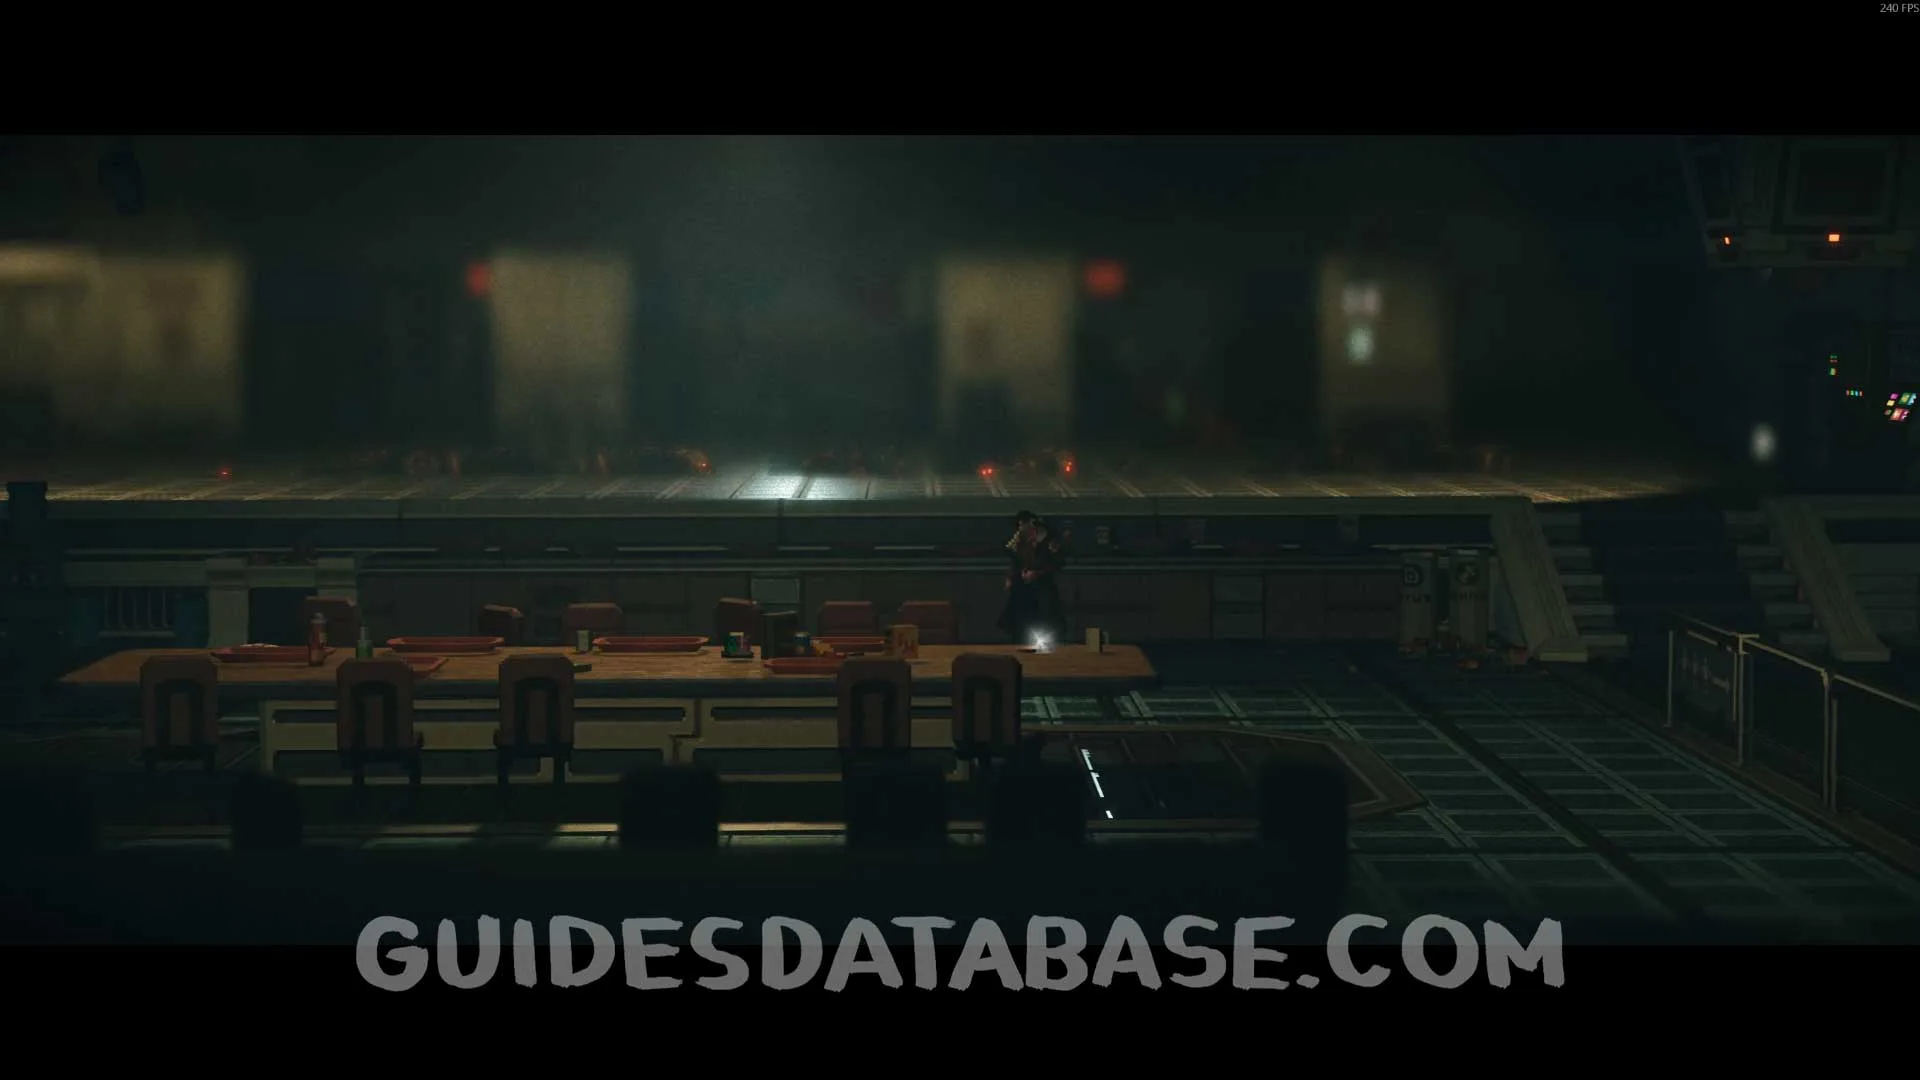 GUIDESDATABASE.COM
Scan #66 Classified Protocols + Scan #67 Climatologist Letter
After defeating some enemies in the office, head to the right and check the messages on the computer to obtain these two Scans.
 GUIDESDATABASE.COM
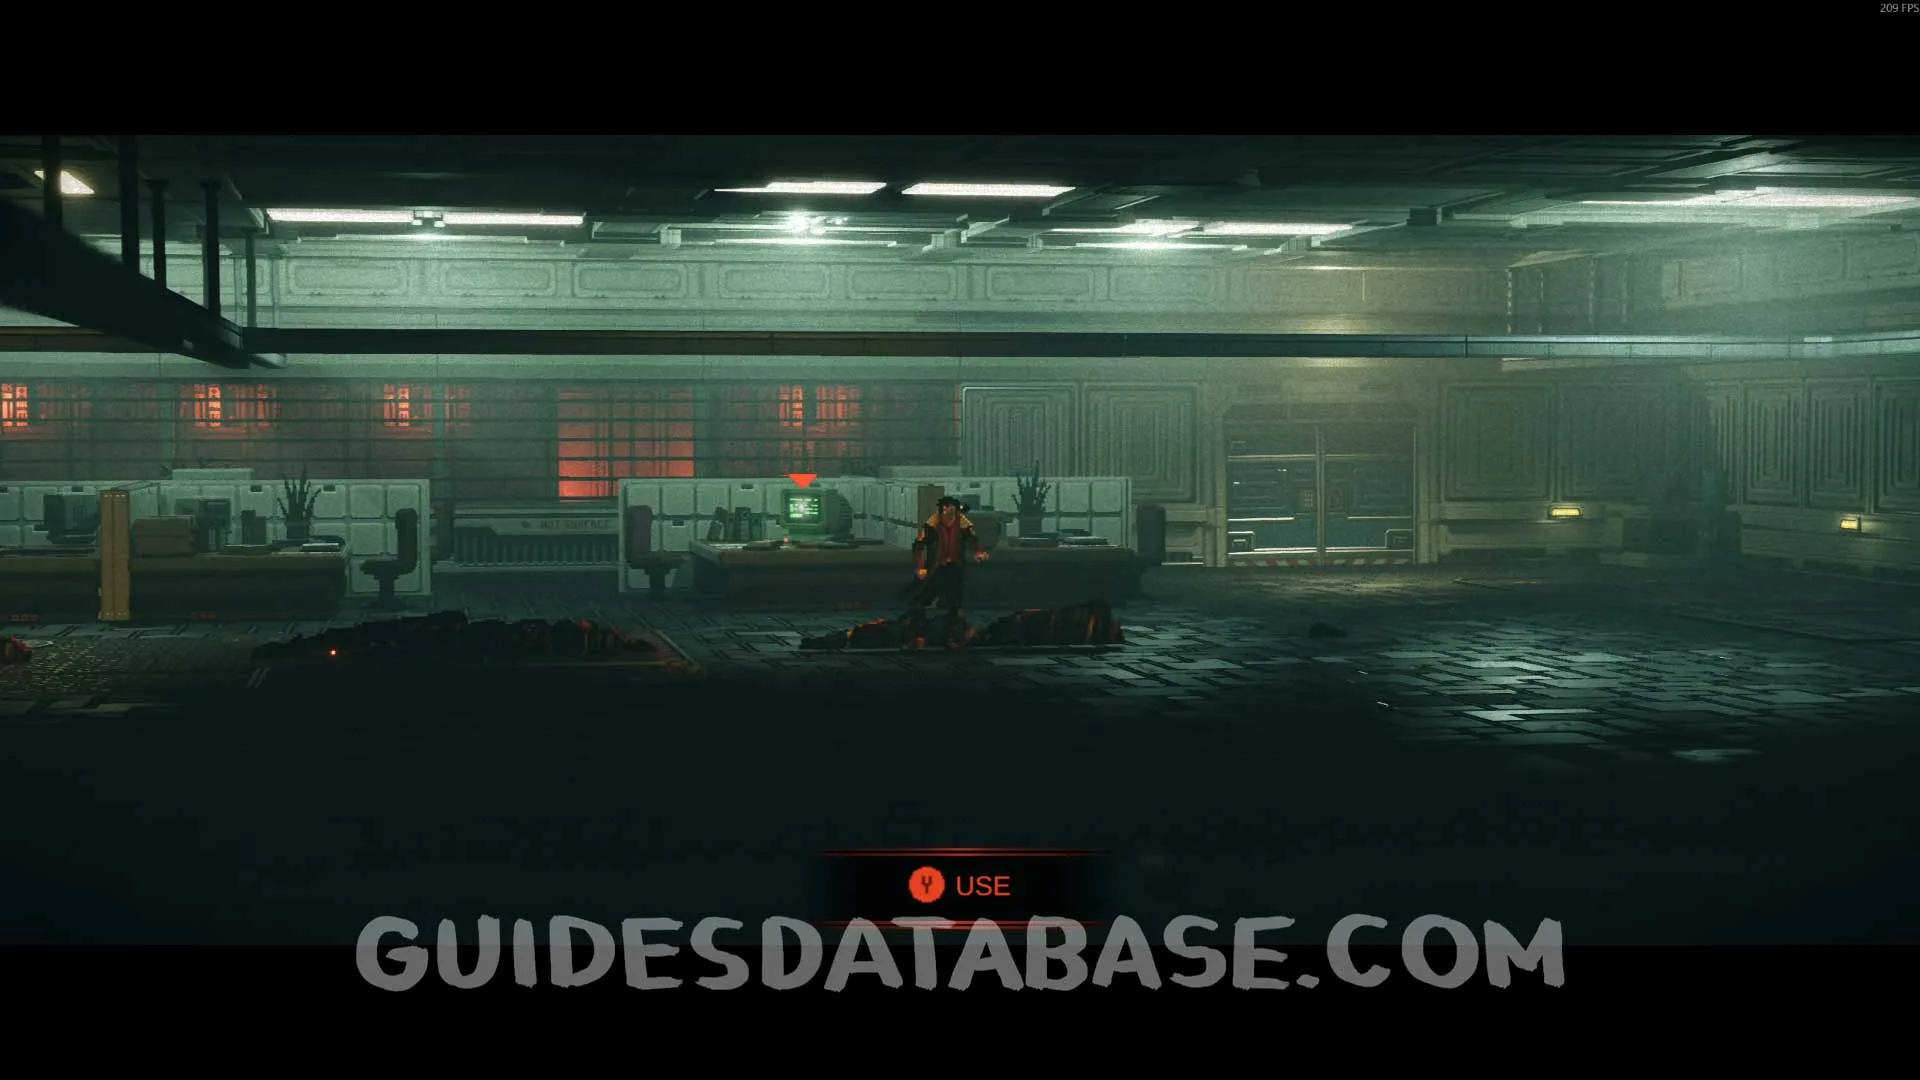 GUIDESDATABASE.COM
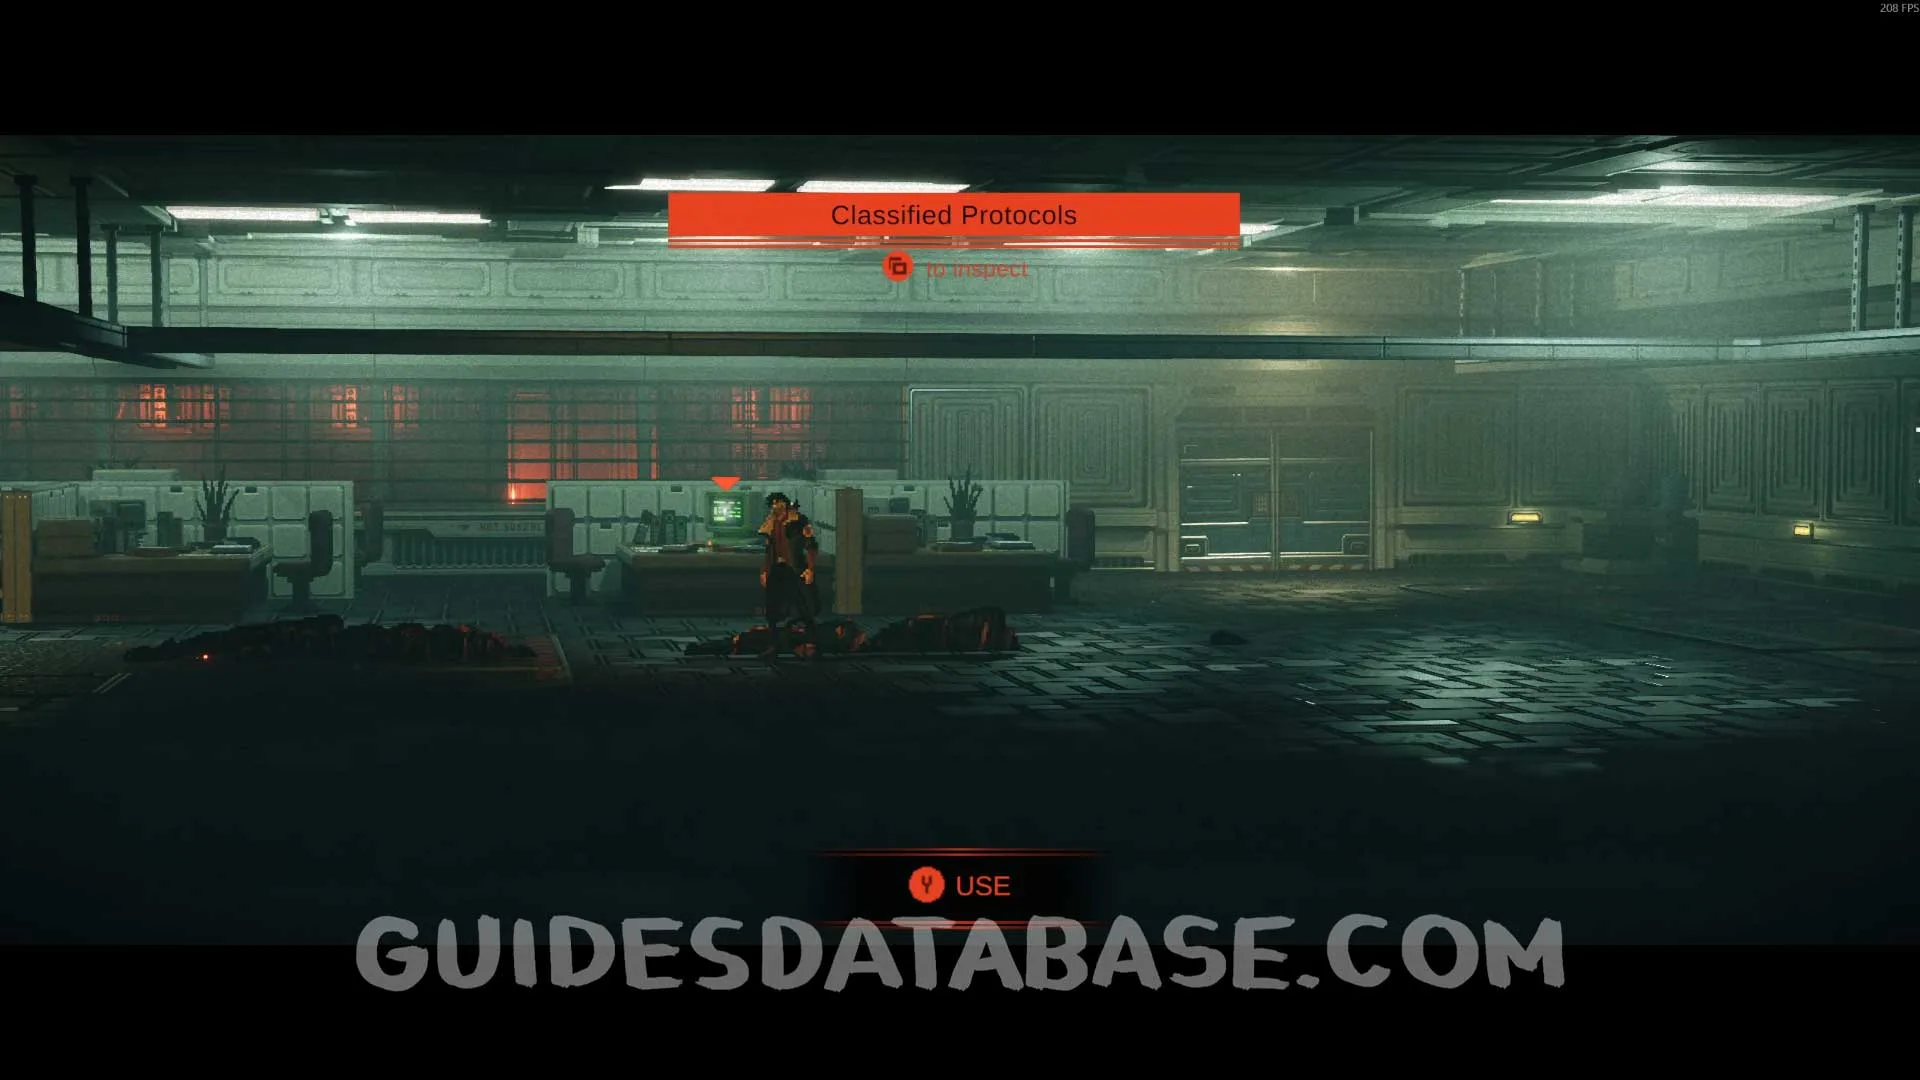 GUIDESDATABASE.COM
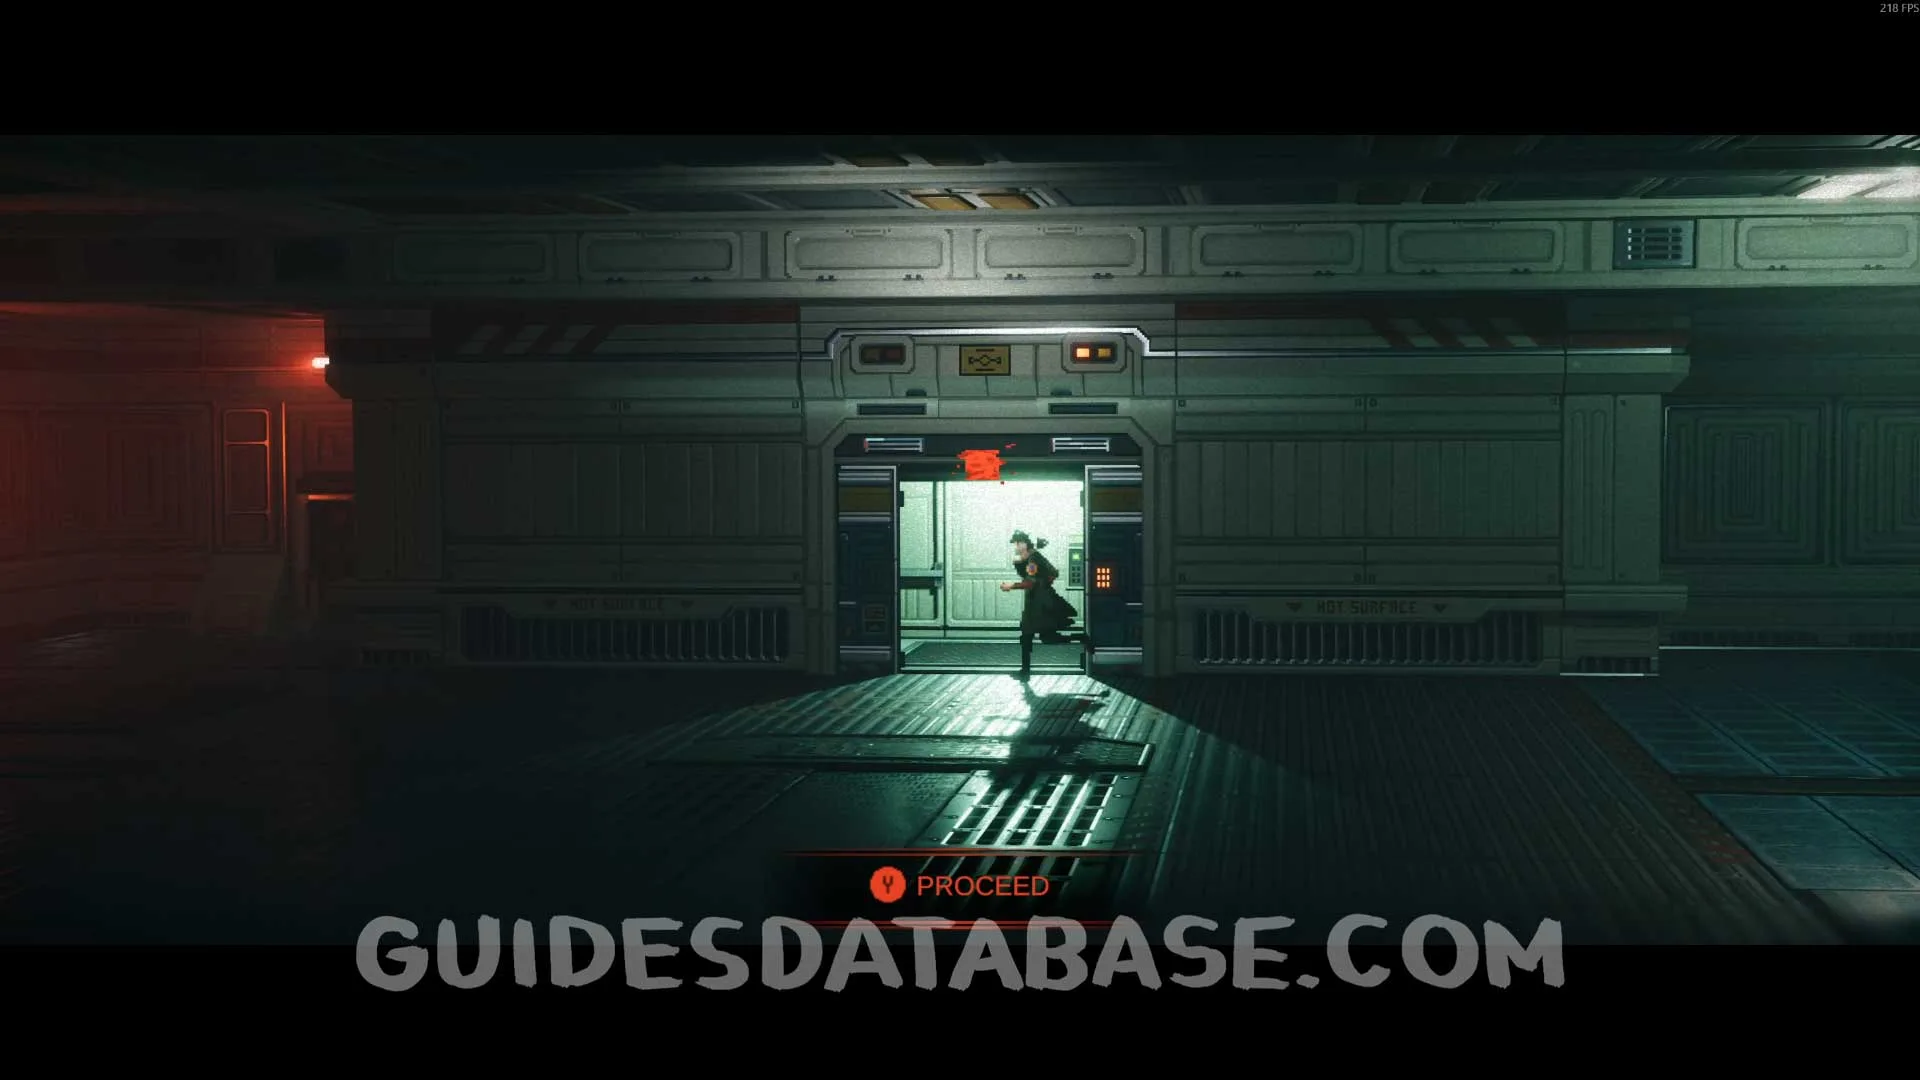
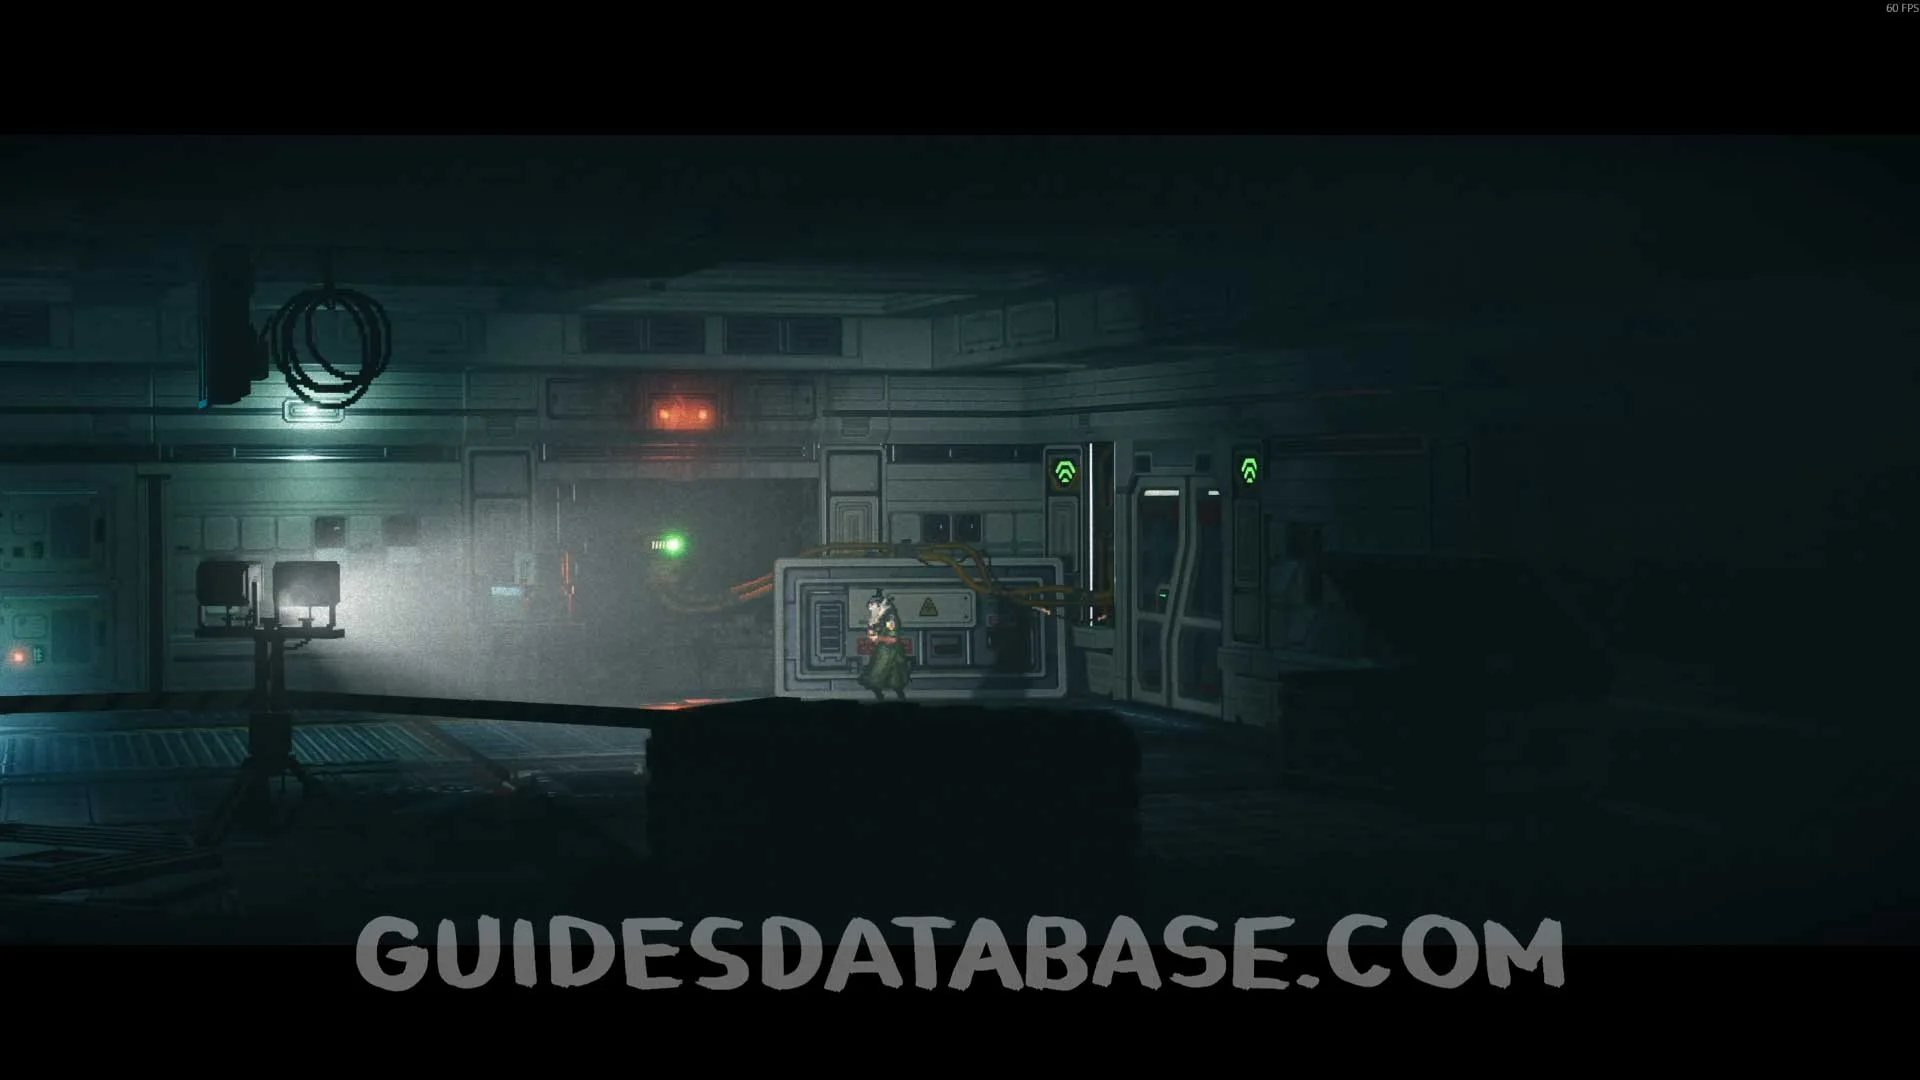
Scan #68 Scratched Wingman
From the previous collectible, head to the left and take the elevator. After exiting the elevator, continue to the left to find this Scan.
 GUIDESDATABASE.COM
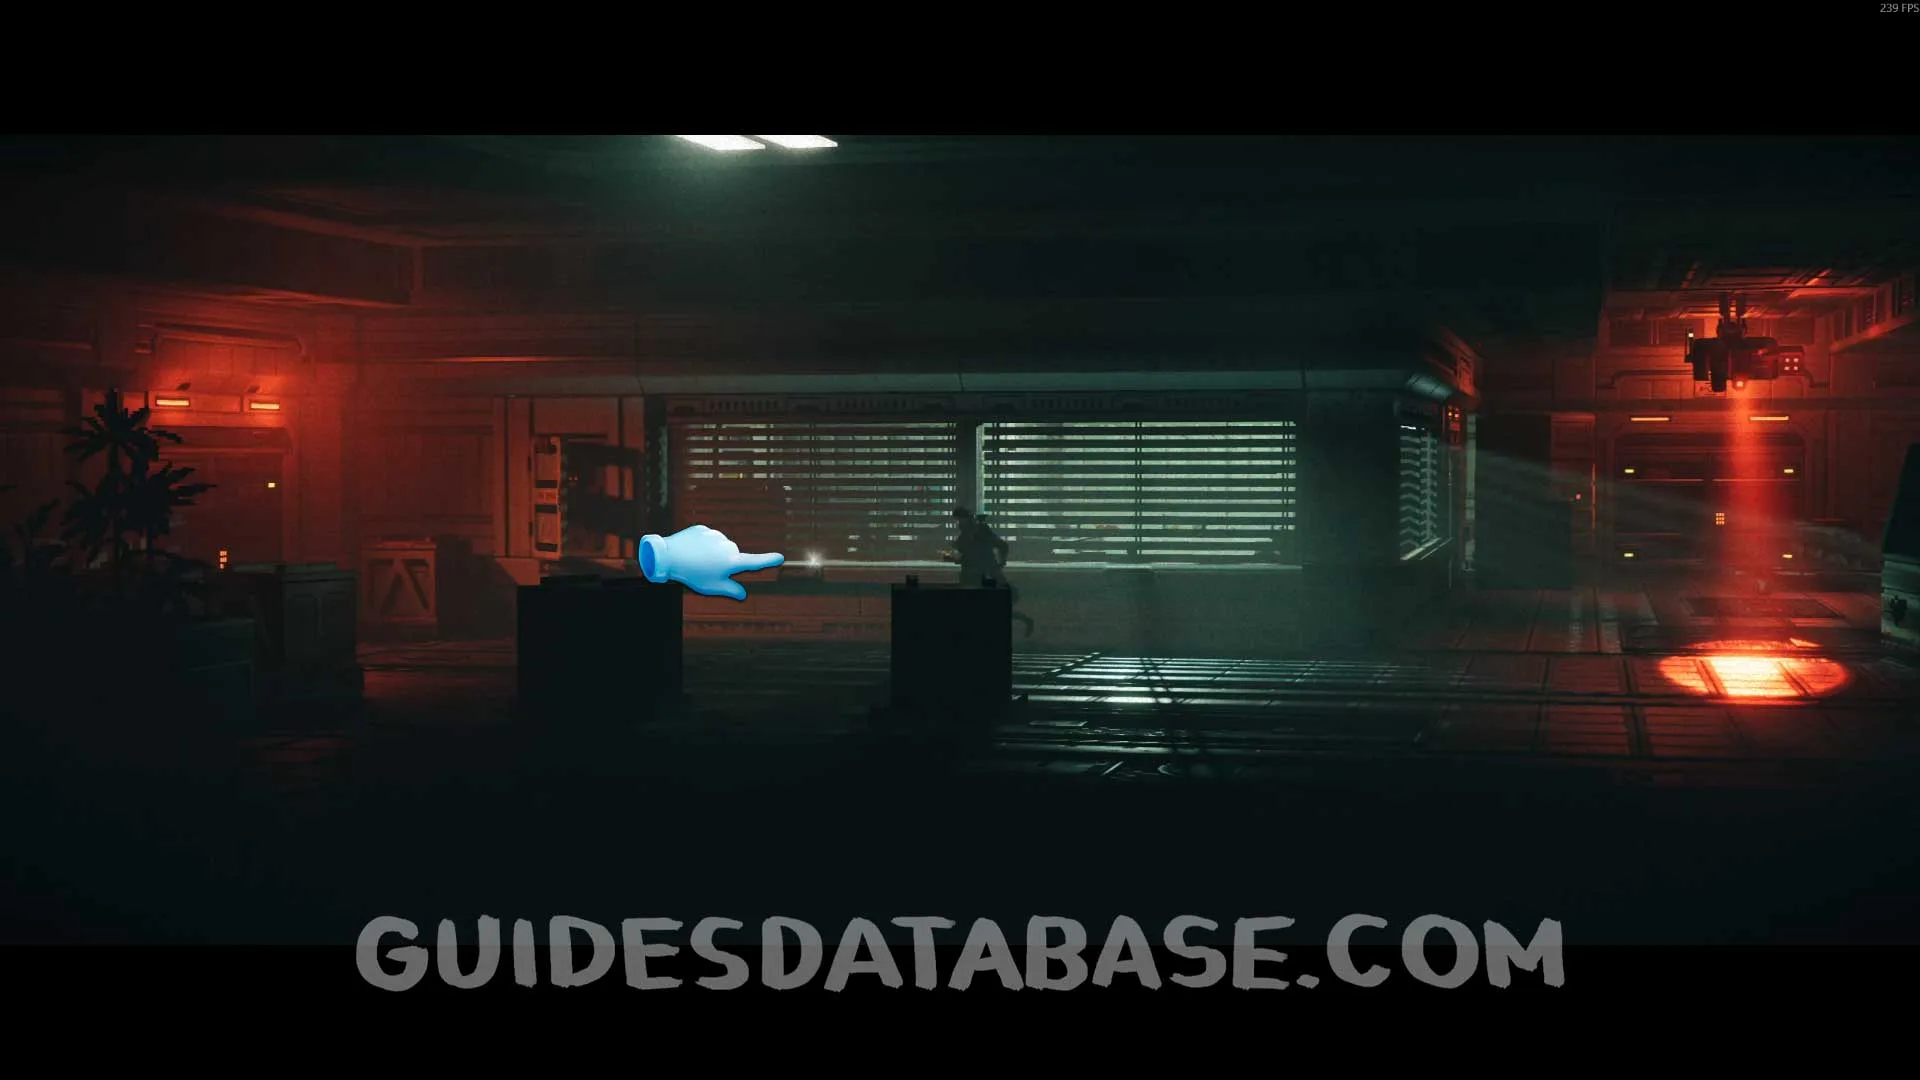 GUIDESDATABASE.COM
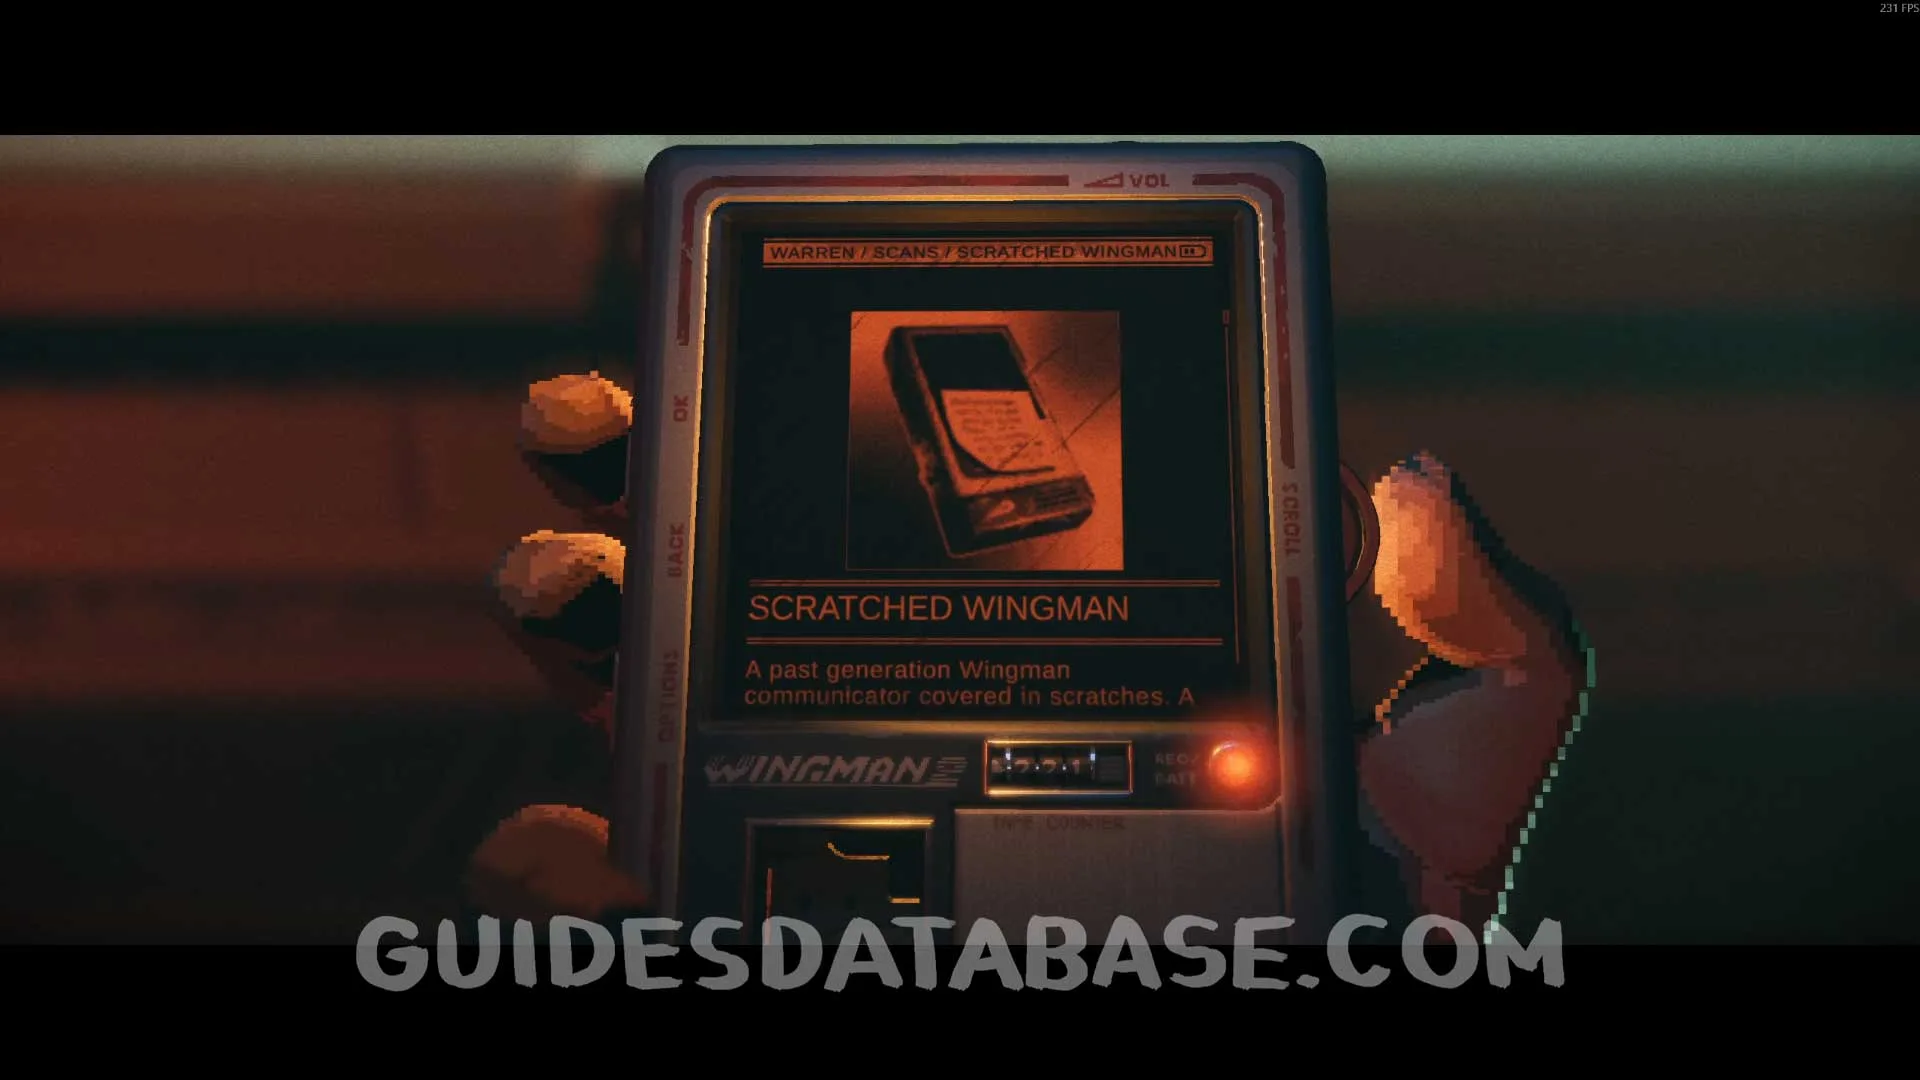 GUIDESDATABASE.COM
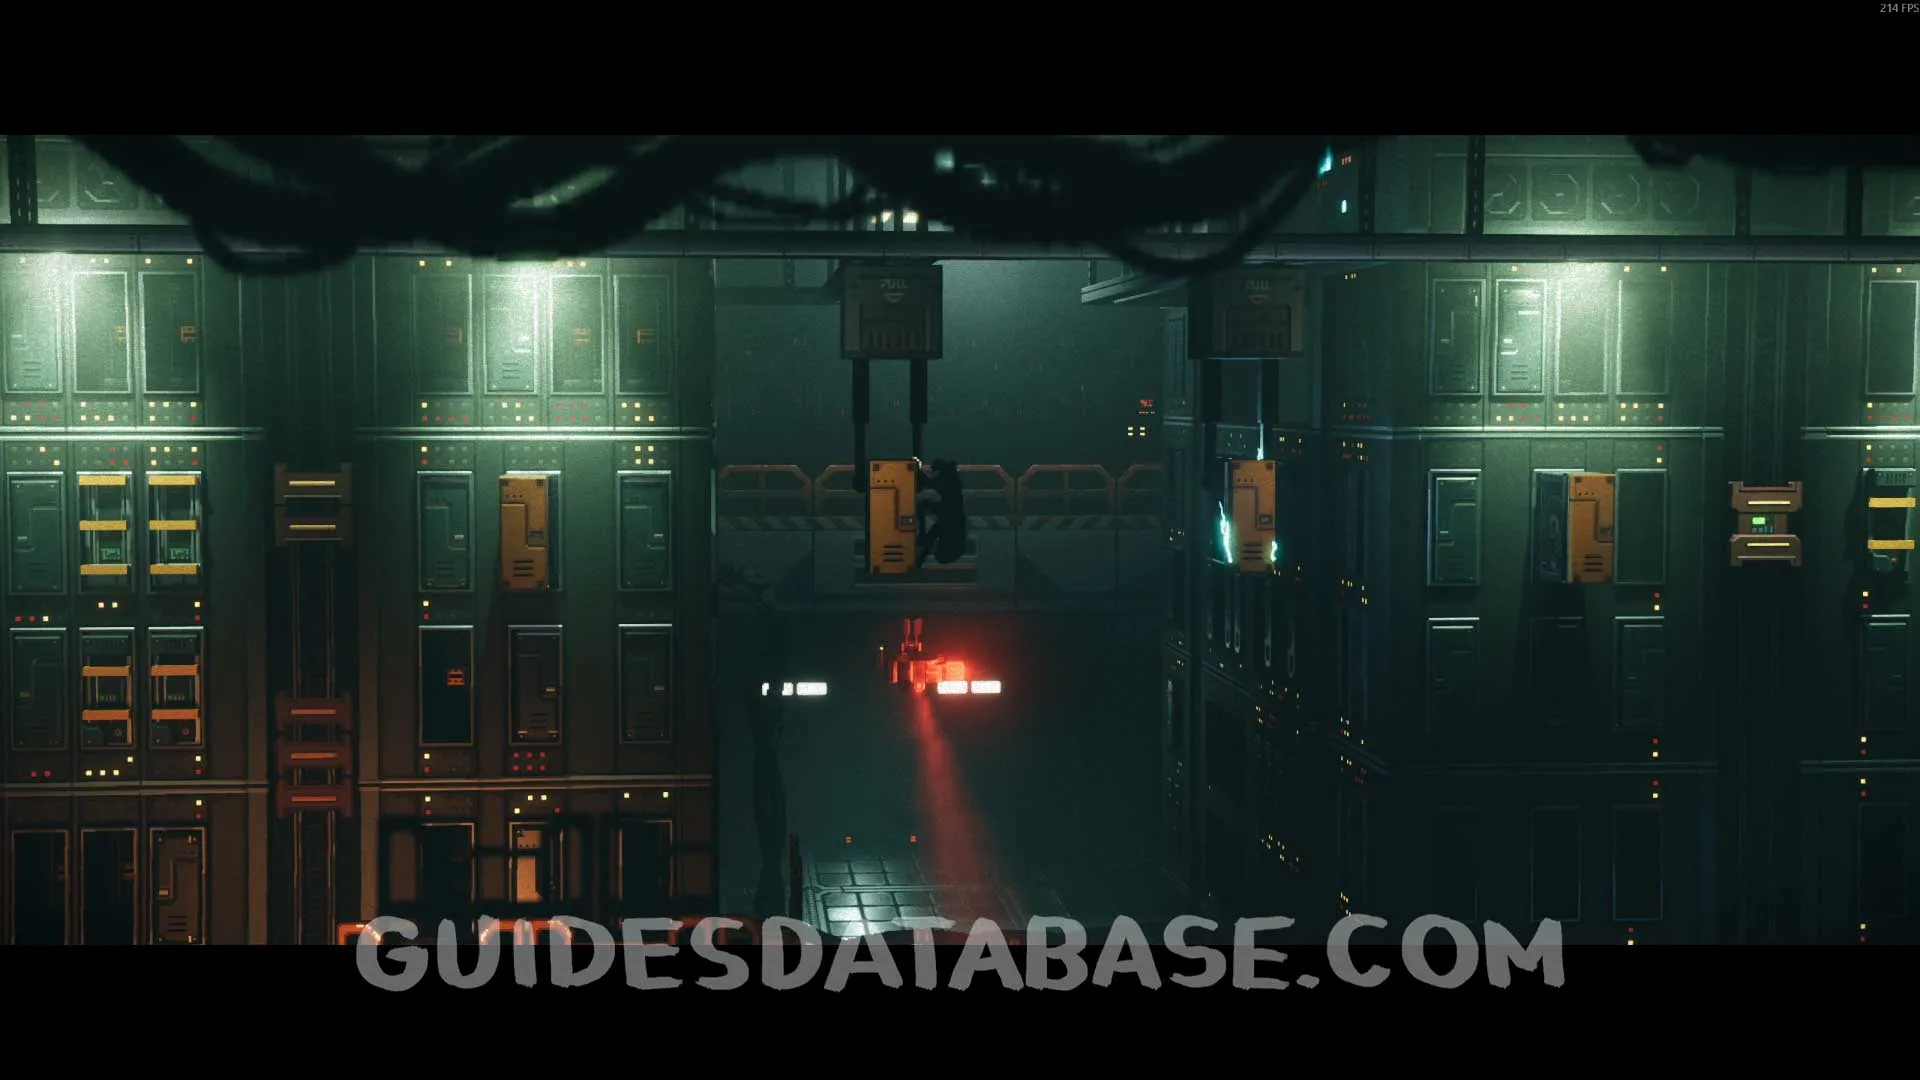
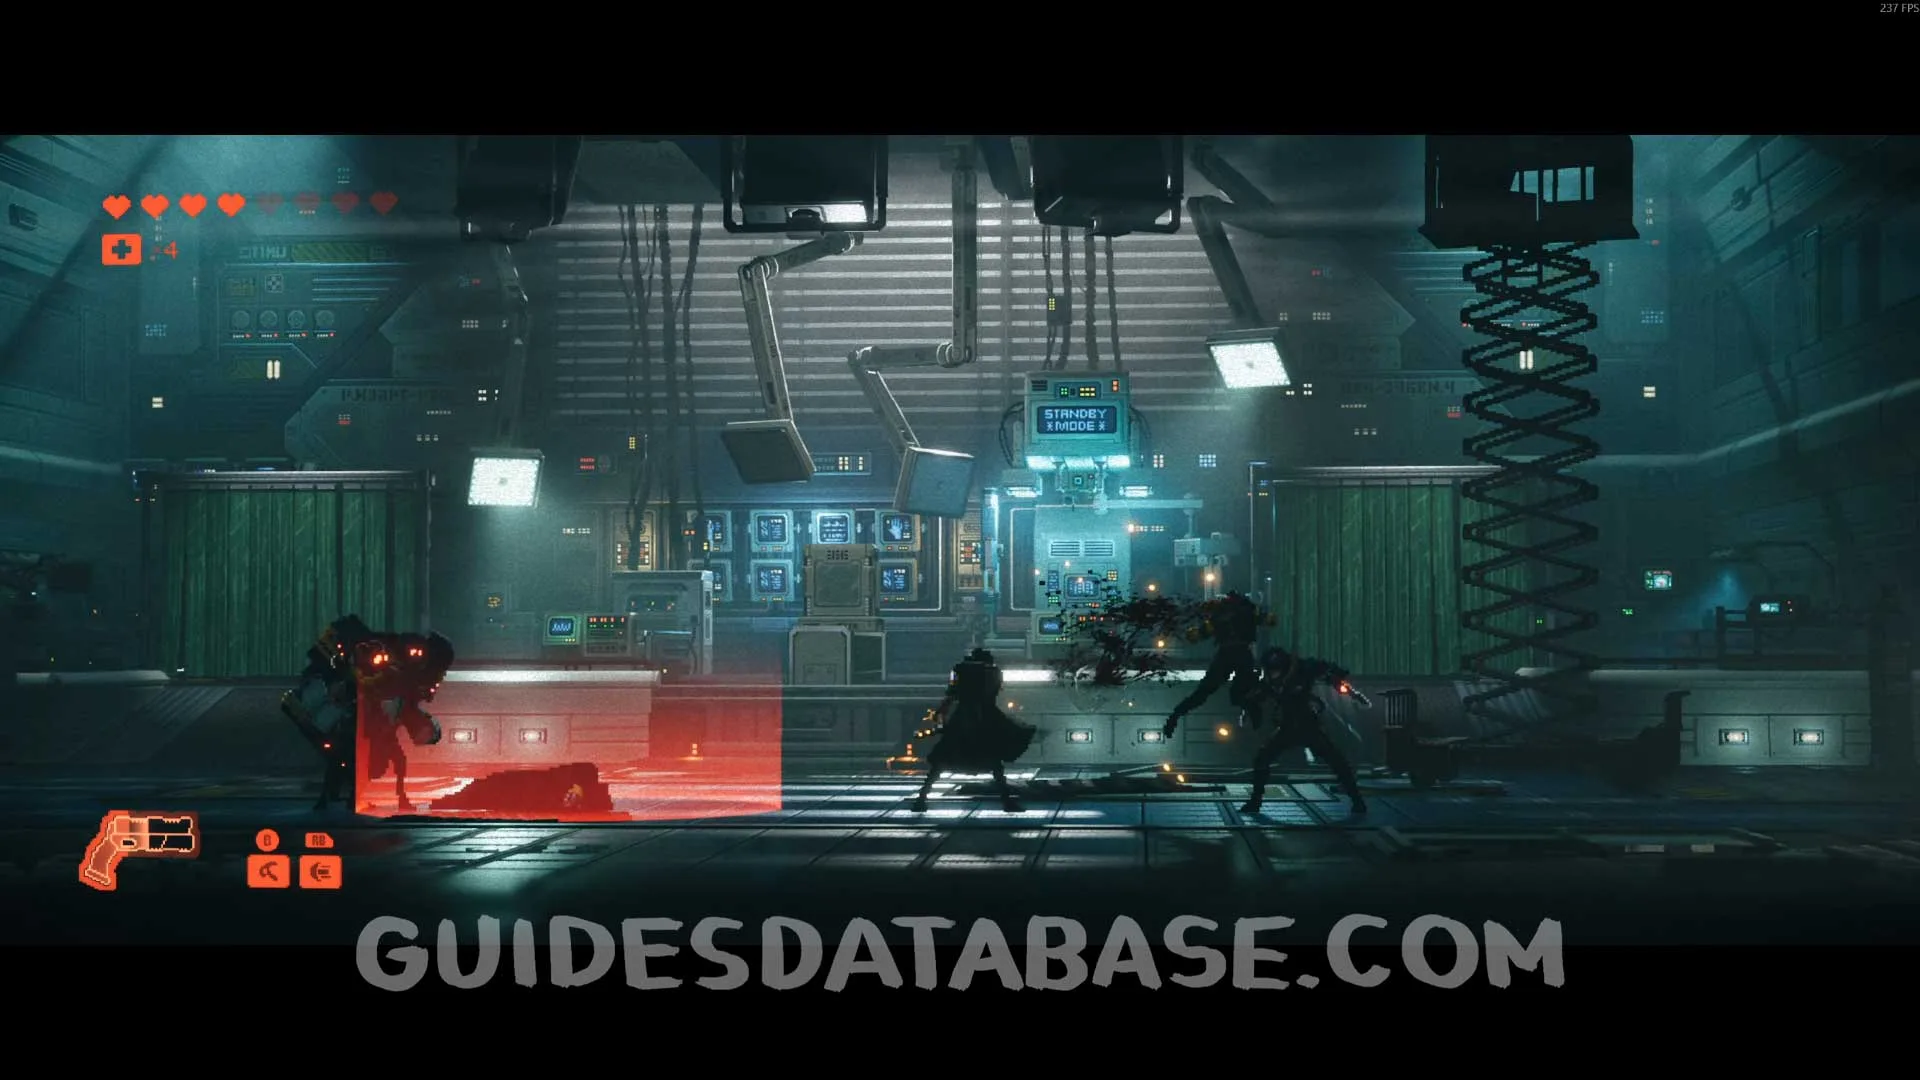
Genetic Profile #7
From the previous collectible, you will reach the area where you will need to hang from some electrified objects. After this section you will descend and will need to crawl underneath the area. On the left side you will find this Genetic Profile.
 GUIDESDATABASE.COM
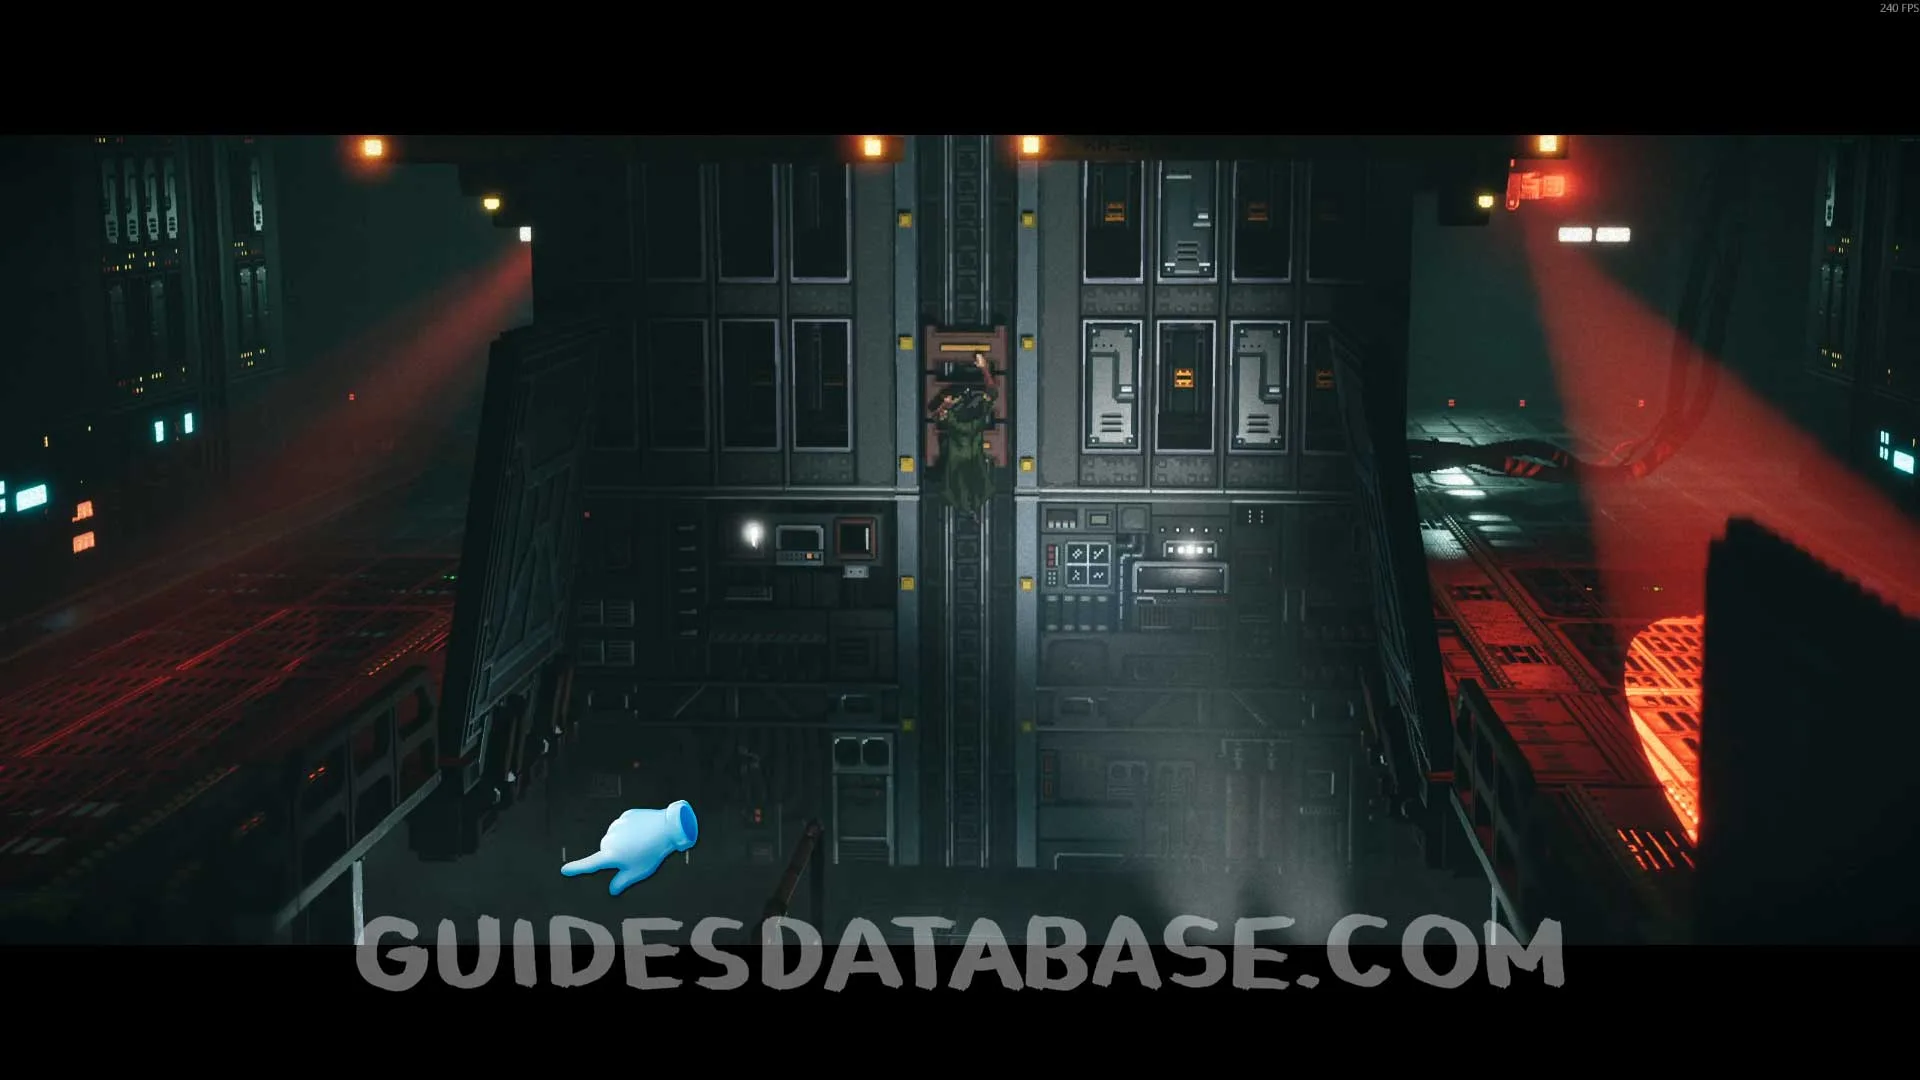 GUIDESDATABASE.COM
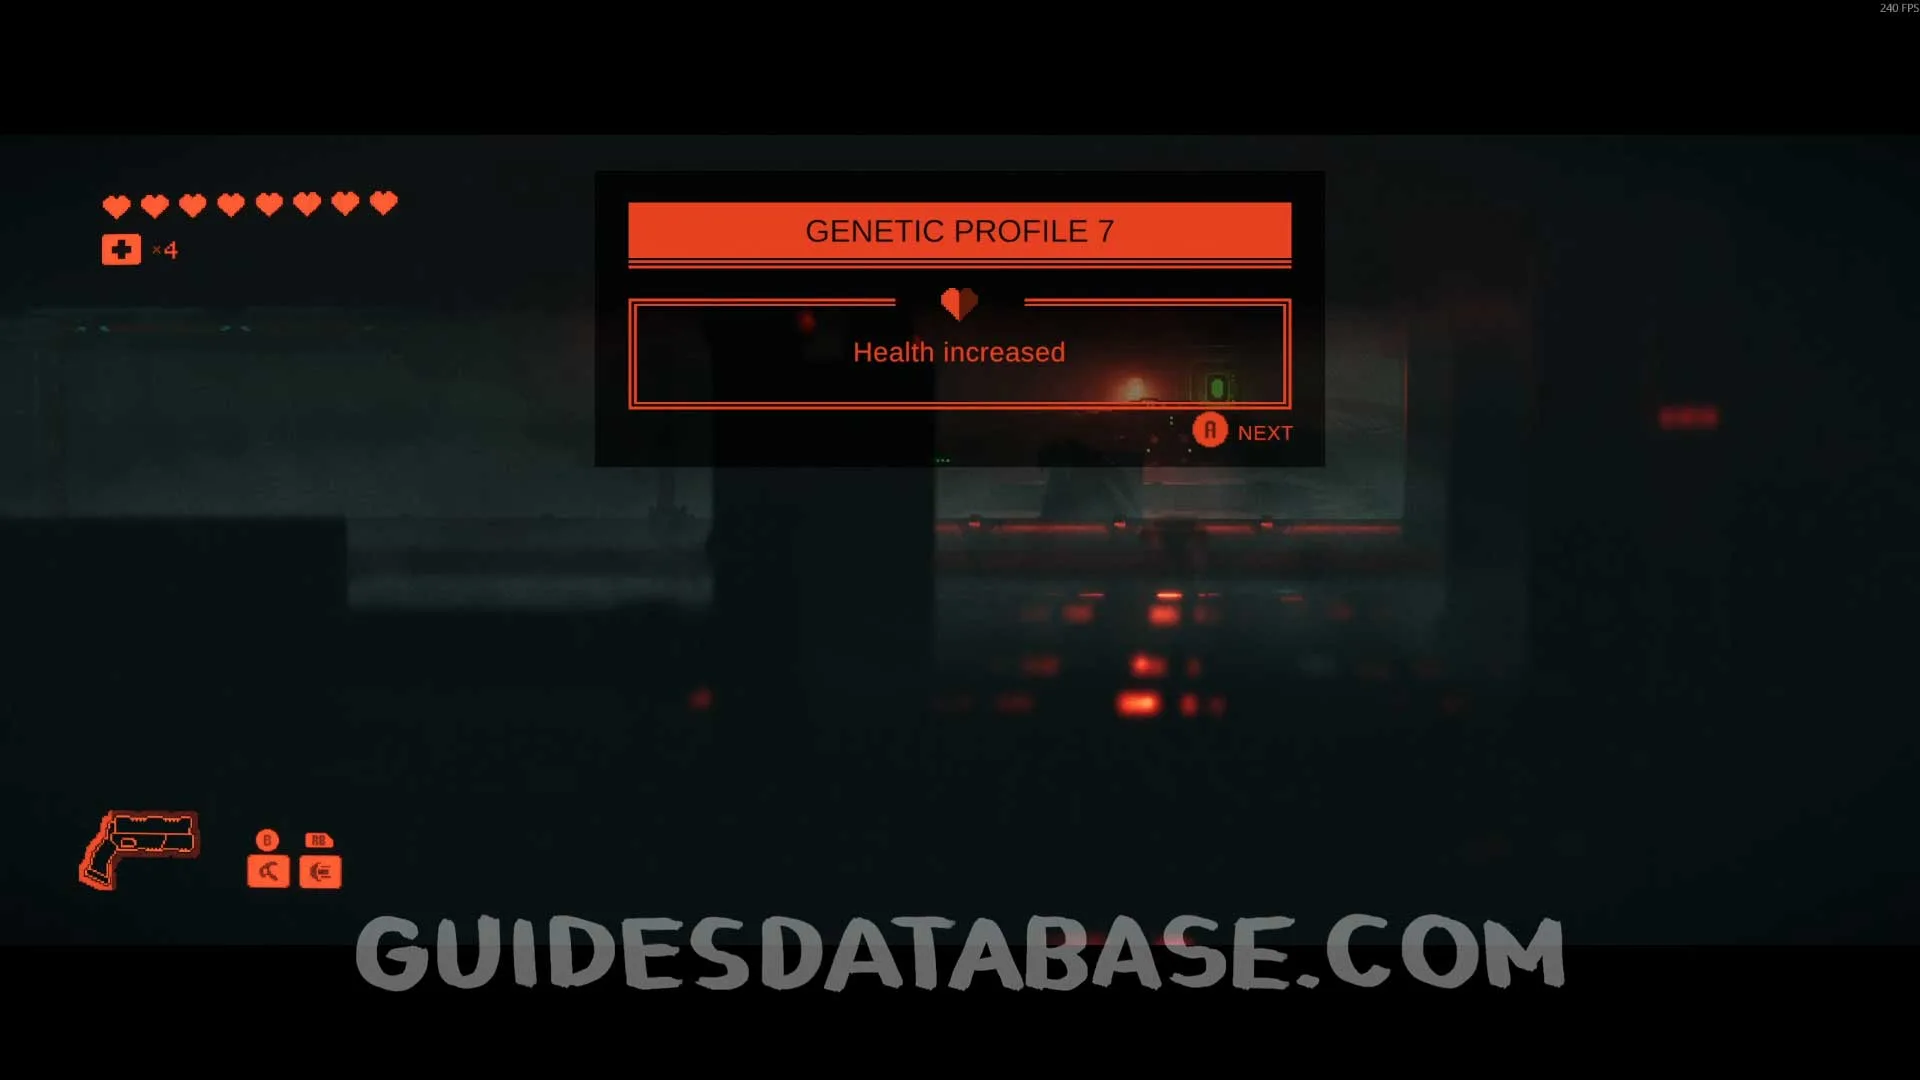 GUIDESDATABASE.COM
Scan #69 Surgical Station Manual
After falling from the ceiling you will fight more enemies. After the fight, head to the right to find this.
 GUIDESDATABASE.COM
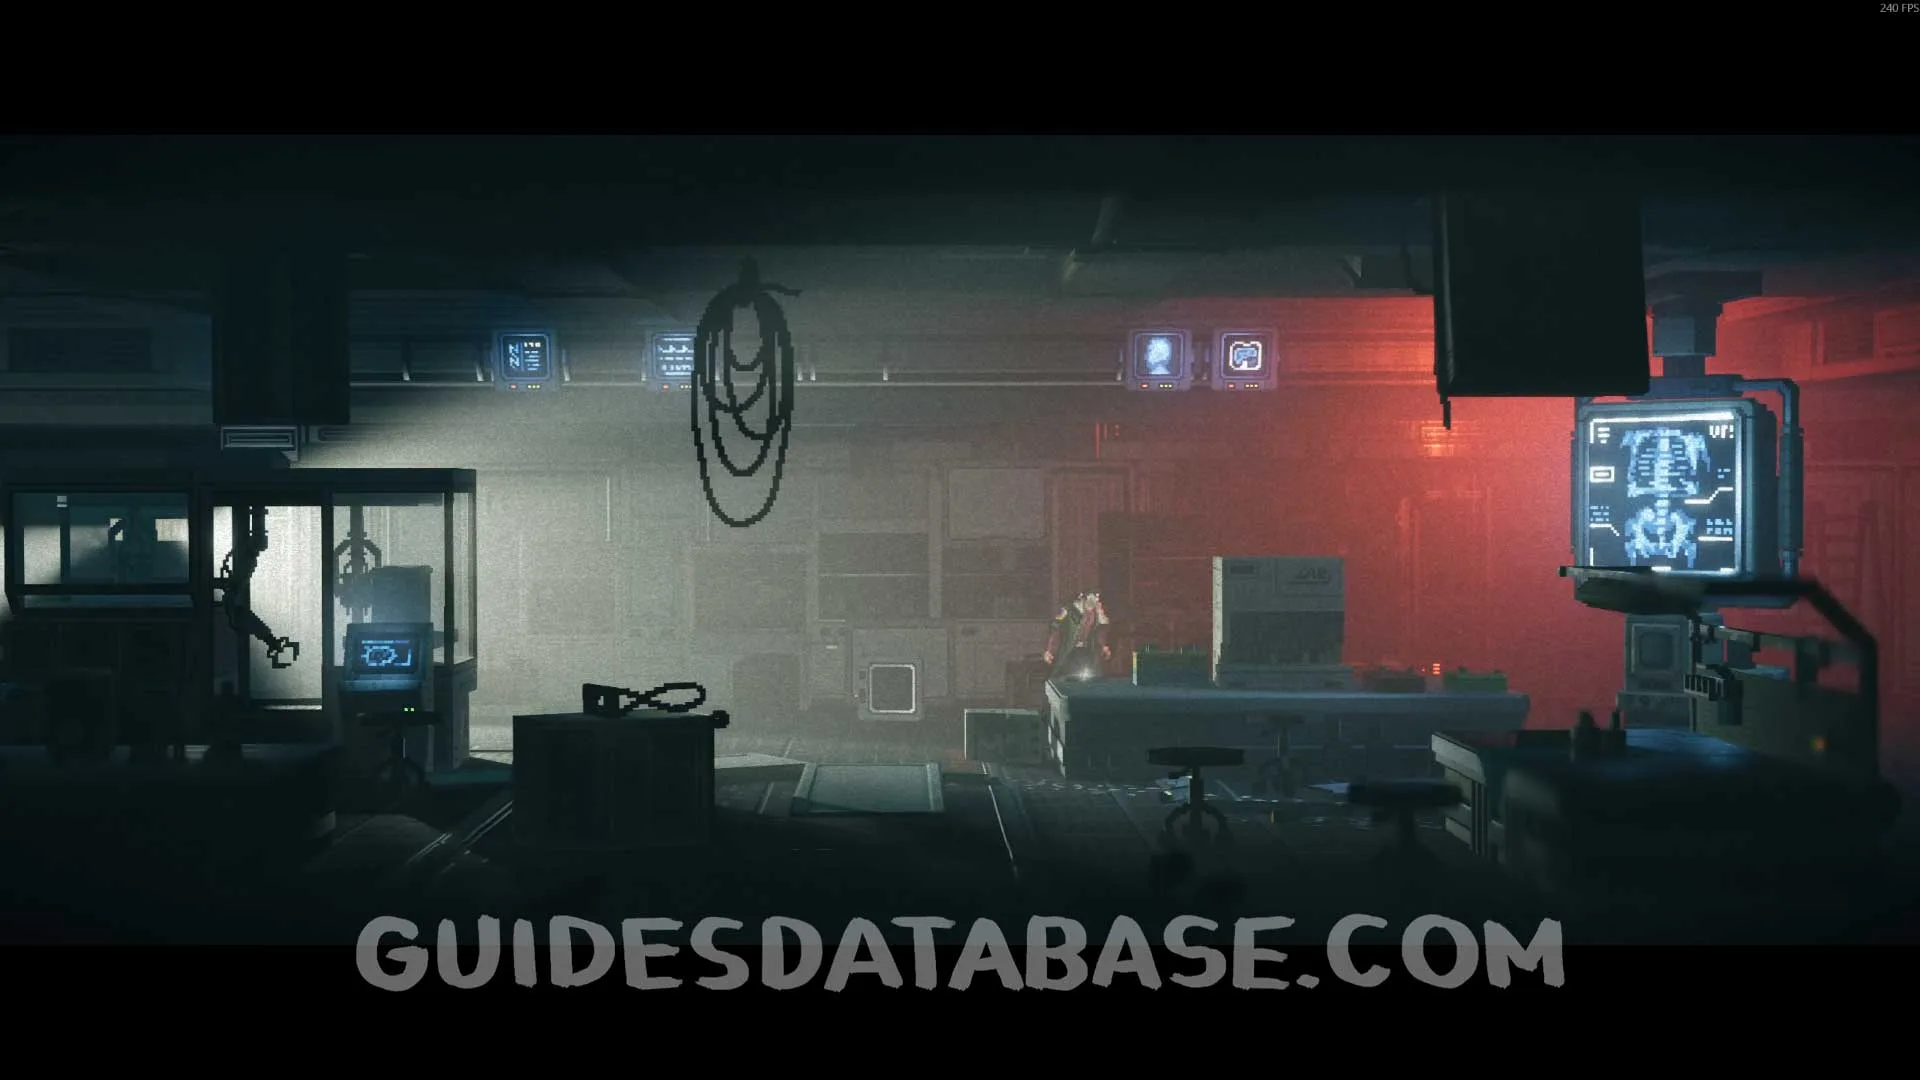 GUIDESDATABASE.COM
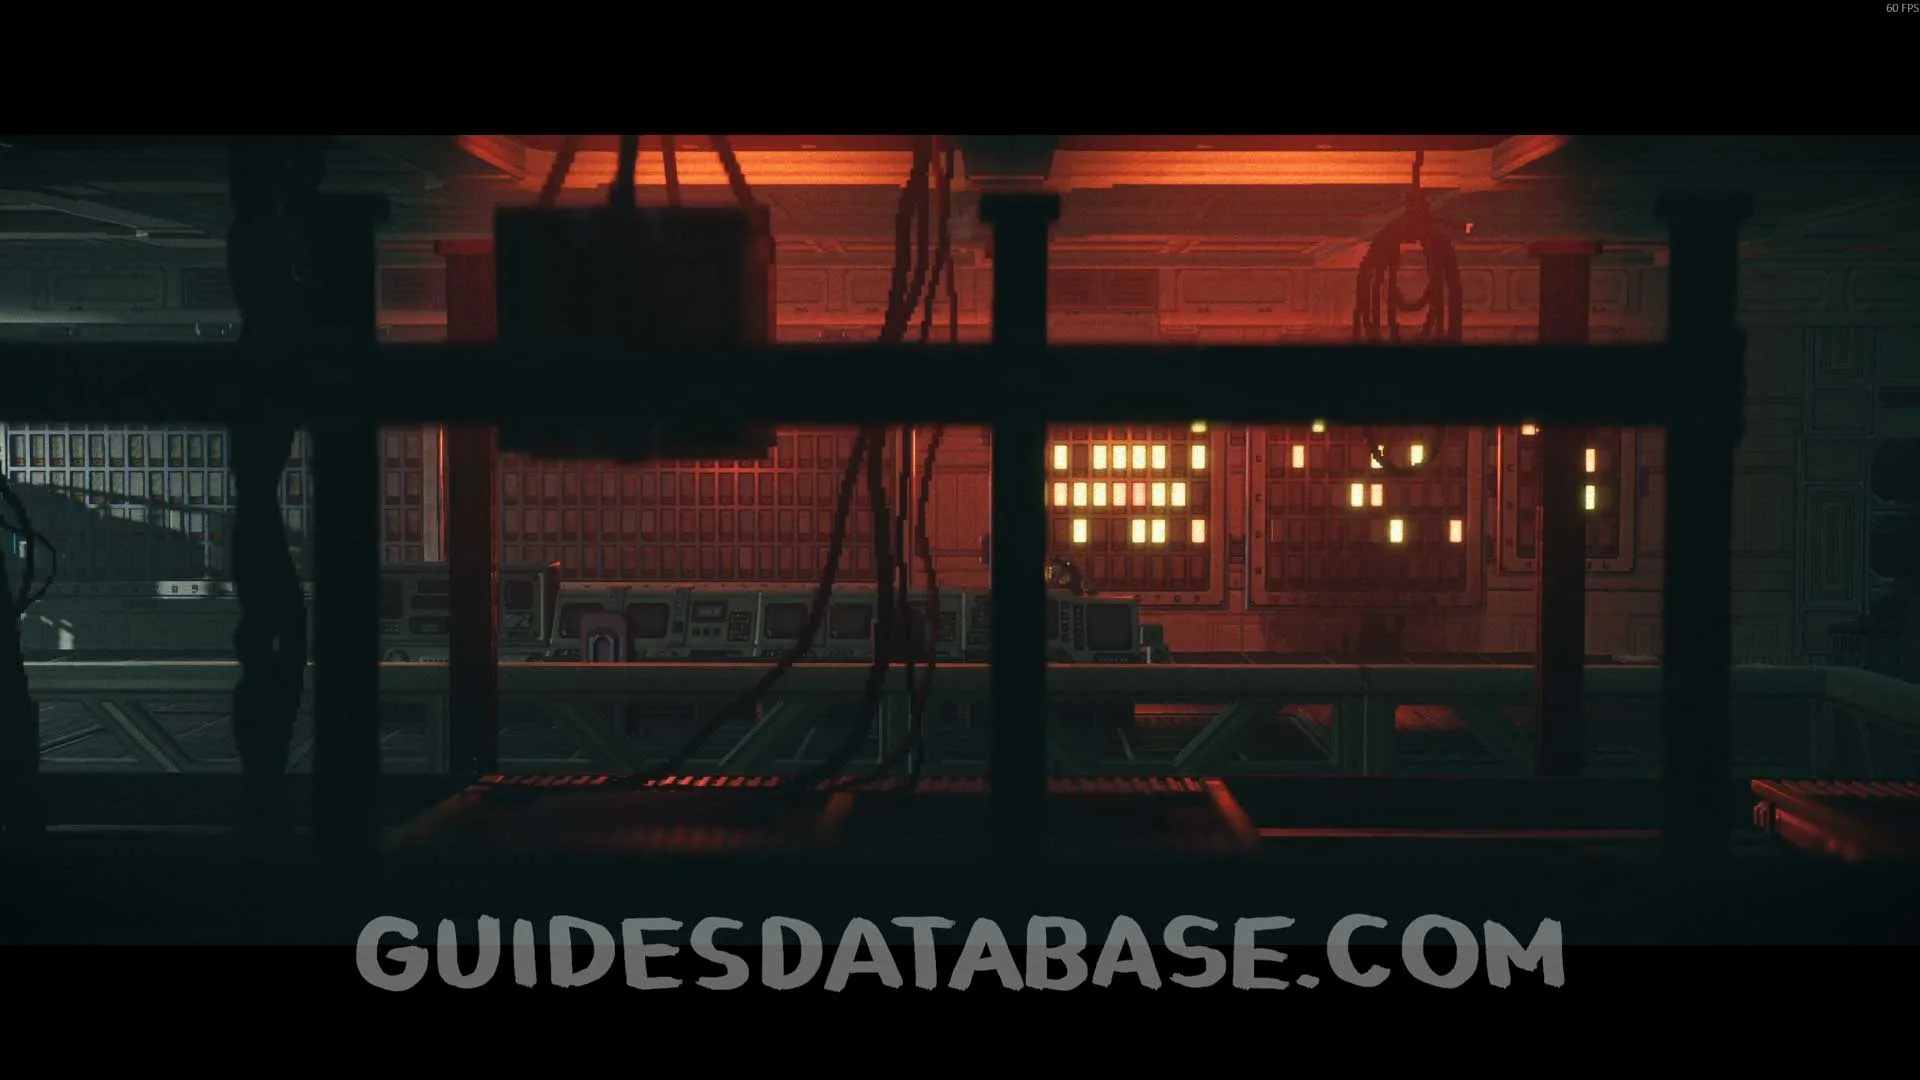
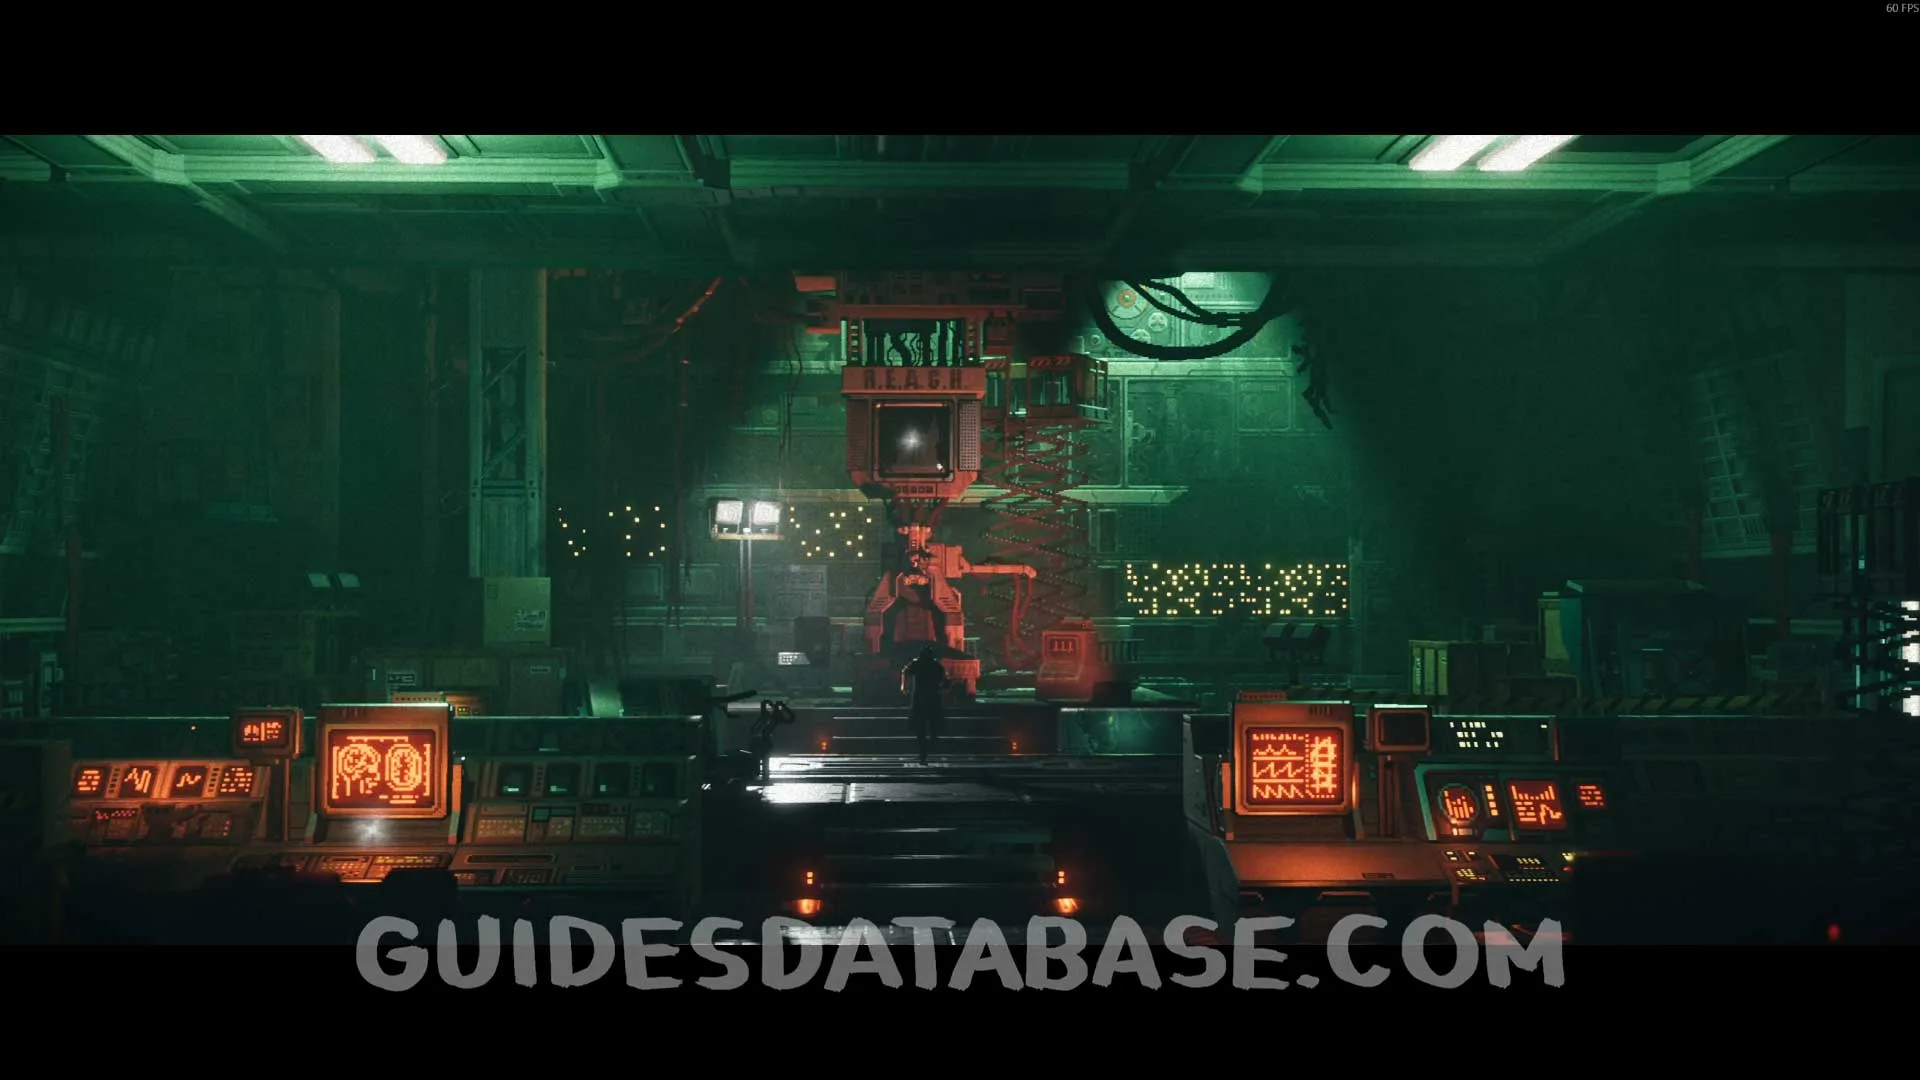
Scan #70 R.E.A.C.H Manual
From the previous collectible, you will need to hack another door. After passing through the door, it will be right in front of you in a trash can.
 GUIDESDATABASE.COM
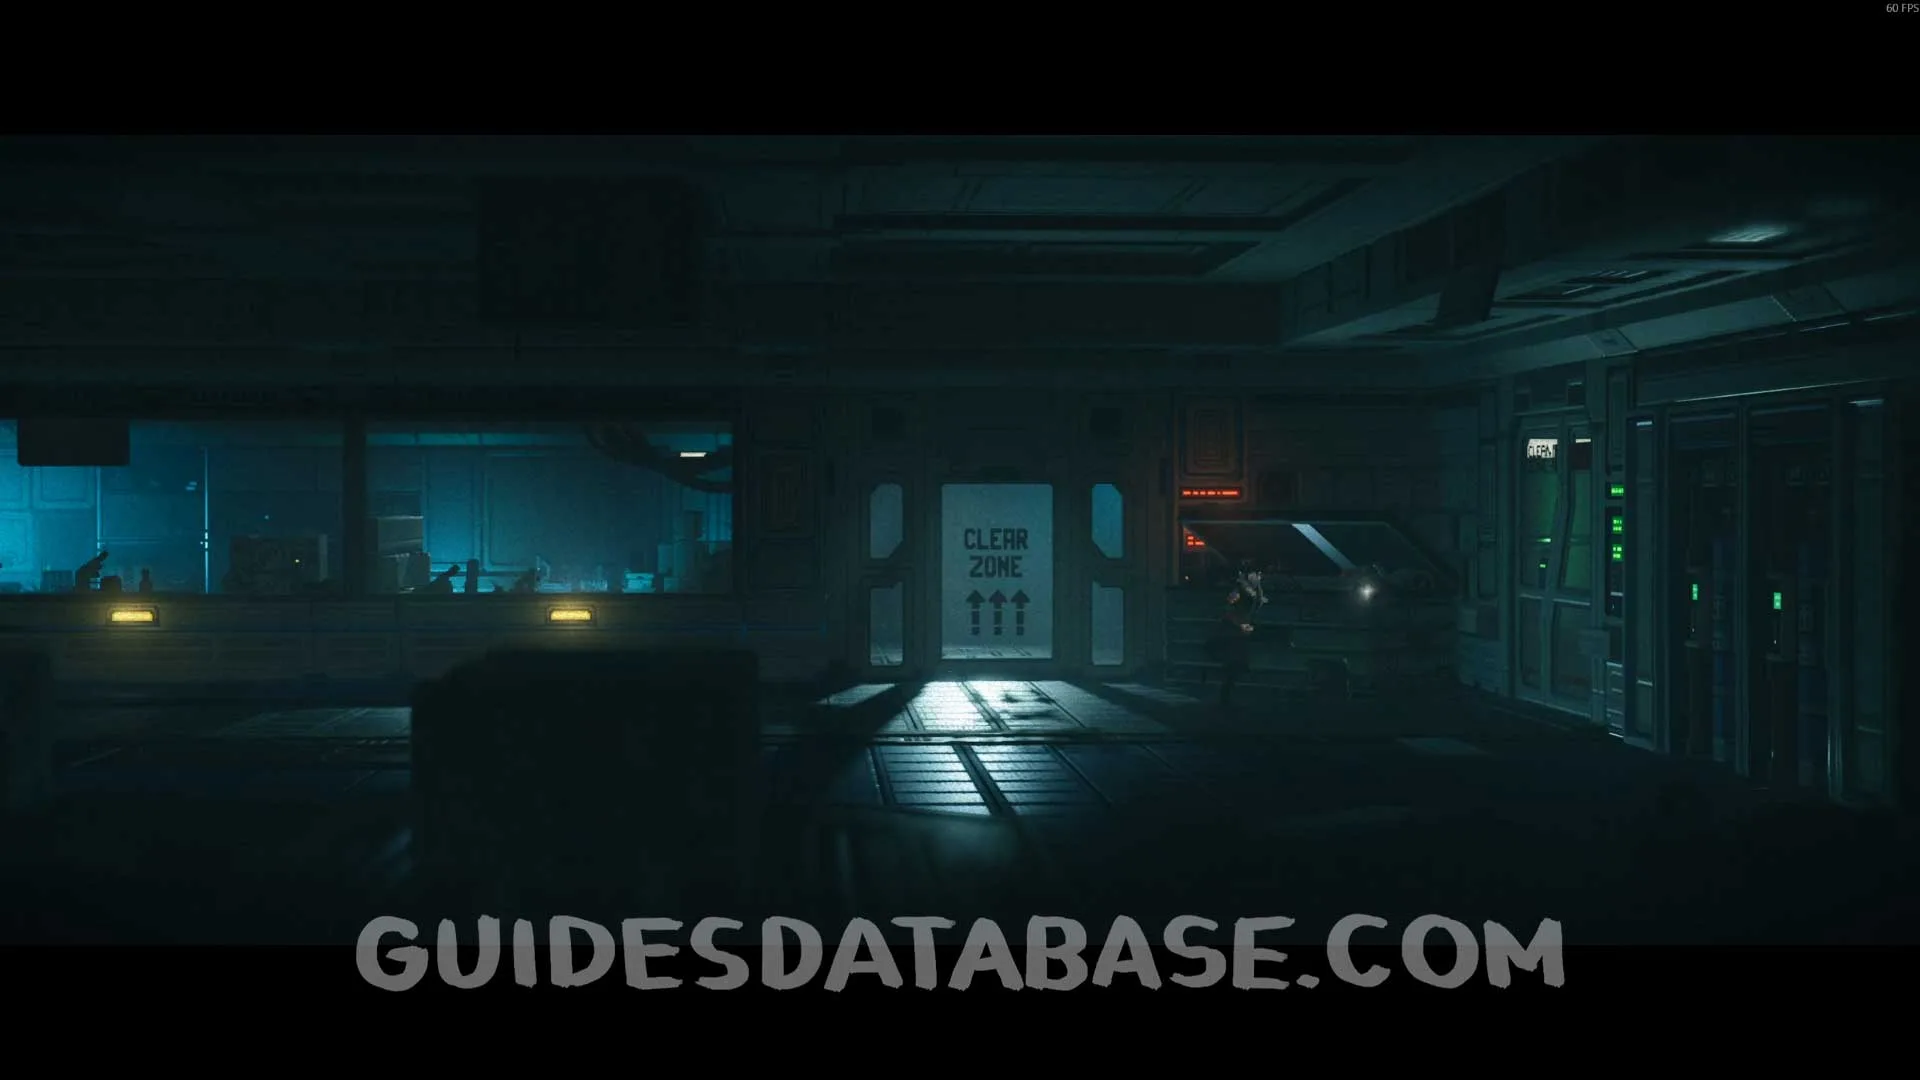 GUIDESDATABASE.COM
Music #8 Abandoned Forest
From the previous collectible, you will drag a stretcher to climb on top of it and go up some stairs. Further ahead, you will climb through a duct by jumping from side to side at the top. Instead of continuing to the left, jump back over where you came from towards the right to find this music.
 GUIDESDATABASE.COM
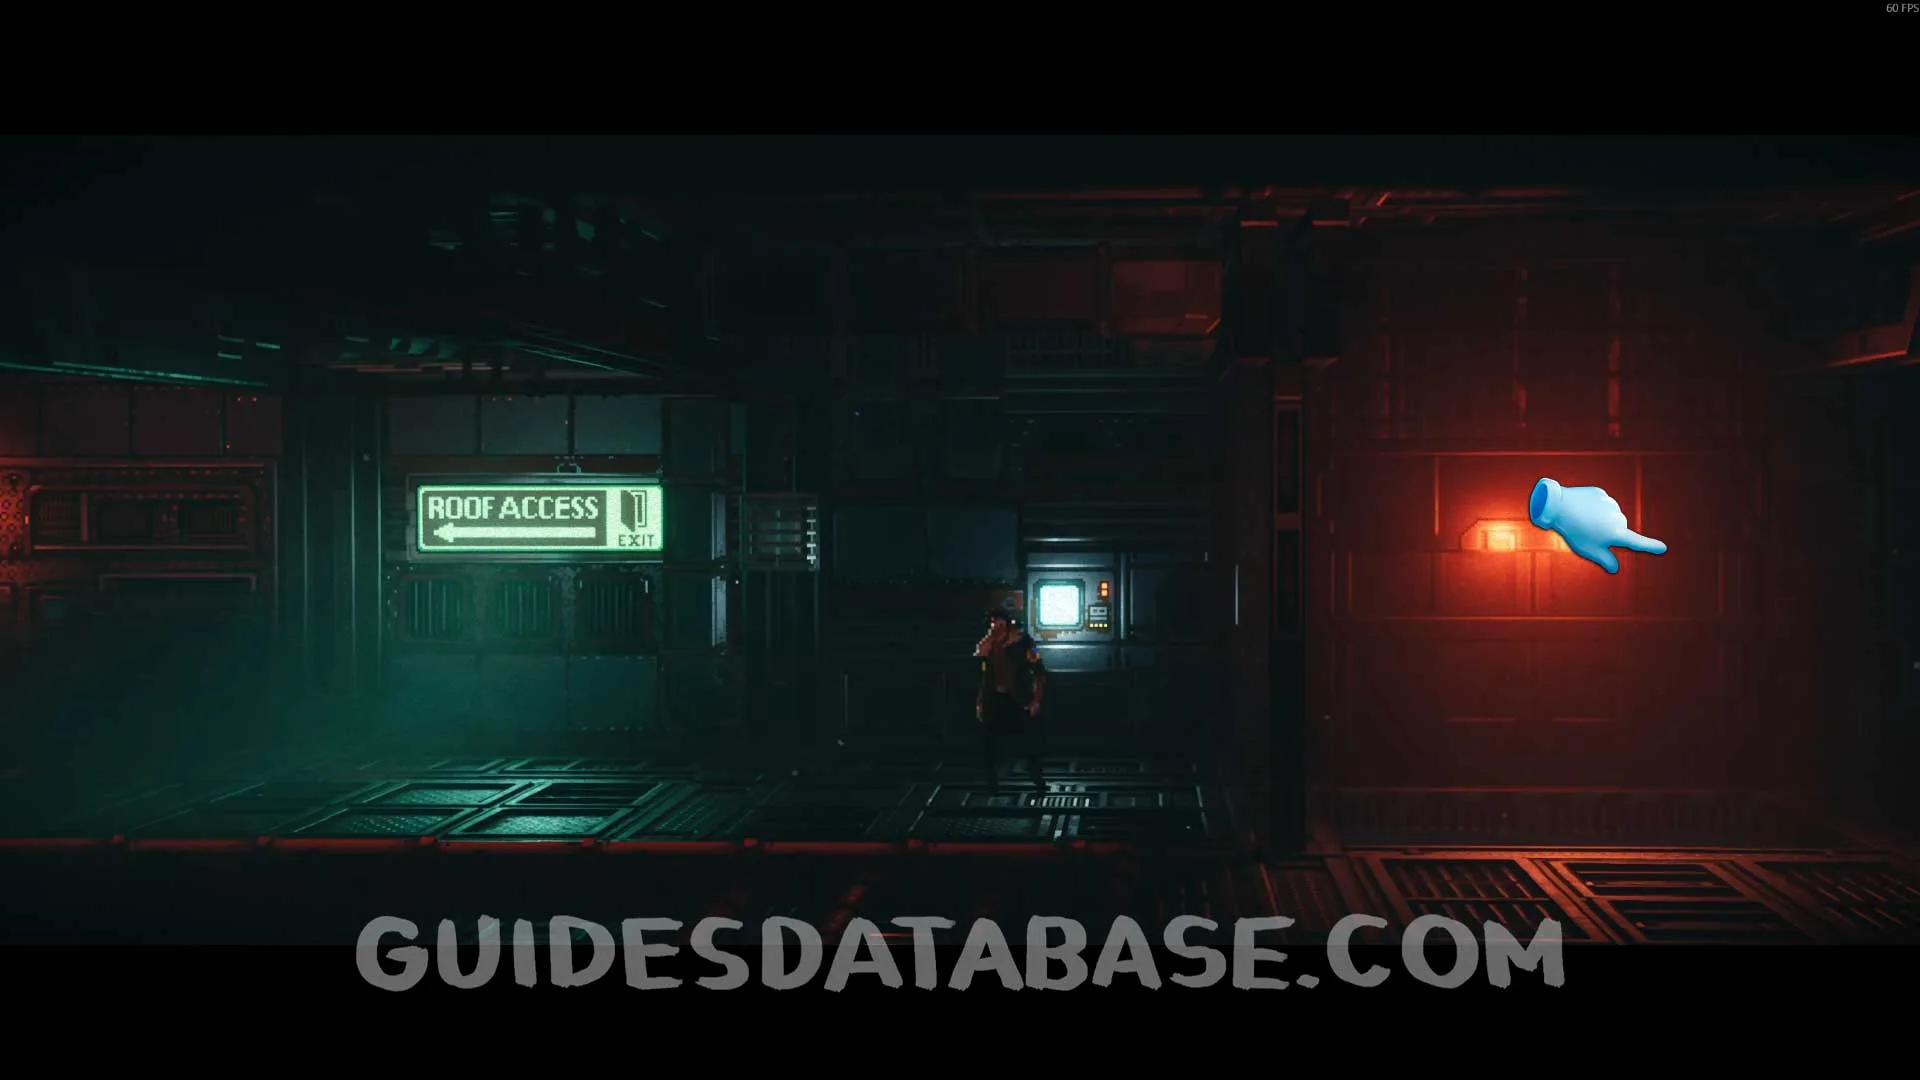 GUIDESDATABASE.COM
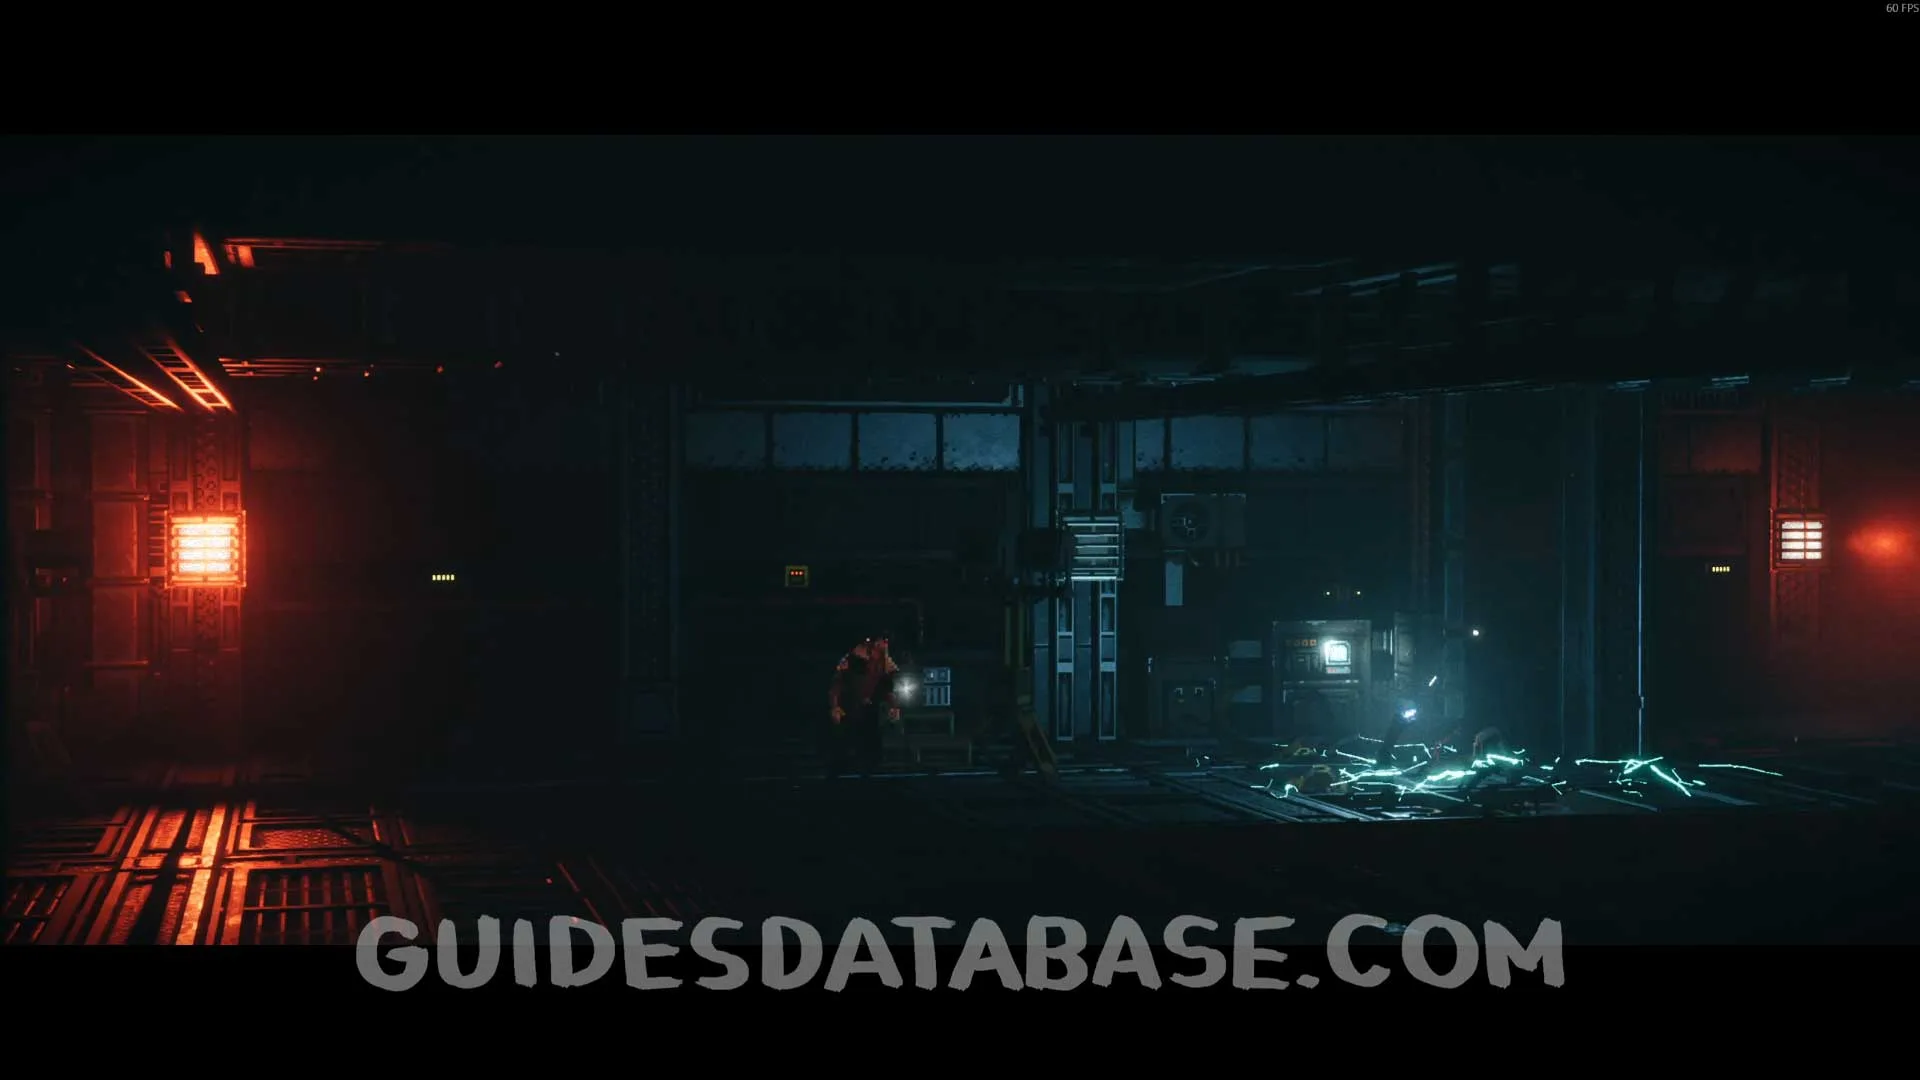 GUIDESDATABASE.COM
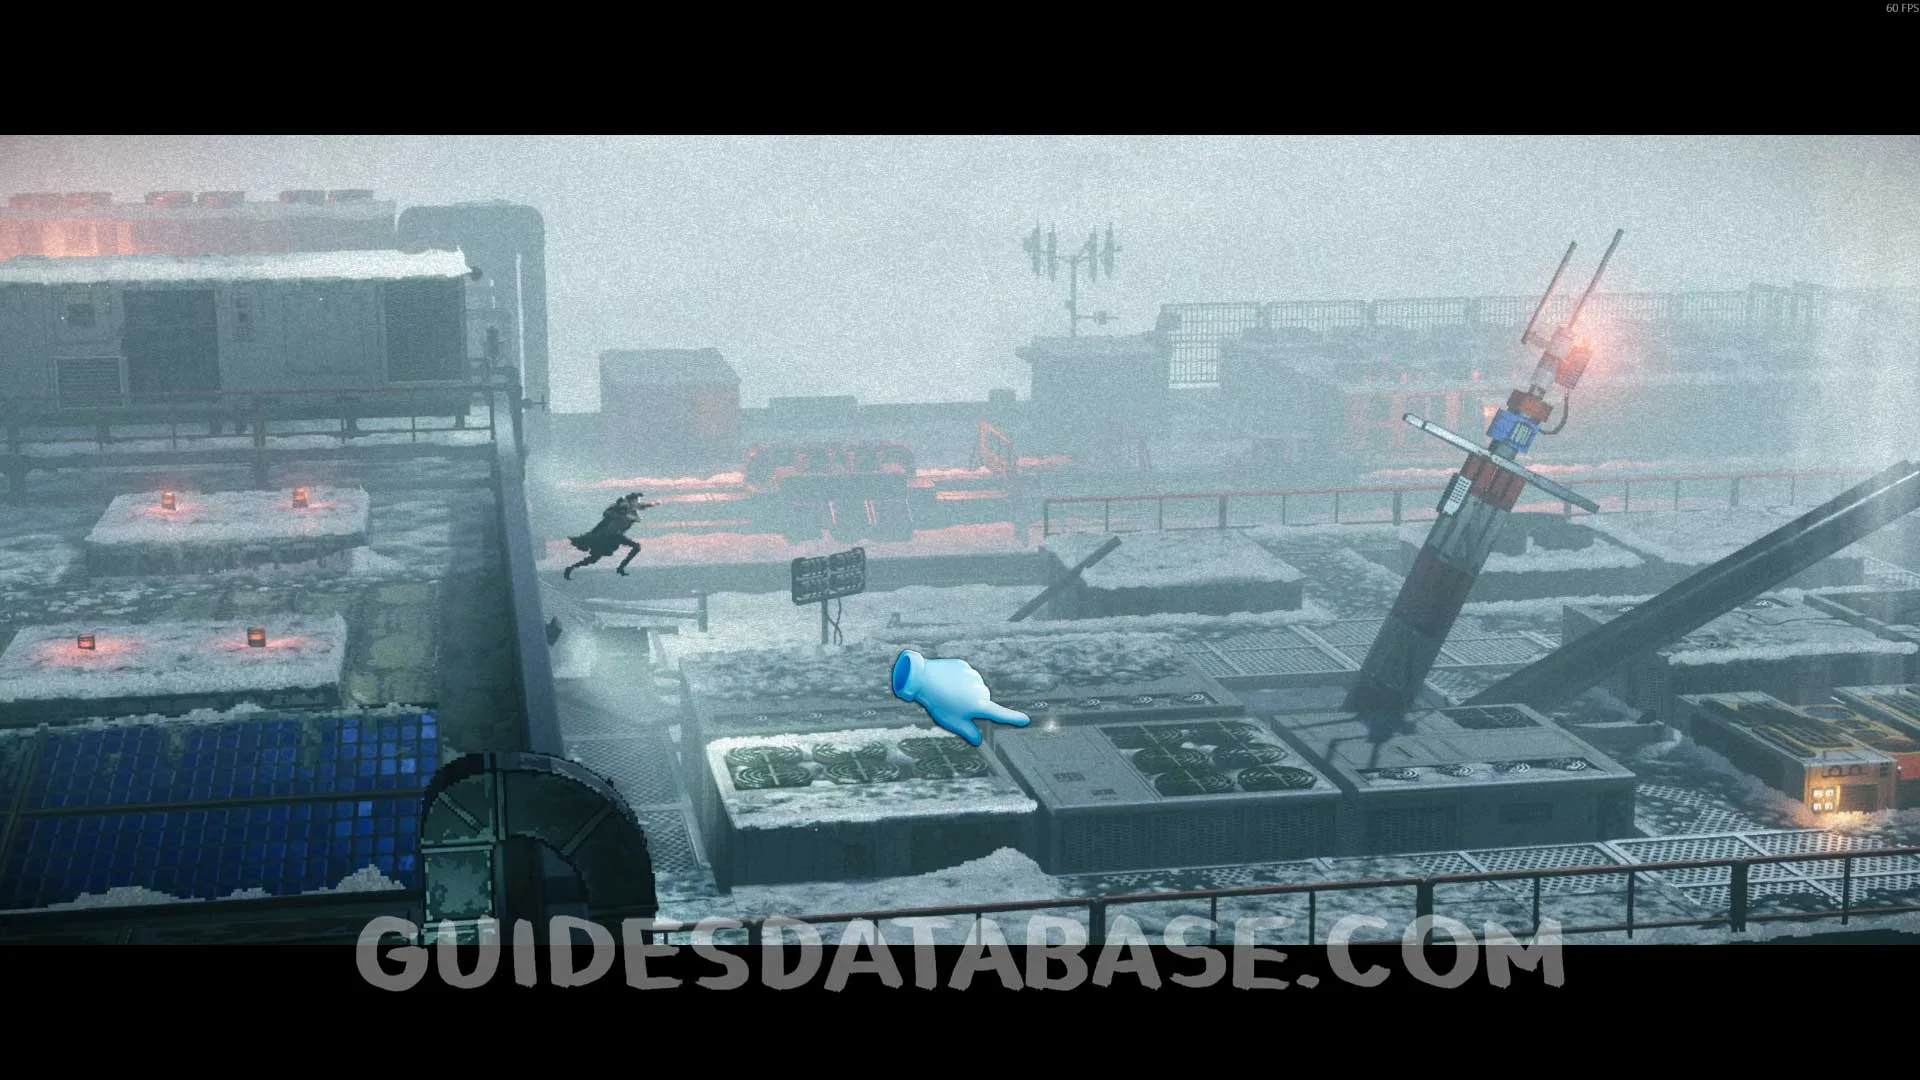
Scan #71 Firefighter's Audiologs
Right in front of you when you reach the rooftop.
 GUIDESDATABASE.COM
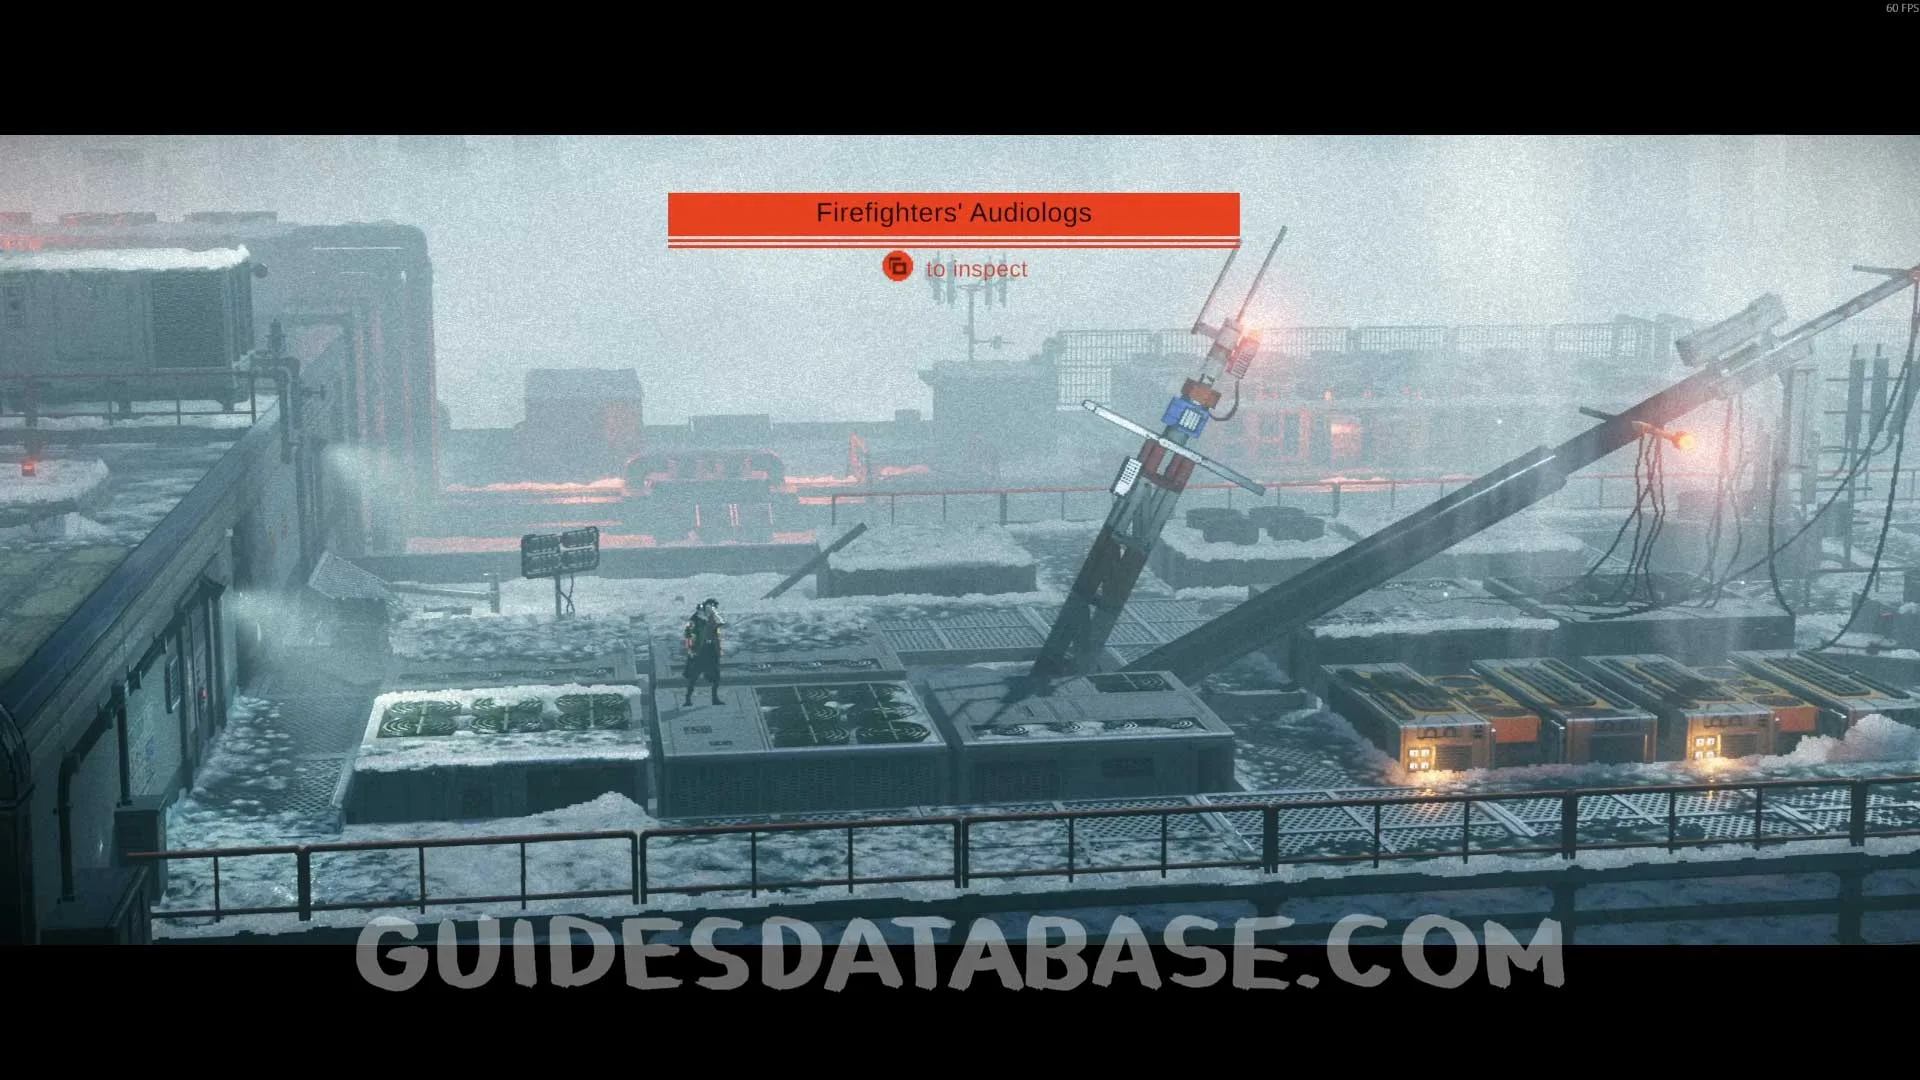 GUIDESDATABASE.COM
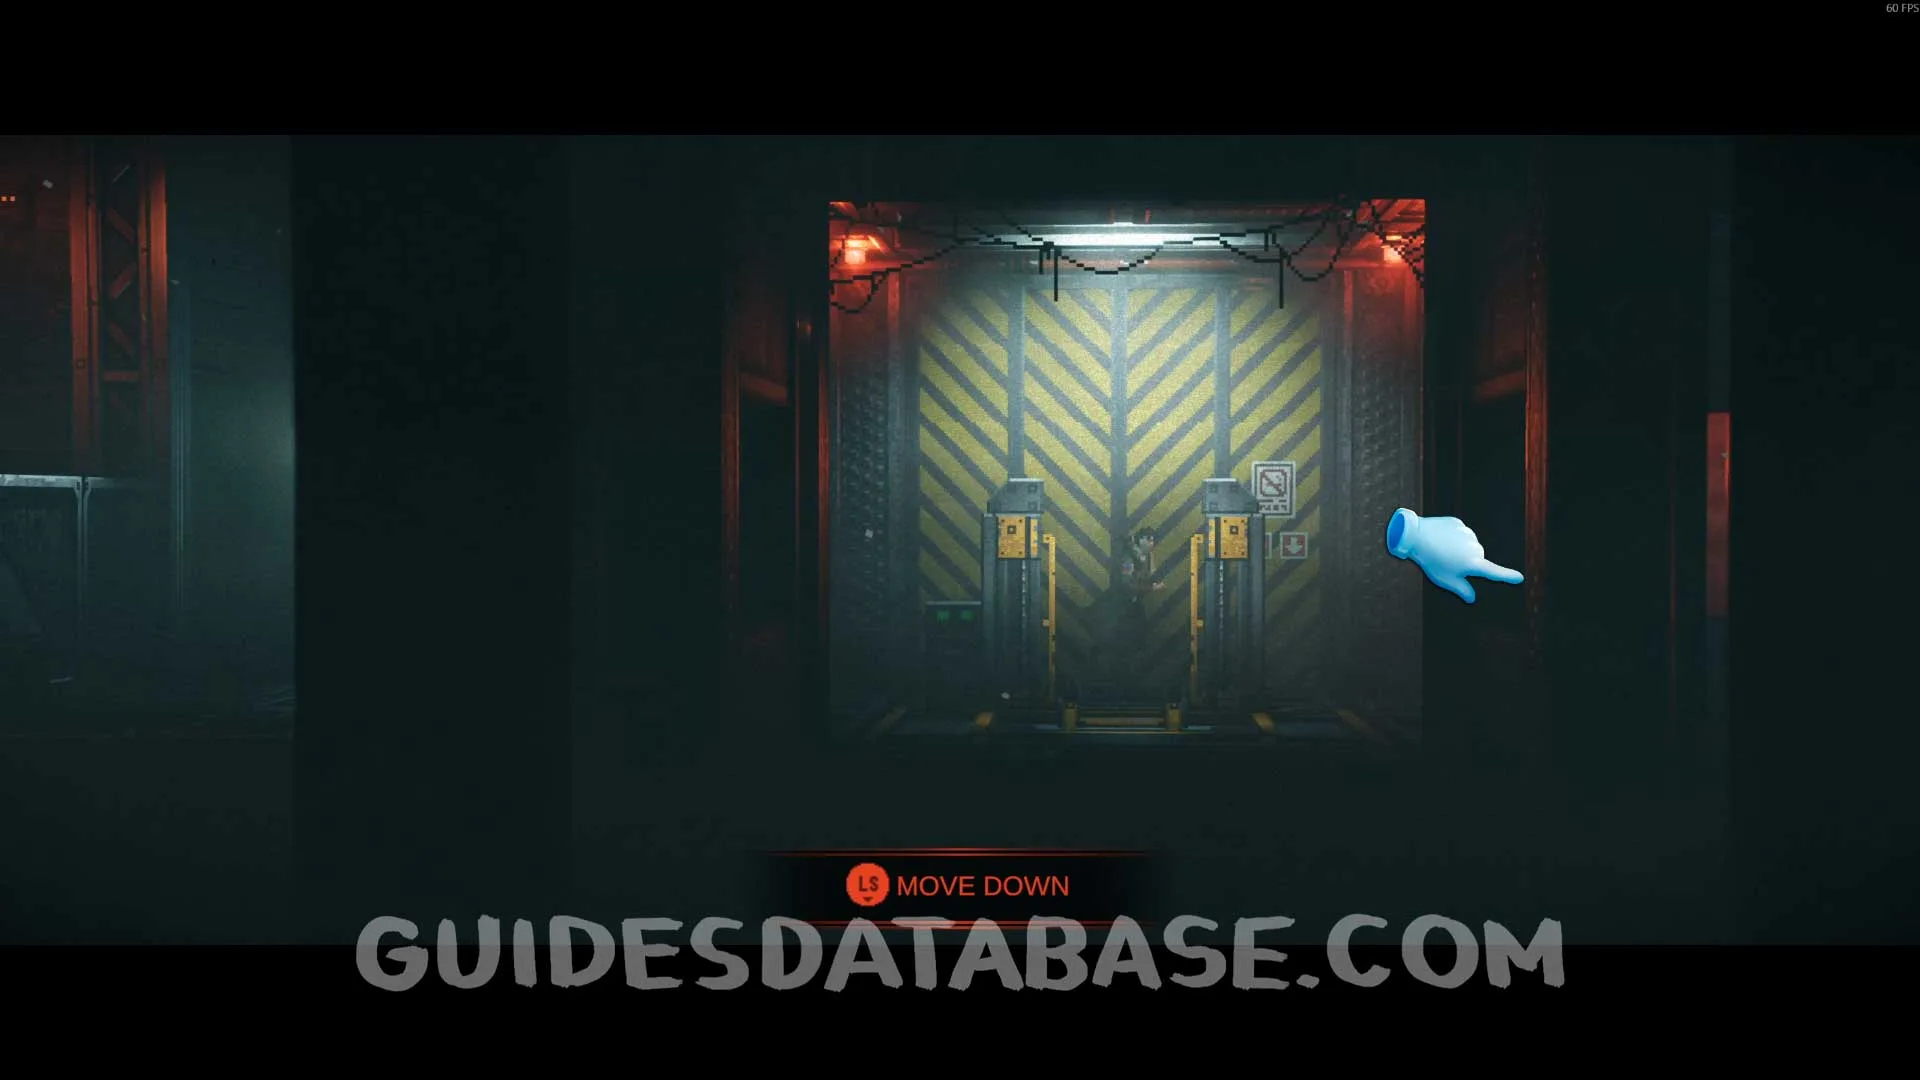
Scan #72 Private Diary
After climbing the antenna and entering the building, you will fall into a hole and see an elevator right in front of you. Do not go down the elevator and instead keep heading to the right until the very end to find this Scan.
 GUIDESDATABASE.COM
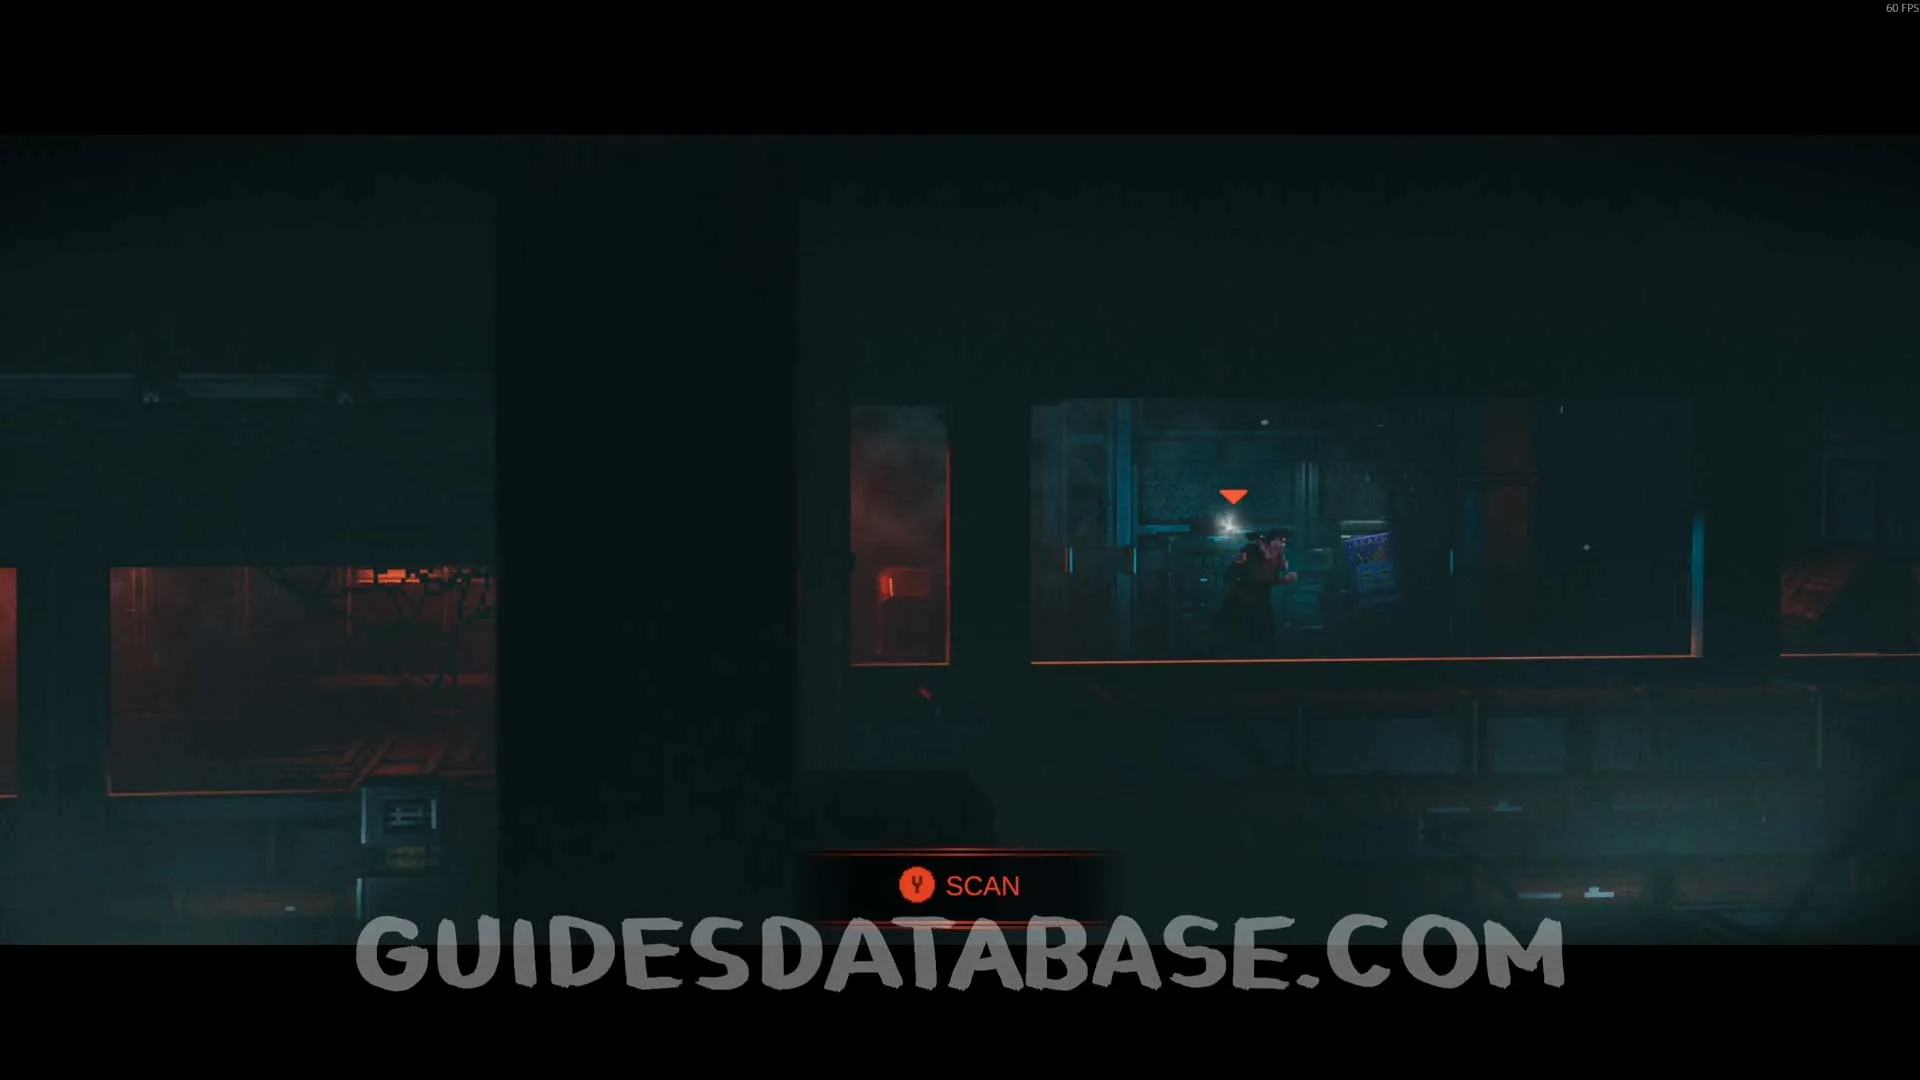 GUIDESDATABASE.COM
Scan #73 Guard's Burned Letter
After passing through the area with some flickering lights, this Scan will be right in front of you.
 GUIDESDATABASE.COM
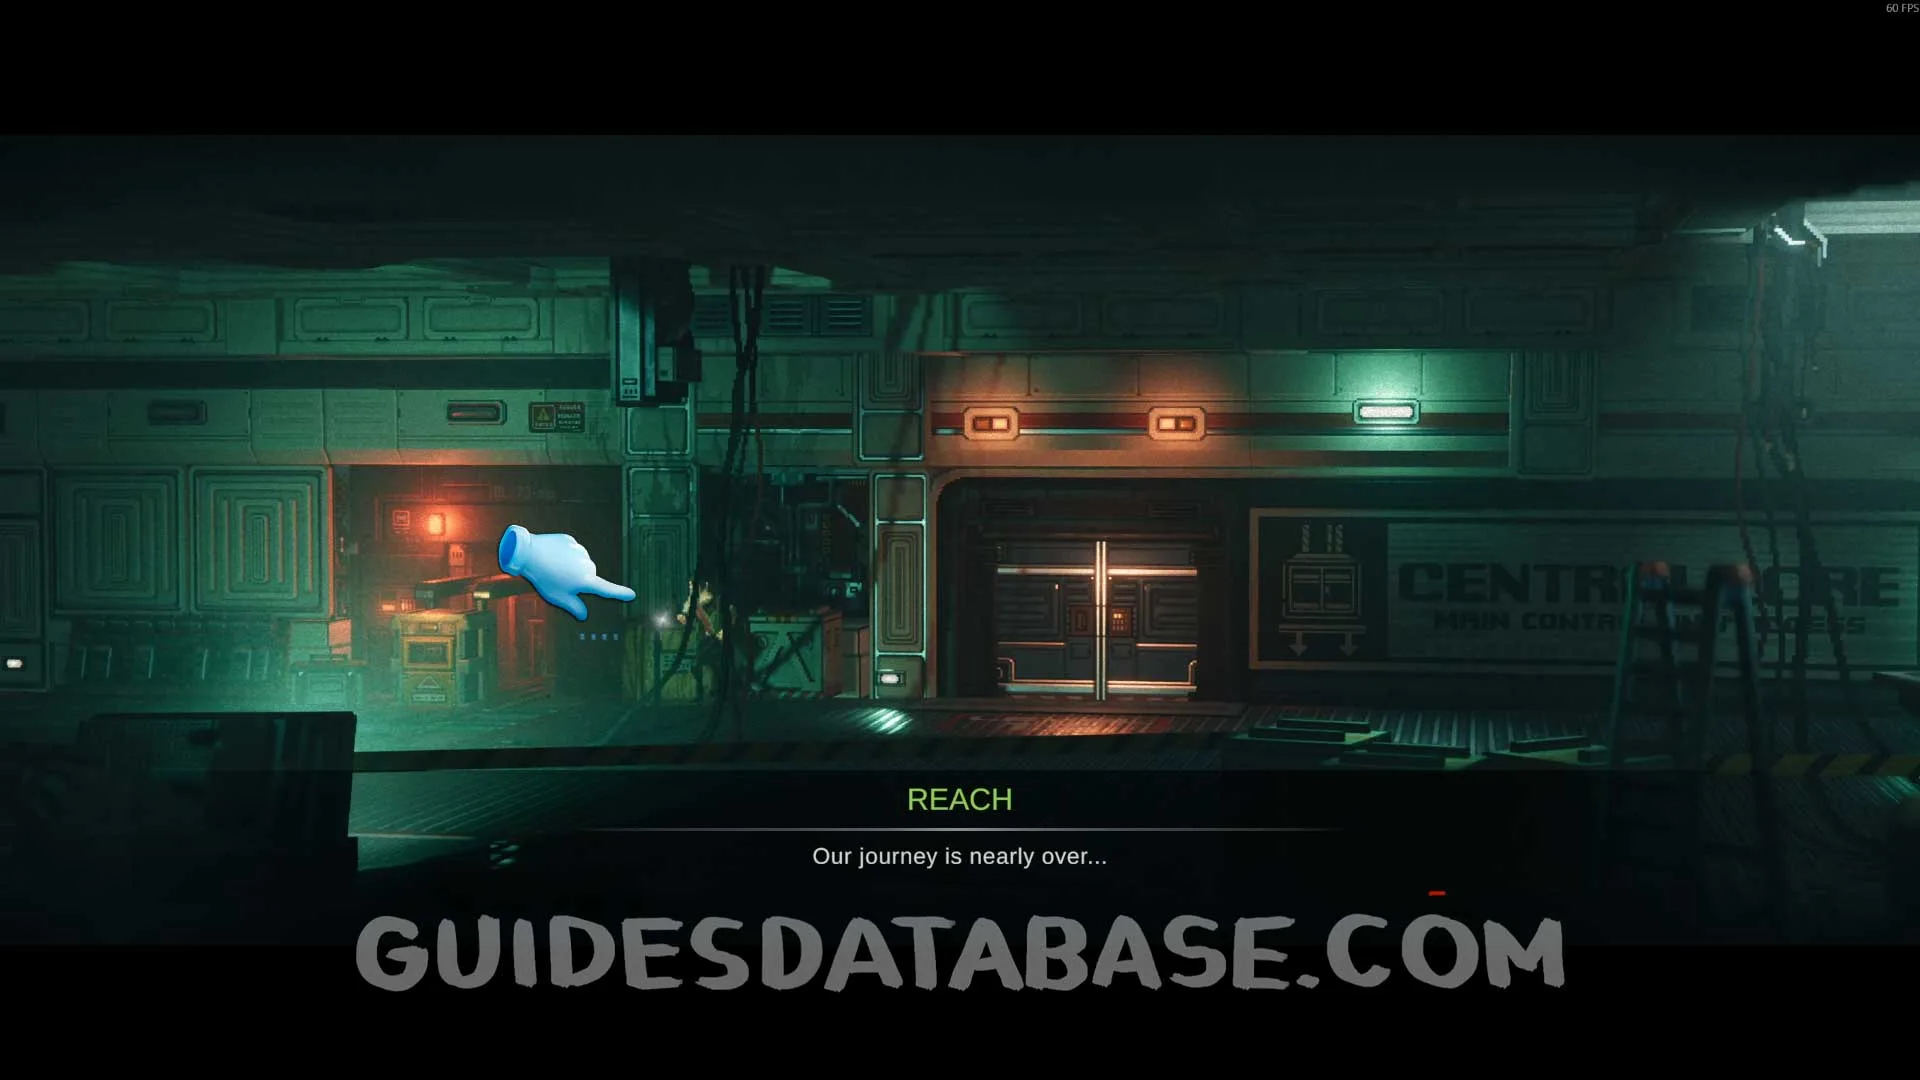 GUIDESDATABASE.COM
Kinetic Inductor #5
From the previous collectible, head forward and you will see a cutscene. After the cutscene, head to the left, hack the door and inside the room you will find this.
 GUIDESDATABASE.COM
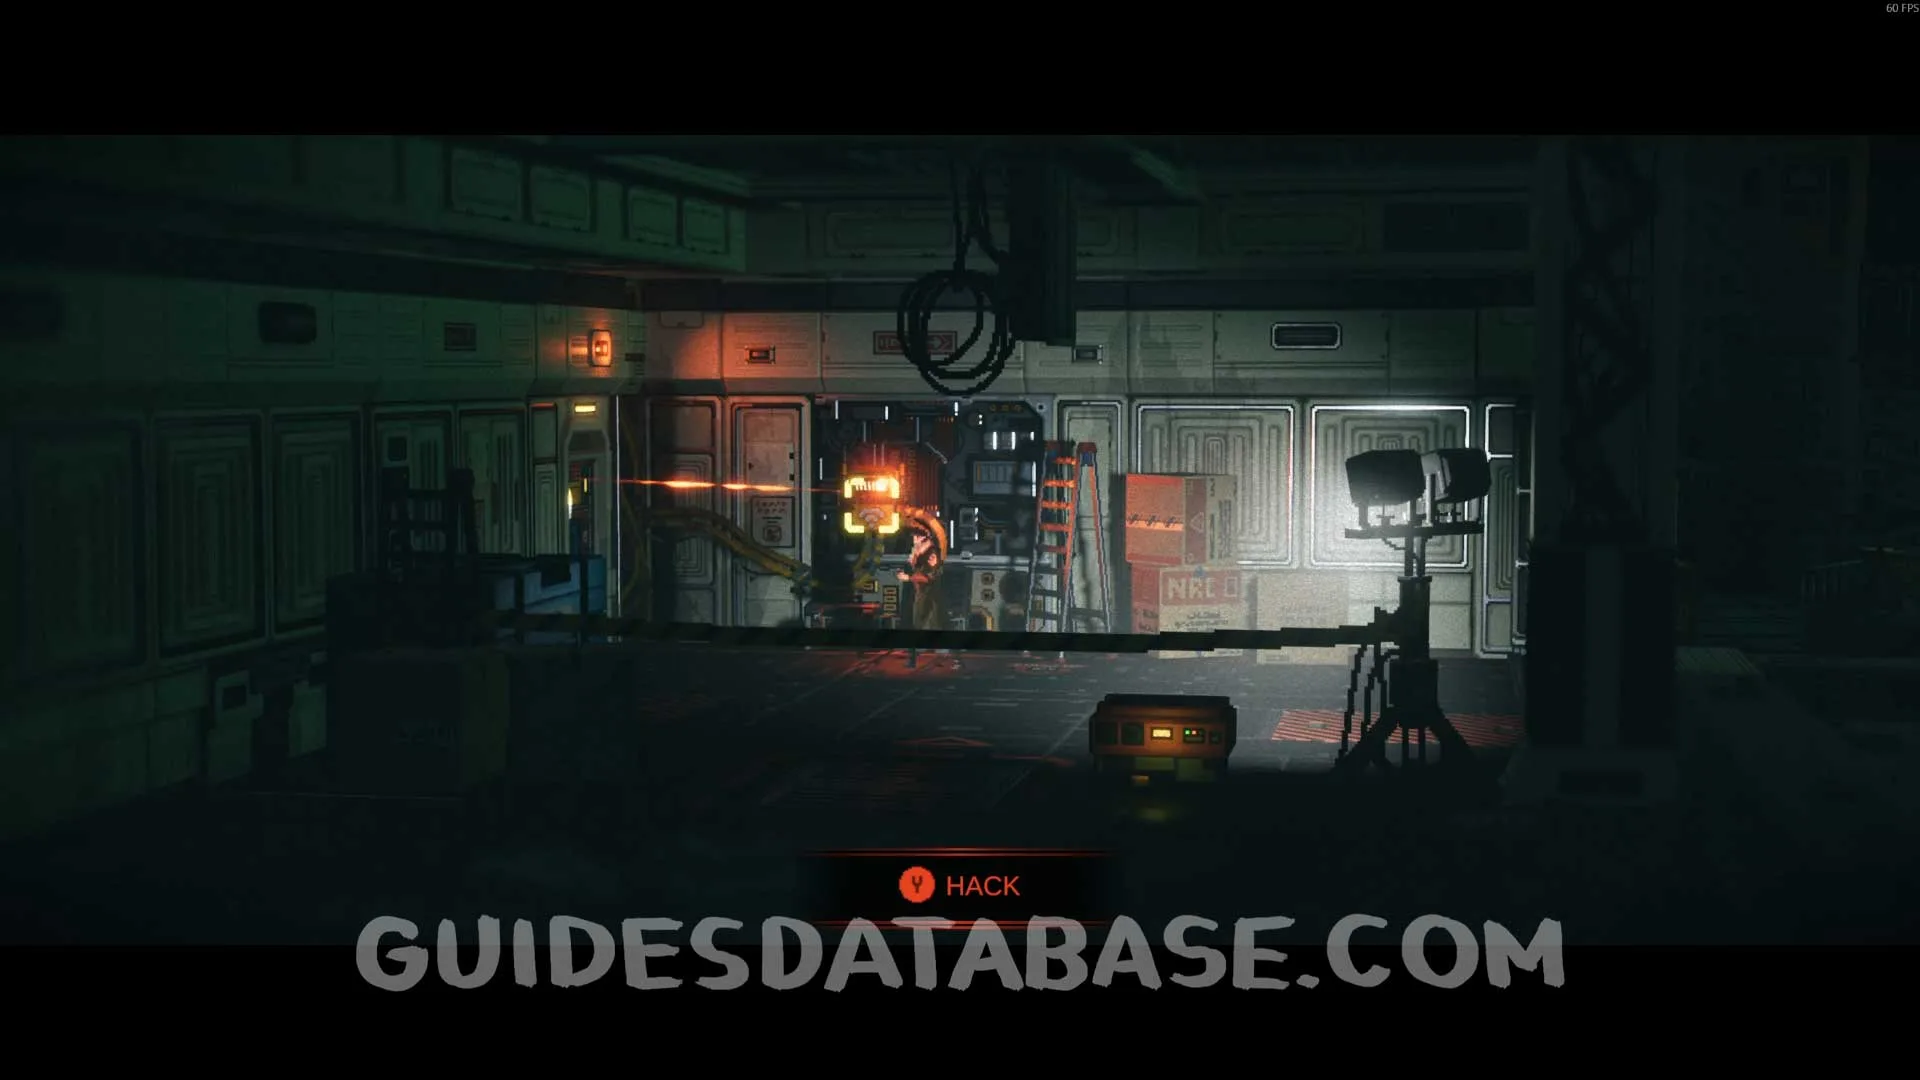 GUIDESDATABASE.COM
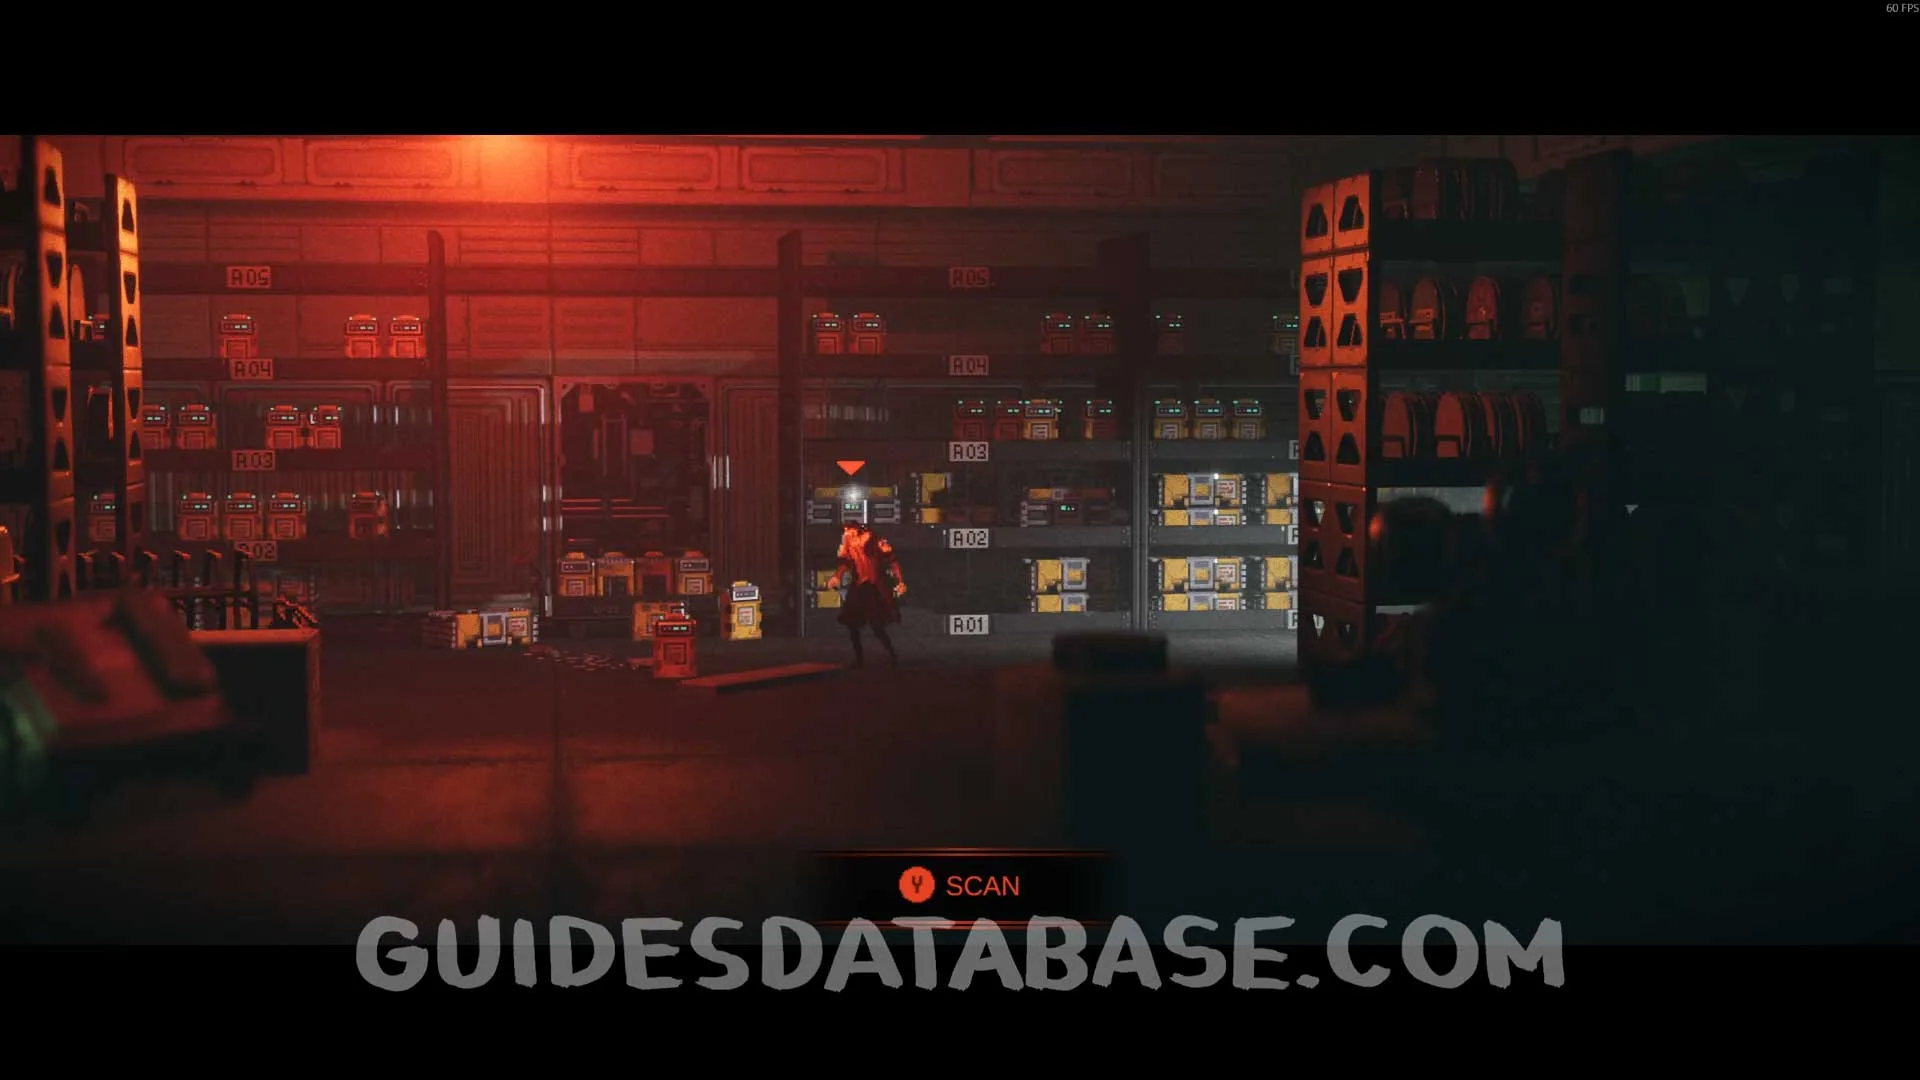 GUIDESDATABASE.COM
Scan #74 McVeigh Profile
After the cutscene in the elevator, you will climb on top of it. Pass through the hole in the wall on the left to find this Scan.
 GUIDESDATABASE.COM
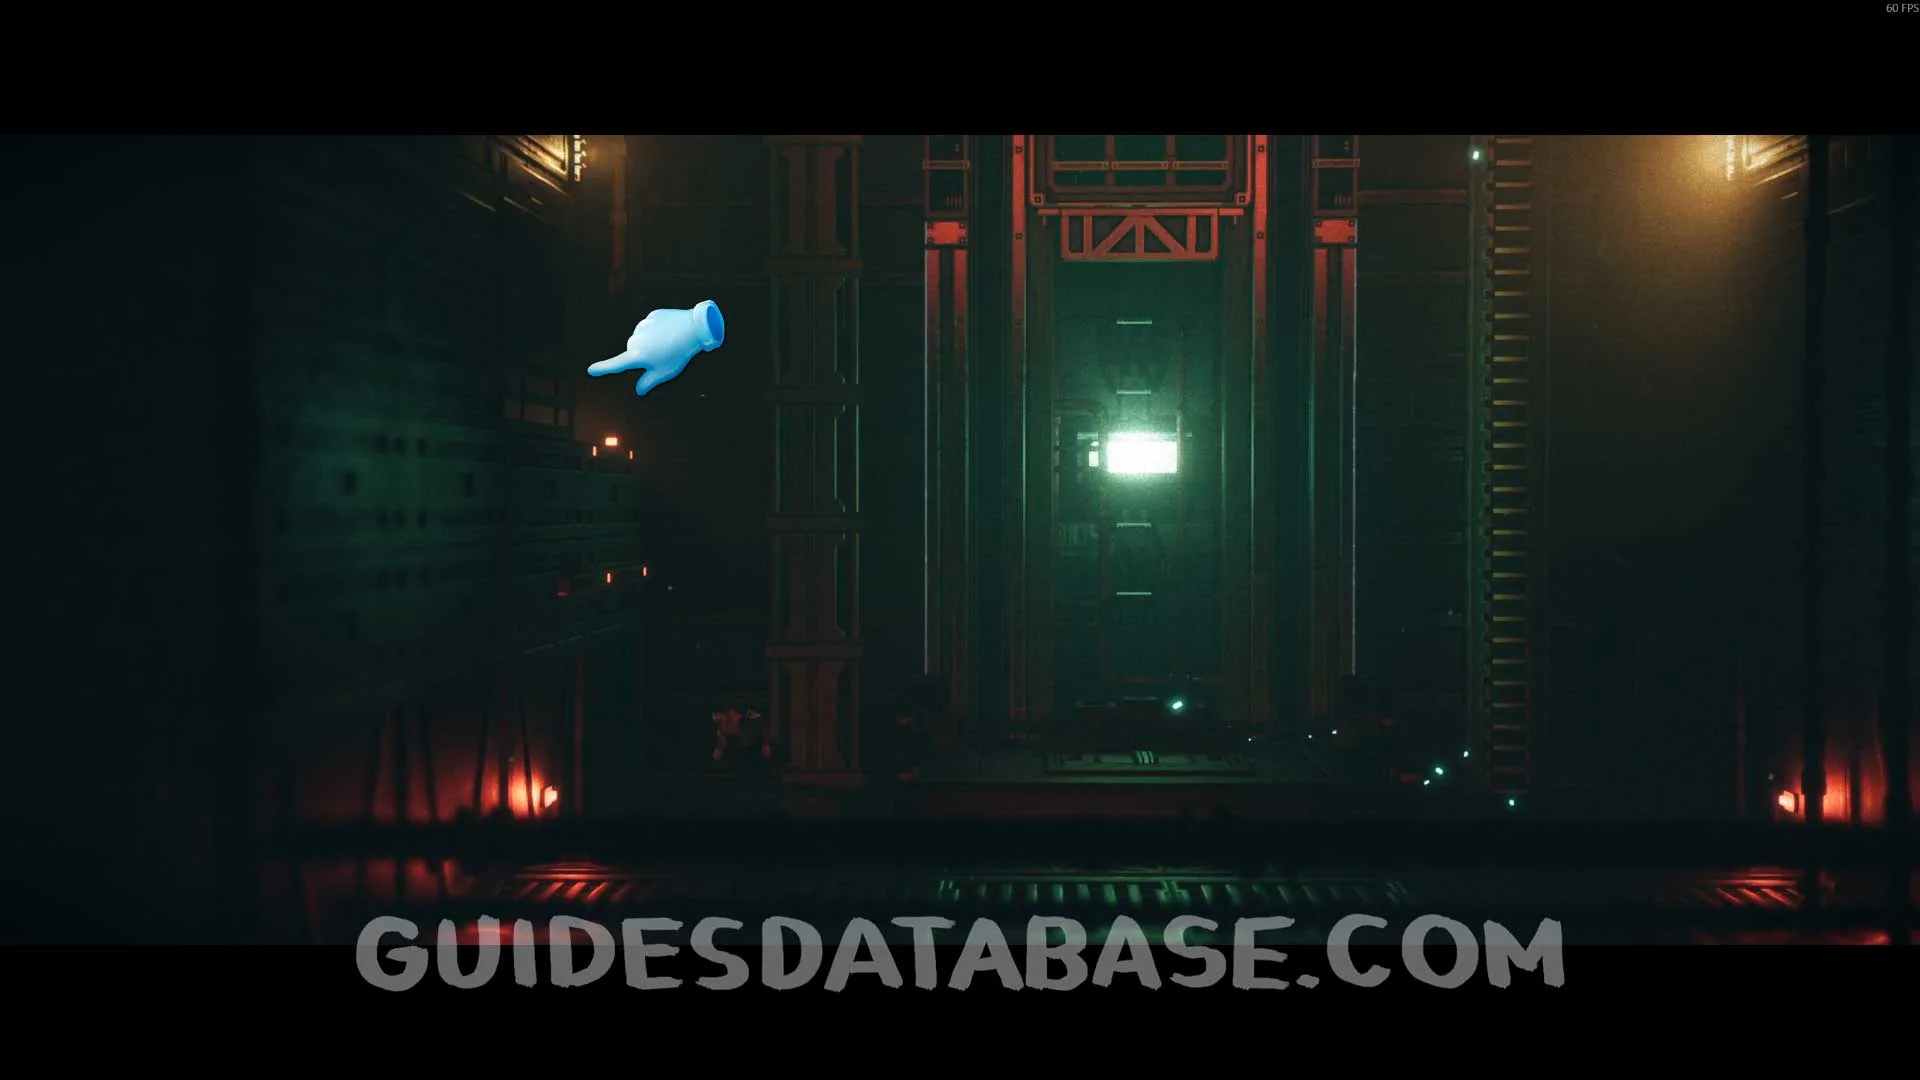 GUIDESDATABASE.COM
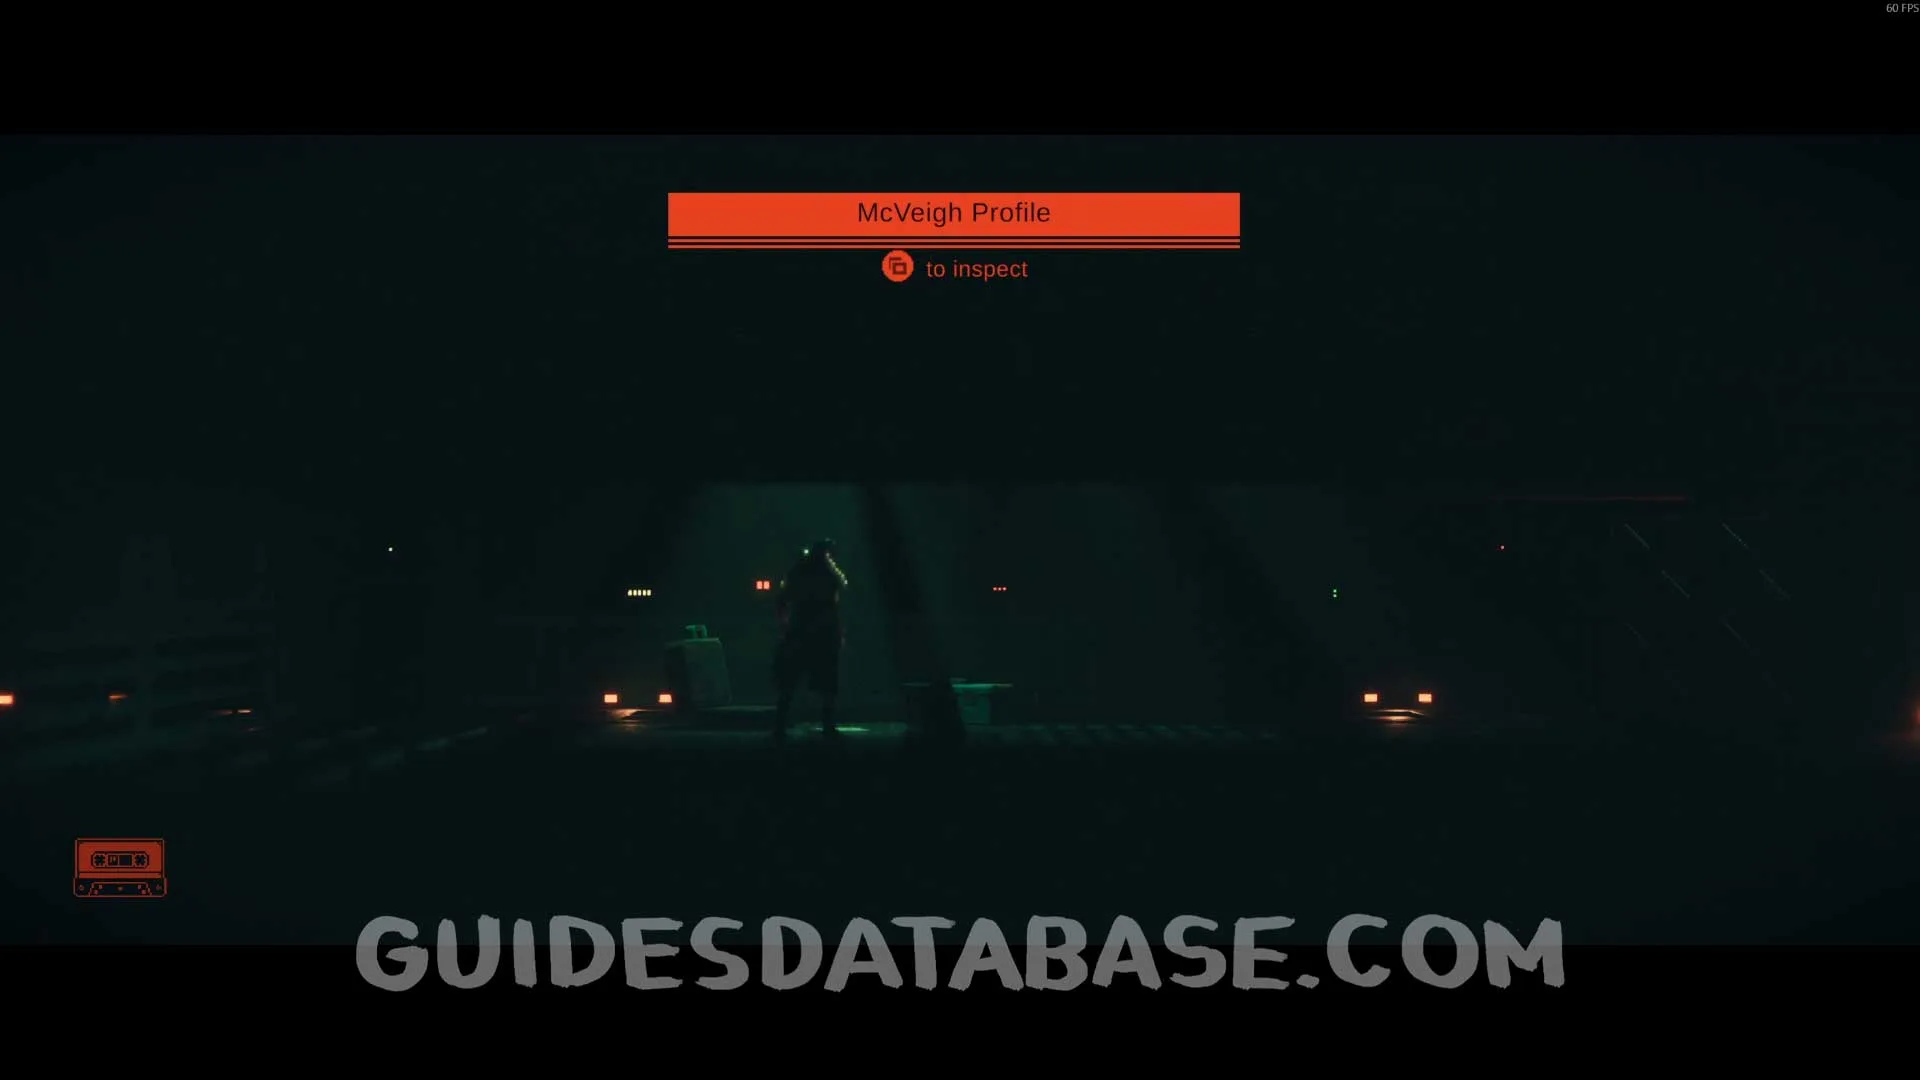 GUIDESDATABASE.COM
Chapter 7
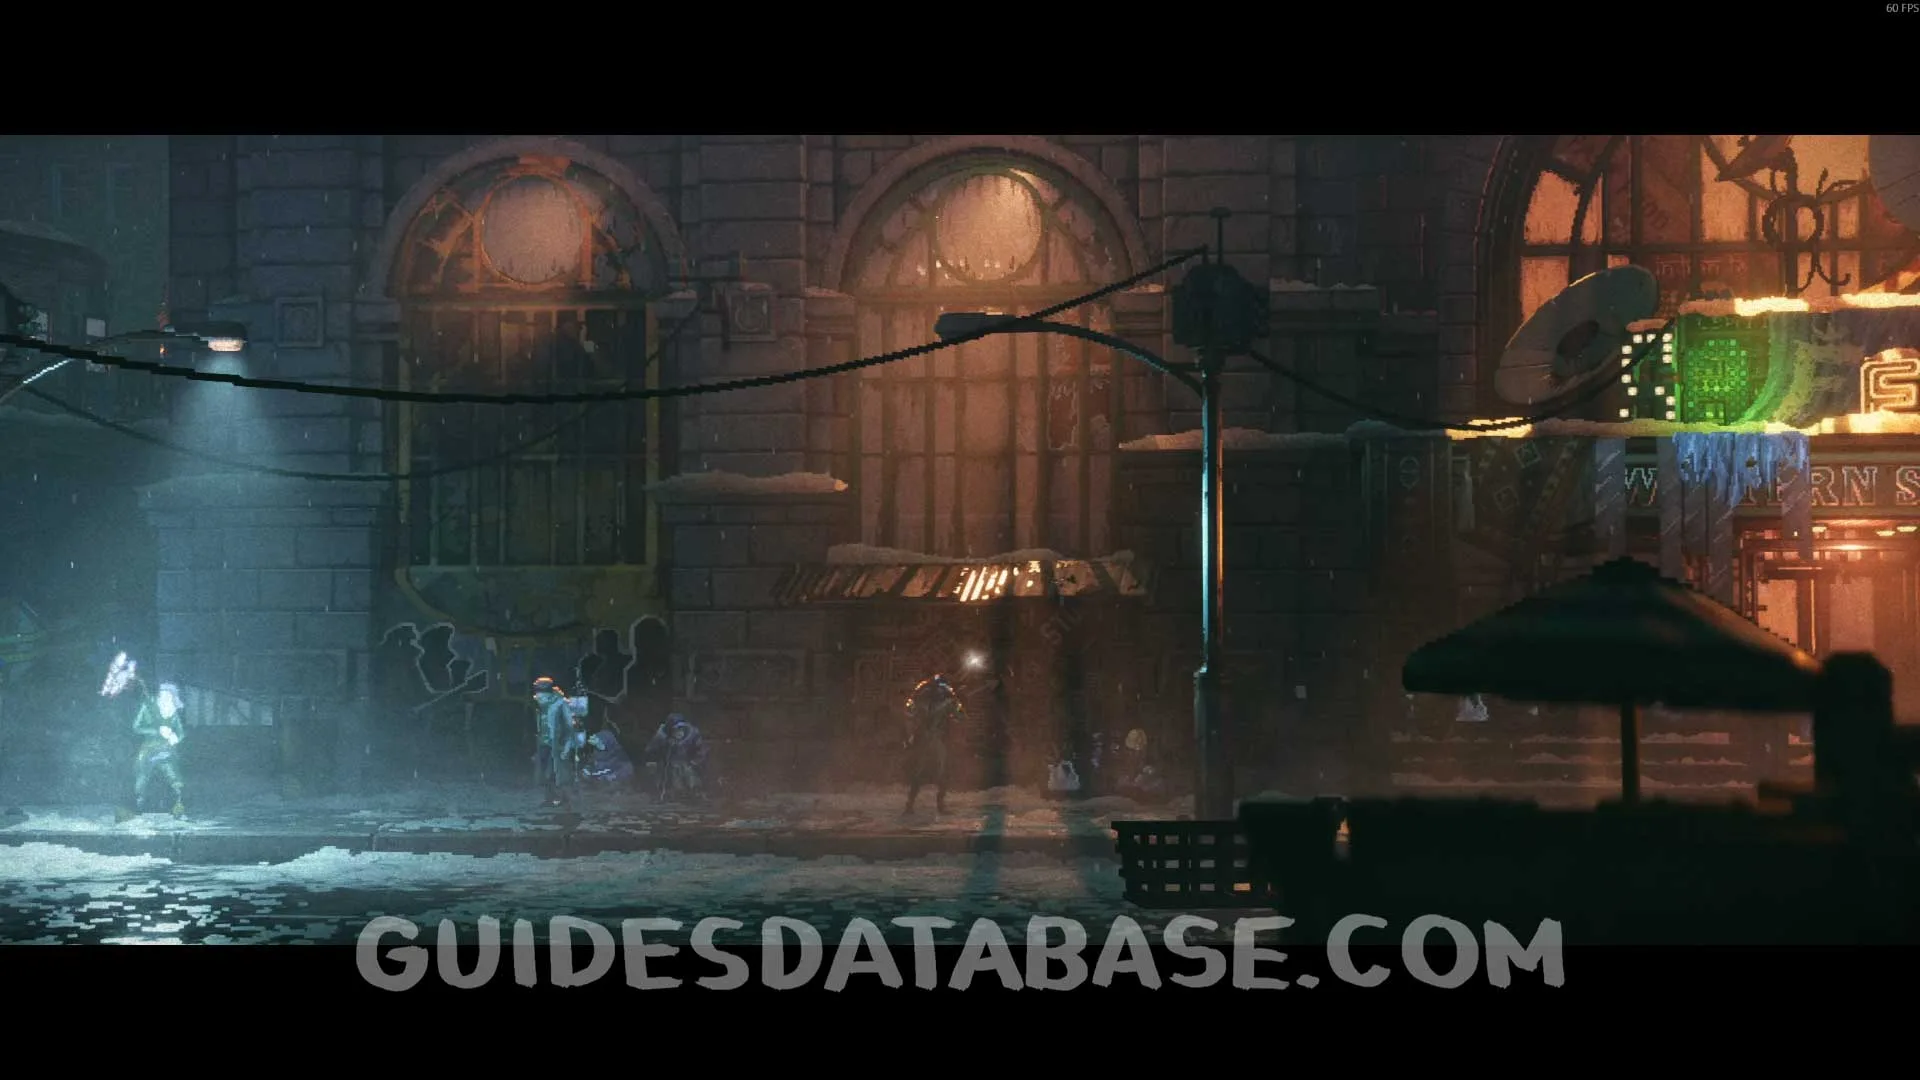
Scan #75 Friendly Note
At the start of the chapter, right in front of you.
 GUIDESDATABASE.COM
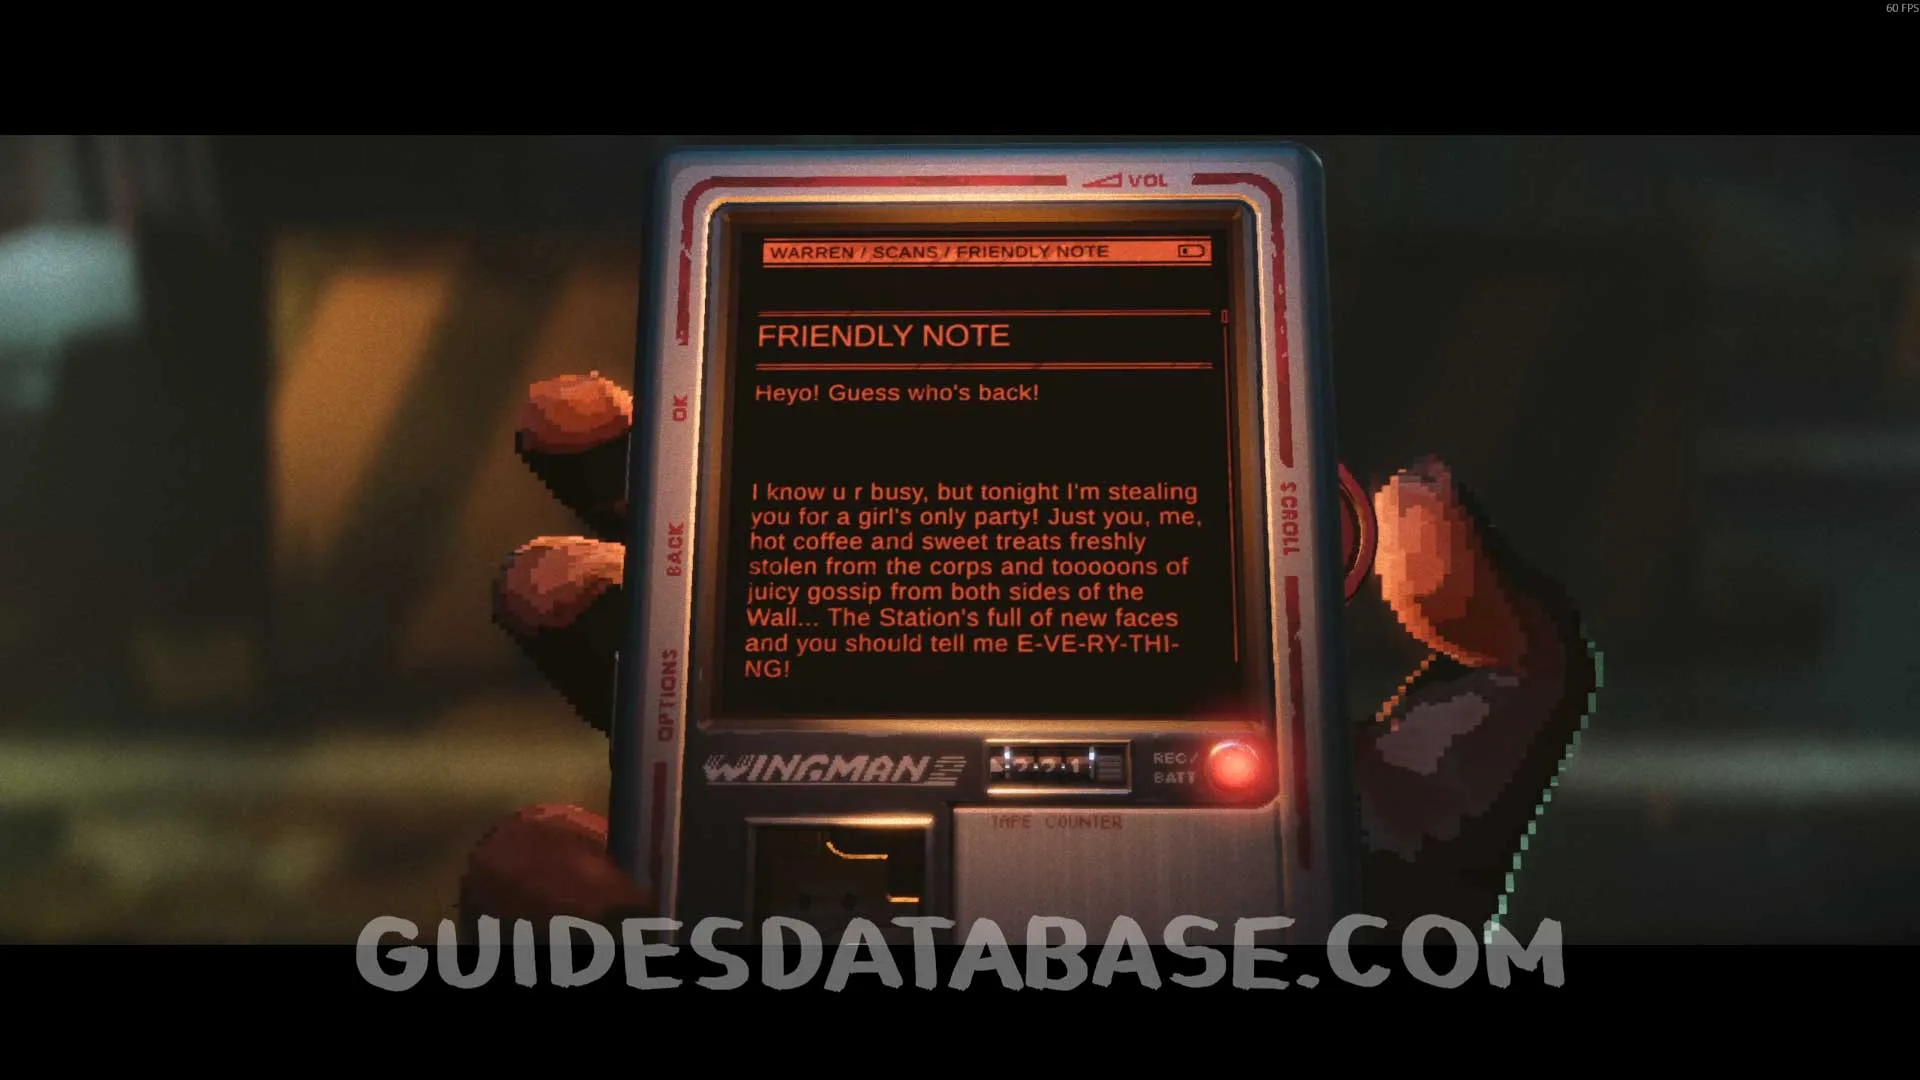 GUIDESDATABASE.COM
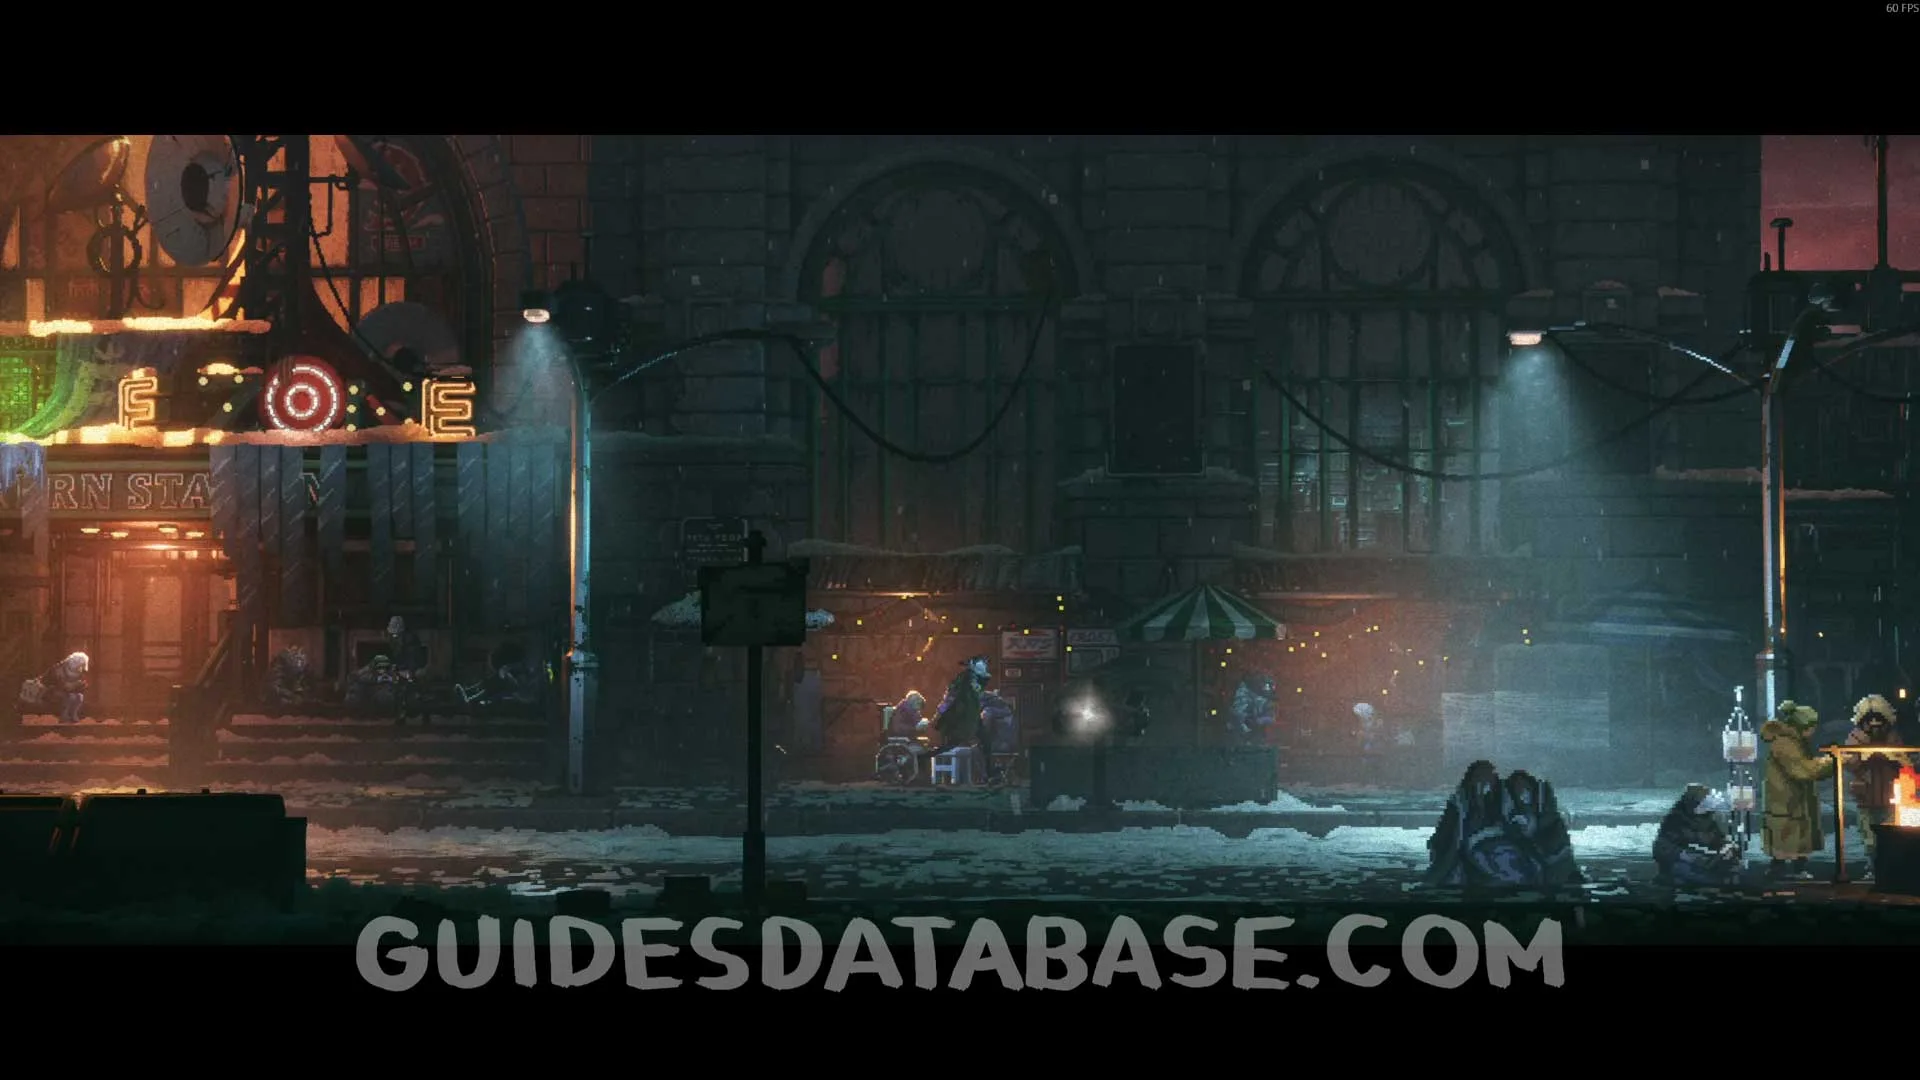
Scan #76 The Council's Message
Next to the entrance of the safe zone.
 GUIDESDATABASE.COM
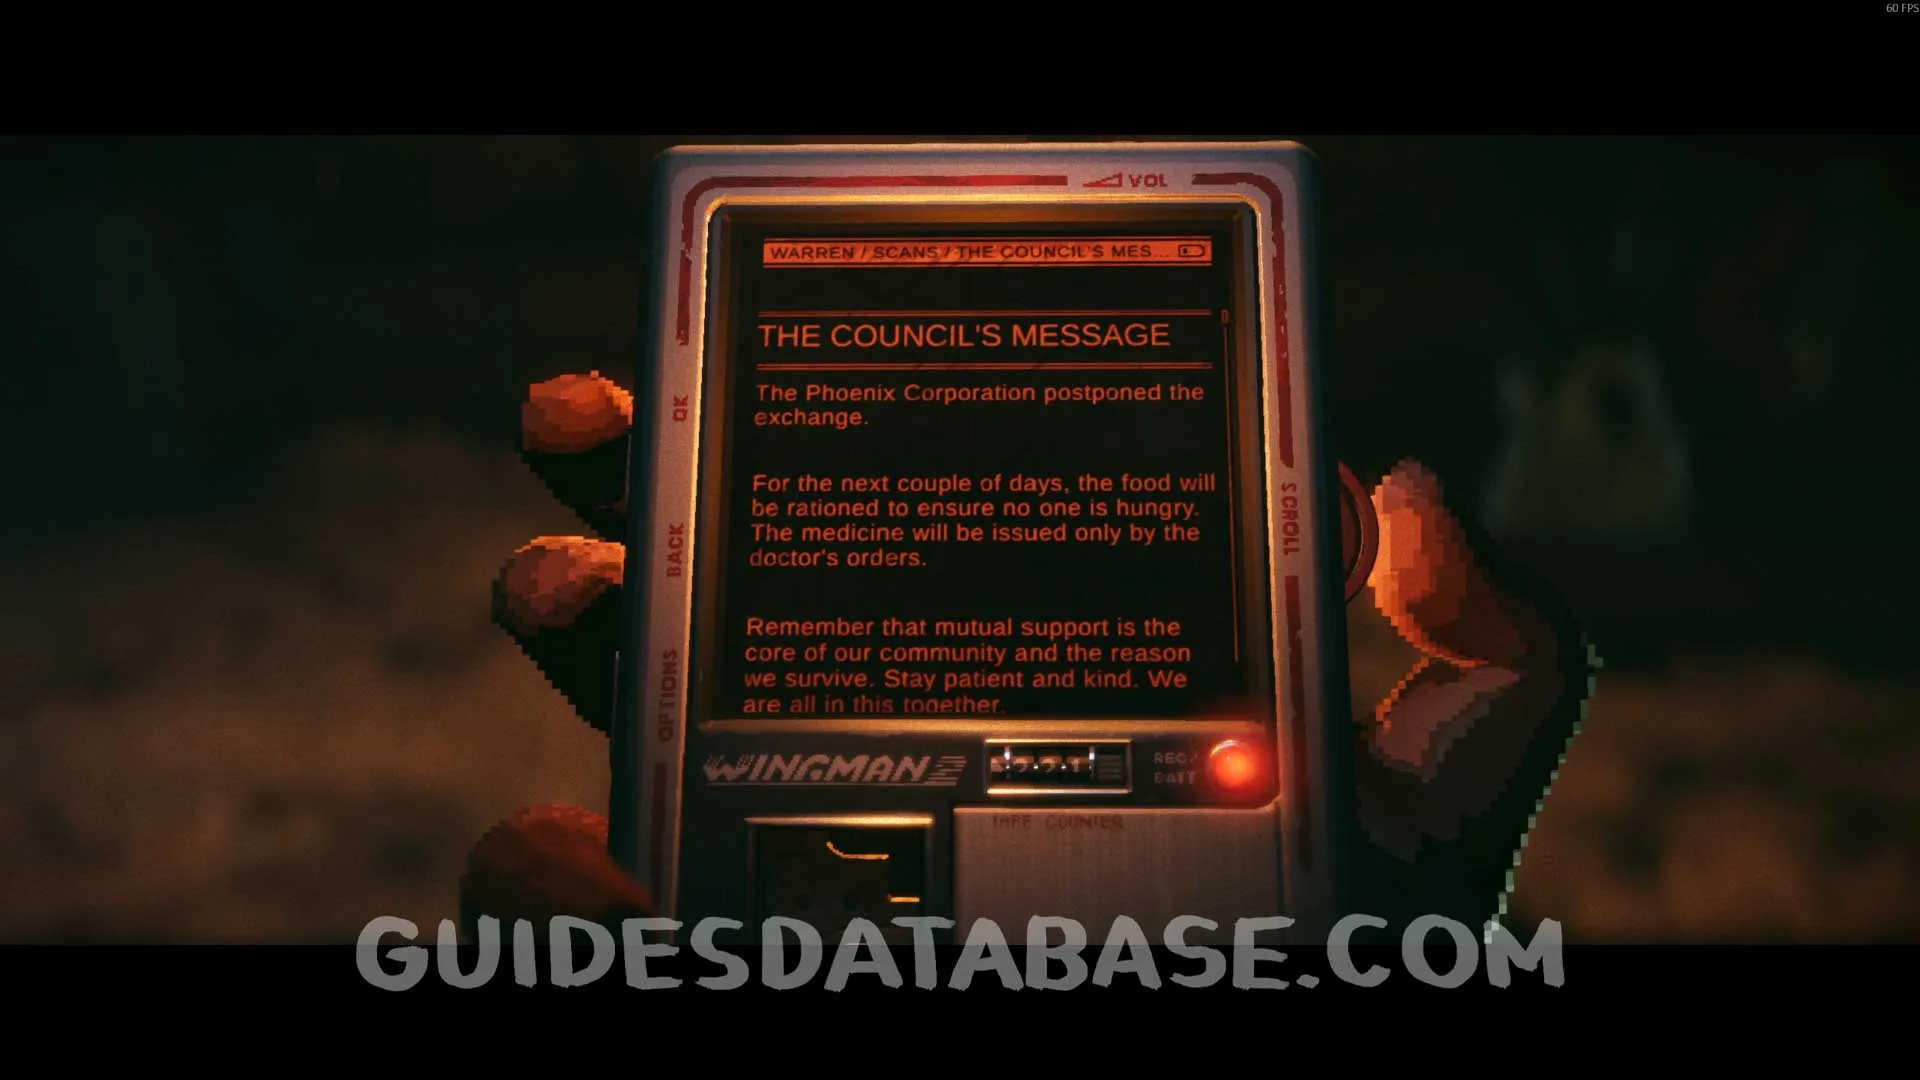 GUIDESDATABASE.COM
Scan #77 Child's Rhyme
Next to the entrance of the safe zone.
 GUIDESDATABASE.COM
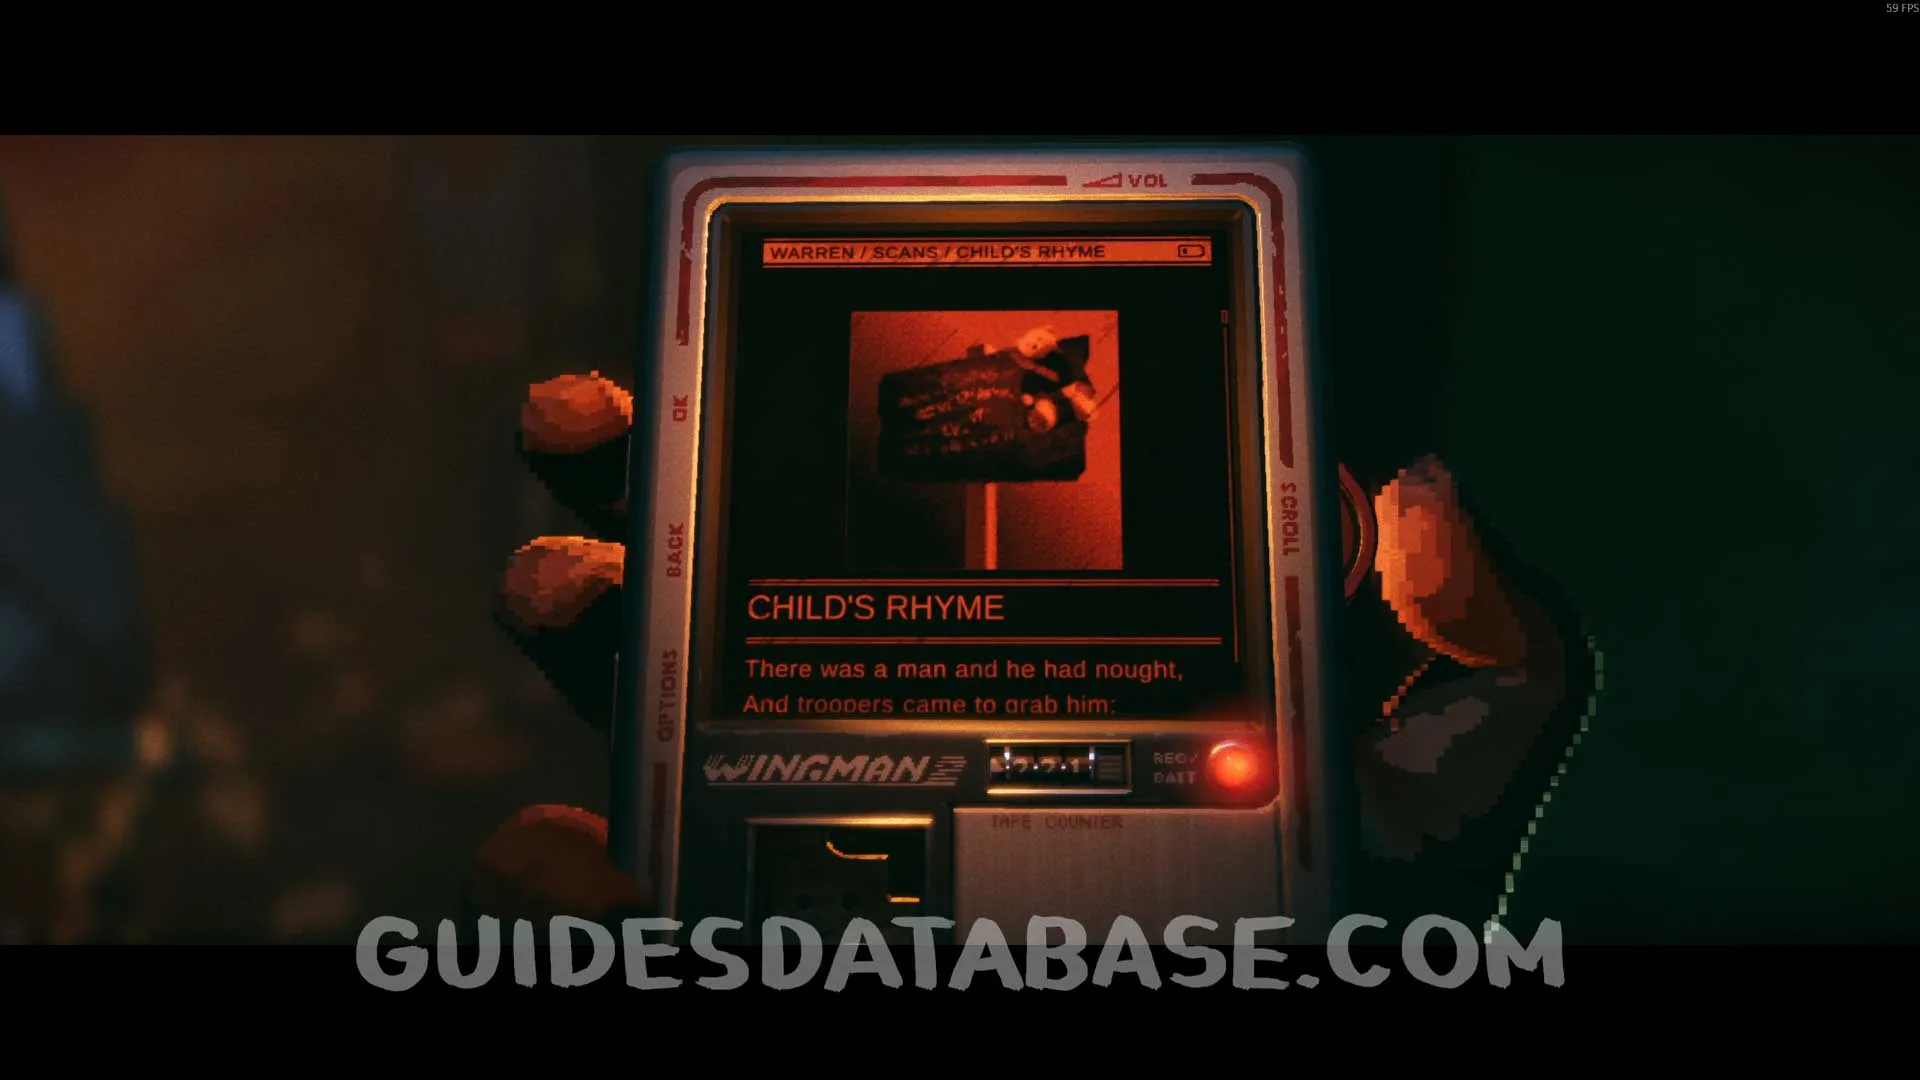 GUIDESDATABASE.COM
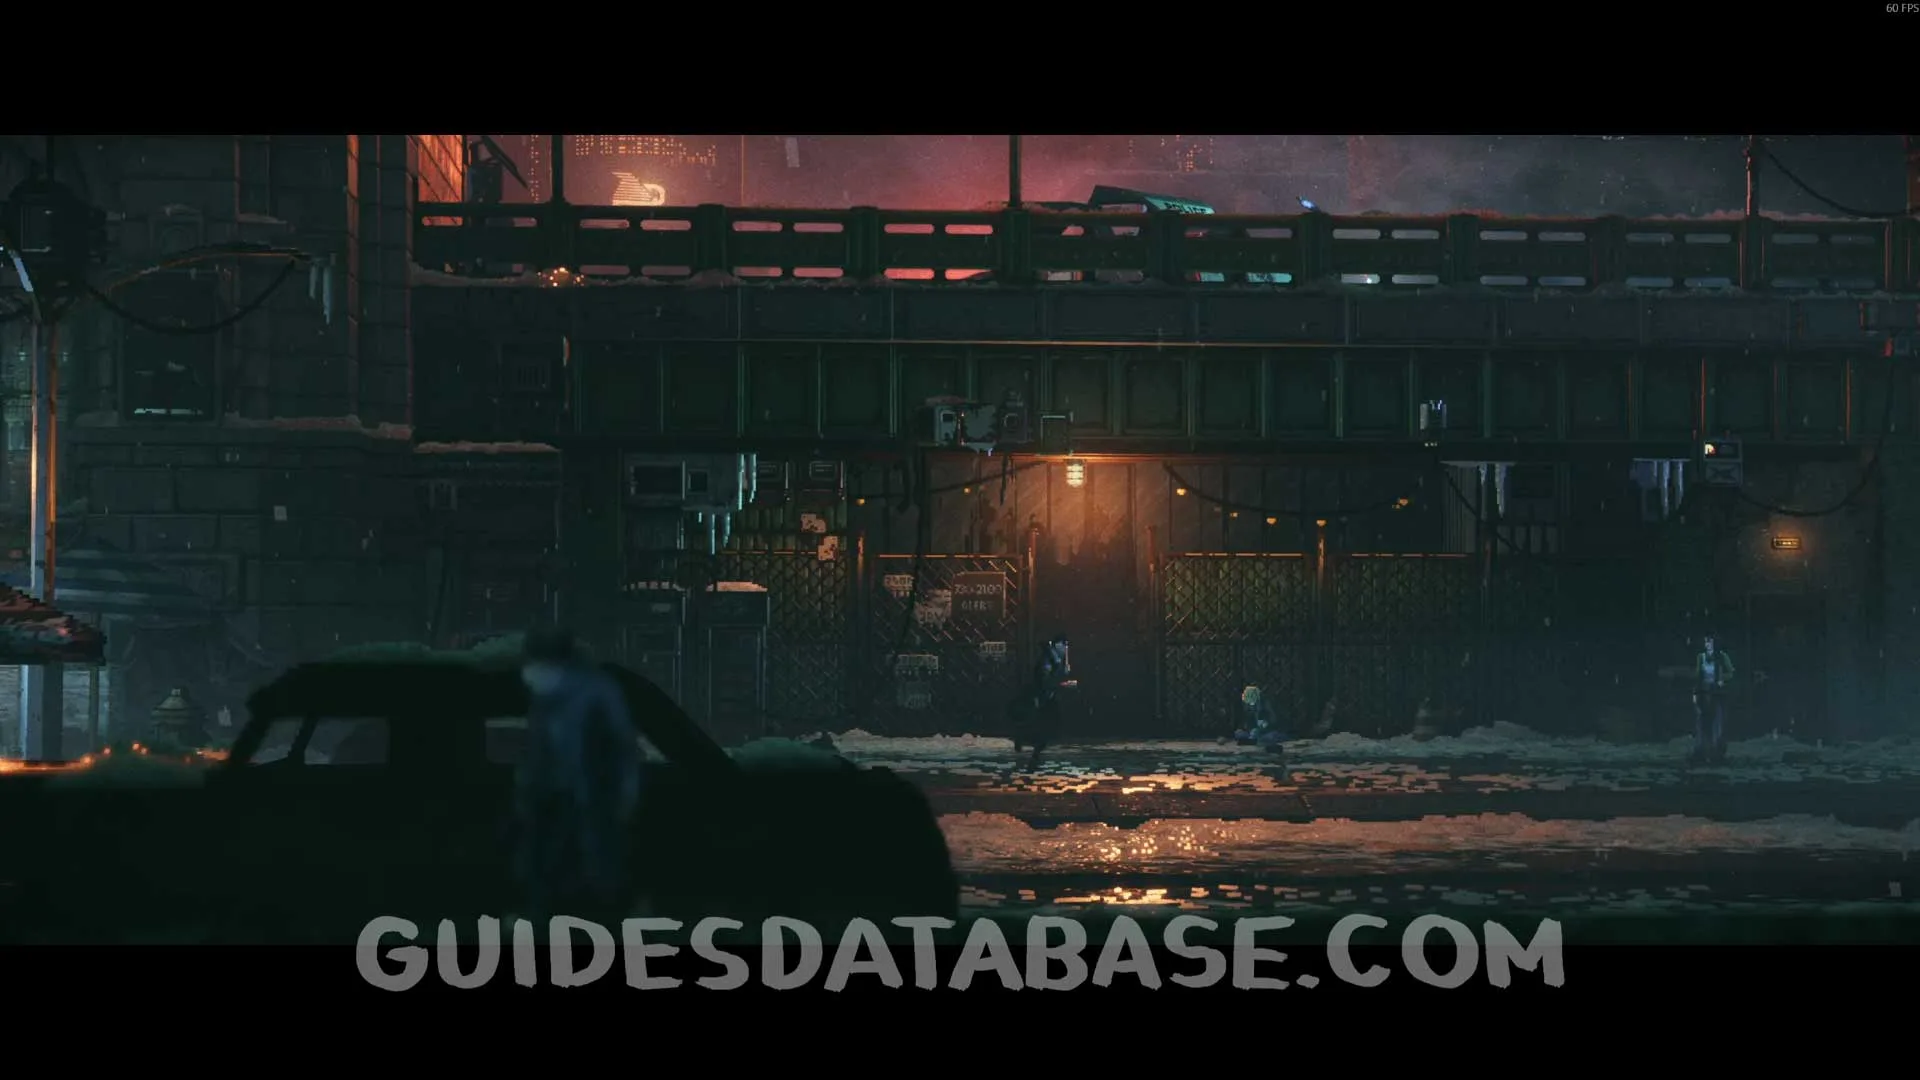
Cat #3
Pass through the gate on the right side of the safe zone and interact with the cat. If you have interacted with the other 2 cats in the previous chapters, you will earn the Sad Cats achievement here.
 GUIDESDATABASE.COM
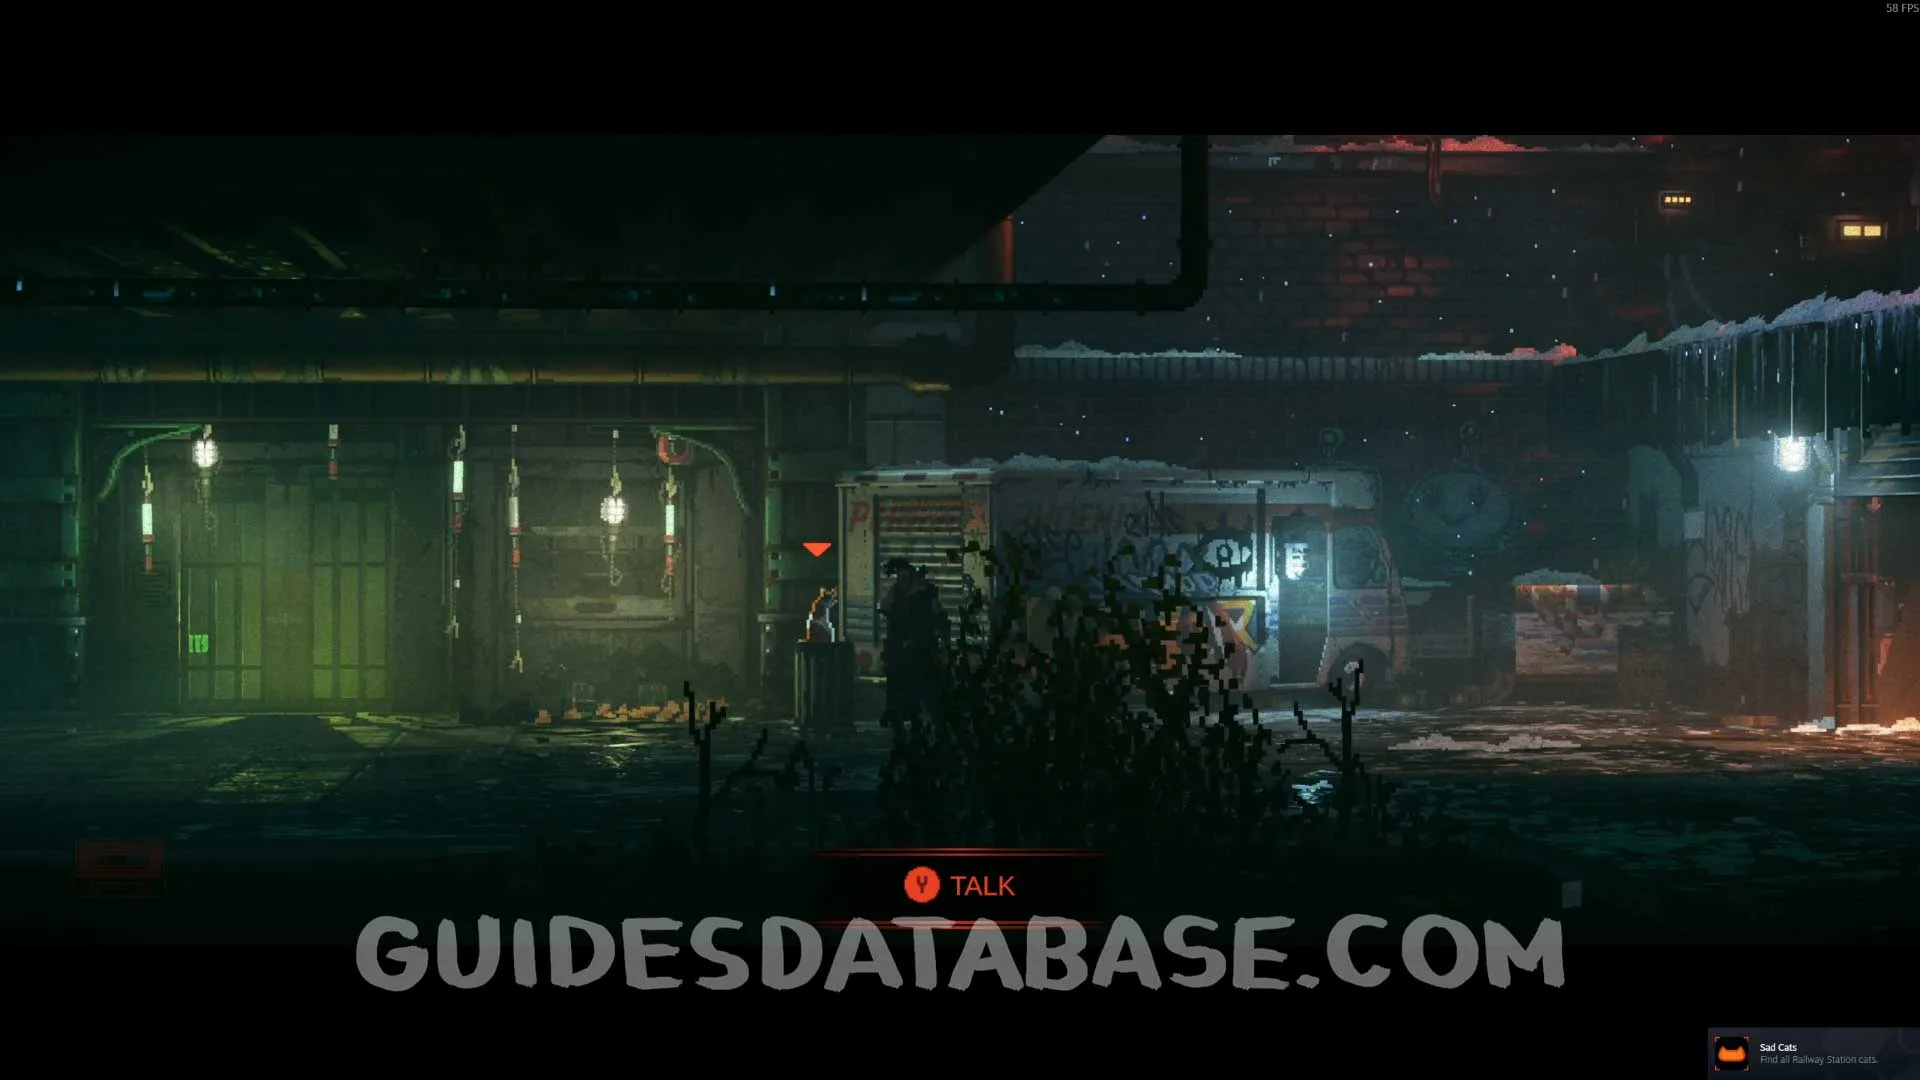 GUIDESDATABASE.COM
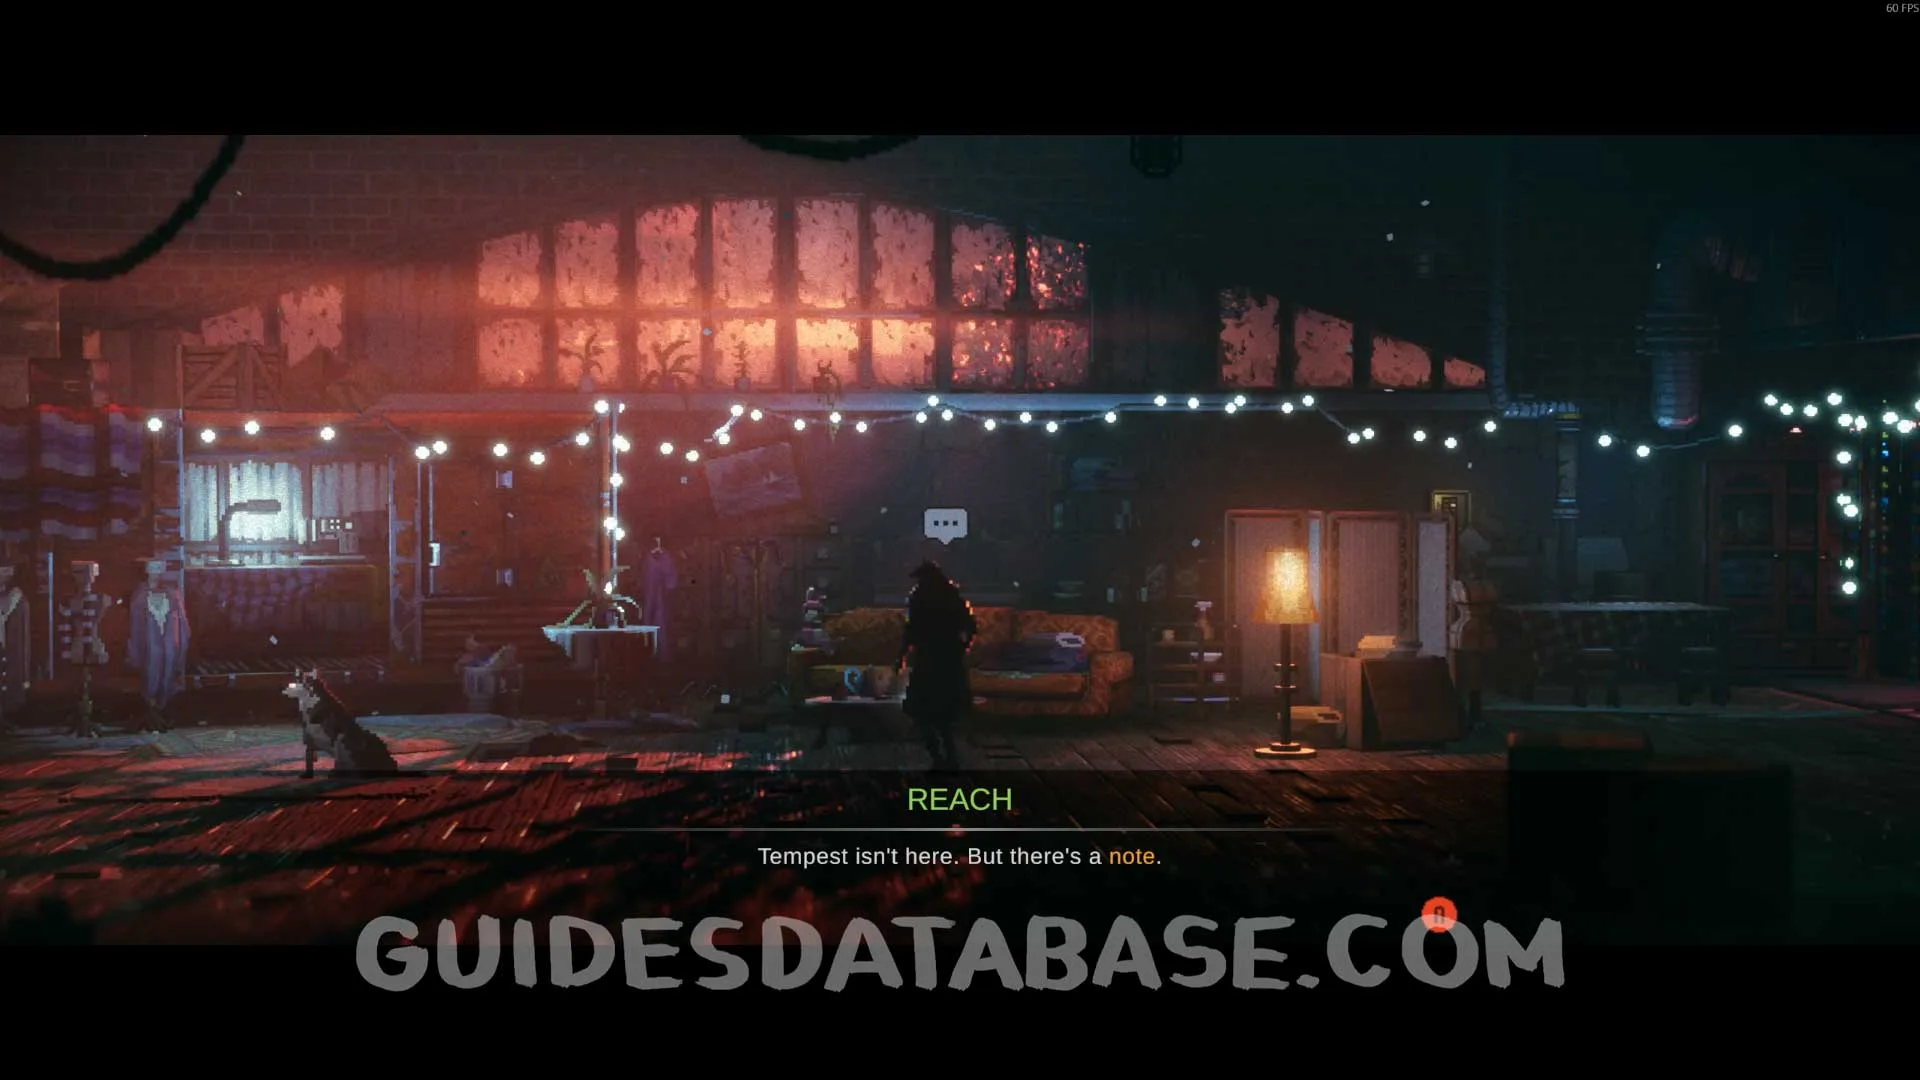
The Biggest Fan Quest + Music #9 Second Chance + Music #10 No Tomorrow
From the previous cat, continue heading to the right and interact with the item on the table to start The Biggest Fan quest. Then pick up the music on the right side as well.
 GUIDESDATABASE.COM
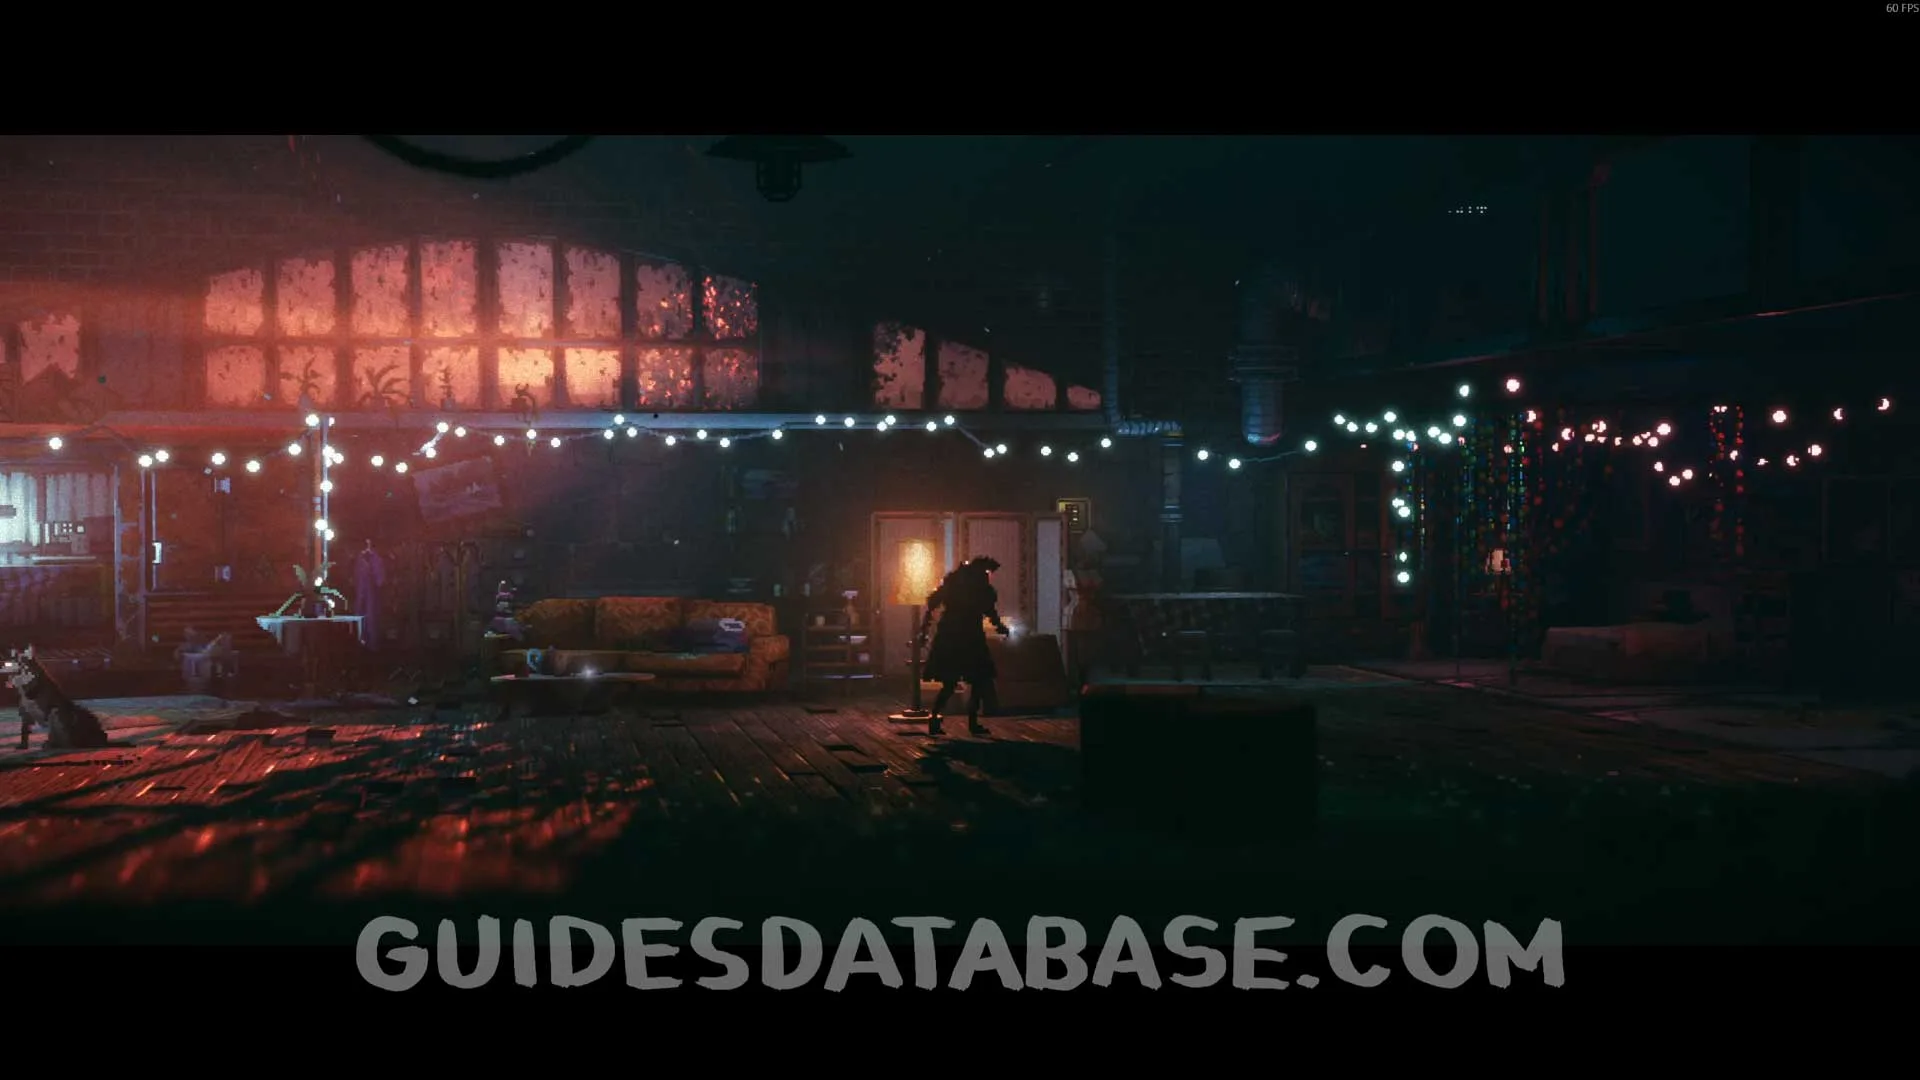 GUIDESDATABASE.COM
While you are there, enter the room to the right and pick up the No Tomorrow music.
 GUIDESDATABASE.COM
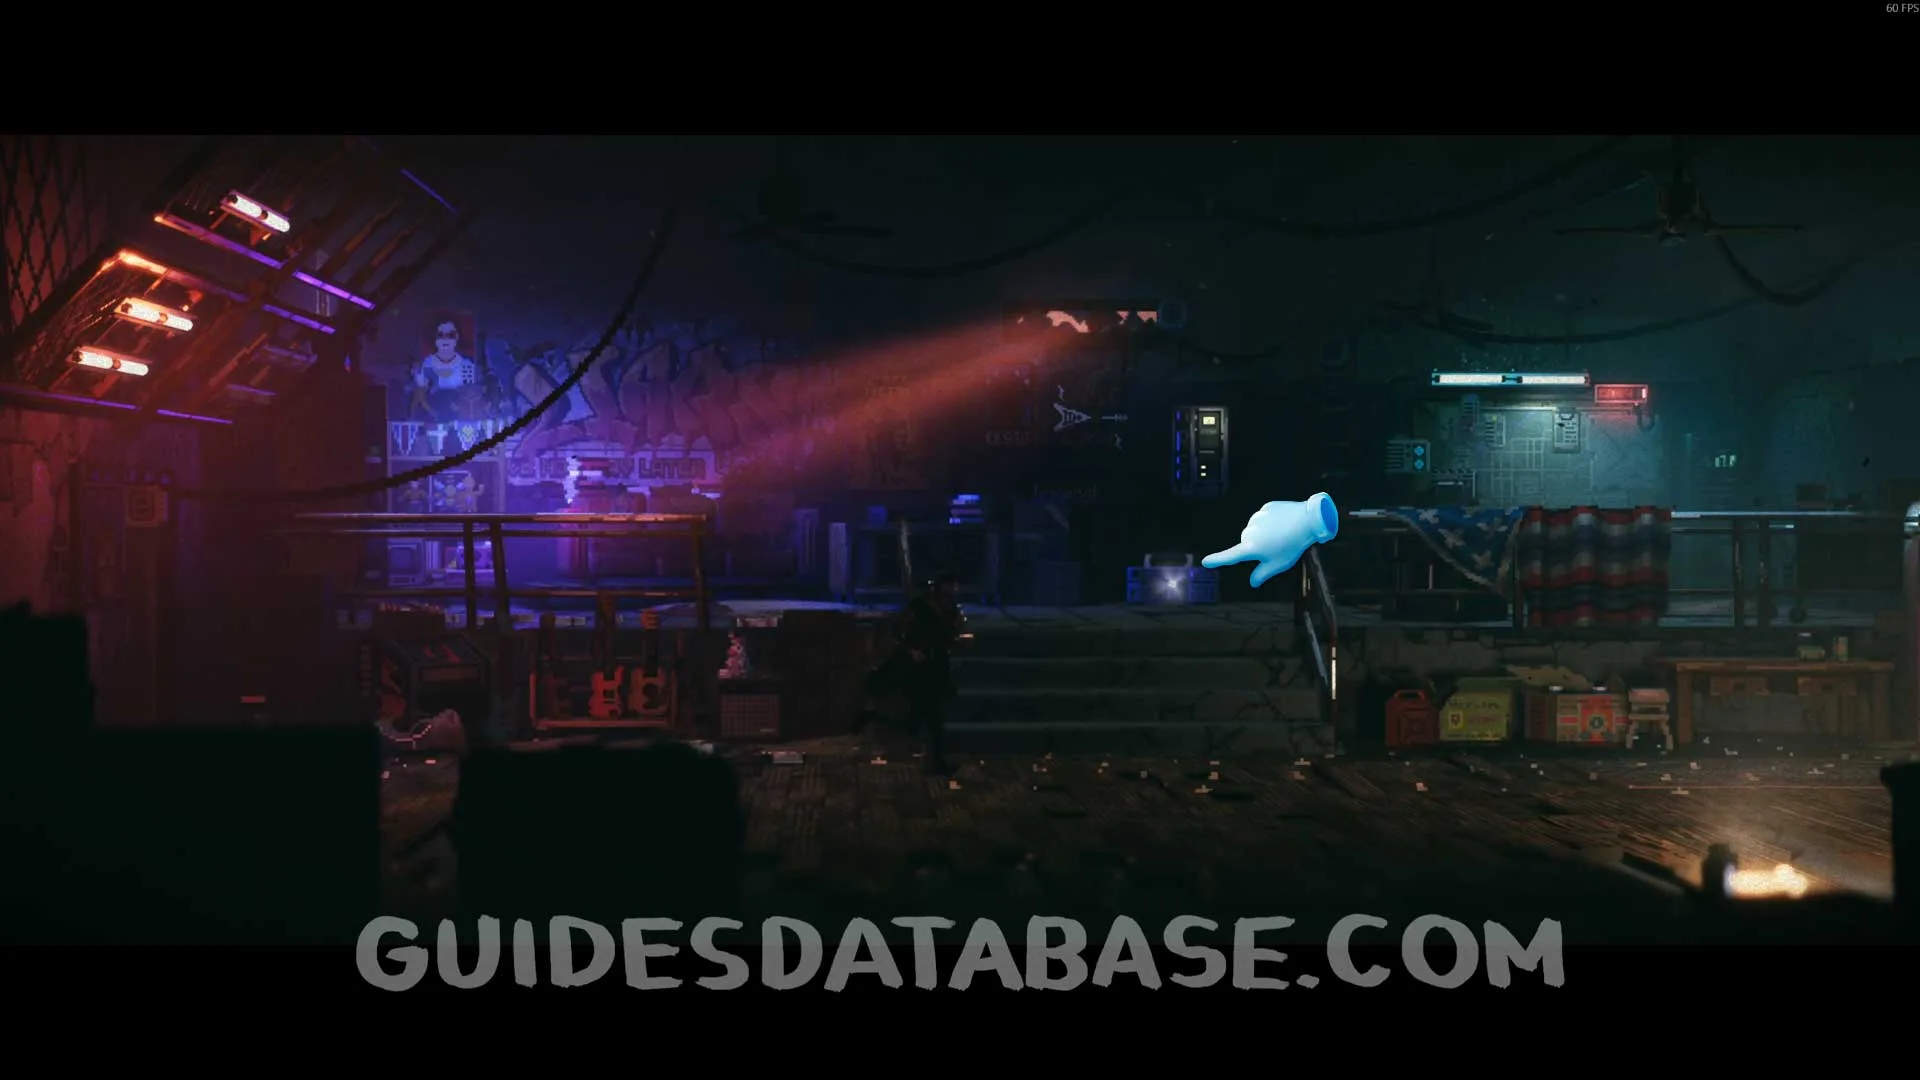 GUIDESDATABASE.COM
Scan #78 ''The Tempest-Man Flies!'' + Tempest-Man Comic #1
From the previous collectible, head outside and go up the stairs on your right to find this.
 GUIDESDATABASE.COM
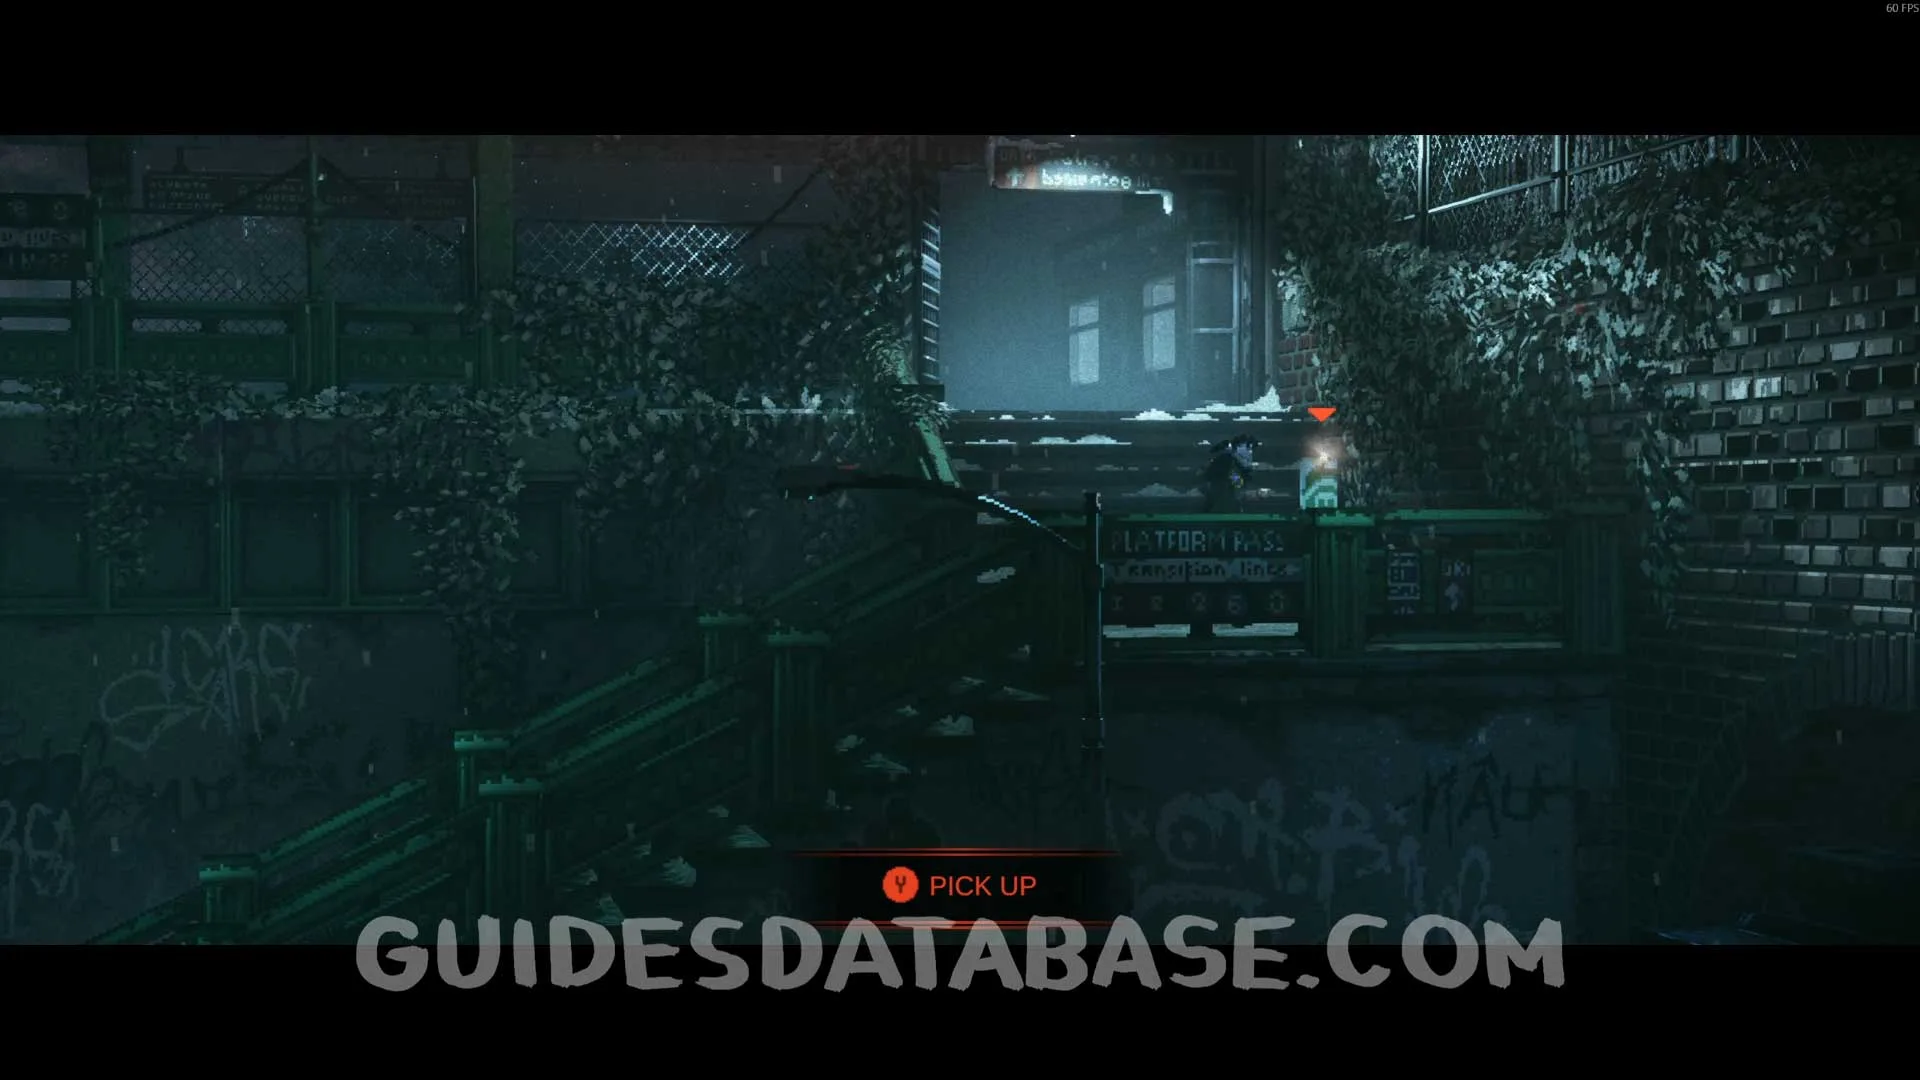 GUIDESDATABASE.COM
Scan #79 ''The Red Nuke'' + Tempest-Man Comic #2
Head to the hospital to find this.
 GUIDESDATABASE.COM
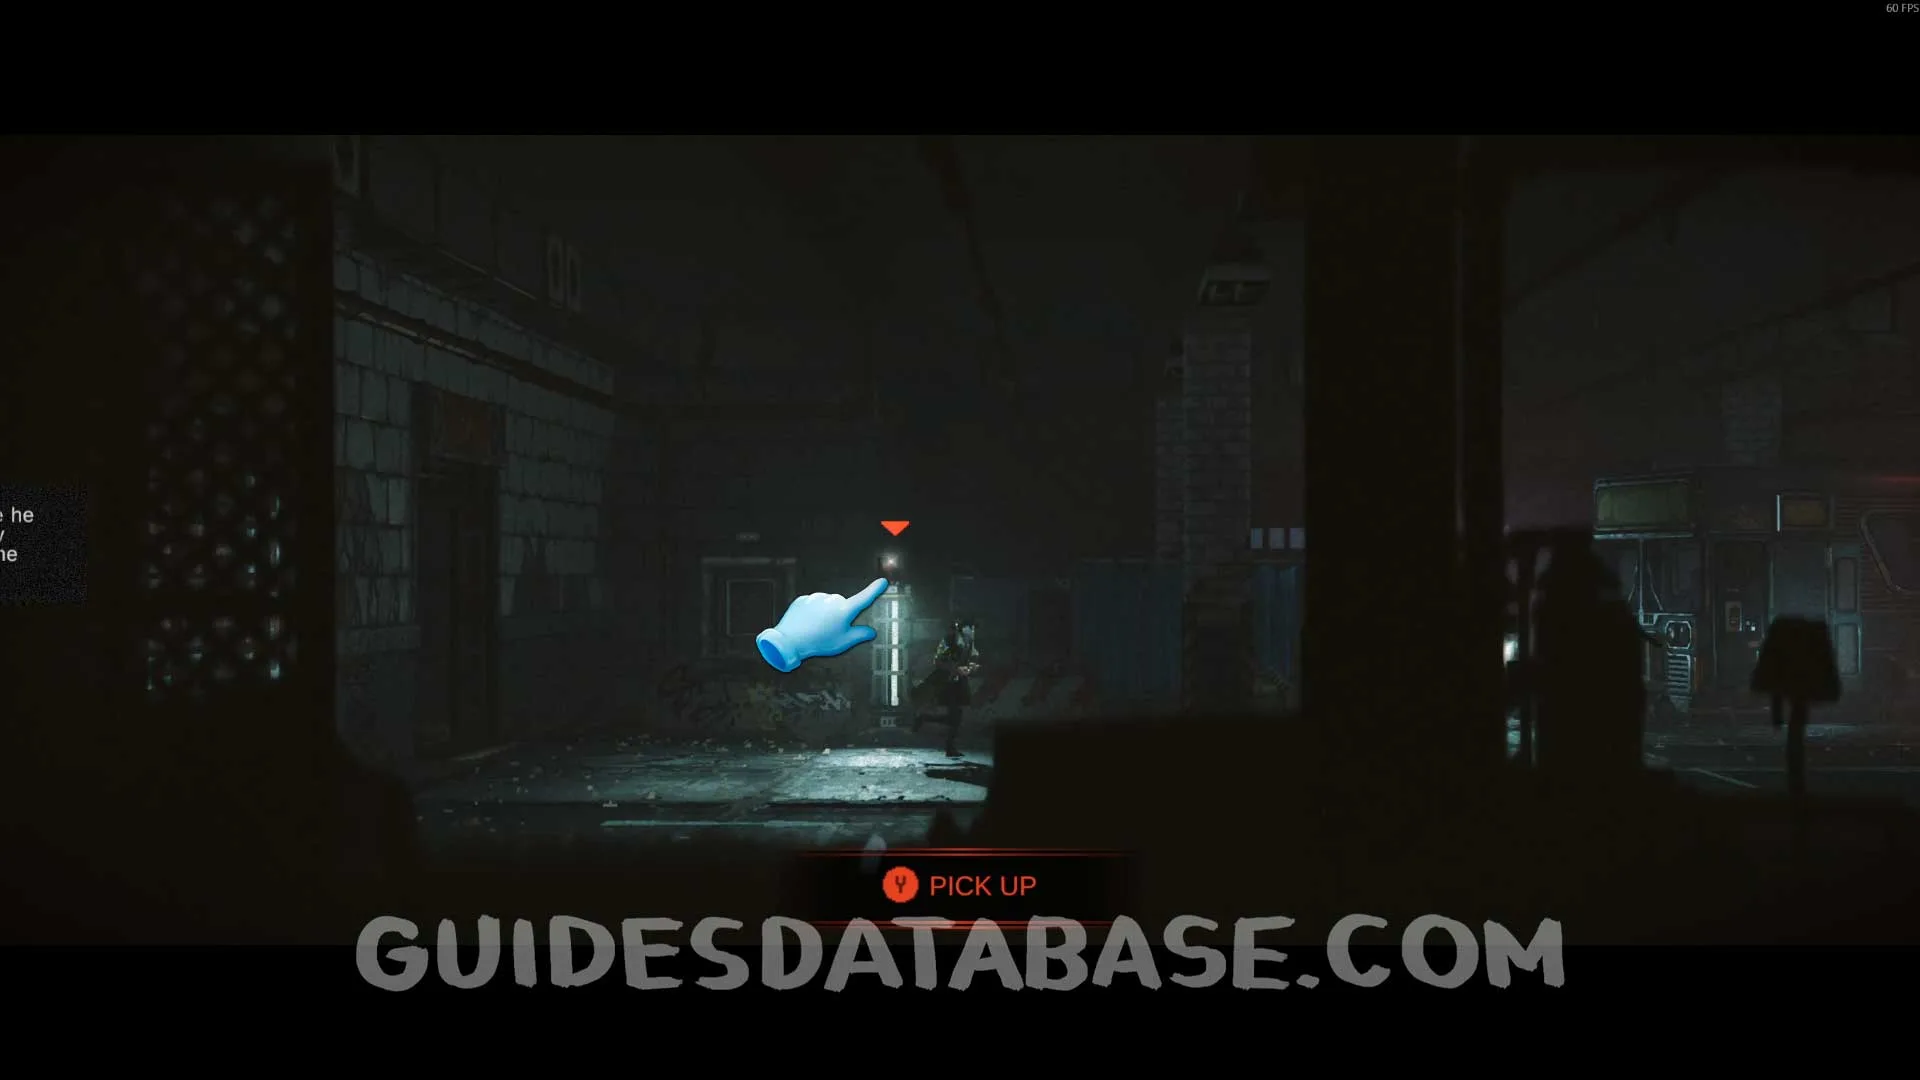 GUIDESDATABASE.COM
Music #11 Void
Inside the safe zone.
 GUIDESDATABASE.COM
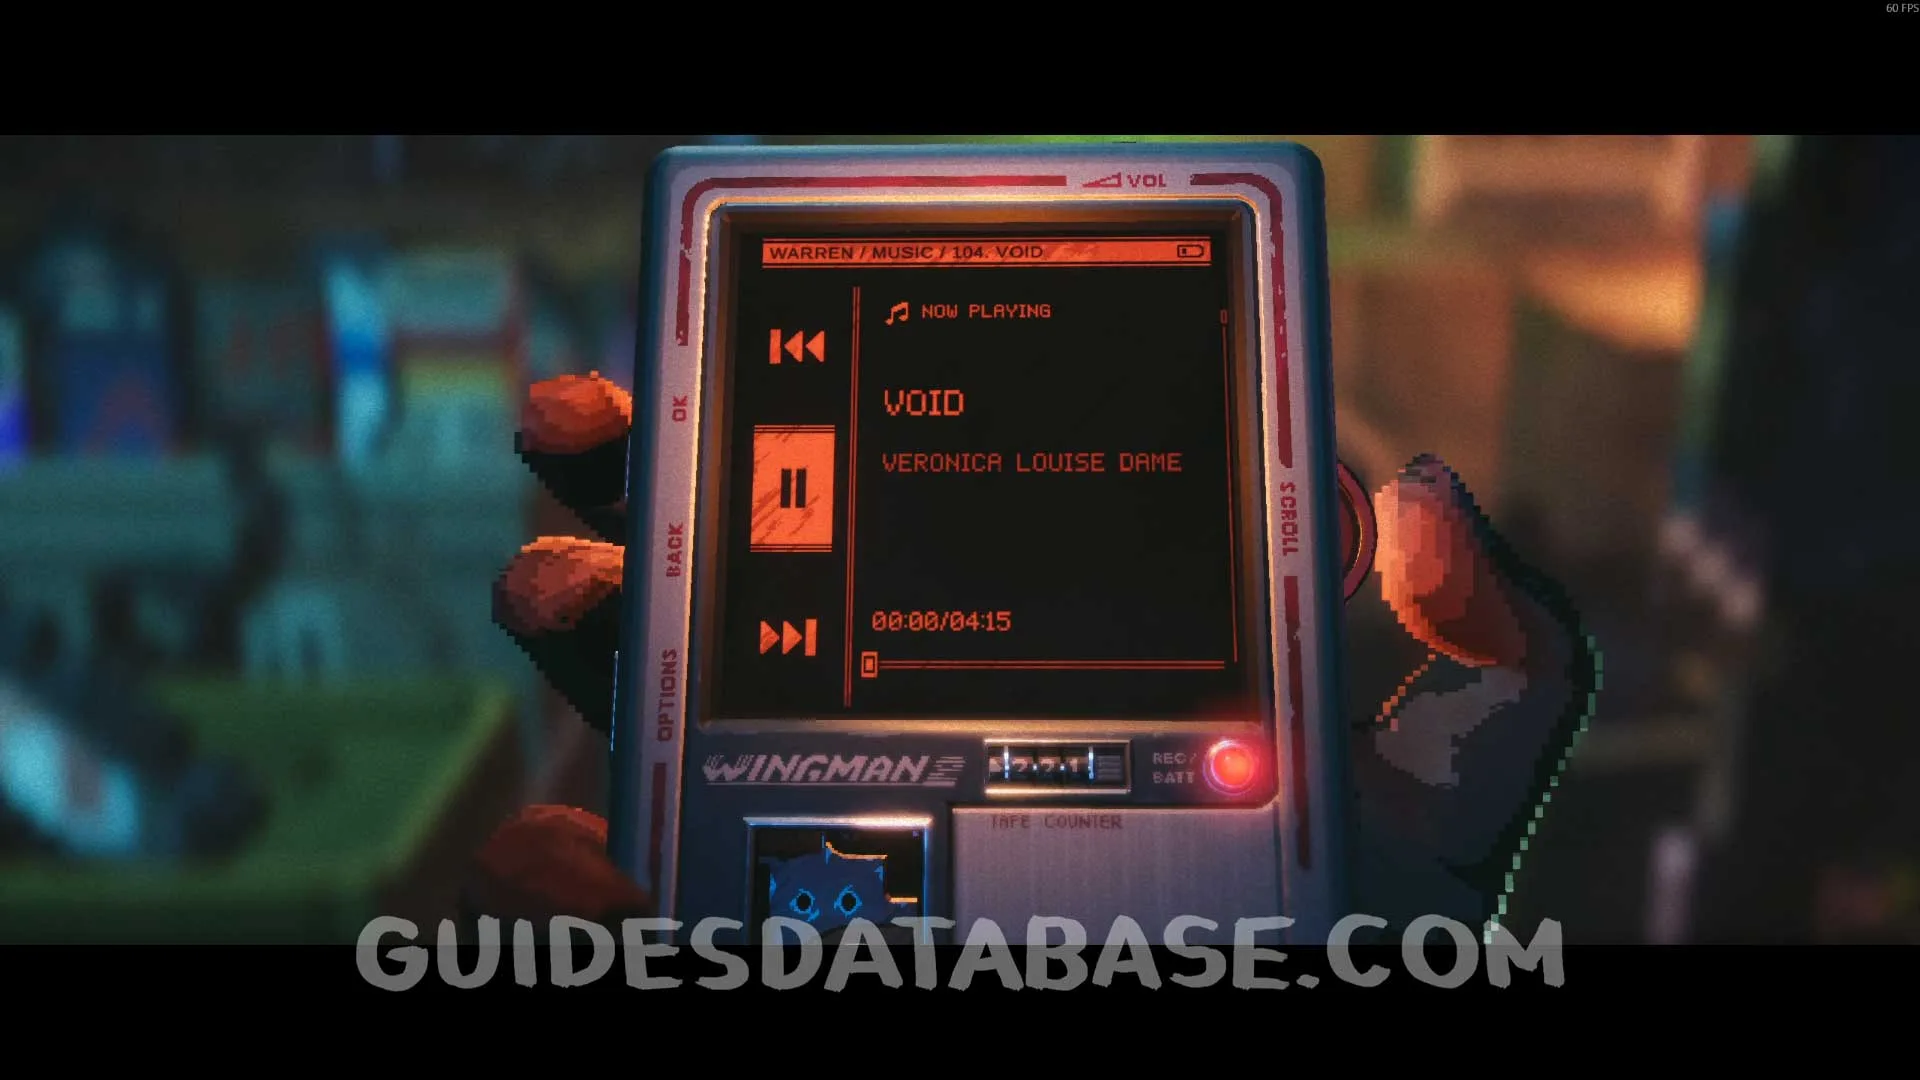 GUIDESDATABASE.COM
Scan #80 ''Love and Masks'' + Tempest-Man Comic #3
From the previous collectible, head to the right to find this.
 GUIDESDATABASE.COM
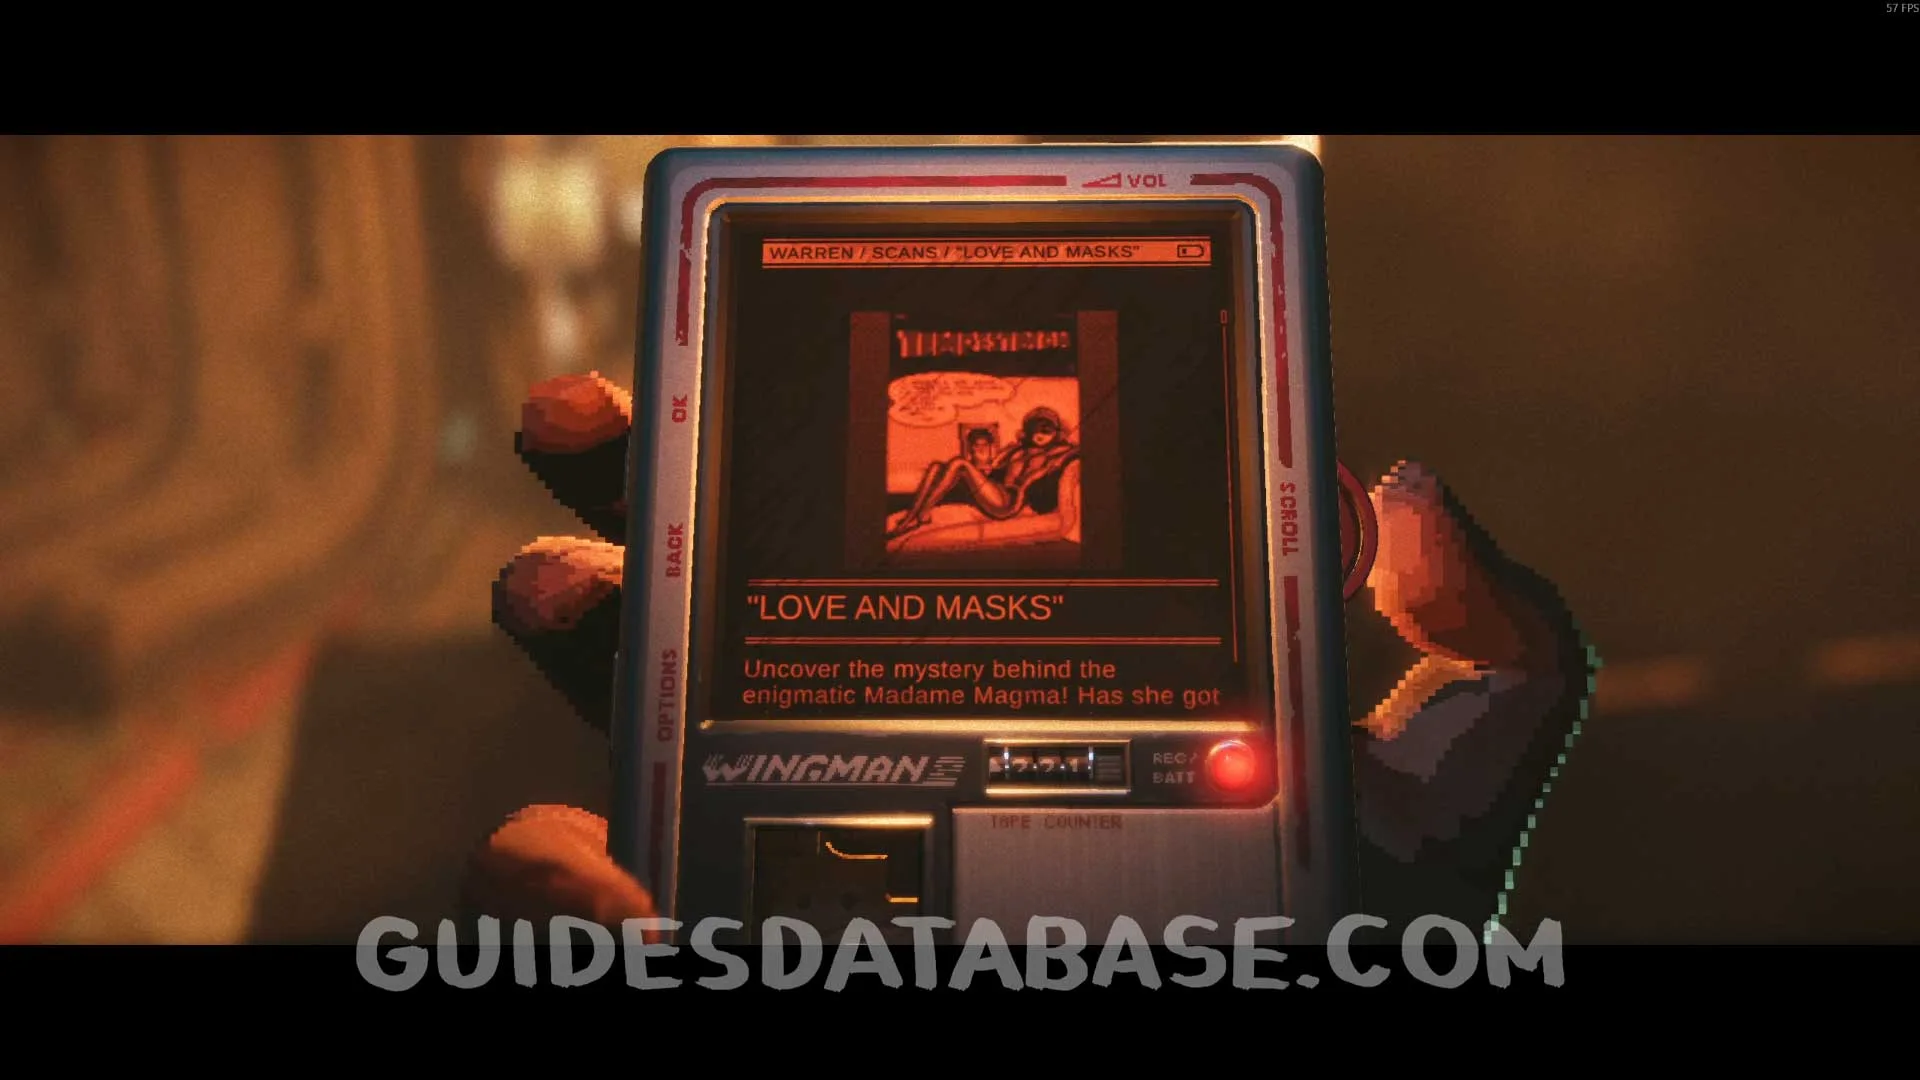 GUIDESDATABASE.COM
Scan #81 ''From the Ashes'' + Tempest-Man Comic #4
From the previous collectible, enter the bar and you will find this on top of a table.
 GUIDESDATABASE.COM
 GUIDESDATABASE.COM
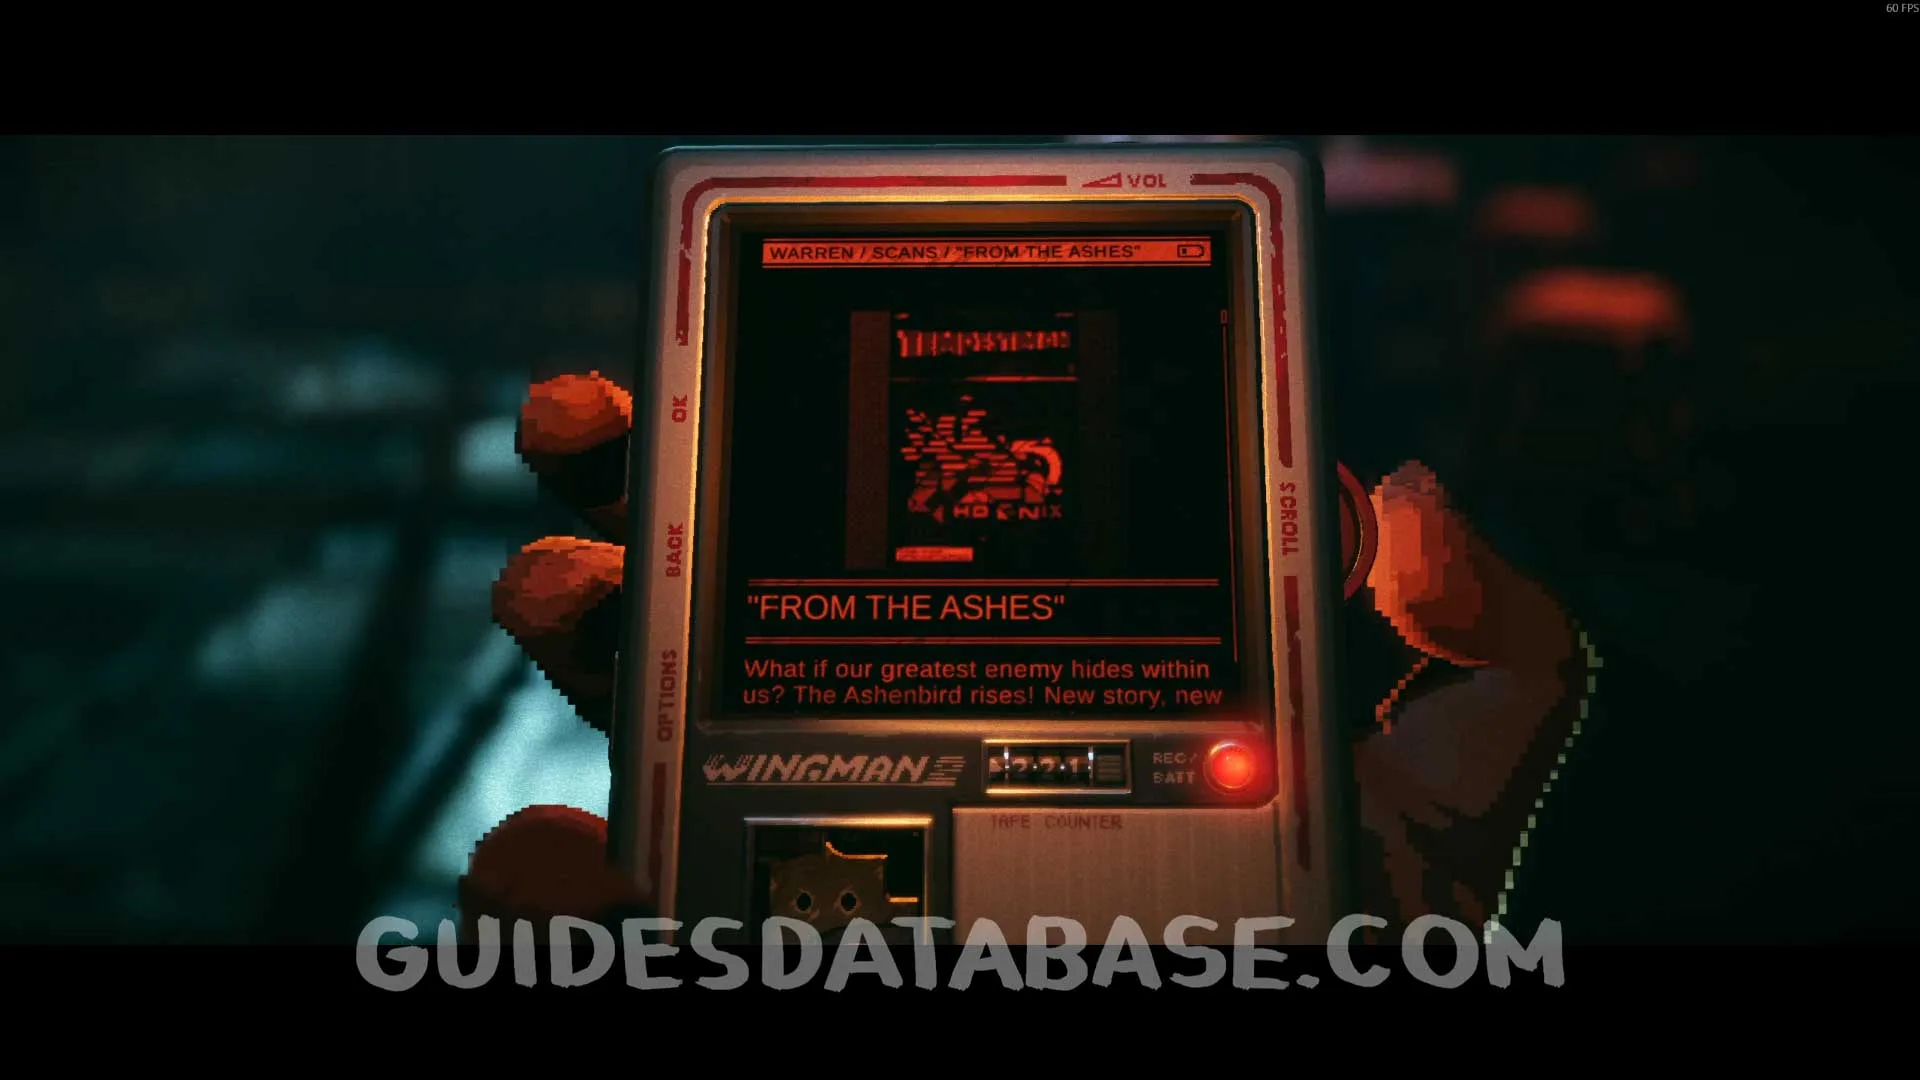 GUIDESDATABASE.COM
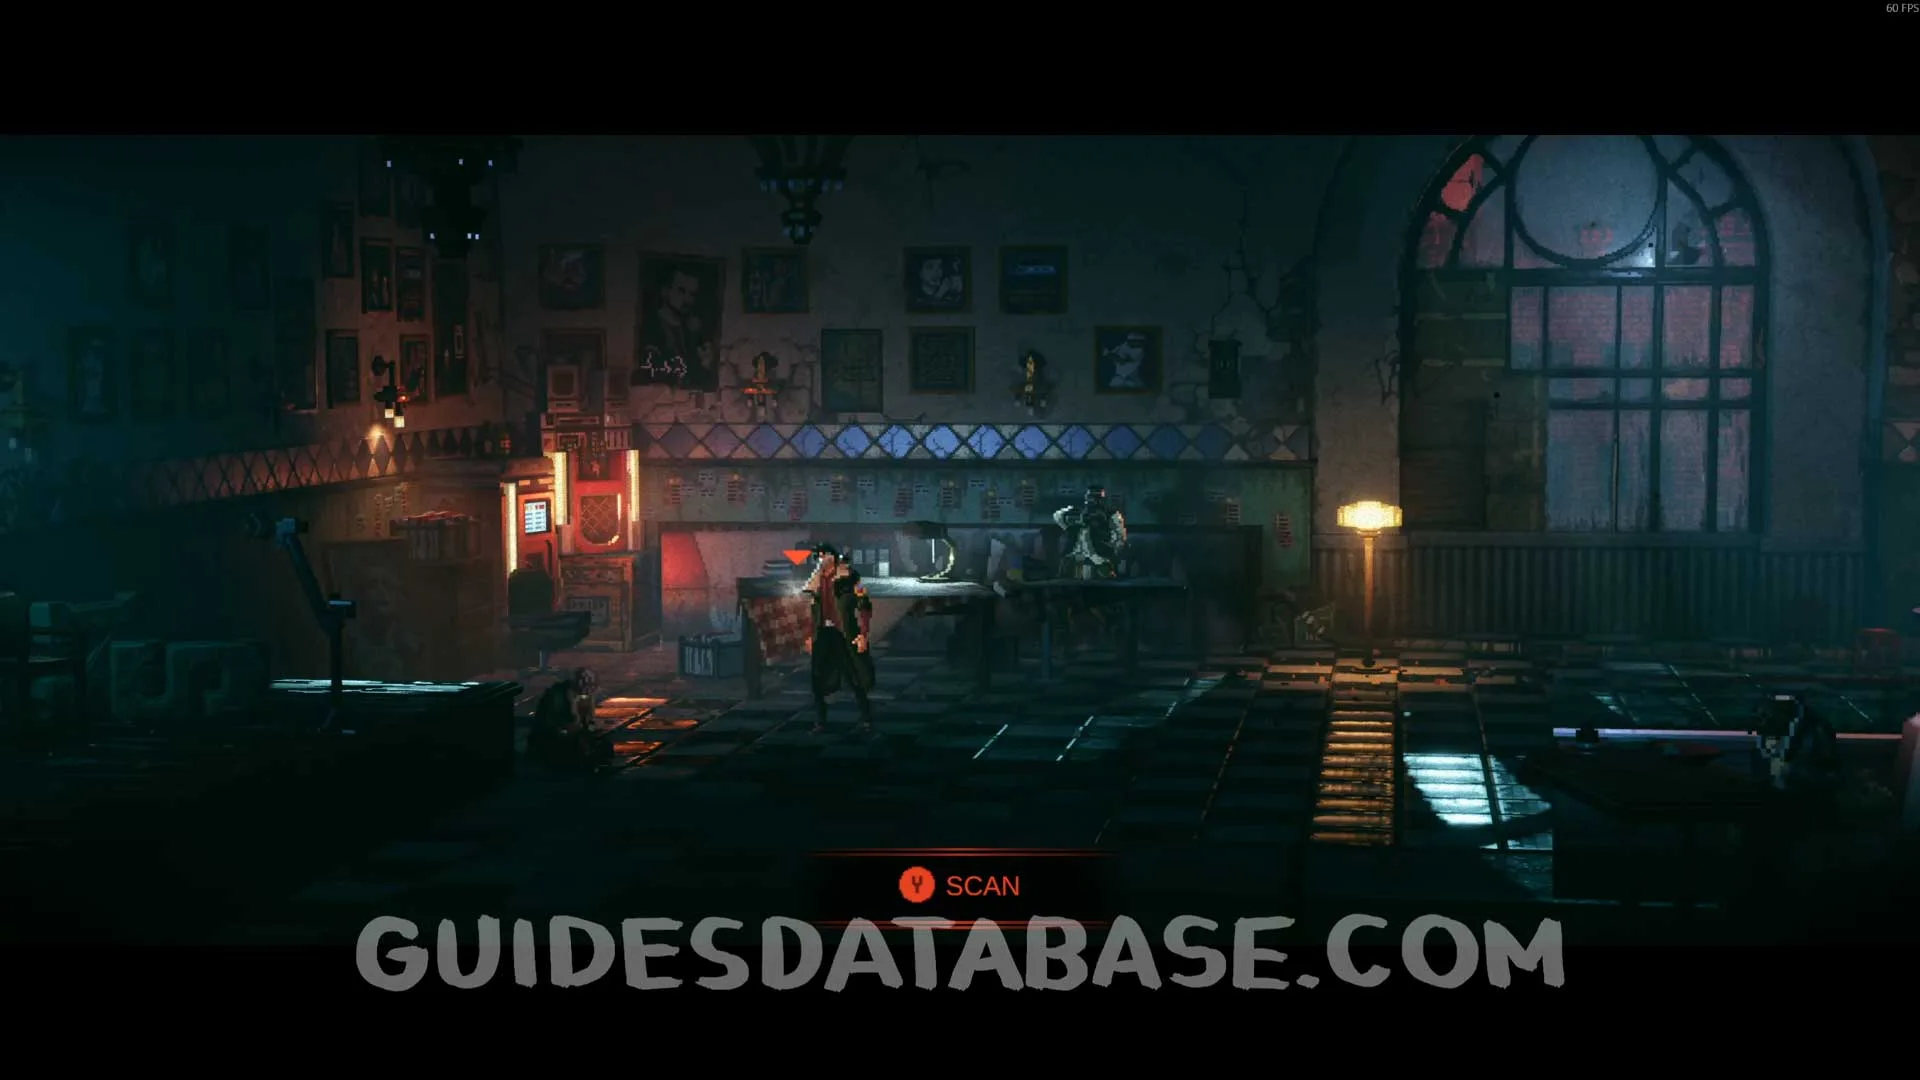
Scan #82 Termite Lair is Gone
Same area as the previous collectible, on the left side on top of the table.
 GUIDESDATABASE.COM
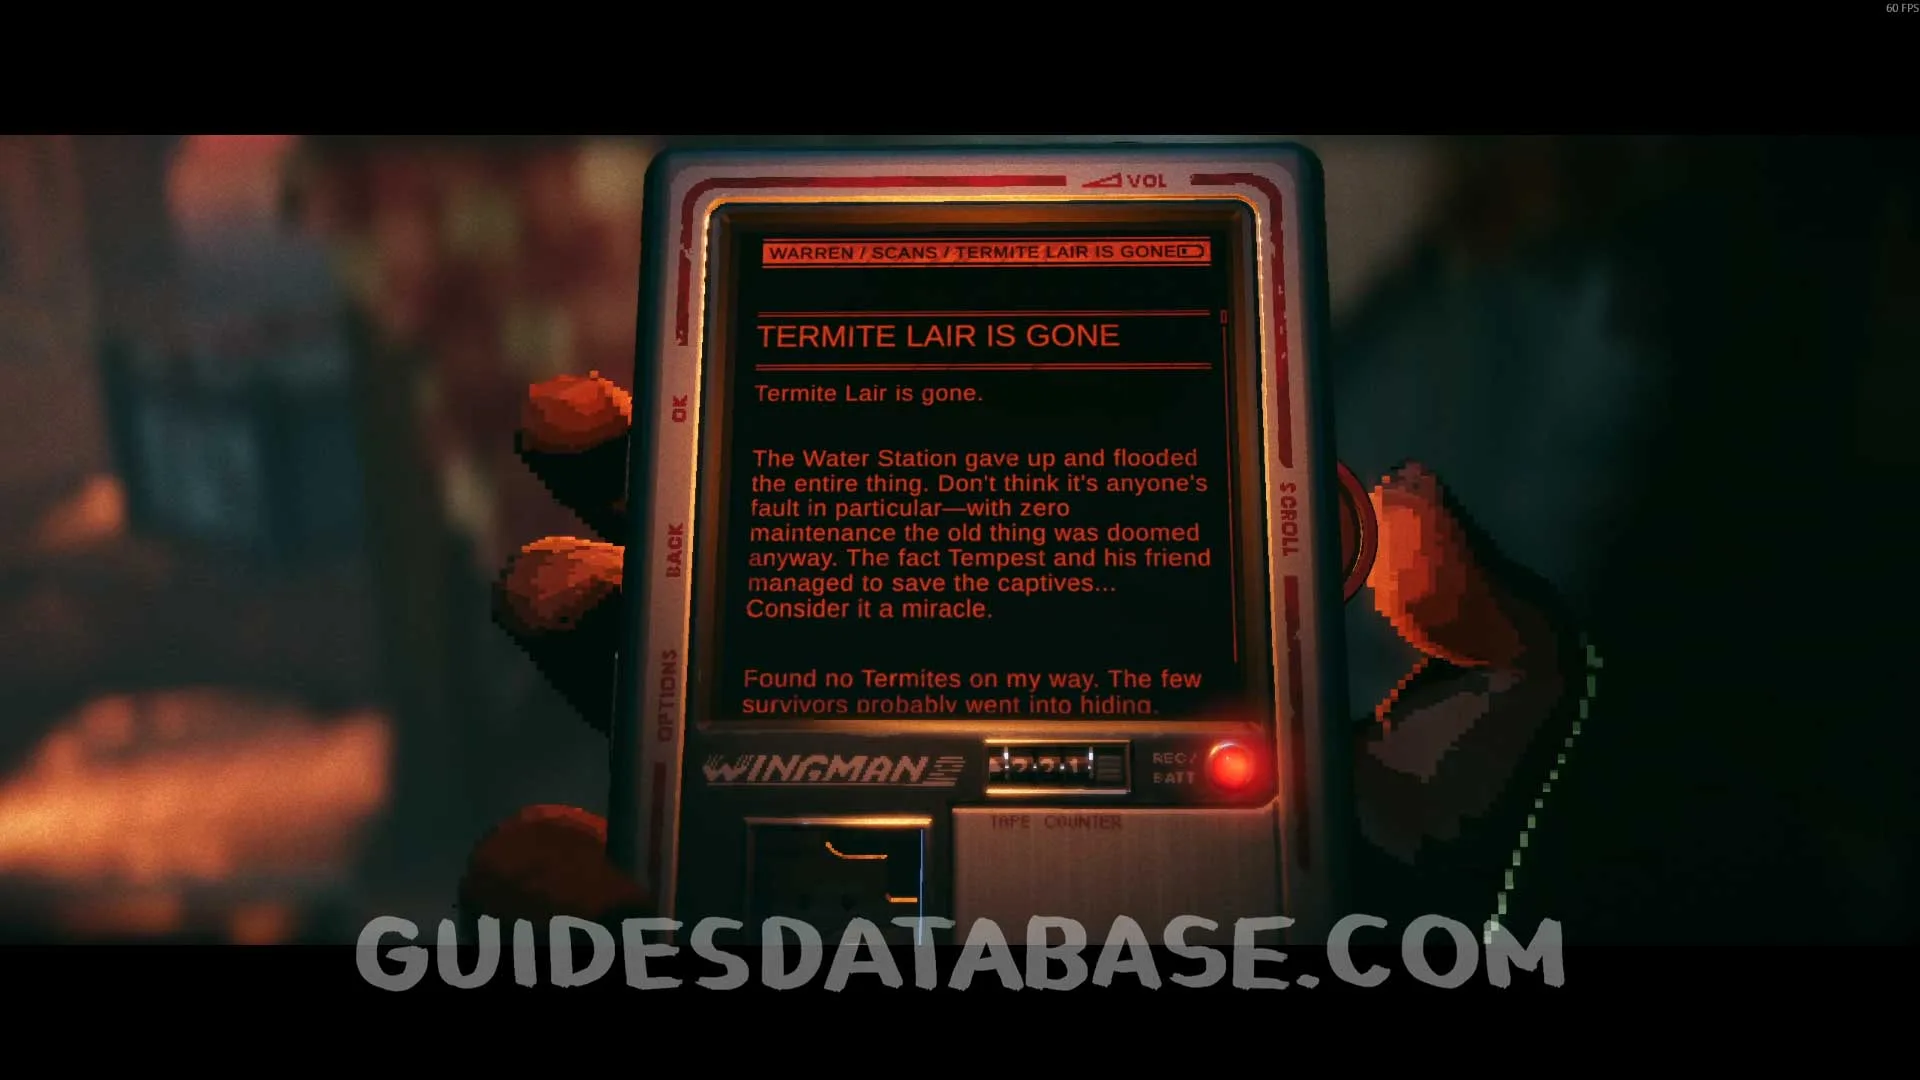 GUIDESDATABASE.COM
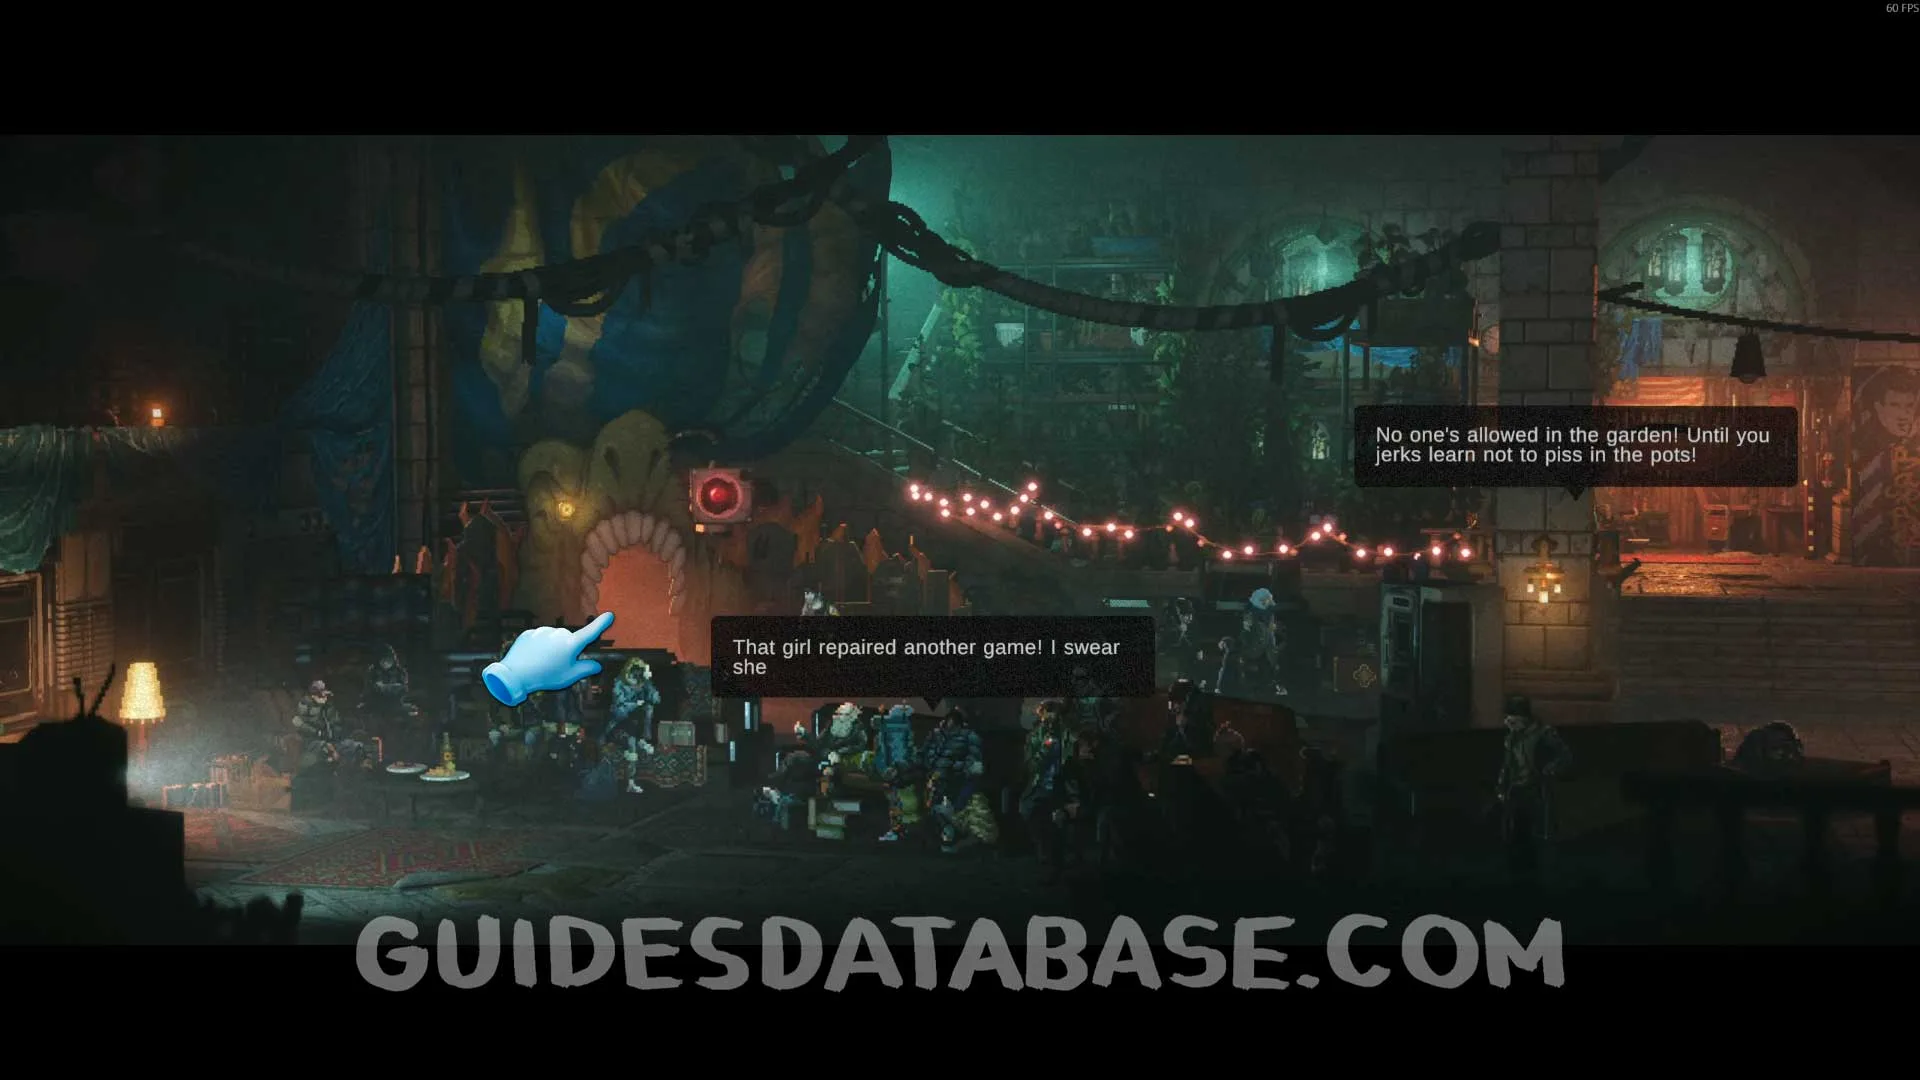
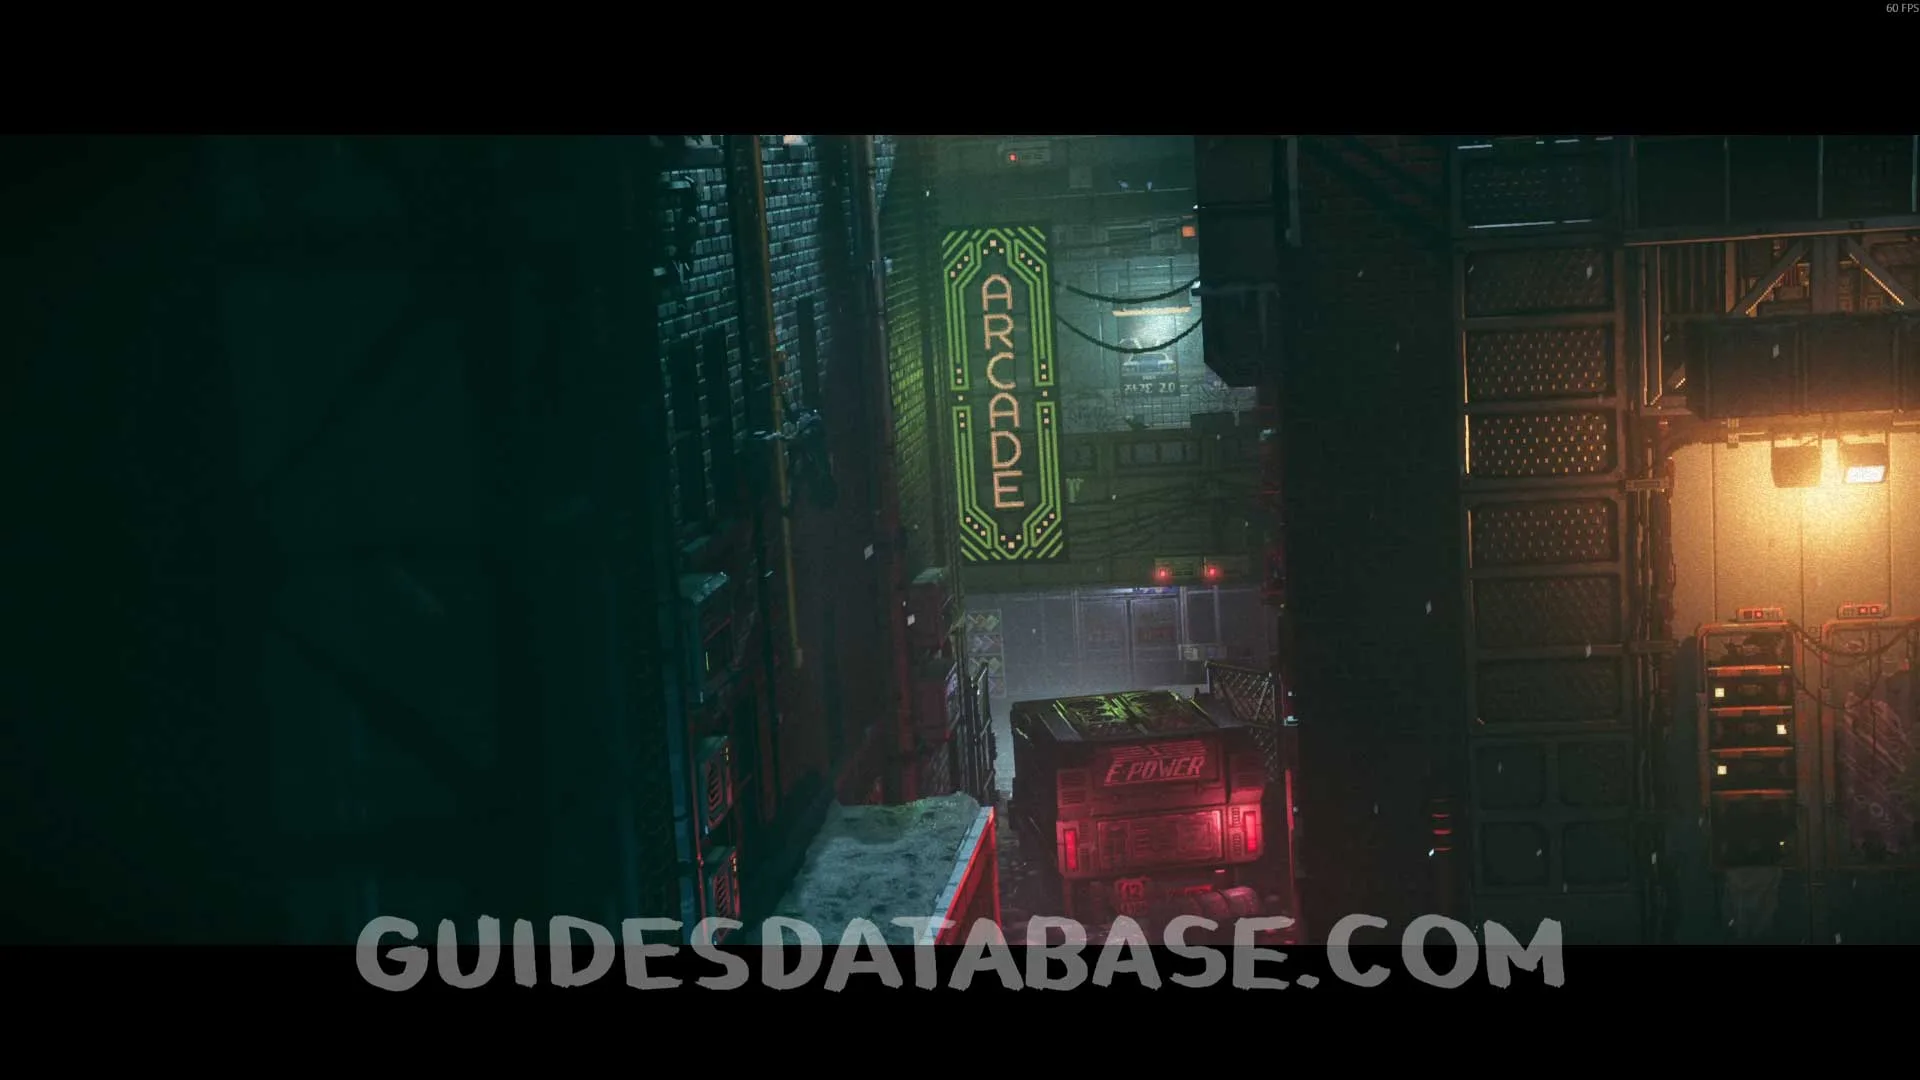
Scan #83 ''High Stakes'' + Tempest-Man Comic #5
From the previous collectible, leave the bar and enter the arcade. Head to the end of the area to find this.
 GUIDESDATABASE.COM
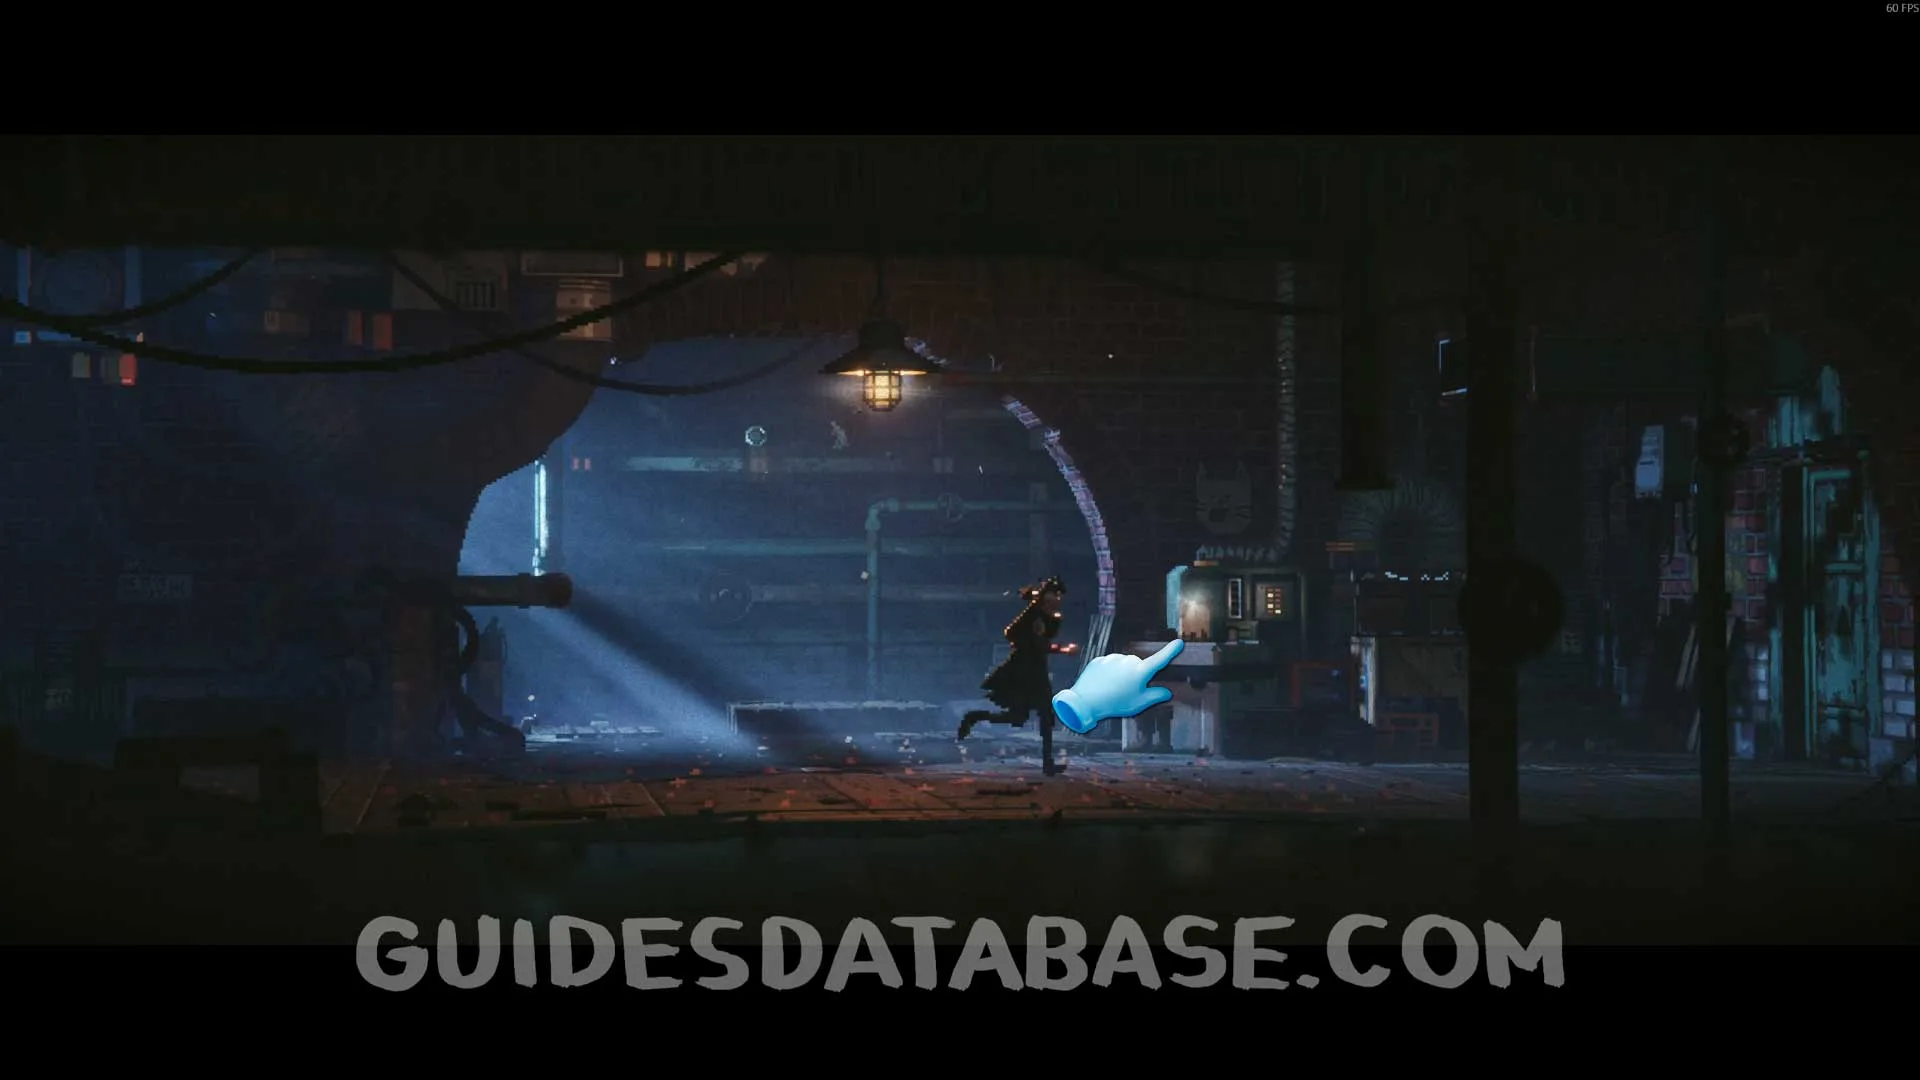 GUIDESDATABASE.COM
Arcade Game #3 + Adrenaline Injector #1
Same area as the previous collectible. Play the mini game and beat the record to earn the Old School achievement, provided you have already beaten the records of the other 2 mini games. Then talk to Susan to obtain the Adrenaline Injector.
 GUIDESDATABASE.COM
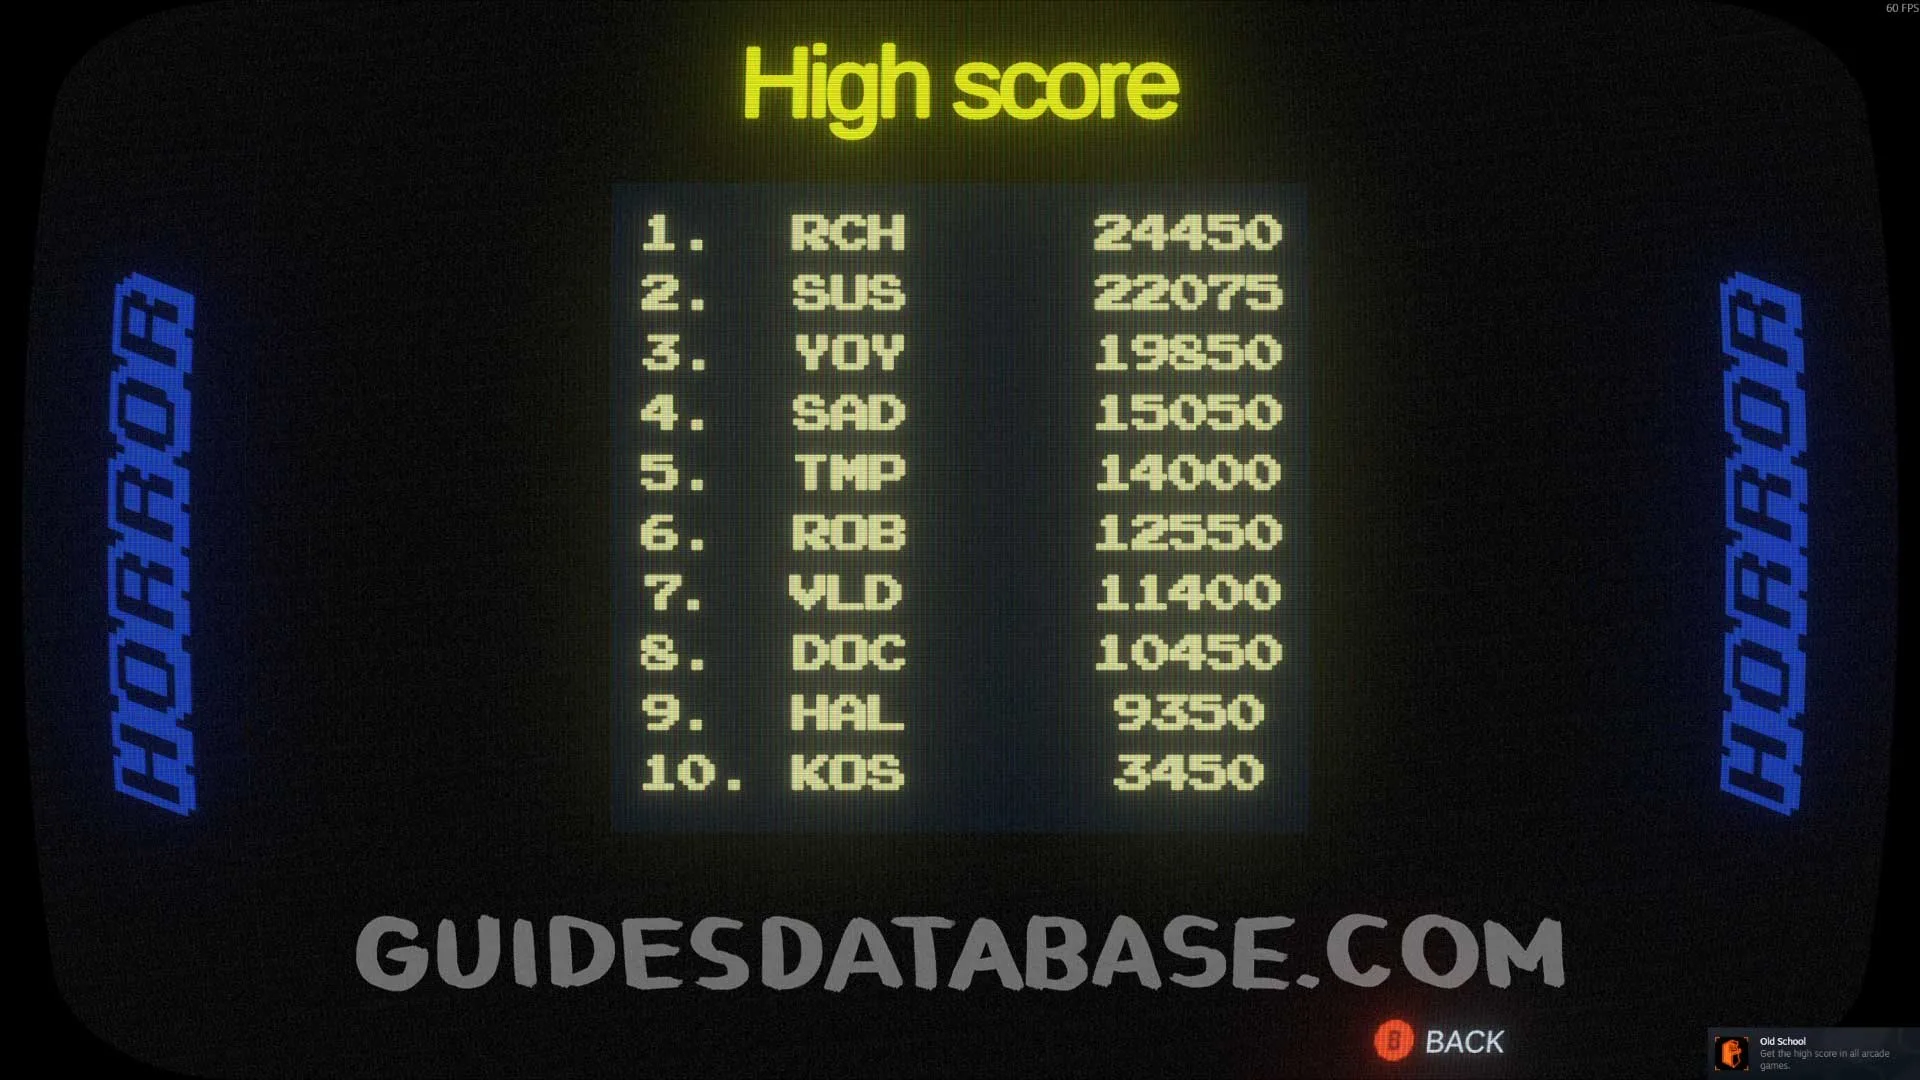 GUIDESDATABASE.COM
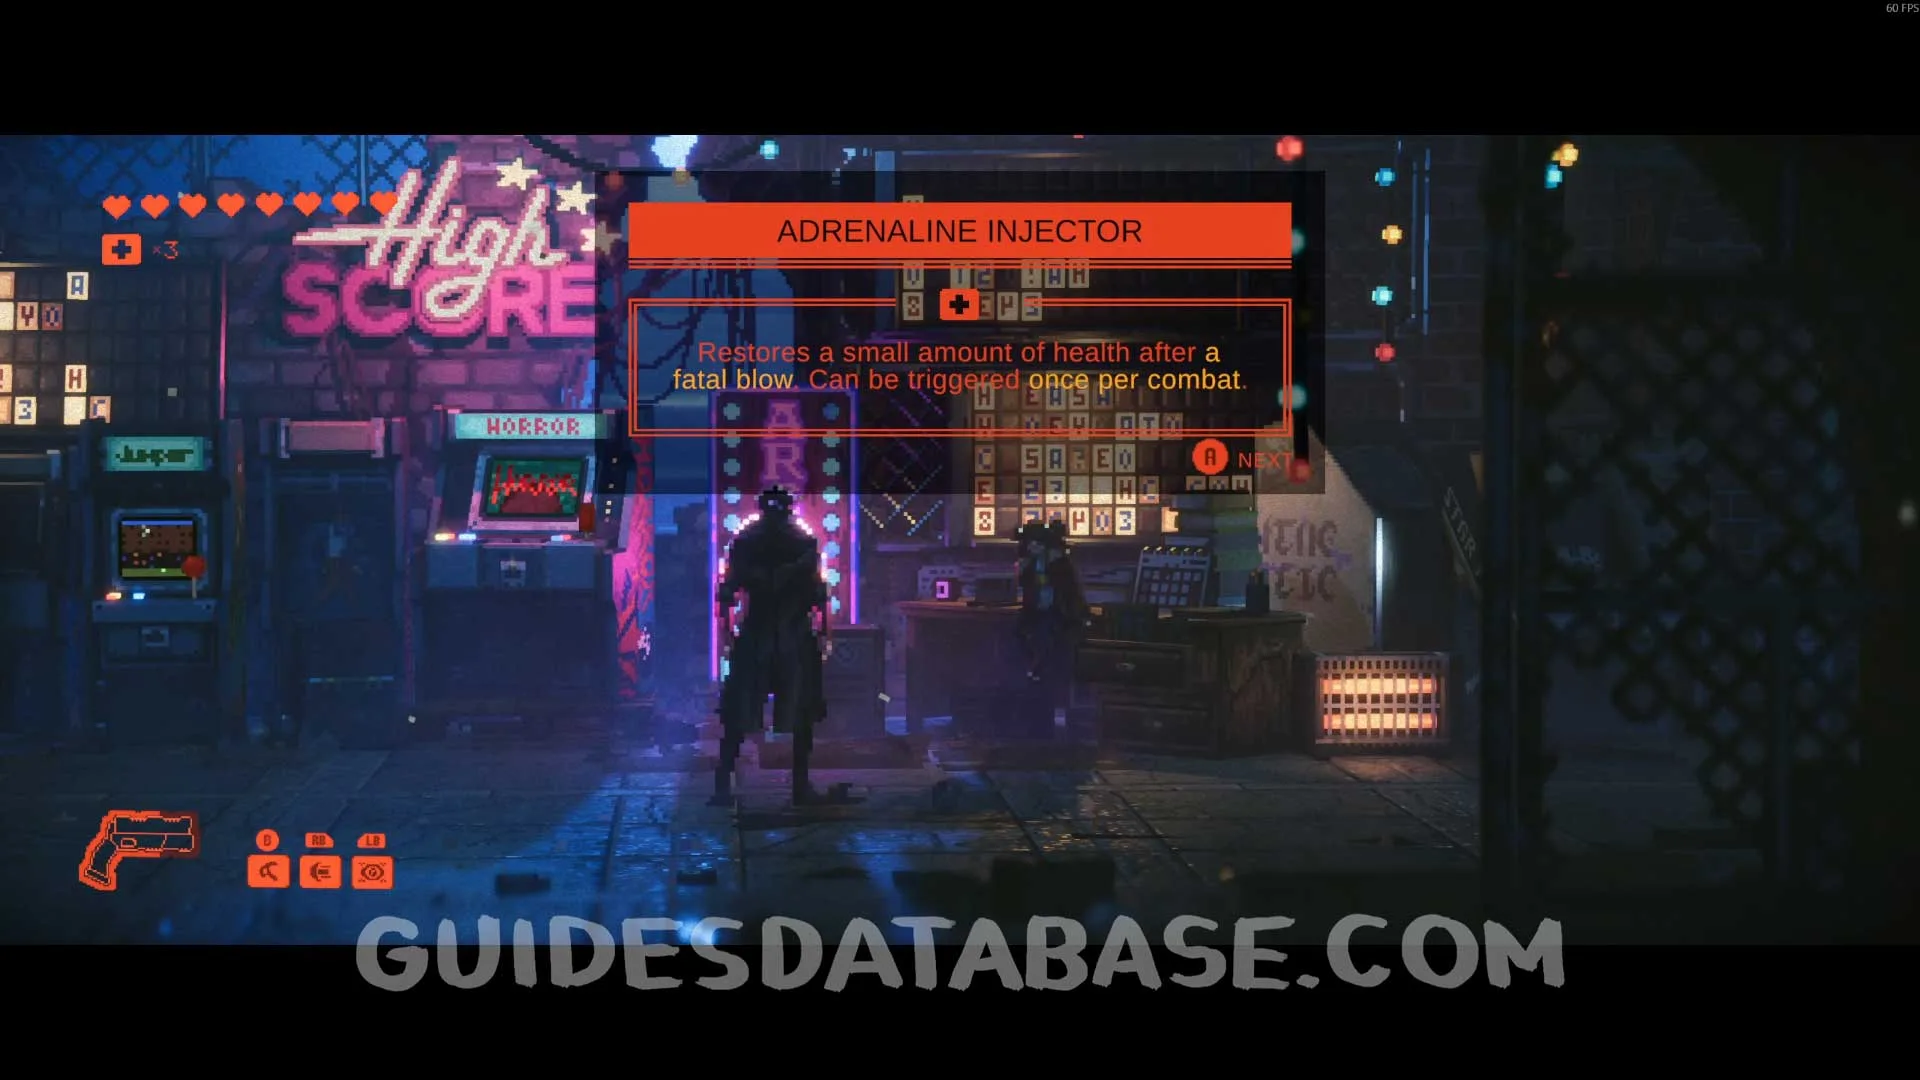 GUIDESDATABASE.COM
Scan #84 ''The Ultimate Sacrifice'' + Tempest-Man Comic #6
Tempest-Man Comic #5
 GUIDESDATABASE.COM
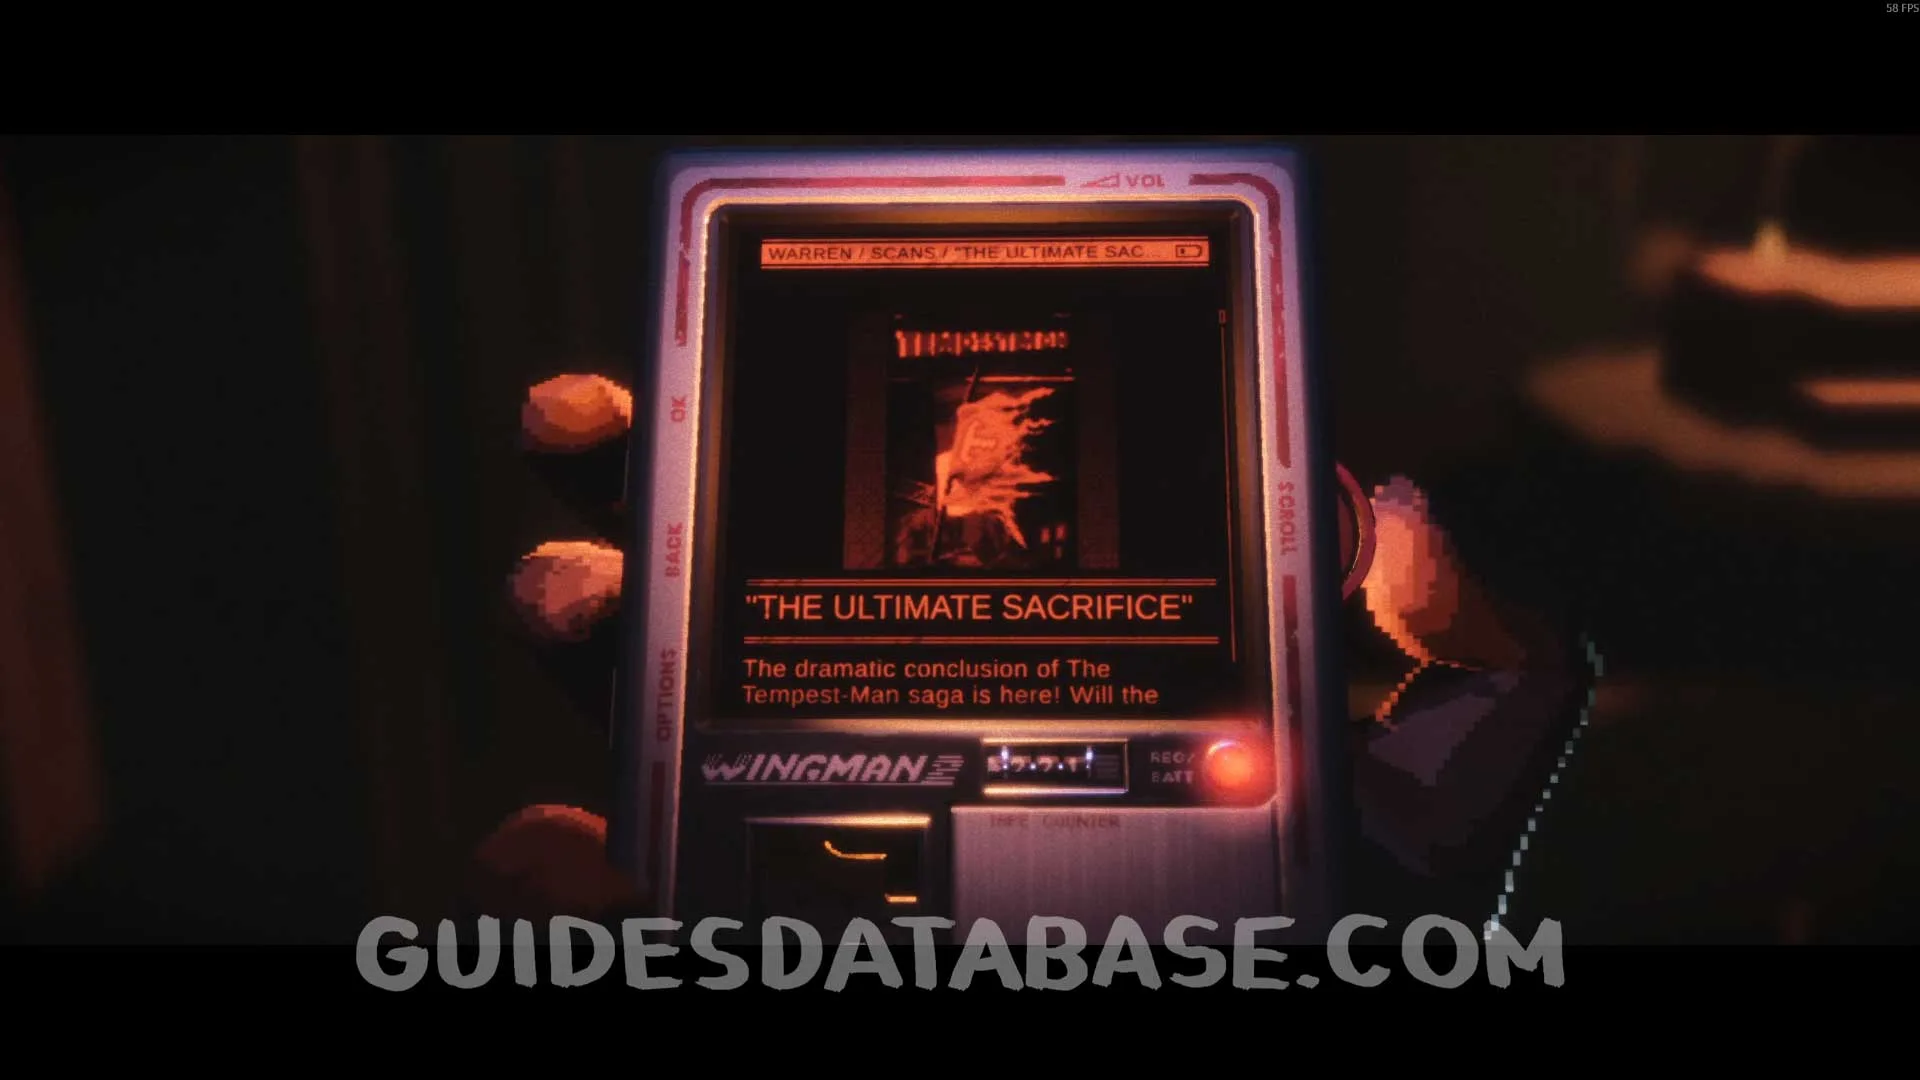 GUIDESDATABASE.COM
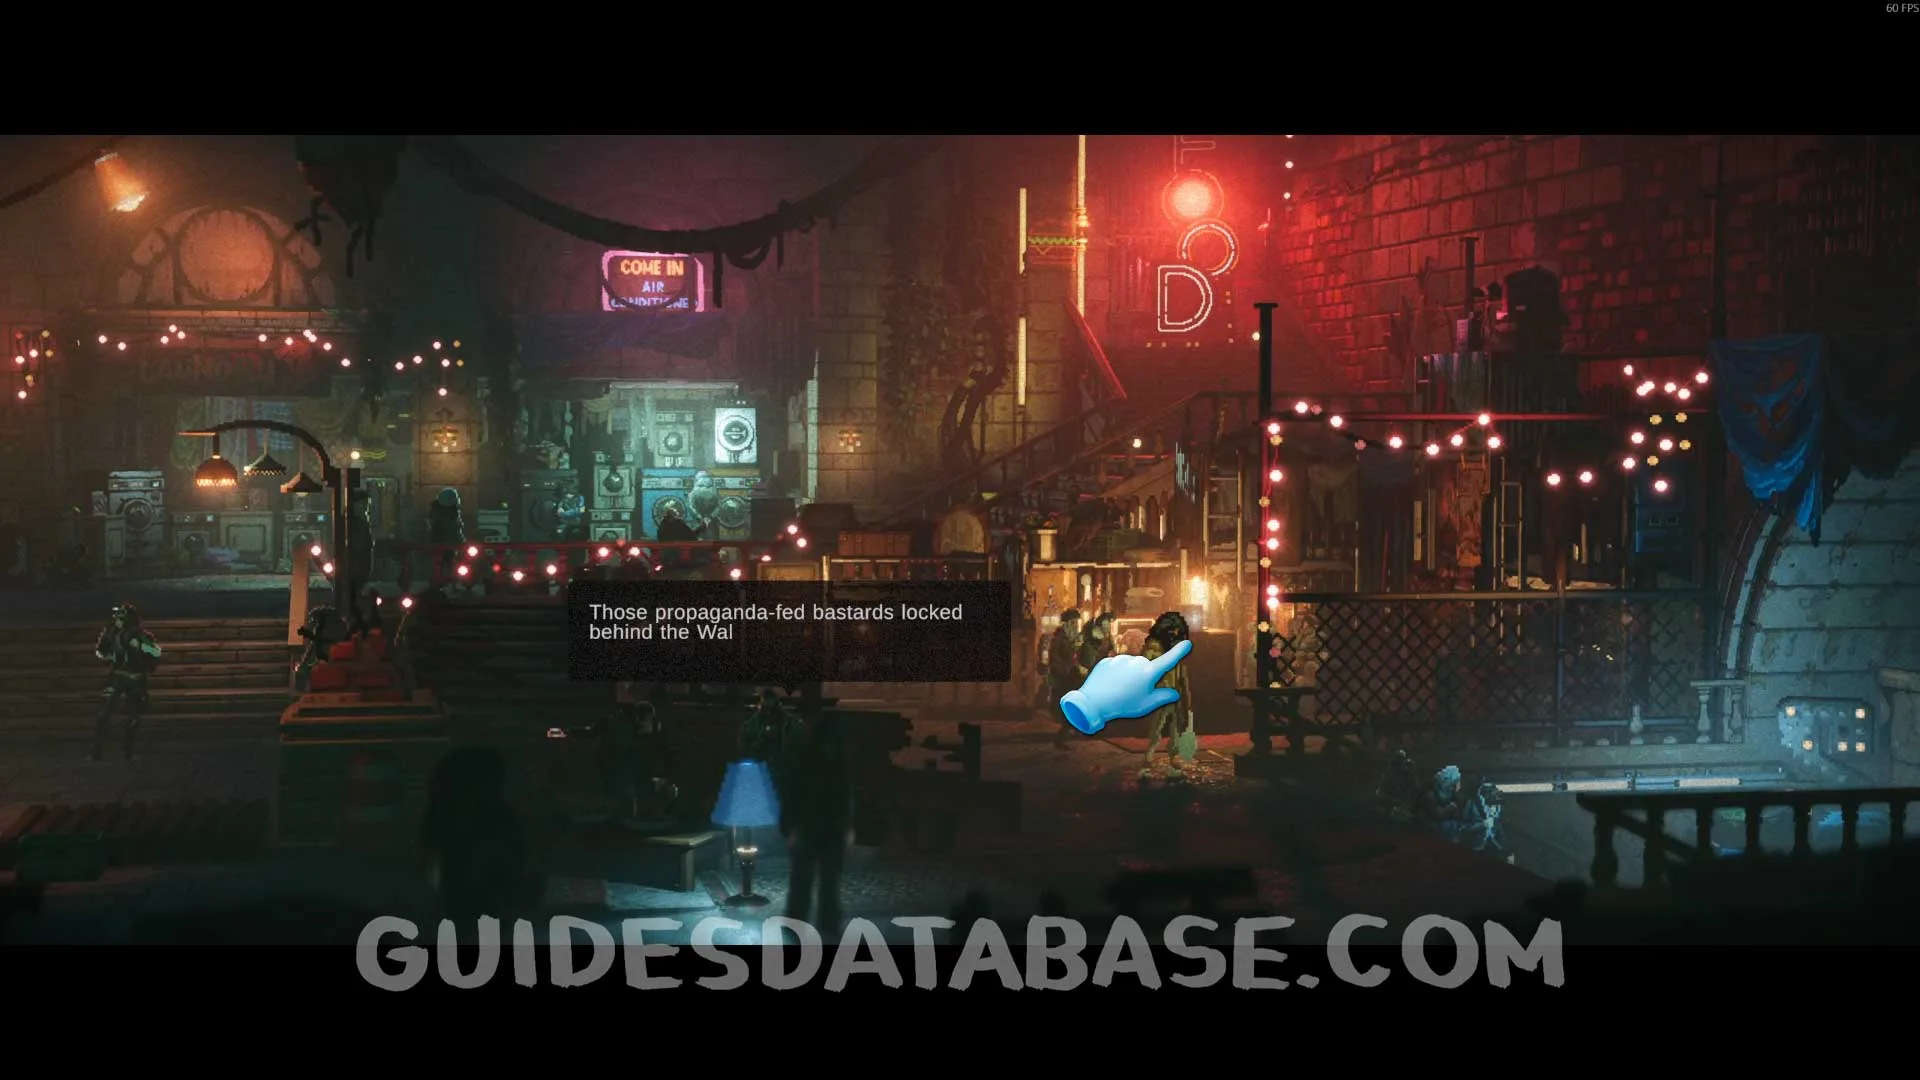
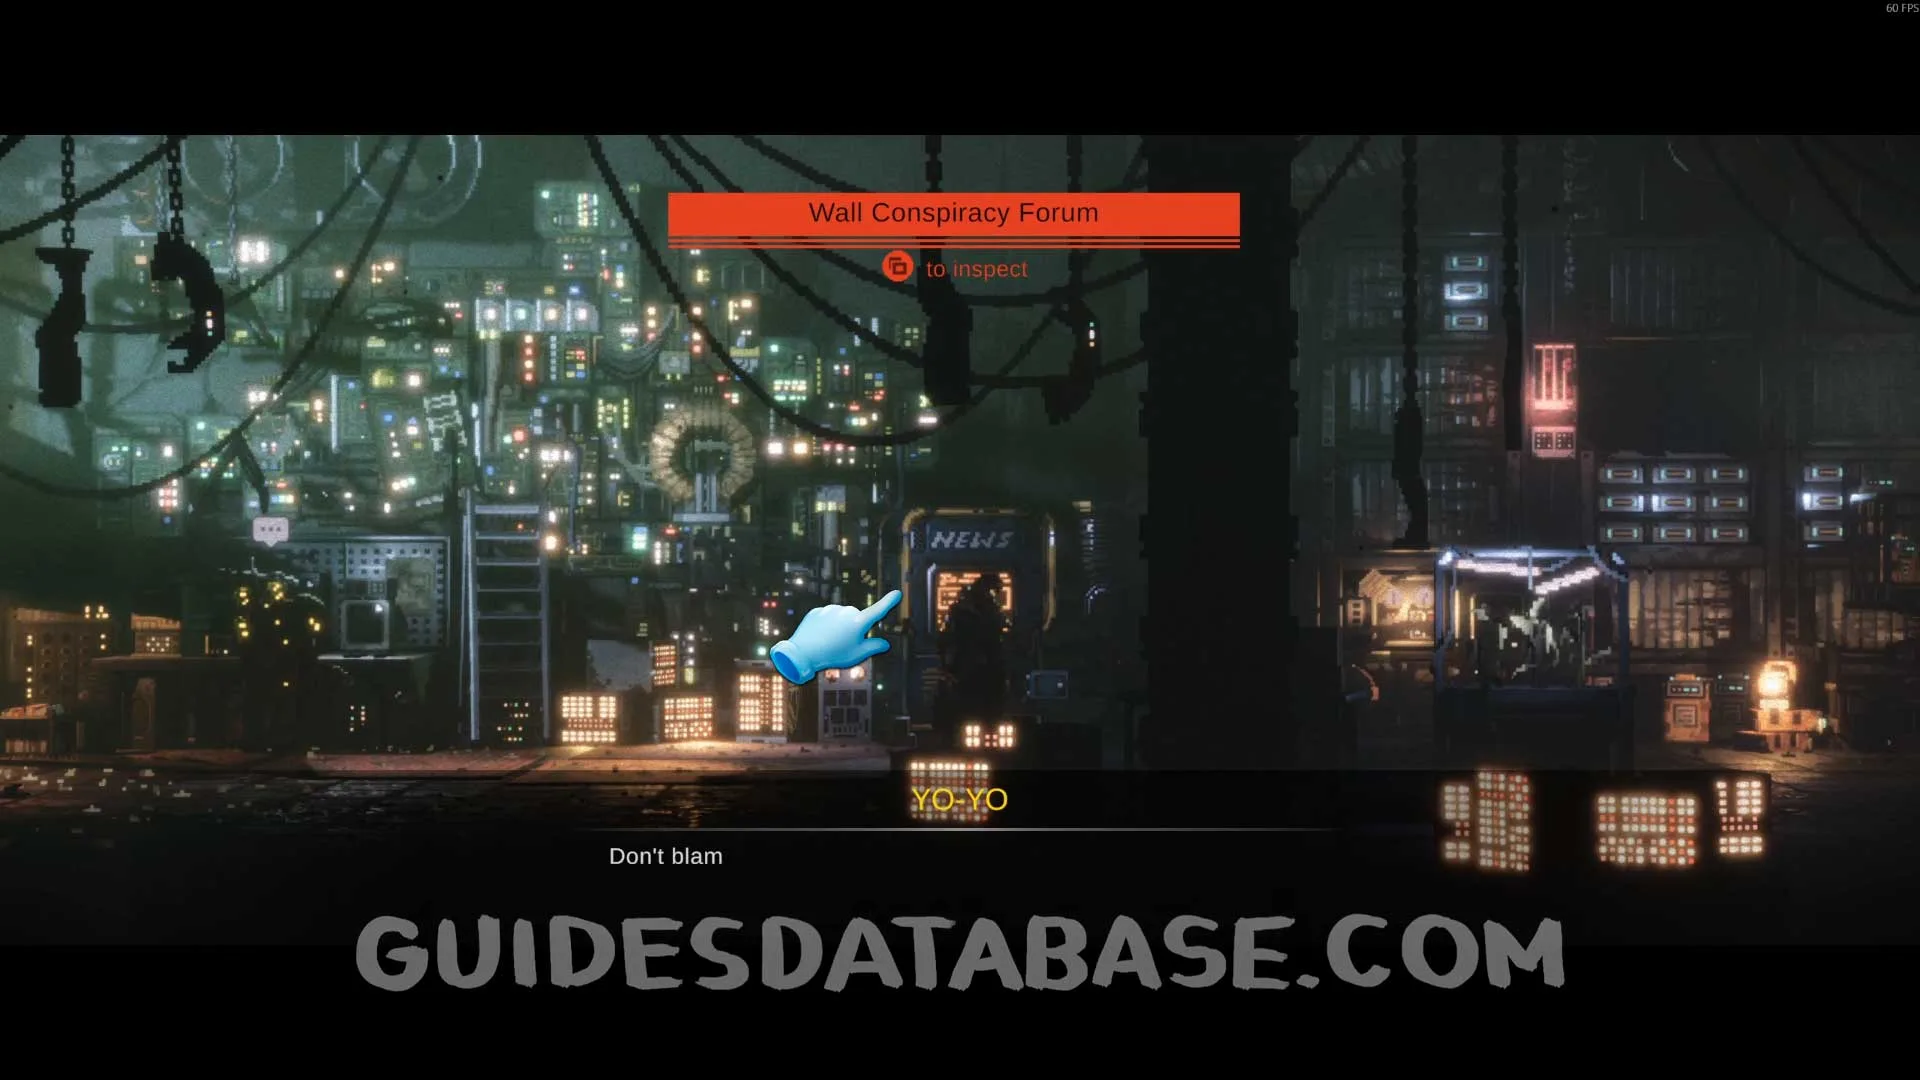
Scan #85 Wall Conspiracy Forum + Scan #86 R.E.A.C.H. Is Our Future
Same location as the previous Scan. Interact with the terminal and go through all the messages to obtain these two Scans.
 GUIDESDATABASE.COM
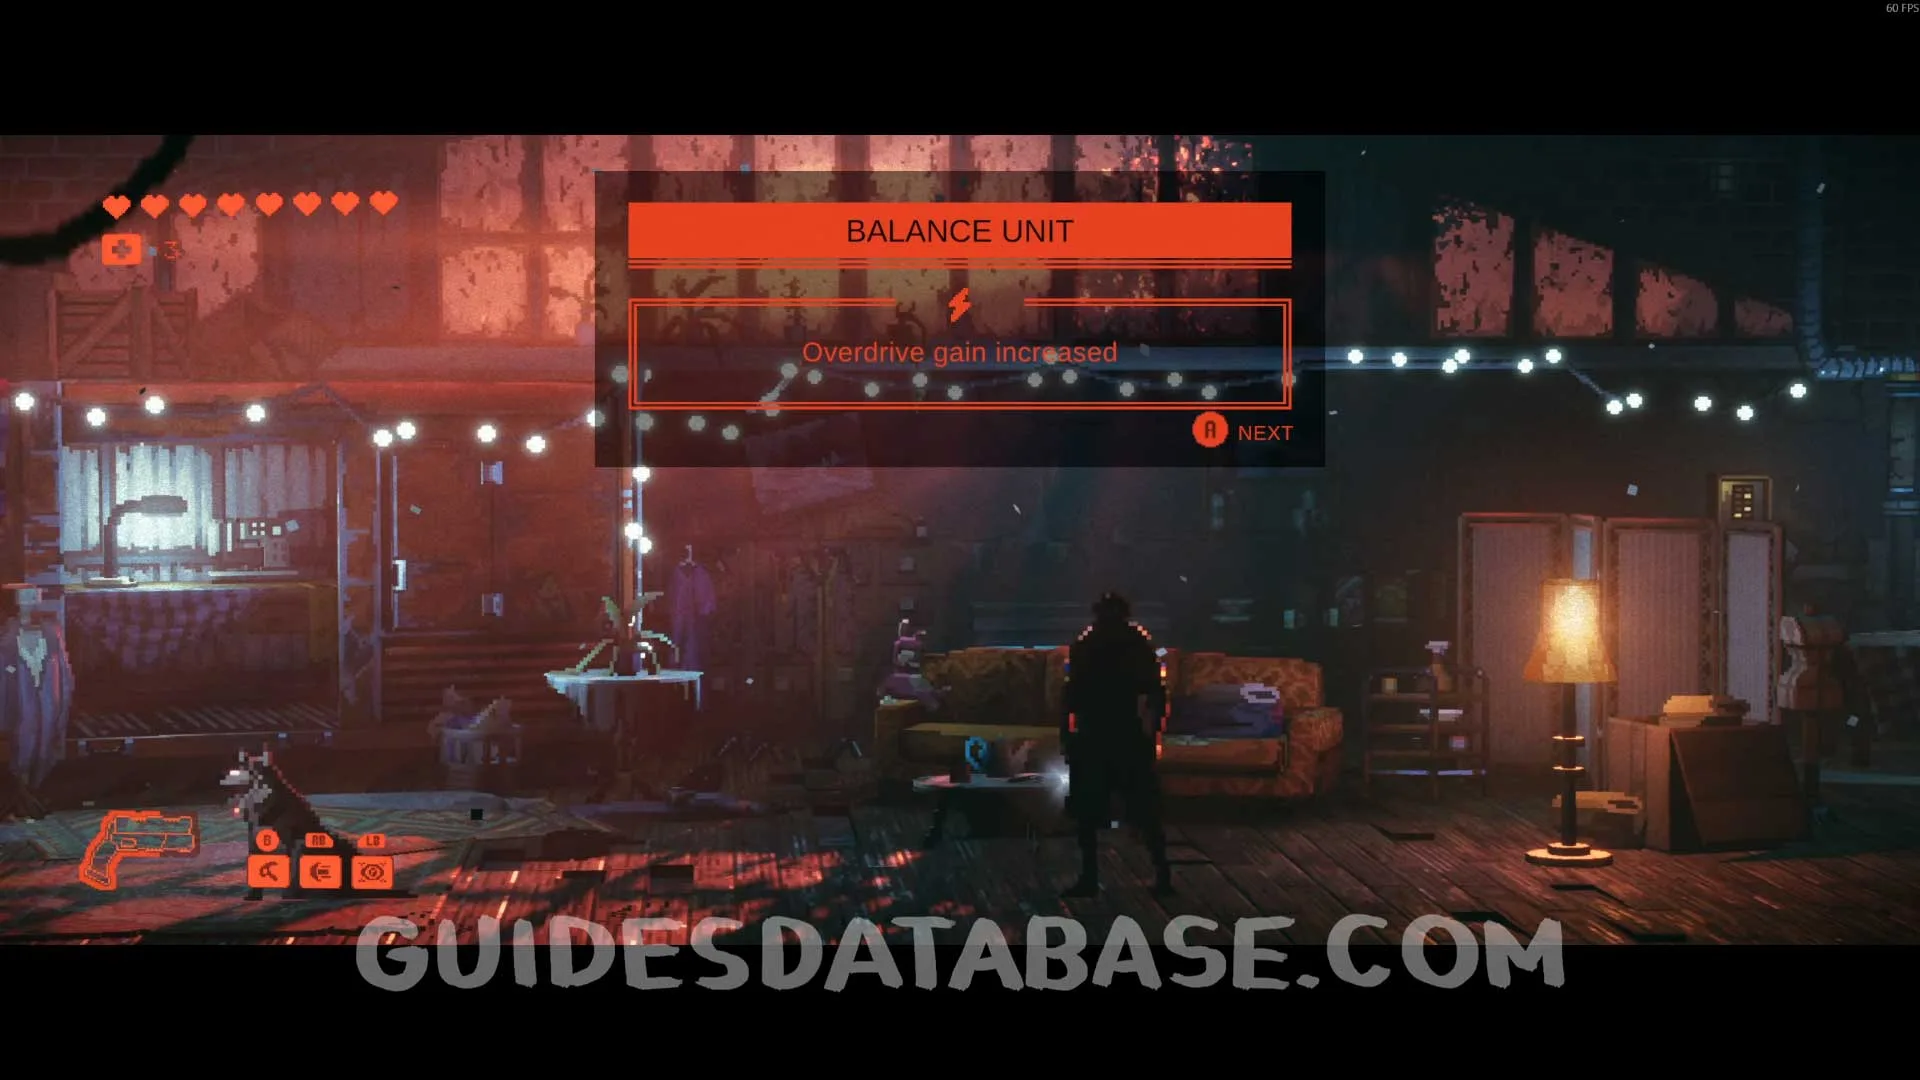
Balance Unit #1 + The Biggest Fan Quest
Return to where you started The Biggest Fan quest and interact with the table again, now that you have all the Tempest-Man Comics. This will complete the quest and you will earn The Biggest Fan achievement.
 GUIDESDATABASE.COM
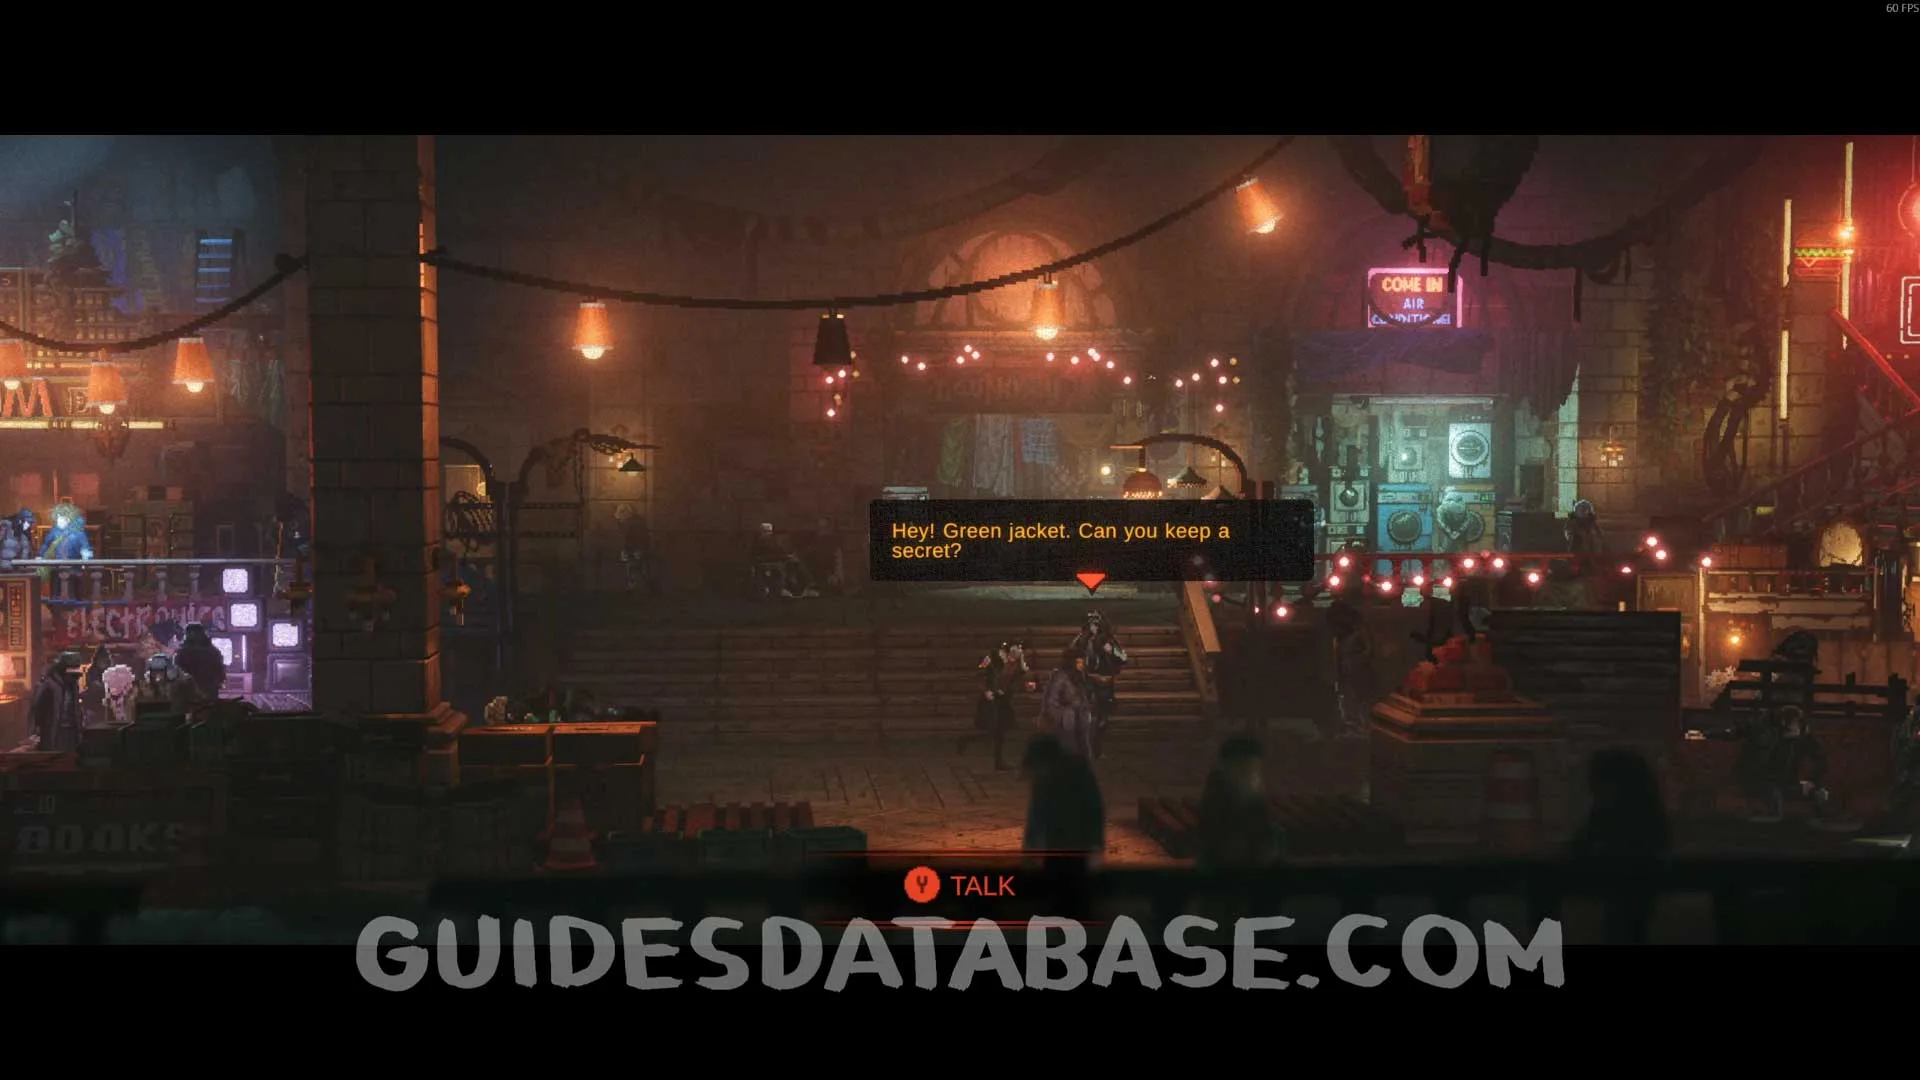
Sandra's Quest + Scan #87 Trooper's ID + Scan #88 Trooper's File + Scan #89 Trooper's Diary + Genetic Profile #8
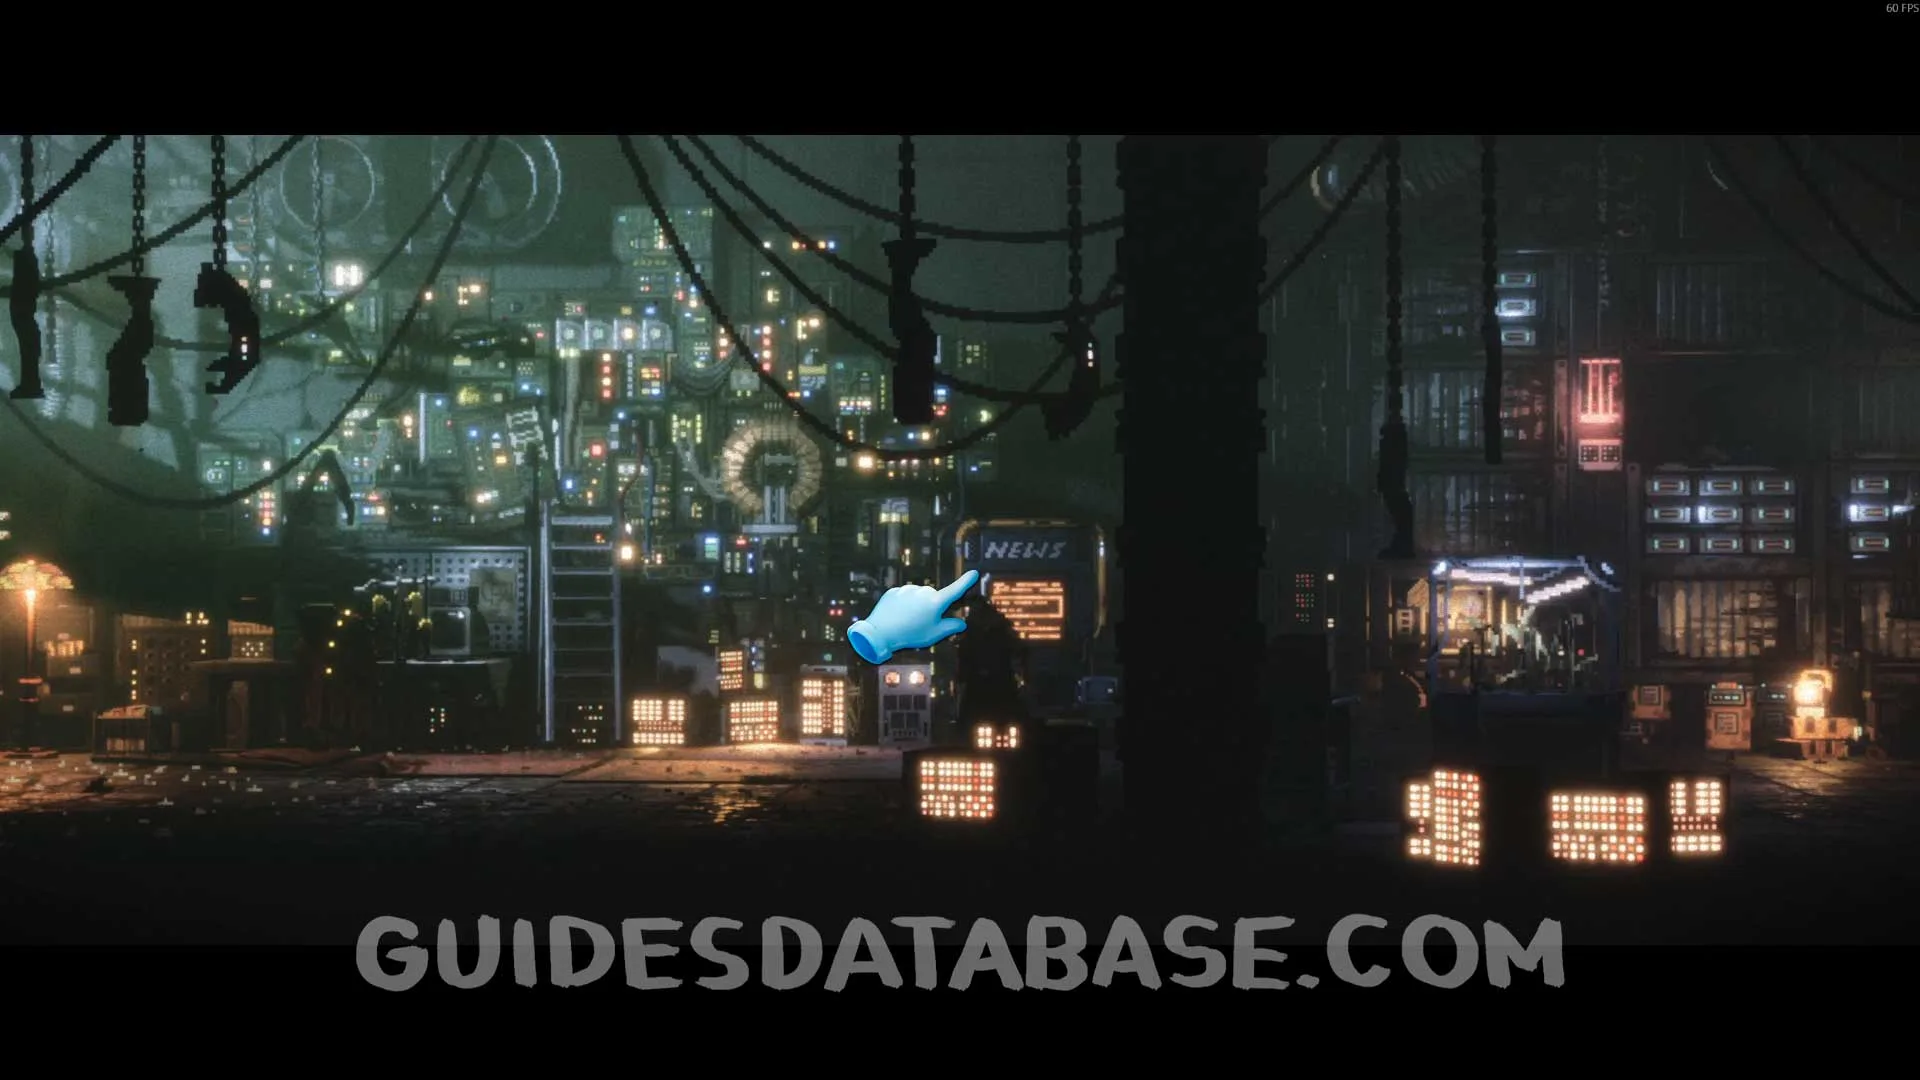
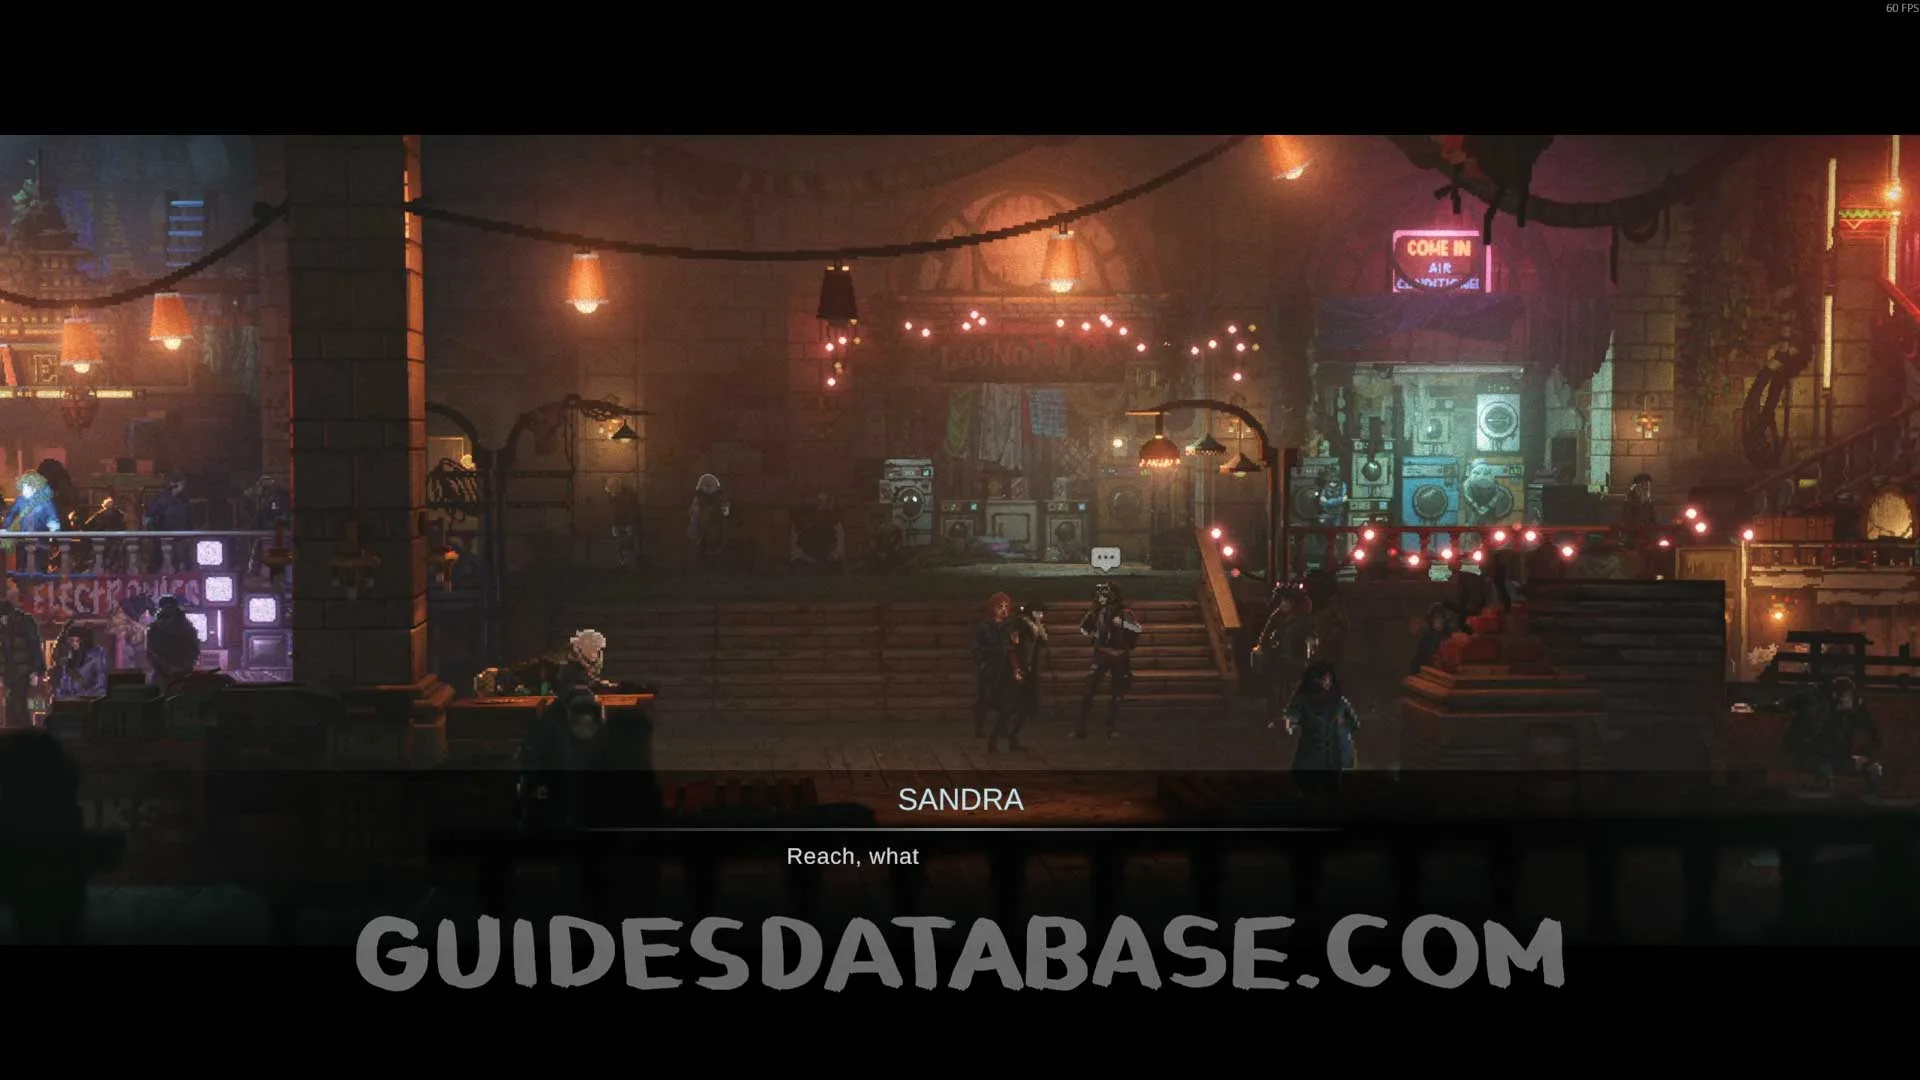
Go inside the safe zone and talk to Sandra to start the quest.
 GUIDESDATABASE.COM
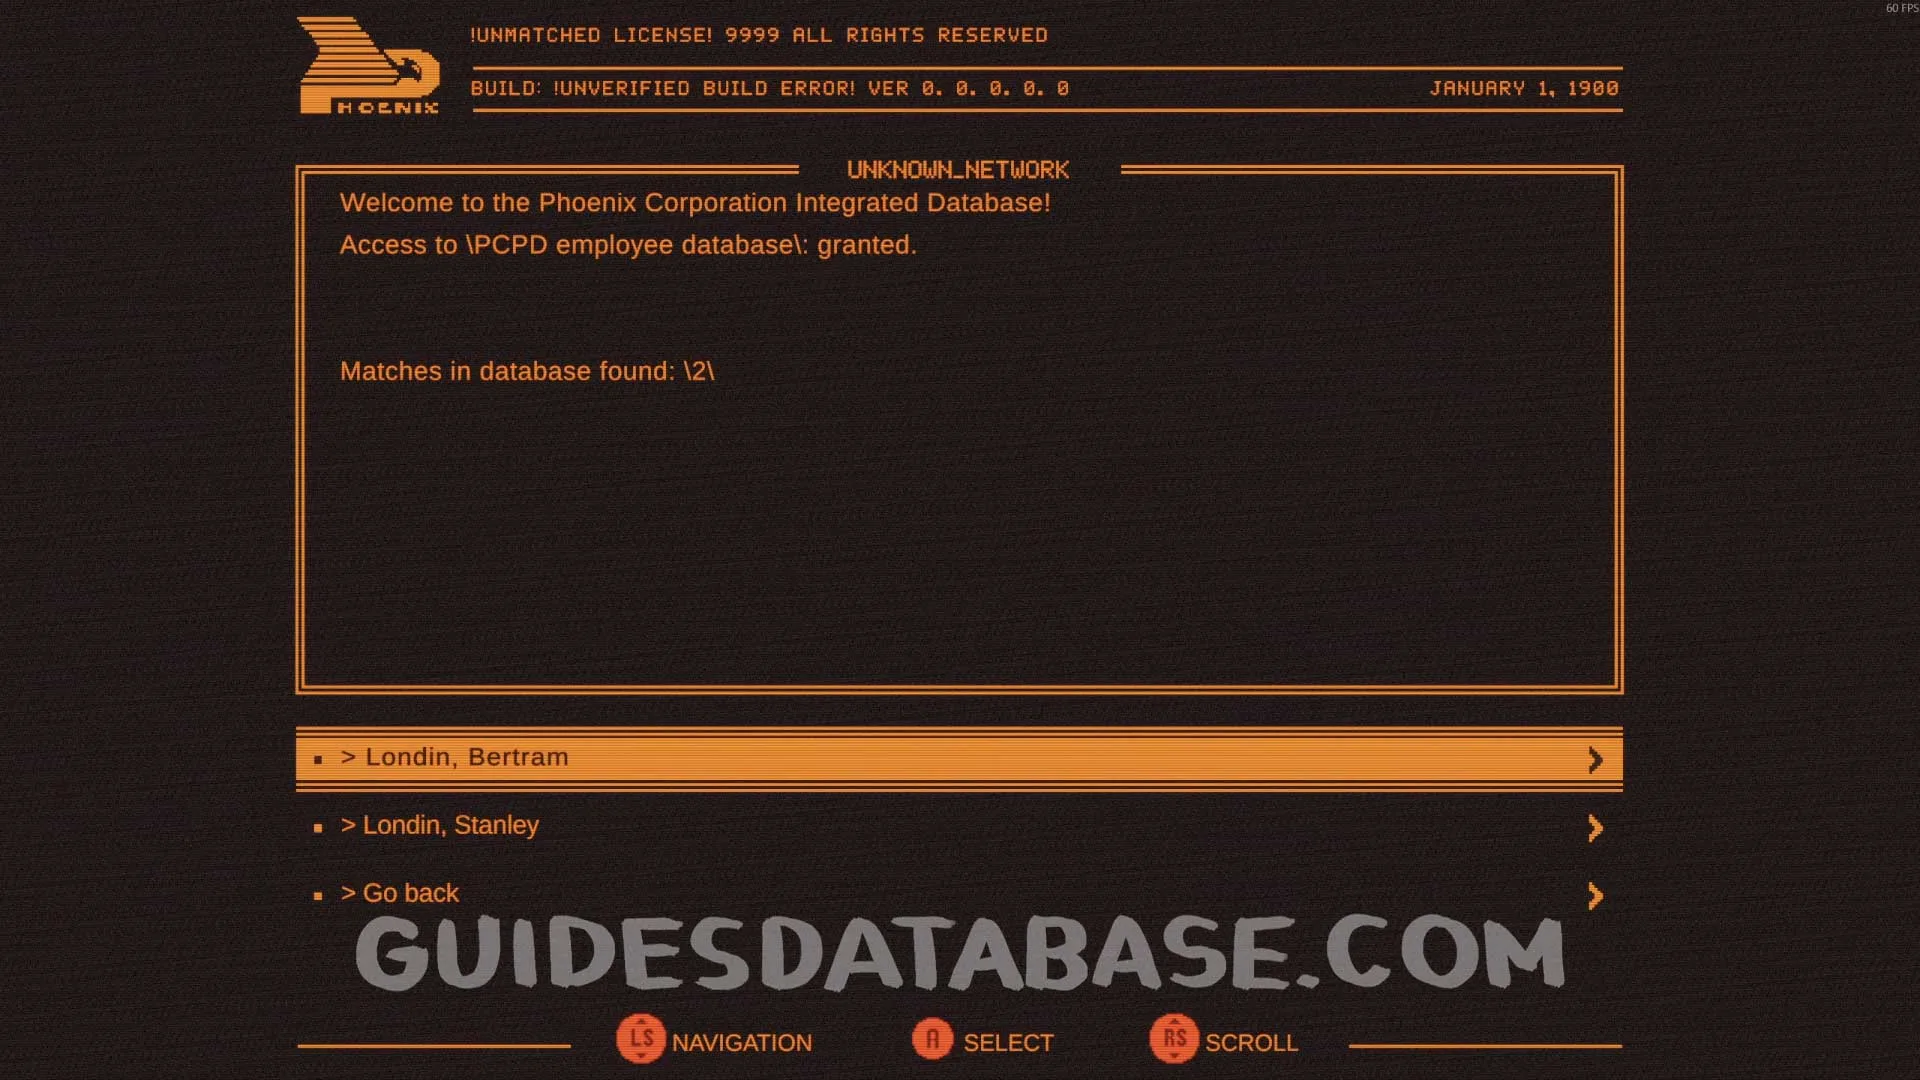
Go to YO-YO's room, interact with the terminal and select the Check PCPD ID Card option. Then go back outside and hack the terminal.
 GUIDESDATABASE.COM
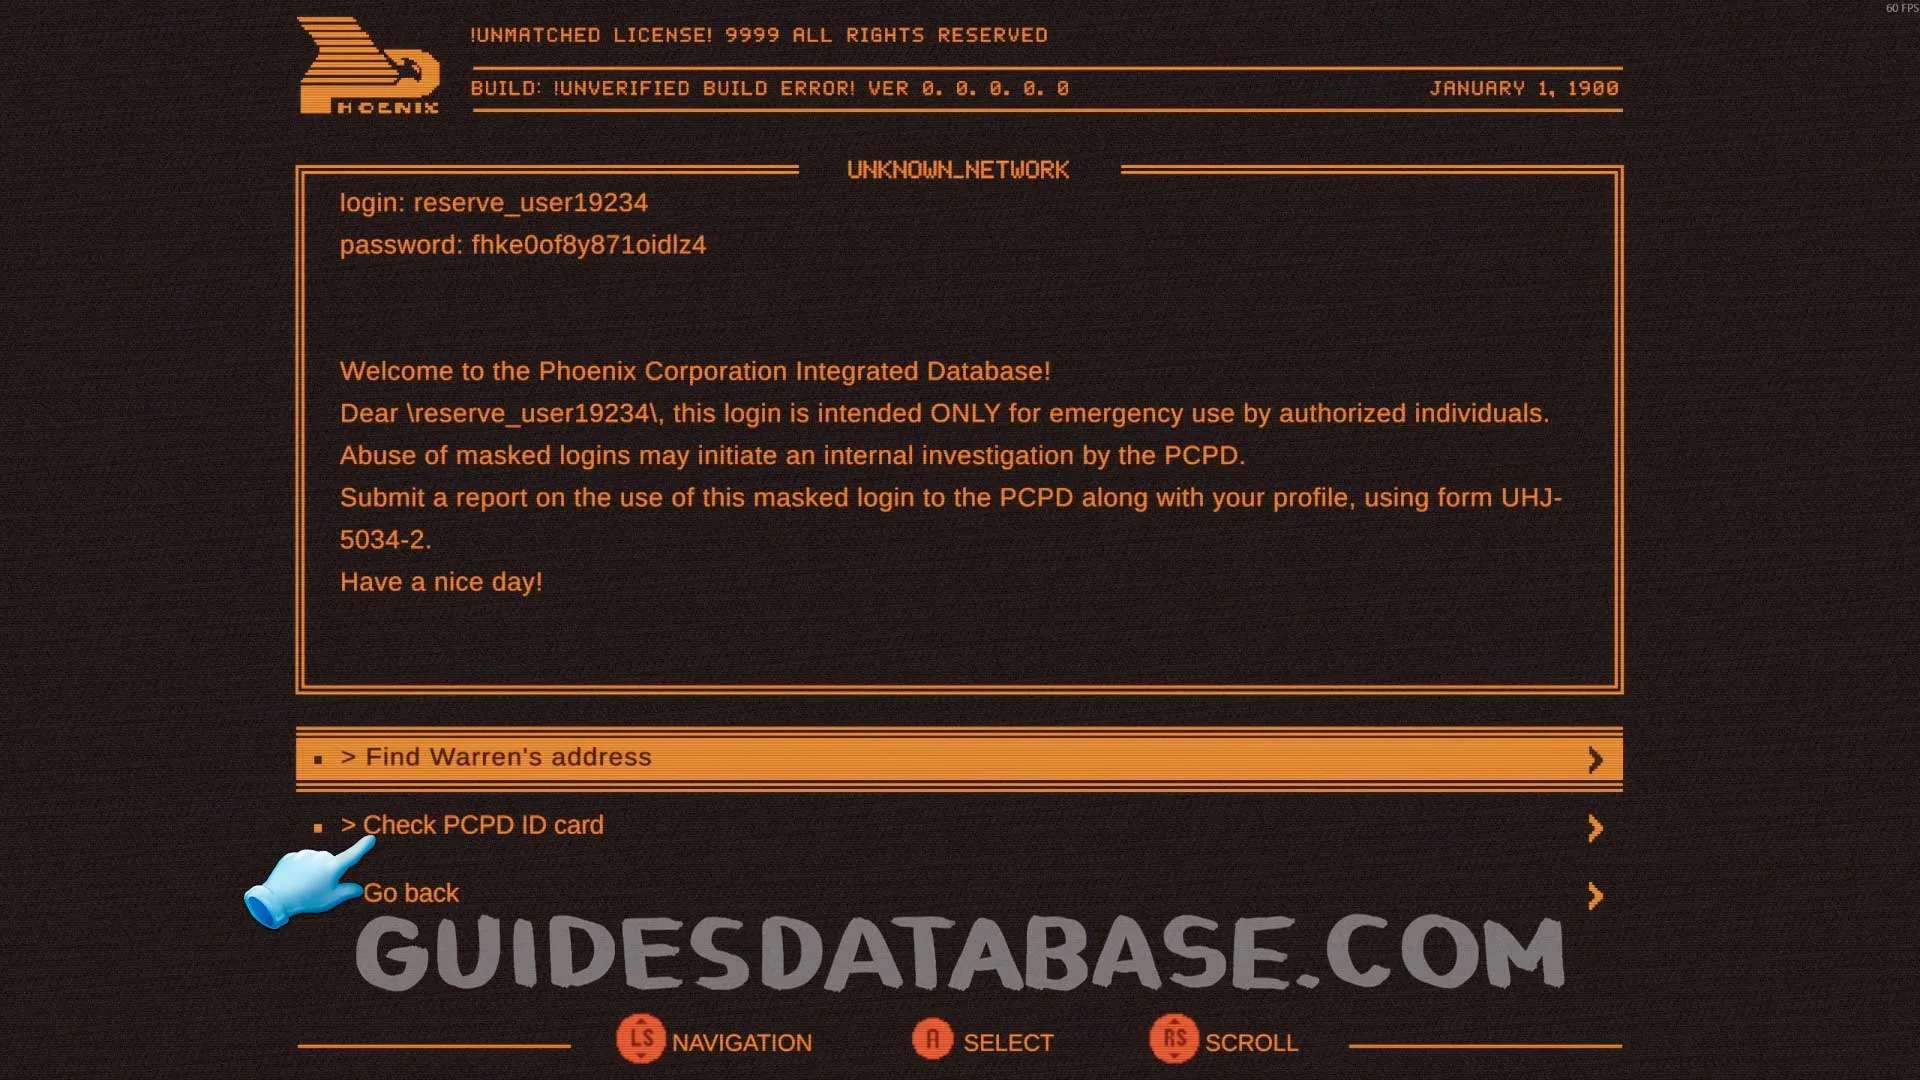 GUIDESDATABASE.COM
 GUIDESDATABASE.COM
After hacking the terminal, read the messages and then exit YO-YO's room. You will find Berty outside. Talk to him to progress the quest.
 GUIDESDATABASE.COM
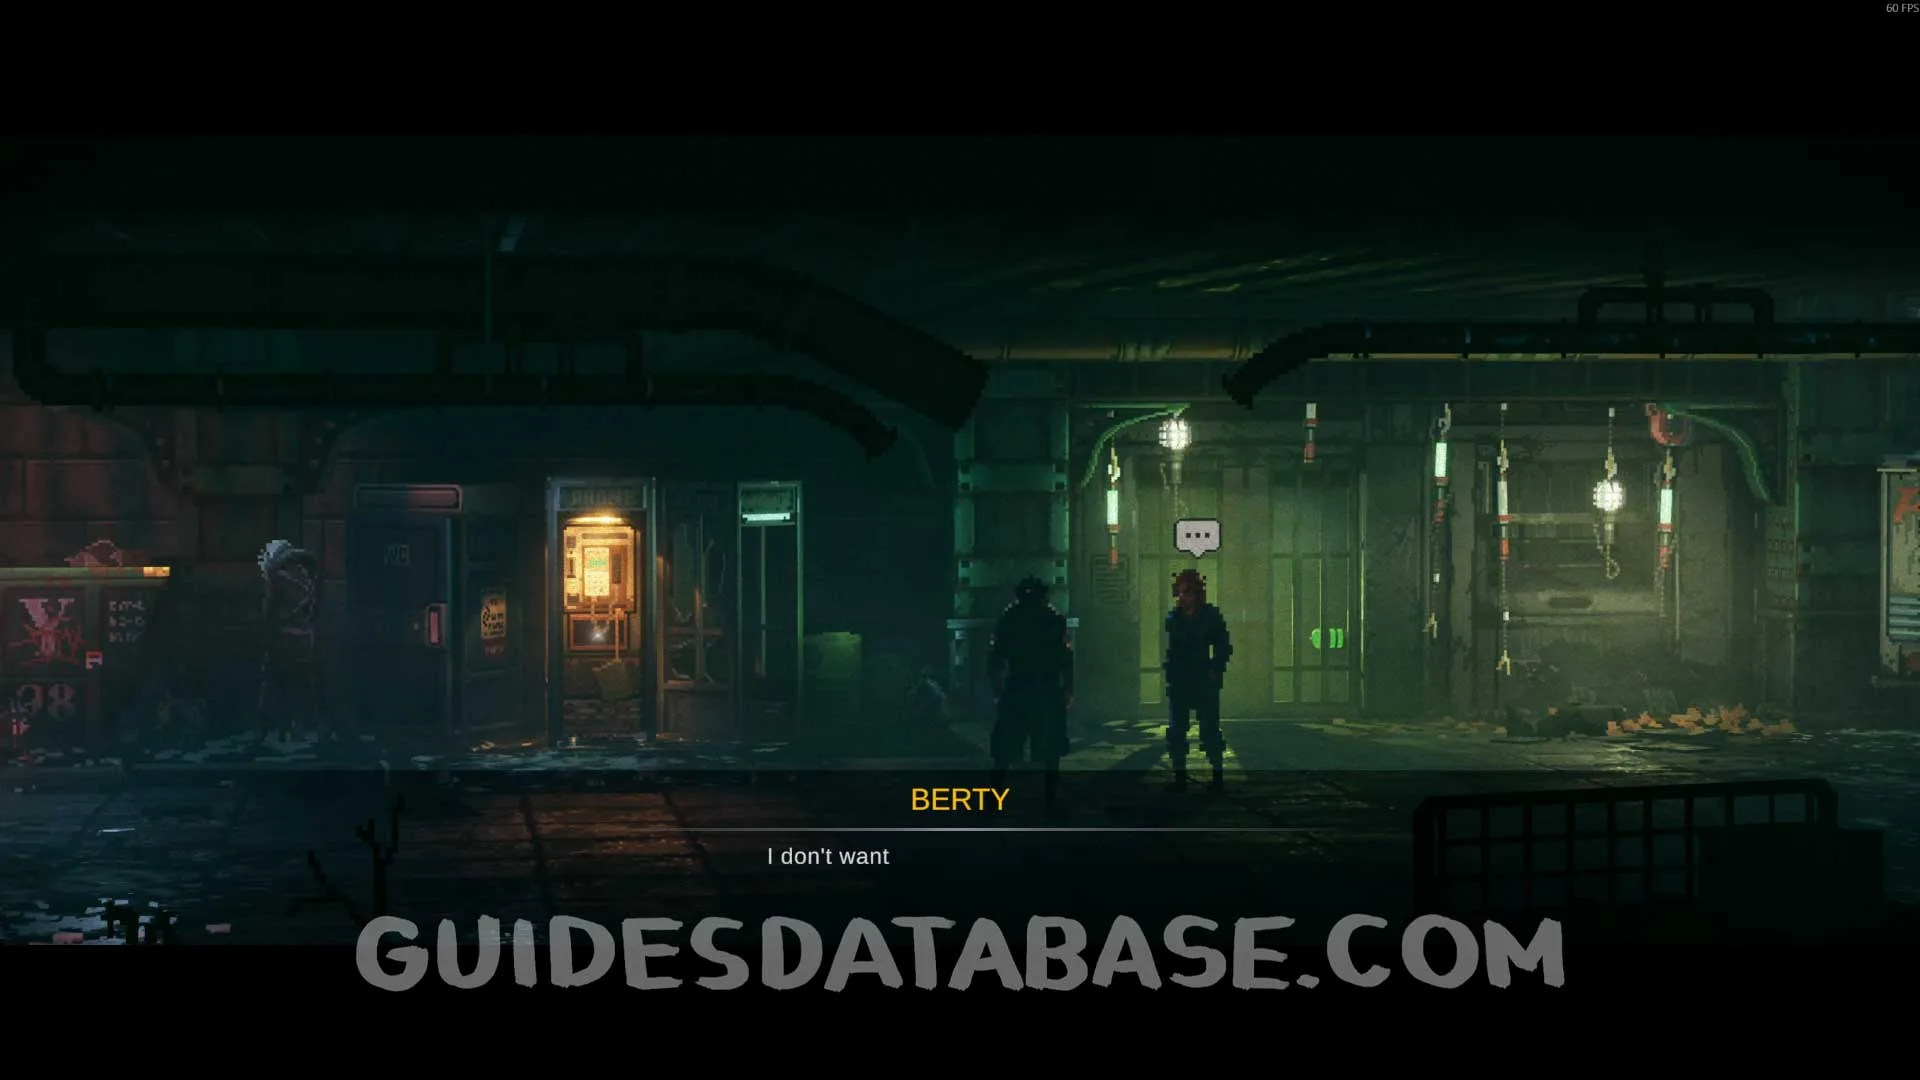 GUIDESDATABASE.COM
Return to the safe zone and talk to Sandra and Berty again to complete the quest and earn the Look-Alike achievement.
 GUIDESDATABASE.COM
Chapter 8
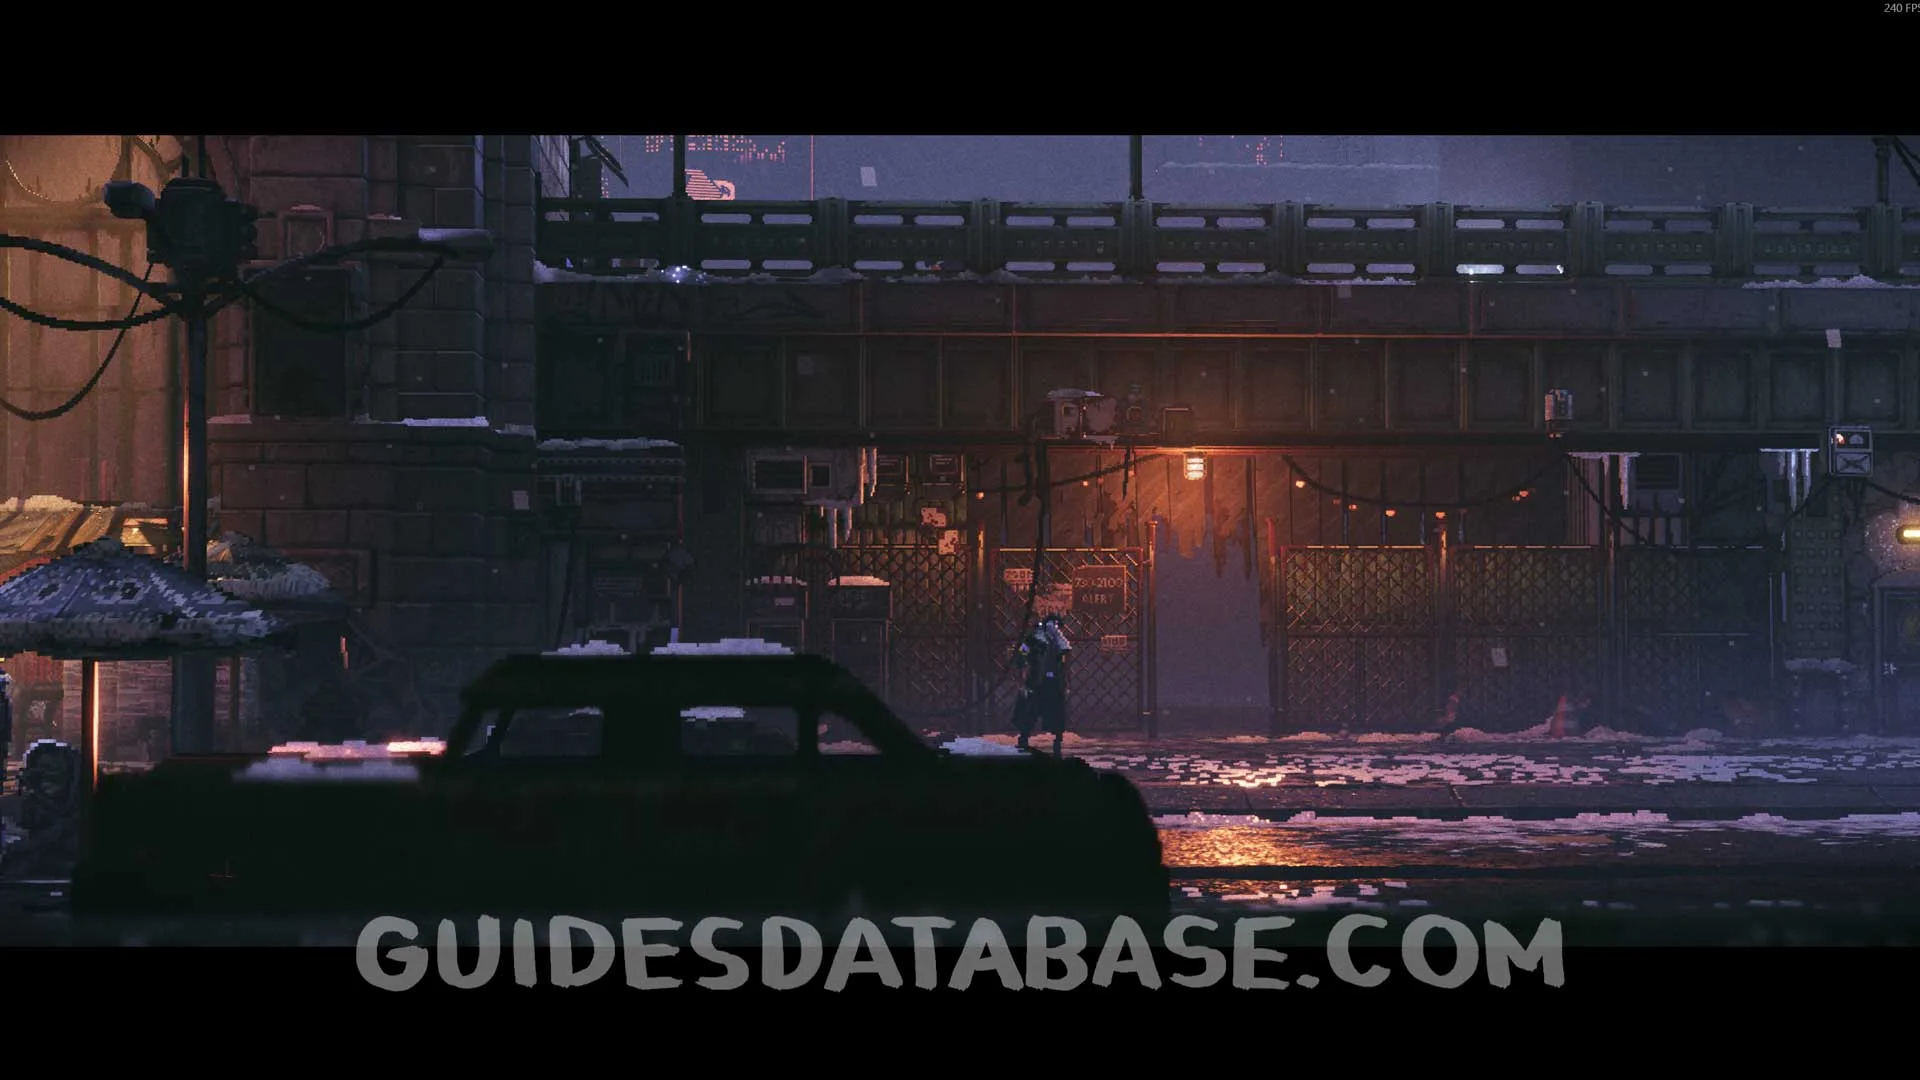
Scan #90 ''Project Havoc'' Flyer
At the start of the chapter, after sliding down the yellow pipe, it will be right in front of you.
 GUIDESDATABASE.COM
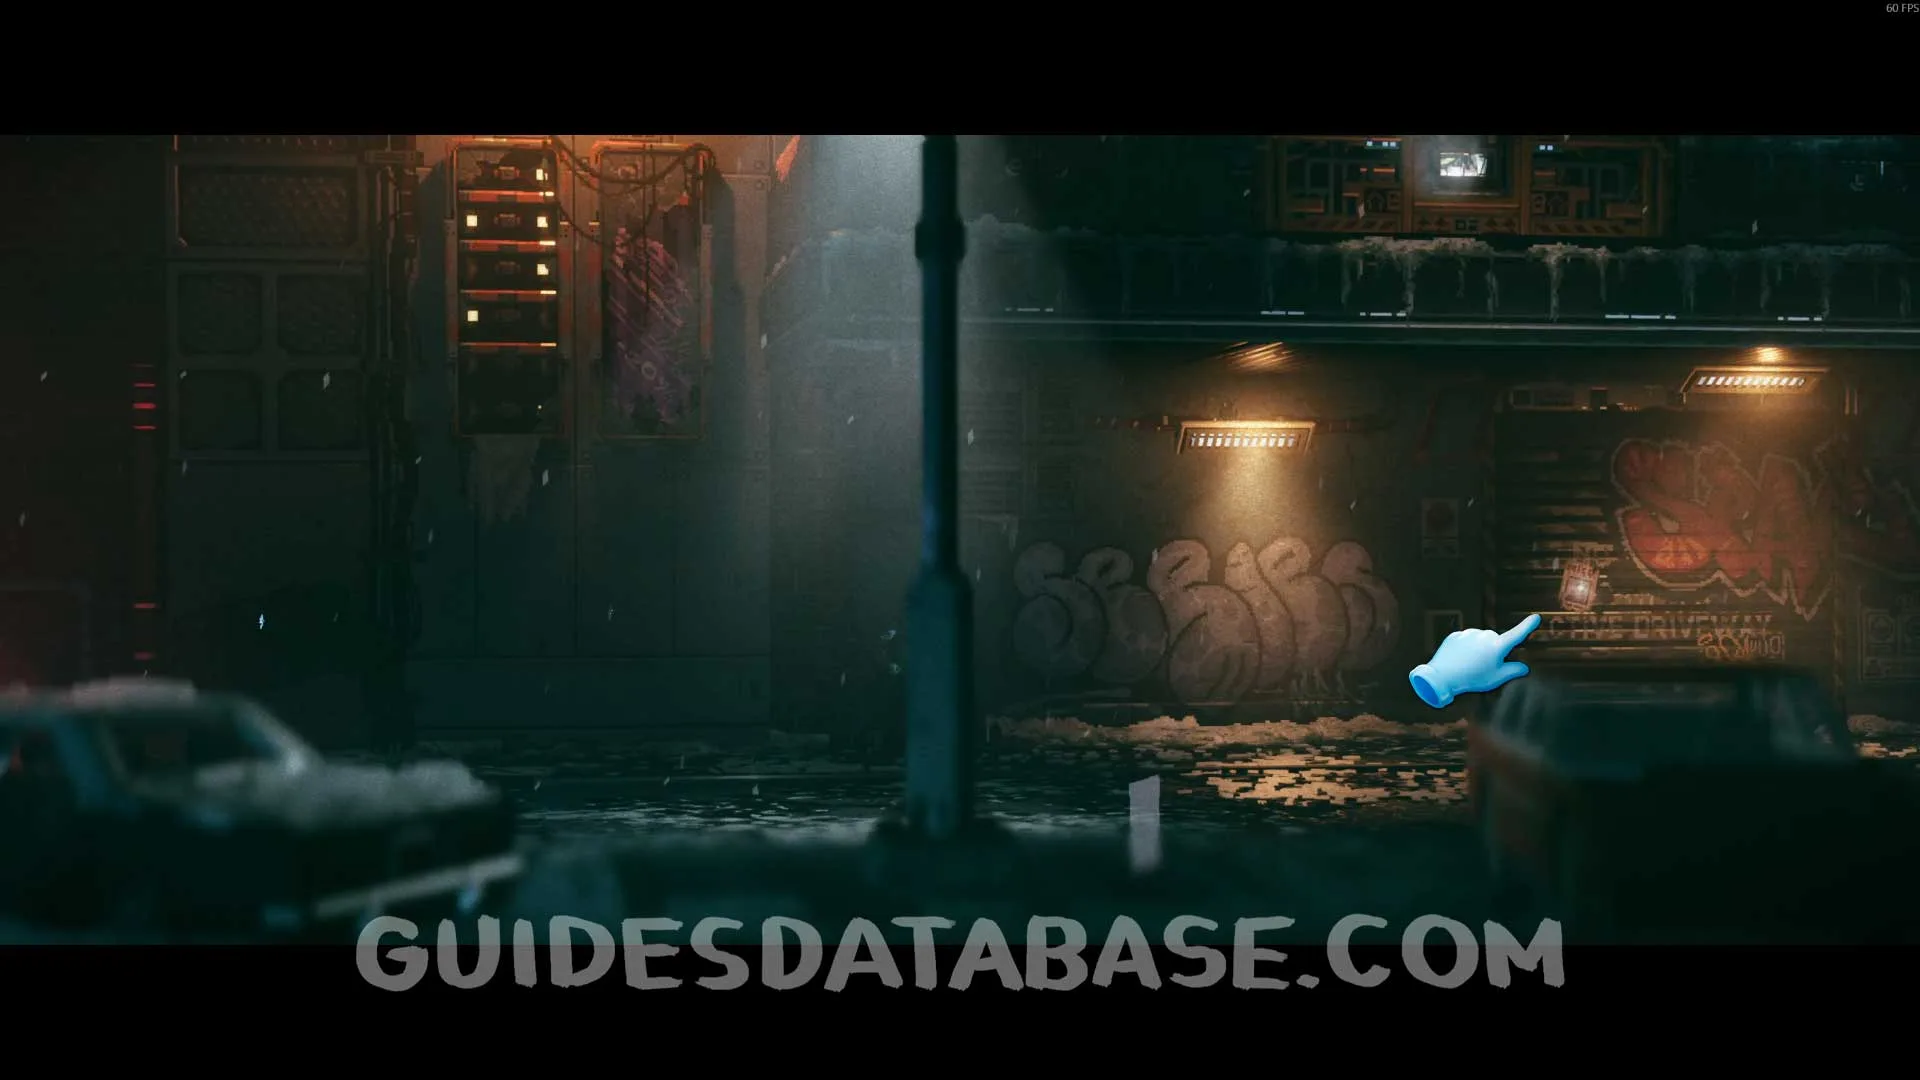 GUIDESDATABASE.COM
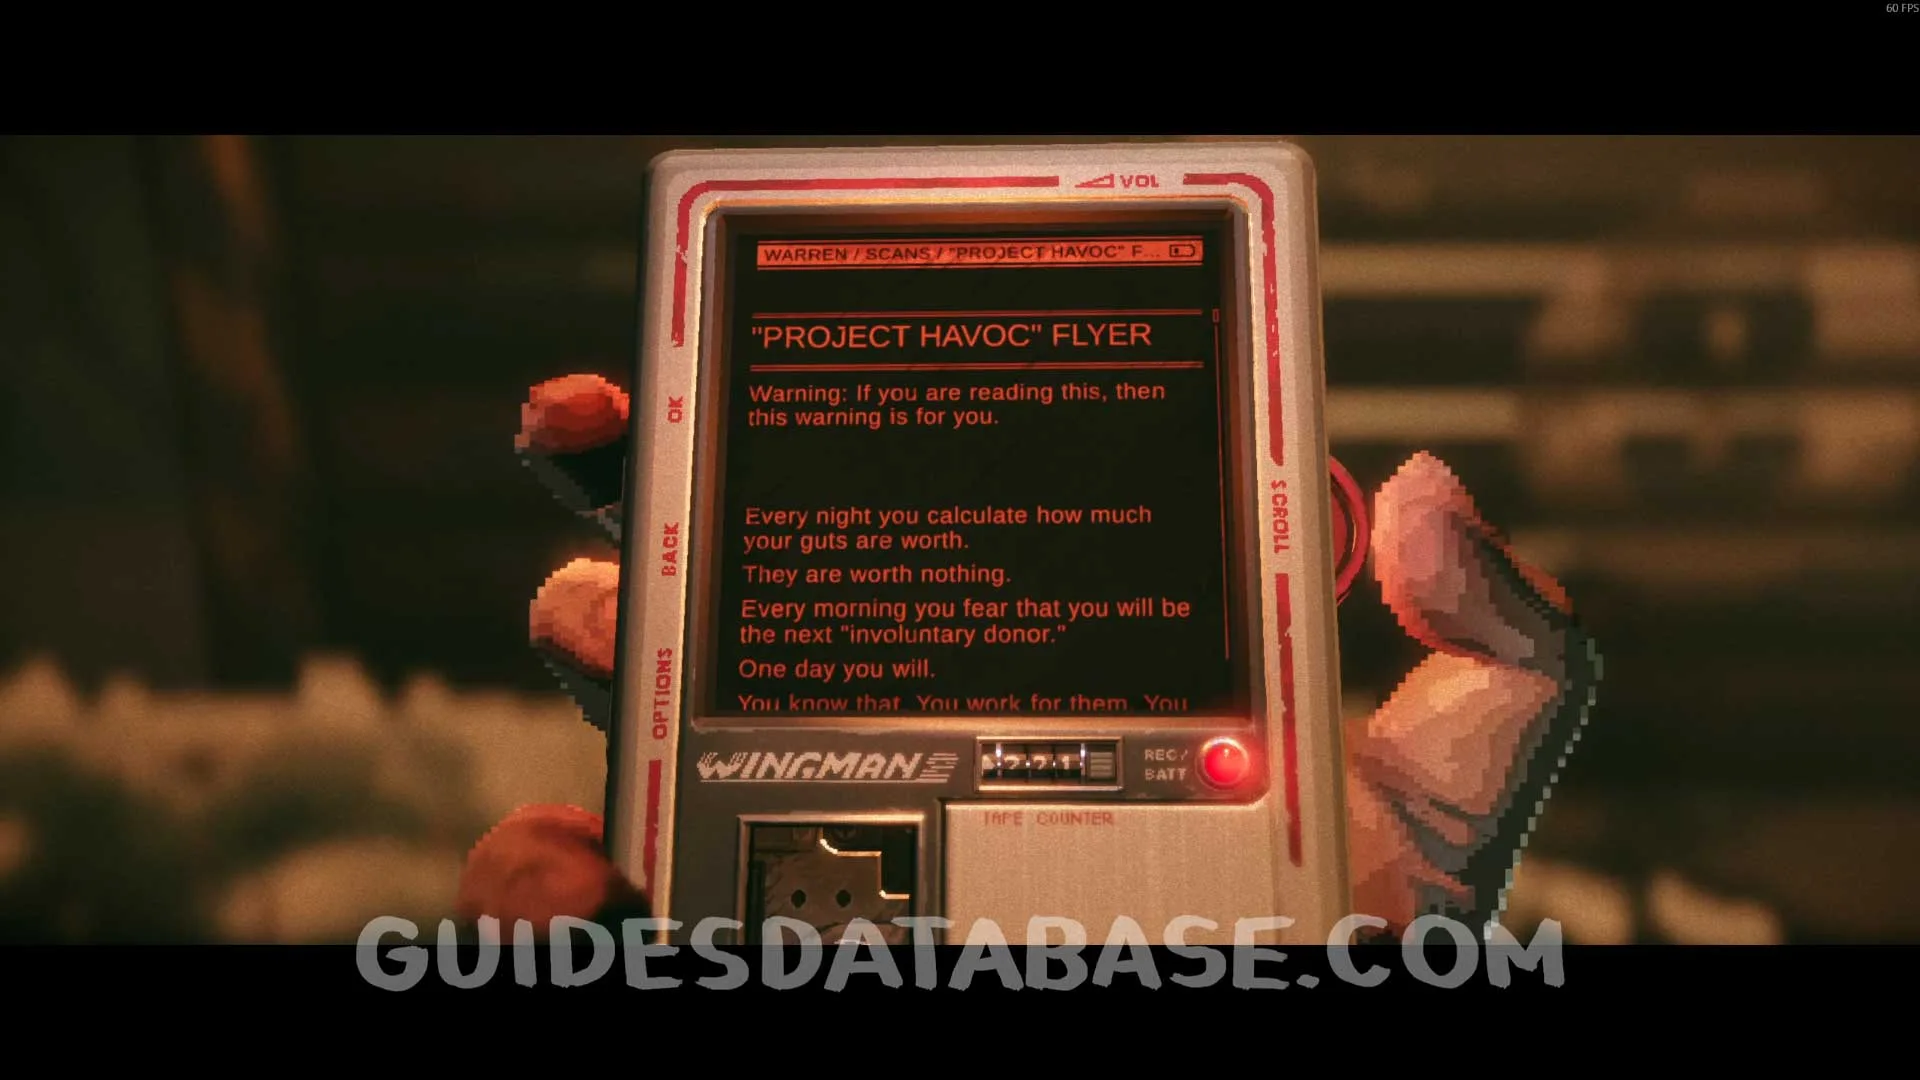 GUIDESDATABASE.COM
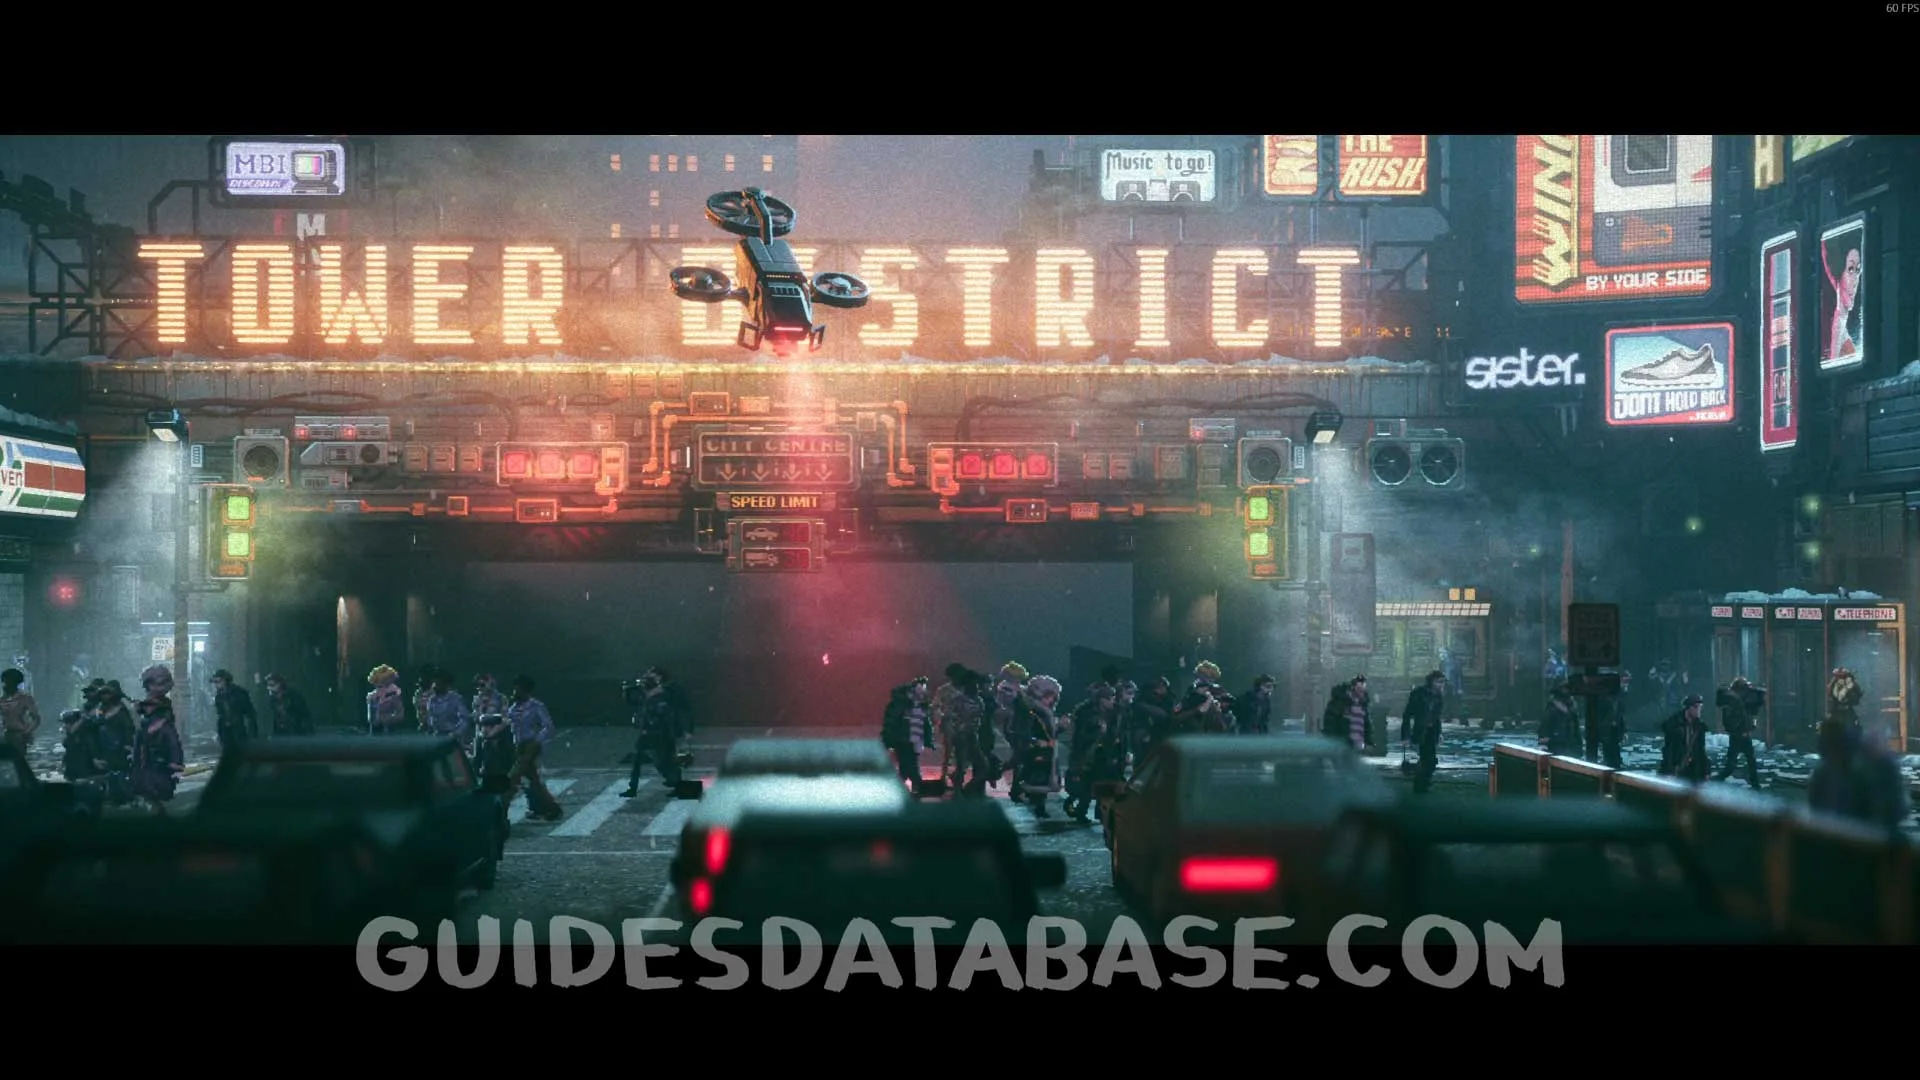
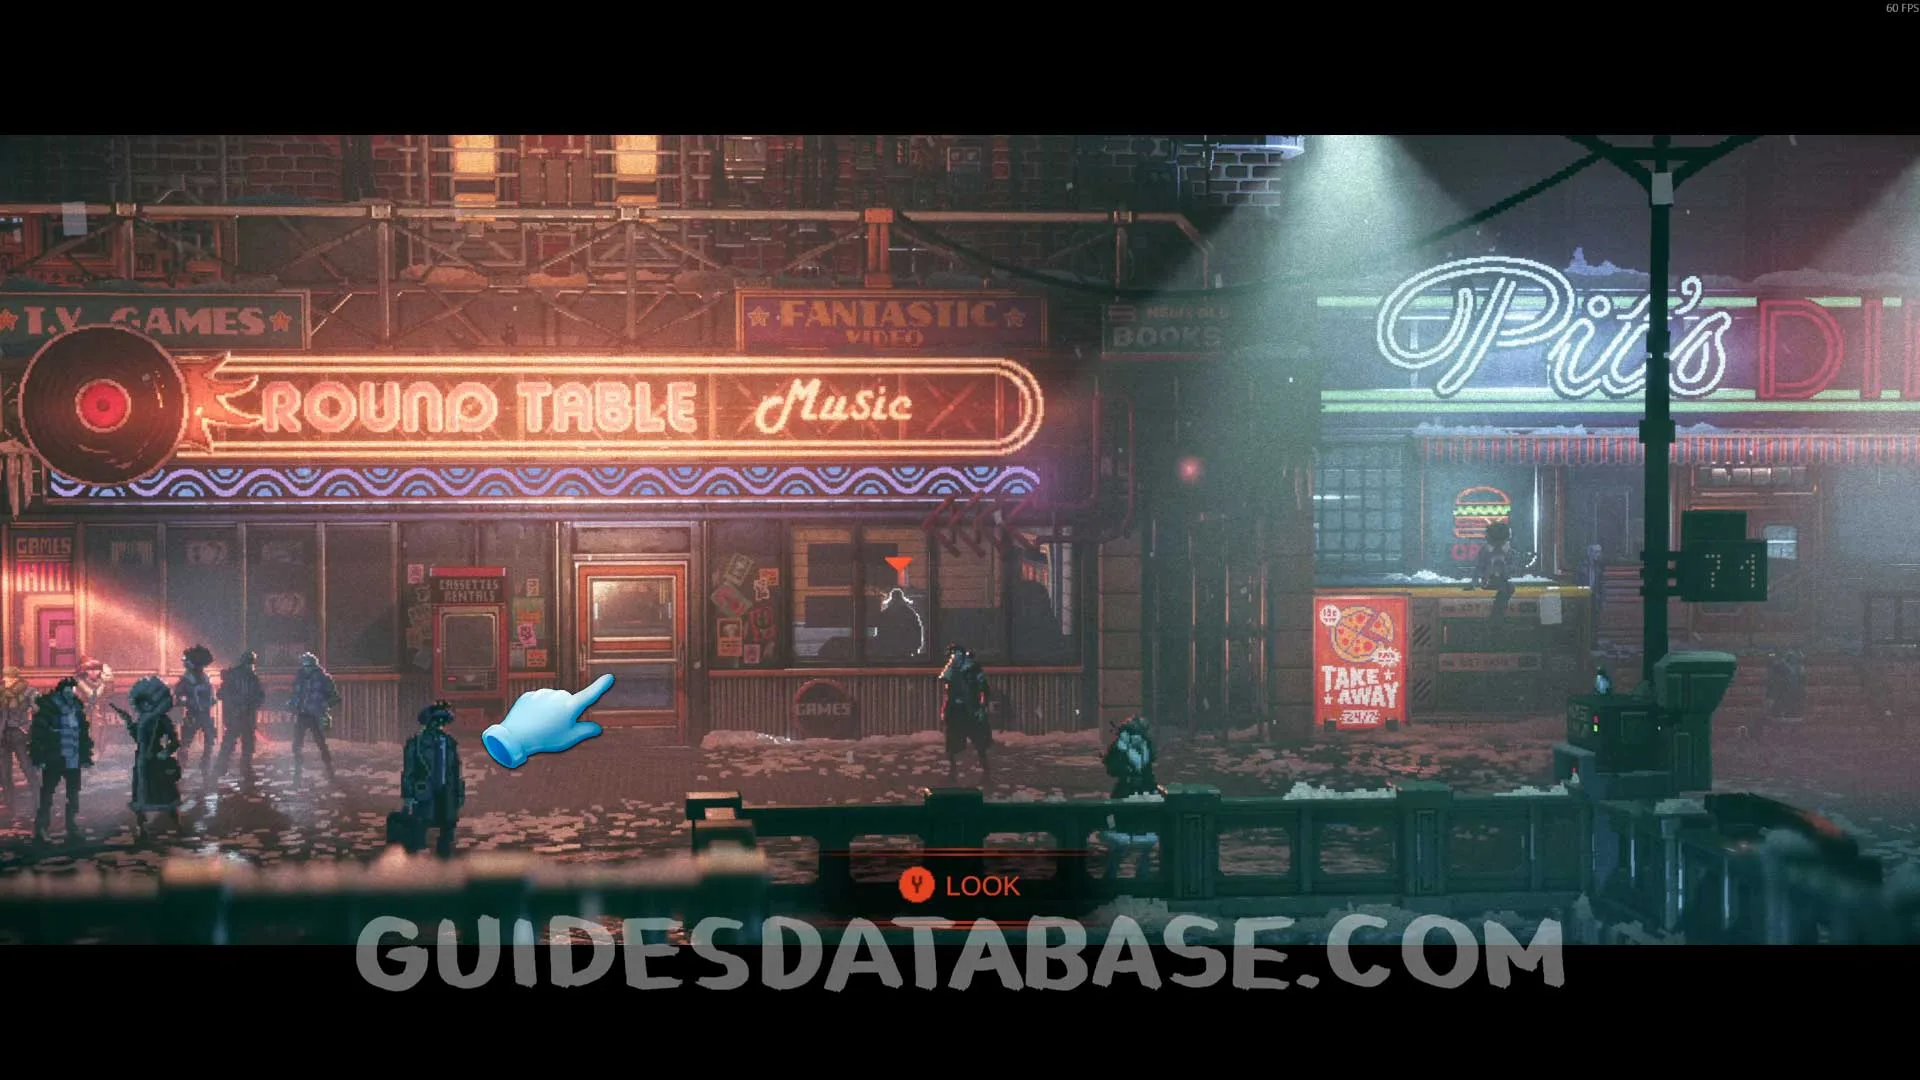
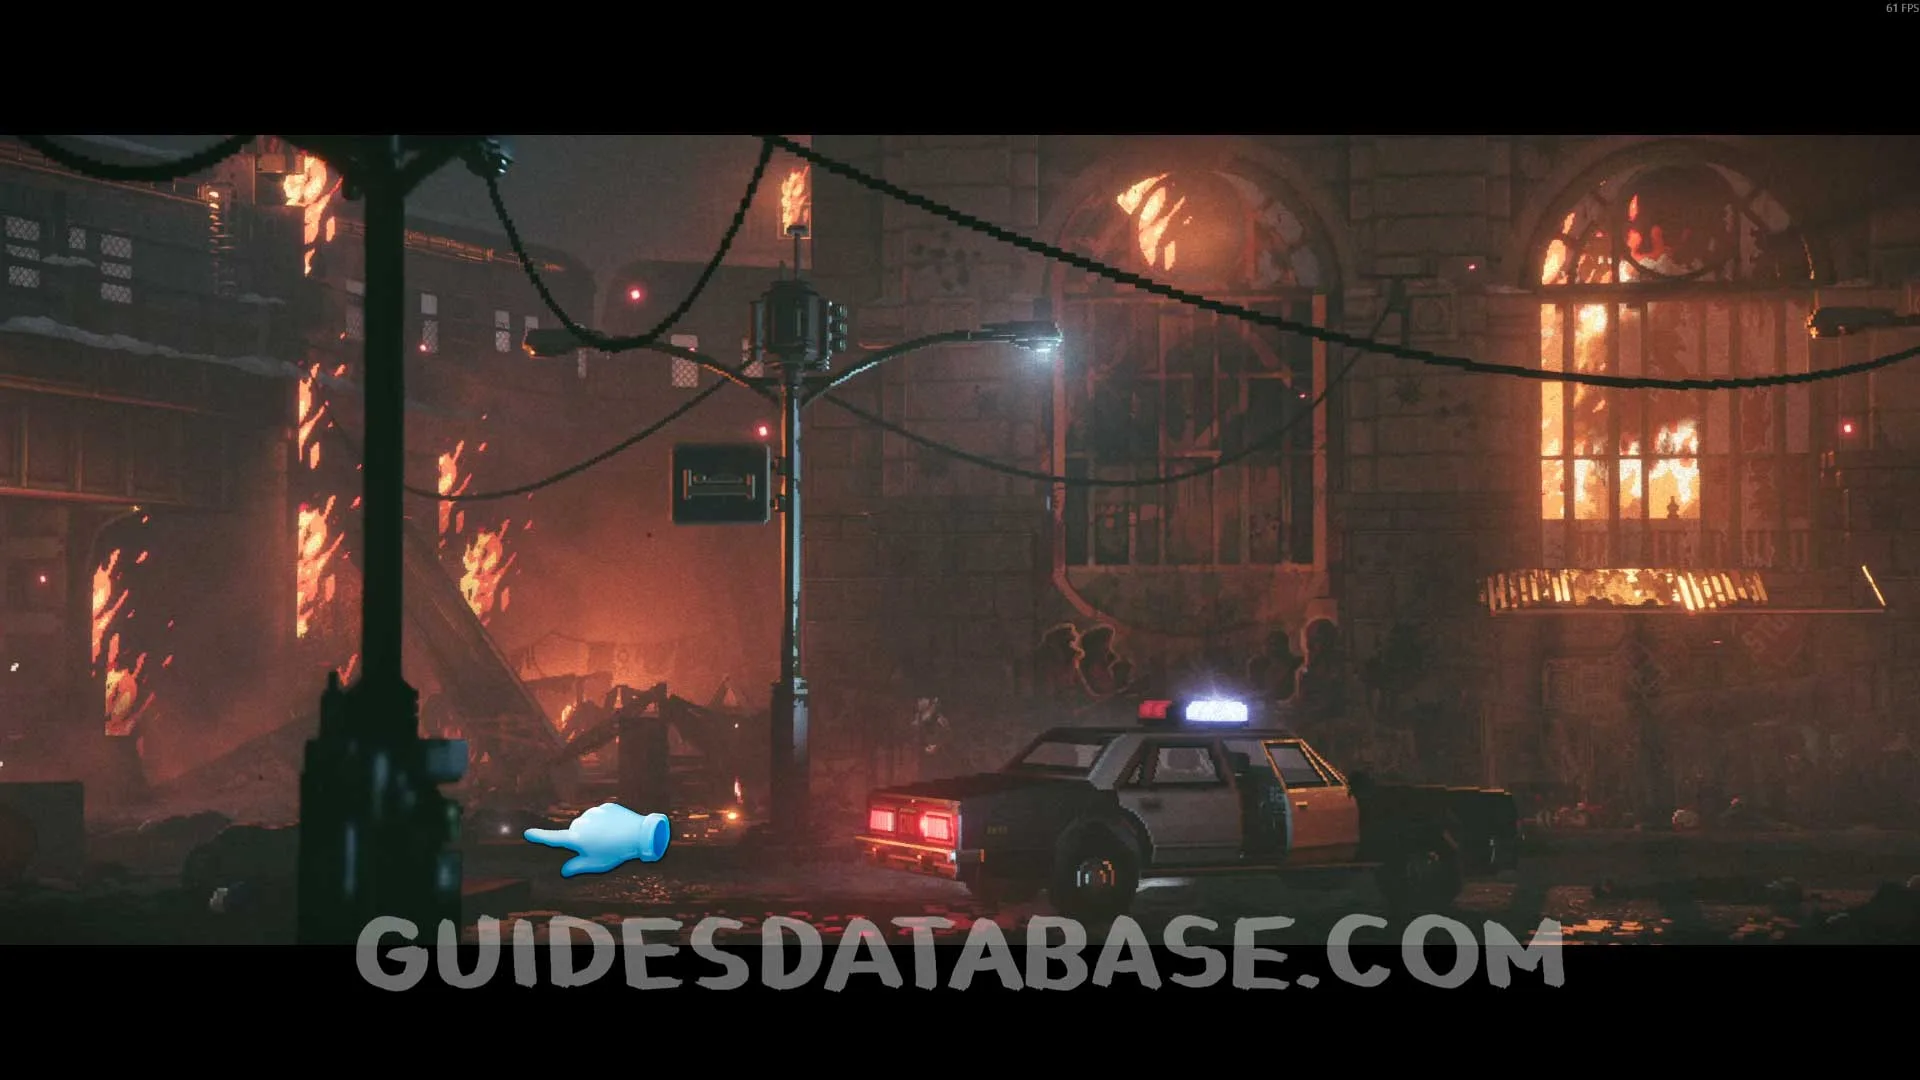
Scan #91 ''Feather Squad'' Movie Poster
After crossing the street to the other side, head to the end of the area to find this Scan.
 GUIDESDATABASE.COM
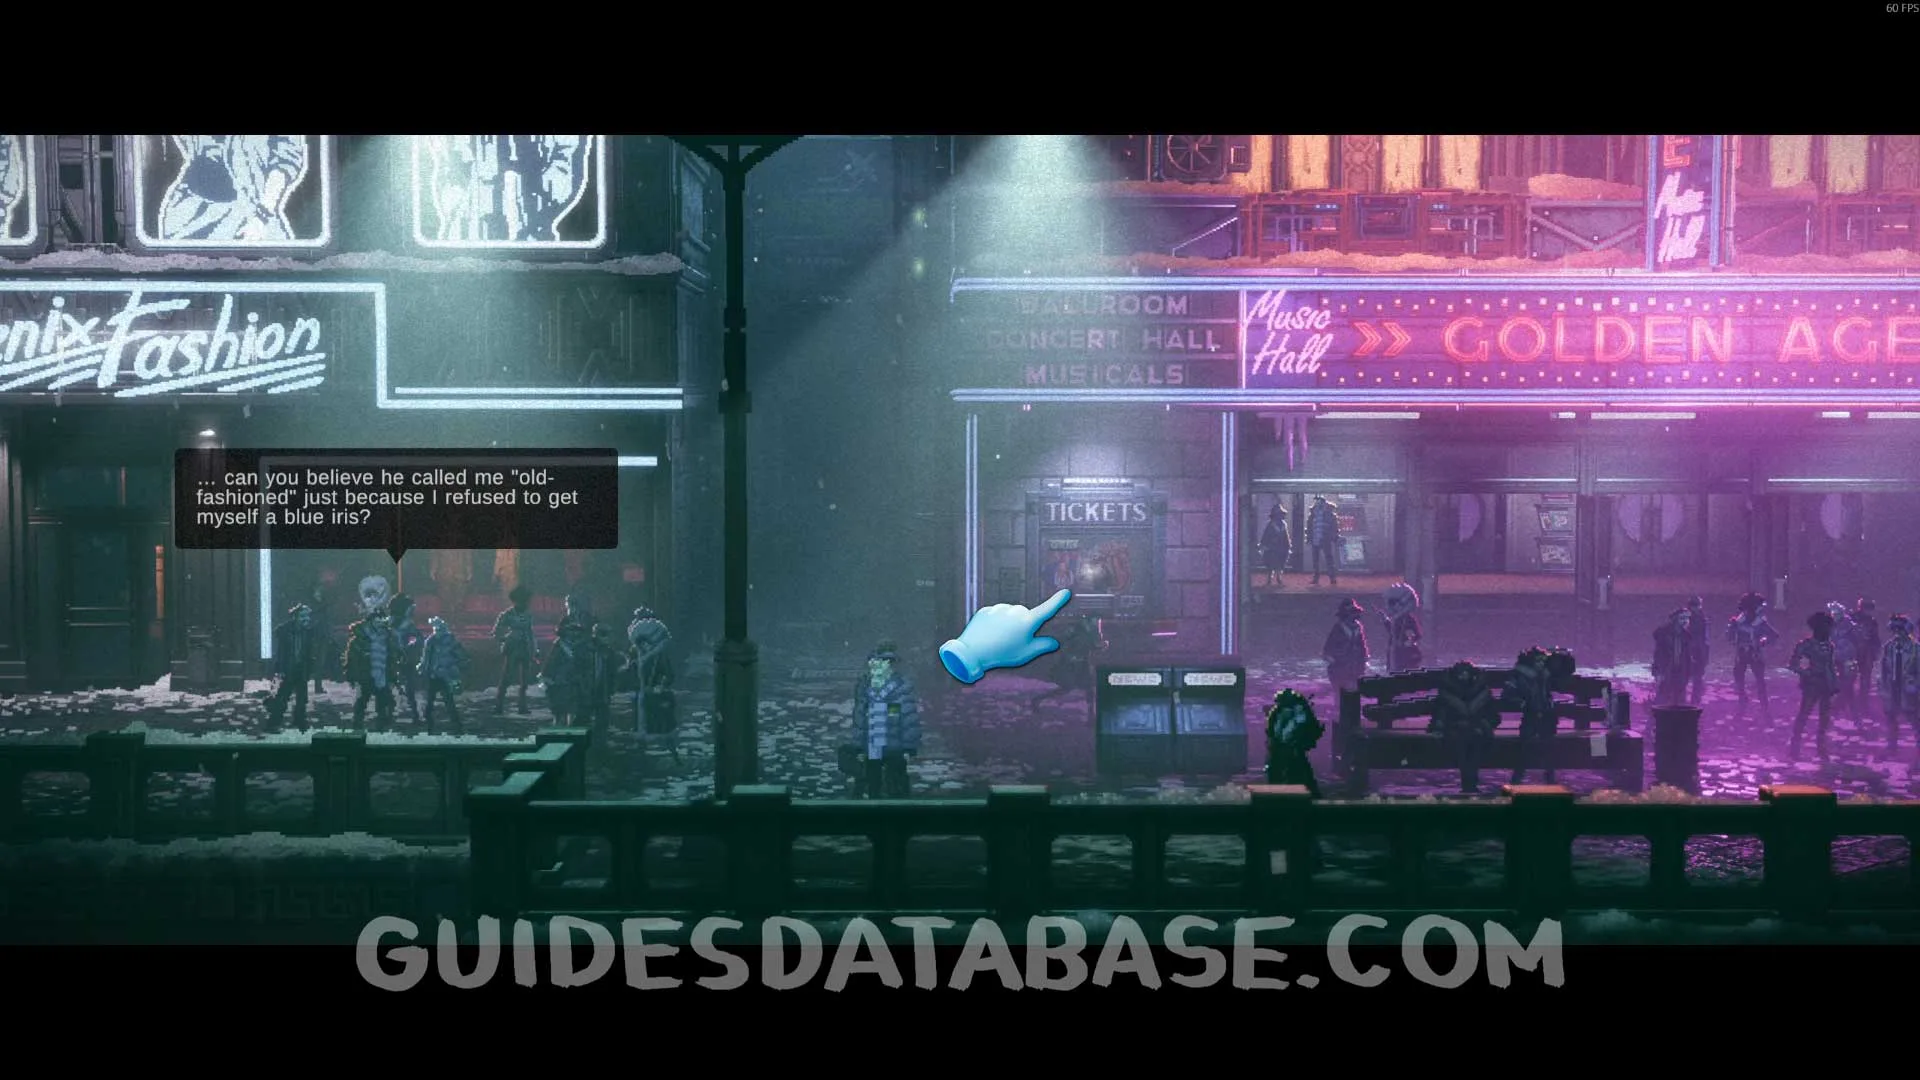 GUIDESDATABASE.COM
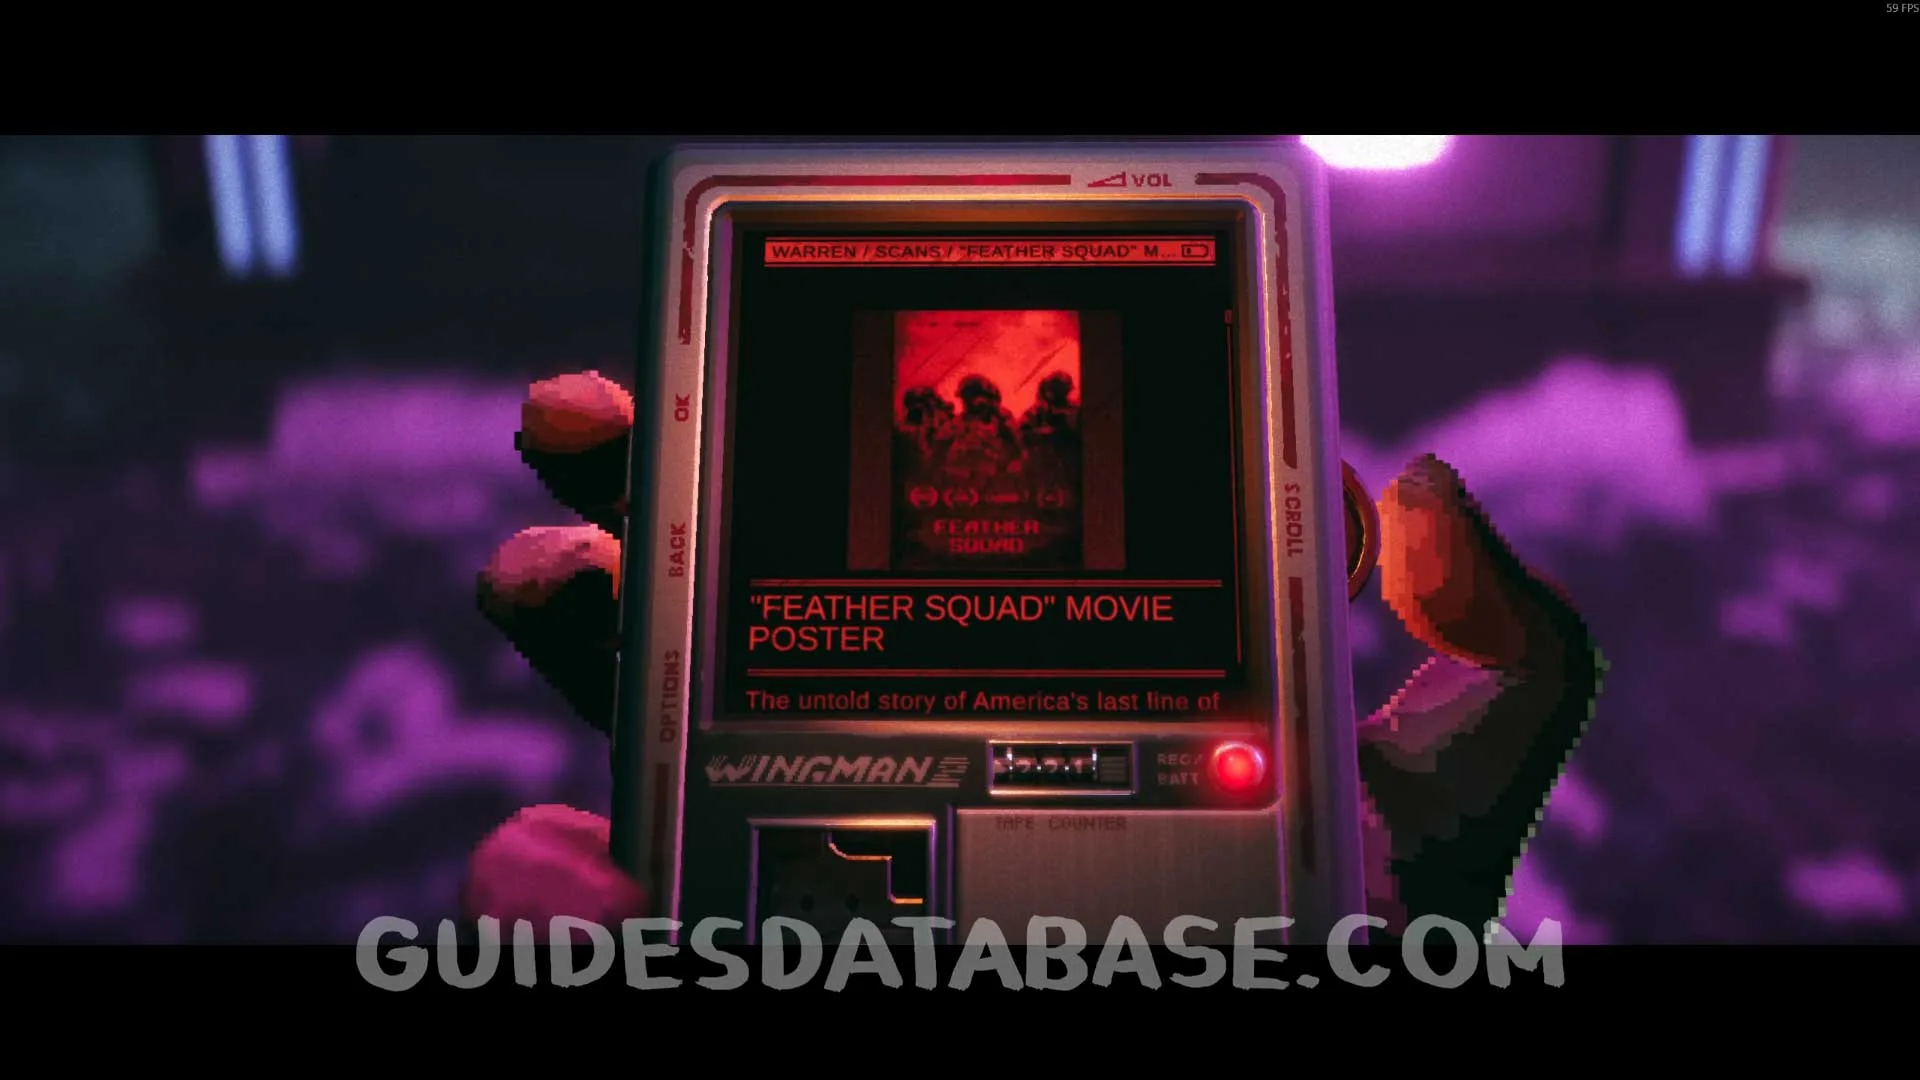 GUIDESDATABASE.COM
Music #12 Alone in a Crowd
Upon entering the music store, go to the classics section and interact with the shelf to obtain this music.
 GUIDESDATABASE.COM
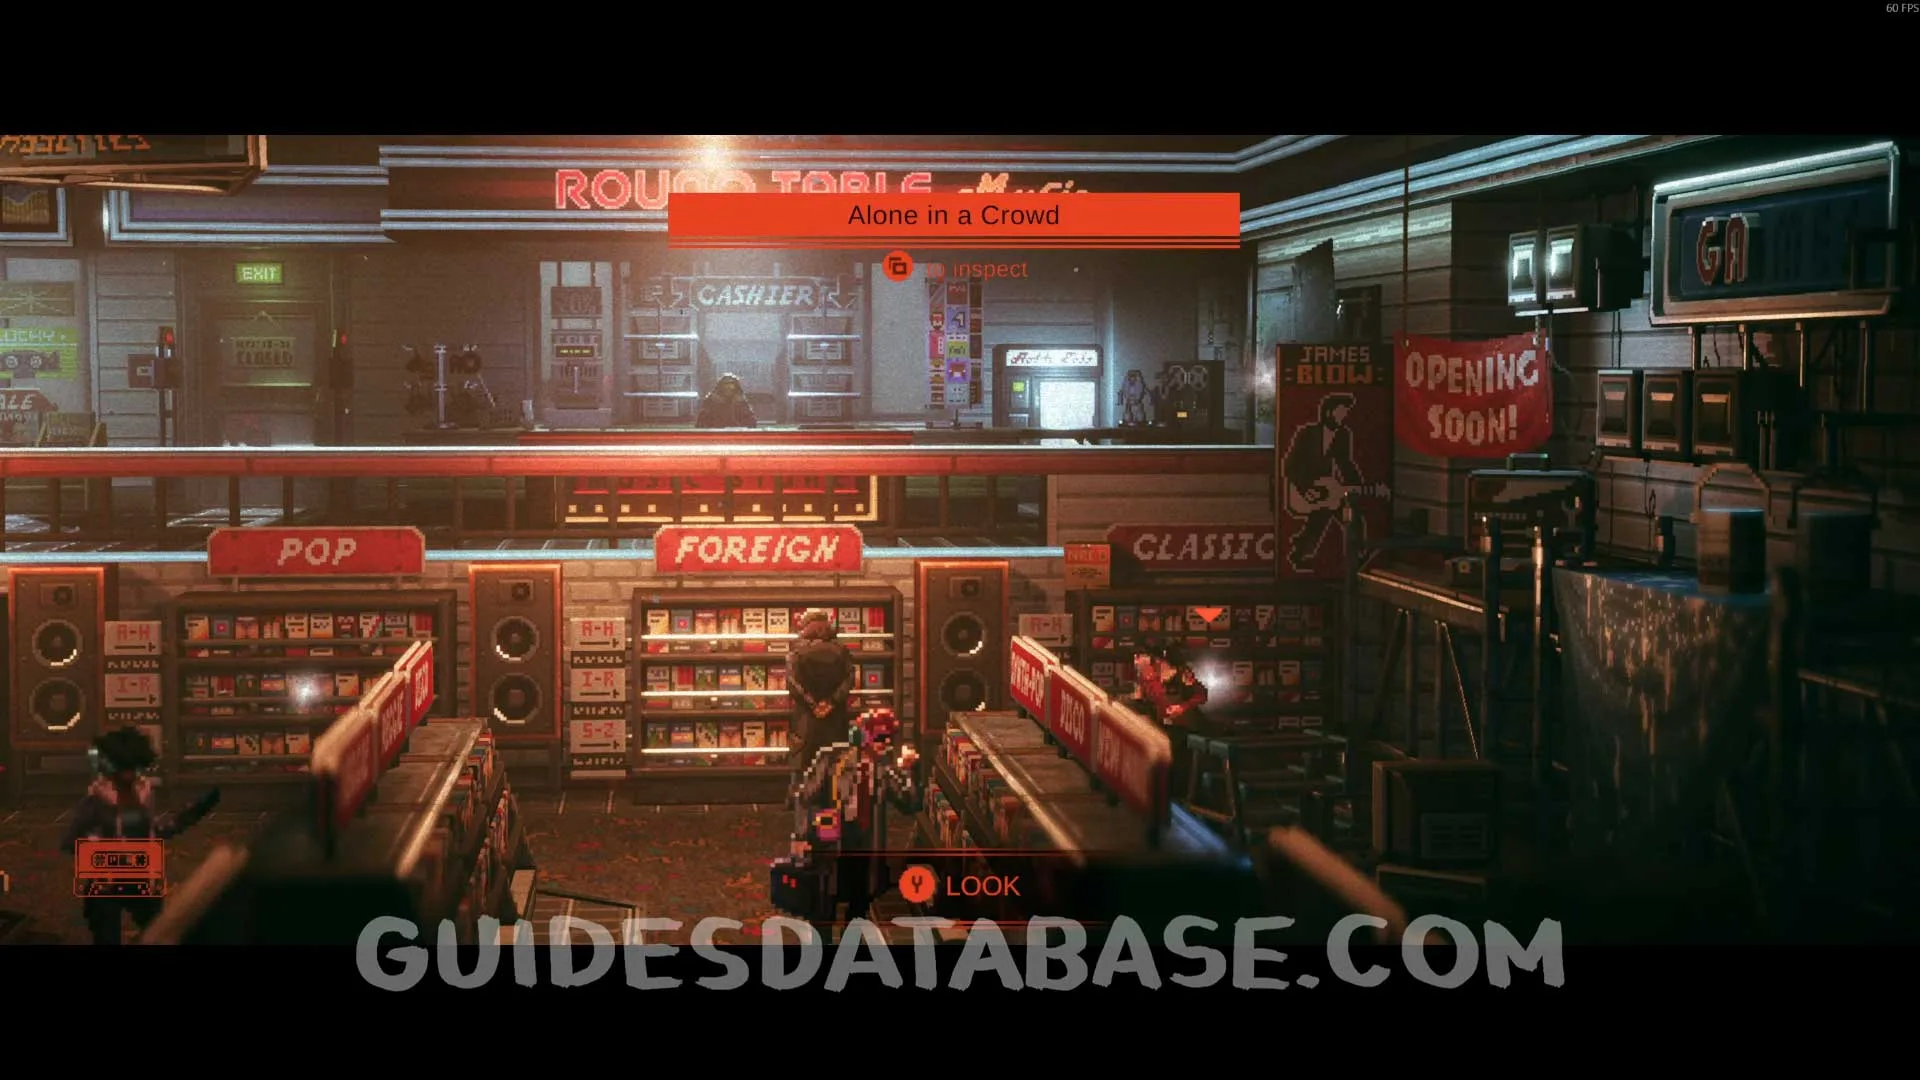 GUIDESDATABASE.COM
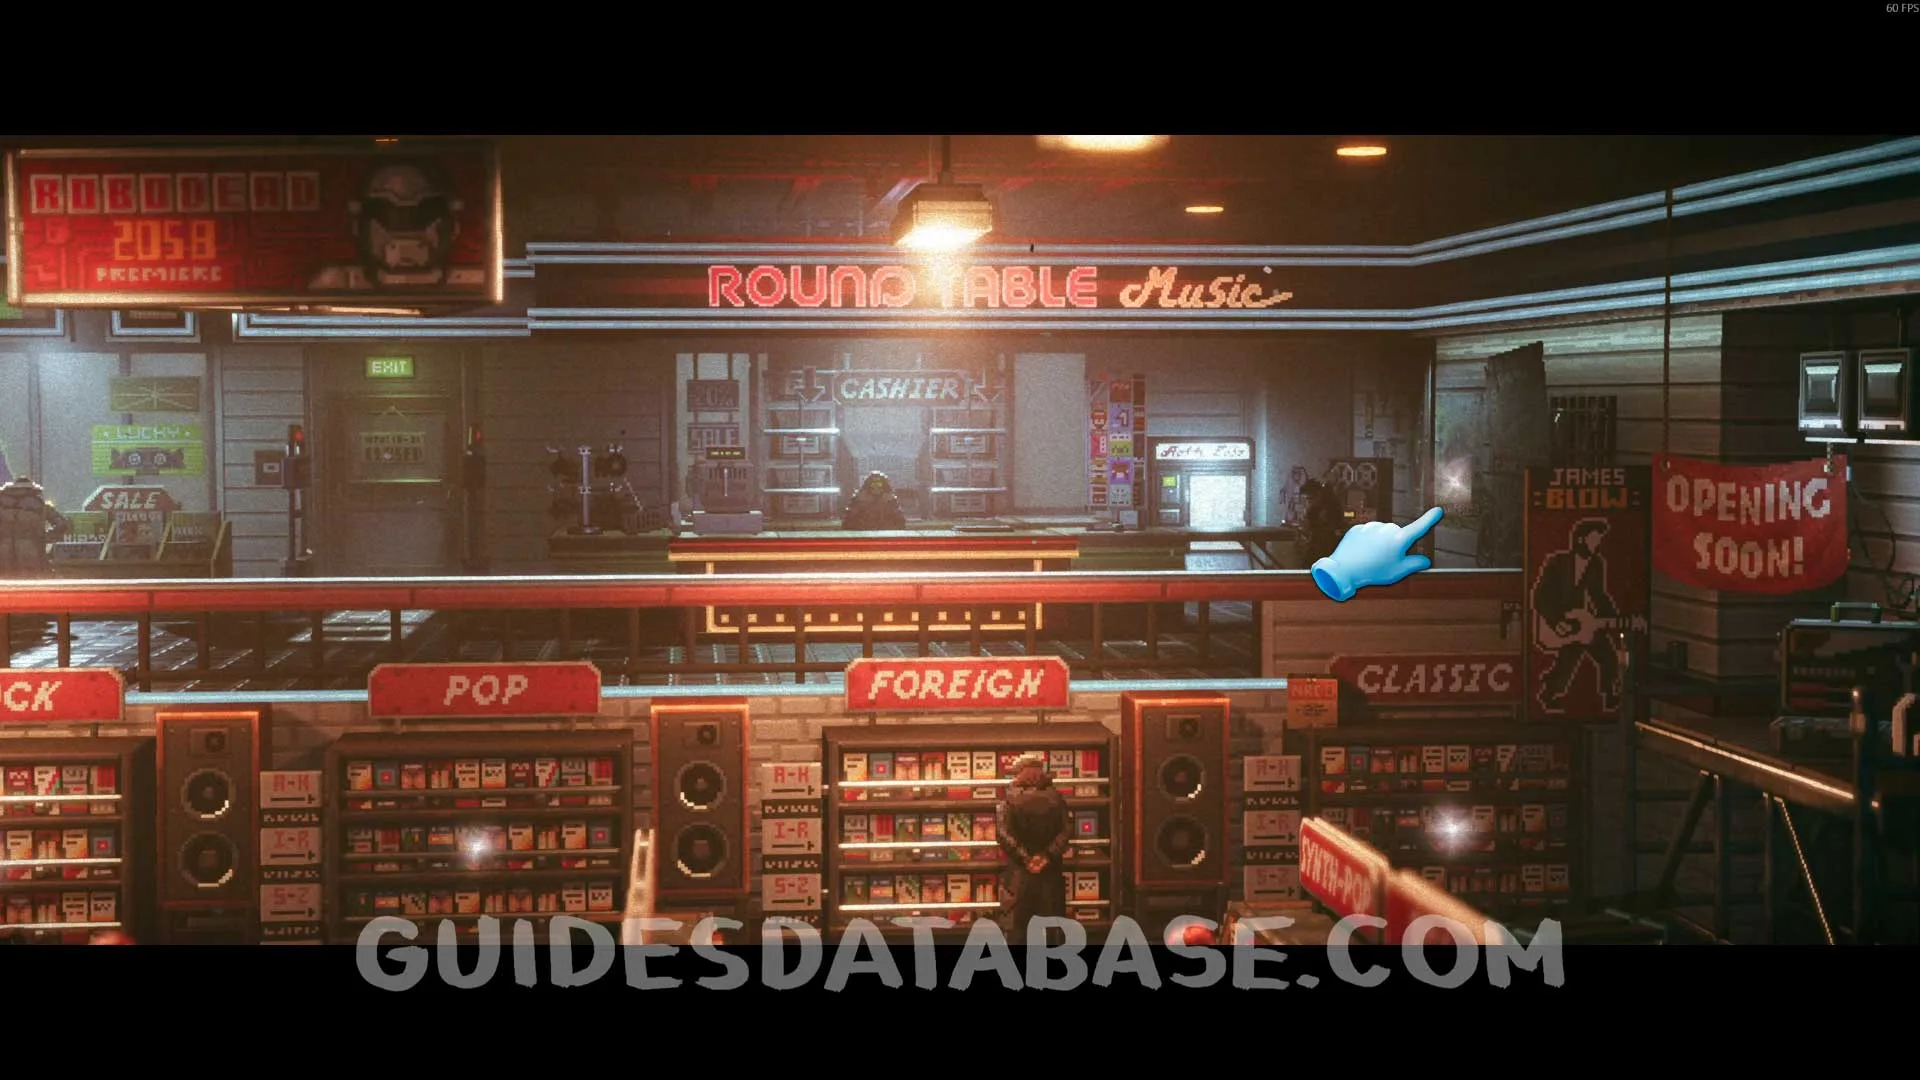
Scan #92 Veronica's Concert Poster
Same area as the previous collectible, interact with the poster on the wall to obtain this Scan.
 GUIDESDATABASE.COM
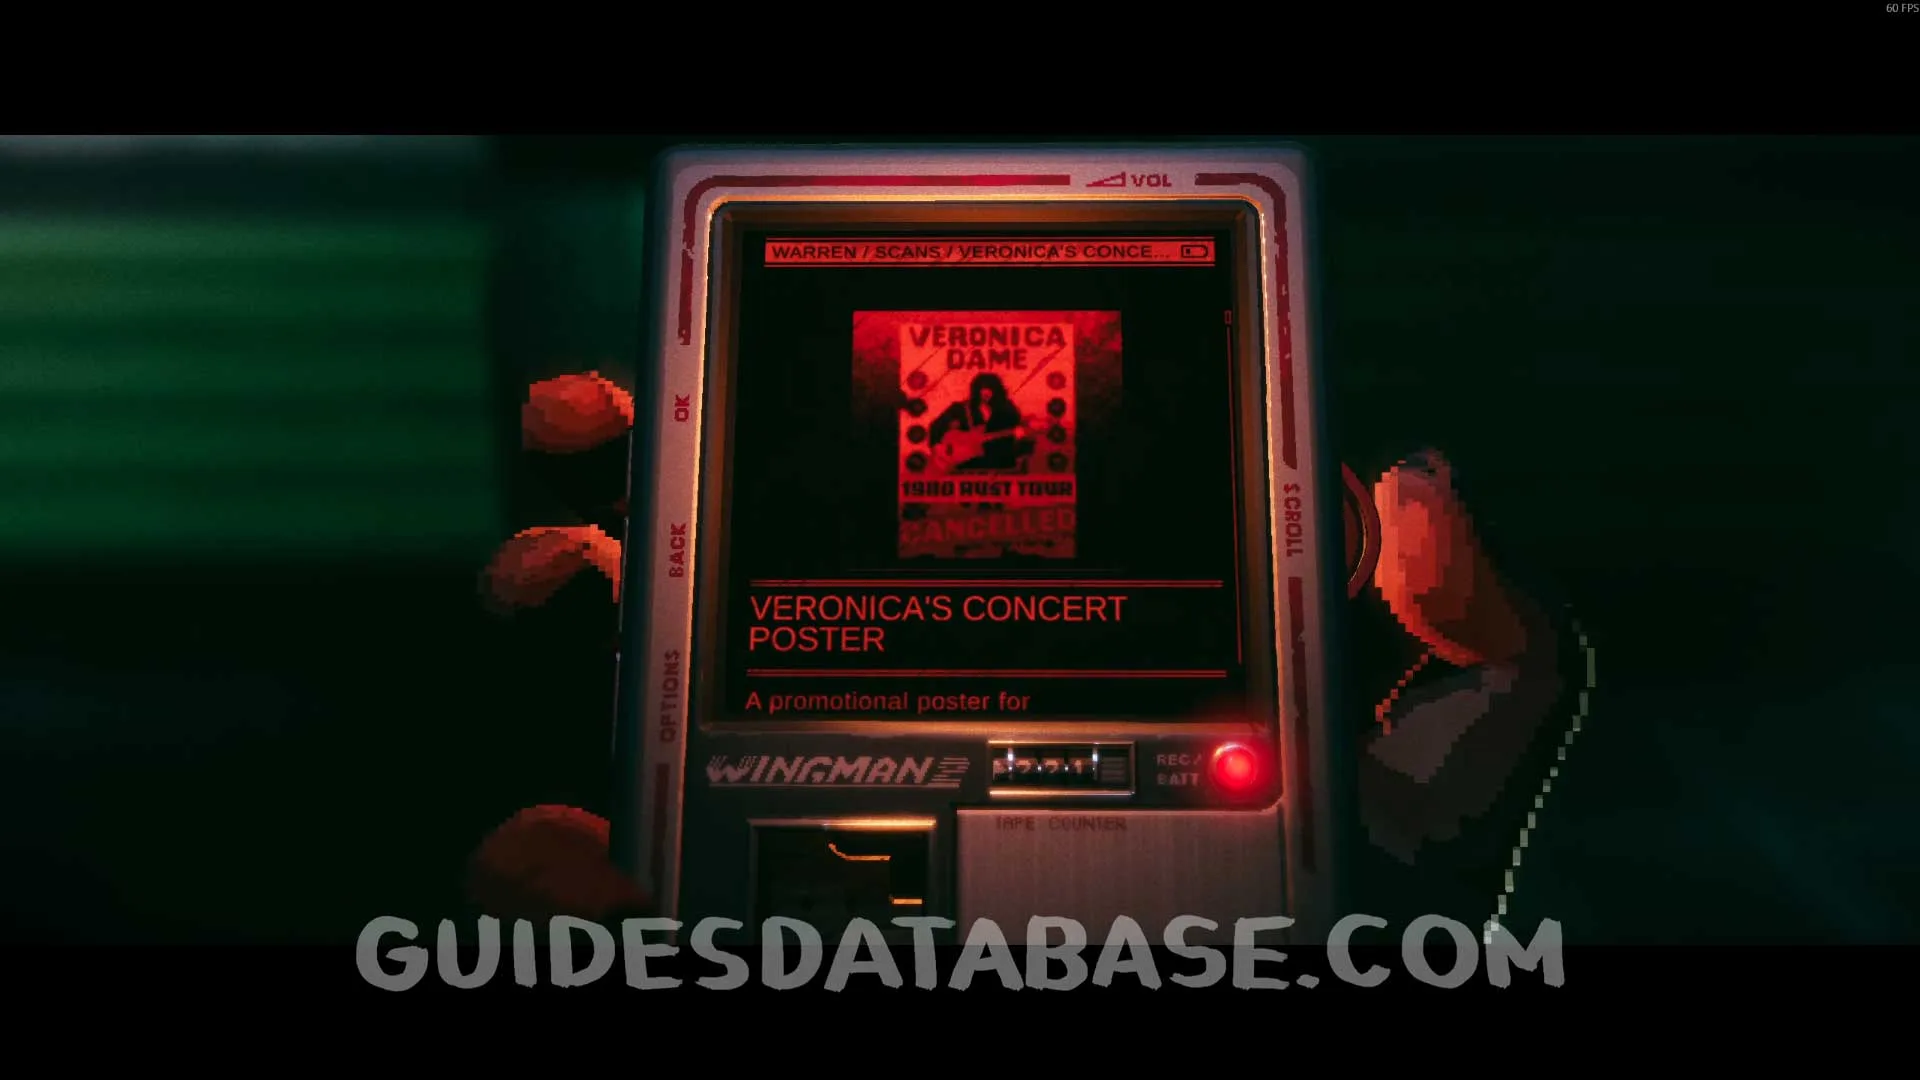 GUIDESDATABASE.COM
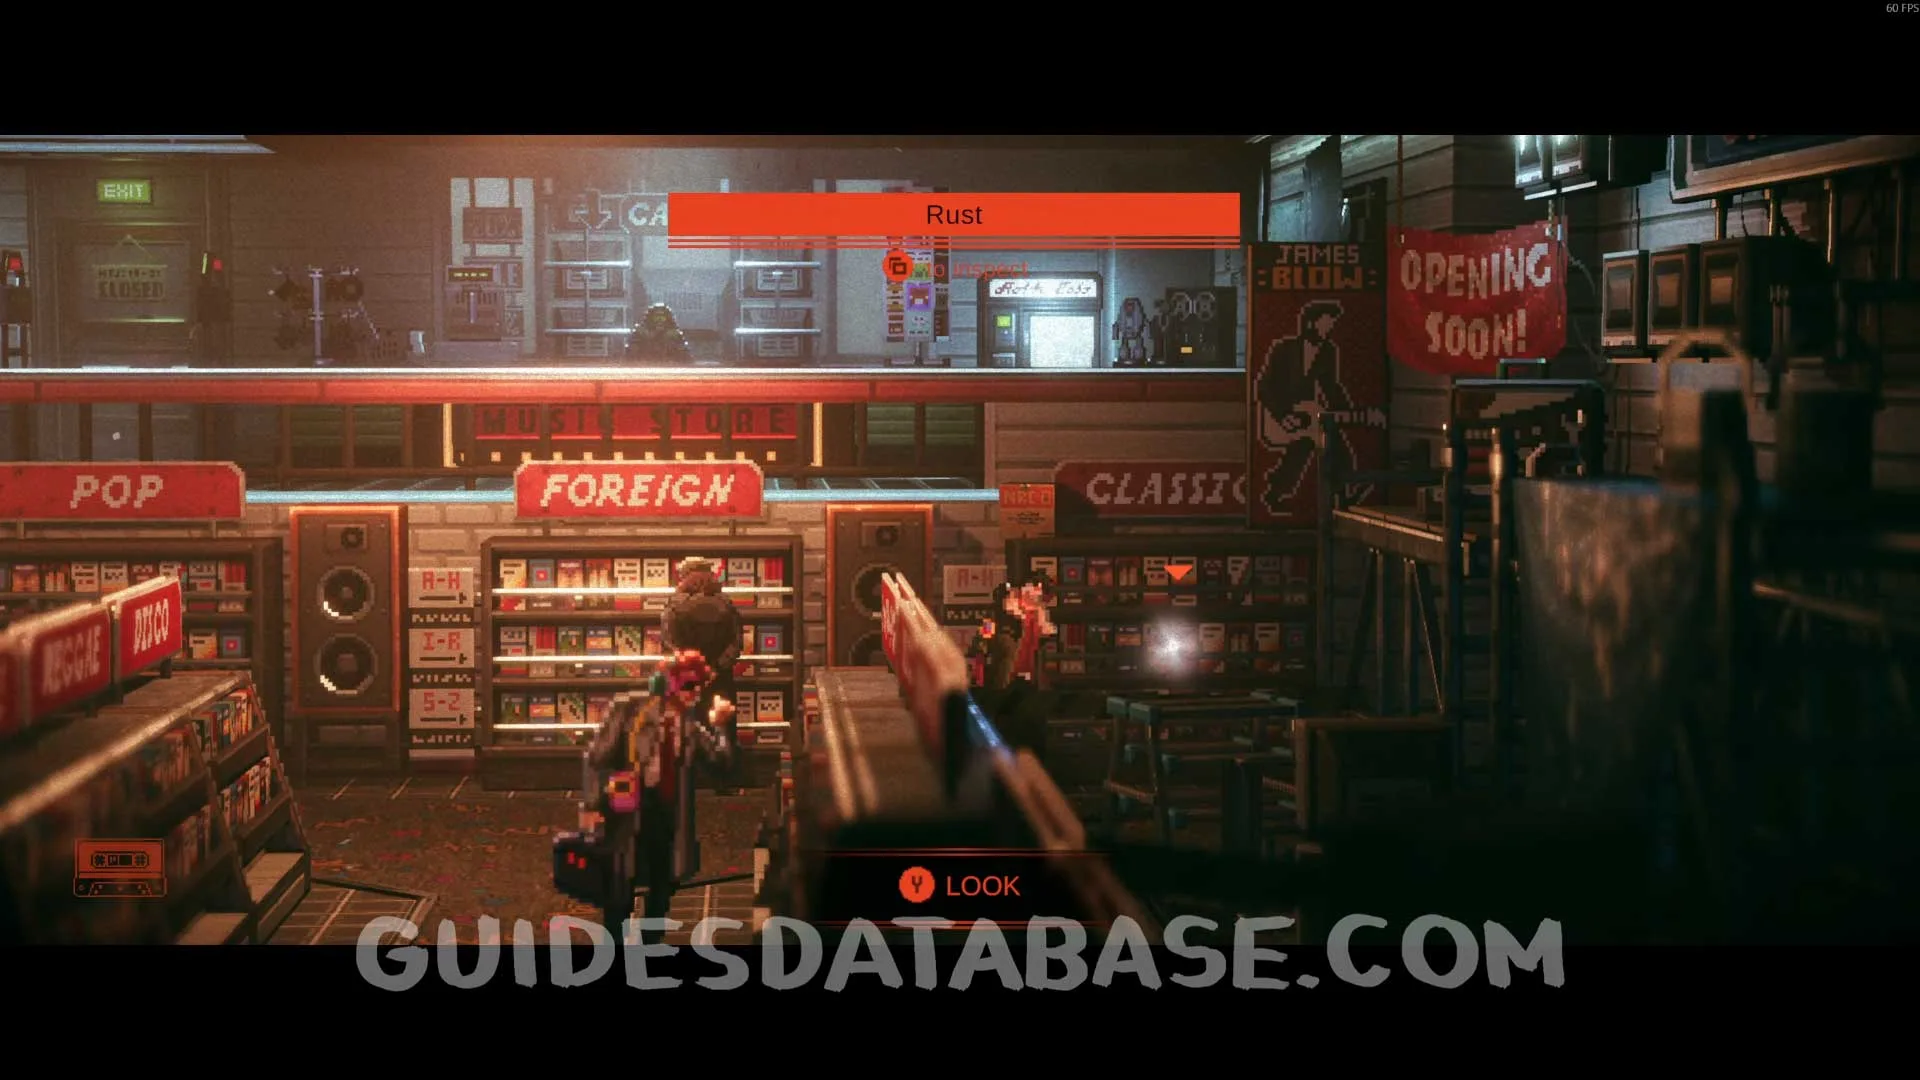
Music #13 Rust
Obtained by progressing through the story.
 GUIDESDATABASE.COM
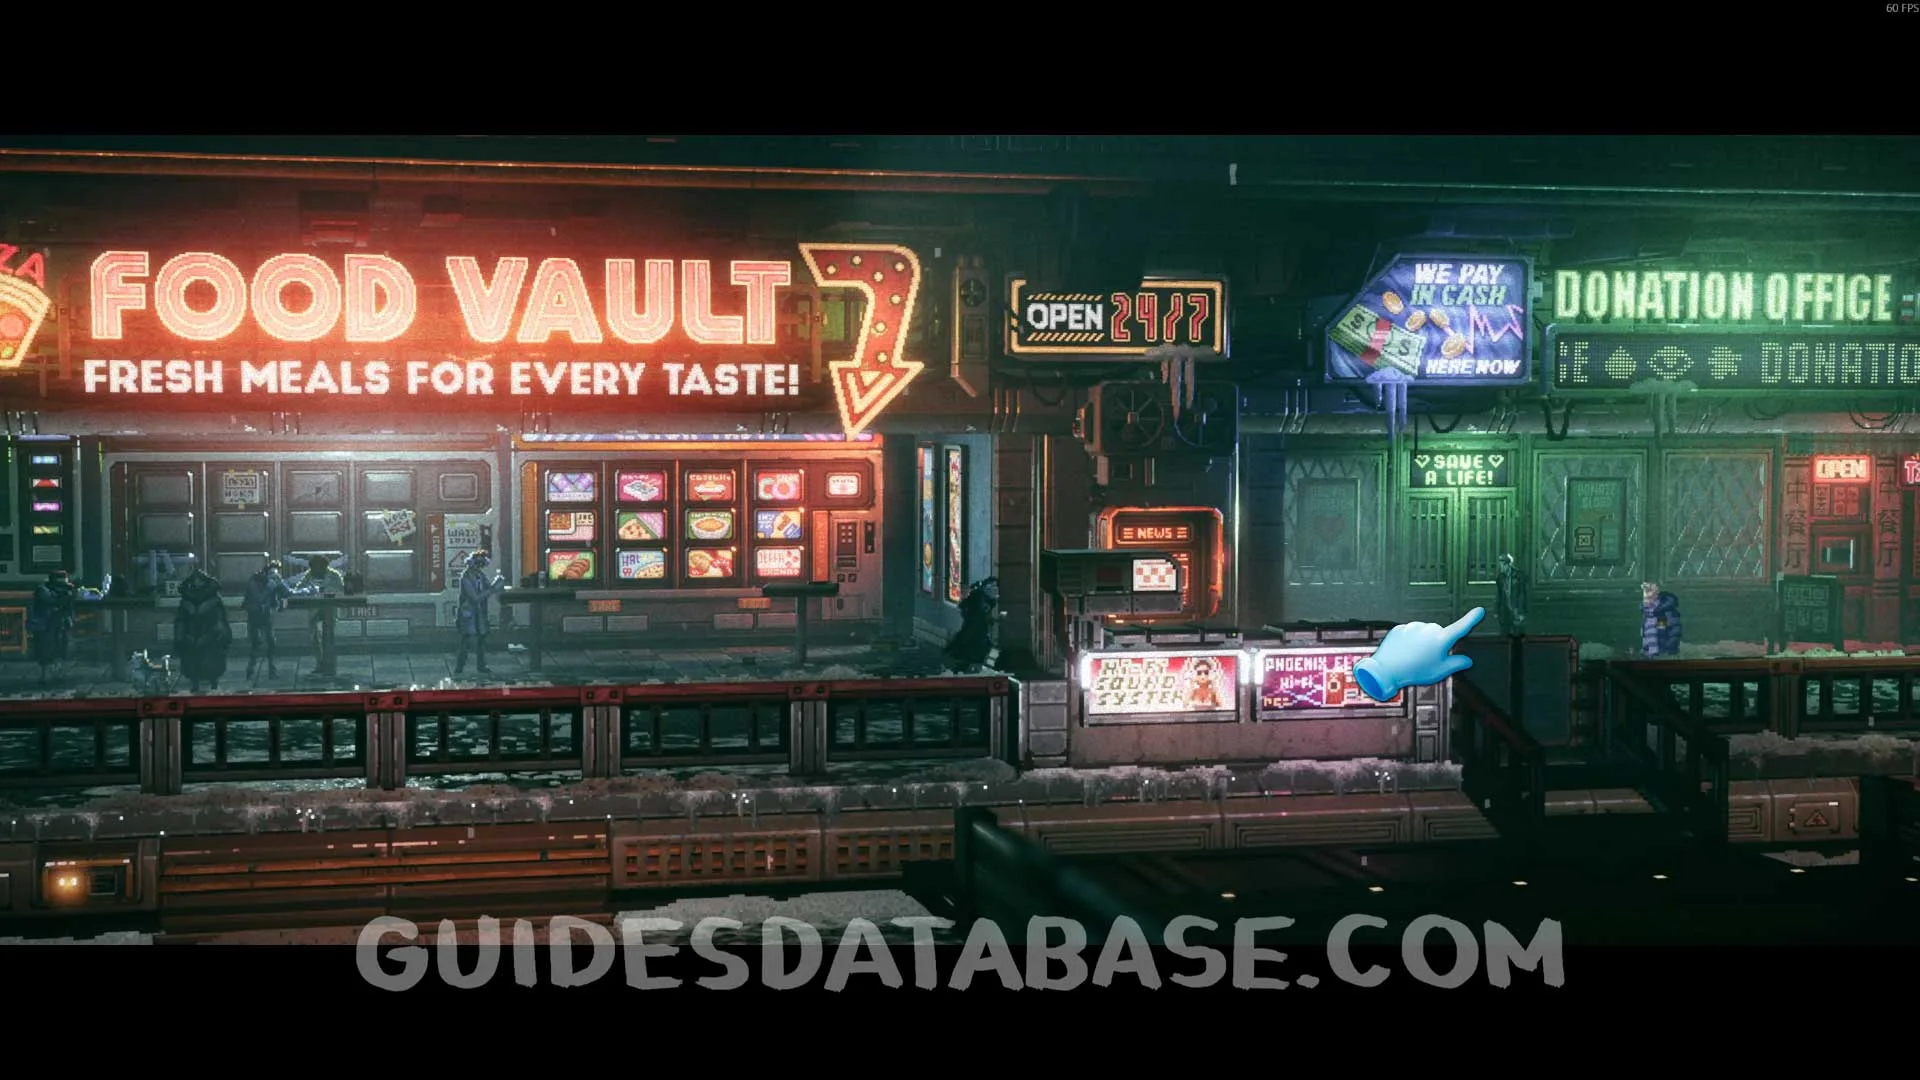
Scan #93 Weather Forecast + Scan #94 Election News Article + Scan #95 PCPD Celebration
After hiding among the people so the drone cannot spot you, you will need to go down a ladder. Interact with the terminal next to the Food Vault and read through all the messages to obtain these Scans.
 GUIDESDATABASE.COM
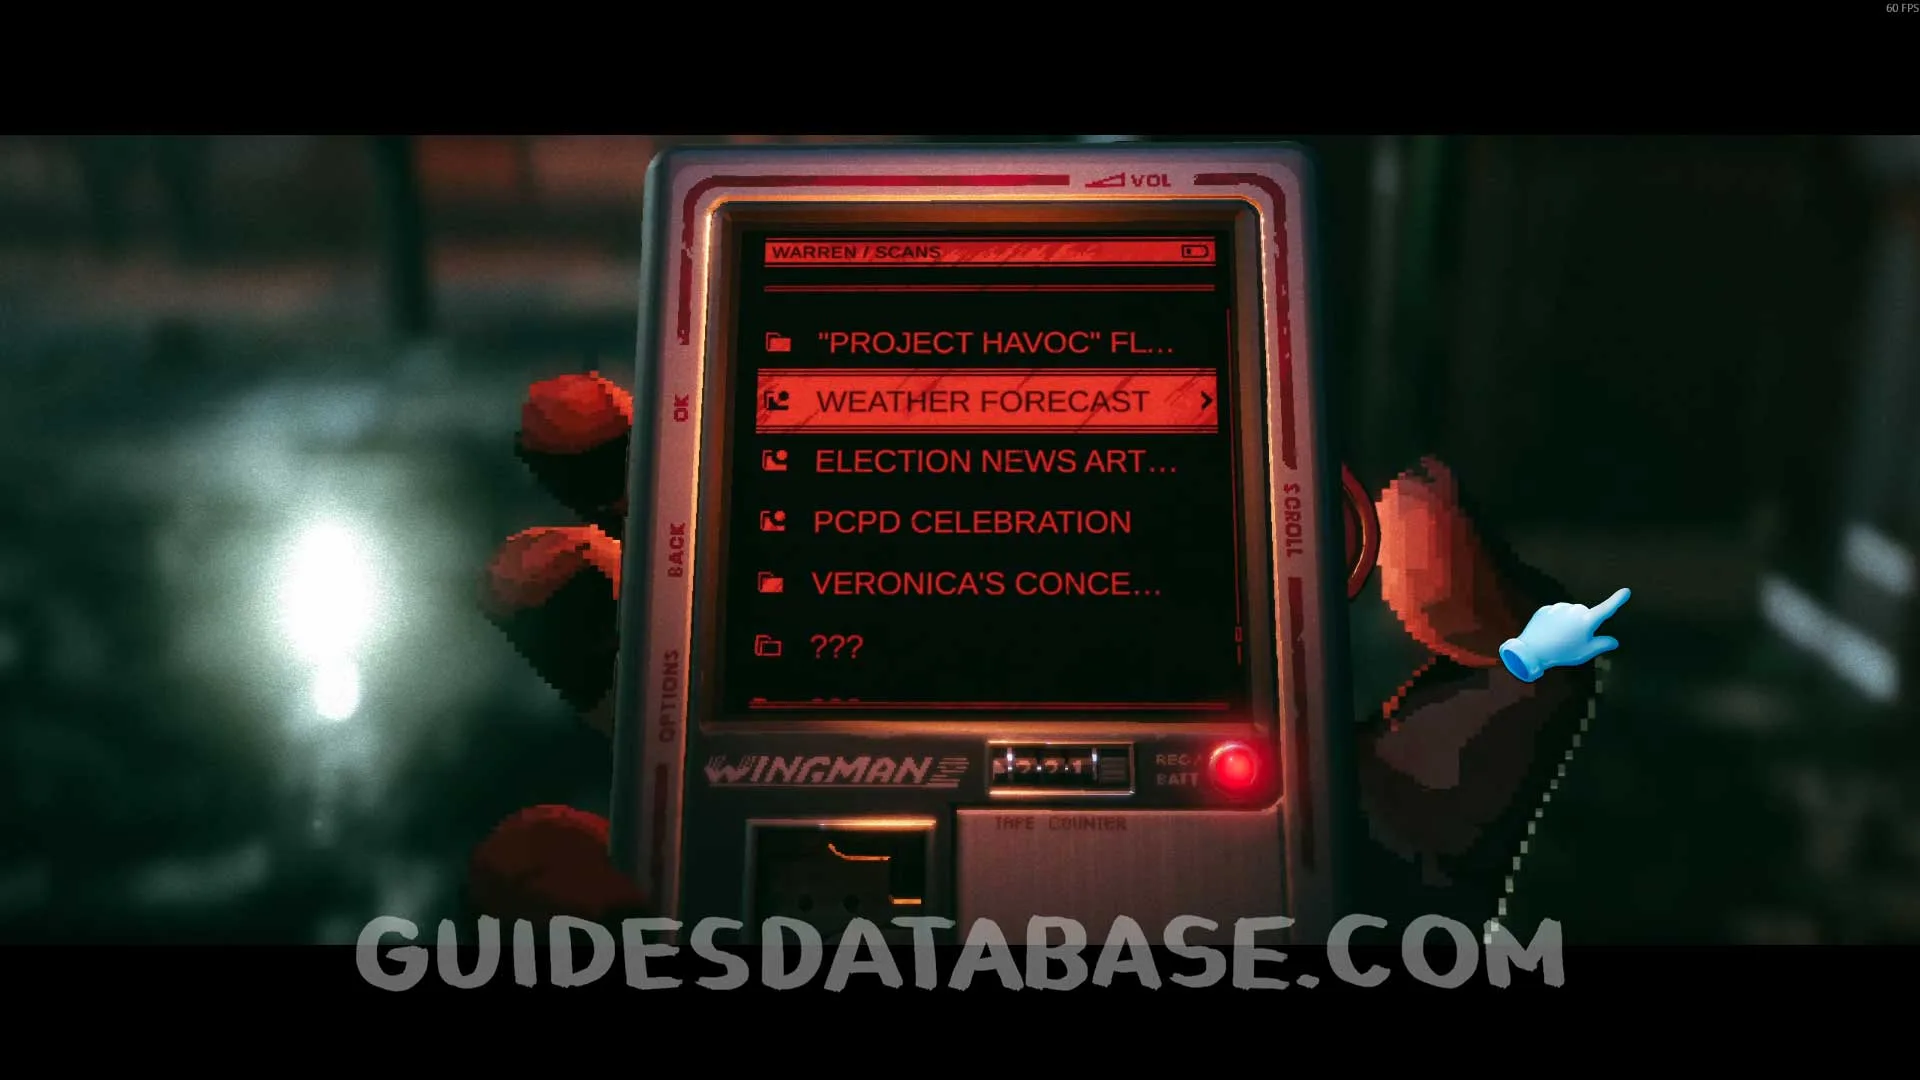 GUIDESDATABASE.COM
Scan #96 How To Deal With A Loss
Same location as the previous collectible. Talk to the man next to the Food Vault to obtain this Scan.
 GUIDESDATABASE.COM
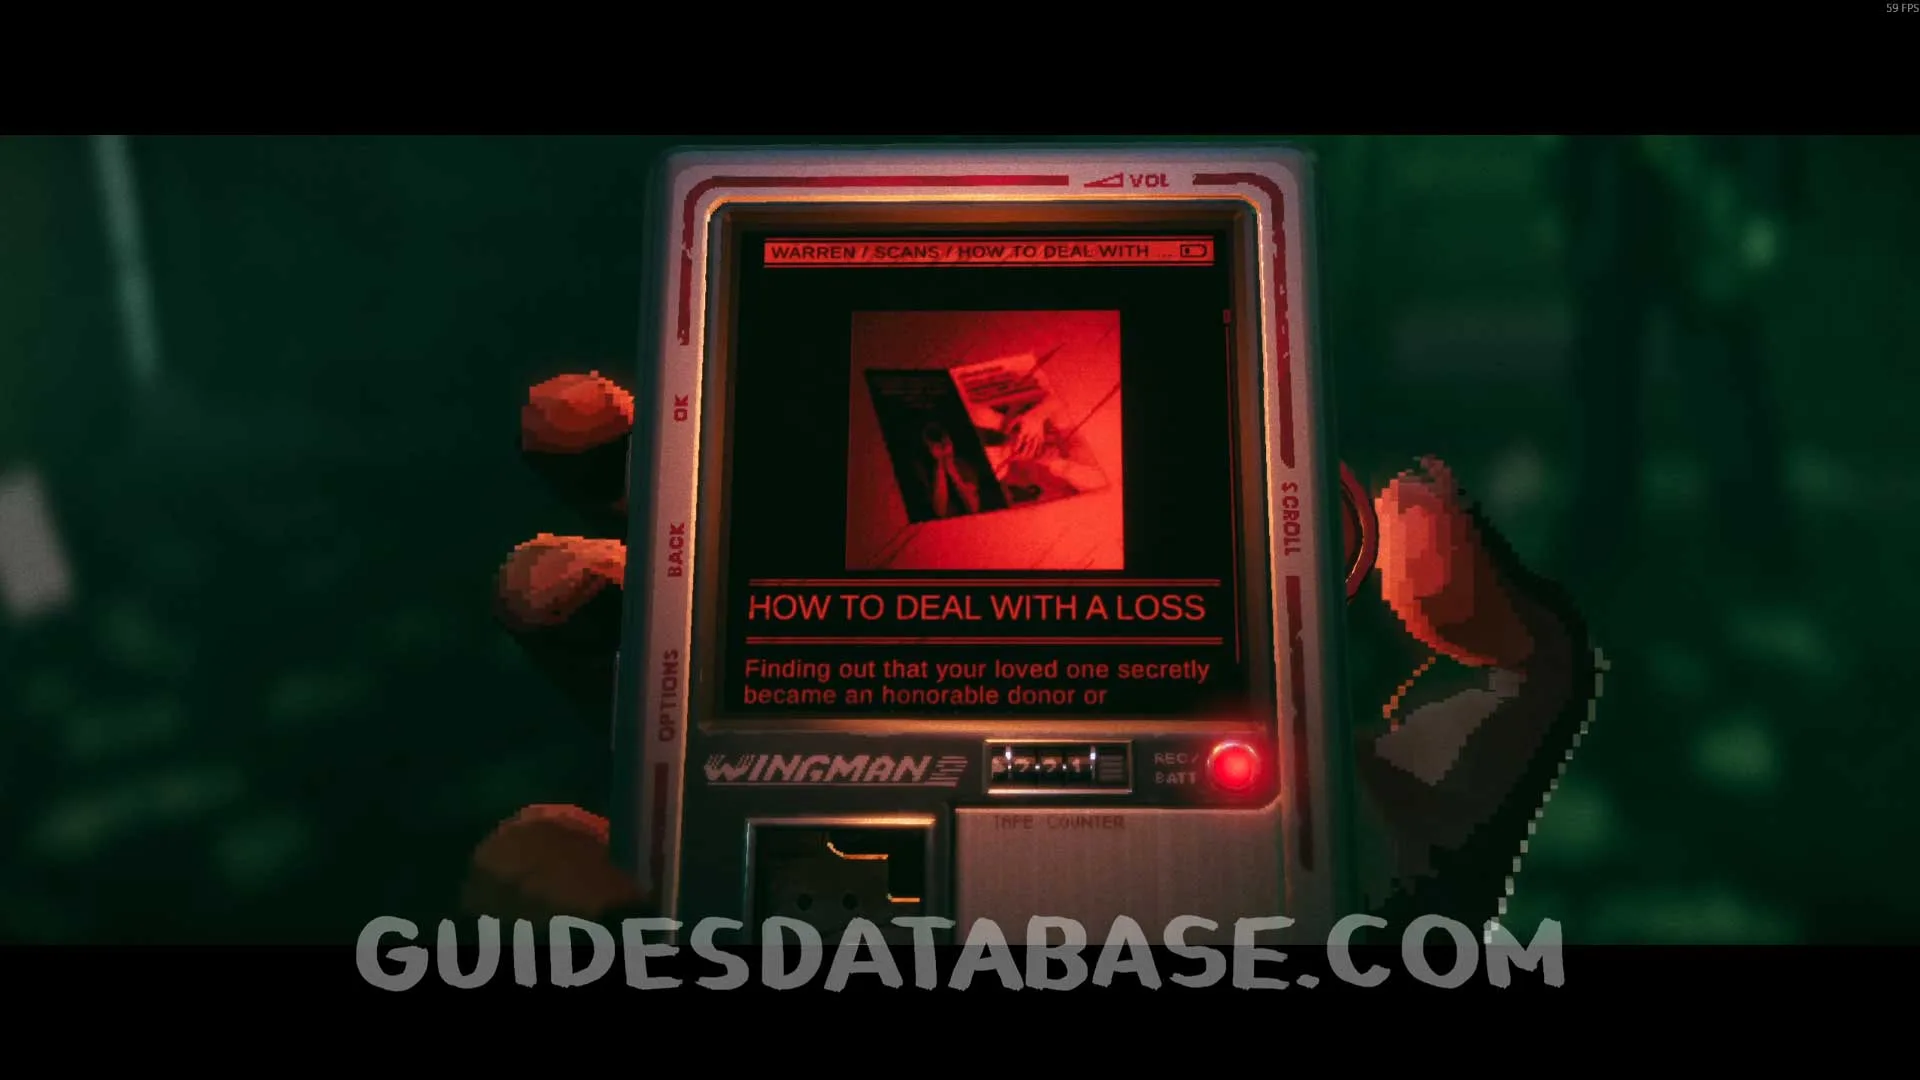 GUIDESDATABASE.COM
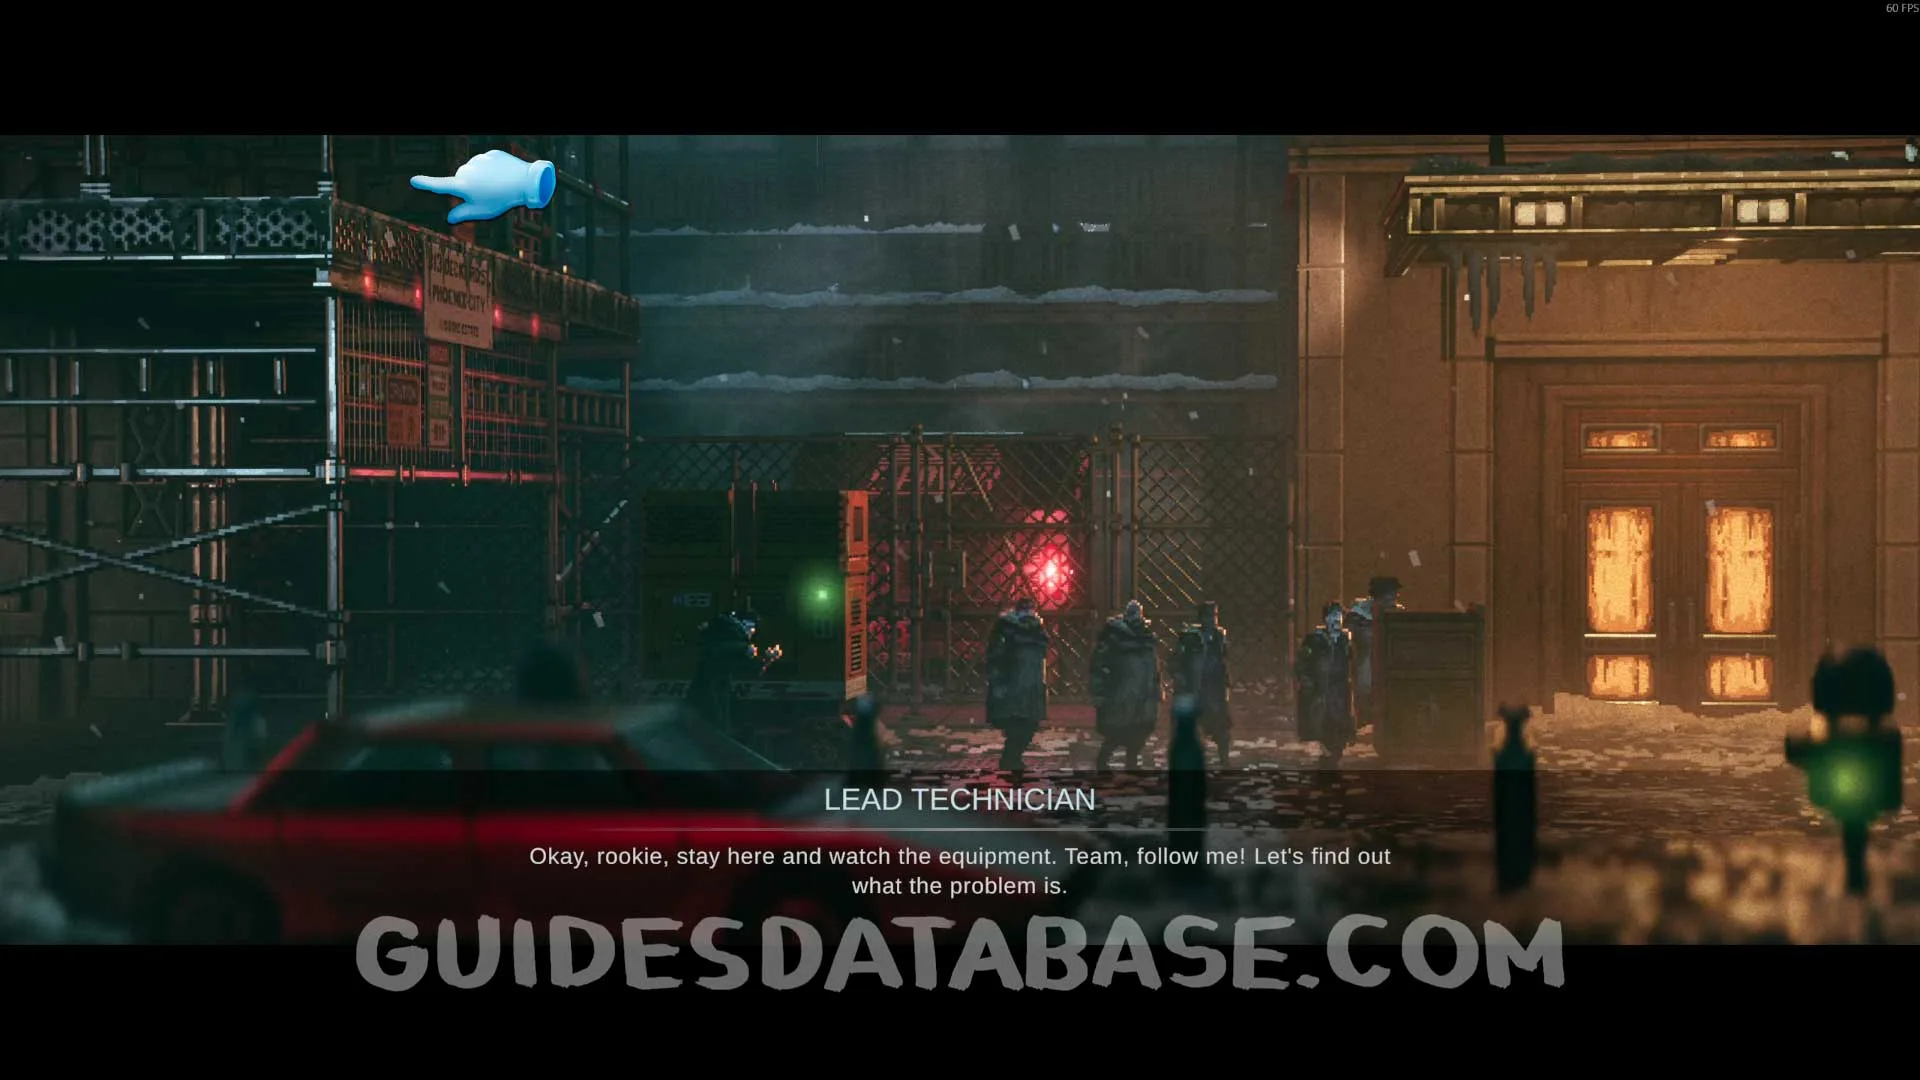
Scan #97 Bodycam Recording
For story purposes, you will need to find 3 Technicians to progress through the mission. One of them will need to enter the bank, but the line is too long. To help him, head all the way to the left of the bank and pass through a double jump spot to reach a new area. In this new area there will be some enemies. Defeat them and then head to the left to find this Scan.
 GUIDESDATABASE.COM
 GUIDESDATABASE.COM
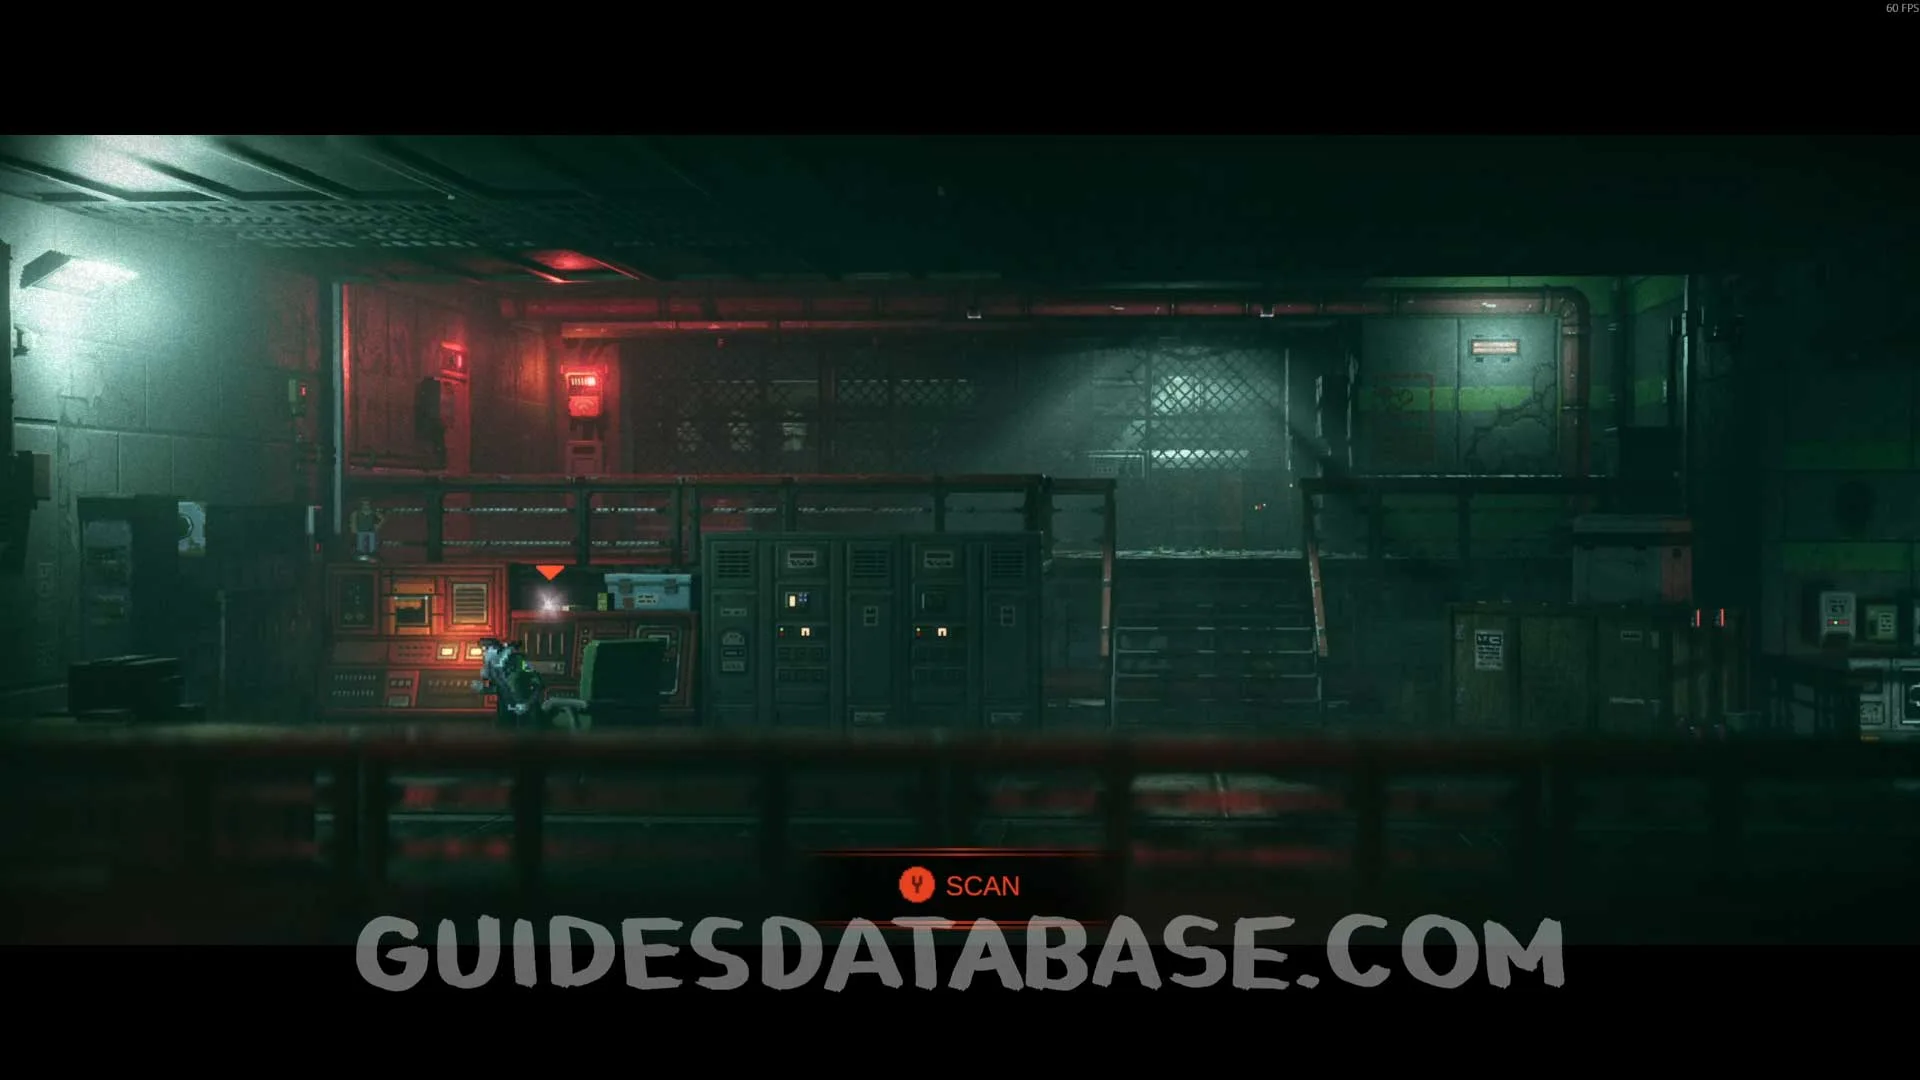 GUIDESDATABASE.COM
Scan #98 Central Tower Mini-Model
From the previous collectible, you will fall into a hole and then hang from some steam pipes. After descending from these pipes, instead of going to the right, head to the left to find this Scan.
 GUIDESDATABASE.COM
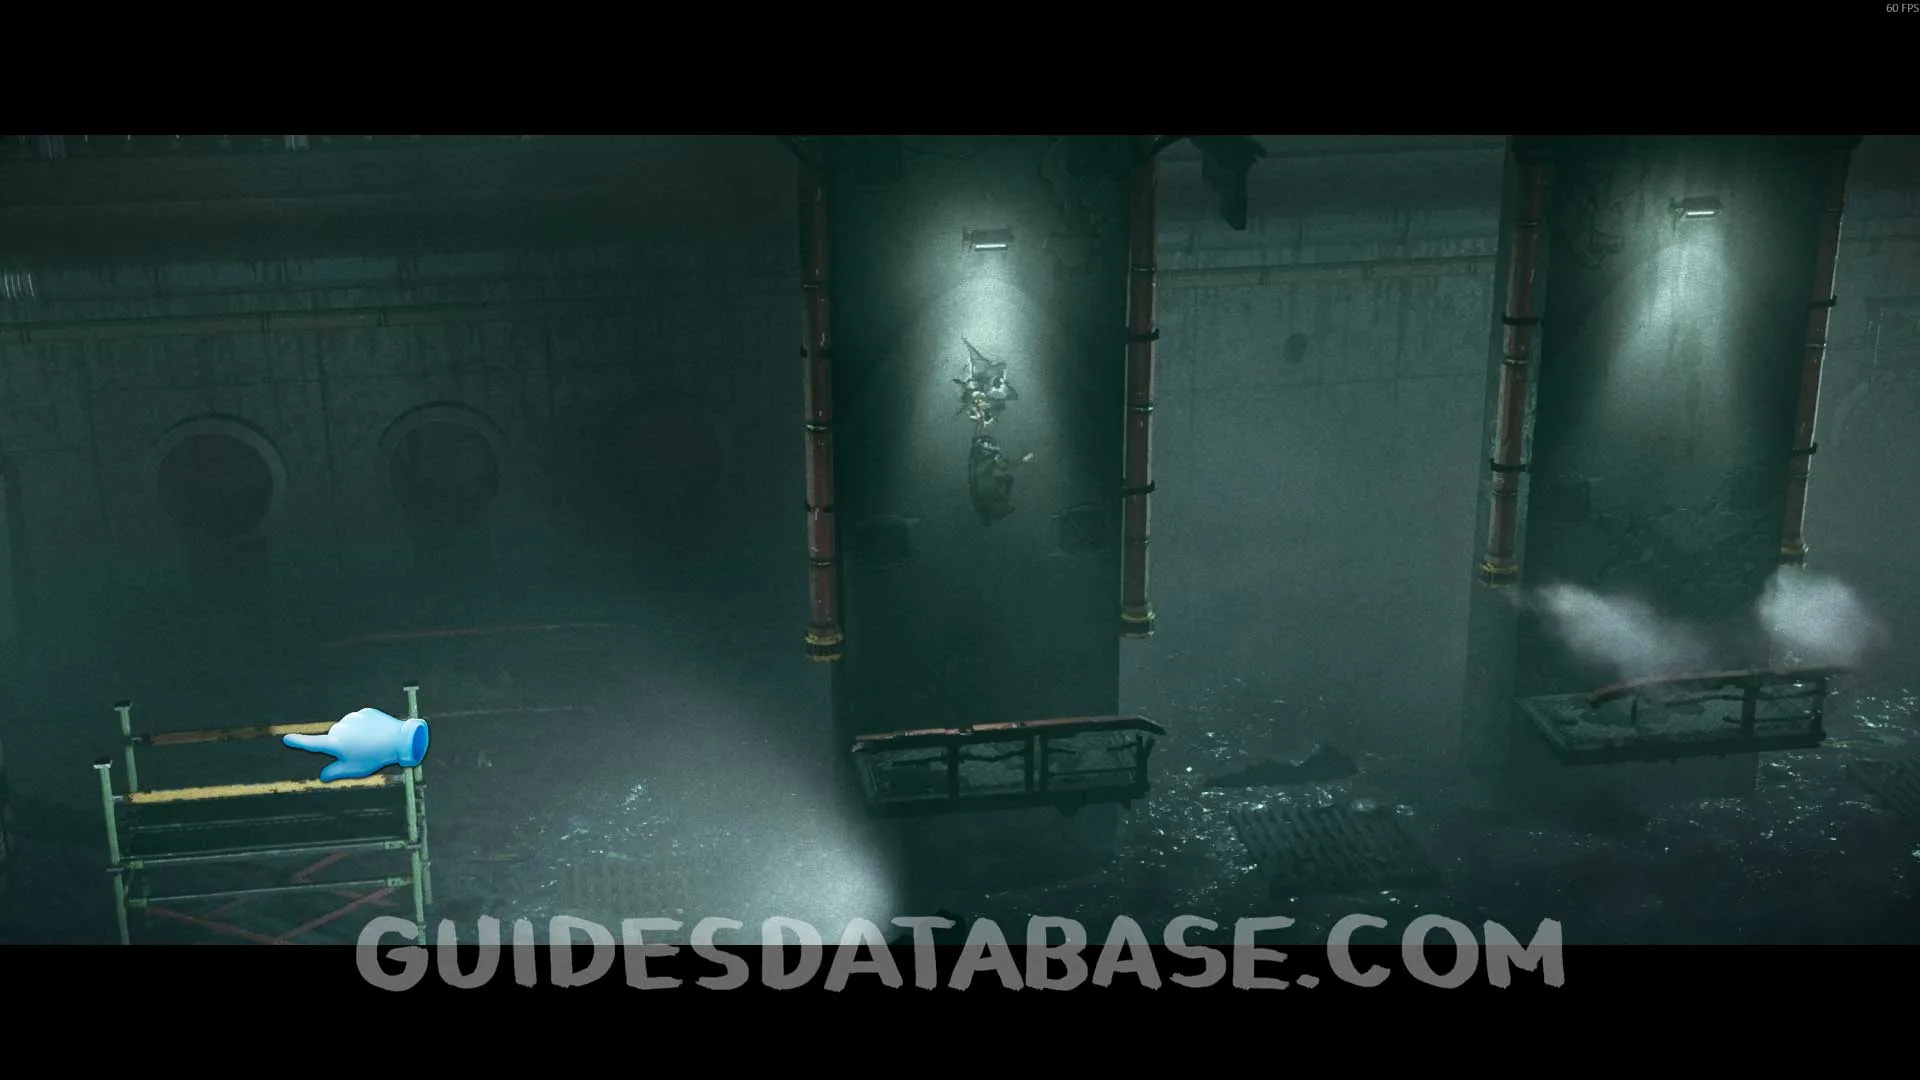 GUIDESDATABASE.COM
 GUIDESDATABASE.COM
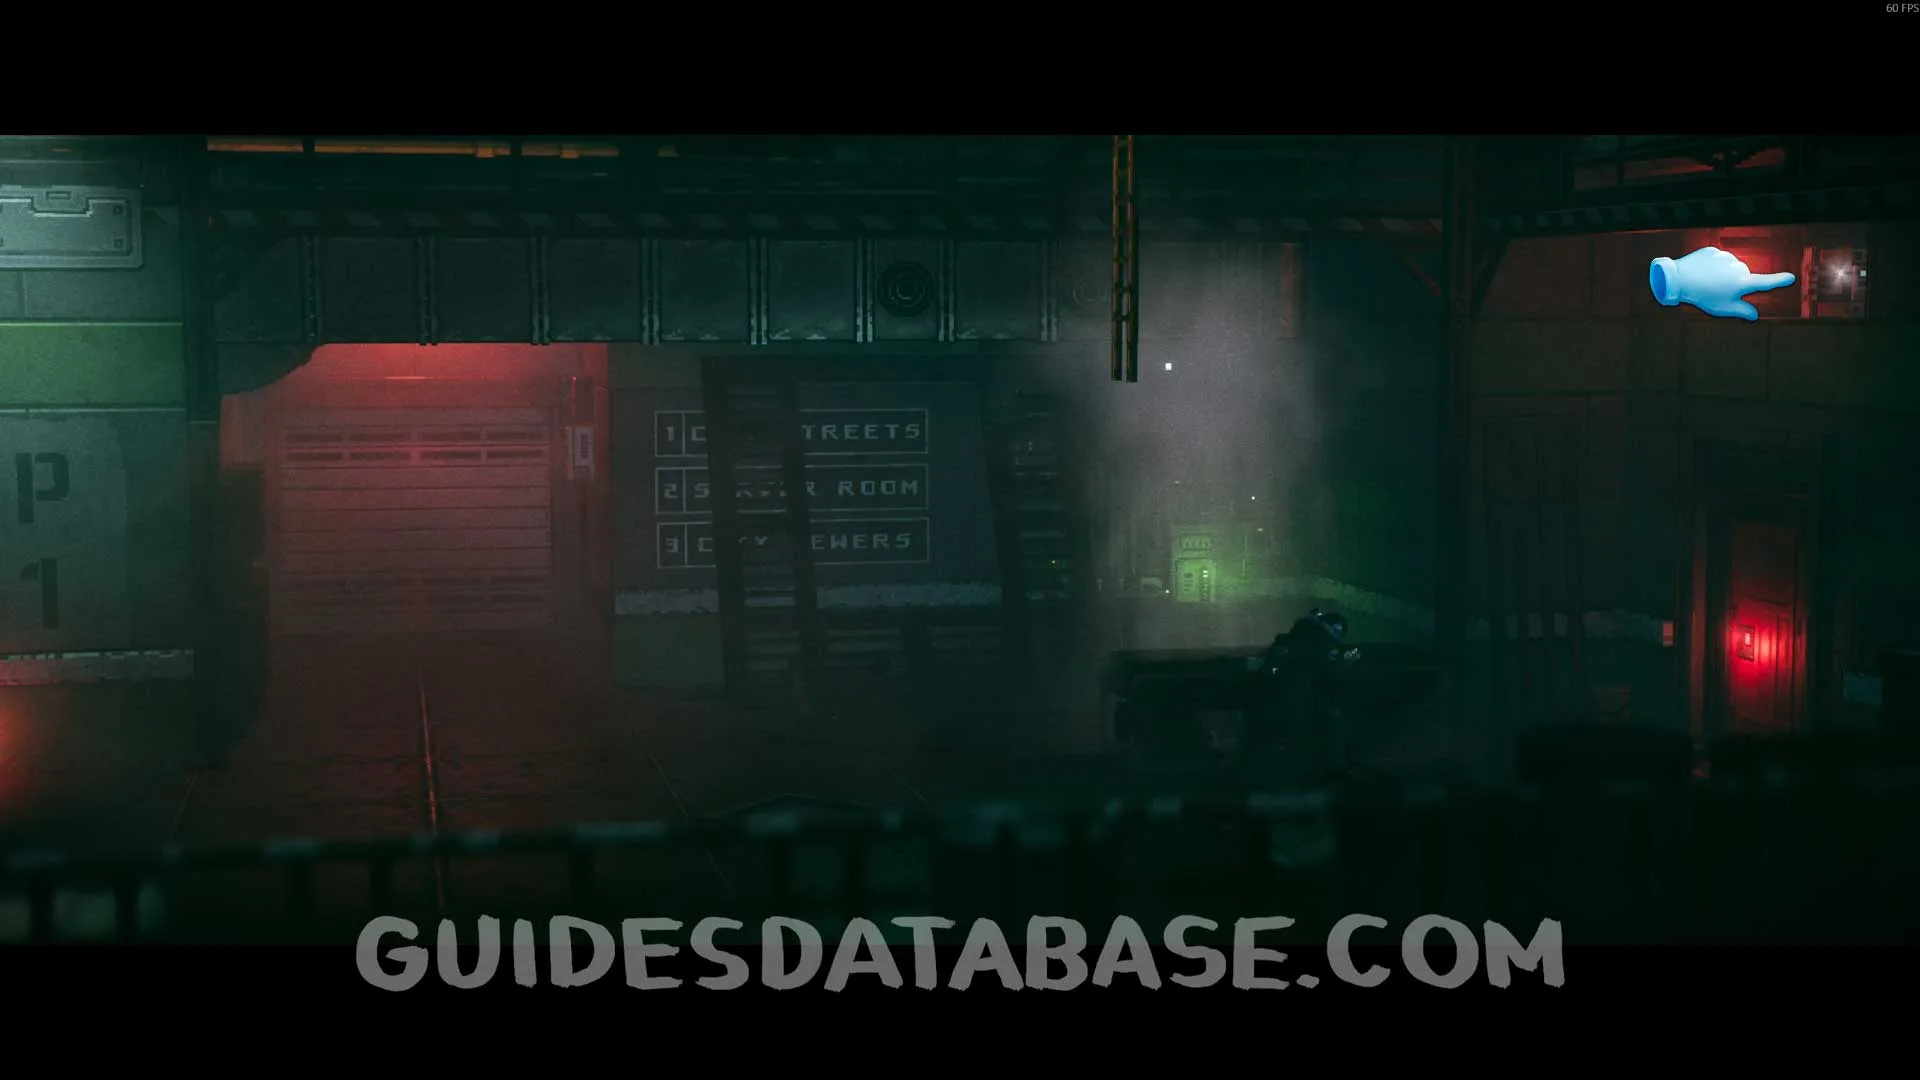
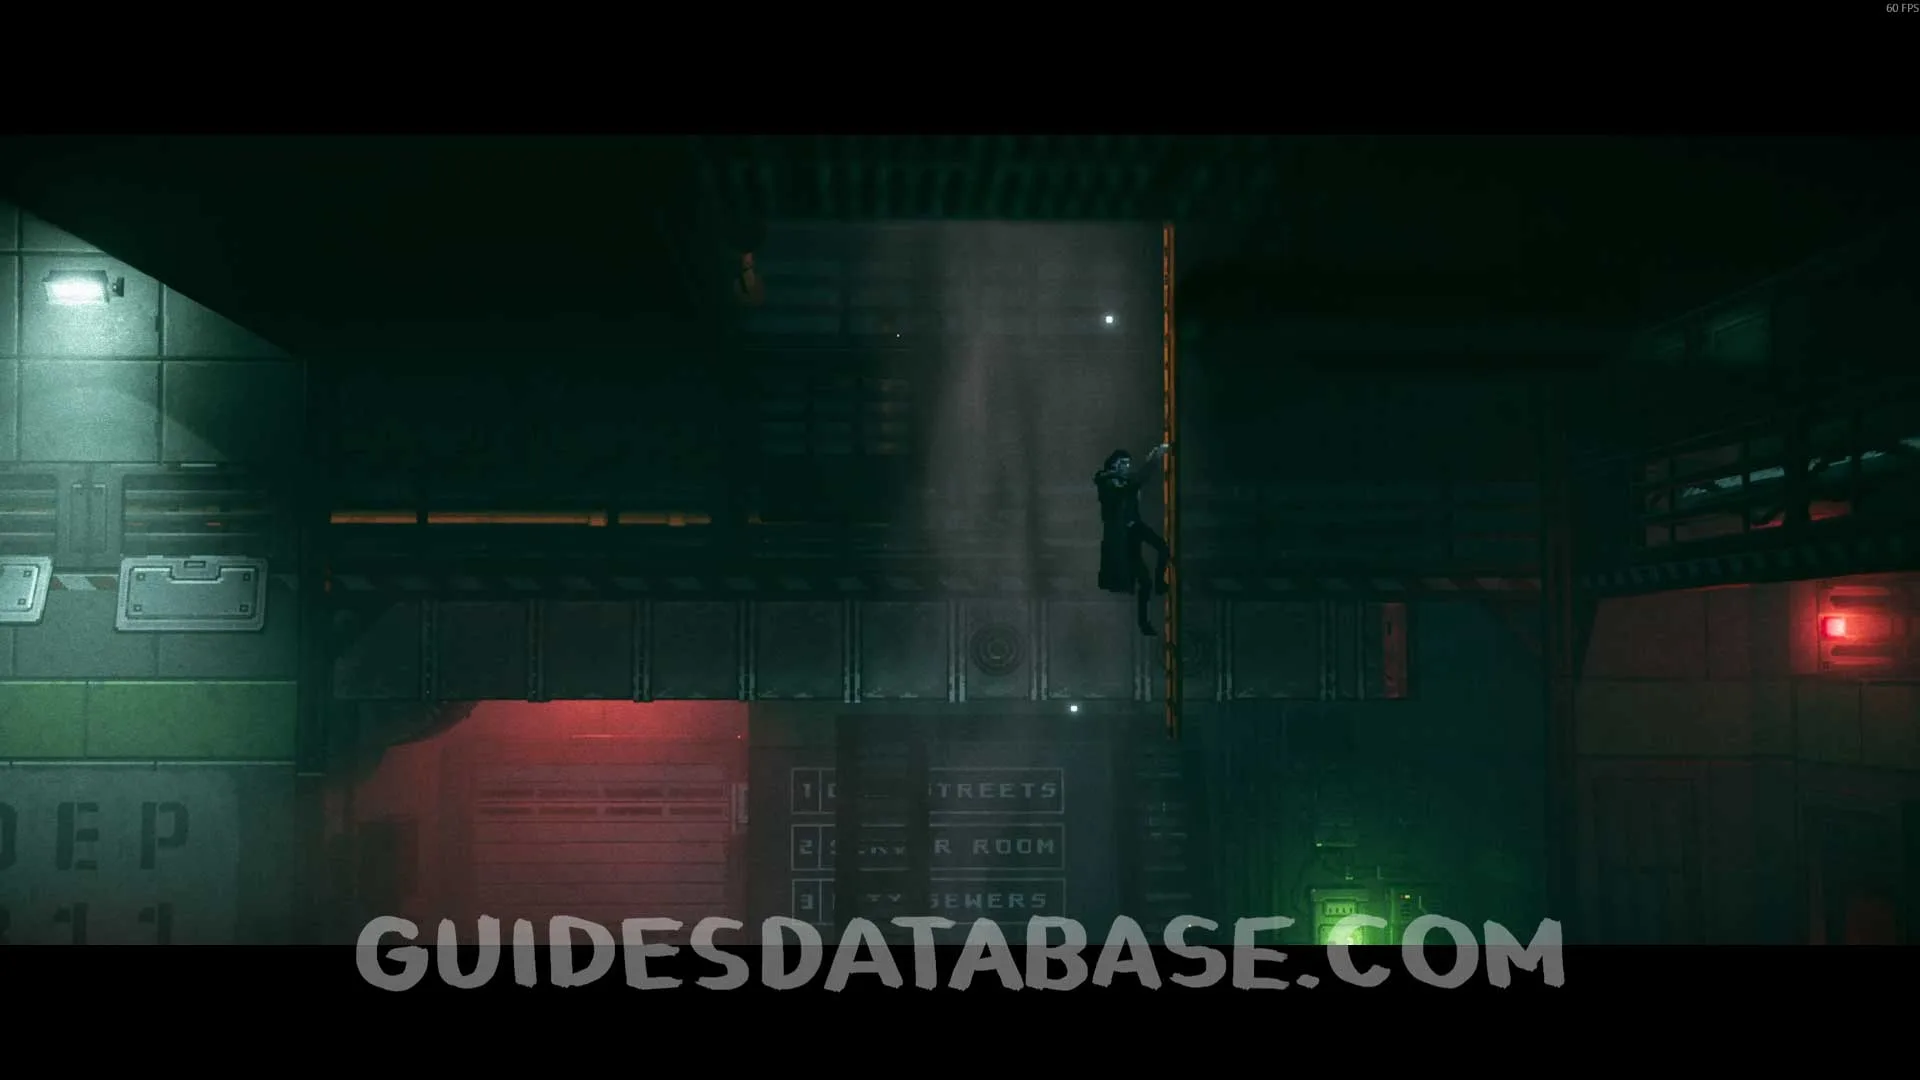
Rechargable Ampoule #3
In the next area from the previous collectible, before going up the stairs, pick this up in the upper right corner.
 GUIDESDATABASE.COM
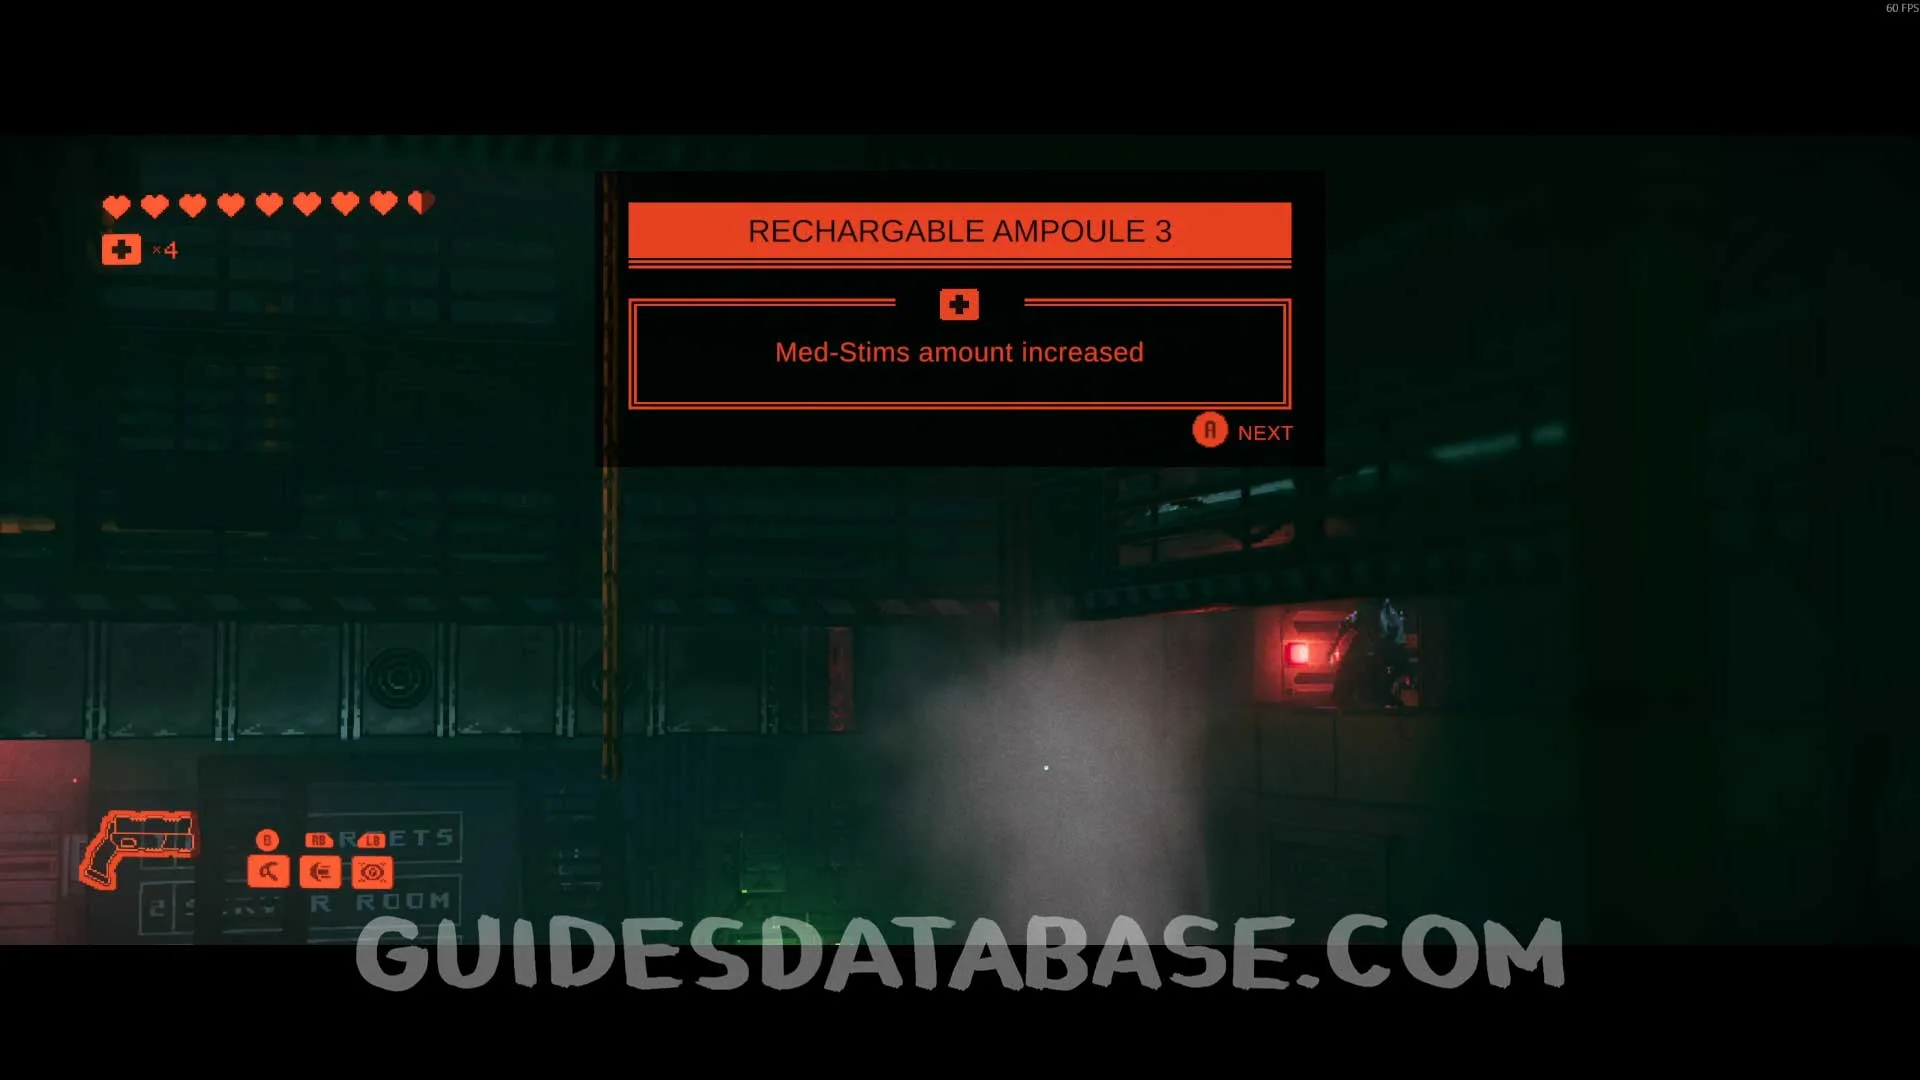 GUIDESDATABASE.COM
Scan #99 Commercial Clinic Leaflet
After the previous collectible, go up the stairs and enter the opening in the wall on the right. Head to the end of the area to find this.
 GUIDESDATABASE.COM
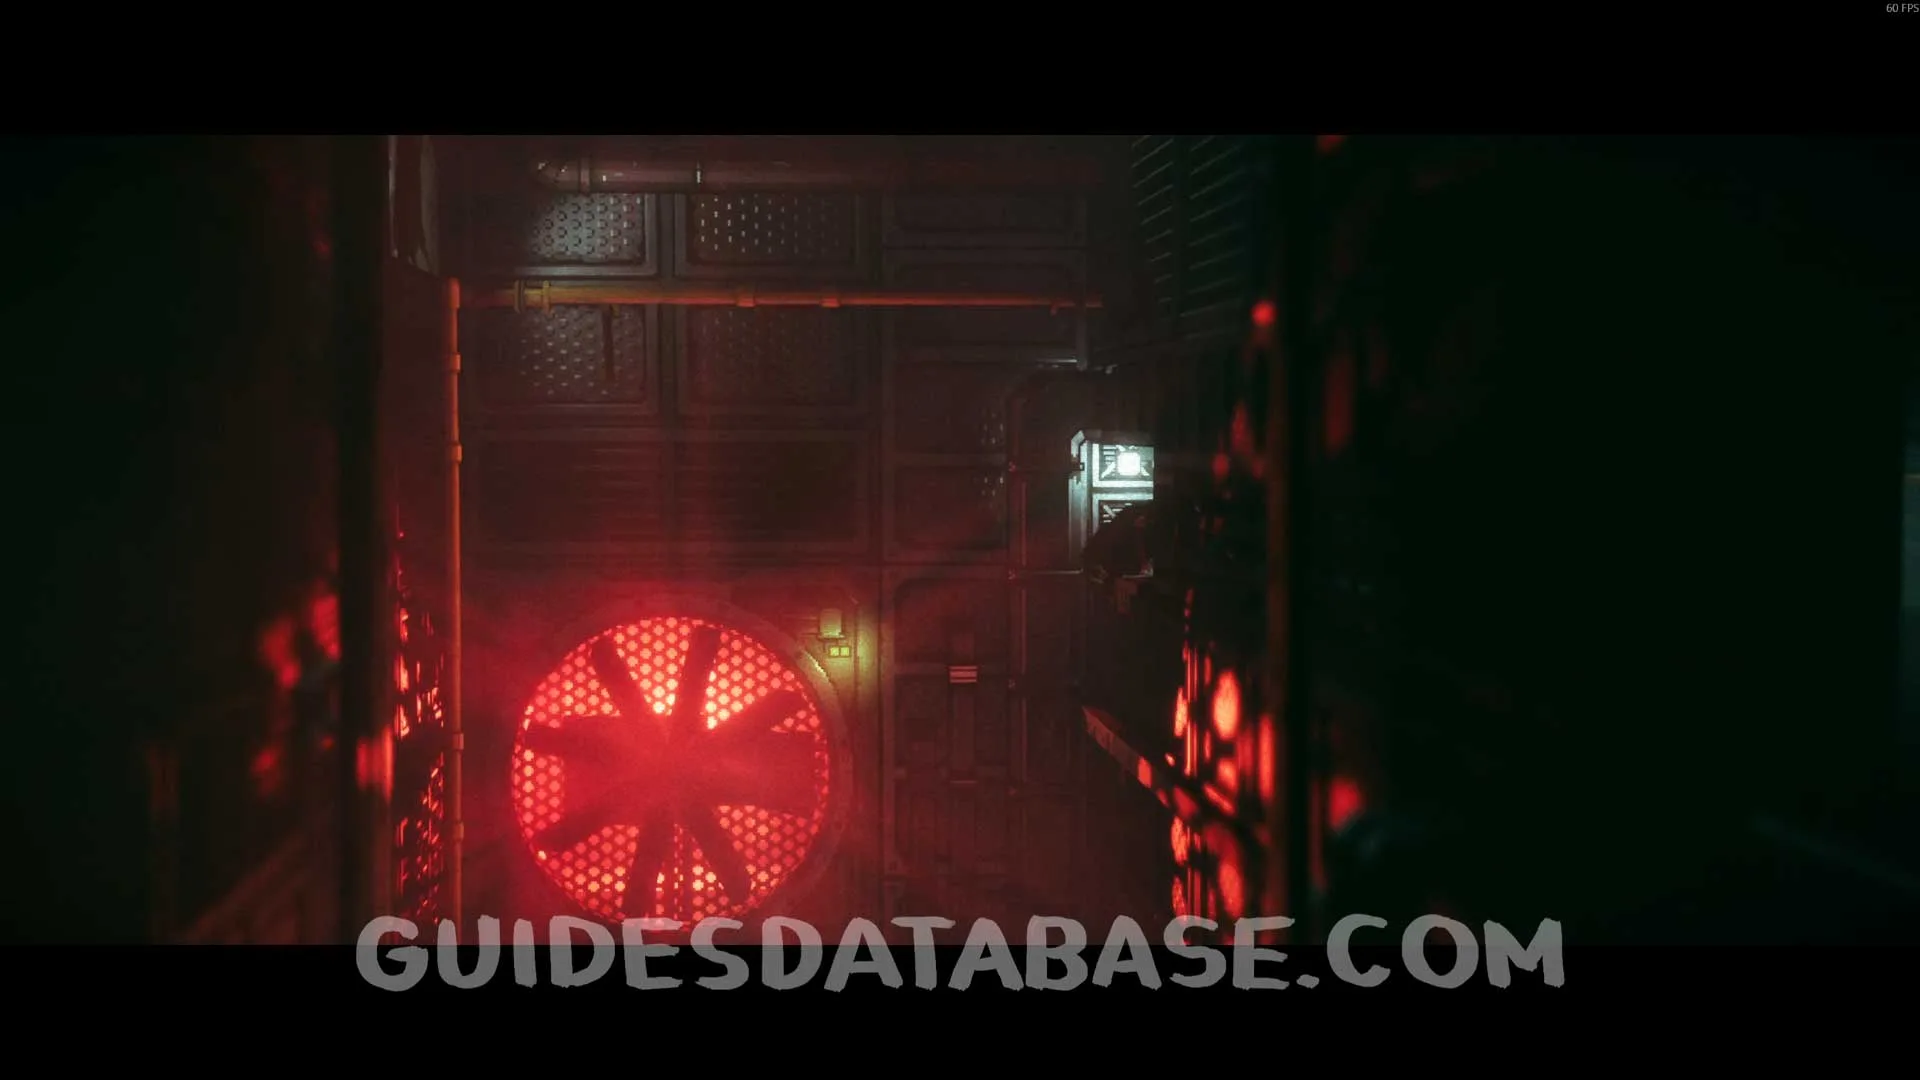 GUIDESDATABASE.COM
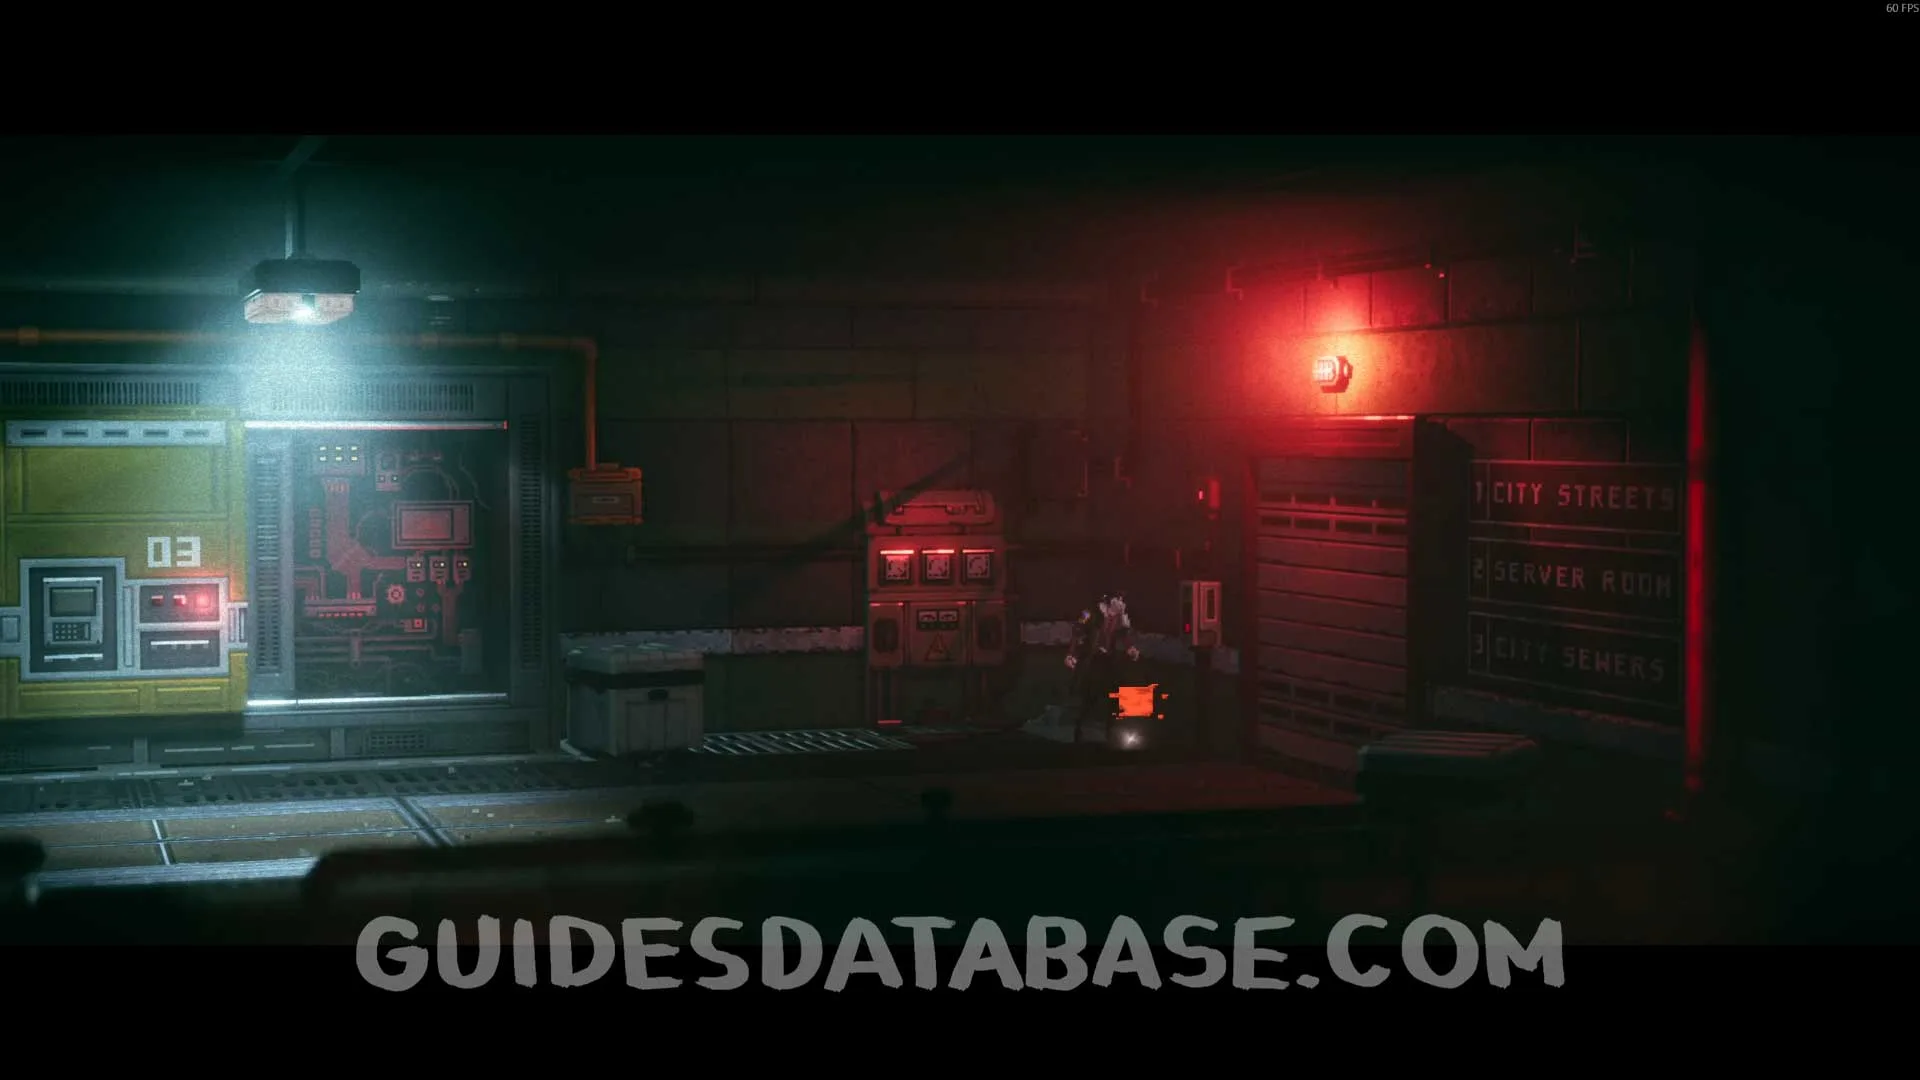 GUIDESDATABASE.COM
Genetic Profile #9
From the previous collectible, head forward passing through the two steam pipes and instead of continuing to the left, drop down to pick up this Genetic Profile.
 GUIDESDATABASE.COM
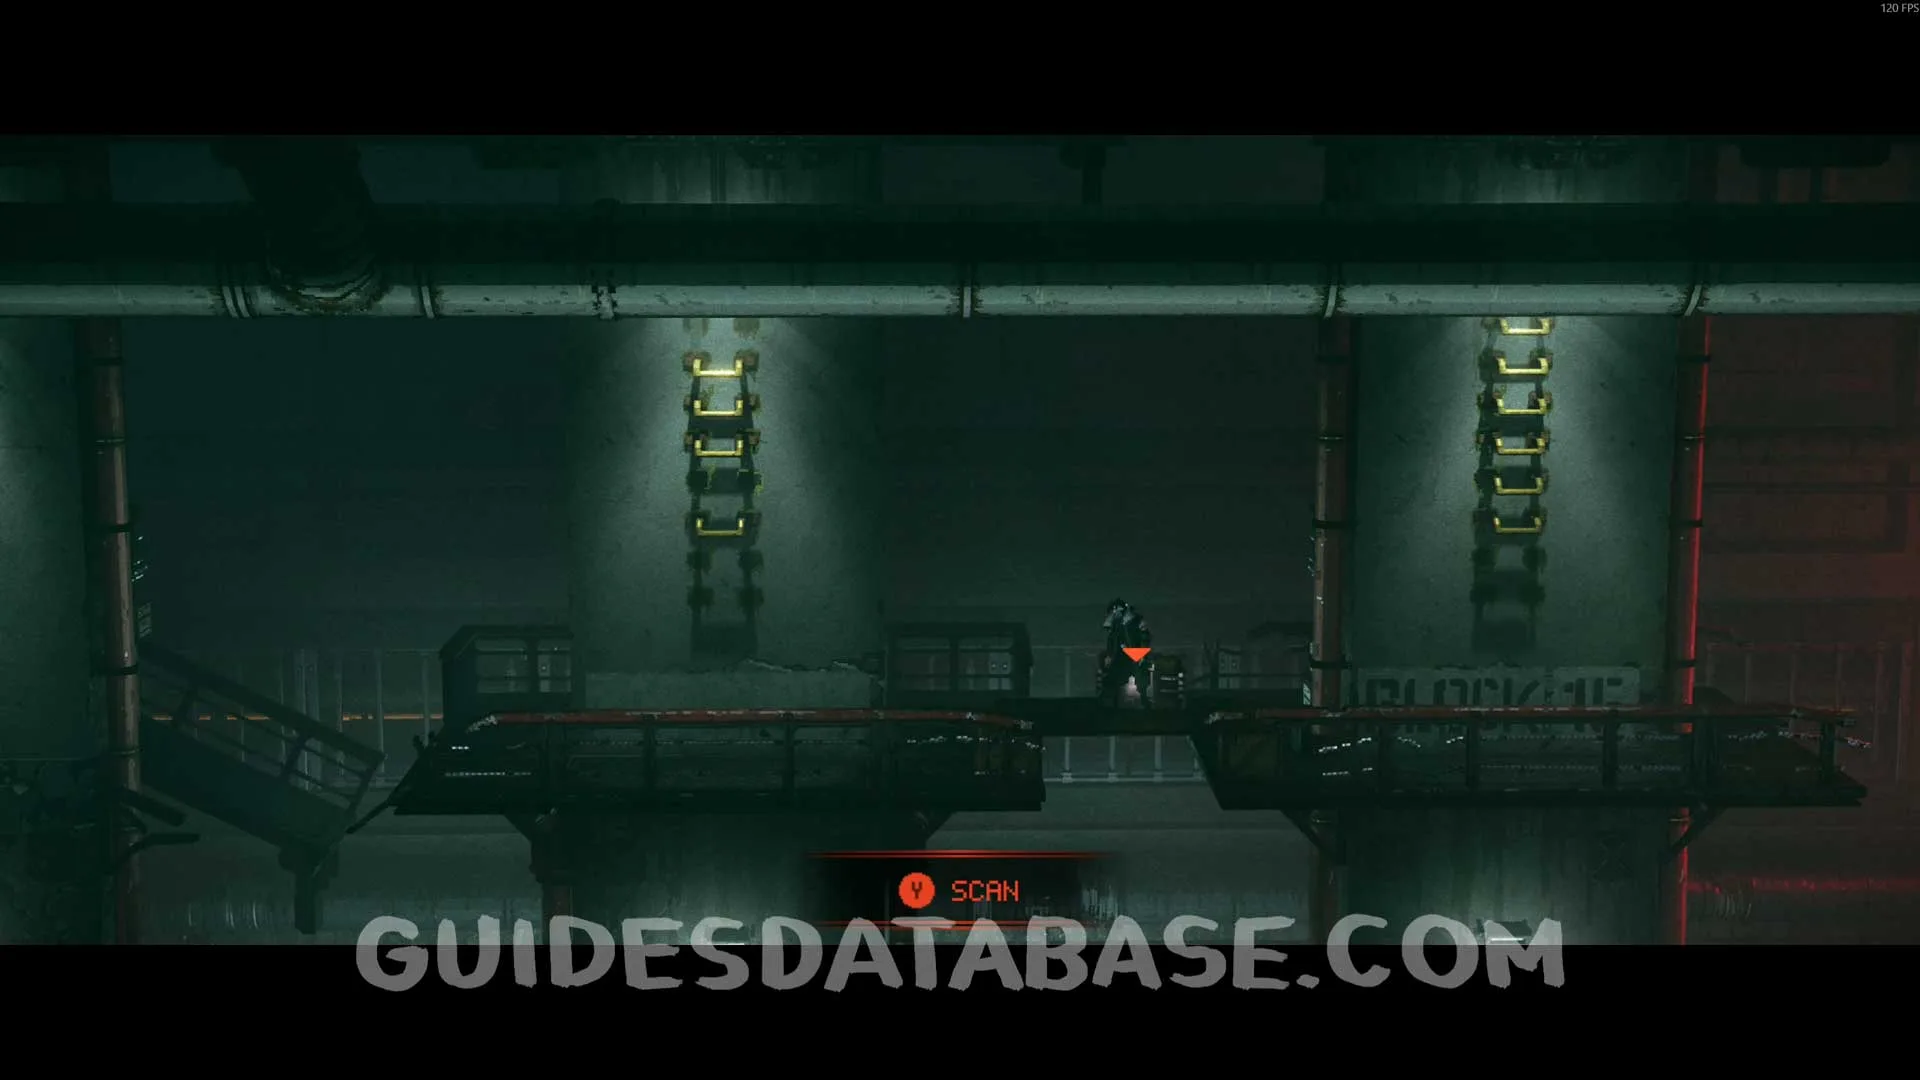 GUIDESDATABASE.COM
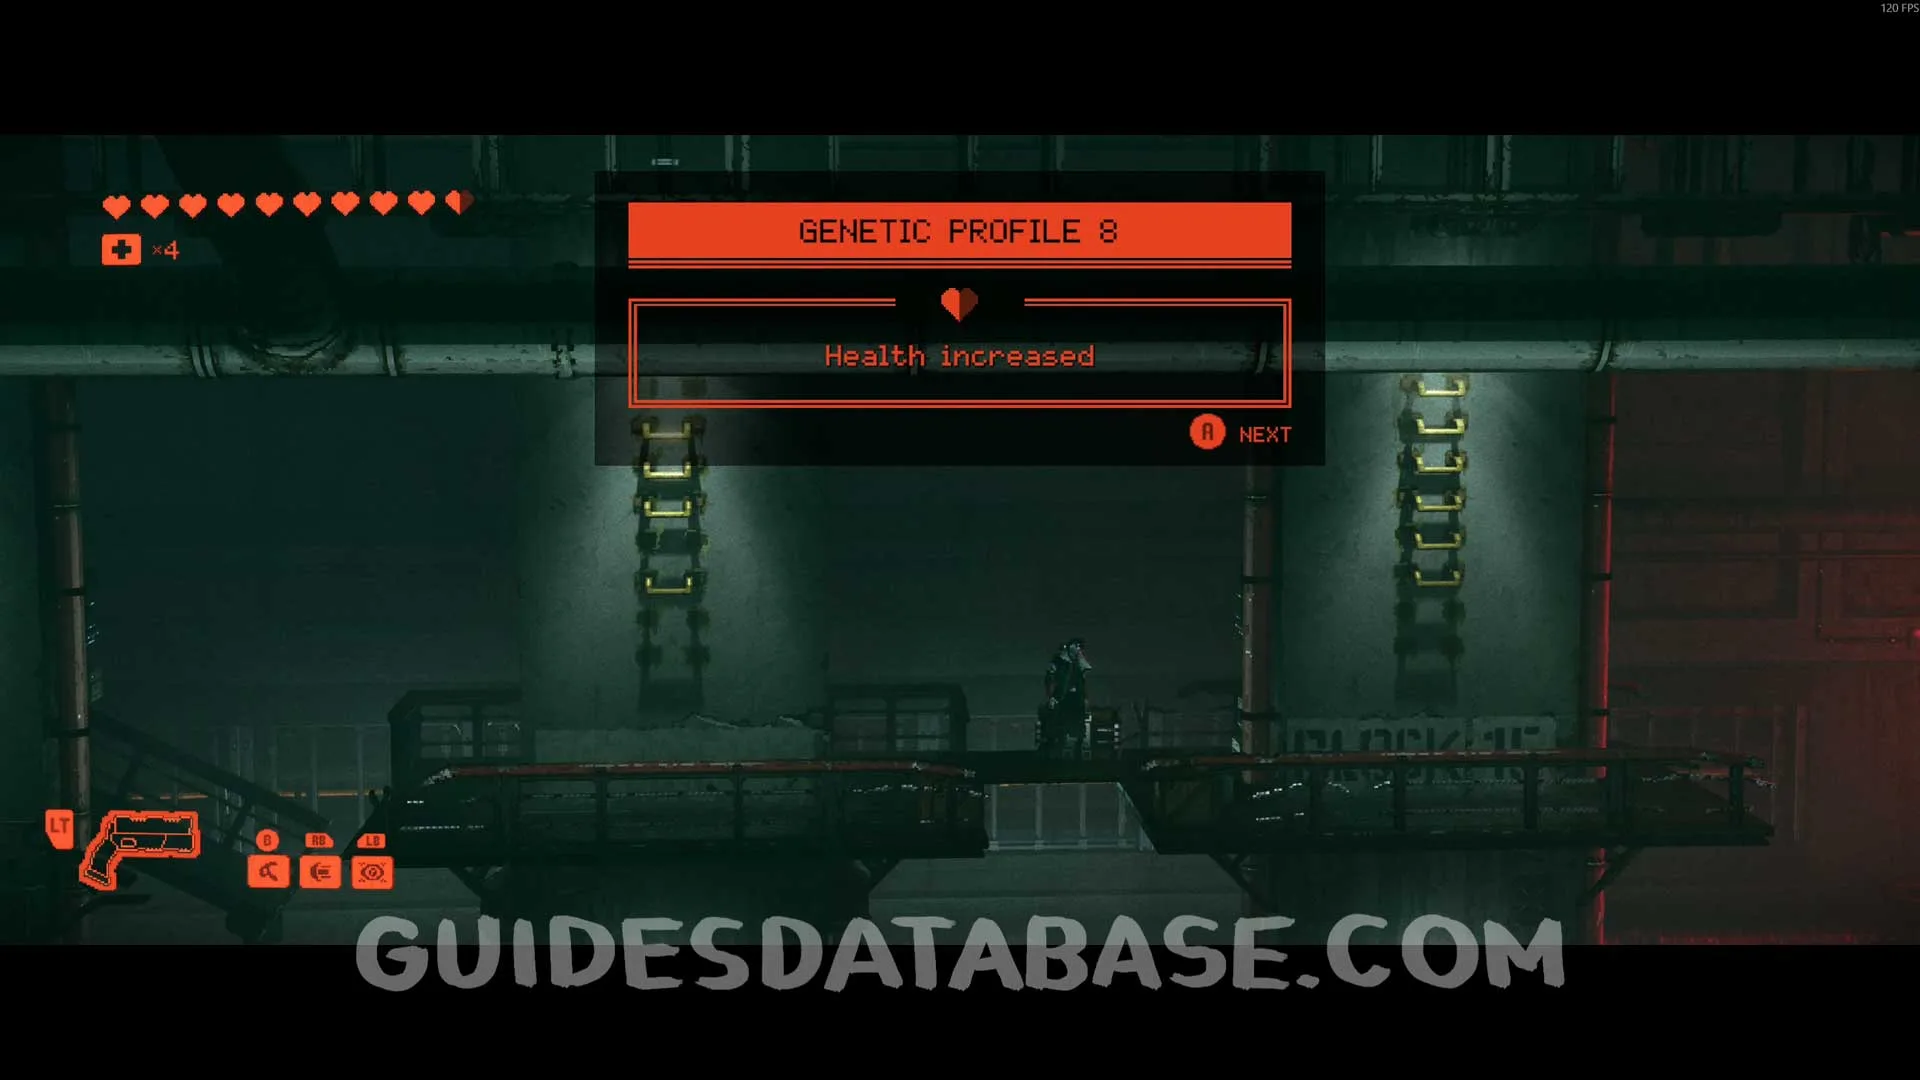 GUIDESDATABASE.COM
Music #14 Dusk
After pushing the box to the other side so you are not spotted by the drone, climb on top of the box and head to the left side of the area to find this music.
 GUIDESDATABASE.COM
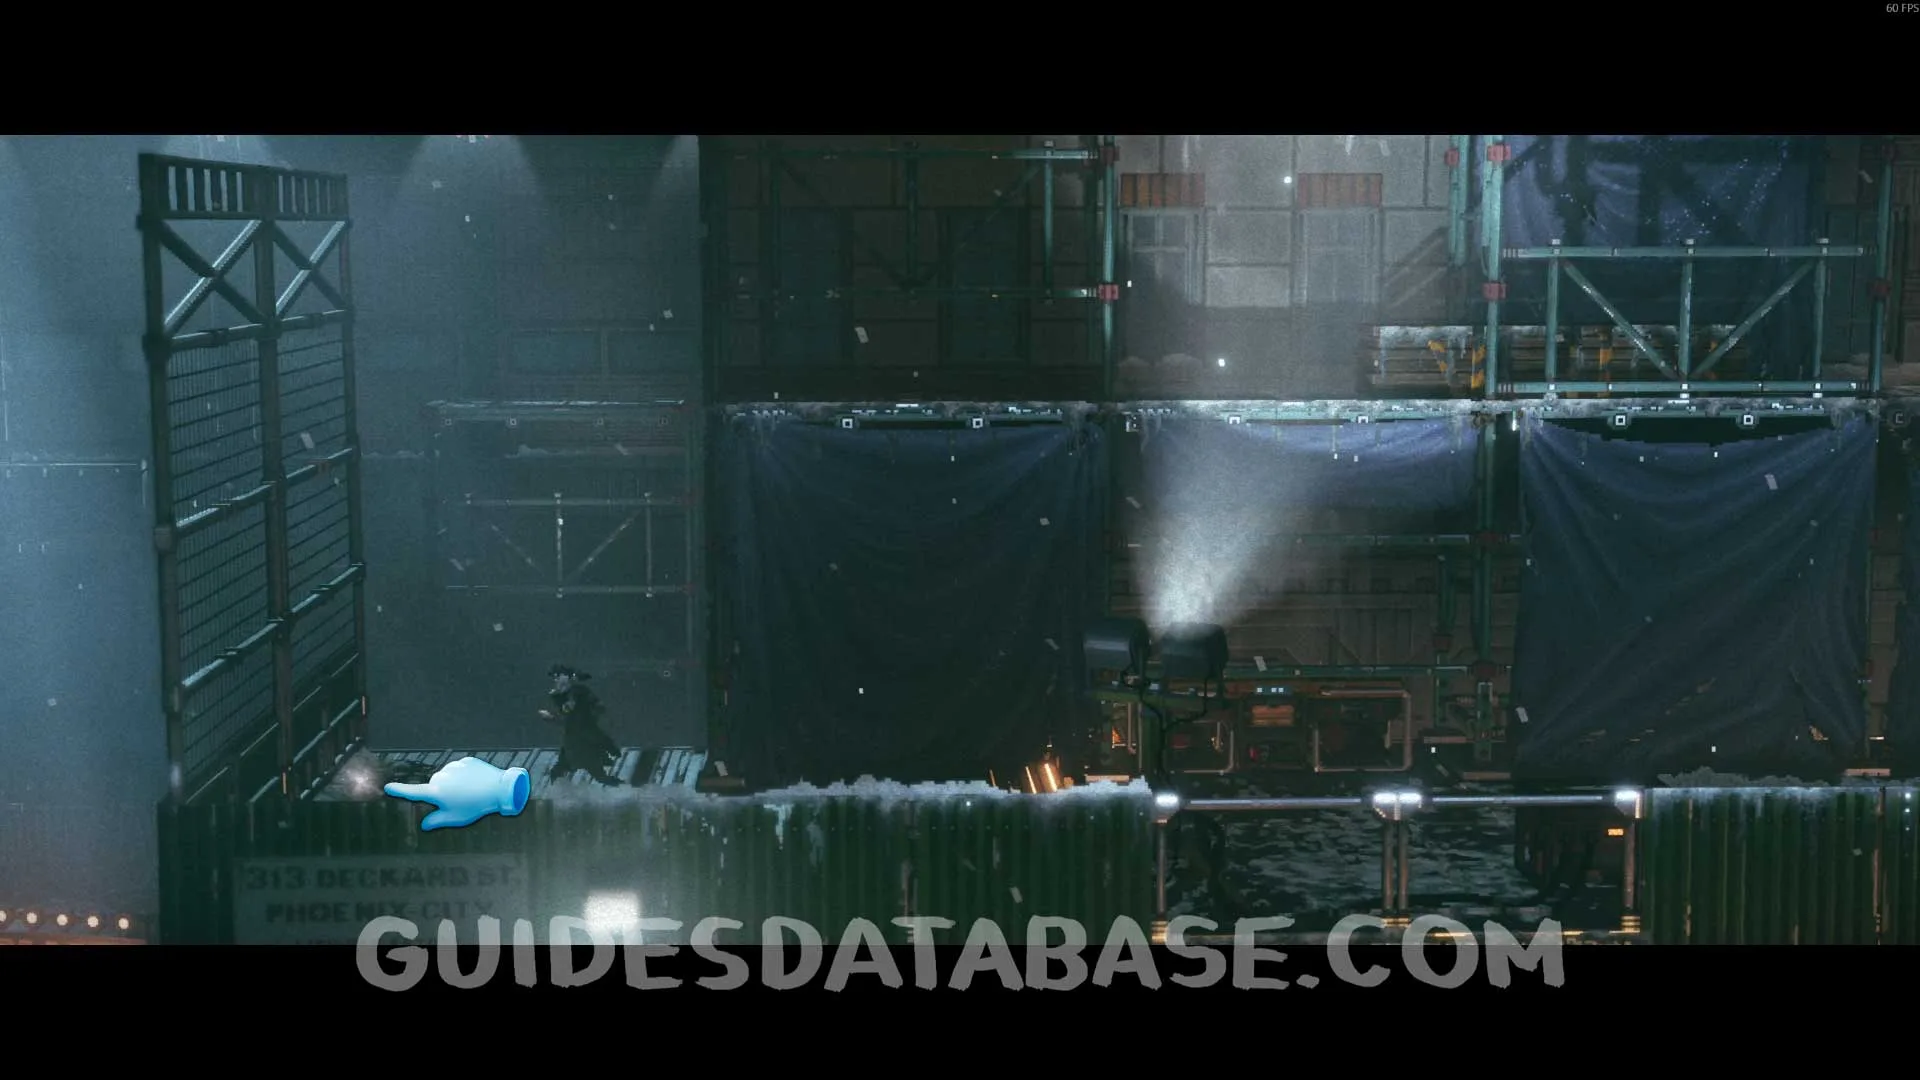 GUIDESDATABASE.COM
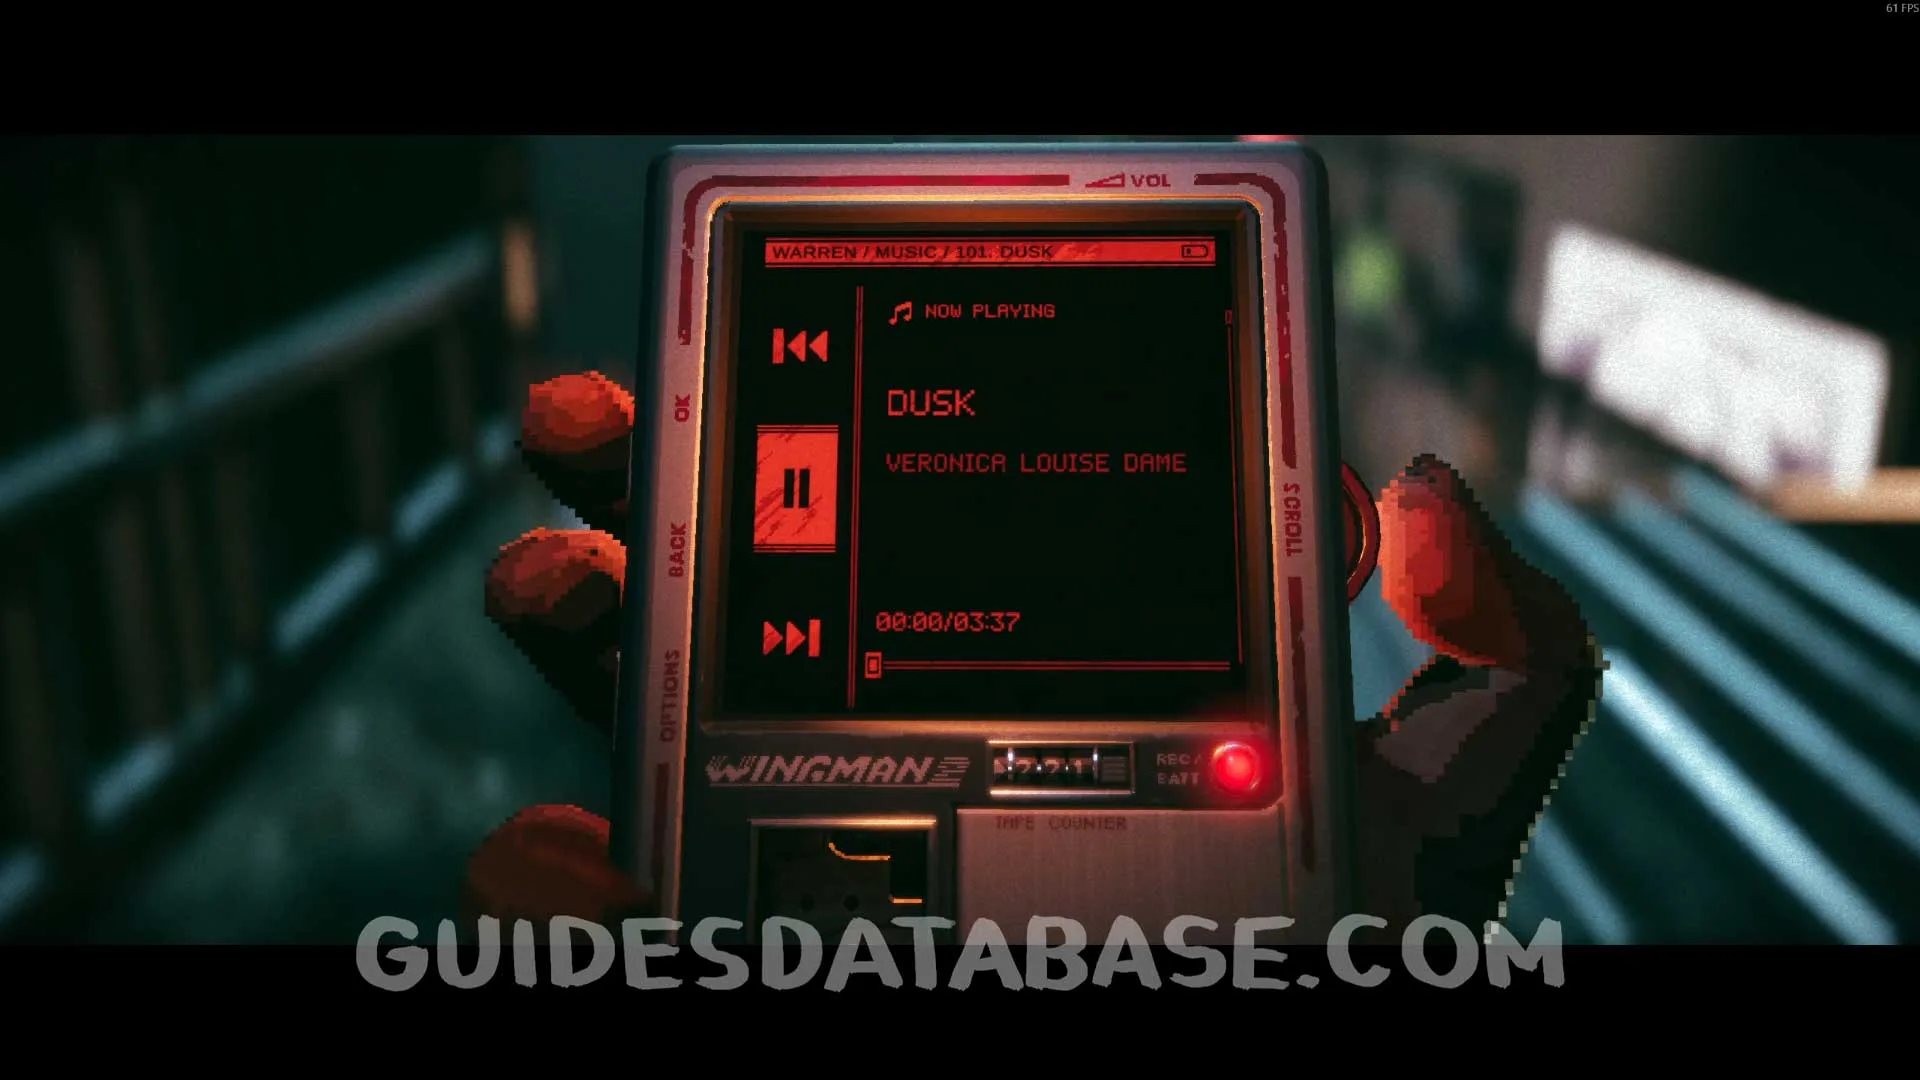 GUIDESDATABASE.COM
Music #15 Stranger in the Mirror
A little further into this chapter you will need to interact with the computer to progress through the story. Next to the computer you will find this music.
 GUIDESDATABASE.COM
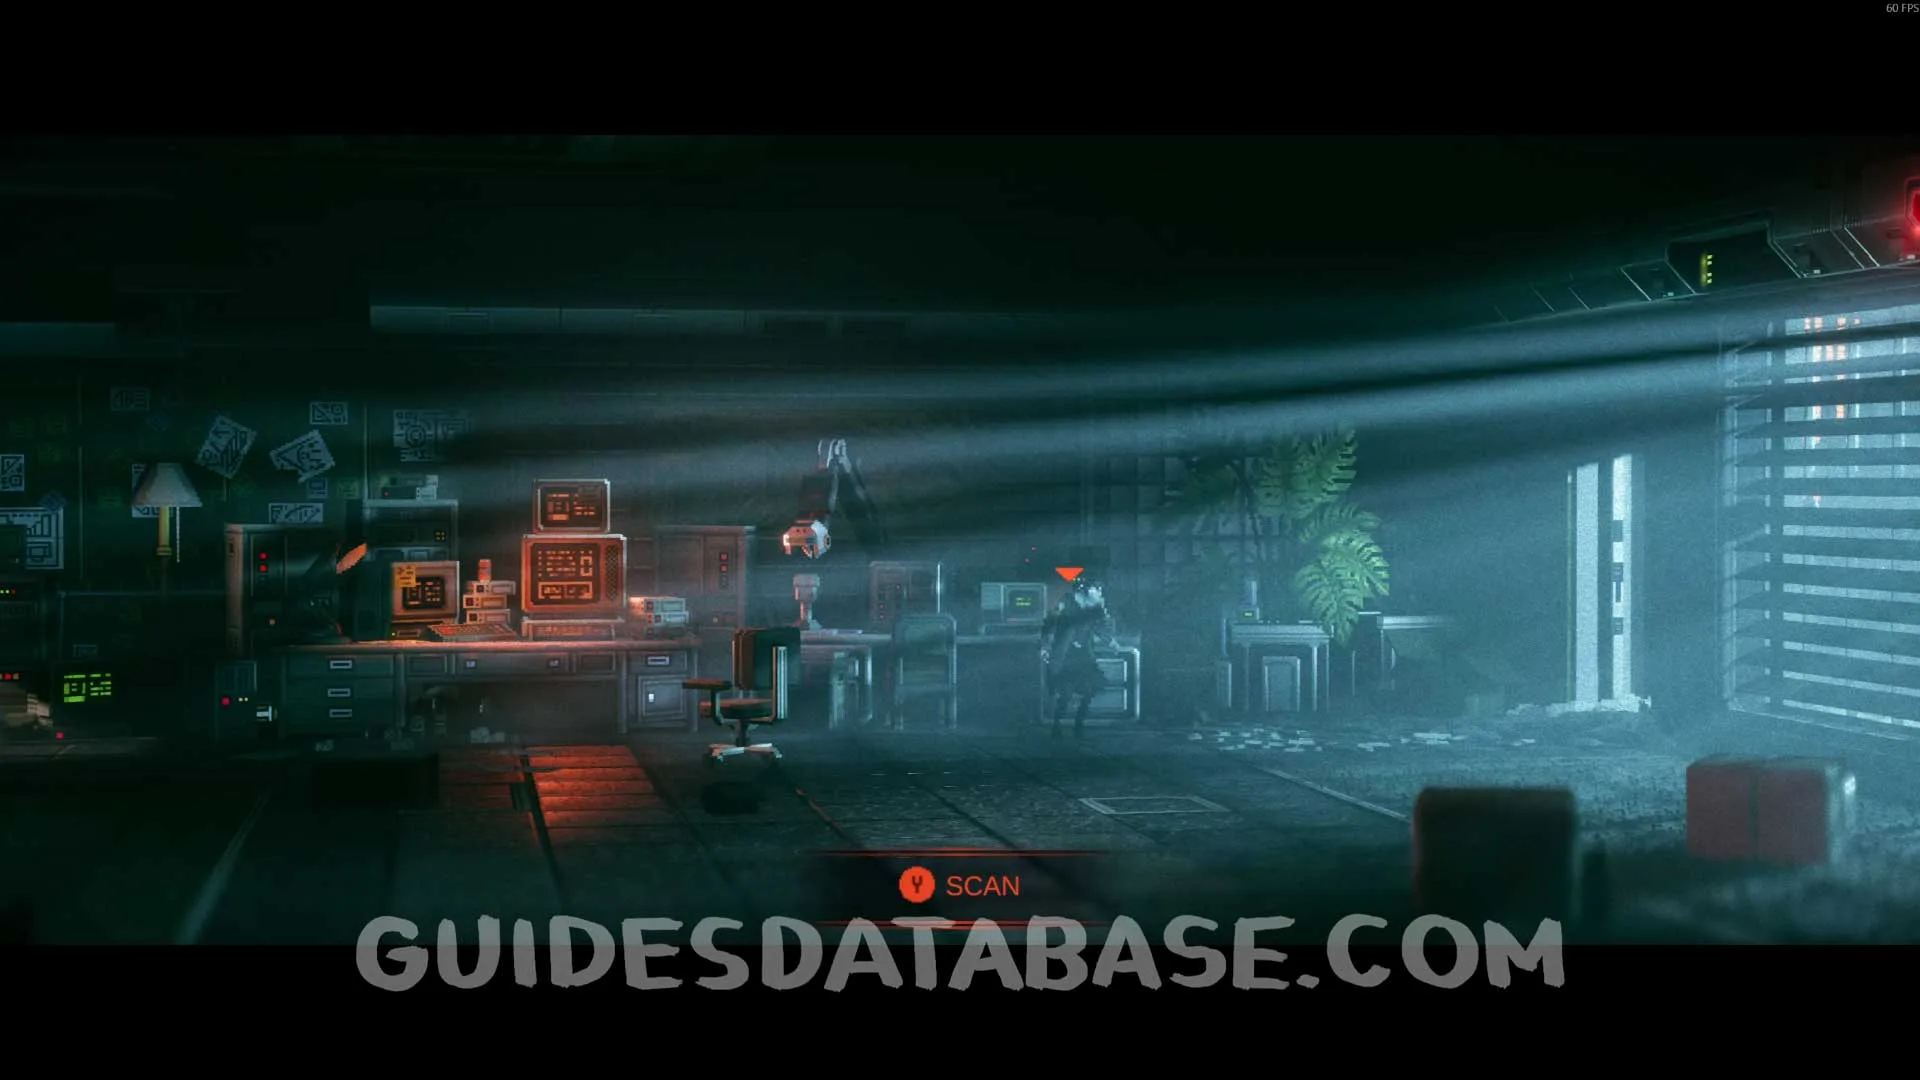 GUIDESDATABASE.COM
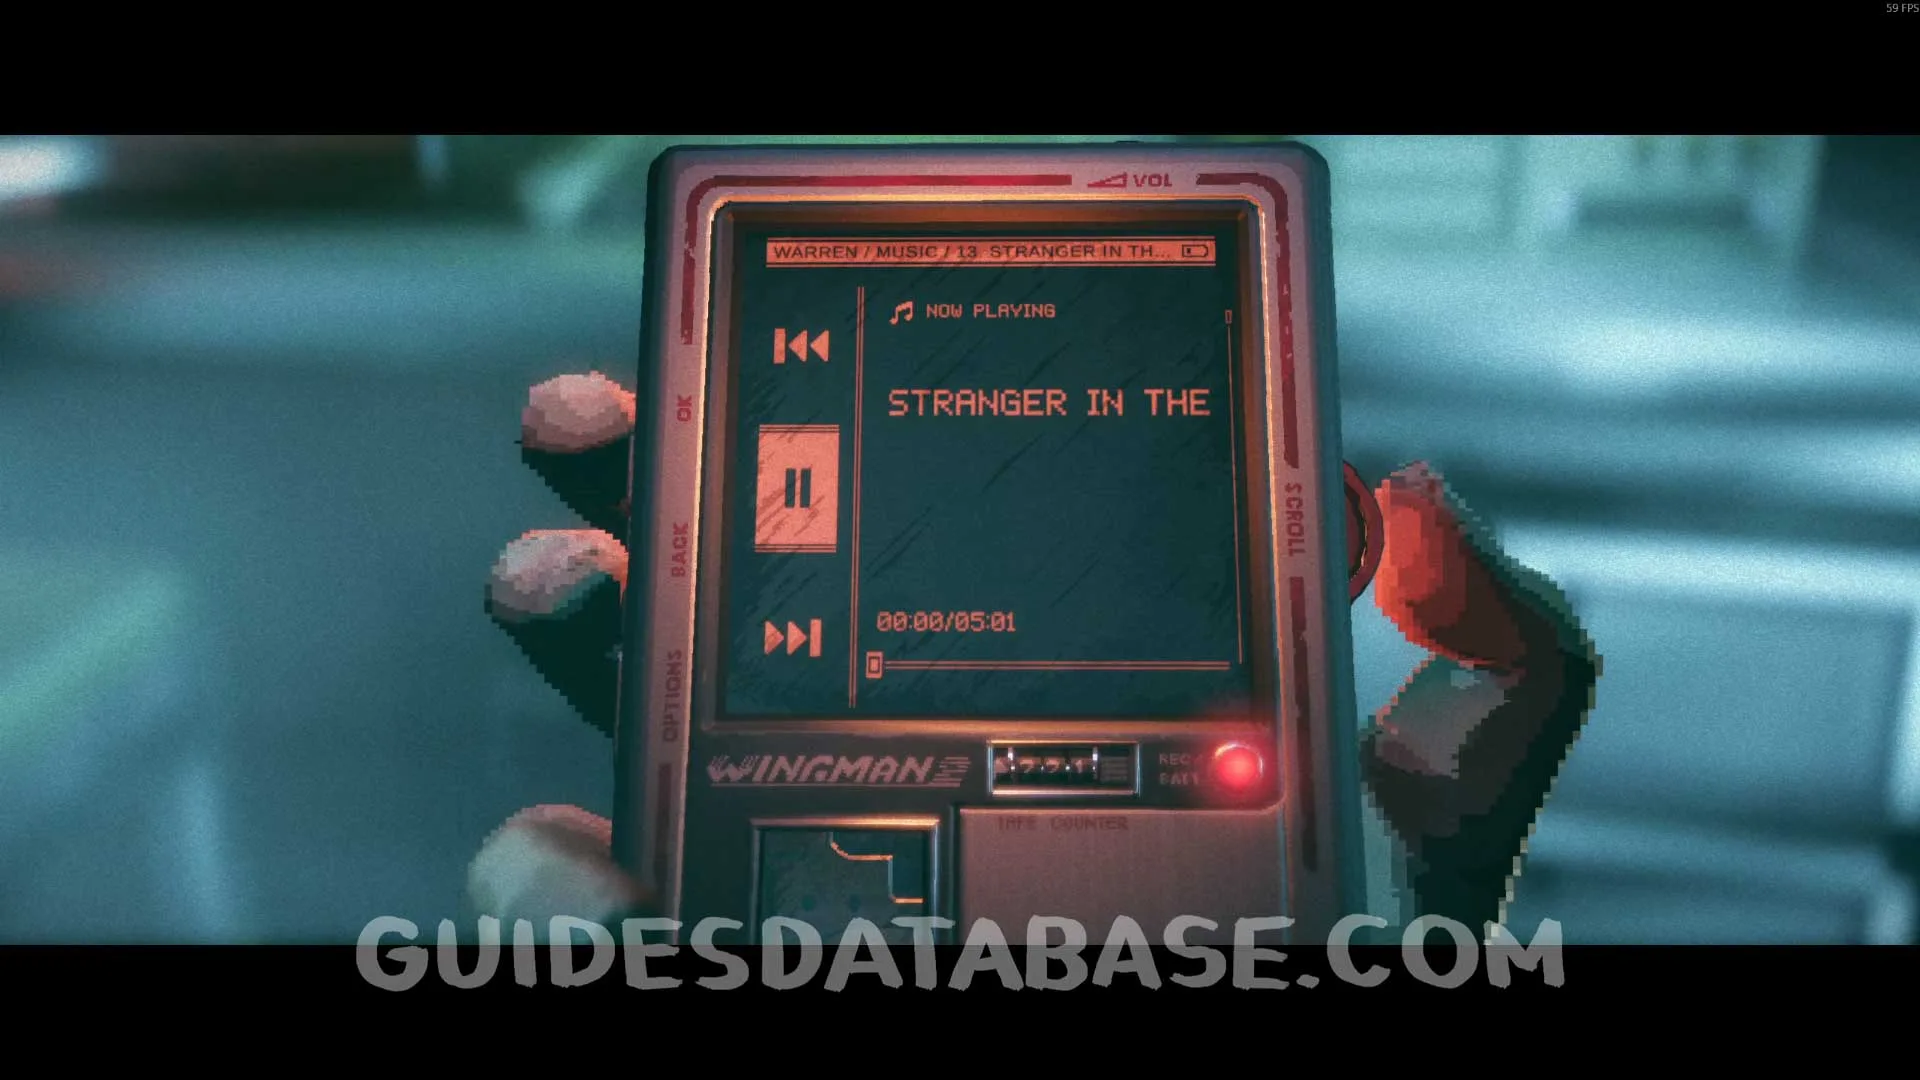 GUIDESDATABASE.COM
Chapter 9
Scan #100 Secret Orders
At the start of the chapter, on the left side of the safe zone, on the ground.
 GUIDESDATABASE.COM
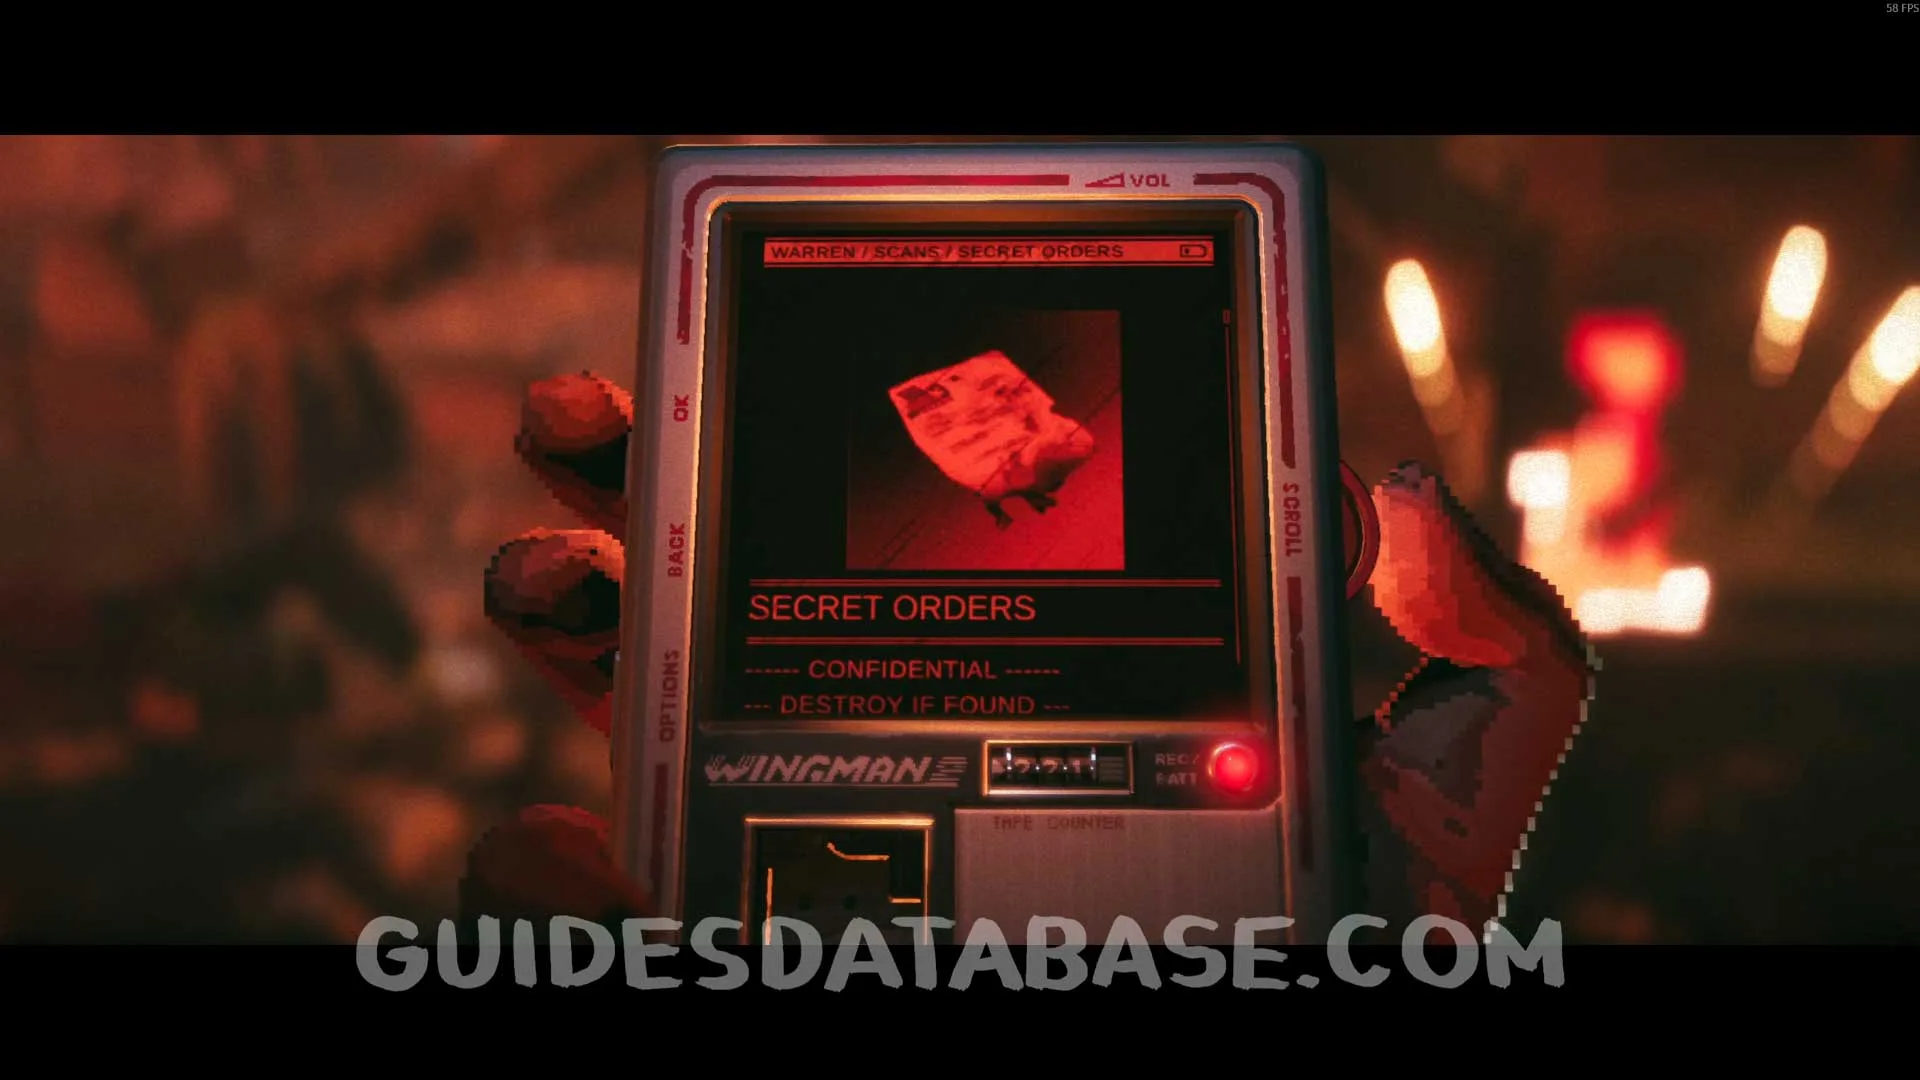 GUIDESDATABASE.COM
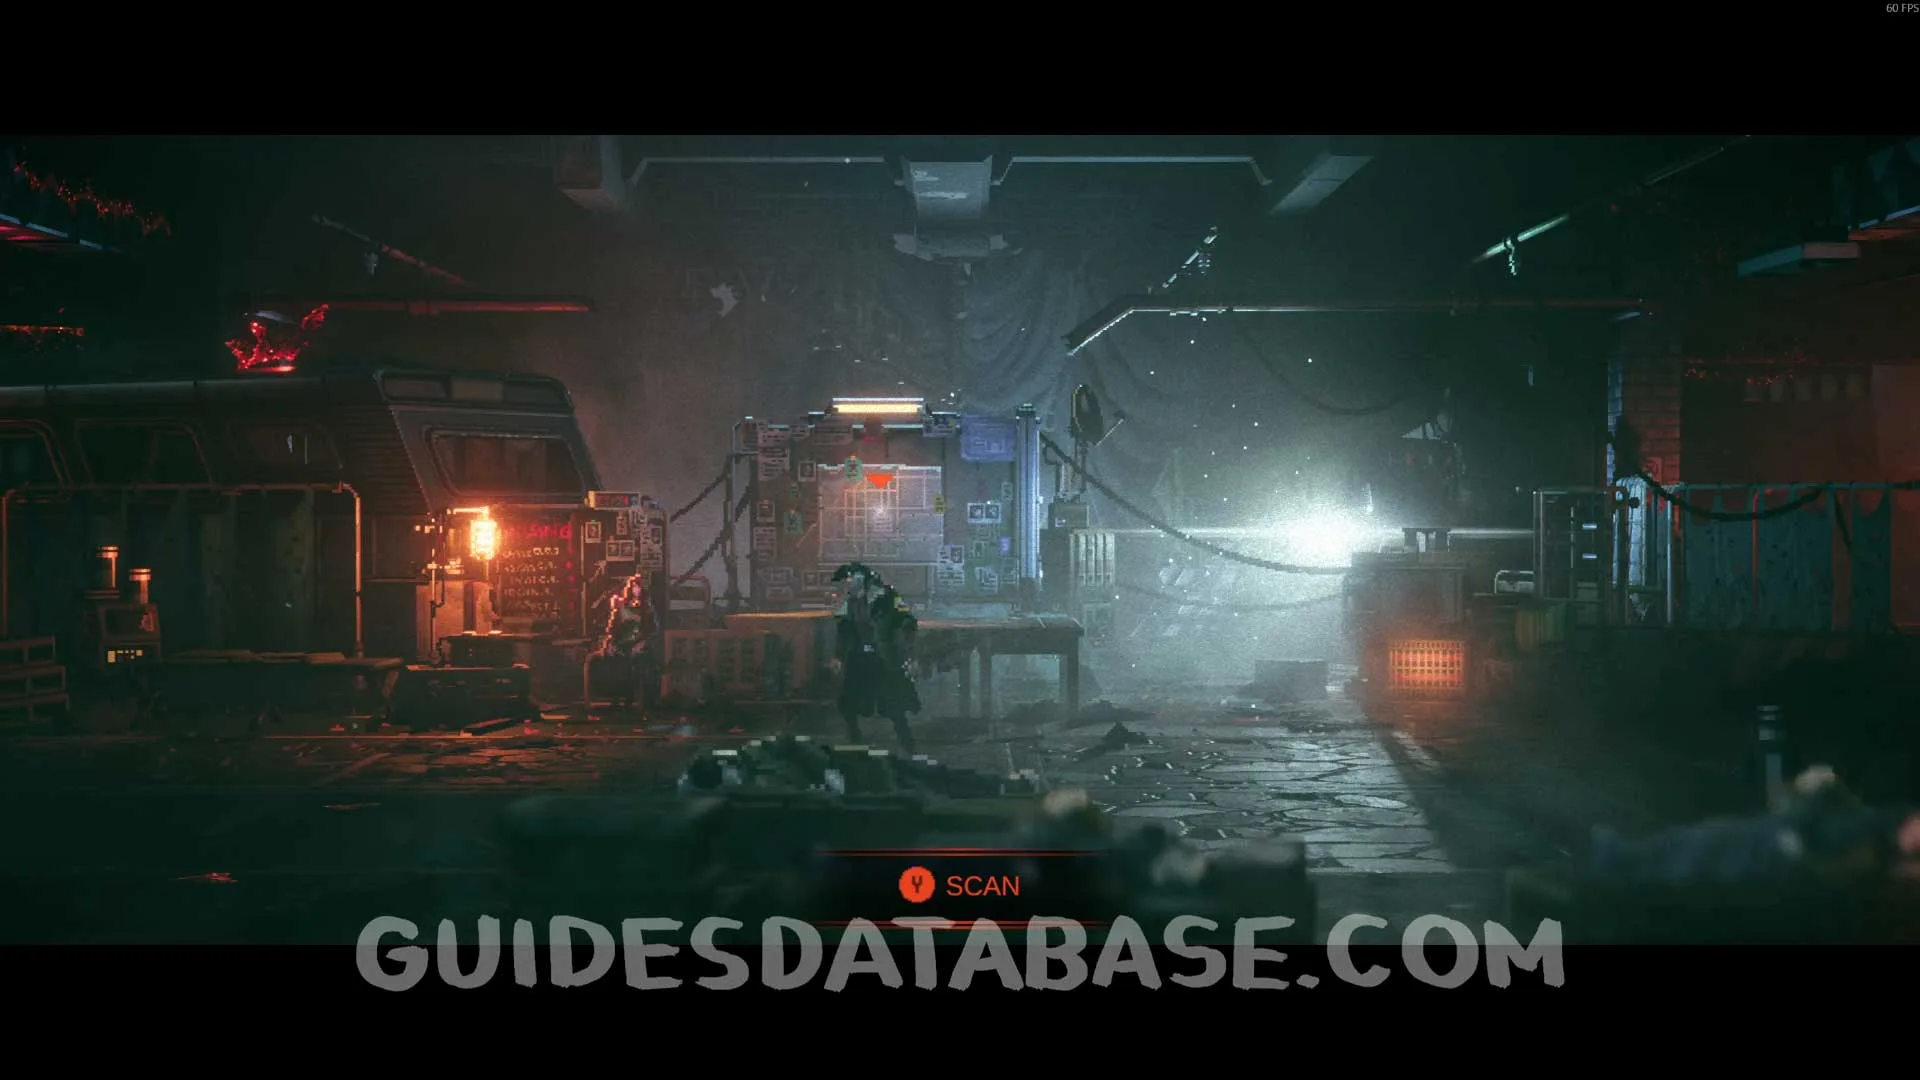
Music #16 Ash
Upon entering the safe zone, head to the right to find this music.
 GUIDESDATABASE.COM
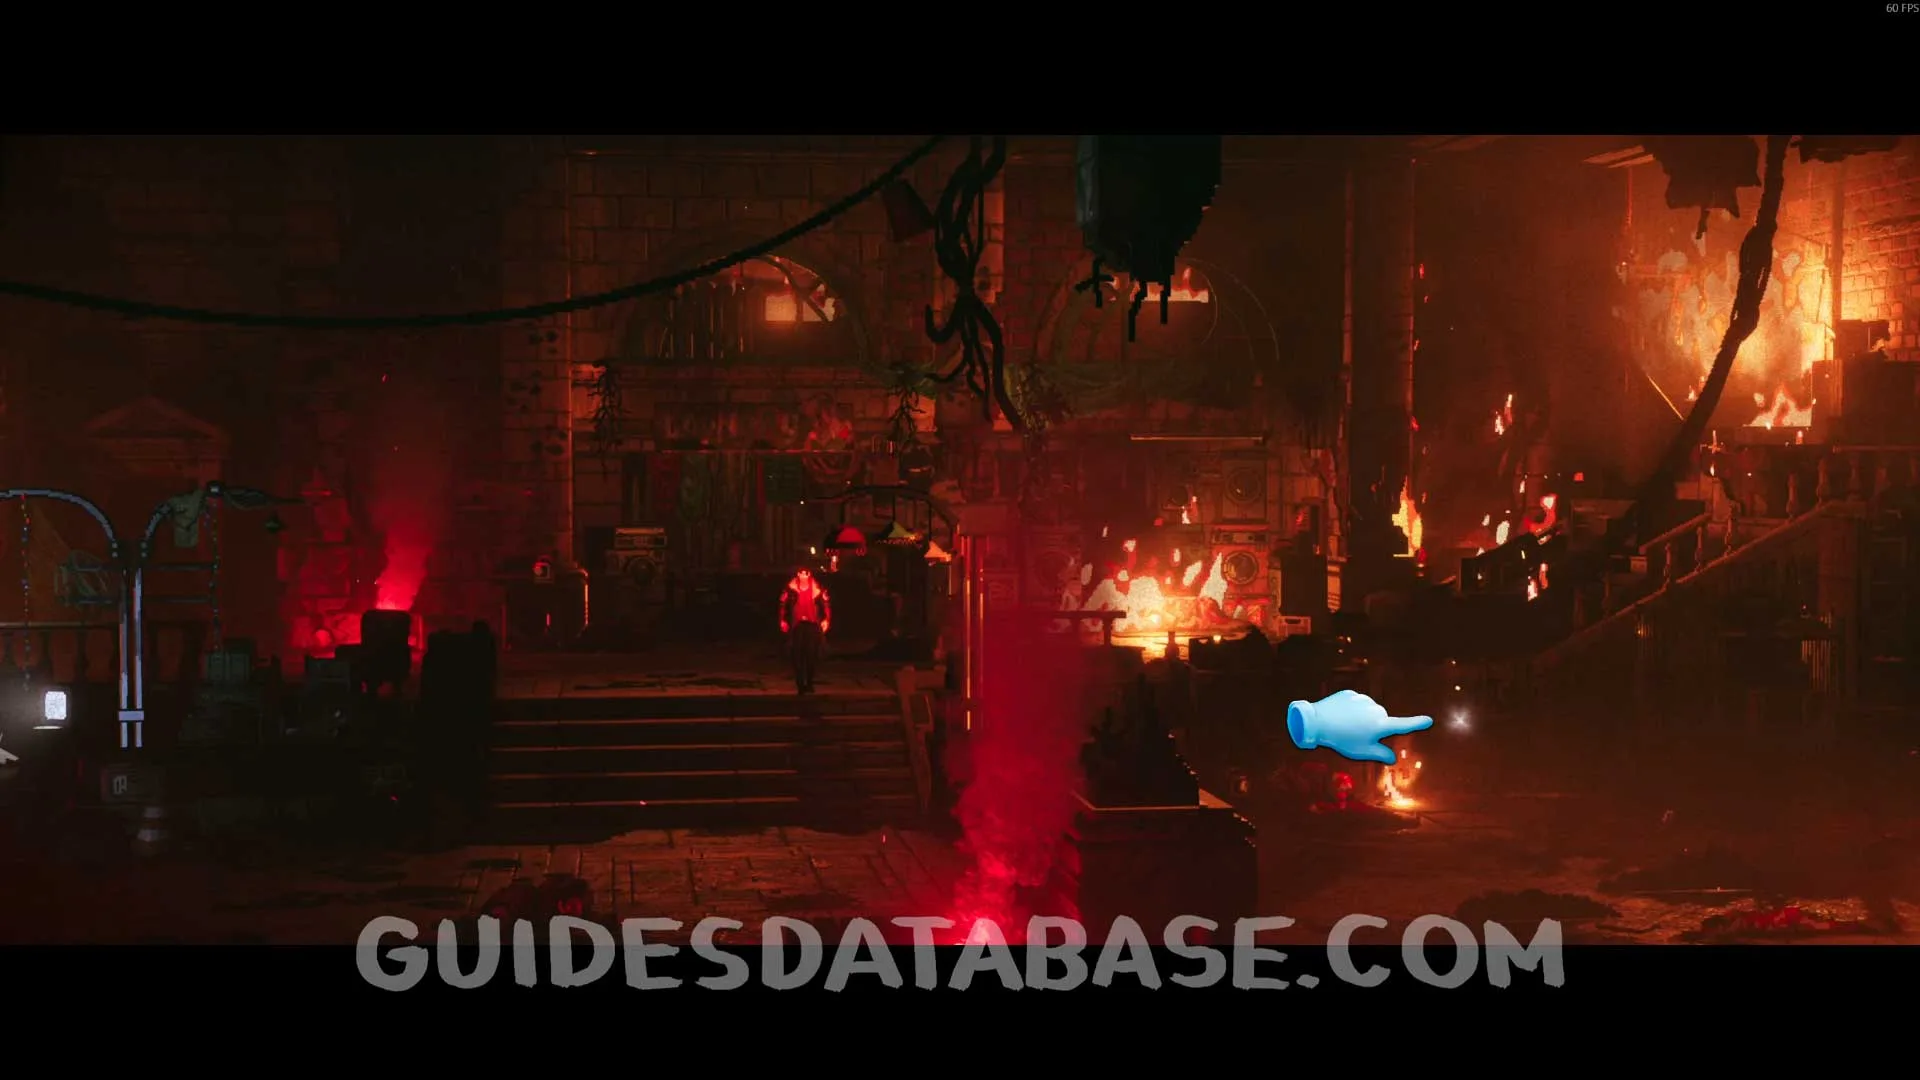 GUIDESDATABASE.COM
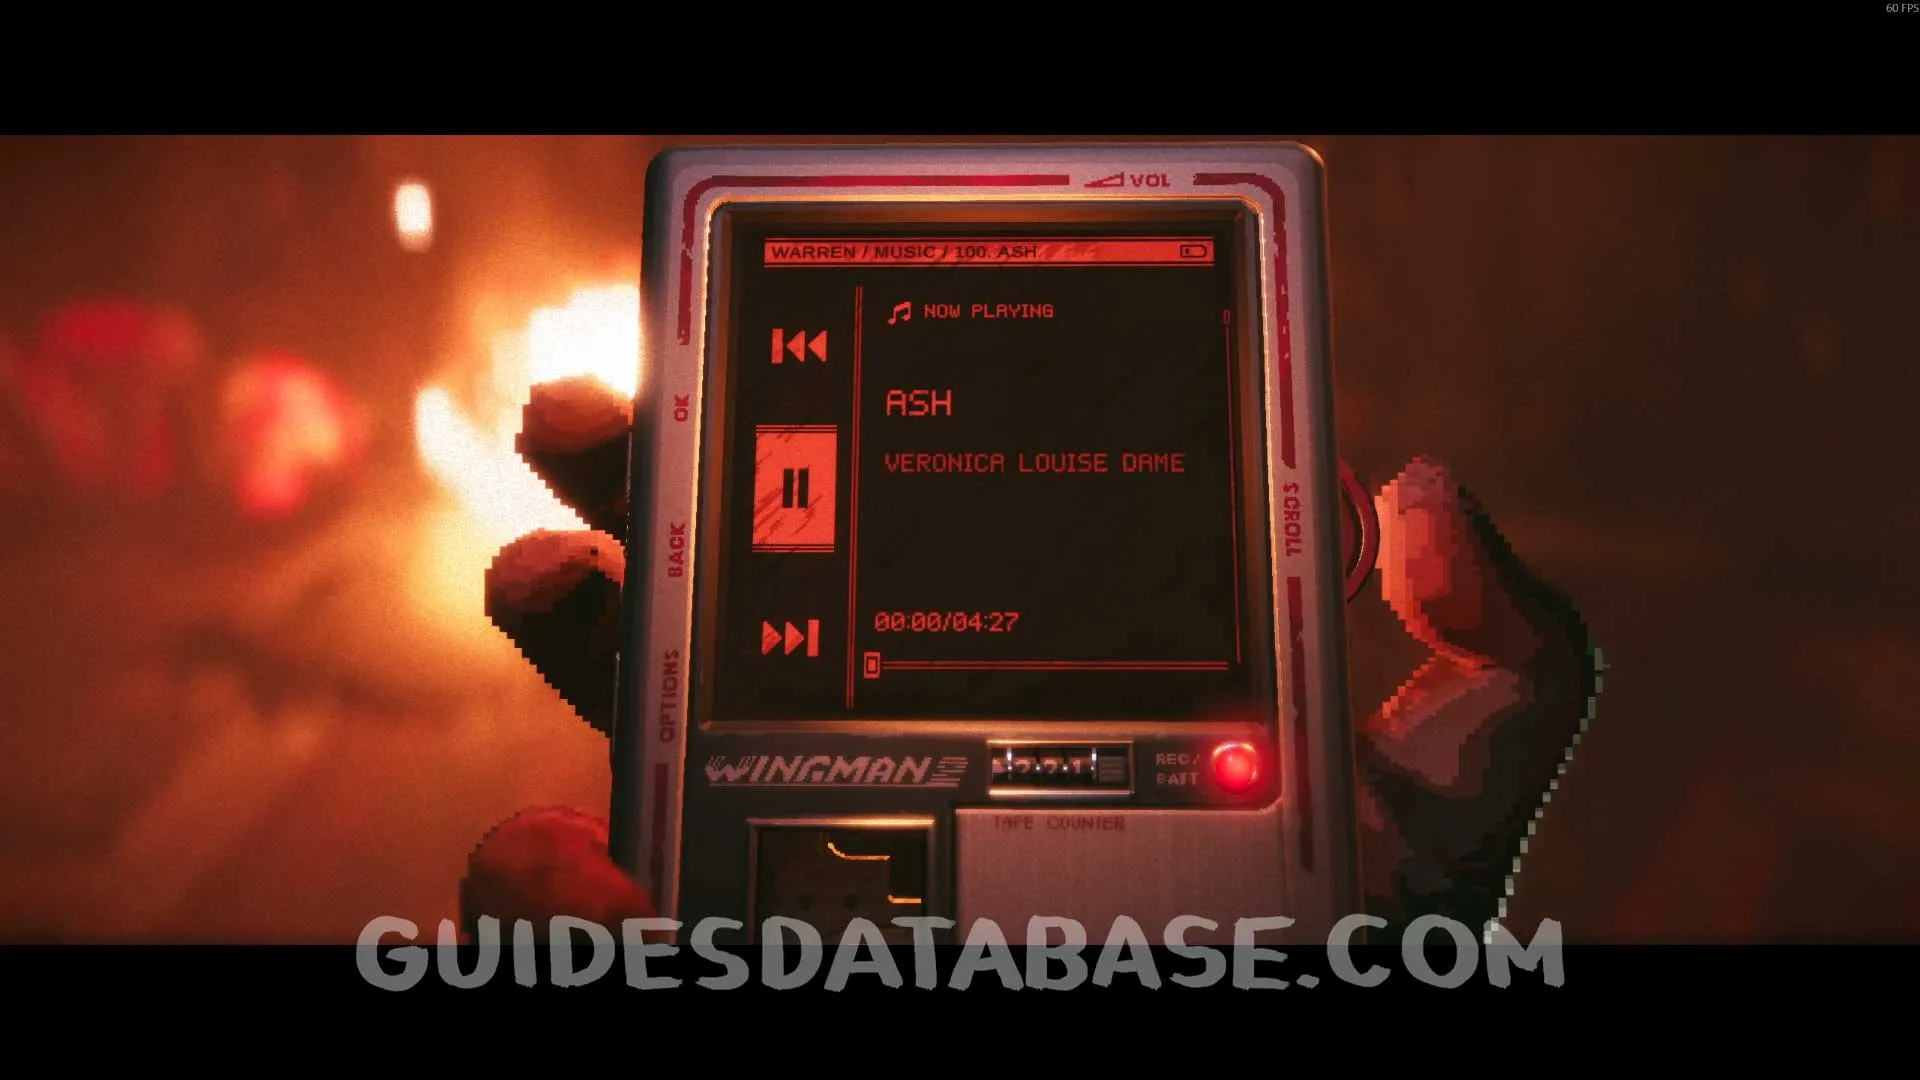 GUIDESDATABASE.COM
Scan #101 Makeshift Task Board
A few minutes after the boss fight, next to Veronica.
 GUIDESDATABASE.COM
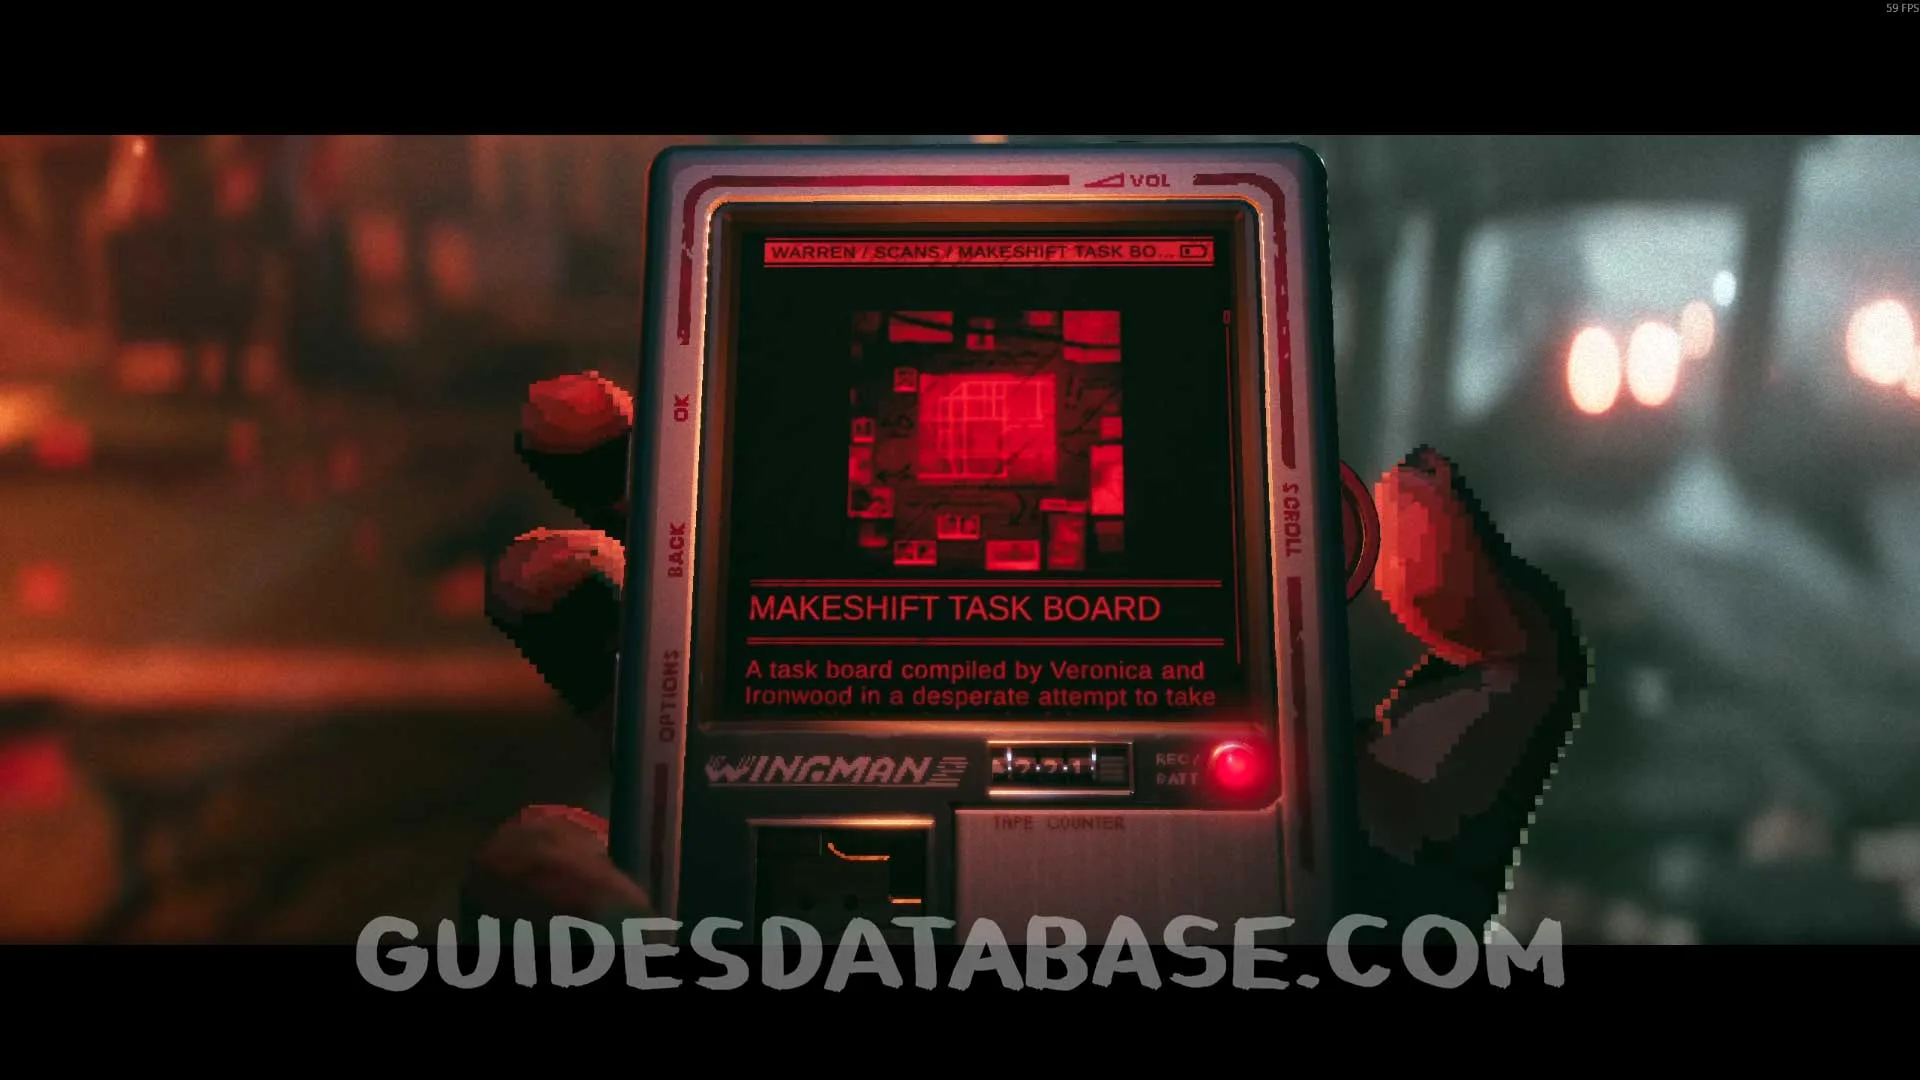 GUIDESDATABASE.COM
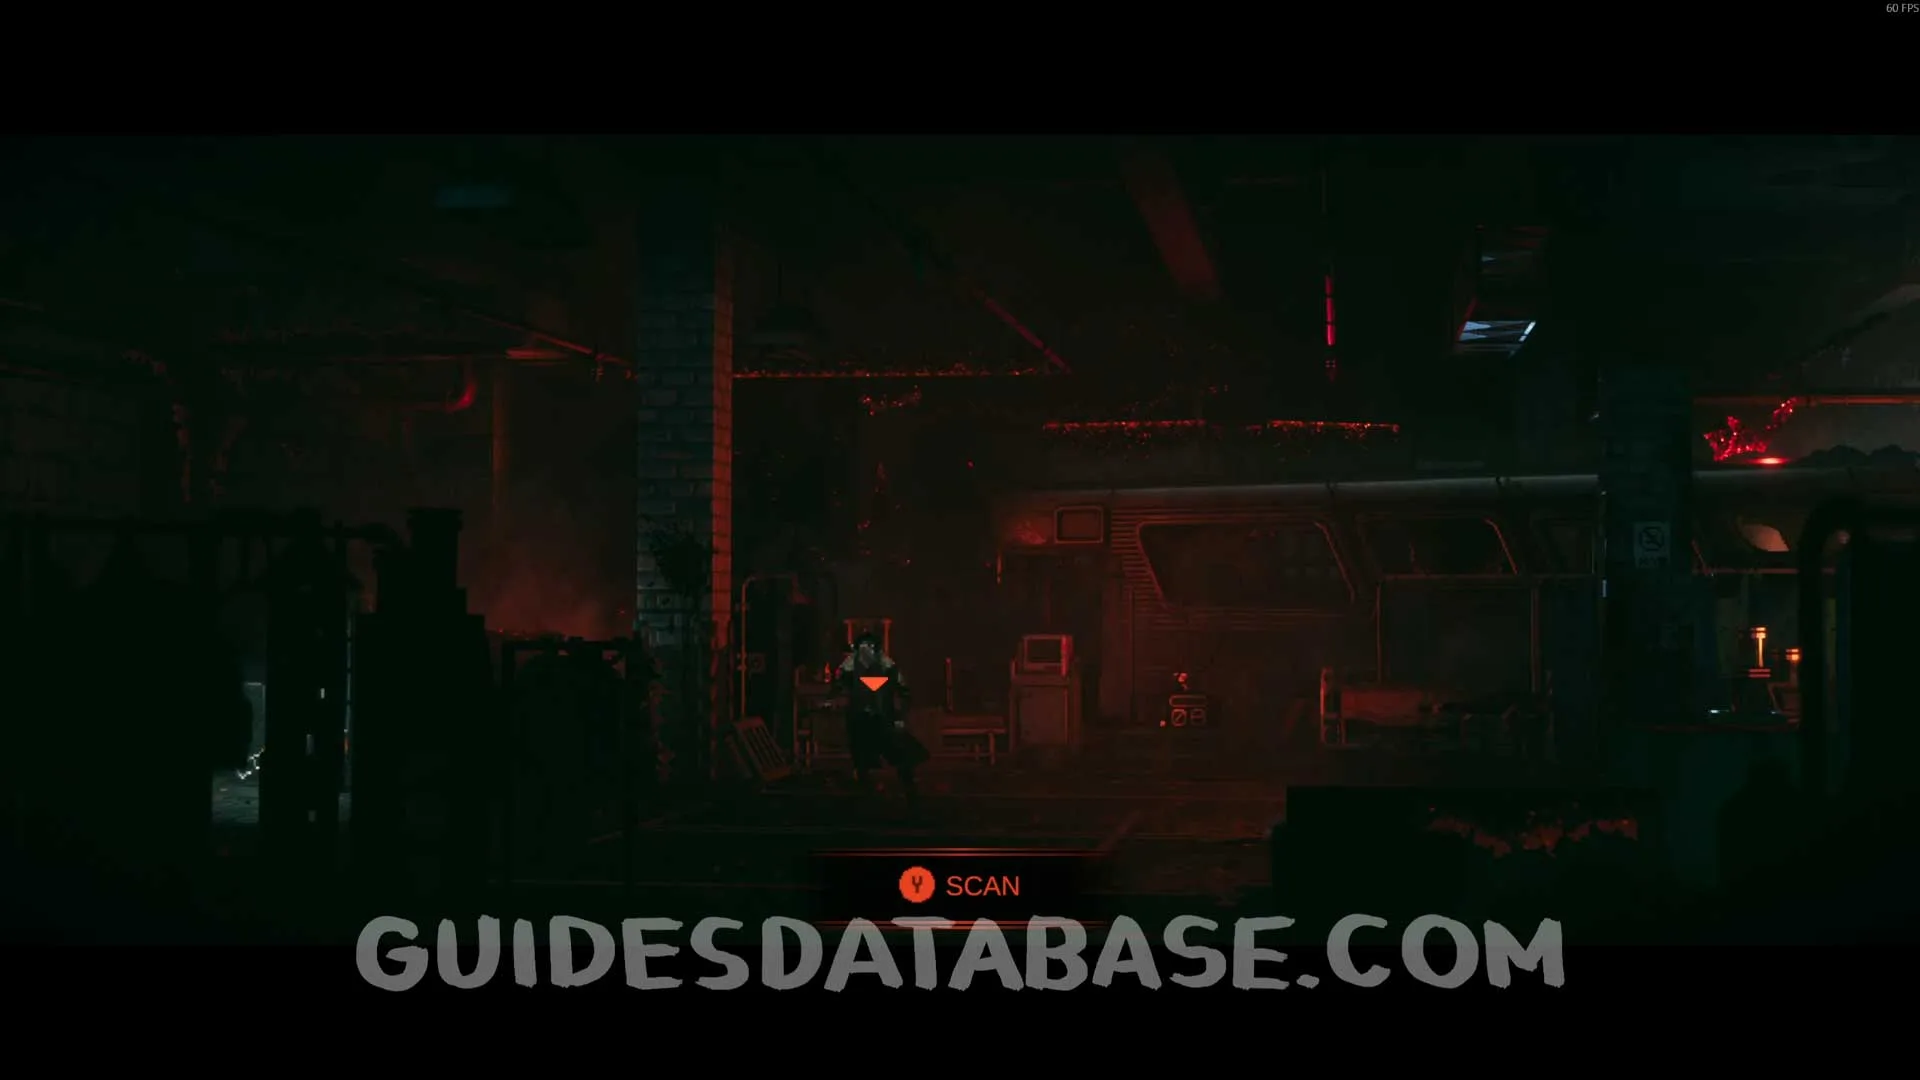
Scan #102 Medical Journal
On the left side of the previous collectible.
 GUIDESDATABASE.COM
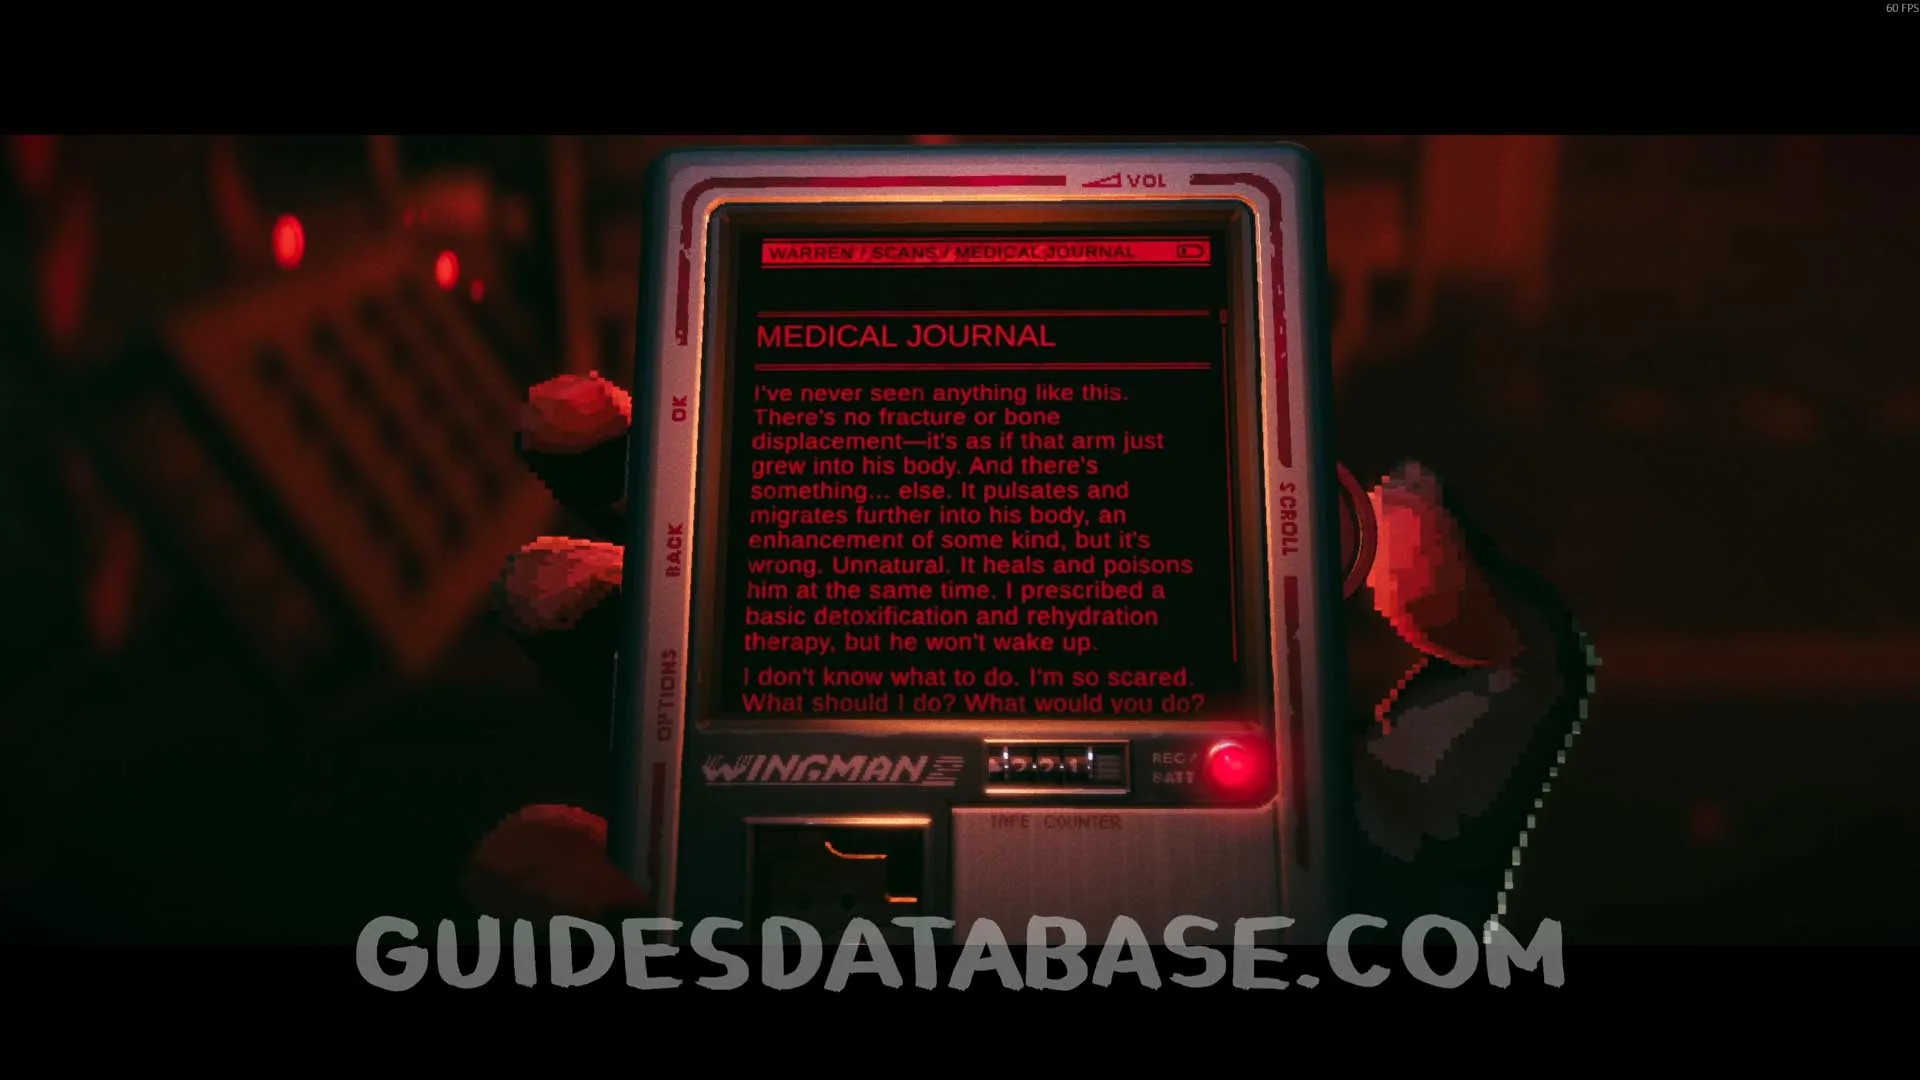 GUIDESDATABASE.COM
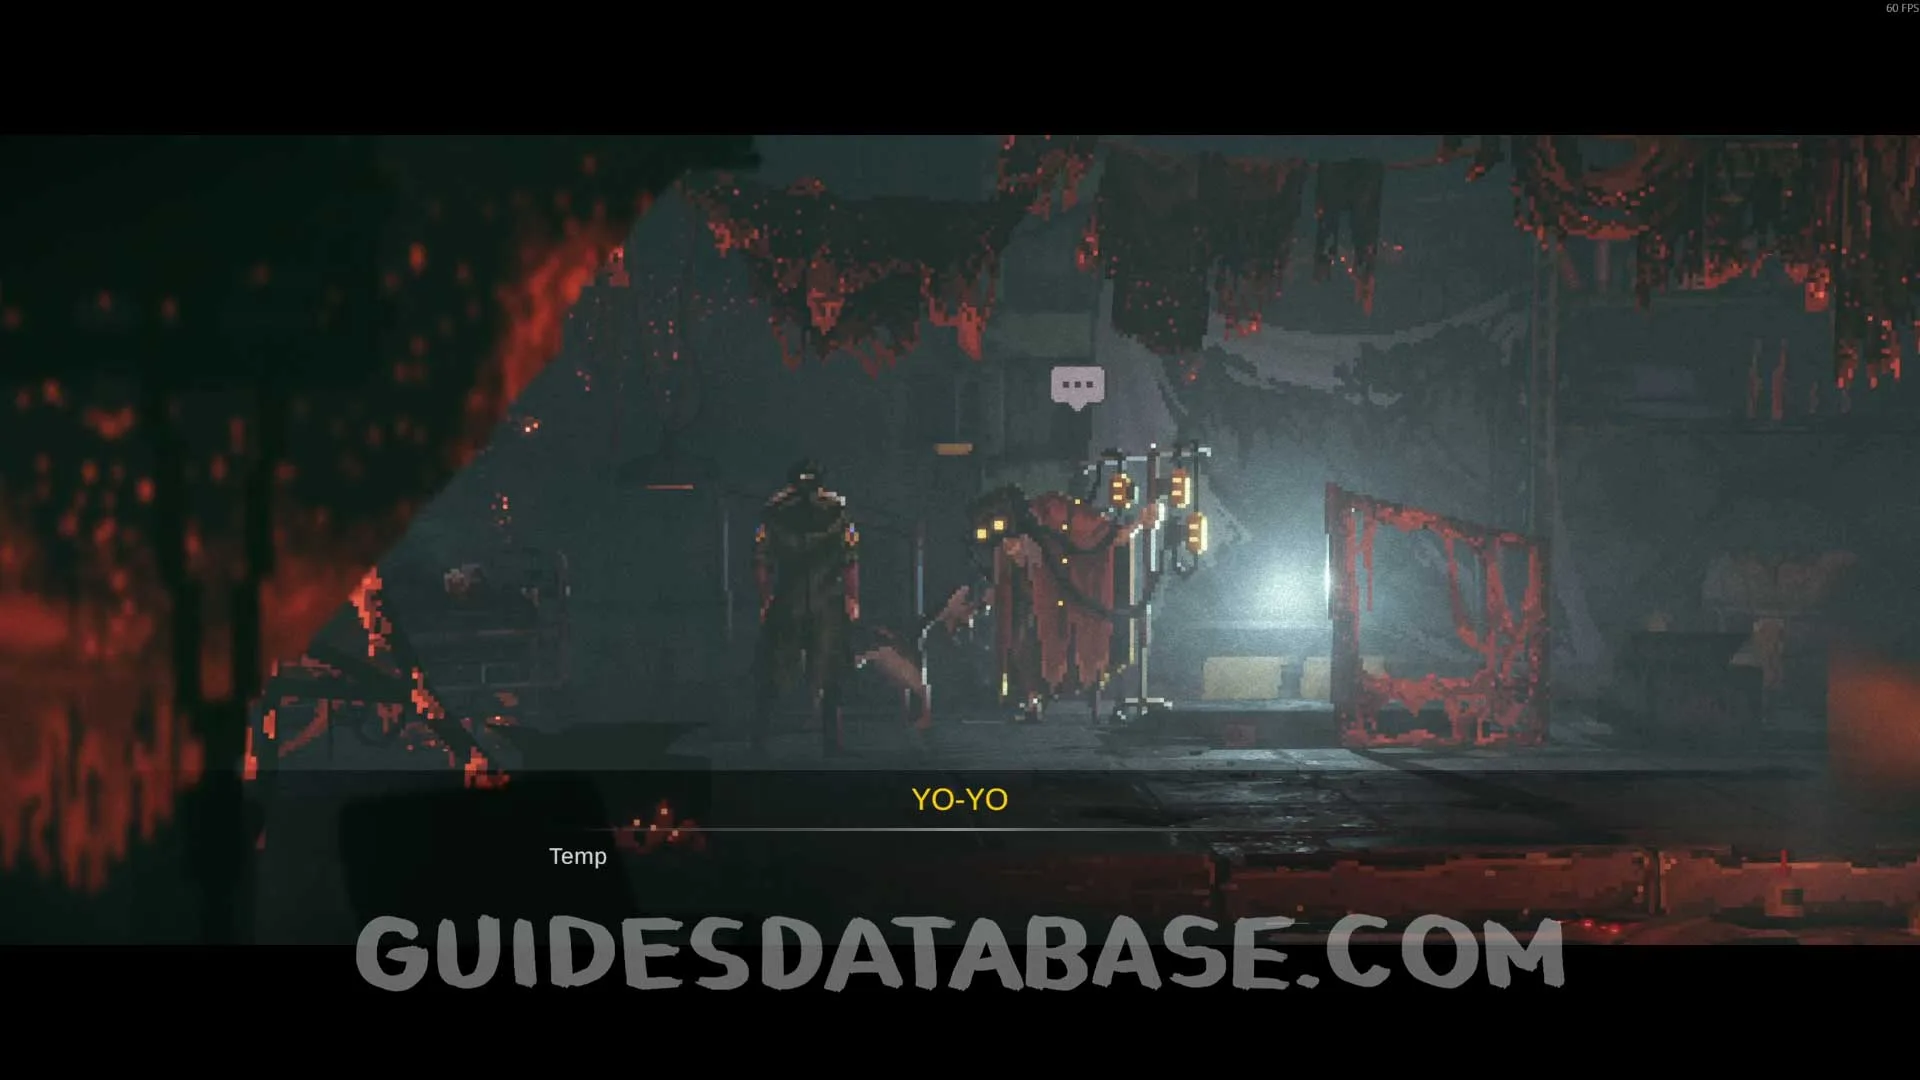
Music #17 Milky Way
Leave the hospital and talk to YO-YO to obtain this music.
 GUIDESDATABASE.COM
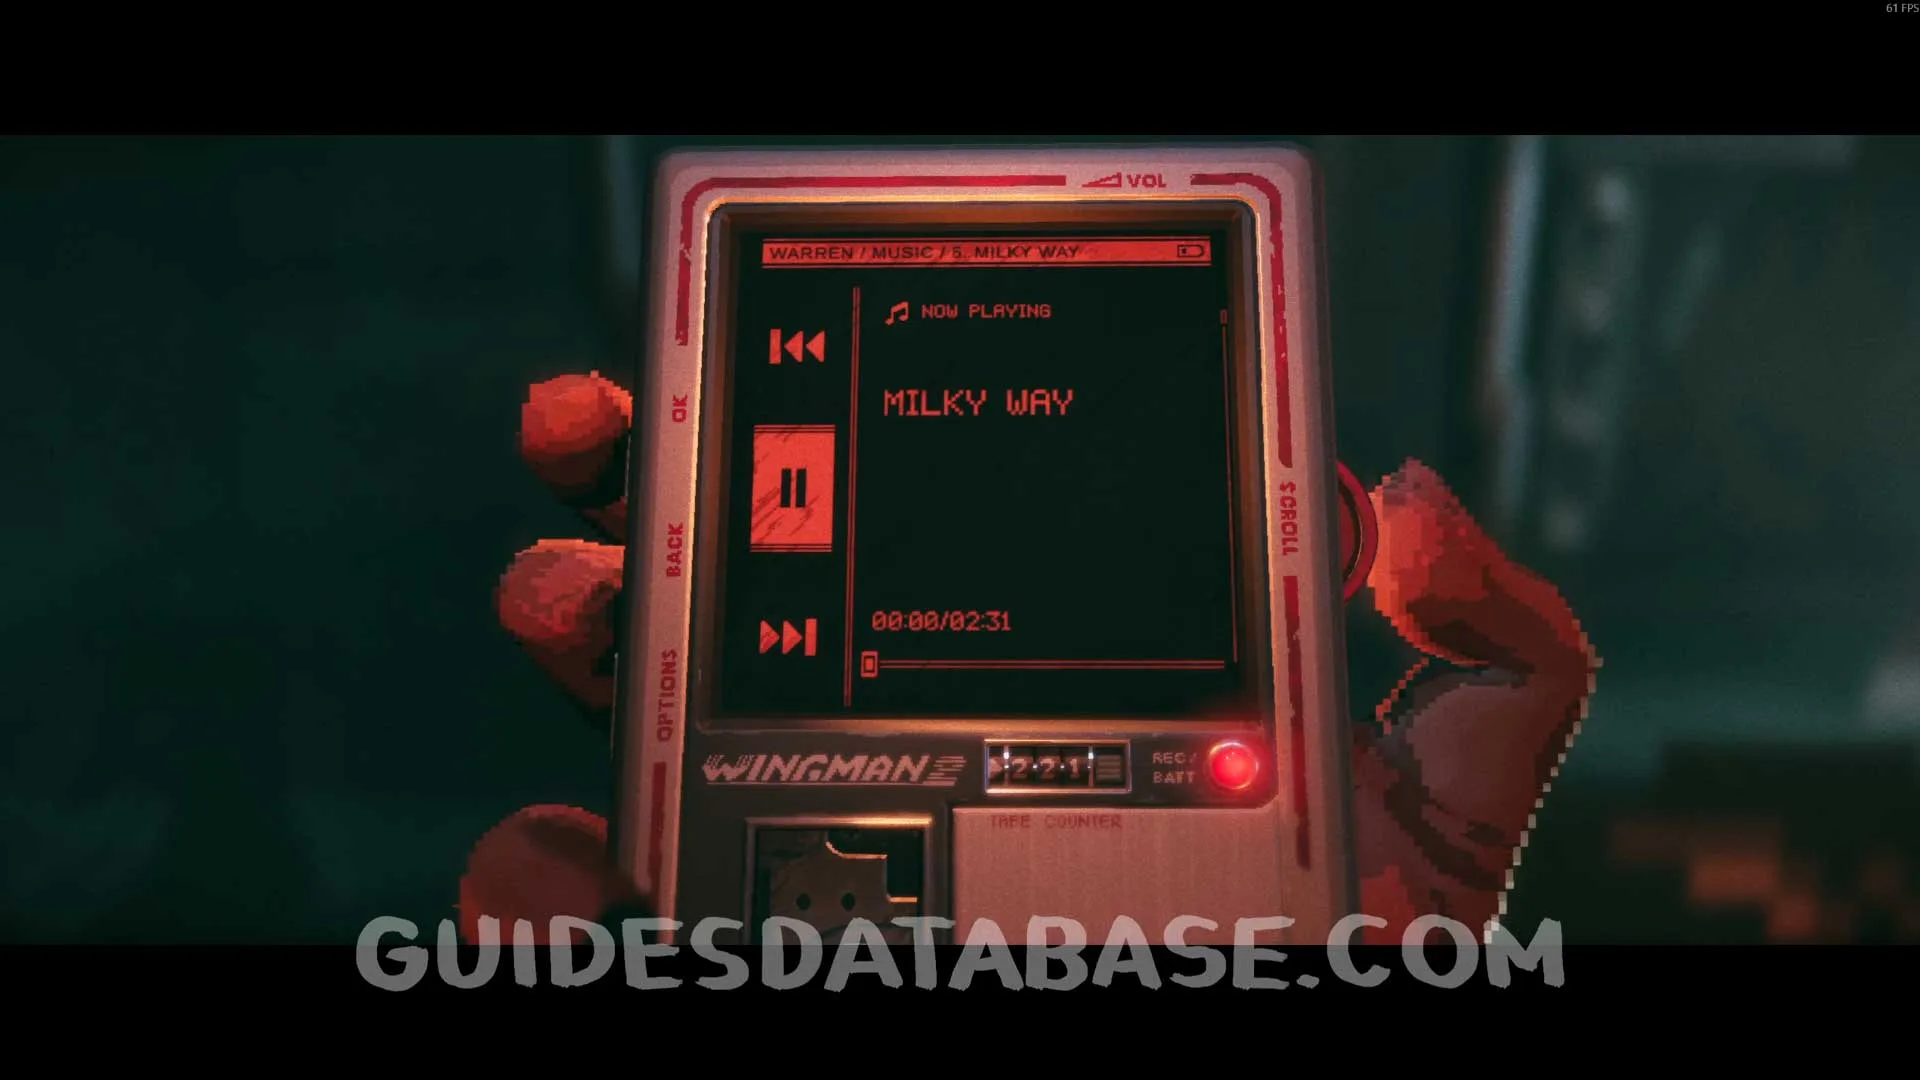 GUIDESDATABASE.COM
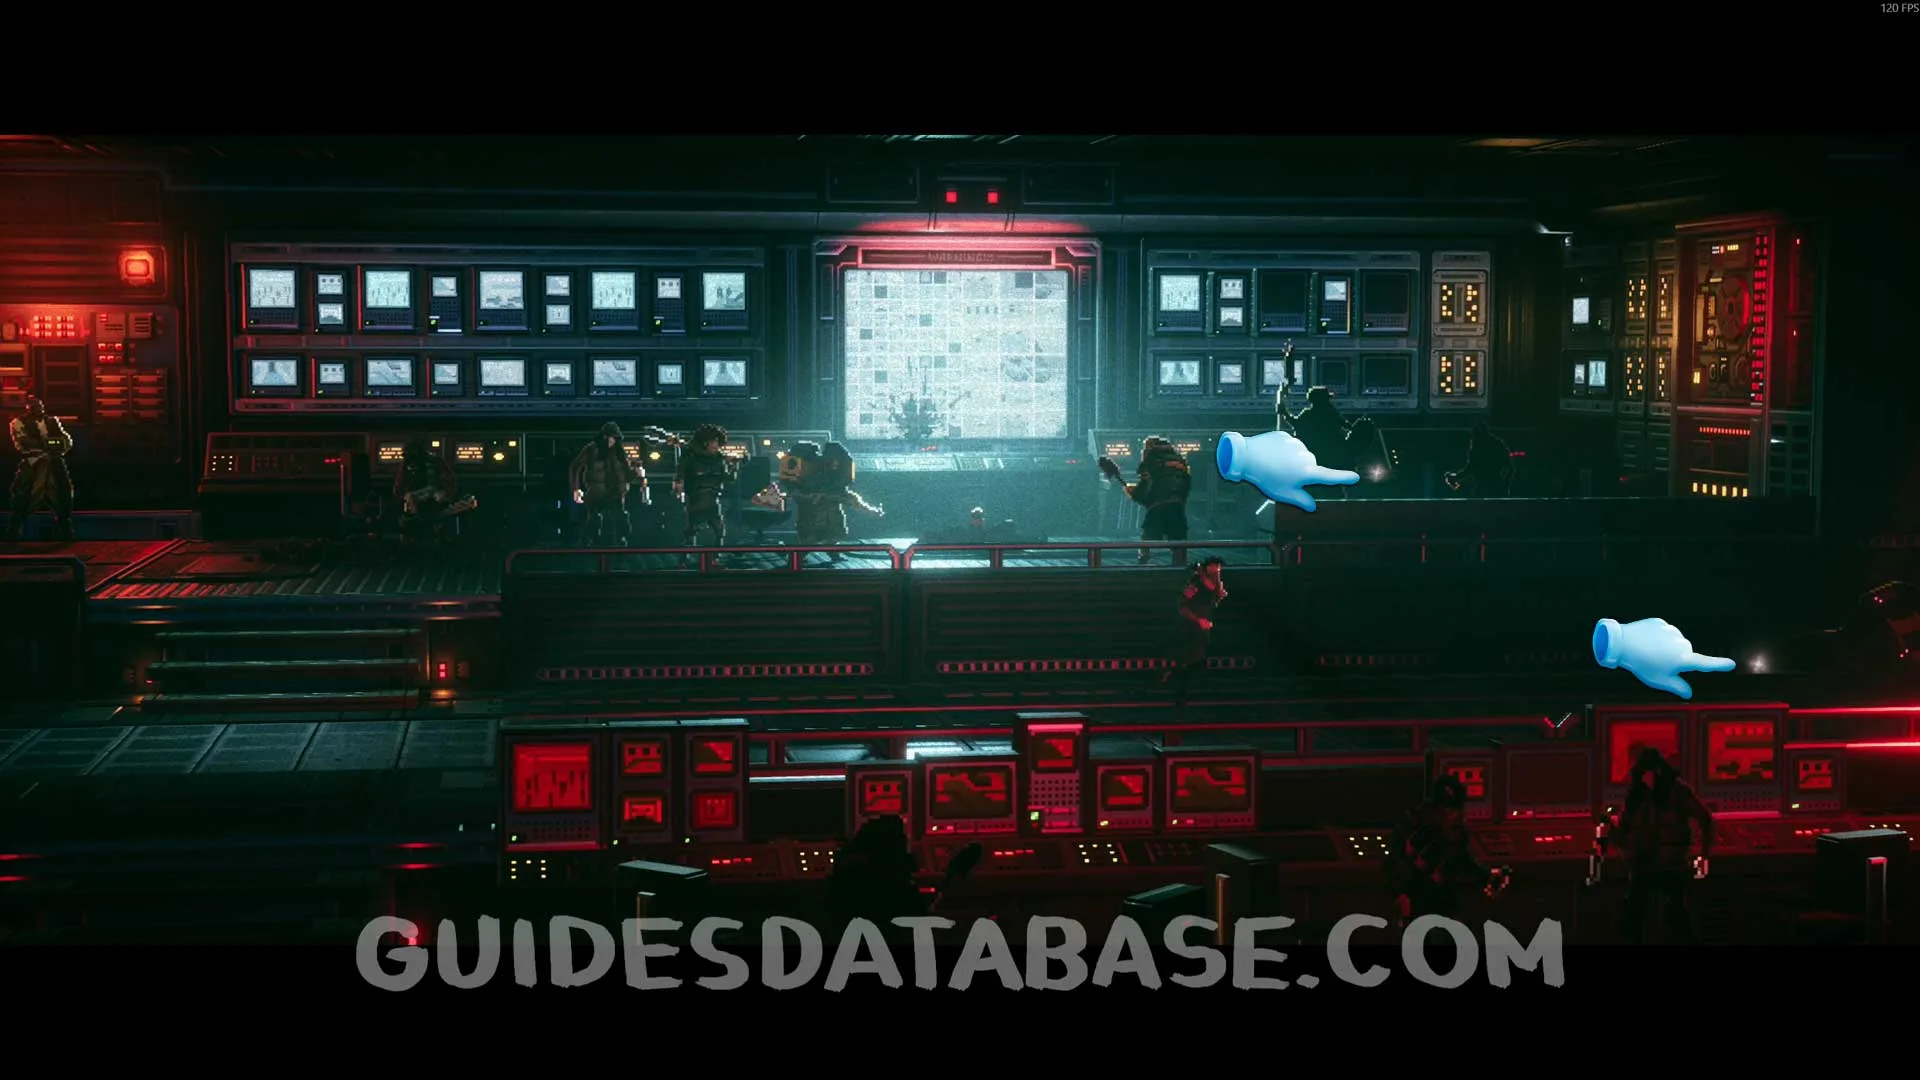
Scan #103 Elite's Diary + Scan #104 On The Subject of the Disposals
After talking to Ironwood and heading to the new area, this will be on the right side before you go up the stairs.
 GUIDESDATABASE.COM
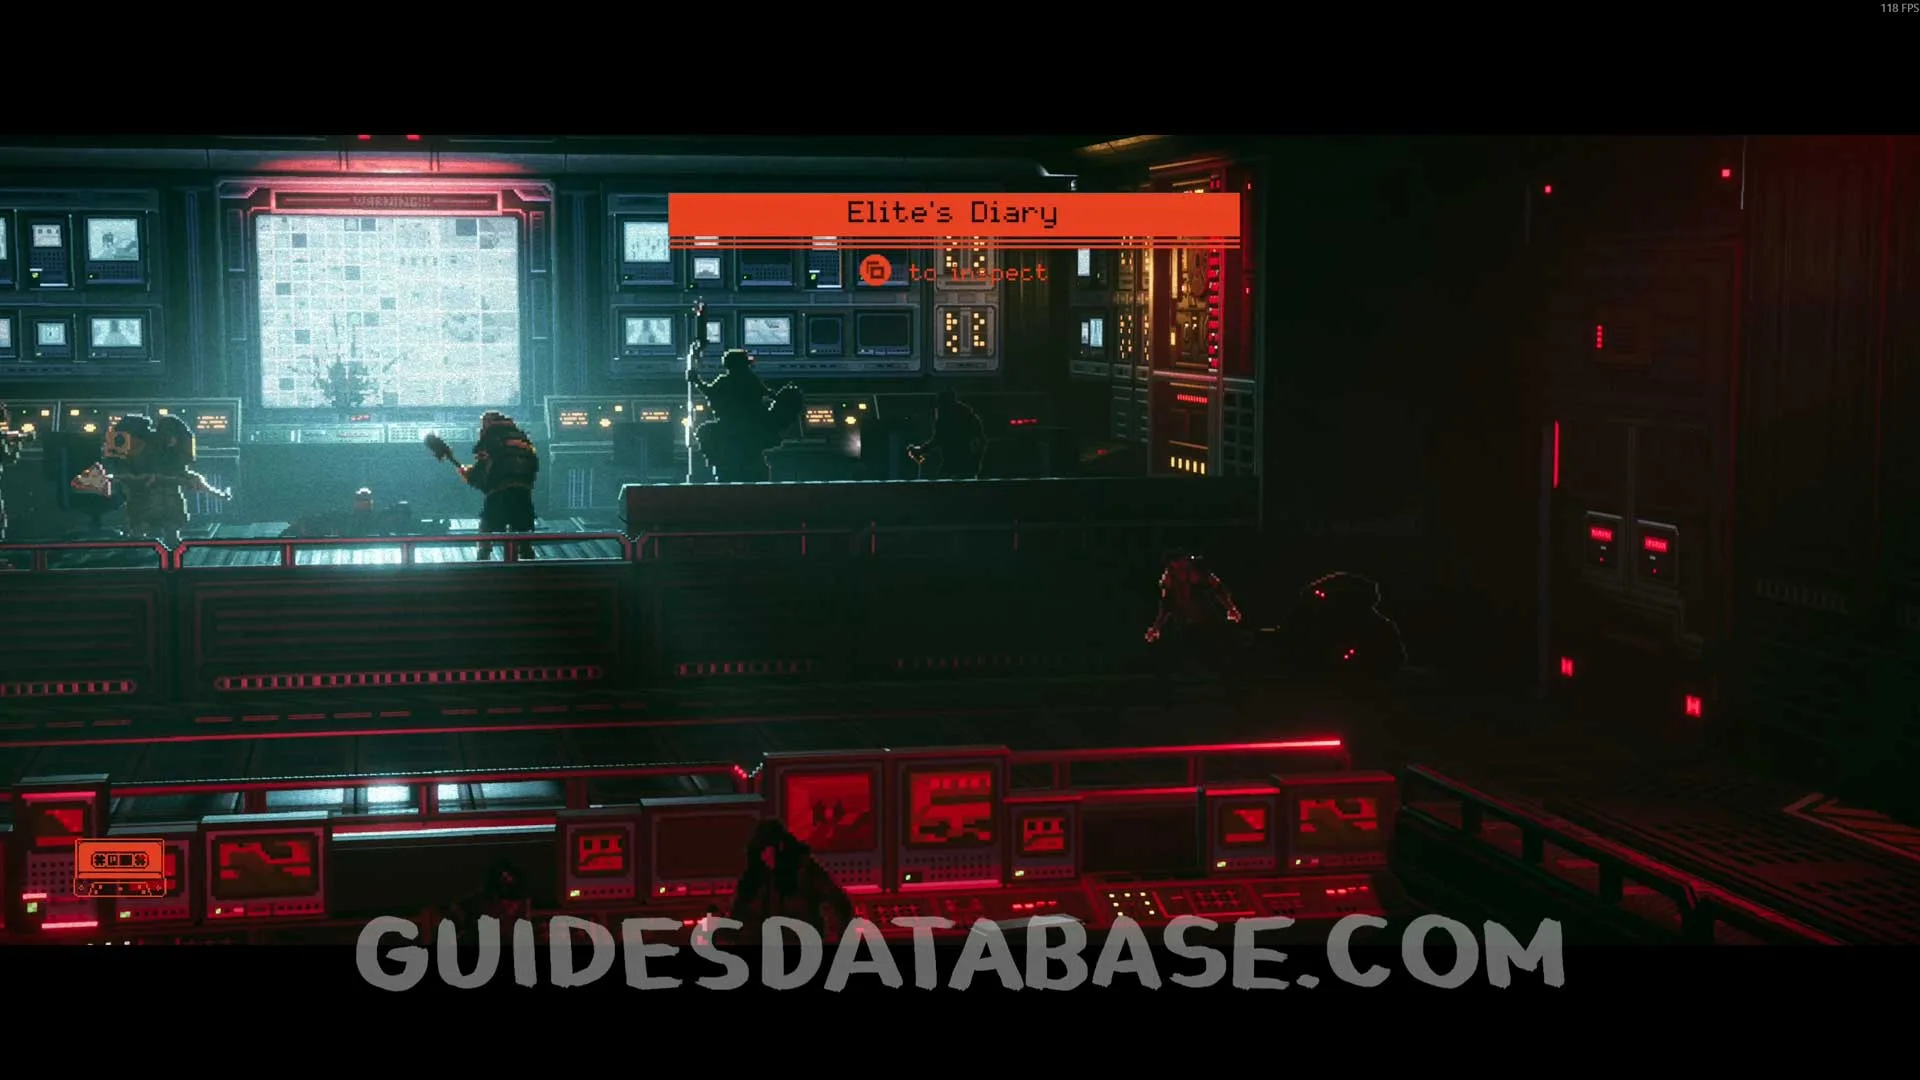 GUIDESDATABASE.COM
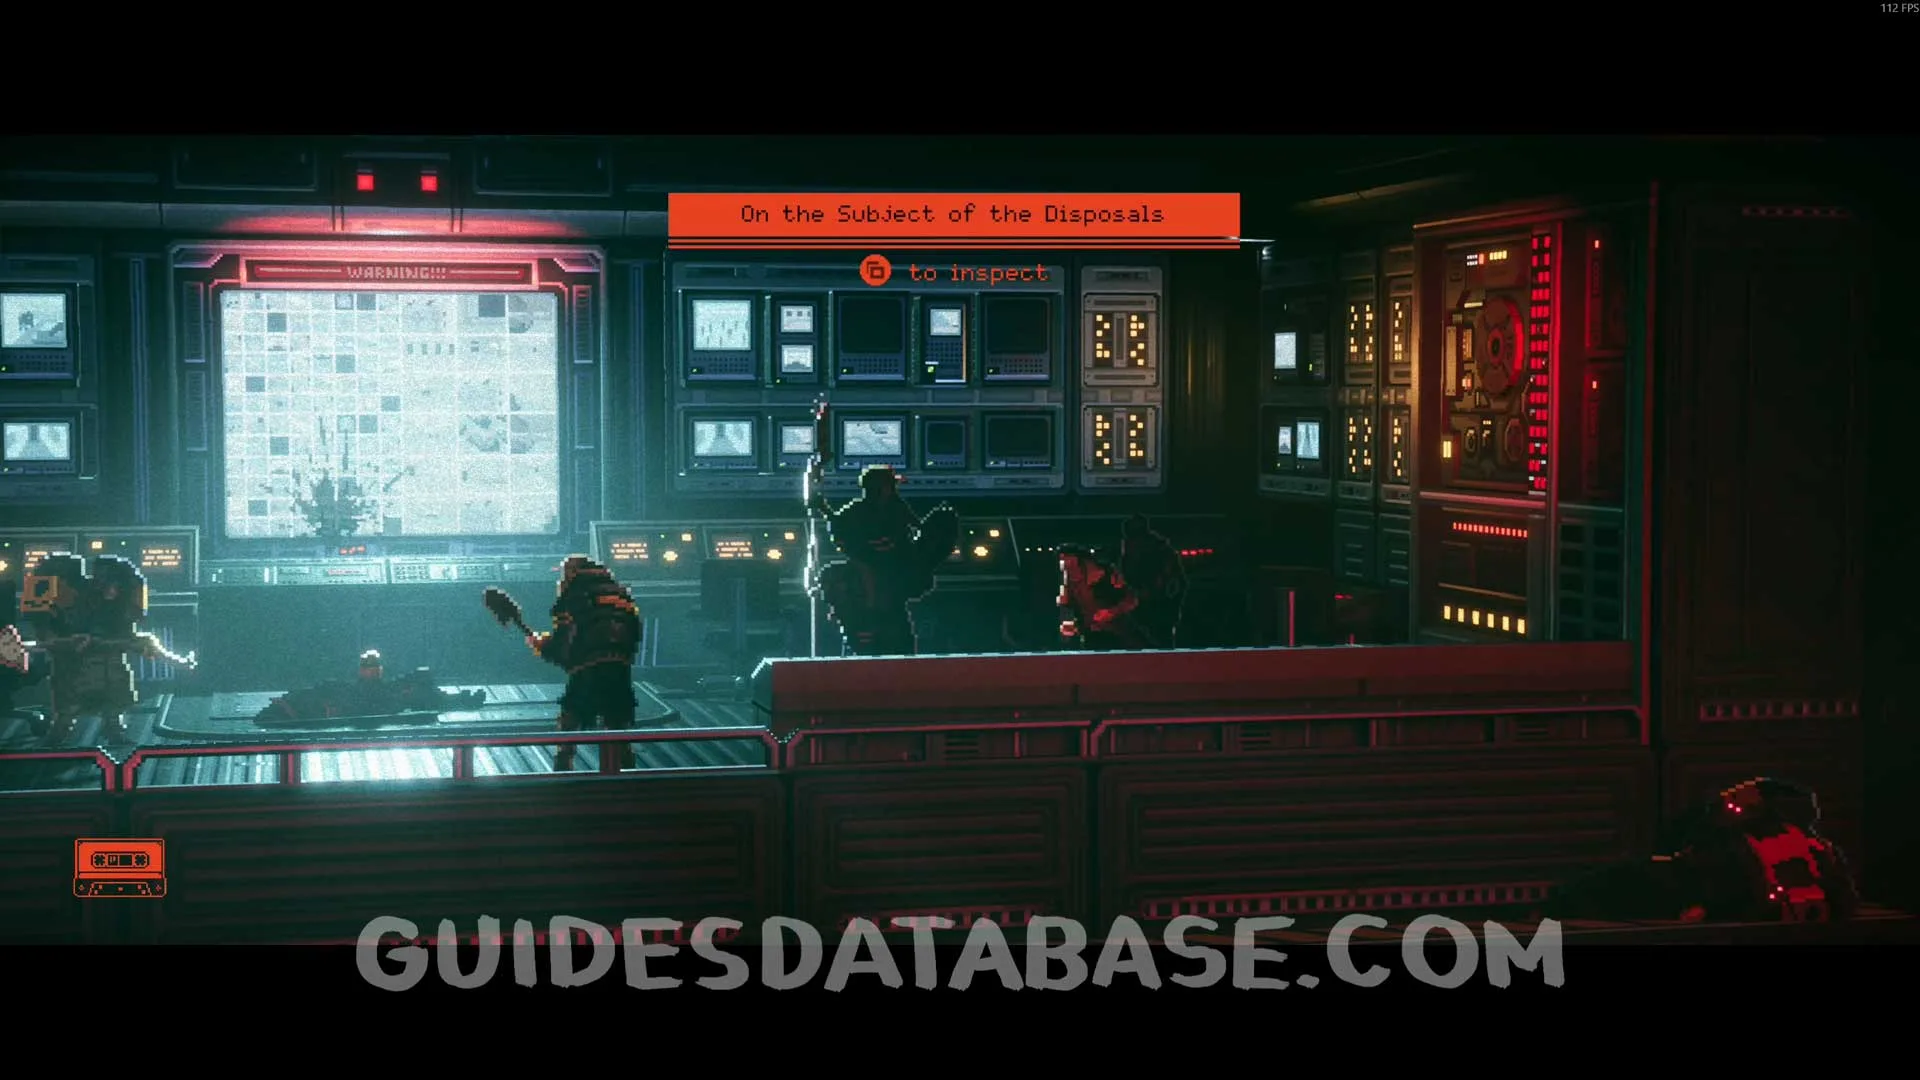 GUIDESDATABASE.COM
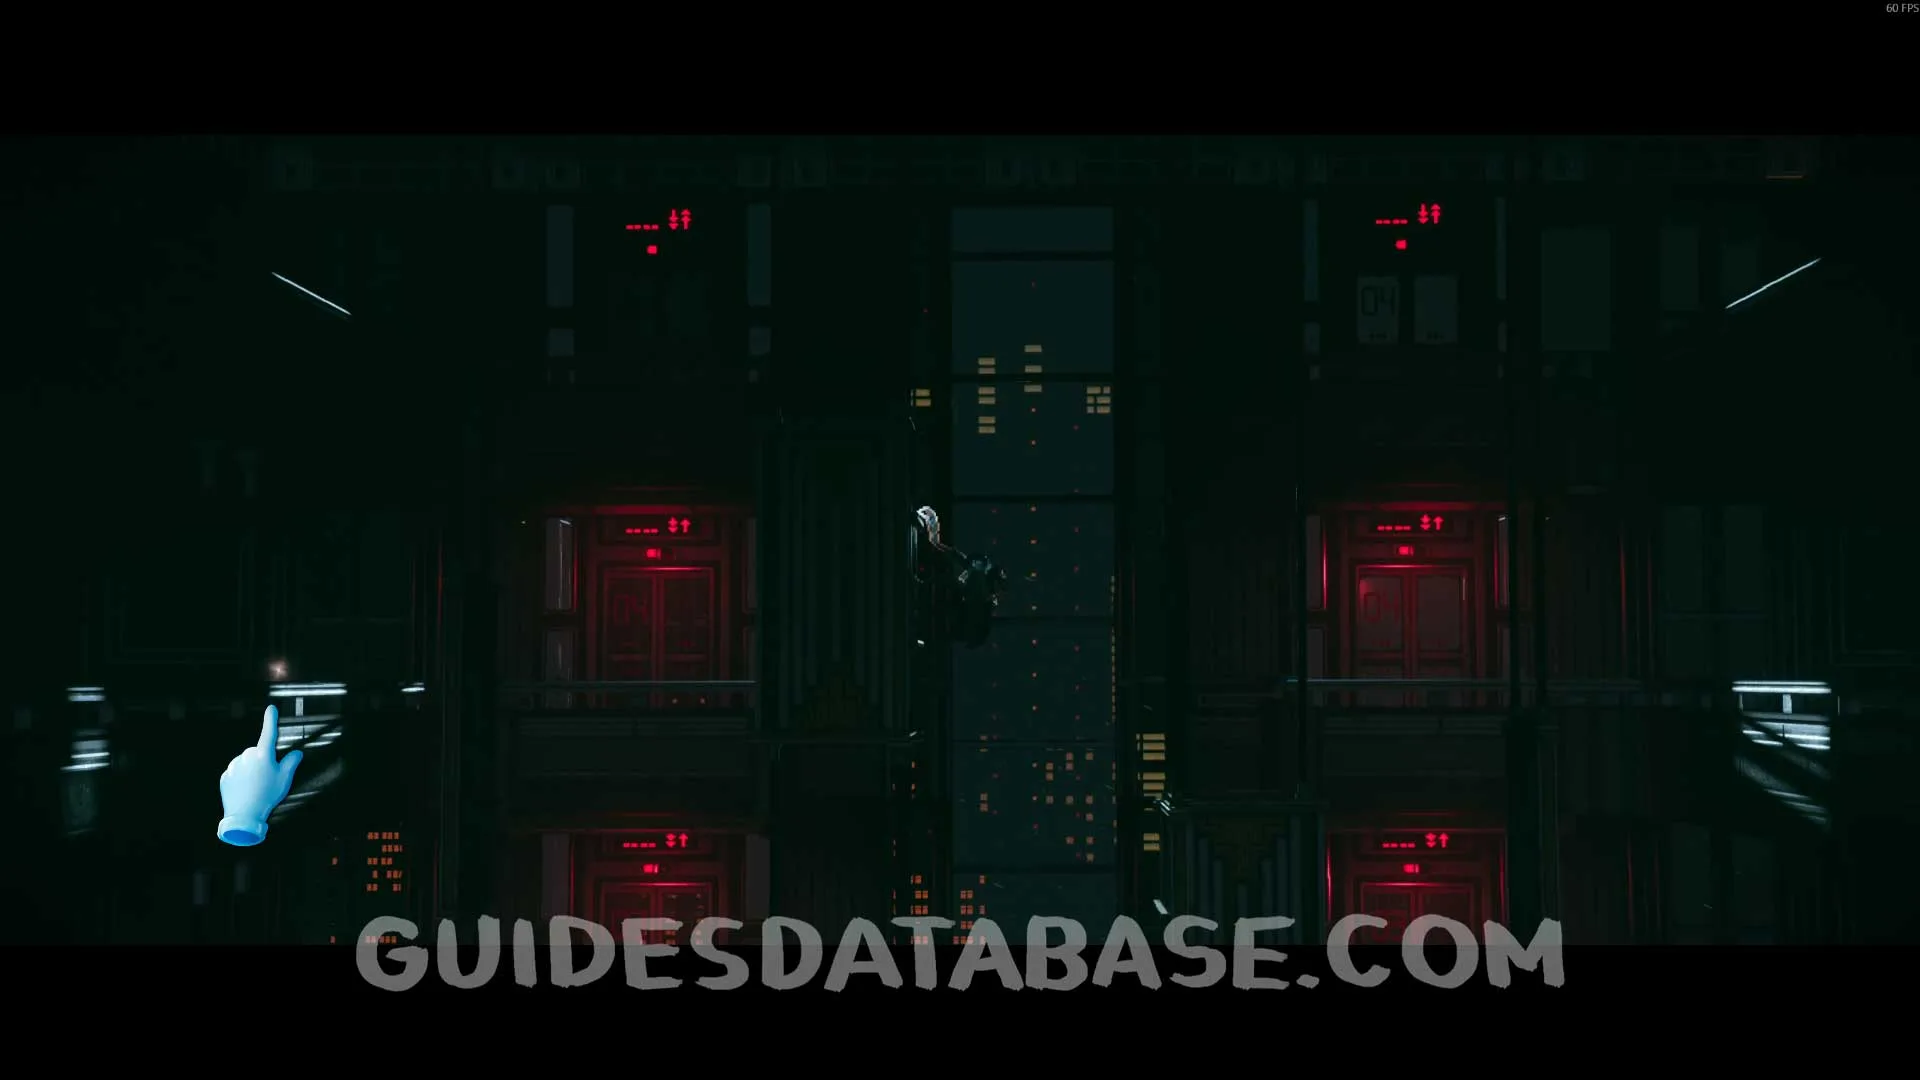
Scan #105 Exquisite Menu + Genetic Profile #10
In the area where you start climbing some platforms, these two collectibles will be on the left side.
 GUIDESDATABASE.COM
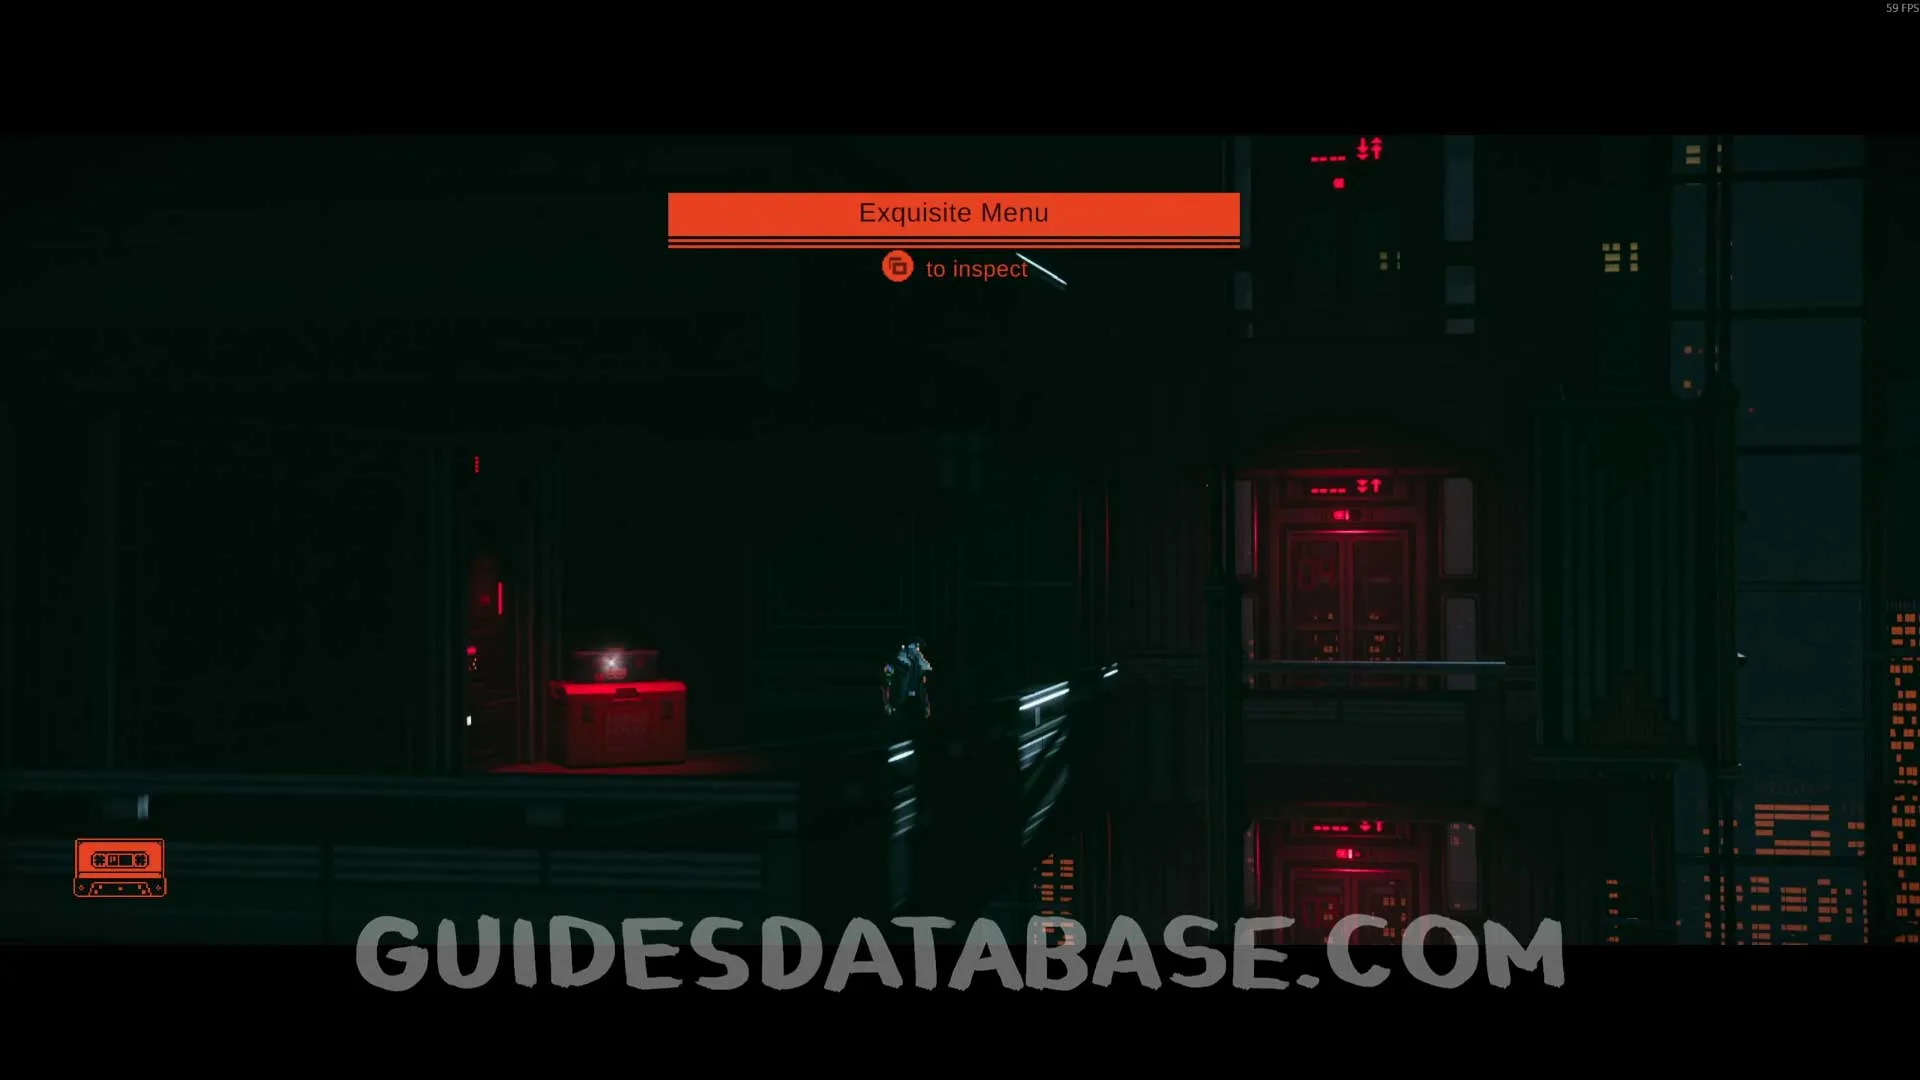 GUIDESDATABASE.COM
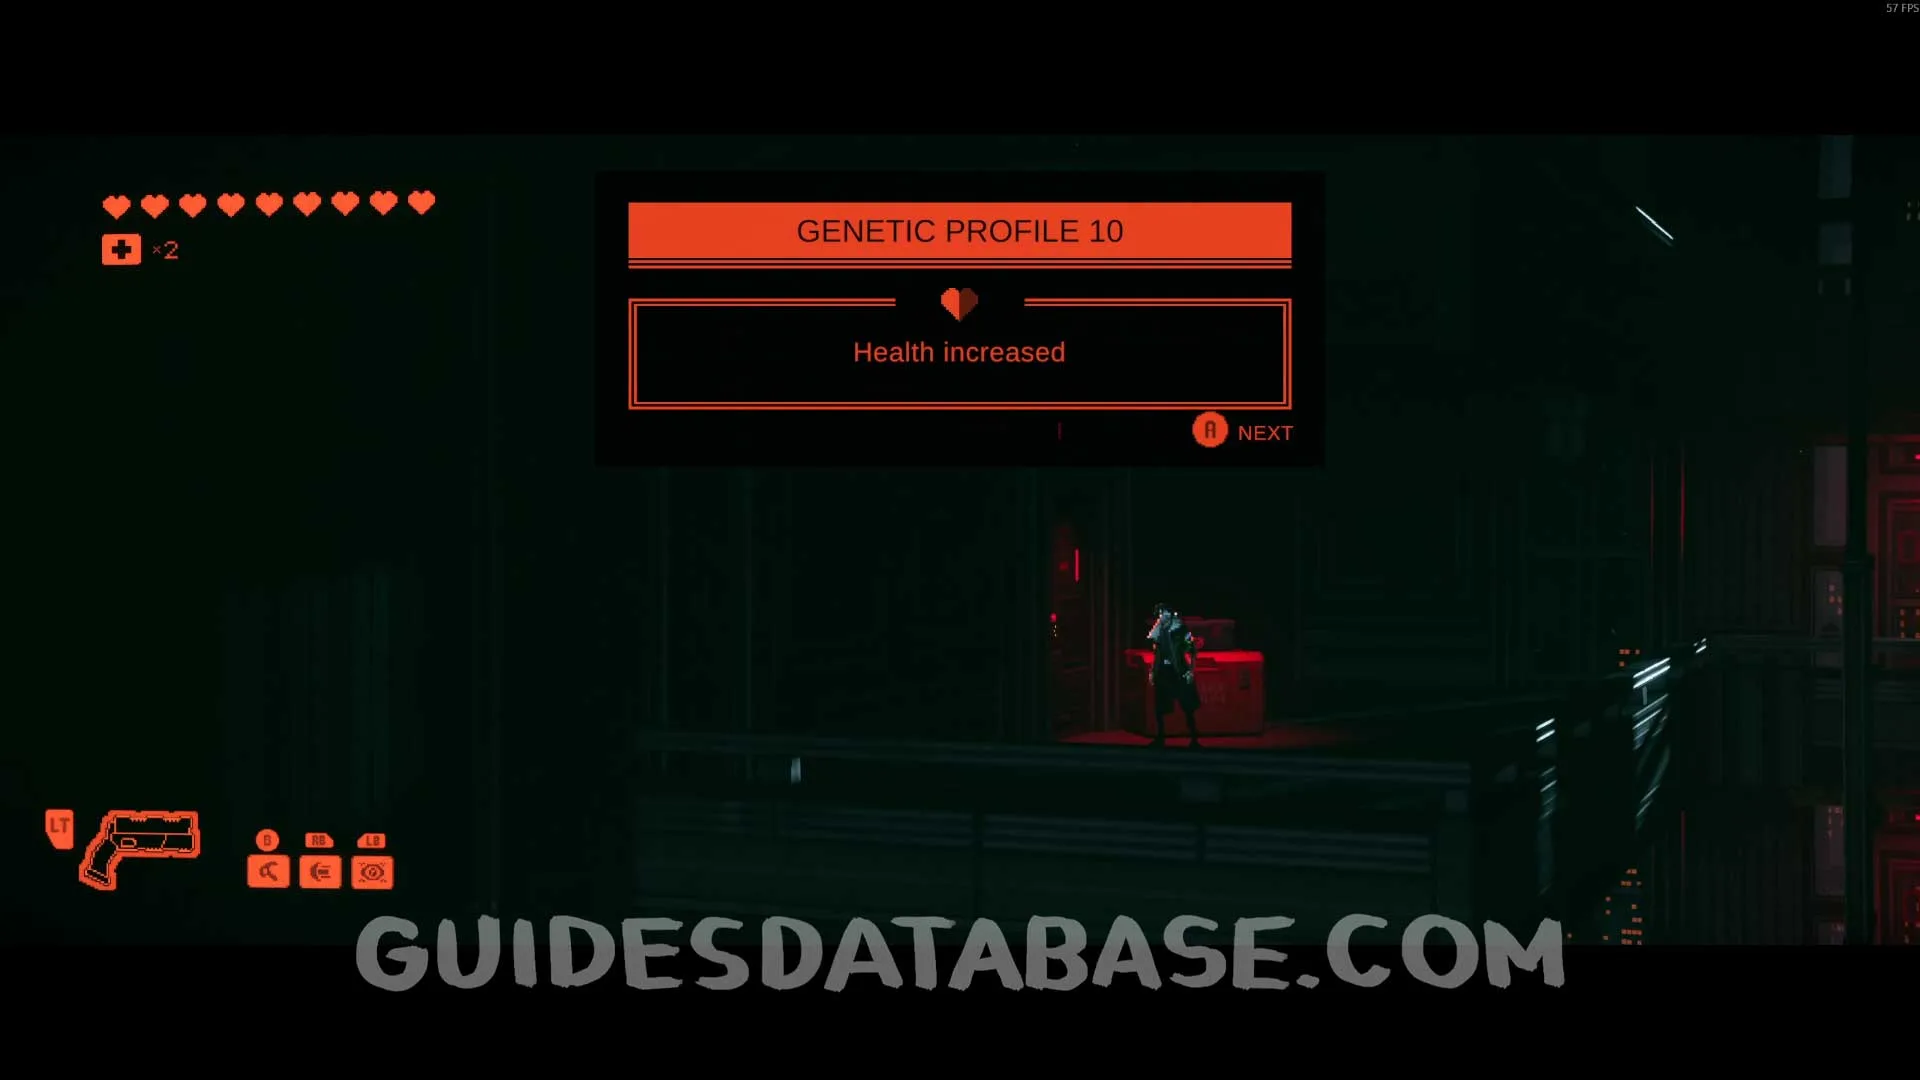 GUIDESDATABASE.COM
Scan #106 Black Widow Letter
After fighting some enemies, head to the right to find this Scan.
 GUIDESDATABASE.COM
 GUIDESDATABASE.COM
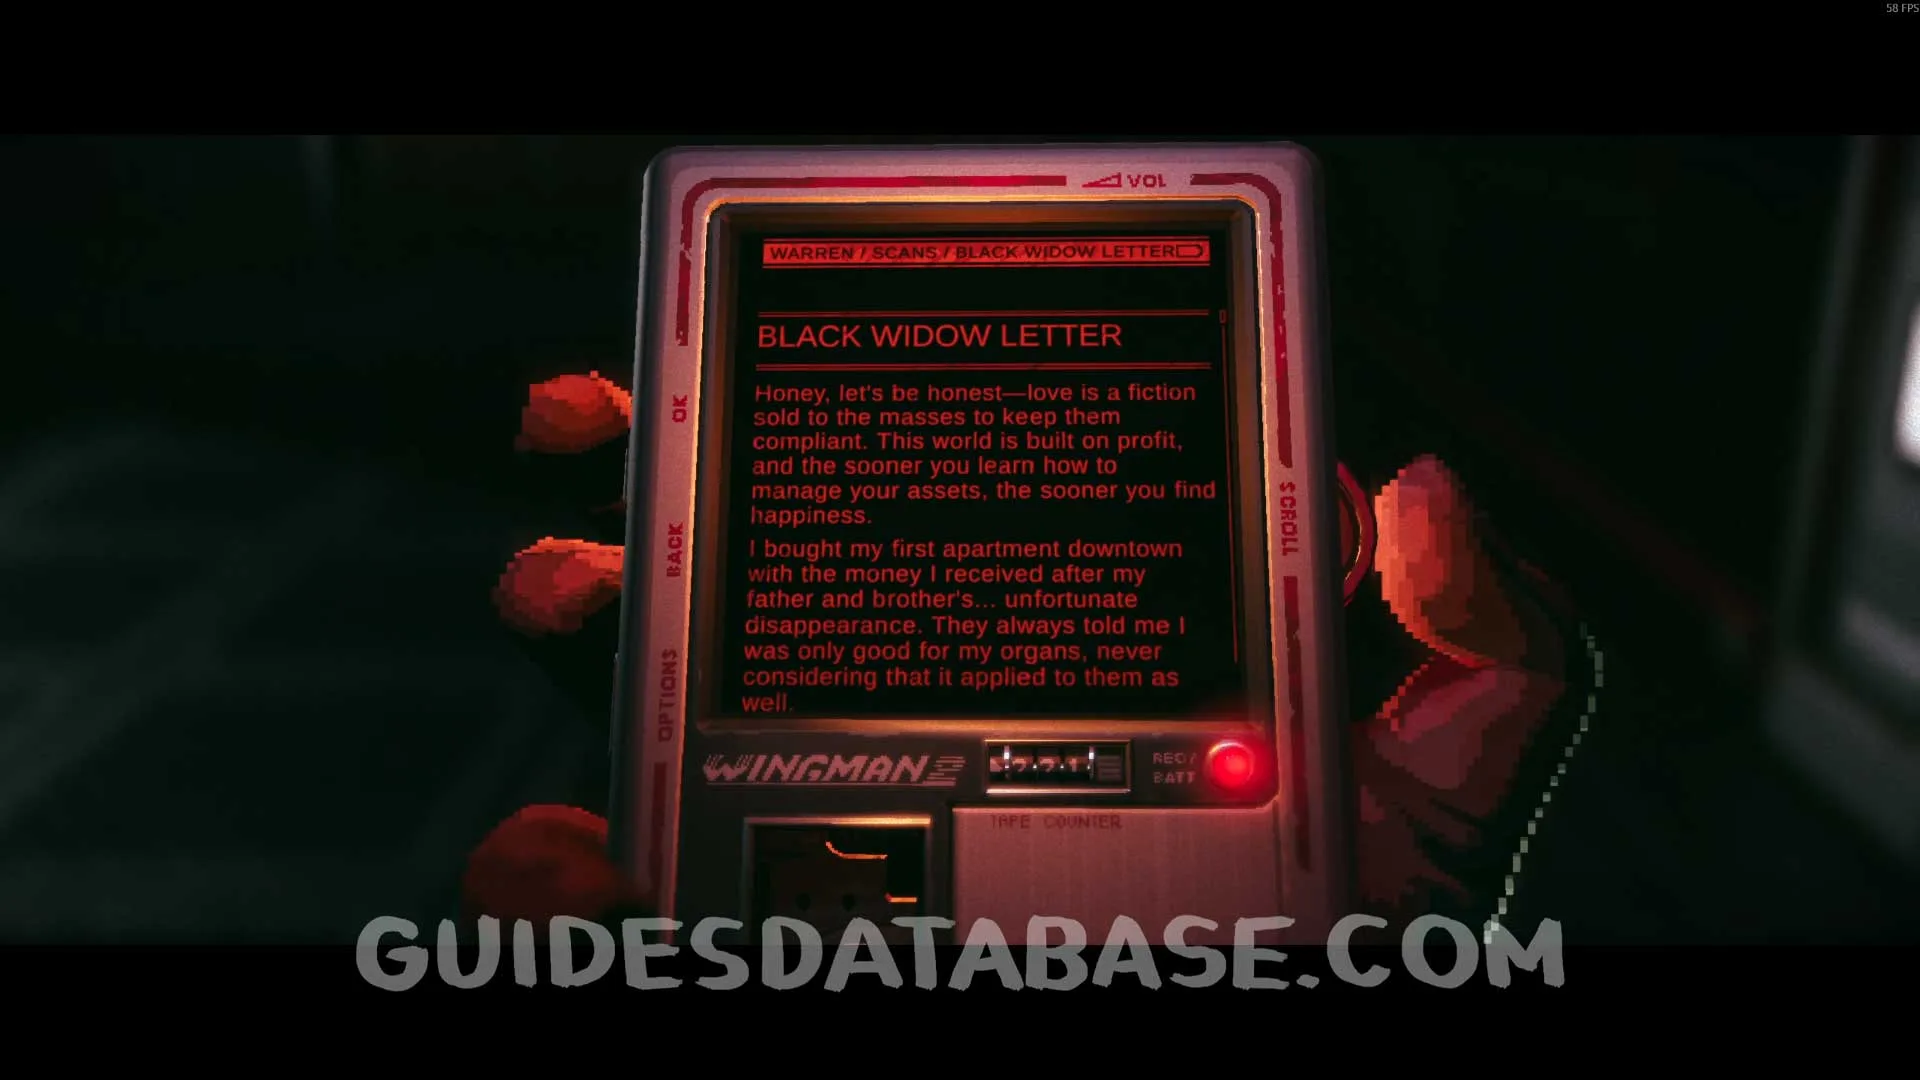 GUIDESDATABASE.COM
Scan #107 Interview For Editing
Same area as the previous collectible, on the ground.
 GUIDESDATABASE.COM
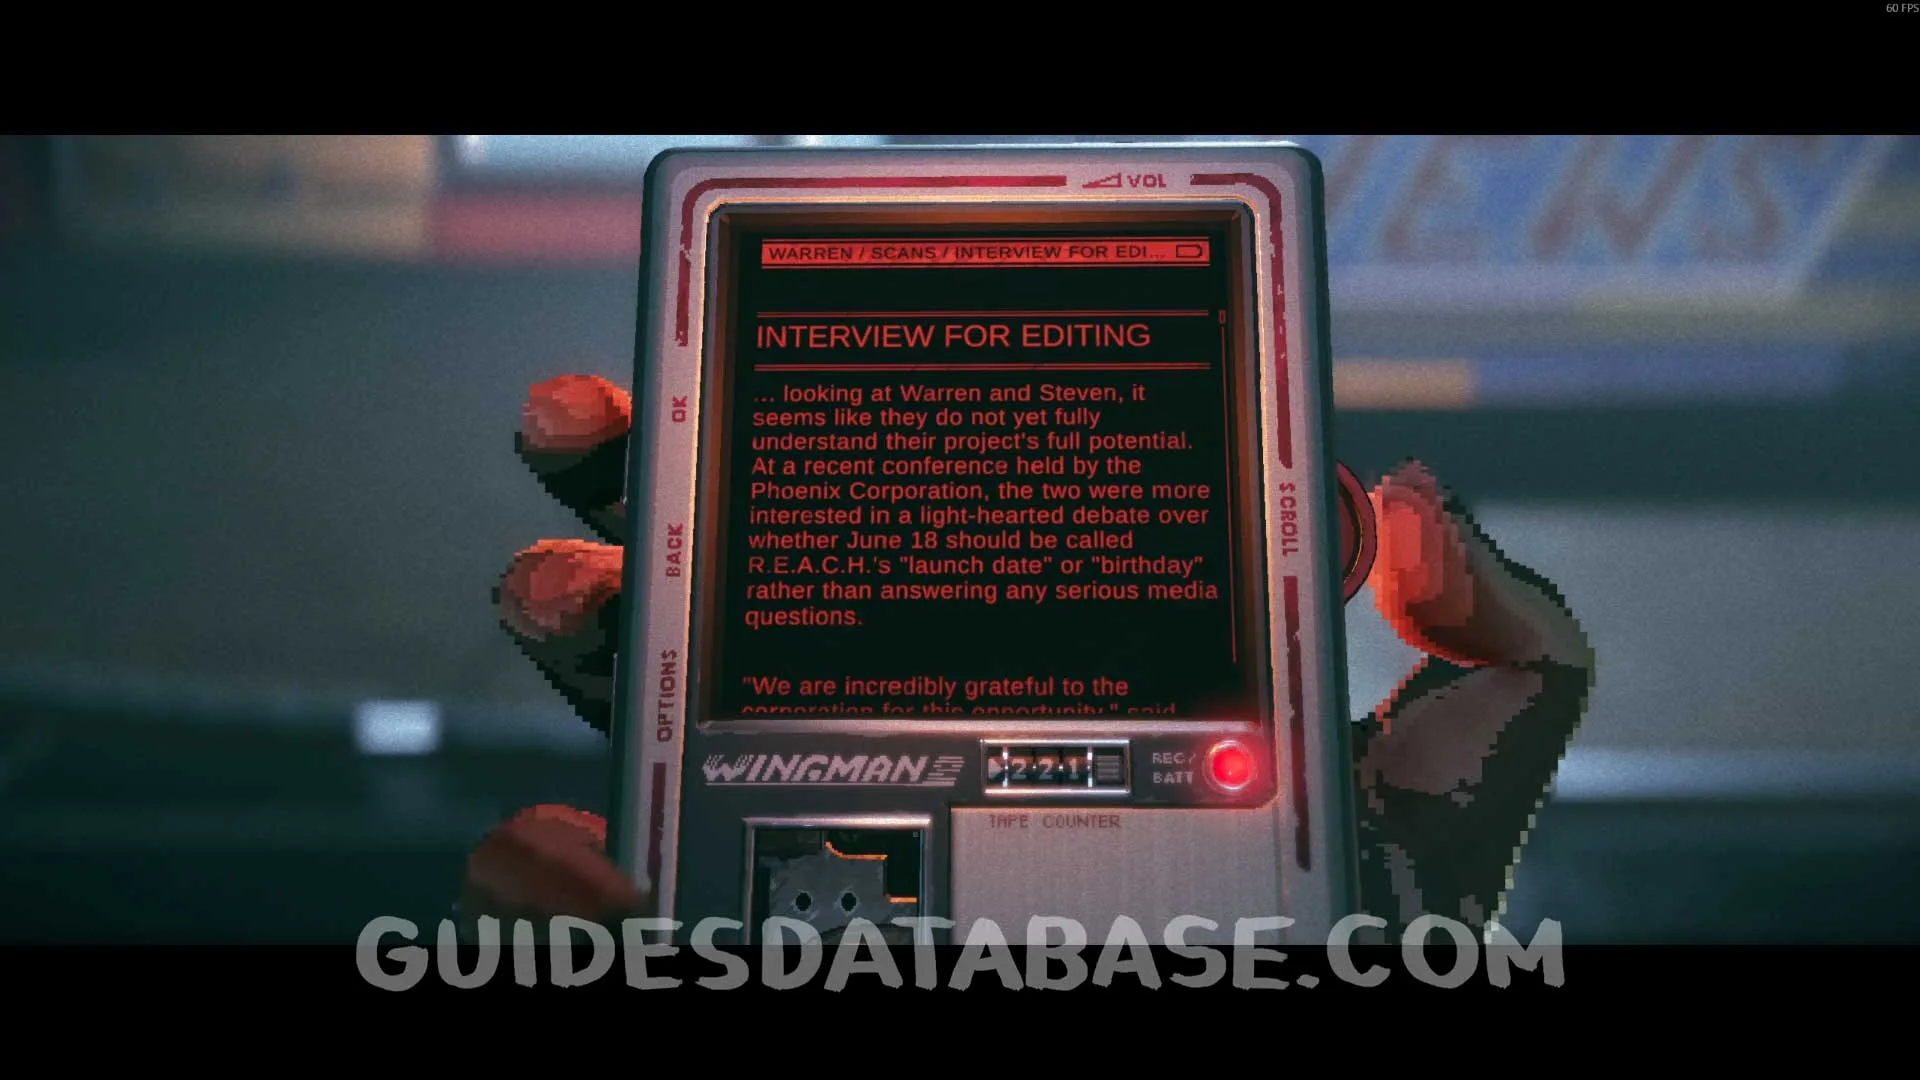 GUIDESDATABASE.COM
Scan #108 Letter Dropped From The Trash
Same area as the previous collectible, on the left side.
 GUIDESDATABASE.COM
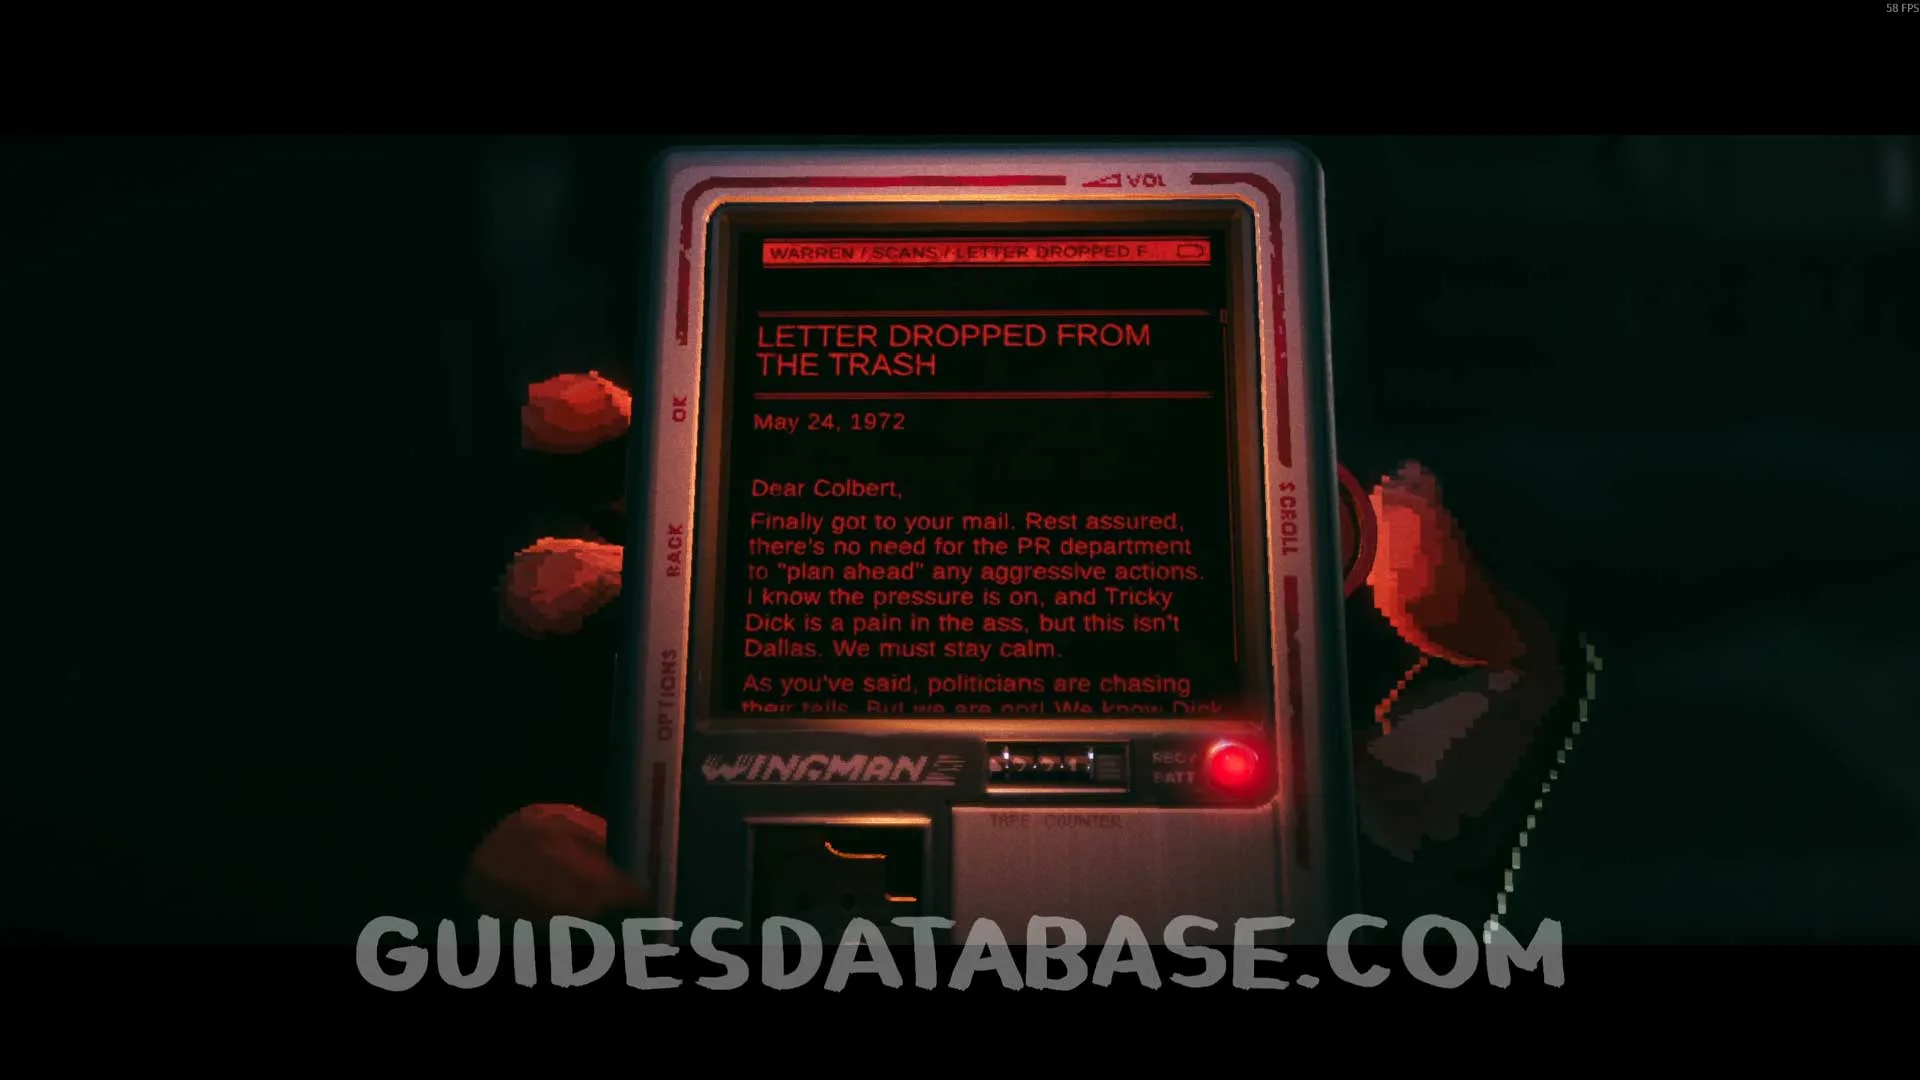 GUIDESDATABASE.COM
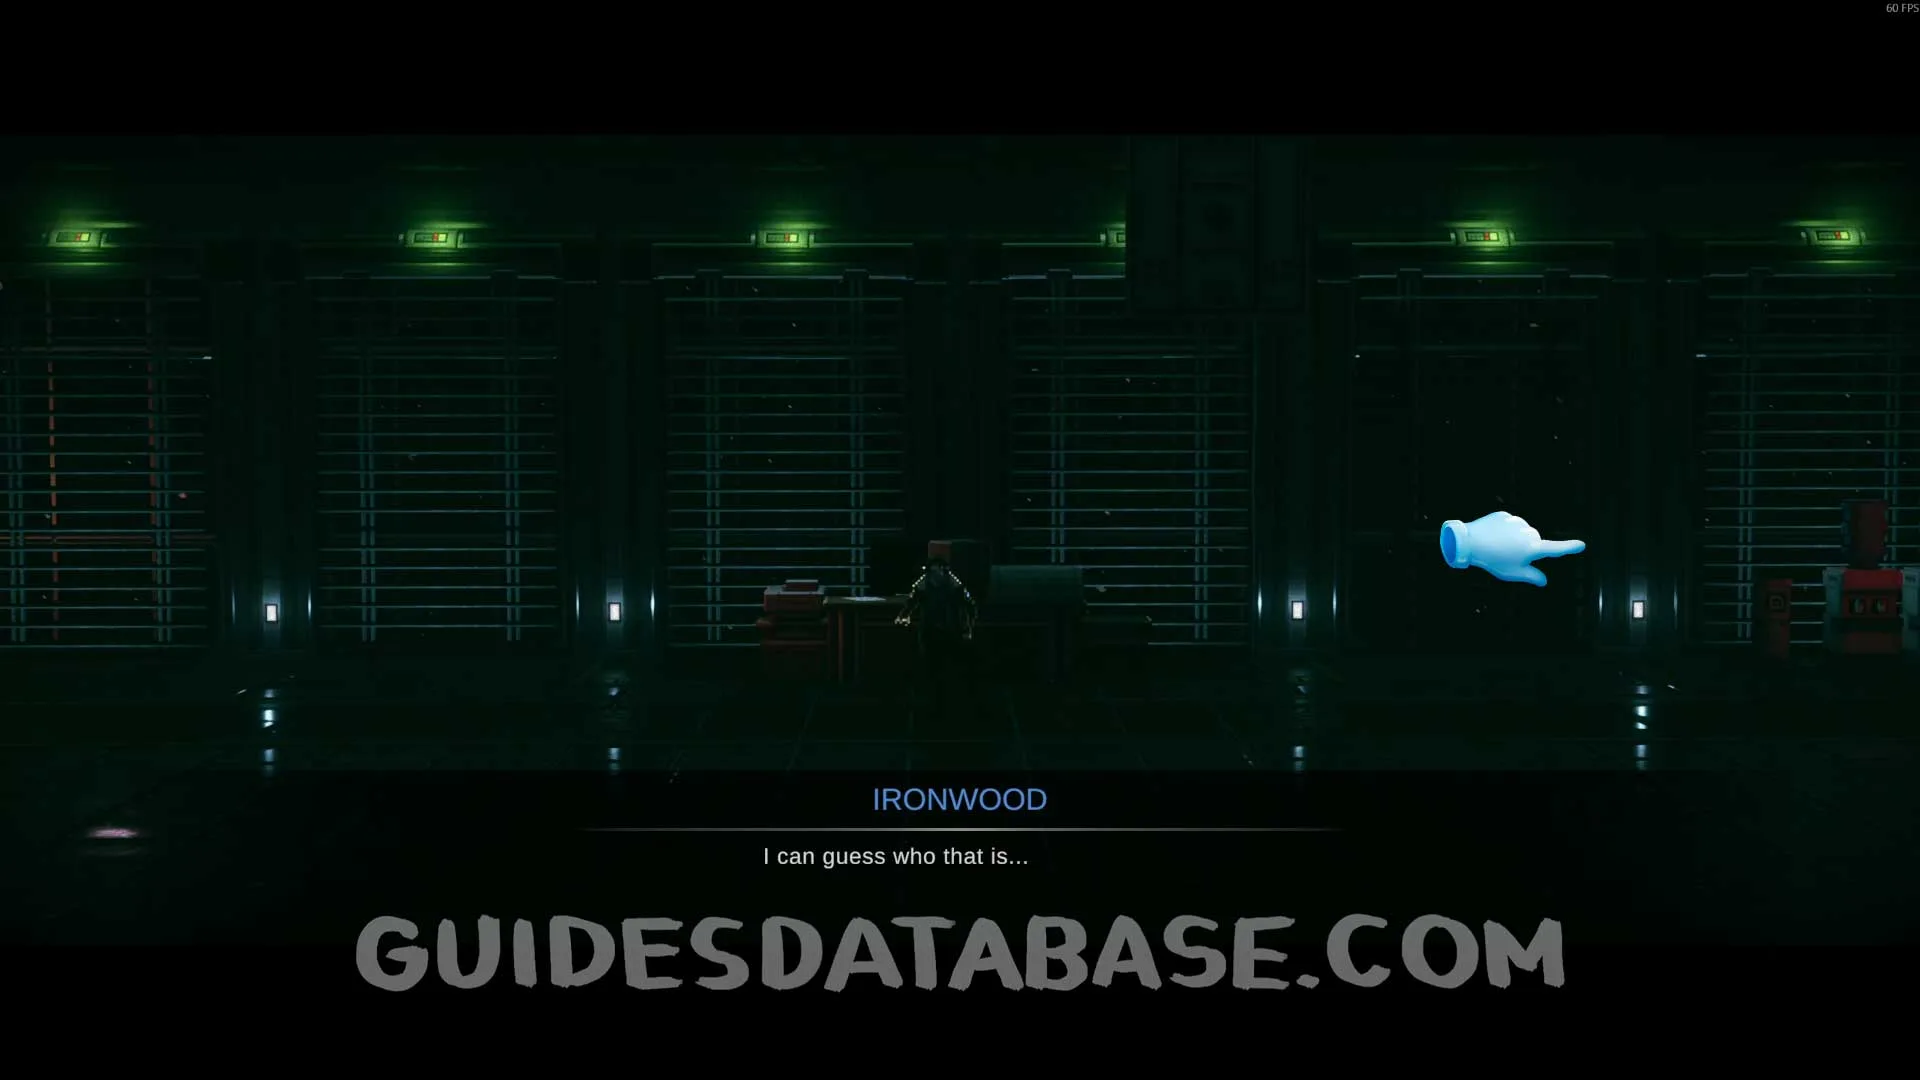
Scan #109 Doctor's Journal
From the previous collectible, continue forward to the left and eventually you will fall from the ceiling. Once on the ground, head to the right to find this Scan on a plant.
 GUIDESDATABASE.COM
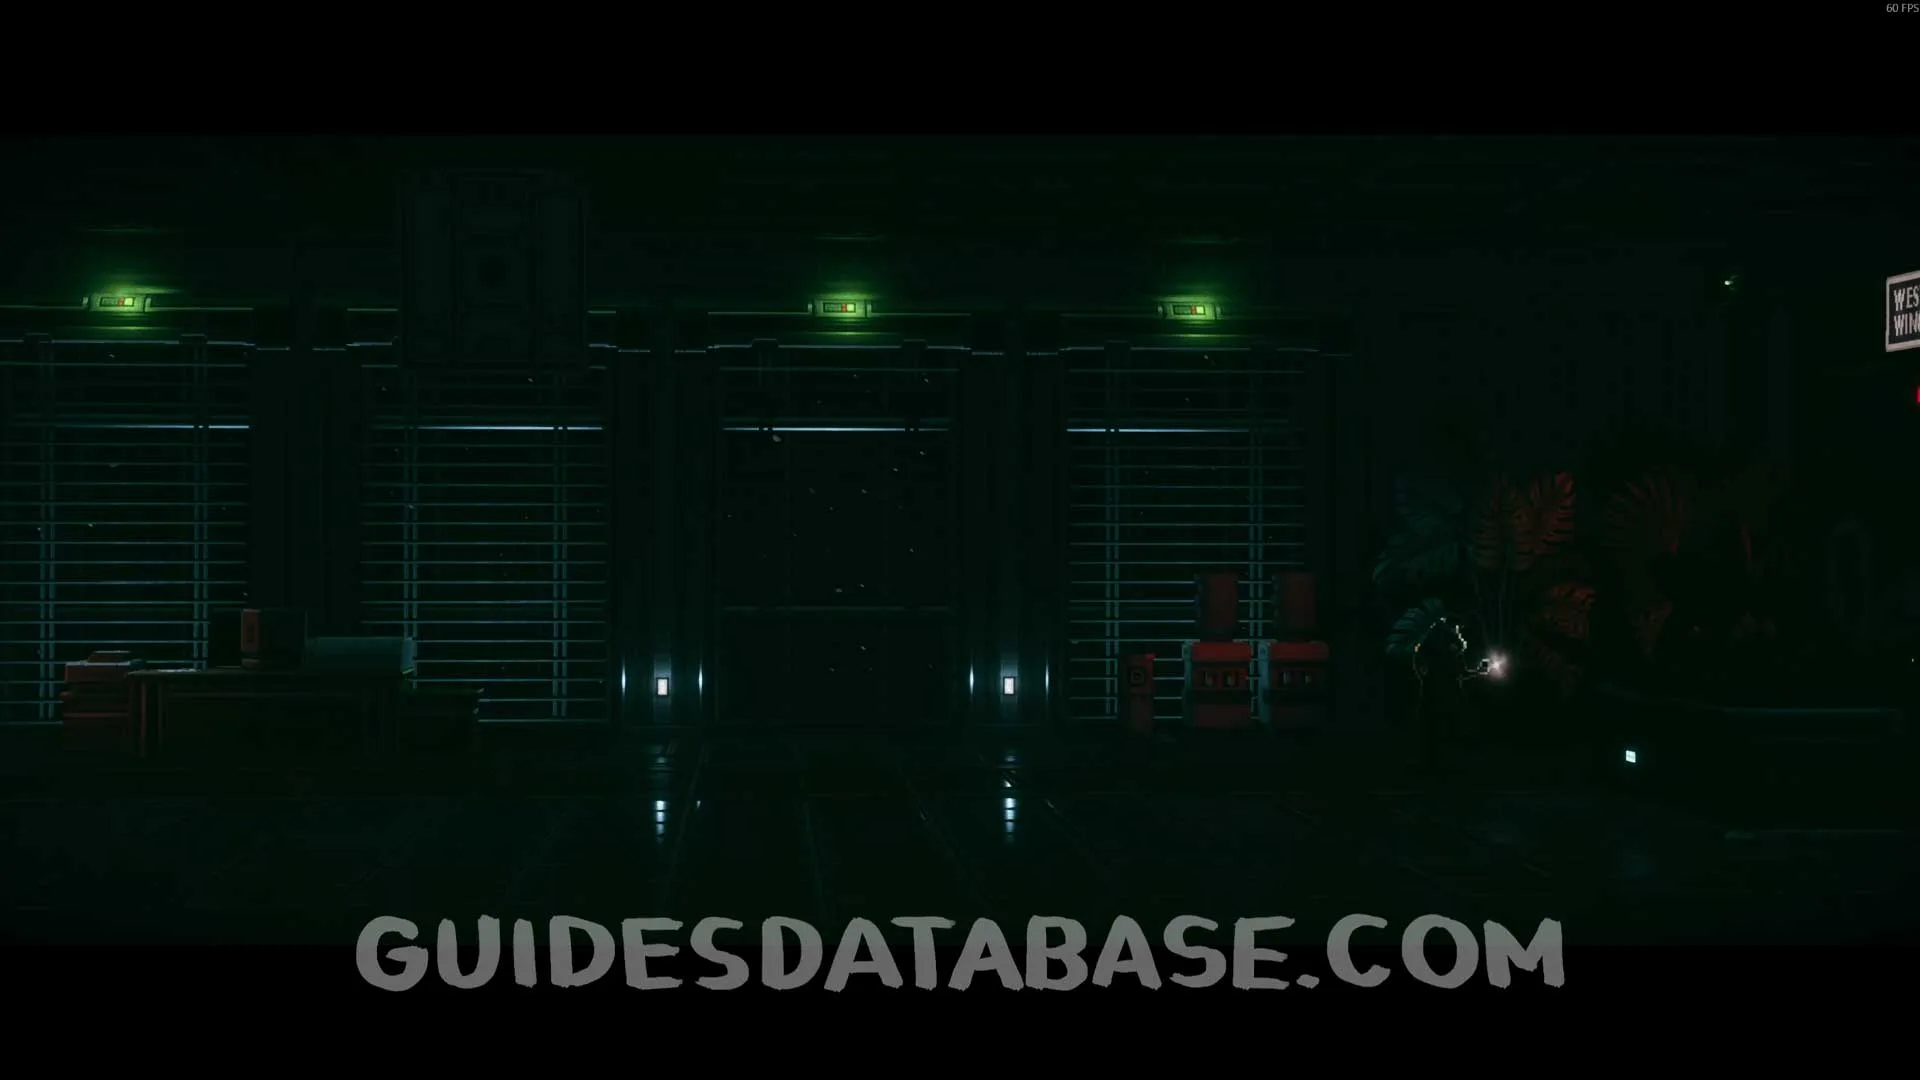 GUIDESDATABASE.COM
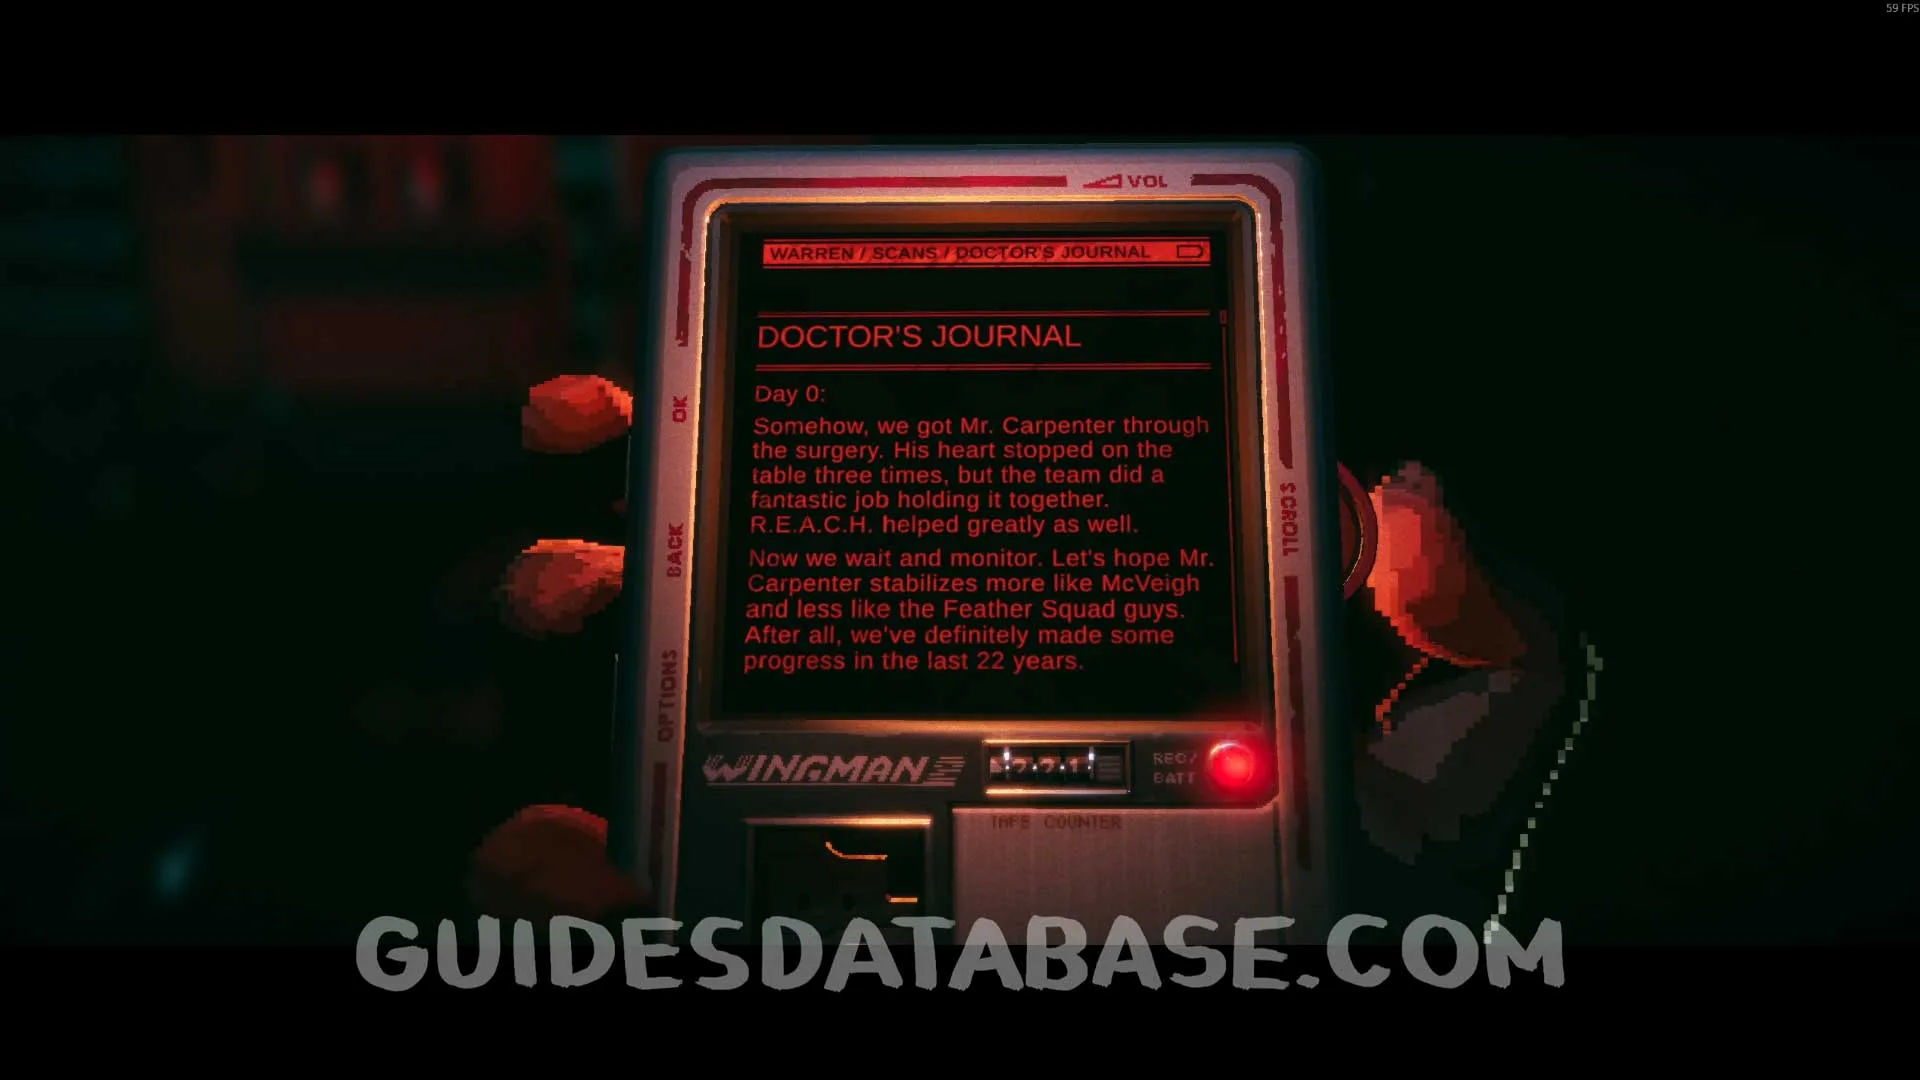 GUIDESDATABASE.COM
Scan #110 Matriarch's Profile + Scan #111 Corporate Wars
After talking to Tempest, head to the left and check the information on the terminal to obtain the last two Scans. Here you will earn the This Is The World We Live In achievement for finding all Scans.
 GUIDESDATABASE.COM
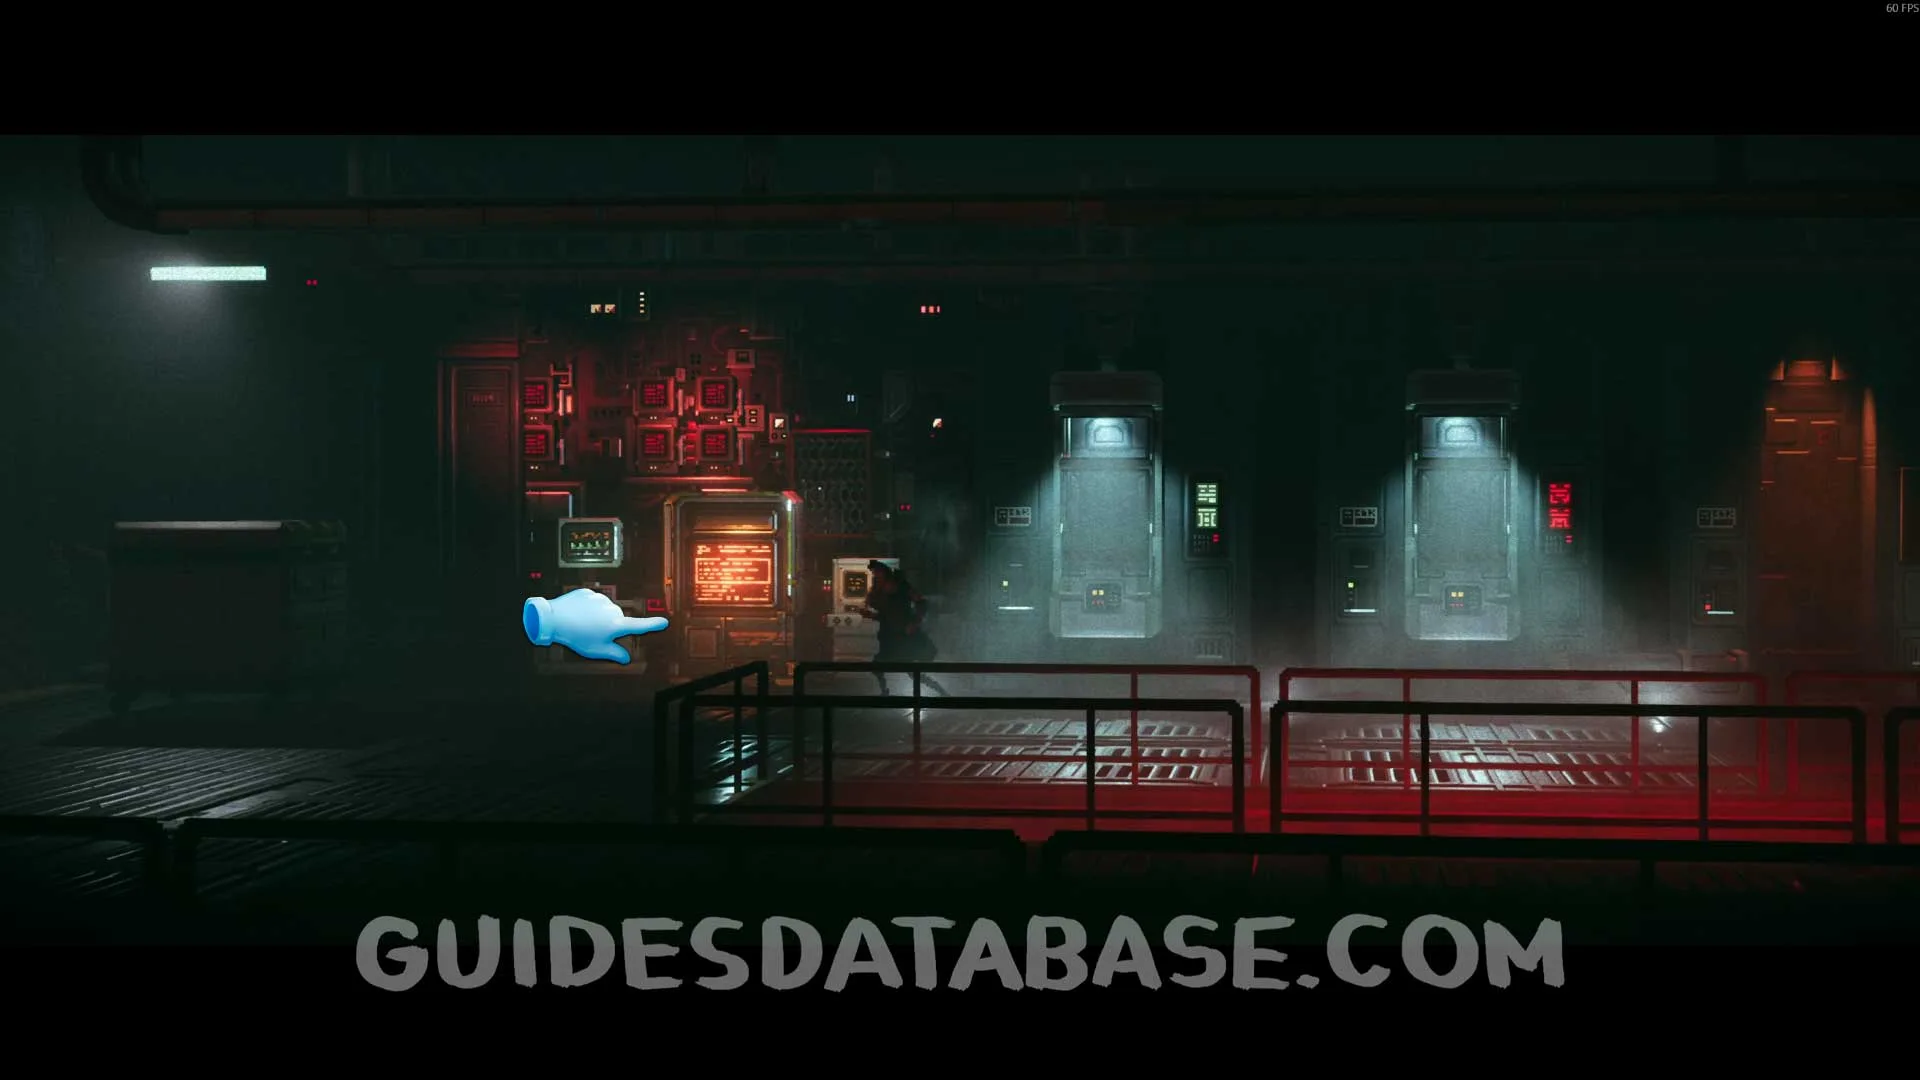 GUIDESDATABASE.COM
 GUIDESDATABASE.COM